


Printing Tutorial: The Monotype Technique Step By Step

Learn to make the most of textures with monotype printing, with Ustudio Mol+Carla
Monotype is a versatile technique which allows you to get creative in a different way to other artistic disciplines but, if we've never used it, we might not know where to begin.
That's why illustrator and designer Mol, of Ustudio (@ustudio), who has worked with clients like Coca-Cola and Nescafé, is going to show us how it works so we can use it to give life to our sketches.
Start with this video tutorial:
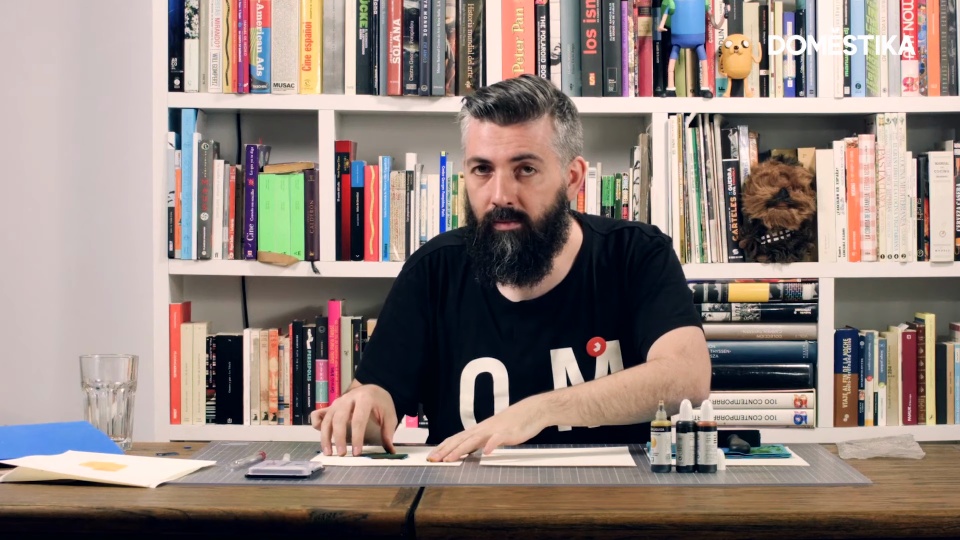
1. Materials
You'll need these materials:
- An ink roller
- A craft knife/scalpel
- A pen
- Liquid watercolor
- An ink pad
- EVA rubber
- Sketch paper
- Paper to dry the roller

2. Start with a sketch
Having a visual synthesis of what we want to do before starting will save time and material. If we're not experienced with monotype, we can start with simple shapes before moving onto more complex compositions.

3. Transfer your drawing to EVA rubber
The next step is to draw our character on EVA rubber. It doesn't have to be perfect as we'll be able to recut and adjust the parts we don't like.
It's worth bearing in mind that, as we can only cut out the profile of our illustration, we'll have to draw and cut any other elements (the eyebrows or lips of our character, for example) separately.

4. Recut the elements of your illustration with a craft knife/scalpel
Carefully cut the EVA rubber, following the outline of our illustration. Some shapes can be difficult to cut so it's simpler and safer to move the rubber itself, as opposed to forcing the scalpel. It's not necessary to cut each line perfectly so cut without fear.
Remember we can give more texture to certain parts of the illustration by deforming the surface of the rubber.

5. Make your print
Pour the ink on the side of rubber that we will be applying to the paper. Spread the ink uniformly over the rubber with the roller. Clean and dry the roller and begin to stamp our template on the sheet we prepared.
Press the rubber onto the paper carefully. Remove it when sure all the ink has transferred to across. If you need to add any shade with the rubber, clean the surface immediately to be able to use it again.

Repeat the printing process with each part of the illustration we've cut. If the rubber pieces are small and we don't want to get dirty, we can use tweezers.

4. Add details directly with the liquid watercolor
If we want to add any details to our drawing, consider using pots of watercolor liquid to apply the paint directly to the page. These watercolors can achieve really interesting effects, like gradients, that give more personality to our illustration.
The ink can also be used to add type to the composition. However, these strokes will need to be done very quickly to get them clean.

Now you know the basic elements of monotype, you can turn to this artistic resource for all kinds of pieces and experiment with different textures and colors to see what you can create.
If you liked this tutorial, you can learn to overcome the blank page and illustrate both traditionally and digitally from Ustudio Mol+Carla on their course Traditional and Digital Illustration: from the Sketch to Printing.
You may also be interested in
- Experimental Illustration Techniques: From Digital to Artisanal
- Illustration Gym: Find Your Style
- Drawing and Creativity for Big Little Artists


0 comments