


Embroidery Tutorial: Simple Flowers in 5 Steps
Five simple steps to embroider flowers with Señorita Lylo, from design to the final stitch
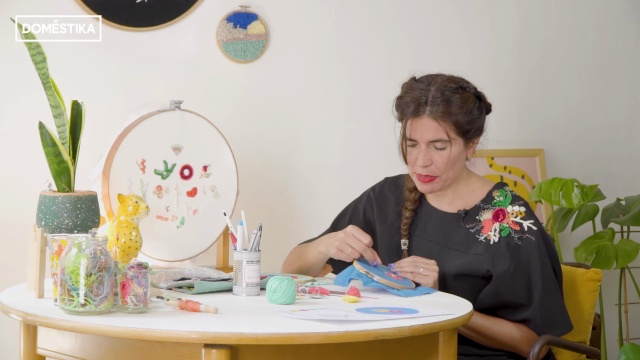
Loly Ghirardi AKA Señorita Lylo (@srtalylo) managed to unite her two passions years ago: graphic design and embroidery.
She now threads between two styles: working with hoops and needles, and making unique designs. She loves to experiment and give all her projects a personal touch. This tutorial encapsulates what her craft is about.
Discover Señorita Lylo’s 5 steps to embroider a flower.
Step 1: Choose a design
It’s important to start with a simple diagram or with each part clearly defined. It isn’t necessary to overload the piece with lots of work, a few elements will look just as good.
You can download the design Señorita Lylo is working on here to follow the steps with her.
Join for Free and download
flores-domestika.PRINT-pdf.pdf

Step 2: Transfer the design to fabric
Print out the pdf so you can copy from it directly. Señorita Lylo recommends using a colored fabric to give your design more life. Here we’ll need tracing or lightly-colored paper (black or yellow).
If the design isn’t clear enough on the fabric, go over it again with a fabric pencil.

Step 3: Choose your threads and stitches
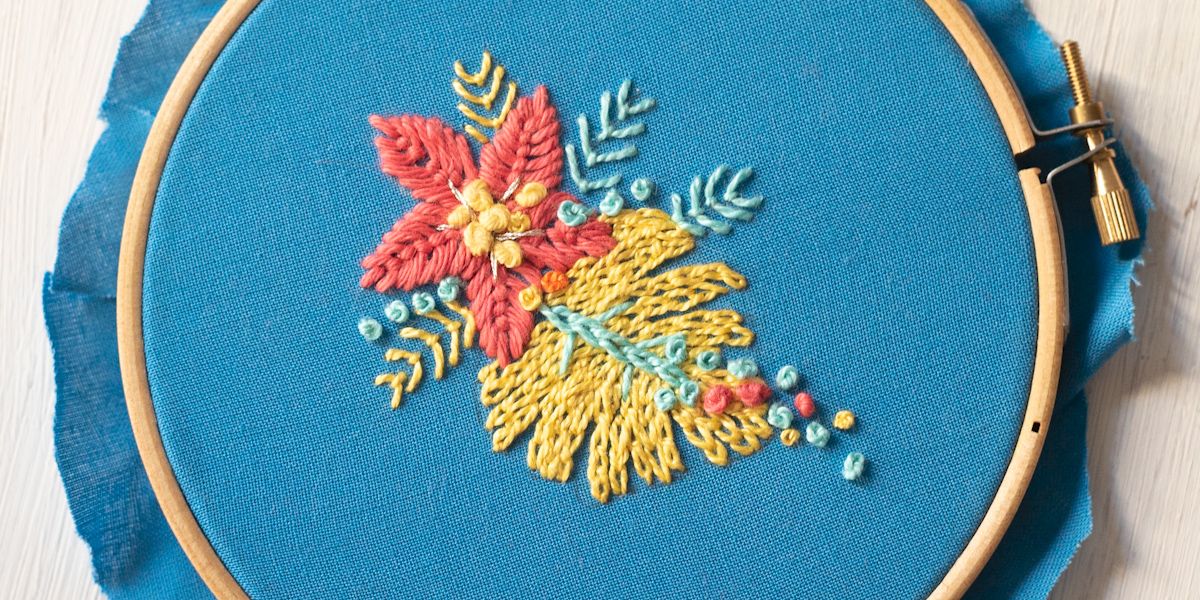
The color palette is quite bright, bearing in mind that we’re starting with a blue fabric. The threads we’ll use are: pink matte thread, yellow matte thread, yellow pearl thread, blue pearl thread and silver metallic thread.
As for stitches, we’ll be using a straight stitch, a spine stitch, and a chain stitch.

Step 4: Embroider
Place the fabric with the design in the frame, making sure the image is in the centre. It’s important to tighten the hoop well so the thread can pass through the fabric easily.
Then, thread the needle and start stitching the petals on the flower; move onto the large leaf; then, do the small ones; and finally, the silver details.

Step 5: Tie and finish the piece
Tie the threads behind the image and be careful they don’t get tangled. Then, cut the leftover fabric and stick it inside the frame so you can’t see the back.
Done!

Learn more about Señorita Lylo’s work and the techniques she uses with the Domestika course, Basic Embroidery Techniques: Stitches, Compositions and Colour Ranges, where you will learn to narrate and interpret stories through graphic design, illustration and embroidery.


1 comment
Muy hermoso trabajo Srta. Lylo. Quisiera saber bordar cómo usted algún día... Felicitaciones!!