Clip Studio Paint Tutorial: the 8 basics for illustration

Learn the basic keys of the drawing and illustration tool with José Luis Ágreda
The drawing and animation program Clip Studio Paint is one of the most interesting alternatives to Adobe Illustrator, although it is perhaps less well known. The software, of Japanese origin, is created especially to help in the illustration process, so it is worth trying it out in order to compare it with other more popular ones.
José Luis Ágreda (@agreda), illustrator and comic book artist who was also recently the art director of the animated film 'Buñuel en el laberinto de las tortugas', is an expert in the handling of Clip Studio Paint and has synthesized everything you need to know when starting to use the program in 8 essential points.
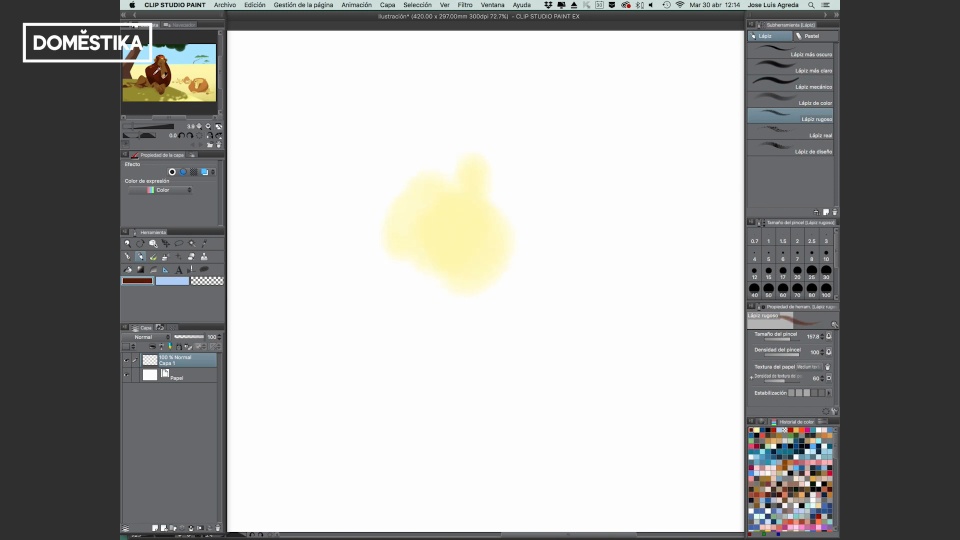
Discover the Clip Studio Paint tutorial in the following video:
1. Transparent ink
As in Photoshop, in Clip Studio Paint we can have three inks: the front, the back and the transparent. This last one works just like an eraser, but the texture it generates is much more natural and organic, it does not erase so aggressively. Especially when we are drawing with dry brushes, the results are closer to the physical strokes that an eraser would give us.

2. The P key
In Clip Studio Paint, the default keyboard shortcut to switch between pen and pencil is the P key. Switching between both tools by simply pressing a key will save us a lot of work and time.

3. Vector layers
One of the most interesting differences between Photoshop and Clip Studio Paint is the possibility of working with vector layers. This allows us to modify in detail all those strokes that do not convince us or delete entire fragments of a stroke in a much faster way.

4. Layer properties
In Clip Studio Paint, we can convert everything we draw on a layer to a certain color; for example, to blue, which will allow us to quickly understand that it is a sketch layer. By applying a color to each layer we will not make a mistake of layer when drawing, knowing exactly what each one of them consists of.

5. Drawing with hatches
Another interesting layer property is hatching, which allows us to generate hatched surfaces quickly and easily, seeing the effect in real time.

6. Subview
The subview tab allows us to transfer any external image to the program interface, and choose any of its colors as if it were a palette.
Another way to choose colors is, in the edit menu, "Get screen color". Thus, we will be able to choose a color literally from anywhere on our screen.

7. Rulers and their utilities
The special rulers offer us different drawing aids. For example, the concentric circle rulers allow us to draw circles or all kinds of ellipses concentrically, without worrying about the angle or imperfections. When drawing vessels or wells in perspective, it is enormously useful.
Parallel lines make any line we draw on the canvas parallel to the reference lines we have marked, which helps enormously with perspectives.
Finally, the perspective rules allow us to further refine, as the name suggests, our perspectives. Thus, we will be able to complete our illustrations in a much more intuitive way, getting all the lines to keep a coherent relationship with each other.

8. Duplicate window
If we go to "Window">"Canvas">"New window", we will have the possibility of working the same drawing with two windows. This will allow us, for example, to zoom in one of them and draw details, while in the other one we keep the whole image; or rotate one of them to see our drawing "in a mirror", a method that usually helps to check if the illustration works well.

If you liked these tips, remember that José Luis Ágreda is also the teacher behind the online course 'Illustration, knot and denouement', where he will teach you how to squeeze the expressive possibilities of illustration from a written story.
Other tutorials by Ágreda that may interest you
- Illustration tutorial: 5 keys to draw poses.
- Tutorial illustration: how to draw wrinkles on clothes.
- Illustration tutorial: ideas for not losing focus.


0 comments