

Craft tutorial: how to make an accordion notebook

Learn how to create your first accordion illustration booklet step by step
Fábrica de Texturas (@fabricadetexturas) are Gabriela Rodriguez and Xavier Robledo, two "Do it yourself" artists delighted to share everything they know how to do with their hands with those who dare to try. They like to experiment with craft techniques and plastic arts, and recover and transform traditional techniques to make them more accessible and current.
Below they teach you how to make an accordion notebook, a binding that finds its origin in oriental culture, in a few simple steps:
Materials
- 10 sheets of 120 grams or more, they can be of different colors and you can draw on them or print them.
- Plywood board, to make the covers.
- Folding tool, to press the sheets and fold them.
- Punch, to mark the folds.
- Rubber band, to close the notebook.
- Scissors
- Glue stick
- Cutter
- Ruler

Steps to create the notebook
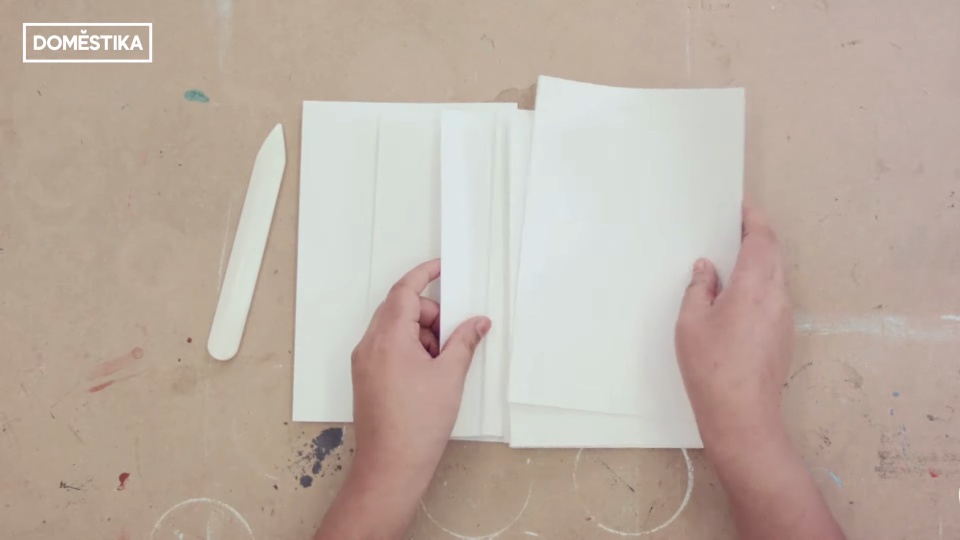
1. Folding the paper
The first thing to do is to calculate the measure to which we want to fold the paper, taking into account that we must leave a centimeter, approximately, on one side to create the joint. To make the folding we can use a meter, for greater accuracy, or do it taking the previous sheet as a reference. It is very important that we make a first mark with our hands, with pressure but without overdoing it, to later pass the folding machine and make it perfect.
After making the central fold, we make the one-centimeter fold, marking it first with an awl. Repeat the exercise with all the leaves, trying to keep the volume as small as possible. Once we have all the leaves ready, we prepare for the next step.

2. Gluing the sheets
To glue the leaves, one must take into account the material we are working with, i.e. the glue stick and the leaves. One must treat the others carefully so as not to change their shape or interfere with the final result. We will put glue on the second folds and we will join the sheets to form the accordion.

3. Putting the cover on
To place the cover, the first thing to do is to cut the last excess page that has the fold. As this page will not be glued to any other page, it is better to eliminate it from the total. Then glue the plywood on the front and back covers, taking into account that you have to make a margin of a few centimeters so that the covers are larger than the pages inside.

4. Settling the notebook
The last step is to settle the notebook, that is, to turn the cover and the pages into a single piece, and this is achieved by putting weight on it to make it uniform. We can do this with a press or by placing a column of thick books on top of the notebook.
When it is completely dry, we can use it and put the rubber to close it.

If you liked this tutorial from Fábrica de Texturas you can continue learning with them in their course "DIY Binding Techniques" where you will learn different binding techniques besides the accordion, from paper folding to Japanese stitching, making hard and soft covers, creating foldouts, etc. and you will get the most out of working with different materials such as wood, cardboard or fabric.
You can complement this course with "Manual stamping with photopolymer stamps", also from Texture Factory, where you will discover stamping and engraving techniques using domestic tools.
You may be interested in:
- Handmade visual identity, a course by Tatabi Studio.
- Seamless handmade bookbinding, a course by Susana Dominguez Martin, National Award of Artistic Bookbinding (Spain, 2017).
- Handmade paper making, a course by Juan Barbé.
- Screen printing on paper, a course by Barba.


0 comments