Illustrator tutorial: how to create a final artwork step-by-step

Learn the basic steps to export the final artwork of your illustration projects with Silvio Díaz Labrador in three different ways
Creating the final artwork correctly is a vital step in any graphic design or digital illustration project. It's no use spending hours preparing and polishing a piece in Adobe Illustrator, if later its printing or its resulting file loses quality and detracts from our work.
For this reason, graphic designer and art director Silvio Díaz Labrador gives us the necessary keys to generate the final artwork of our projects in three different ways according to our needs. Learn how to do it without sacrificing the quality of your work with the following tutorial:
Create a final artwork in 3 different ways
1. Final artwork for two-color printing
The first step to prepare a final artwork for a two-color print is to click Save as and choose PDF file as the output format.

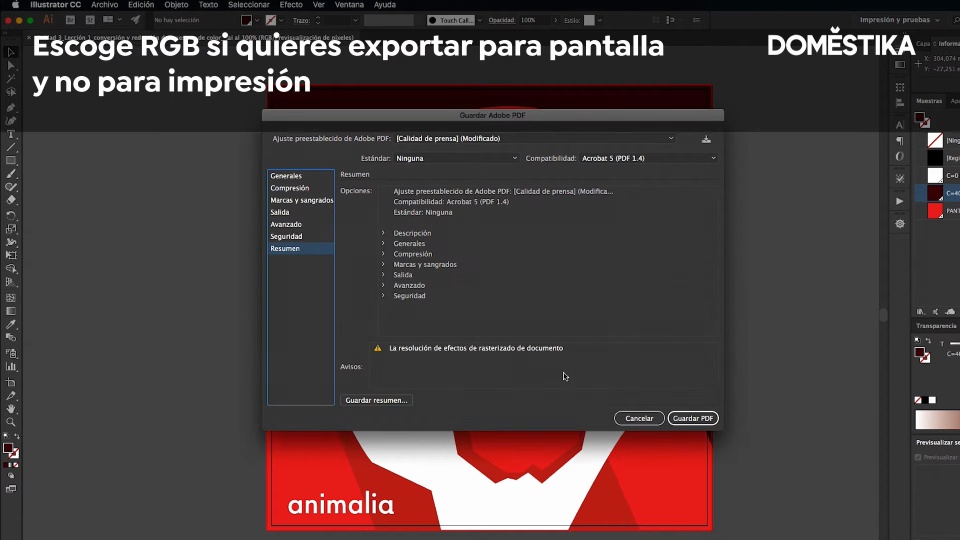
This will open a contextual menu window where Illustrator will allow us to customize and modify the type of file we are going to create. For this type of print, from the drop-down menu in the Adobe PDF Presets field we will choose High Quality Print, and check the Preserve Illustrator editing capabilities box. In this way, the resulting file will be editable, and you will be able to modify it if you need to make adjustments.
Next, we will go to the Marks and Bleeds tab, where we will choose All printer marks as this is usually the most advisable, although it is always useful to discuss this with the printer to make sure. We will also select Use document bleed settings to preserve the file margins.
Once these settings are set, click on Save PDF and generate a PDF for two-color printing output, with spot colors.

2. Final artwork for four-color printing (CMYK)
To prepare a final artwork for four-color printing, i.e. CMYK, we will repeat the previous process but instead of selecting High Quality Print in the drop-down menu of the Adobe PDF Presets field, we will choose the Press Quality option.
All the other options will remain the same as in the case of two-color printing: both the marks and the bleed settings. It should be noted that if what we want is to create a final artwork in PDF for display on screen, what we will do is, in the Output tab, we will drop down the options in Destination and choose RGB instead of CMYK.

3. Final artwork for screens
If, on the other hand, what we want is to create a final artwork for screens, for example to publish it on social networks such as Instagram, the saving process is different. We will click on File and, instead of Save as, we will select Export as always remembering to check the Use artboard option.

If we are exporting an illustration, we will have two format options: PNG, which groups flat colors very well, and JPG, which has a very high compression factor at the expense of some color quality.
As the PNG will be the ideal to preserve the highest possible quality, we will choose it and when exporting, we will make sure to select the Medium Quality. This way, it will look the best possible on cell phones, normal screens and retina screens.

Now you know how to create a final artwork in three different ways; always remember to take into account the support on which your work will be printed, the format required by the printer or the type of digital file if, on the contrary, it is a design for the Internet.
Did you like this tutorial? Remember that you can learn with Silvio Díaz Labrador the keys to design and to create a graphic campaign through illustrations with the online course 'Basics of graphic design for illustrators'.
You might be interested in:
- 'Final art: preparing files for printing', a course by Chack Robles.
- 'Introduction to Adobe Illustrator', a course by Aaron Martinez.
- 'Adobe Illustrator for graphic design', a course by Valeria Dubin.
- 'Adobe Photoshop for illustration', a course by Gemma Román.


0 comments