


Photoshop Tutorial: basic tips for using the clone stamp

Learn the basic options of the Clone Stamp and how to use it in photo retouching with Alain Perdomo
The Clone Stamp is a very useful tool for photo retouching in Photoshop, but it is important to use it correctly and know all the customization options that the software allows us.
To learn how to master it, Alain Perdomo (@alainperdomo), digital artist, explains a series of keys and tips to get the most out of it. You can watch the tutorial here:
1. First steps .
The first step to start taking advantage of the Clone Stamp tool is to use the most appropriate settings for our projects. To select it, click on the tool and consult the options bar that will appear in the menu at the top, just above the canvas. There, we will check that the selected use mode is Normaland that the Opacityand Flowoptions [/i]are set to 100%.
We will also look at the Sample section, which determines from which layer we are going to extract the sample to clone. To avoid confusion in our project, the most useful option will be All.
It is worth remembering that, if we need to, we can change this configuration, but these are the parameters we will use to start experimenting with the tool.

It should be noted that the Clone Stamp is, in essence, also a brush. Therefore, we can customize it as such. With Clone Stamp selected, we can right-click on all the brush configuration options to choose the one that best suits our project.

2. Start experimenting with the samples
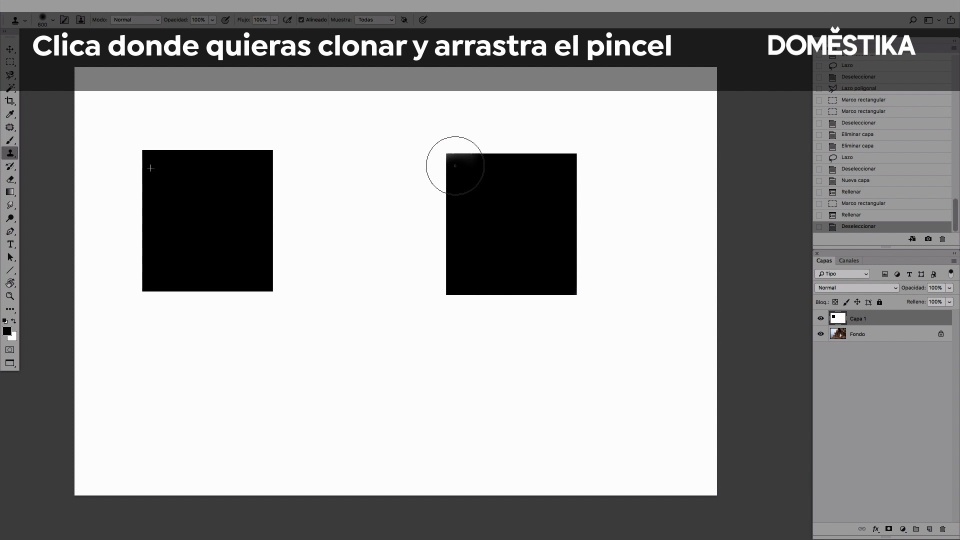
When we start cloning an image, the first thing to do is to determine which point of the image will be our original sample. To choose this sample, we will press the "Alt" key while clicking on the part of the canvas where we will start cloning.
Once this is done, we will move the brush to any other part of the image where we want to place our cloned element. The program itself will offer us a small preview so that we can see exactly which part of the original image we are going to clone.

When we have chosen the point where to move the cloned image, we click on that place to start the process. From that first click, when we drag the brush keeping the left button pressed, the point where the sample comes from will move as well. This will allow us to clone the rest of the image, and not only the exact point of the original sample.

3. Clone with or without Align
Now that we know how to use the Clone Stamp, we will look at an option that we will find in the tool's configuration bar: the Aligned option.
If this option is checked, we will be able to stop while we are cloning, interrupt the process, and resume it at the same point where we have left it without problems. That is, even if we leave the cloning process halfway through, if we go back to it and continue dragging the brush, the result will be an exact copy of the first image.
However, if we have this option unchecked and we stop at some point the cloning process, when we resume it, it will start cloning again by the first point we have previously chosen as shown with the "Alt" key.
If our goal is to create an identical image, it will be best to work with the "Aligned" option checked. However, we can always uncheck it to achieve more experimental or abstract results.

If you liked this tutorial, remember that you can learn with Alain Perdomo the basics of digital photo editing in his online course 'Introduction to photo retouching with Photoshop'..
You may be interested in:
- 'Character creation with Photoshop', a course from a course by Alain Perdomo.
- 'Fashion and beauty photo retouching with Photoshop', a course by Alain Perdomo.


0 comments