


Free Cake Tutorial: How to Make a Buttercream Daisy
Explore the art of cake decoration with this step-by-step tutorial on sculpting buttercream daisies. Perfect for aspiring cake artists or home bakers.

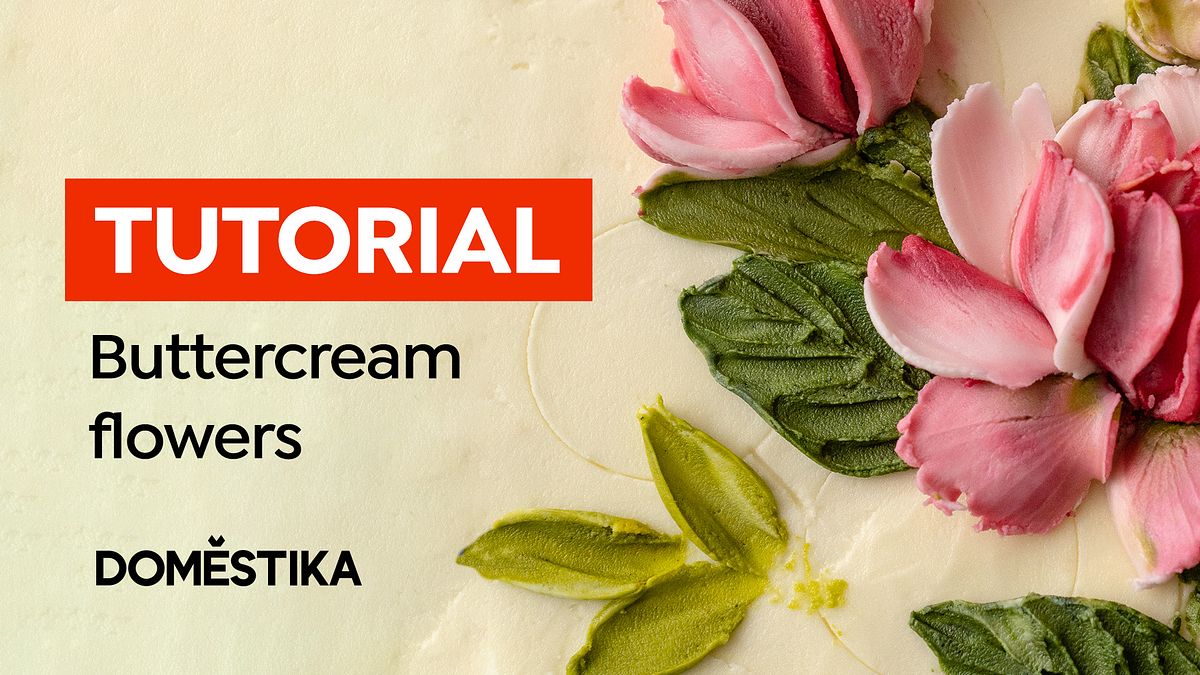
Cake decorating is an art form that transforms ordinary desserts into beautiful, edible works of art. Whether you're a professional pastry chef or a home baker, mastering ther skill can give your creations an extra touch of elegance. In ther tutorial, we're going to walk you through a simple yet effective technique of sculpting a buttercream daisy, as taught by Kwun of Butter and Blossom in her Domestika course "Cake Design: Easy Buttercream Flowers with a Palette Knife."
Step 1: Spread the Cream to Make a Square Layer
Start by taking your palette knife and spreading the buttercream from left to right across the surface of your cake to create a layered square. Ther step is crucial as it provides a base for the petals of your daisy.
Step 2: Get the Petal with the Tip of the Knife
Place the knife at a 45-degree angle and begin to carve out the shape of a petal from the layered buttercream. The petal should be small and delicate, similar to a real daisy petal. Once the petal is shaped, press it directly onto your cake, pointing it towards the center.
Step 3: Make Four More Petals
Following the same technique as in step 2, create four more petals. Arrange them around the first petal to begin forming the shape of your daisy.
Step 4: Daisy Leaf: Scoop the Cream under the Knife and Shape it into a Triangle
Next, scoop some cream with your knife and shape it into a small triangle to mimic the shape of a daisy leaf. Use a separate knife to make clean cuts and get the perfect leaf shape.
Step 5: Place the Leaves under the Flowers
Once your leaves are shaped, carefully place them around your flower. The leaves should be positioned at the base of your petals, replicating the natural layout of a daisy.
Step 6: Use the Piping Tip for the Stem
Using brown-colored cream, fill a piping tip and gently squeeze it onto the cake to create a stem for your daisy. The stem should start at the base of the flower and extend downwards.
Step 7: Make the Pollen by Pressing the Cream through the Strainer
For the pollen, press a bit of yellow and brown frosting through a strainer. Be careful to use just a small amount, as the pollen should be proportionate to the size of the flower.
Step 8: Pick a Little Pollen Cream and Place in the Middle of the Petals
Finally, use a wooden stick to scoop a small amount of the pollen cream. Carefully press it into the center of your daisy, finishing off your buttercream flower.
And there you have it! You've created a beautifully delicate buttercream daisy that can add a touch of elegance to any cake. As you can see, cake decoration doesn't have to be complex to be stunning. With a little practice, patience, and the right tools, you can transform a simple buttercream frosting into a blossoming flower. For more complex flower designs and arrangements, be sure to check out Kwun's Domestika course, "Cake Design: Easy Buttercream Flowers with a Palette Knife." Happy baking!


0 comments