


Essential Tools to Make Polymer Clay Jewelry for Beginners
Design a high-quality polymer clay jewelry collection with these materials for modeling, cutting, baking, and sanding polymer clay
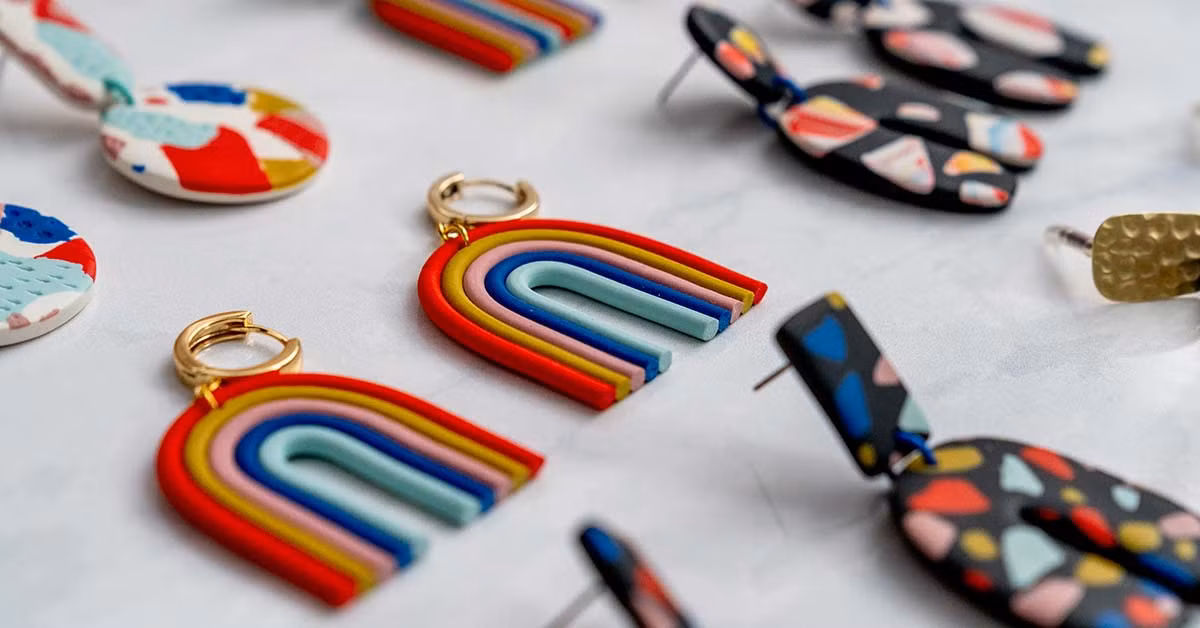
Polymer clay is a great material choice for jewelry, whether you plan to craft fun new accessories for yourself, or sell original designs in an online store.
But with polymer clay’s explosion in popularity, you might wonder which brand of polymer clay to buy, and what exact tools you need to make unique shapes, patterns, and textures. Here, Rachael Skidmore (@madebymaeberry) shares her full list of materials that will take you from beginner to expert.

As the owner and maker at Made by Maeberry for over ten years, Rachael is renowned for her high-quality pieces and fun color palettes. Jewelry-making began as a hobby for her, before she dedicated her time to it and crafted a brand that has seen great success as polymer clay became popular.
What is polymer clay?
Polymer clay, also known as Fimo or plastic clay, is a versatile material which can be easily molded into any shape you can dream of. From handmade polymer clay earrings and necklaces to toys, there are endless possibilities.
Starting out malleable and easy to work with, the clay is then baked in an oven to harden. In her course, Rachael demonstrates how to prepare your clay, mix colors, create intricate patterns and textures, and more. This way, you can make a truly personalized collection that reflects your style.

What tools do I need to make polymer clay jewelry?
If you’re ready to create unique wearable art, let’s begin with everything you need to design and sculpt your clay. This first list focuses on beginner tools (just add some sandpaper for finishing), then we’ll look at more advanced options.
Polymer clay basic tools and materials
1. Your polymer clay. Rachael’s favorite brand is Sculpey, especially their Soufflé and Premo lines. These are the best types of polymer clay for making jewelry.
2. A tile for your work surface. Find something shiny, not matte, as the clay sticks better and won’t pop up and get stuck in the cutters or molds.
3. An acrylic roller. You need to condition your clay with a tool that has a smooth, non-stick surface. Do not use a wooden roller, which may have grooves which leave an imprint on the clay.
4. Cutters and molds to help you create the shapes you want.
5. An X-Acto knife, for detail work and to pop bubbles as you go.
6. A tissue blade to remove clay from the tile.
7. Texture tools. These could include handmade or store-bought stamps, or RoClayCo rollers which add a pattern as you roll.
8. A small hammer to soften the clay so it’s easier to mold.
9. Gloves to avoid leaving fingerprints.
10. Q-tips and 70% alcohol to remove imperfections and clean the clay as you go.

Expert materials to make your process even more professional
These tools are not requirements, but Rachael notes they’ll make your life a lot easier if you’re trying to produce many copies of the same item for a shop.
11. Depth guides to help you achieve an even thickness when rolling by hand.
12. A pasta machine or clay roller. Rachael recommends the Atlas 180 pasta roller. These roll and condition the clay for an even smoother surface.
13. An extruder to create long "noodles" of clay instead of hand-rolling them for decorative details.

How do I create a professional finish for my clay jewelry?
Finally, once you have baked your jewelry collection, you’ll want to polish the items for the ideal finished result, ready for packaging or wearing. As mentioned earlier, if you’re a beginner or hobbyist, you’ll do fine with sandpaper. But for a professional finish, consider the following tools.
14. A Stylo Dremel with different drill bits and sanding bits. This can drill holes for metal hardware, and sand off imperfections.
15. A toothpick to make the hardware hole before you bake, if you don’t want a dremel.
16. Jump Rings to attach hardware. Rachael recommends a 7-8mm size.
17. Pliers to add the pieces of jewelry.
18. Different glues for attaching backings. For a pro finish UV resin is best, or you might use transparent liquid Sculpey and bake it.
19. UV light if you choose to attach backings with UV resin. This speeds up drying time.
20. Silicon brushes for resin and liquid sculpey.
21. A respirator with goggles to protect your eyes and lungs while working with the dremel or resin.

When you want to take your creativity to the next level, you now know every item required for professional-level jewelry making. When you’re just starting out it can be overwhelming to see all the tools and recommendations online, but this list will ensure you are able to make jewelry at a high standard and stretch your creativity to its fullest.
Start sculpting polymer clay designs all of your own
If you want to dive into making your collection with expert guidance, check out Rachael’s full course, Polymer Clay Jewelry Design for Beginners. And to learn even more about this flexible material, discover further resources below.
1. Don't miss these polymer clay artists
2. Watch this free tutorial on how to stick new polymer clay elements onto a finished piece.
3. Get inspired for jewelry, figurines, and more with this list of 11 polymer clay artists.


0 comments