


Draping Tutorial: 4 Mistakes and How to Avoid Them

Improve your dressmaking skills and learn the art of designing three-dimensional pieces in this fashion tutorial for beginners
Draping is the art of positioning and pinning your fabric directly on your mannequin or dress form to create beautiful three-dimensional designs. The technique allows you more creative freedom as a designer to play around and develop the structure of your garment, and there are so many ways you can have fun and experiment with different styles, necklines, and details including frills, trims, and ruffles.
Fashion designer Reagen Evans (@bewde_by_reagen) is passionate about creating pieces with a unique person in mind, and draping is an essential part of his process. At just twenty-two years old, he founded his own couture fashion house, developing modern and exclusive designs with clients including the Duchess of Rutland.
In this tutorial, he takes you through four common draping mistakes—and how to avoid them.
1. Don’t forget your grain lines
Before you get started, you need to know your grain lines. The three main grain lines are:
- Straight grain, or warp, running parallel to the selvedge edge.
- Cross grain, also known as the weft, running at a 90-degree angle to your selvedge edge.
- Bias line running diagonally at a 45-degree angle from your straight grain.
A common mistake is to choose the wrong grain line for draping. For example, if you're looking to create a cowl neck, draping on the bias is the ideal option because it gives more bounce, movement and stretch.
Reagen demonstrates this on his mannequin by first taking his piece of fabric and creating a cowl-neck top using the straight grain. The result is a flatter, wrinkled effect. He then pins the fabric on the bias, which creates a more attractive curve and finish.

2. Don’t fix intricate draping to the mannequin
When you’re creating more intricate designs, you can often have a lot of layers and components so it’s easy to get carried away and add as many pins as possible to the mannequin to hold everything in place. Unfortunately, when you take your pins out to create your patterns, you will need to take your design apart, and things rarely go back together again as planned.
Reagen suggests using pins sparingly to hold the fabric in place on the mannequin, and where you can, pinning onto the fabric itself. You could also create a corset or a base layer between your fabric and mannequin and then drape on top of that.

3. Don’t let the mannequin limit you
It’s tempting to create figure-hugging shapes that fit tightly to the silhouette of your mannequin. But one of the core ideas of draping is to create designs you wouldn’t be able to do through drawing alone.
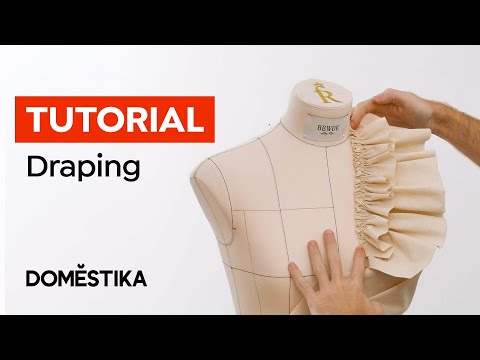
Try to move away from flat, two-dimensional shapes, and have fun creating 3D shapes by manipulating your fabric. Reagen demonstrates this by creating a full, shoulder ruffle that could be developed into a sleeve or imitated on the back as a bow.

4. Avoid repeating techniques with flat fabric
When you’re looking at your fabric flat on the table, it can be difficult to imagine how to add texture and volume. But remember, you can create depth and interest to your designs by adding extra details to your main piece of fabric, such as pleats and ruffles.
Reagen demonstrates this by creating a simple, 3D structure on the mannequin from a piece of flat fabric, and then takes some pre-made pleats which he adds to the fabric as fun and unexpected details that make the design truly unique.

Did you enjoy this tutorial? Then check out Reagen's course "Introduction to Fashion Draping: Create Custom Womenswear" and learn how to design and construct unique items of clothing from start to finish using the draping method.
Learn more about the world of fashion design
1. Explore all of Domestika's online fashion courses—and take a look at these ten online professional fashion design courses for beginners
2. Learn how to achieve perfectly finished seams without an overlock in this tutorial.
3. Get to grips with basic fashion terminology with this guide to patterns, silhouettes, and volumes.


0 comments