


3 India Ink Exercises for Beginners

Learn how to illustrate with India ink using a calligraphy pen and paintbrush in these exercises shared by Flor Kaneshiro
A medium that's loved by illustrators, India ink is perfect for creating the many shades of black and can represent a range of textures and materials in great detail. Unlike watercolor, for example, using India ink you can achieve powerful levels of pigmentation as soon as the bristles or nib touch the paper. As such, it’s also important to learn and practice techniques with a range of tools to achieve the depth and saturation you need.
Ready to get started? Here, illustrator Flor Kaneshiro (@florkaneshiro) shares three practical exercises to help you delve into the world of India ink. Watch the video below!

Materials you'll need
- Paper
- India ink
- A paintbrush
- A calligraphy pen
1. Line exercises with a paintbrush
Using a paintbrush is a great way to create expressive lines. By applying even pressure, you'll achieve uniform strokes; or play around with the degree of pressure you apply to add interesting effects to your lines.

Increase the speed of your brushstroke to draw finer lines (both even and varied). You can also try a range of exercises to switch around the section of the brush applied to the paper—from the tip to the side—to learn the kinds of strokes you can achieve using a range of positions.

2. Line exercises with a calligraphy pen
The first thing to know when using a calligraphy pen is that you always need to keep the flat section of the nib facing upwards.

Then, when your pen grip feels comfortable, Flor recommends repeating the exercises you just did with your paintbrush—this time with your calligraphy pen. As with the brush, these easy exercises will allow you to discover and familiarize yourself with the results this tool offers.

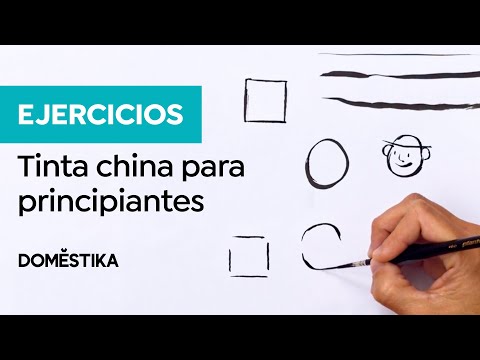
3. Broken and unbroken line exercises
Next, try creating a range of shapes using both your calligraphy pen and paintbrush, practicing broken and unbroken lines to see the different effects.
Unbroken lines organize the space, clearly defining figures; whereas broken lines don’t reveal the entire figure instead drawing the focus to specific areas and allowing the eye to complete the image.
By experimenting with both the pen and the brush, you can see which tool you feel more comfortable using—Flor, for example, finds a pen works better for this technique because it gives her more control over the lines.

If you want to learn how to create your own illustrations and fabulous scenes using traditional Japanese ink and watercolor techniques, don’t miss Flor Kaneshiro’s online illustrated ink and watercolor course in which you learn how to create your own imaginary worlds.
You may also like:
- 10 Free Illustration Tutorials for Learning New Techniques
- 5 Online Courses for Learning How to Illustrate with India Ink
- History of Calligraphy: From Sacred Texts to Internet Memes
- Dip Pen and Ink Illustration: Capturing The Natural World, course by Philip Harris


1 comment
Very informative /