


Lettering Tutorial: How to Make Letters with a Calligraphy Brush Pen

Cyla Costa gives you practical, professional tips so you can create lettering with a calligraphy brush pen
Brush pens allow you to create light, organic calligraphy. And although this technique requires a lot of practice, it’s an excellent way to start playing around.
Brush pens are known as fudepen in East Asia. They’re designed to imitate a traditional ink brush, which allows you to create more cleanly. They also work well with modern paper, whereas traditional ink only adheres nicely to rice paper.
These markers are usually manufactured by Japanese firms and arrived on the market in 1972. Now, a wide range of artists use them to achieve a wide range of techniques.

Lettering artist, designer and illustrator Cyla Costa (@cylacosta) is a calligraphy and lettering expert whose clients include major names like Google, Coca-Cola, Nestlé and Penguin Random House. Her work combines manual and digital techniques to bring lettering and custom designs to life.
In this tutorial, Cyla teaches you how to create letters using calligraphy brush pens and then transform them into lettering designs.
Don’t miss her advice!
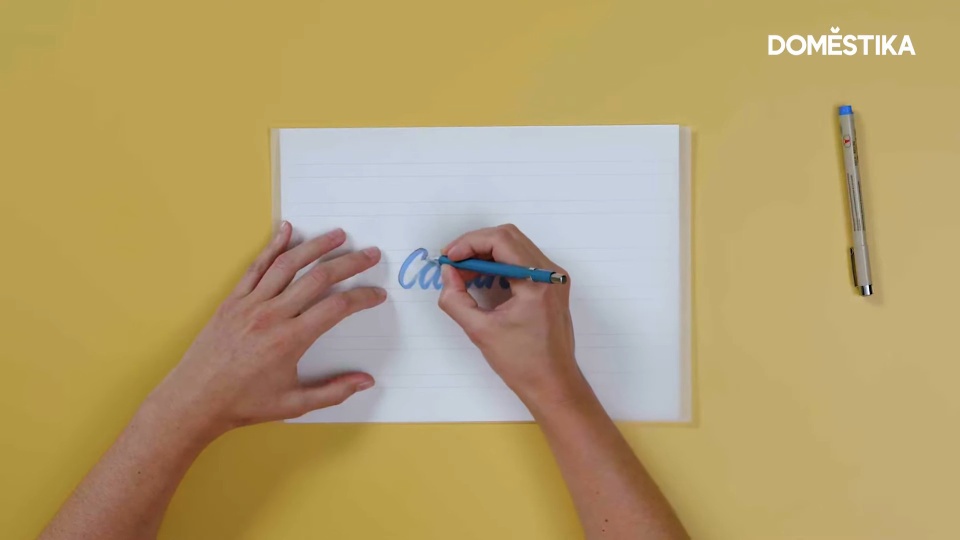
1. Always use a thick down stroke and a fine upstroke
The most important rule of brush pen calligraphy is to always go down with the thicker stroke and up with a finer line.
Consistently following this rule will help you achieve more harmonious, organic results.

2. Use tracing paper to create your lettering
Use tracing paper to refine and adjust your lettering and redefine the outlines of each letter.
Now’s the time to change elements of your design and improve the spacing and curves to give it your personal touch.

Shade your letters and move the paper to adjust the spacing.

Completing this process will give you your first sketch!
Love this tutorial? Learn how to discover your own style and create expressive lettering by combining digital and manual techniques in Cyla Costa’s online course: Introduction to Custom Lettering.
You may also like:
- 5 Free Lettering Tutorials for Perfectionists
- Bullet Journal Tutorial: How to Use Basic Symbols
- Introduction to Italic Calligraphy, a course by Belén La Rivera


0 commentaire