


Accessibility Statement
    Specialization

    Specialization in 3D Textured Tapestry and Weaving Techniques

    Specialization in 3D Textured Tapestry and Weaving Techniques

    What will you learn in this specialization?
    A total of 7 modules and 100 lessons
    A total of 18h 27m of vídeo lessons
    Taught by 6 selected expert teachers

    Introduction1

    Introduction

    Discover how weaving merges tradition with innovation. We'll explore frame loom basics, influential textile artists, and how material choices—from yarn to wire—shape expressive tapestries. You’ll gain skills and inspiration to craft with both history and heart.

    2m

    Influences | Lucy Rowan2

    Influences | Lucy Rowan

    In this lesson, I want to talk to you about some wonderful weavers and makers worldwide that have influenced my practice. I mainly find inspiration from Instagram or Pinterest and have come across some great weavers. Other techniques are a great inspiration too. I especially love pottery and embroidery as well for their texture and tactile elements.

    8m

    Influences | Cassandra Sabo2

    Influences | Cassandra Sabo

    Here, I will share some of the inspirations that ignited my love of weaving. You will learn the influences that helped to develop my weaving skills, informed my choice of weaving materials, and inspired my design aesthetic.

    5m

    Influences | Rachel Snack2

    Influences | Rachel Snack

    In this lesson you will learn about the weavers and artists who inspire me, and why their work is so important.

    2m

    Infuences | Jen Duffin - Nova Mercury2

    Infuences | Jen Duffin - Nova Mercury

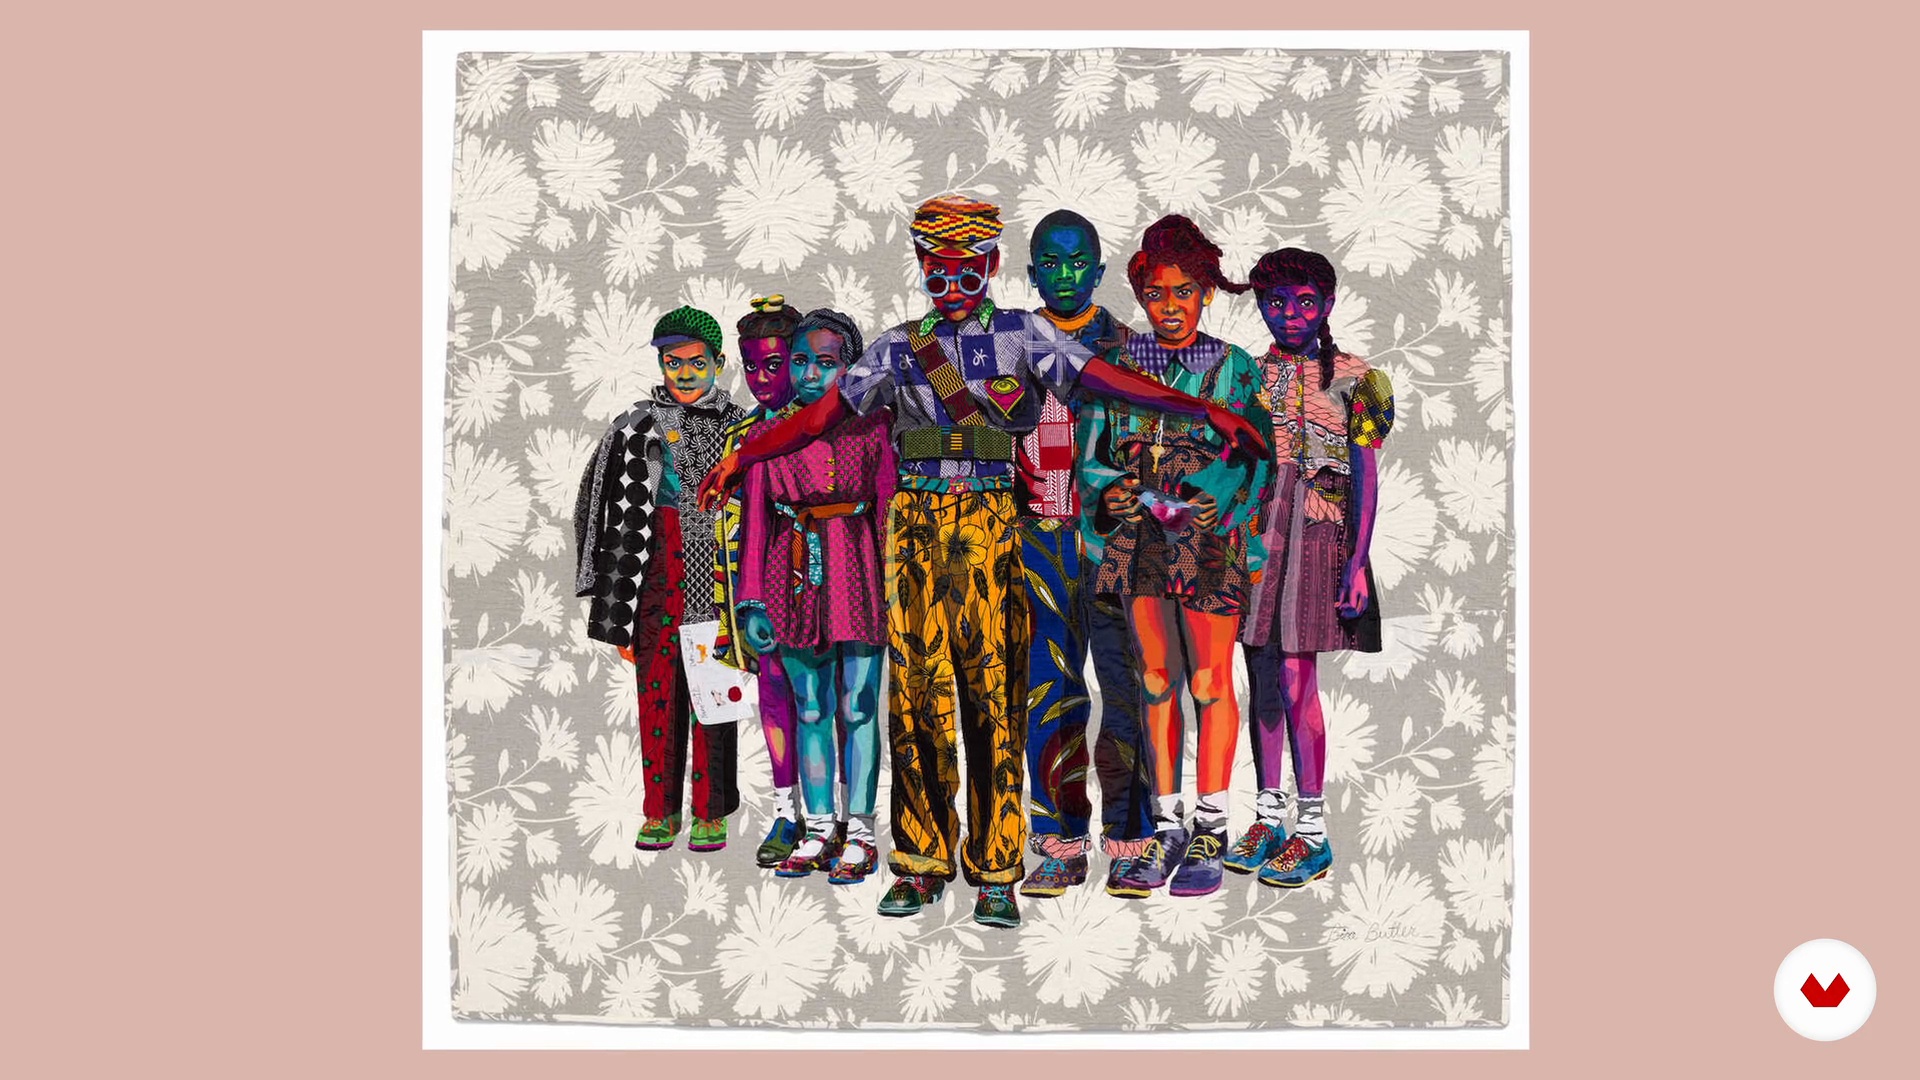
    In this lesson, I will tell you more about my creative influences and where I look for inspiration, from colour to incredible fibre artists like Bisa Butler and Sheila Hicks.

    3m

    Influences | Allyson Rousseau2

    Influences | Allyson Rousseau

    In this lesson, you will learn about the people that made me want to learn how to weave and who inspired my direction for colour and style.

    10m

    Influences | Marion Weymes2

    Influences | Marion Weymes

    In this lesson, I will introduce you to the art of tapestry weaving and show you some of the different ways you can use yarn to create unique woven art.

    9m

    Planning the Tapestry4

    Planning the Tapestry

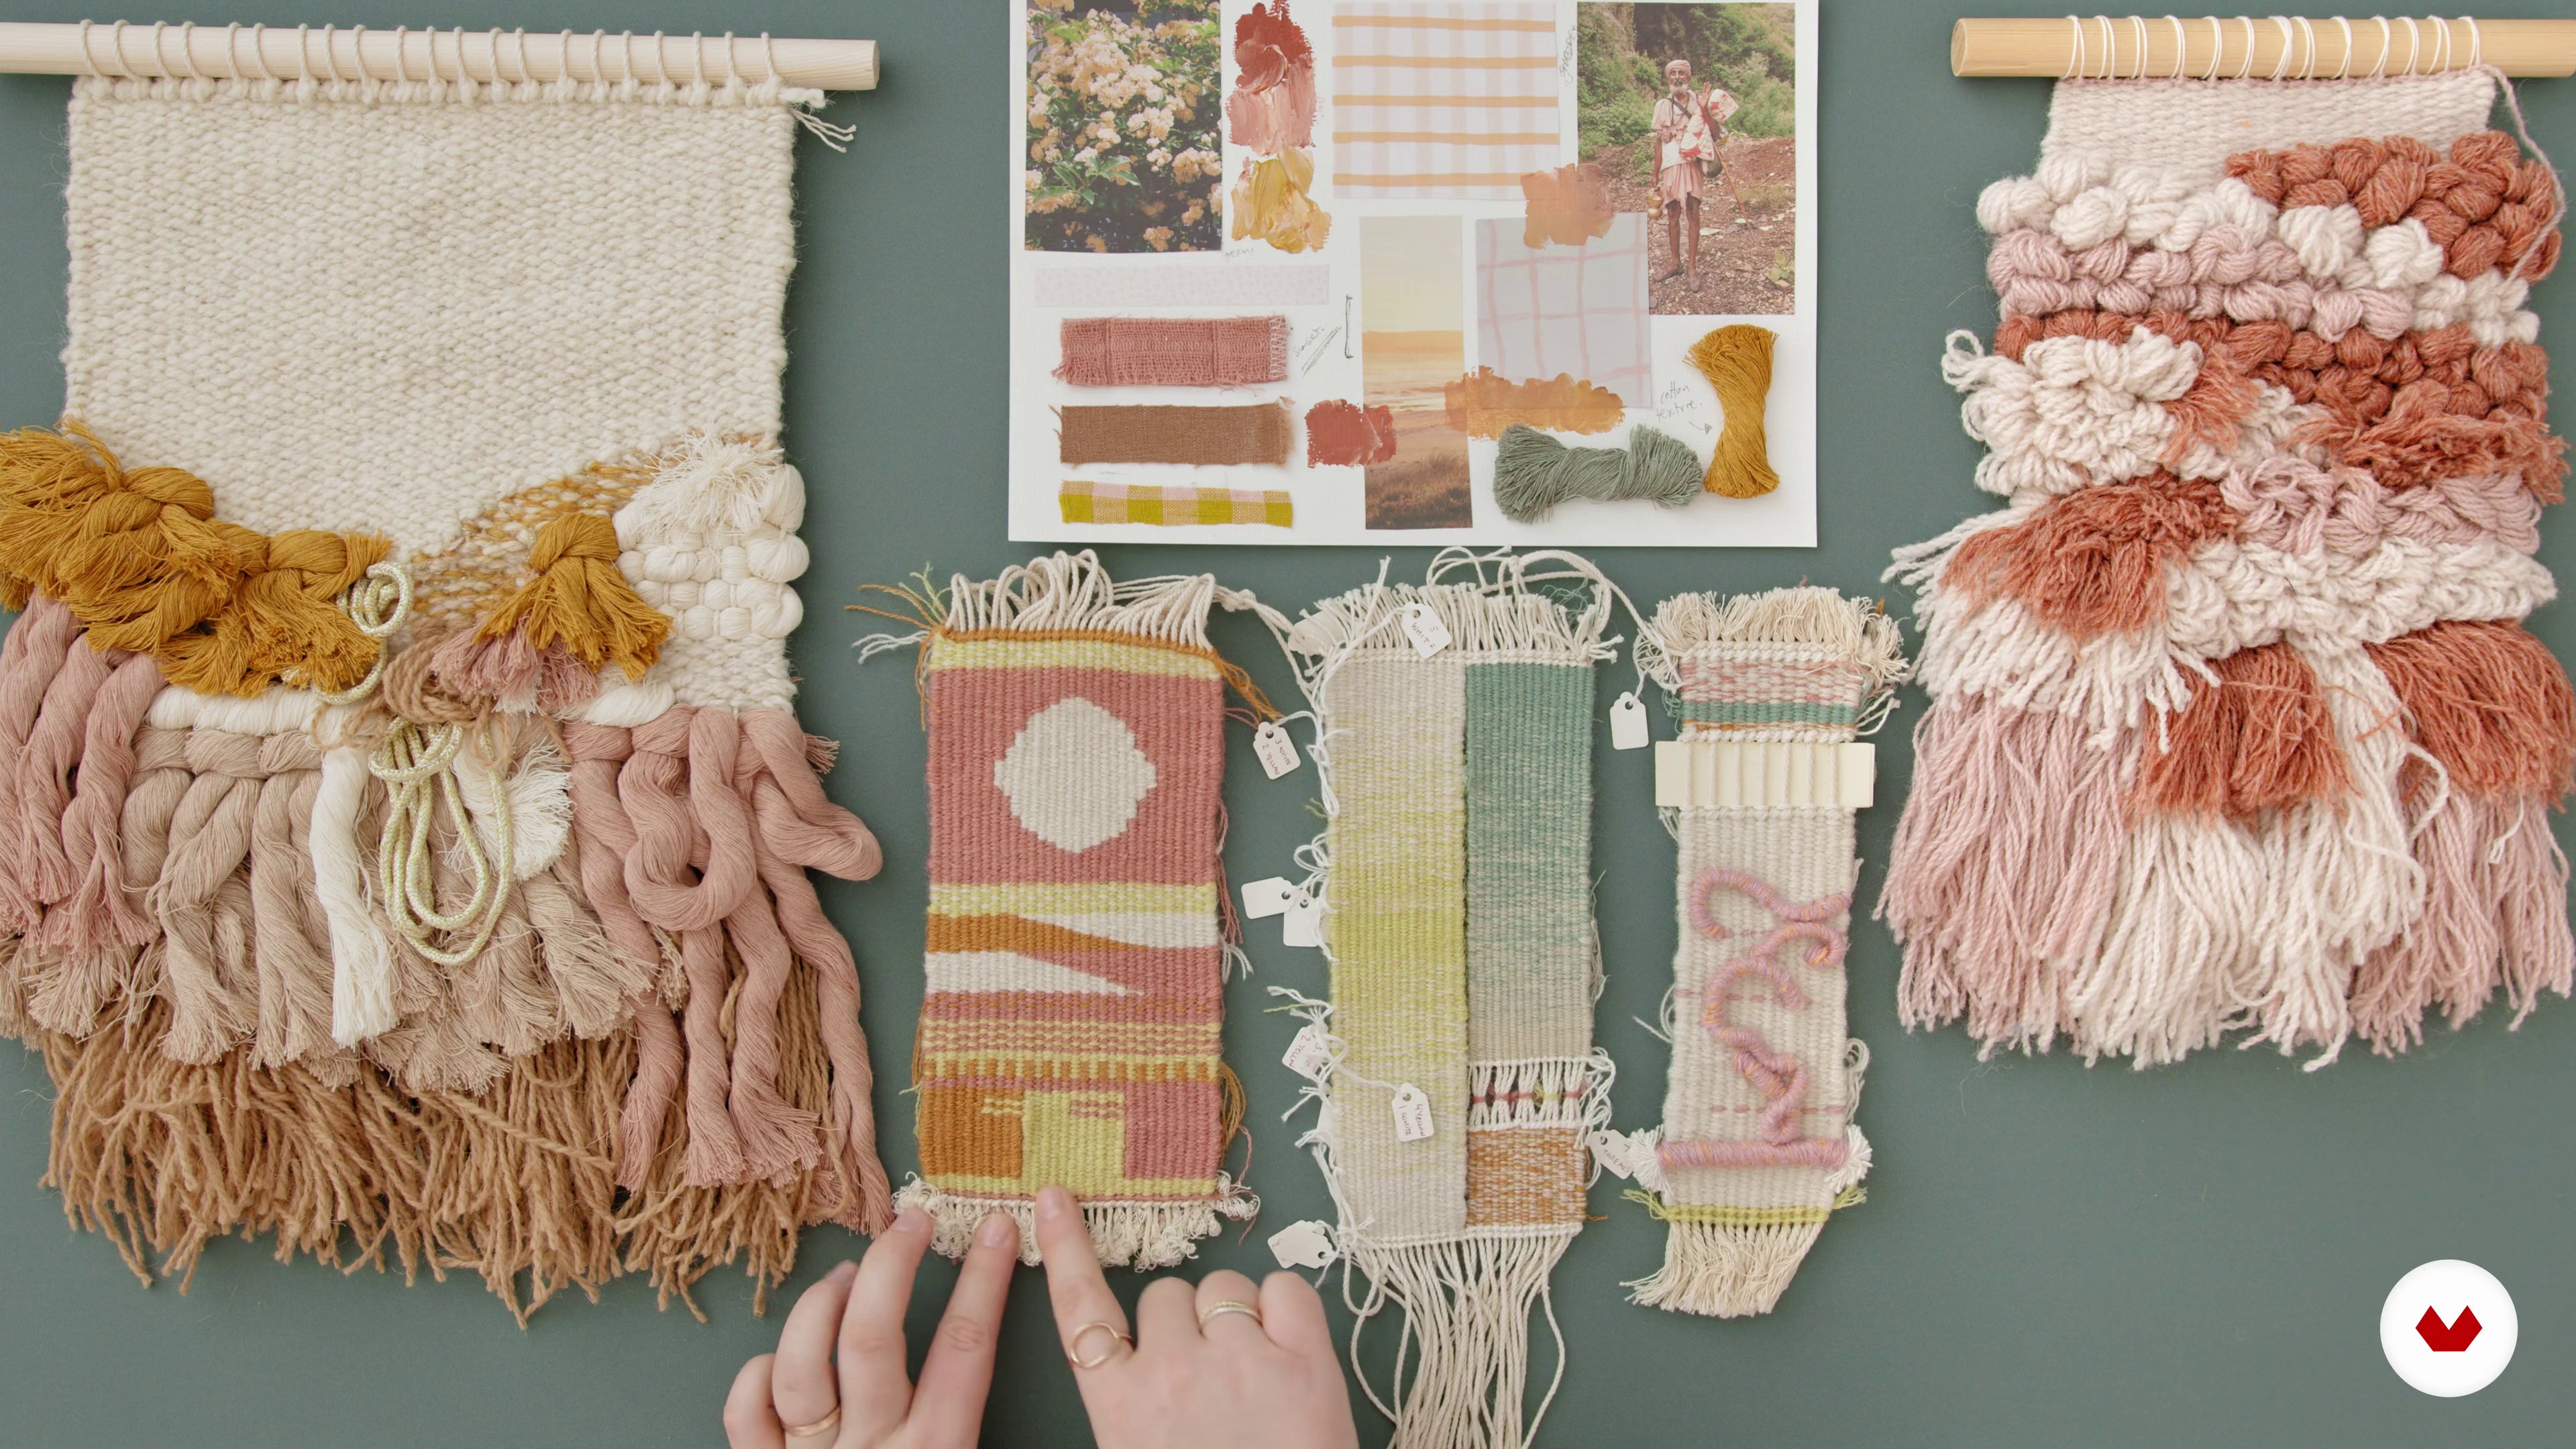
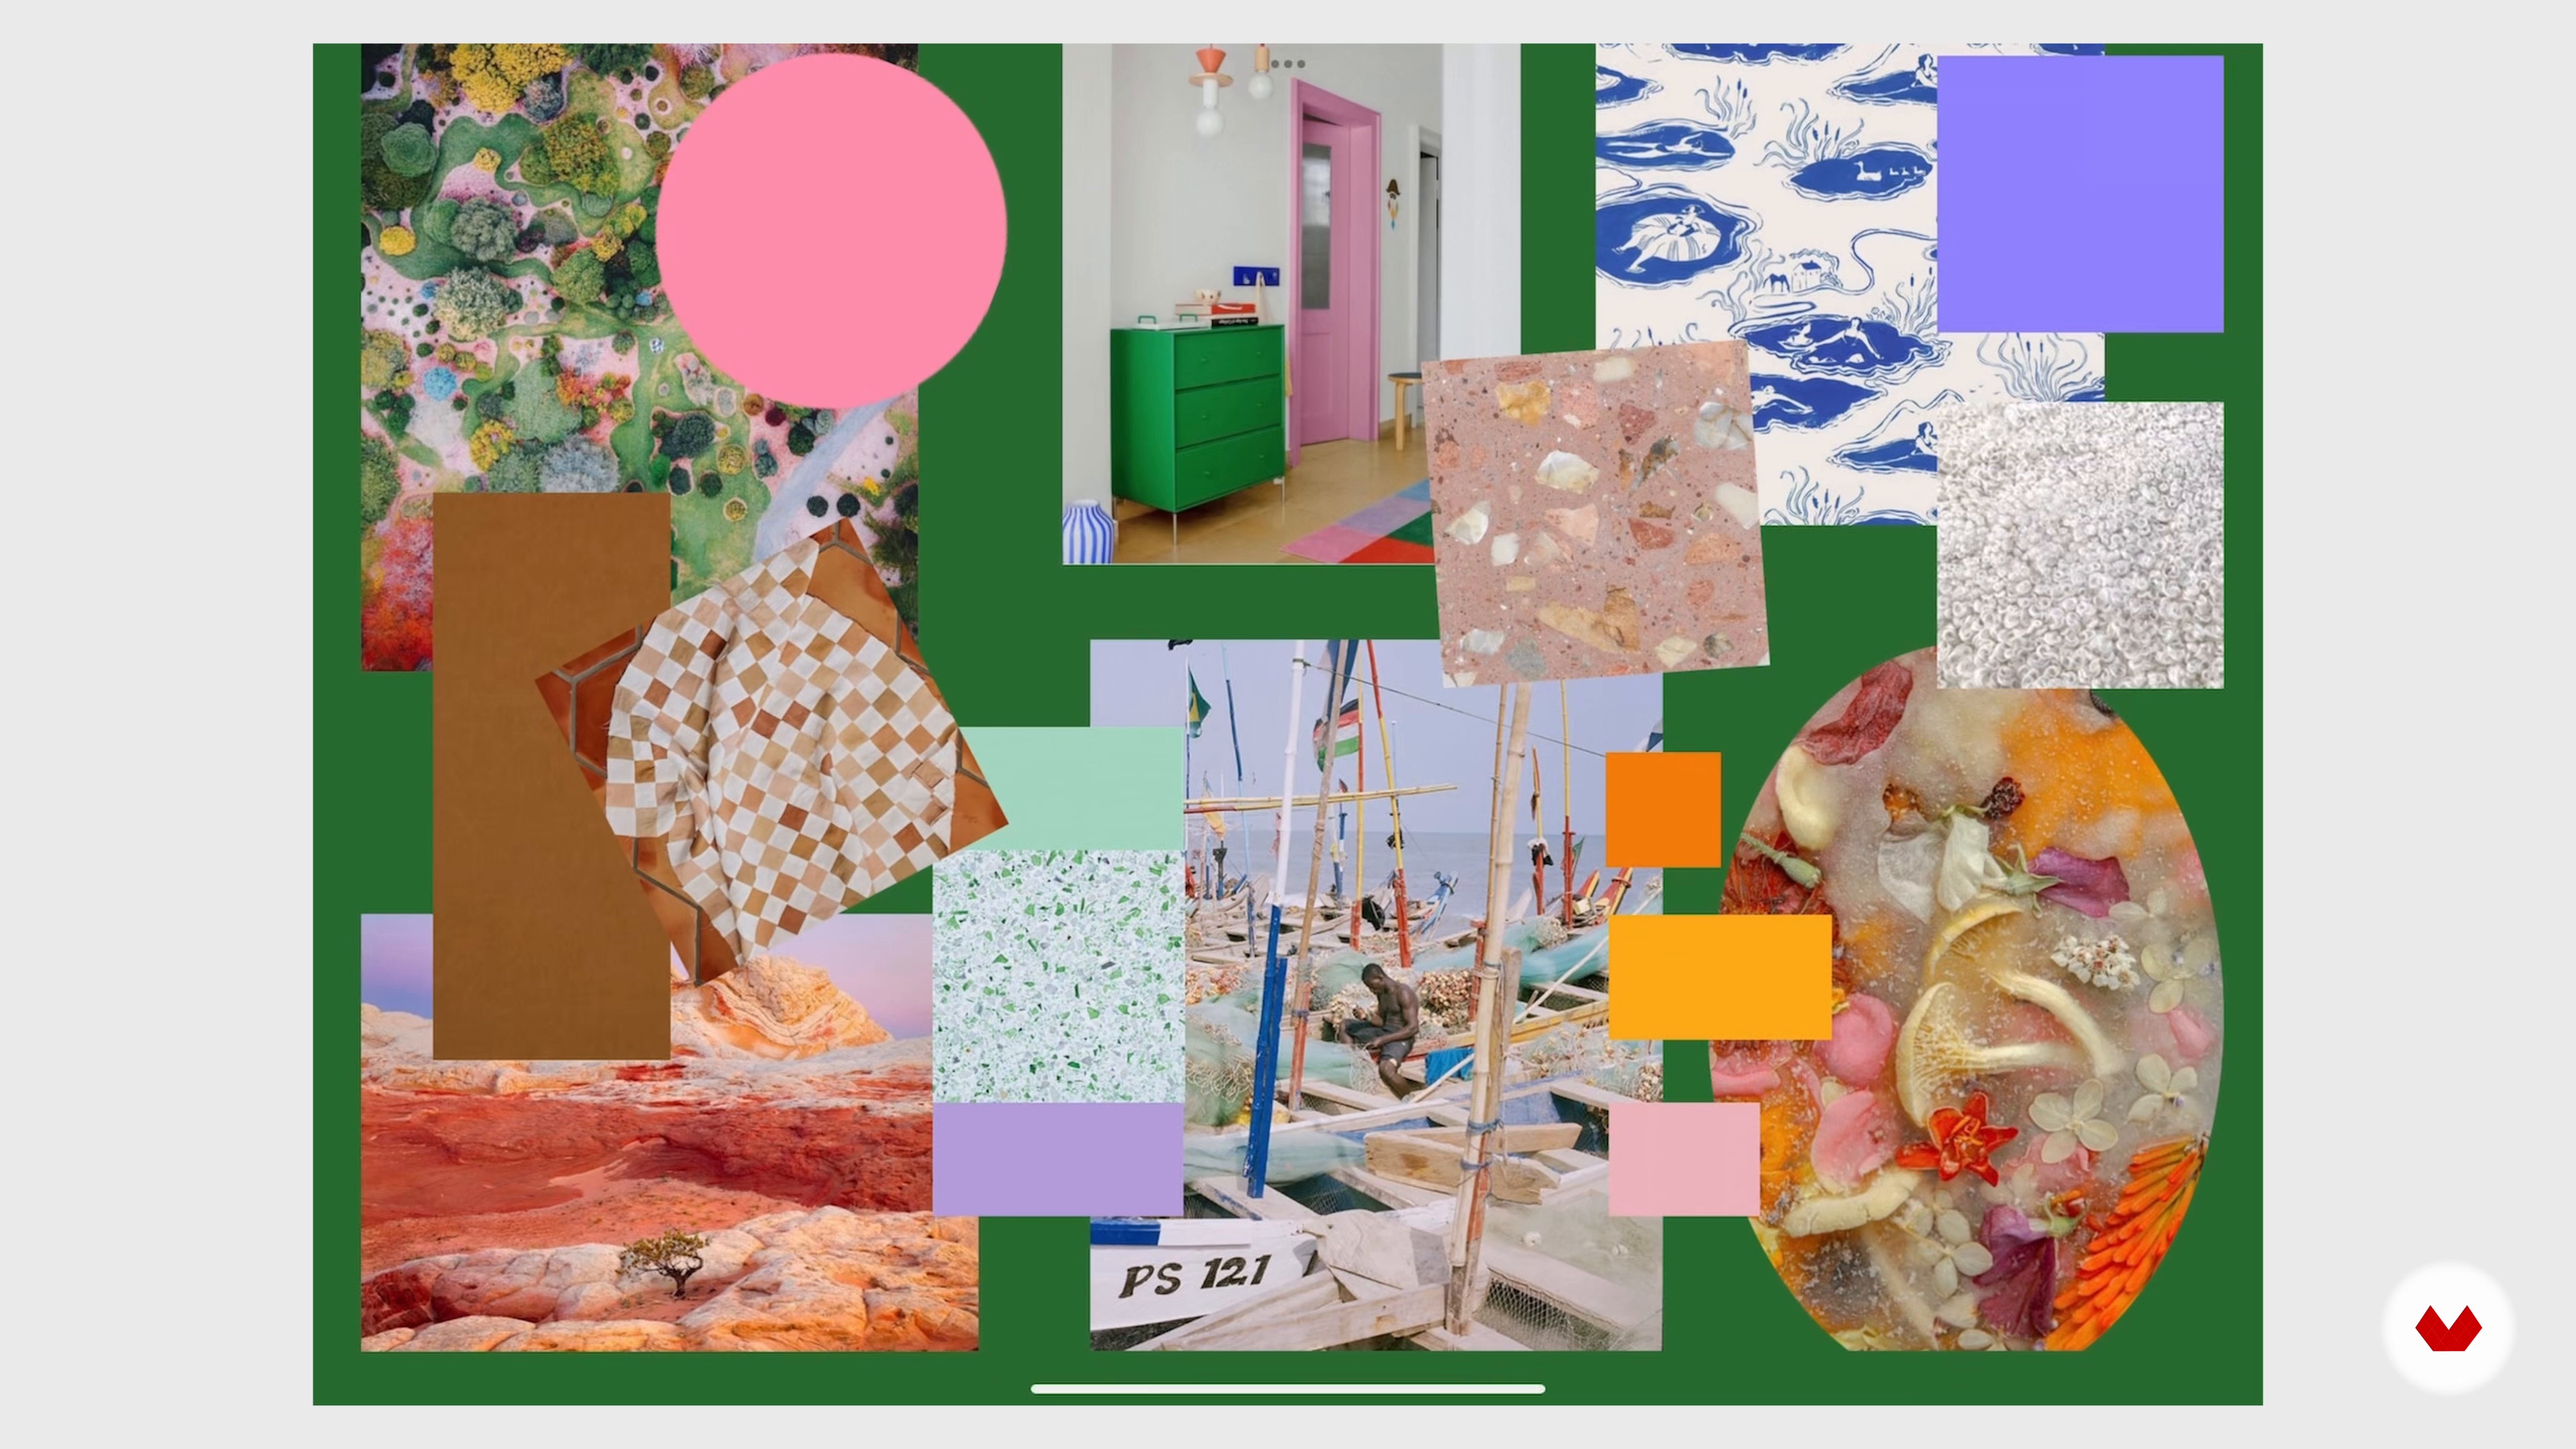
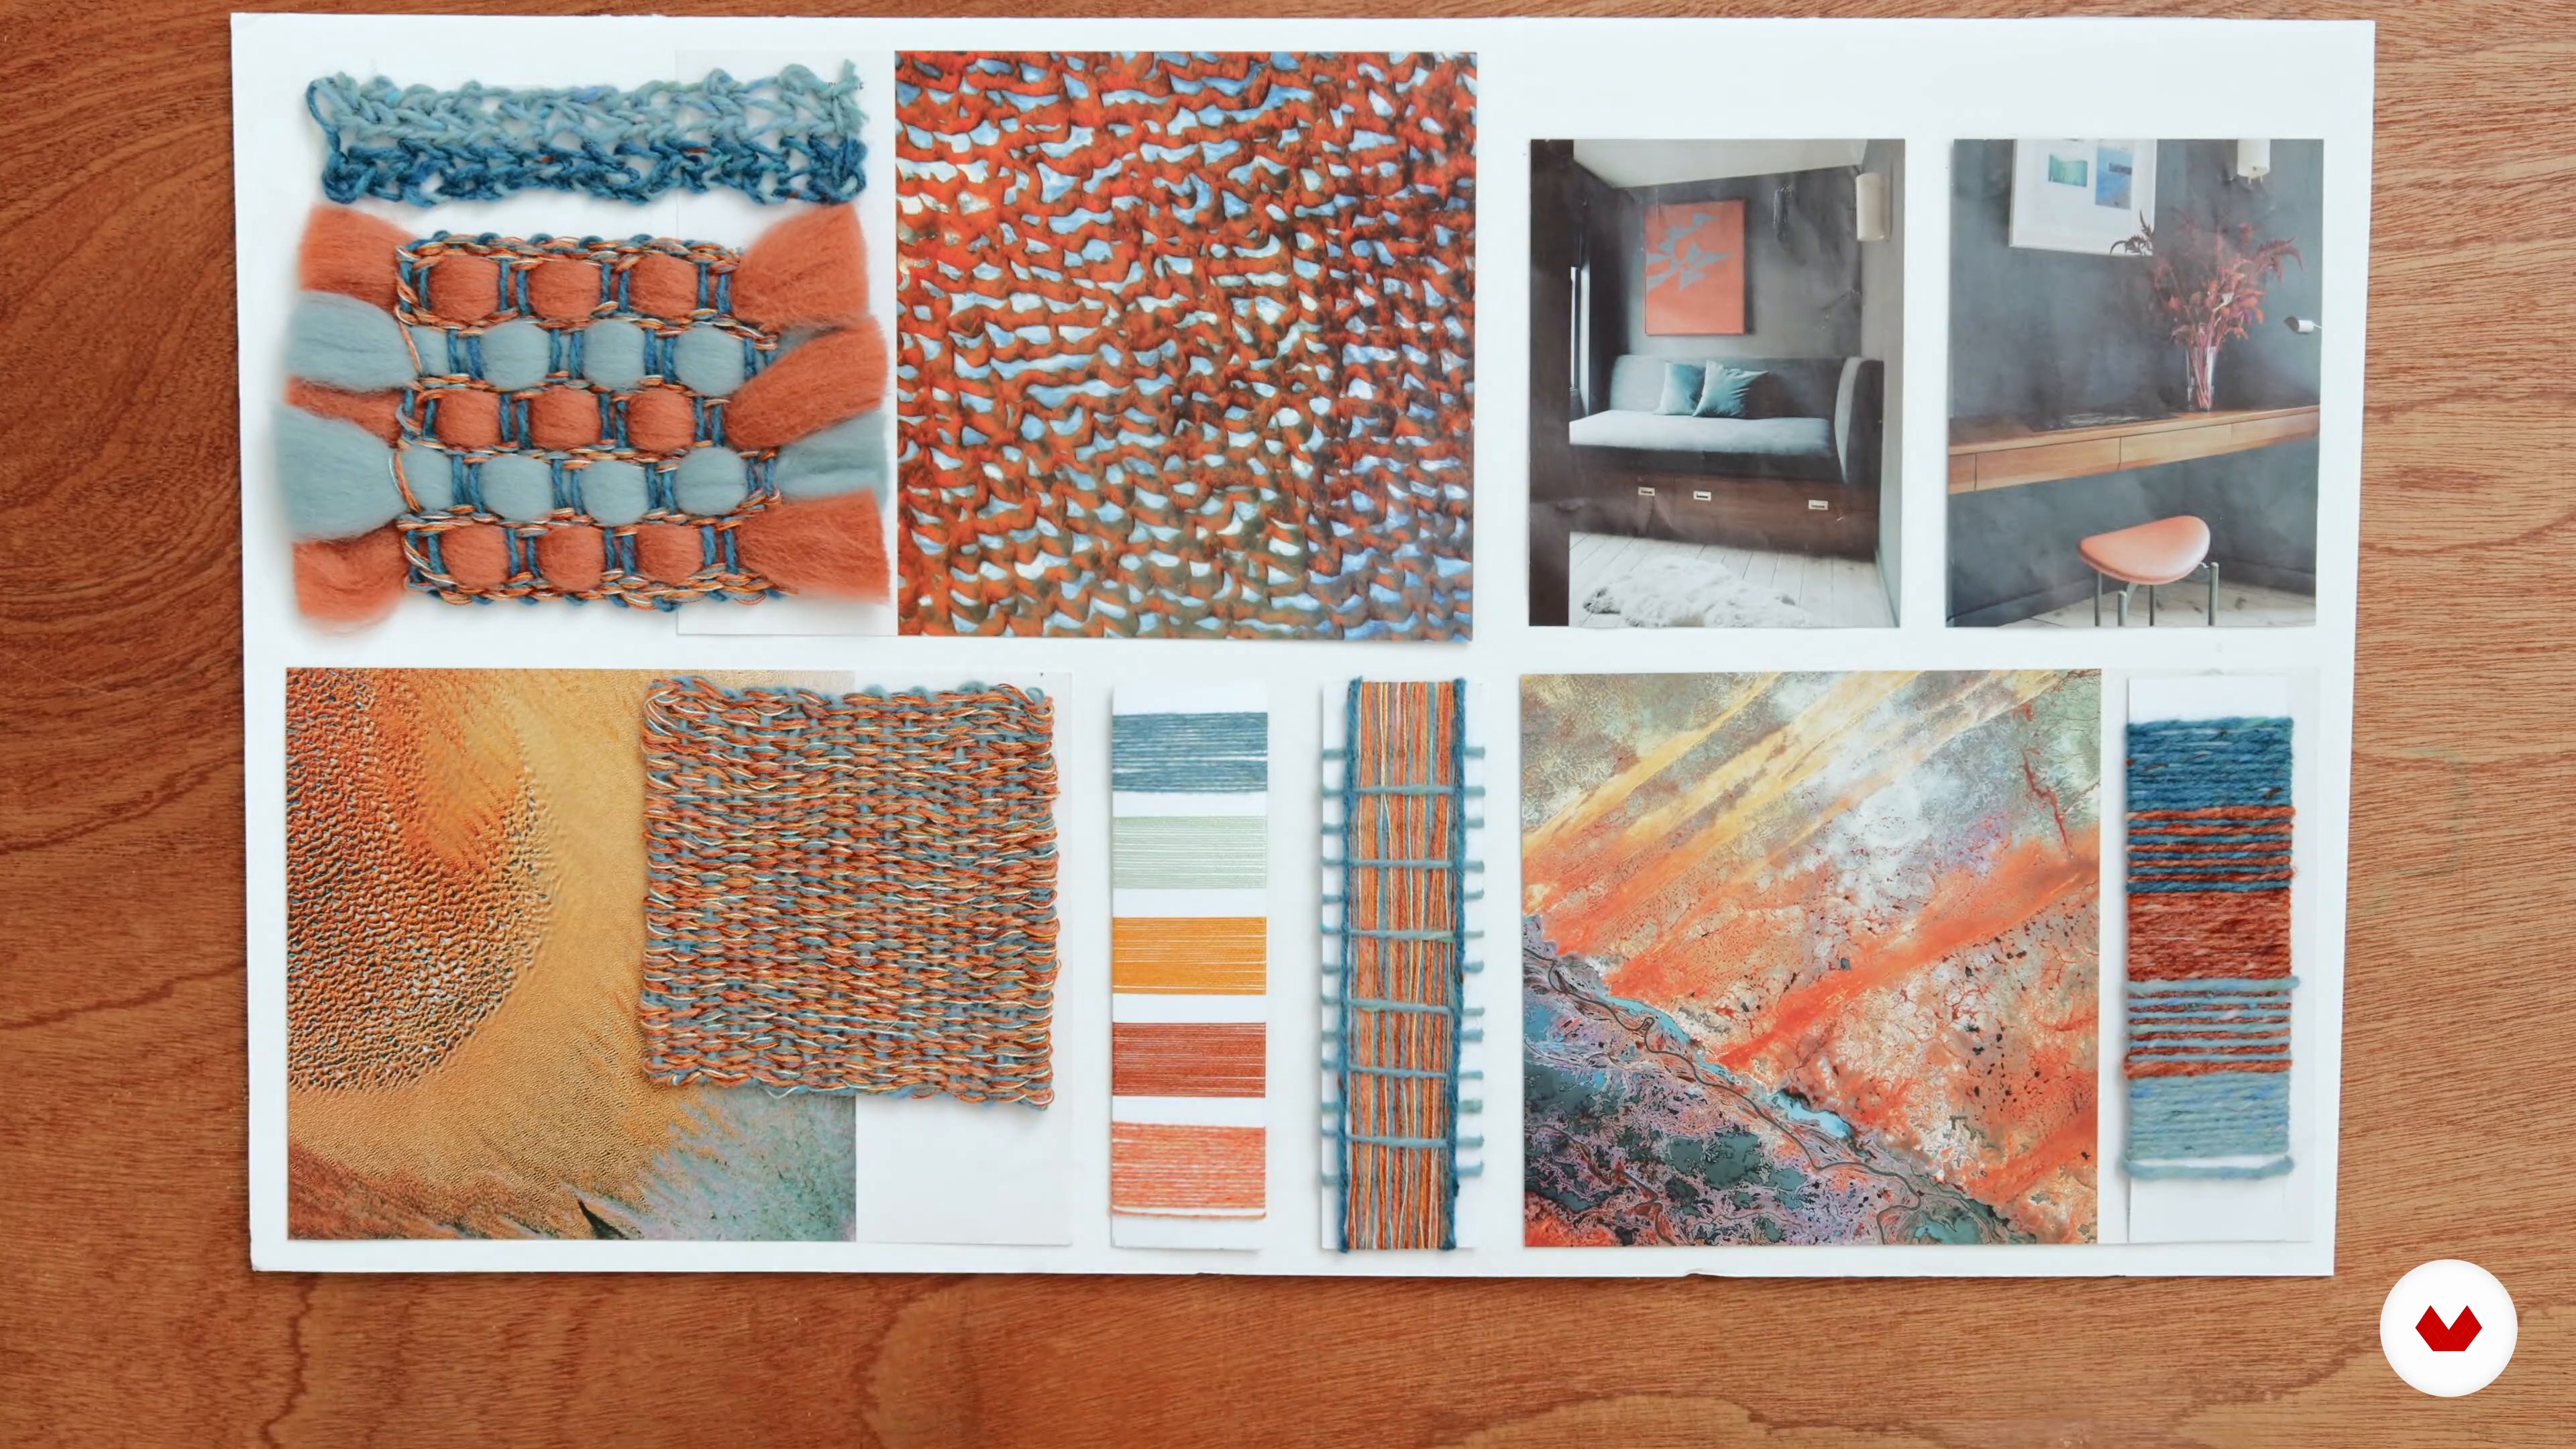
    This is one of my favourite parts of creating a weave, I will show you how to create a mood board so you can design your wall hanging. We will also look at the different weaving techniques and their terminology.

    11m

    Sketching Out Your Design5

    Sketching Out Your Design

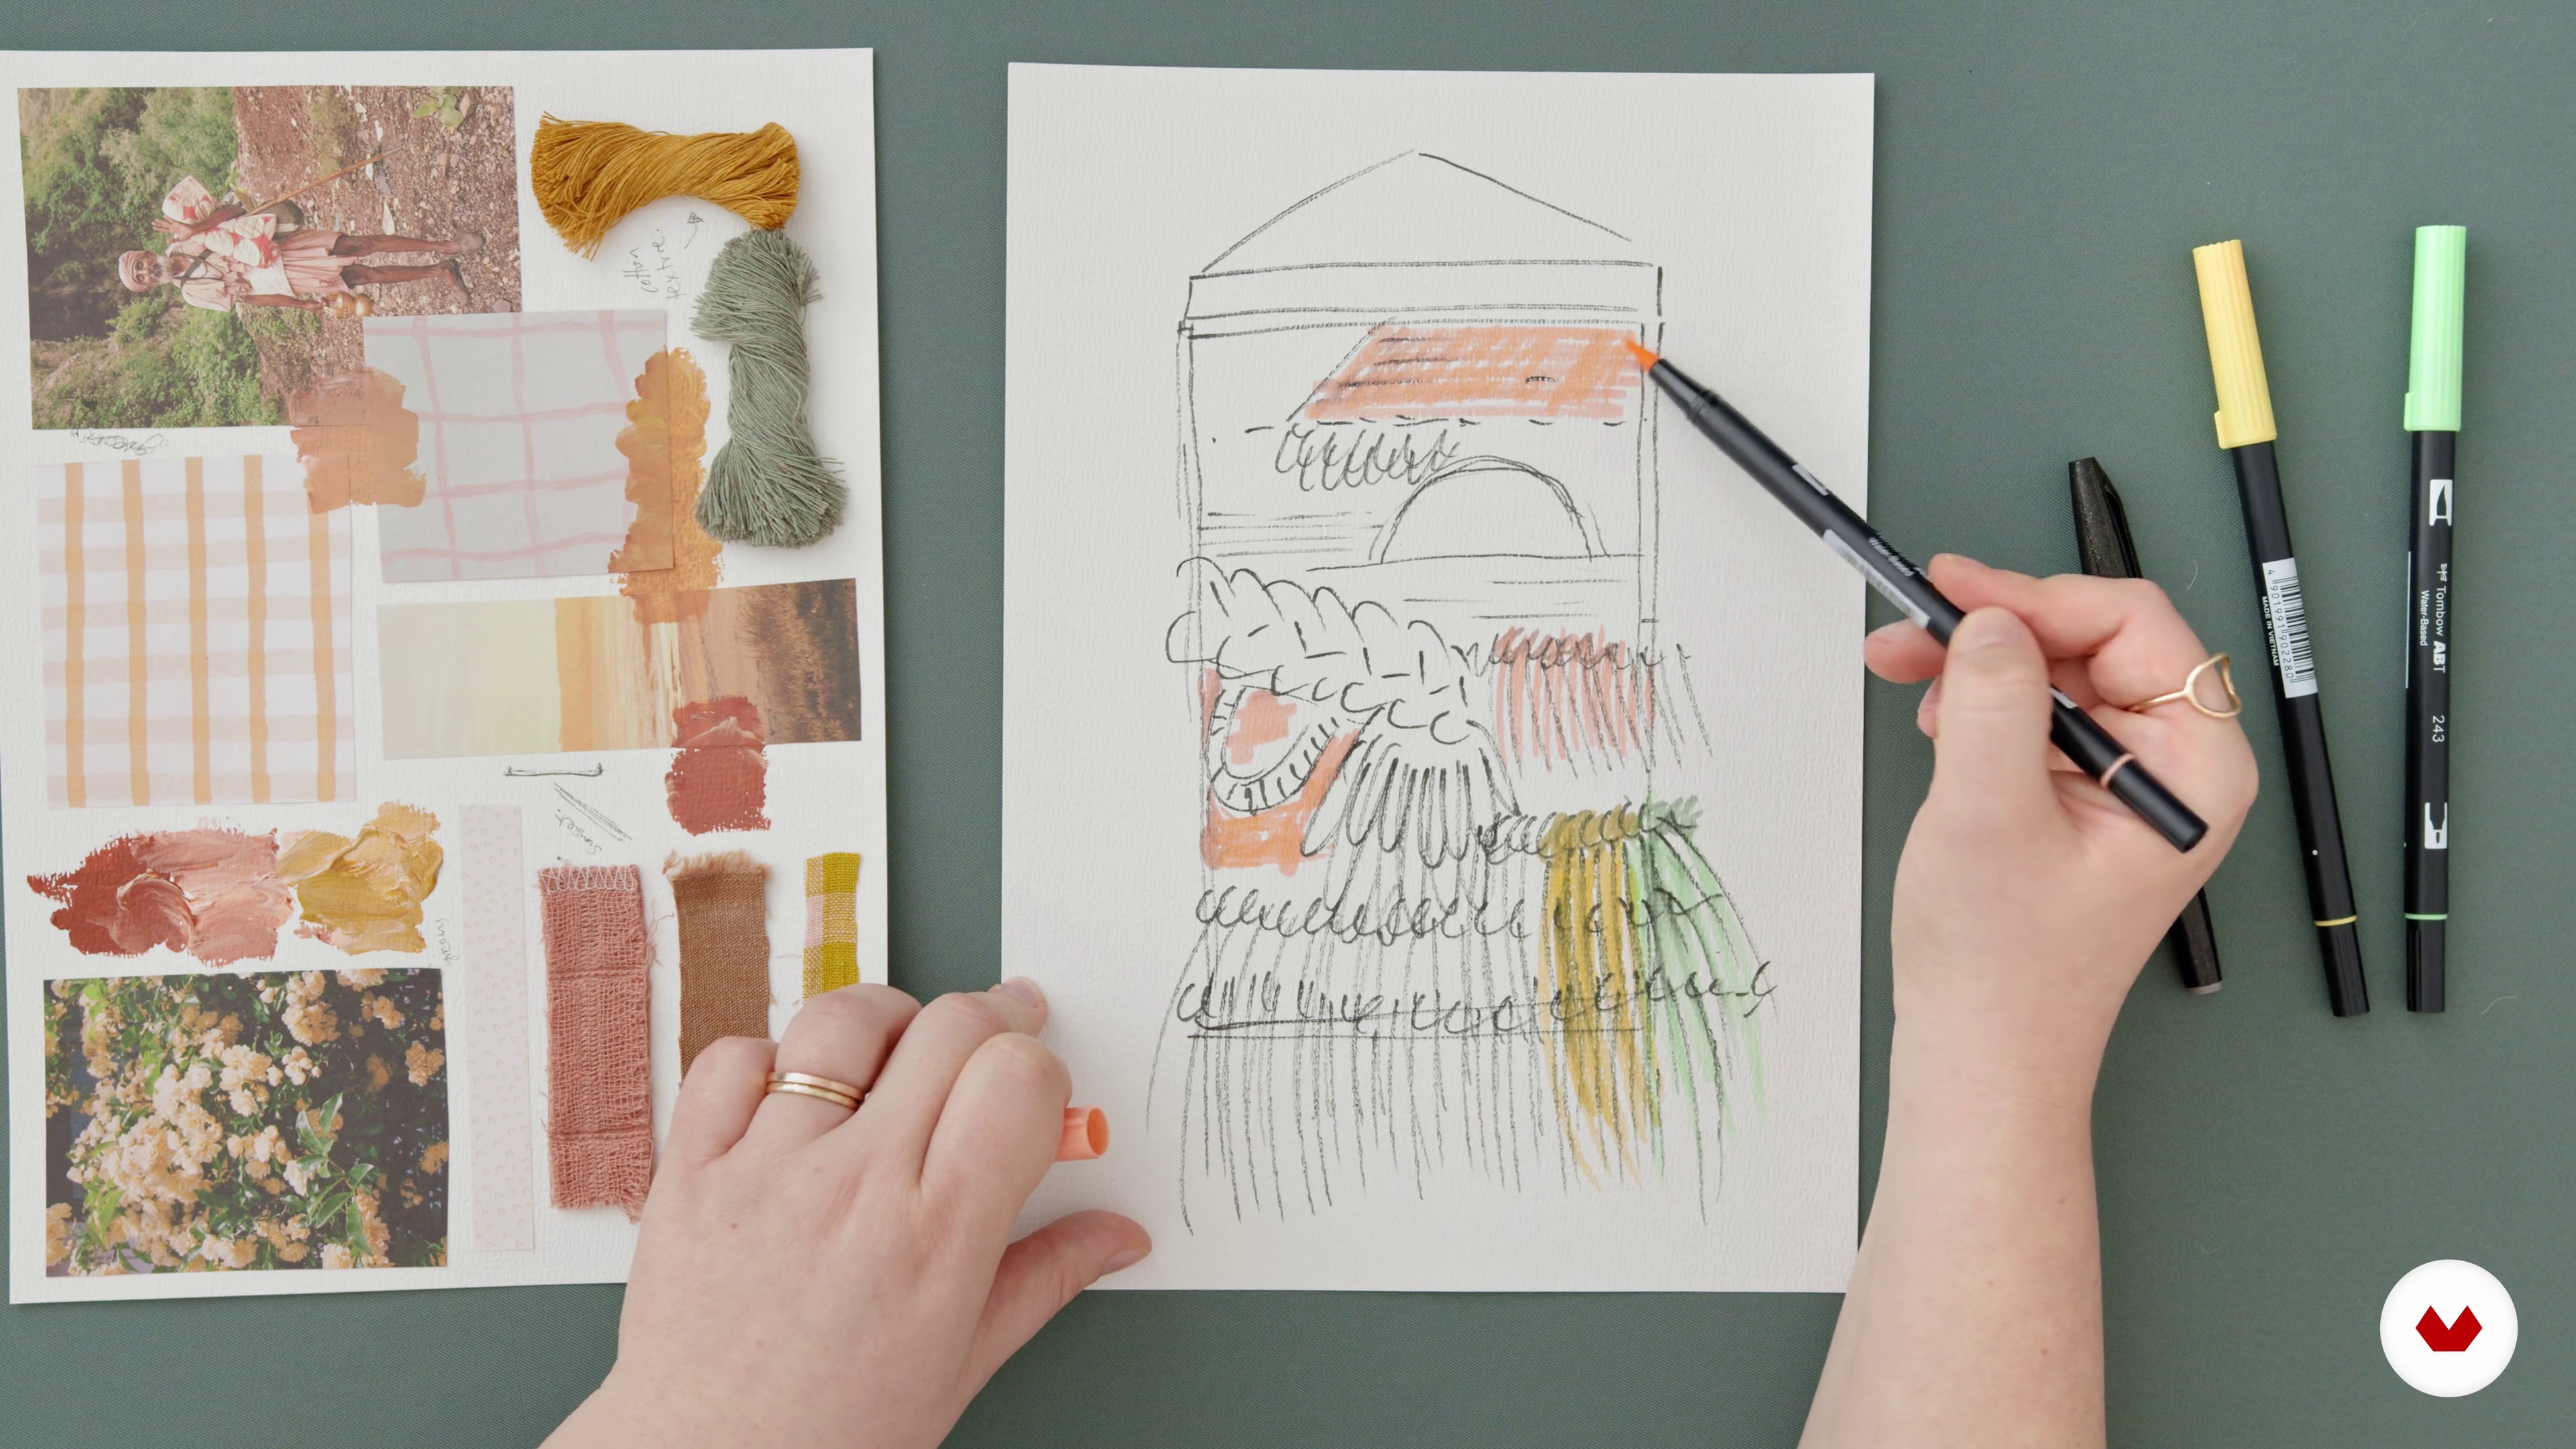
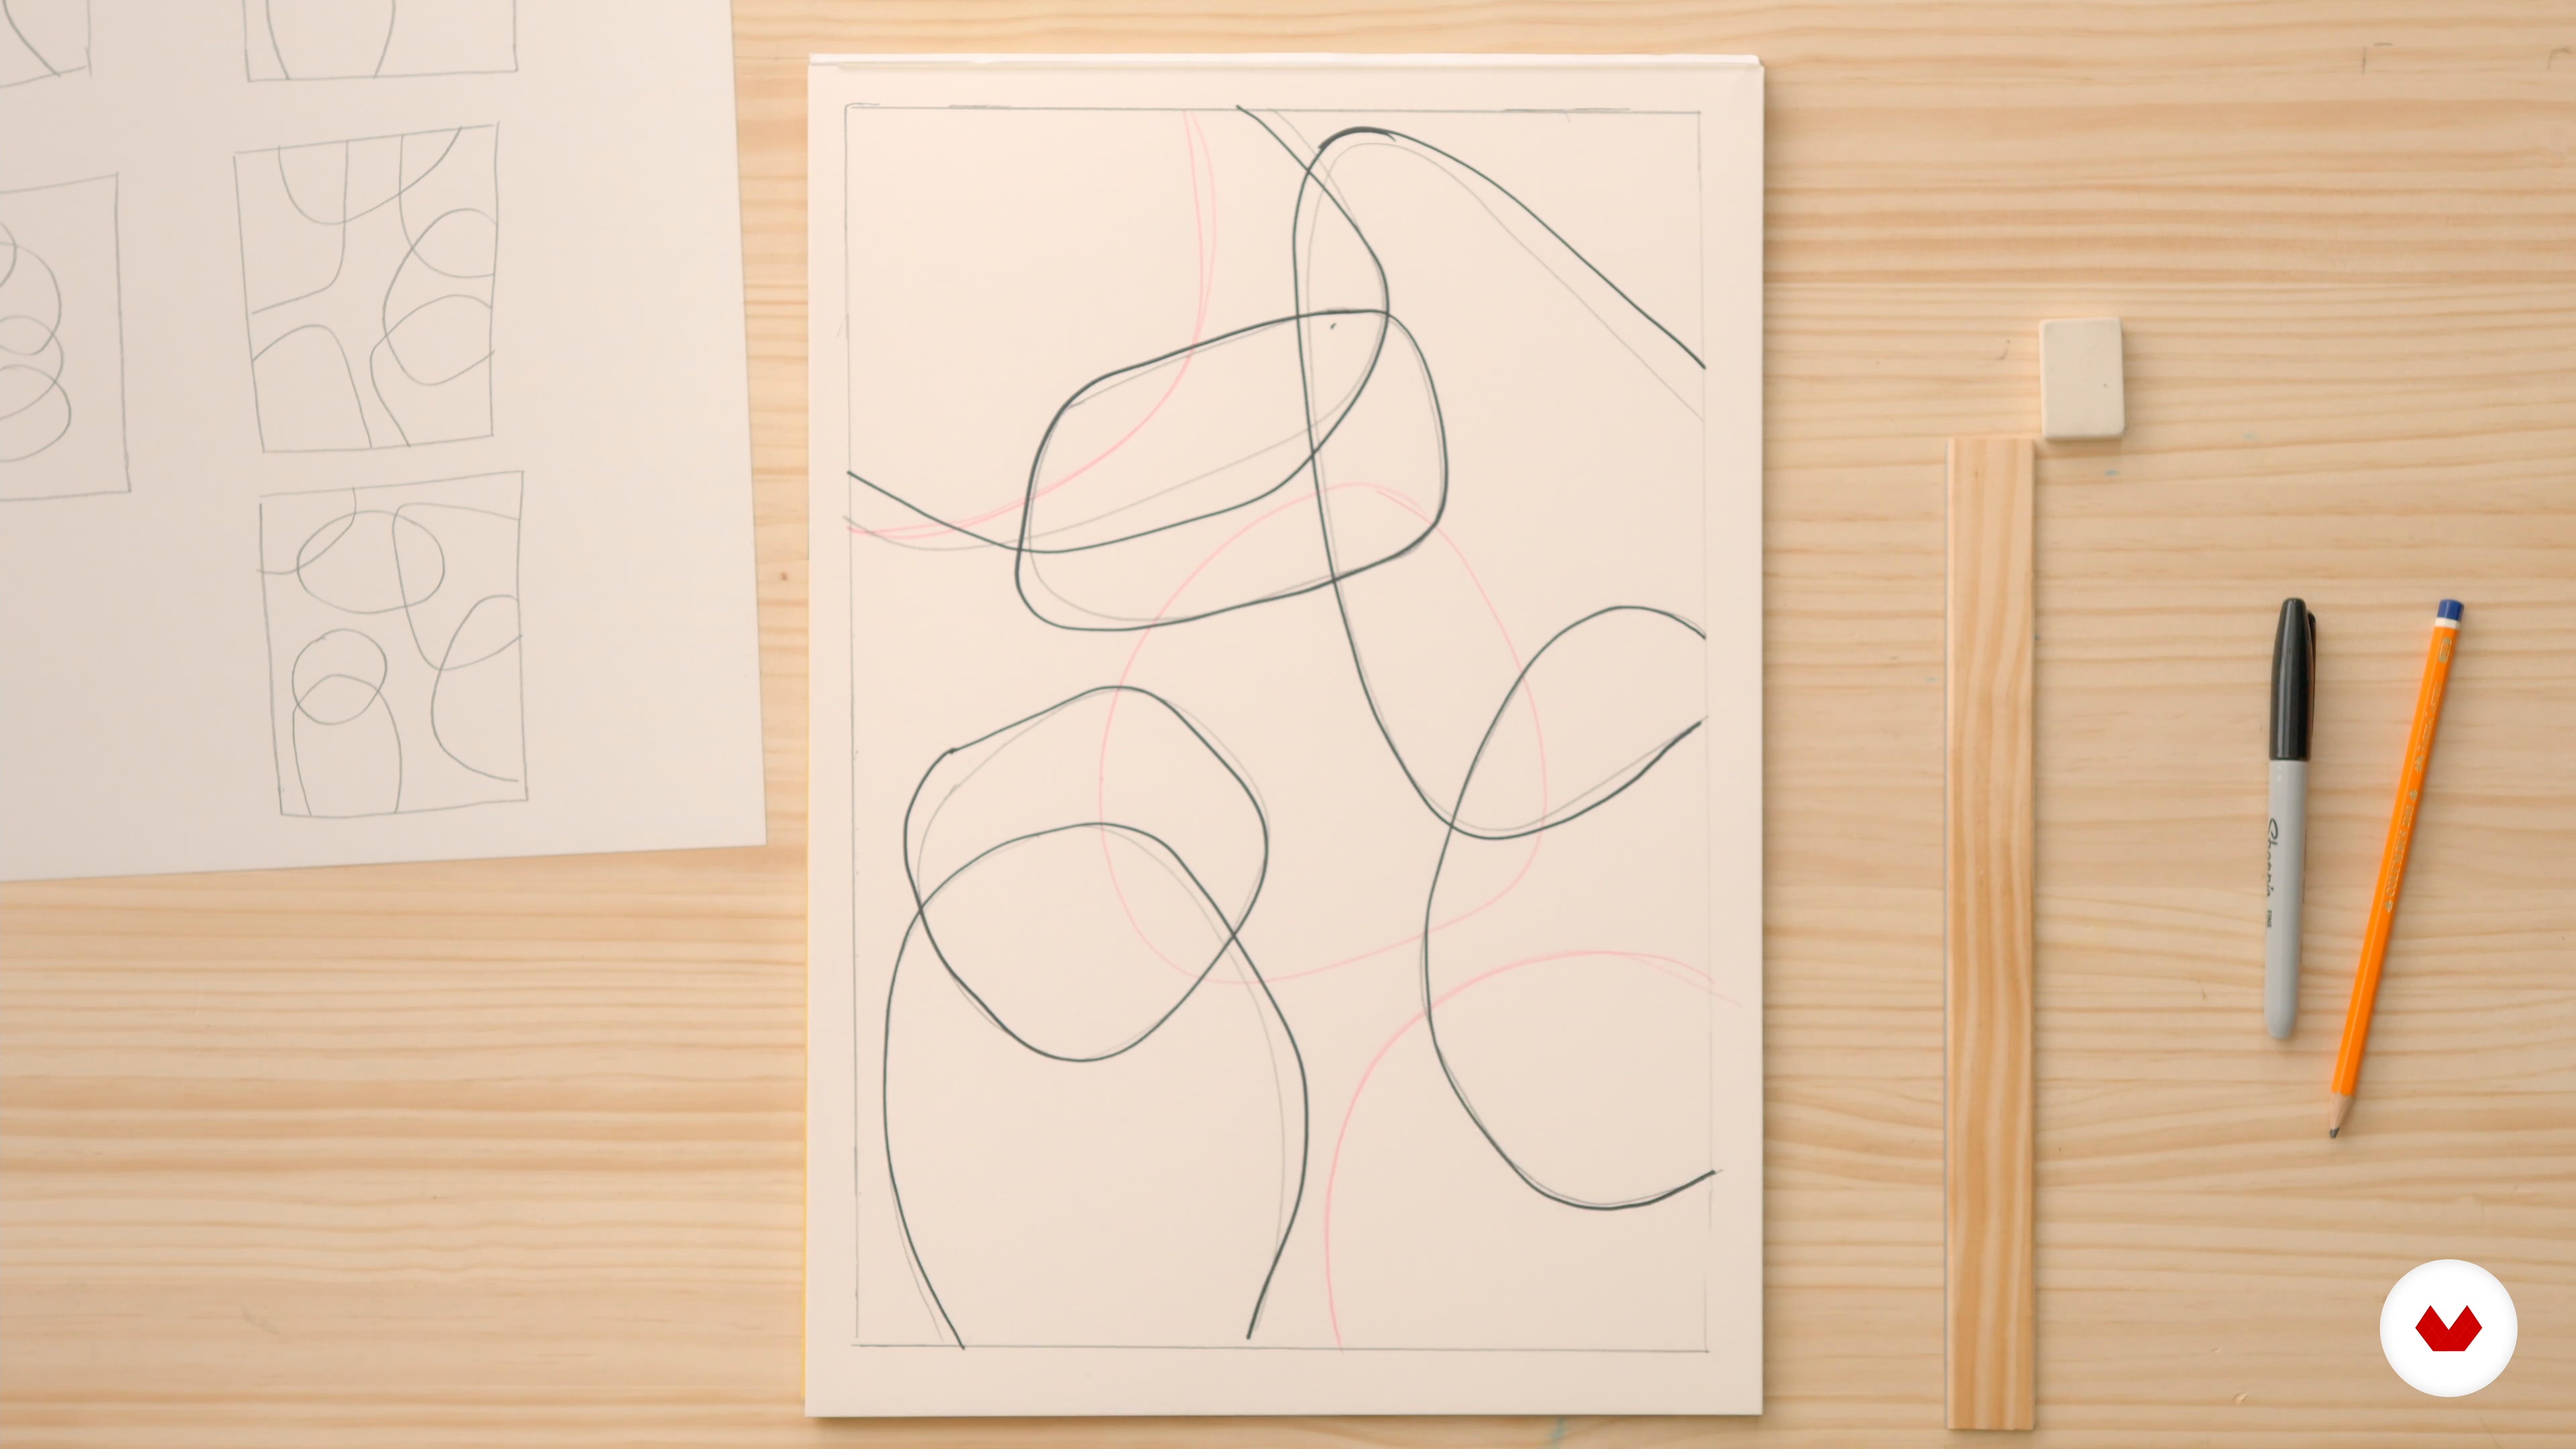
    Once you have created your mood board it's time to sketch out your design. In this lesson, we will draw the design you want to create.

    7m

    Yarns and Colour Palette6

    Yarns and Colour Palette

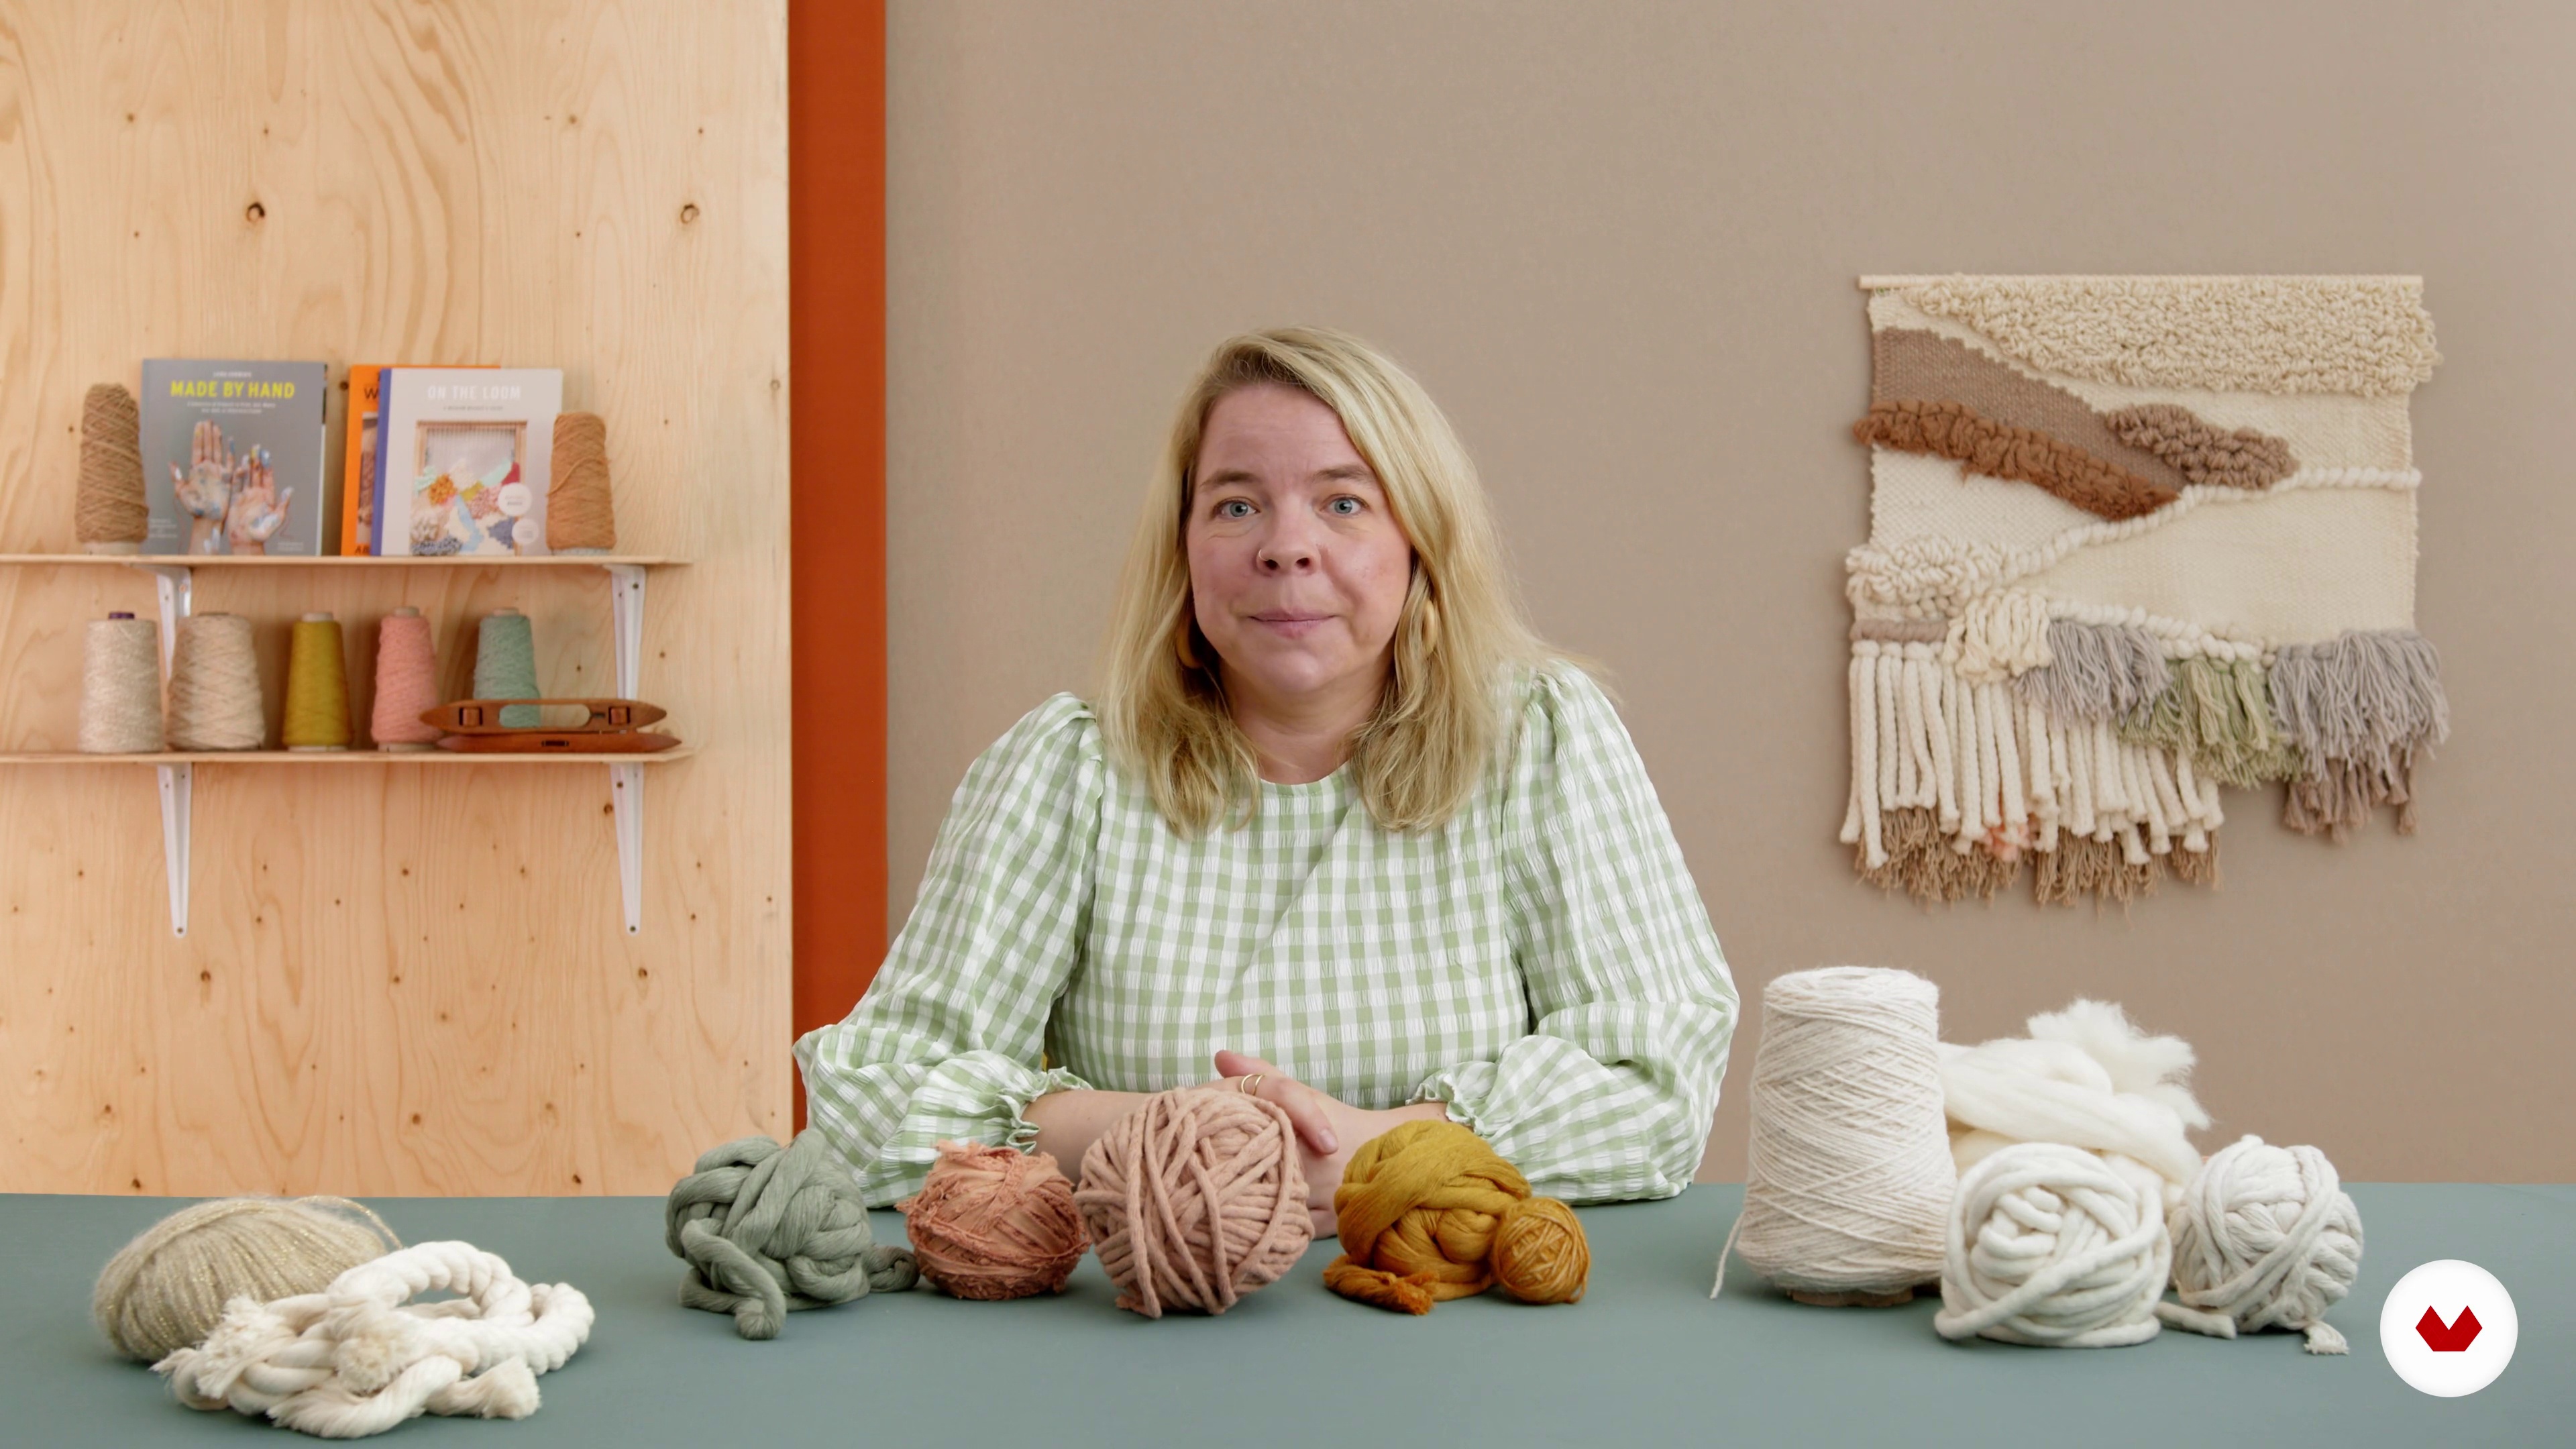
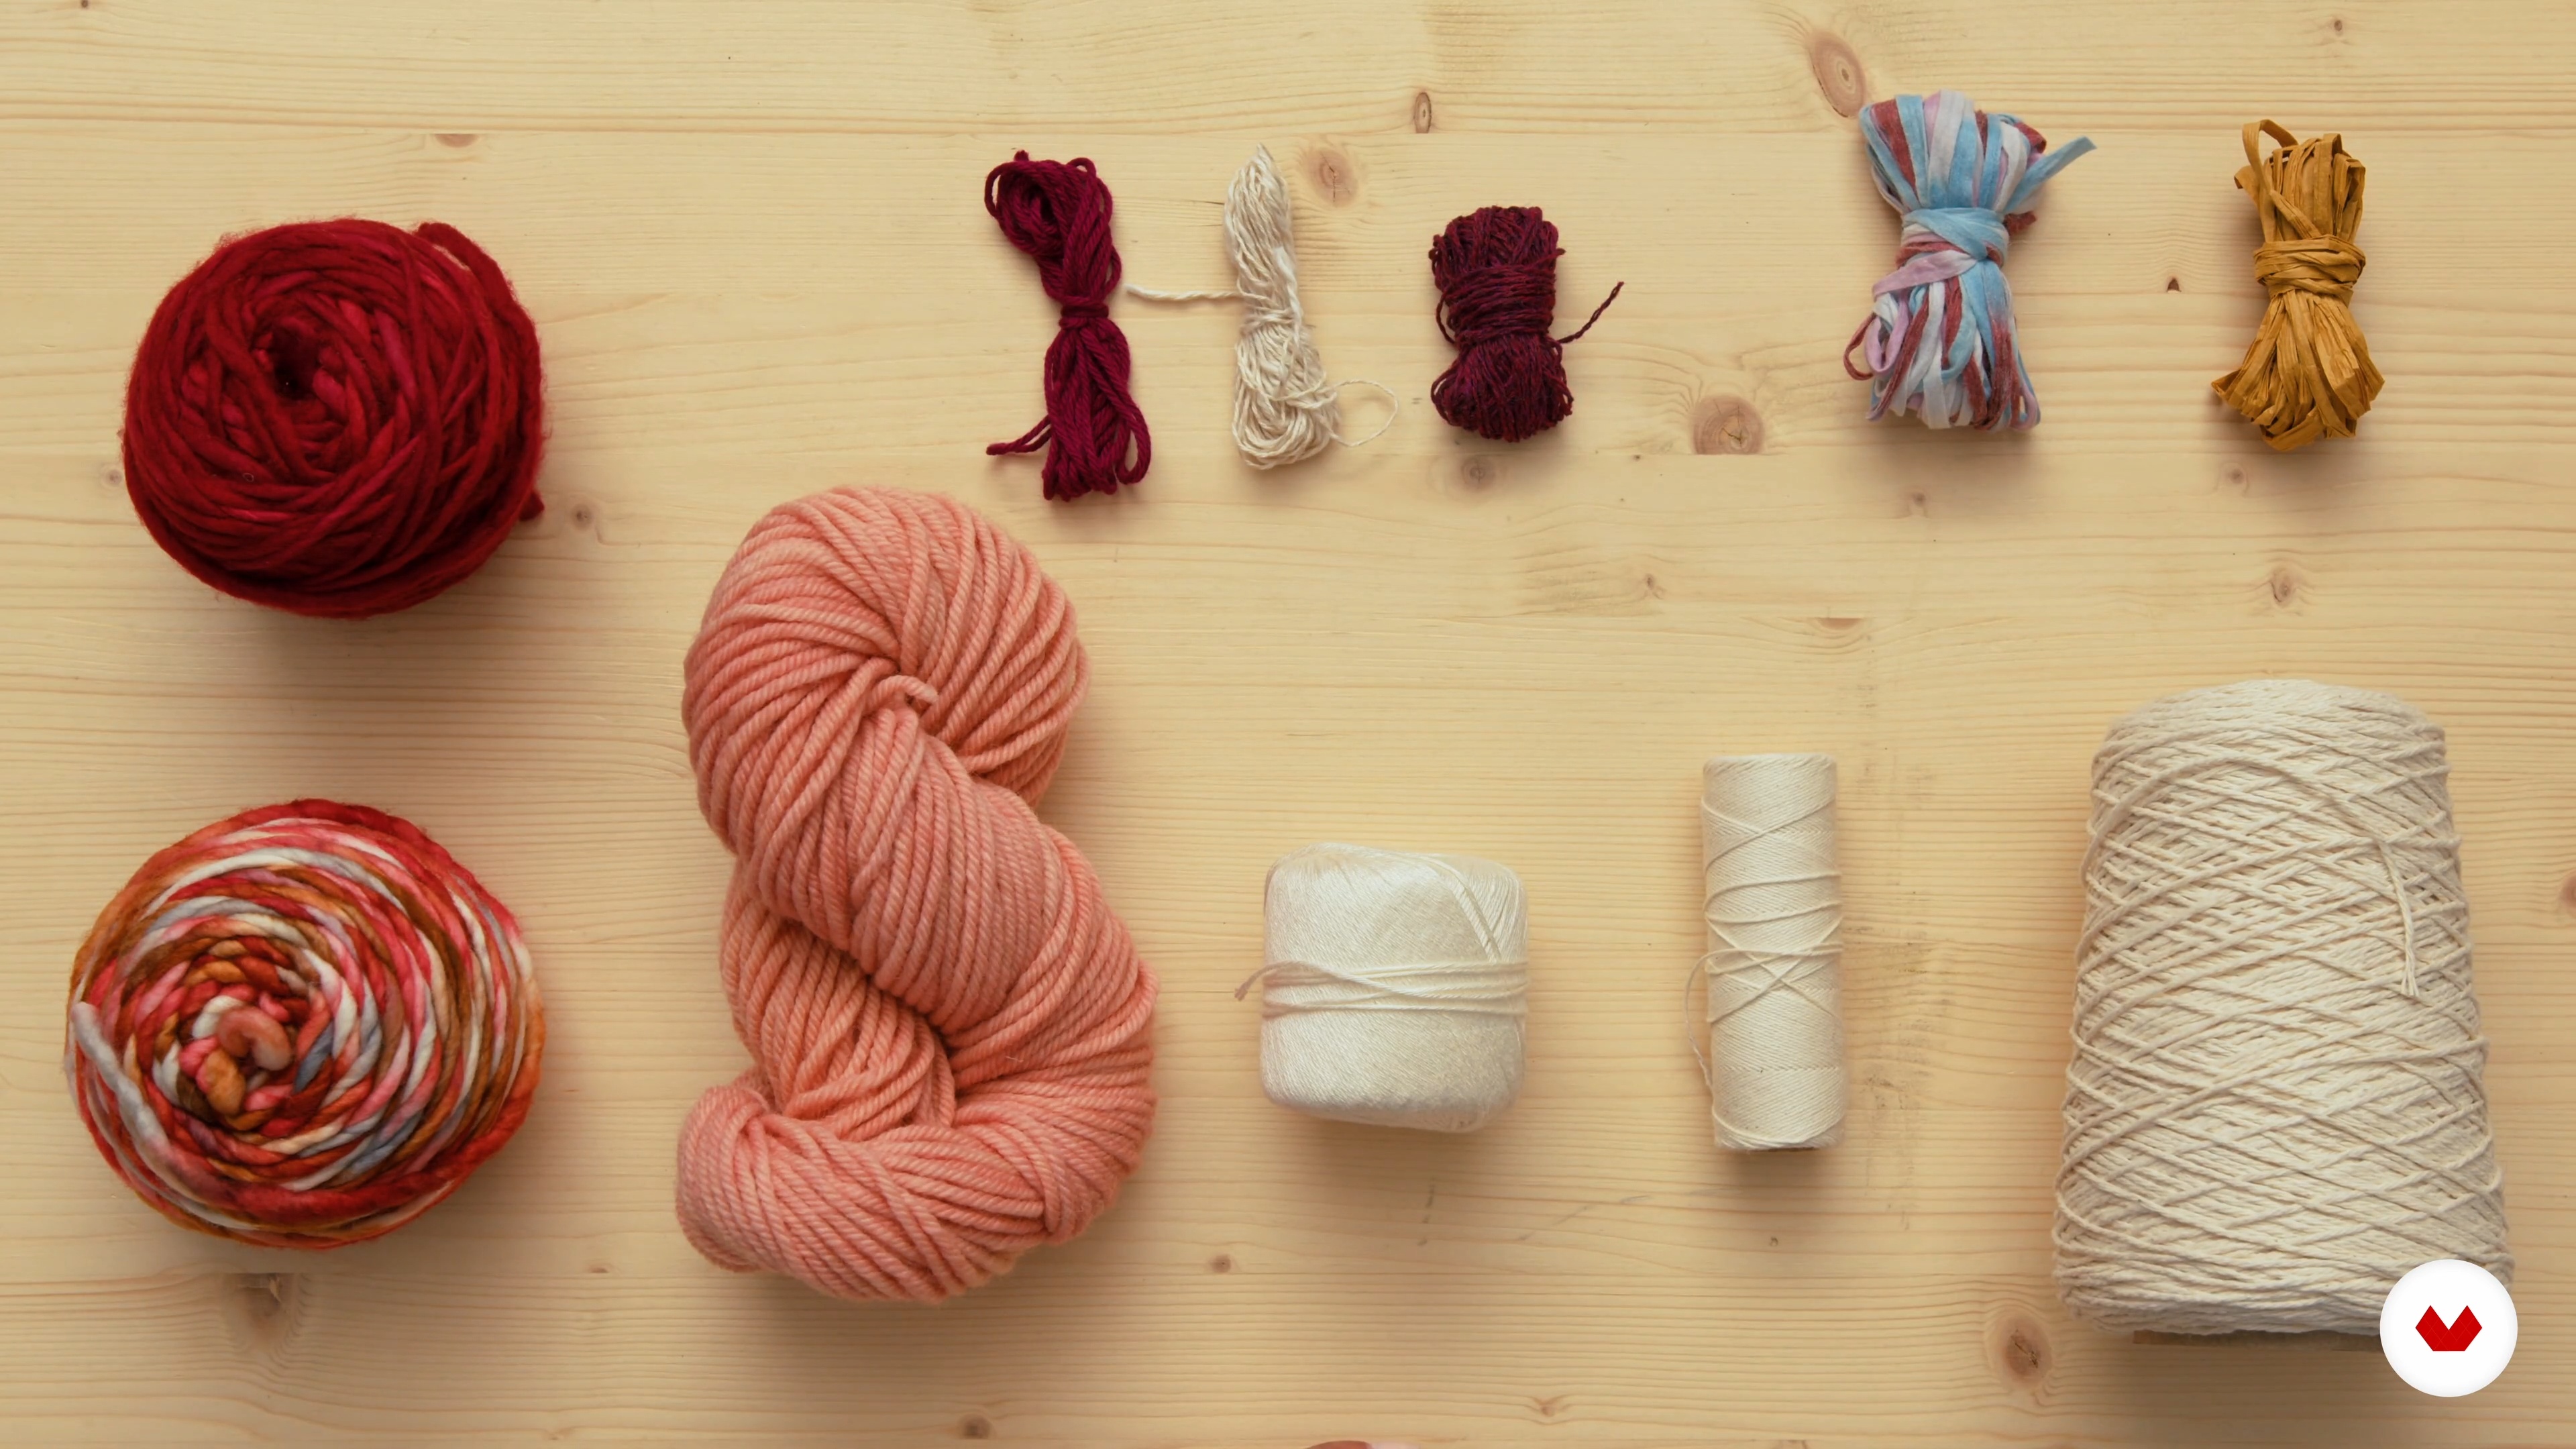
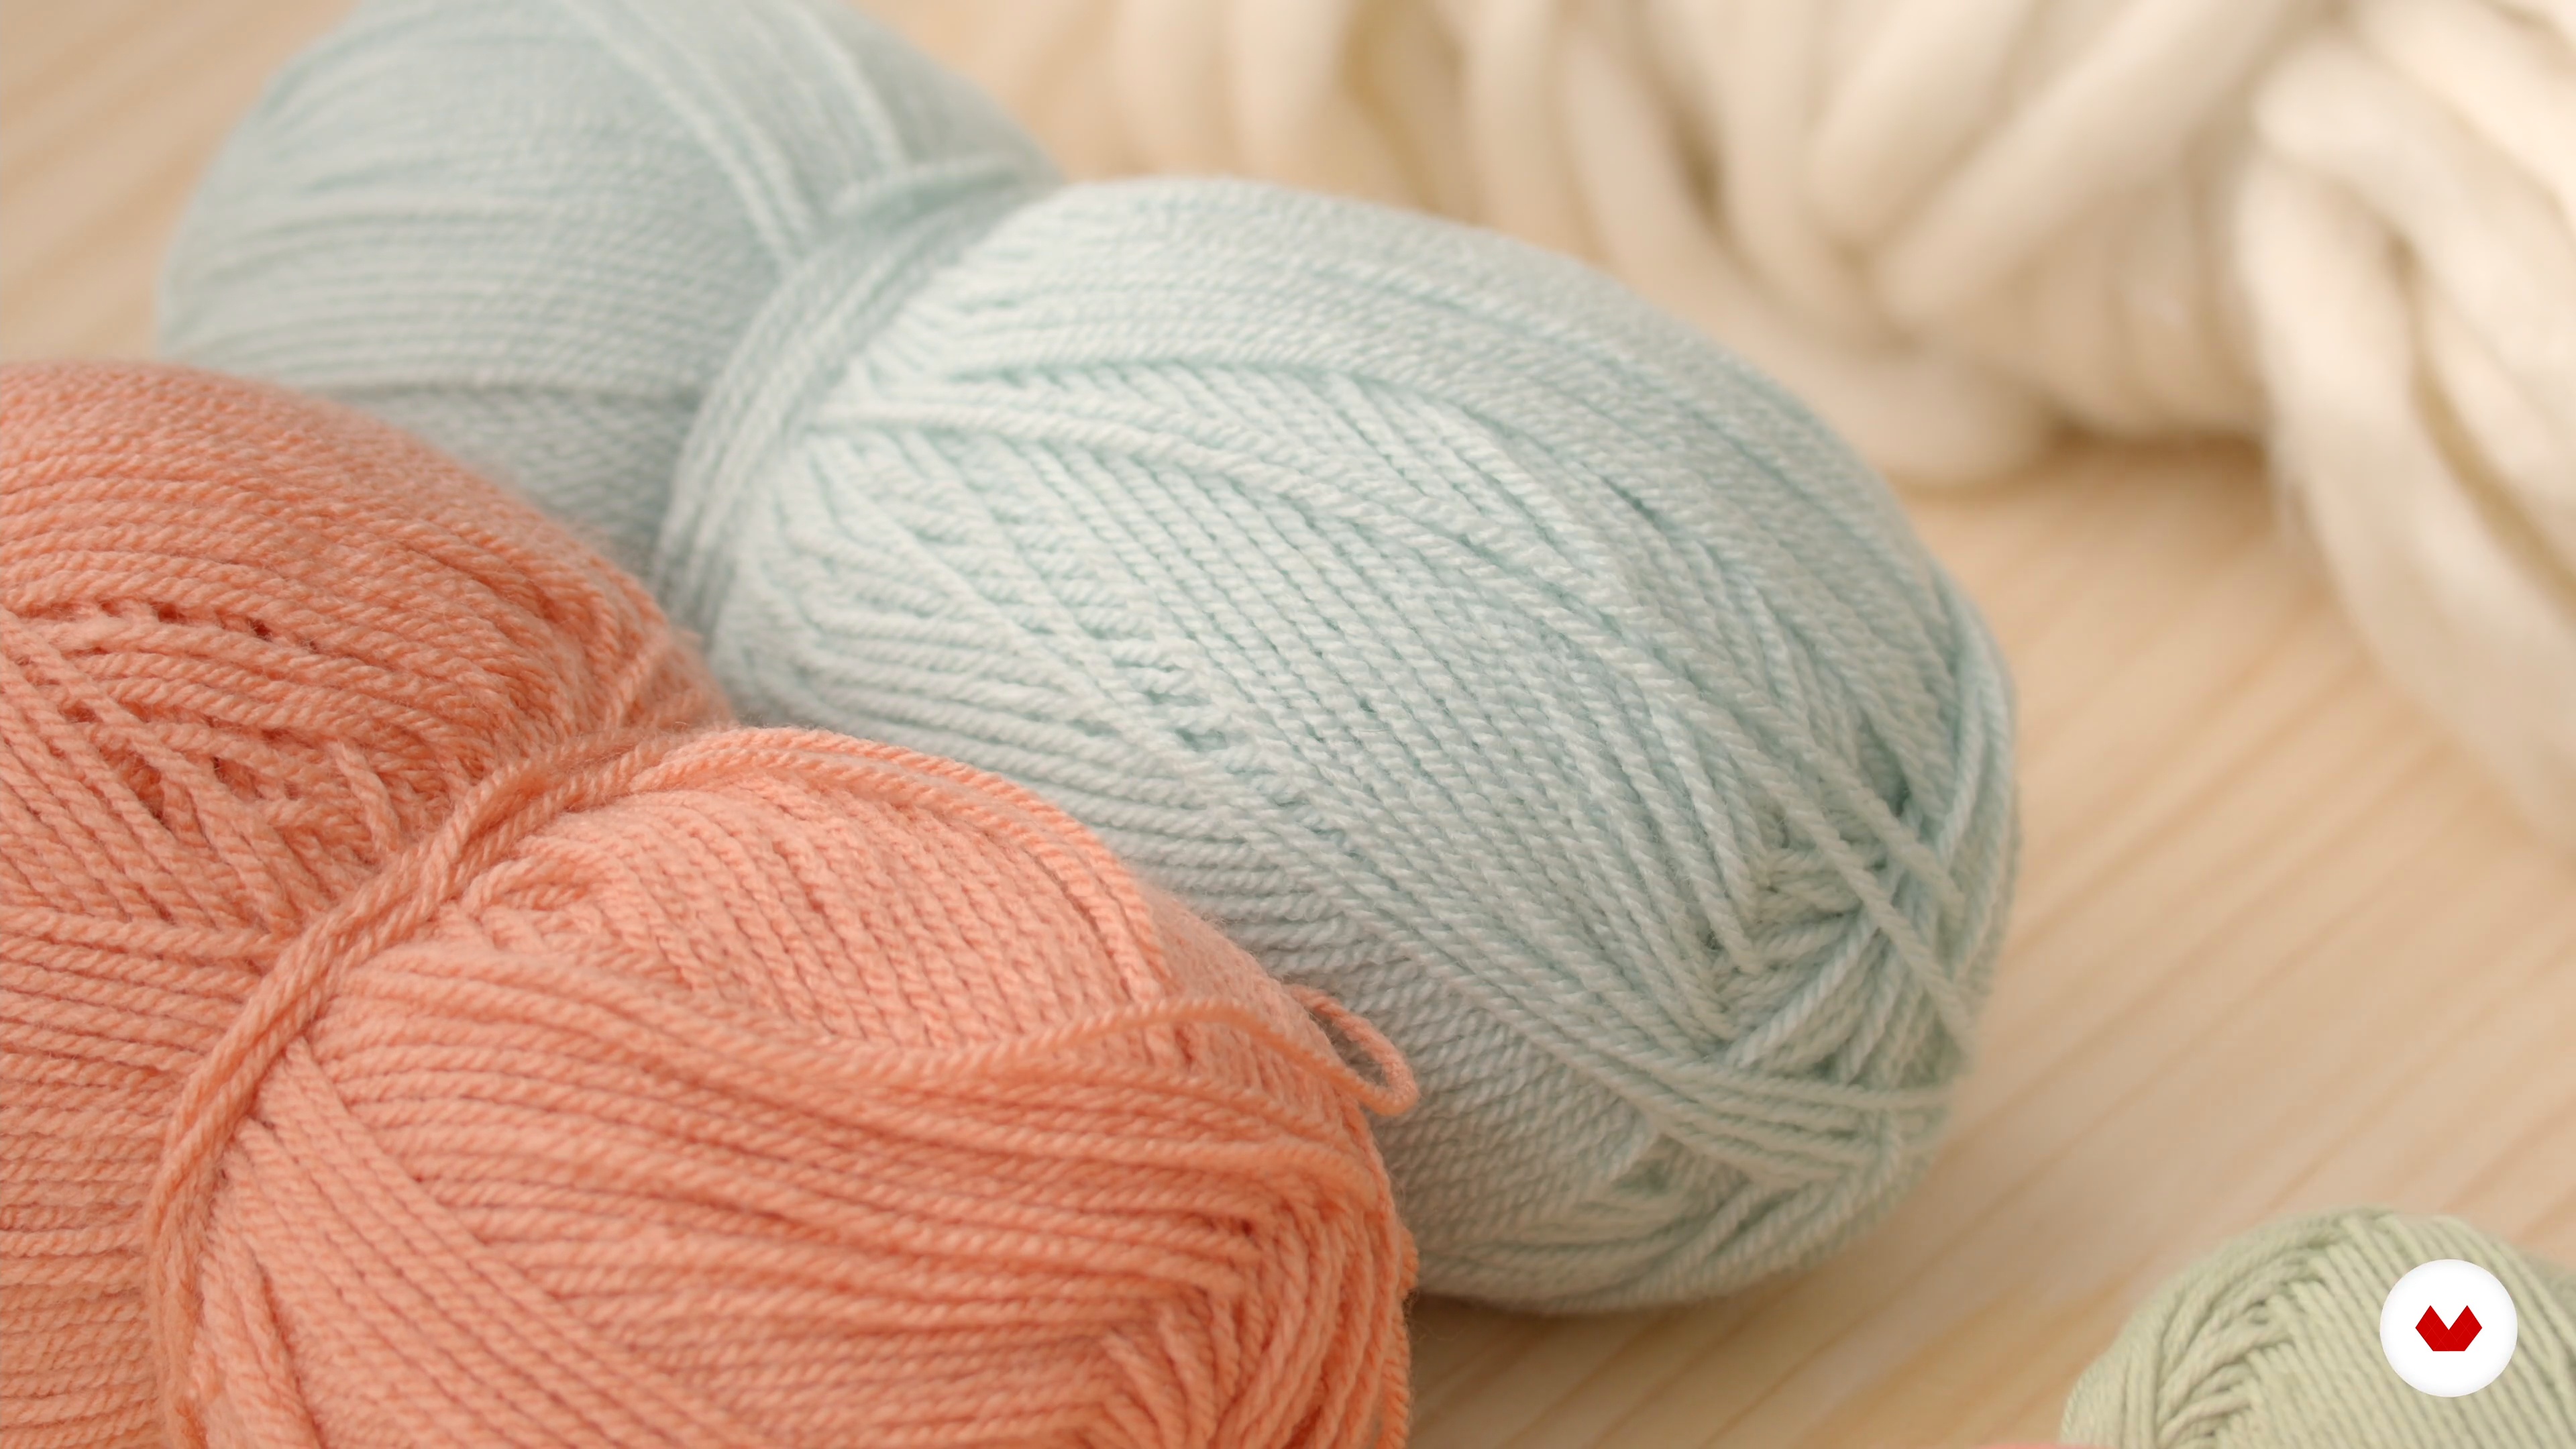
    I love to choose different colors and textures for my wall hanging. Now, we will cover the various yarns you can buy and how they will create texture in your piece.

    6m

    Build Your Own Loom and How to Warp7

    Build Your Own Loom and How to Warp

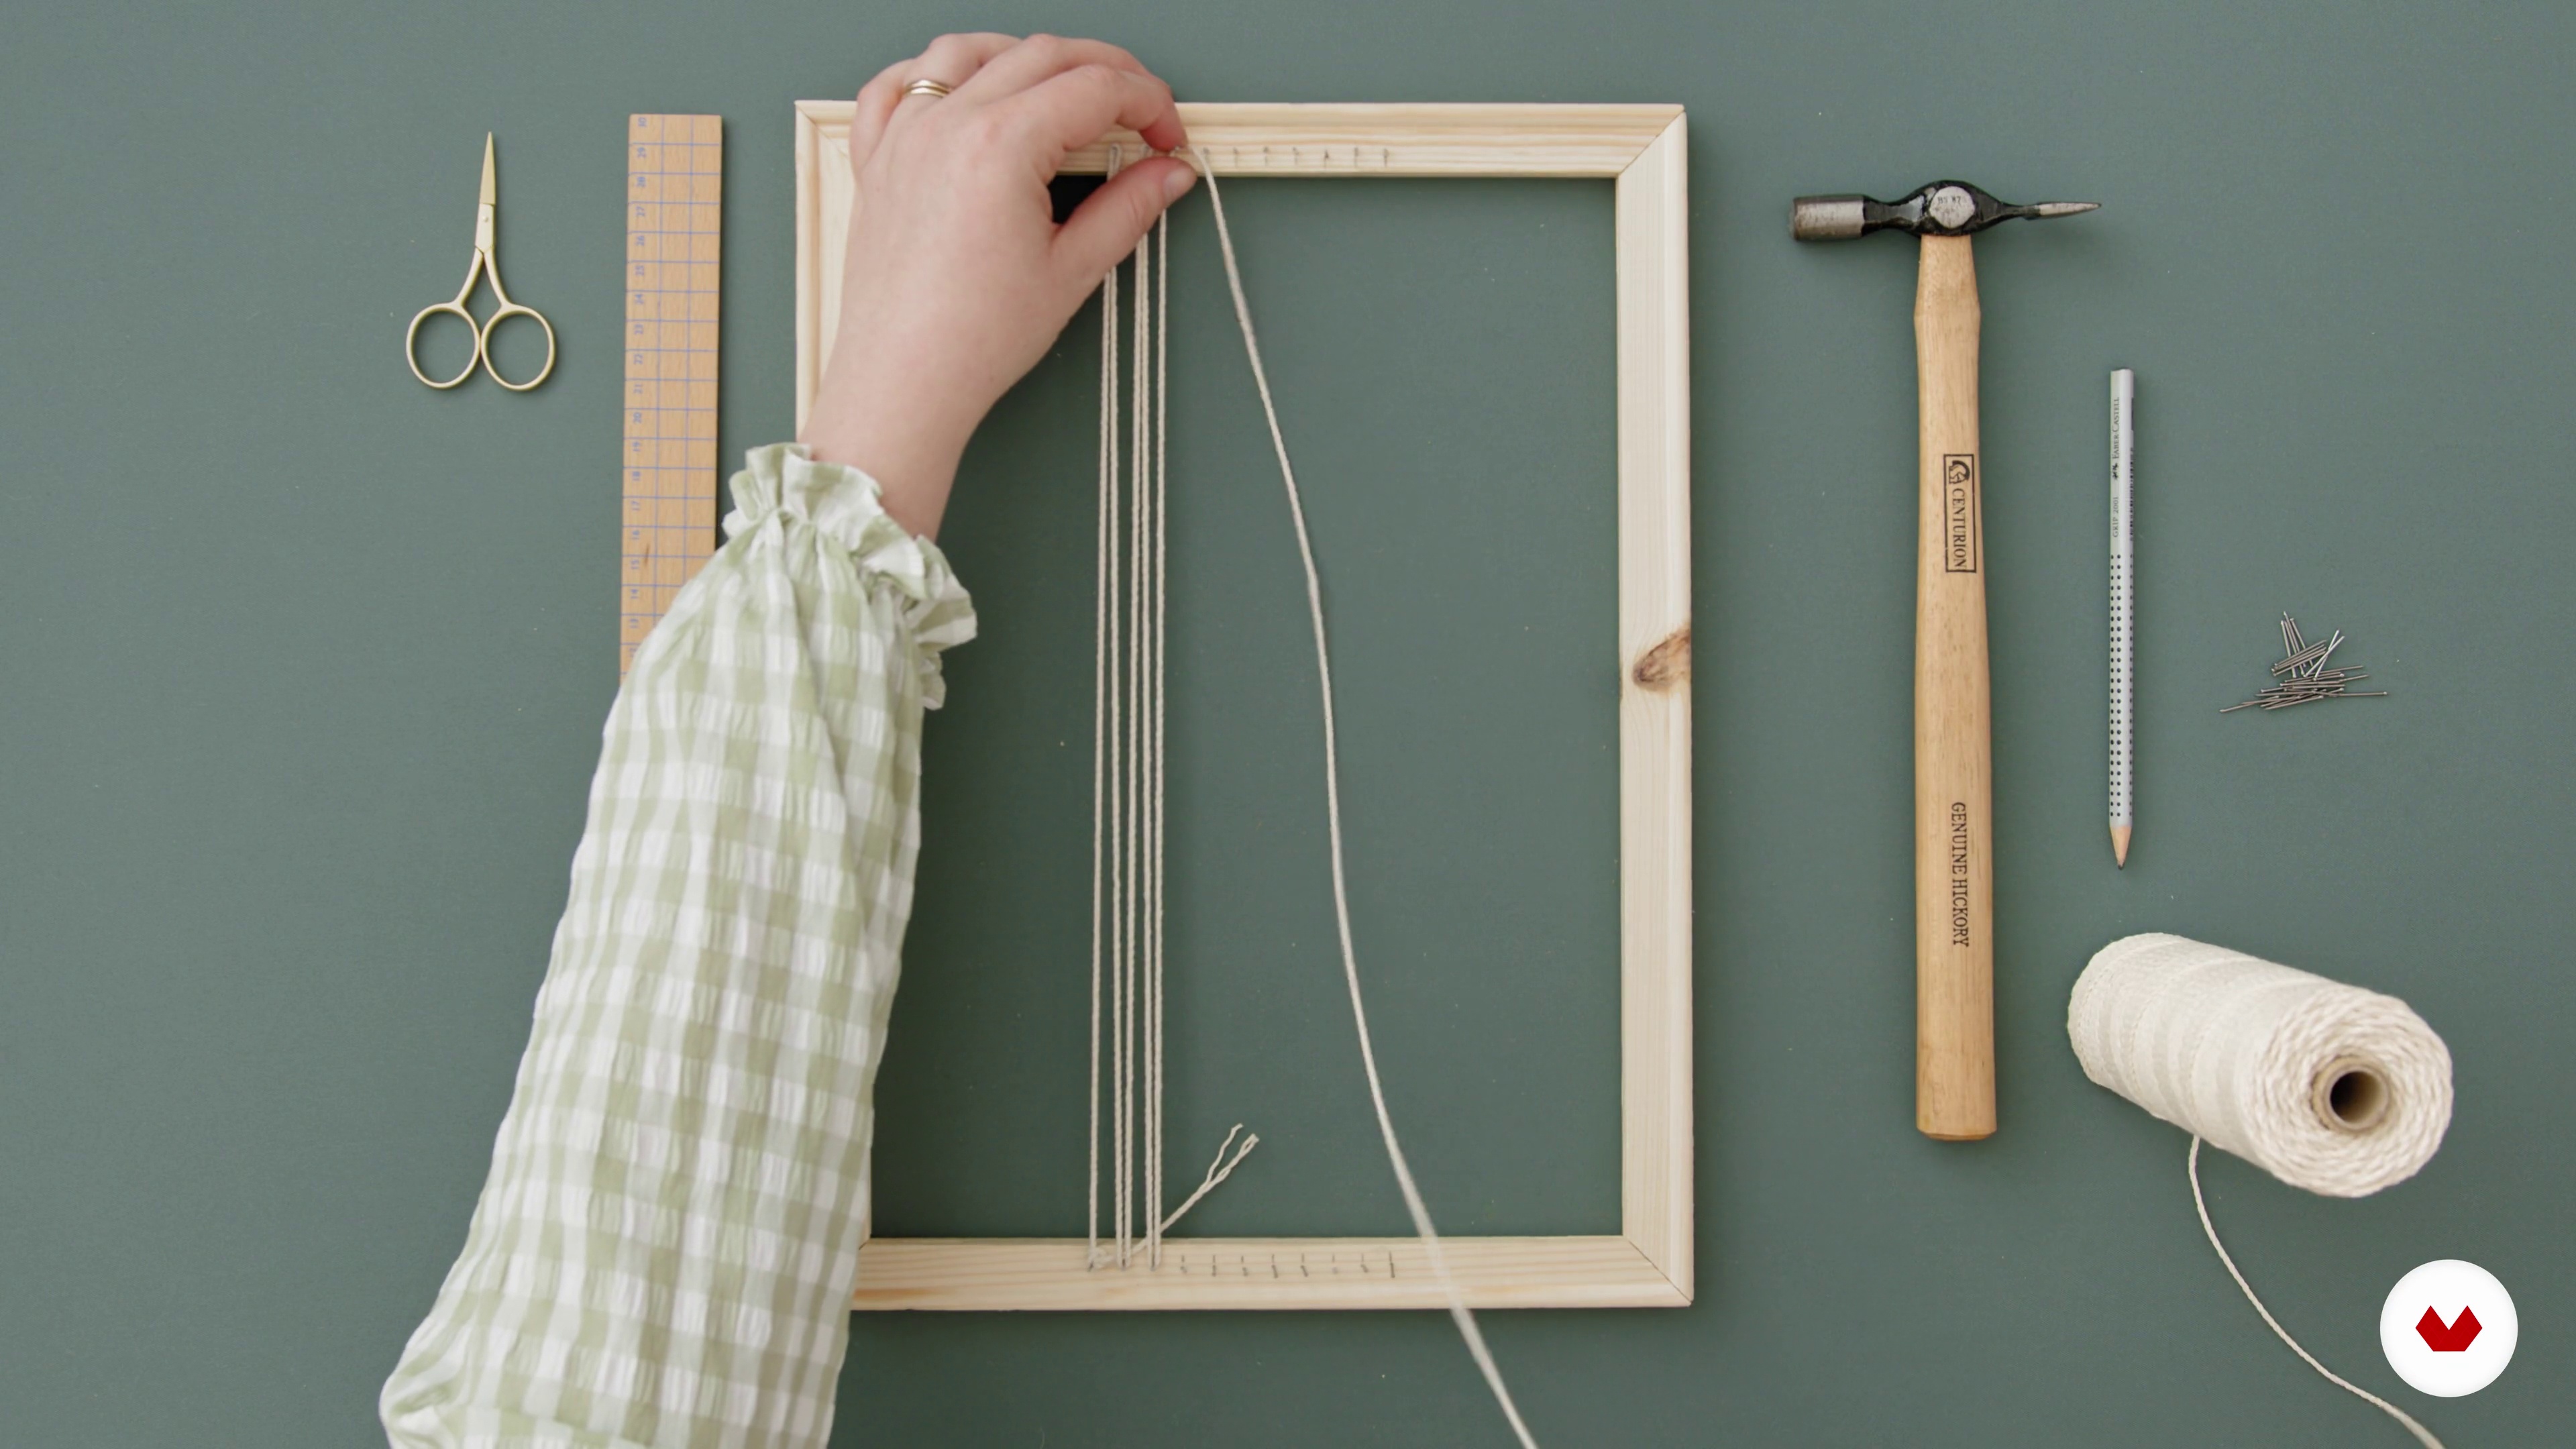
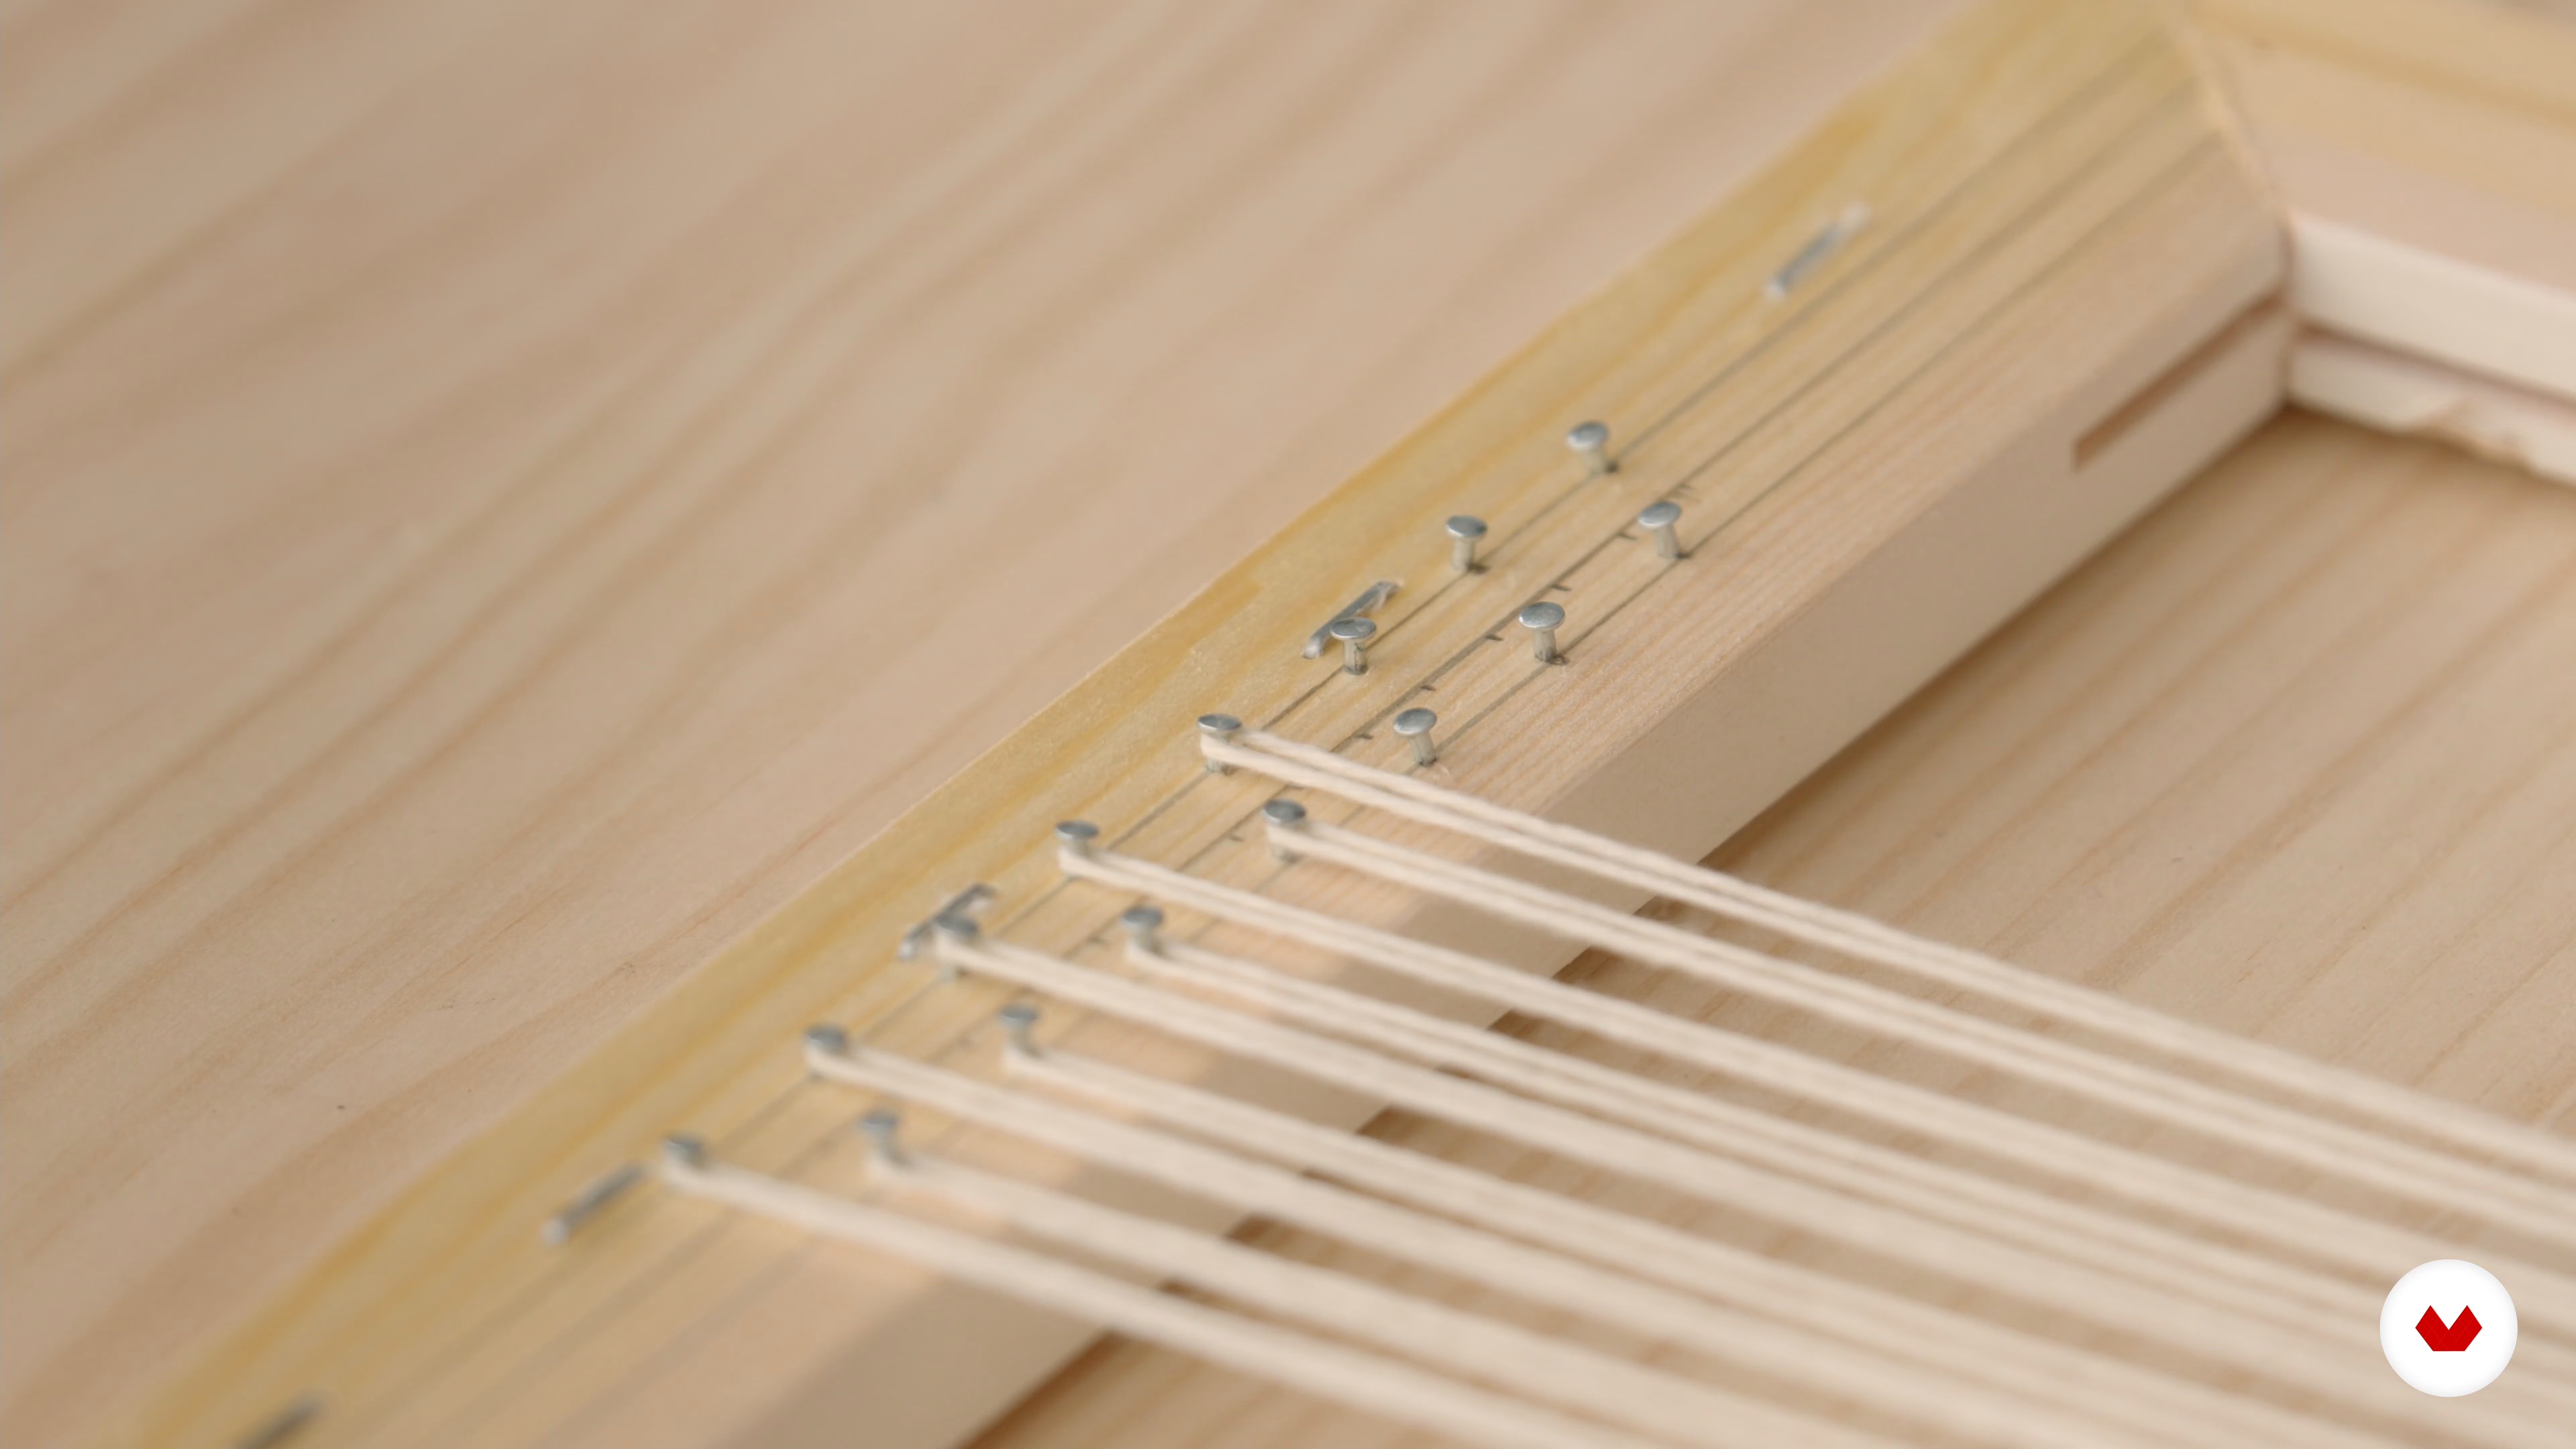
    Don't worry if you don't own a loom and you are not ready to buy one. I will show you how to build your own loom from an old picture frame. We will warp up the loom and see how to get the correct tension with the right warp for your piece.

    17m

    Basic Stitches 18

    Basic Stitches 1

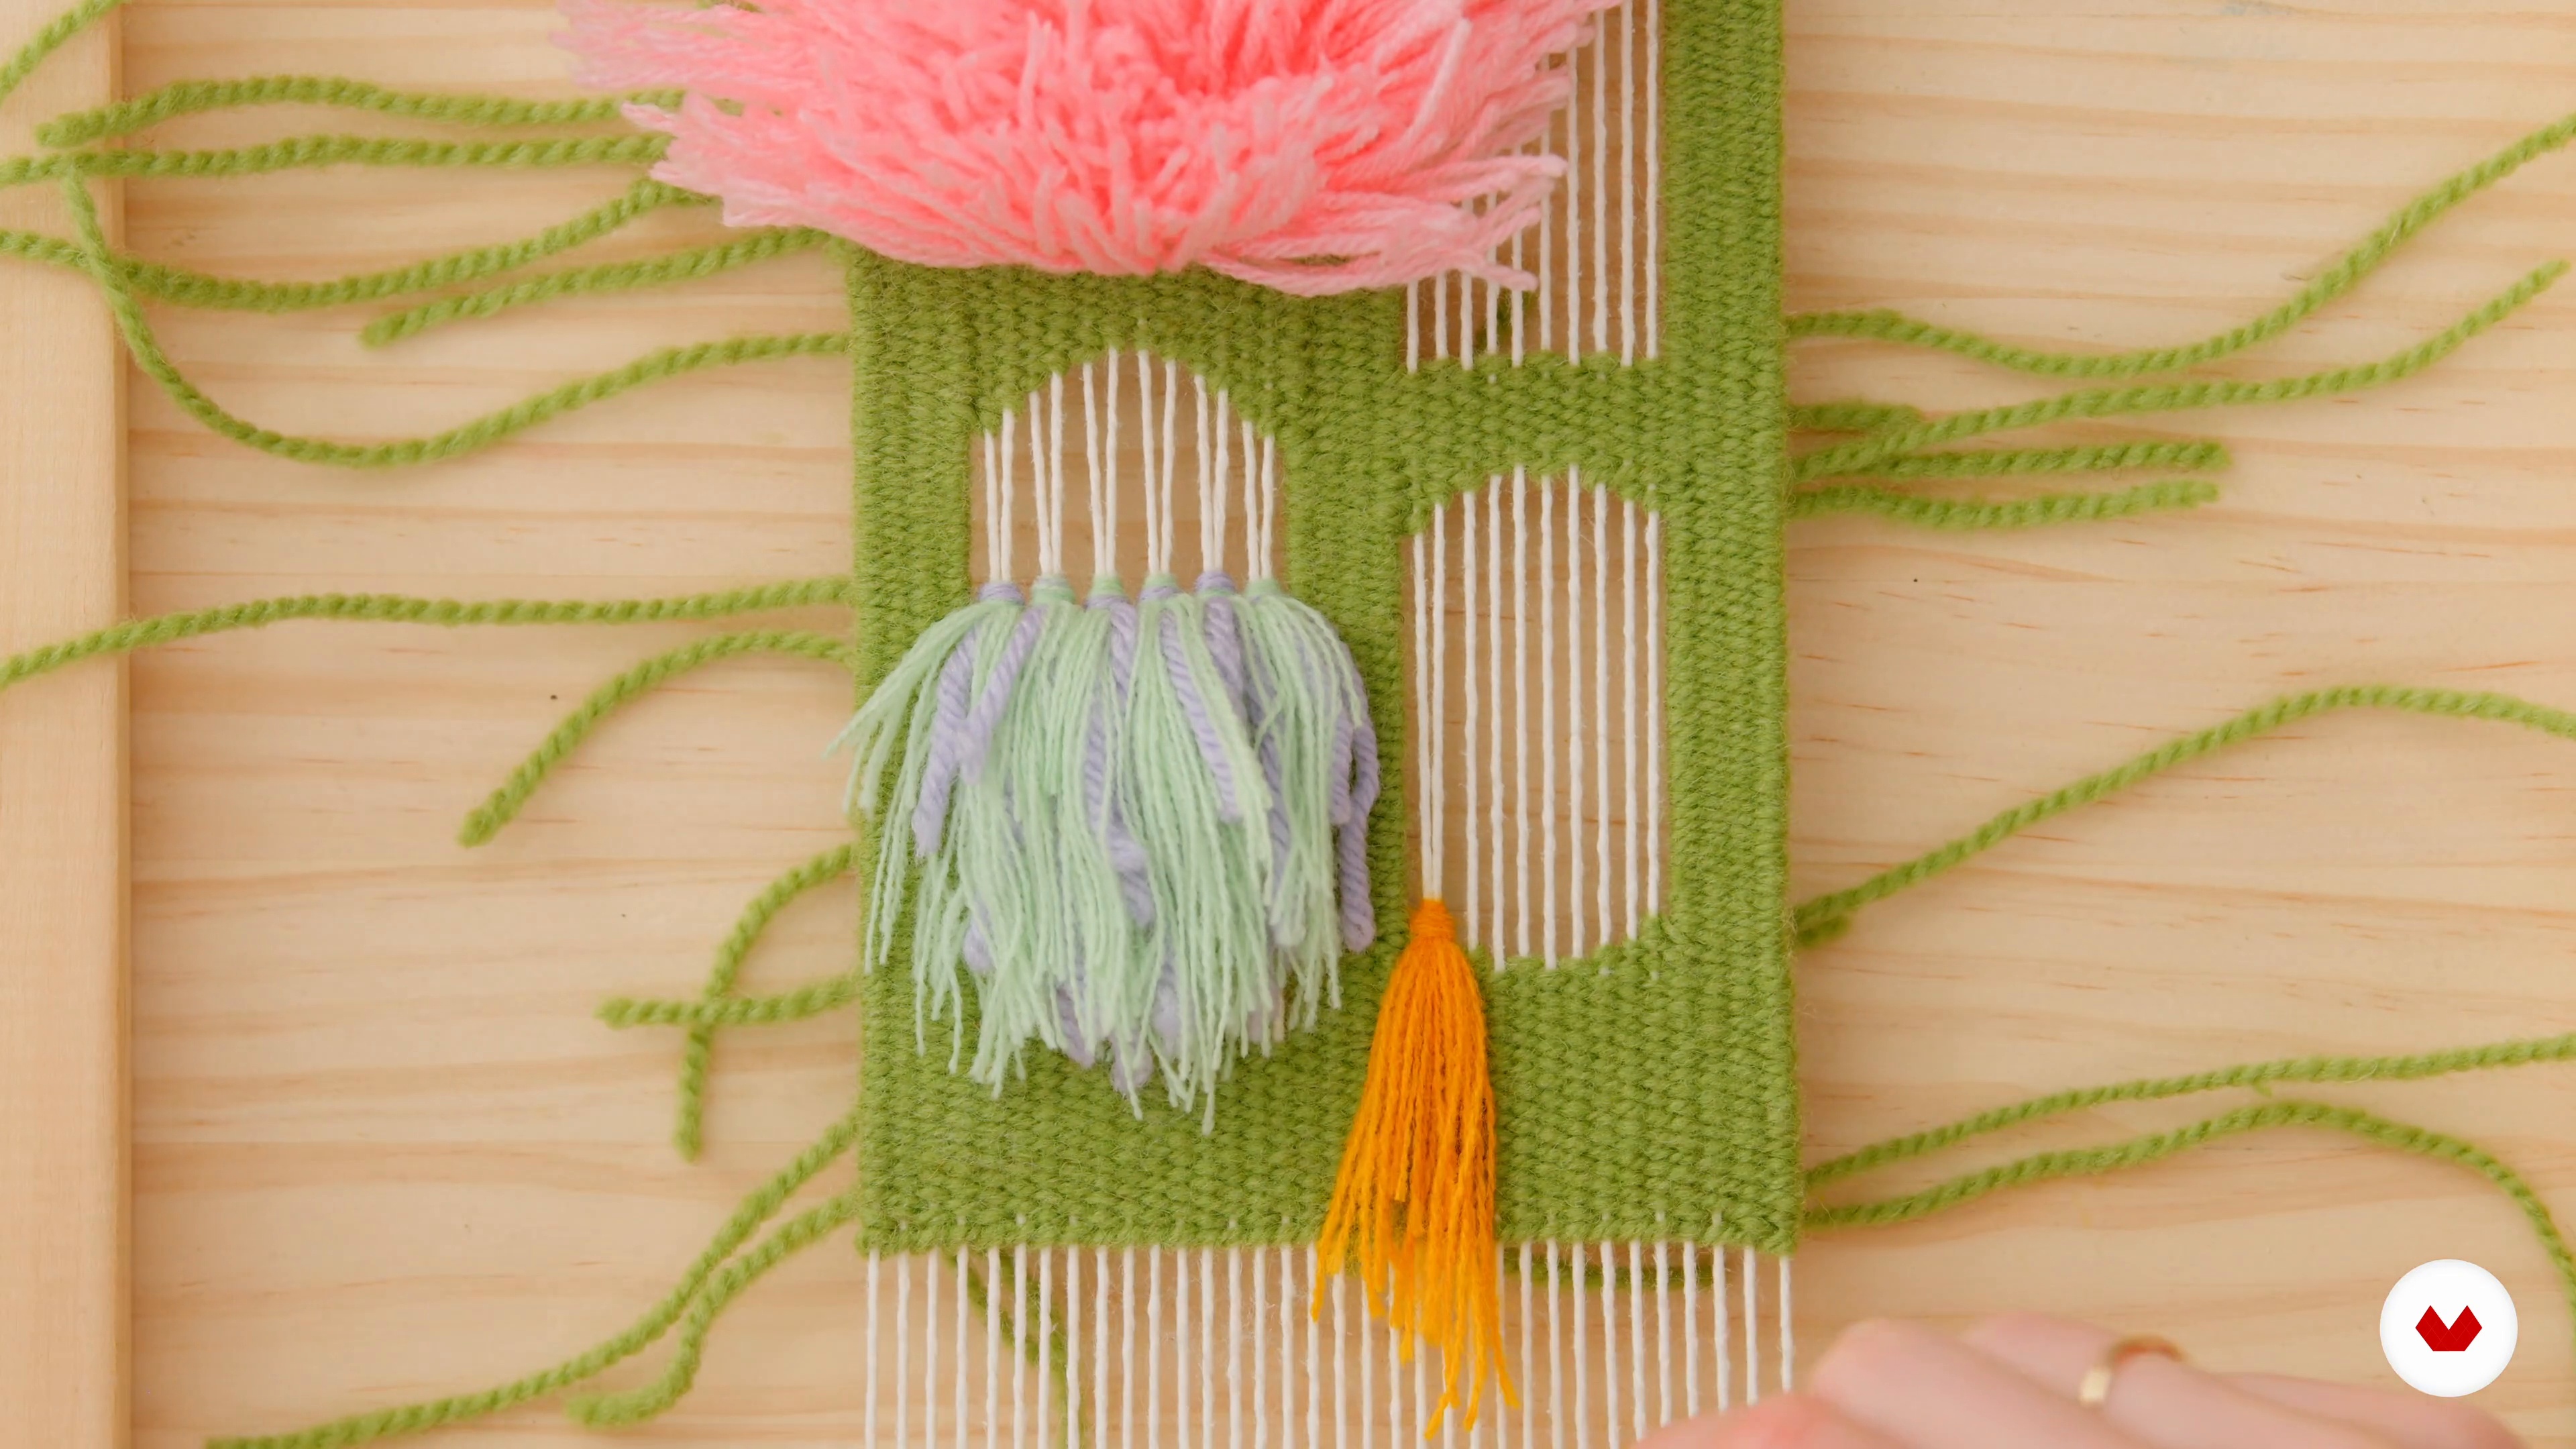
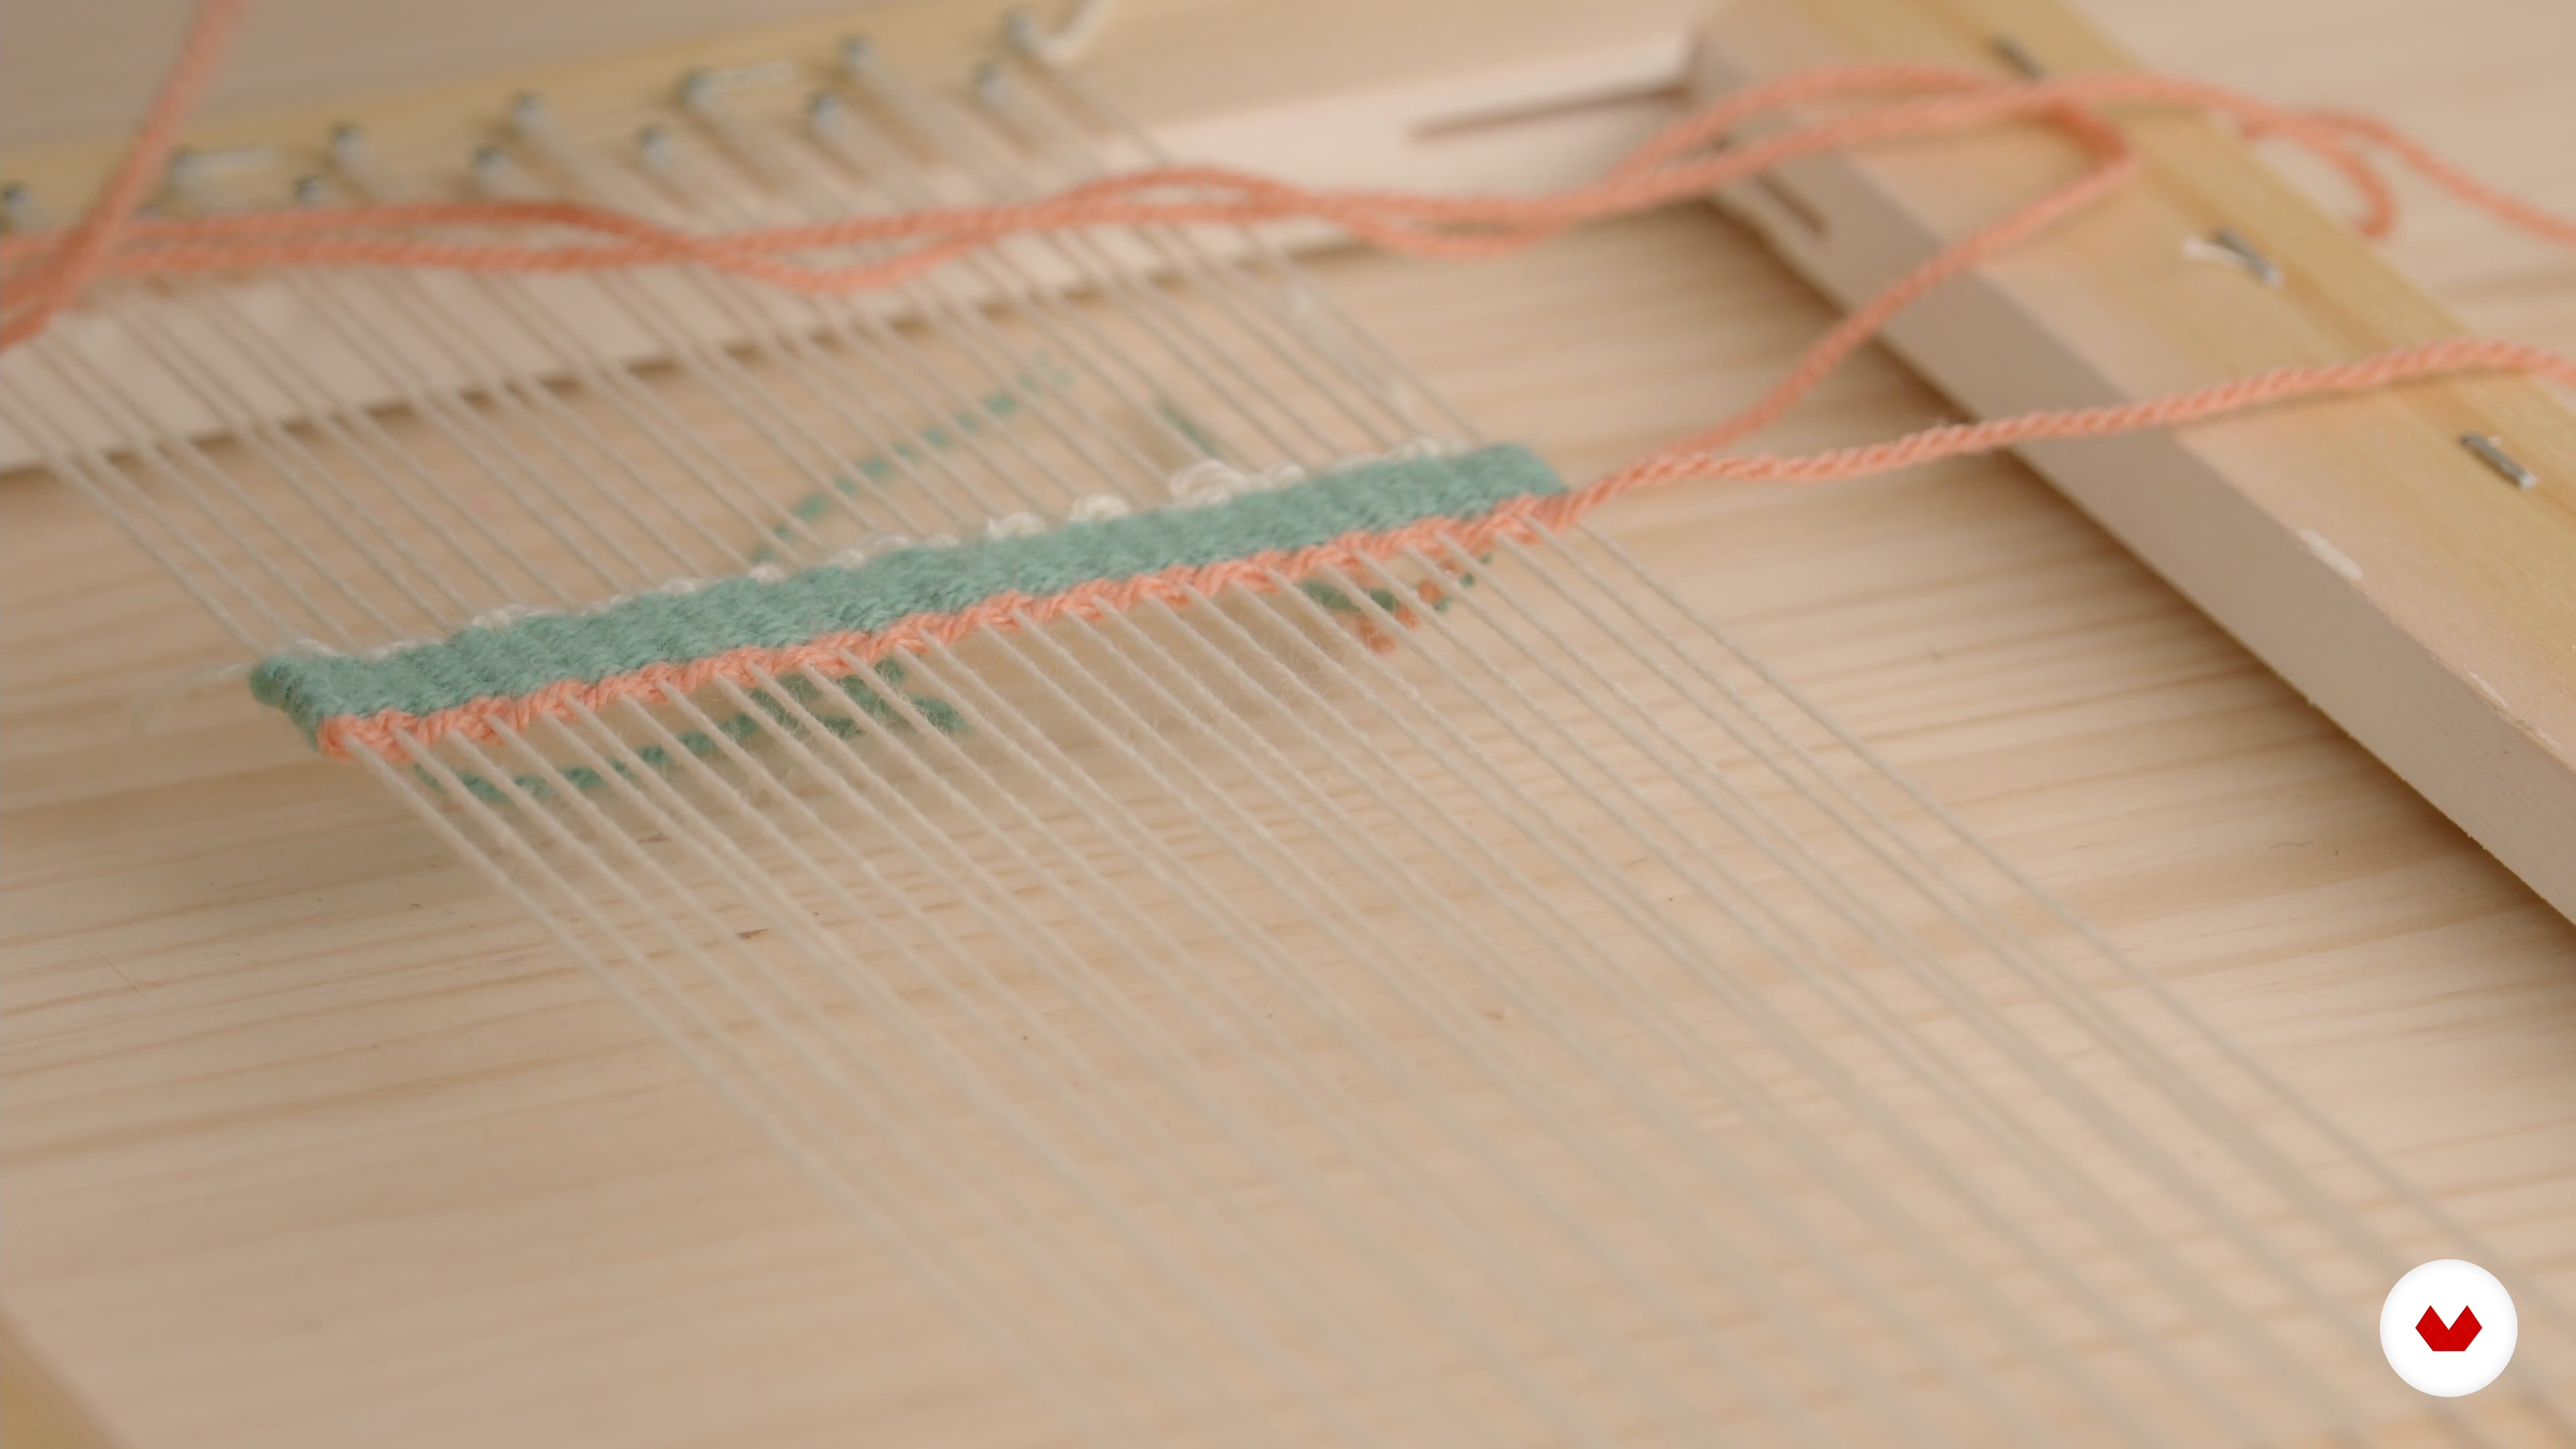
    In this lesson, you will learn how to start weaving. We will cover the basic techniques to get started and how to create tassels that everybody loves.

    14m

    Basic Stitches 29

    Basic Stitches 2

    We will continue working with our basic stitches but now, we will incorporate thicker and colourful threads into the design.

    12m

    Advanced Stitches 110

    Advanced Stitches 1

    Time to experiment with some shapes. You will learn how to create diagonal shapes and curves. We will also cover how to be more ‘free’ and abstract with your design.

    14m

    Advanced Stitches 211

    Advanced Stitches 2

    Now, we will continue working on our shapes: triangle, curve, and more abstract forms. We will change threads in between and our whole design will begin to get together.

    14m

    Create Some Texture 112

    Create Some Texture 1

    Once you have mastered the basics of weaving we will go on to experiment with some texture! We will create textures so your weave has that beautiful tactile look and feels as good as it looks. We will experiment with all sorts of different materials to create your beautiful weave.

    16m

    Create Some Texture 213

    Create Some Texture 2

    In this lesson, I will teach you how to do "soumak", loops, and experiments with thick and thin yarns.

    15m

    Creating Shapes14

    Creating Shapes

    I will show you how to create the perfect circle. You will need a piece of cardboard and a loom because we will be drawing on the warp threads! Are you ready?
    15m

    Interlocking Colours15

    Interlocking Colours

    In this lesson, I’m going to show you how to interlock your coloured threads and how to avoid creating holes in your weaves.

    10m

    Using Colour and Blending 116

    Using Colour and Blending 1

    Do you want to create some stripes in your weave? In this lesson, we will cover all you will need to be able to do this.

    20m

    Using Colour and Blending 217

    Using Colour and Blending 2

    Now that you have mastered the stripes and as we are reaching the end of the loom, why not also experiment with colours?

    16m

    Finalizing the Project18

    Finalizing the Project

    It's time to finish off your weave. Don't worry about it all falling apart. In this lesson, I will show you the techniques for preventing it from happening. I will also teach you how to sew in any loose ends and tidy up your weave.

    20m

    How to Hang the Weave19

    How to Hang the Weave

    Now, you will learn how to hang your weave on the wall. I will show you a few ways to do this. You can hang your weave from various materials, find out which you prefer.

    8m

    What to Do Next...20

    What to Do Next...

    Once you have made your wall hanging you might want to try making it into another item for your home. Why not try and make a cushion or a purse? Click through to see some examples.

    4m

    How to Care for the Weaves21

    How to Care for the Weaves

    Once you have made your weave you will need to take care of it. There are a couple of things we can do to stop it from getting dirty.

    3m

    Understanding Your Loom3

    Understanding Your Loom

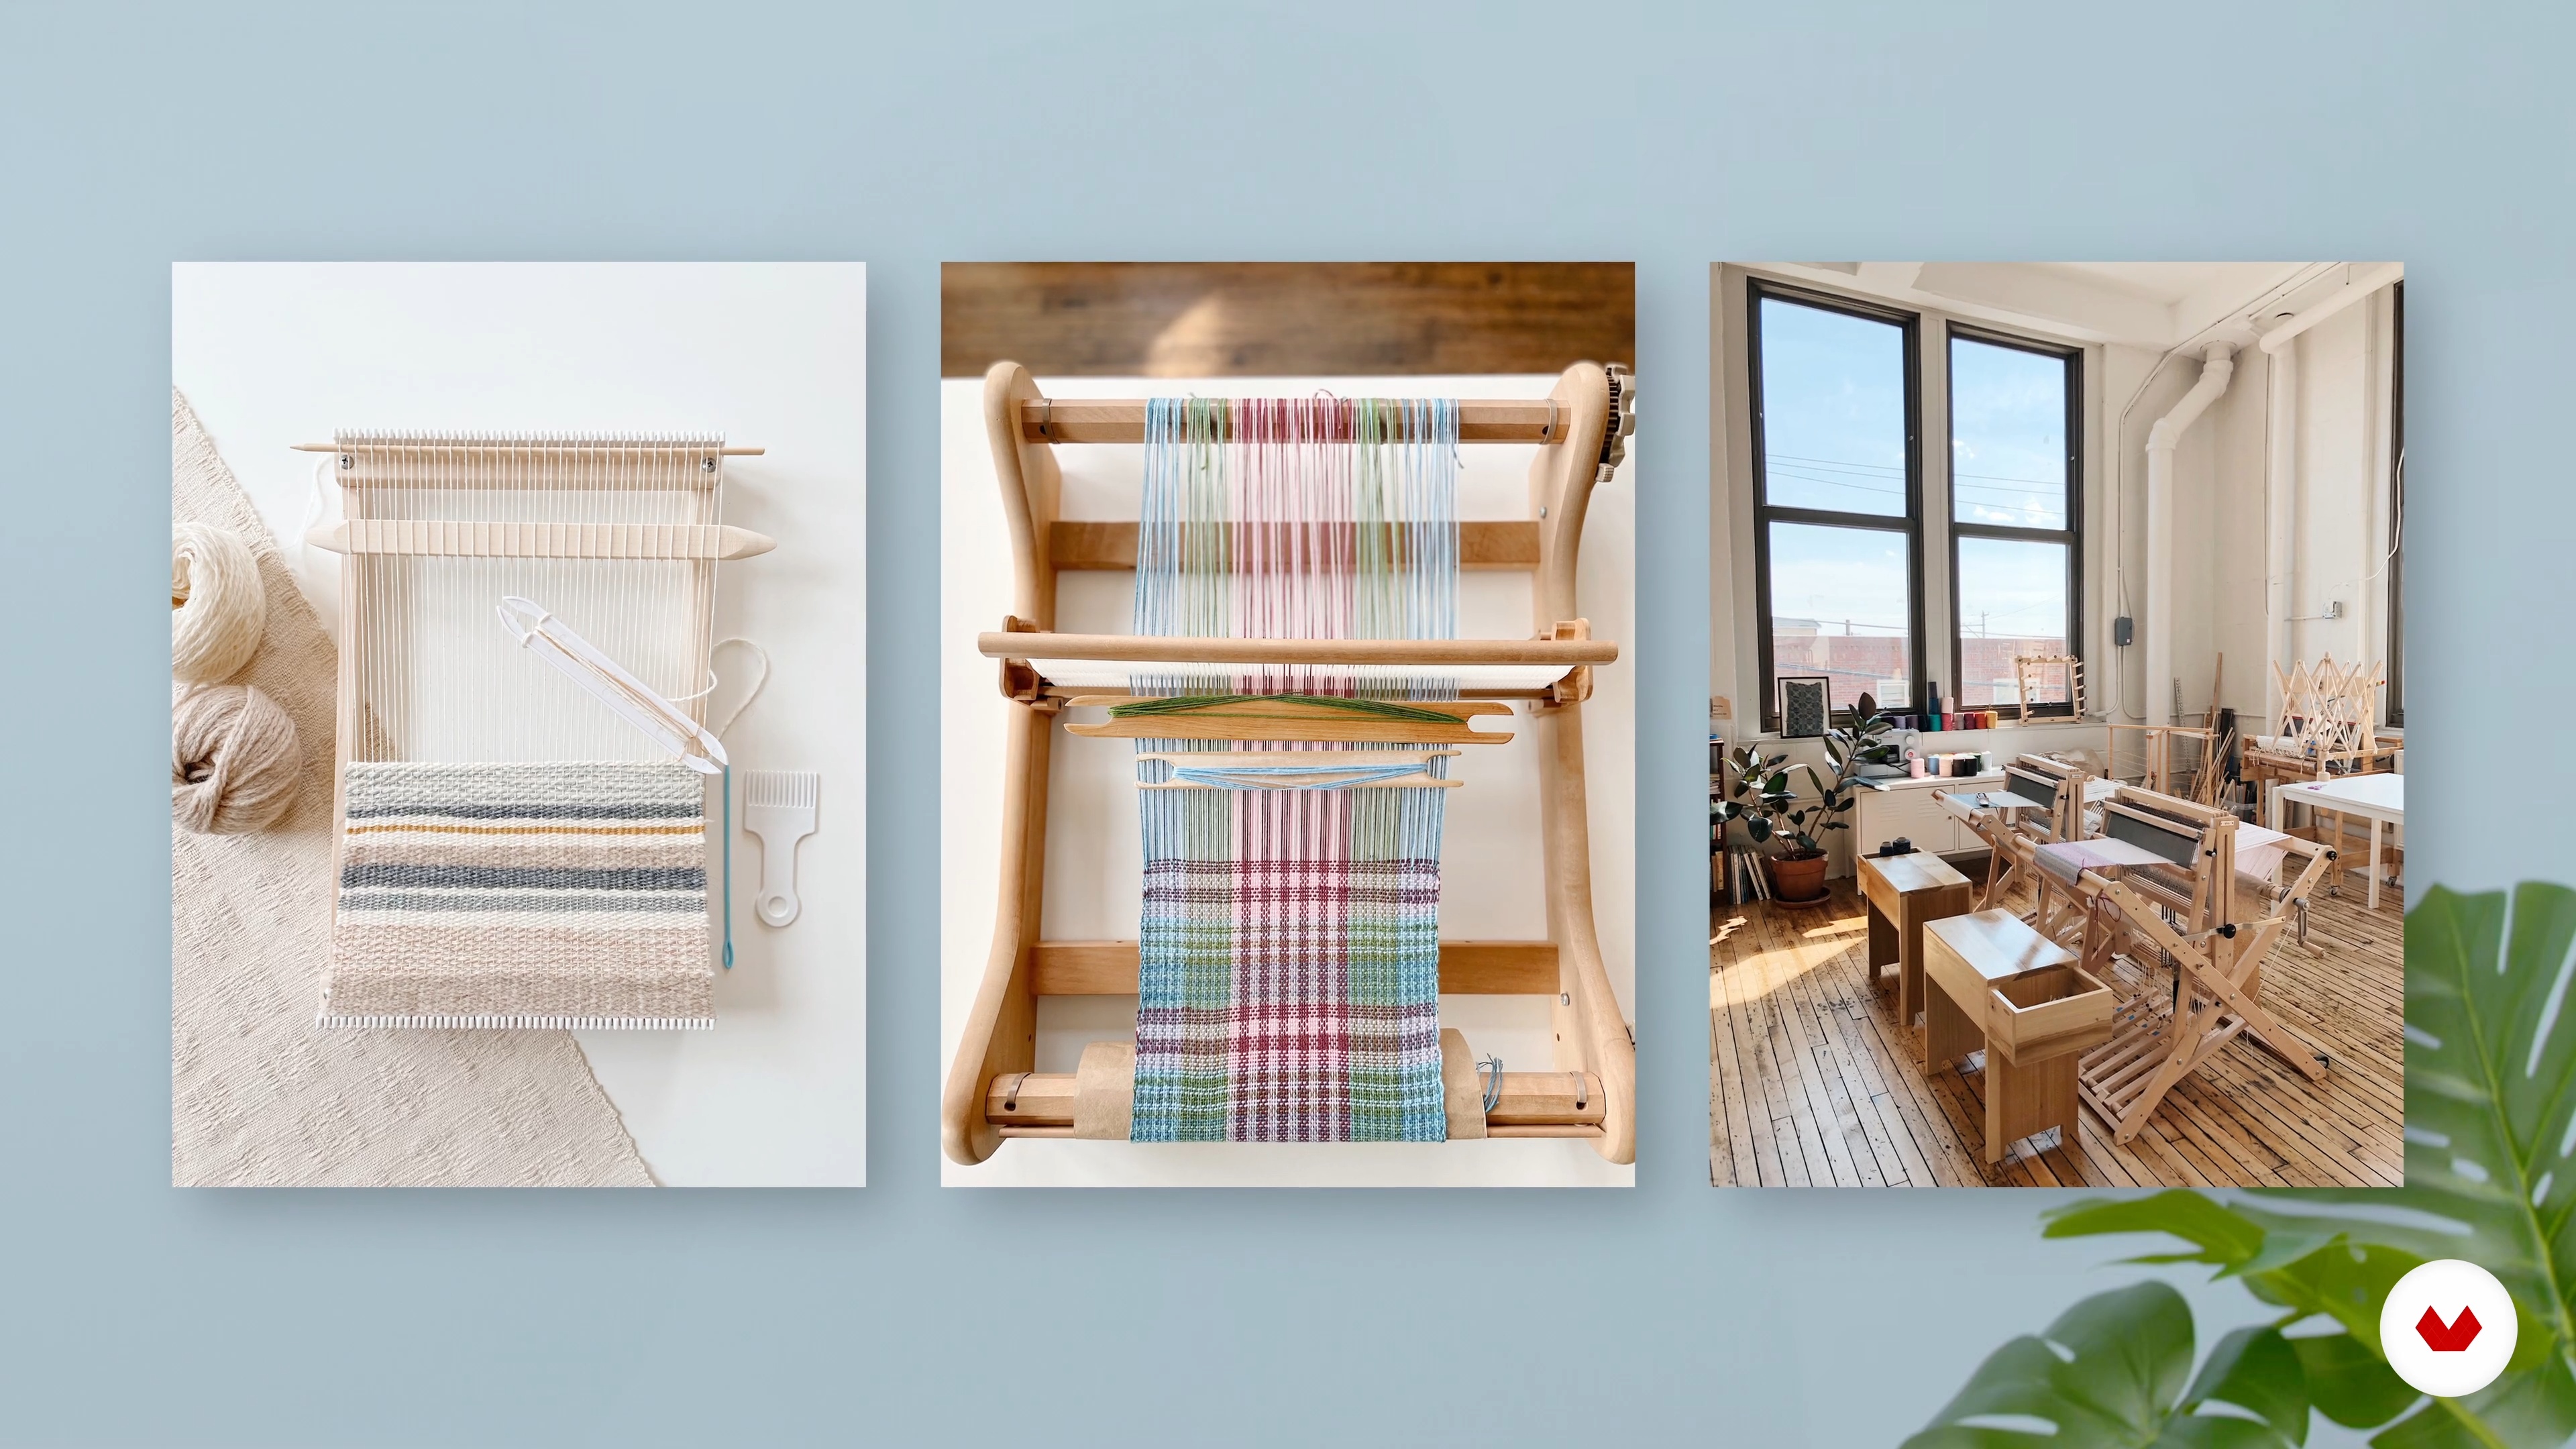
    To begin, I will introduce you to the different types of looms – frame, hand, floor, and arm – paying special attention to the frame loom. I with help you to understand the important elements of your loom and how this will affect your woven design. You will also learn important key terms, such as pedal bars, notches, side frames, warp, and weft.

    13m

    Choosing Your Weaving Tools and Equipment4

    Choosing Your Weaving Tools and Equipment

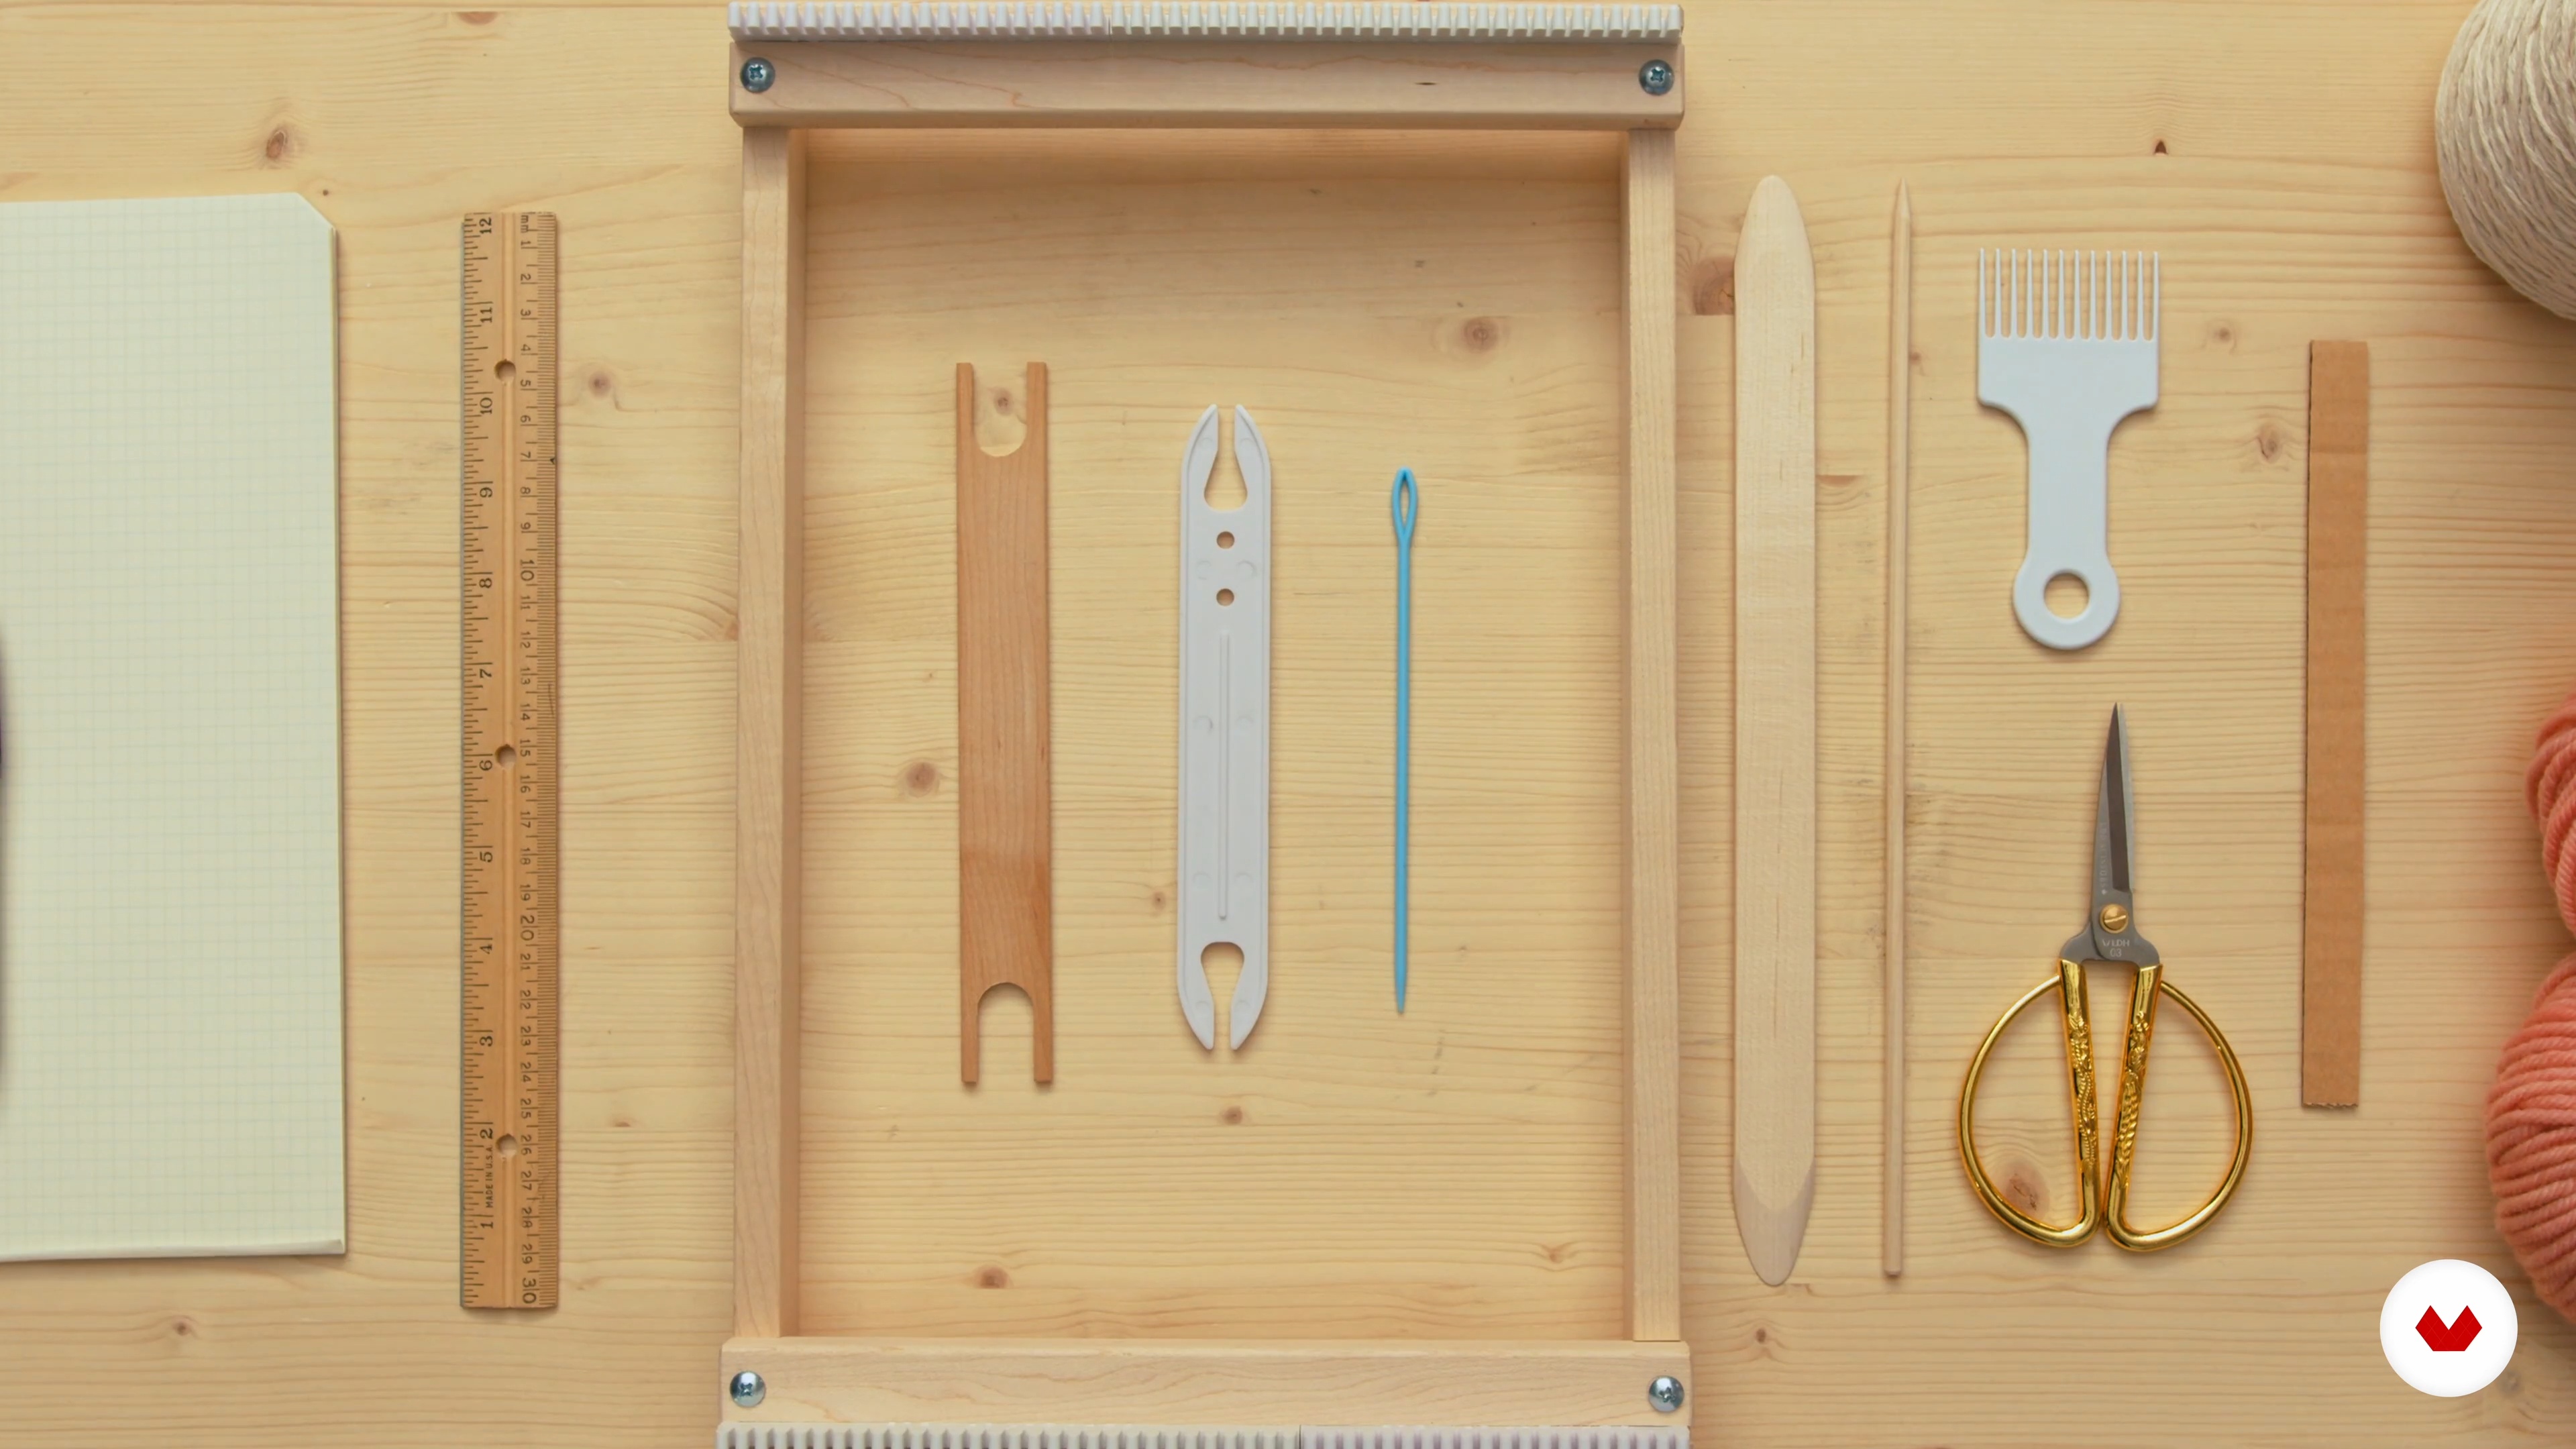
    Having the right equipment not only makes it more enjoyable to weave but can speed up the process and save you time. In this lesson, I will give you an overview of the tools you will need. You will learn what's available on the market and what to look out for when sourcing and weaving with your tools.

    14m

    Exploring Materials 15

    Exploring Materials 1

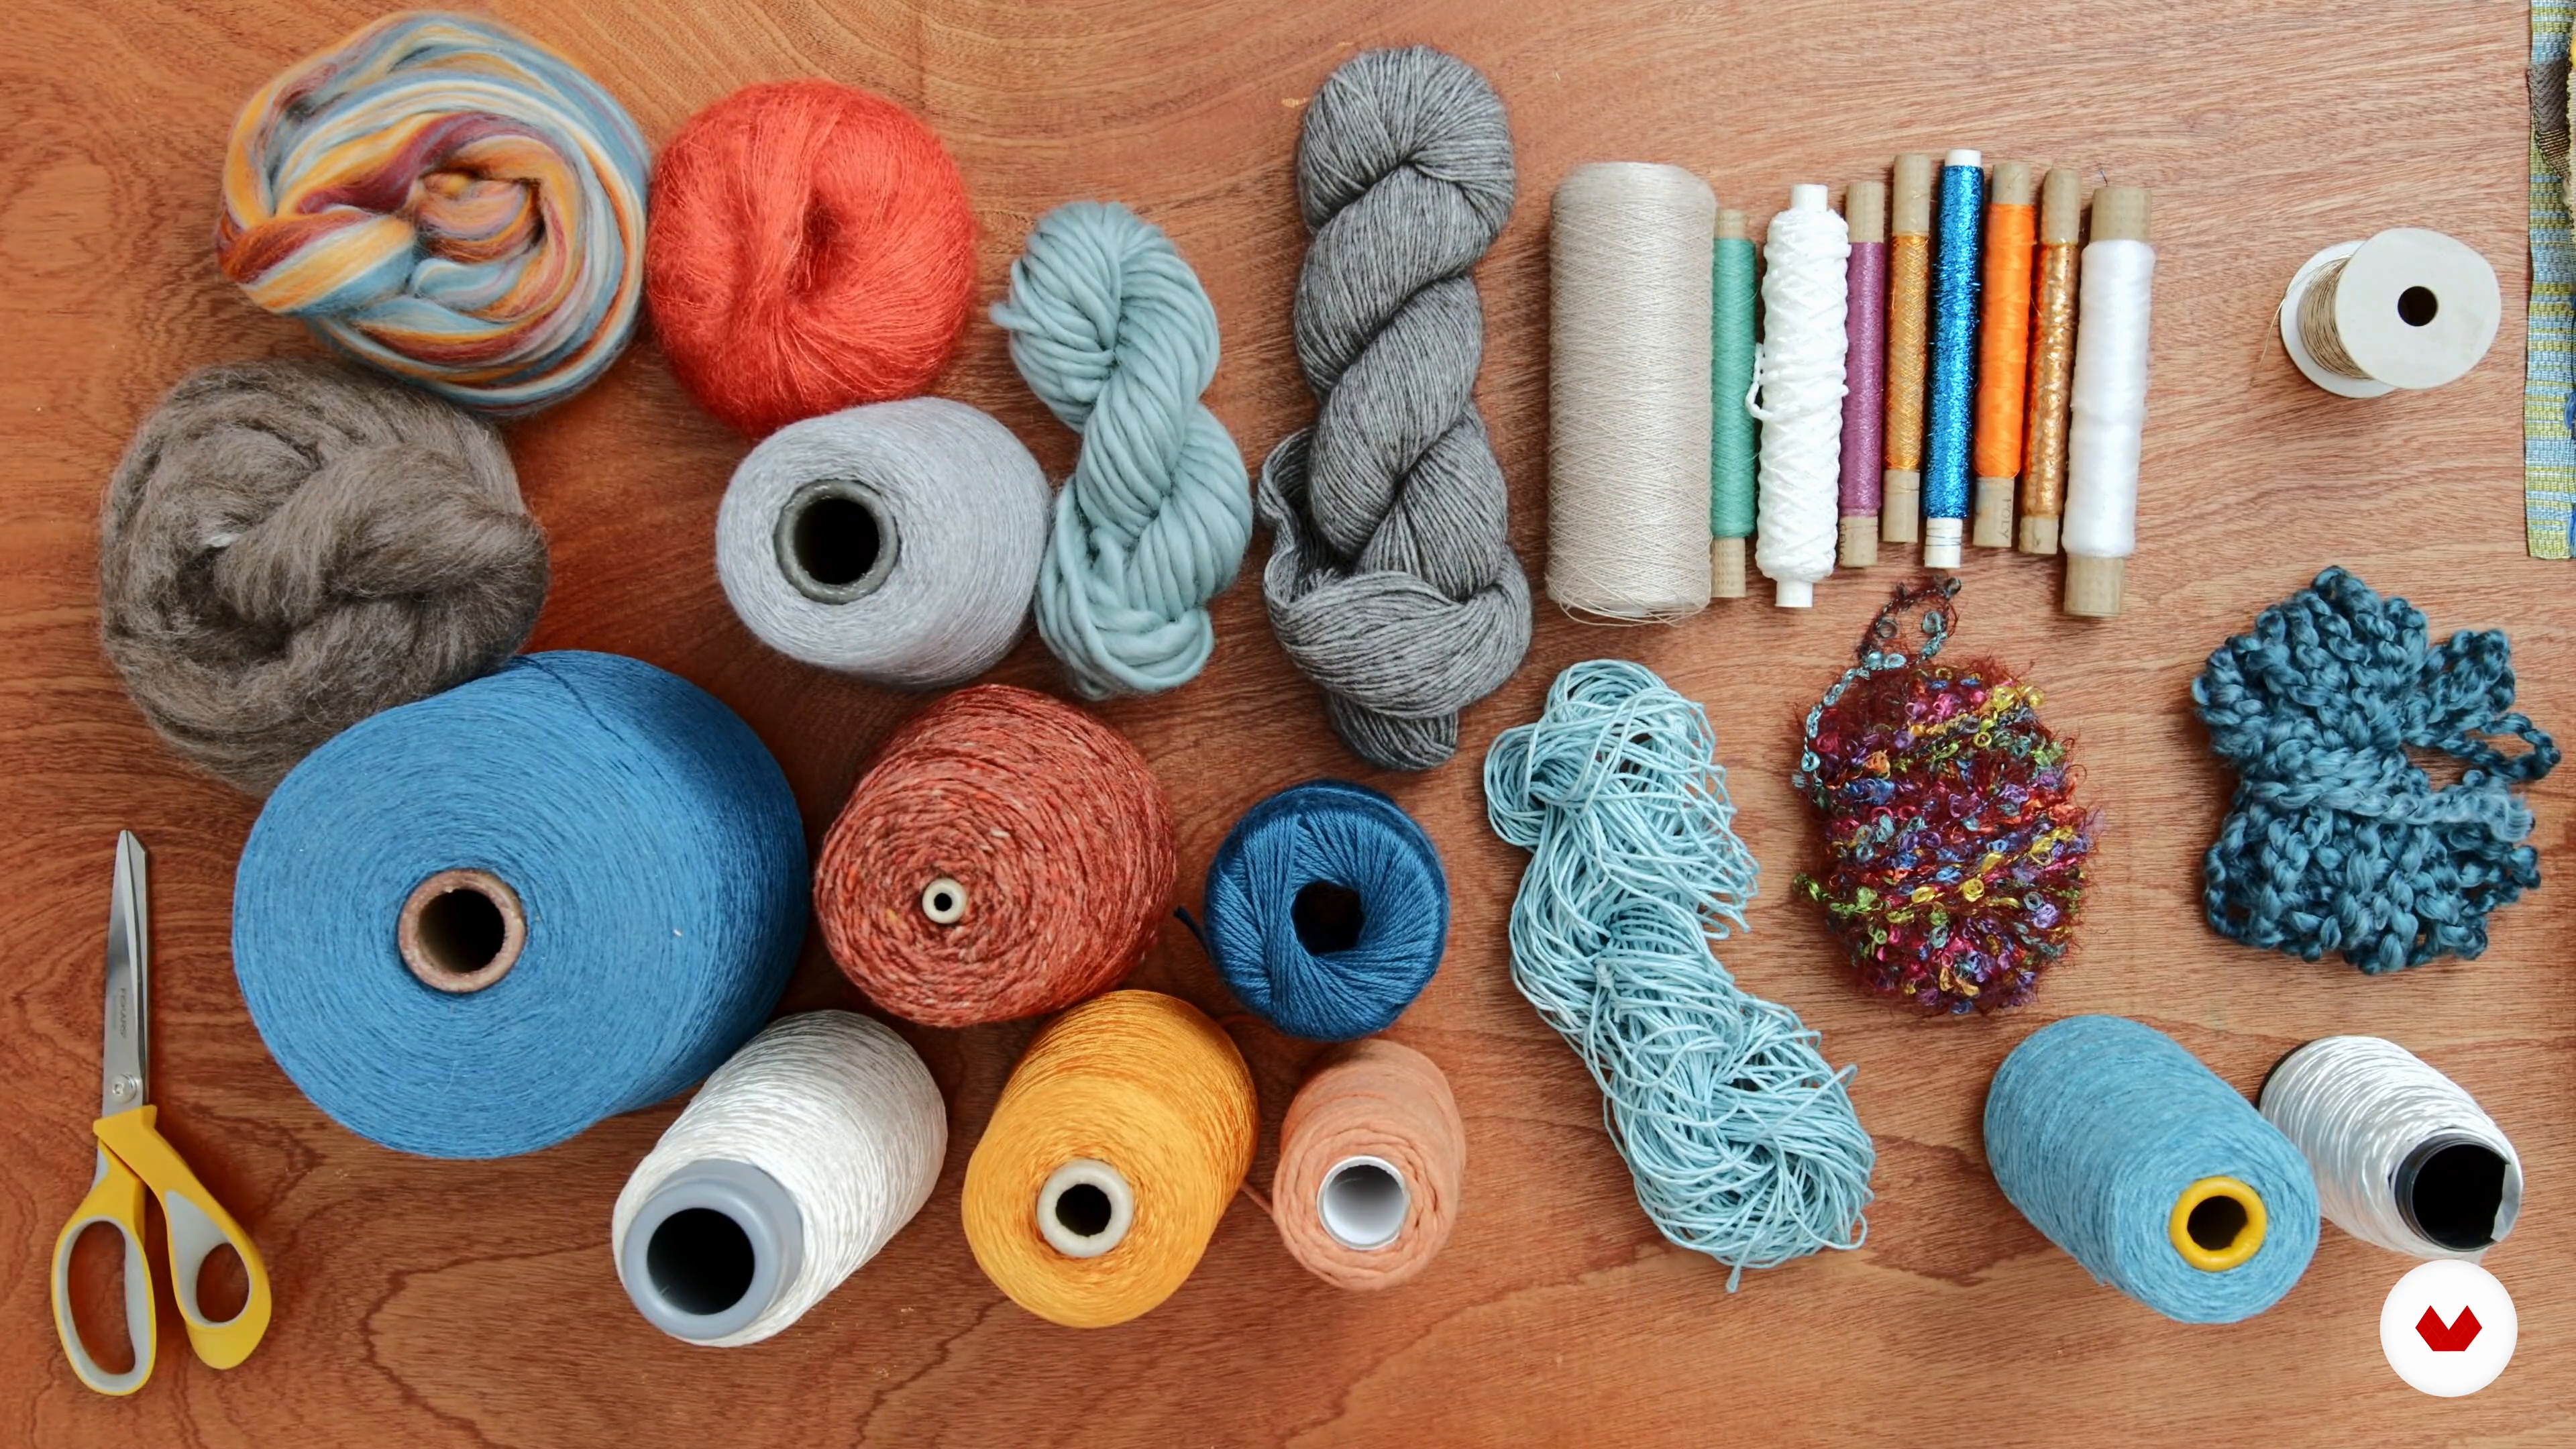
    Let's dive into my favourite aspect of weaving: yarns and fibres! In this exciting lesson, I will explain the different types of yarns and materials you can work with and their many natural properties. Including shrinking, colour, texture, quality, and look. You will discover how to choose the right yarn for your project.

    8m

    Exploring Materials 26

    Exploring Materials 2

    Now that we've covered natural fibres, I'm going to discuss synthetic materials and how best to apply their properties. What can you create with all your different yarns?

    13m

    Plain Weave Pattern 17

    Plain Weave Pattern 1

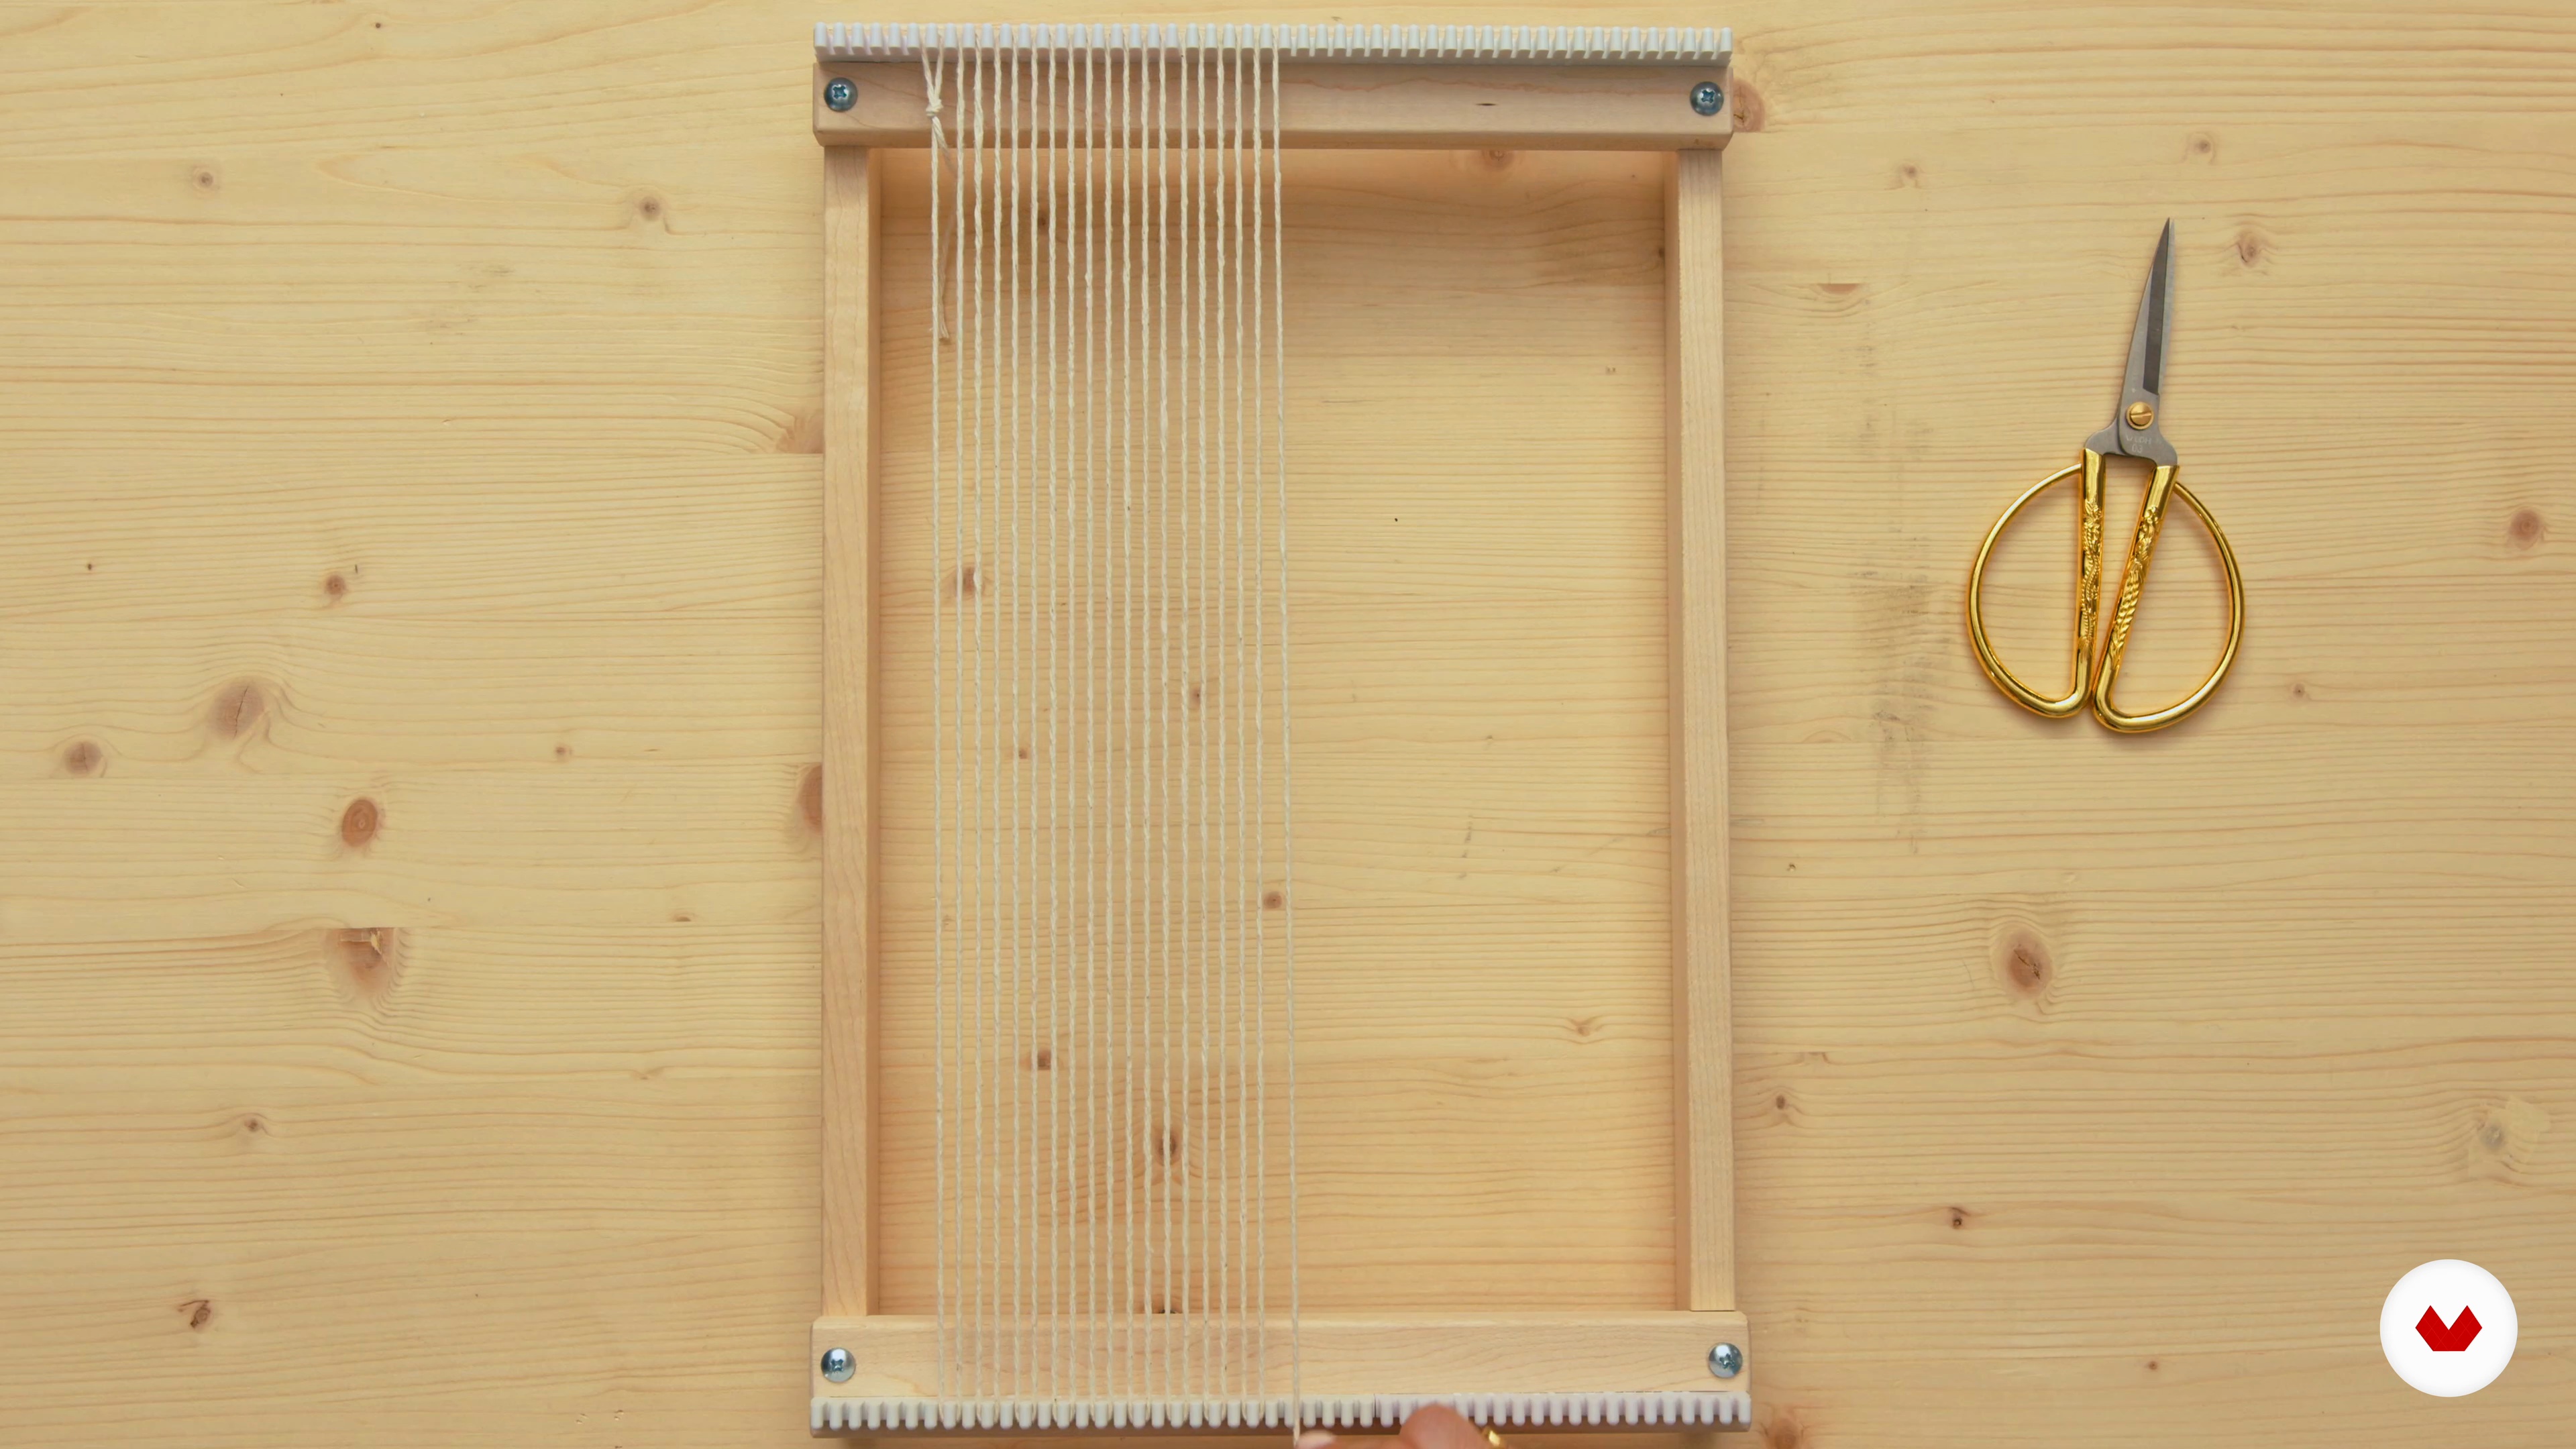
    In this lesson, you will learn about the plain weave pattern and its importance. I will first demonstrate how to set up your warp threads on a frame loom, ready to practise the technique. Then, I will clarify the meaning of ends per inch (EPI).

    9m

    Plain Weave Pattern 28

    Plain Weave Pattern 2

    Now that the warp threads are set, let’s begin the plain weave by starting to construct the weft. Here, I will teach you how to achieve a balanced set.

    14m

    Twill Pattern9

    Twill Pattern

    Let’s move on to the next pattern, the twill. This is a diagonal pattern. In this lesson, you will continue learning how to follow weaving patterns.

    12m

    Shaping and Split Technique10

    Shaping and Split Technique

    In this lesson, I will share some tips and tricks on how to shape your weaves using the split technique, a fundamental tapestry weaving technique.

    14m

    Soumak Technique11

    Soumak Technique

    To complete this unit, you will learn one final technique: the Soumak! This is a contemporary weaving technique that creates wonderful texture, as the pattern has a braided effect. I will model it using three different yarns of varying degrees of thickness.

    14m

    Basic Colour Theory12

    Basic Colour Theory

    In this lesson, you will learn how colour has a big impact on the outcome of your woven cushion. You will learn basic colour theory and create yarn windings to represent your chosen colour combinations for warp and weft.

    12m

    Creating a Mood Board13

    Creating a Mood Board

    Now, let's focus on pulling your ideas together to create a coherent design, including the chosen colour palette and textures. As a reference, I will show you my own mood board and identify the different elements to also include in yours to help you design the cushion.

    5m

    Sketching a Pattern and Technical Notes 114

    Sketching a Pattern and Technical Notes 1

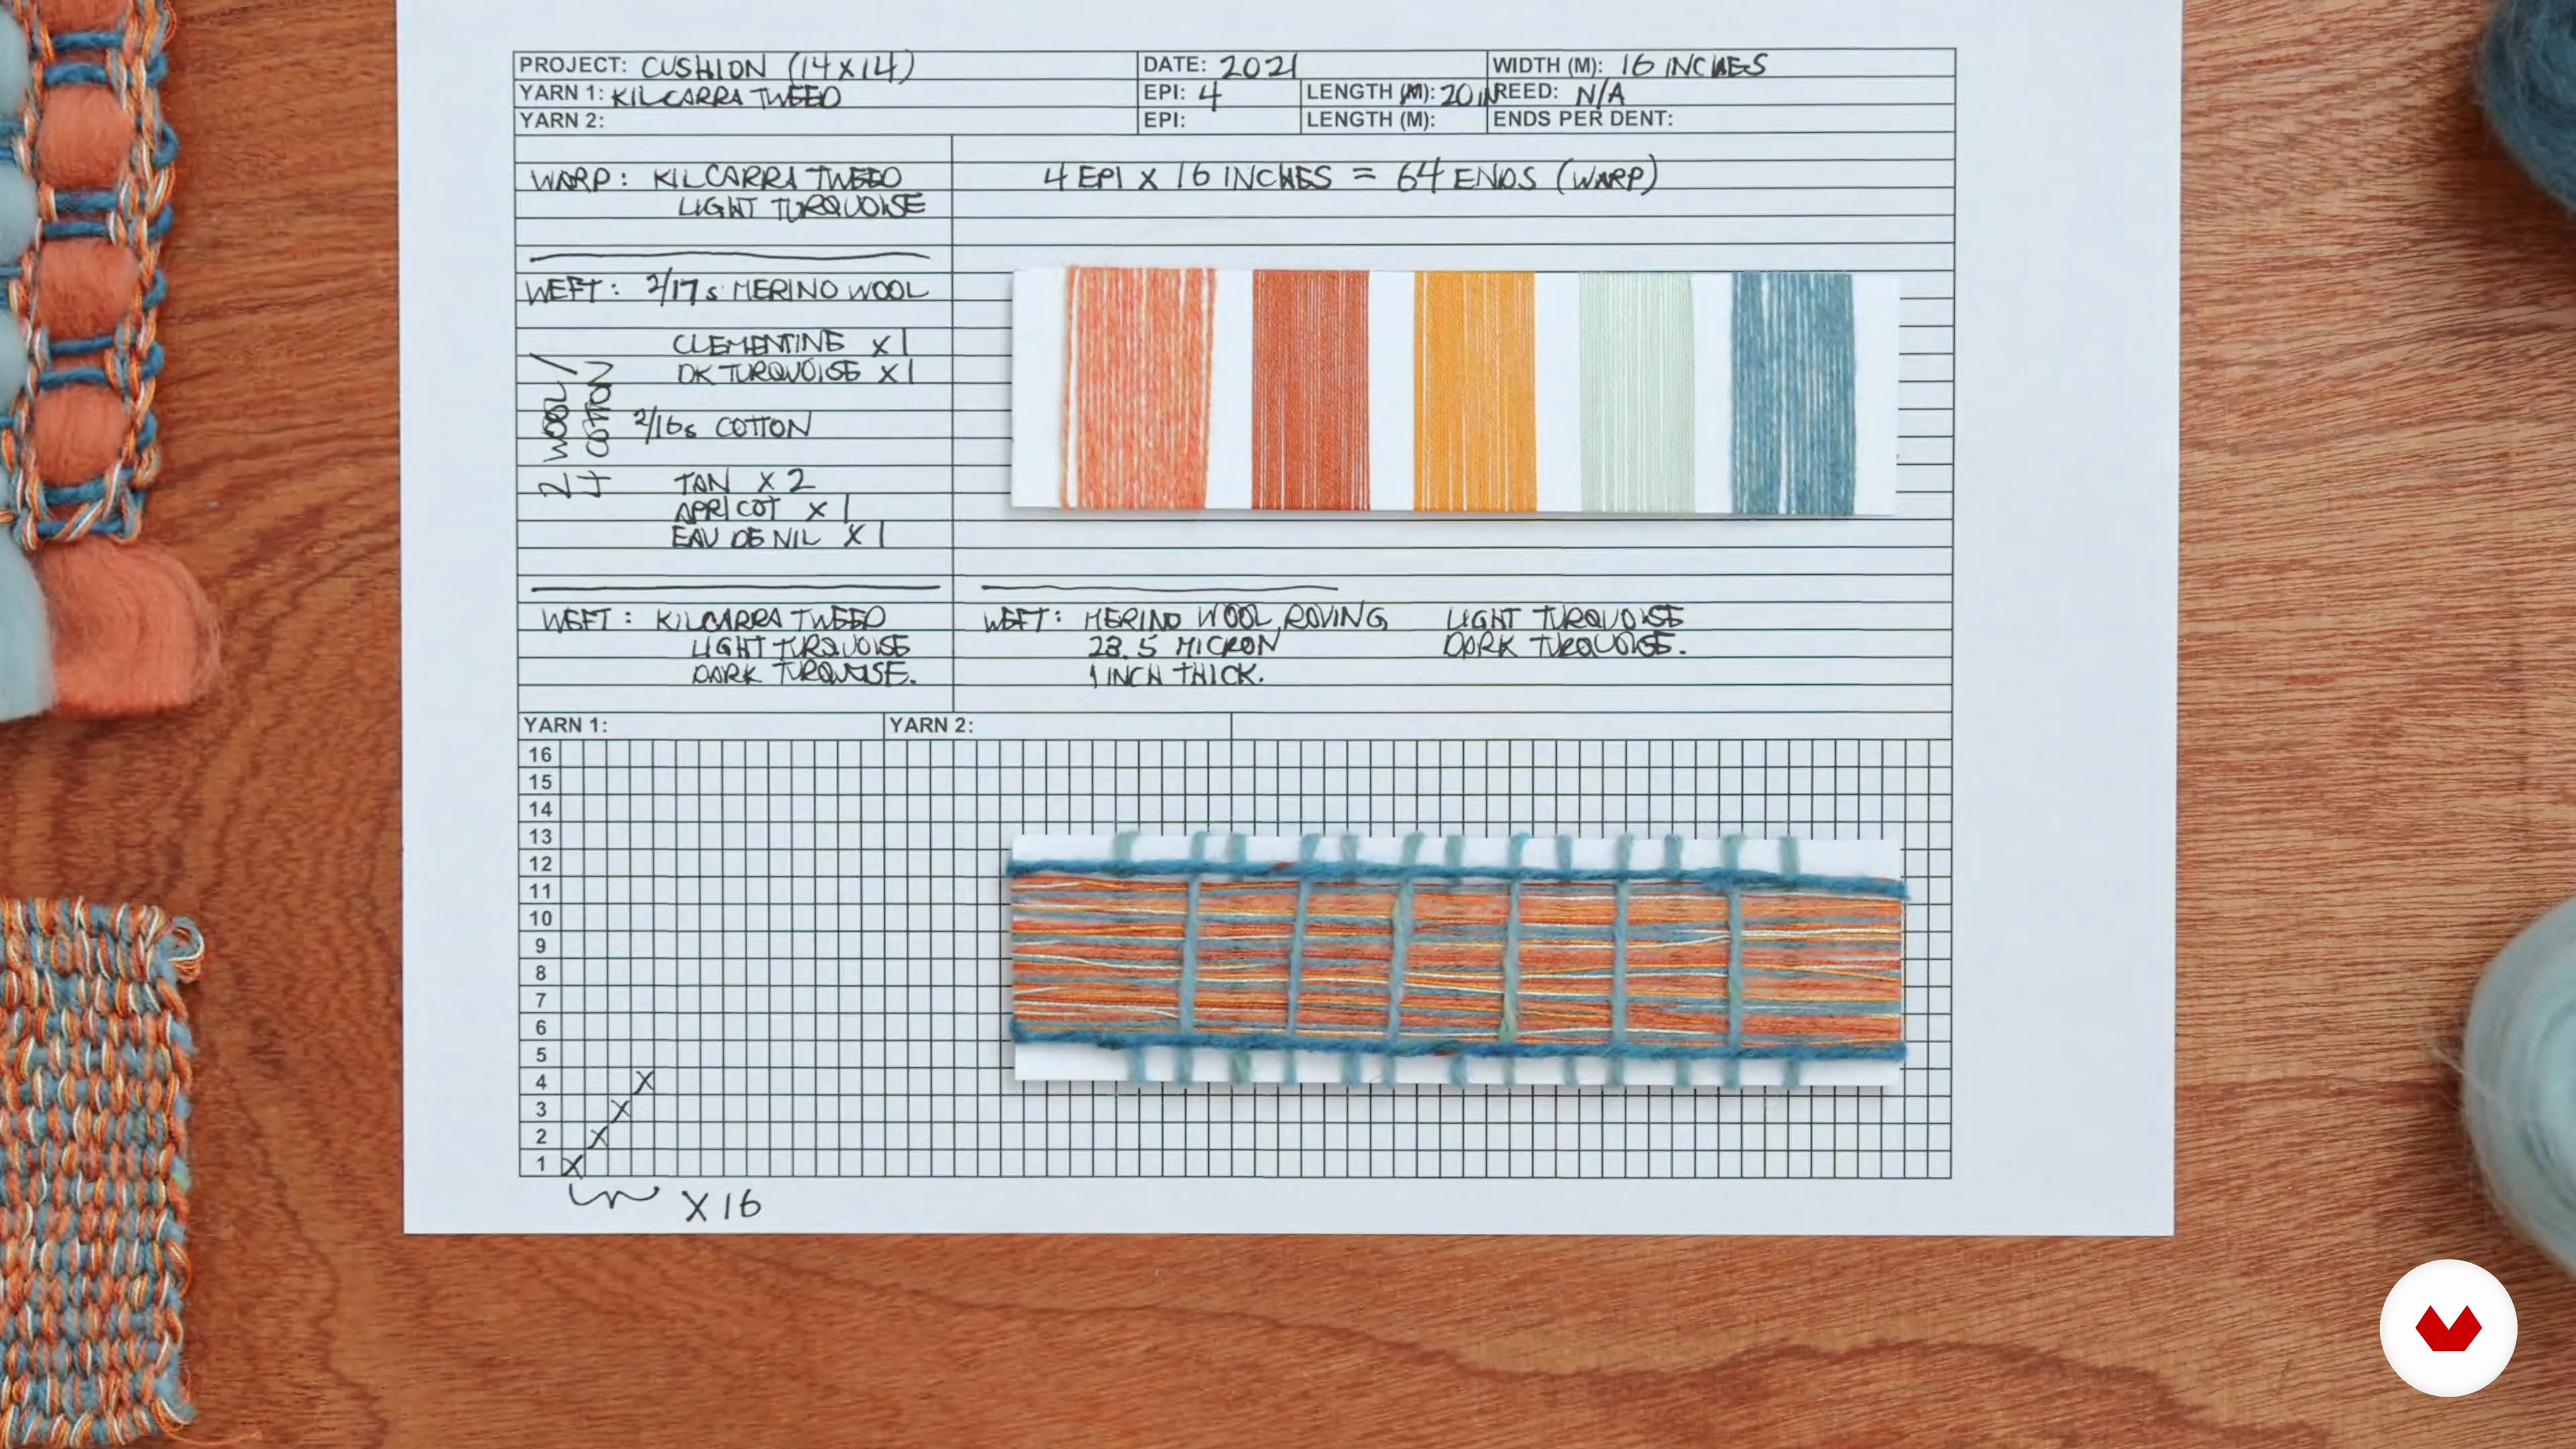
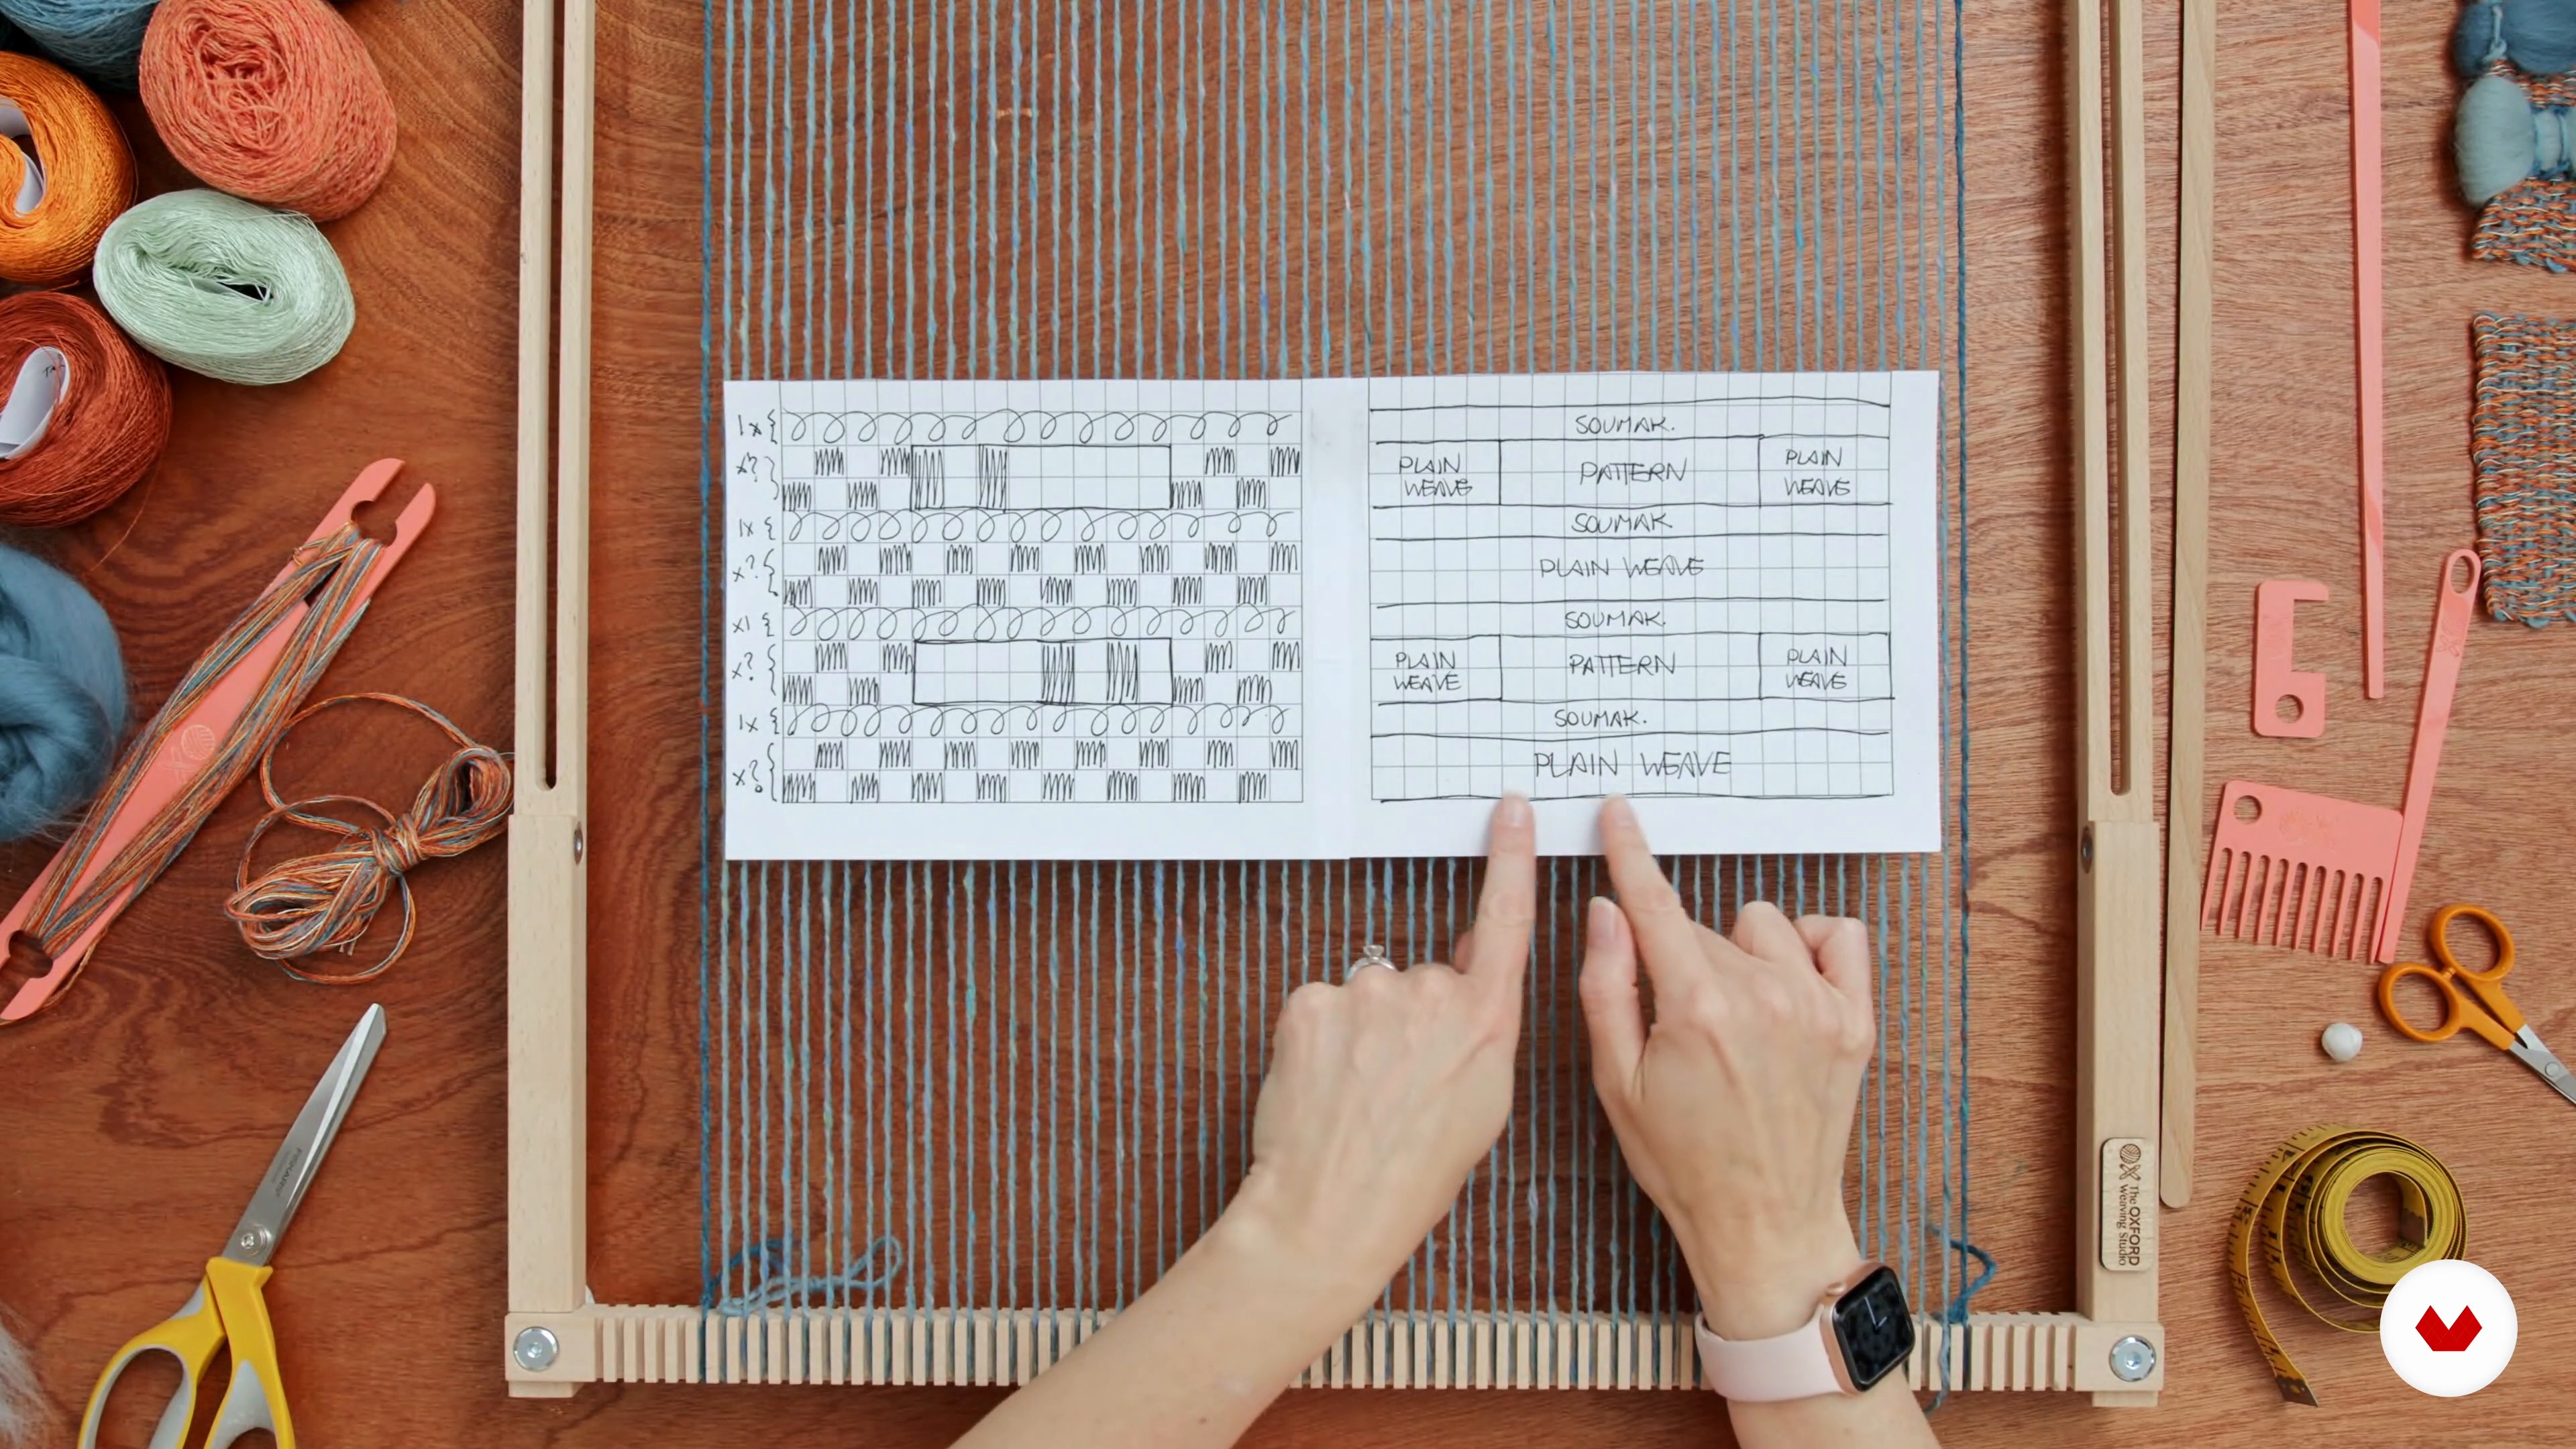
    In this lesson, you will learn how to best prepare your design idea. I will start by showing the organisation process. You will see how I document all the information required to create a project, including materials, warp setup, scales and sizes, etc.

    11m

    Sketching a Pattern and Technical Notes 215

    Sketching a Pattern and Technical Notes 2

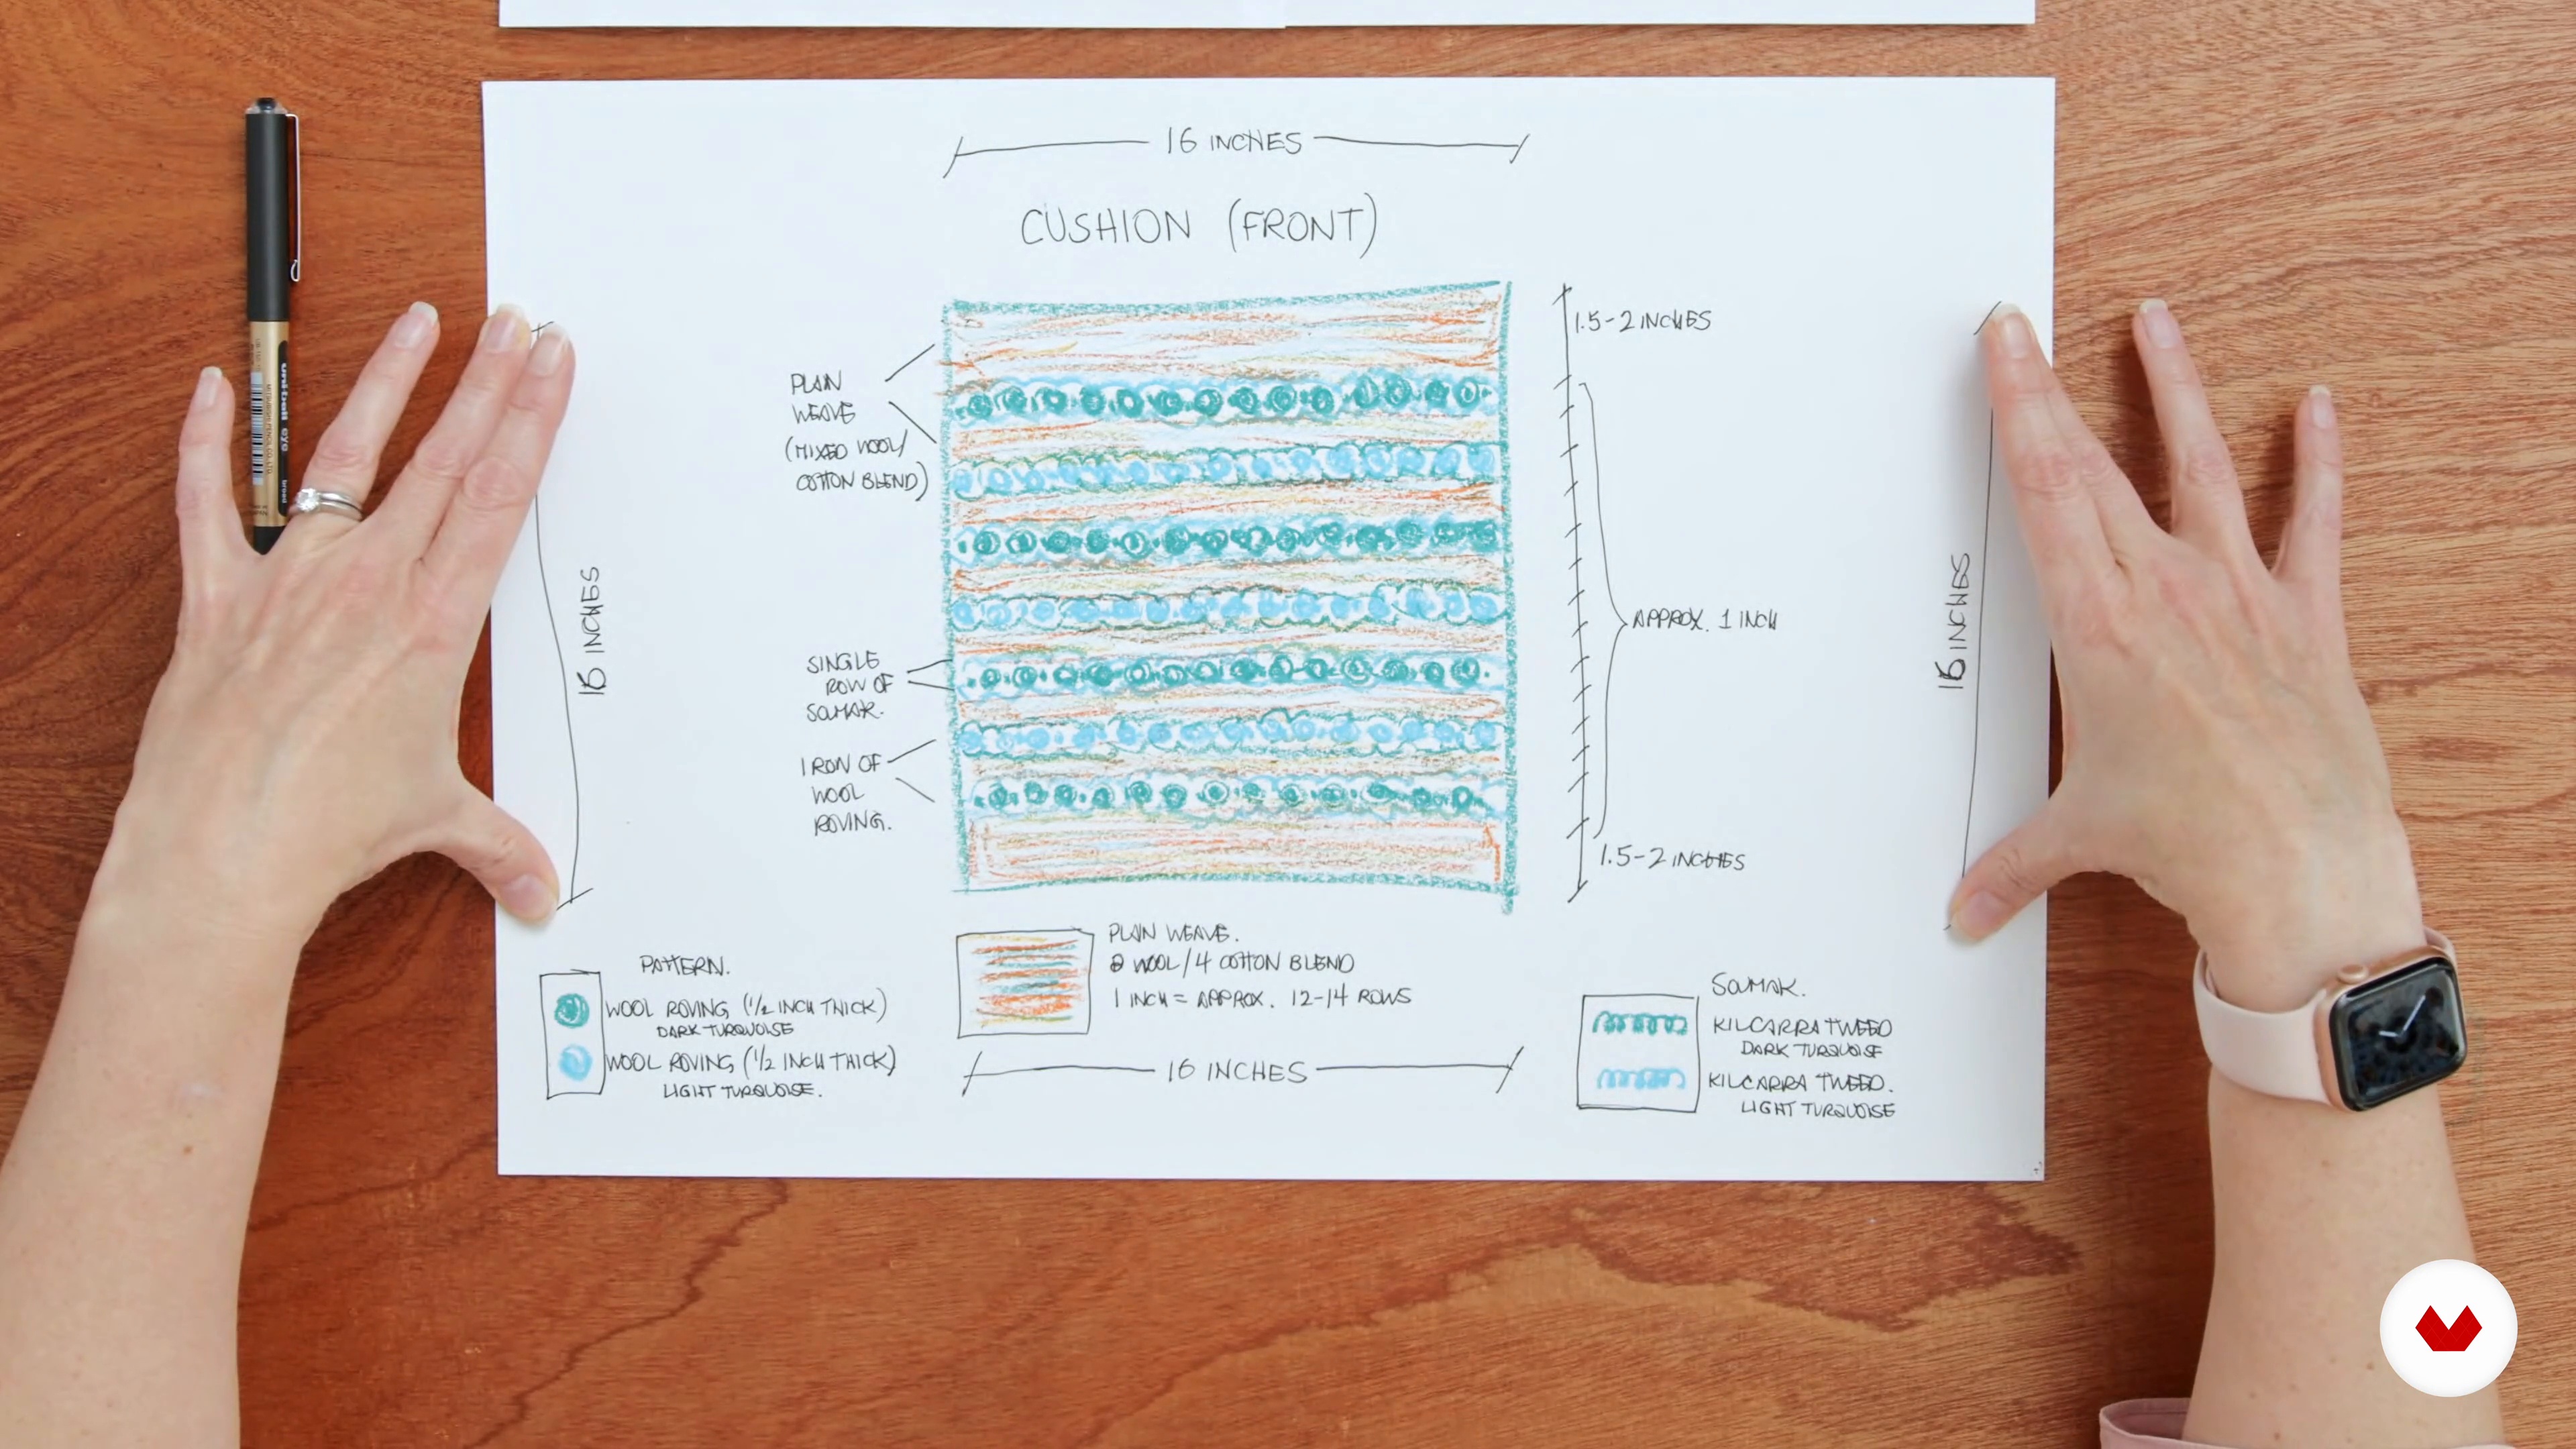
    For those of you who shy away from the technicalities, here I will cover some simple visual references to support you in the planning process. By the end, you will have learnt several different ways to record your ideas, including how to sketch the pattern and write technical notes, to support you in creating your final design.

    10m

    Weaving the Design 116

    Weaving the Design 1

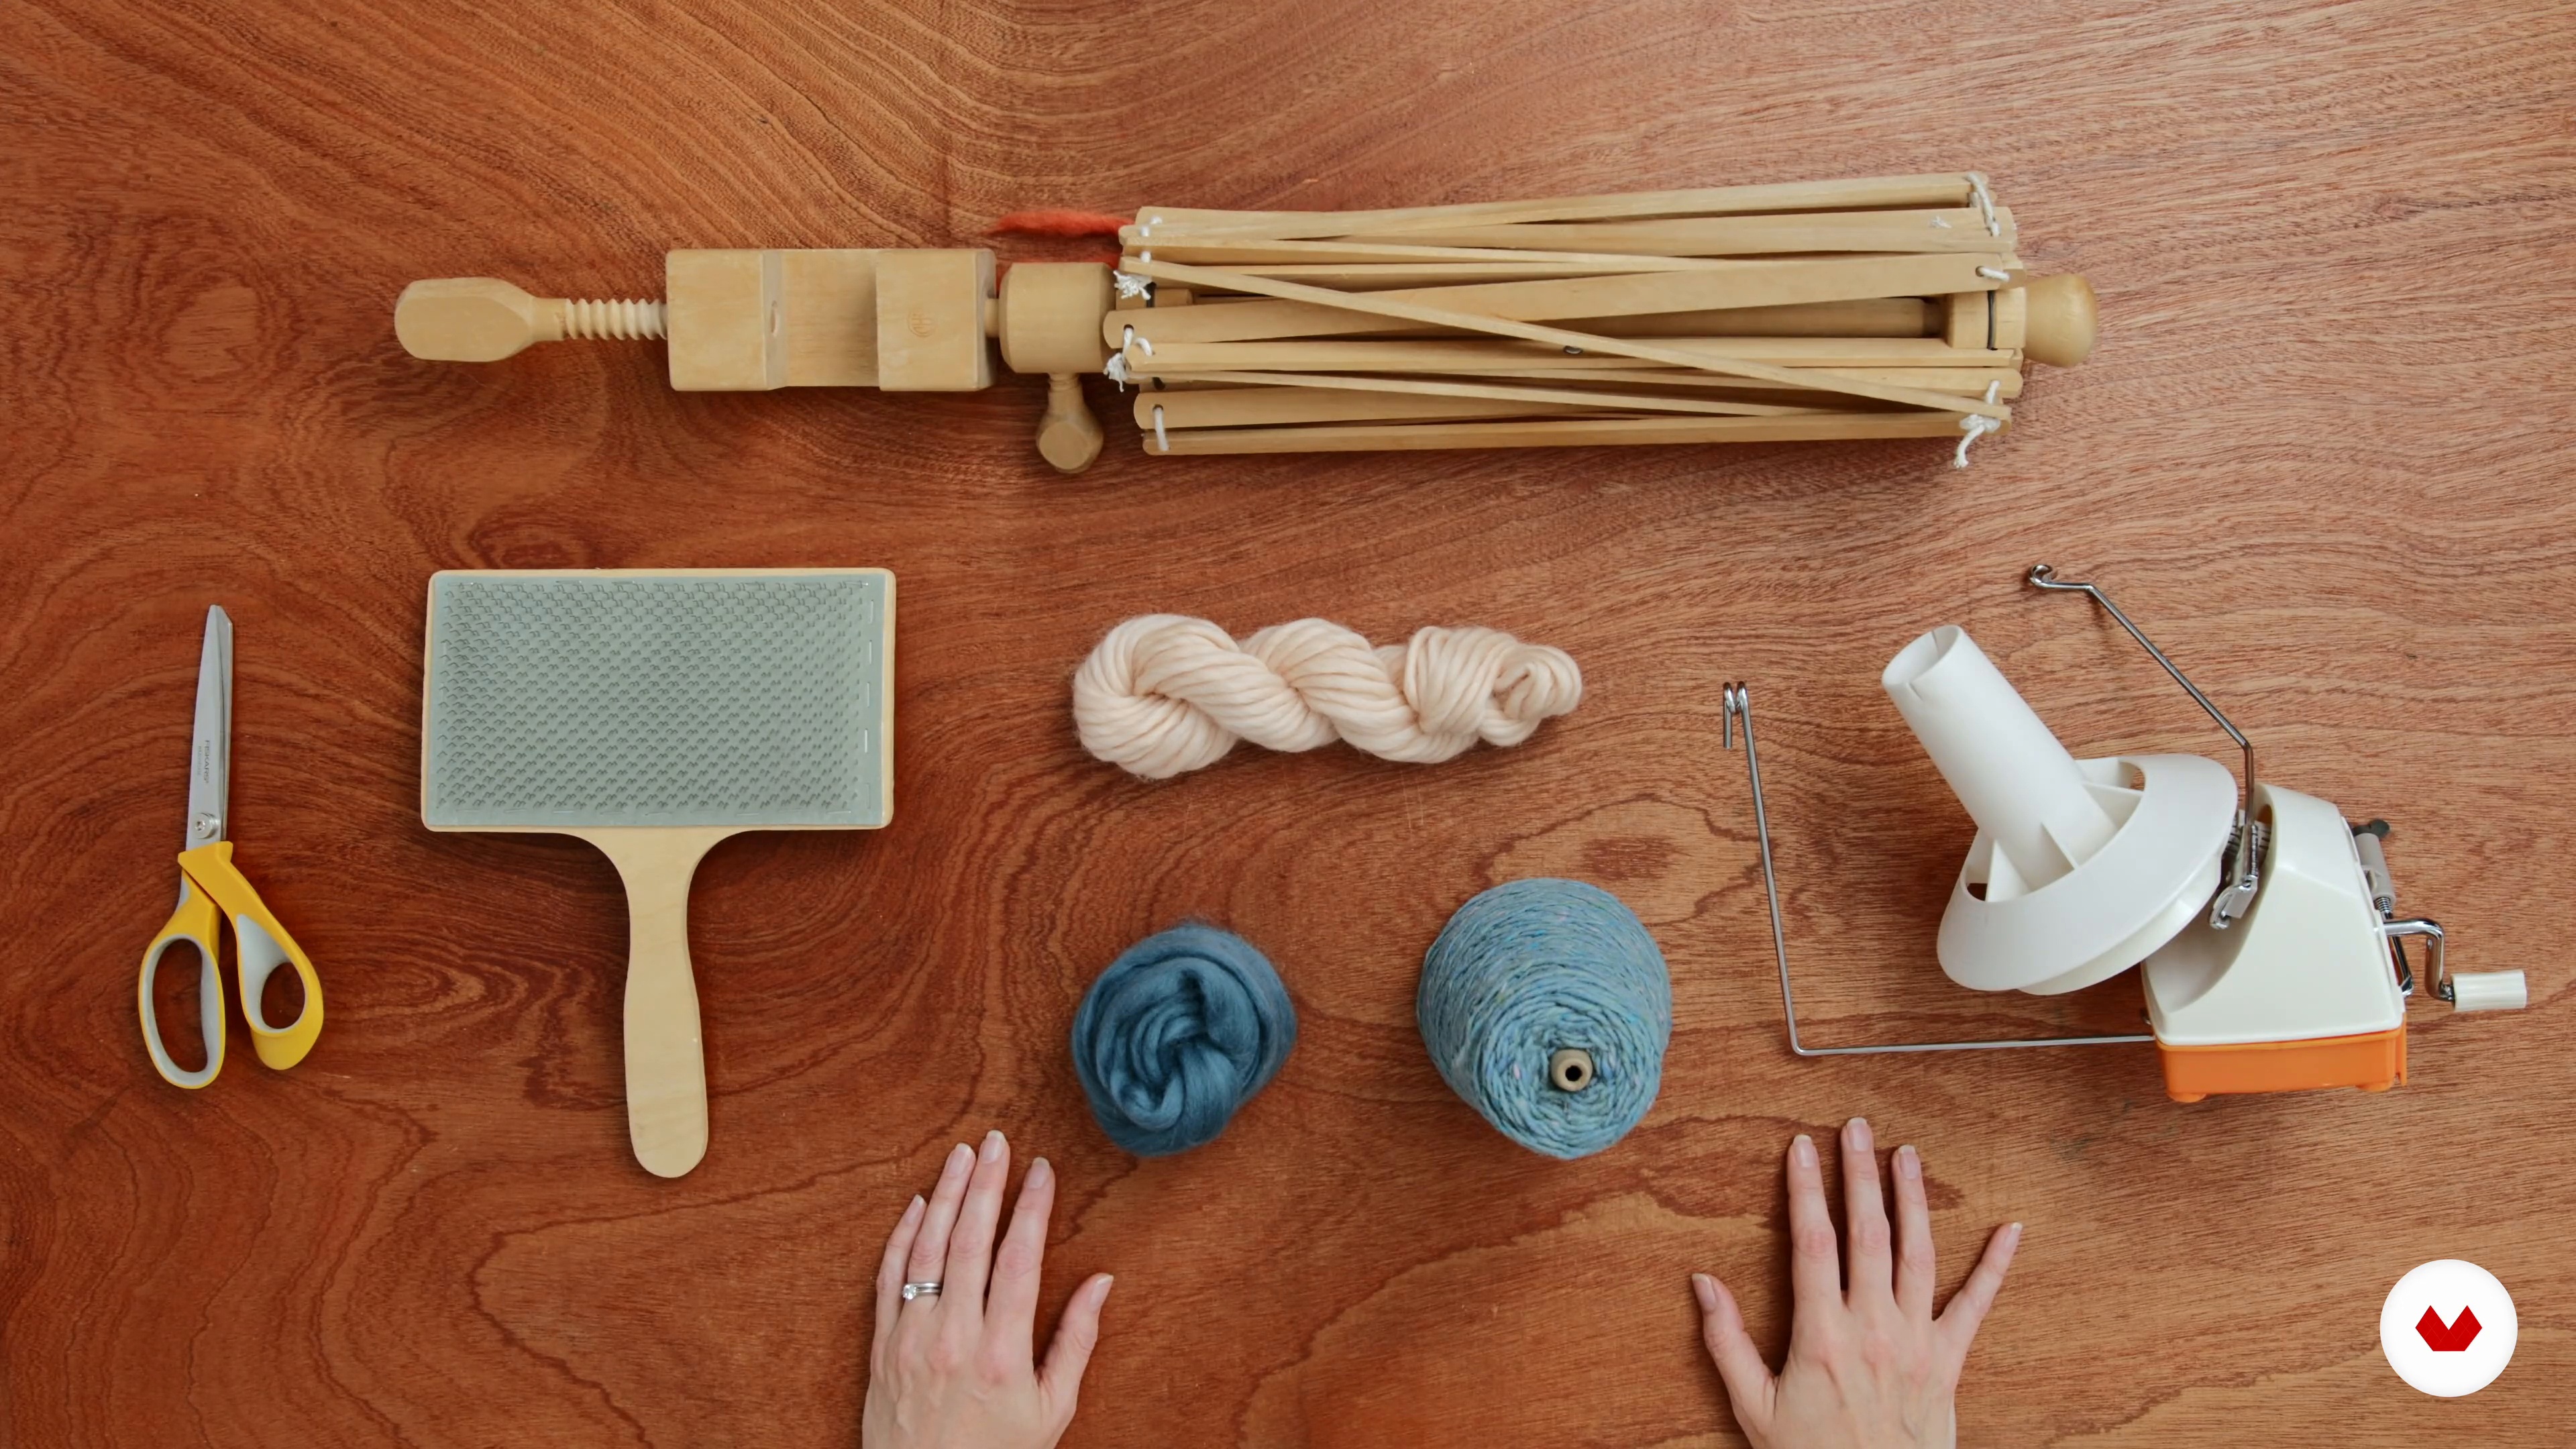
    Let's start weaving! You will use your design sketch and/or technical notes to create a woven sample, later progressing to the final cushion design. However, I will first demonstrate each of the yarns that I will be using, showing you the best ways to prepare them to ensure your weaving is as quick and enjoyable as possible.

    18m

    Weaving the Design 217

    Weaving the Design 2

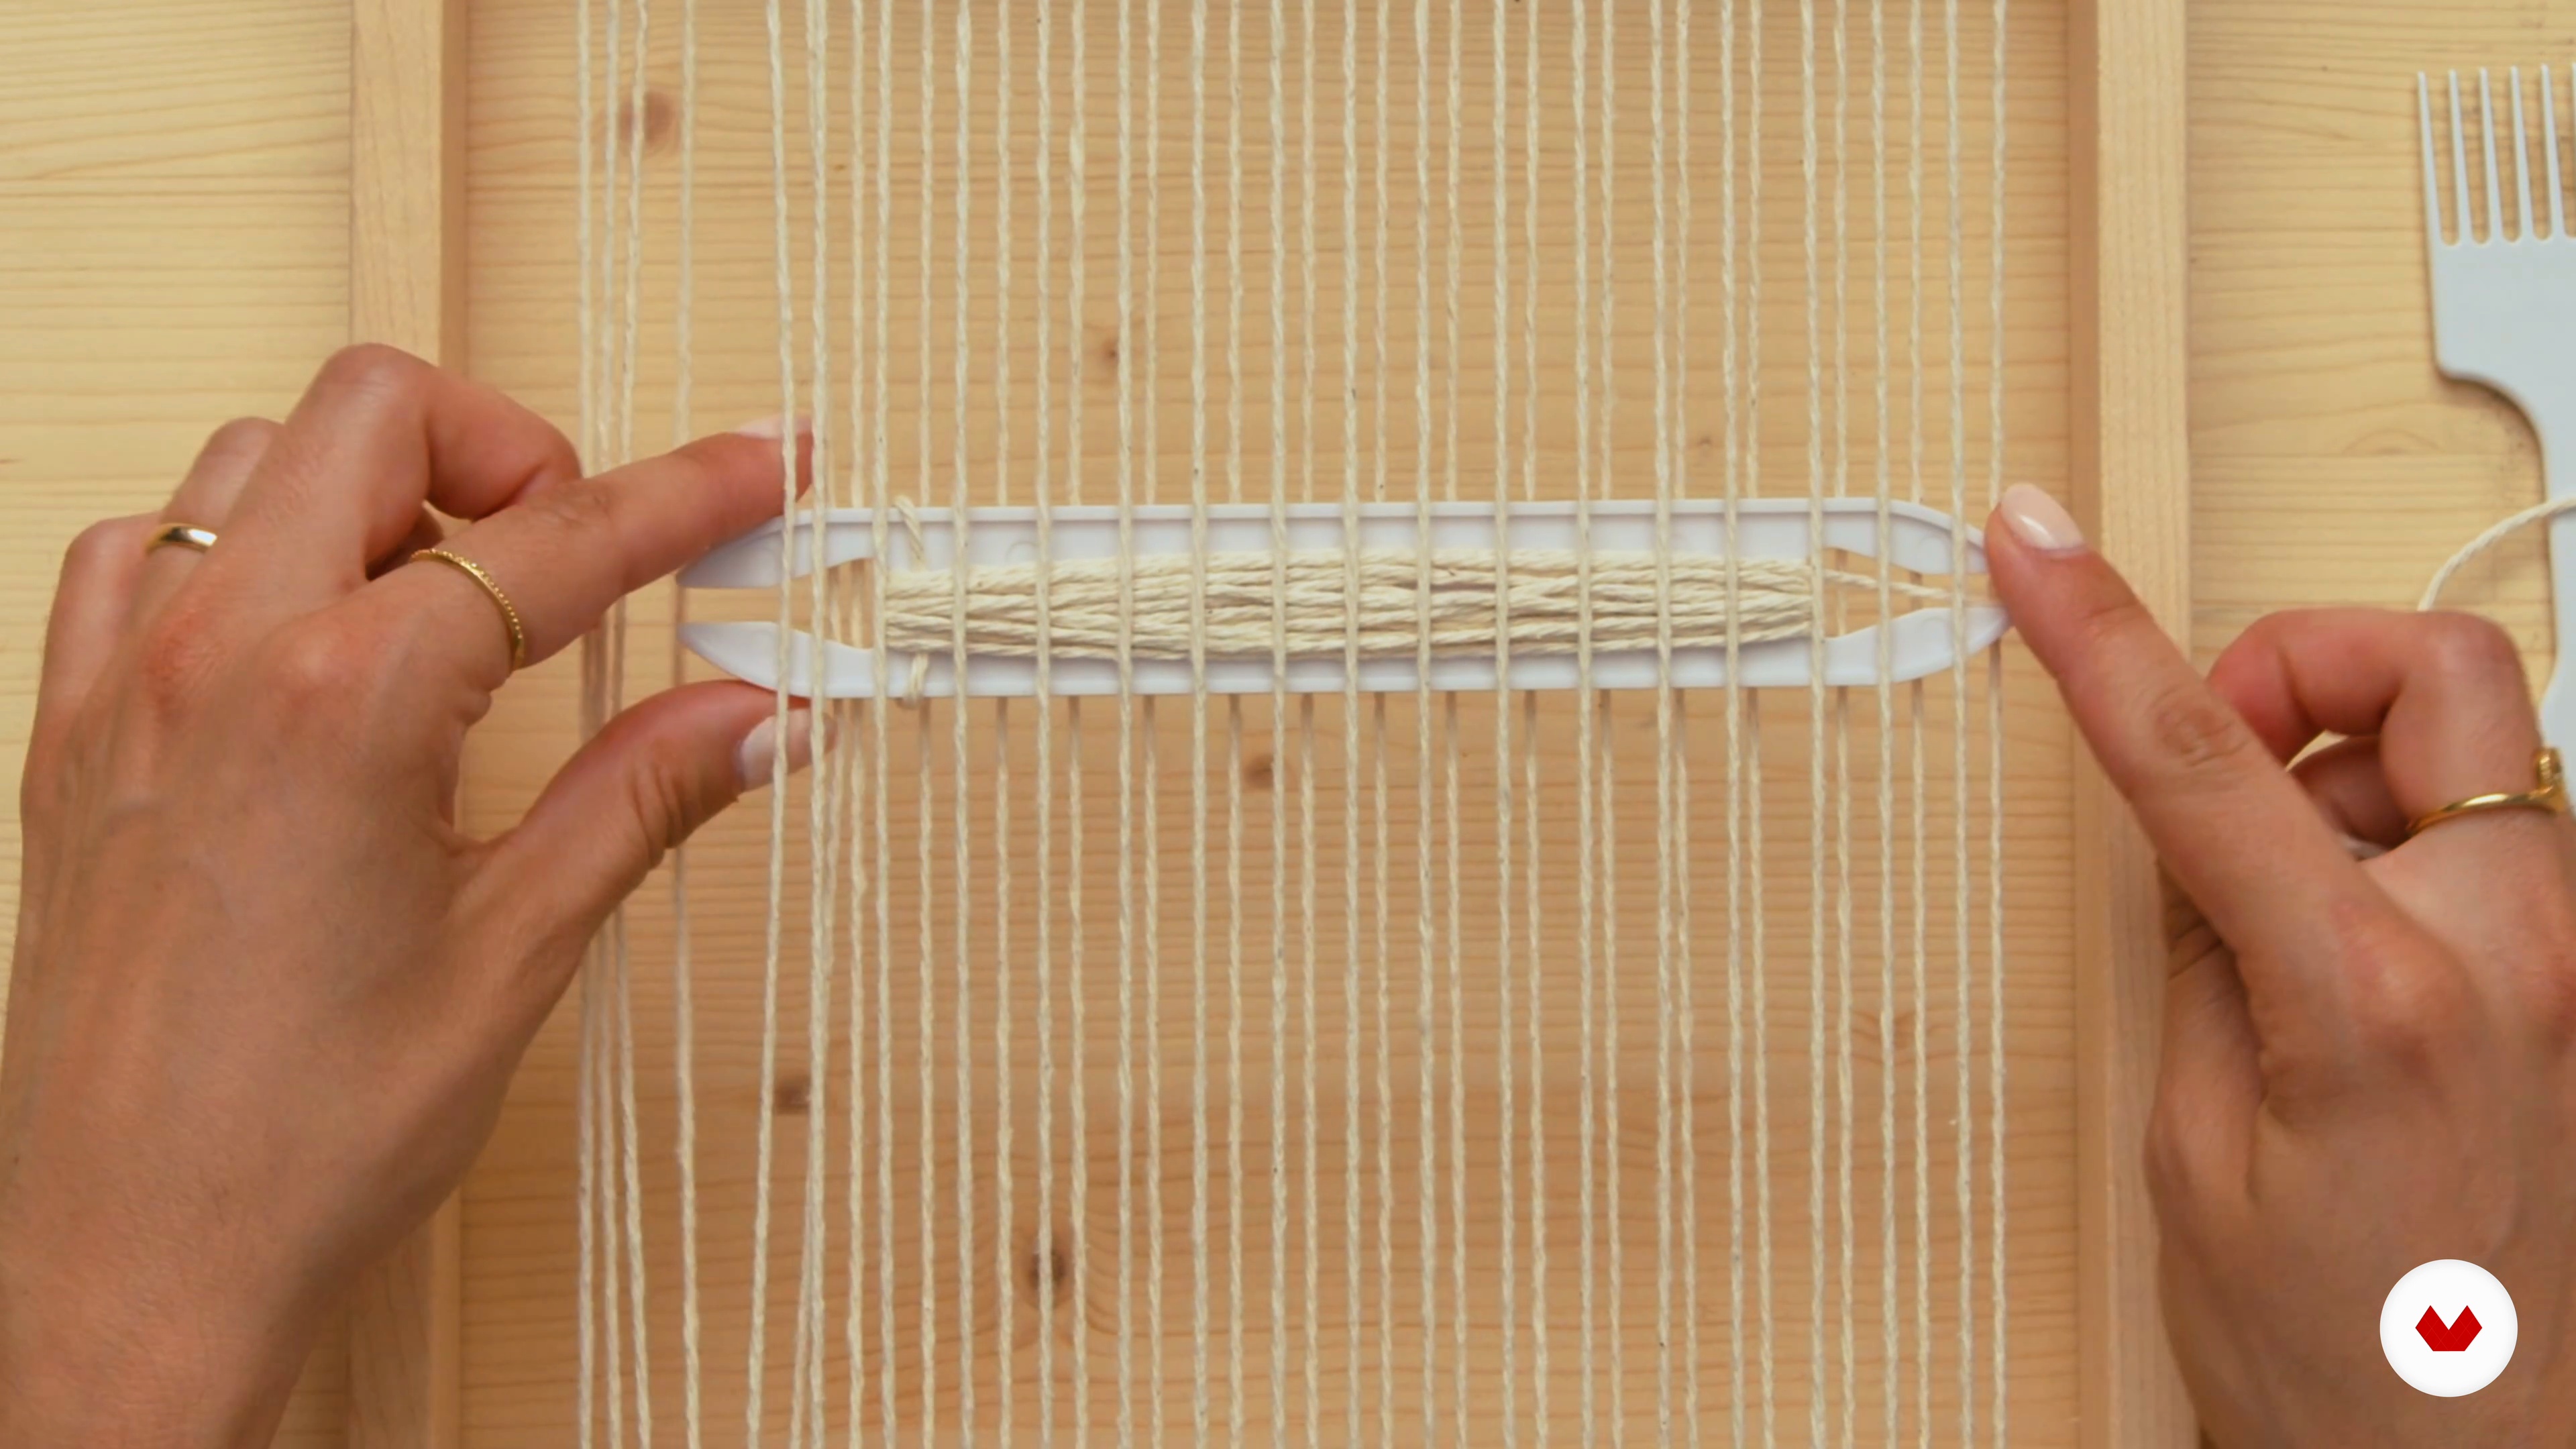
    In this lesson, you will discover how to prepare your yarns. I will show you how to wind them onto your tools from either the yarn cake or cone.

    18m

    Weaving the Design 318

    Weaving the Design 3

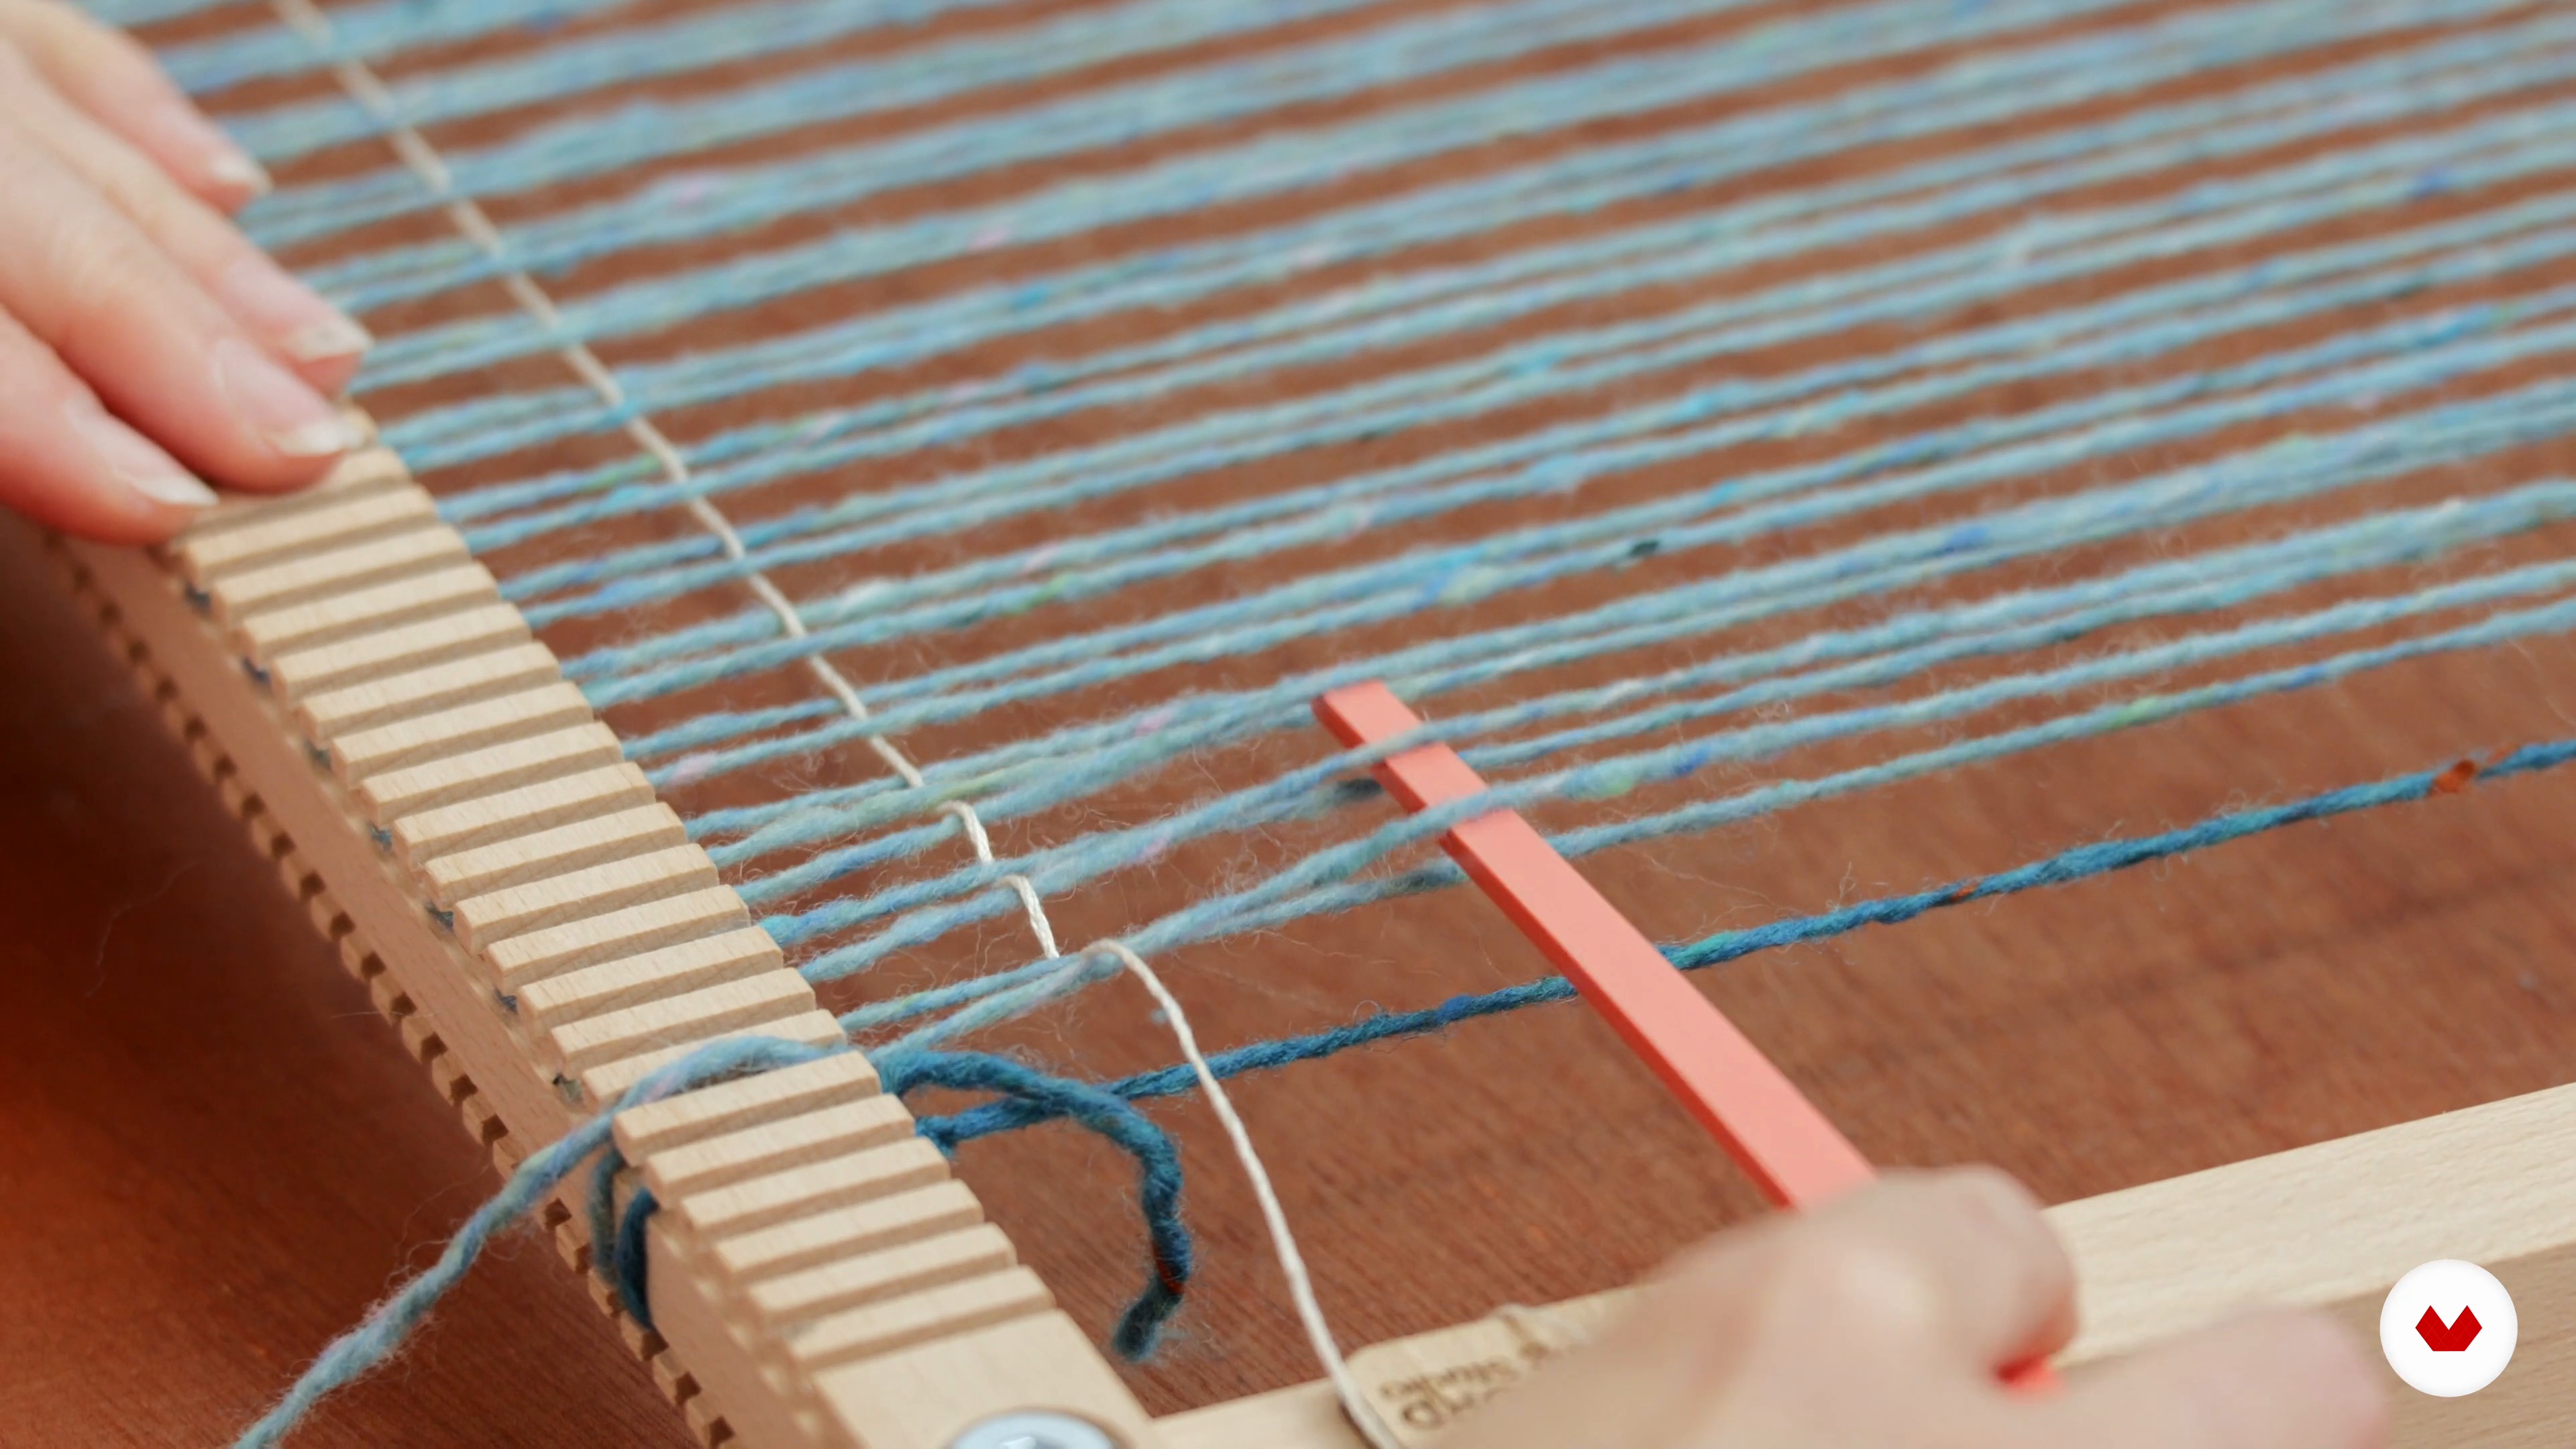
    Once your equipment and materials are ready, you will need to add in a ‘stopper yarn’. In this lesson, I will illustrate how to do this. Then, I will dive into the first inch of weaving!

    16m

    Weaving the Design 419

    Weaving the Design 4

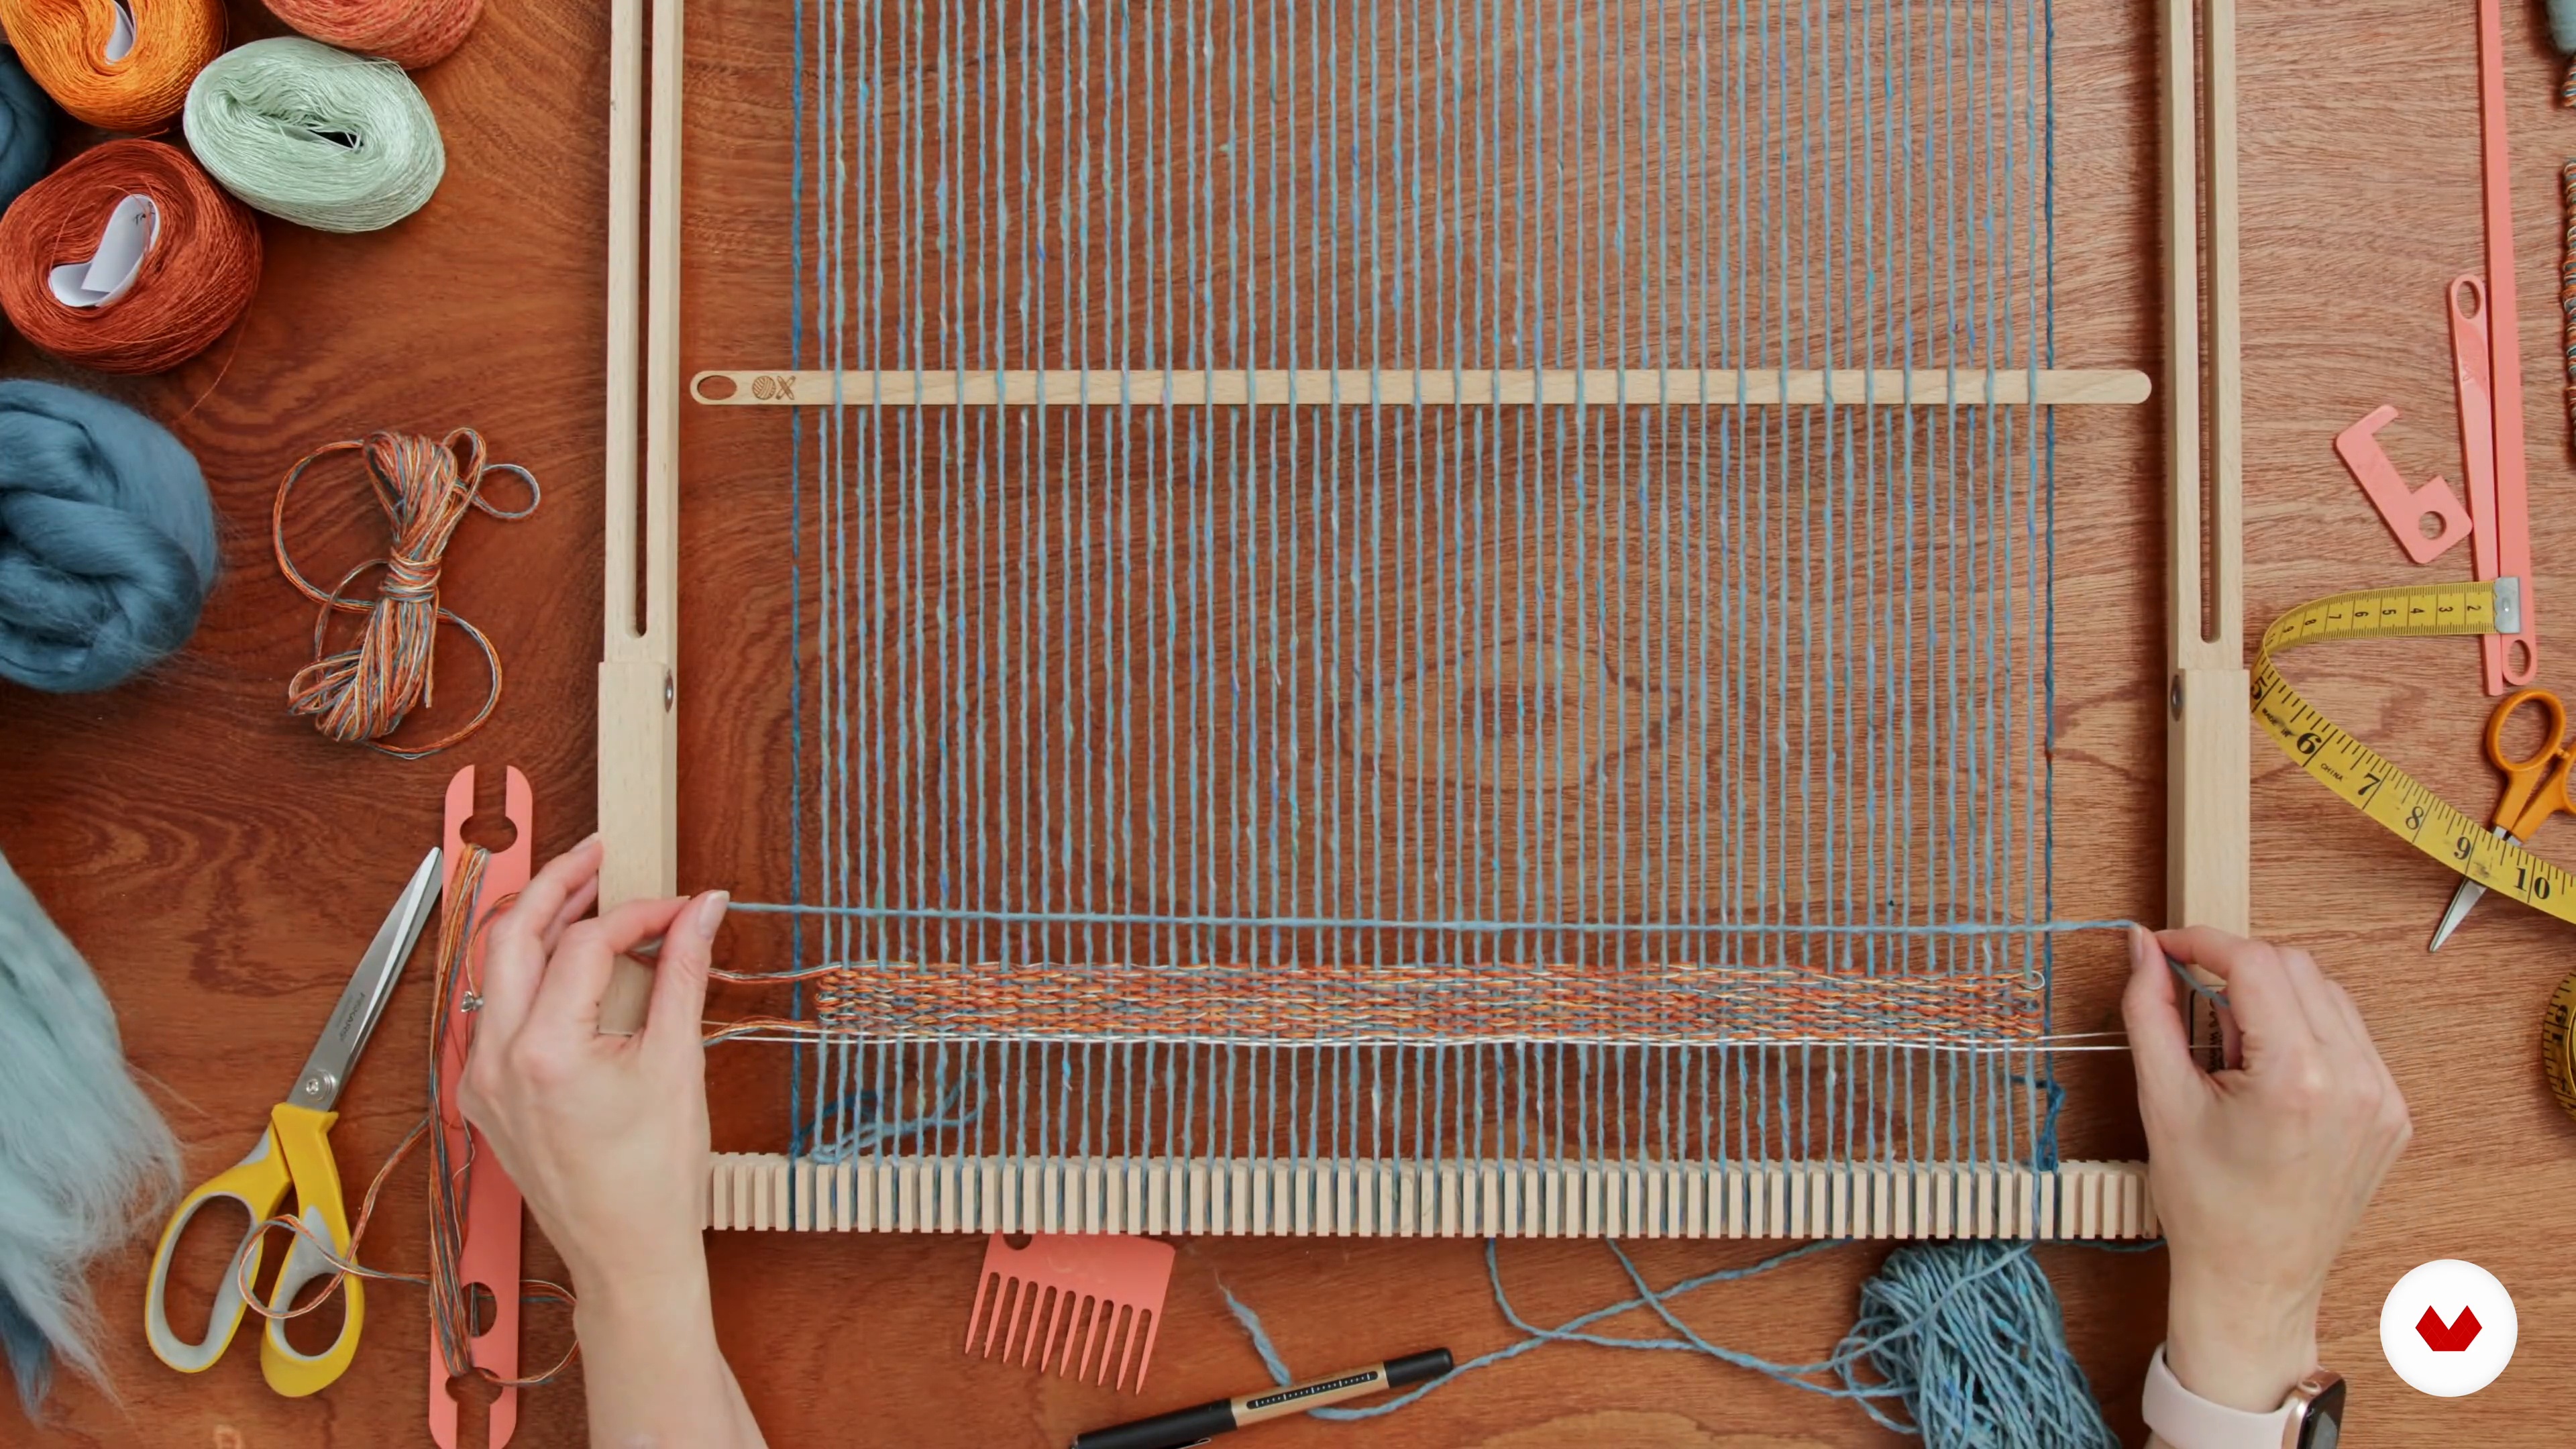
    At this stage, I recommend keeping your visual references handy as you start to weave your design. In this lesson, I will start my woven cushion by first using the soumak technique and then incorporating my rove.

    15m

    Weaving the Design 520

    Weaving the Design 5

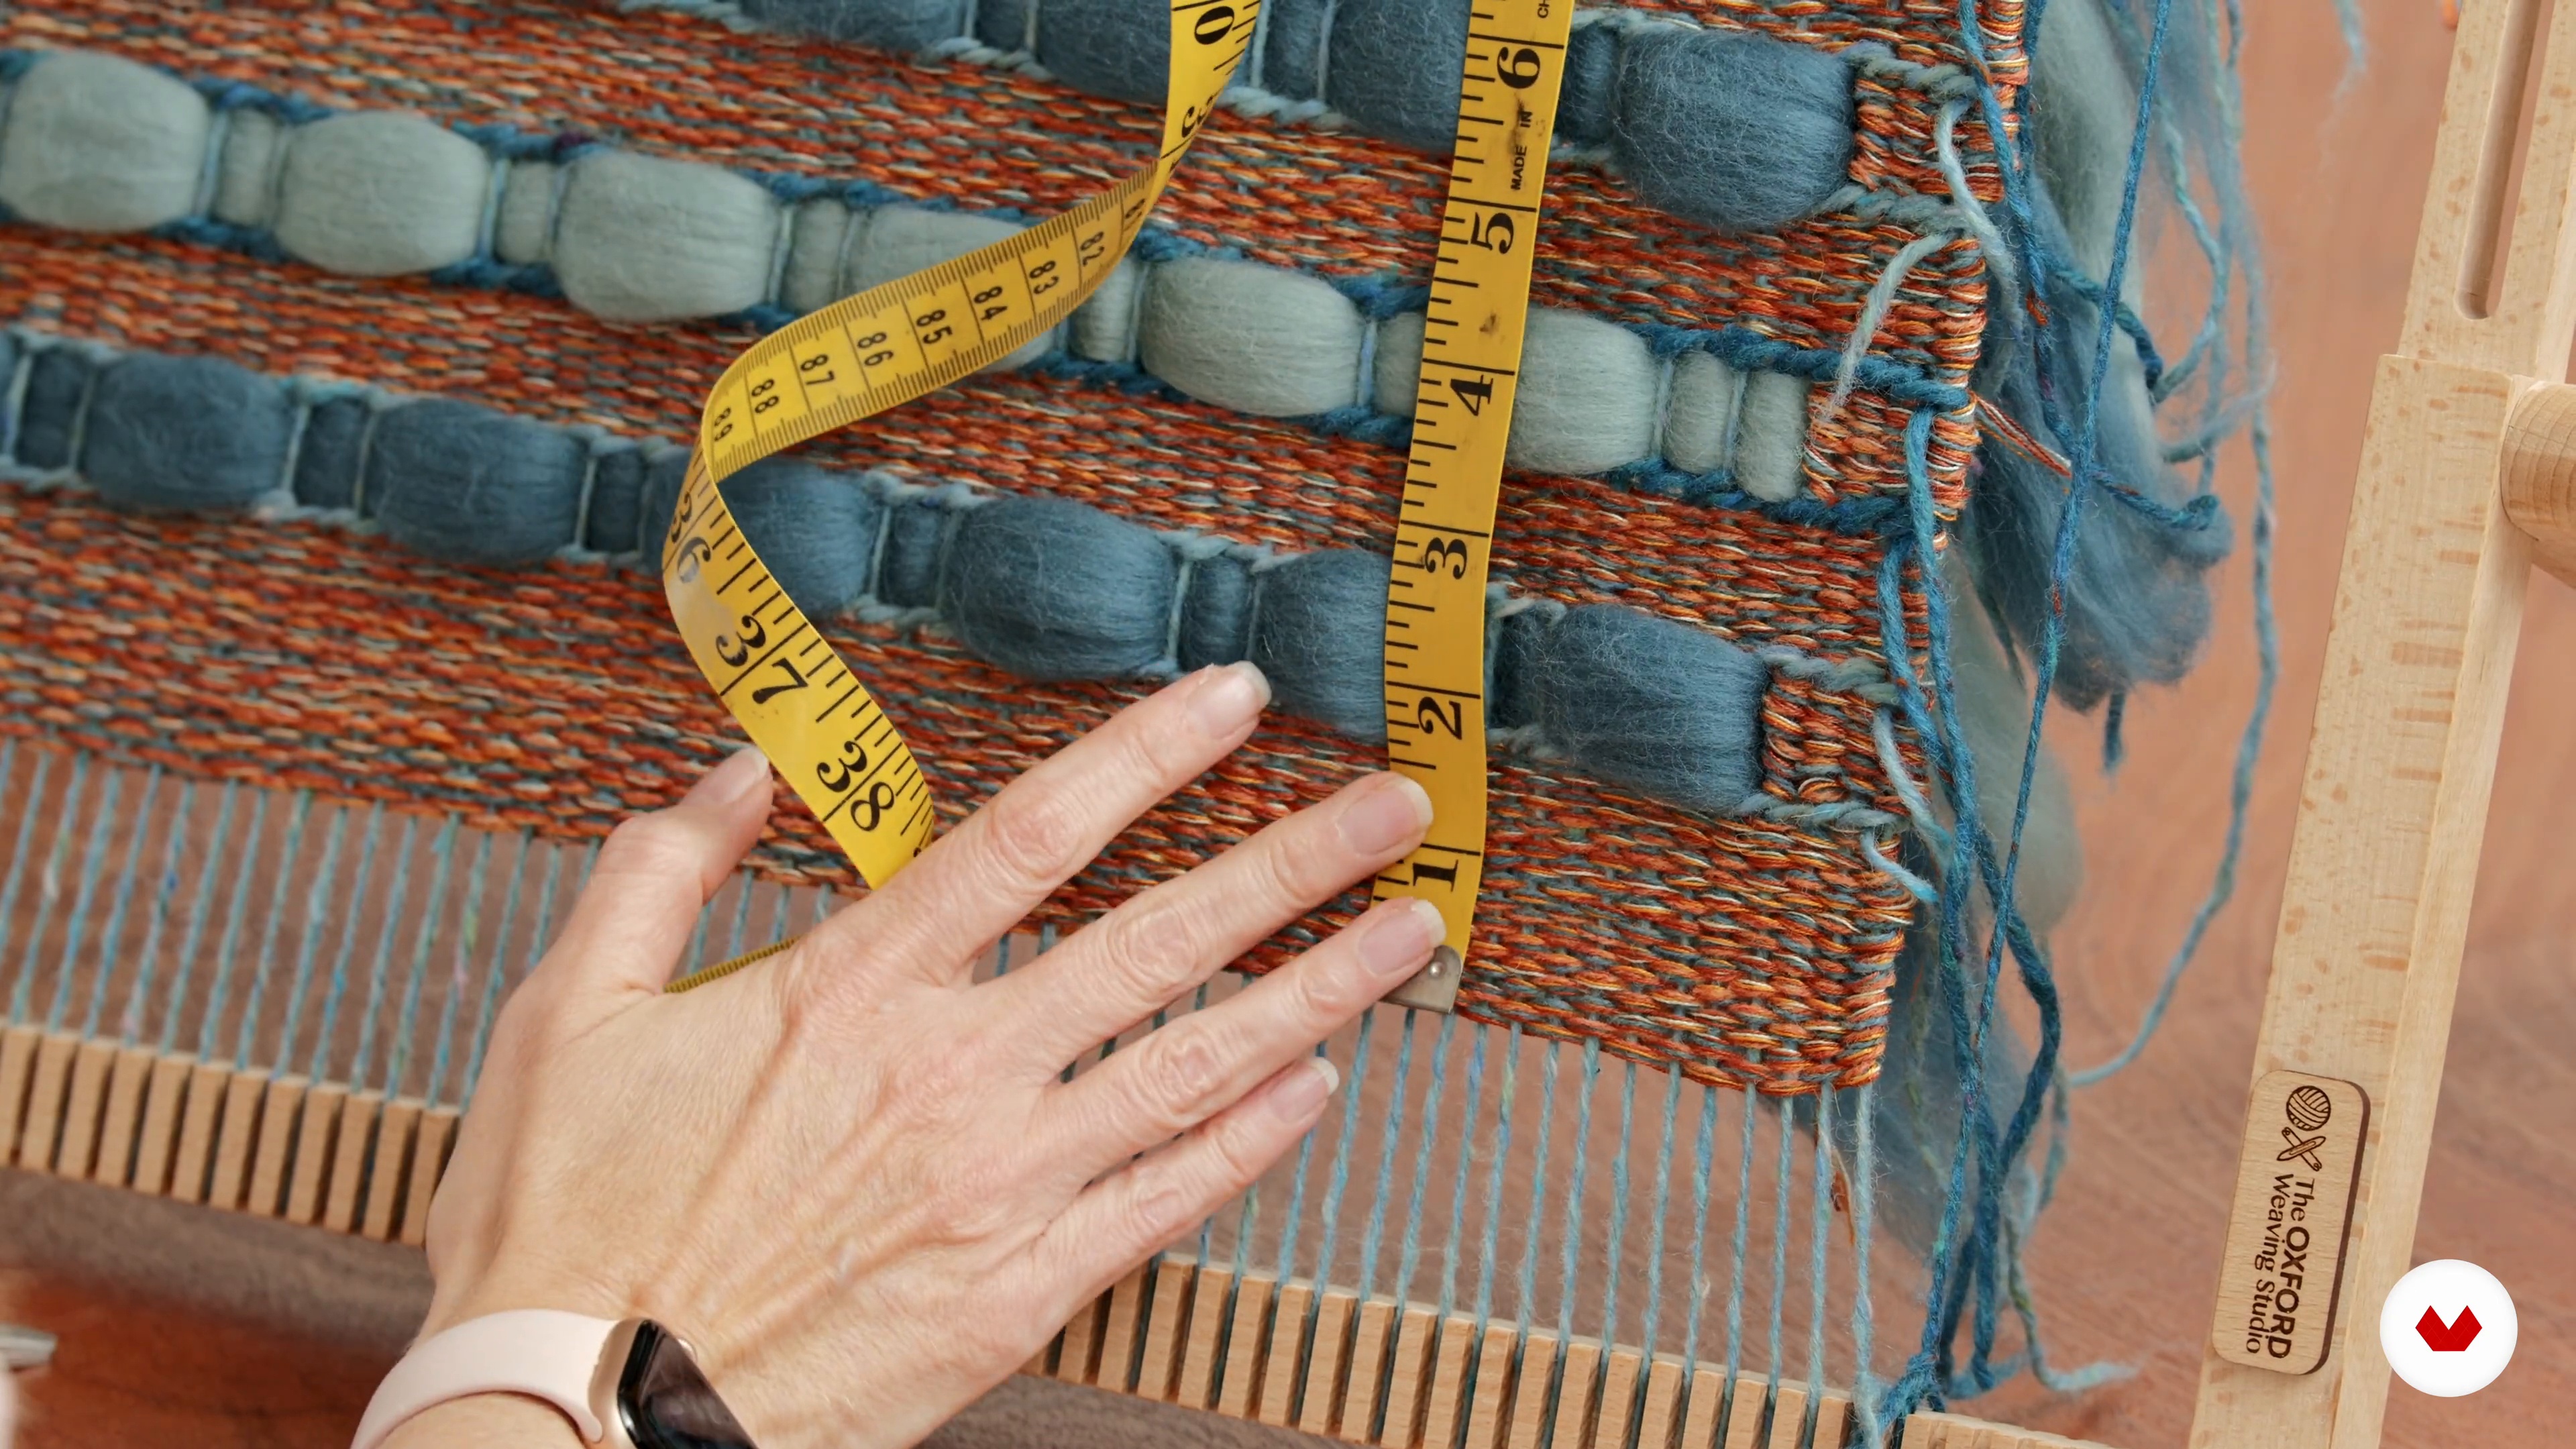
    By now, you should have transferred your design onto the loom. In this lesson, I will share some useful advice about how to manage the constricted space as you near the end of your weave. After, I encourage you to check and evaluate the proportions of your piece against your design.

    17m

    Weaving the Design 621

    Weaving the Design 6

    Finally, to tie your piece together, I will teach you how to hook and tuck in your ends. Then, I will move on to the back panels of the cushion.

    19m

    Removing from the Loom22

    Removing from the Loom

    In this lesson, I will model how to remove your weave from the loom to achieve a seamless finish. You will learn a technique that will ensure neat edges and make sewing it together easy!

    17m

    Sewing the Cushion by Hand23

    Sewing the Cushion by Hand

    Now it’s time to unite the back and front panels. You will learn how to hand sew your three woven pieces together to create a nice, finished edge. Remember to have the knots facing in!

    19m

    Washing the Woven Fabric24

    Washing the Woven Fabric

    To complete your handwoven cushion, I will demonstrate how to wash it by hand so that it felts gently in the lukewarm water and becomes more durable when dry. I will also share my favourite trick to keep your cushion looking beautiful even once you start using it!

    13m

    Tools and Materials3

    Tools and Materials

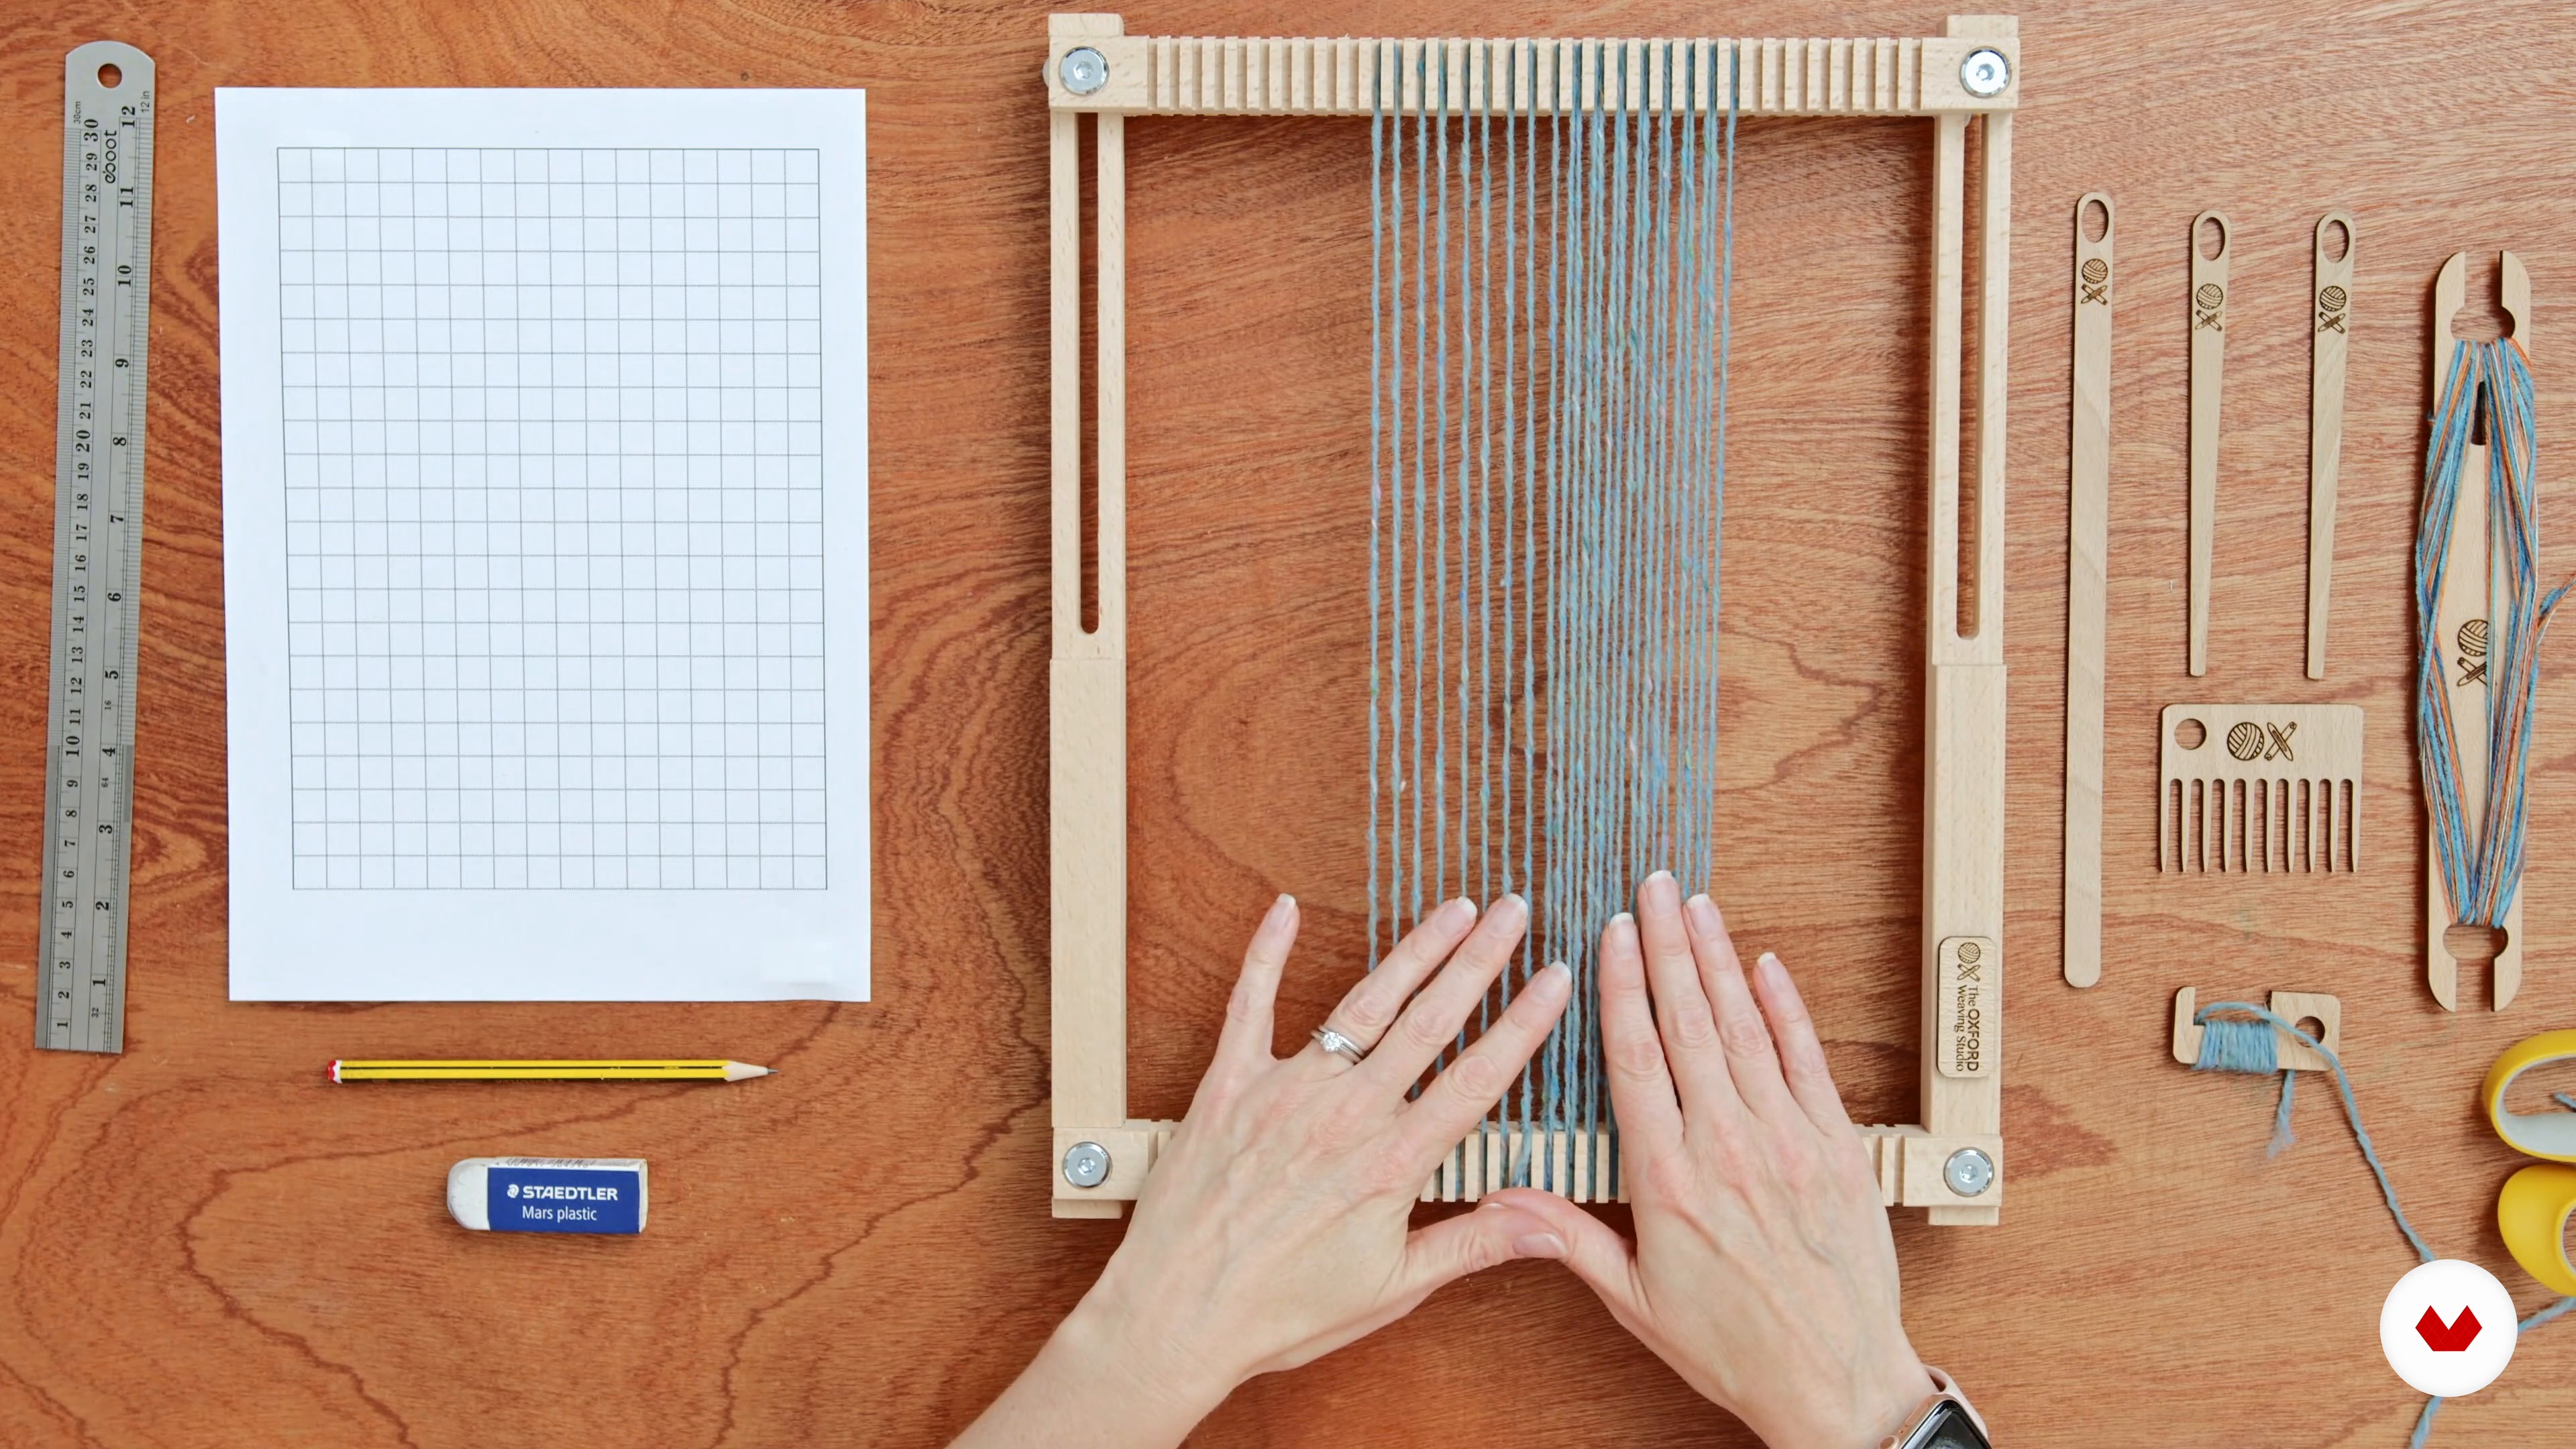
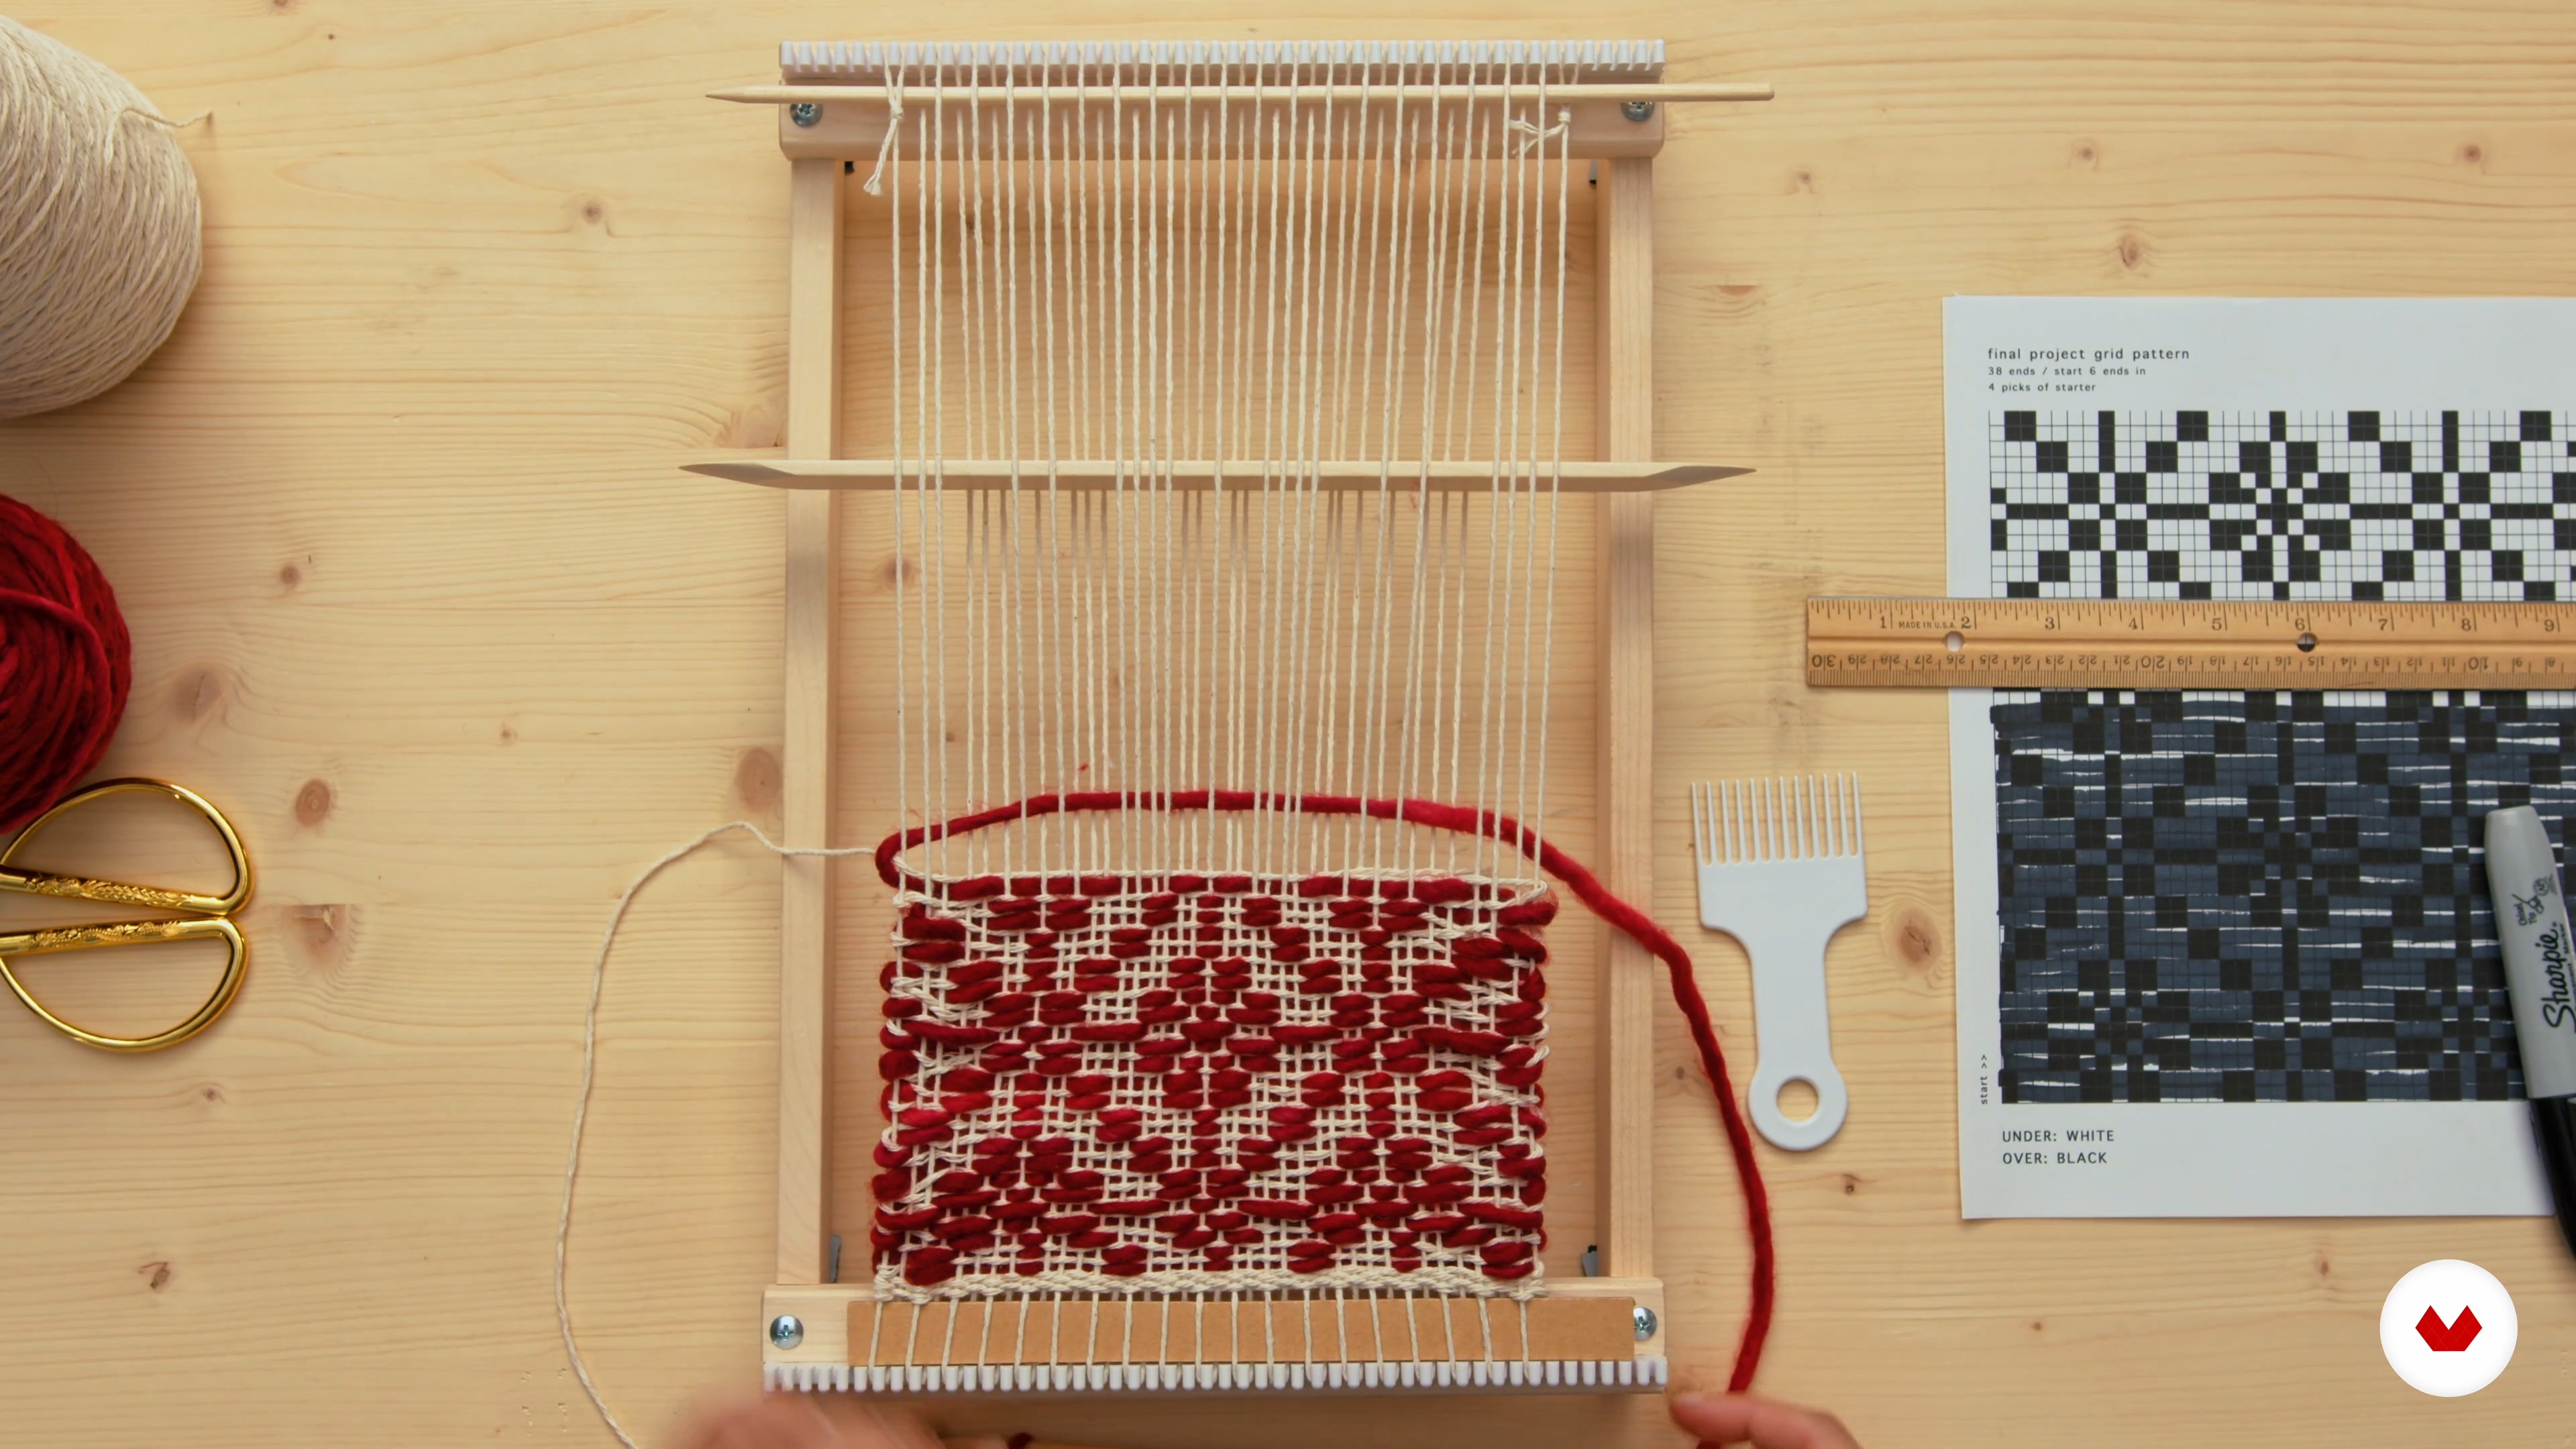
    In this lesson, I’ll share with you the tools and materials you’ll need to weave grid patterns.

    1m

    Weaving Terminology 4

    Weaving Terminology

    Now we’ll go over some basic weaving terminology, which will become a helpful guide for future lessons.

    1m

    Loom Types and Uses5

    Loom Types and Uses

    In this lesson, I’ll talk about the different weaving loom types and the textiles they create.

    2m

    What Is a Weave Structure?6

    What Is a Weave Structure?

    Now I’ll explain what a weave structure is by using visual examples.

    8m

    Designing Grid Patterns7

    Designing Grid Patterns

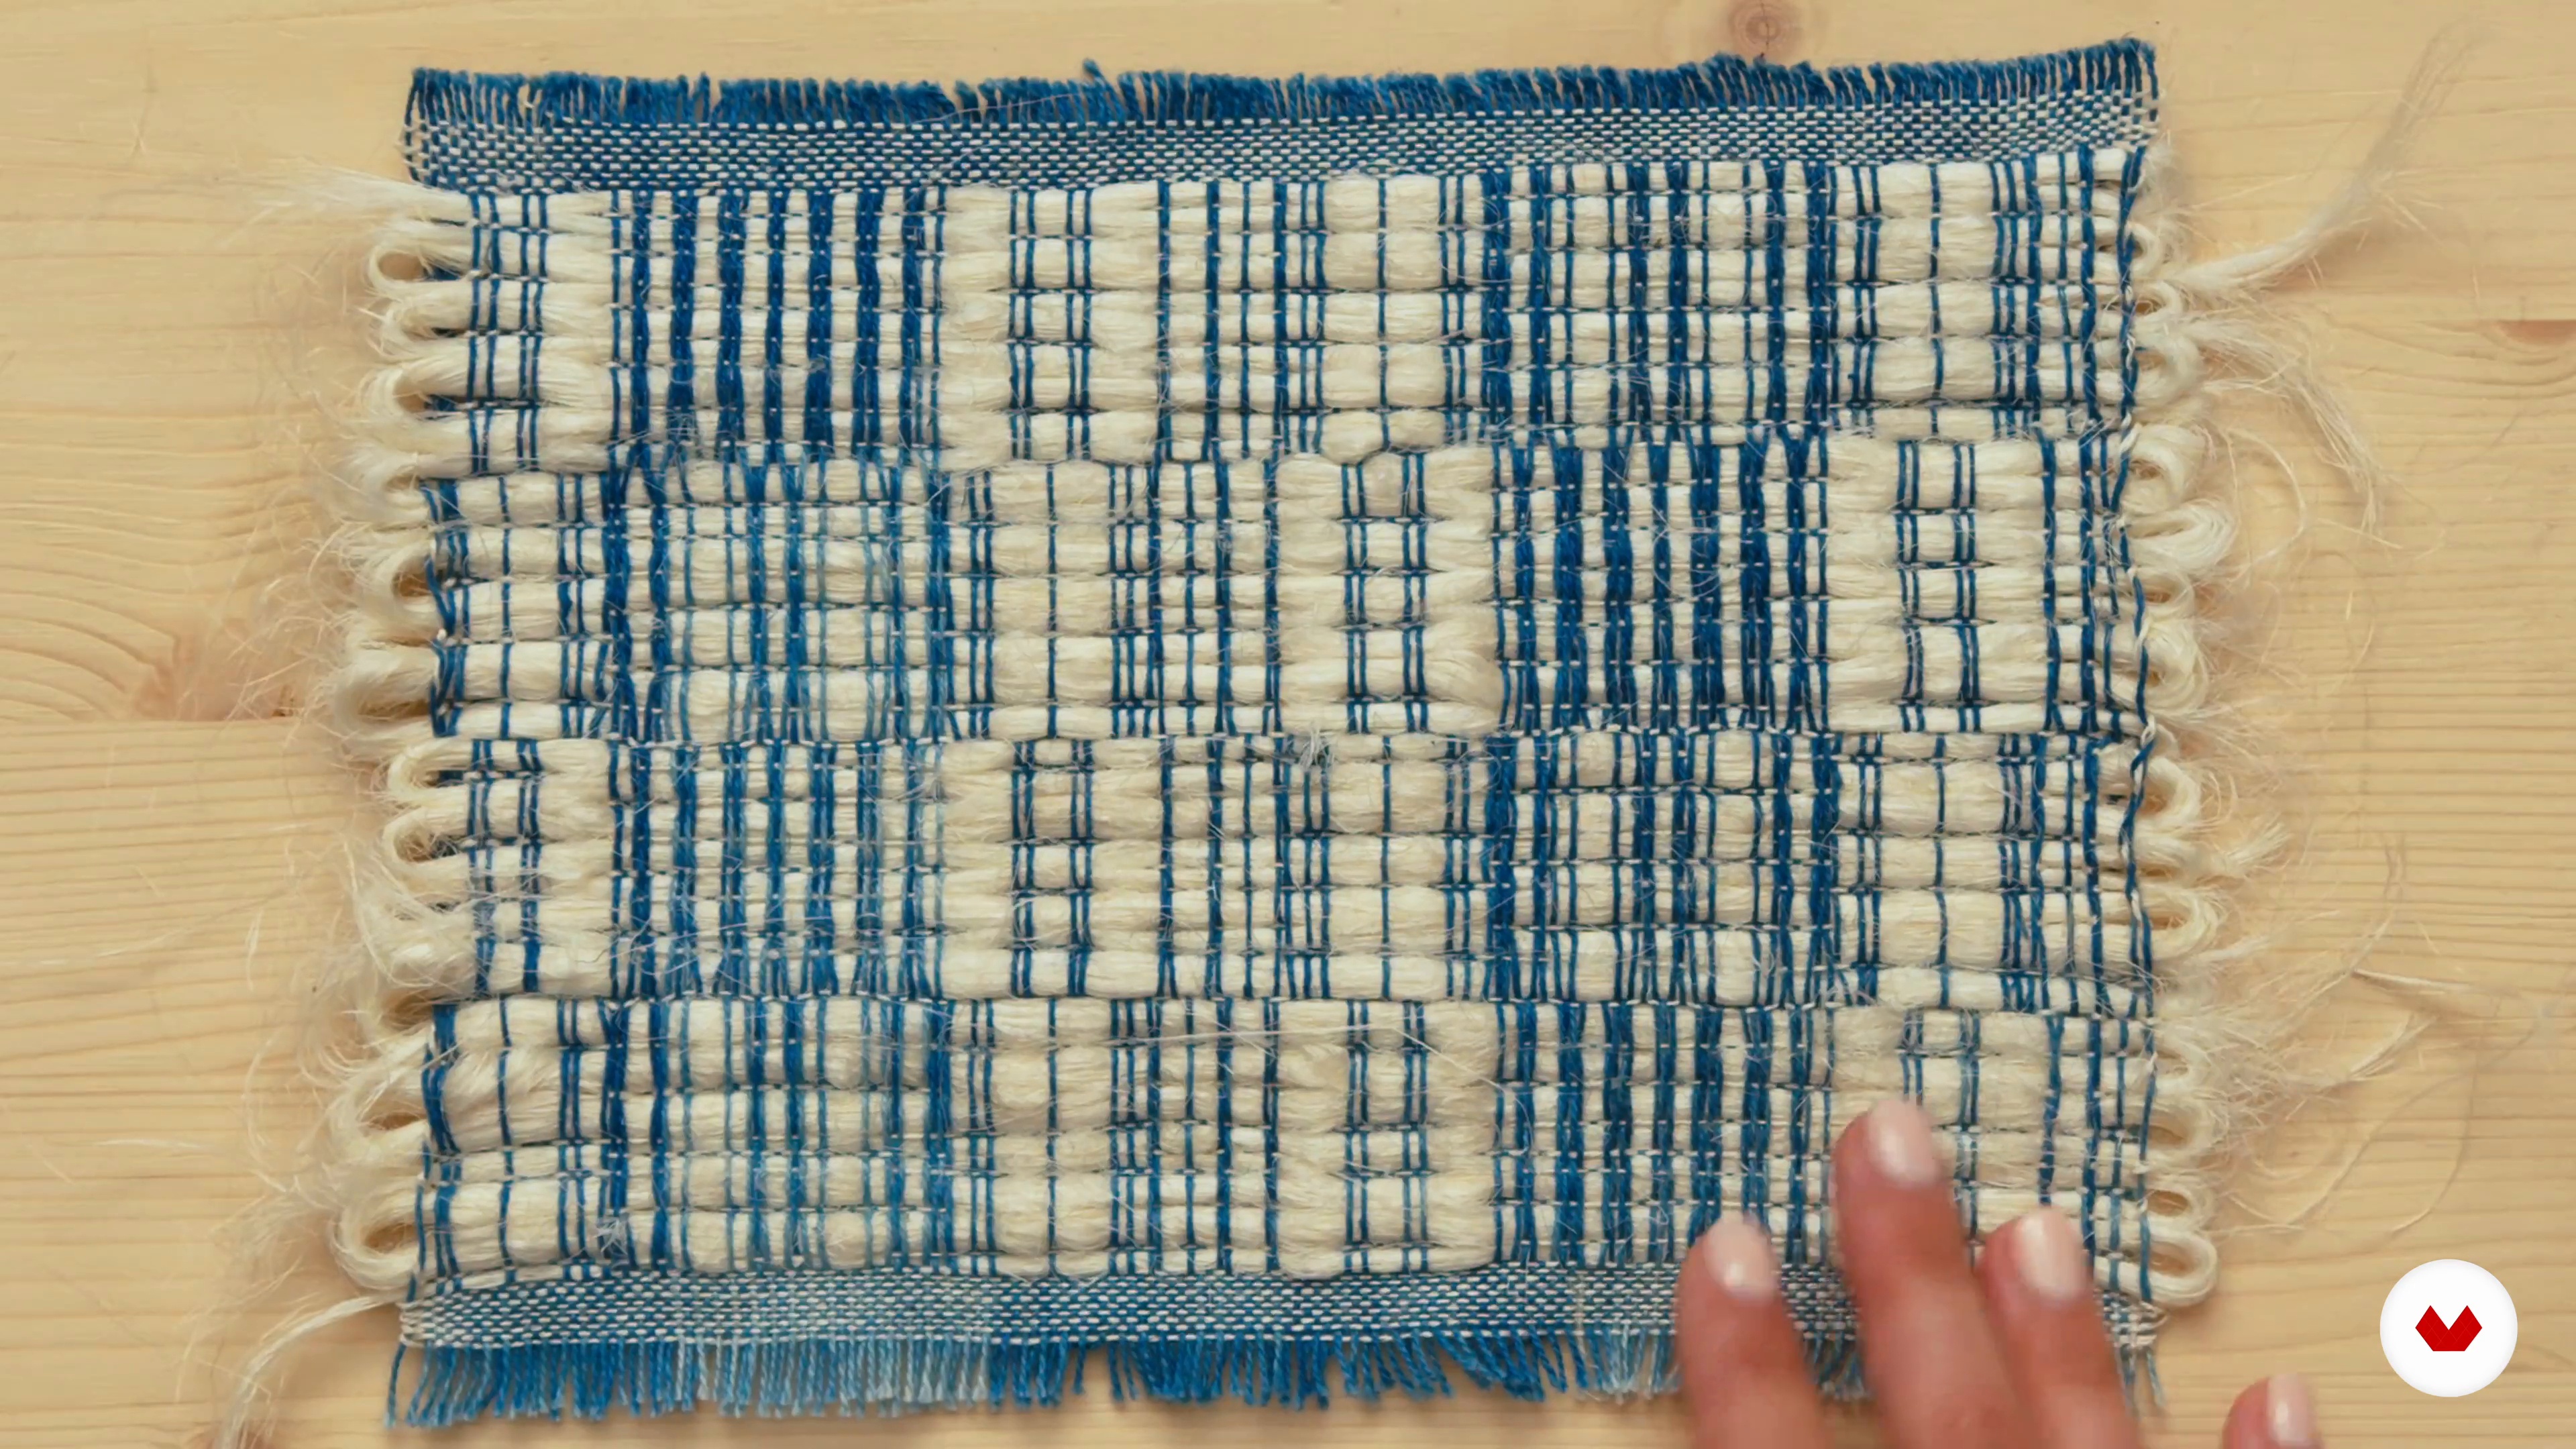
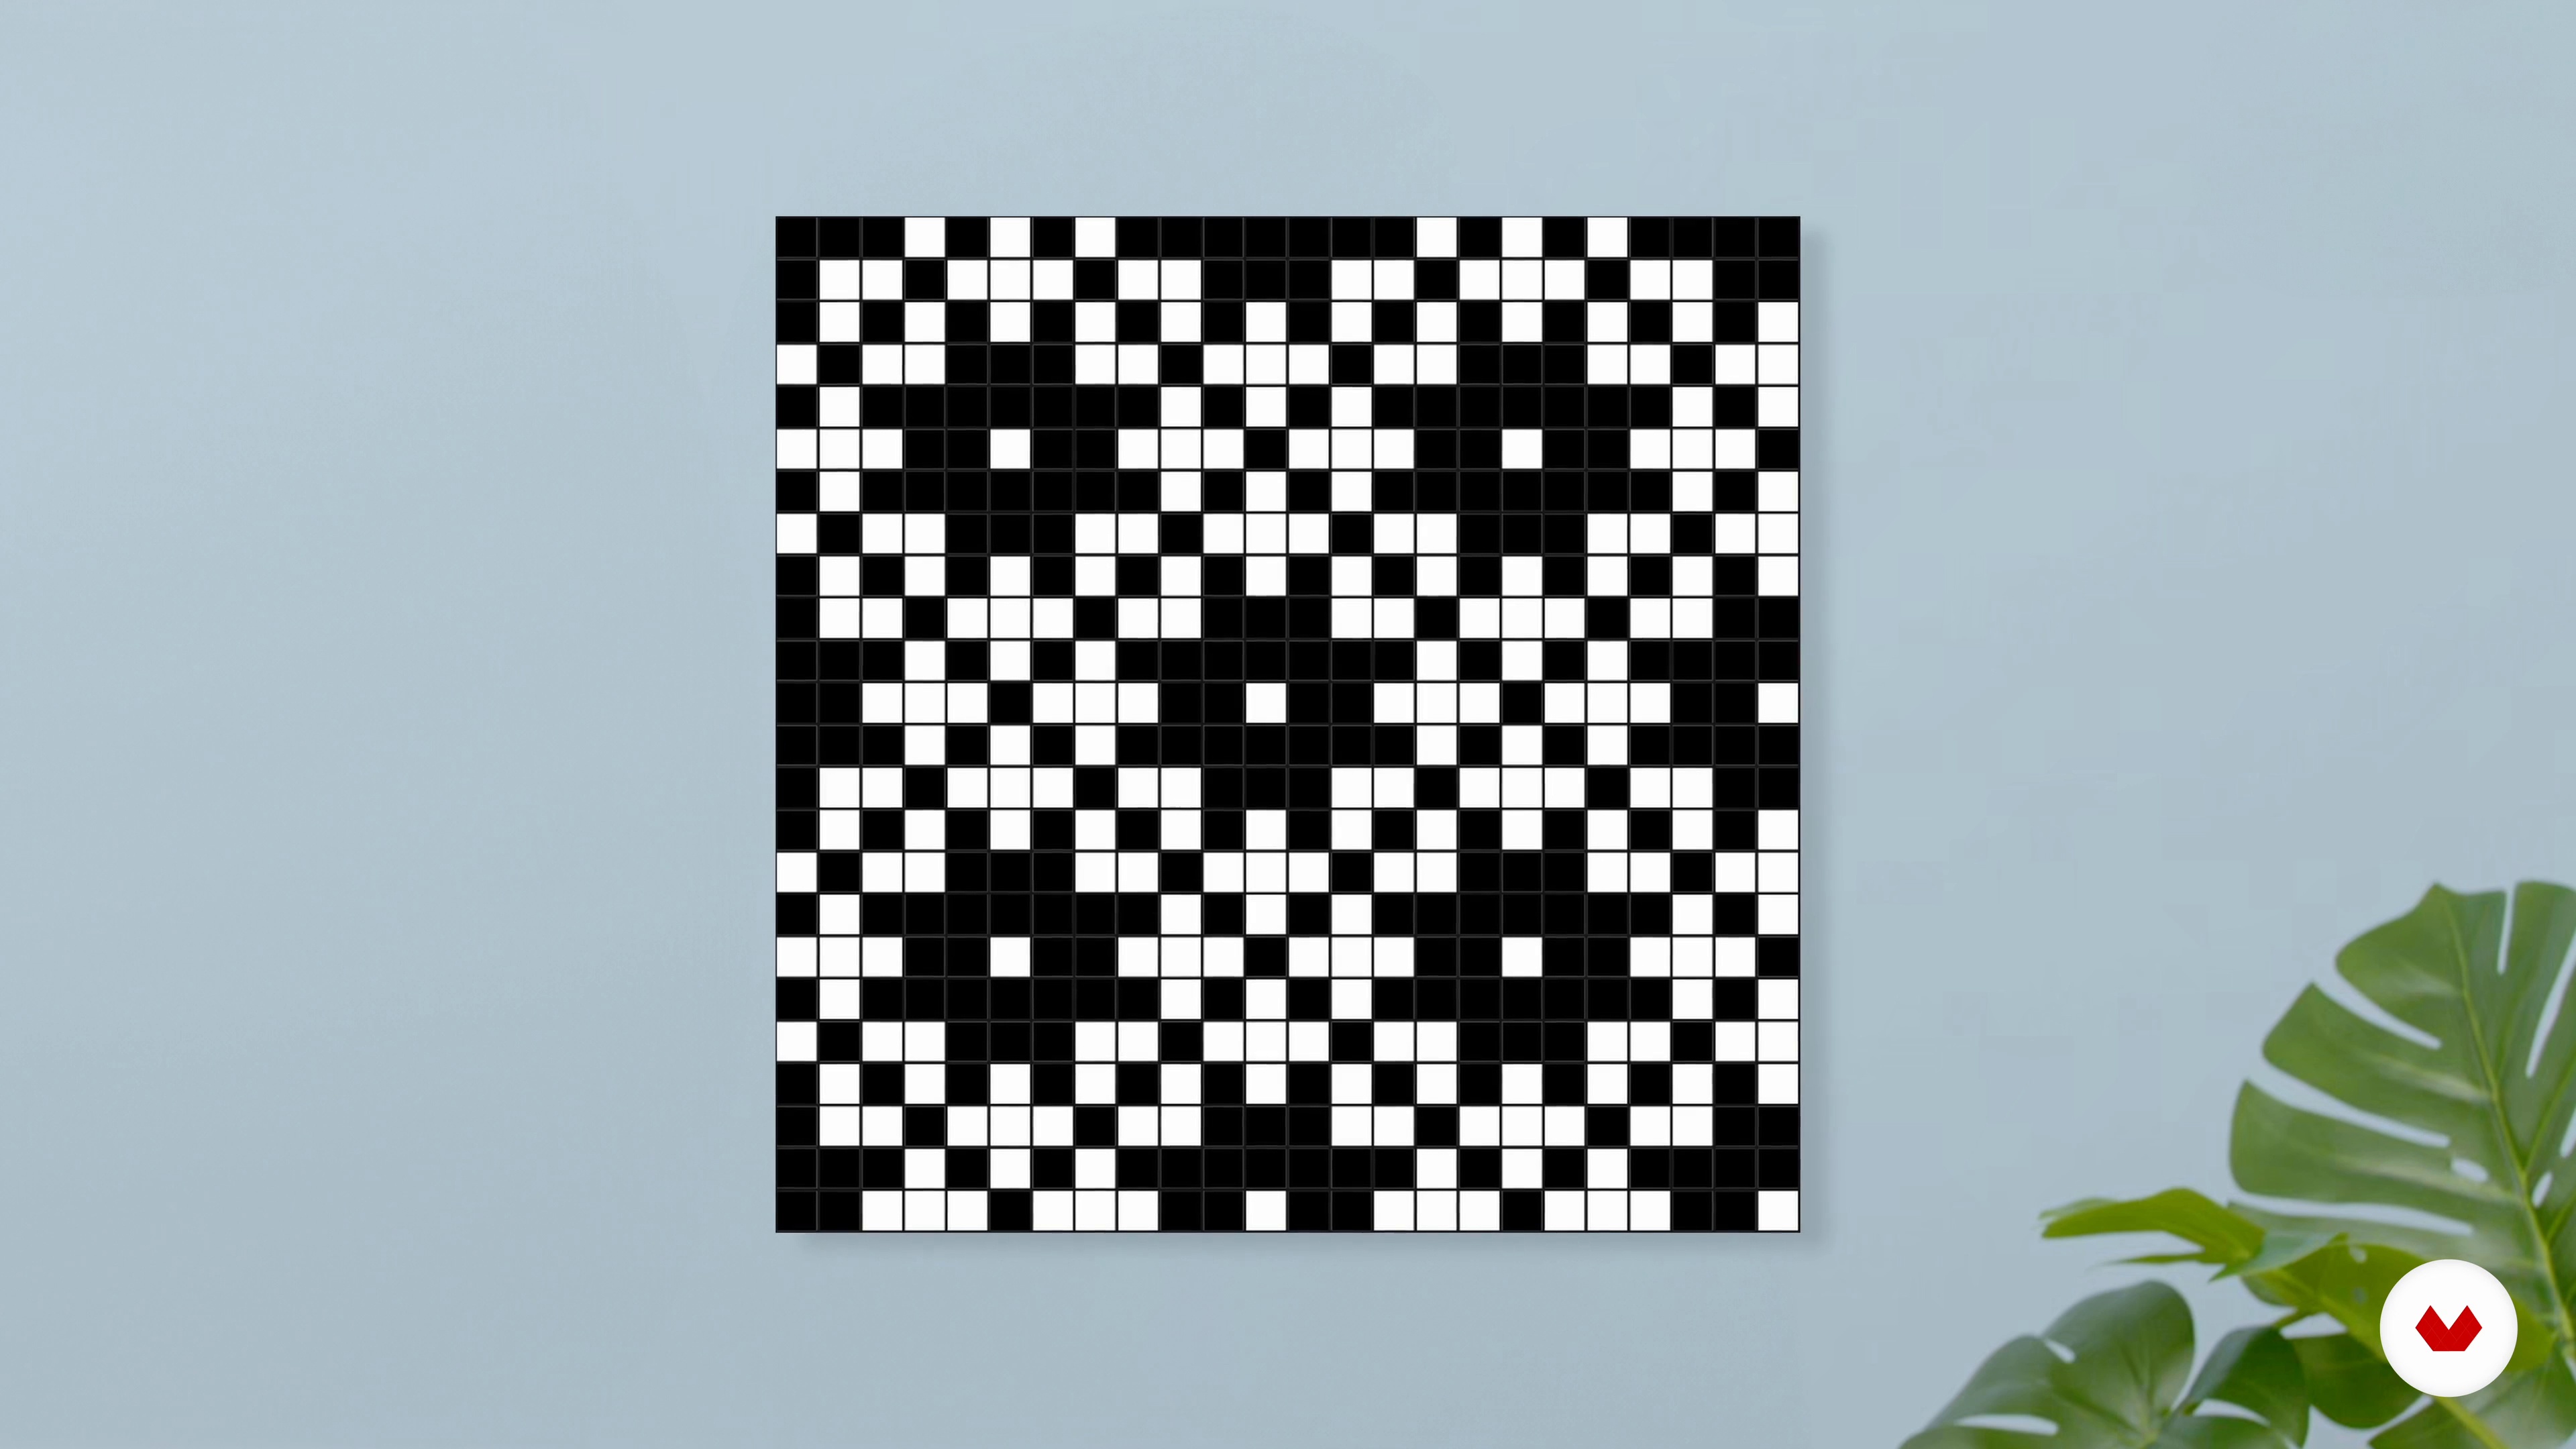
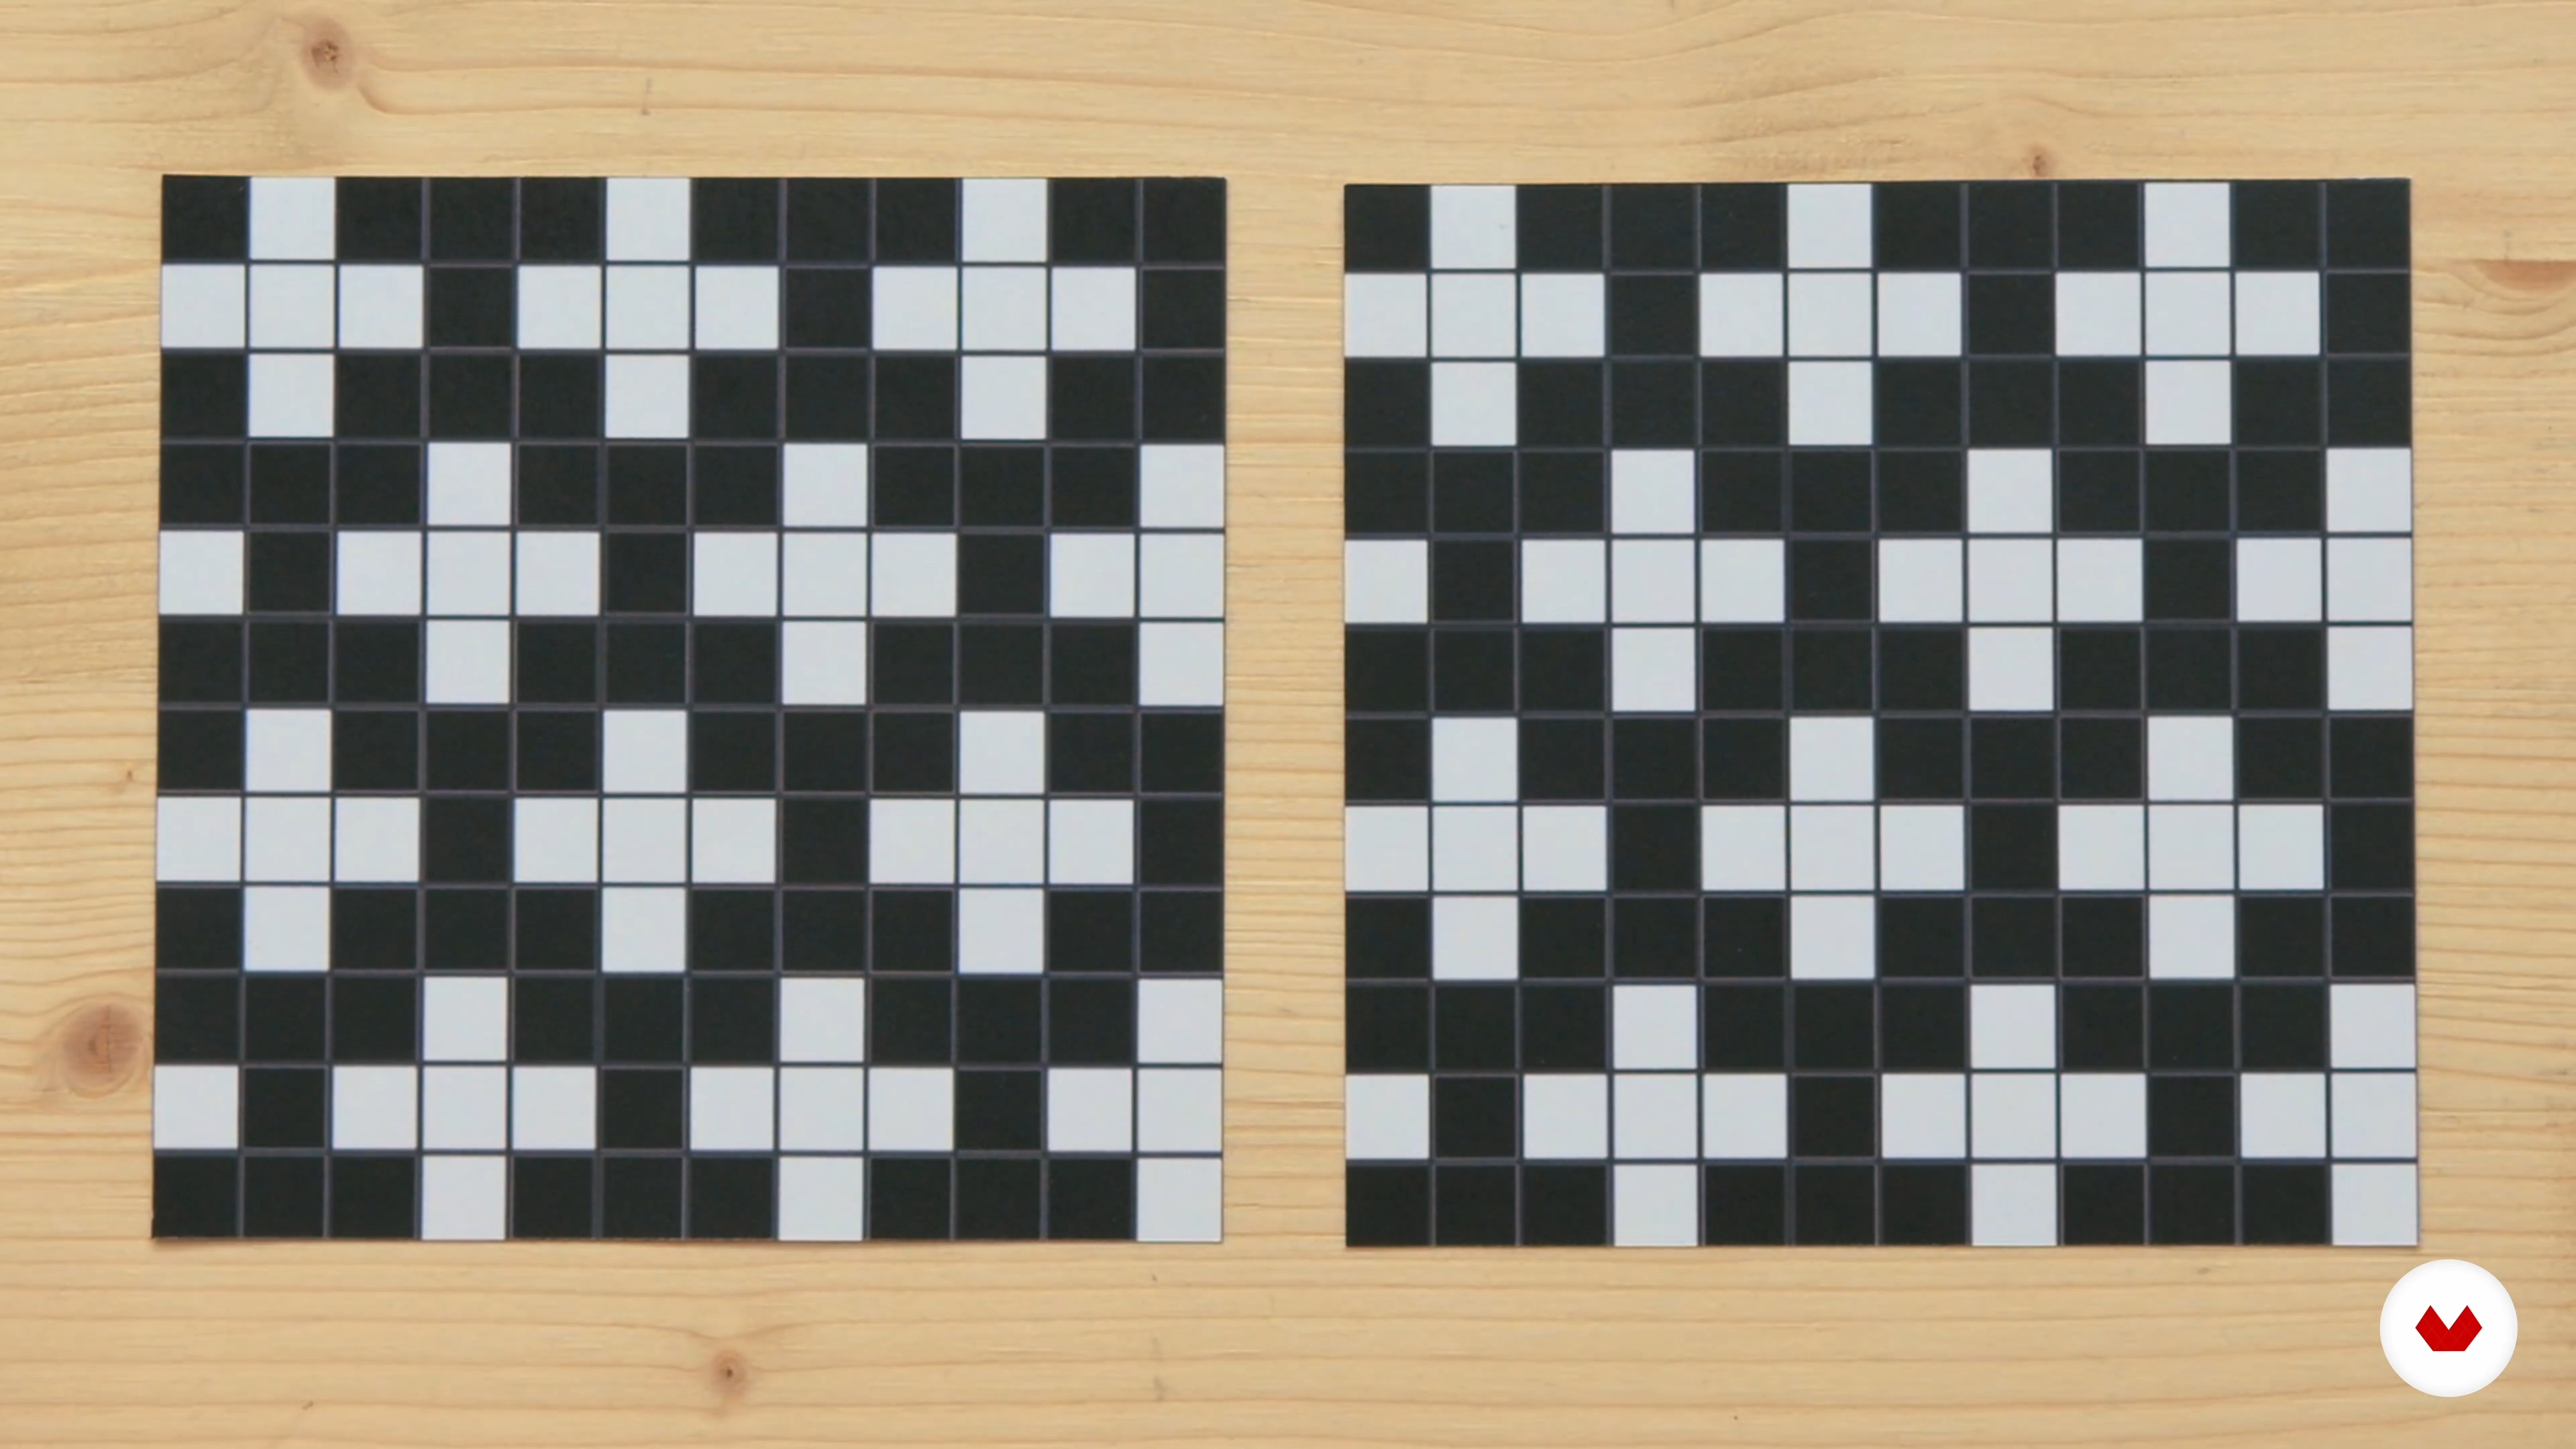
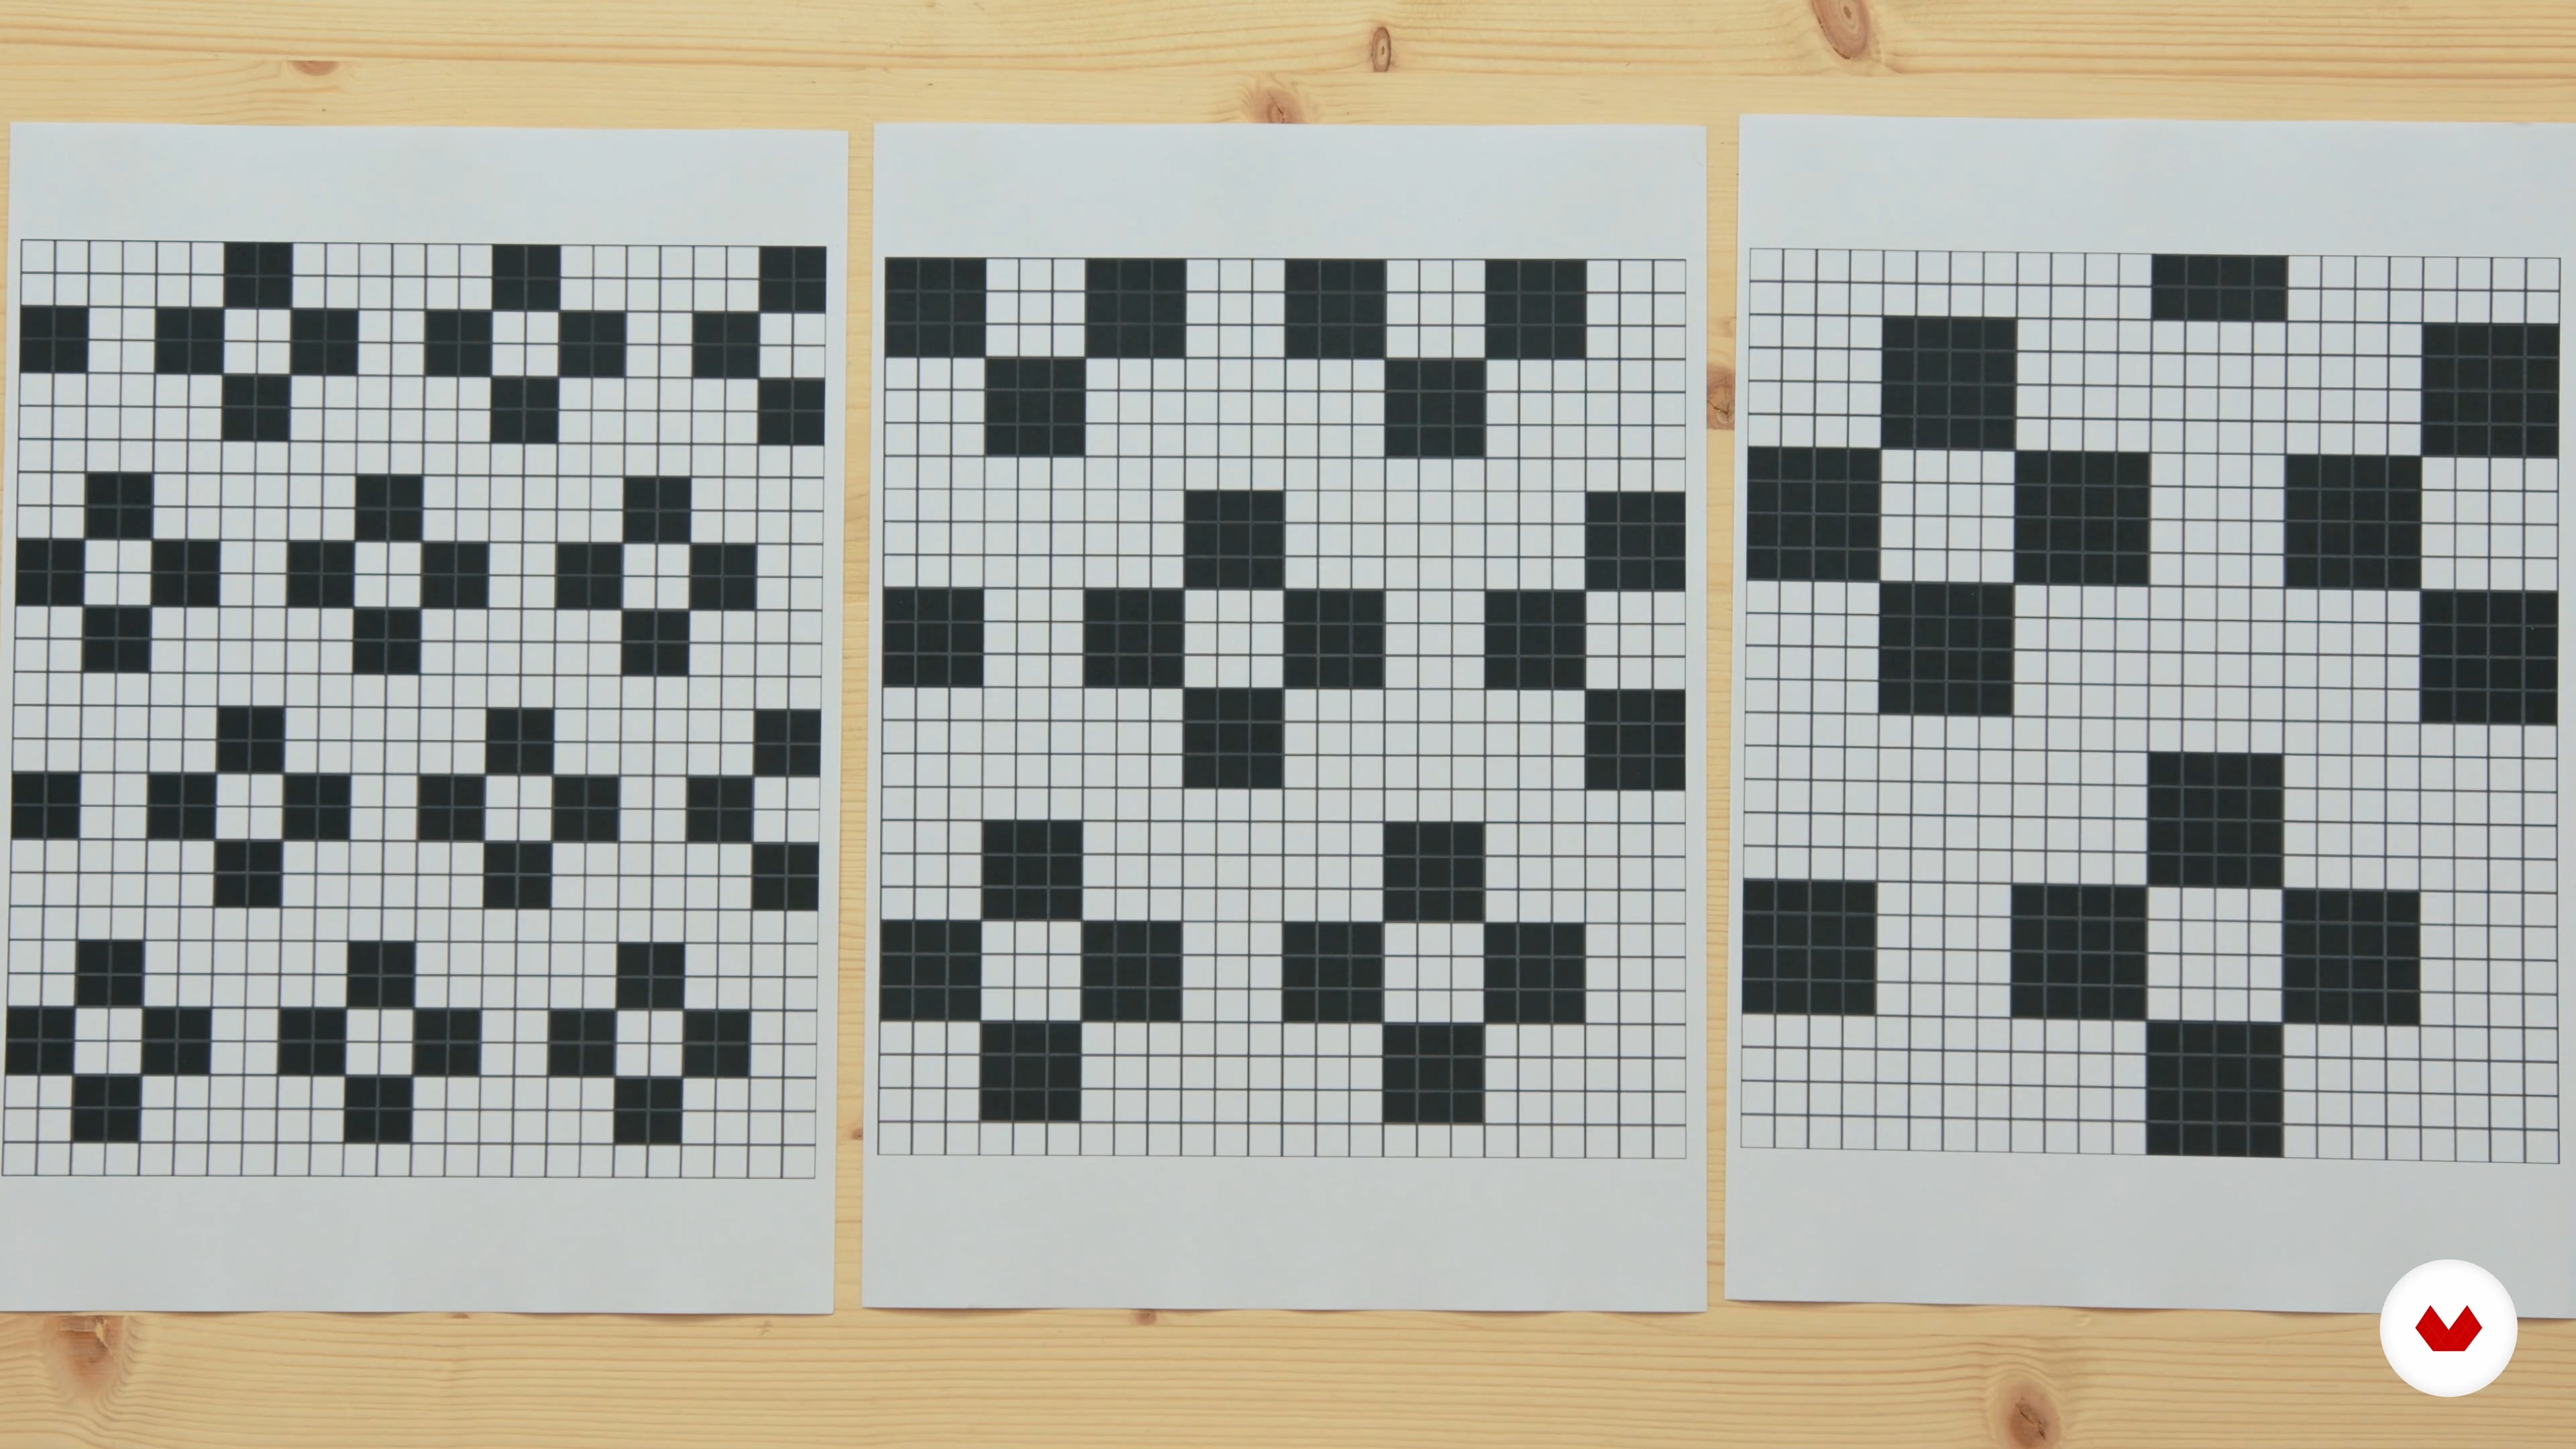
    In this lesson, I will show you examples of grid patterns you can weave, and how to design your own.

    11m

    How to Choose a Pattern for the Project8

    How to Choose a Pattern for the Project

    Let’s talk about how to best utilize patterns in your woven projects.

    4m

    Scaling a Pattern for Larger Looms9

    Scaling a Pattern for Larger Looms

    In this lesson, I’ll explain how to use patterns for larger weavings on bigger looms.

    2m

    How to Choose the Right Yarn for the Project10

    How to Choose the Right Yarn for the Project

    Now let’s talk about warp and weft yarns and how to choose the right type of yarn for your weavings.

    5m

    Warping the Loom11

    Warping the Loom

    In this lesson I’ll teach you how to set-up the loom to begin weaving.

    5m

    Basic Weaving Steps and Getting Started12

    Basic Weaving Steps and Getting Started

    Now, I’ll show you the basic weaving steps and how to begin your project.

    11m

    Reading the Grid Pattern 113

    Reading the Grid Pattern 1

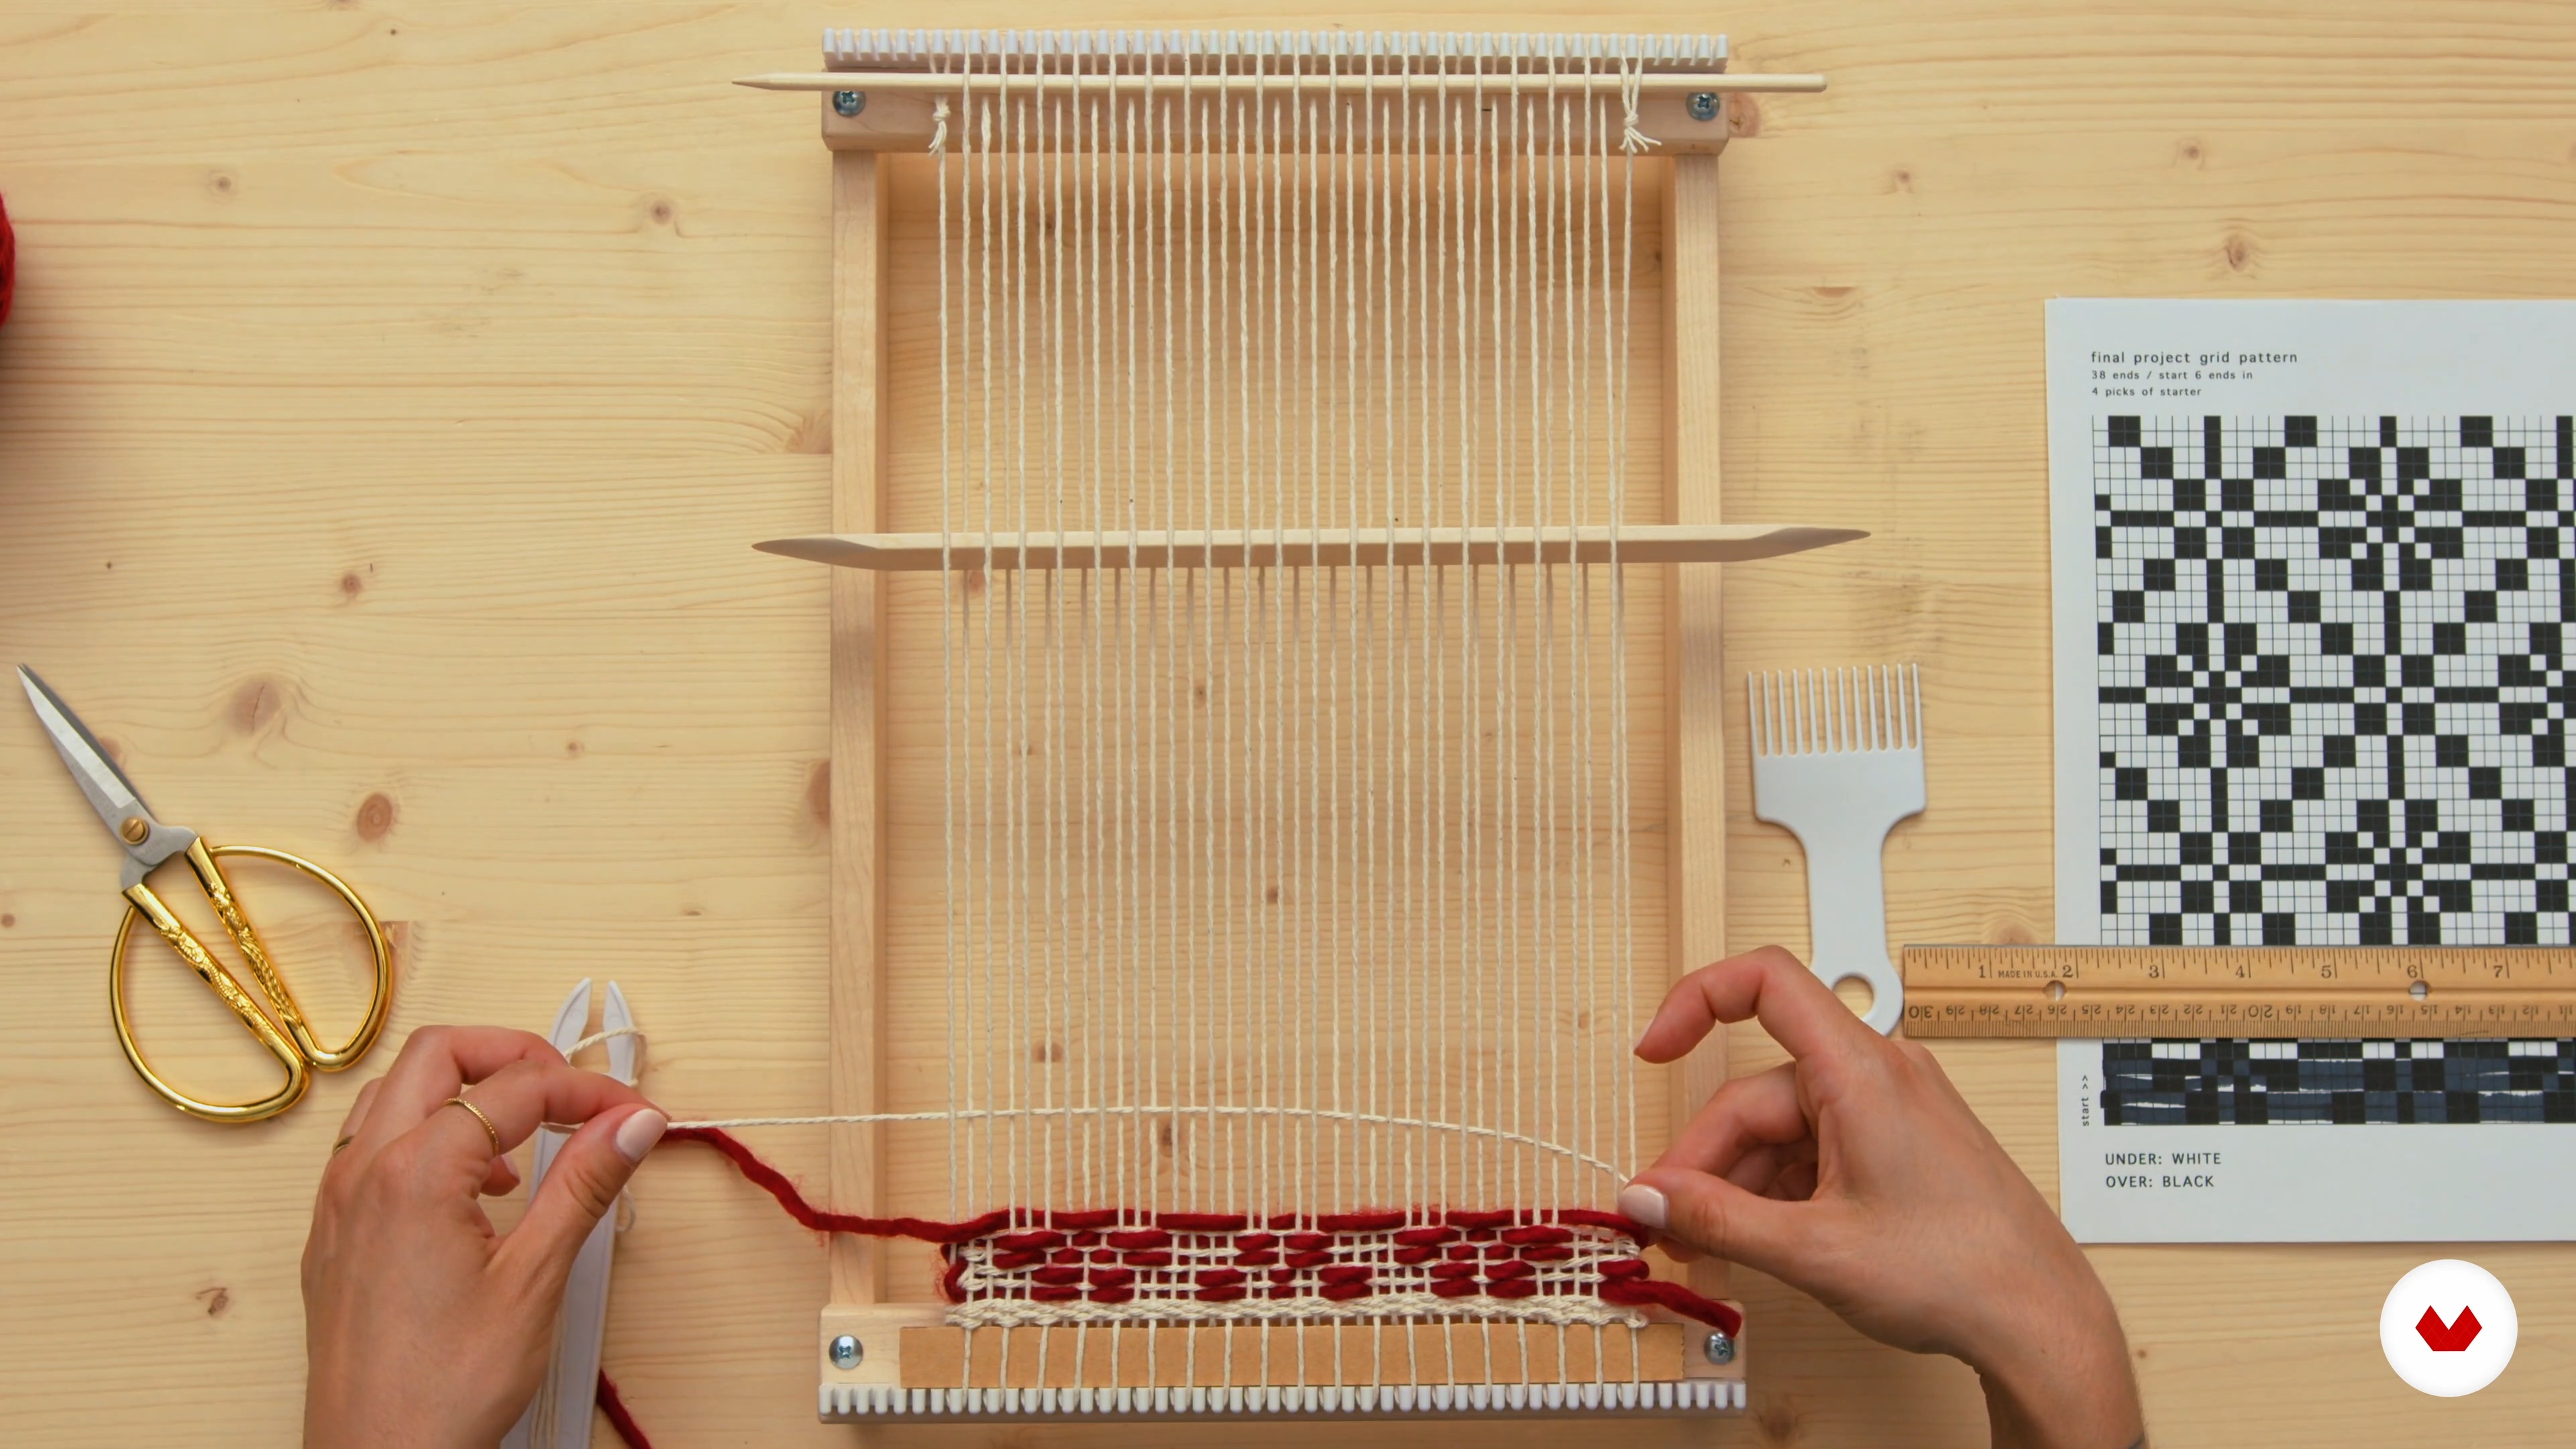
    In this lesson, I’ll show you how to read a grid pattern pick-by-pick and translate the draft to the frame loom.

    16m

    Reading the Grid Pattern 214

    Reading the Grid Pattern 2

    We continue exploring exciting concepts in this part of the lesson. Don’t miss it!

    7m

    Finishing Touches and Inspiration for Future Projects15

    Finishing Touches and Inspiration for Future Projects

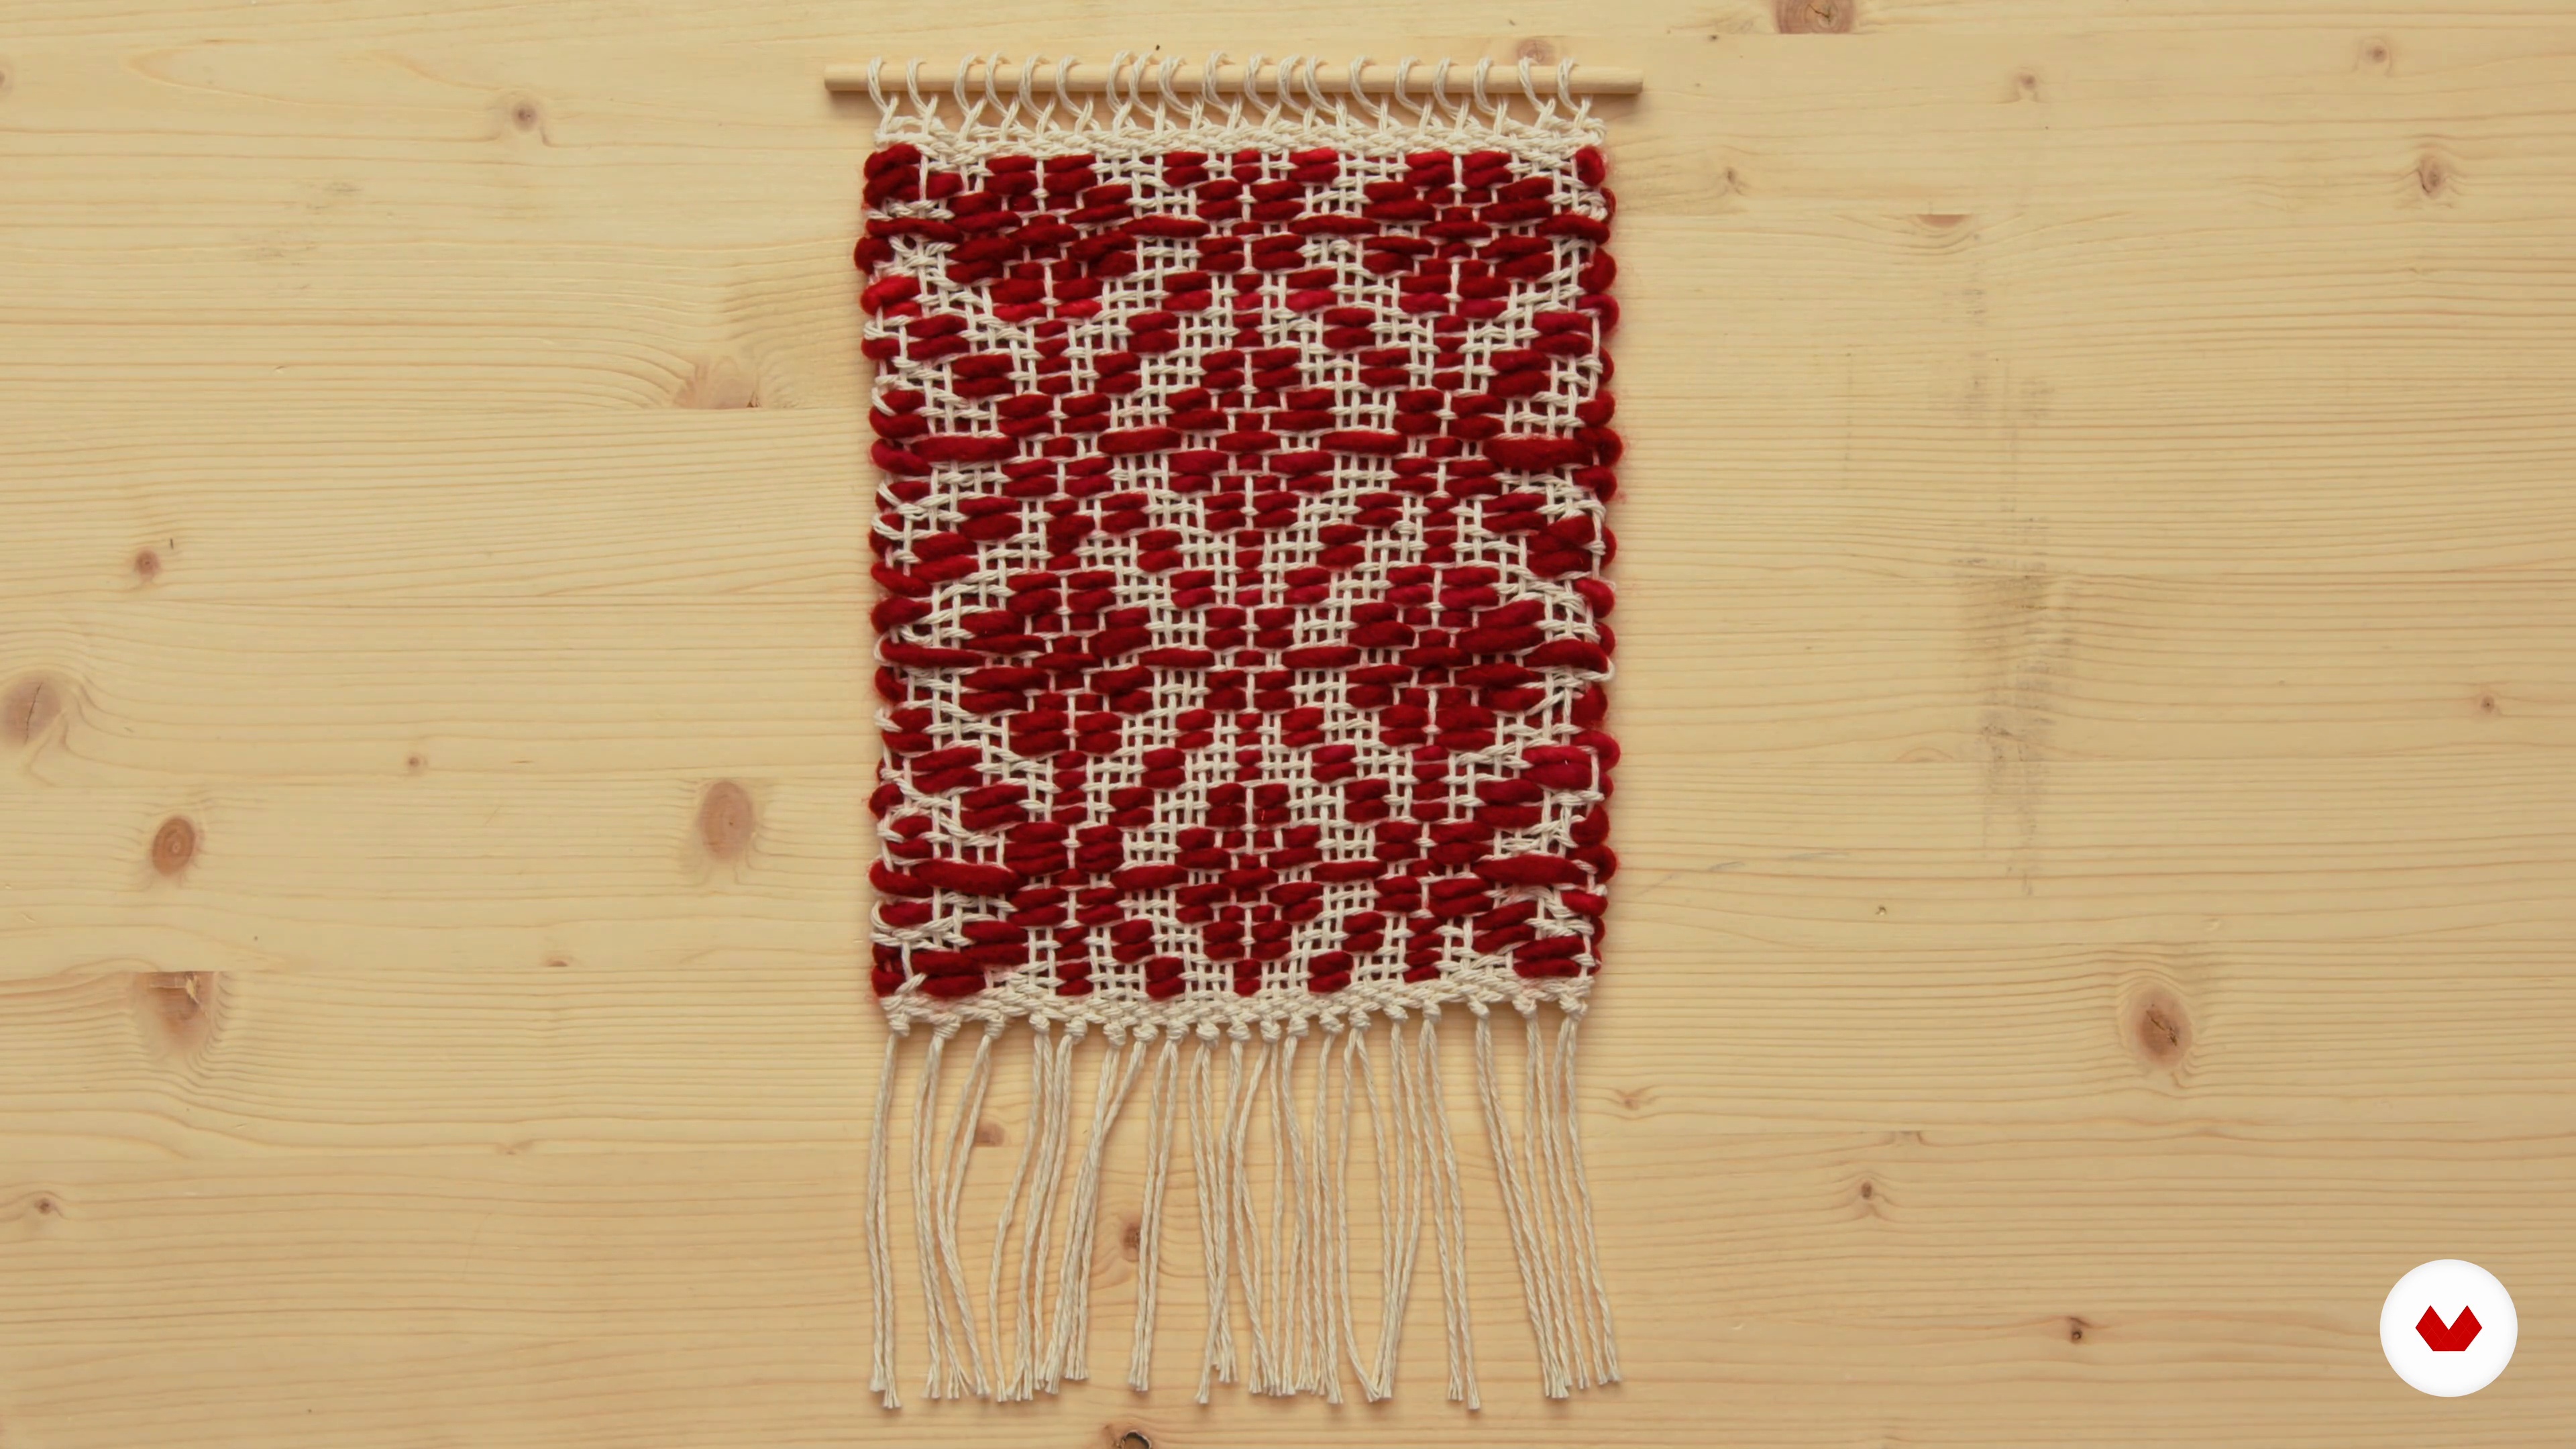
    You’re almost done! Now I will explain how to finish your weaving and take it off the loom for display.

    9m

    Loom, Tools, and Materials3

    Loom, Tools, and Materials

    Let's talk about looms, tools, and materials for weaving! In this lesson, I will give you a brief introduction to the world of loom weaving. You will learn the basic tools and materials required to create a woven artwork. This will become a foundation for you to build on as we go.

    2m

    Basic Weaving Techniques 14

    Basic Weaving Techniques 1

    Now that you're familiar with the materials, I will explain to you some basic weaving techniques, including how to warp your loom and five weaving stitches.

    19m

    Basic Weaving Techniques 25

    Basic Weaving Techniques 2

    I've covered the tabby weave, the soumak technique, and the looped rya technique. Now, I will demonstrate the bubbling technique and the rya knot. Let's go!

    14m

    Colour and composition6

    Colour and composition

    In this lesson, I will talk about the importance of colour choice when making art. I will also share tips and tricks for designing the composition of your piece before you begin making.

    7m

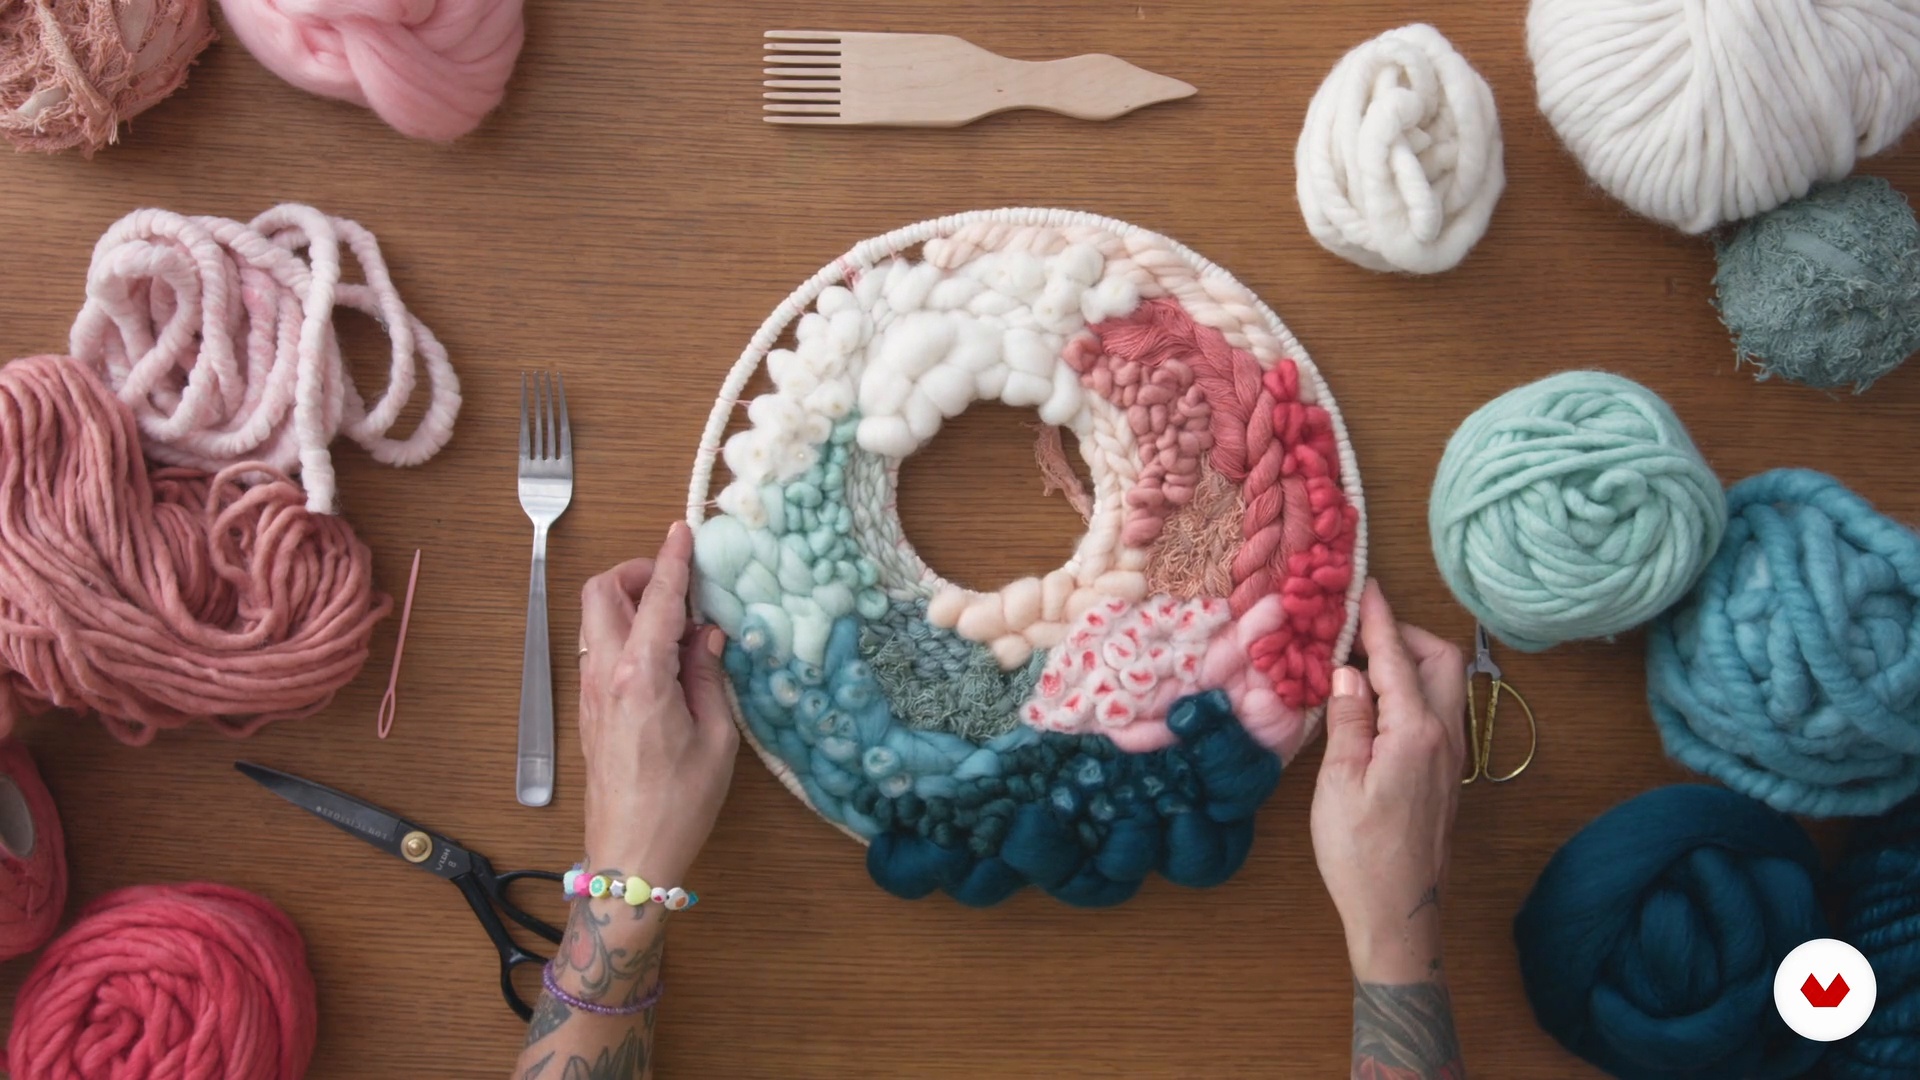
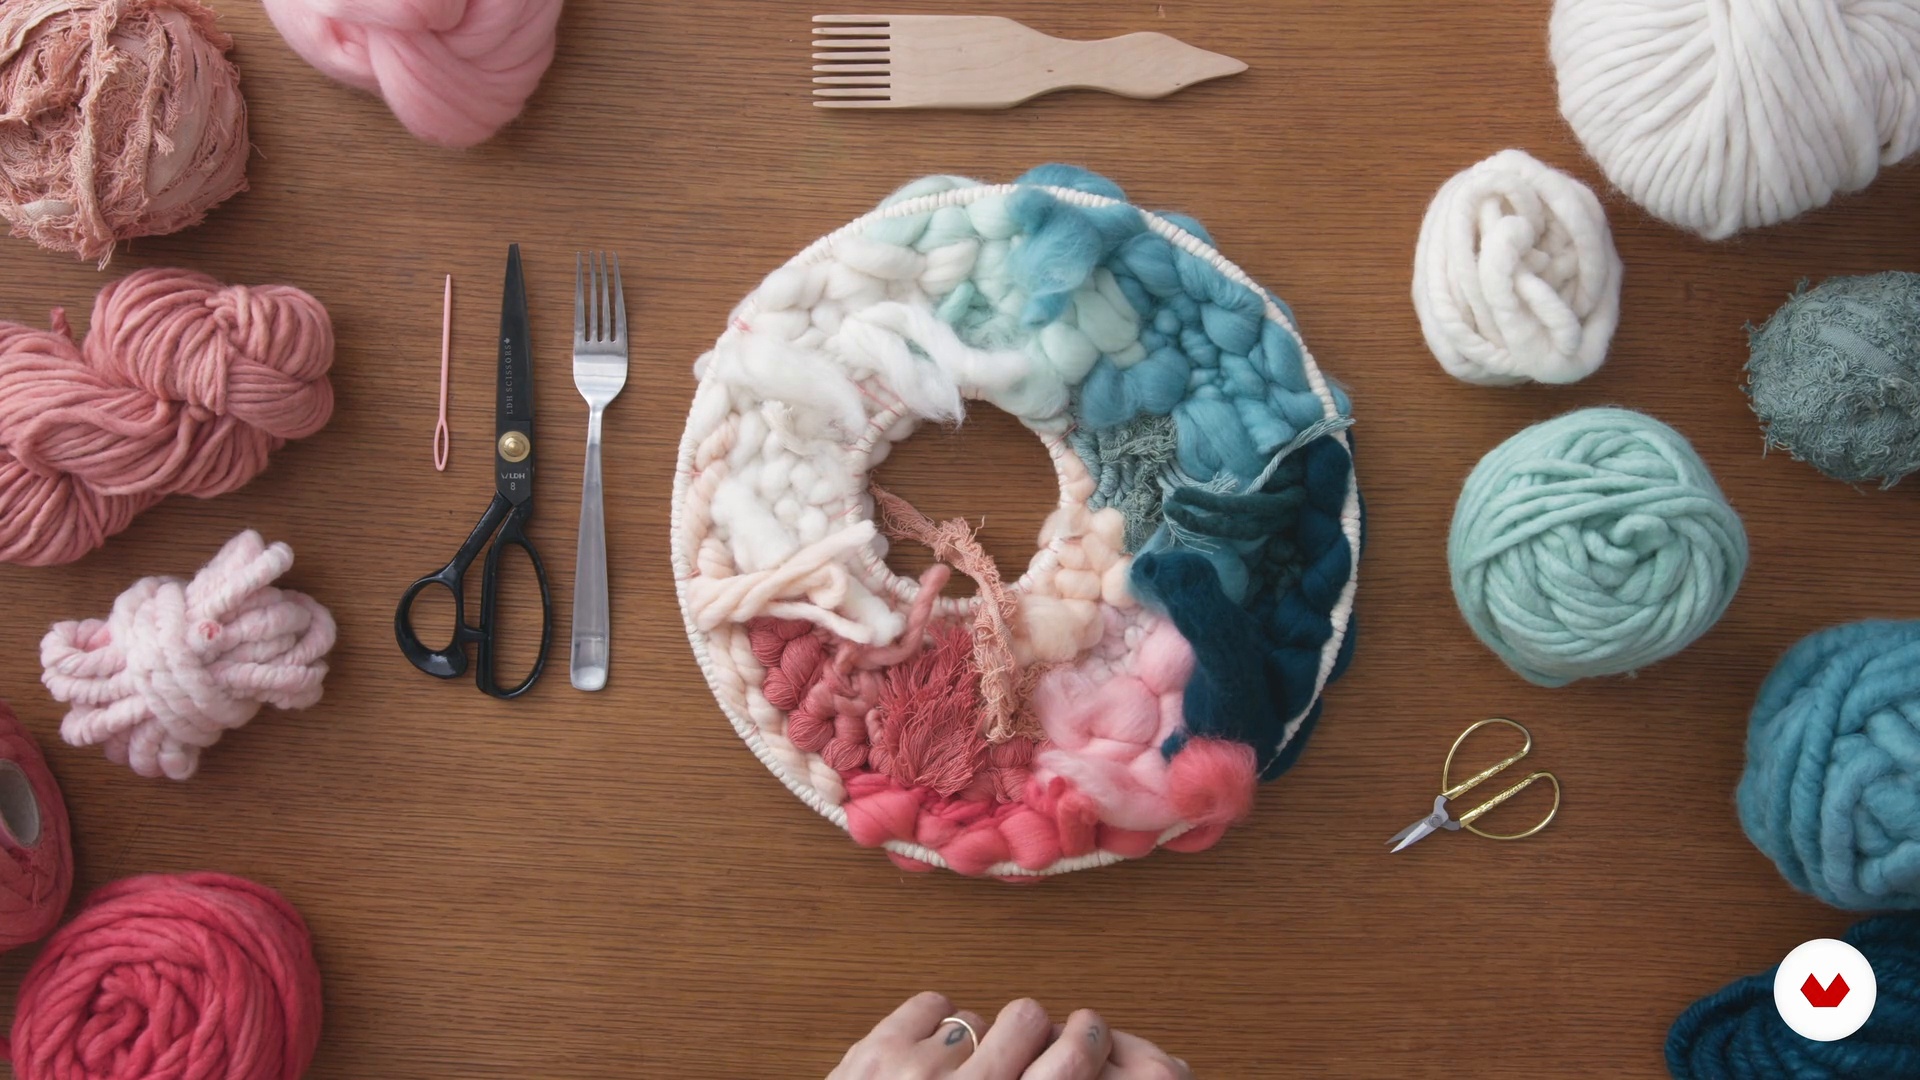
    Preparing the Loom7

    Preparing the Loom

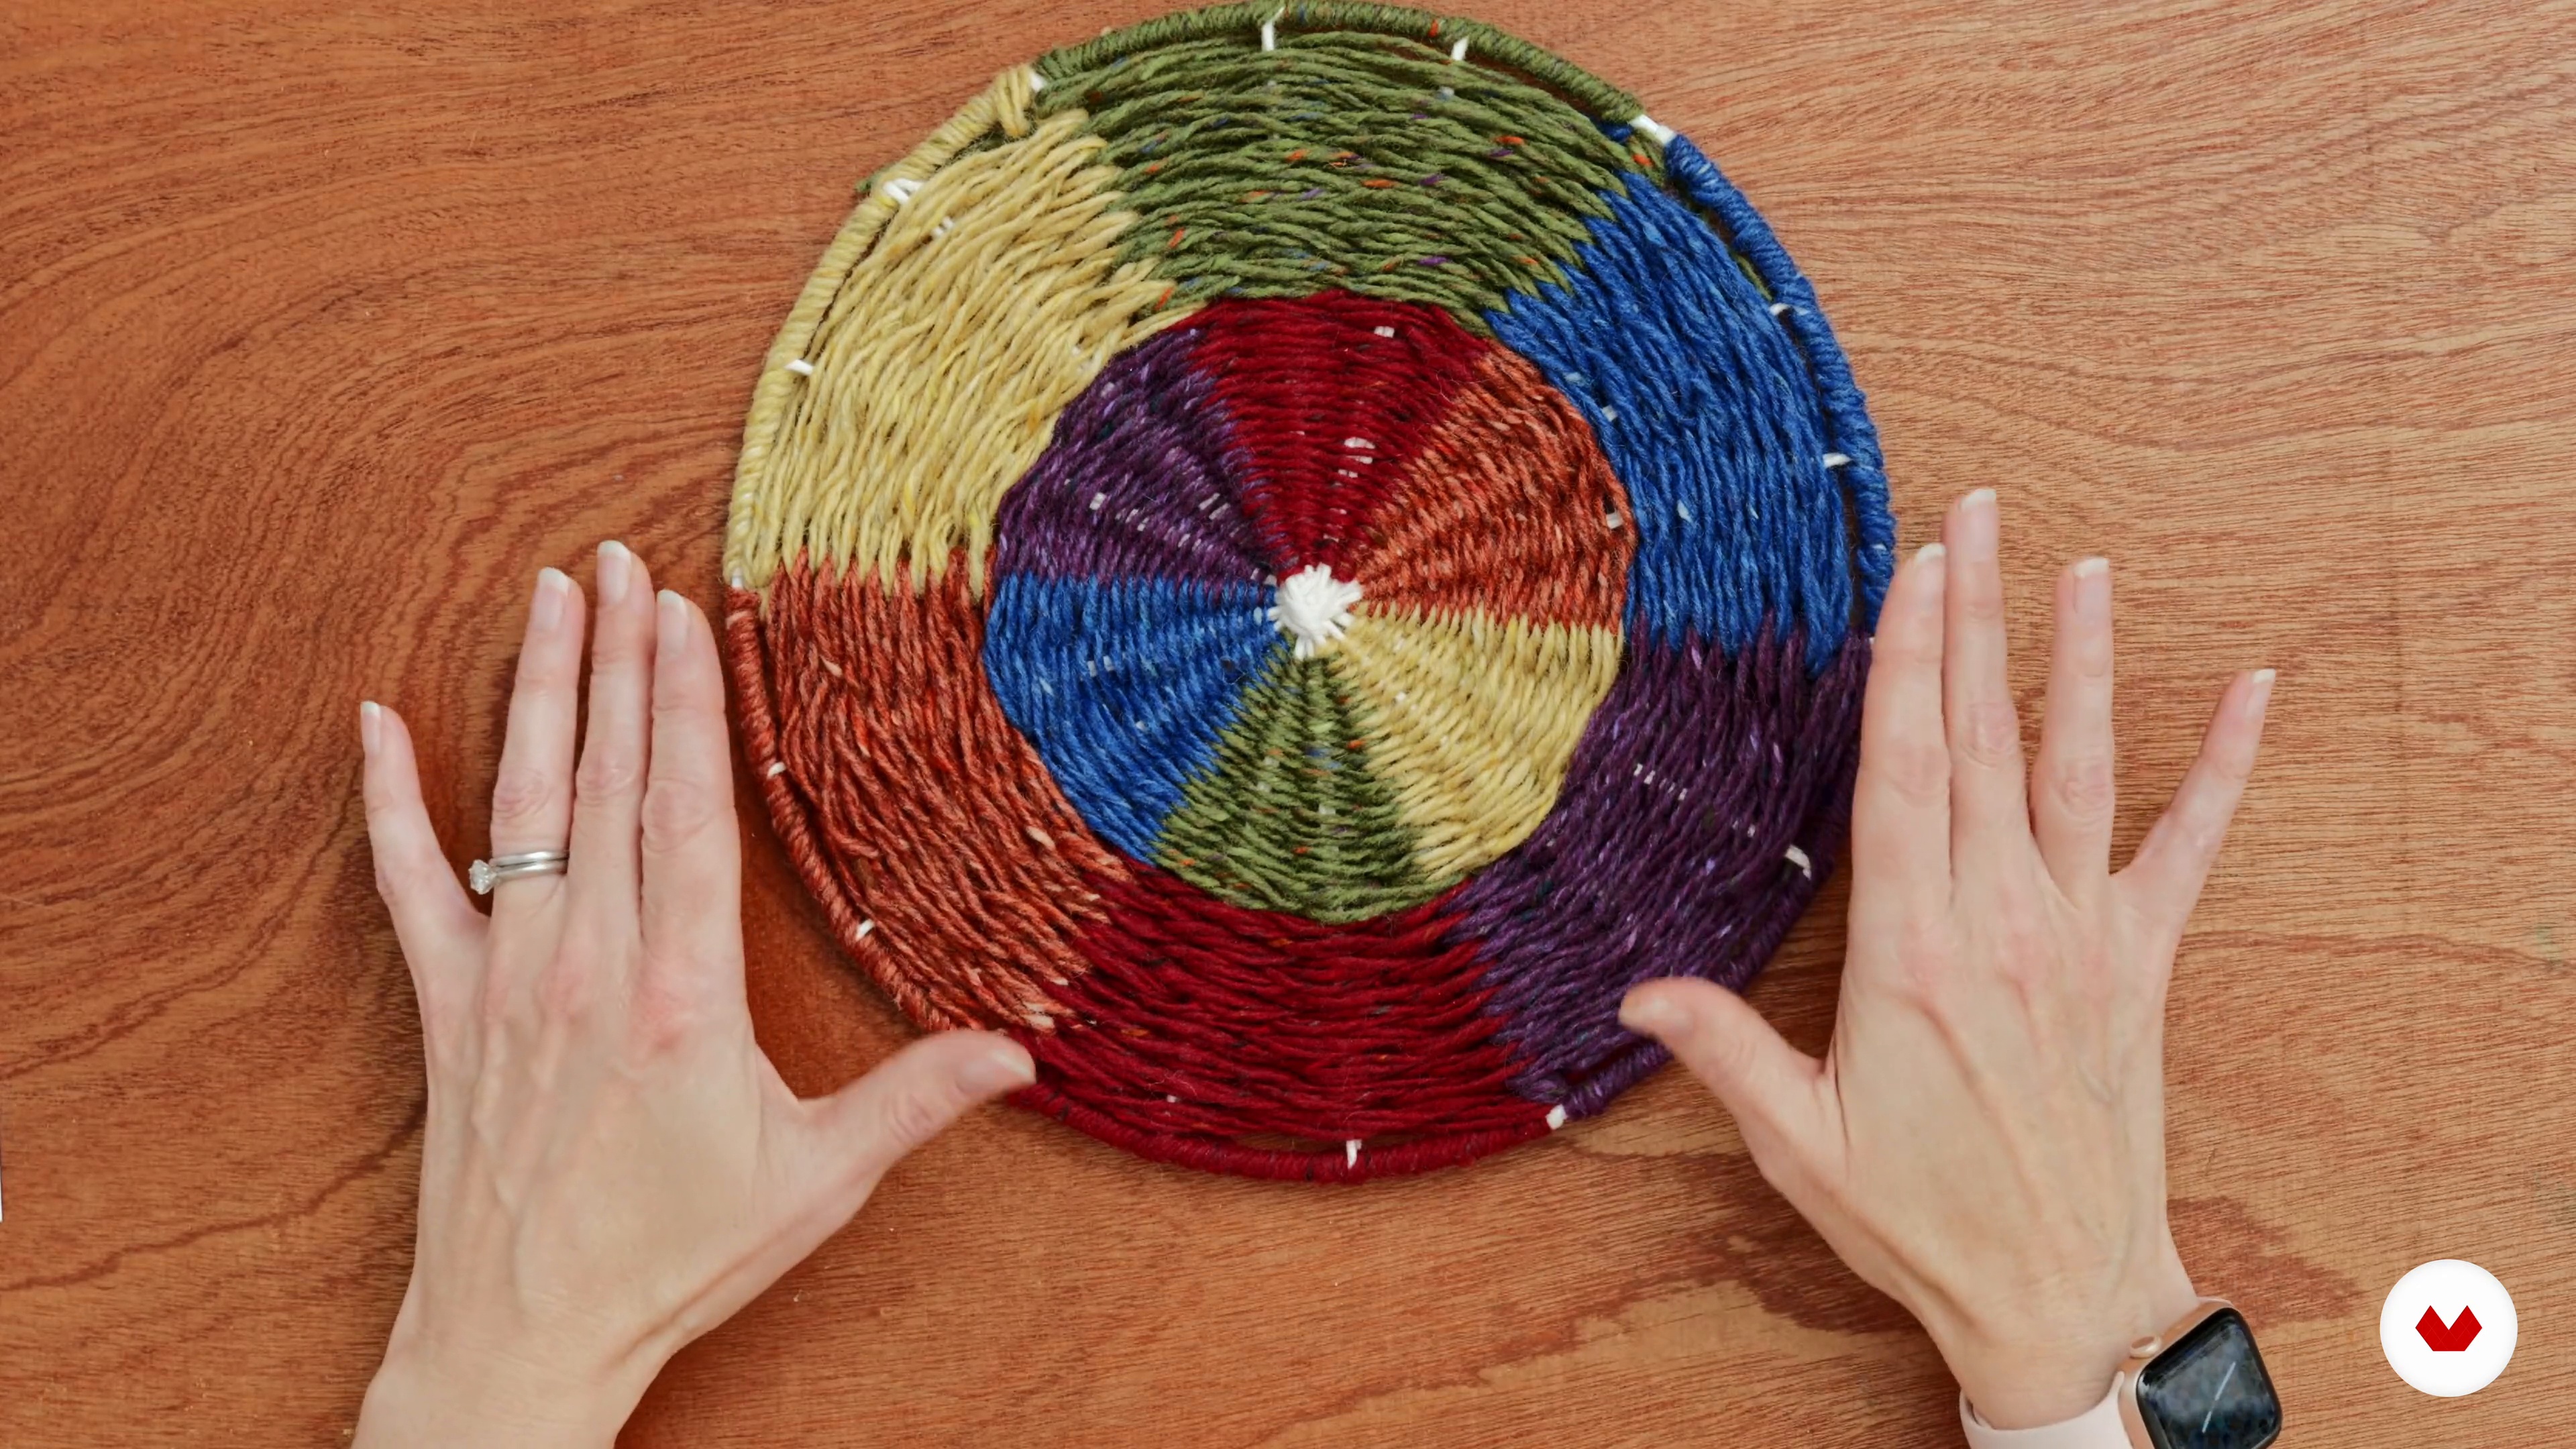
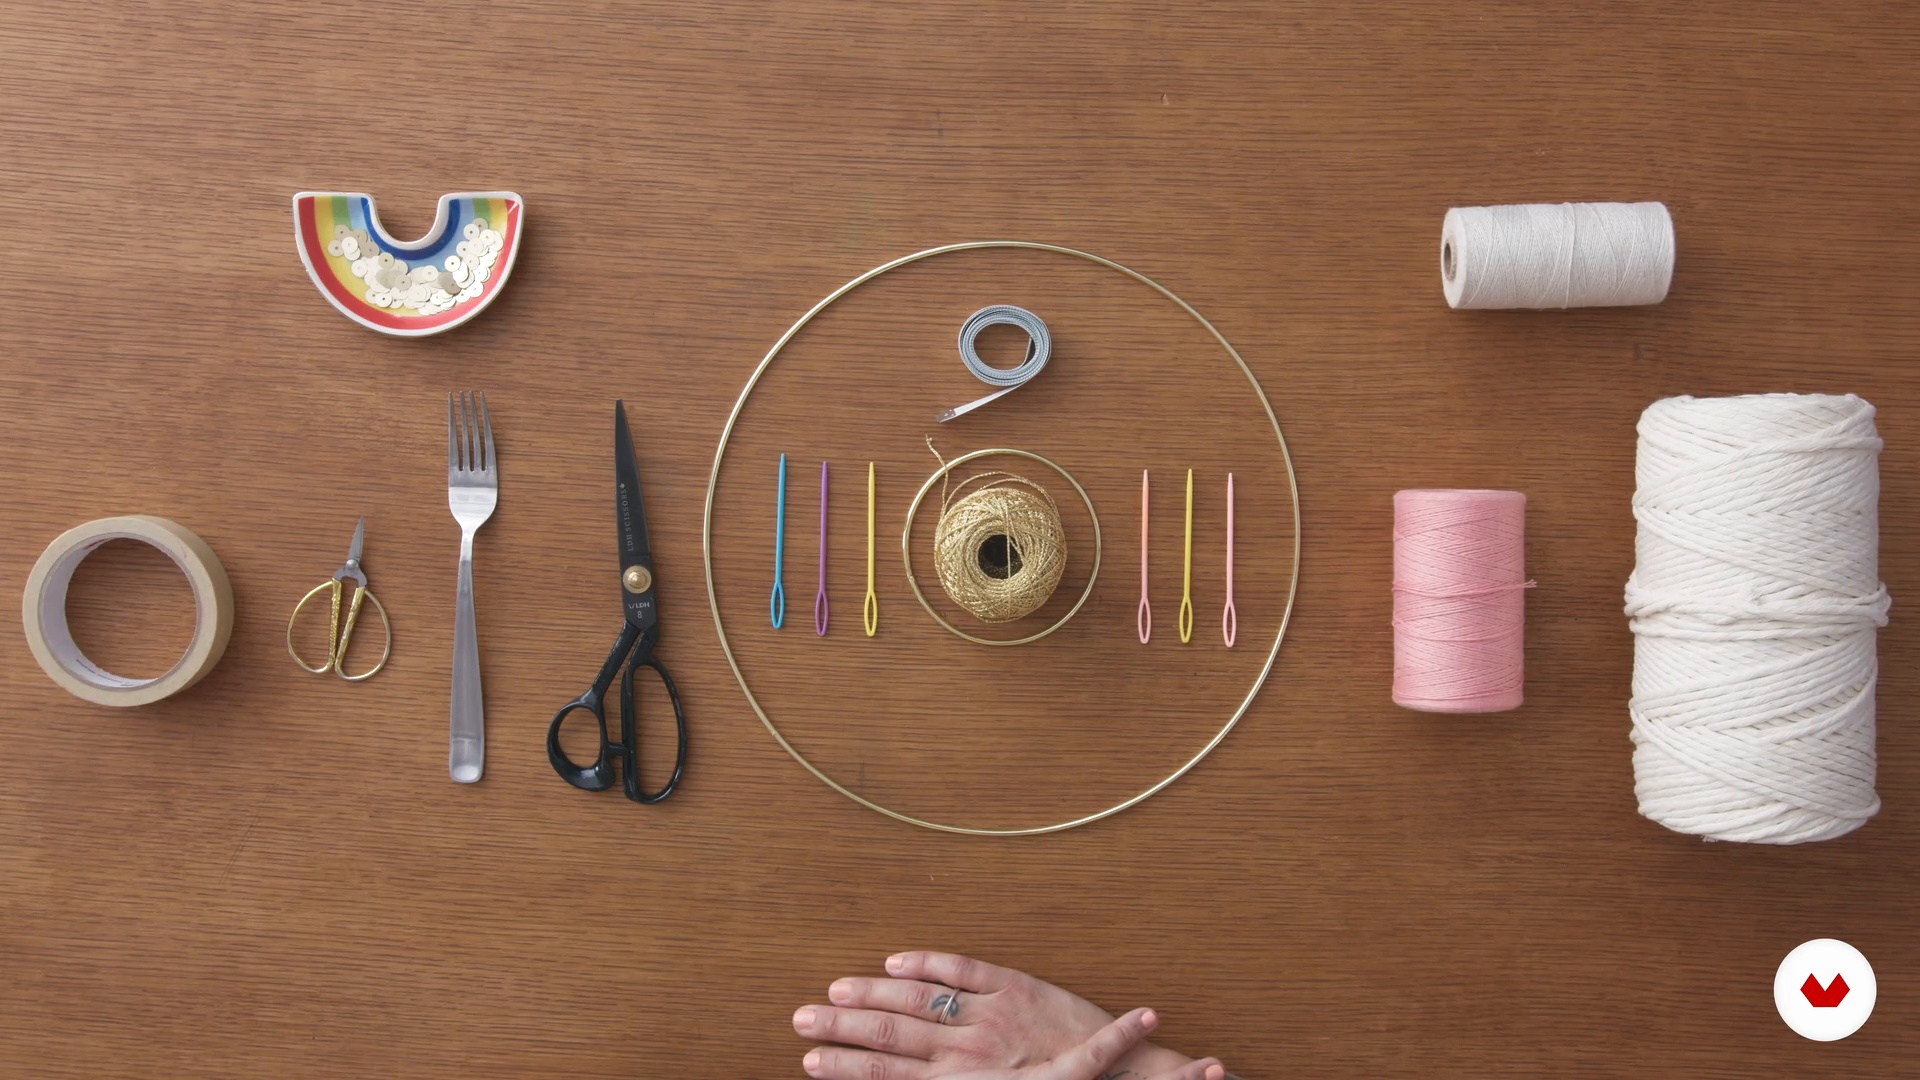
    In this lesson, I will show you how to set up your loom. In the case of circular weaving, it's first necessary to wrap and warp a metal hoop. This will be the foundation for the rest of the project.

    13m

    Let's Get Weaving!8

    Let's Get Weaving!

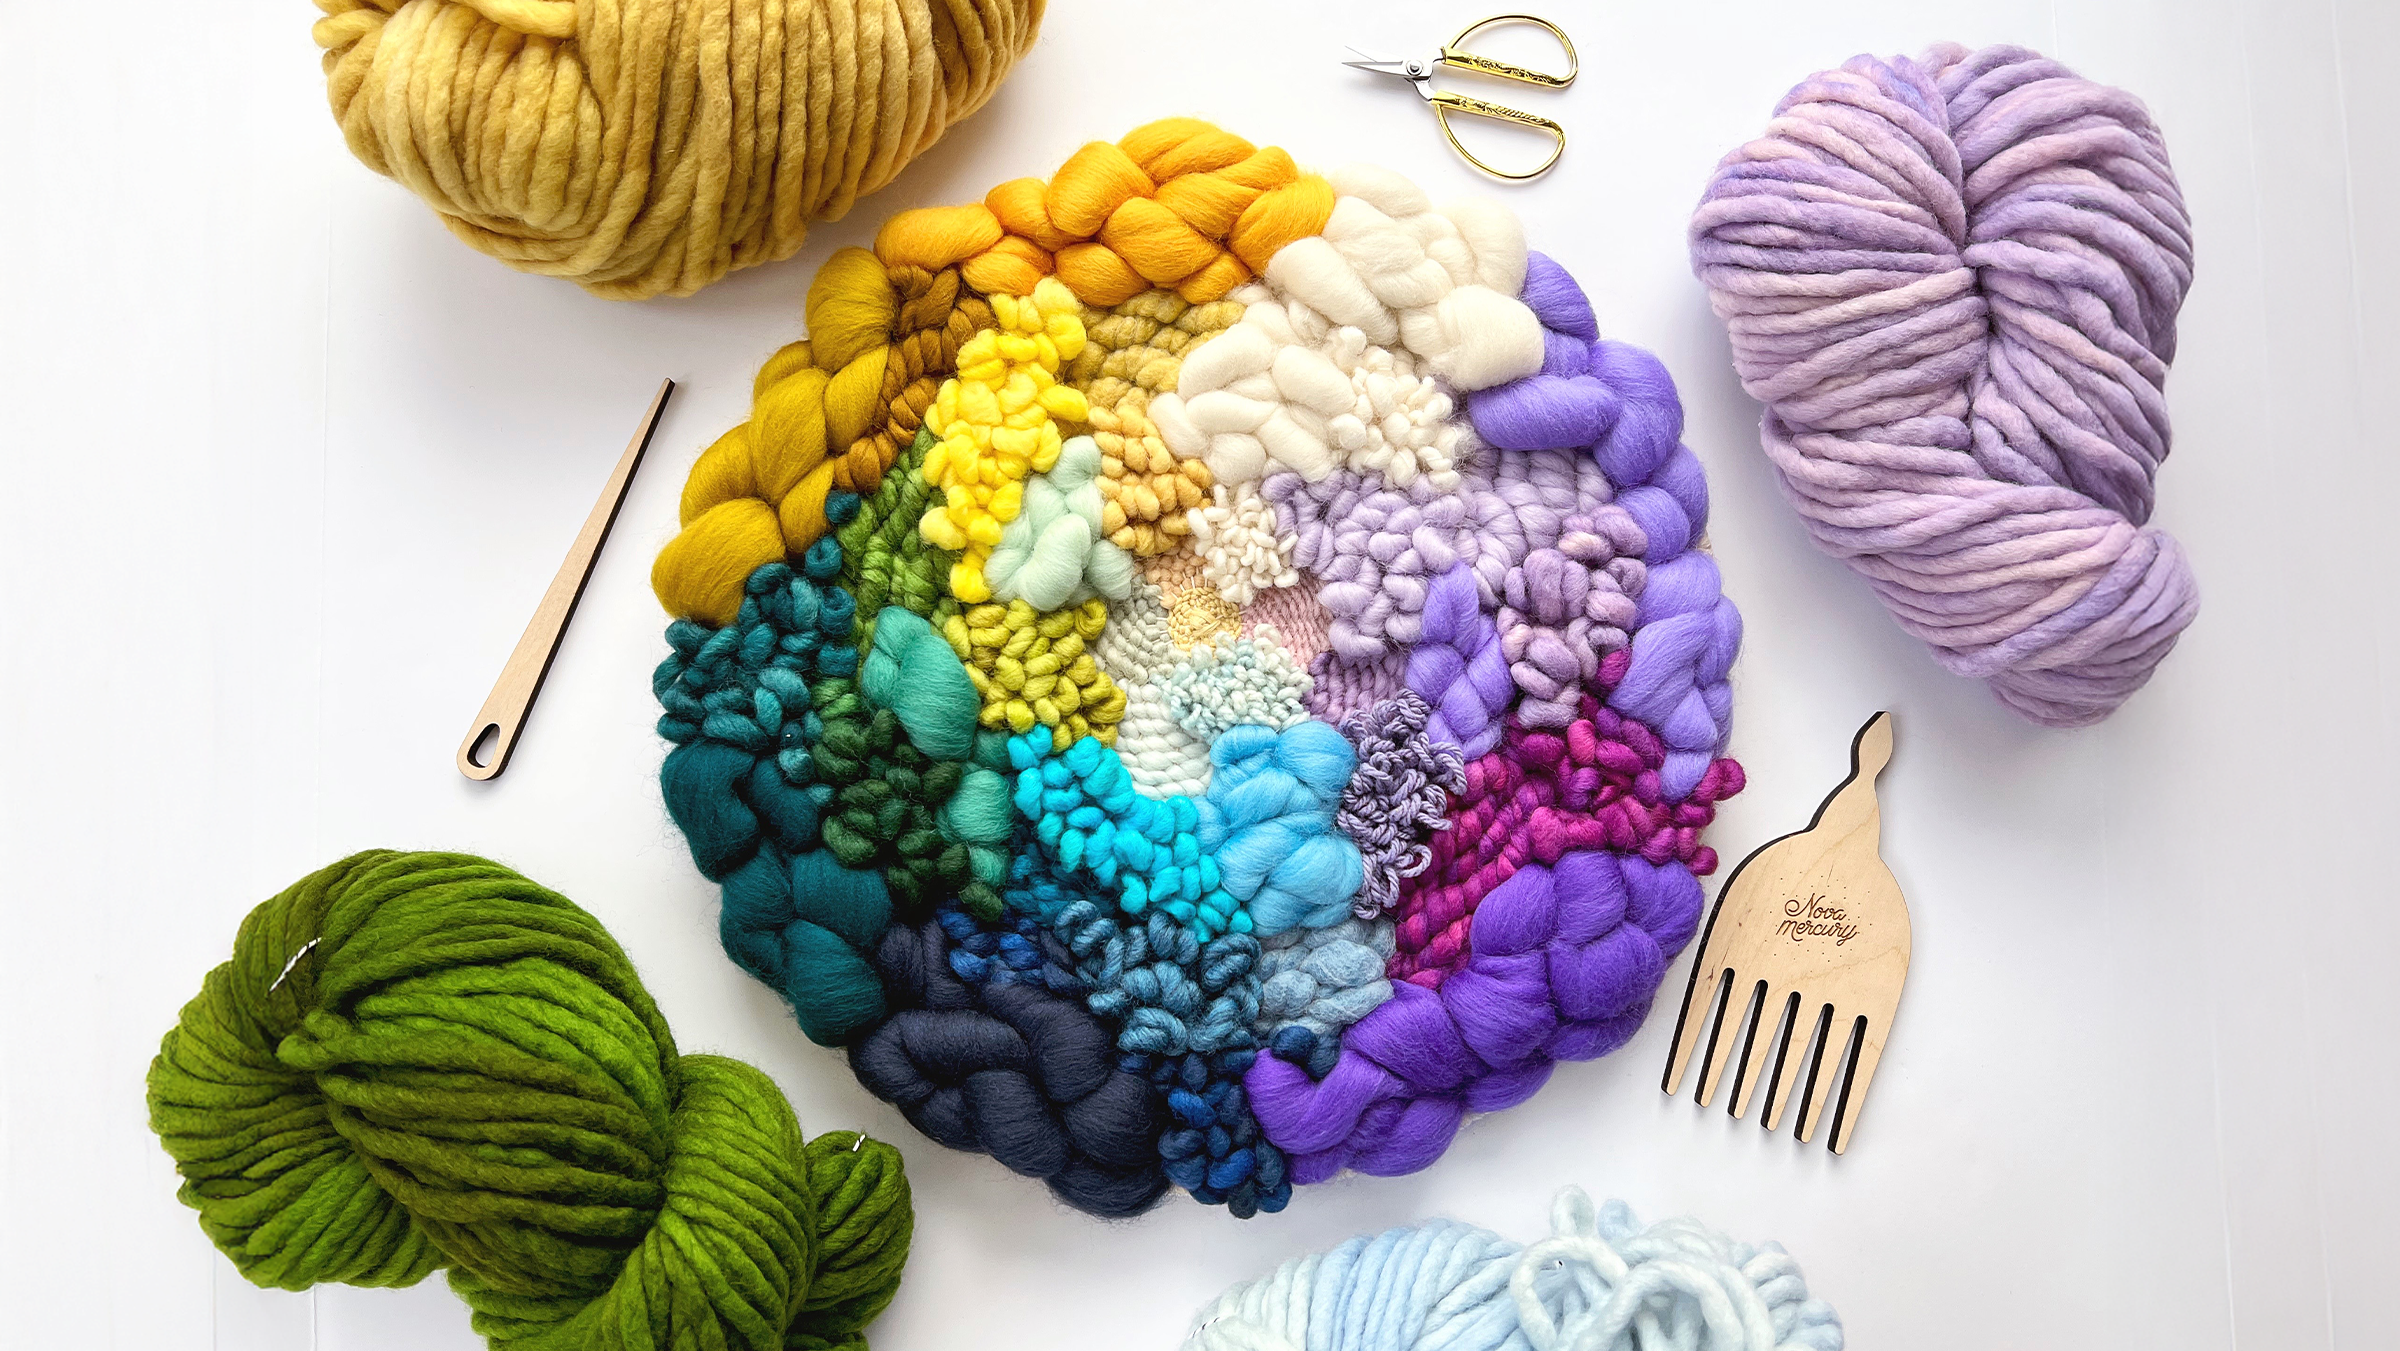
    I will weave now my hoop from start to finish, sharing my favourite tips and tricks along the way. Follow along with me, or use the techniques I shared with you to create your own composition!

    10m

    Finishing9

    Finishing

    The final step in a weaving project is to clean up the back. Tidying up your weaving project will create a nice and professional finish and ensure that your piece hangs nicely on the wall. I usually leave this step until the end so that it doesn't break my creative flow.

    4m

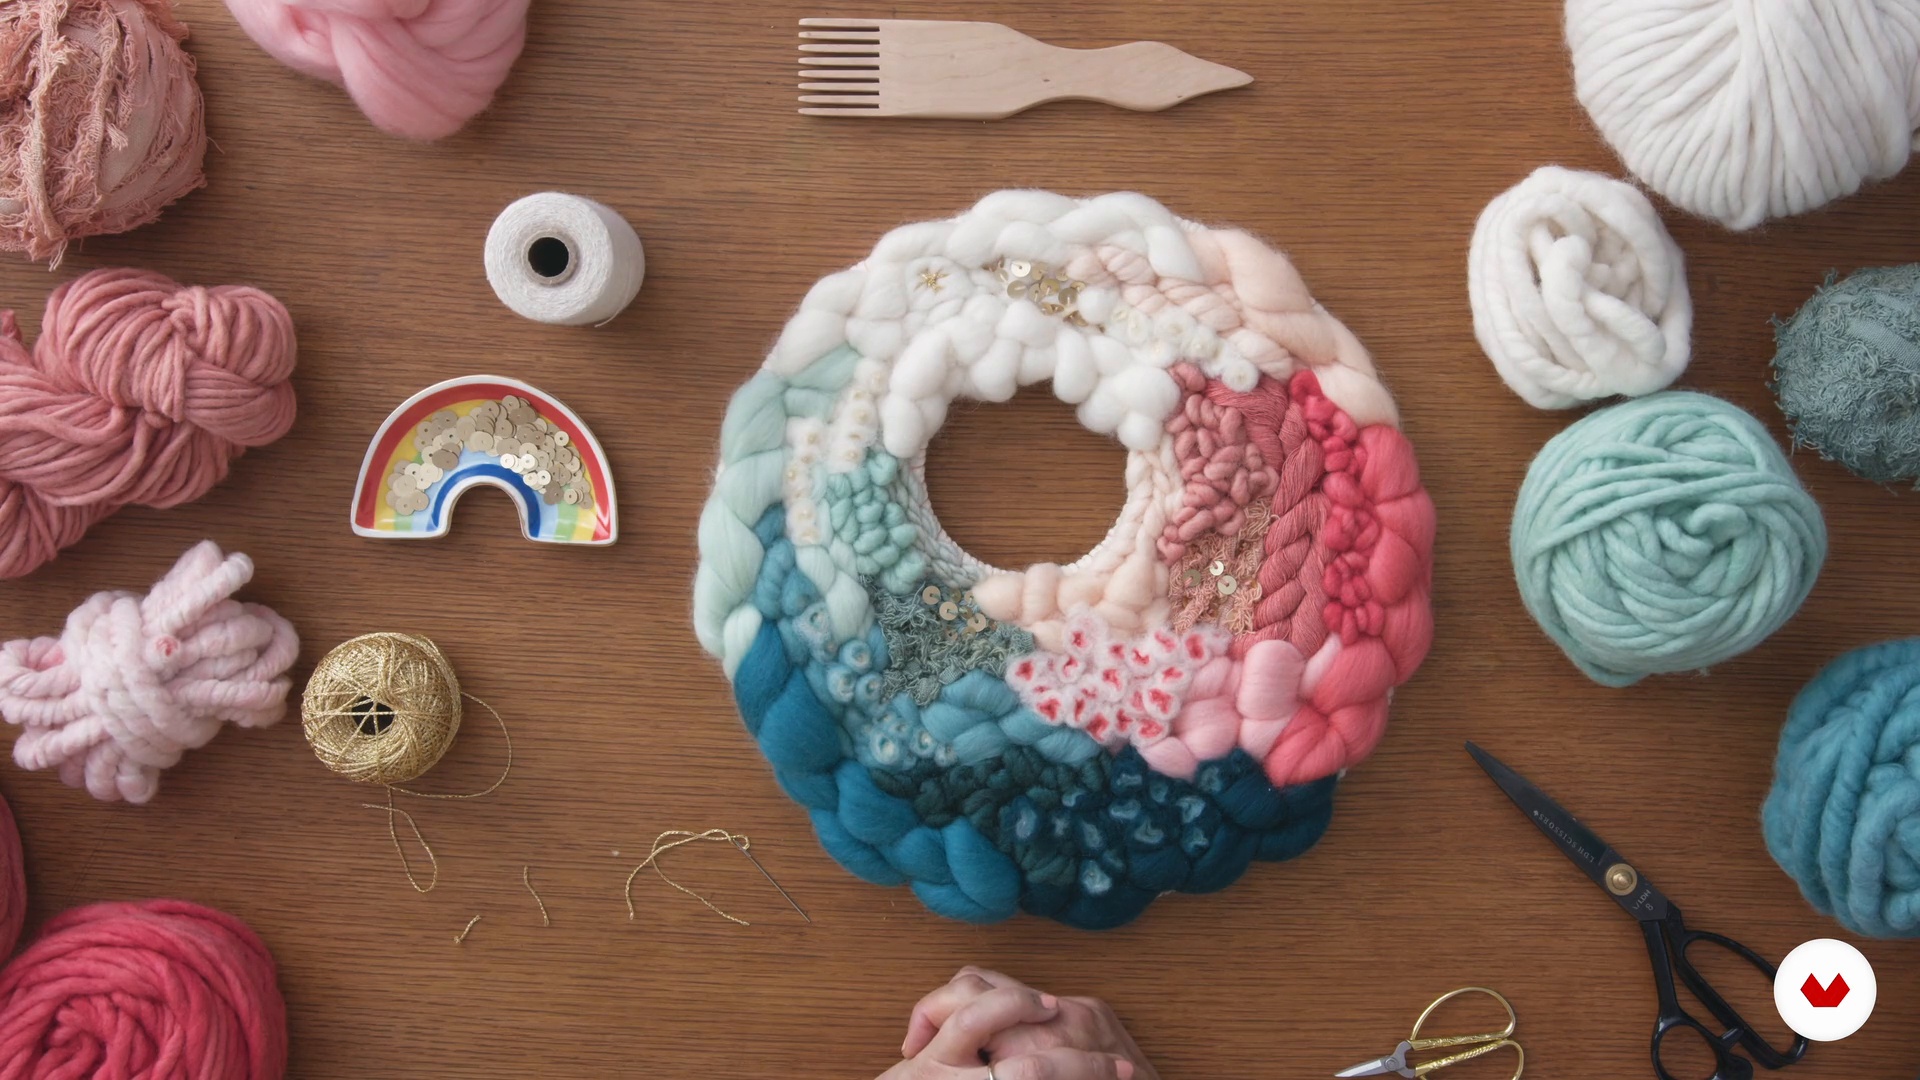
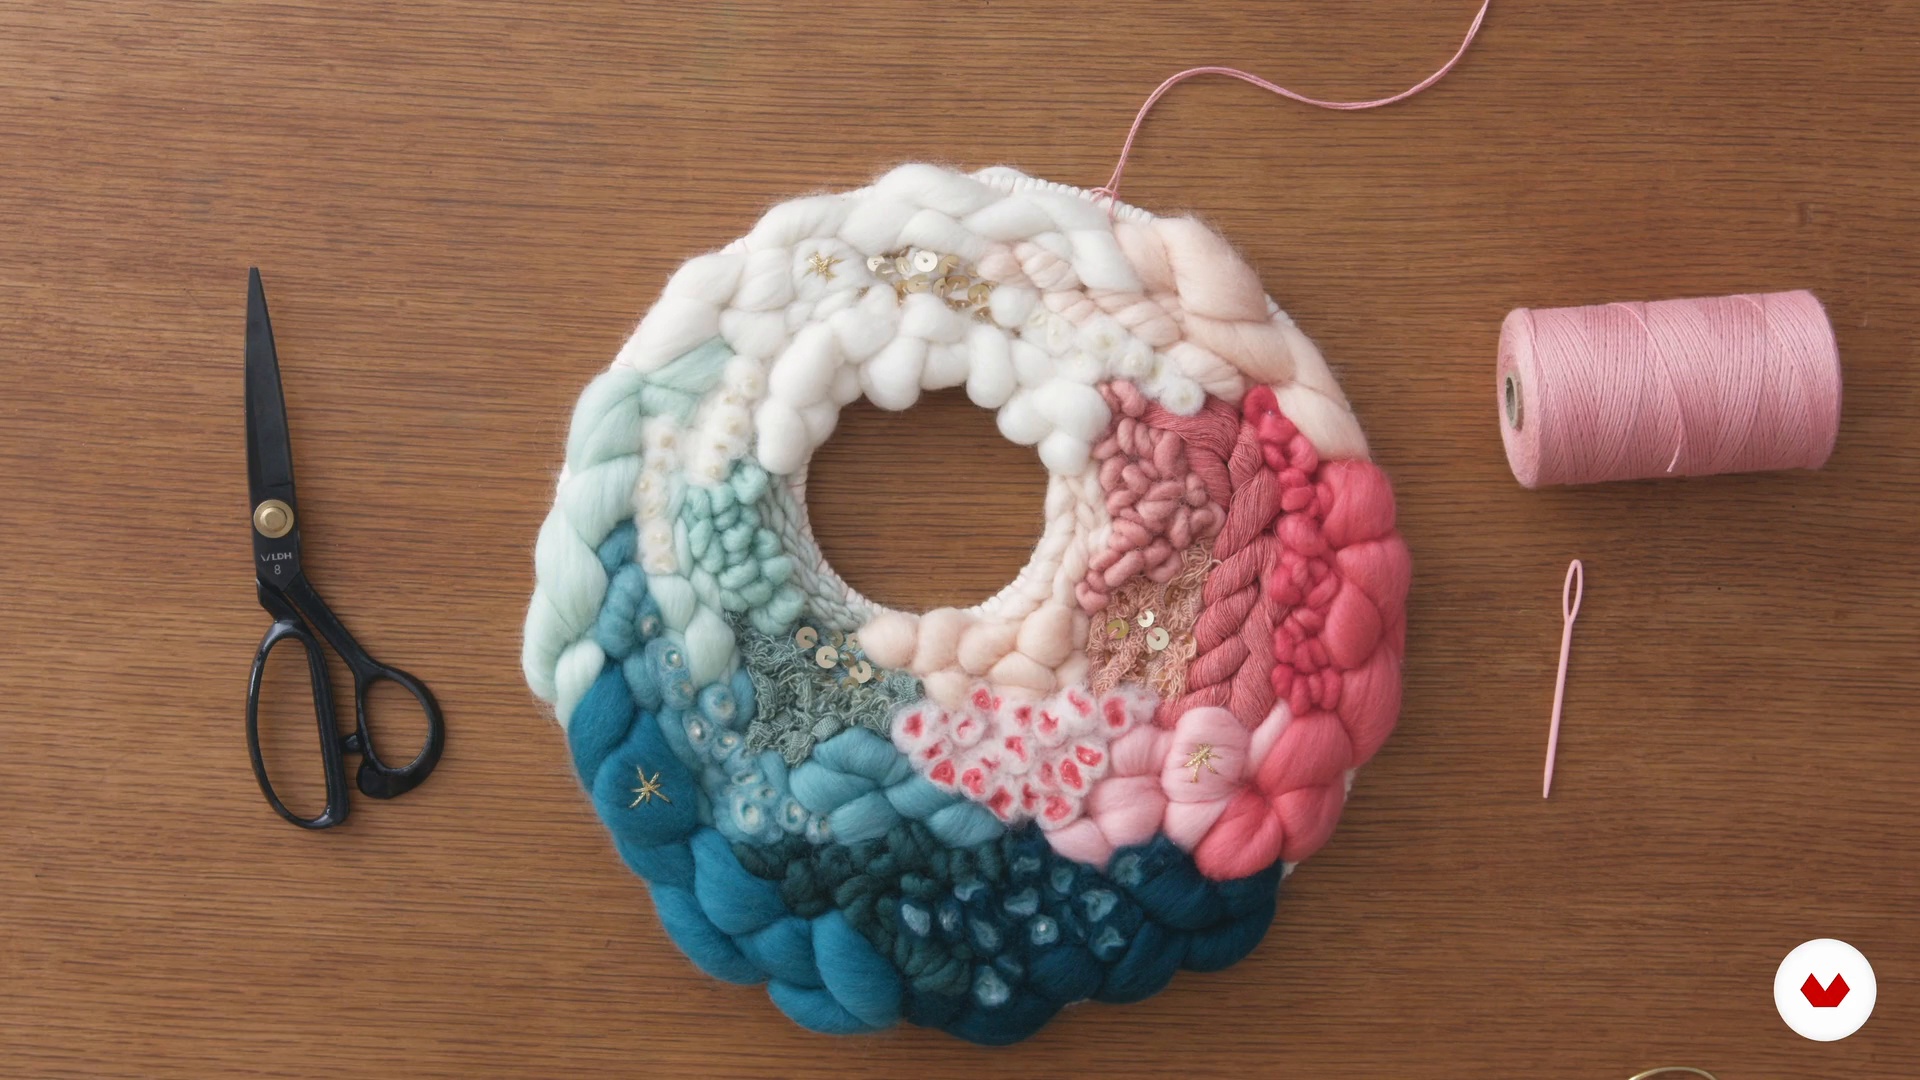
    Embellishing10

    Embellishing

    To bring the production process to a close, I'll show how to add some sparkle using sequins or embroidery to jazz up the finished piece.

    7m

    How to Hang and Care For Your Weaving11

    How to Hang and Care For Your Weaving

    You've done all the hard work! Now it's time to showcase it. In this lesson, I'll share a few words of advice about how to hang and care for your woven wall art.

    3m

    What's Next?12

    What's Next?

    Here, I'll talk about news and interesting ways to apply the techniques you've learned and dive even further into the world of fibre art!

    1m

    Tools and Materials3

    Tools and Materials

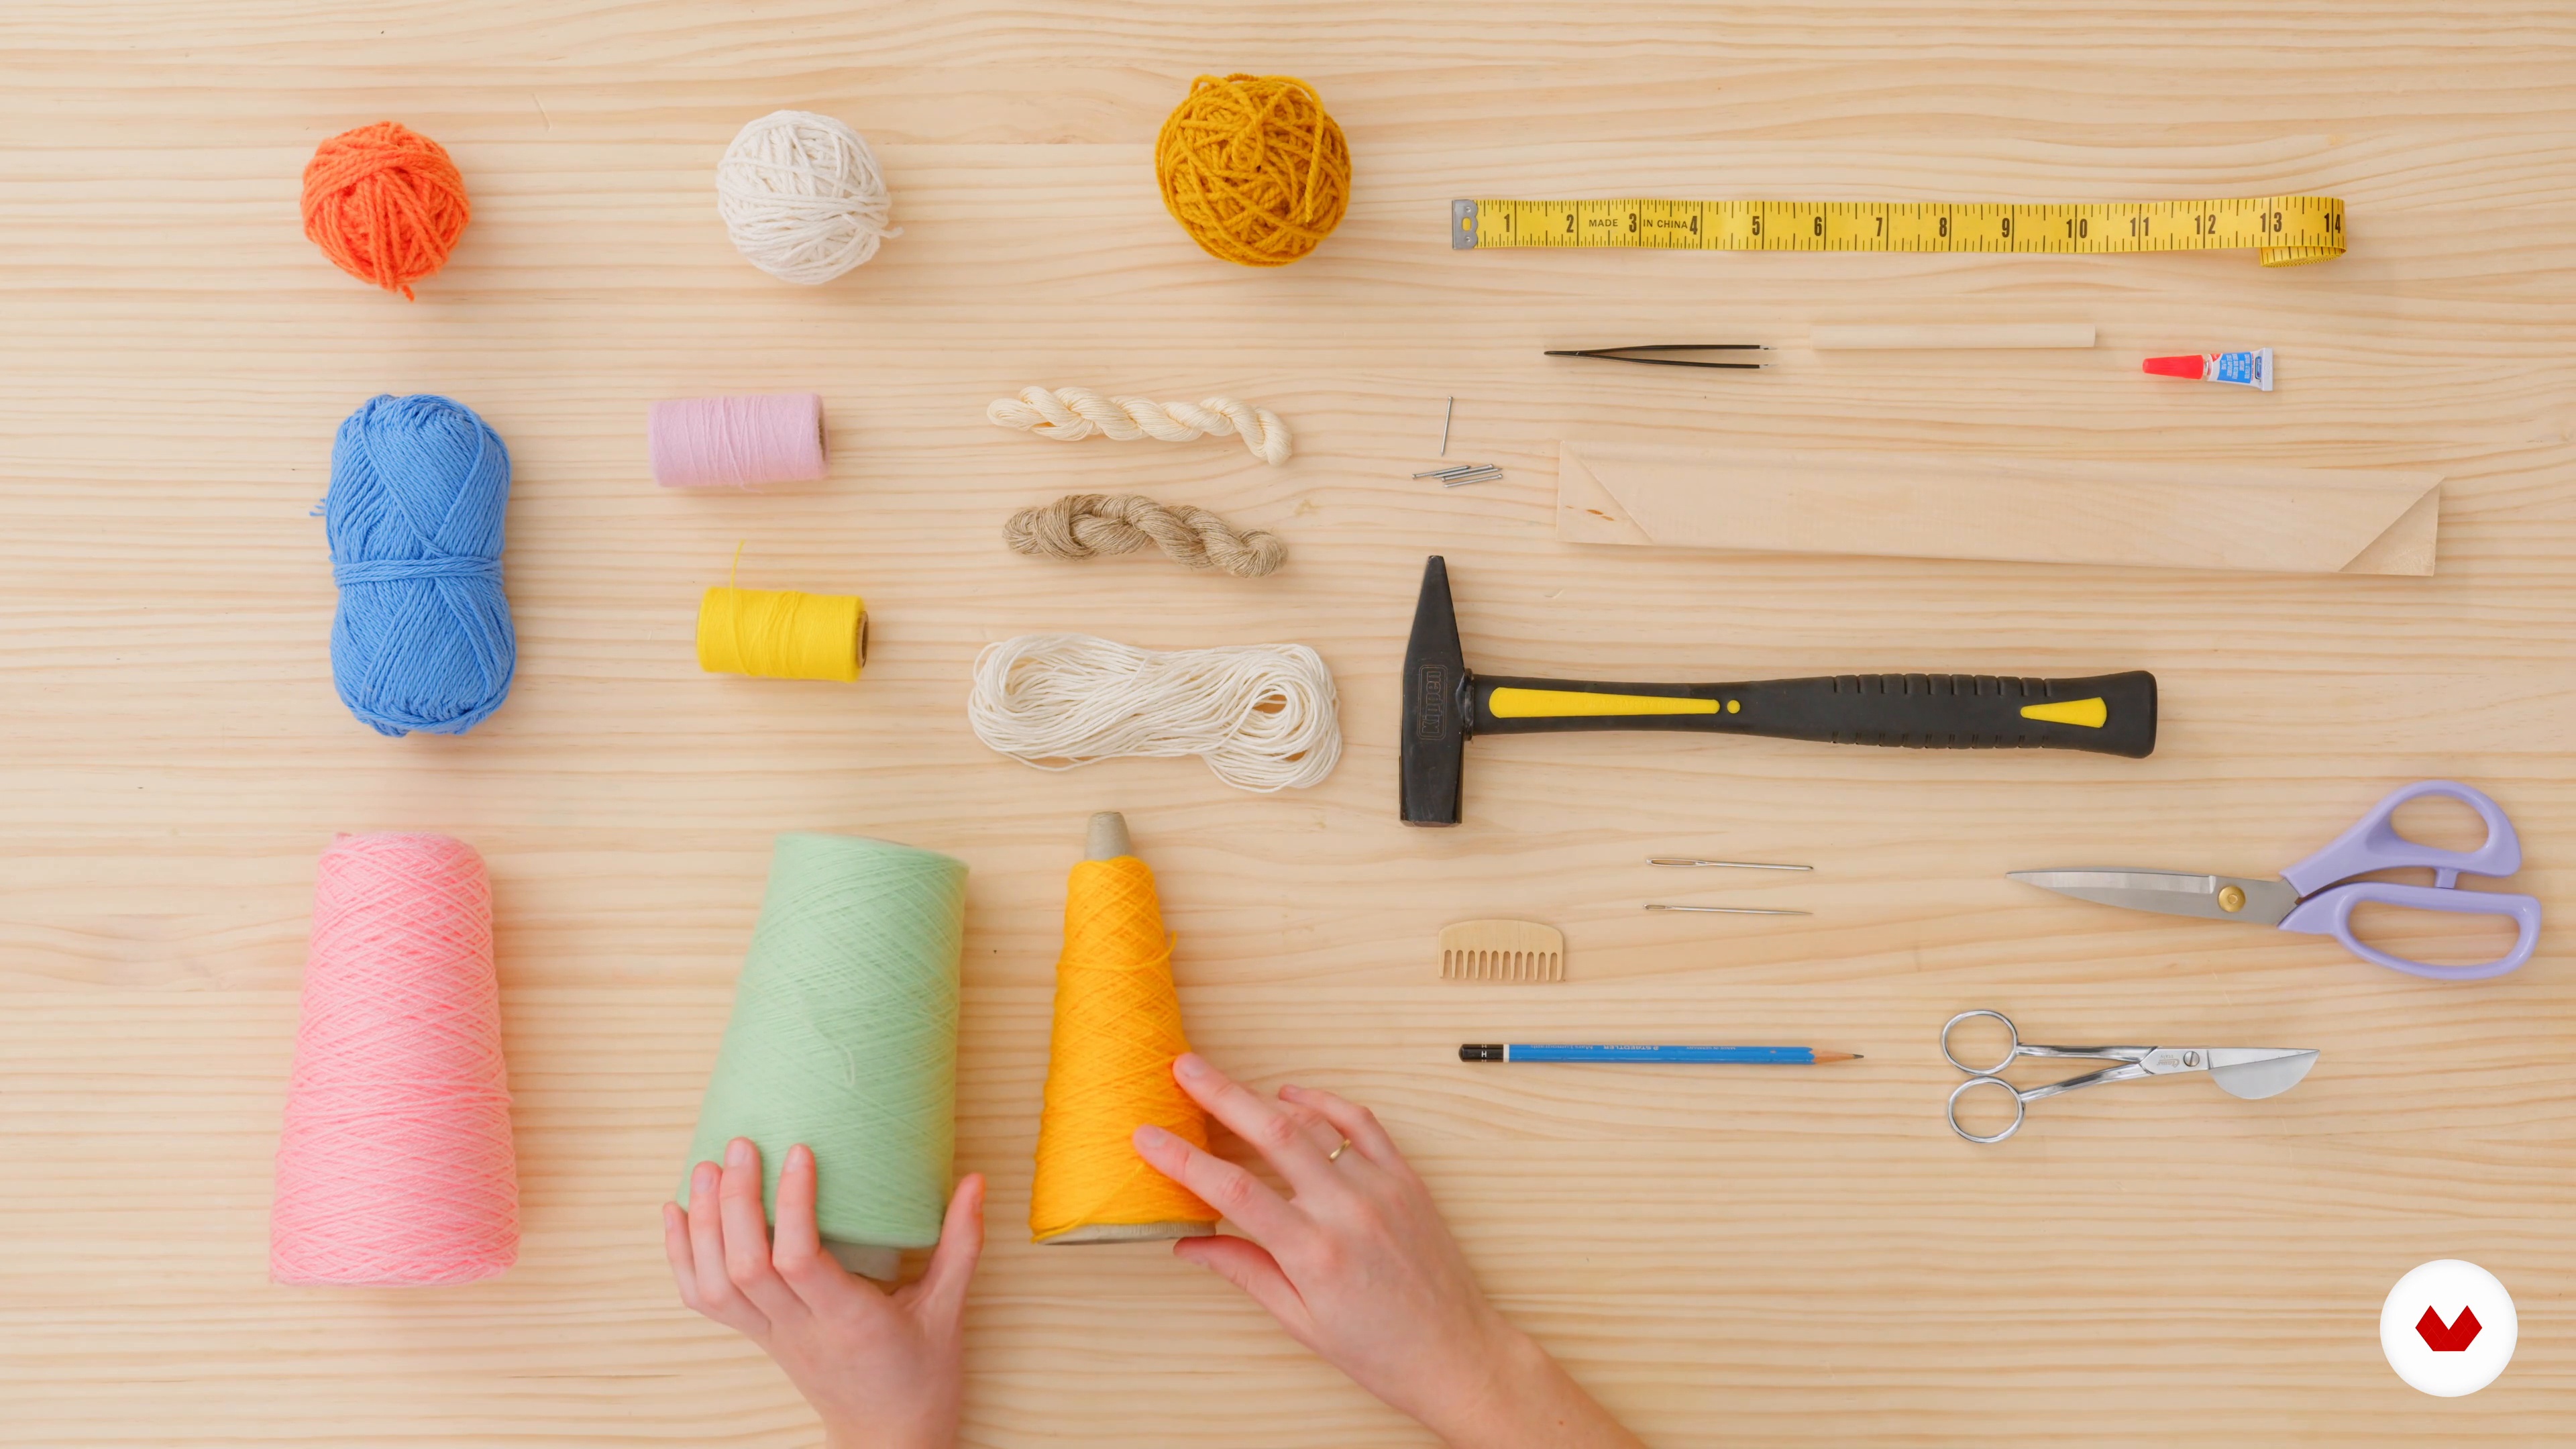
    In this lesson, I'll explain all of the tools and materials needed for all kinds of weaving and those that you will need for the course.

    7m

    Building the Frame Loom4

    Building the Frame Loom

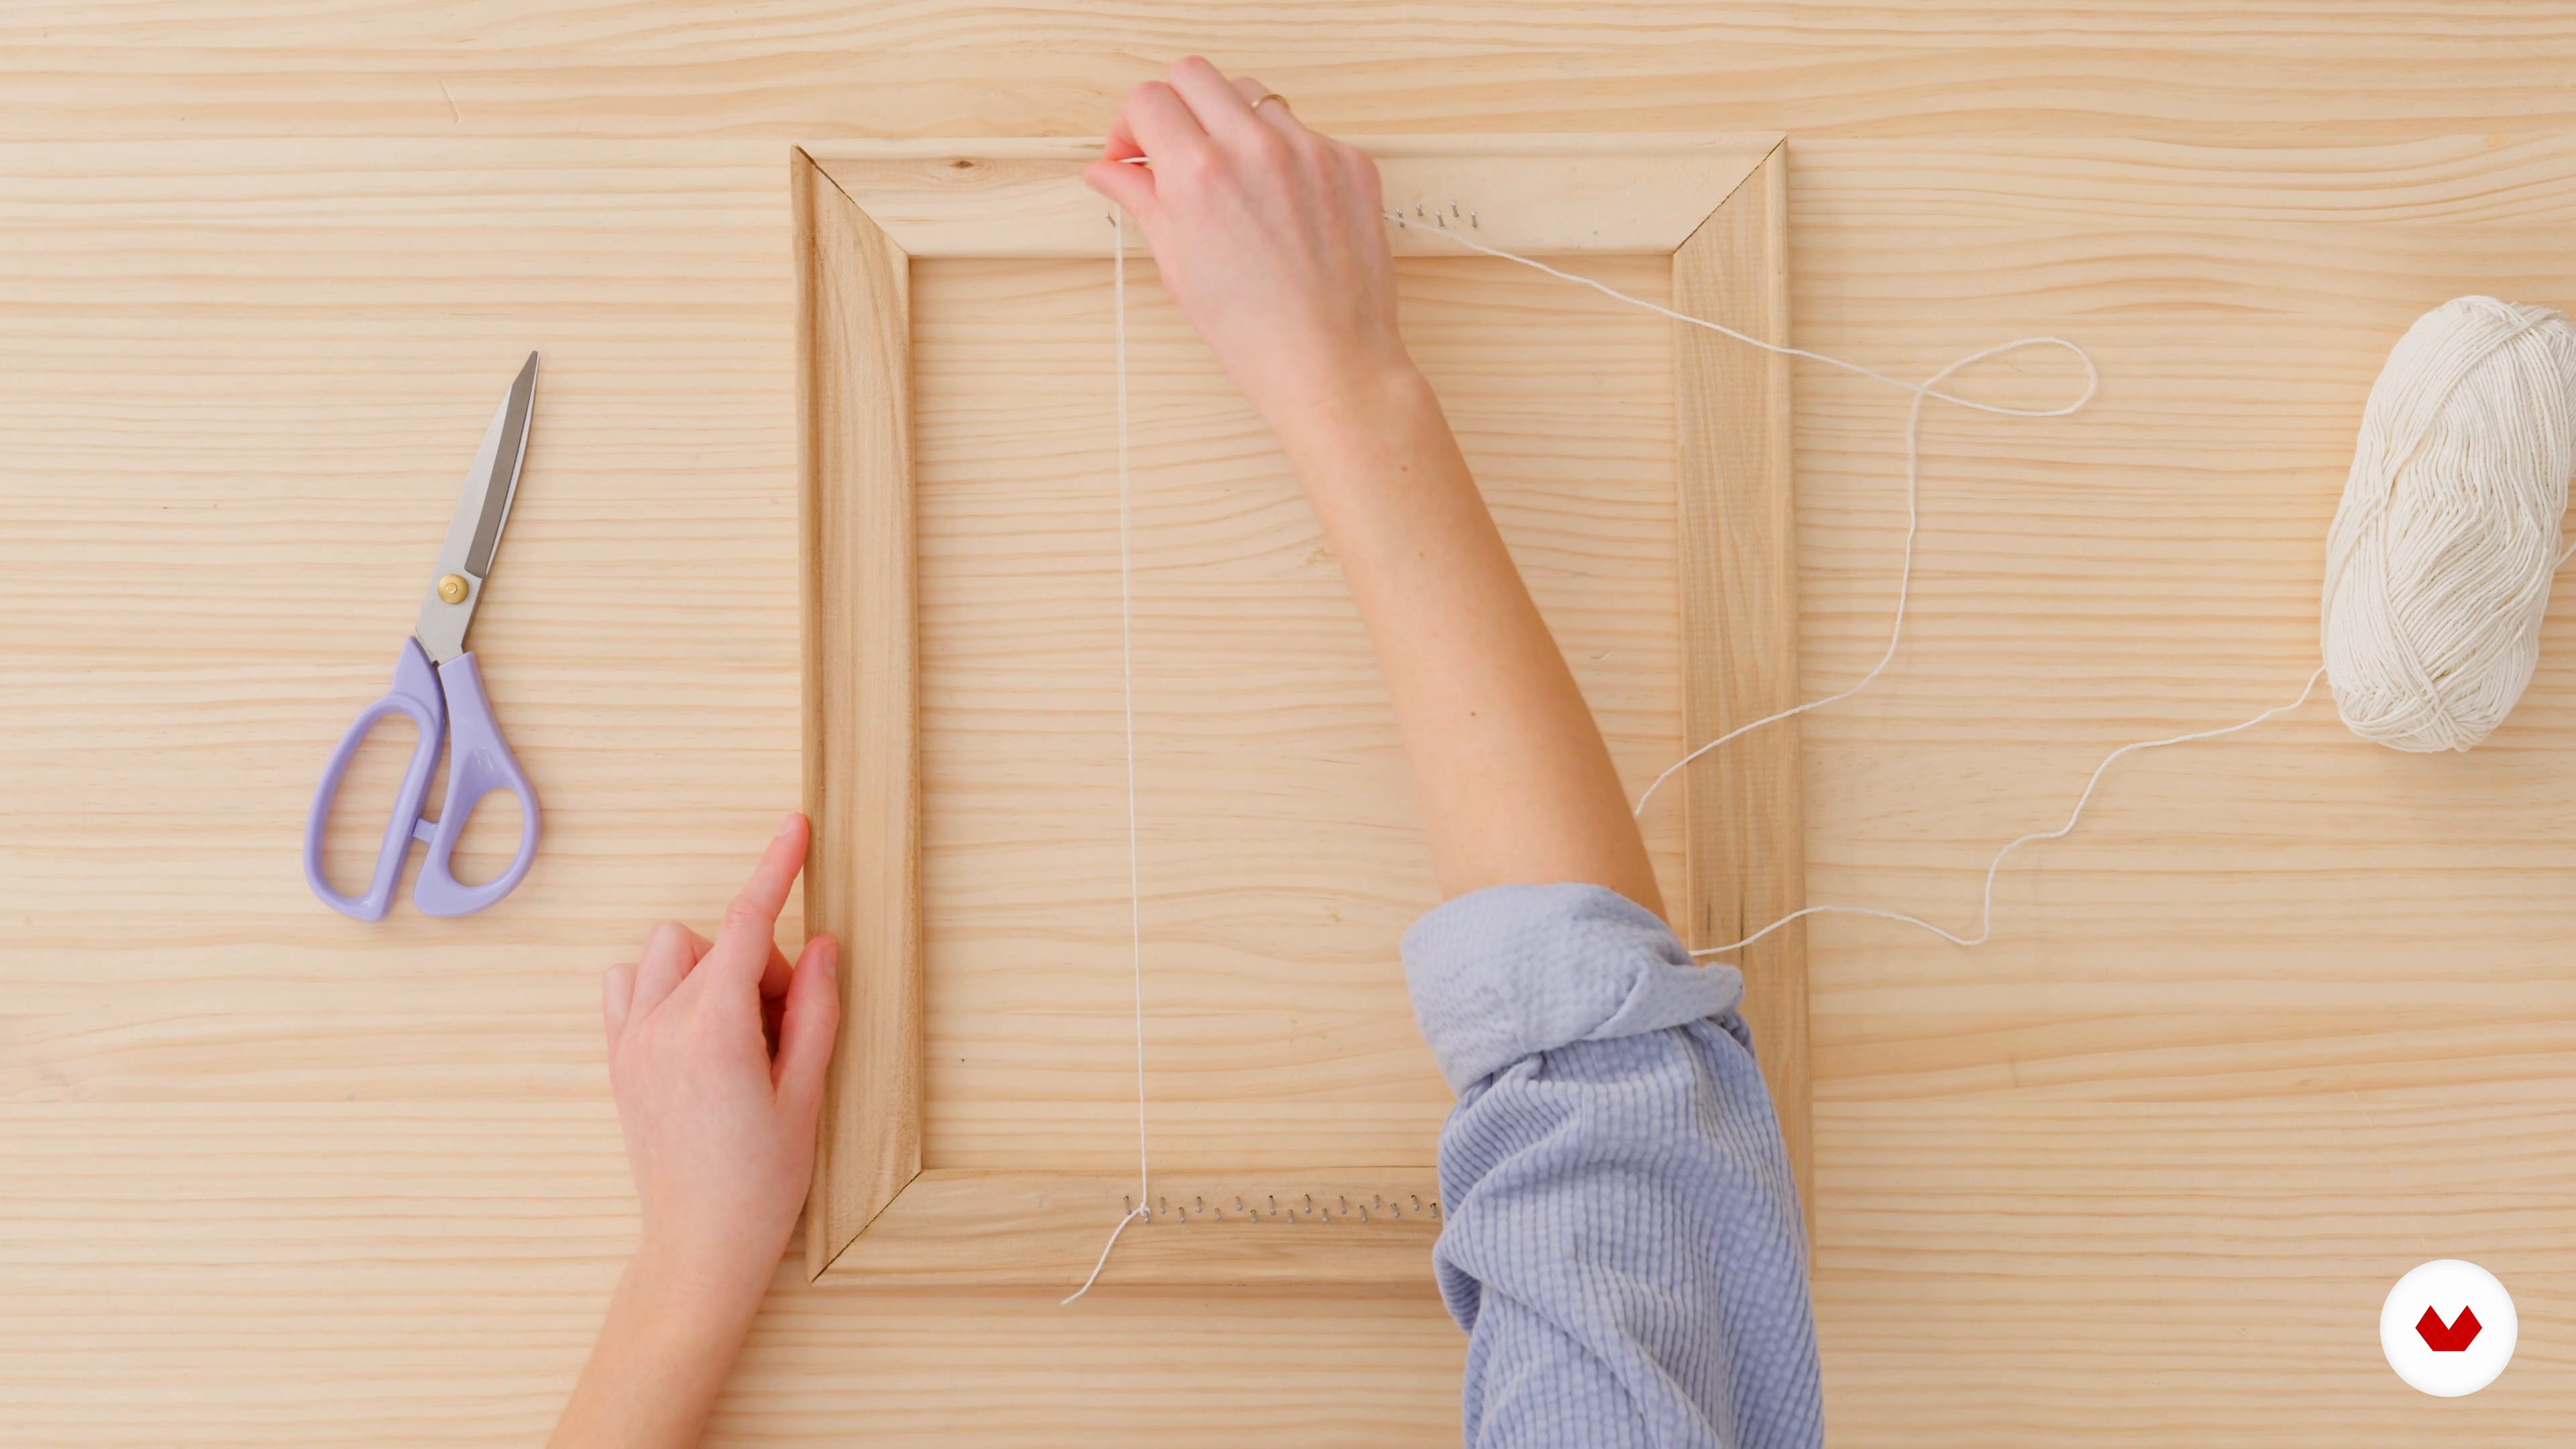
    Now, I will teach you how to build your own frame loom: from hammering in the bars and the nails to warping the loom in preparation for the next lesson.

    9m

    Basic Weaving Techniques5

    Basic Weaving Techniques

    Here I will teach you how to do a variety of basic weaving techniques. You will see how to start weaving, how to "plain" weave a flat background, turn open squares into circles and triangles in preparation for rya knotting, and, finally, how to incorporate rya knots to create dimension and texture into your weaving.

    18m

    Creating Patterns with Rya Knots6

    Creating Patterns with Rya Knots

    Next, I will show you how to make a rya knot. This will be useful to create various raised patterns, including speckles, gradients, and checkerboards.

    5m

    The Design Process7

    The Design Process

    In this lesson, I will tell you about my design process and guide you through making a mood board by collecting images and colours that inspire you. Then, I will show you how to choose your yarn according to the design you have in mind.

    14m

    The Background: Flat Weaving8

    The Background: Flat Weaving

    The first thing I will do is plain weave the flat portion of the wall hanging. Then, I will turn the open warp squares and rectangles into a circular, oval, and triangular shape in preparation for the rya knots.

    18m

    Filling in the Shapes9

    Filling in the Shapes

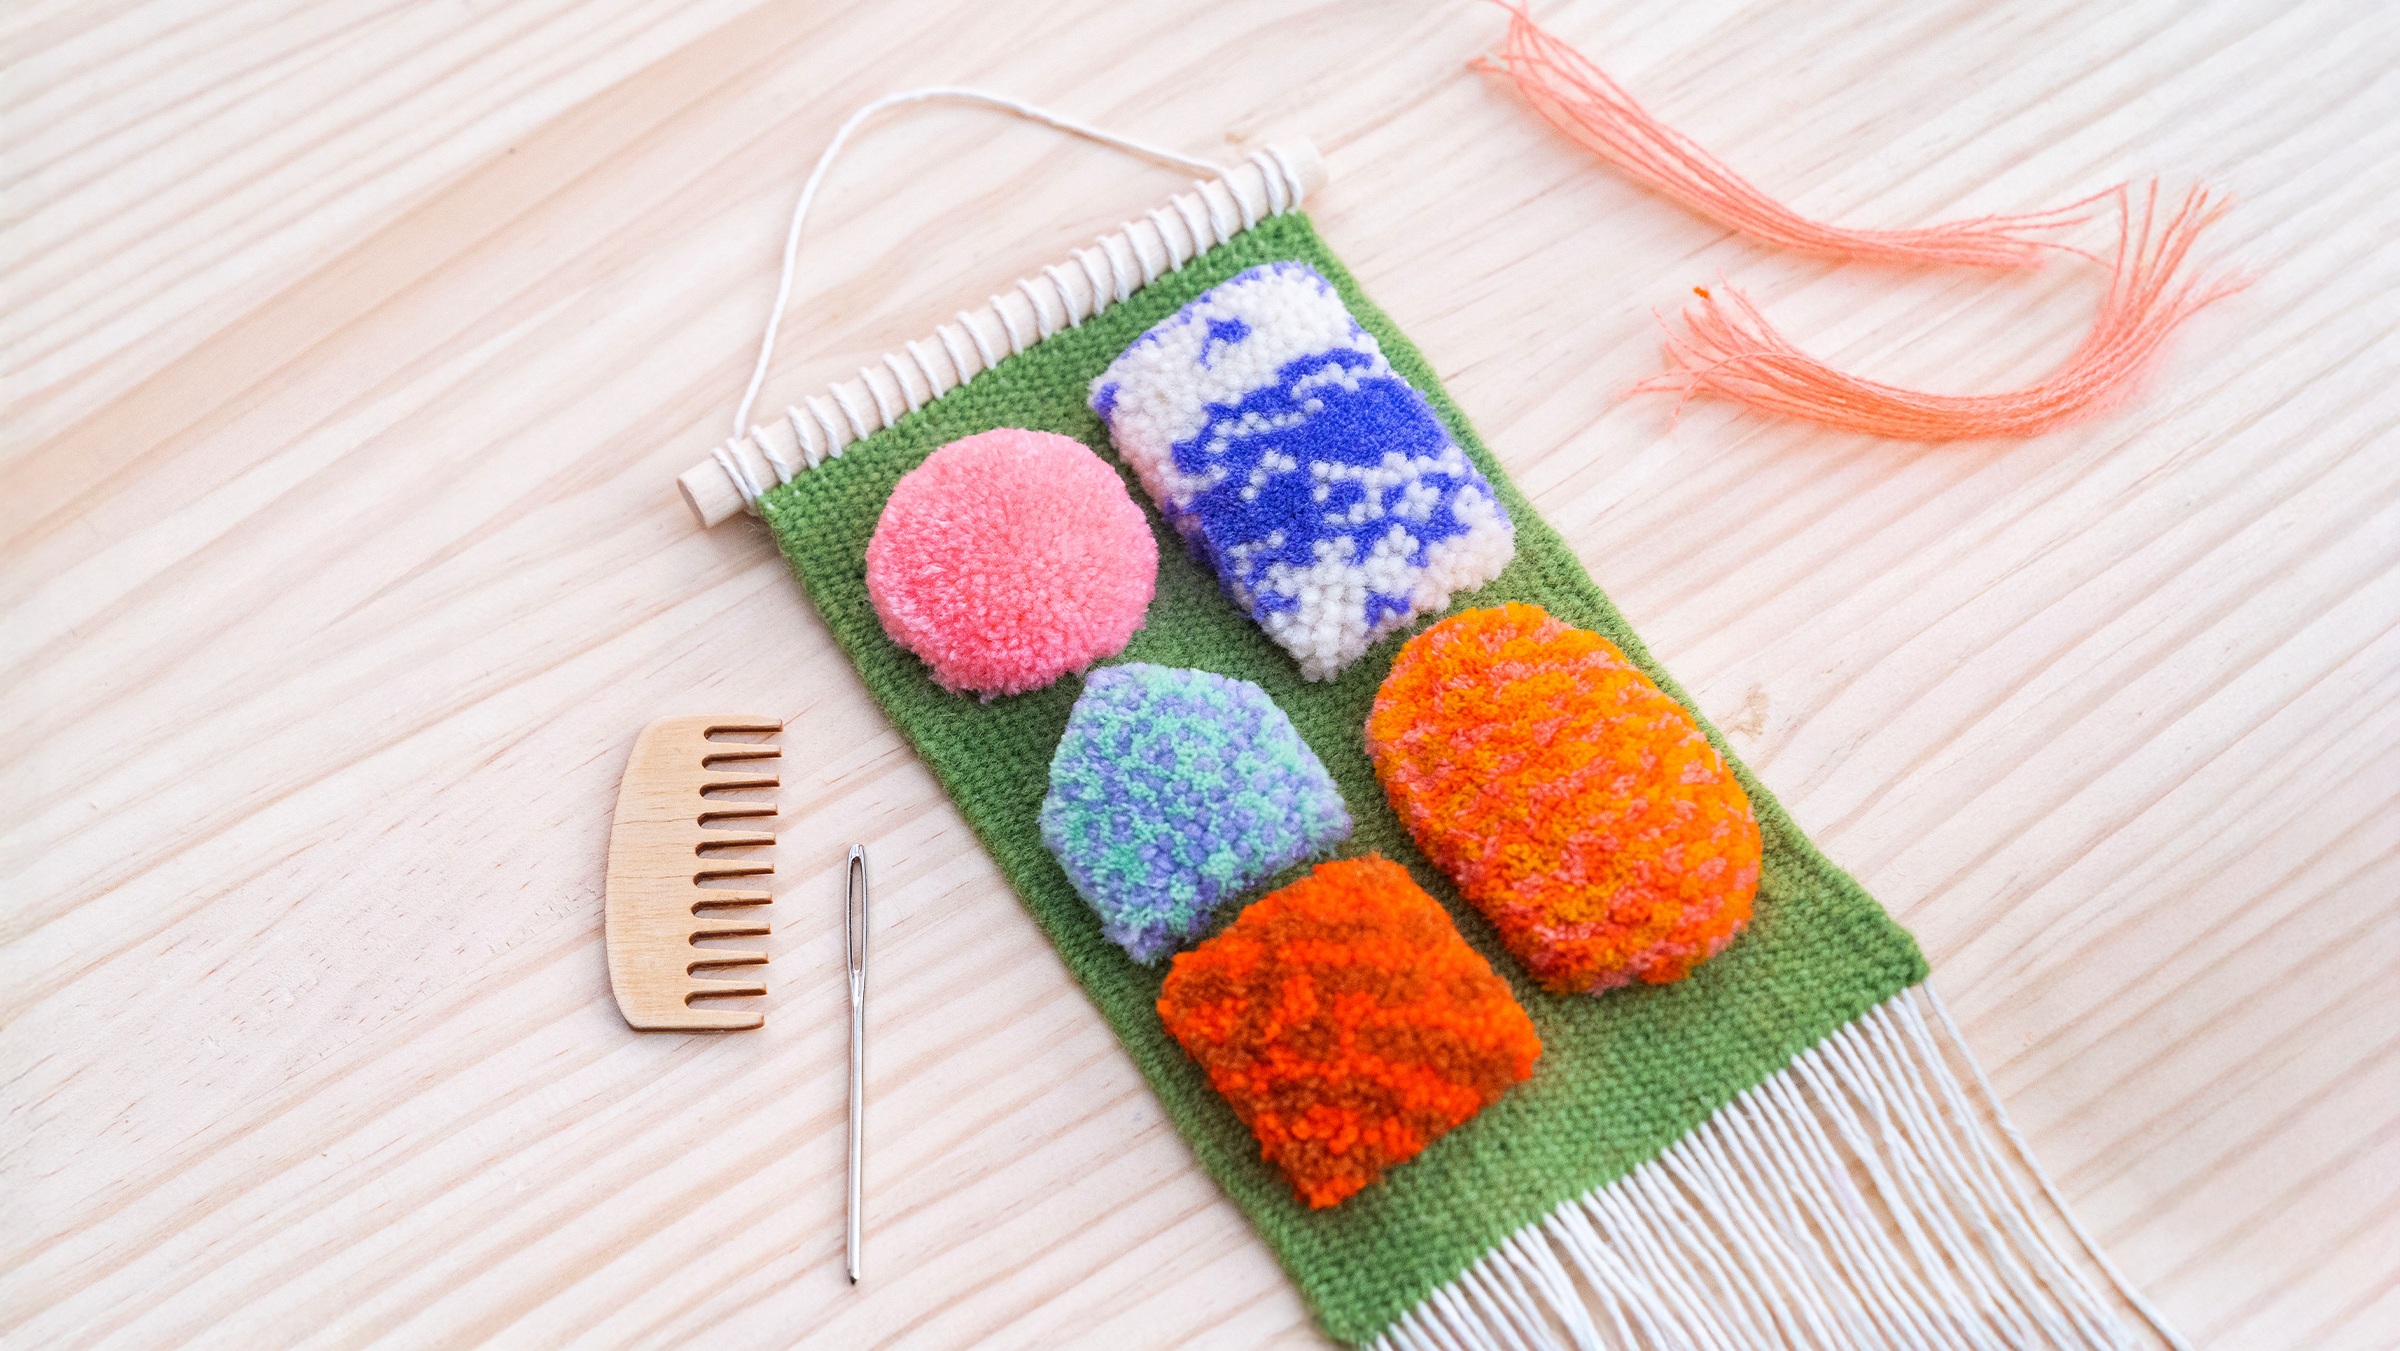
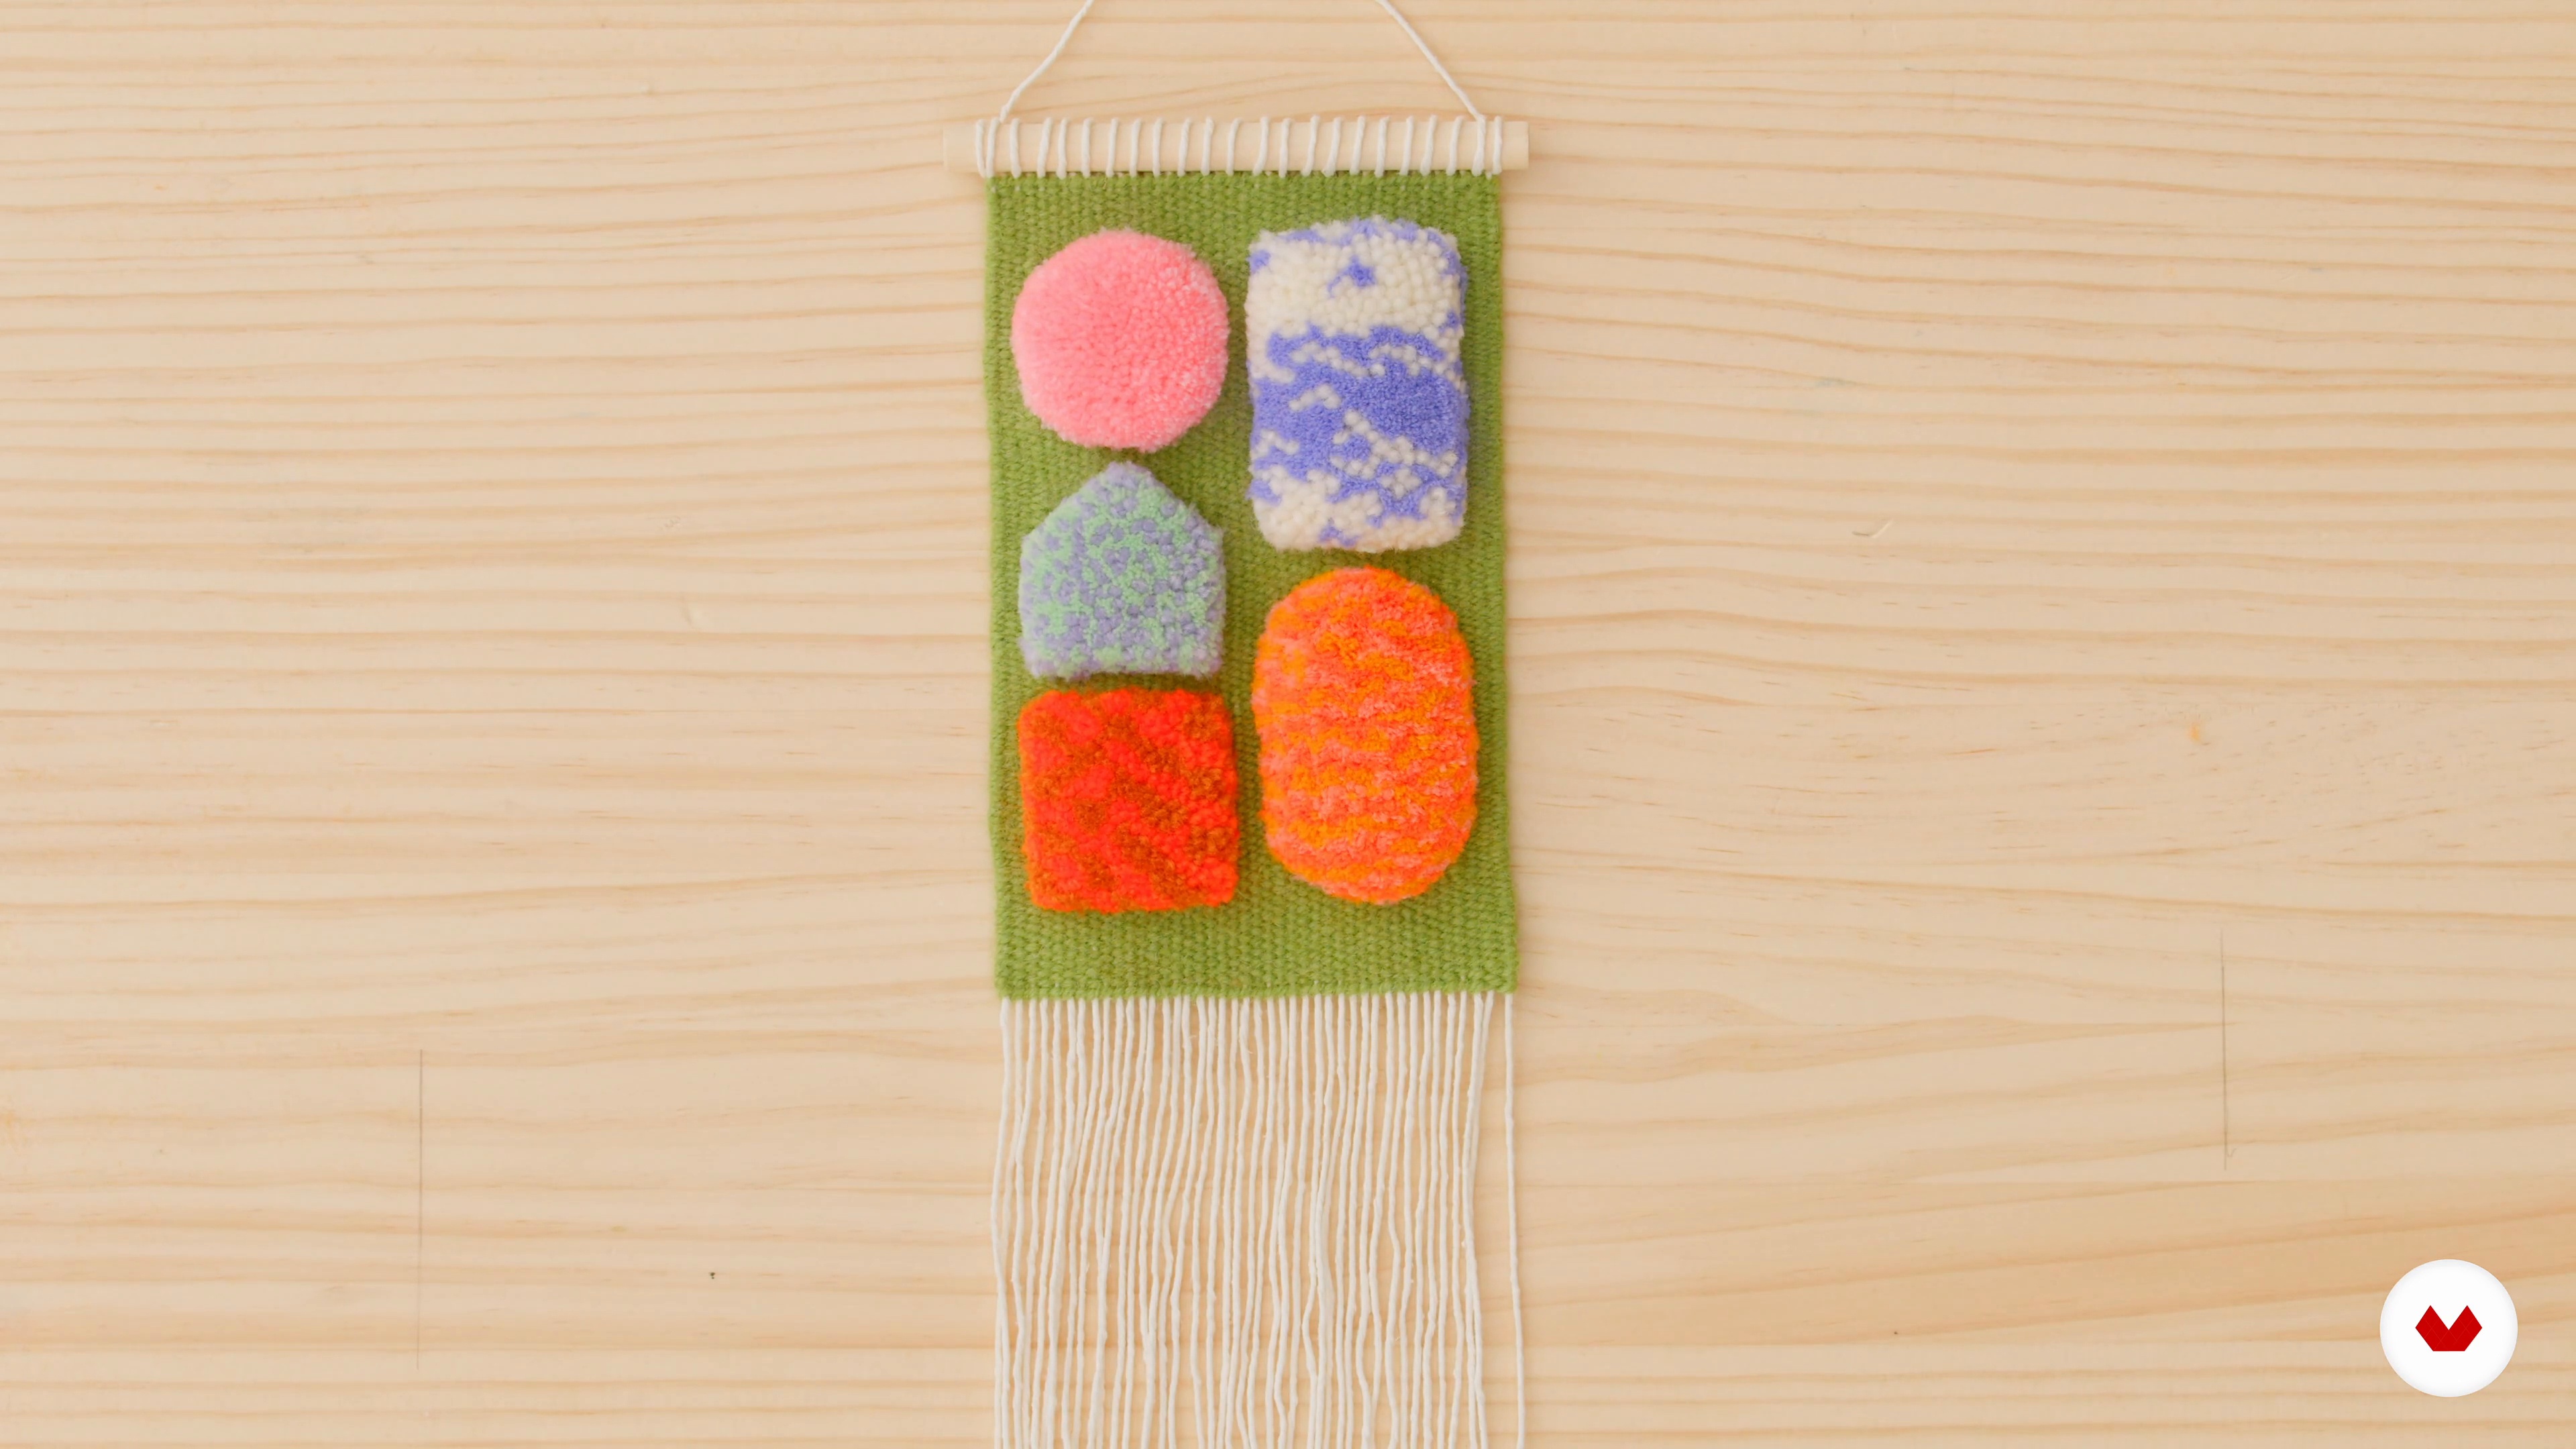
    Next, I will be focusing on the rya knots and creating raised elements with different shapes and patterns in the weaving. I'll start with the easiest shape, which is the solid pink circle, then I'll move on to the speckle triangle and oval. Finally, I'll create two-colour gradients for the rectangle and checkerboard shapes.

    16m

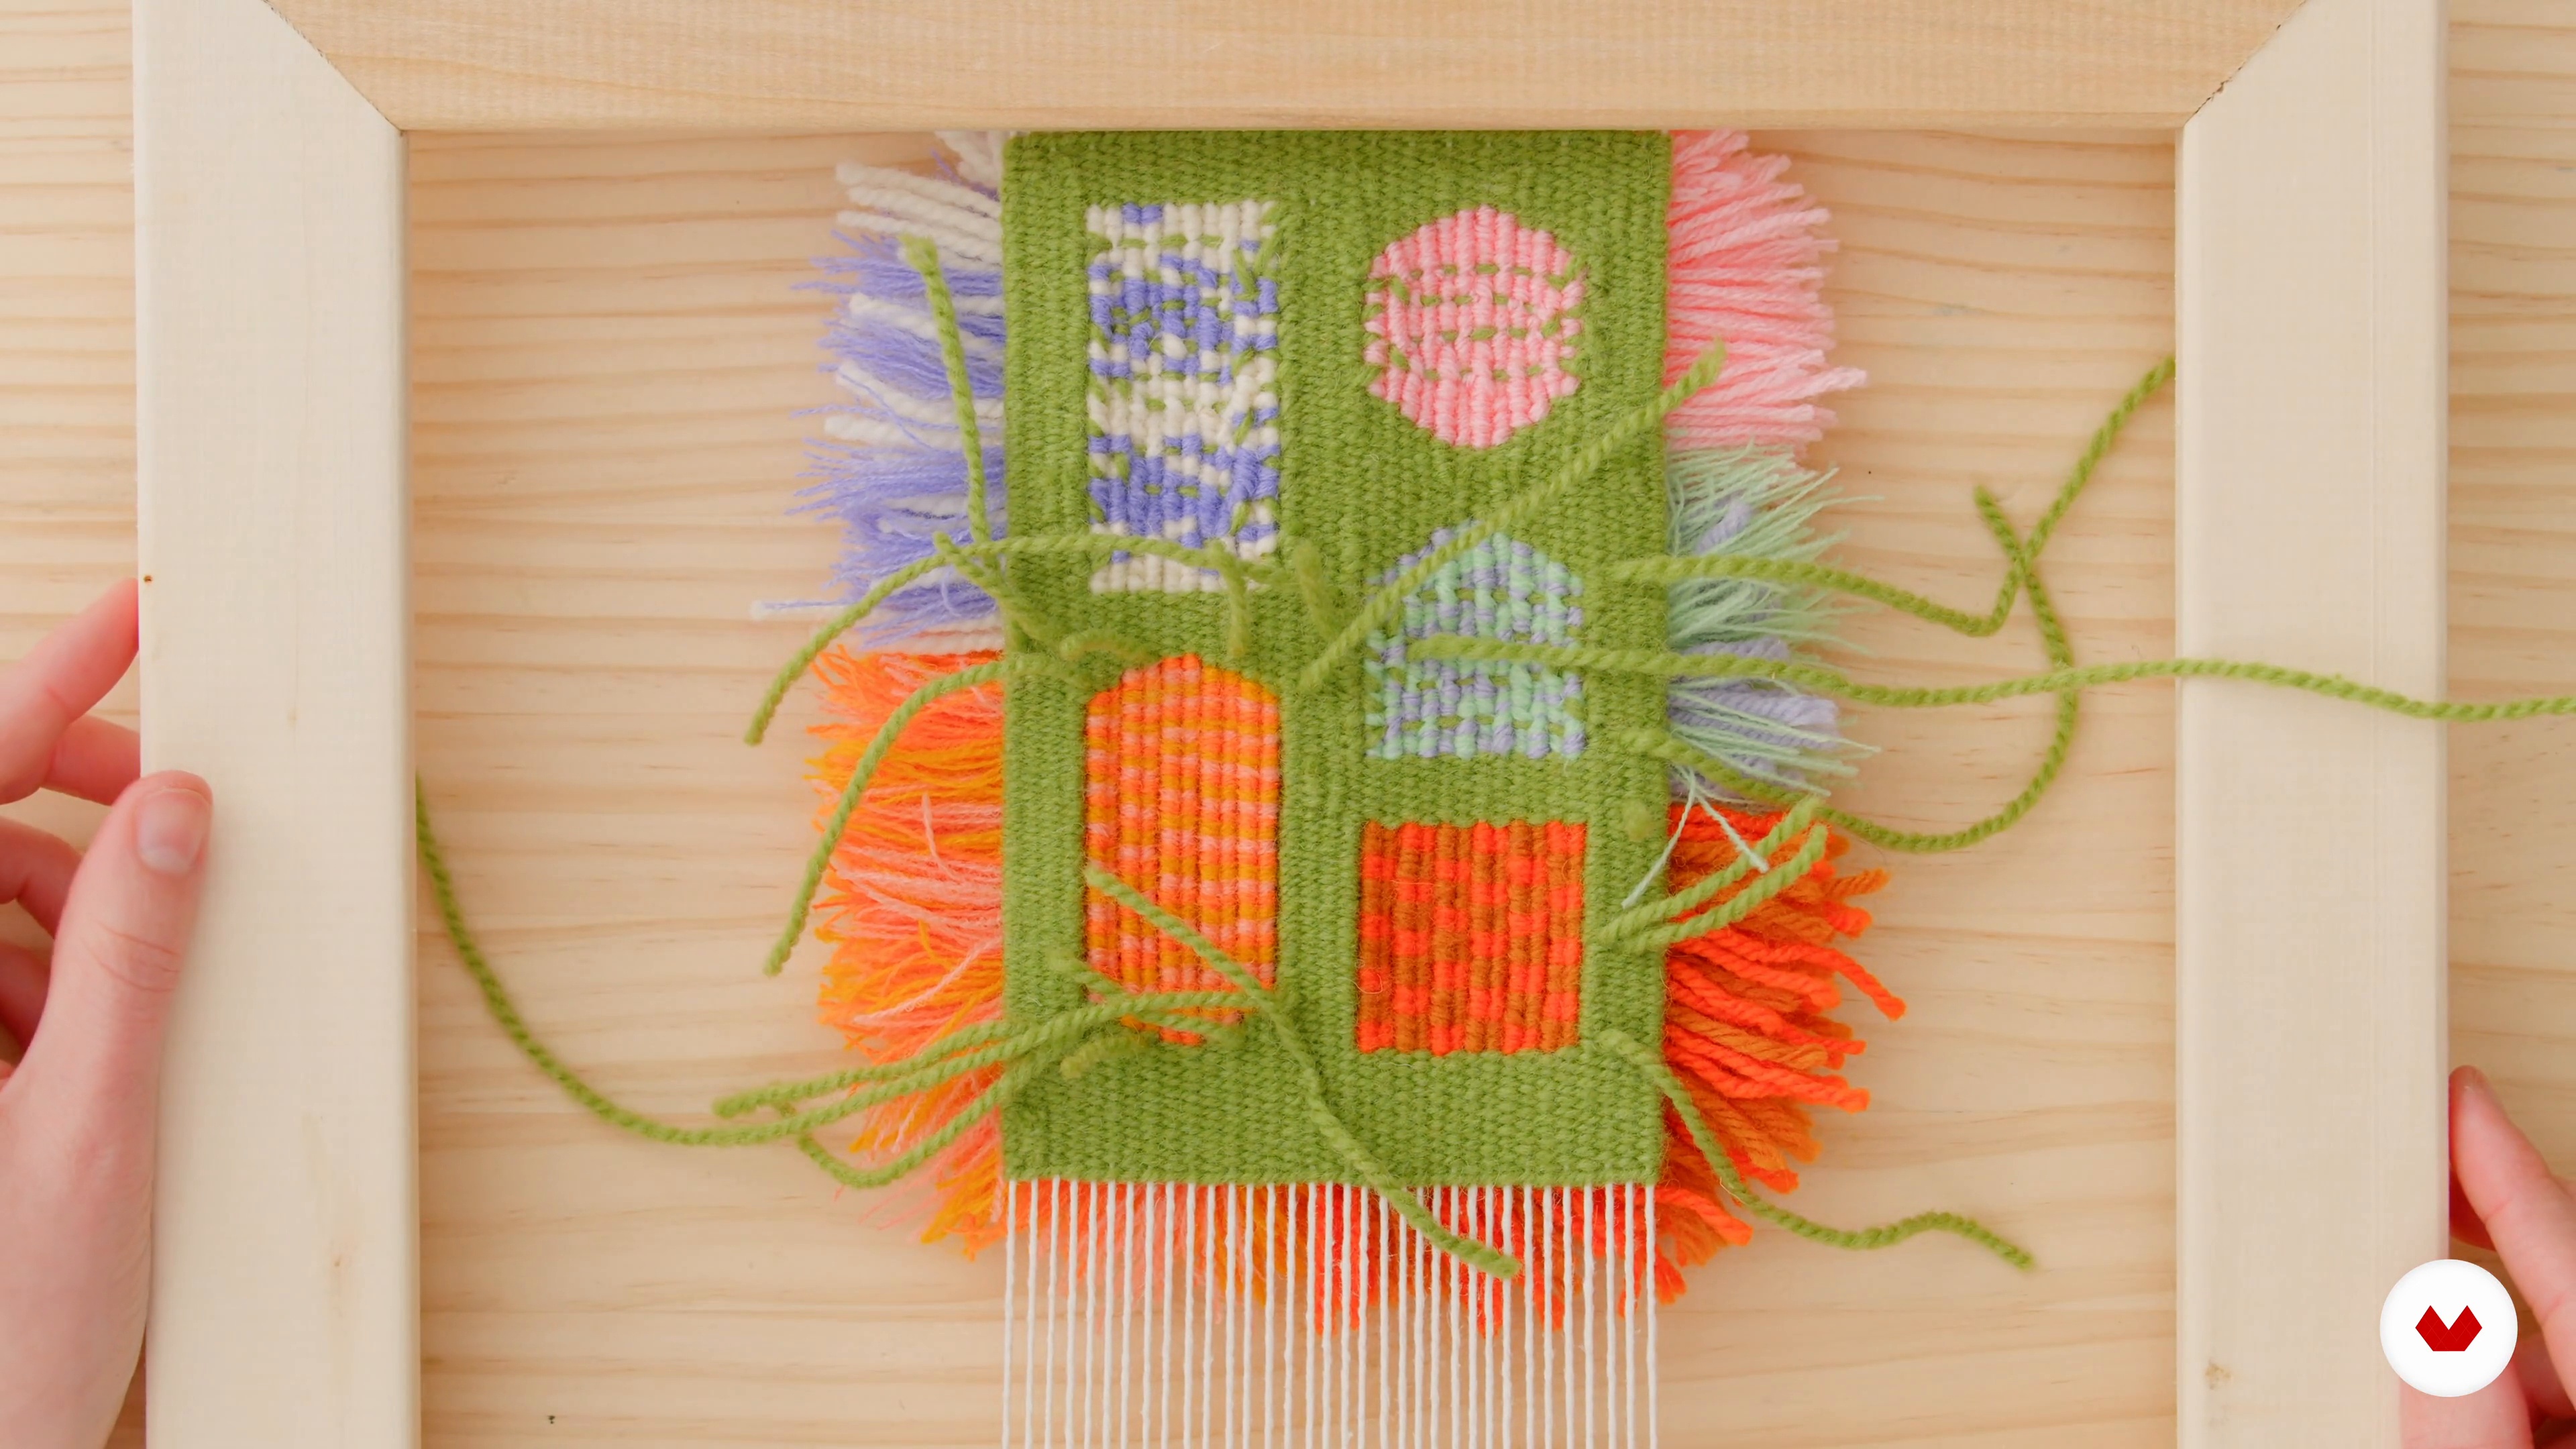
    Securing the Back10

    Securing the Back

    In this lesson, I will be securing everything on the back of the weaving in preparation for the trimming. This will include securing the rya knots and the loose ends of the flat woven portion.

    7m

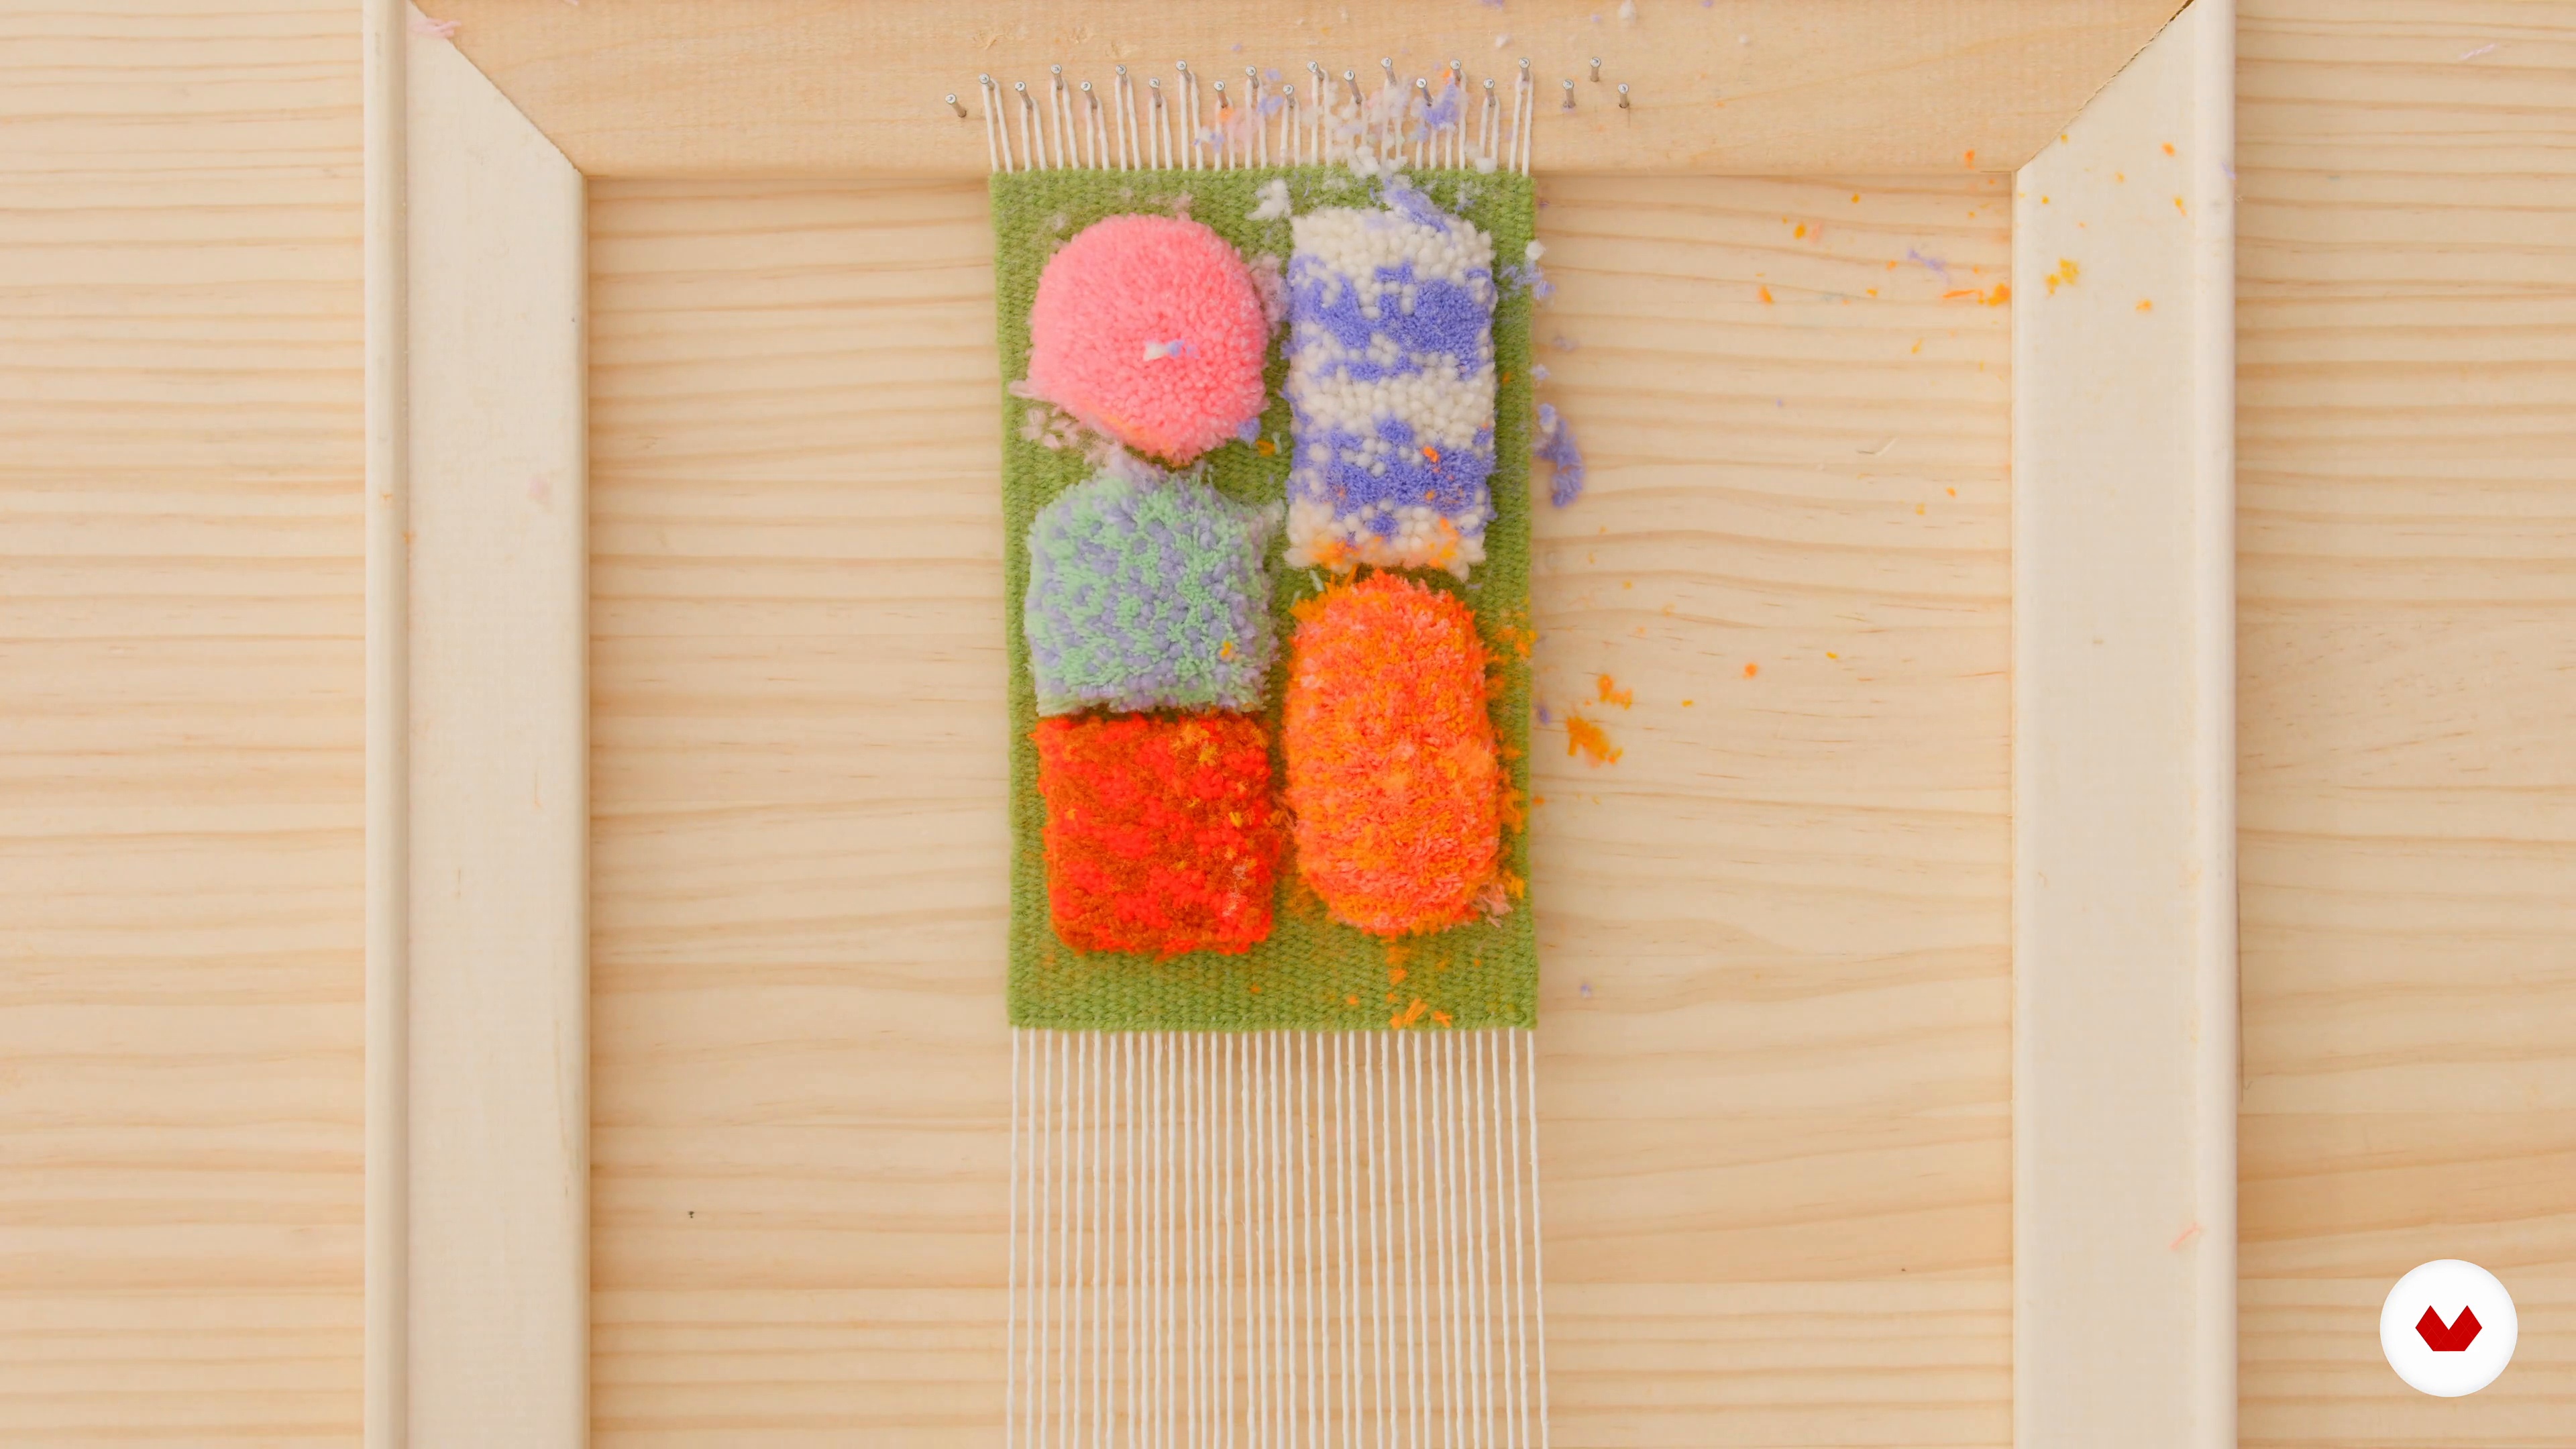
    Trimming the Shapes11

    Trimming the Shapes

    I will now trim all of the rya knots to reveal the raised shapes and patterns. I'll be doing this little by little until the shapes reach the desired height.

    6m

    Finishing Techniques12

    Finishing Techniques

    In this last step, I will be completing the finishing techniques to prepare the weaving for hanging. The first thing to do is cut the weaving off of the loom. Then, I will insert a wooden dowel and secure everything.

    4m

    Adding a Signature13

    Adding a Signature

    I believe it's important to add a signature to one's work so people can know who made it. Here I'll show you two ways you can authenticate your work.

    6m

    Other Ideas Using Rya Knots14

    Other Ideas Using Rya Knots

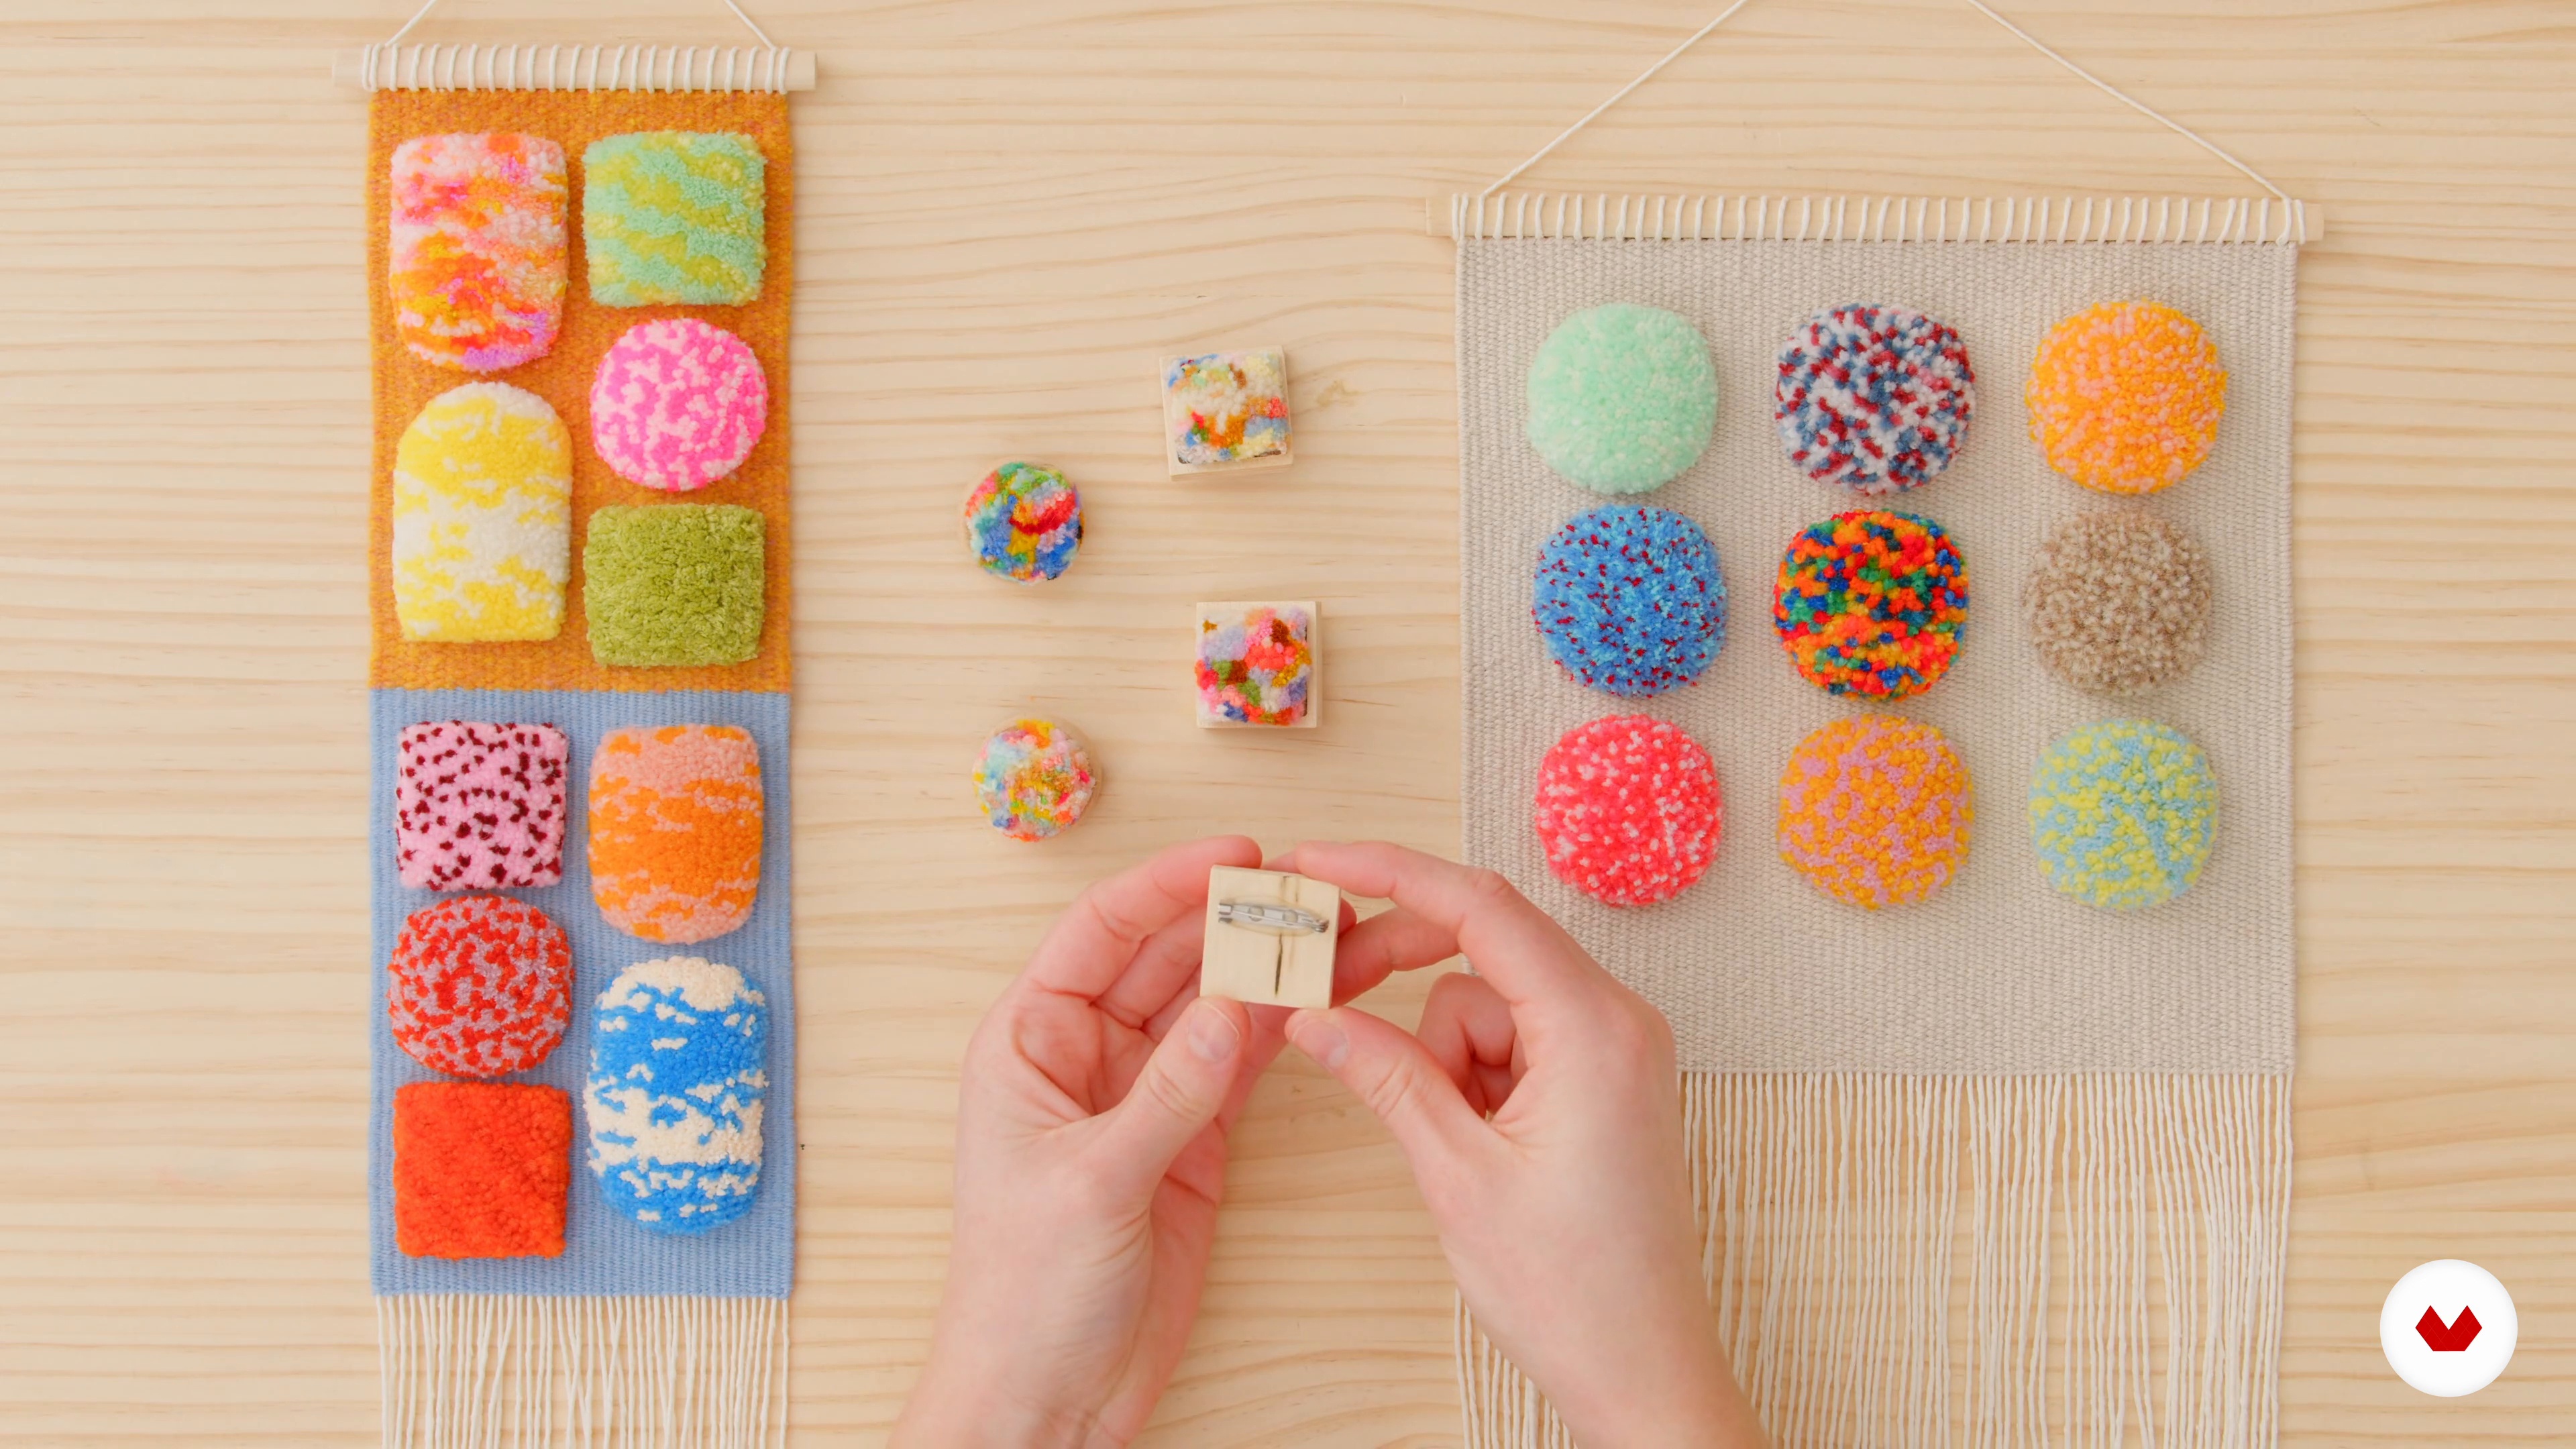
    In this lesson, I will show you a few finished examples of other ways you can use the rya knot techniques, such as longer pieces or tufted brooches.

    2m

    Recycling Yarn Scraps15

    Recycling Yarn Scraps

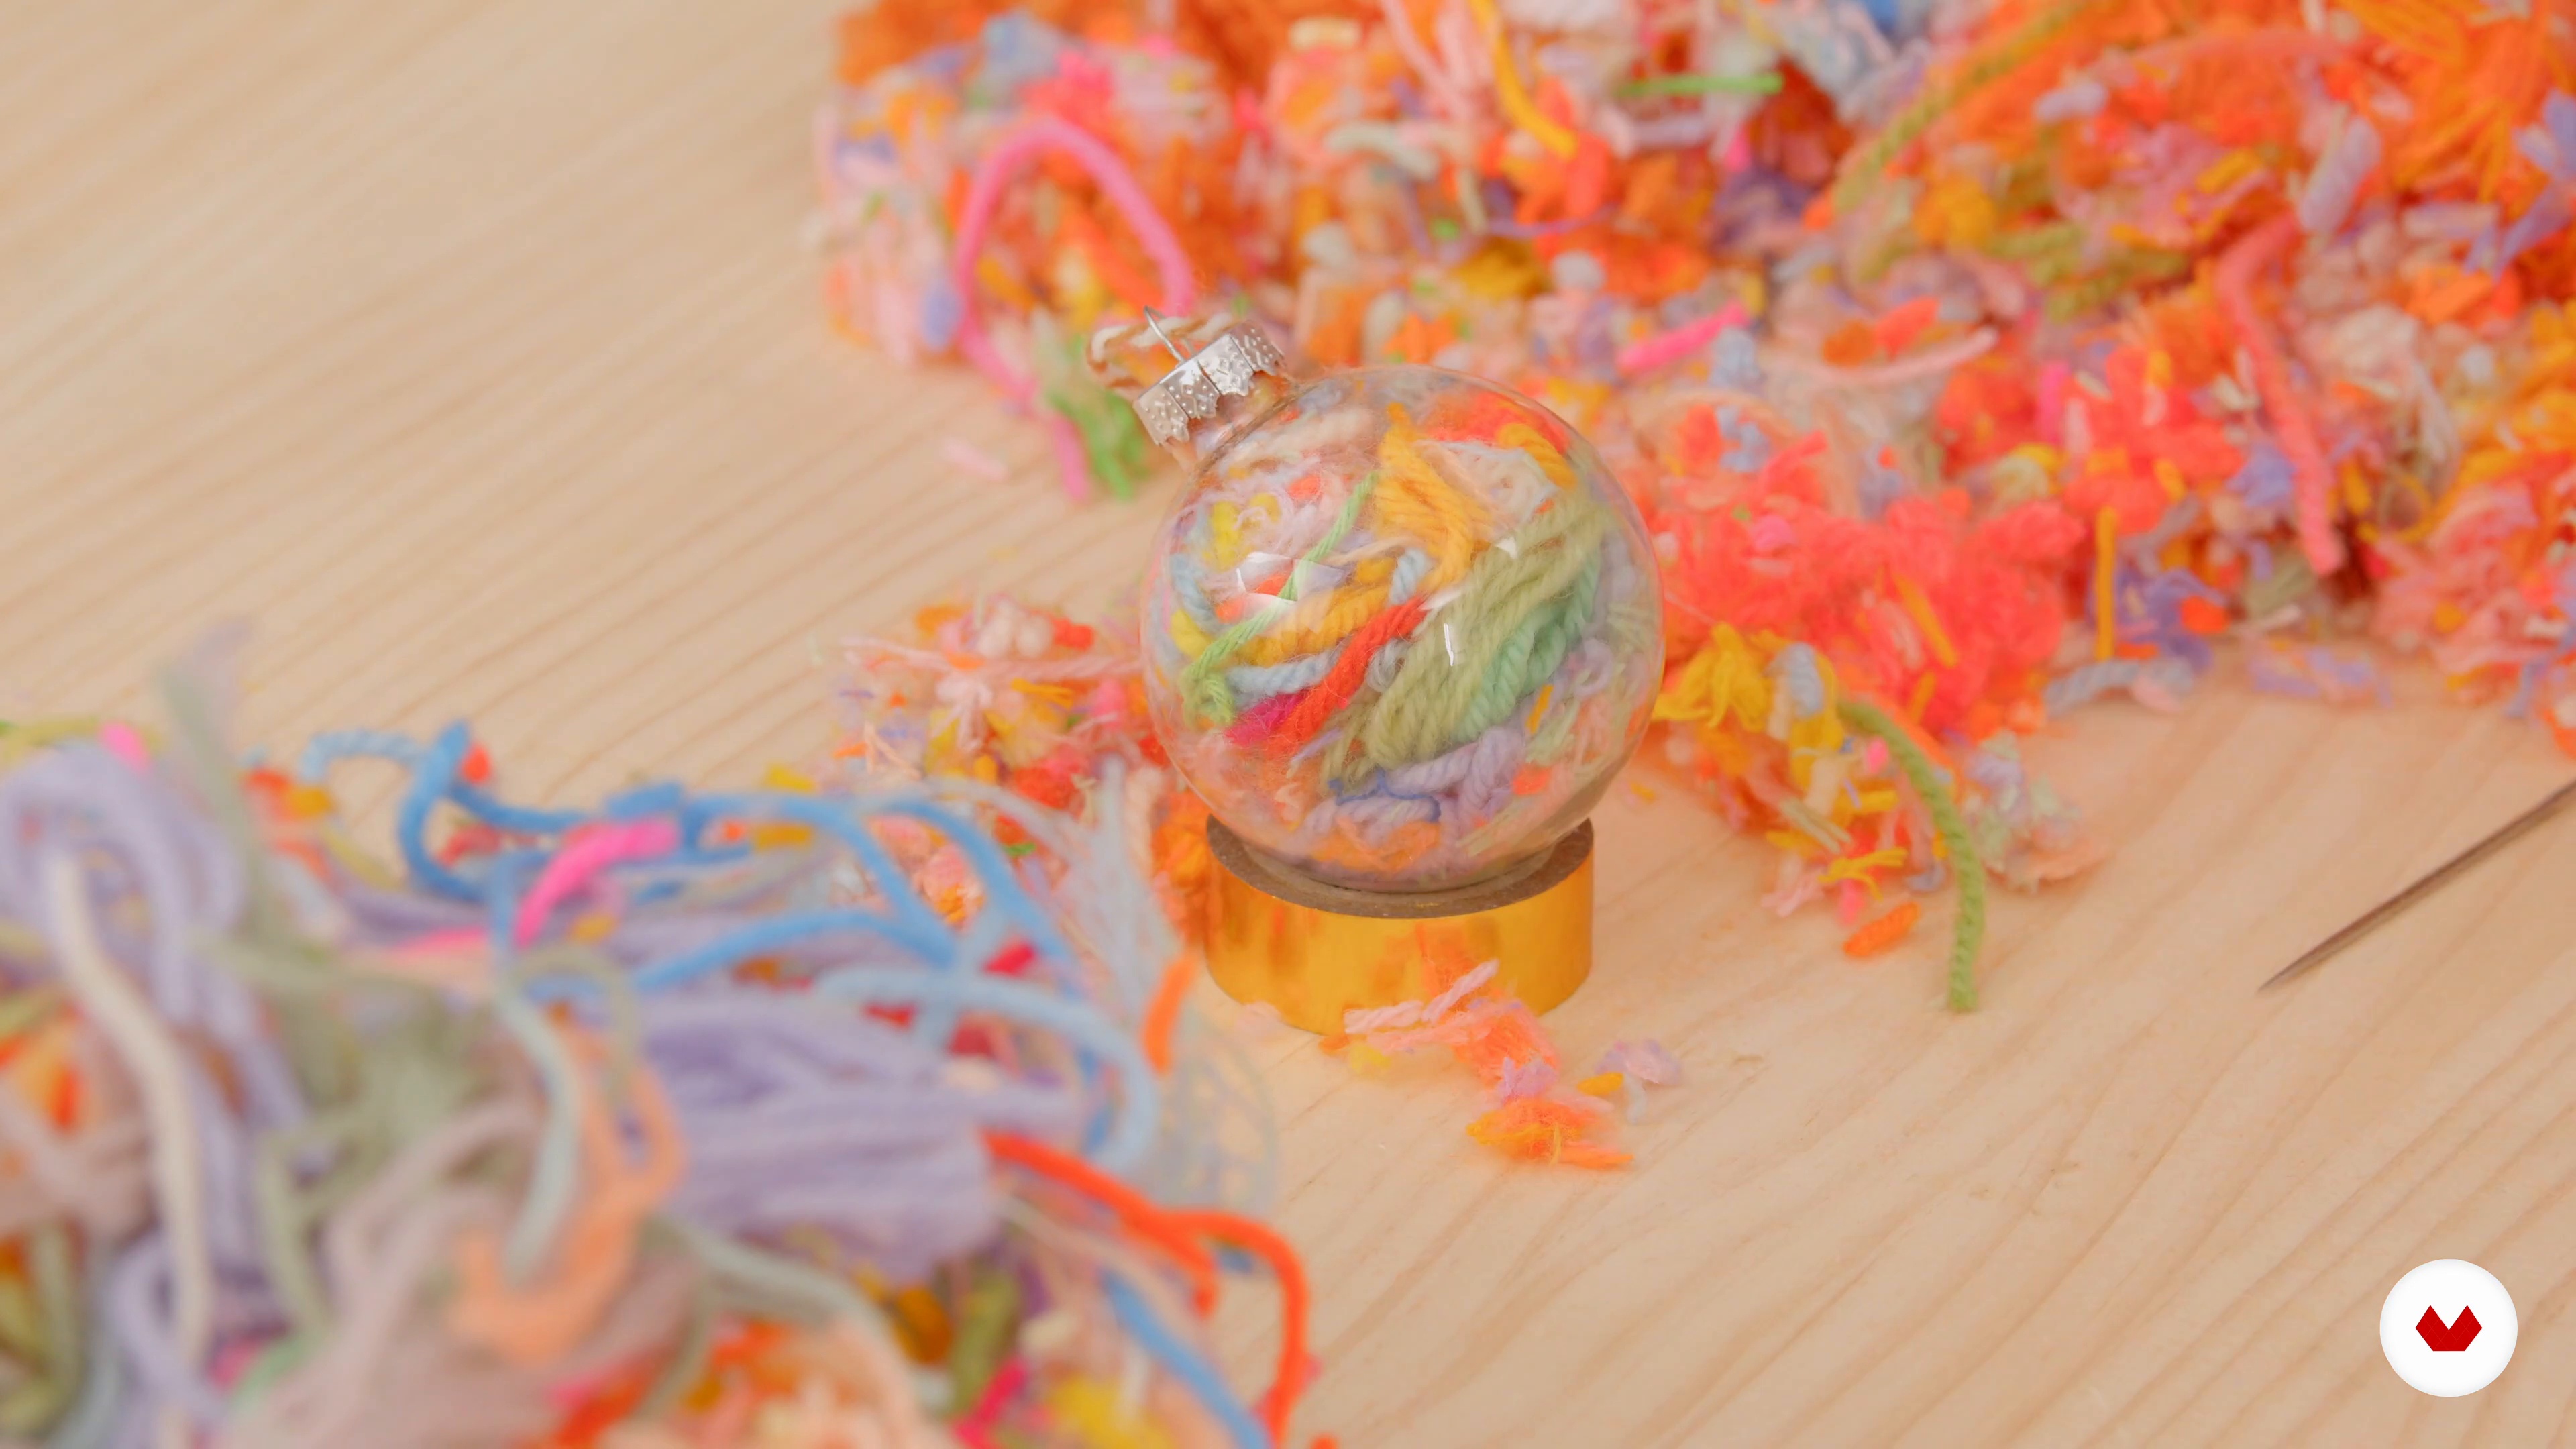
    Now, I will show you how you can reduce your yarn waste made from trimming the rya knots by showcasing them in a glass ornament.

    3m

    Tips for Storing Materials16

    Tips for Storing Materials

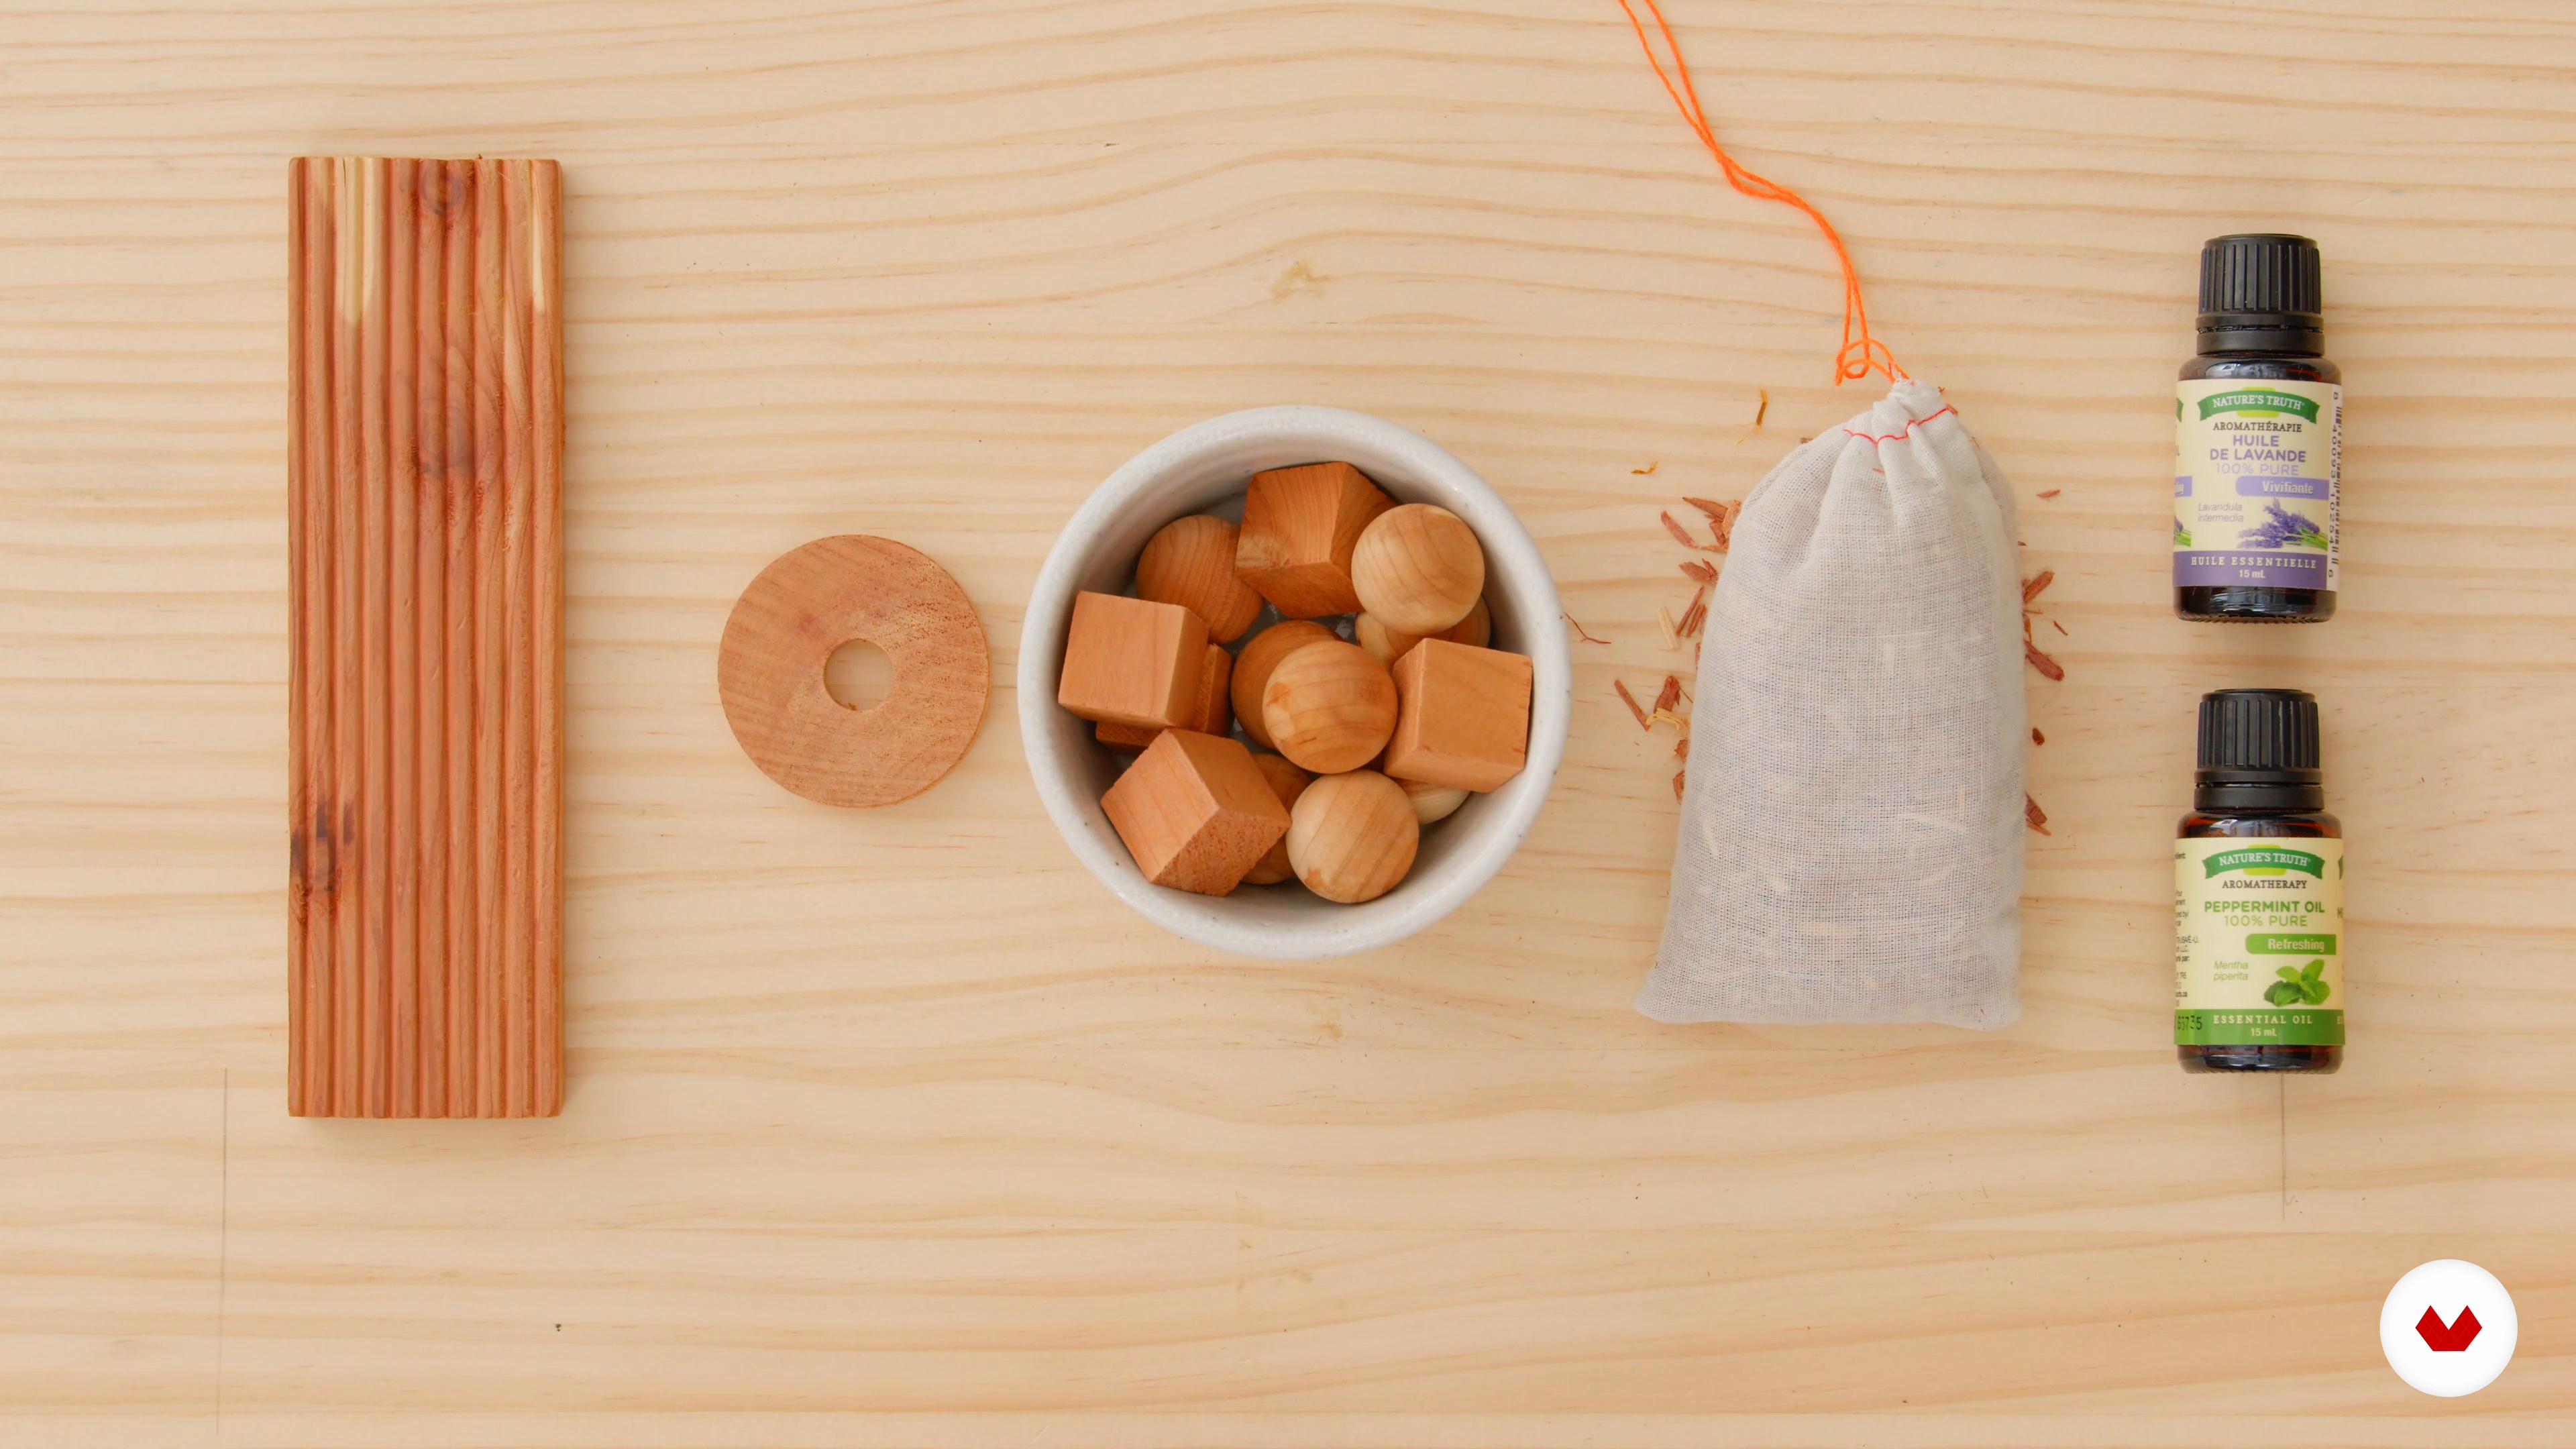
    As you start to build up a collection of yarn, you might wonder how to store everything. Here I will give you tips on properly caring for your materials when they are not in use.

    4m

    Weaving Materials3

    Weaving Materials

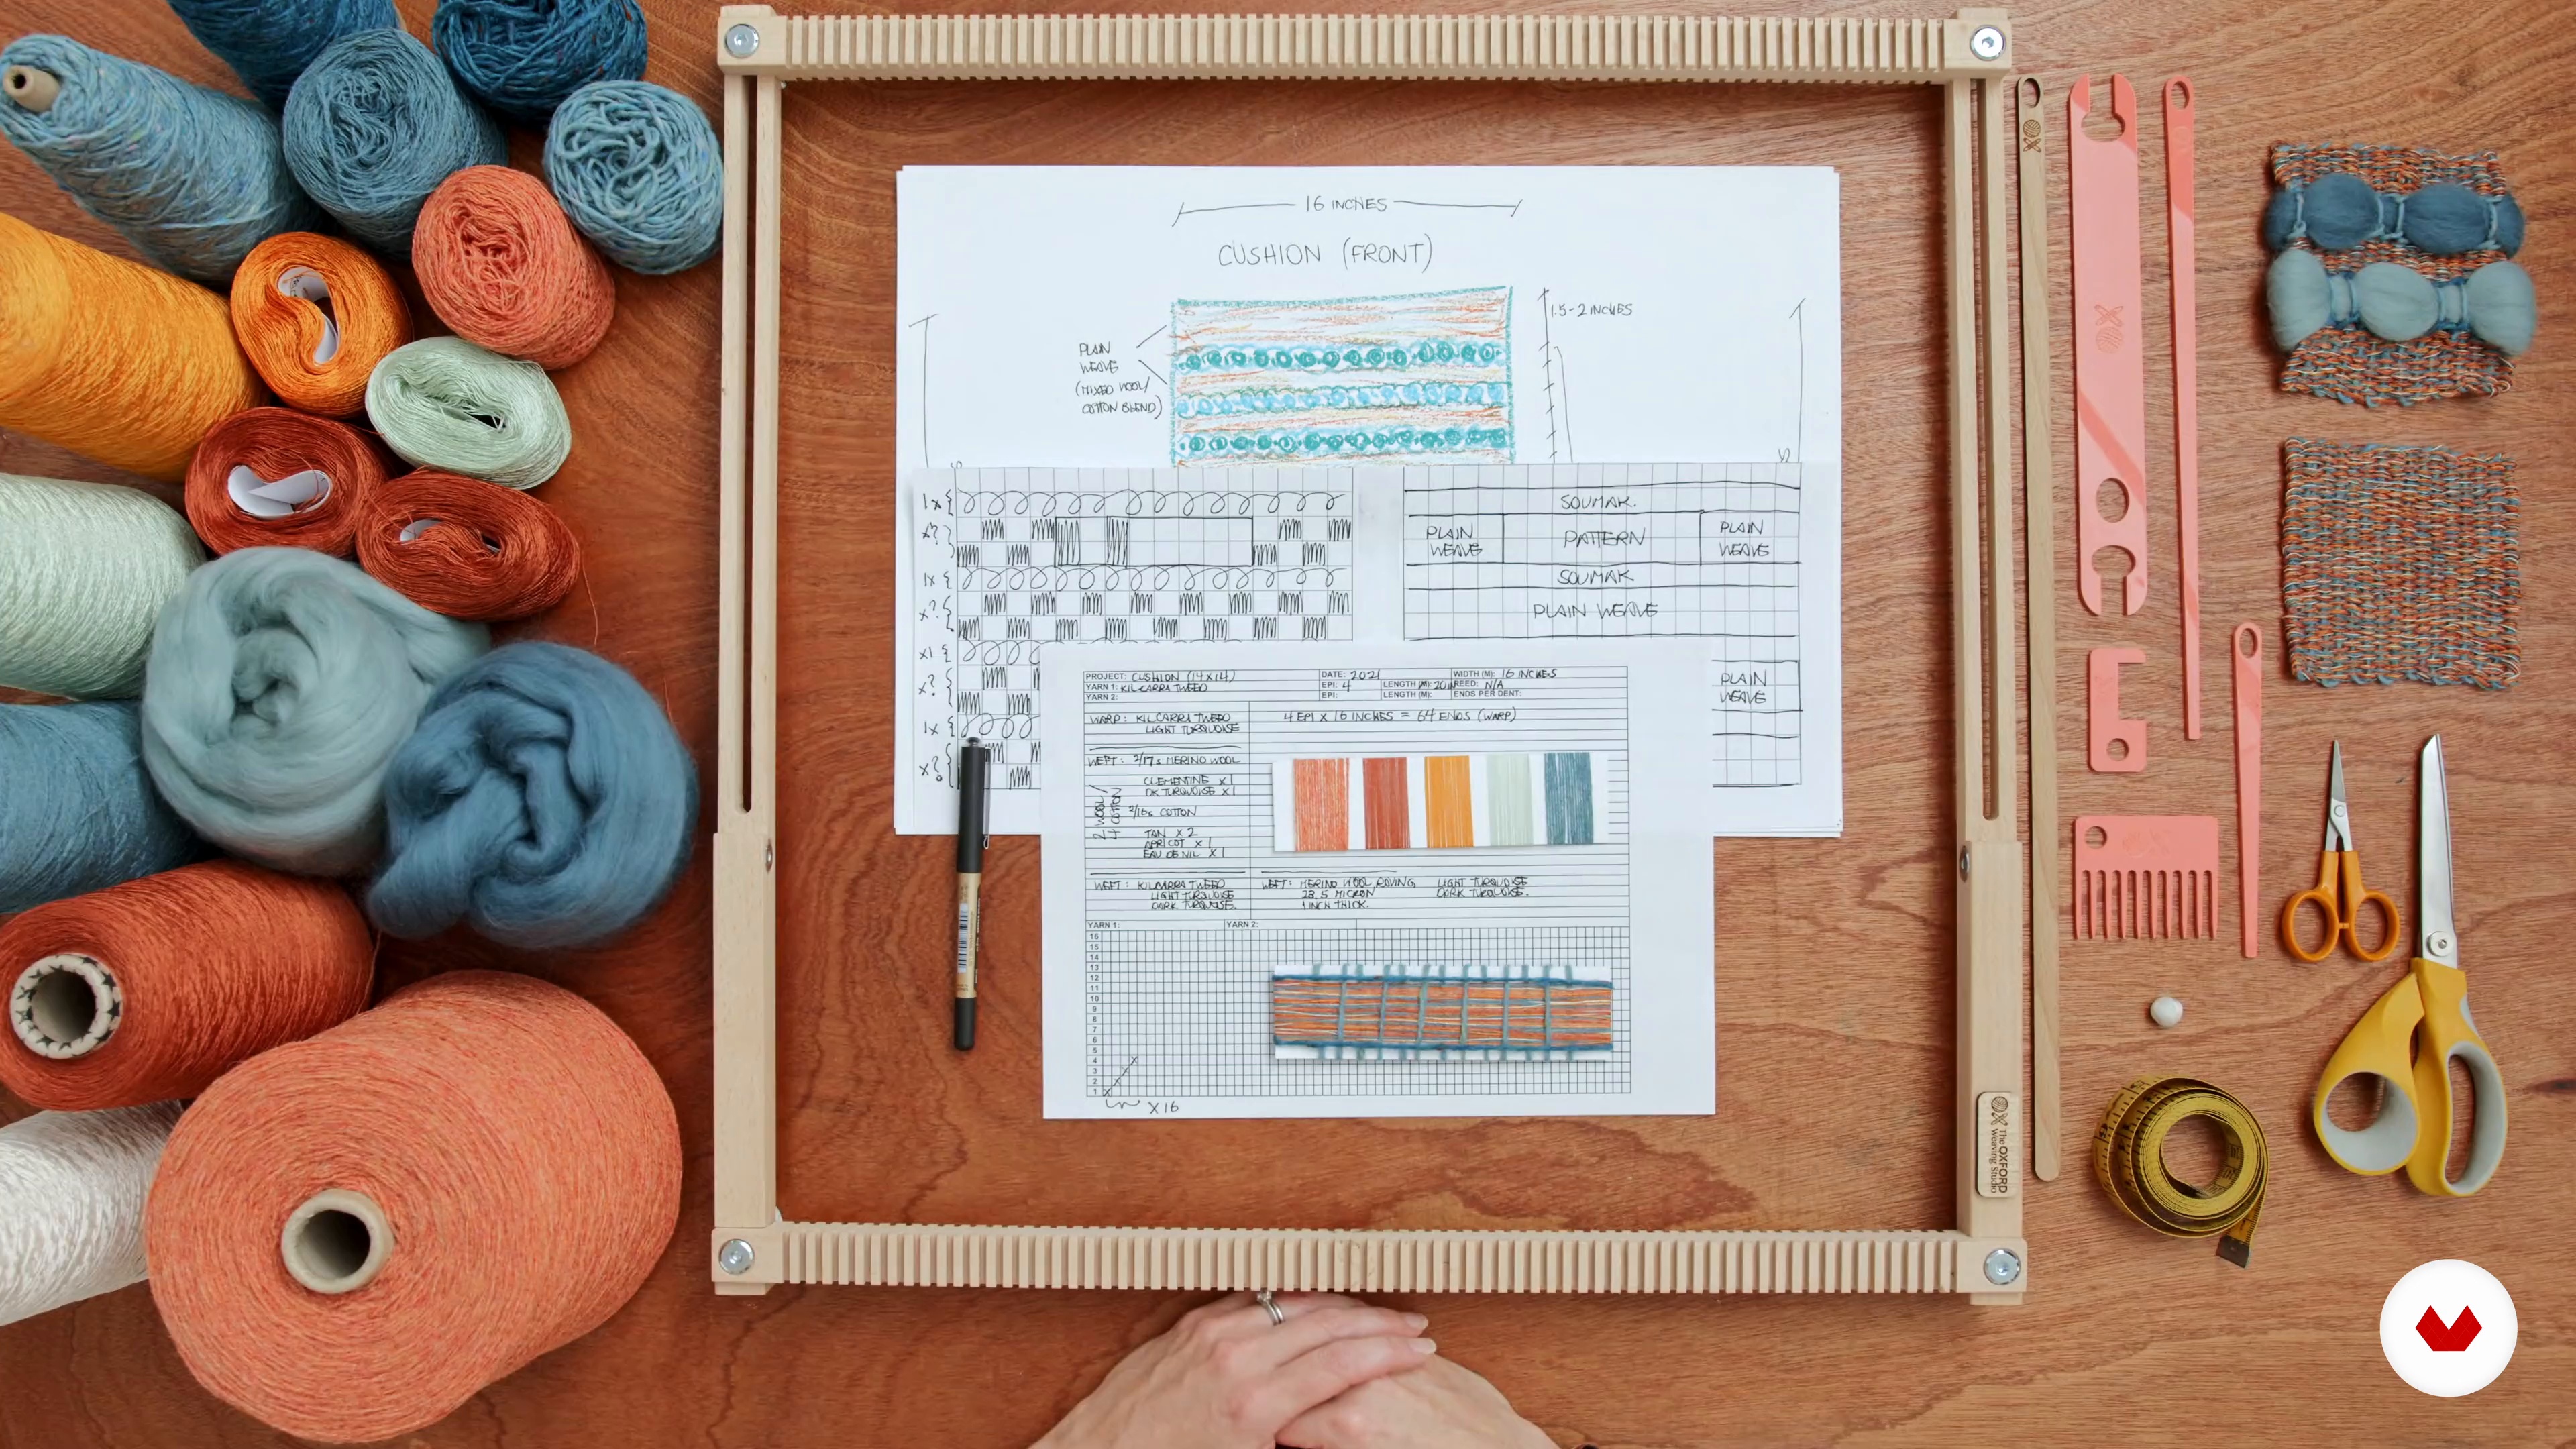
    Let us review the tools and materials that are used for creating woven tapestries - specifically which ones we will use for this project.

    13m

    Building a Frame Loom4

    Building a Frame Loom

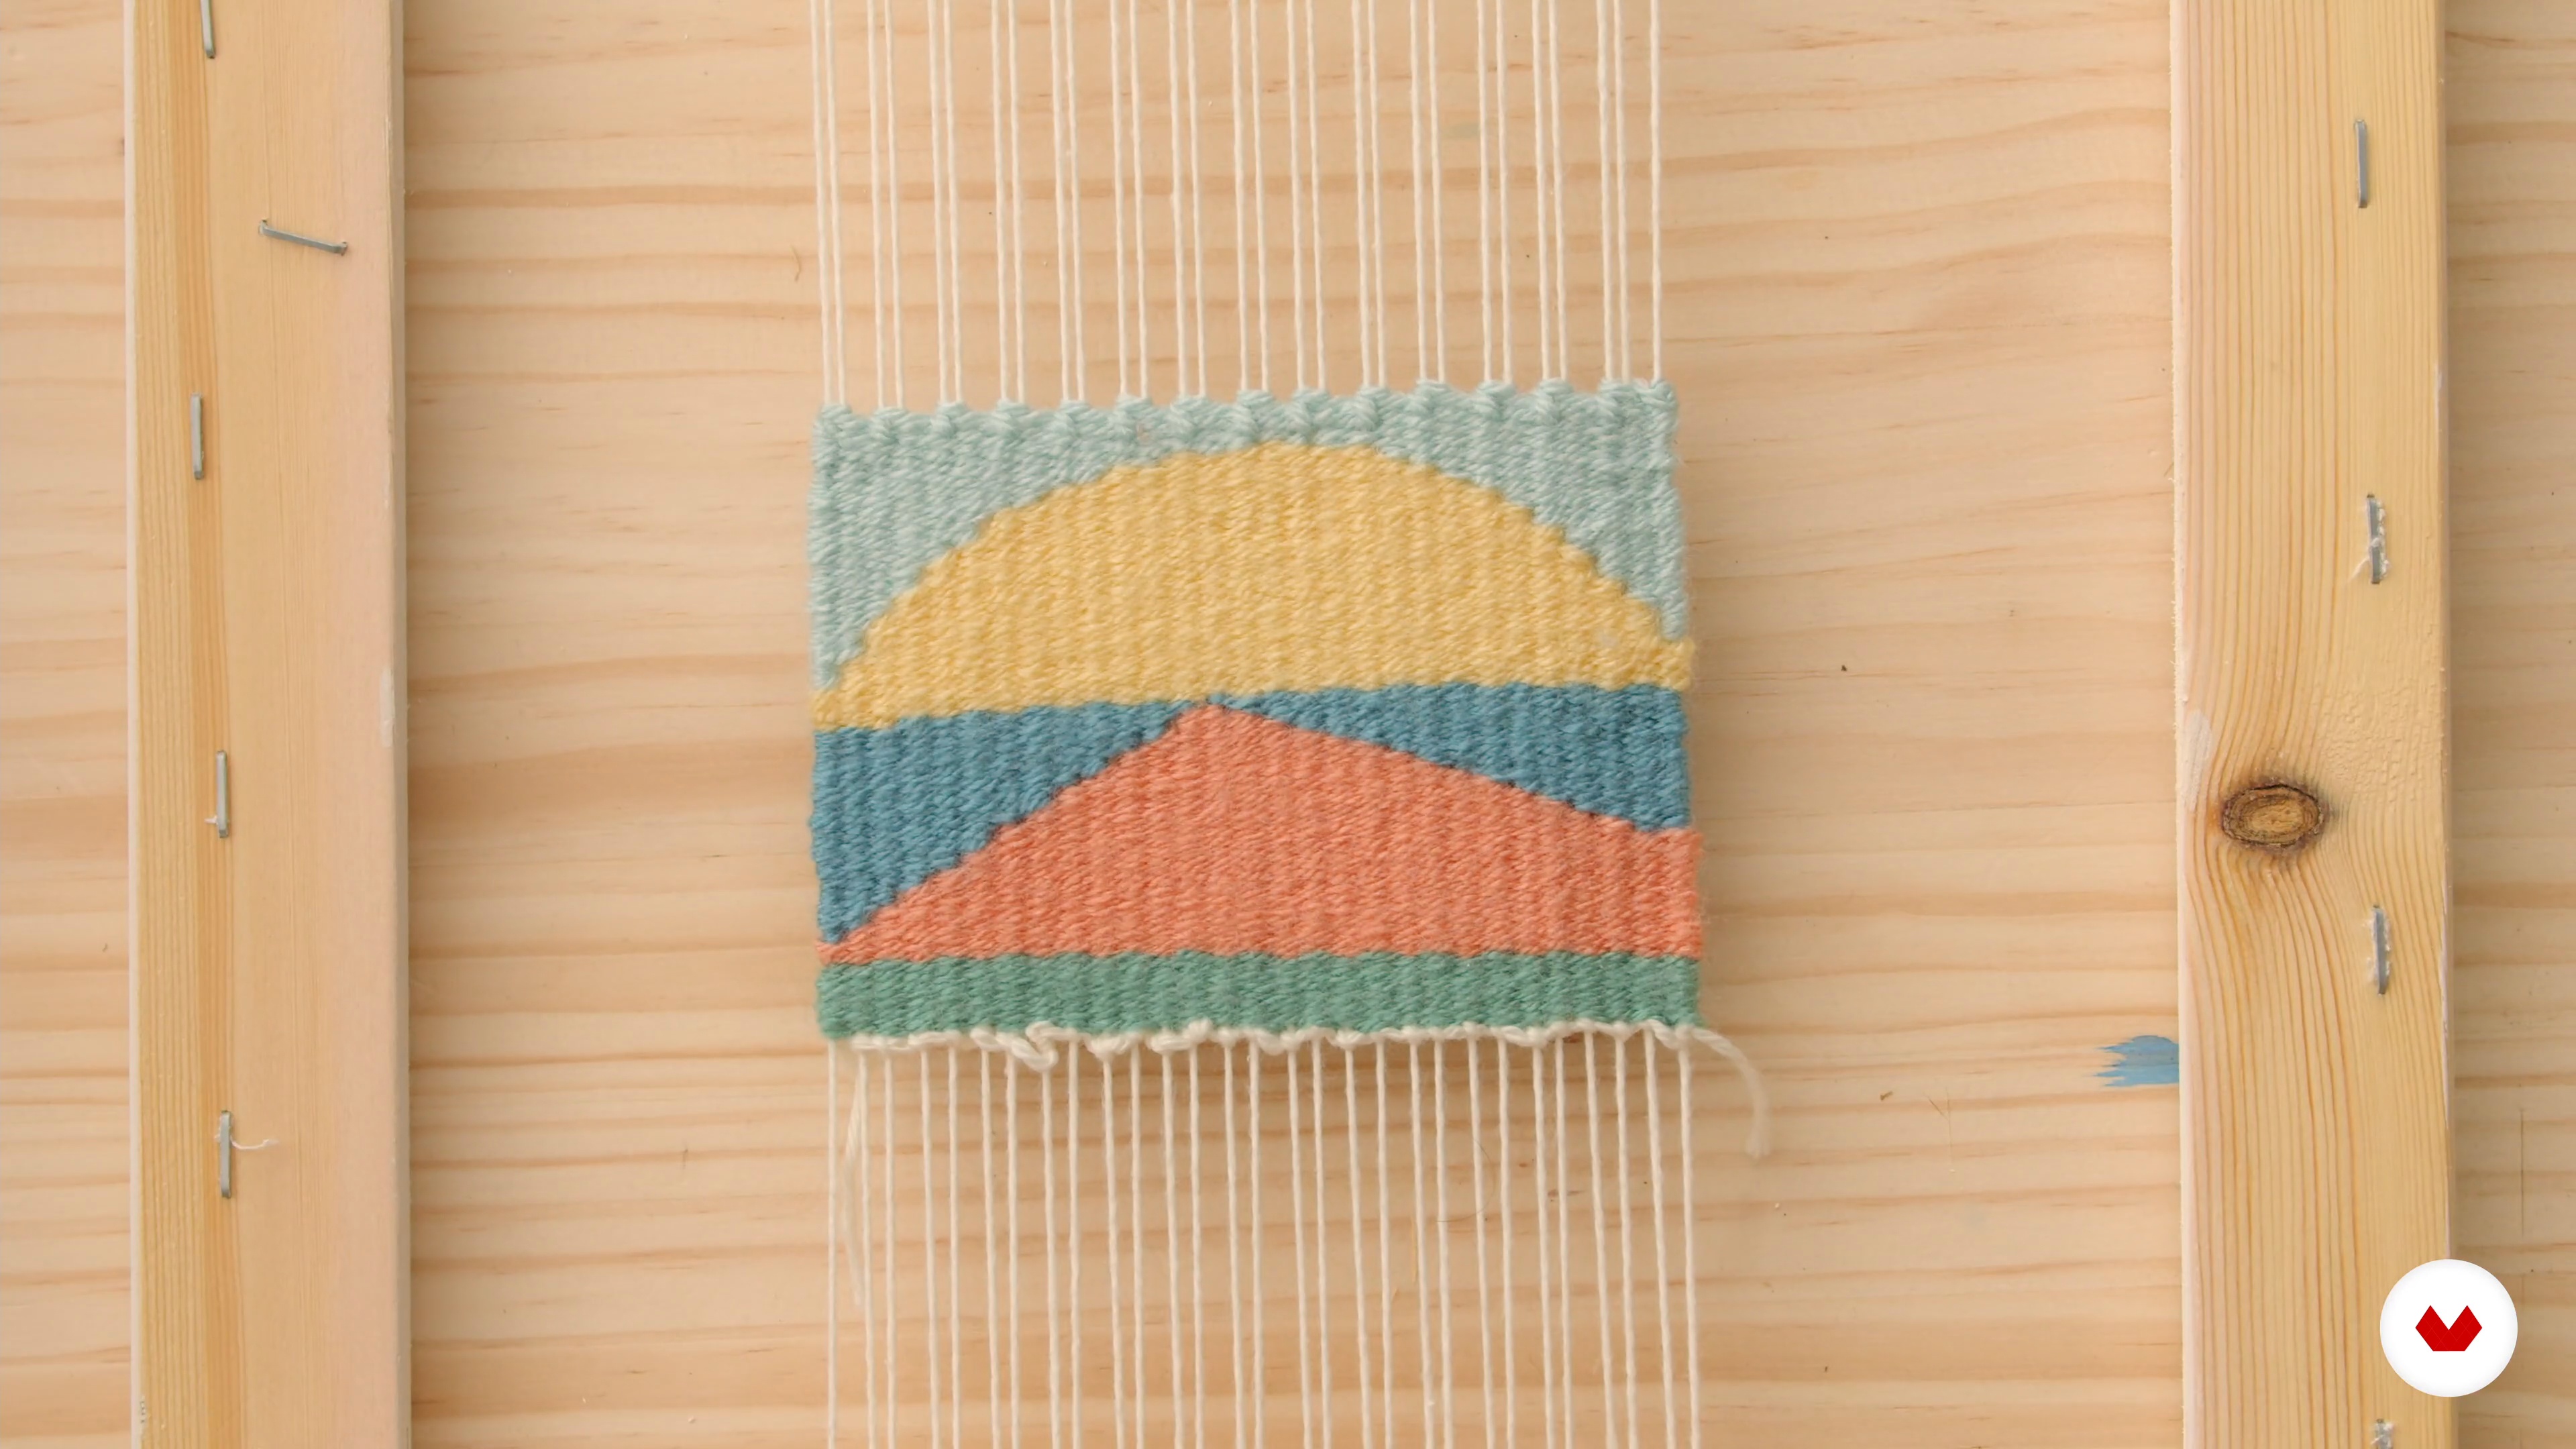
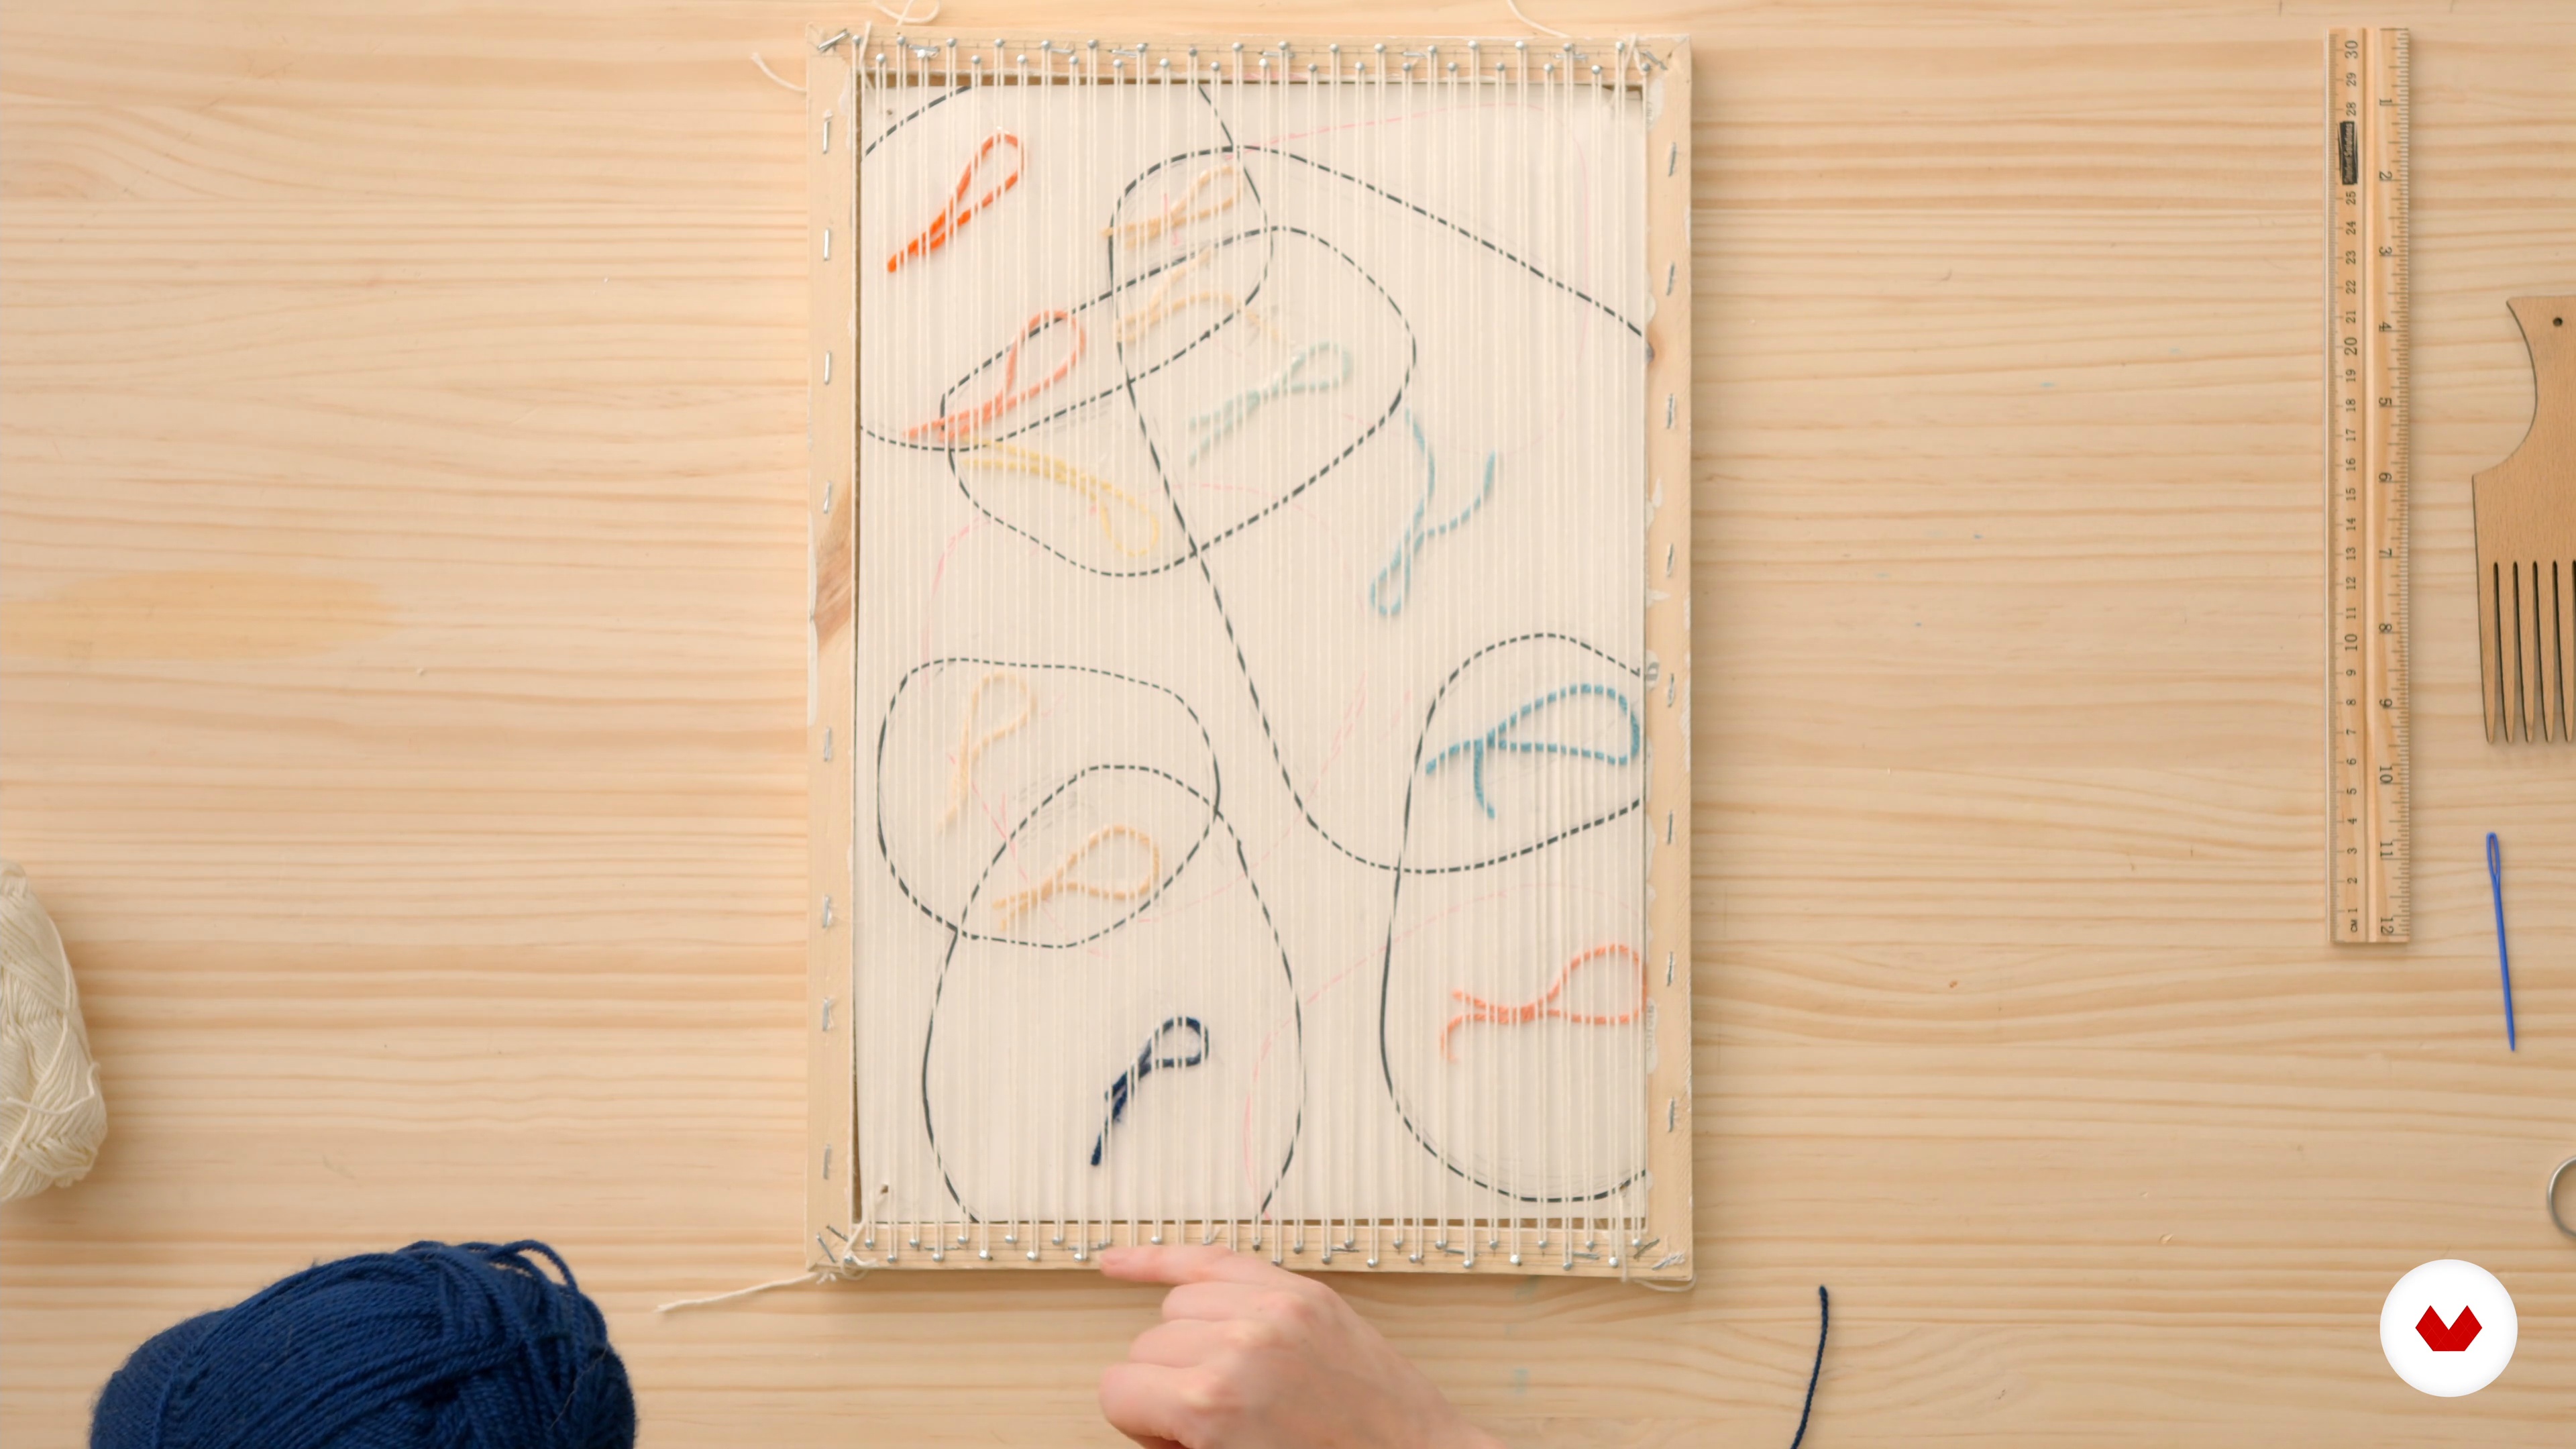
    In this lesson, I will show you how you can build a frame loom using a picture or canvas frame. This frame loom will also act as the frame for the final project which can be hung on the wall. We will warp the loom and make sure we have the correct tension for weaving.

    11m

    Let’s Start Weaving: Learning Basic Techniques 15

    Let’s Start Weaving: Learning Basic Techniques 1

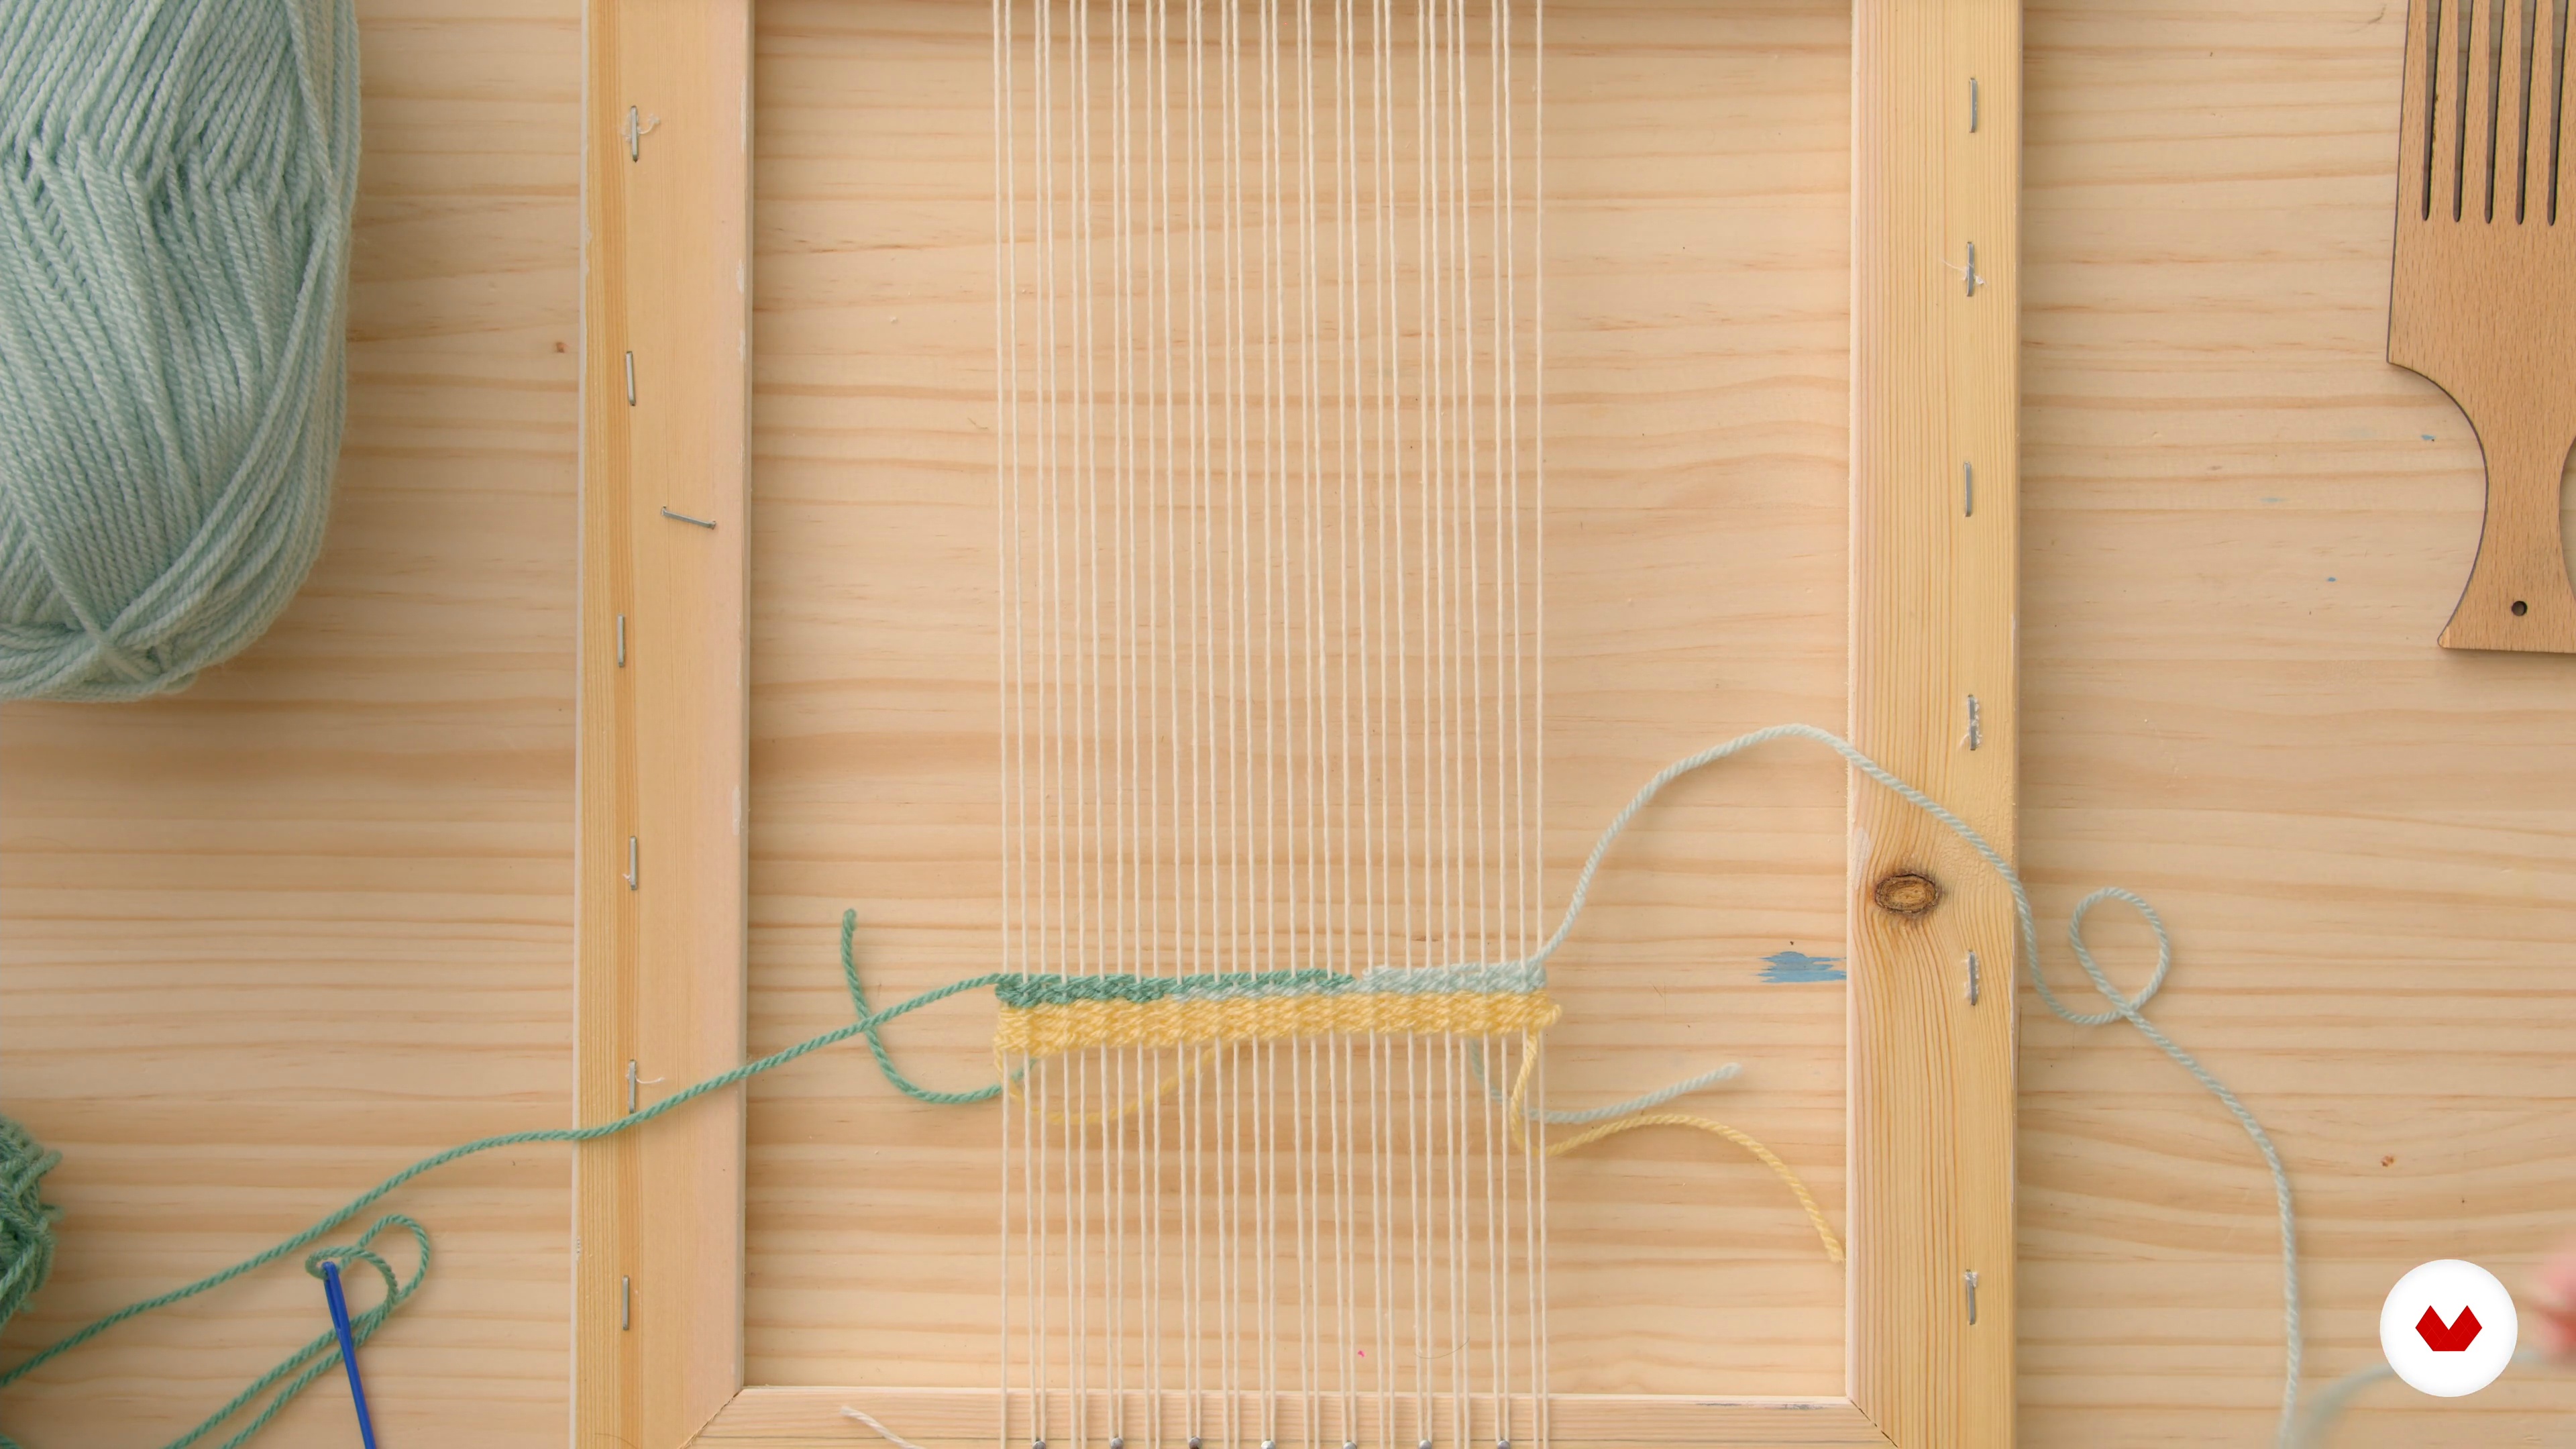
    Now we have our loom warped and ready to go, I will show you the basic weaving technique, and how to use it to create shapes. We will also go through some of the common problems that arise during weaving and how to avoid them.

    20m

    Let’s Start Weaving: Learning Basic Techniques 26

    Let’s Start Weaving: Learning Basic Techniques 2

    Let's continue weaving away by having a look at the basic techniques that will enable you to create a huge variety of different shapes. Remember that practice makes perfect, so take your time and don't despair if something doesn't go as planned. You will get there!

    20m

    Tidying Up and Doing a Hem Stitch7

    Tidying Up and Doing a Hem Stitch

    Now that we have learned the basics of weaving and produced a small piece, we will learn how to tidy up the back and finish it off using a hem stitch.

    13m

    Creating Overlapping Shapes 18

    Creating Overlapping Shapes 1

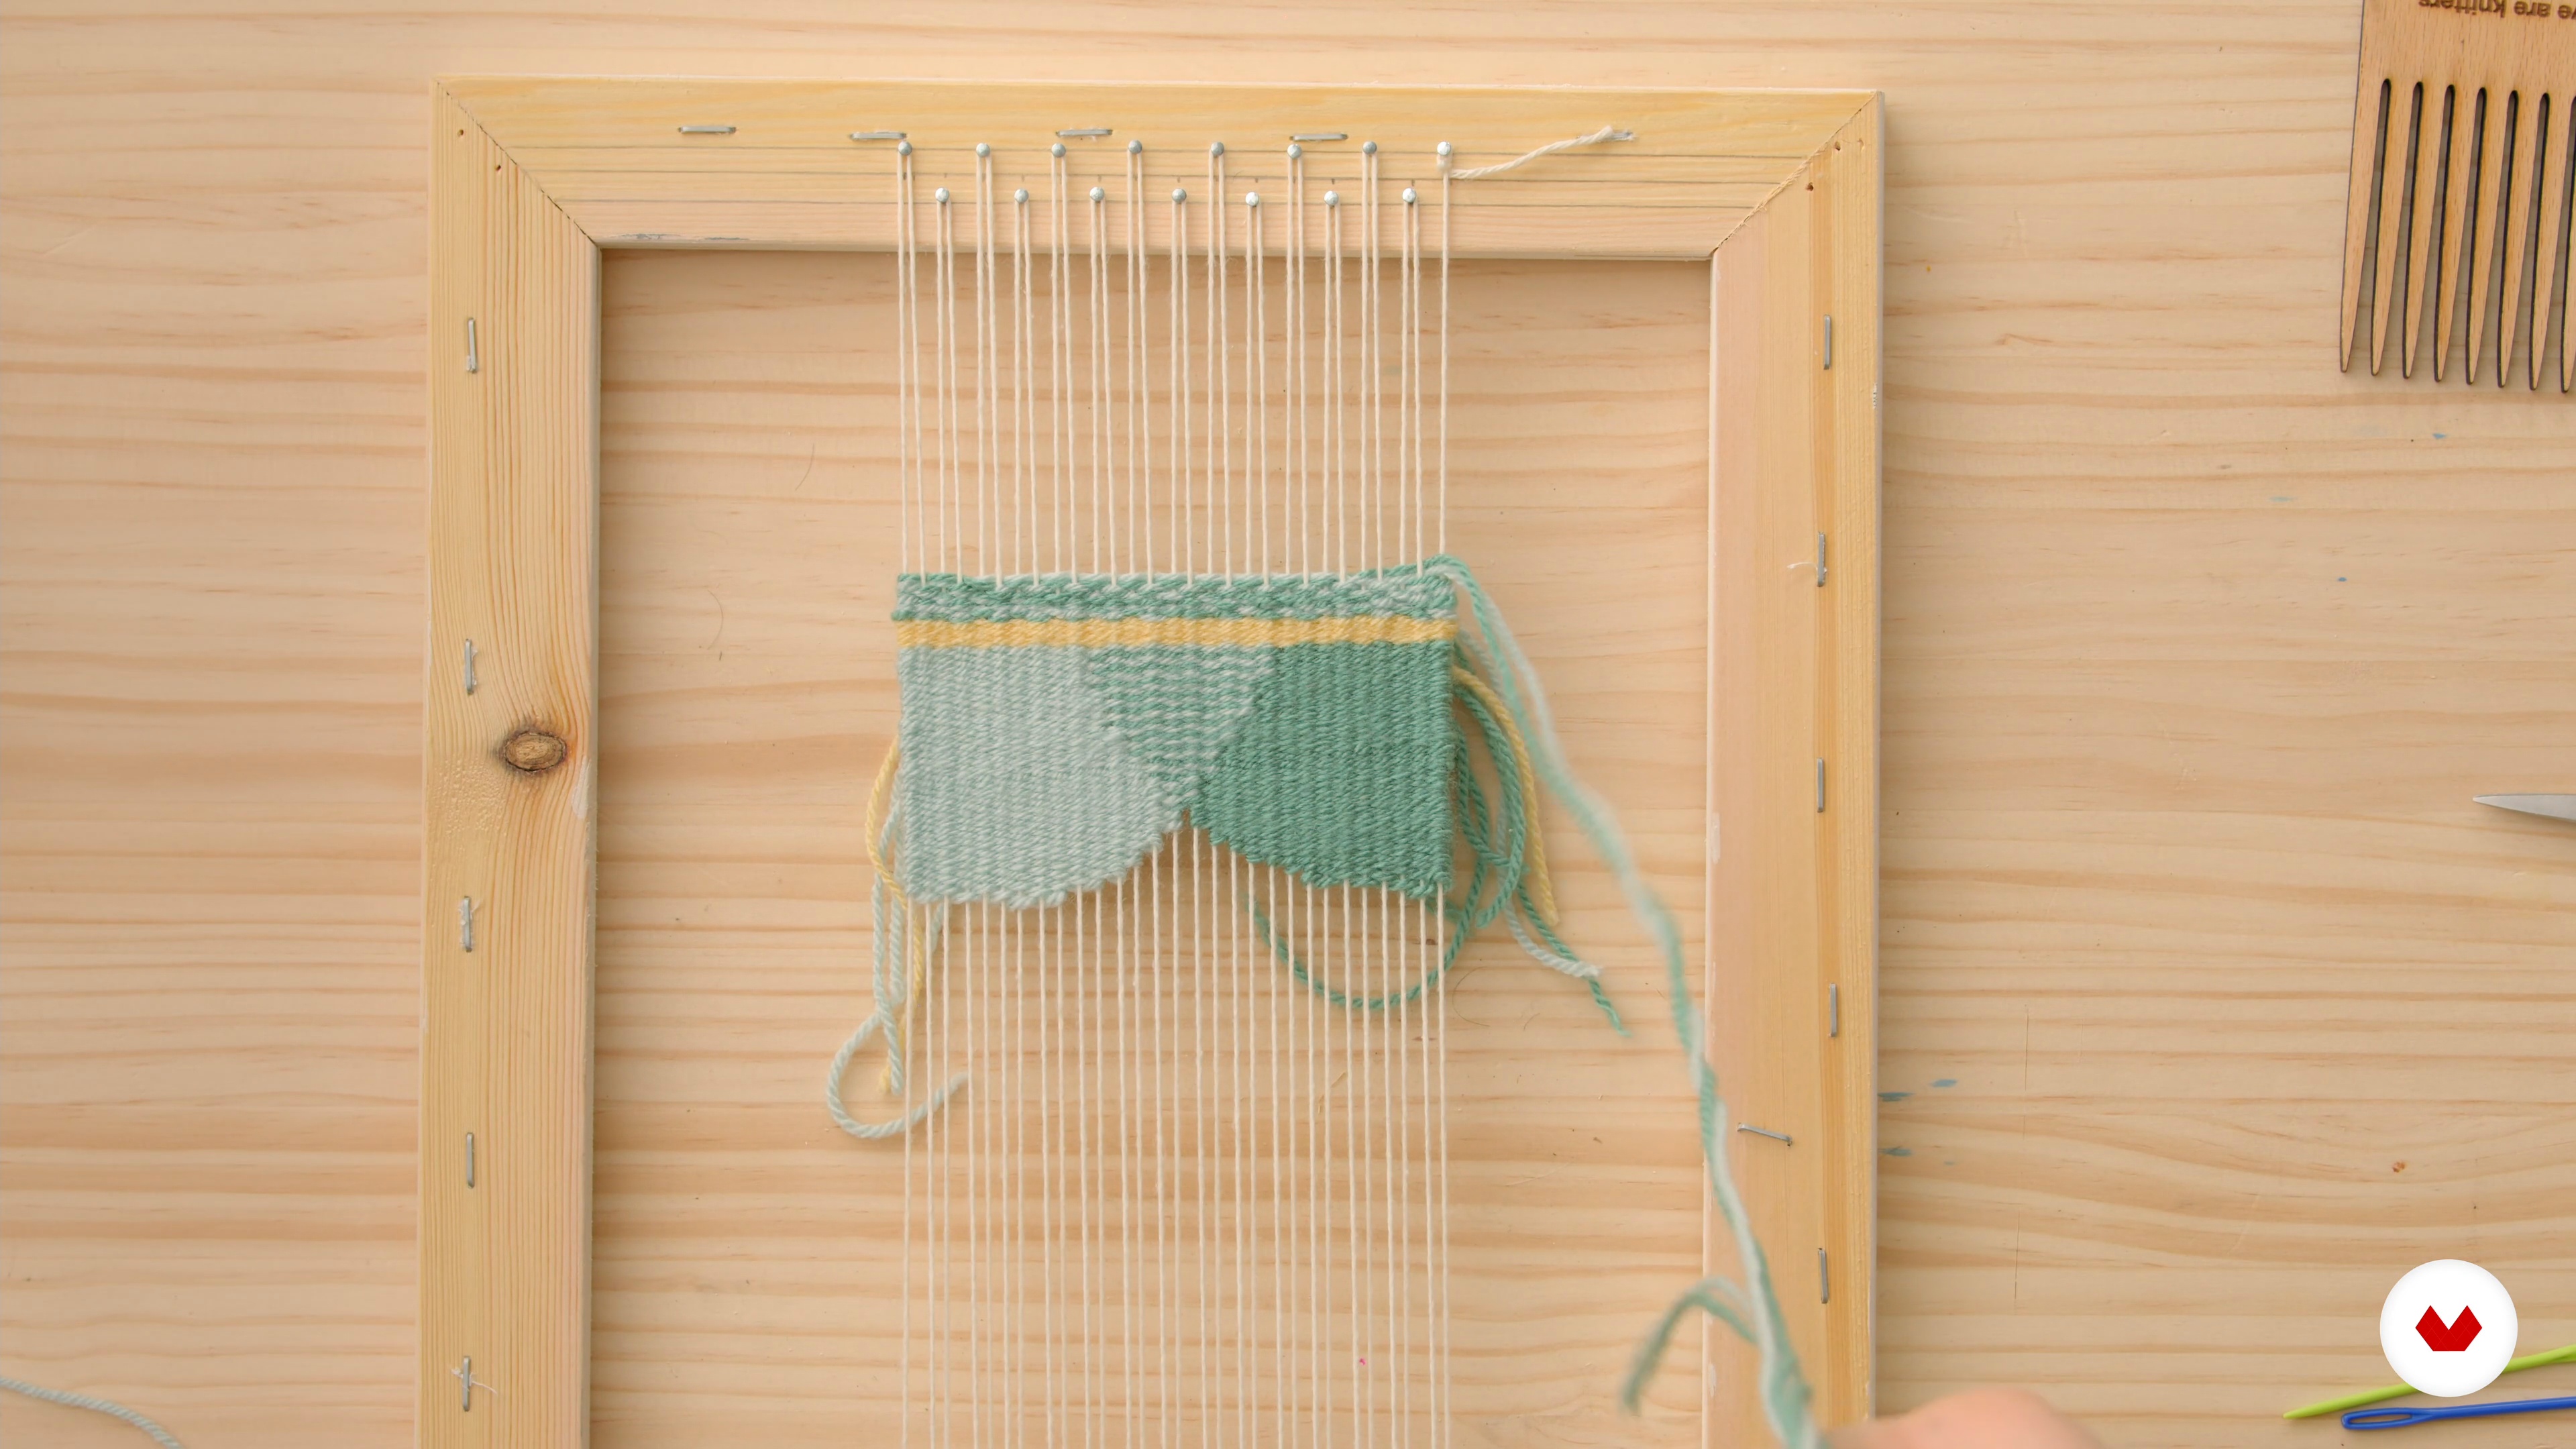
    Building on these basic weaving techniques, we are now going to learn how to add horizontal and vertical stripes to our tapestry, and how to blend colours together to give an overlapping effect.

    13m

    Creating Overlapping Shapes 29

    Creating Overlapping Shapes 2

    Let's continue our weaving journey by learning more about overlapping shapes. This way, you will get even more practice with the basic weaving techniques before diving into your final project.

    13m

    Finding Inspiration10

    Finding Inspiration

    Let's have a look at some abstract art that might give us some inspiration for our final product.

    7m

    Sketching Our Design11

    Sketching Our Design

    In this lesson, we will explore and draw up the design for our final piece. I will show you how to make some draft sketches of the design. We will then draw up the final design to scale.

    11m

    Choosing Yarn Colors: Color Palette12

    Choosing Yarn Colors: Color Palette

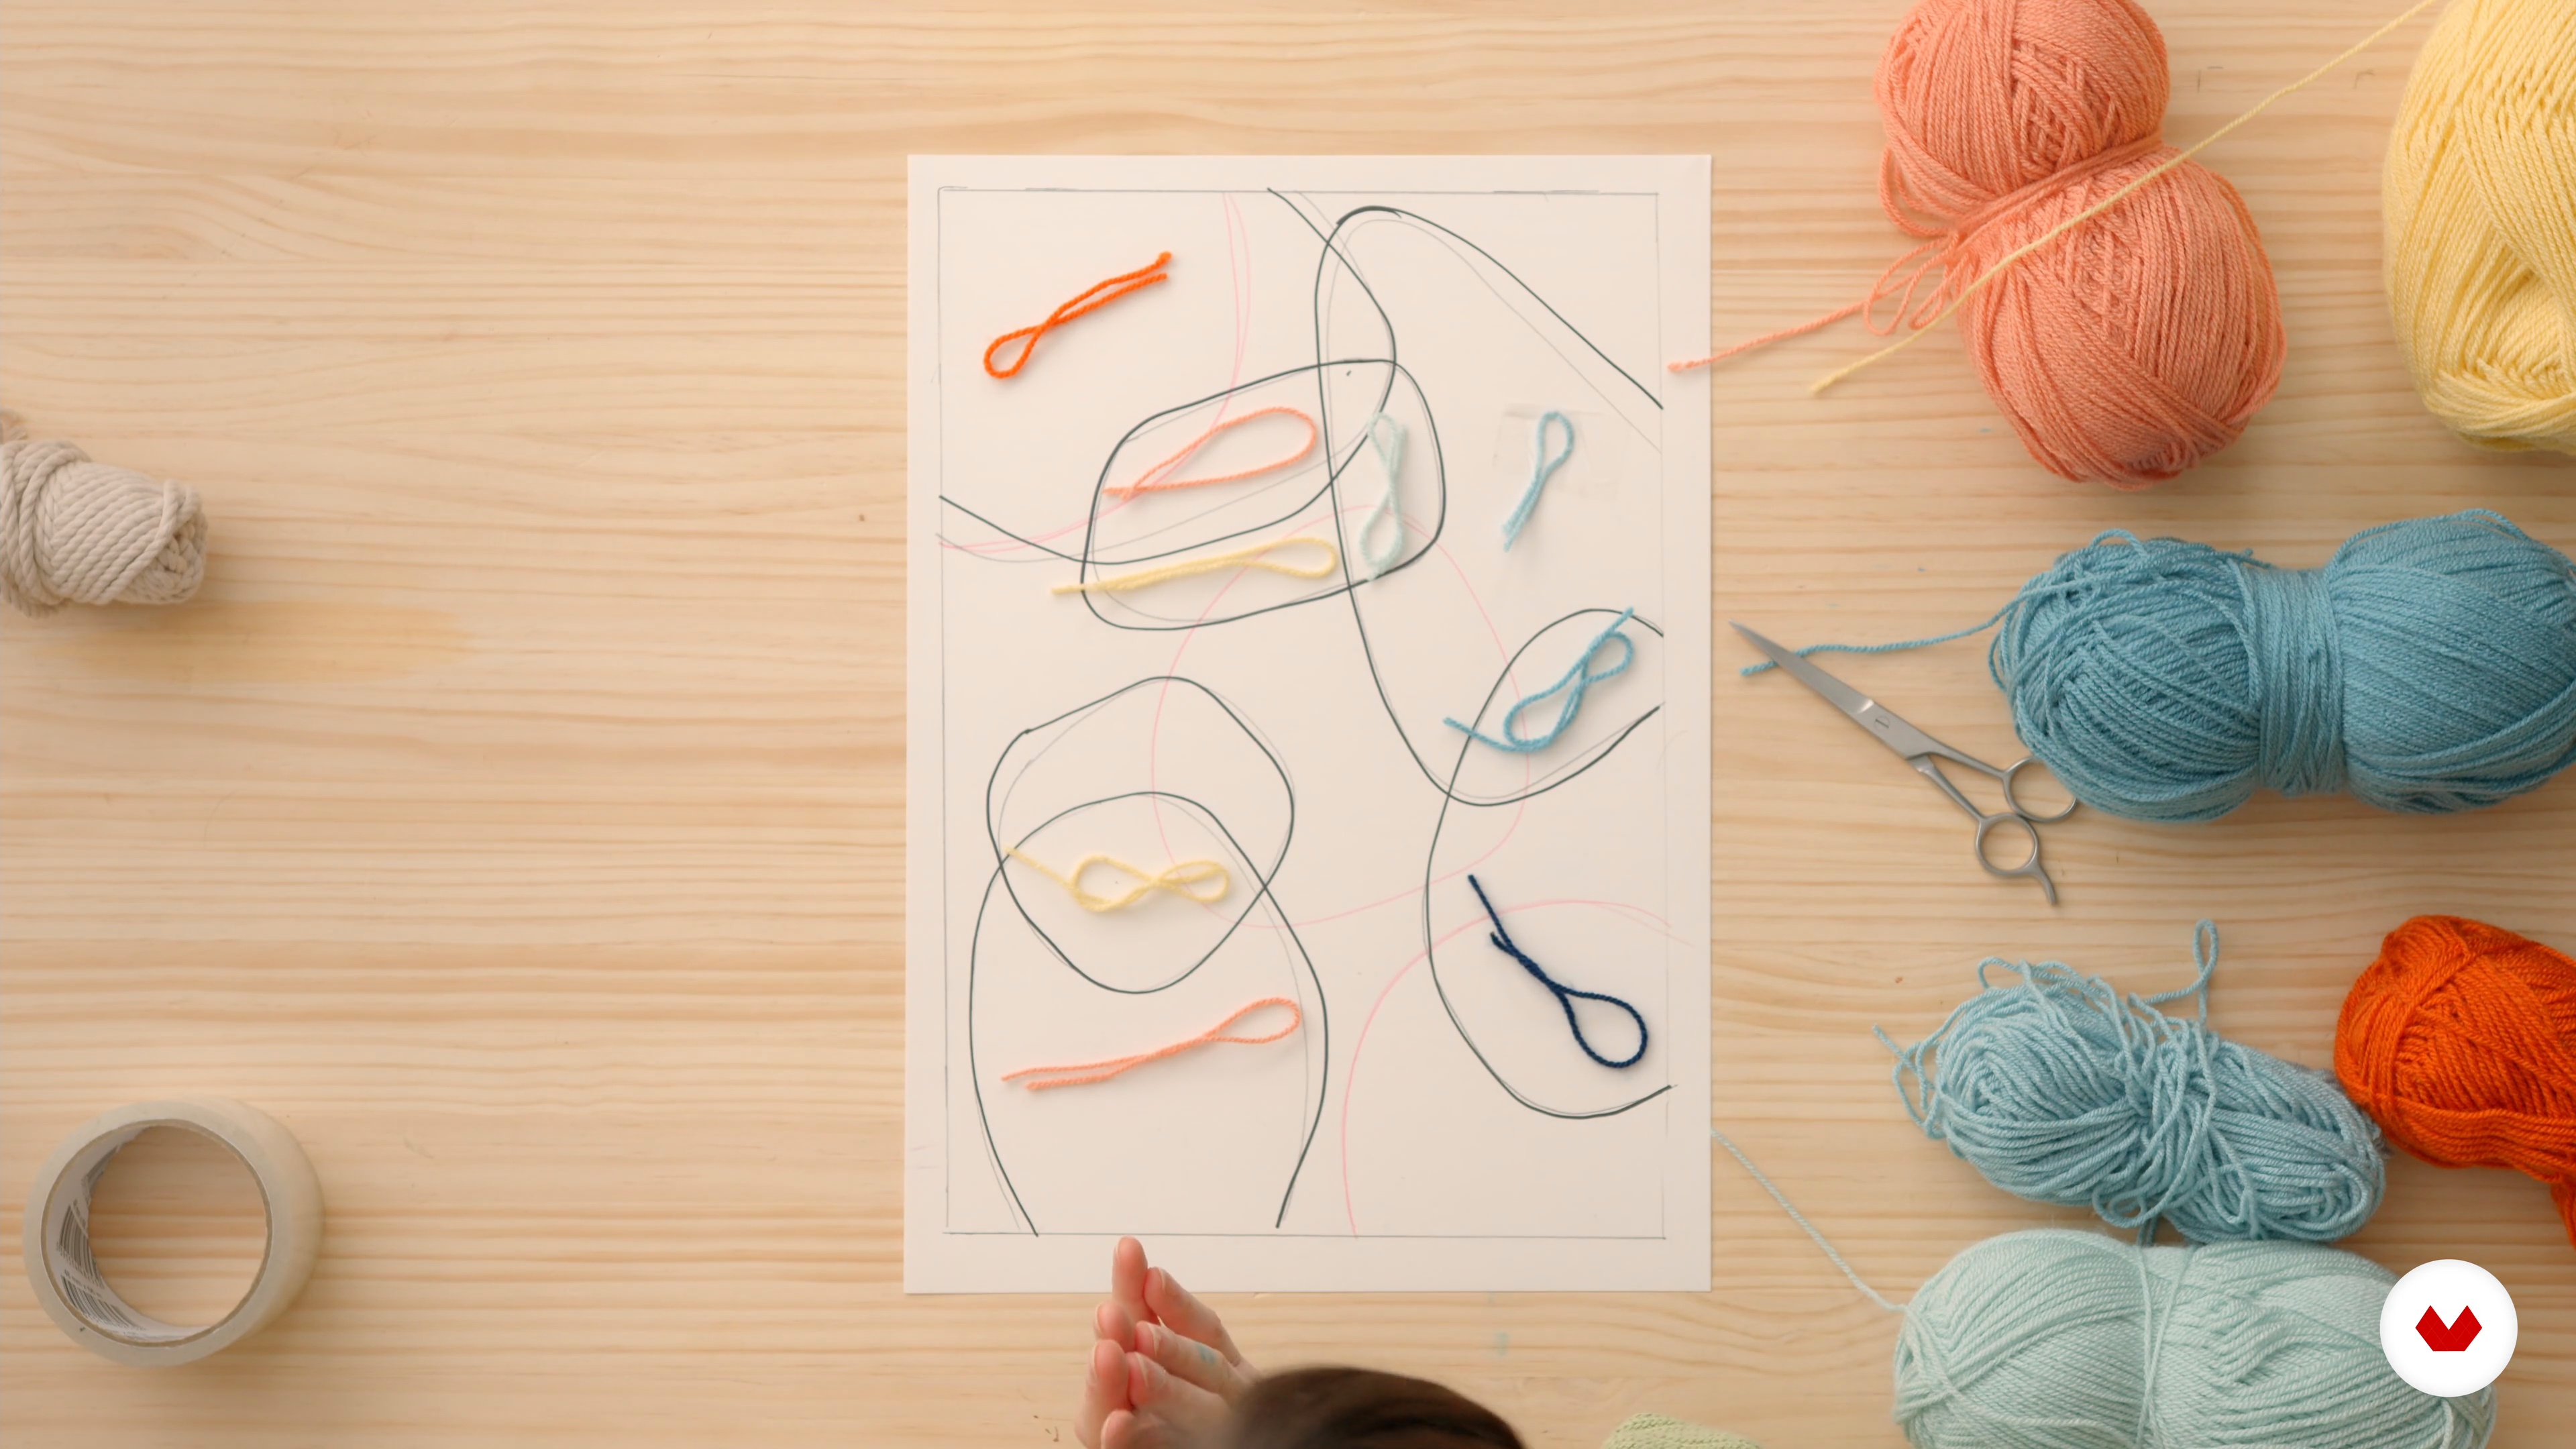
    Now that we have the design for our final product, we will choose a colour palette and map it out on the piece. You might already have a selection of yarn to work with and chose from. Alternatively, you might want to see me choosing my colours first before going out to buy your yarn.

    12m

    Preparing the Loom13

    Preparing the Loom

    Let's now prepare the loom for weaving.

    10m

    Weaving Our Final Project 114

    Weaving Our Final Project 1

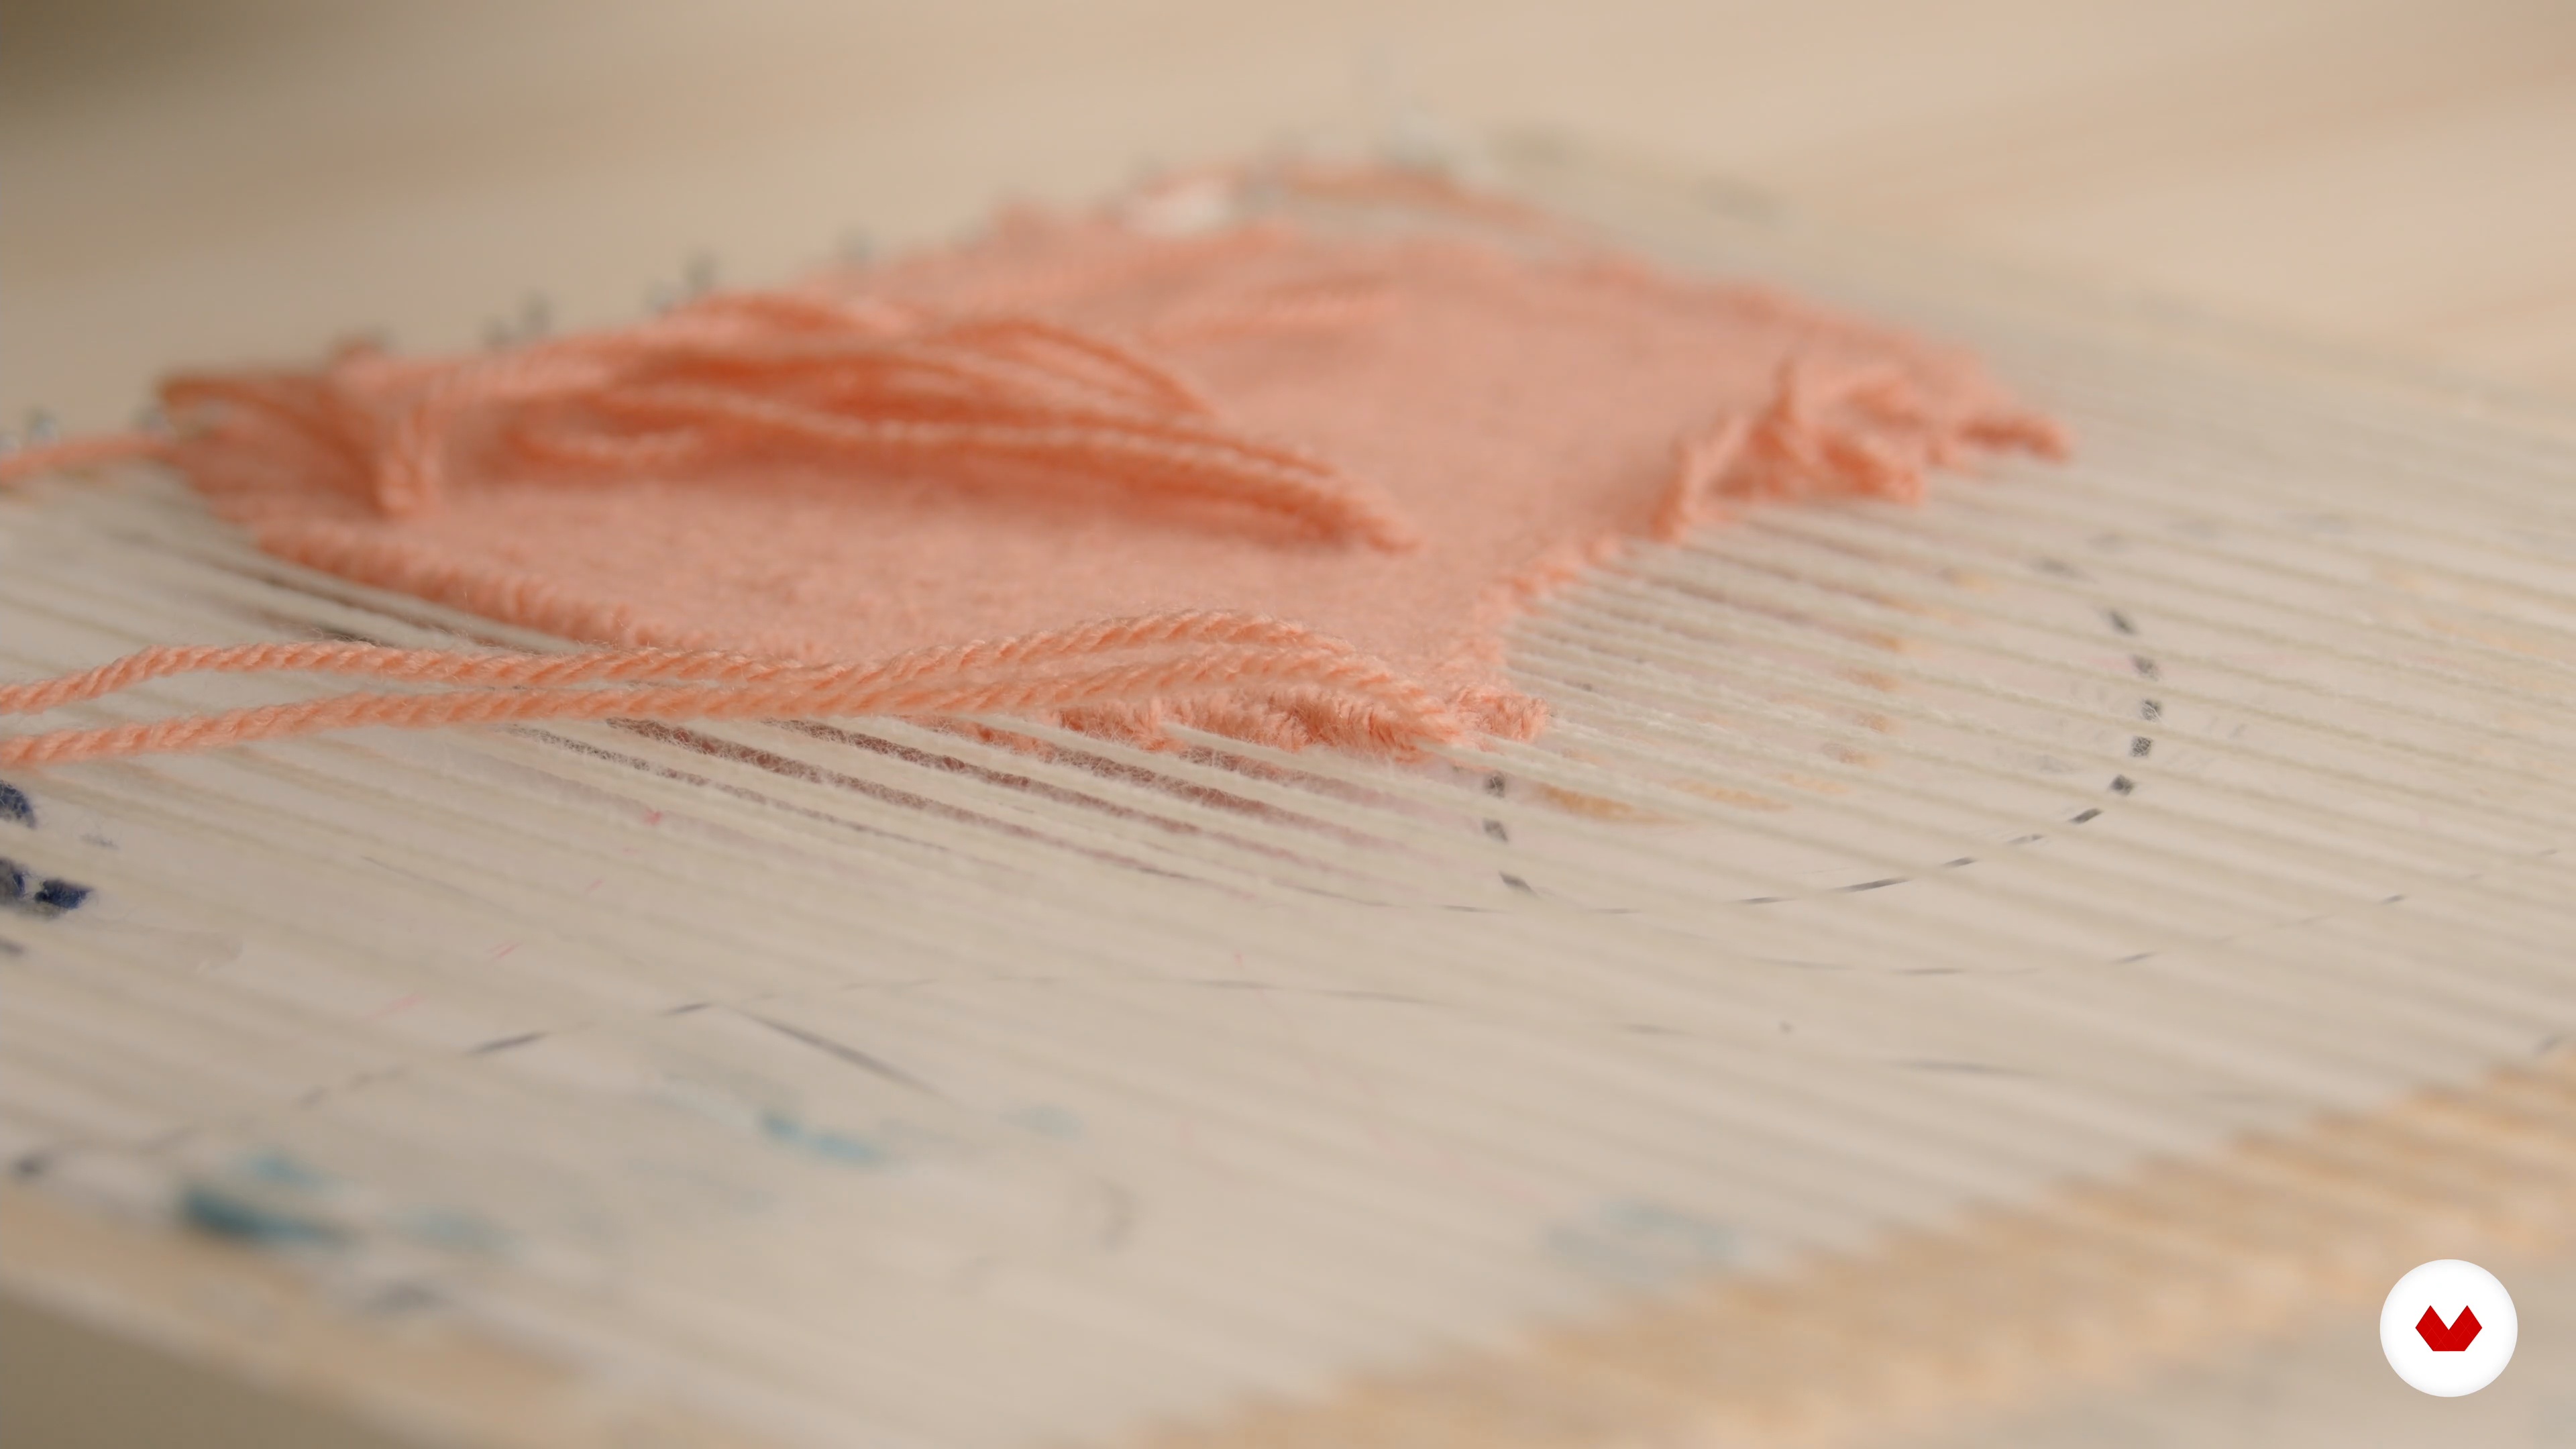
    Now we will begin weaving one of the shapes which start in the middle of the tapestry, floating above the exposed warp.

    16m

    Weaving Our Final Project 215

    Weaving Our Final Project 2

    Let's start on the next shape of your woven piece. You will be amazed at how fast it takes form!

    19m

    Finishing the Piece16

    Finishing the Piece

    In this lesson, we will tie up our loose ends and sew up any gaps in the tapestry to create a neat finish.

    13m

    Adding the Binding to Create a Raised Texture17

    Adding the Binding to Create a Raised Texture

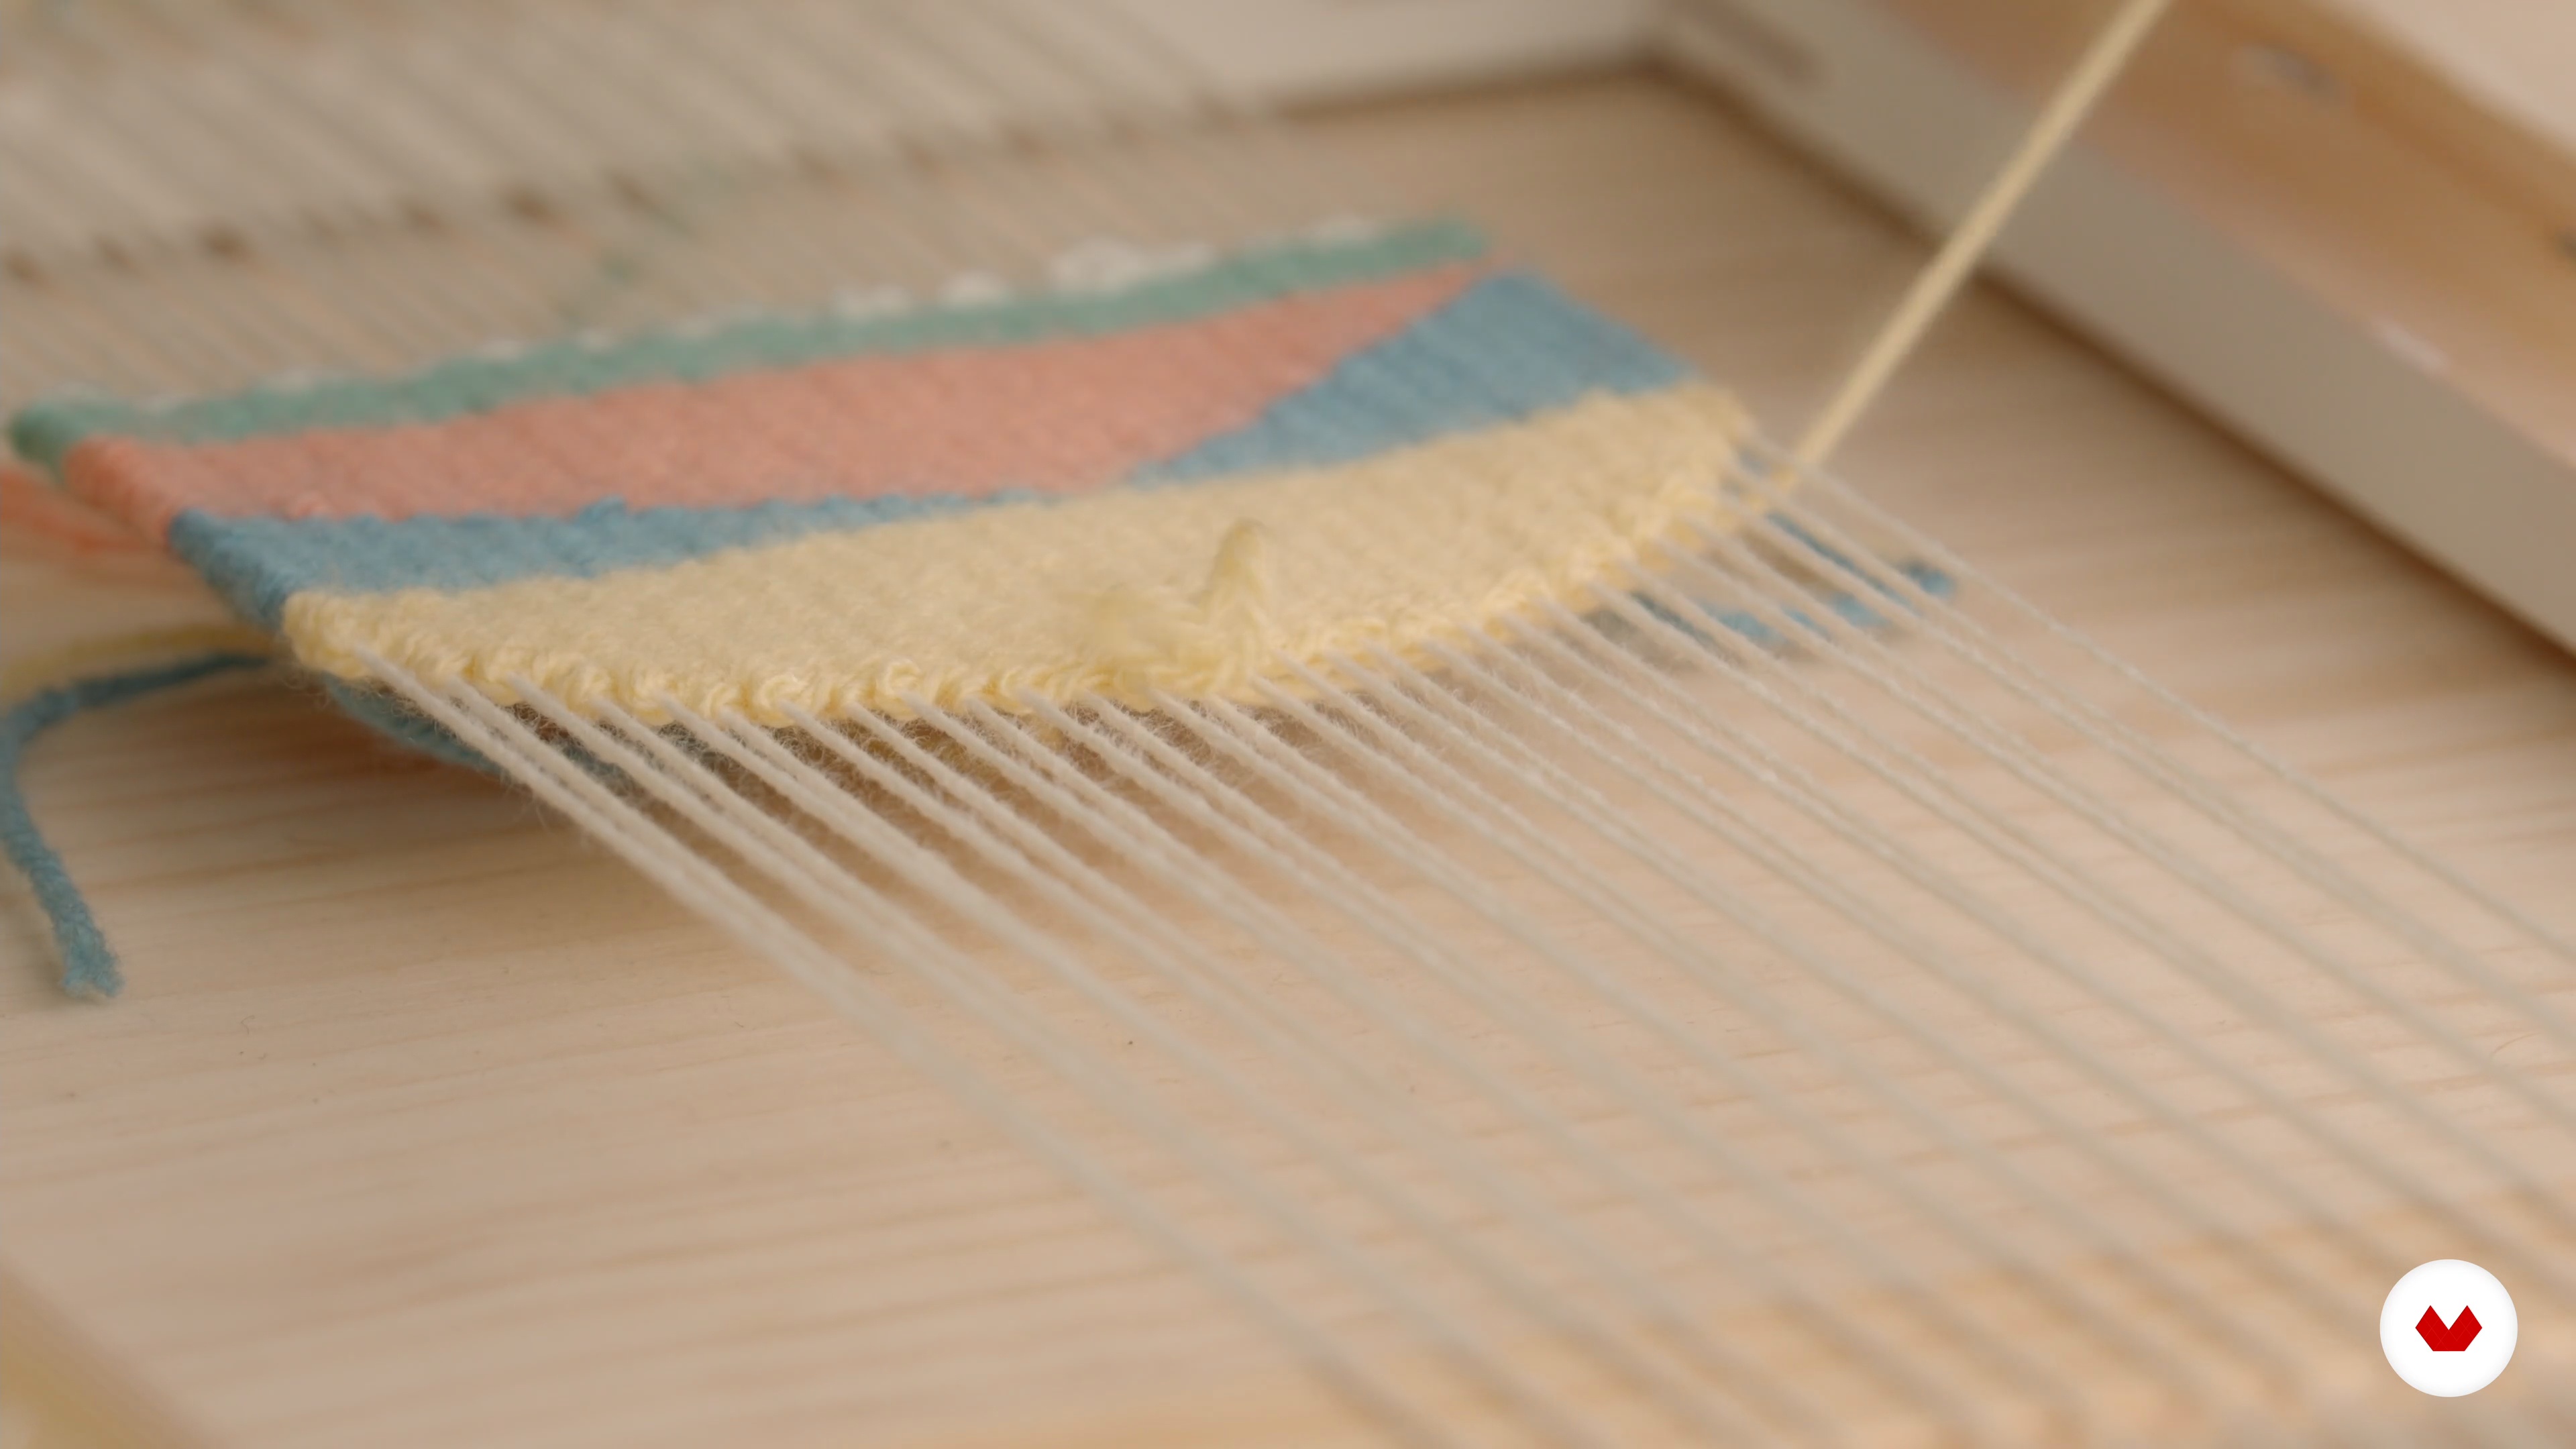
    Next, we will learn about the binding technique and will use it to apply texture to our final piece.

    19m

    Taking Care of Your Tapestry18

    Taking Care of Your Tapestry

    Let's talk about how to hang your final piece and how to take care of it.

    5m

    What is this course's project?

    Who is this specialization for?

    Requirements and materials

    Specialization in 3D Textured Tapestry and Weaving Techniques

    Reviews

    283
    Students
    3
    Reviews
    100%
    Positive ratings
    • 8 months ago

      Me encanta la mezcla de estilos y las diferentes técnicas que puedo aprender con este curso. Muy completo.

    • 9 months ago

      Se aprende mucho y los proyectos son inspiradores.

    • 9 months ago

      Buen curso, magníficos profesores. Mil gracias11

    Select to get to know your teachers in this specialization course

    Jen Duffin - Nova Mercury

    Jen Duffin - Nova Mercury

    Fiber Artist

    Lucy Rowan

    Lucy Rowan

    Fiber Artist and Weaver

    Marion Weymes

    Marion Weymes

    Textile Artist

    Cassandra Sabo

    Cassandra Sabo

    Textile Designer and Hand Weaver

    Allyson Rousseau

    Allyson Rousseau

    Fiber Artist

    Rachel Snack

    Rachel Snack

    Textile Artist

    See all 6 teachers

    What to expect from this specialization course

    • Learn at your own pace

      Enjoy learning from home without a set schedule and with an easy-to-follow method. You set your own pace.

    • Learn from the best professionals

      Learn valuable methods and techniques explained by top experts in the creative sector.

    • Meet expert teachers

      Each expert teaches what they do best, with clear guidelines, true passion, and professional insight in every lesson.

    • Certificates

      PLUS

      If you're a Plus member, get a custom certificate for every specialization course. Share it on your portfolio, social media, or wherever you like.

    • Get front-row seats

      Videos of the highest quality, so you don't miss a single detail. With unlimited access, you can watch them as many times as you need to perfect your technique.

    • Share knowledge and ideas

      Ask questions, request feedback, or offer solutions. Share your learning experience with other students in the community who are as passionate about creativity as you are.

    • Connect with a global creative community

      The community is home to millions of people from around the world who are curious and passionate about exploring and expressing their creativity.

    • Watch professionally produced courses

      Domestika curates its teacher roster and produces every course in-house to ensure a high-quality online learning experience.

    FAQs

    Yes, this course is designed for beginners and covers foundational techniques, materials, and step-by-step instructions for weaving and wall art projects.

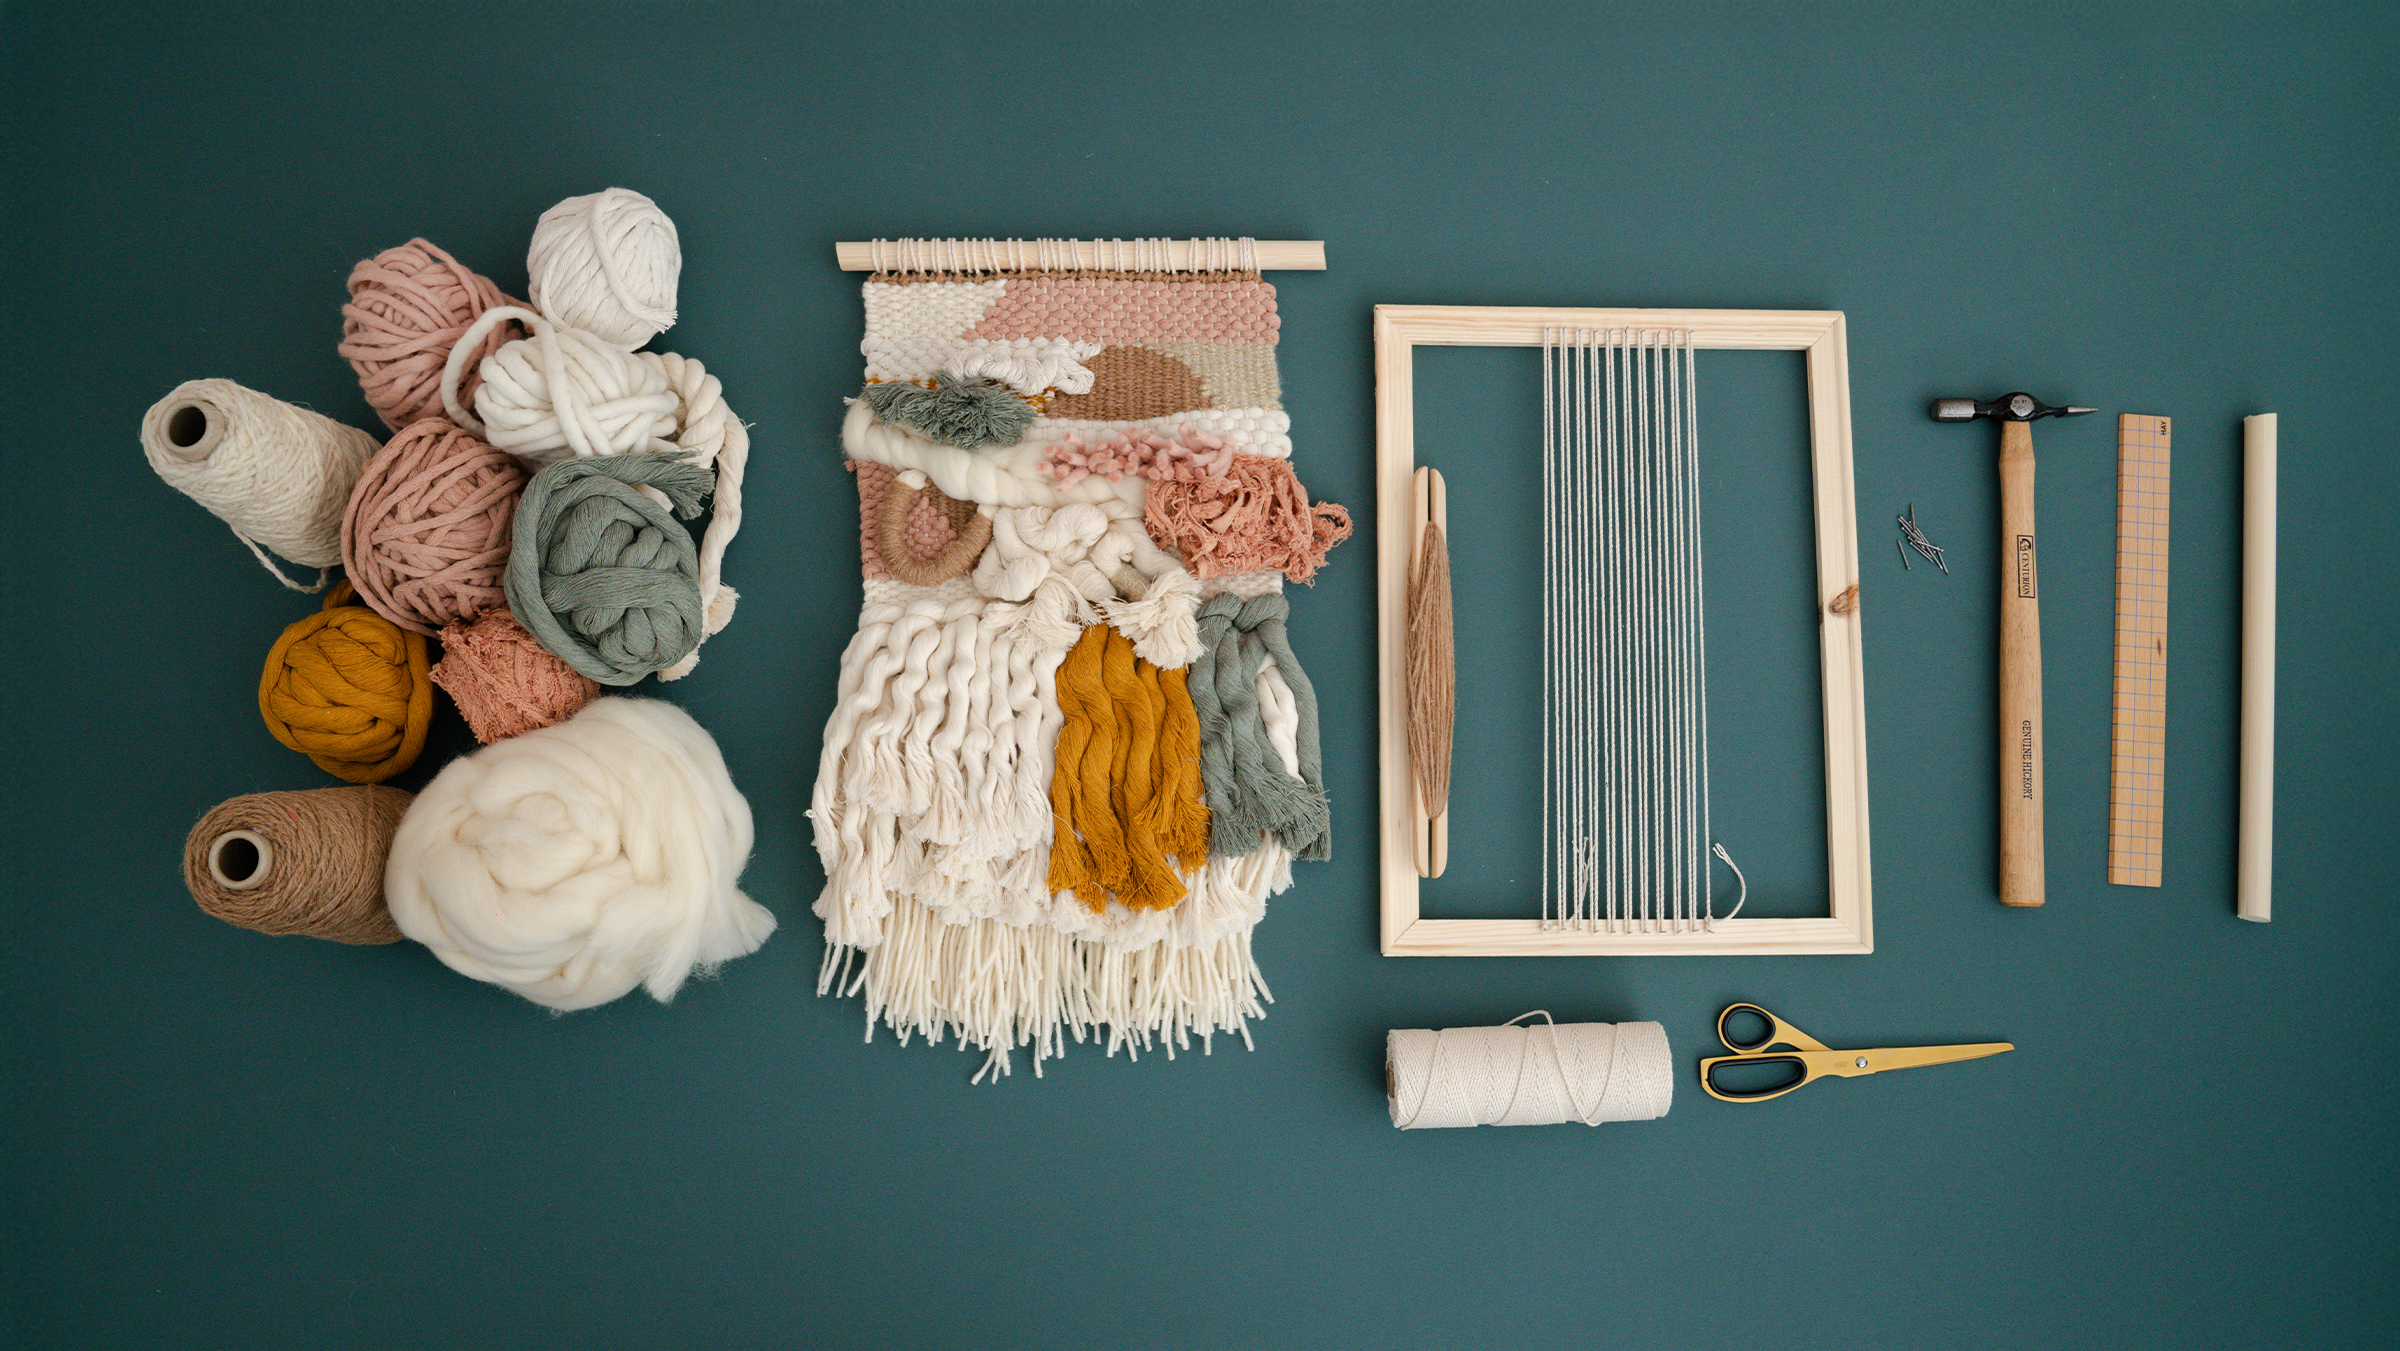
    You’ll need a simple frame or homemade loom, yarn or roving, wool, fabric scraps, velvet ribbons, a weaving fork, shuttle, and scissors. The course provides guidance on alternatives and DIY options.

    You’ll learn a range of weaving techniques, how to build a loom, create mood boards, select color palettes, add texture, make tassels, and design both structural and sculptural woven wall hangings.

    Yes, the course includes step-by-step instructions for constructing a functional loom using household materials and explains how to set up and warp it for weaving.

    The course teaches how to create tactile mood boards and select harmonious color palettes, helping you plan and visualize your weaving designs effectively before you start.

    Absolutely. The course encourages sustainable practices, showing how to incorporate upcycled, naturally dyed, and alternative materials for diverse textures and effects.

    Yes, you’ll explore techniques for creating curves, triangles, geometric forms, sculptural textures, and raised effects—plus methods for joining colors and fixing mistakes.

    Category

    Courses you might be interested in