
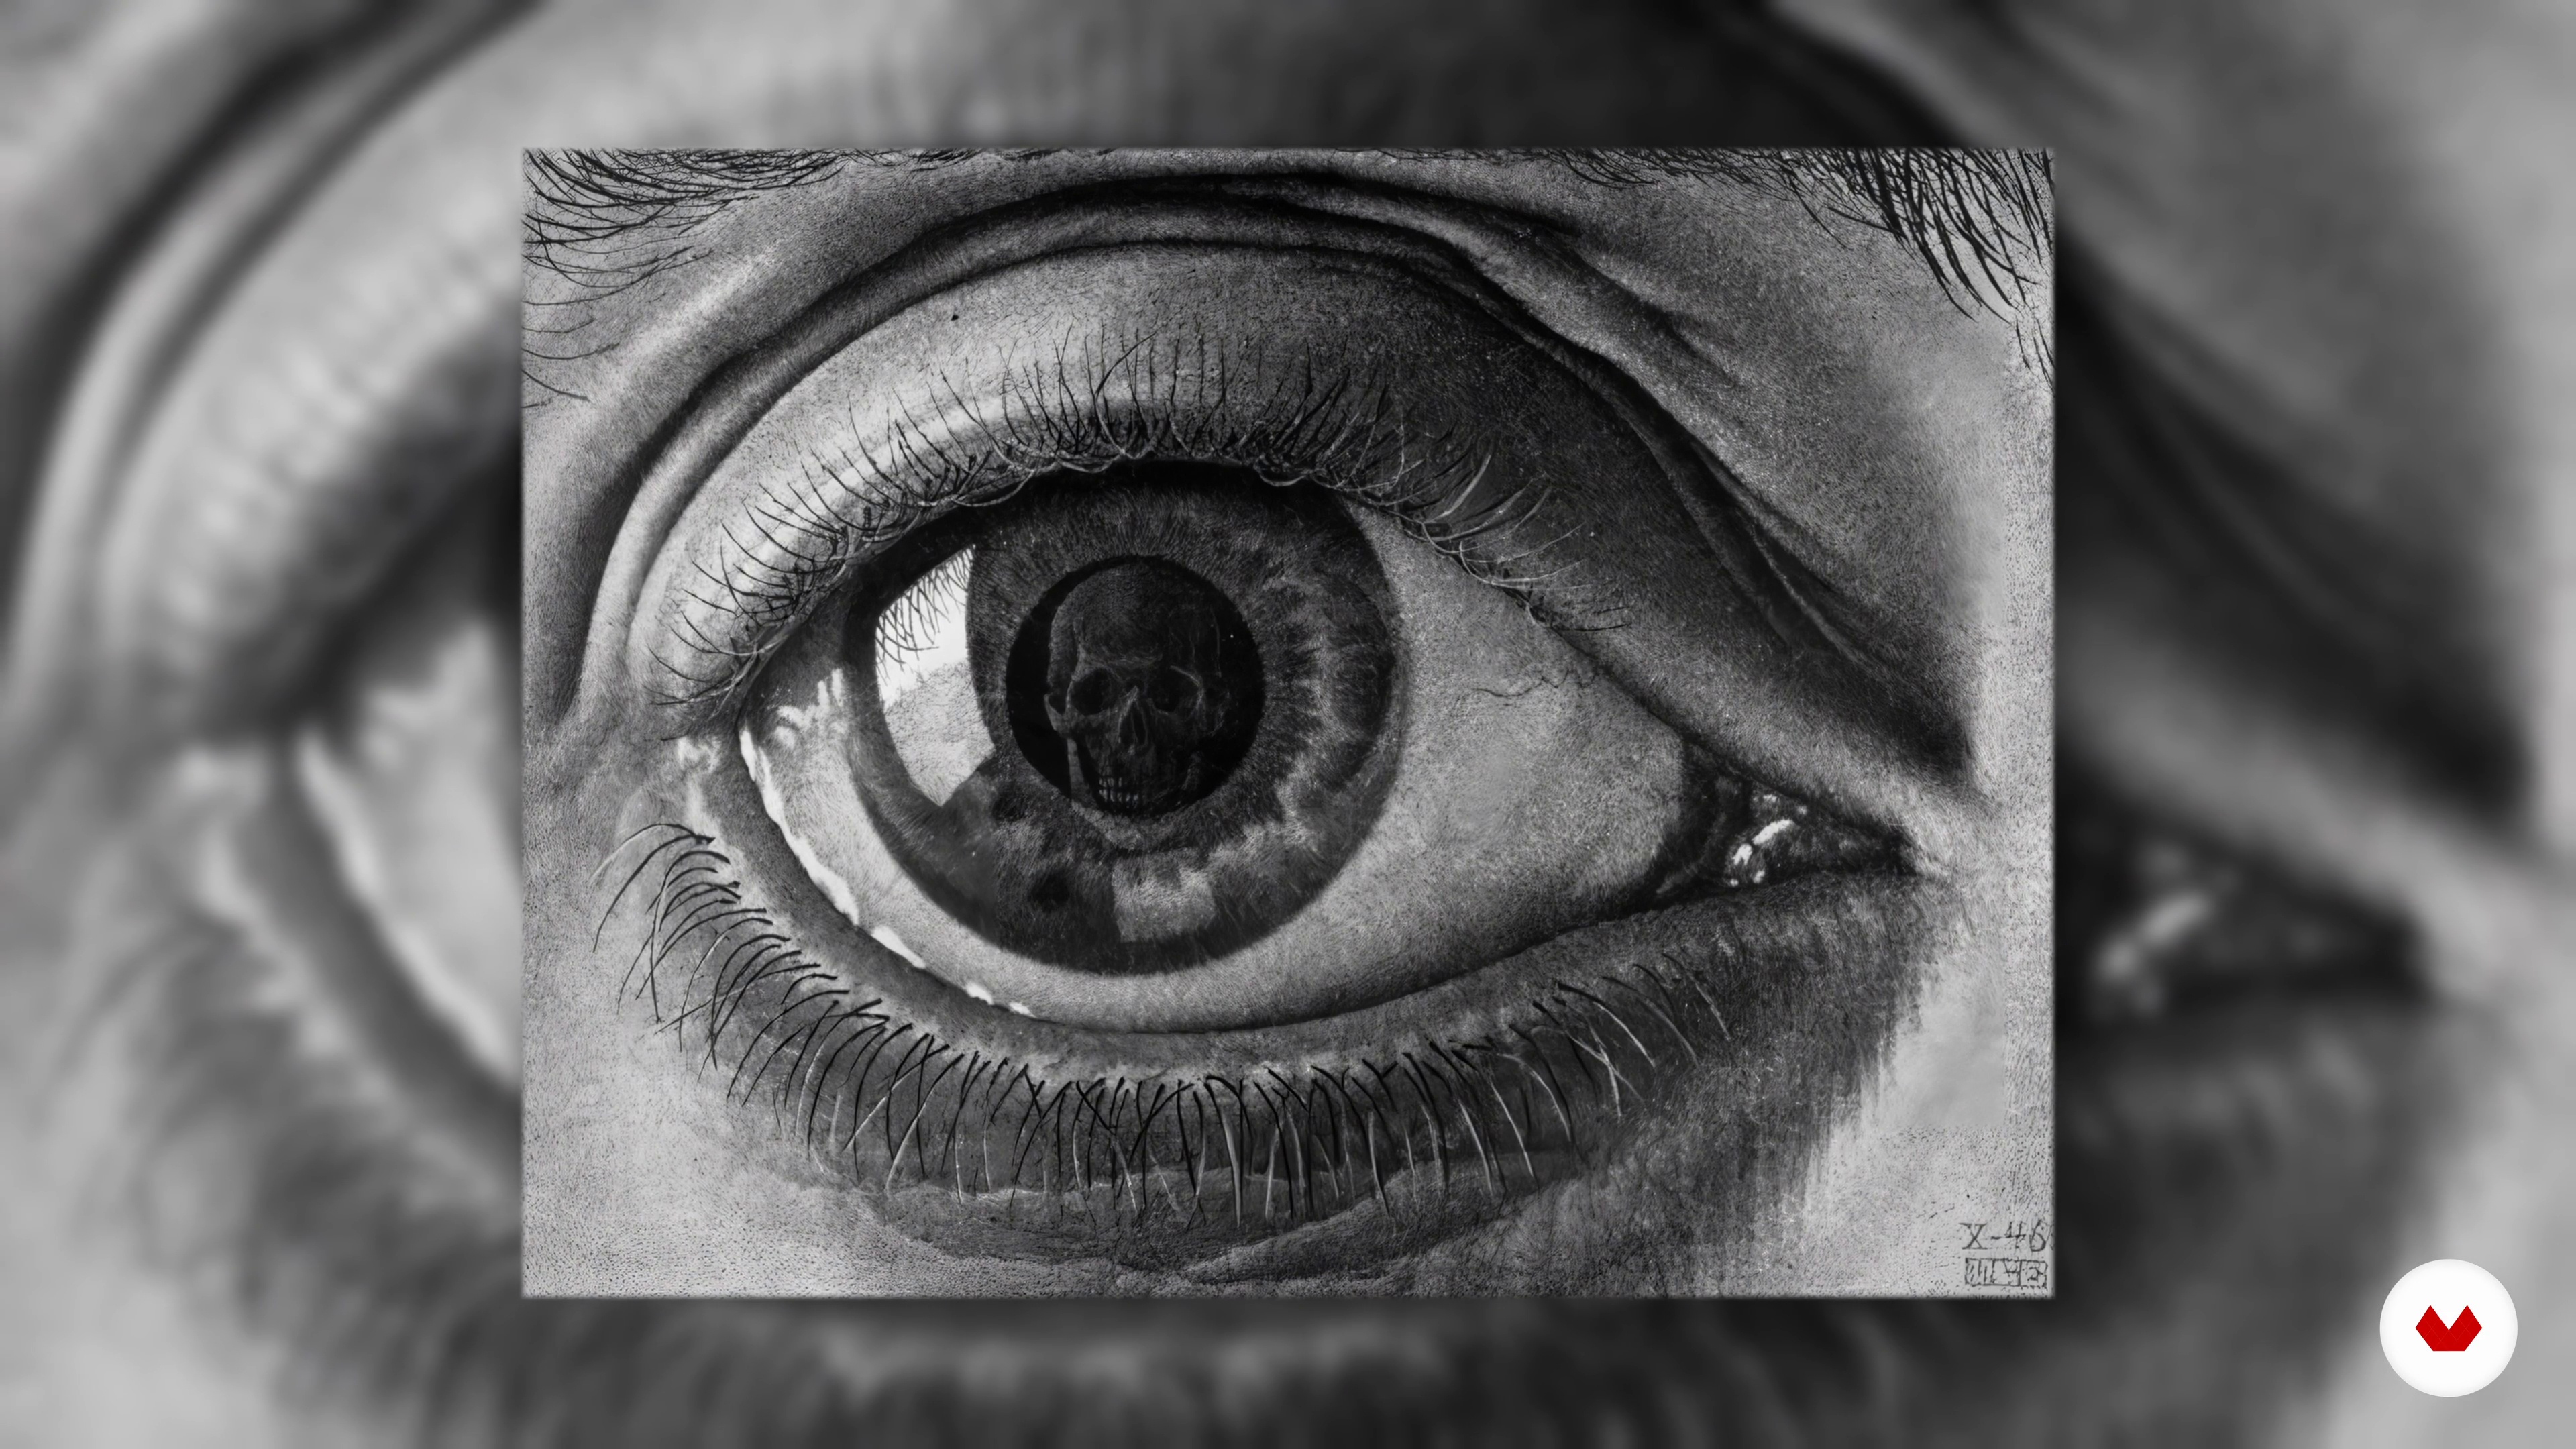
Master Pencil and Charcoal by focusing on light, shadow, and proportion to create expressive, realistic drawings
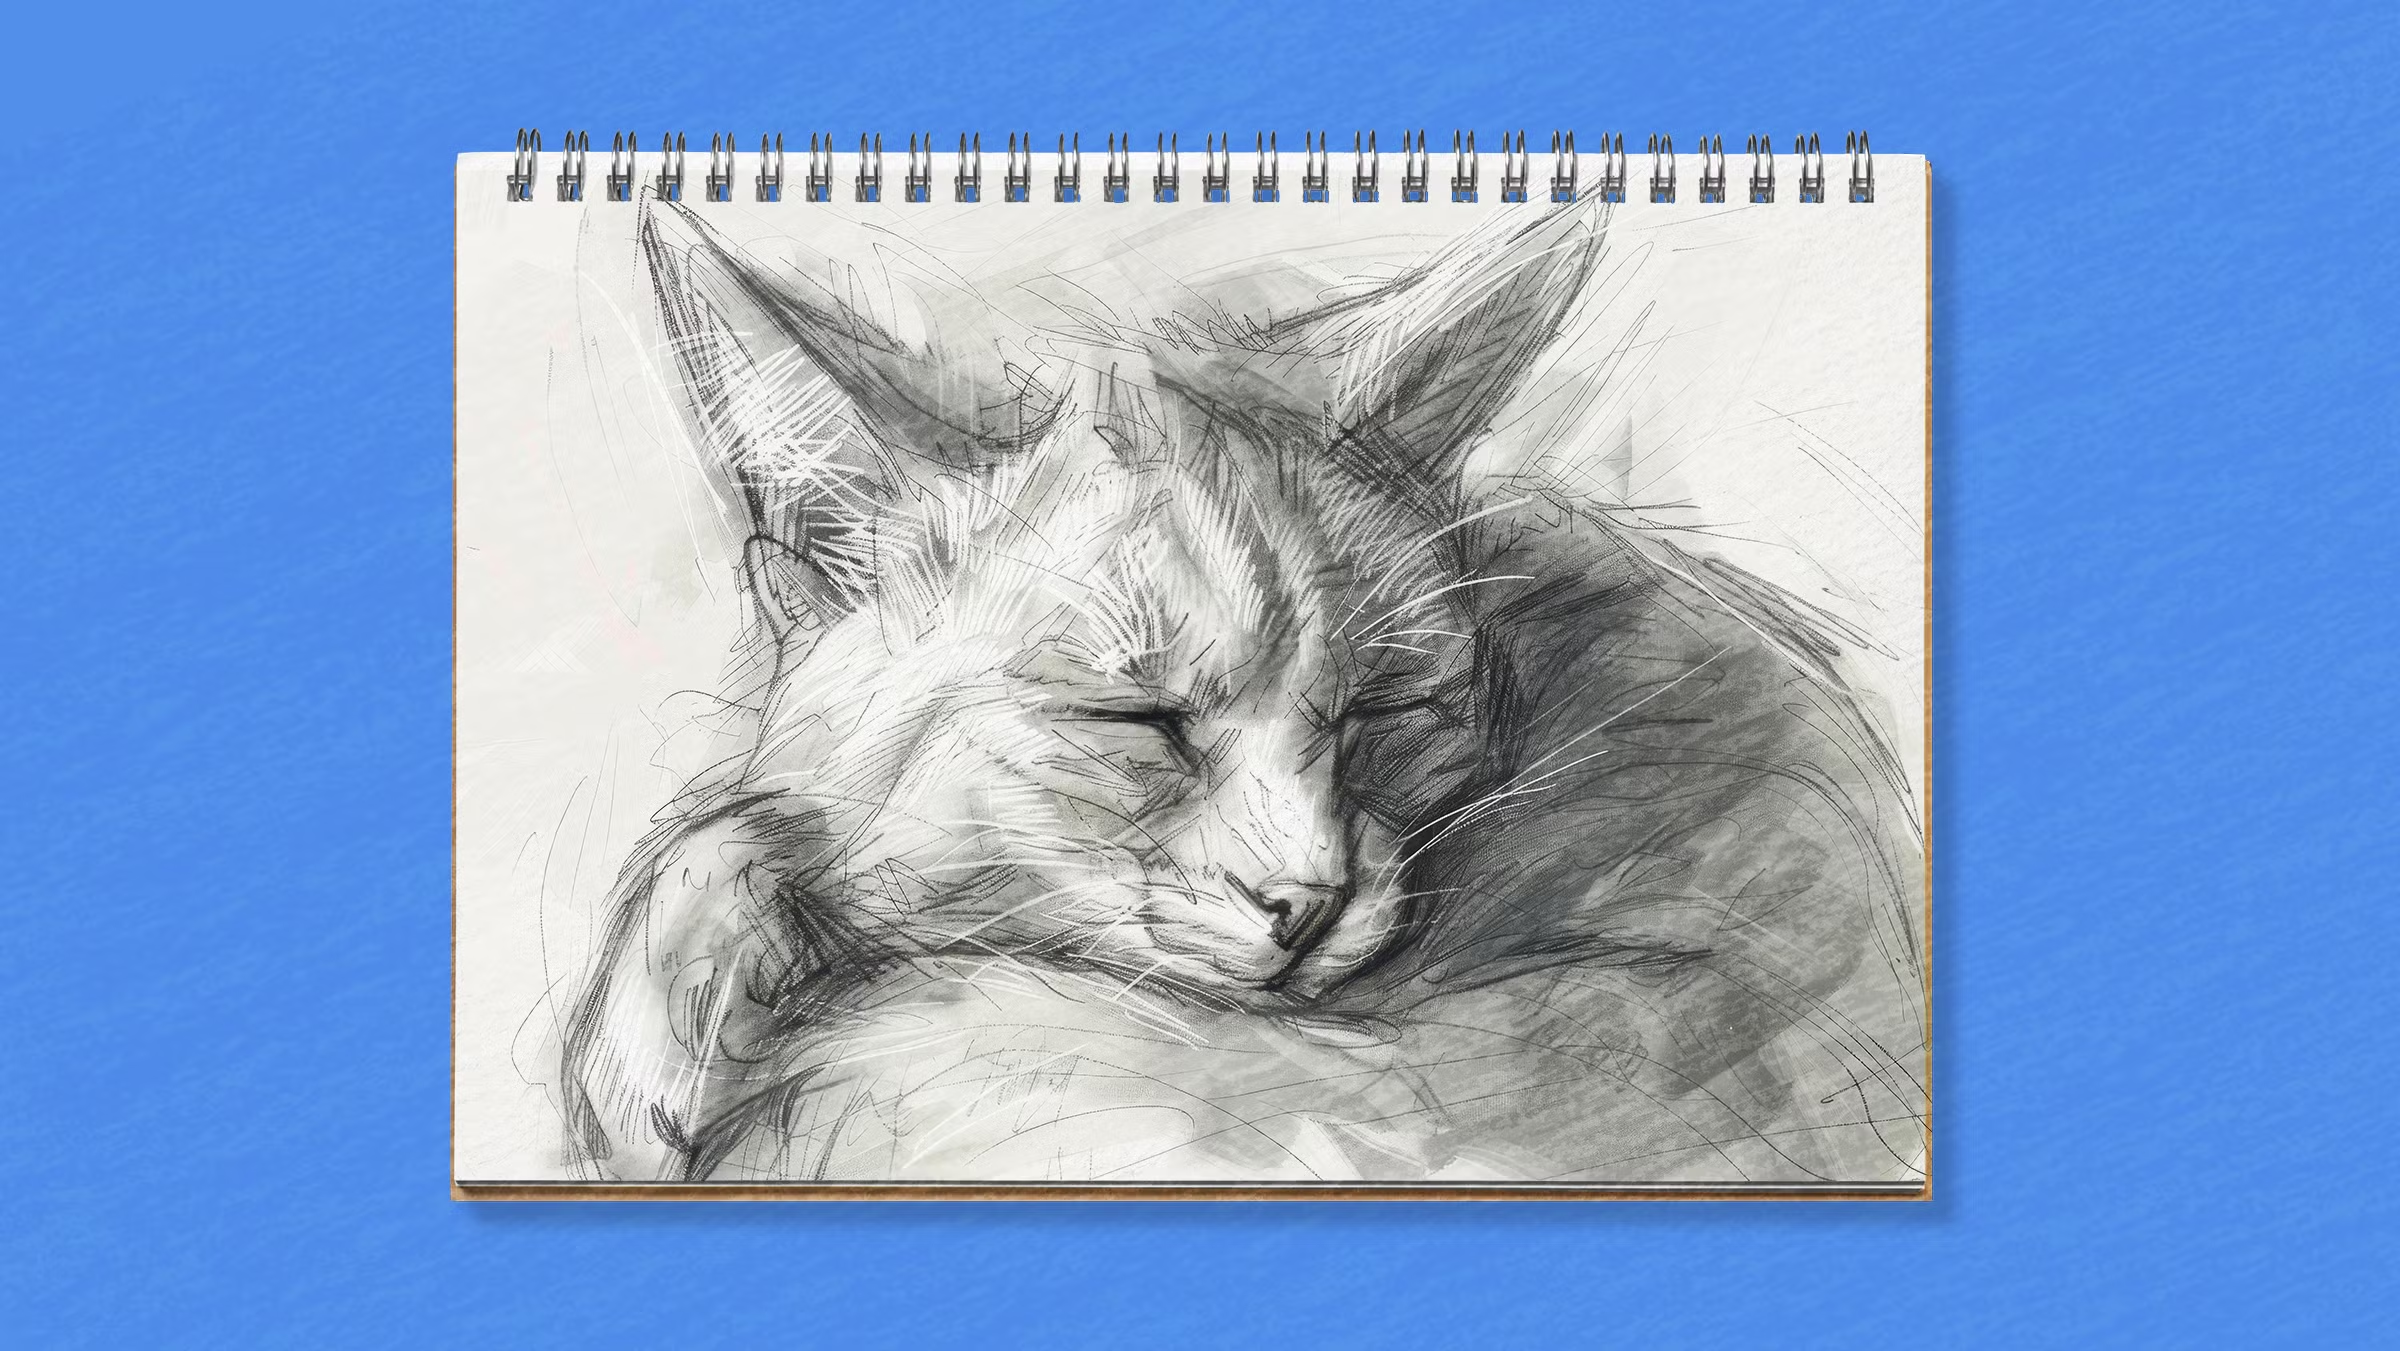
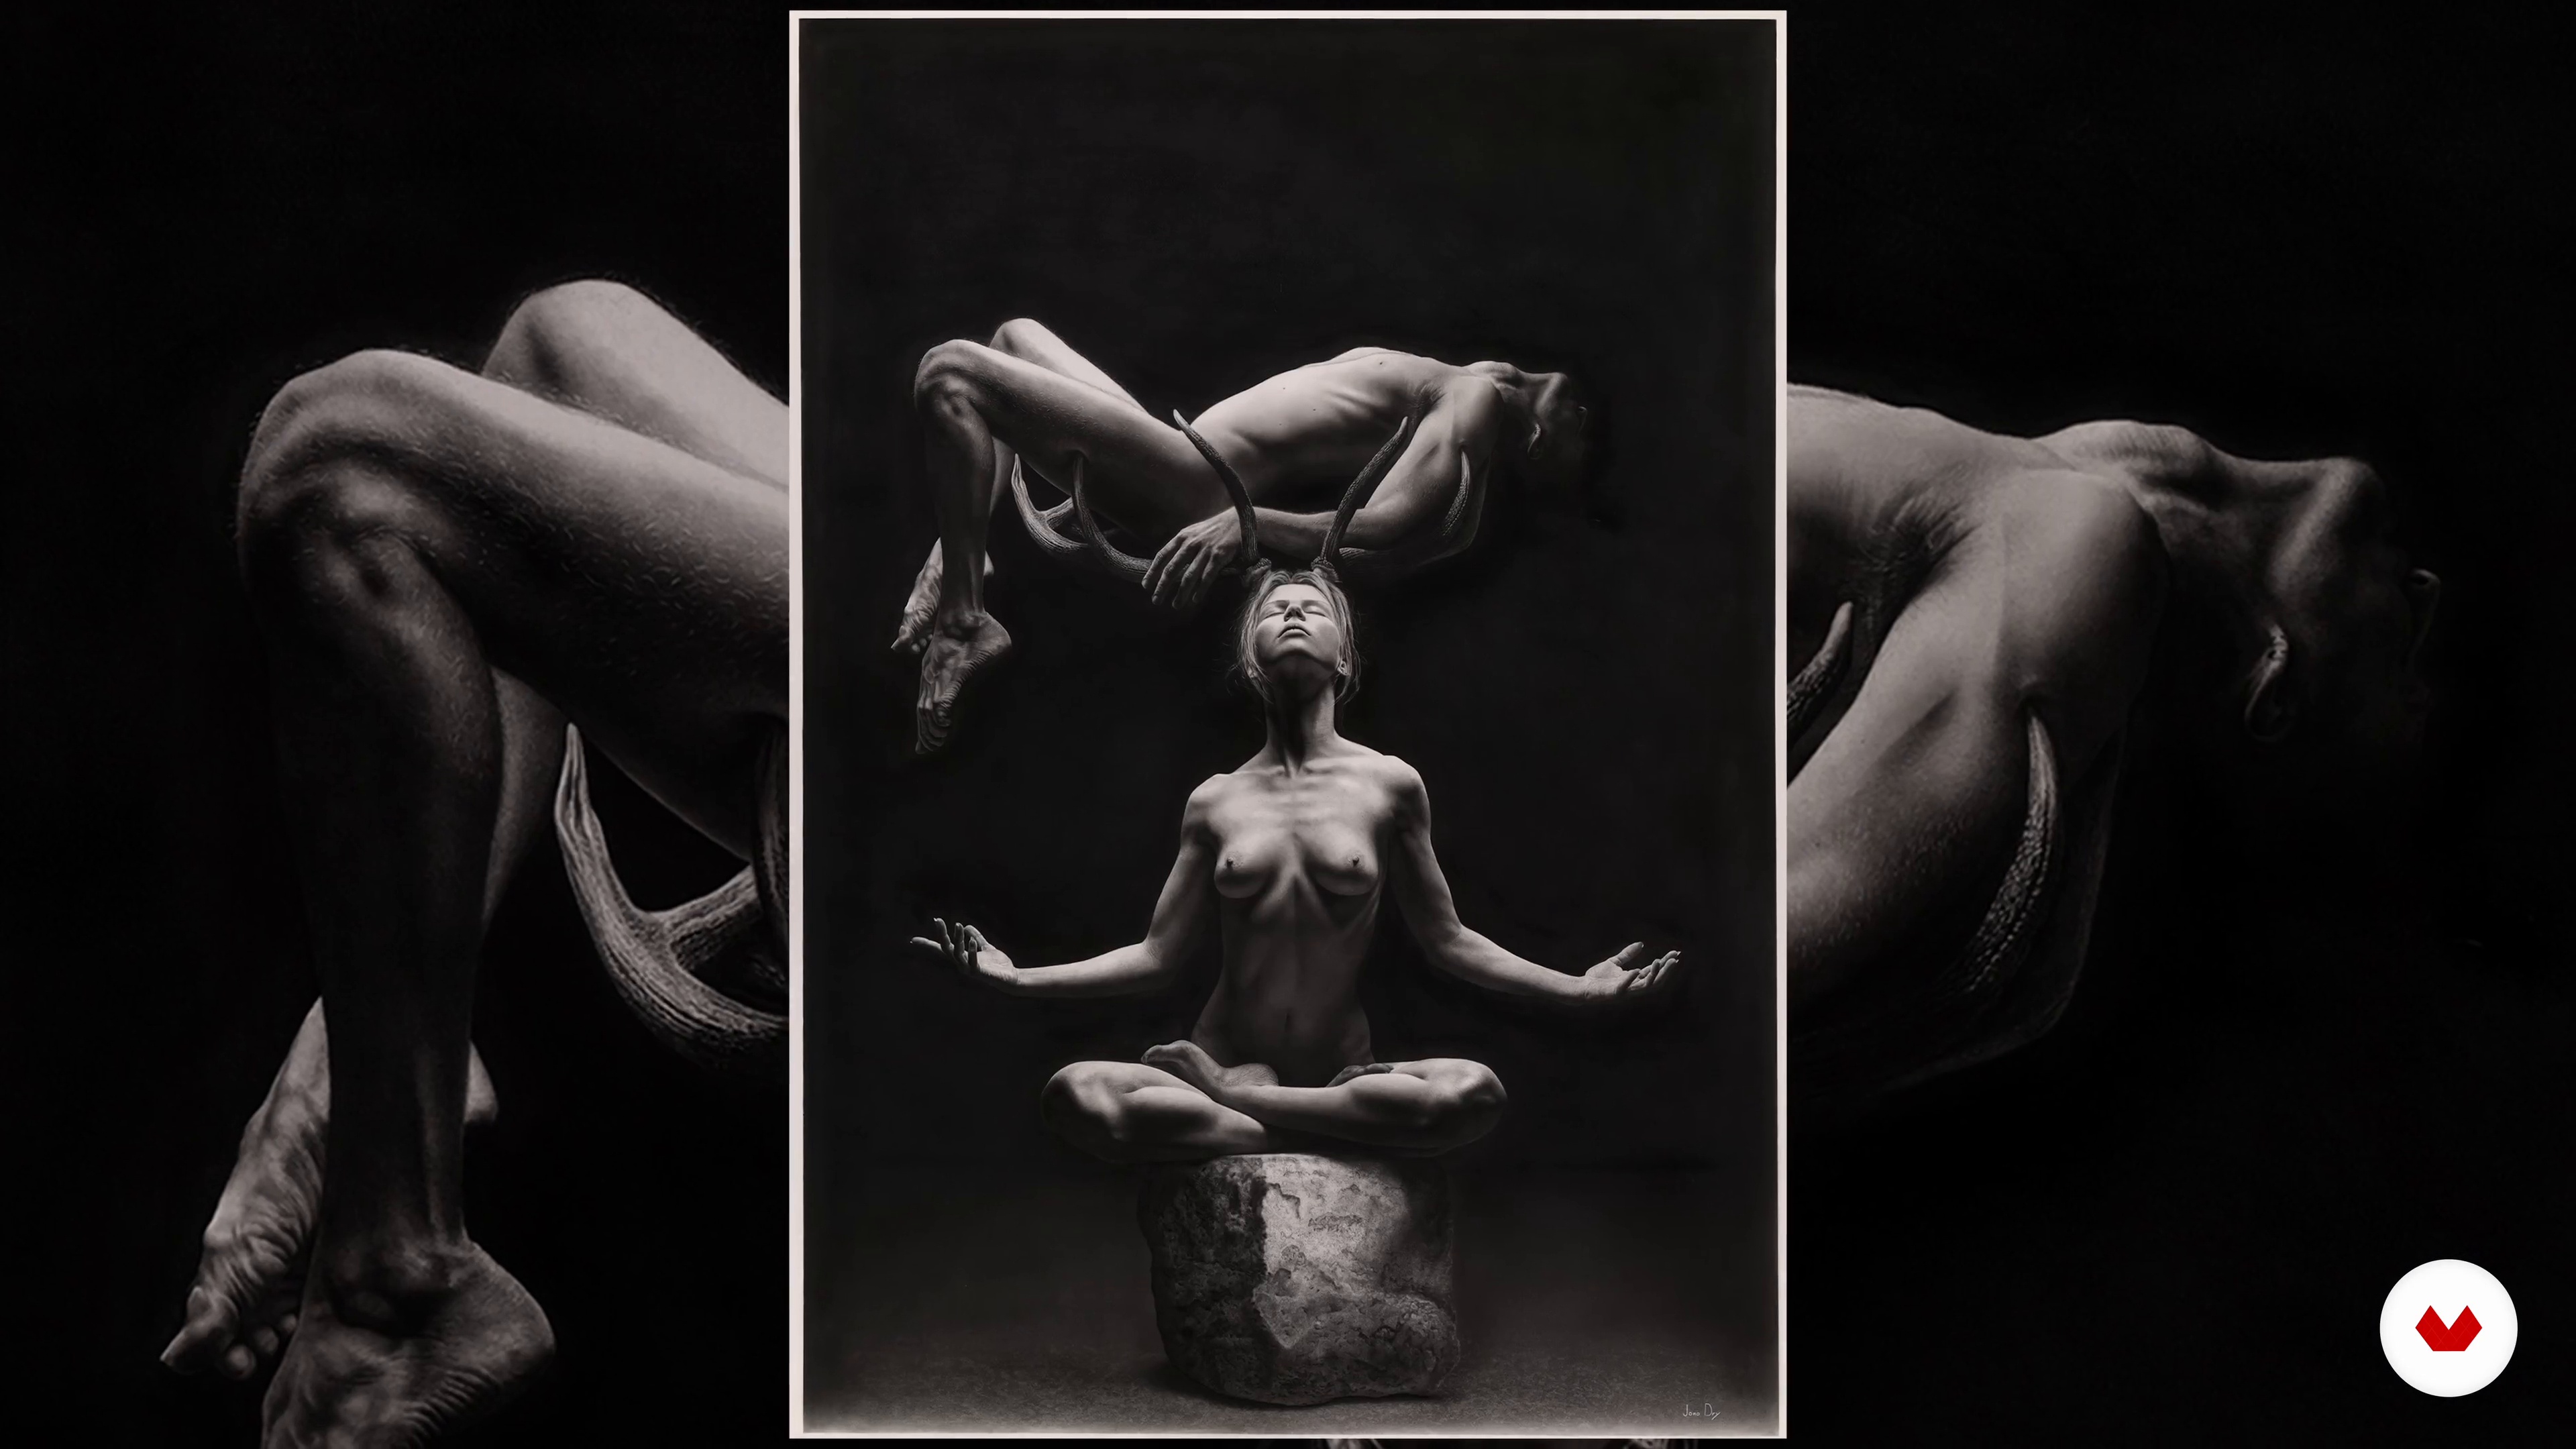
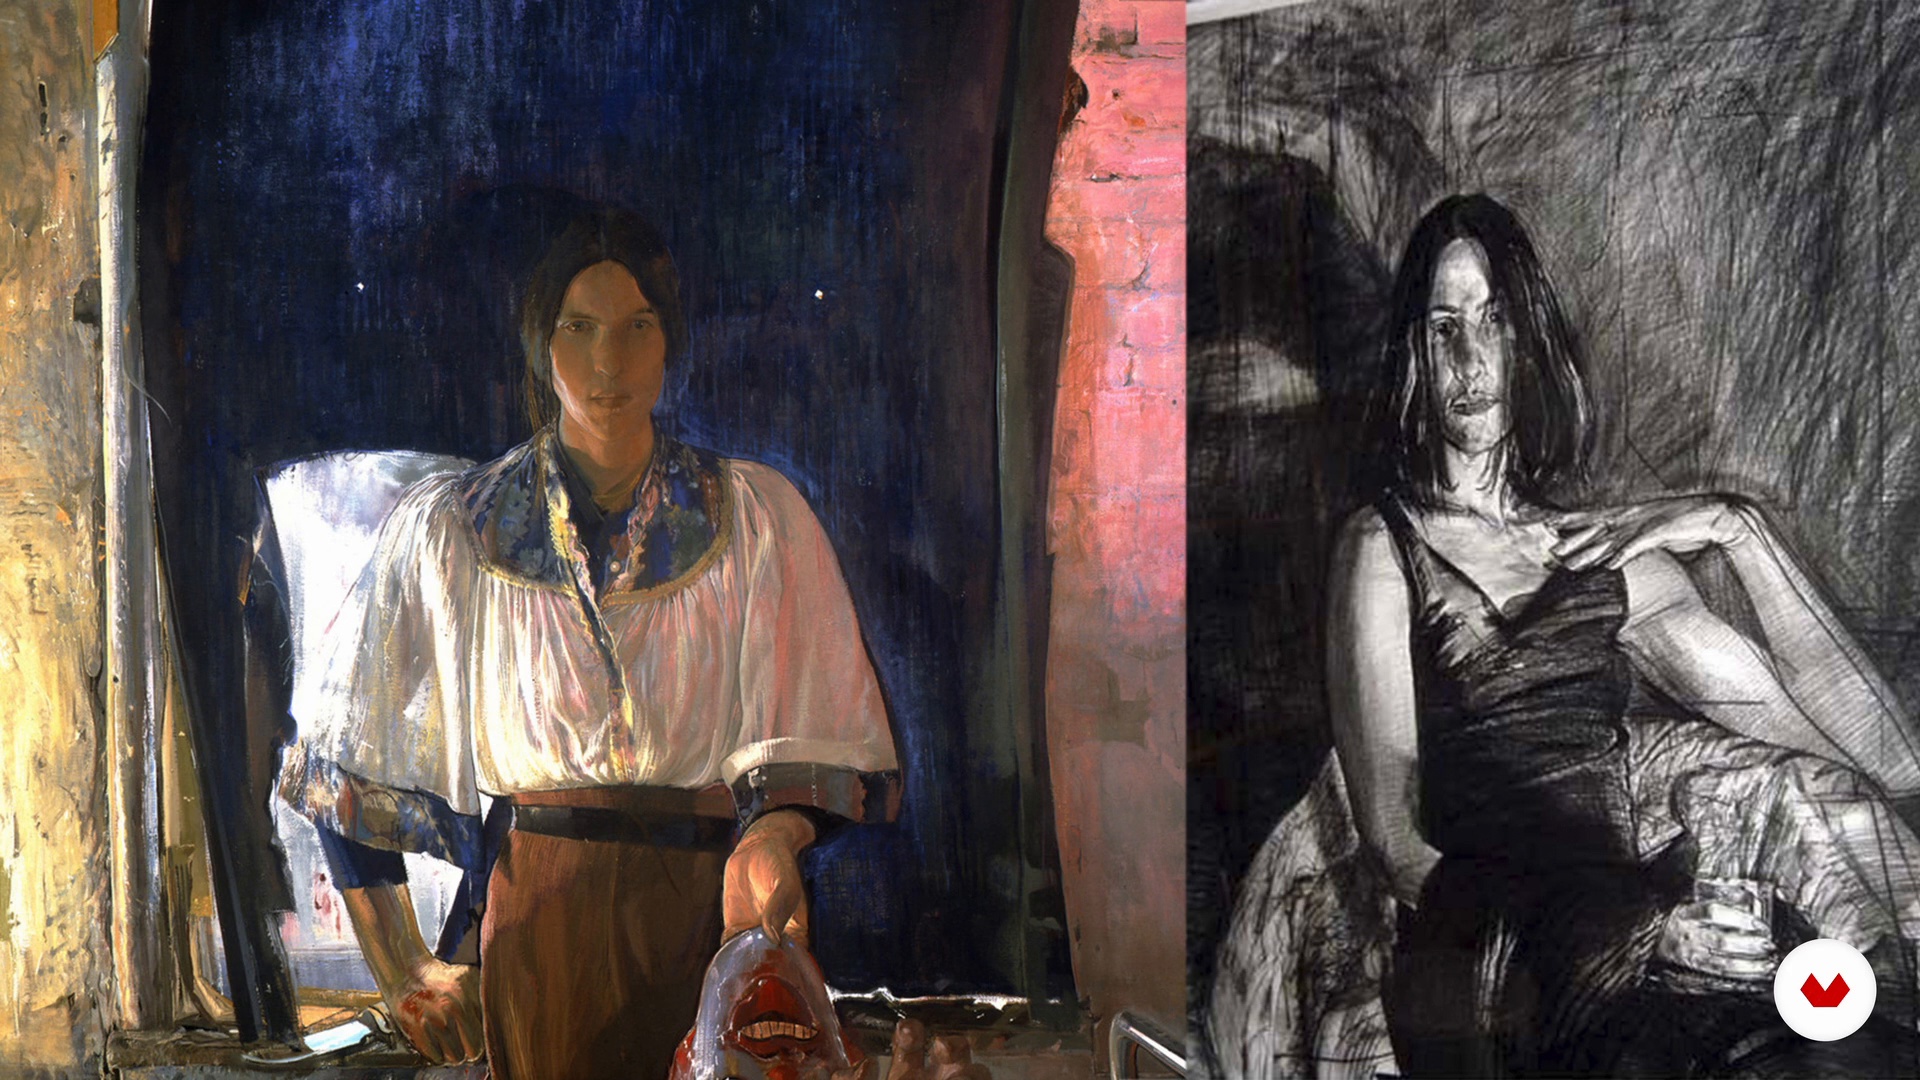
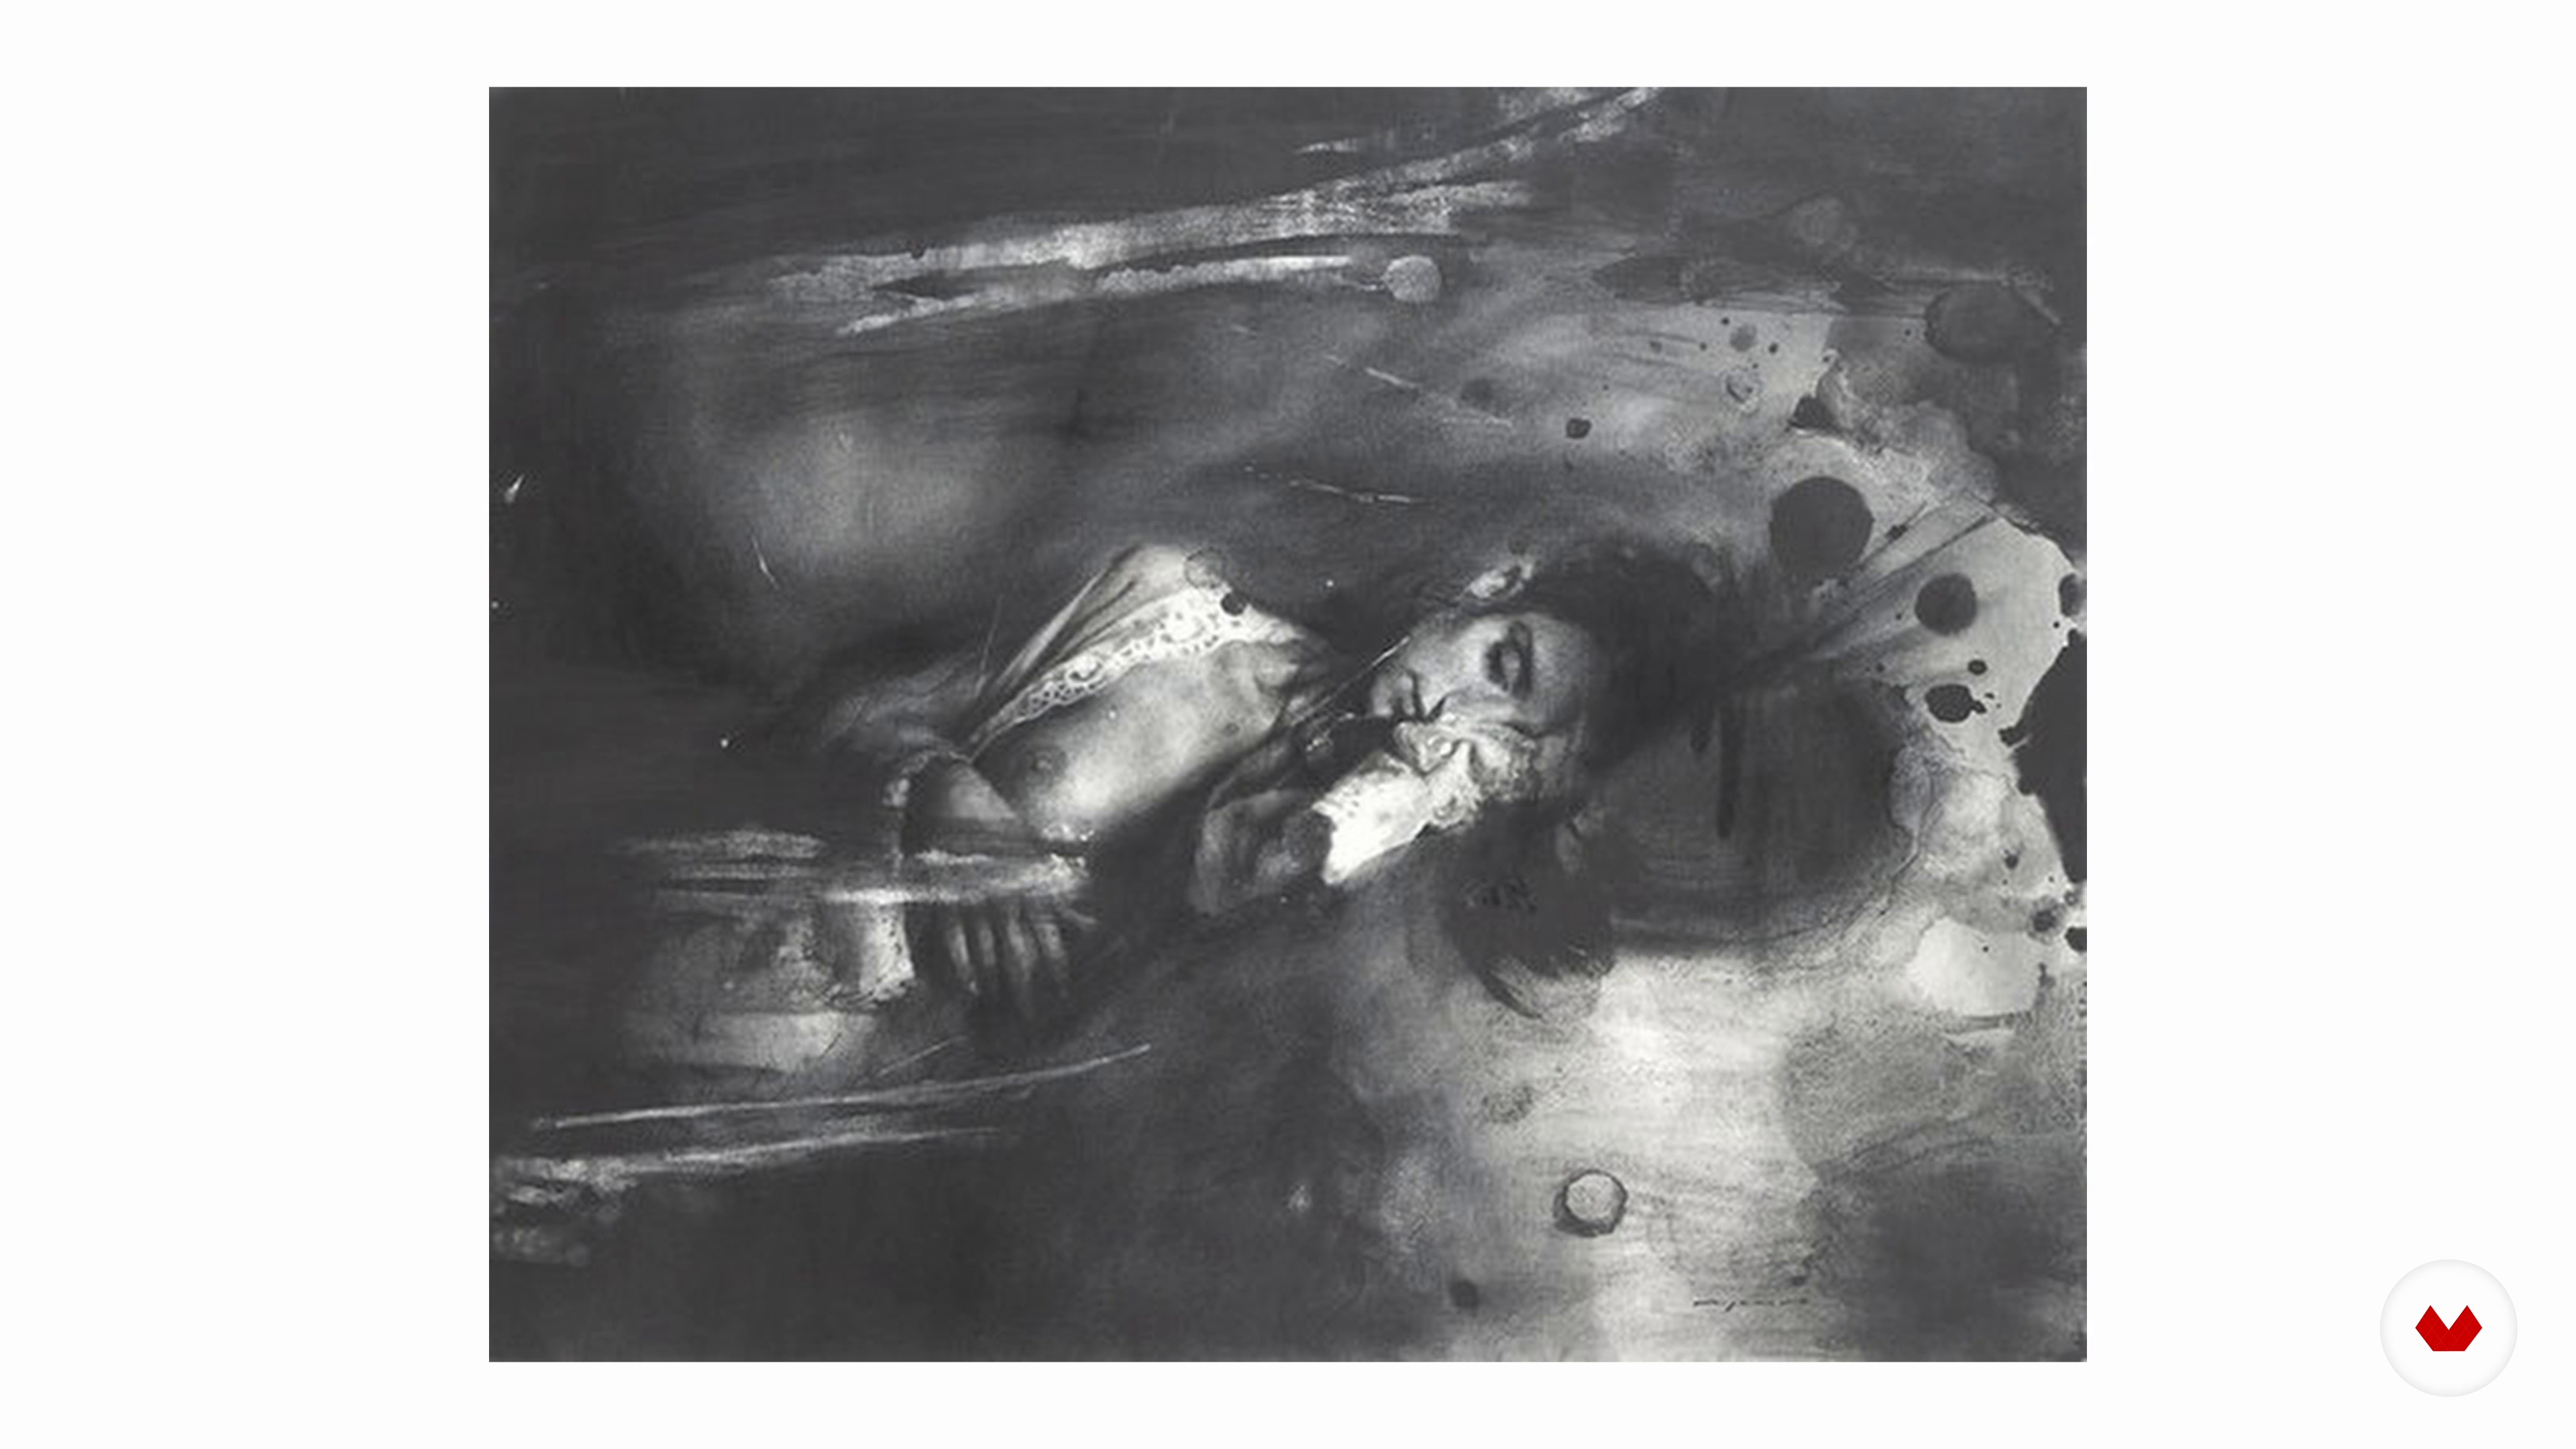
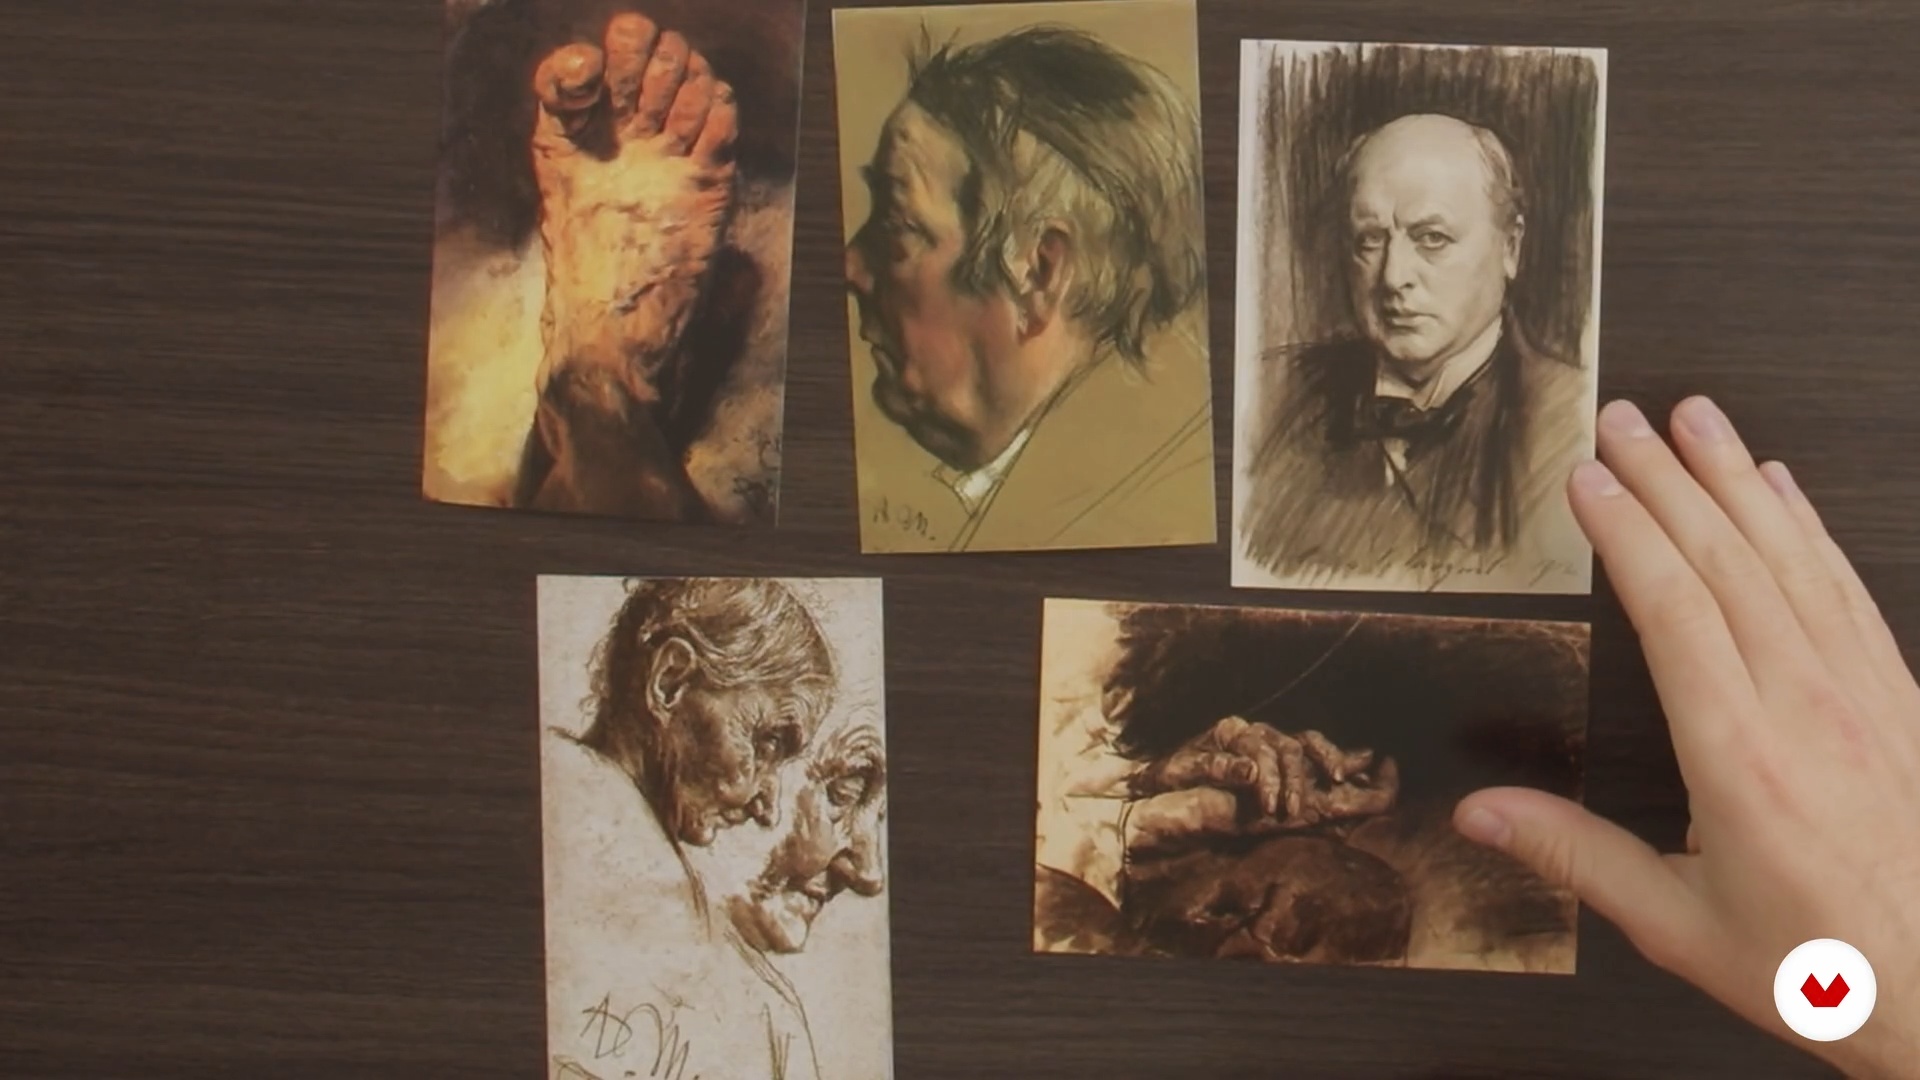
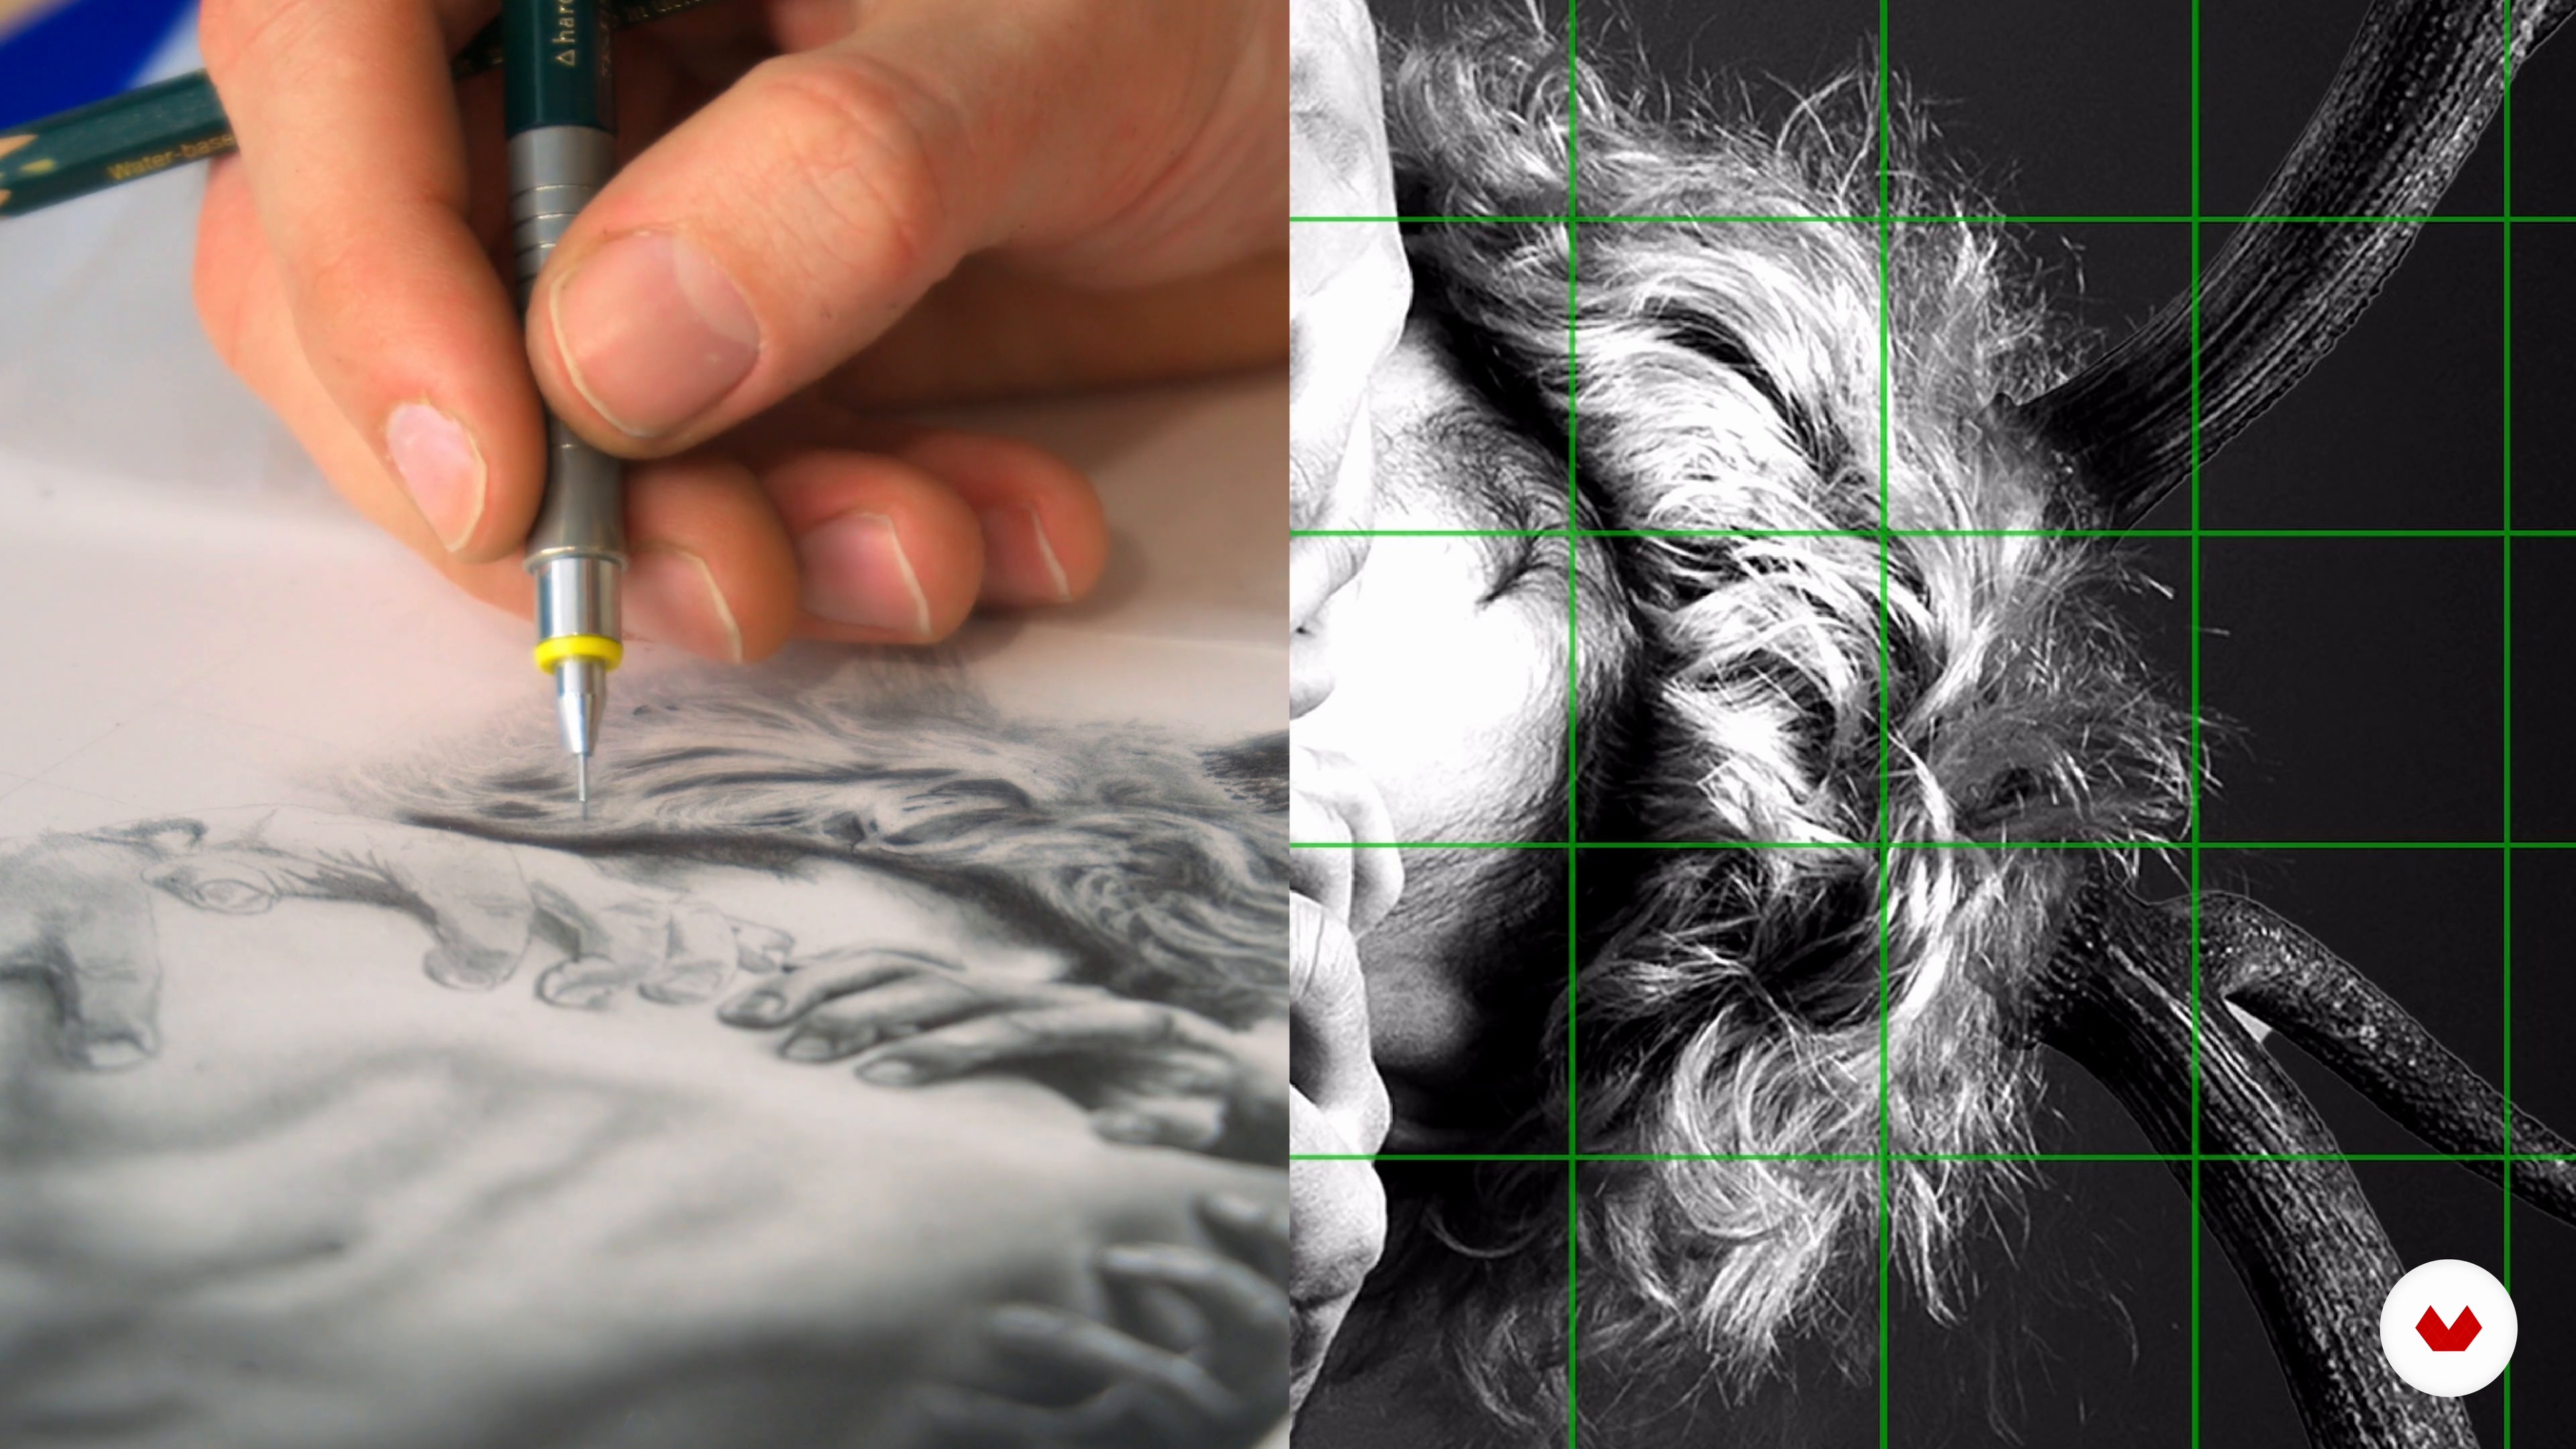
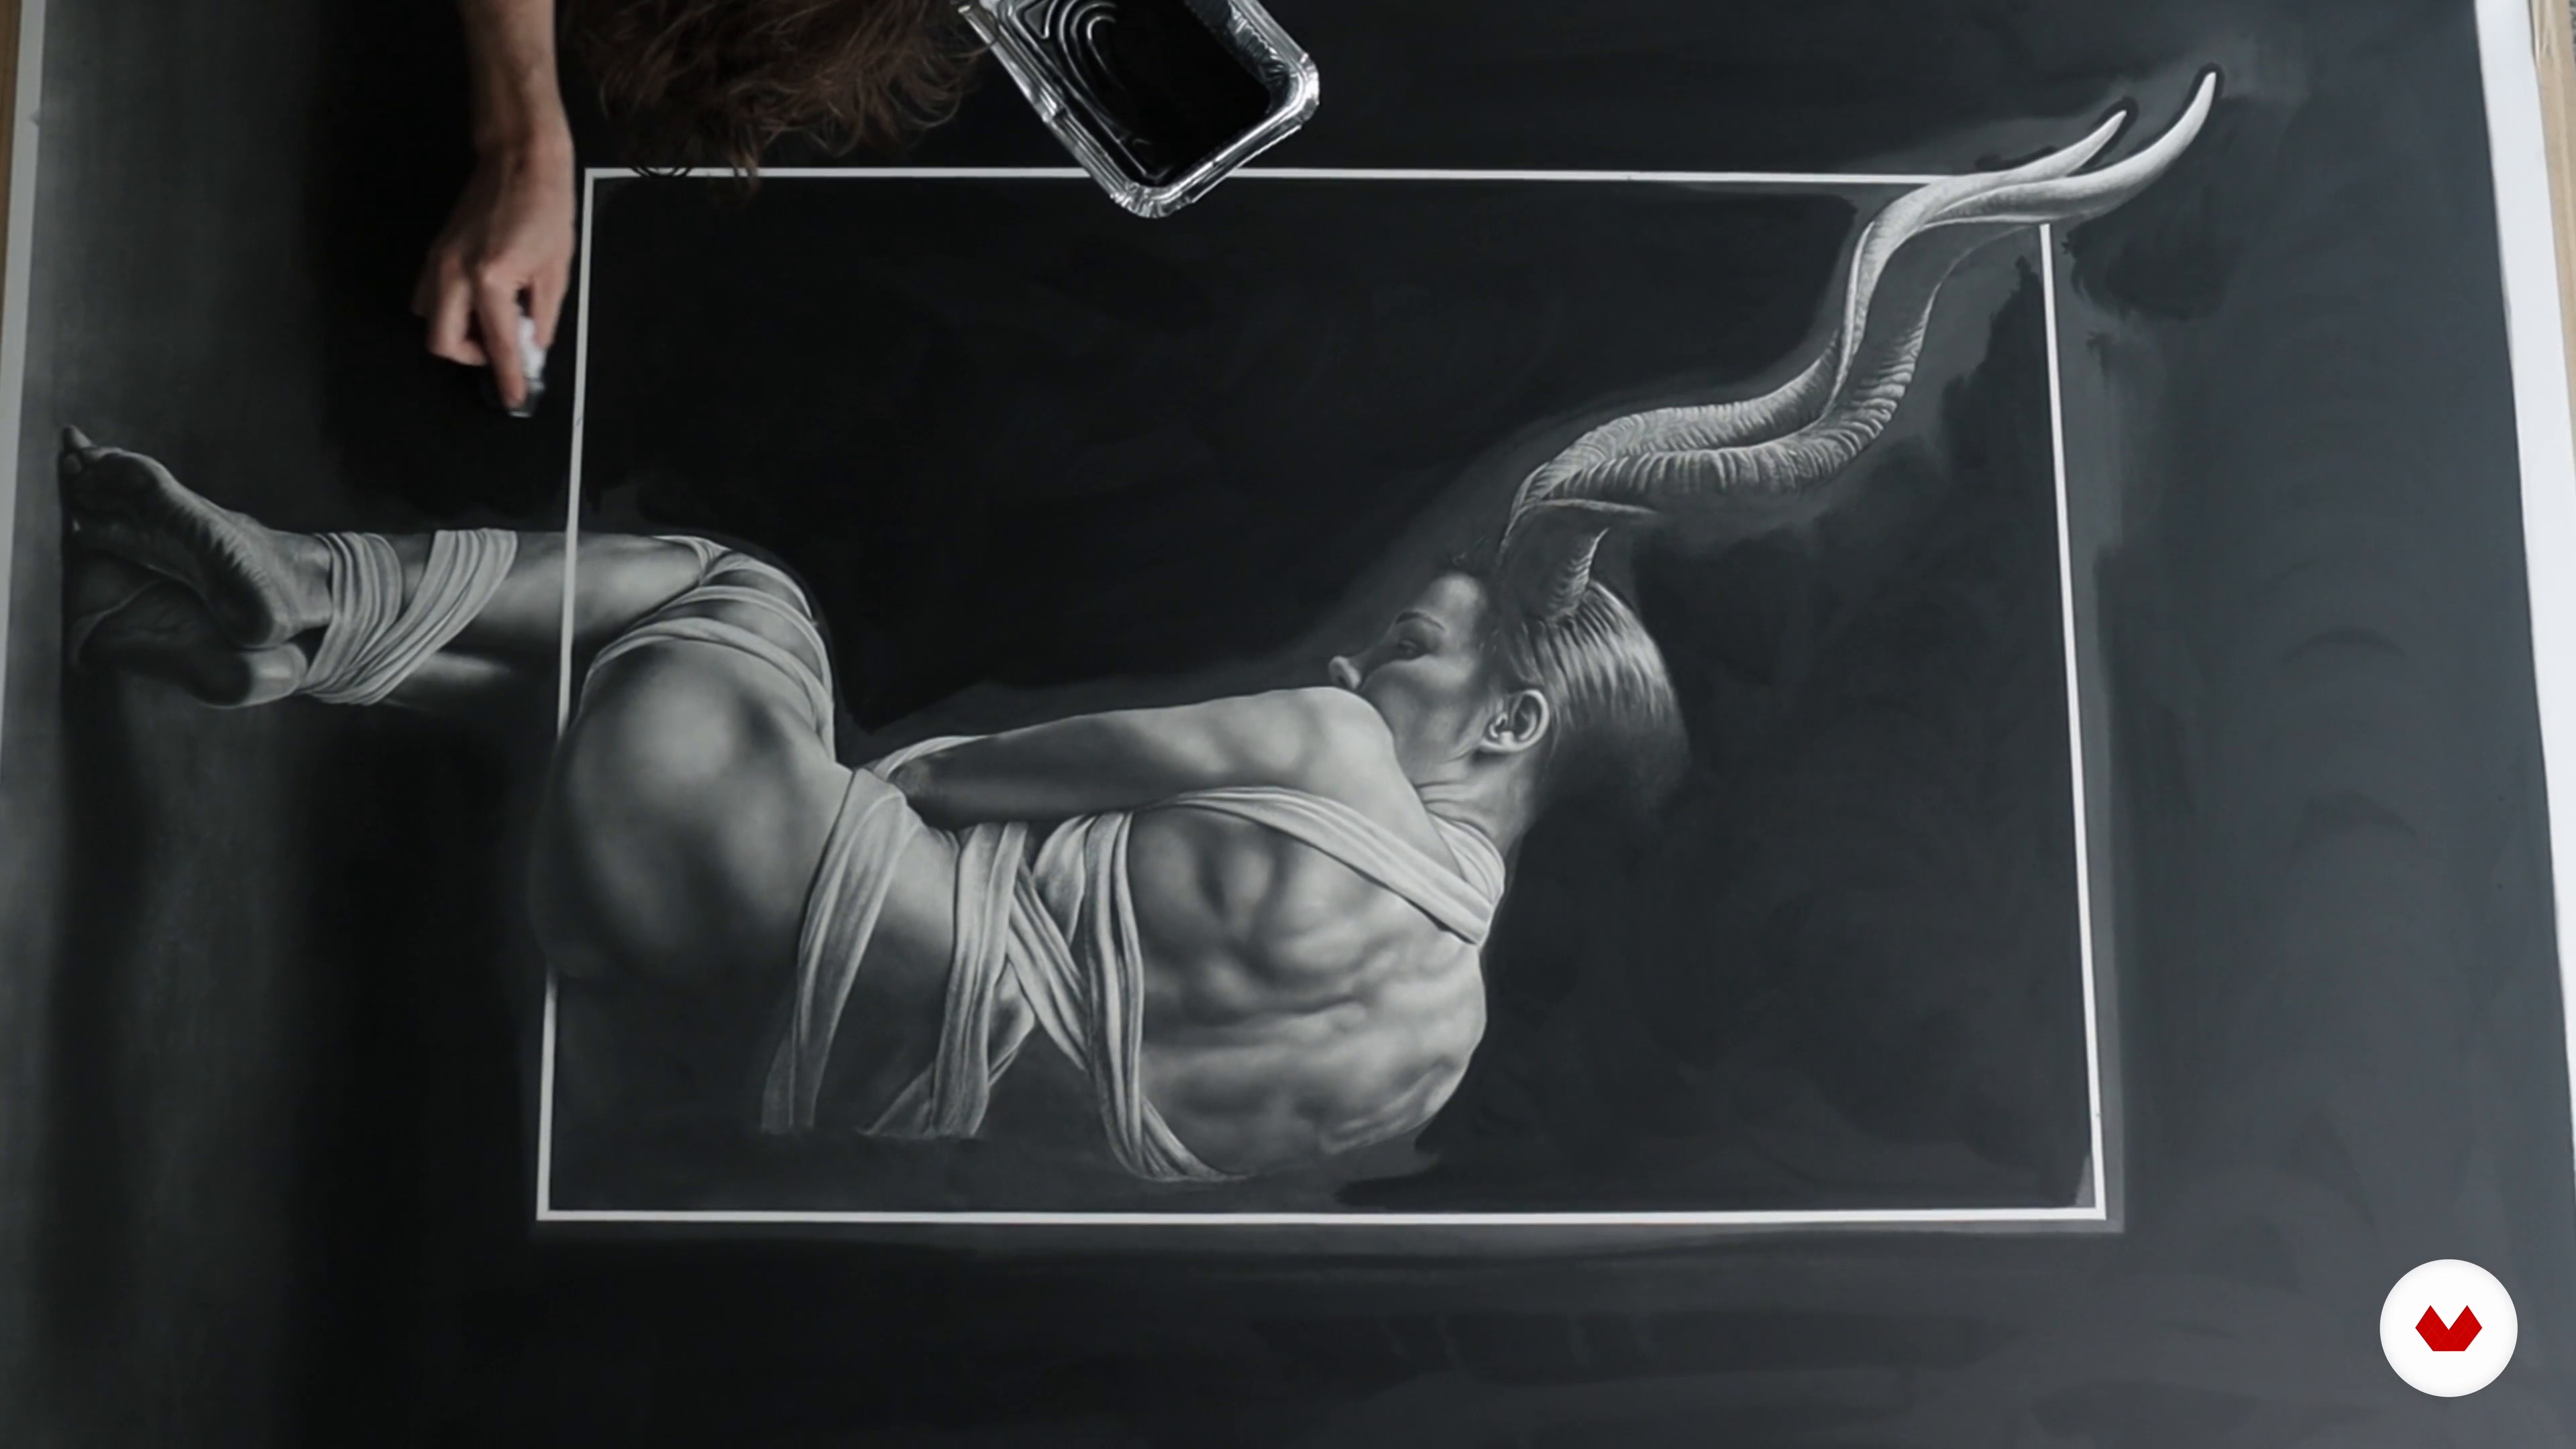
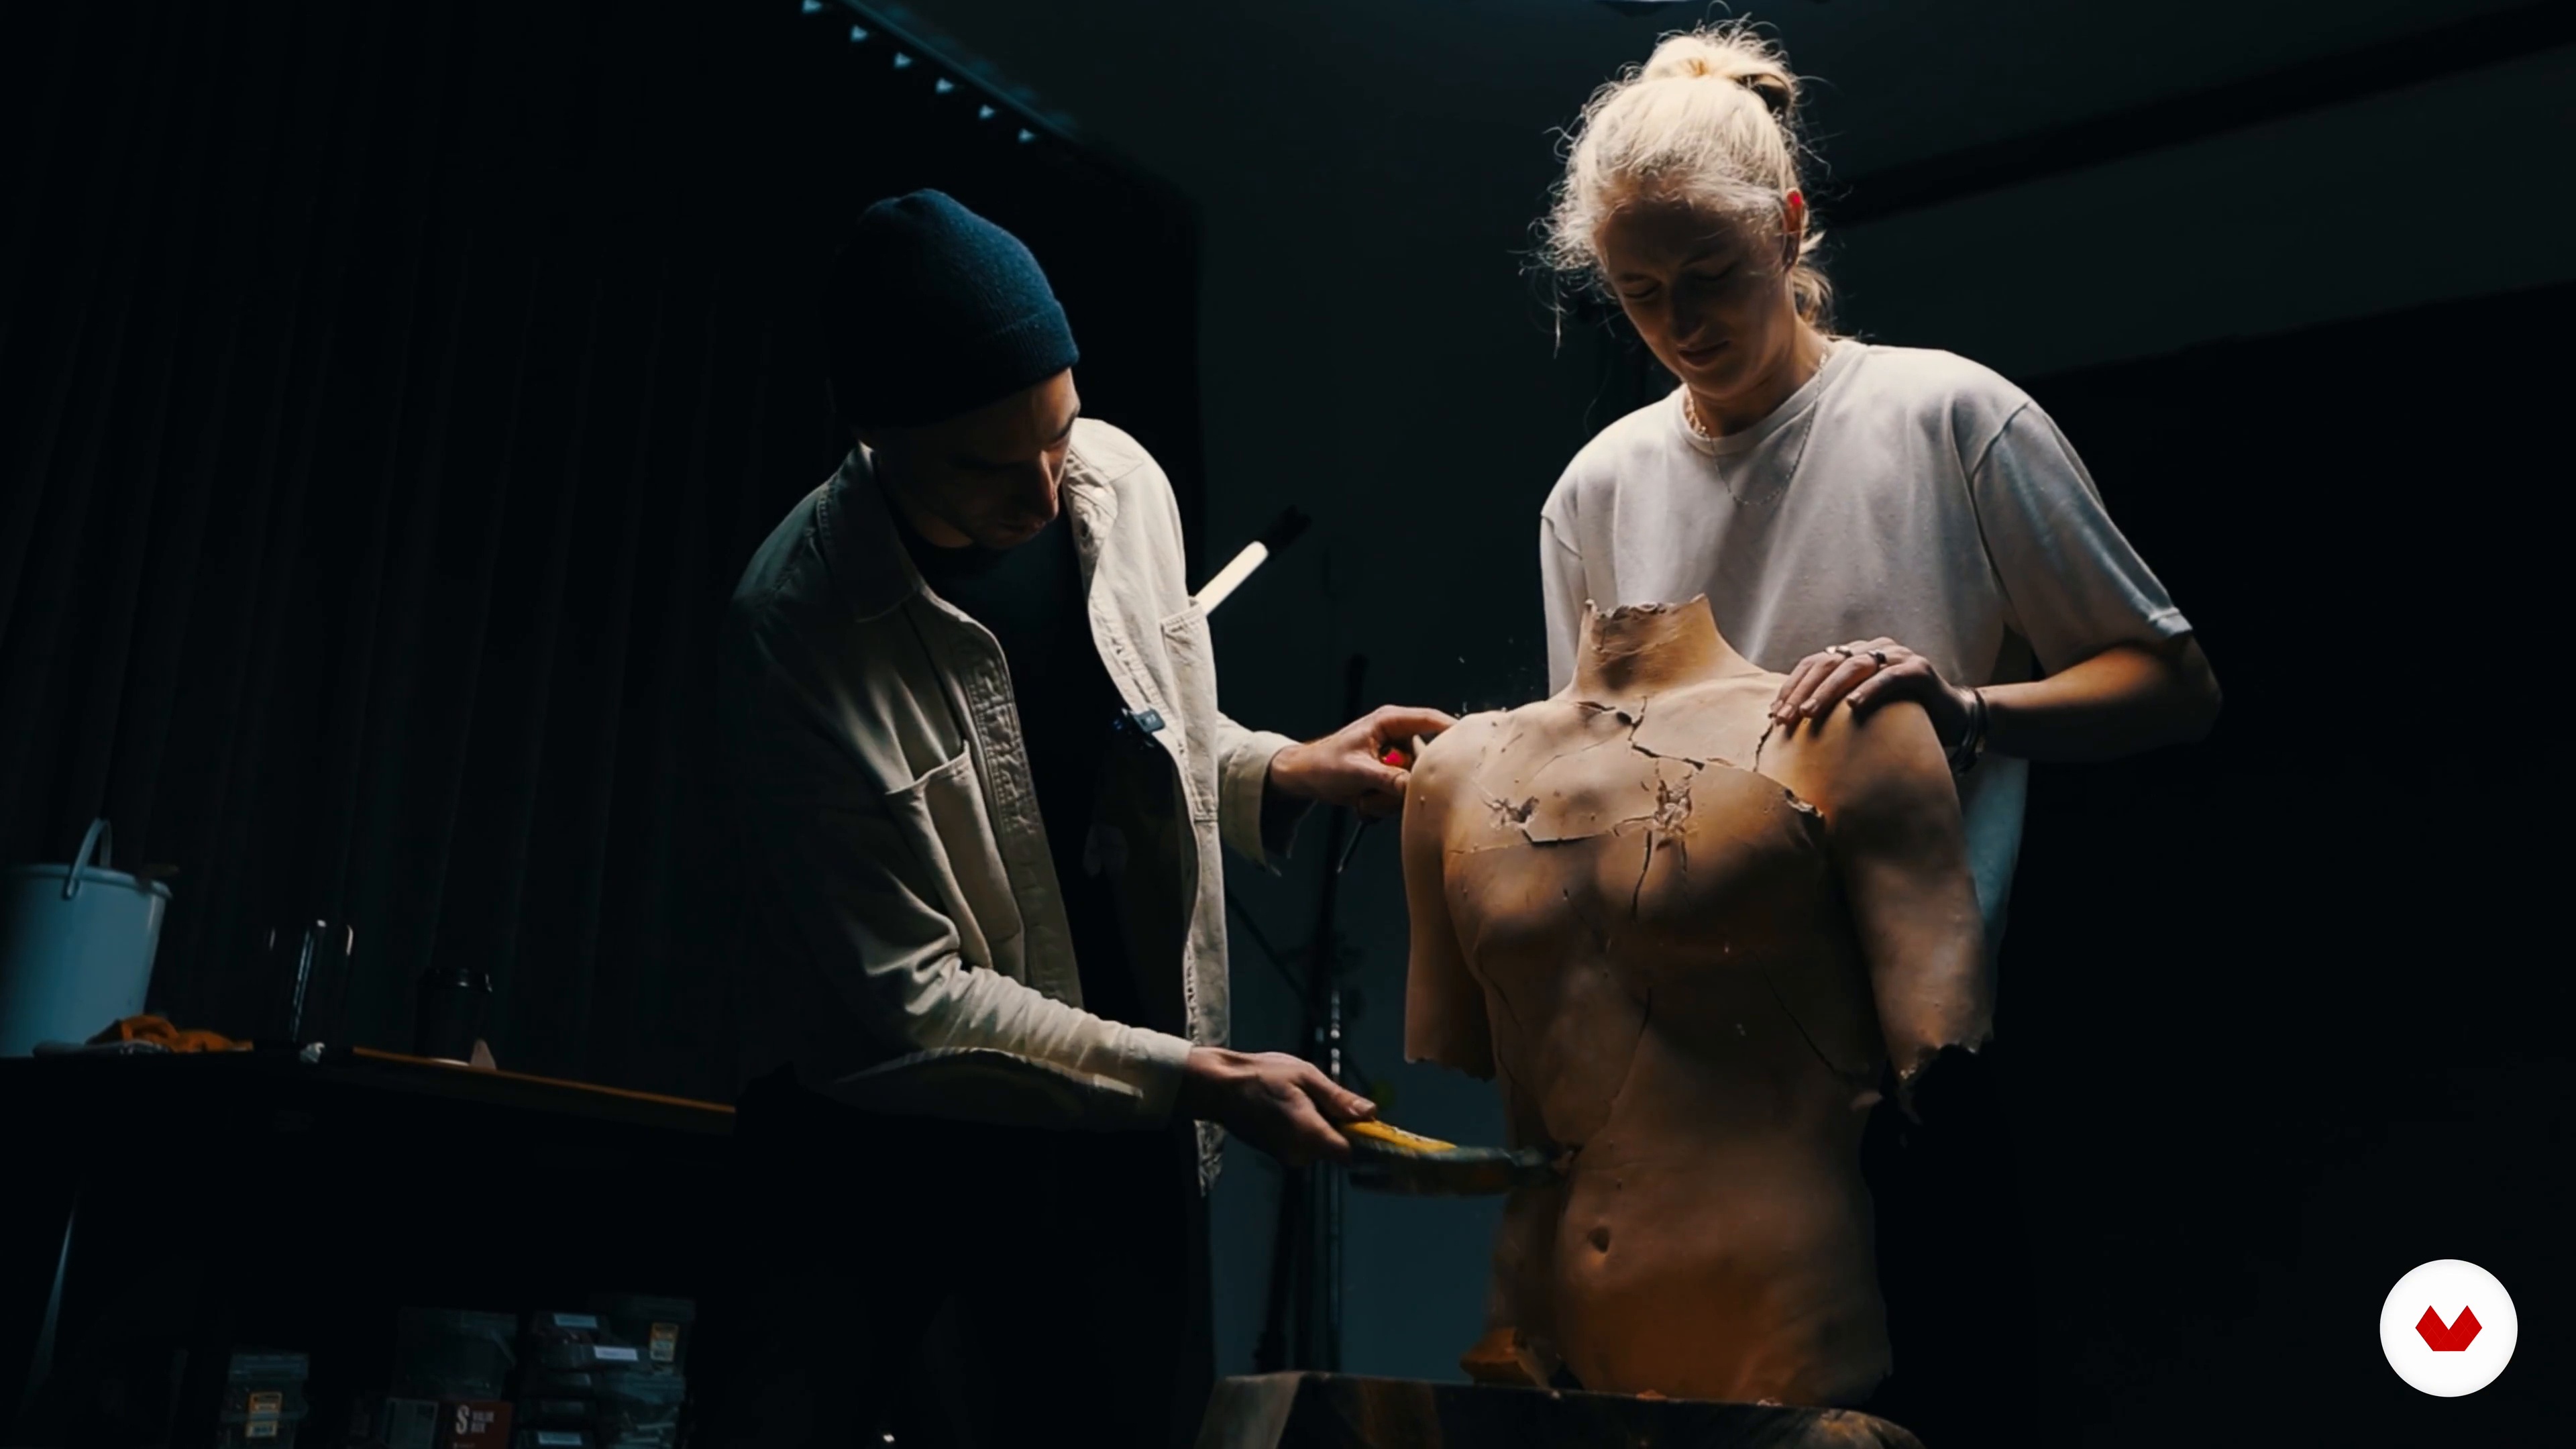
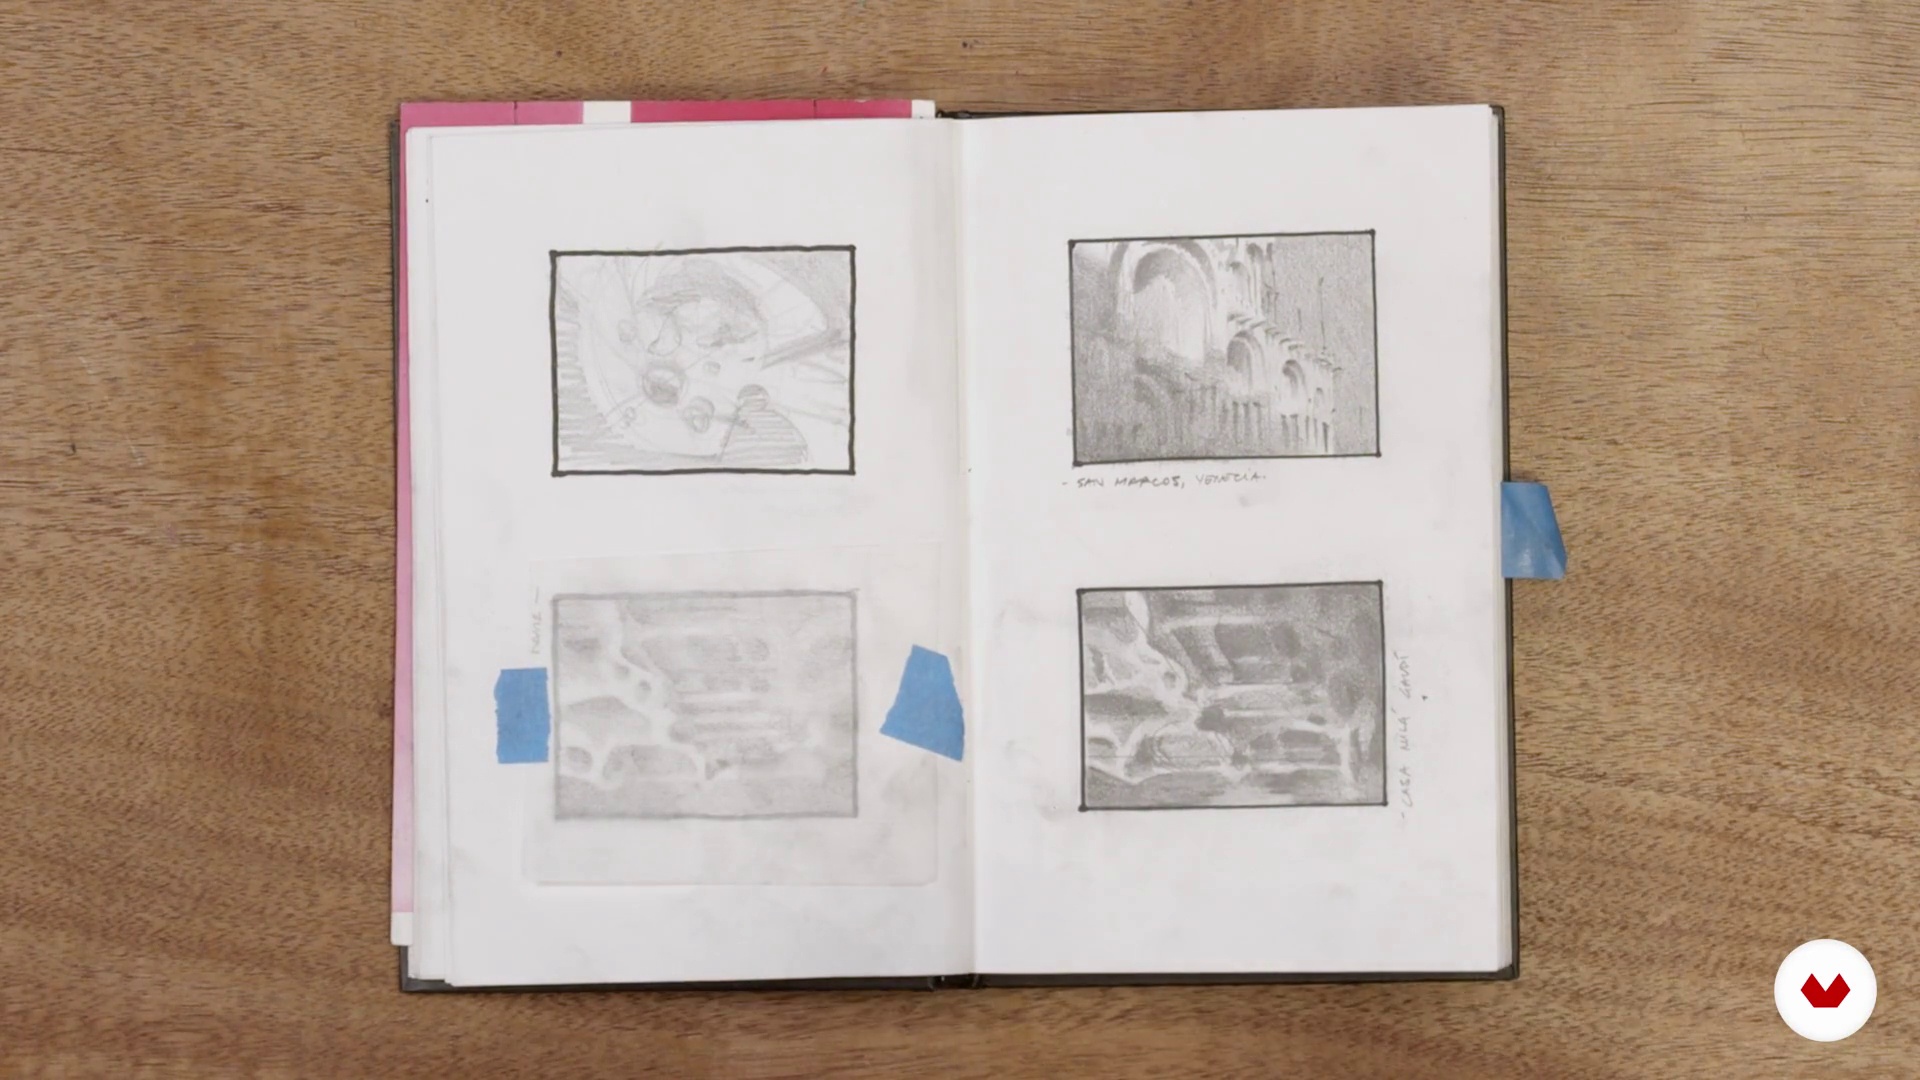
Embark on a creative journey through the world of pencil and charcoal drawing with a focus on light, expression, and realism. This specialization offers a comprehensive foundation in traditional drawing media, combining the expertise of renowned artists Juan Perednik, Sim Sim, Jono Dry, Gonzalo Ibáñez, and Sam Brisley. Explore graphite, charcoal, and watercolor techniques across five carefully curated courses, each designed to enhance your skills in key areas like light and shadow, proportion, gesture, hyperrealism, and architectural rendering.
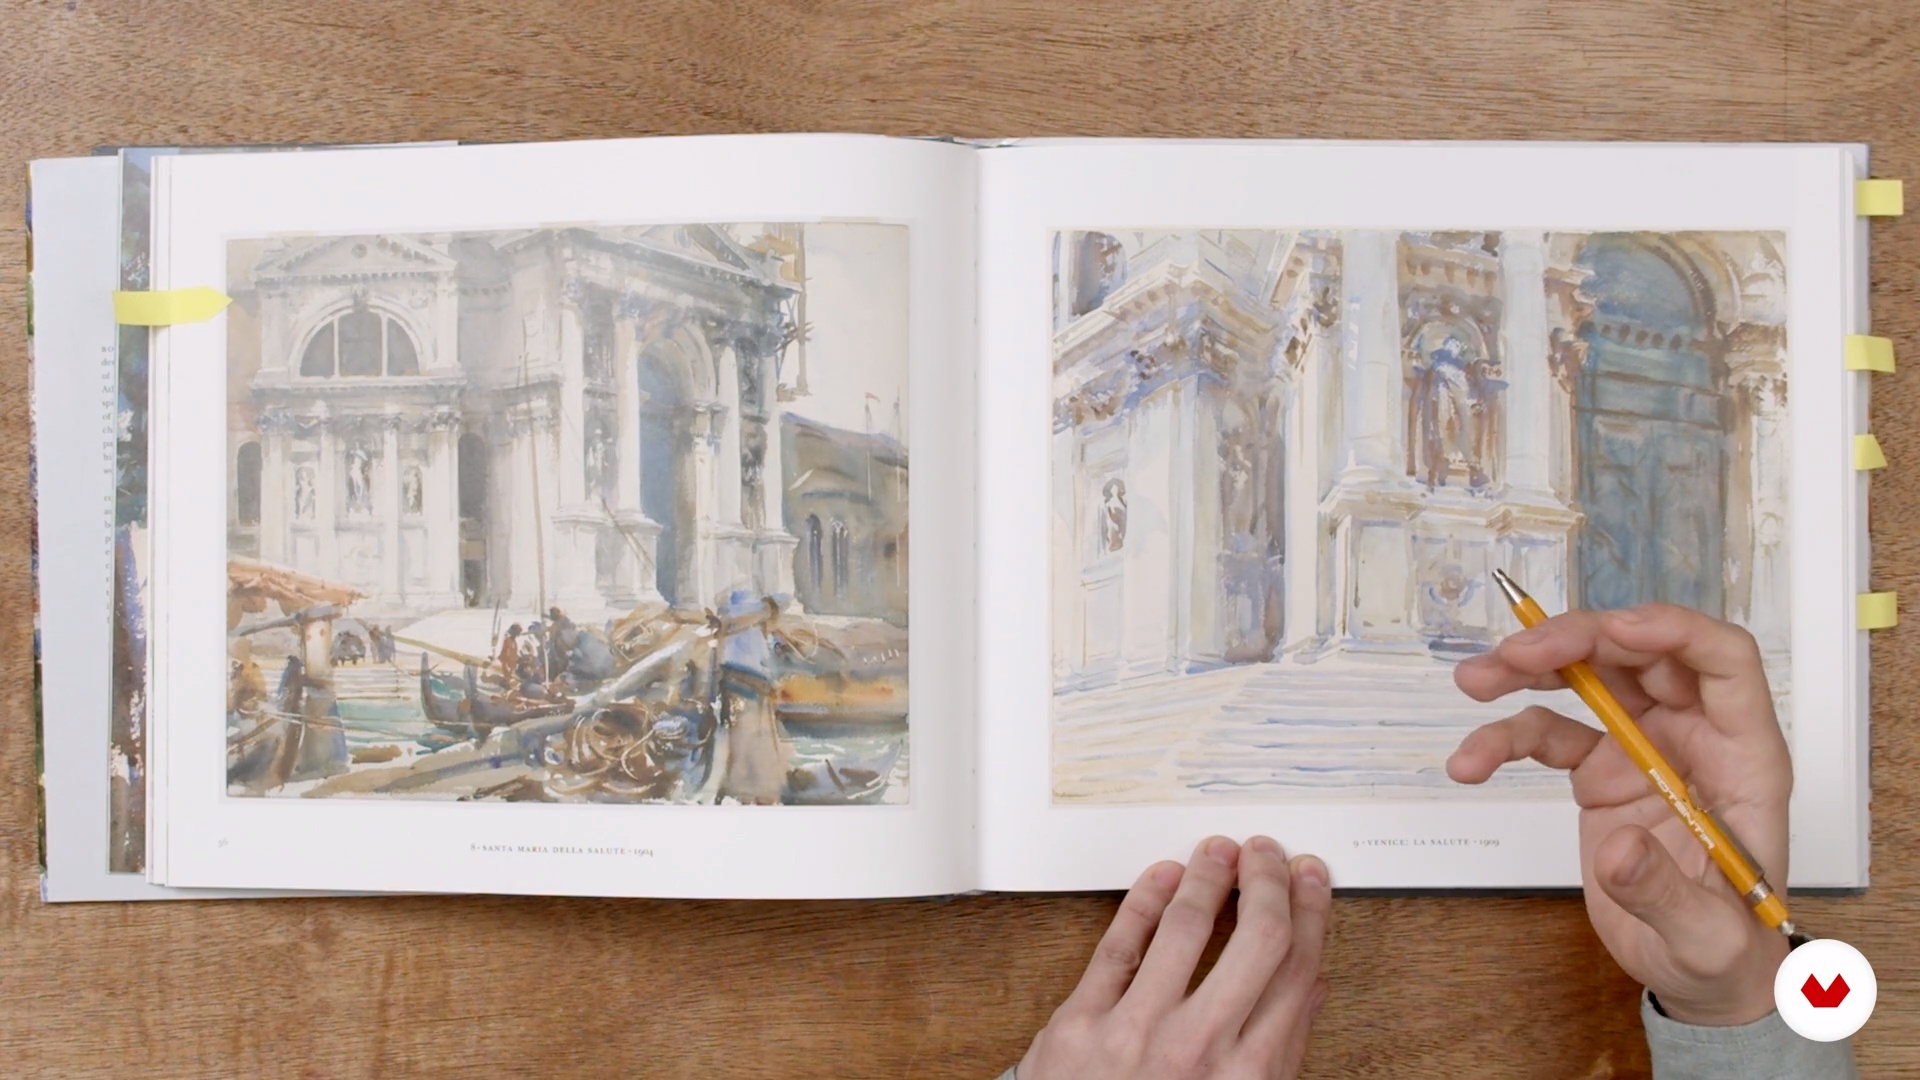
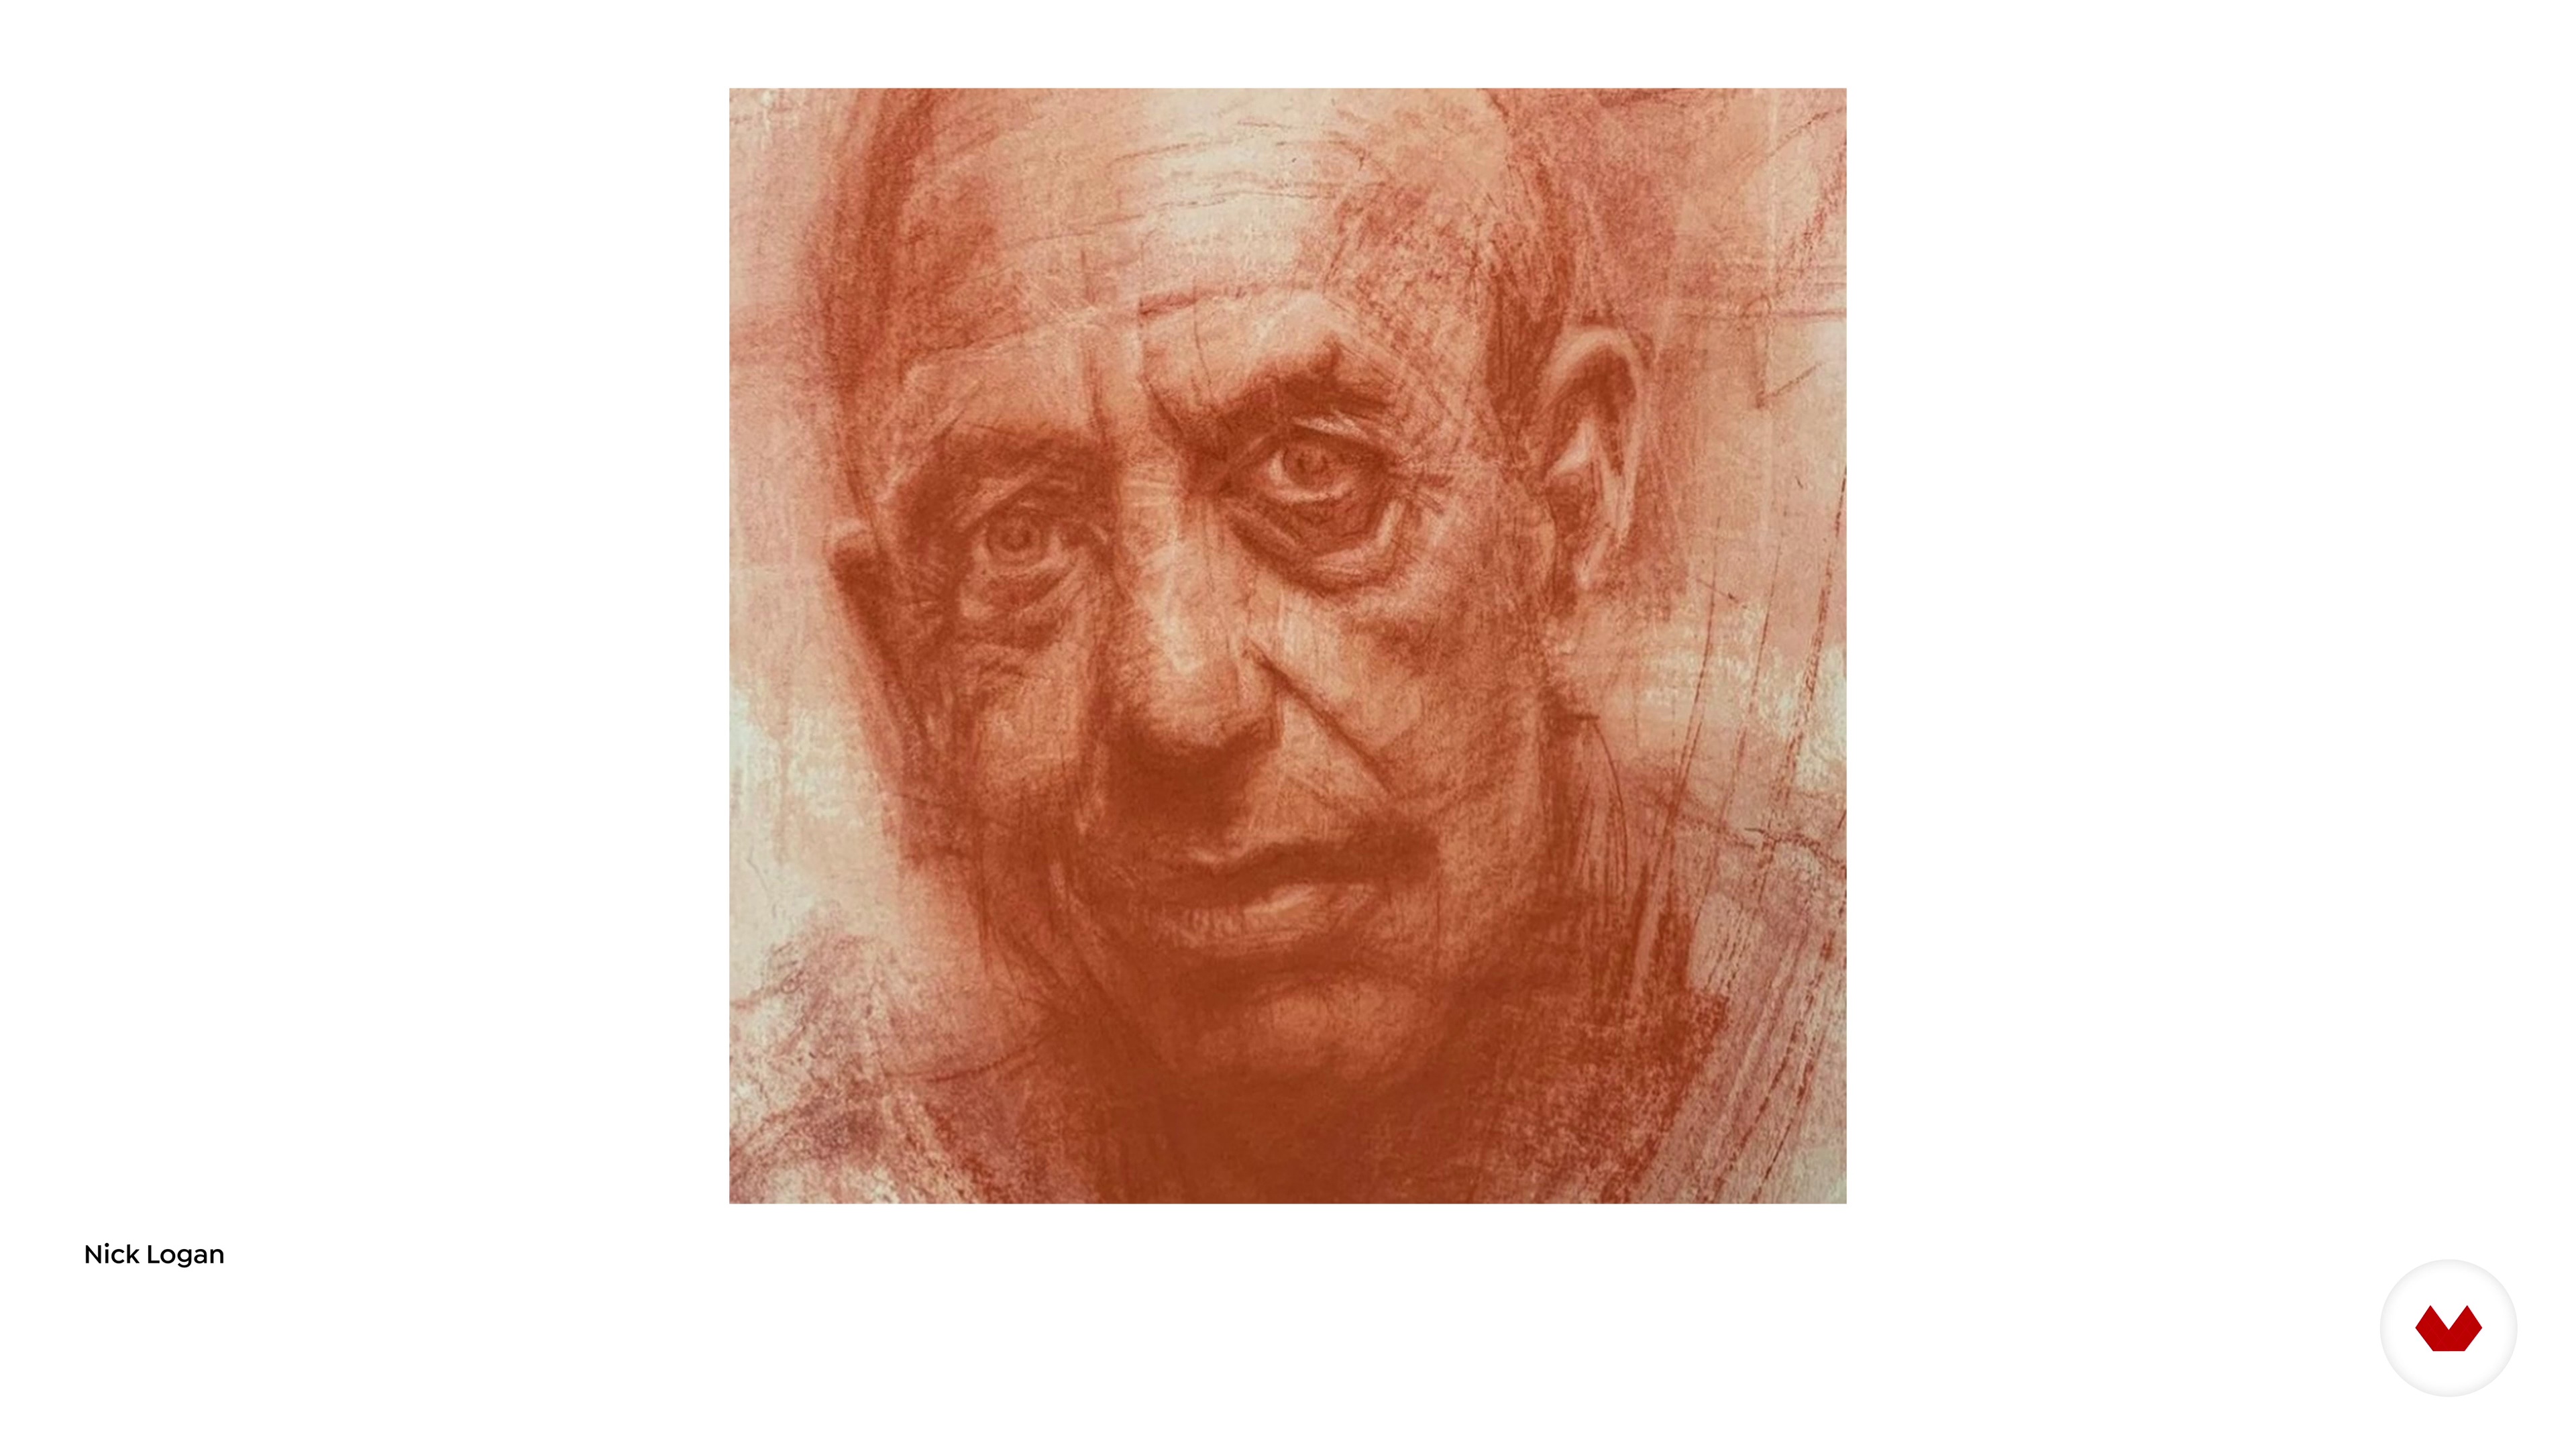
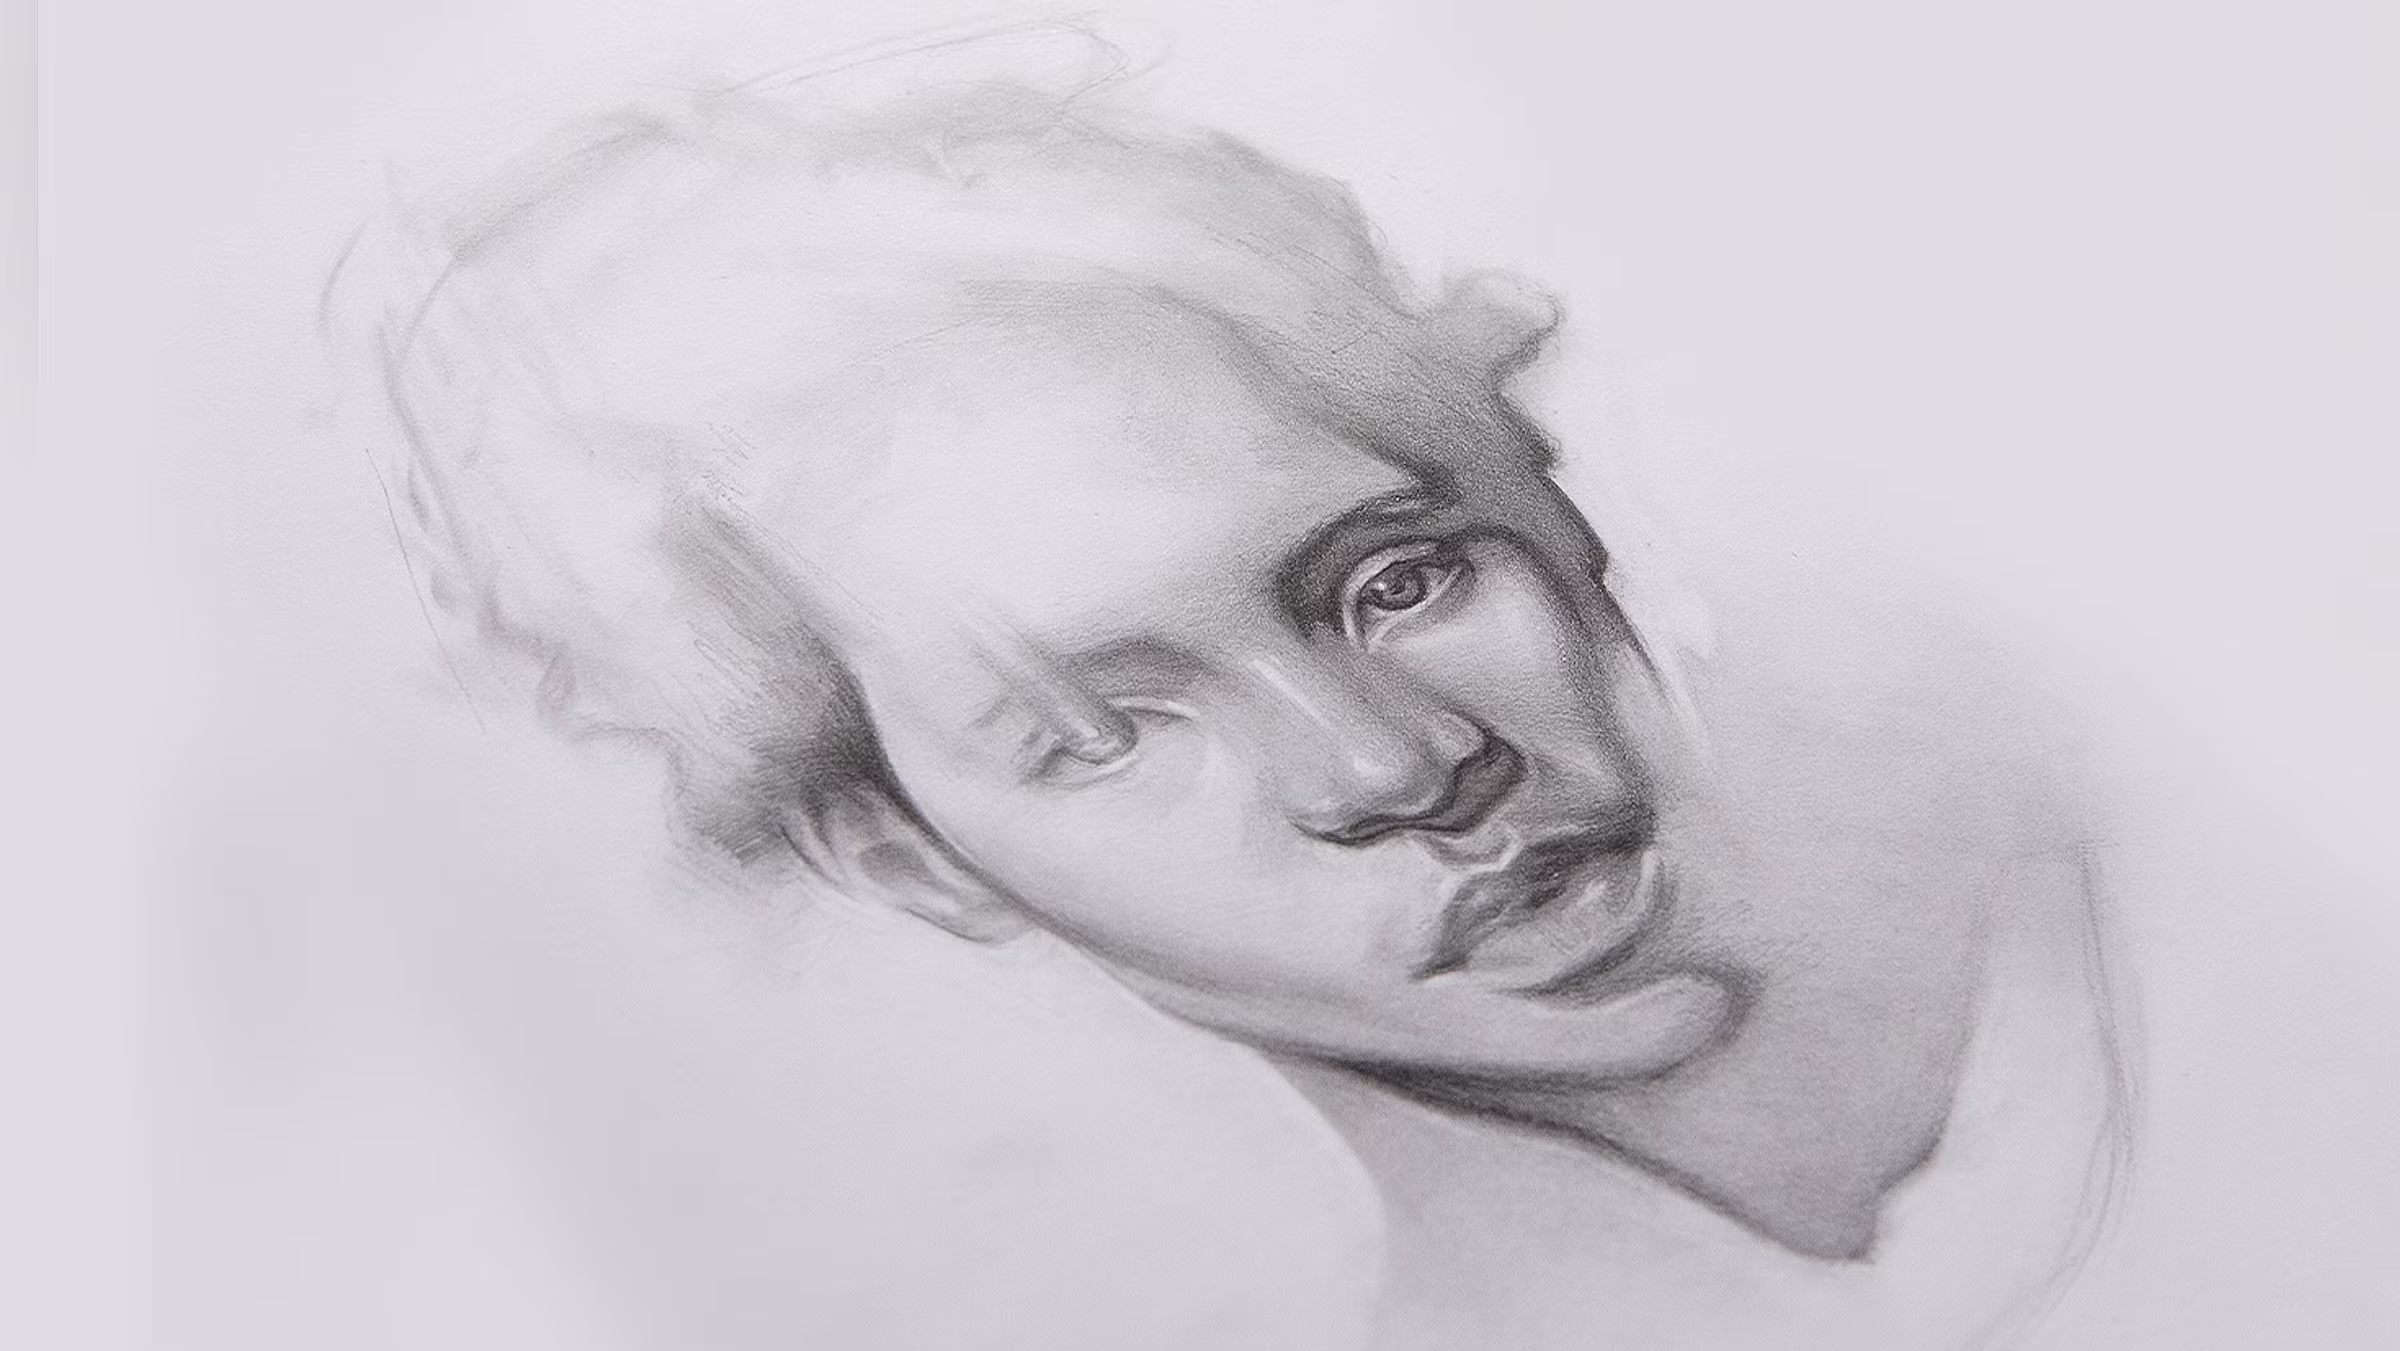
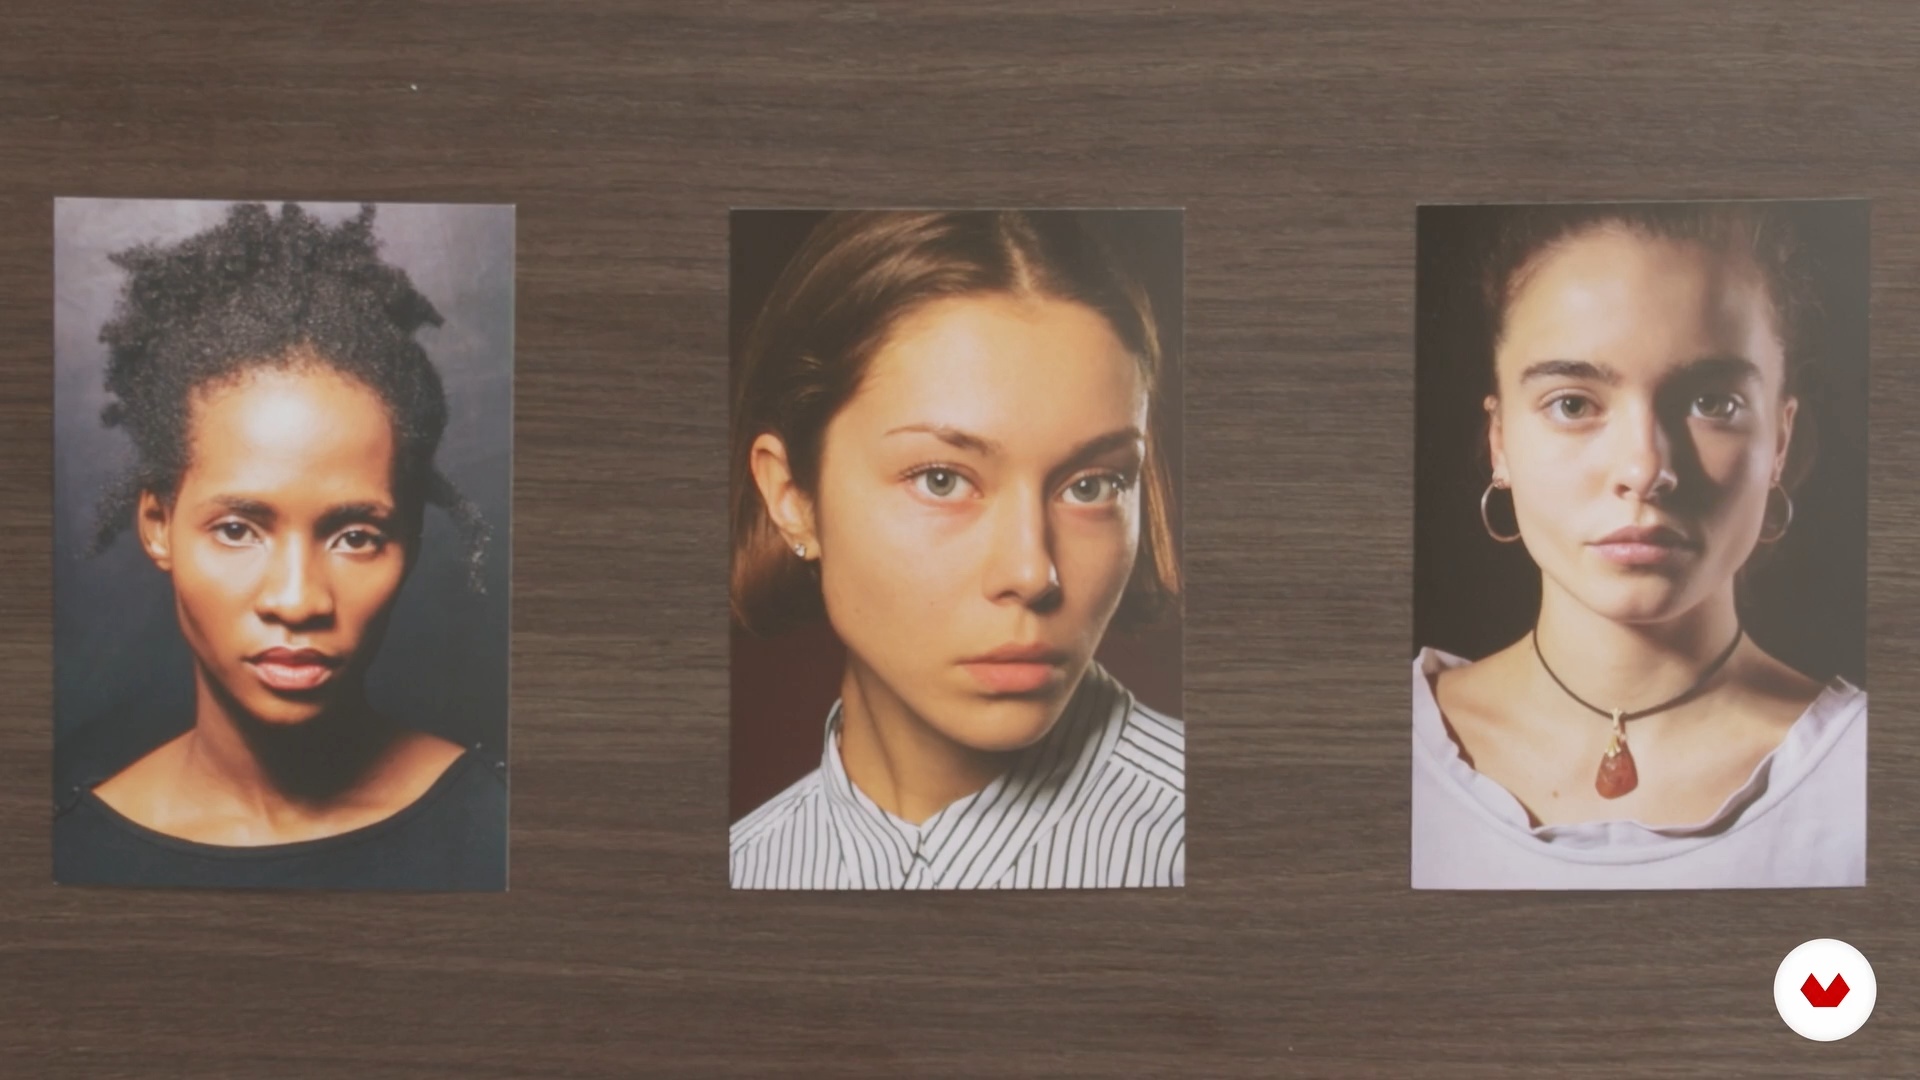
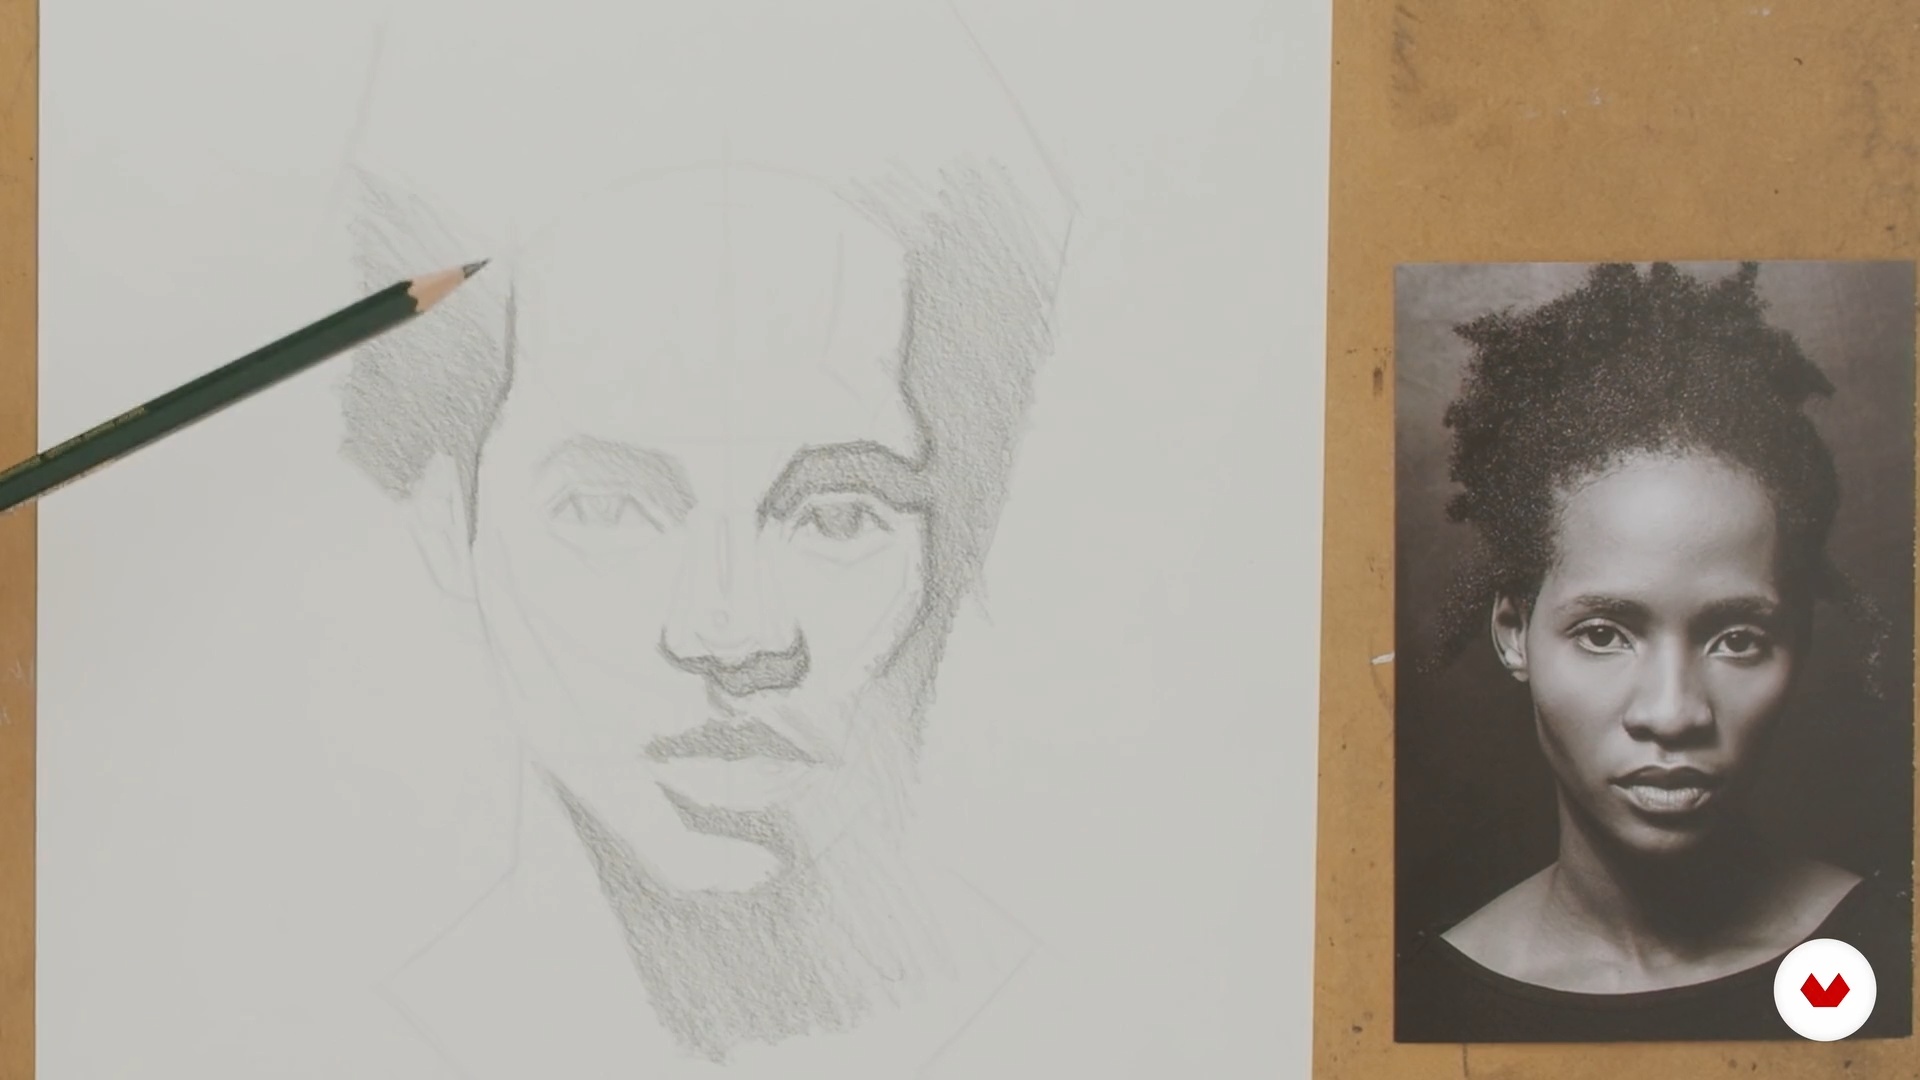
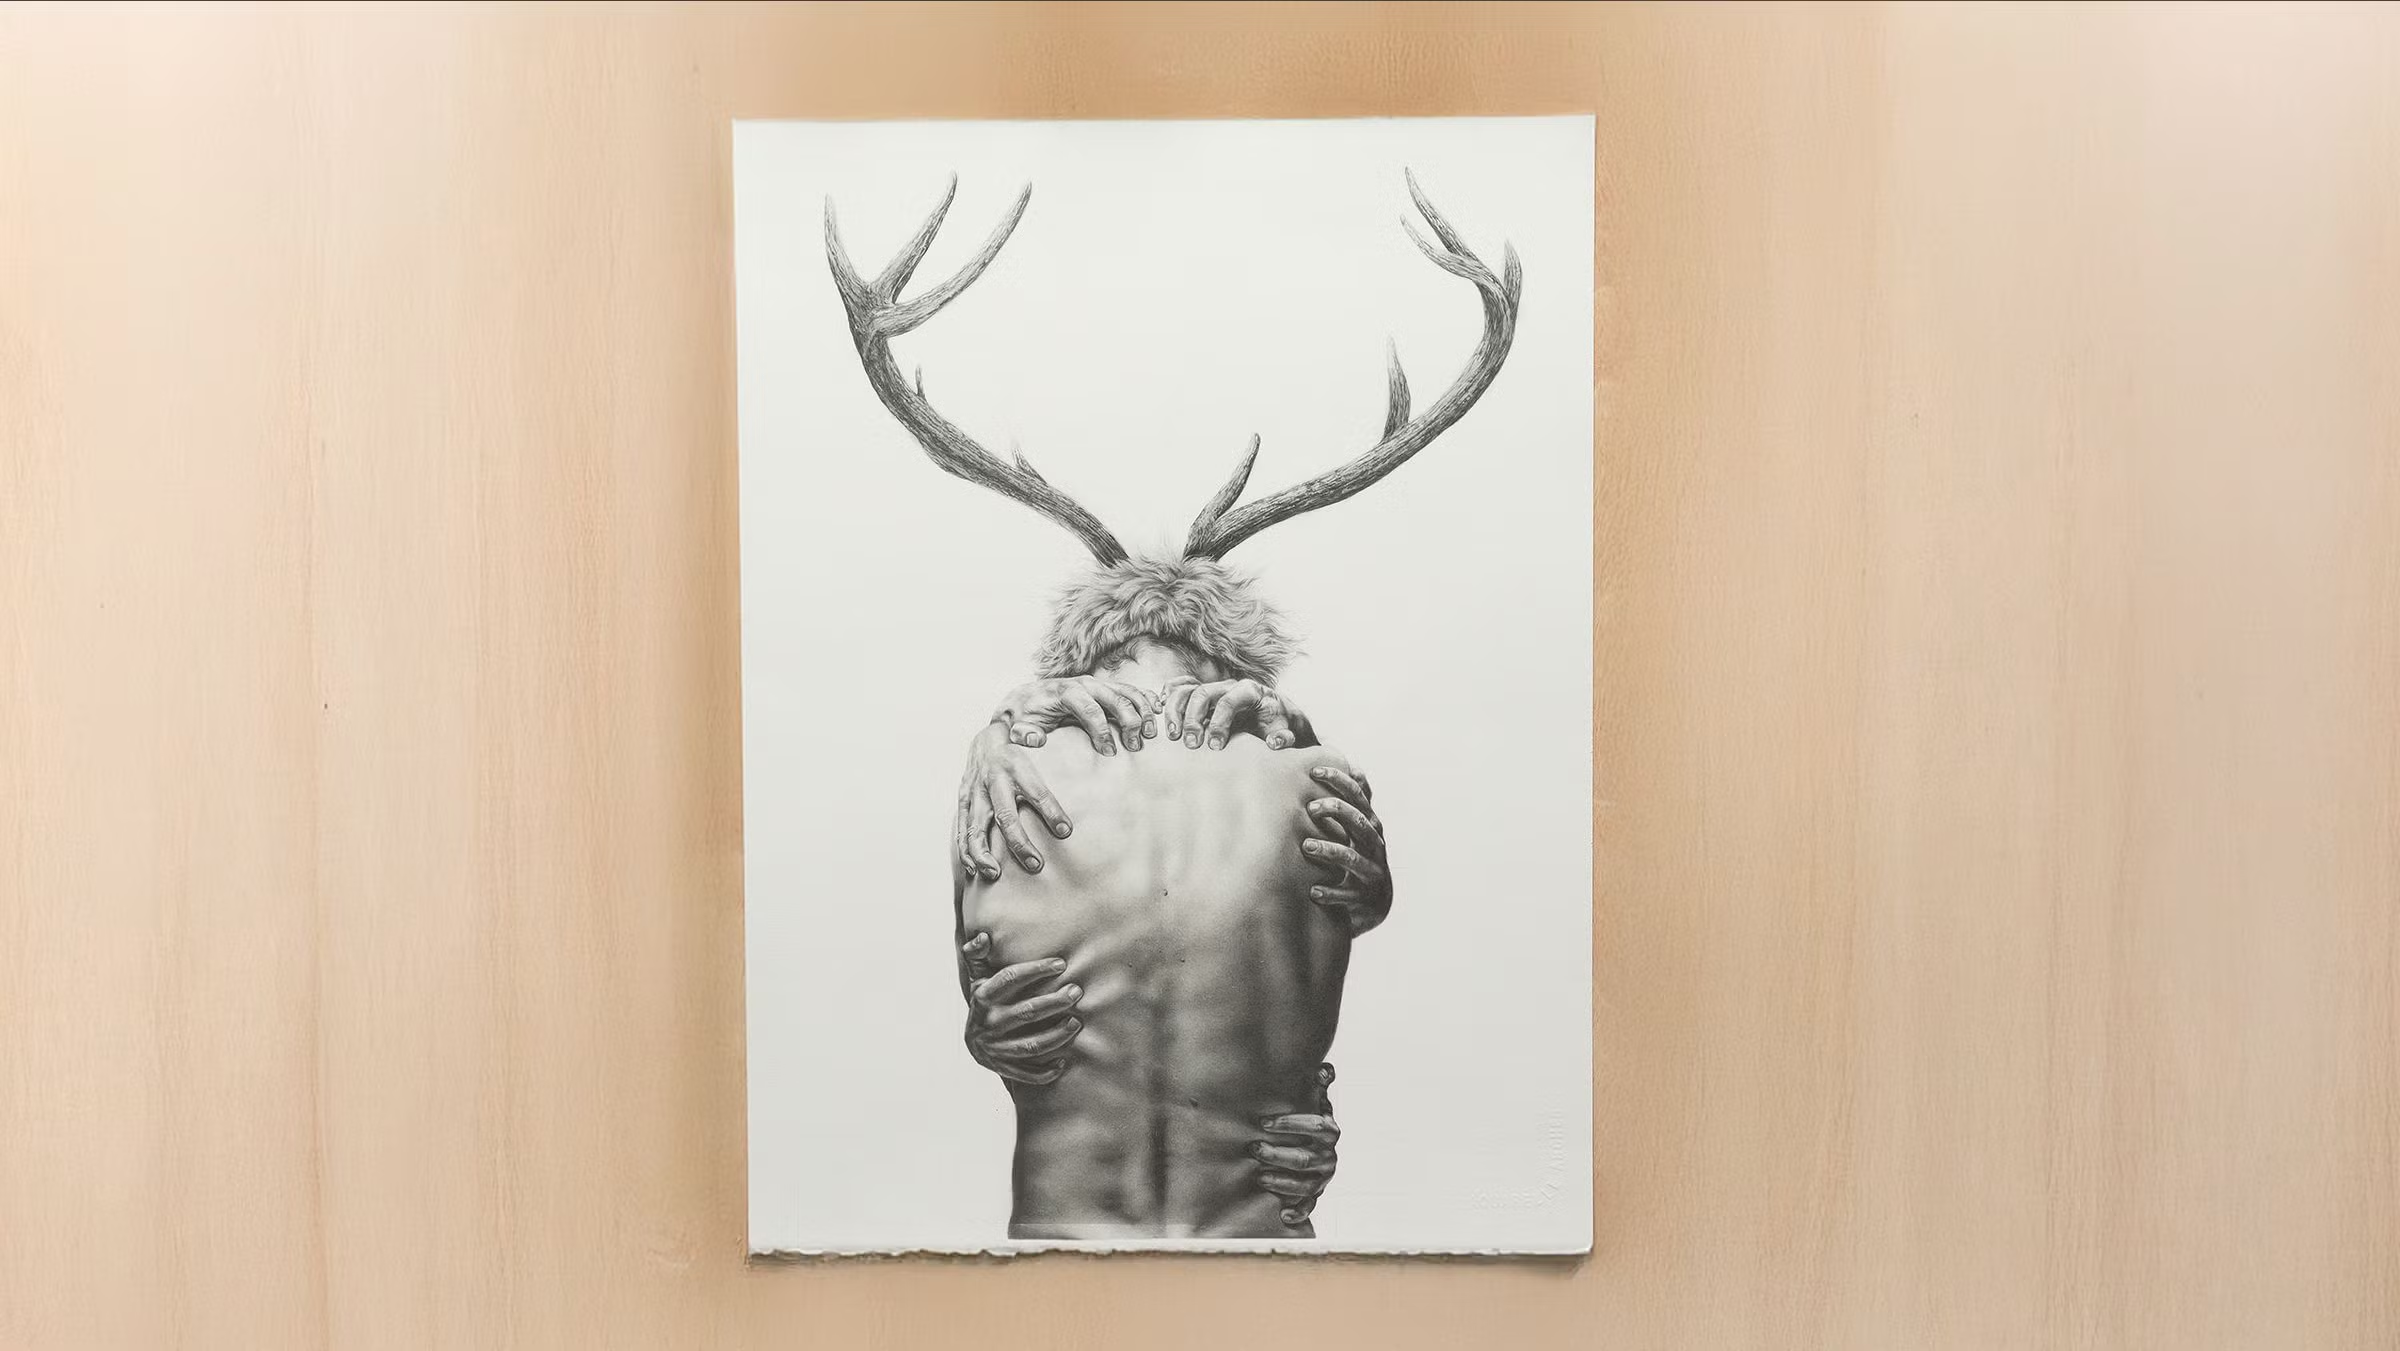
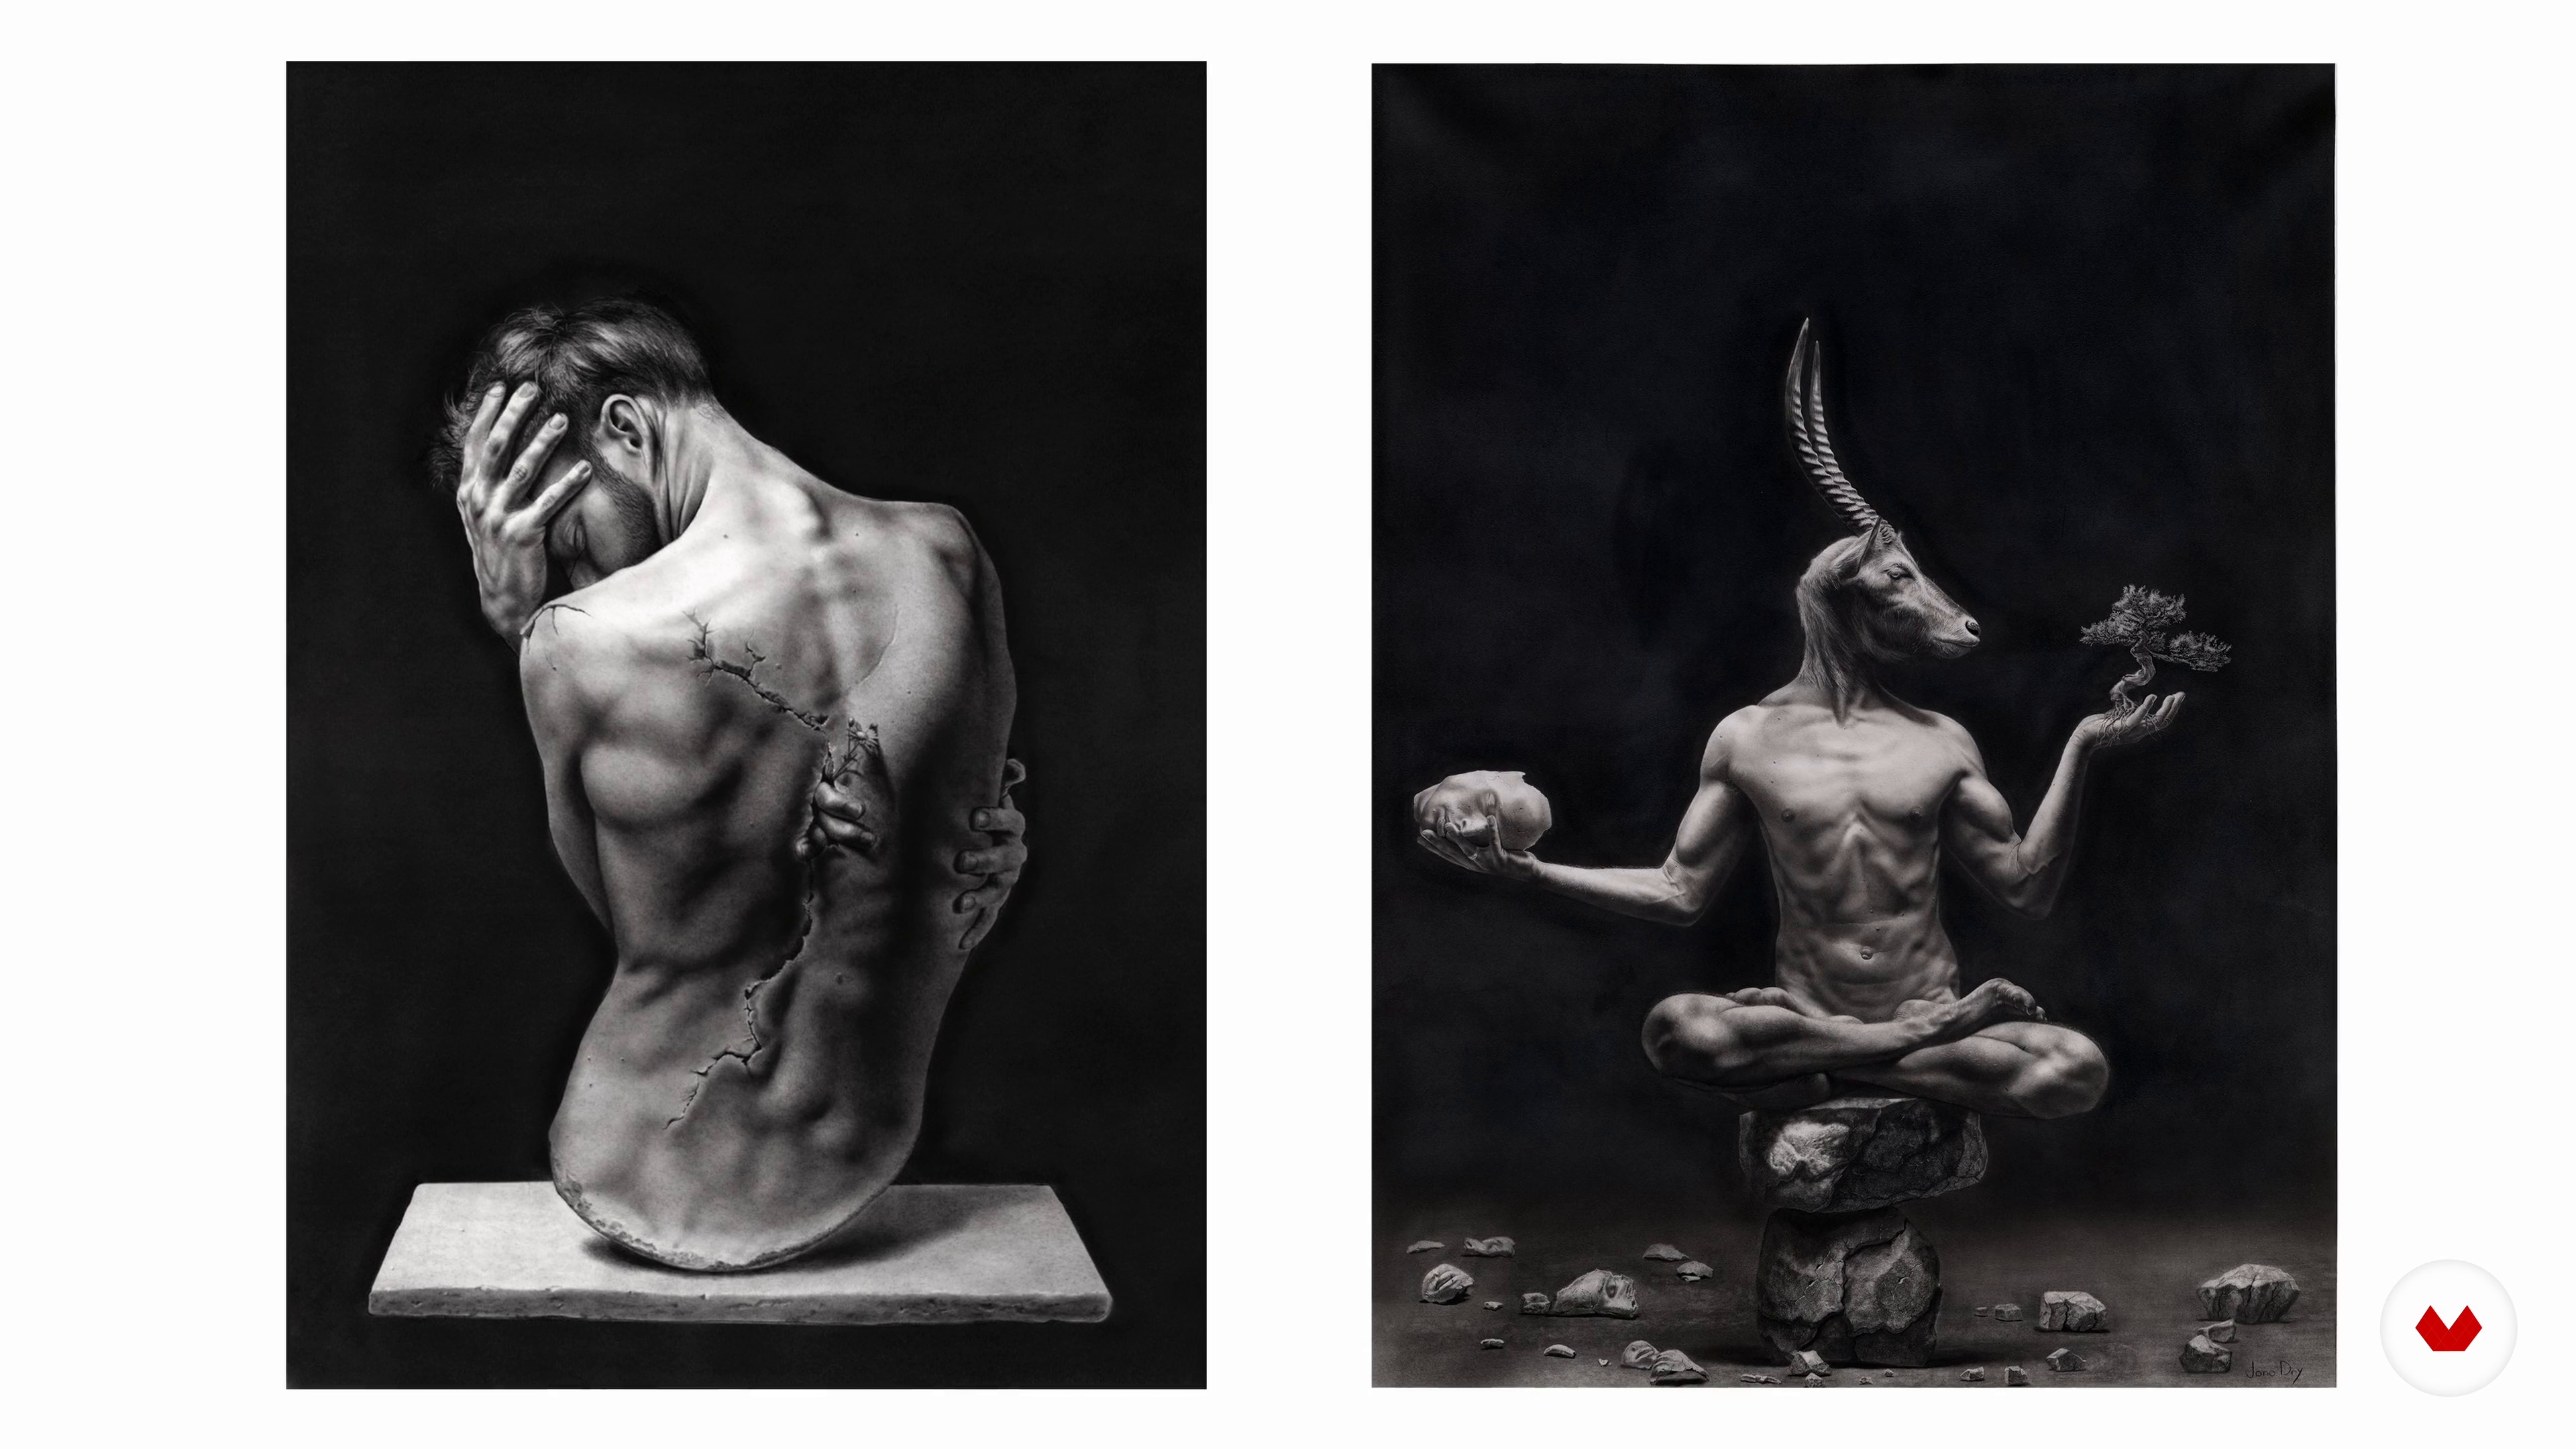
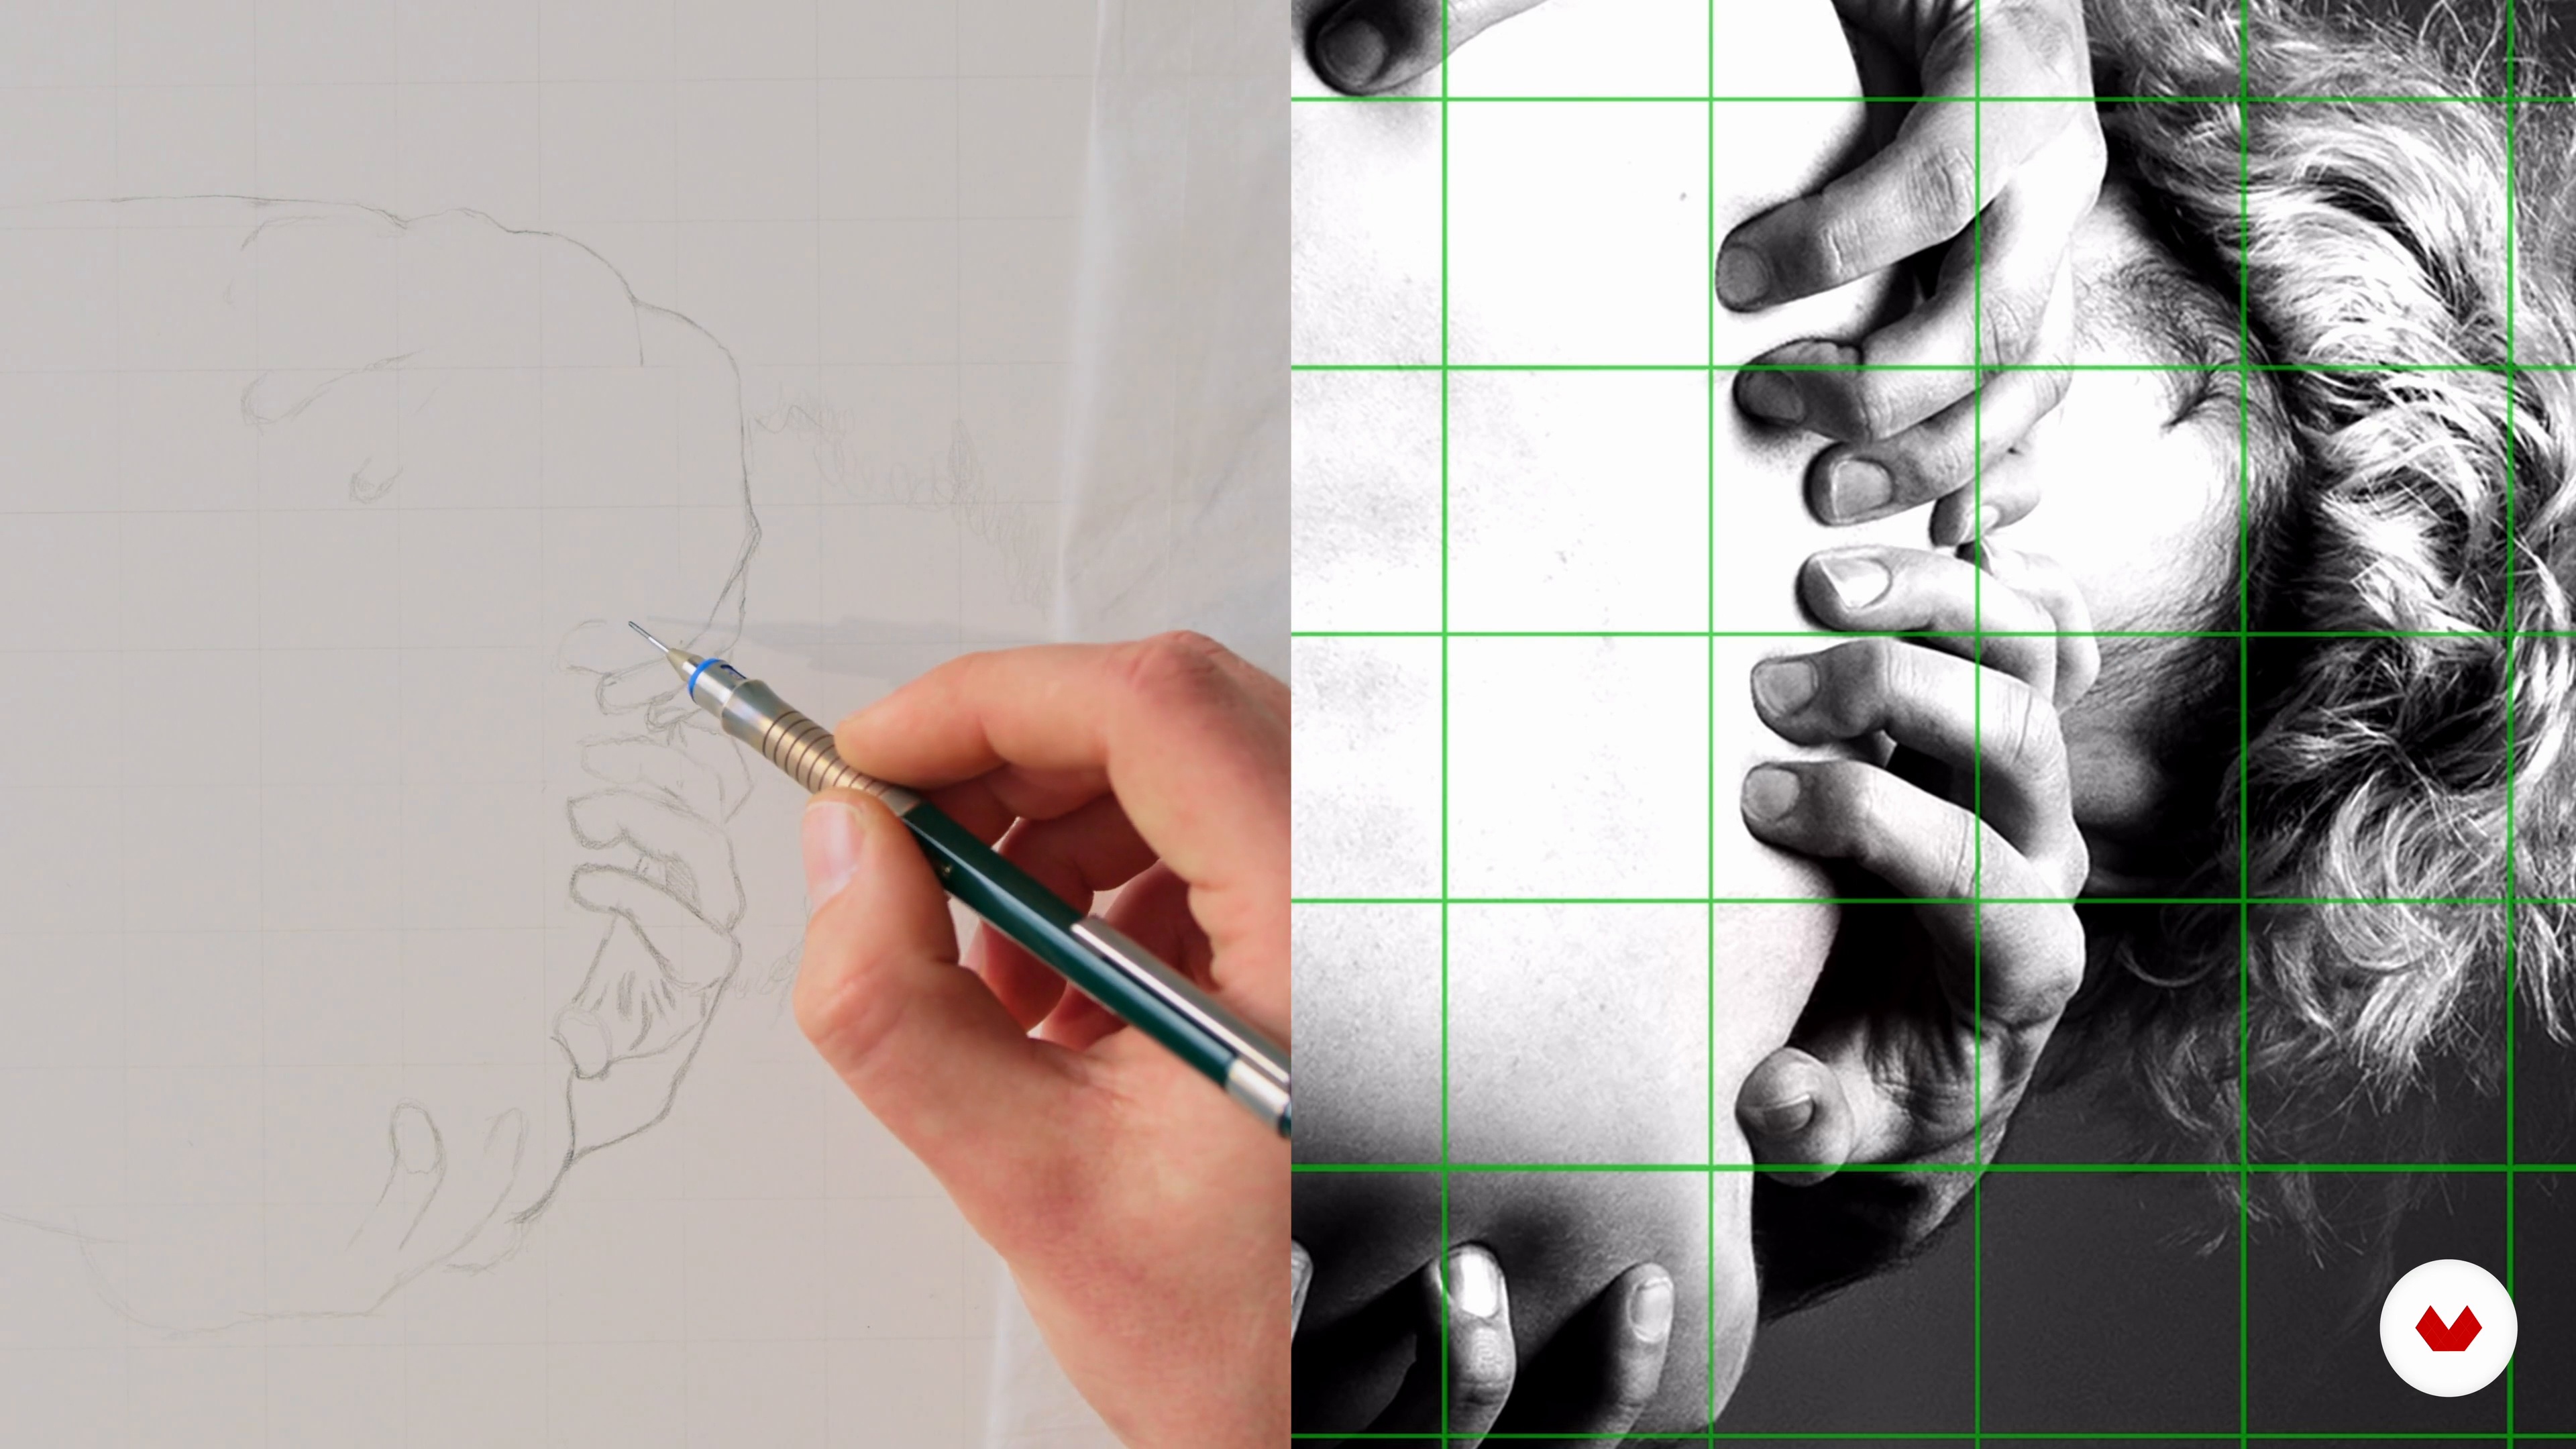
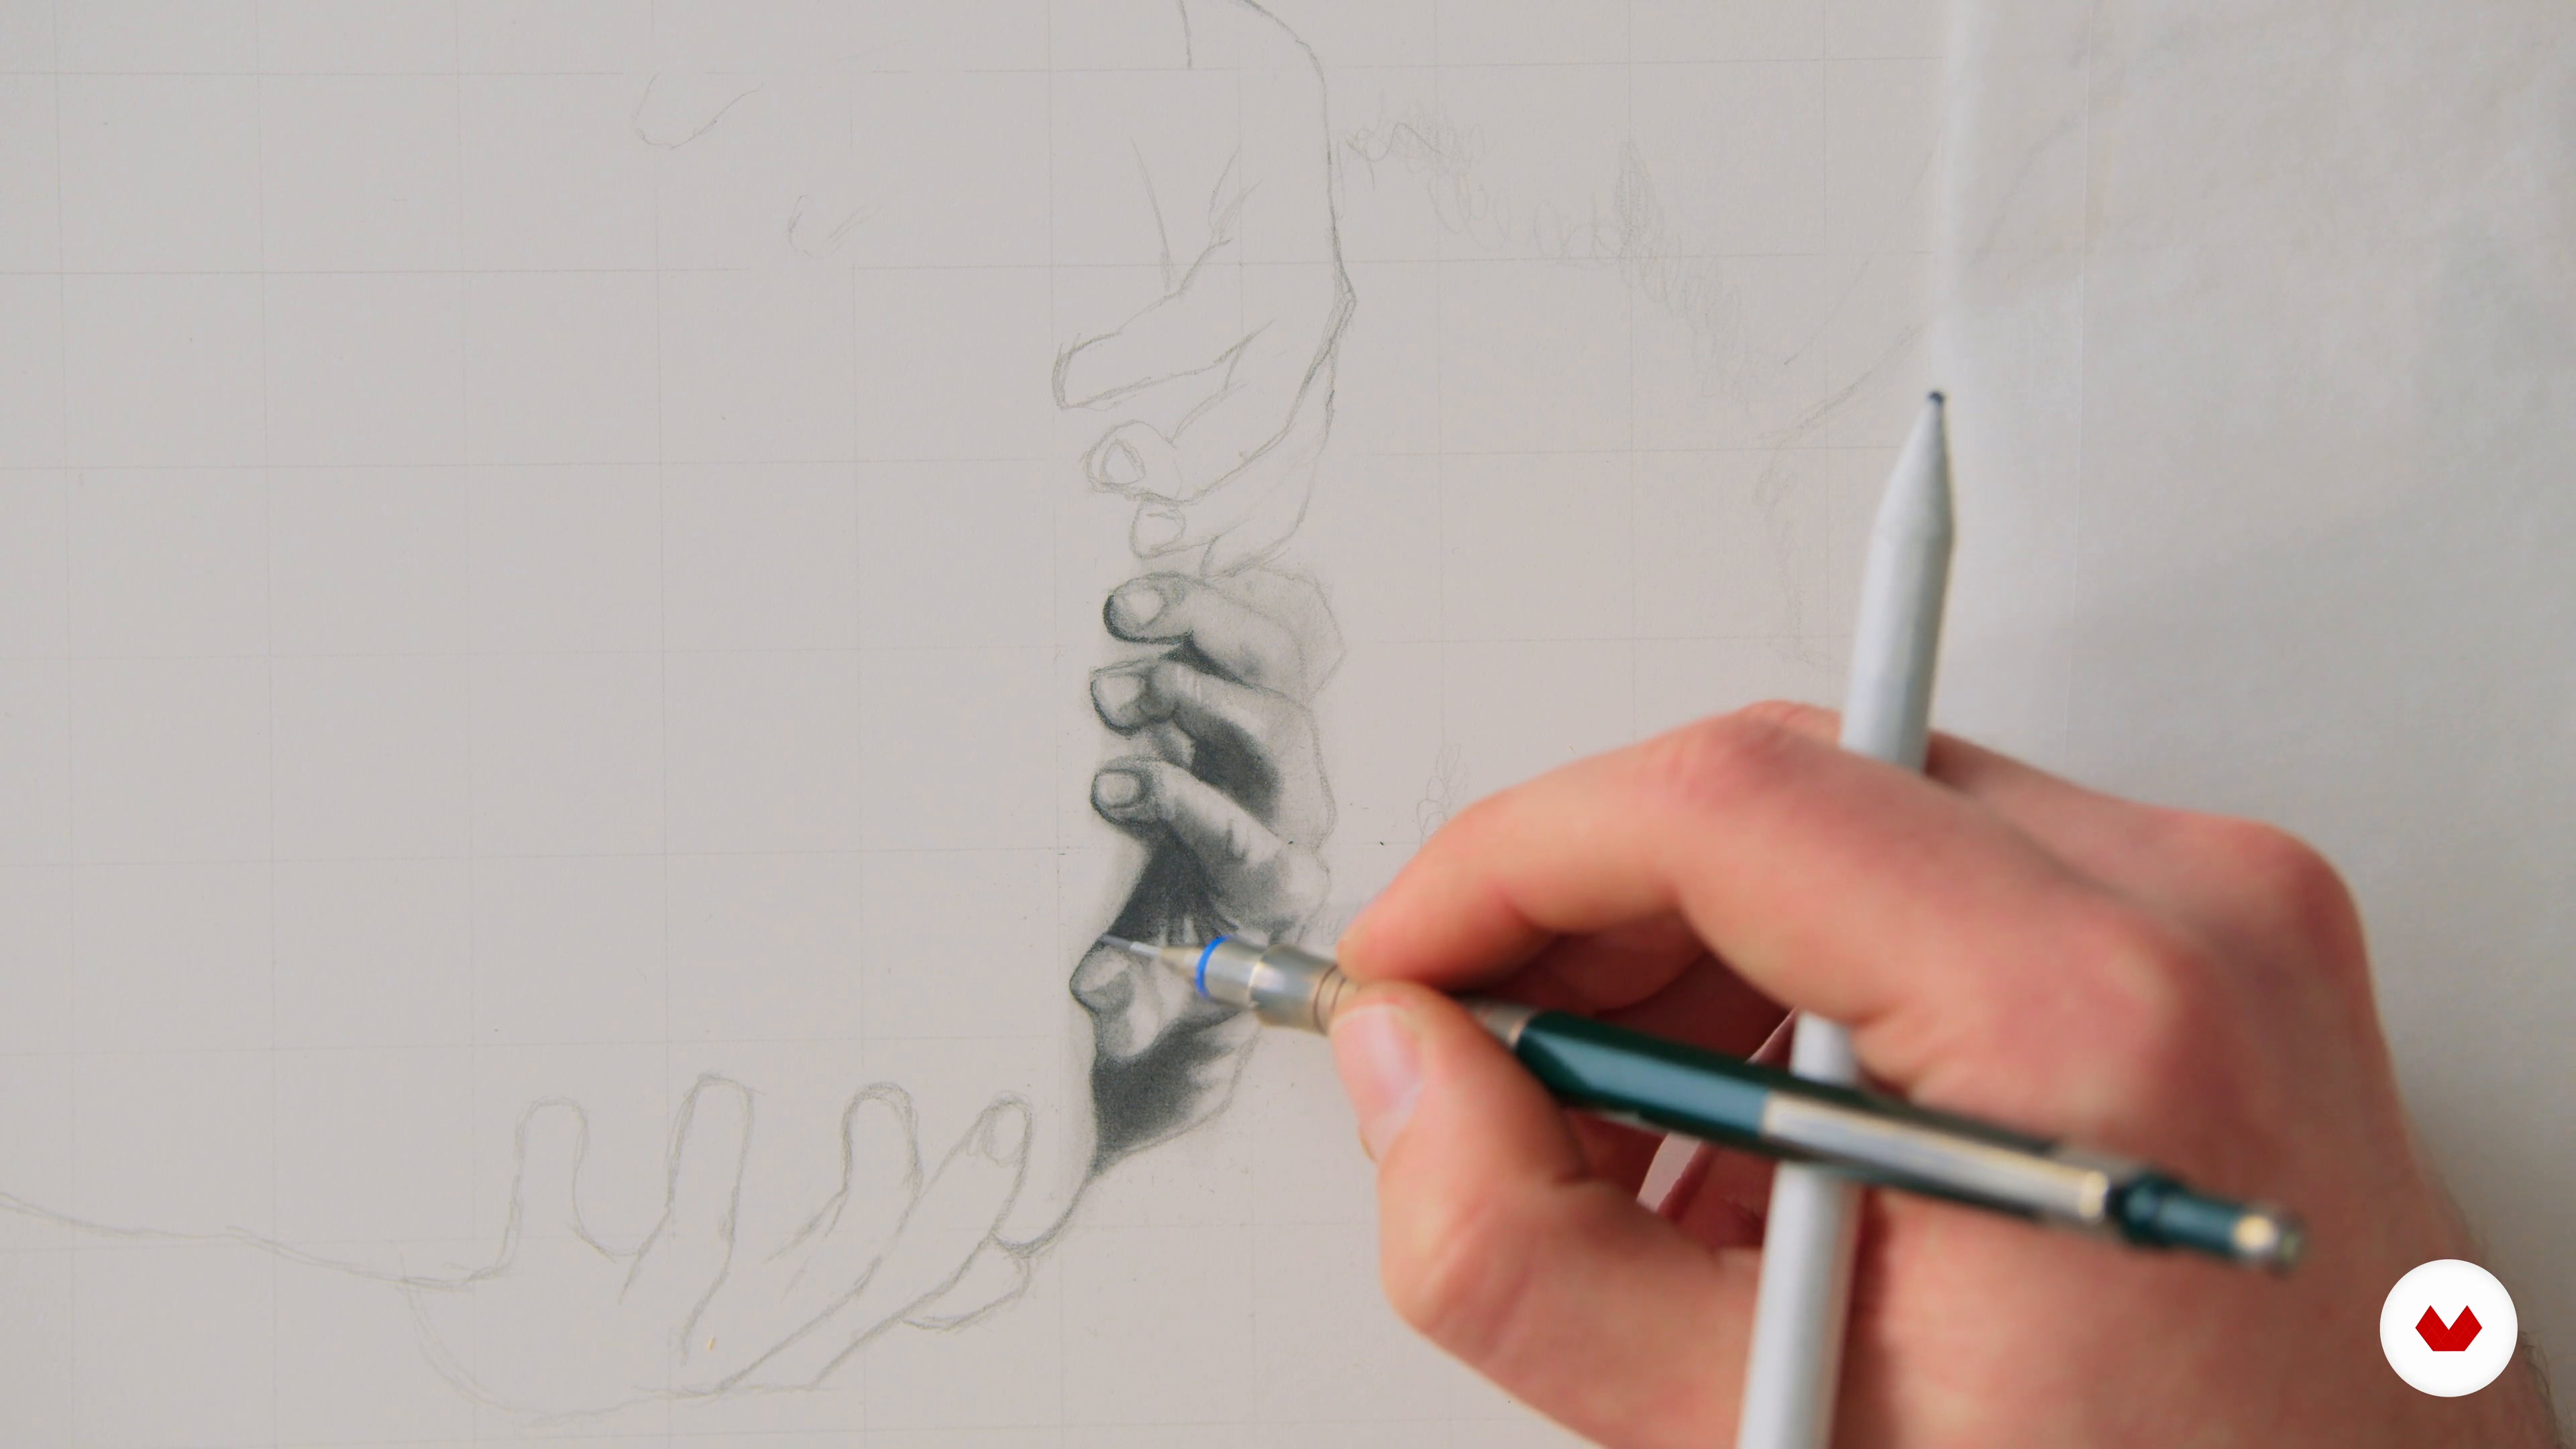
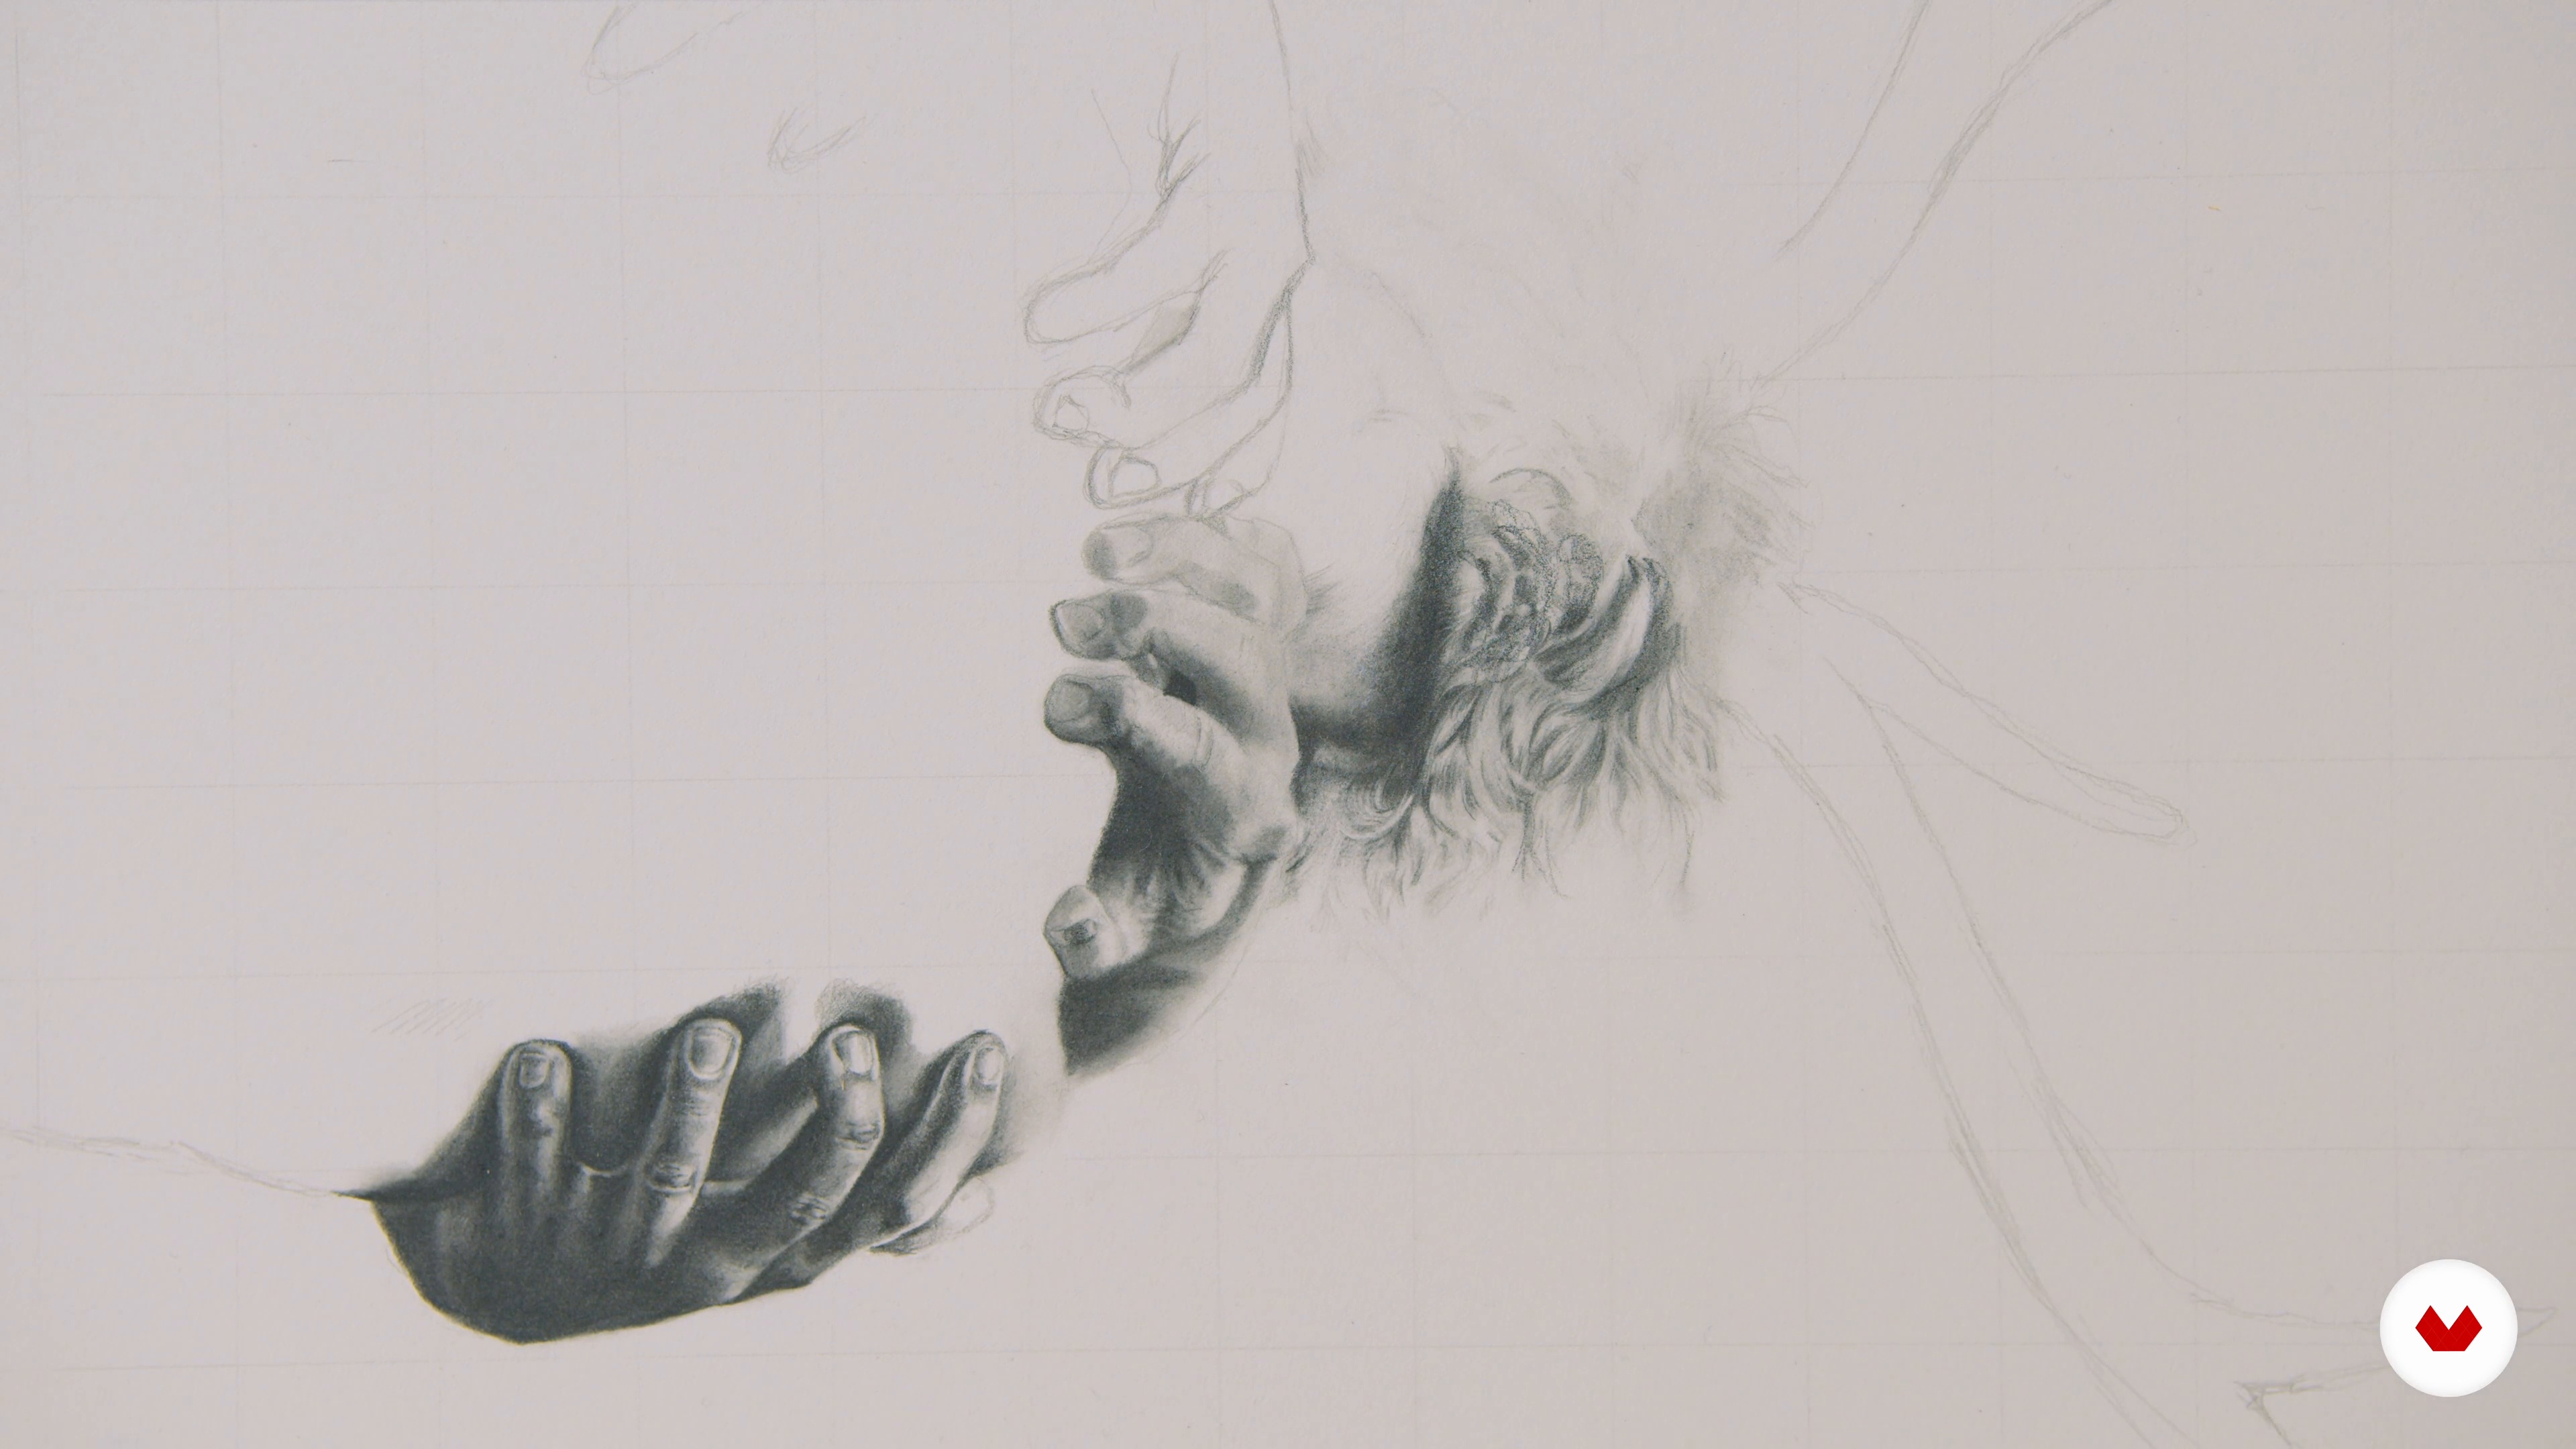
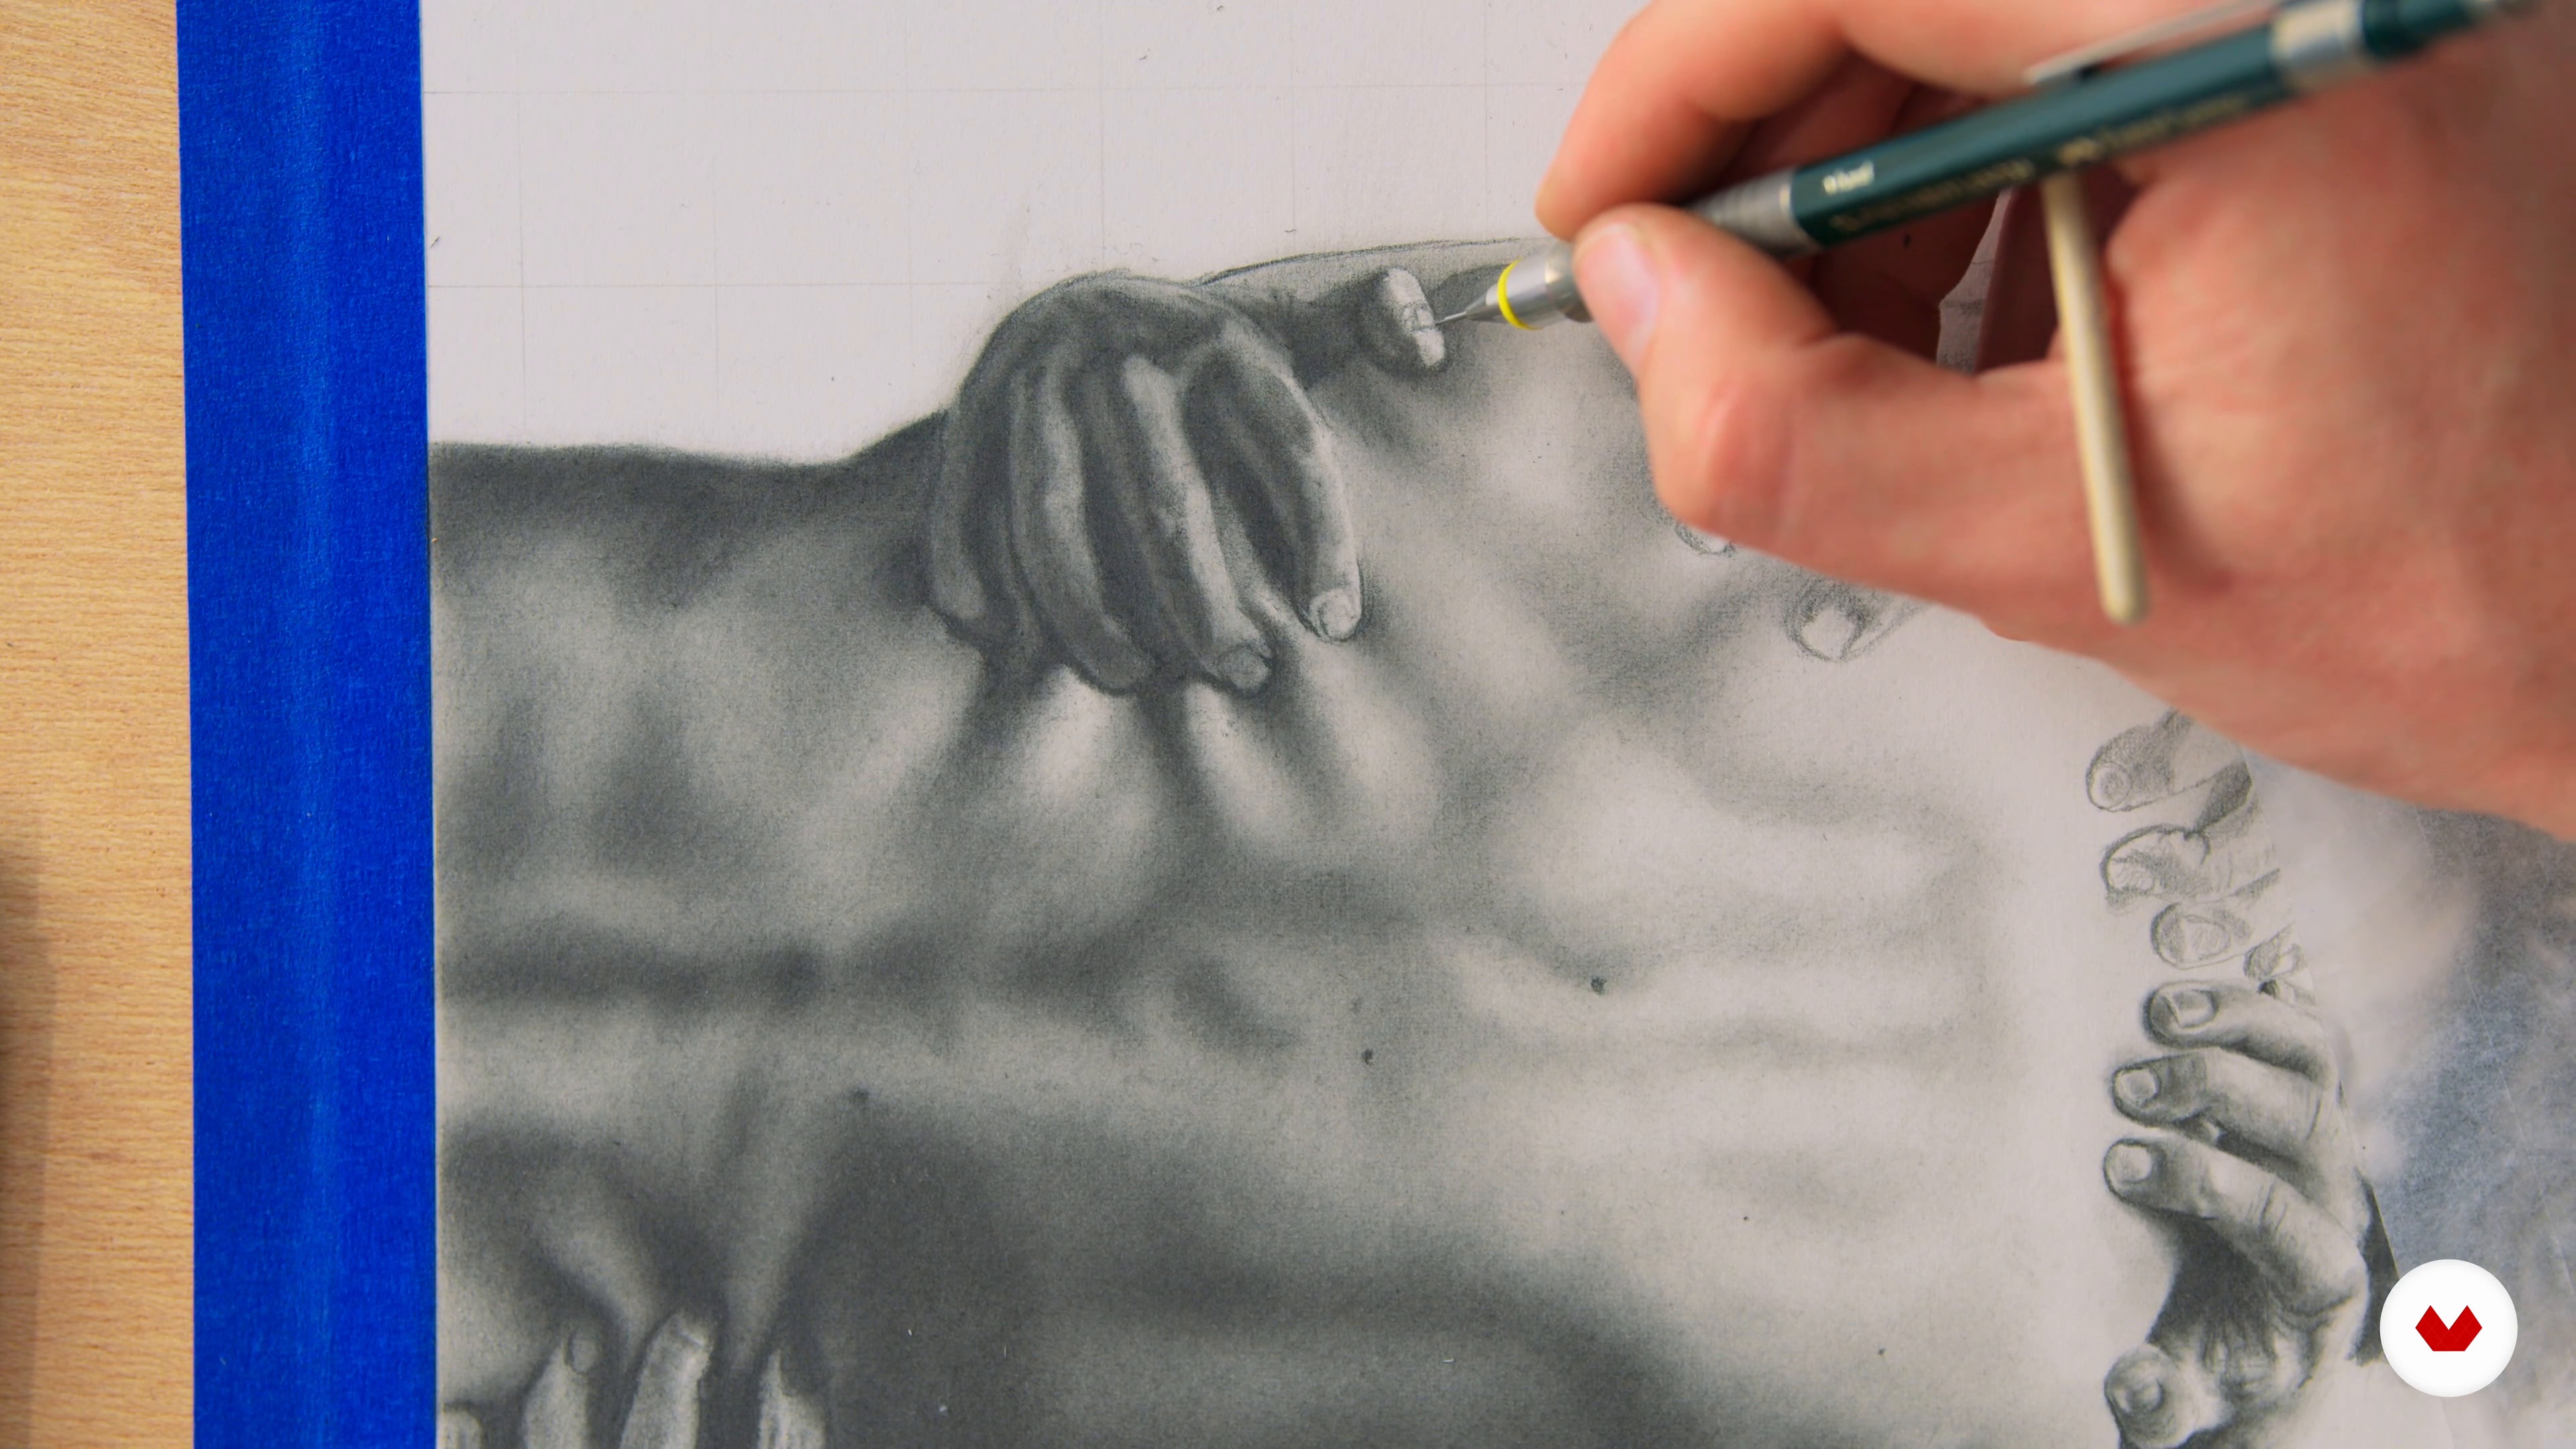
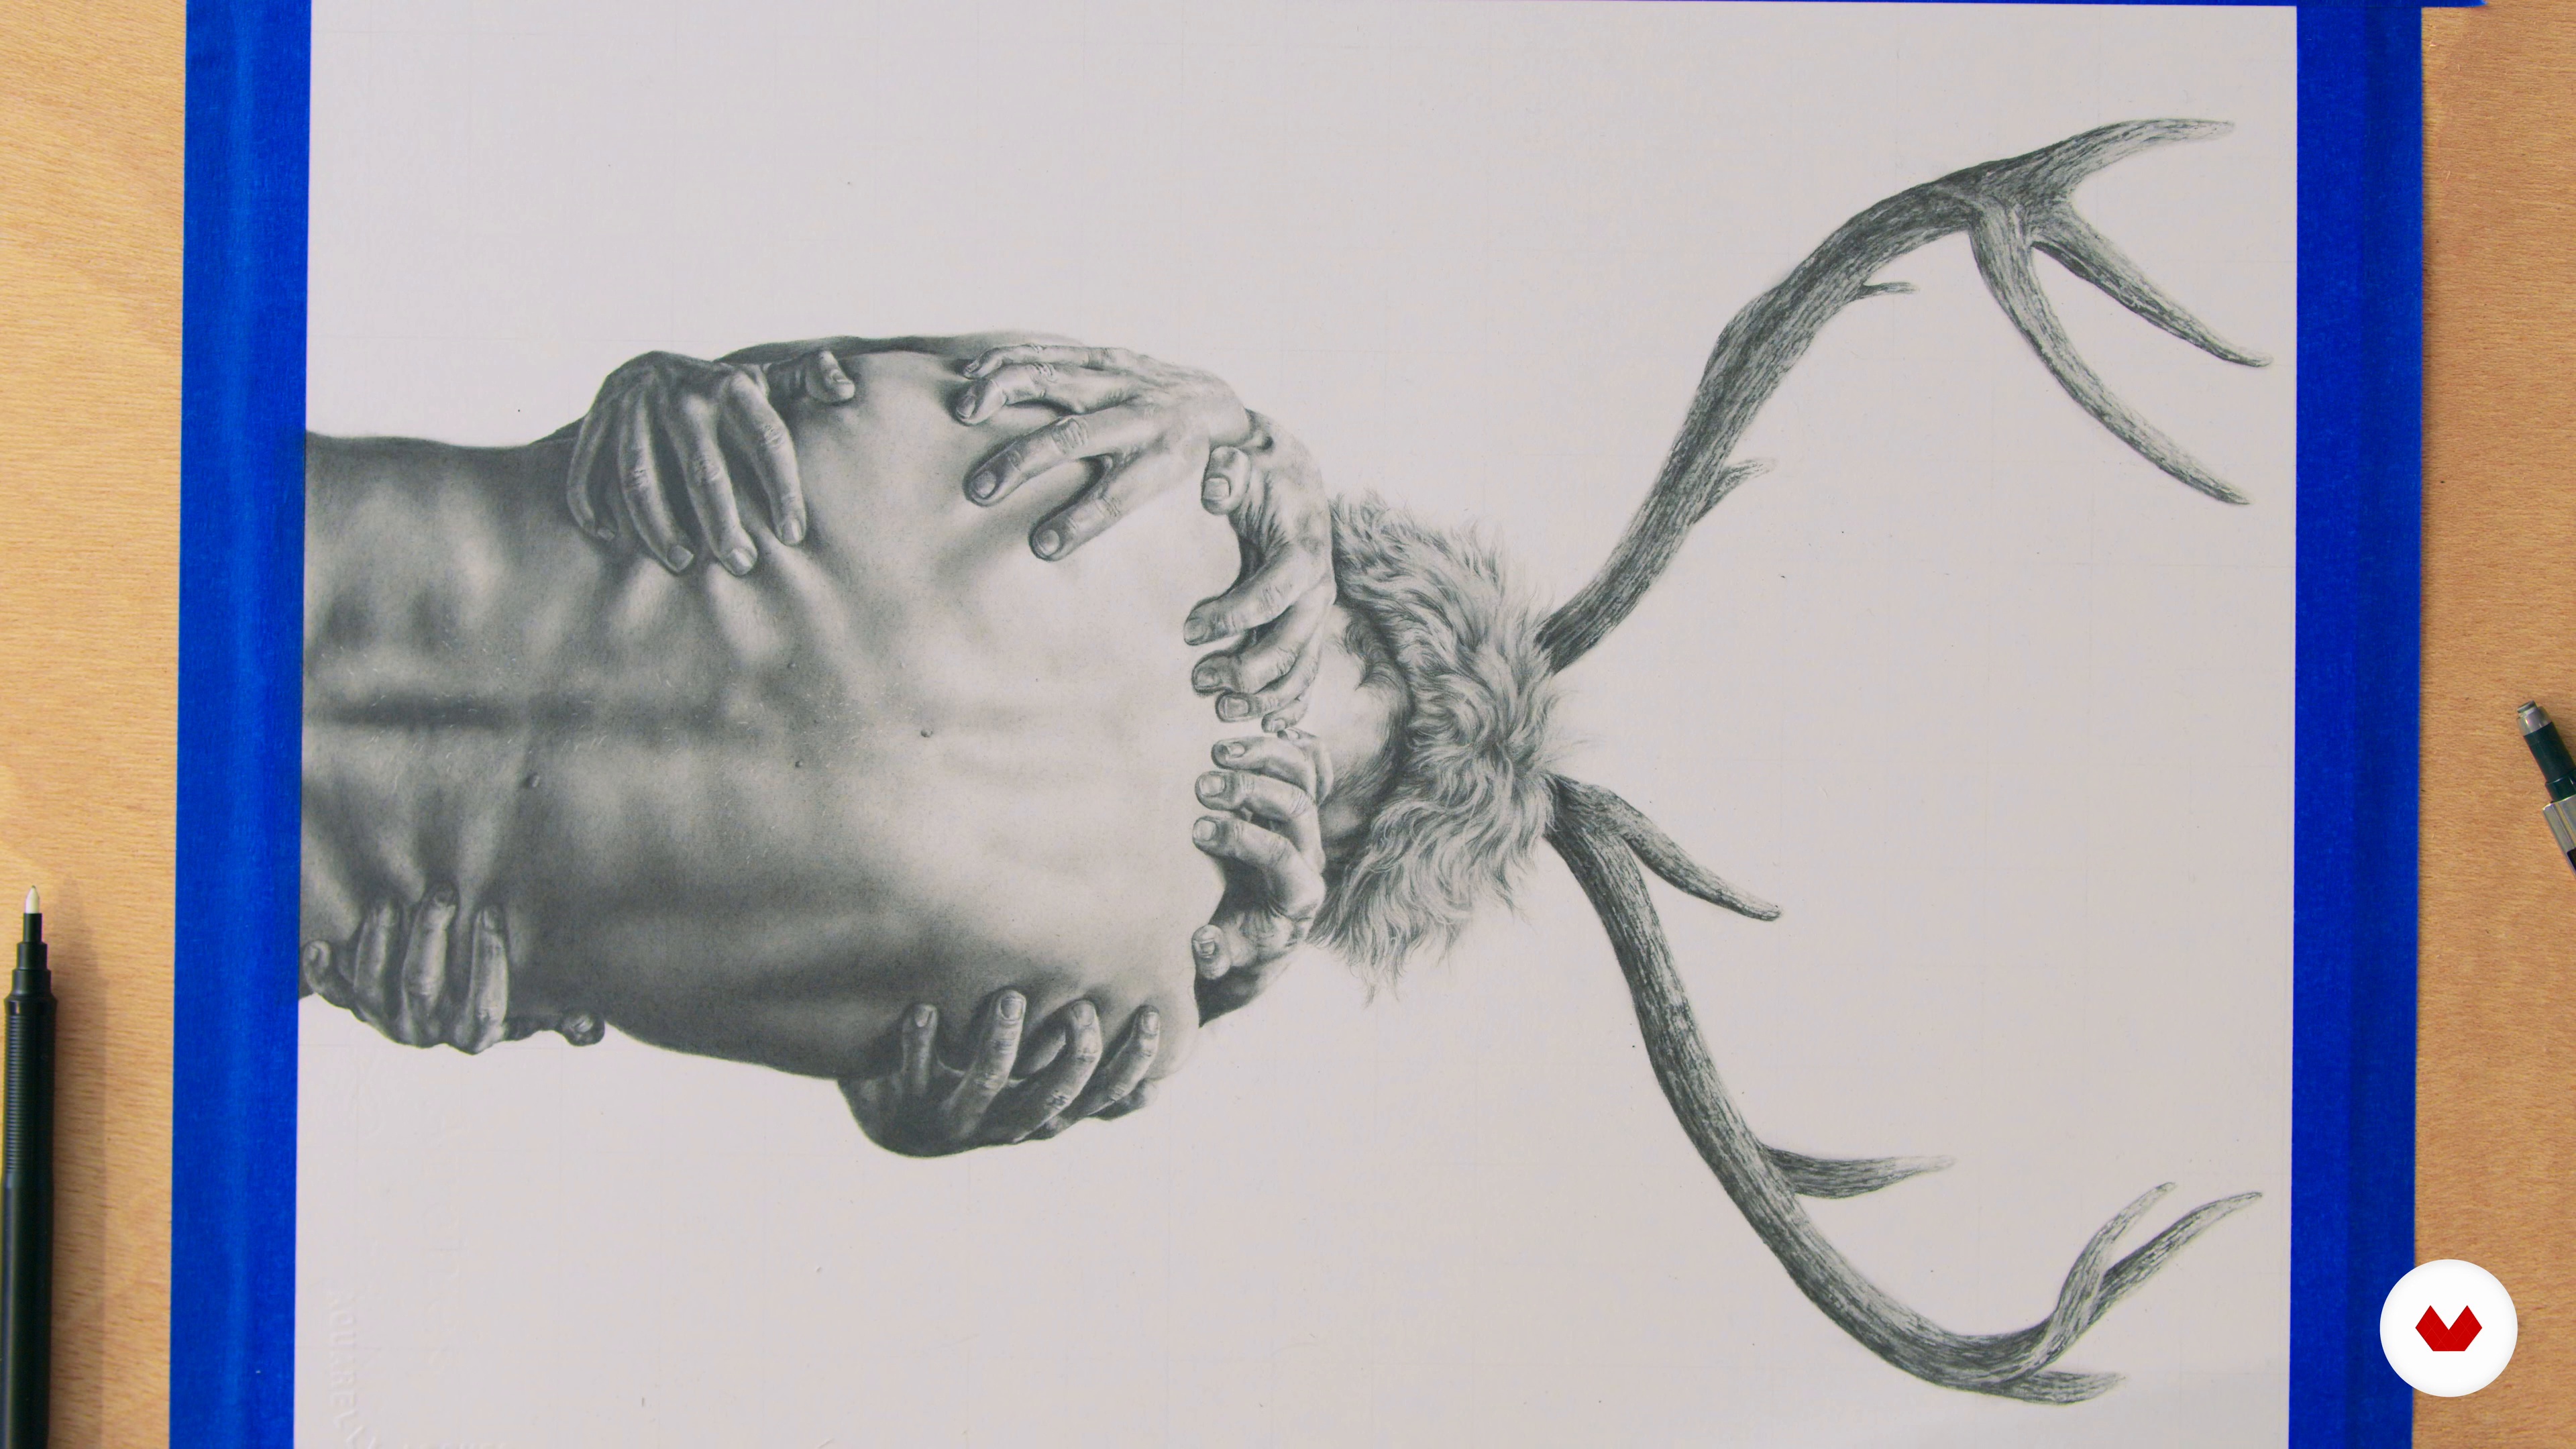
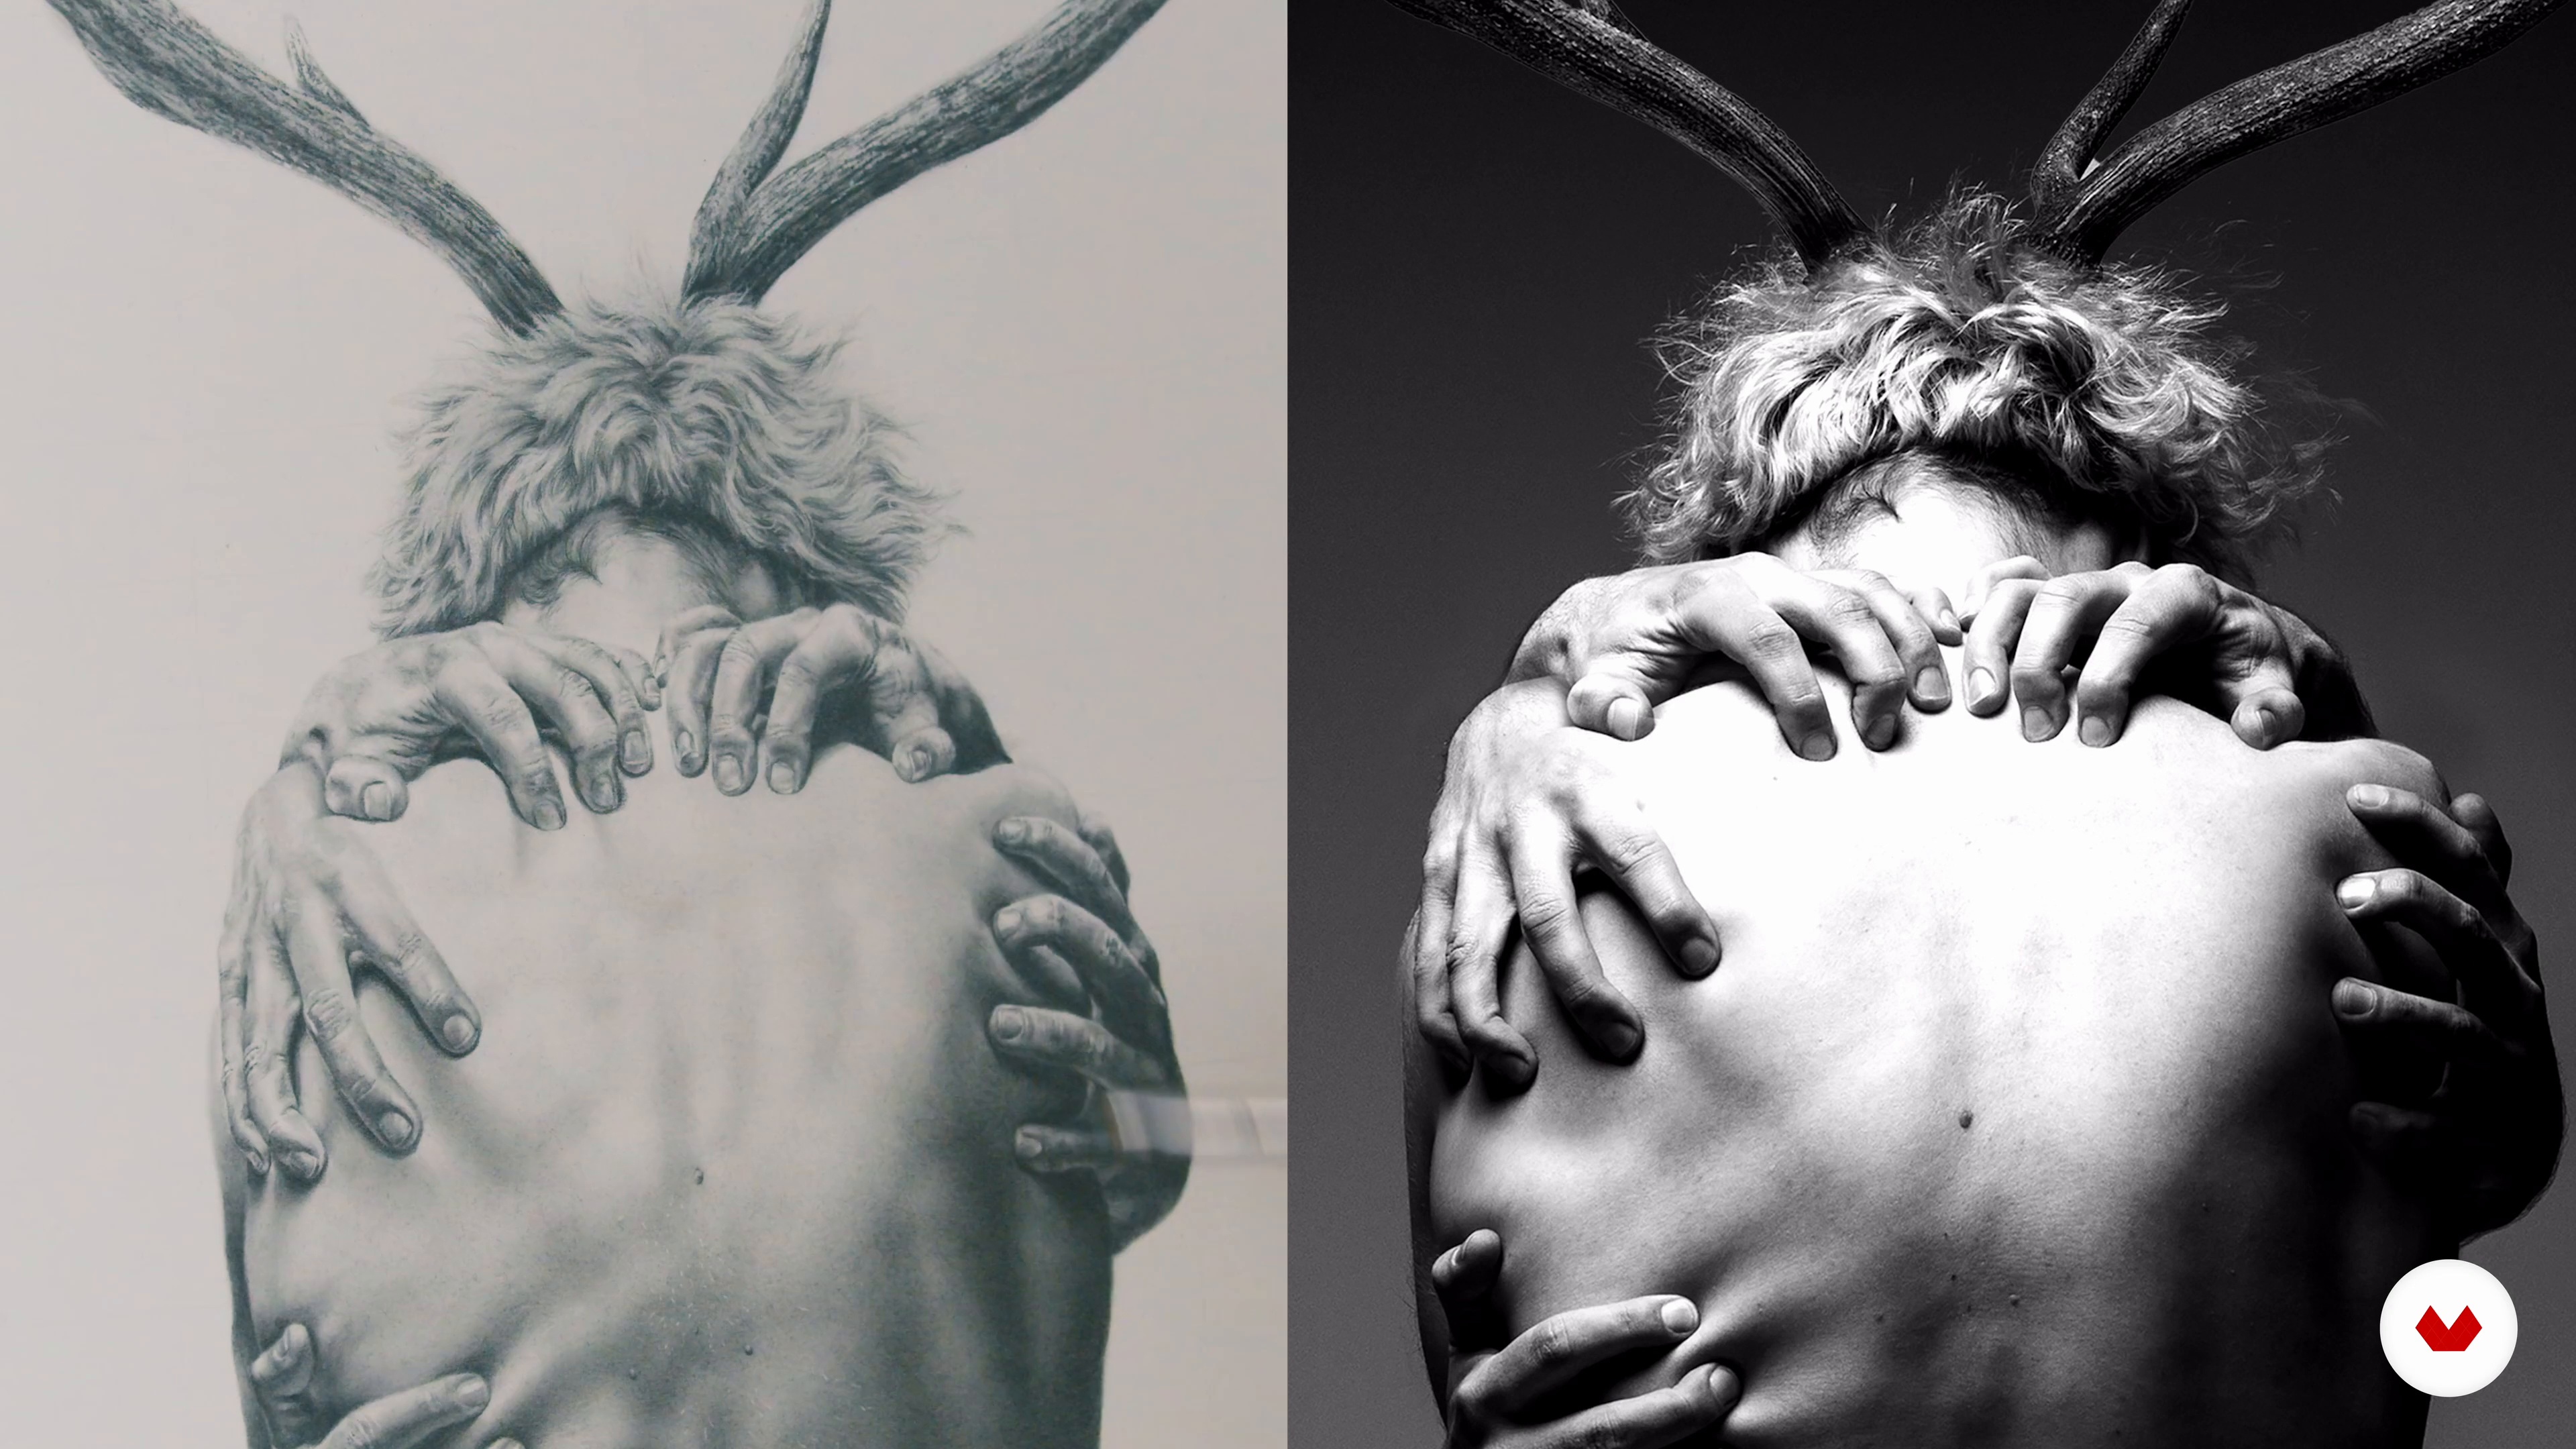
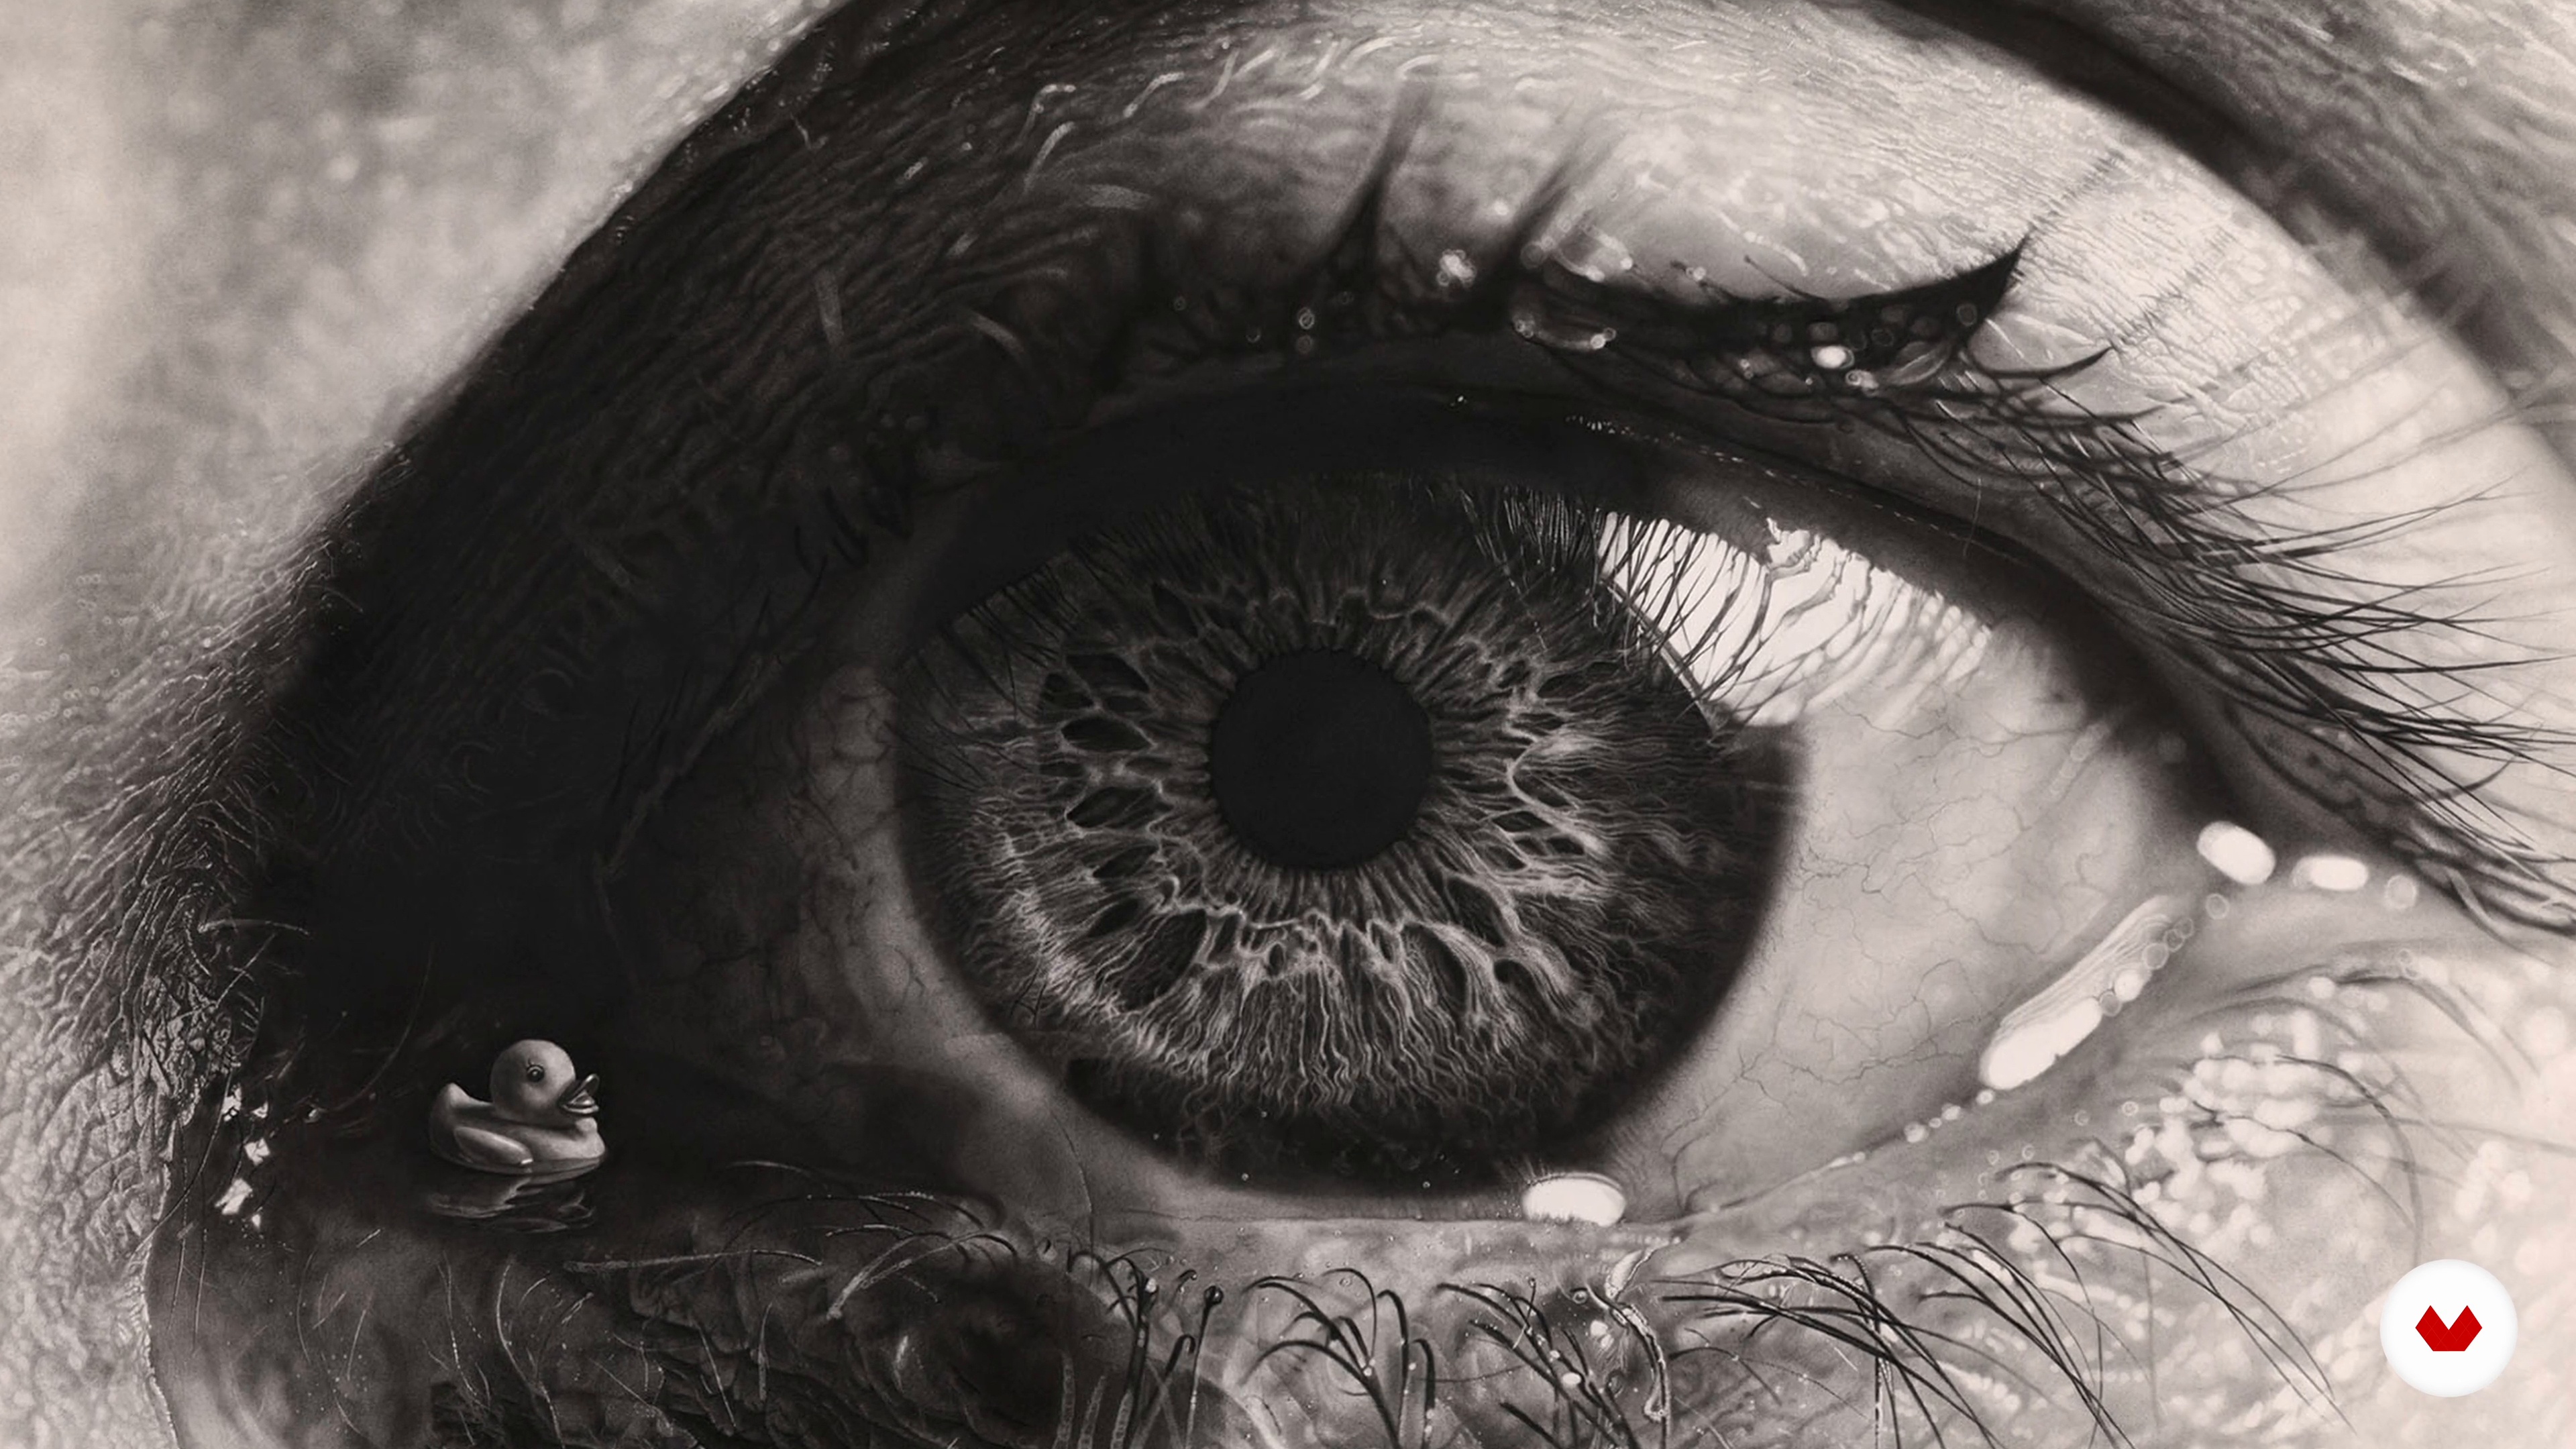
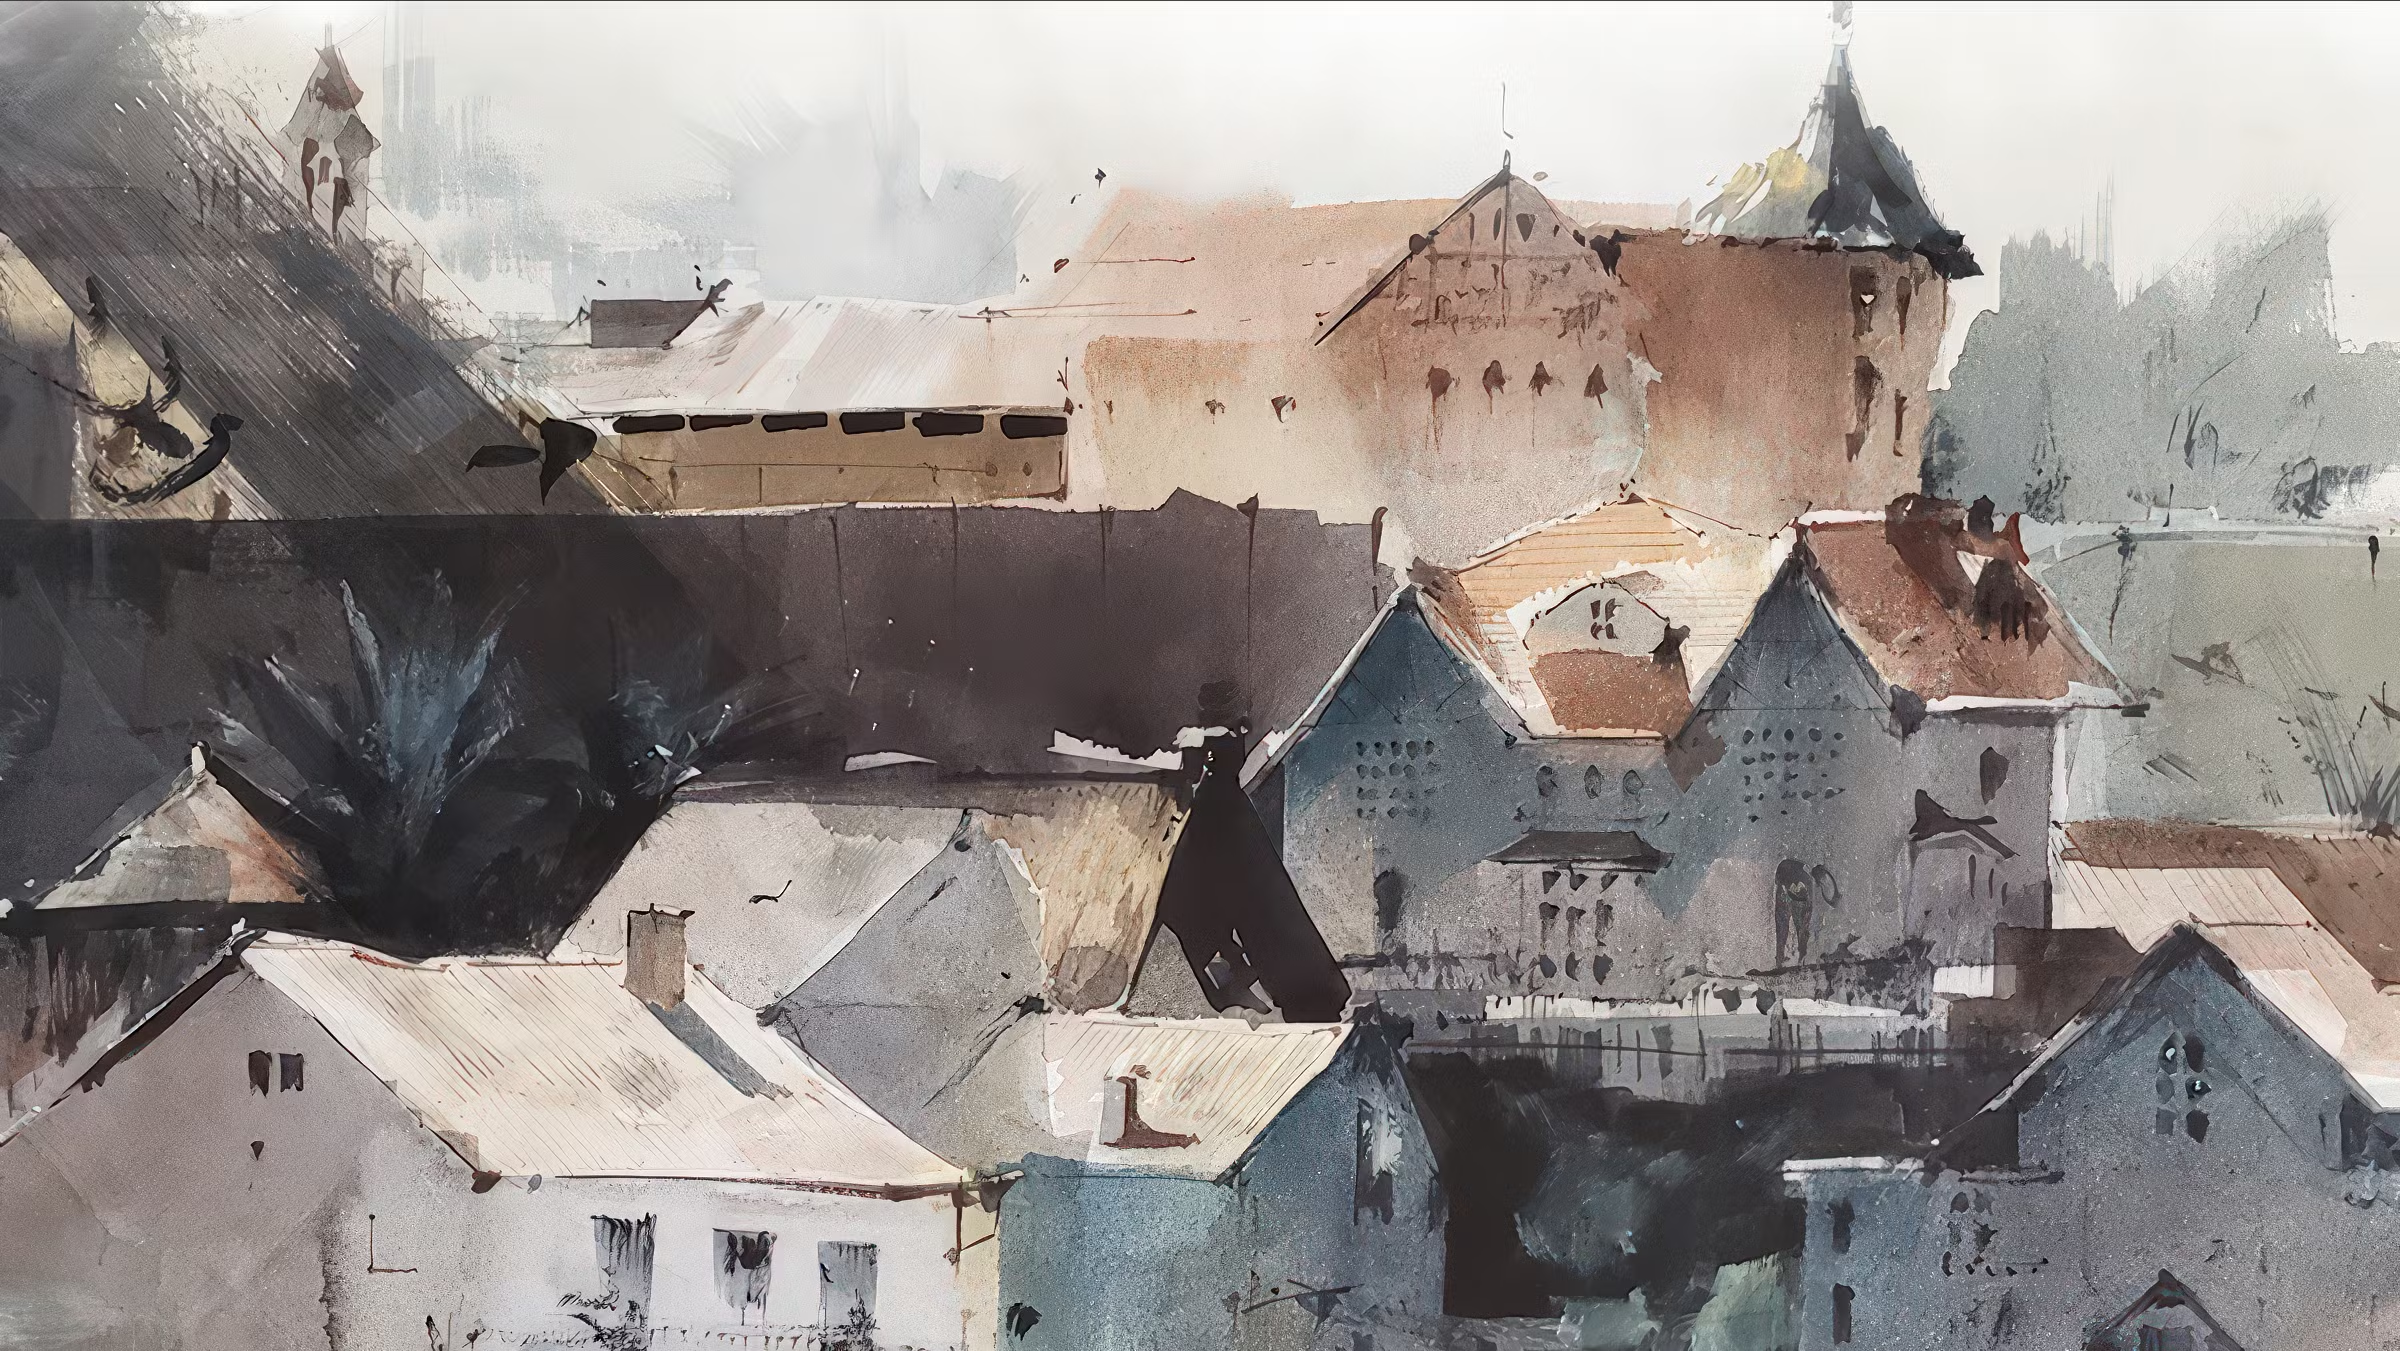
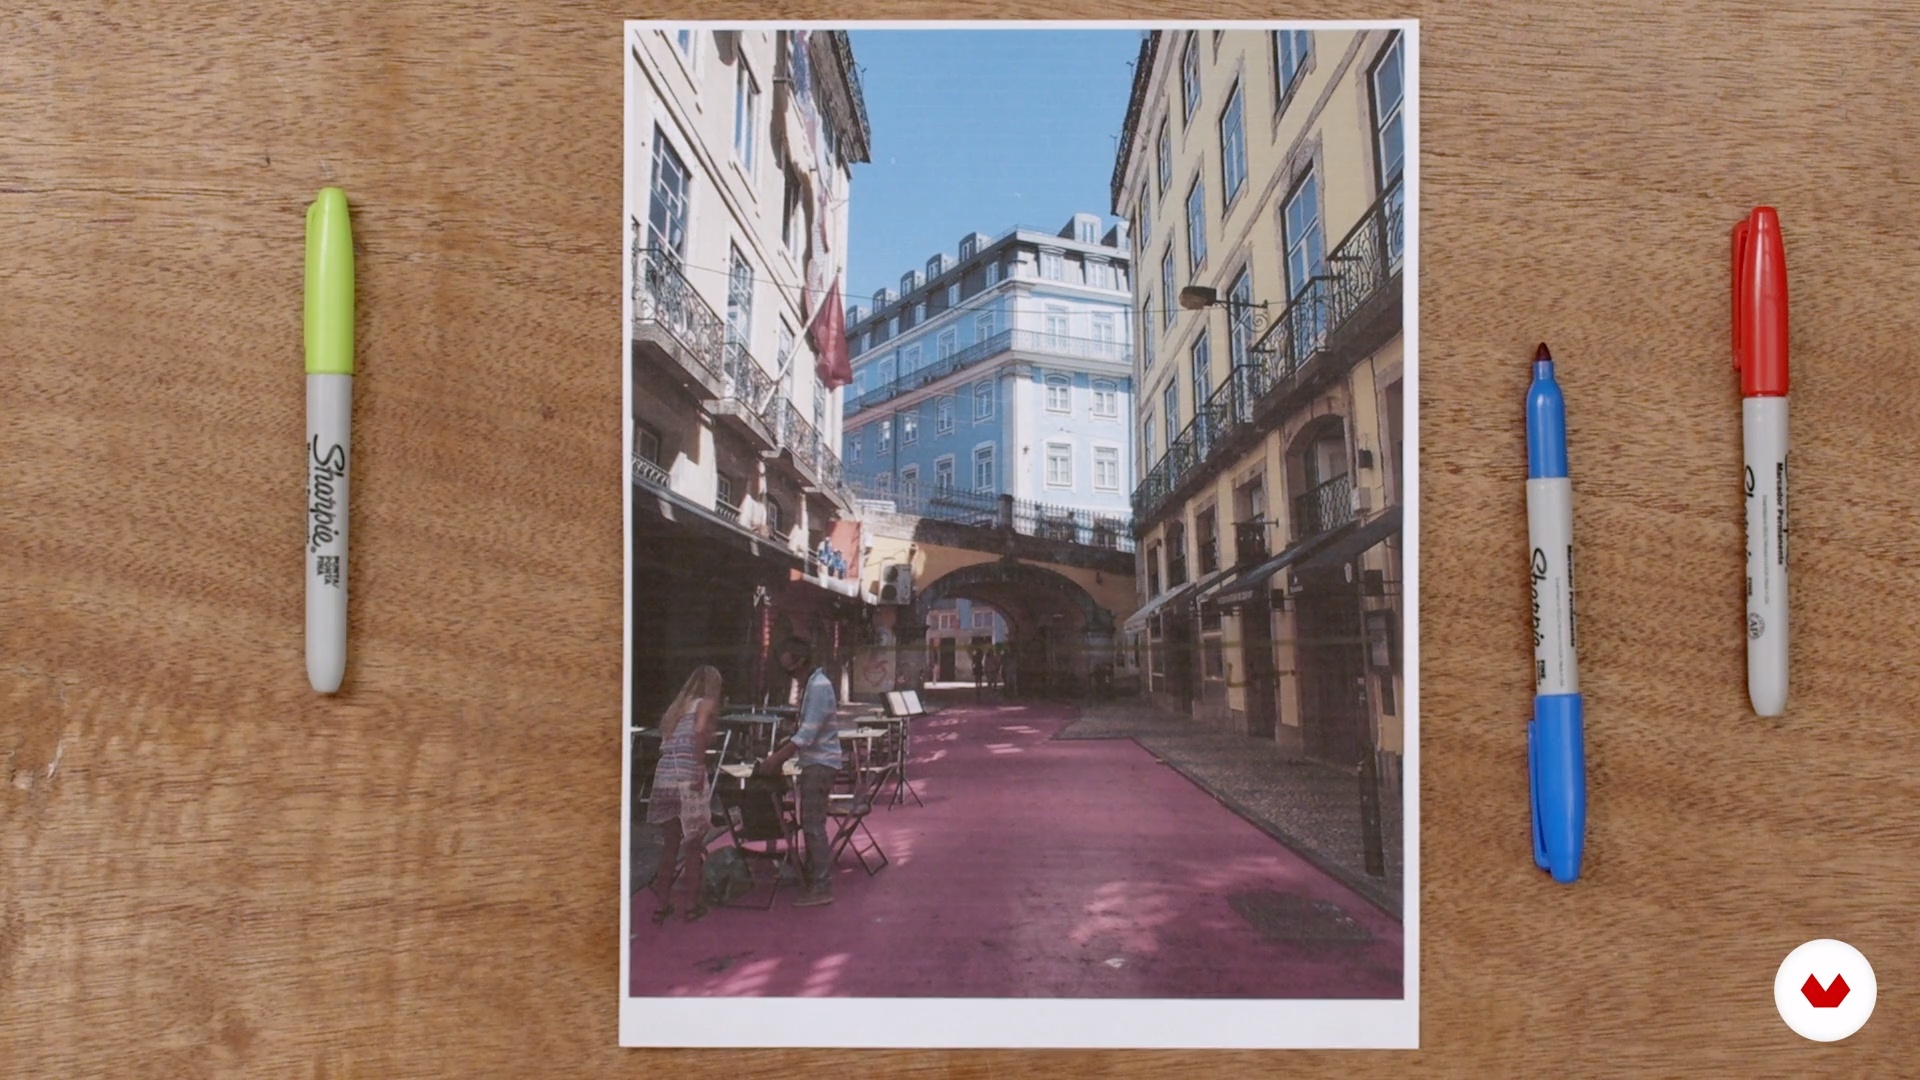
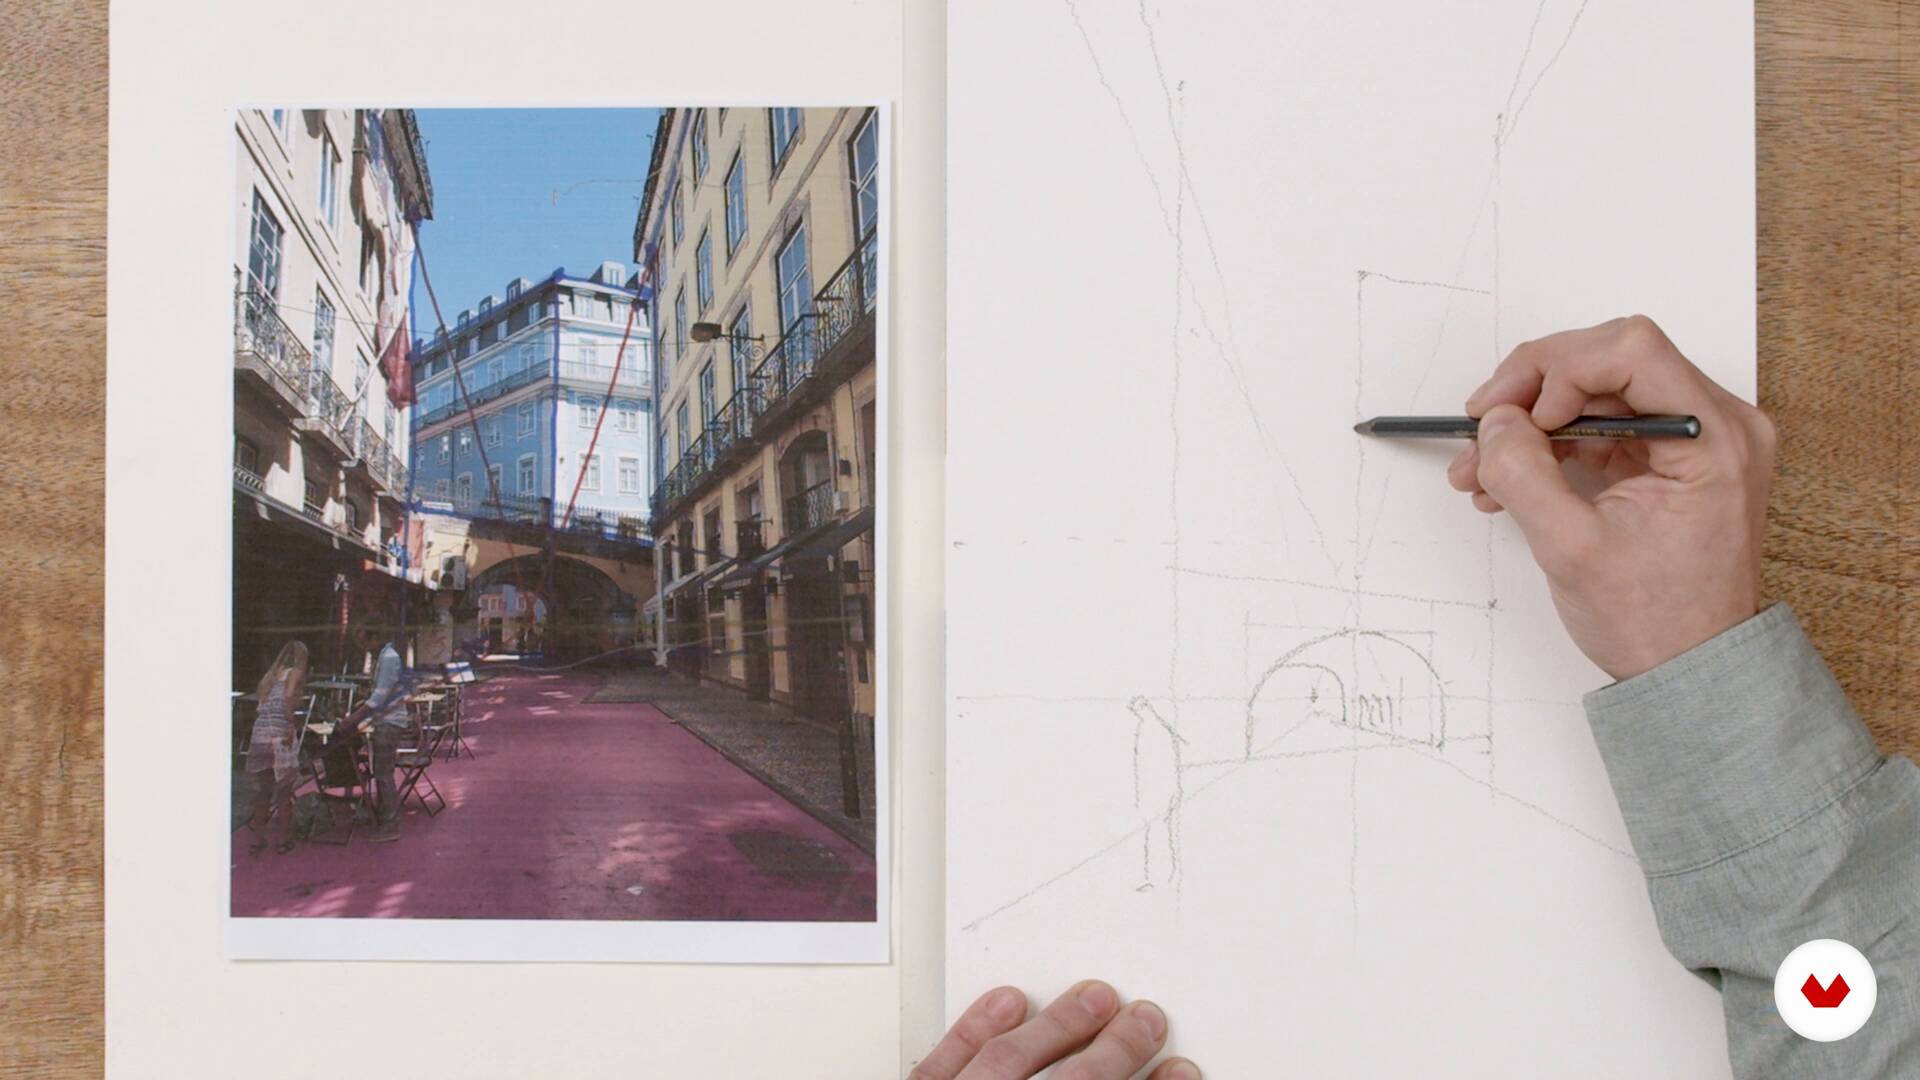
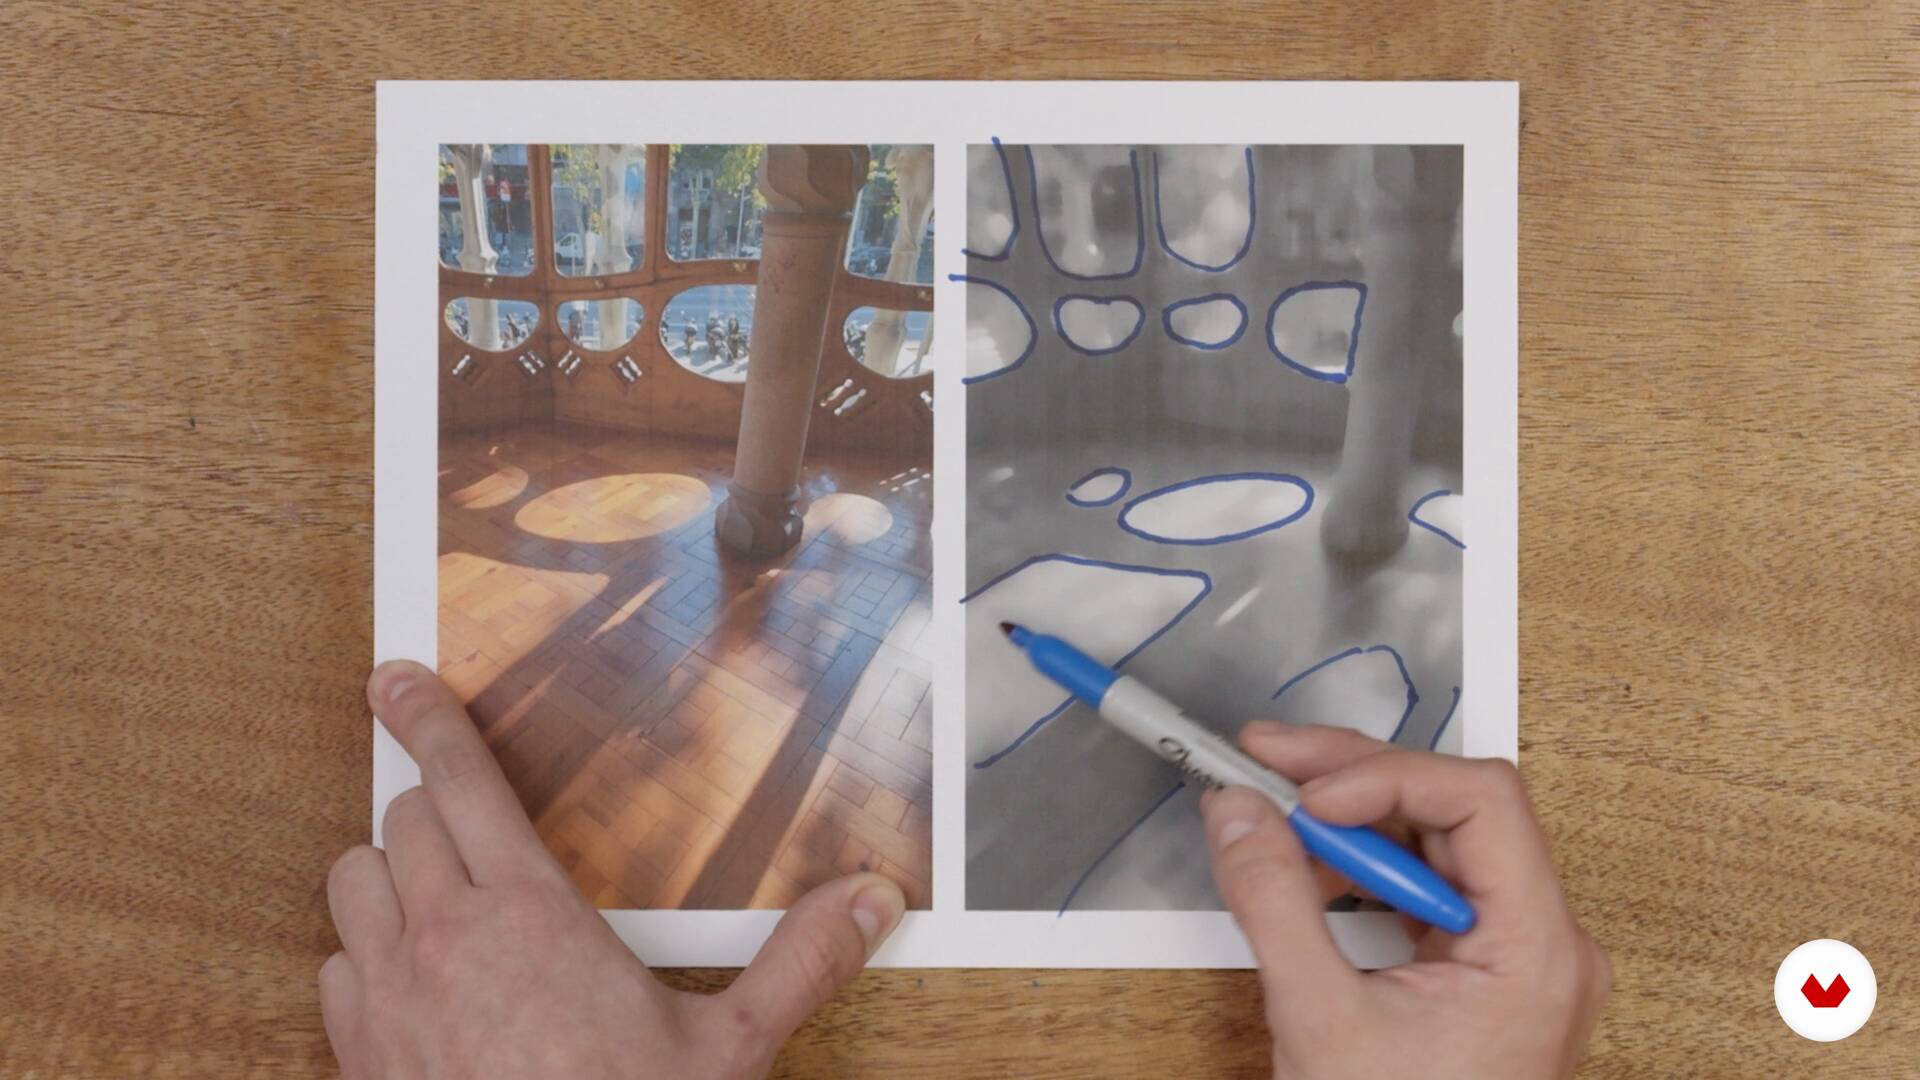
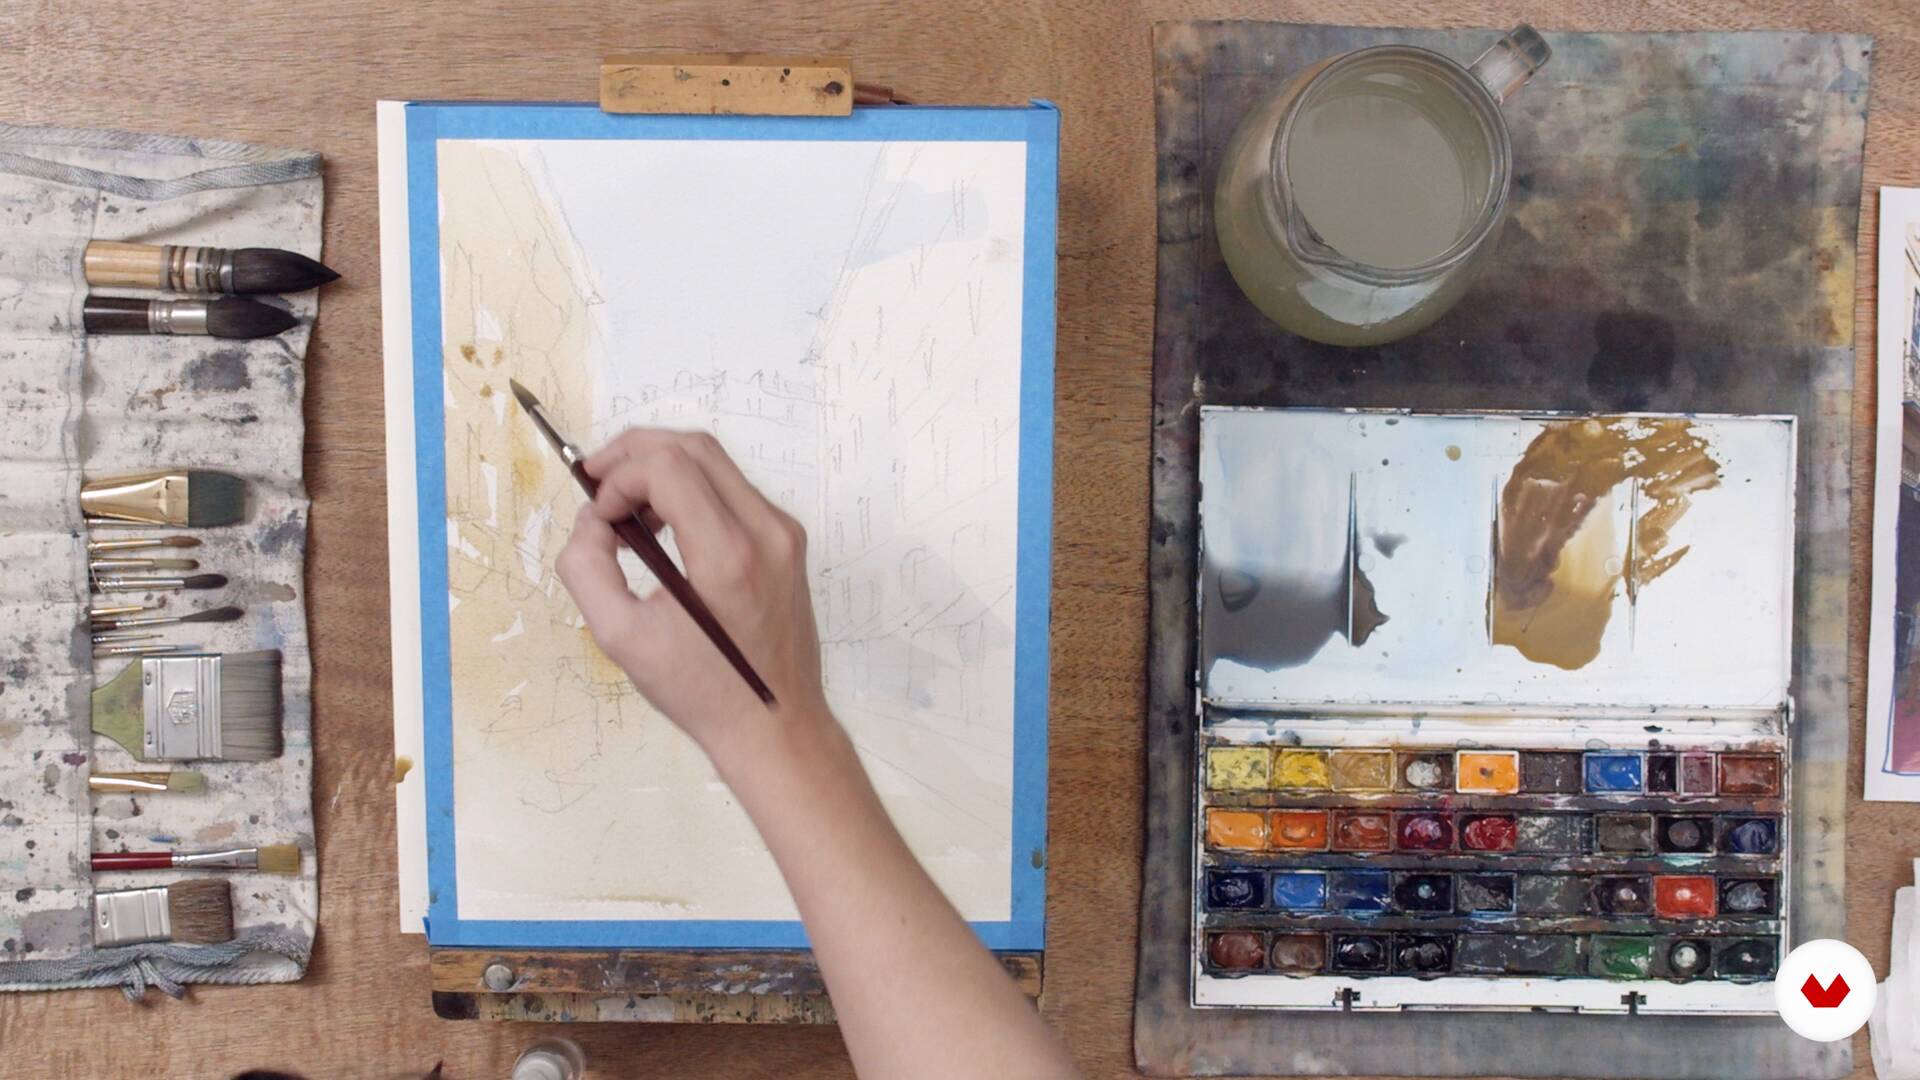
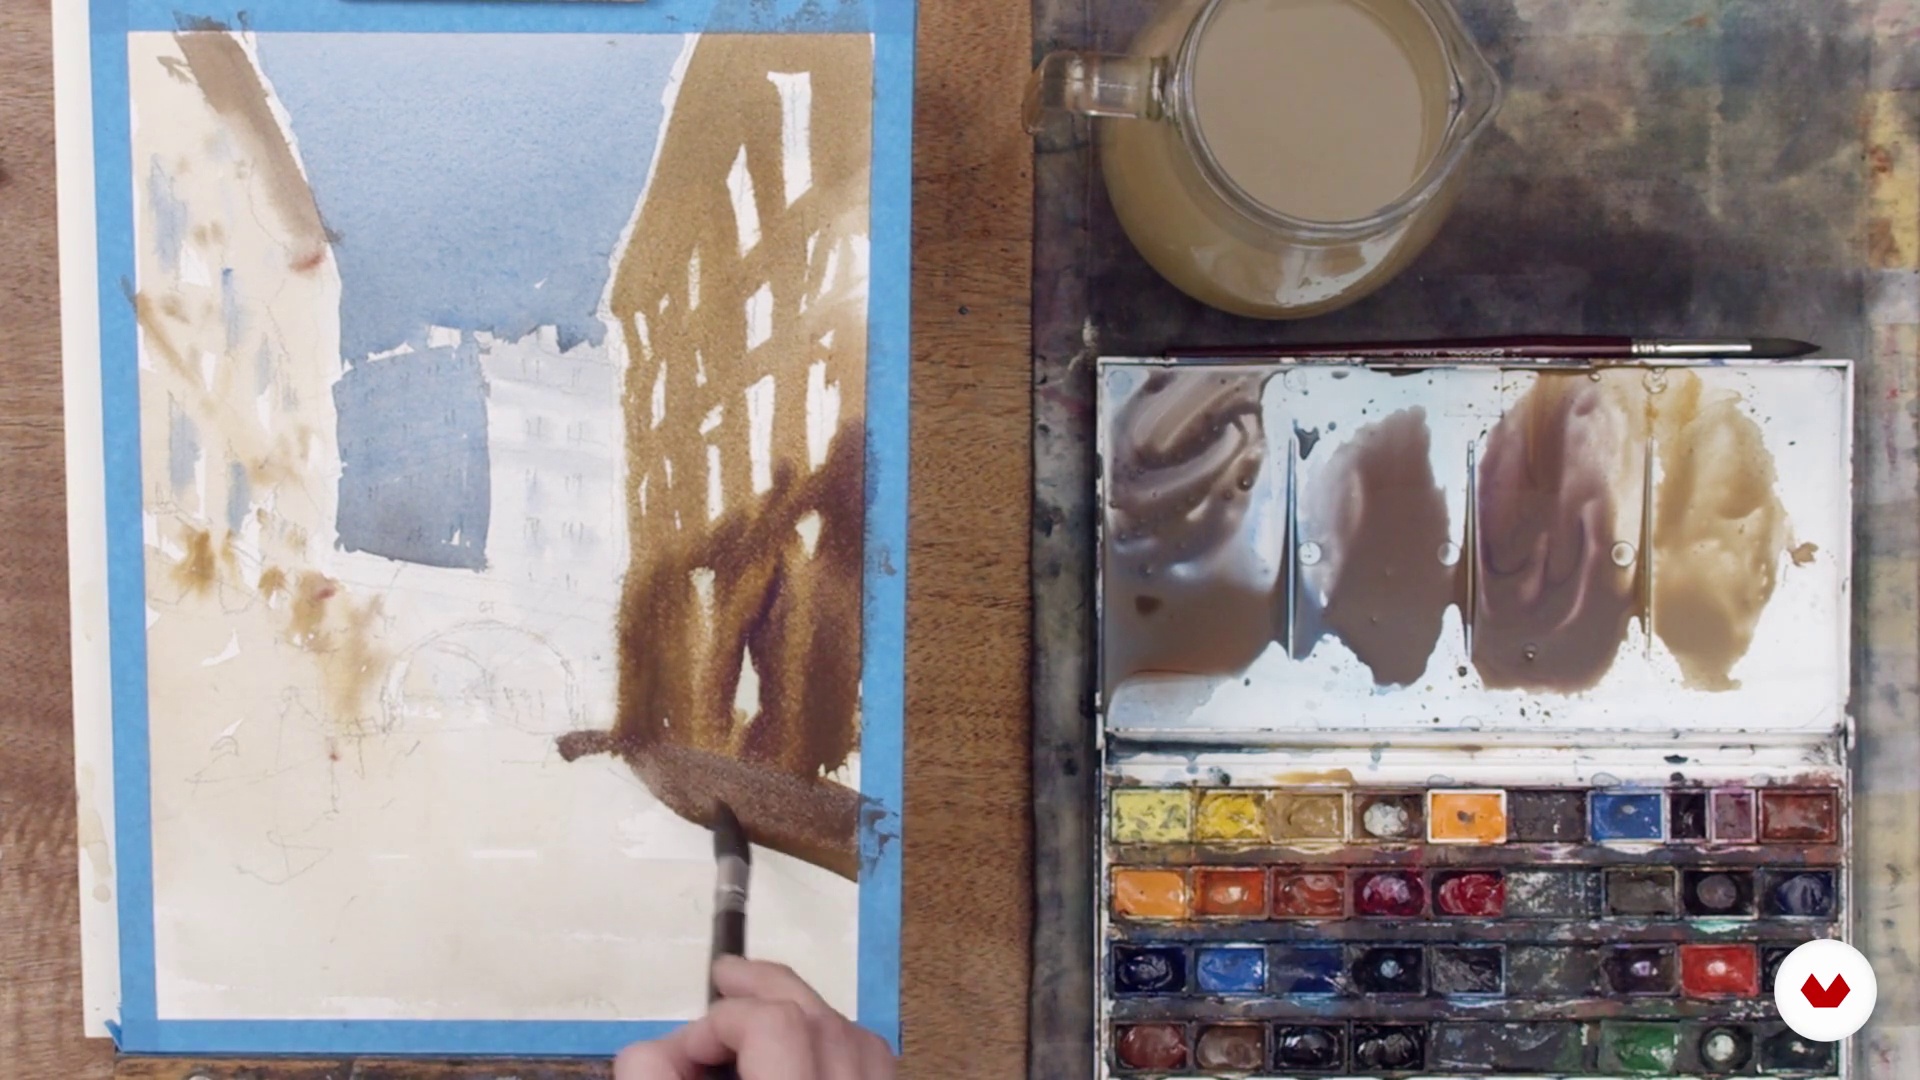
Dive into expressive portraiture and technical realism as you learn to create compelling artwork. Develop the ability to capture authentic emotions and moods while mastering techniques to achieve hyperrealistic effects. Integrate architectural precision with artistic flair using watercolor to bring your cityscapes to life. By the end of this specialization, you'll have a cohesive portfolio reflecting your unique artistic voice and demonstrating your versatility with traditional media. Whether you aim to enrich your personal practice or prepare for exhibitions, this specialization provides the tools and inspiration needed to elevate your drawing skills to new heights.
What will you learn in this specialization?


- 100% positive reviews (12)
- 1,255 students
- 82 lessons (15h 40m)
- 111 additional resources (53 files)
- Online and at your own pace
- Audio: English, Spanish
- Spanish · English · Portuguese · German · French · Italian · Polish · Dutch · Turkish · Romanian · Indonesian
- Level: Beginner
- Unlimited access forever
What is this course's project?
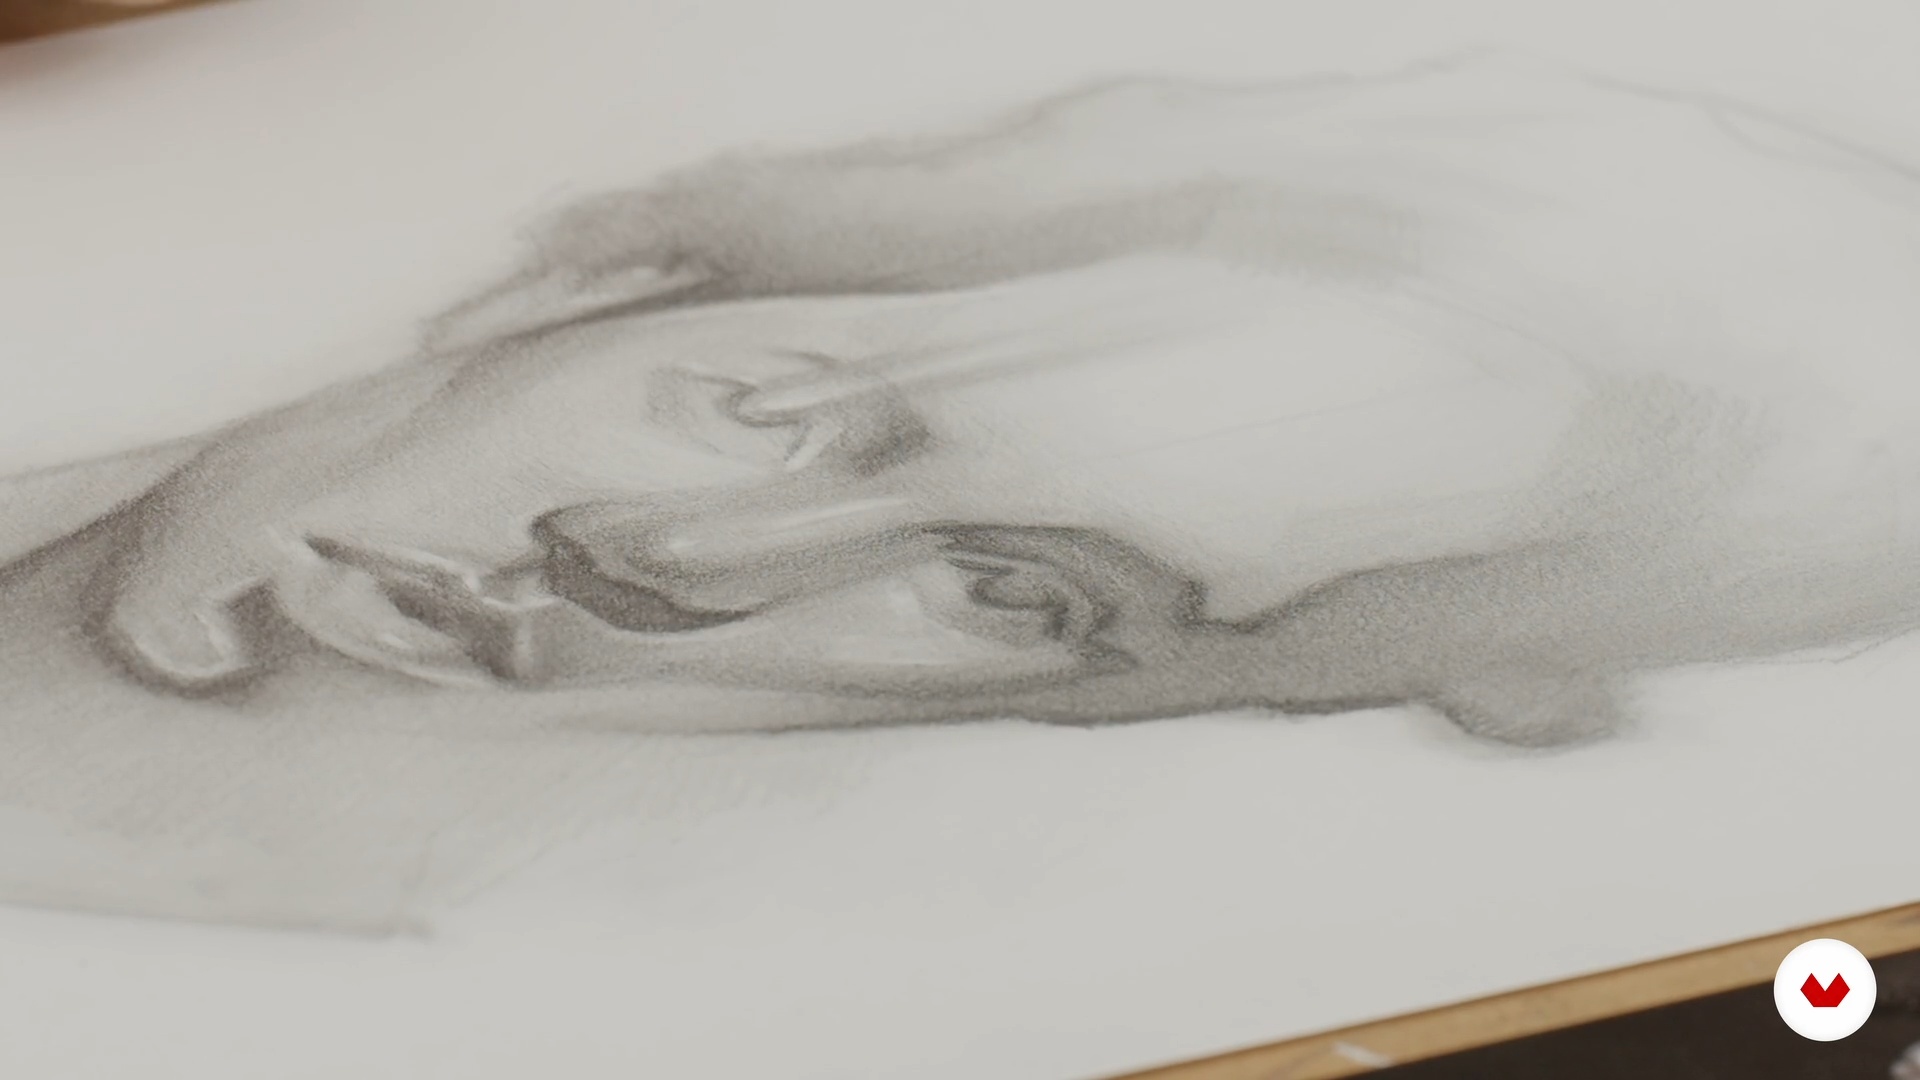
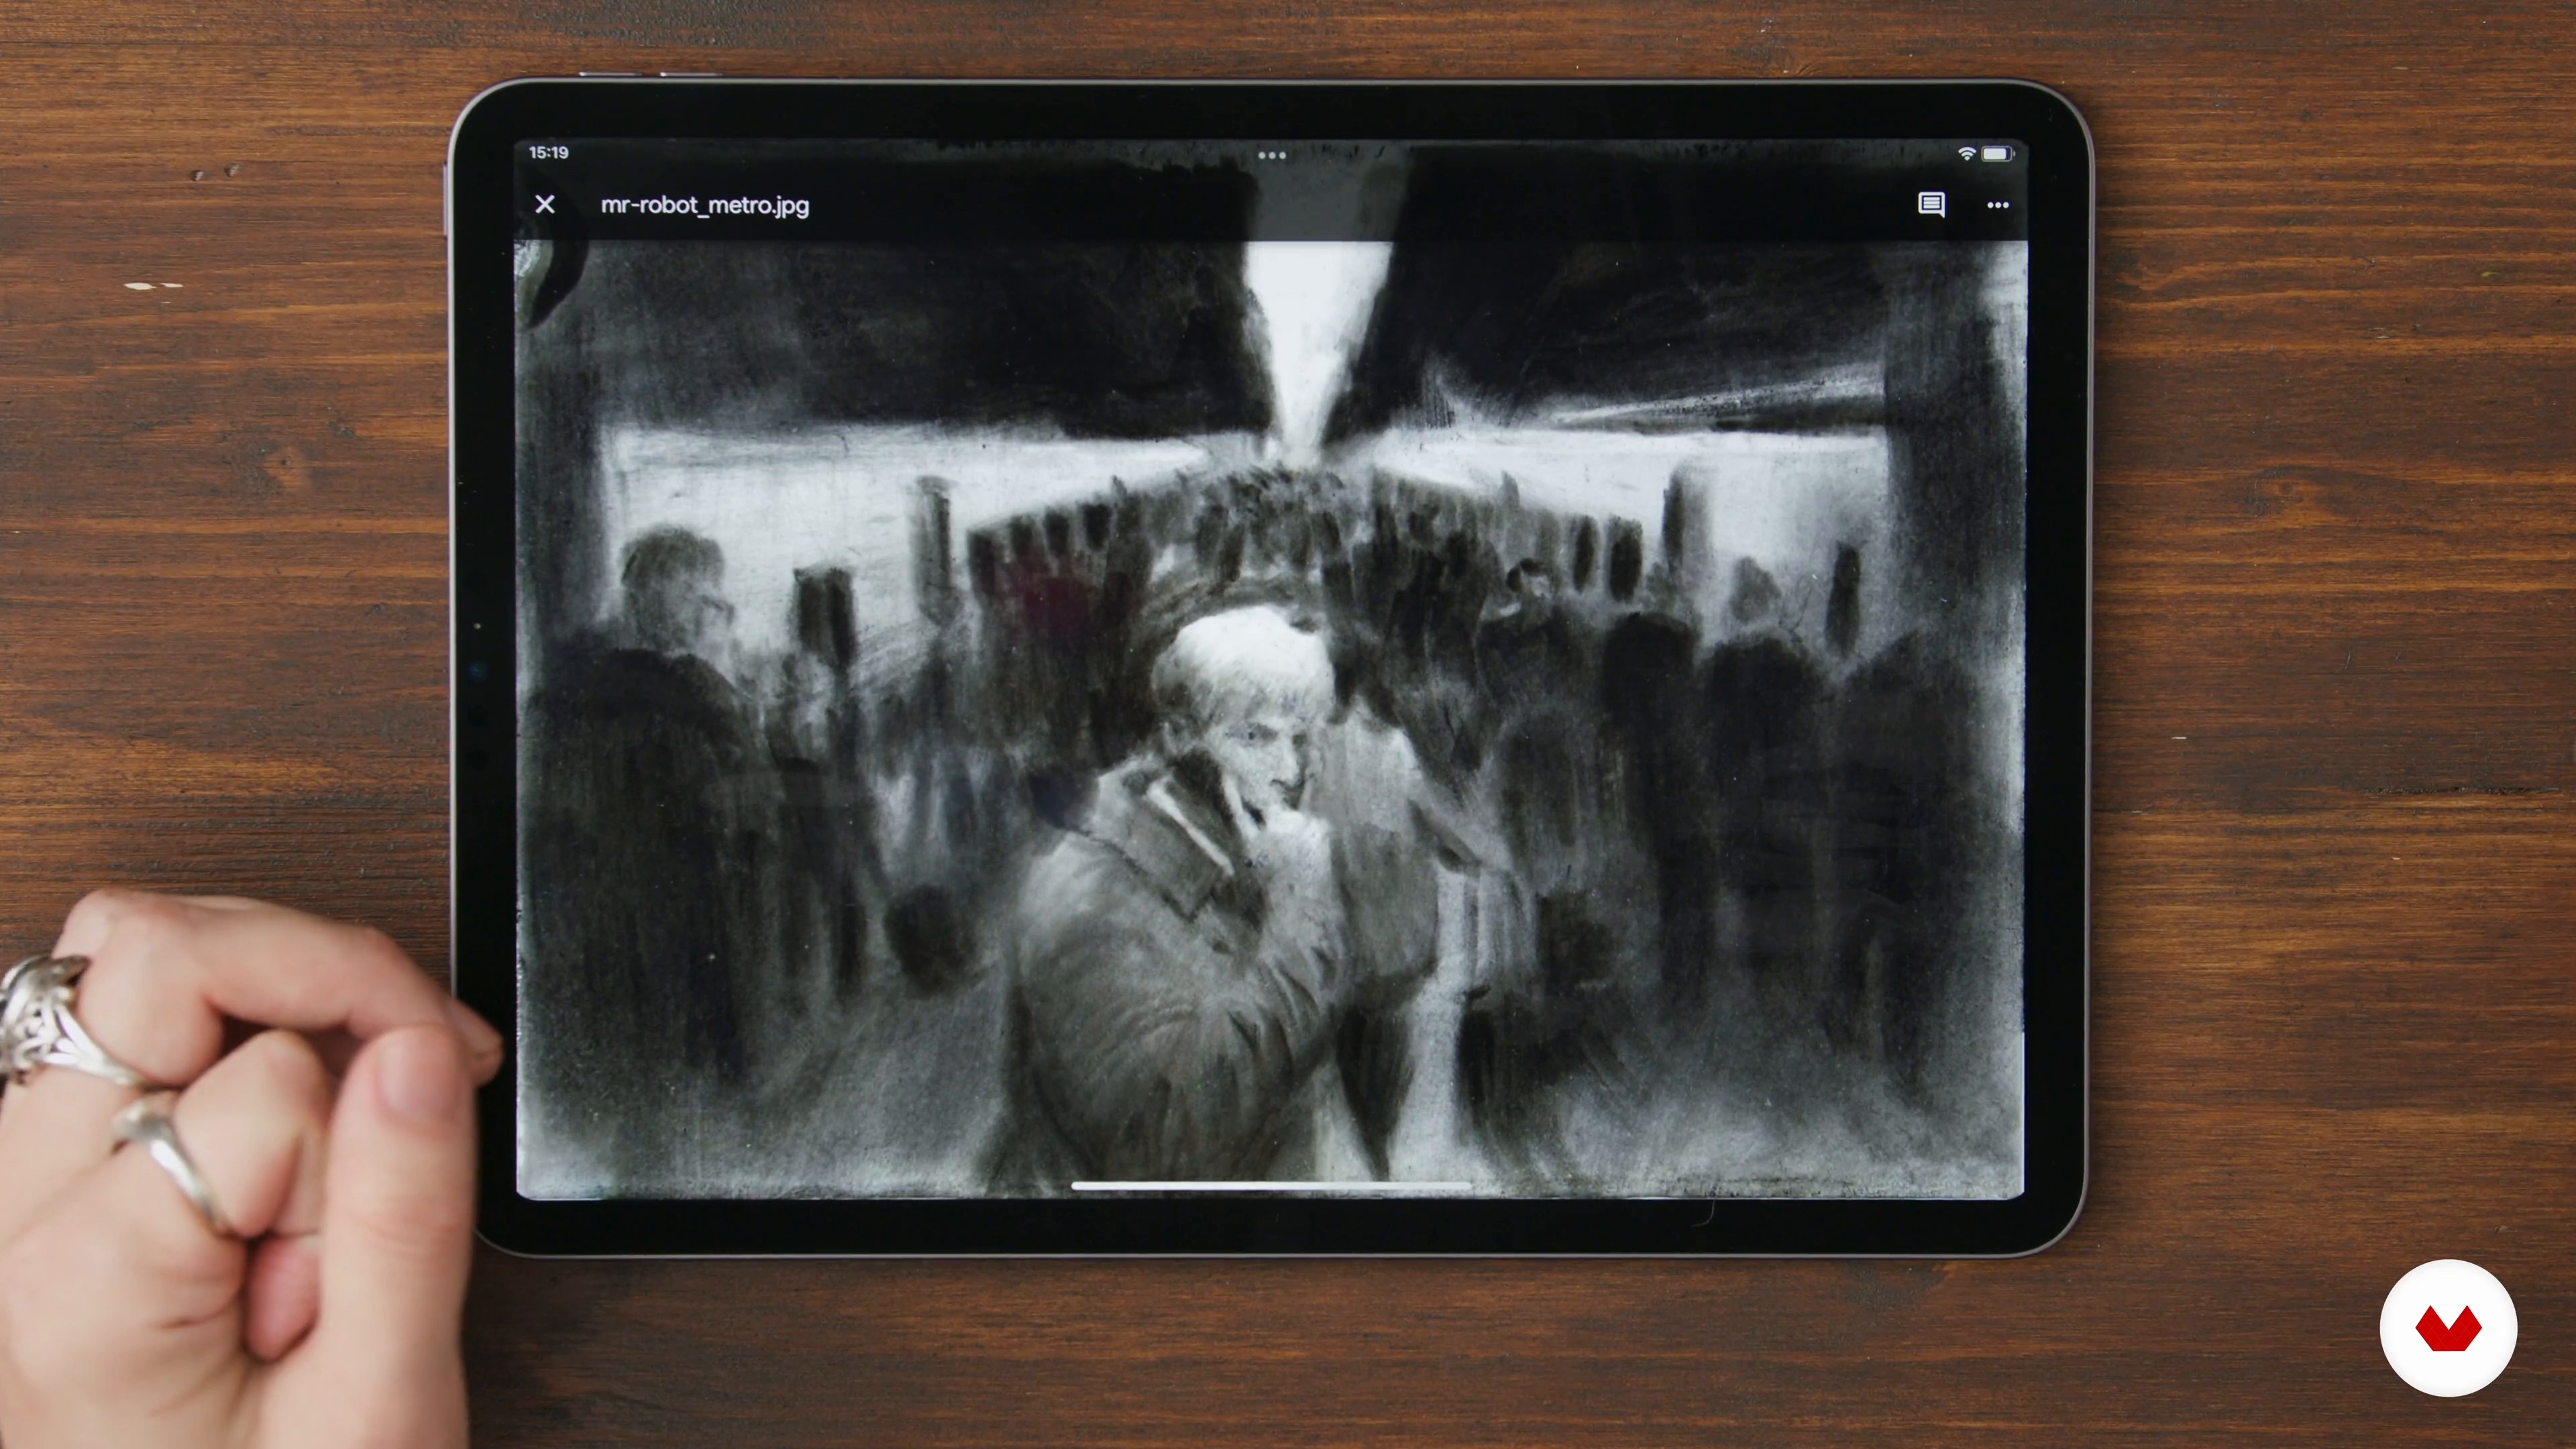
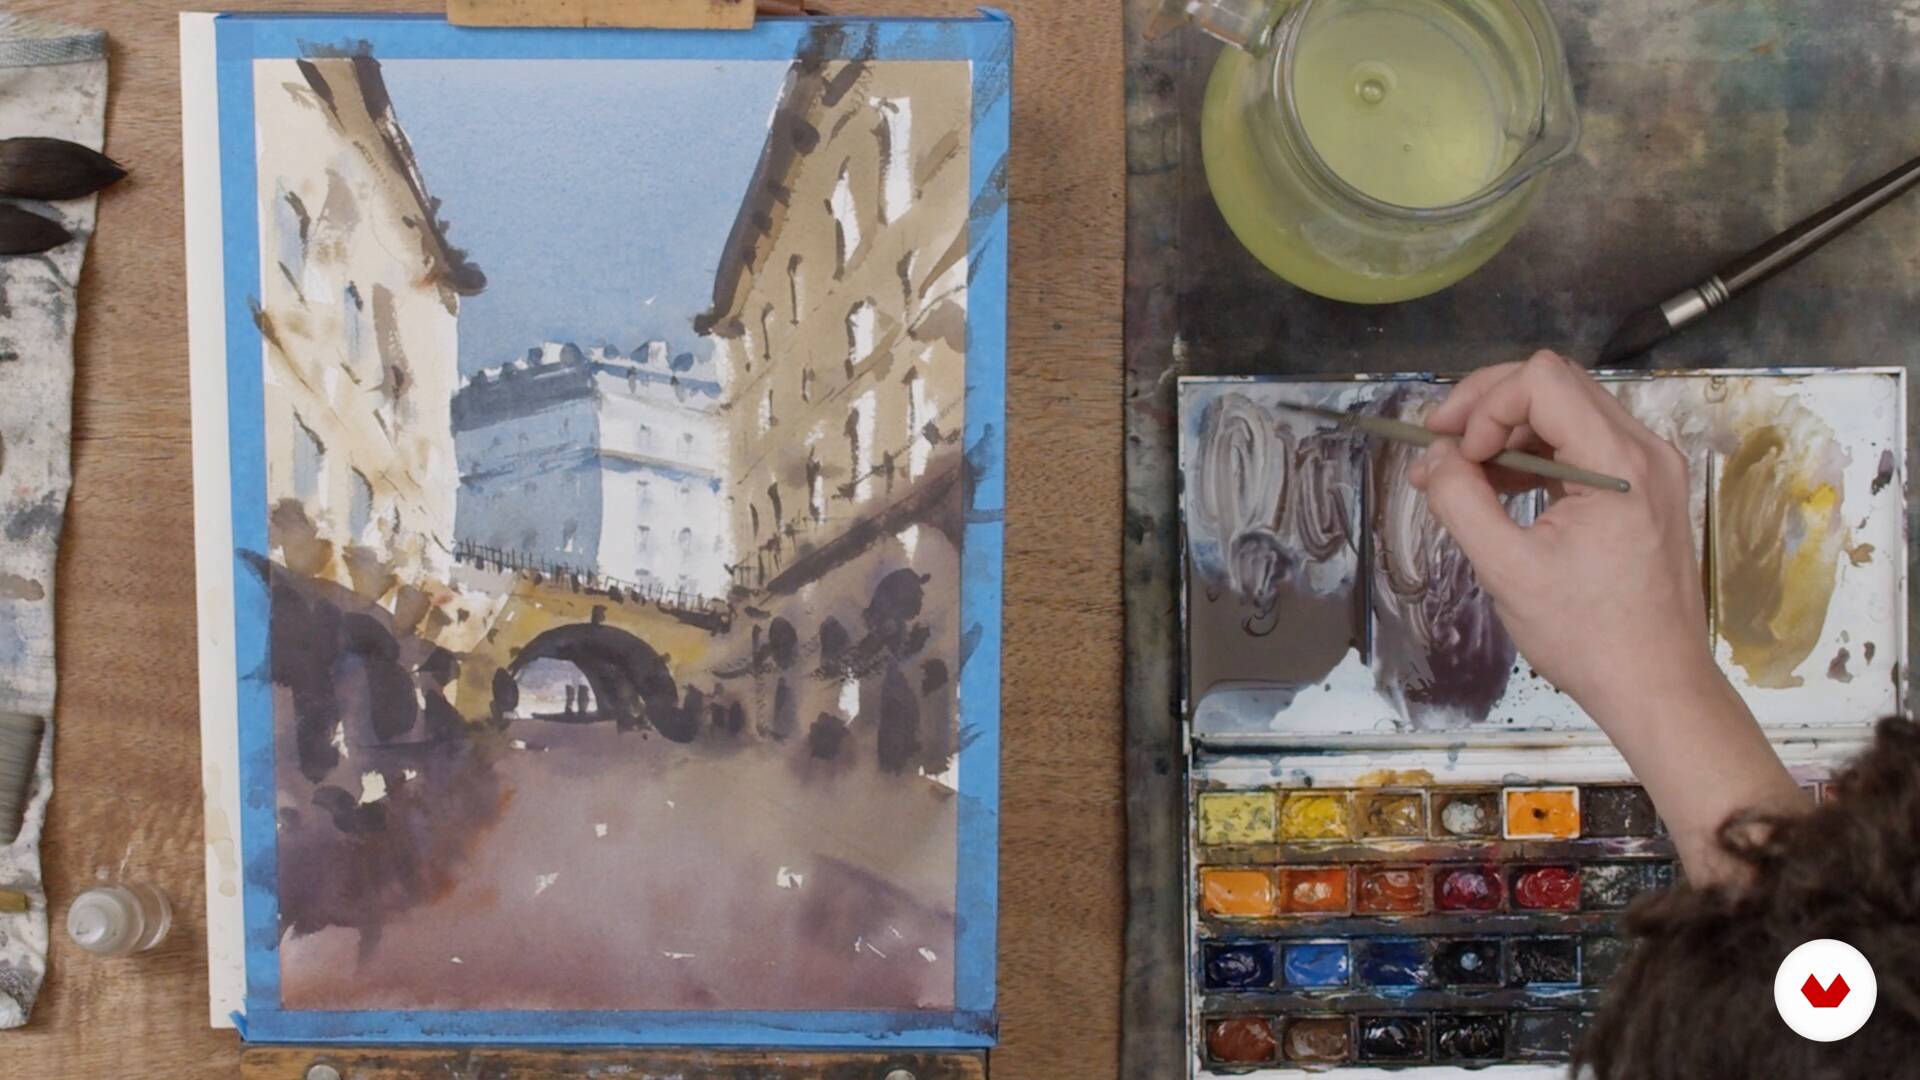
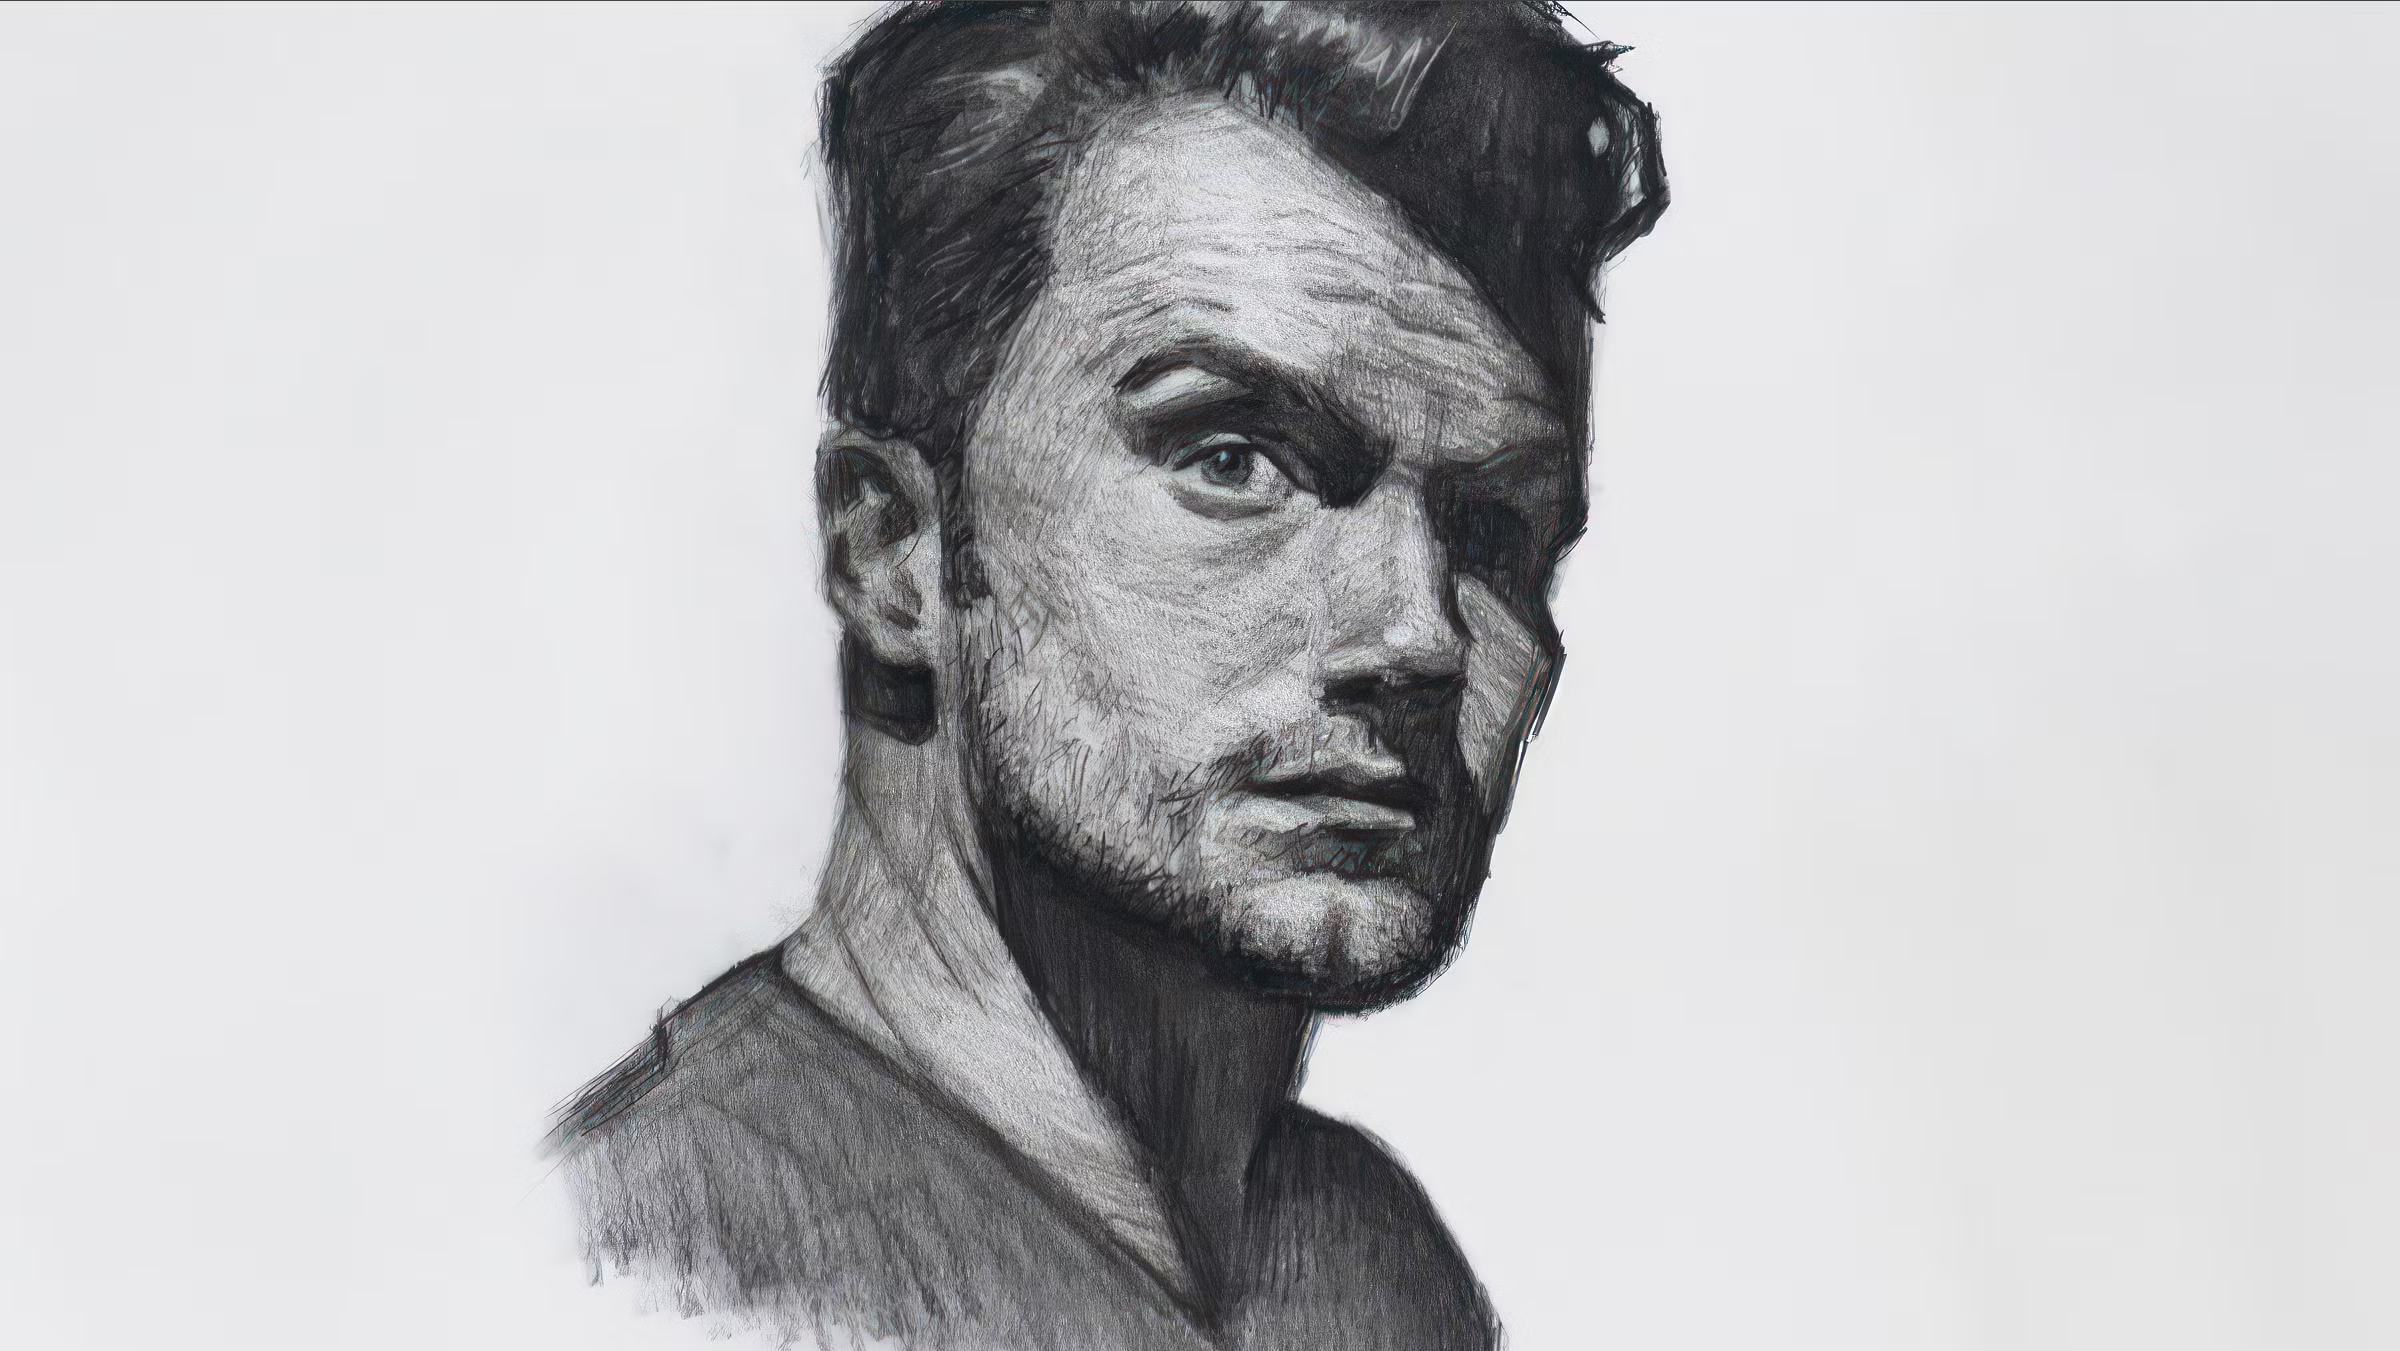
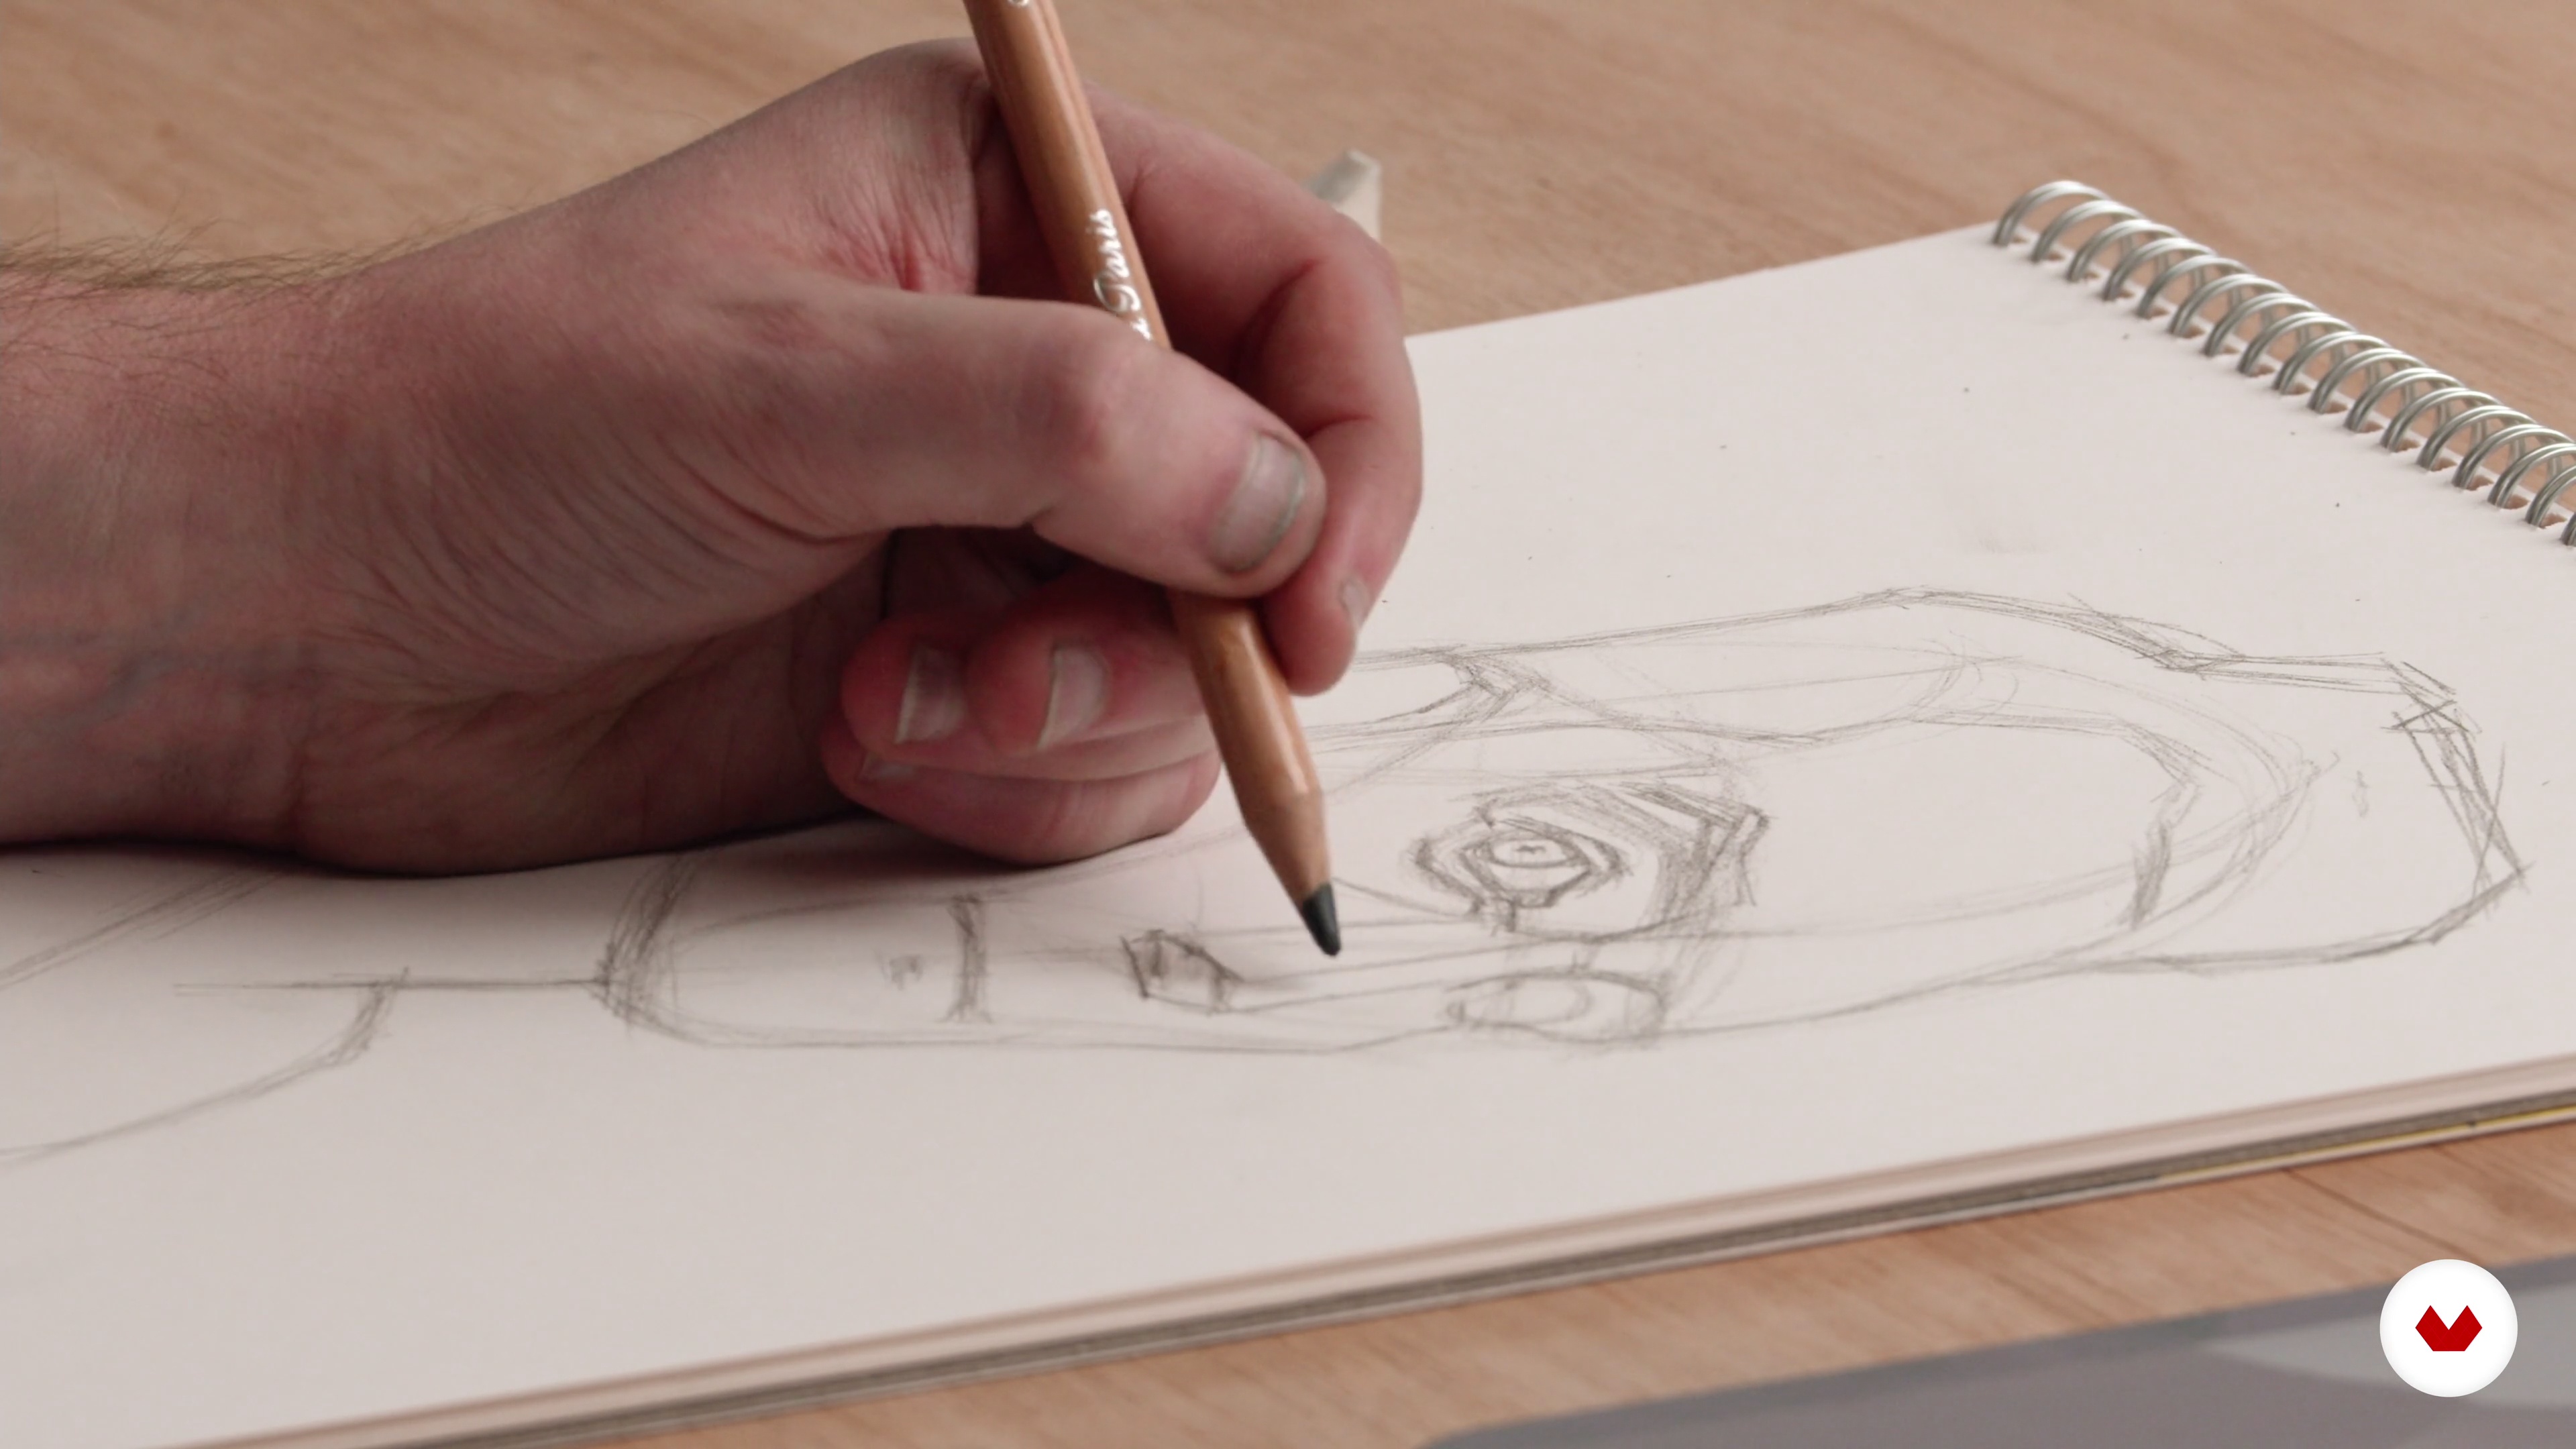
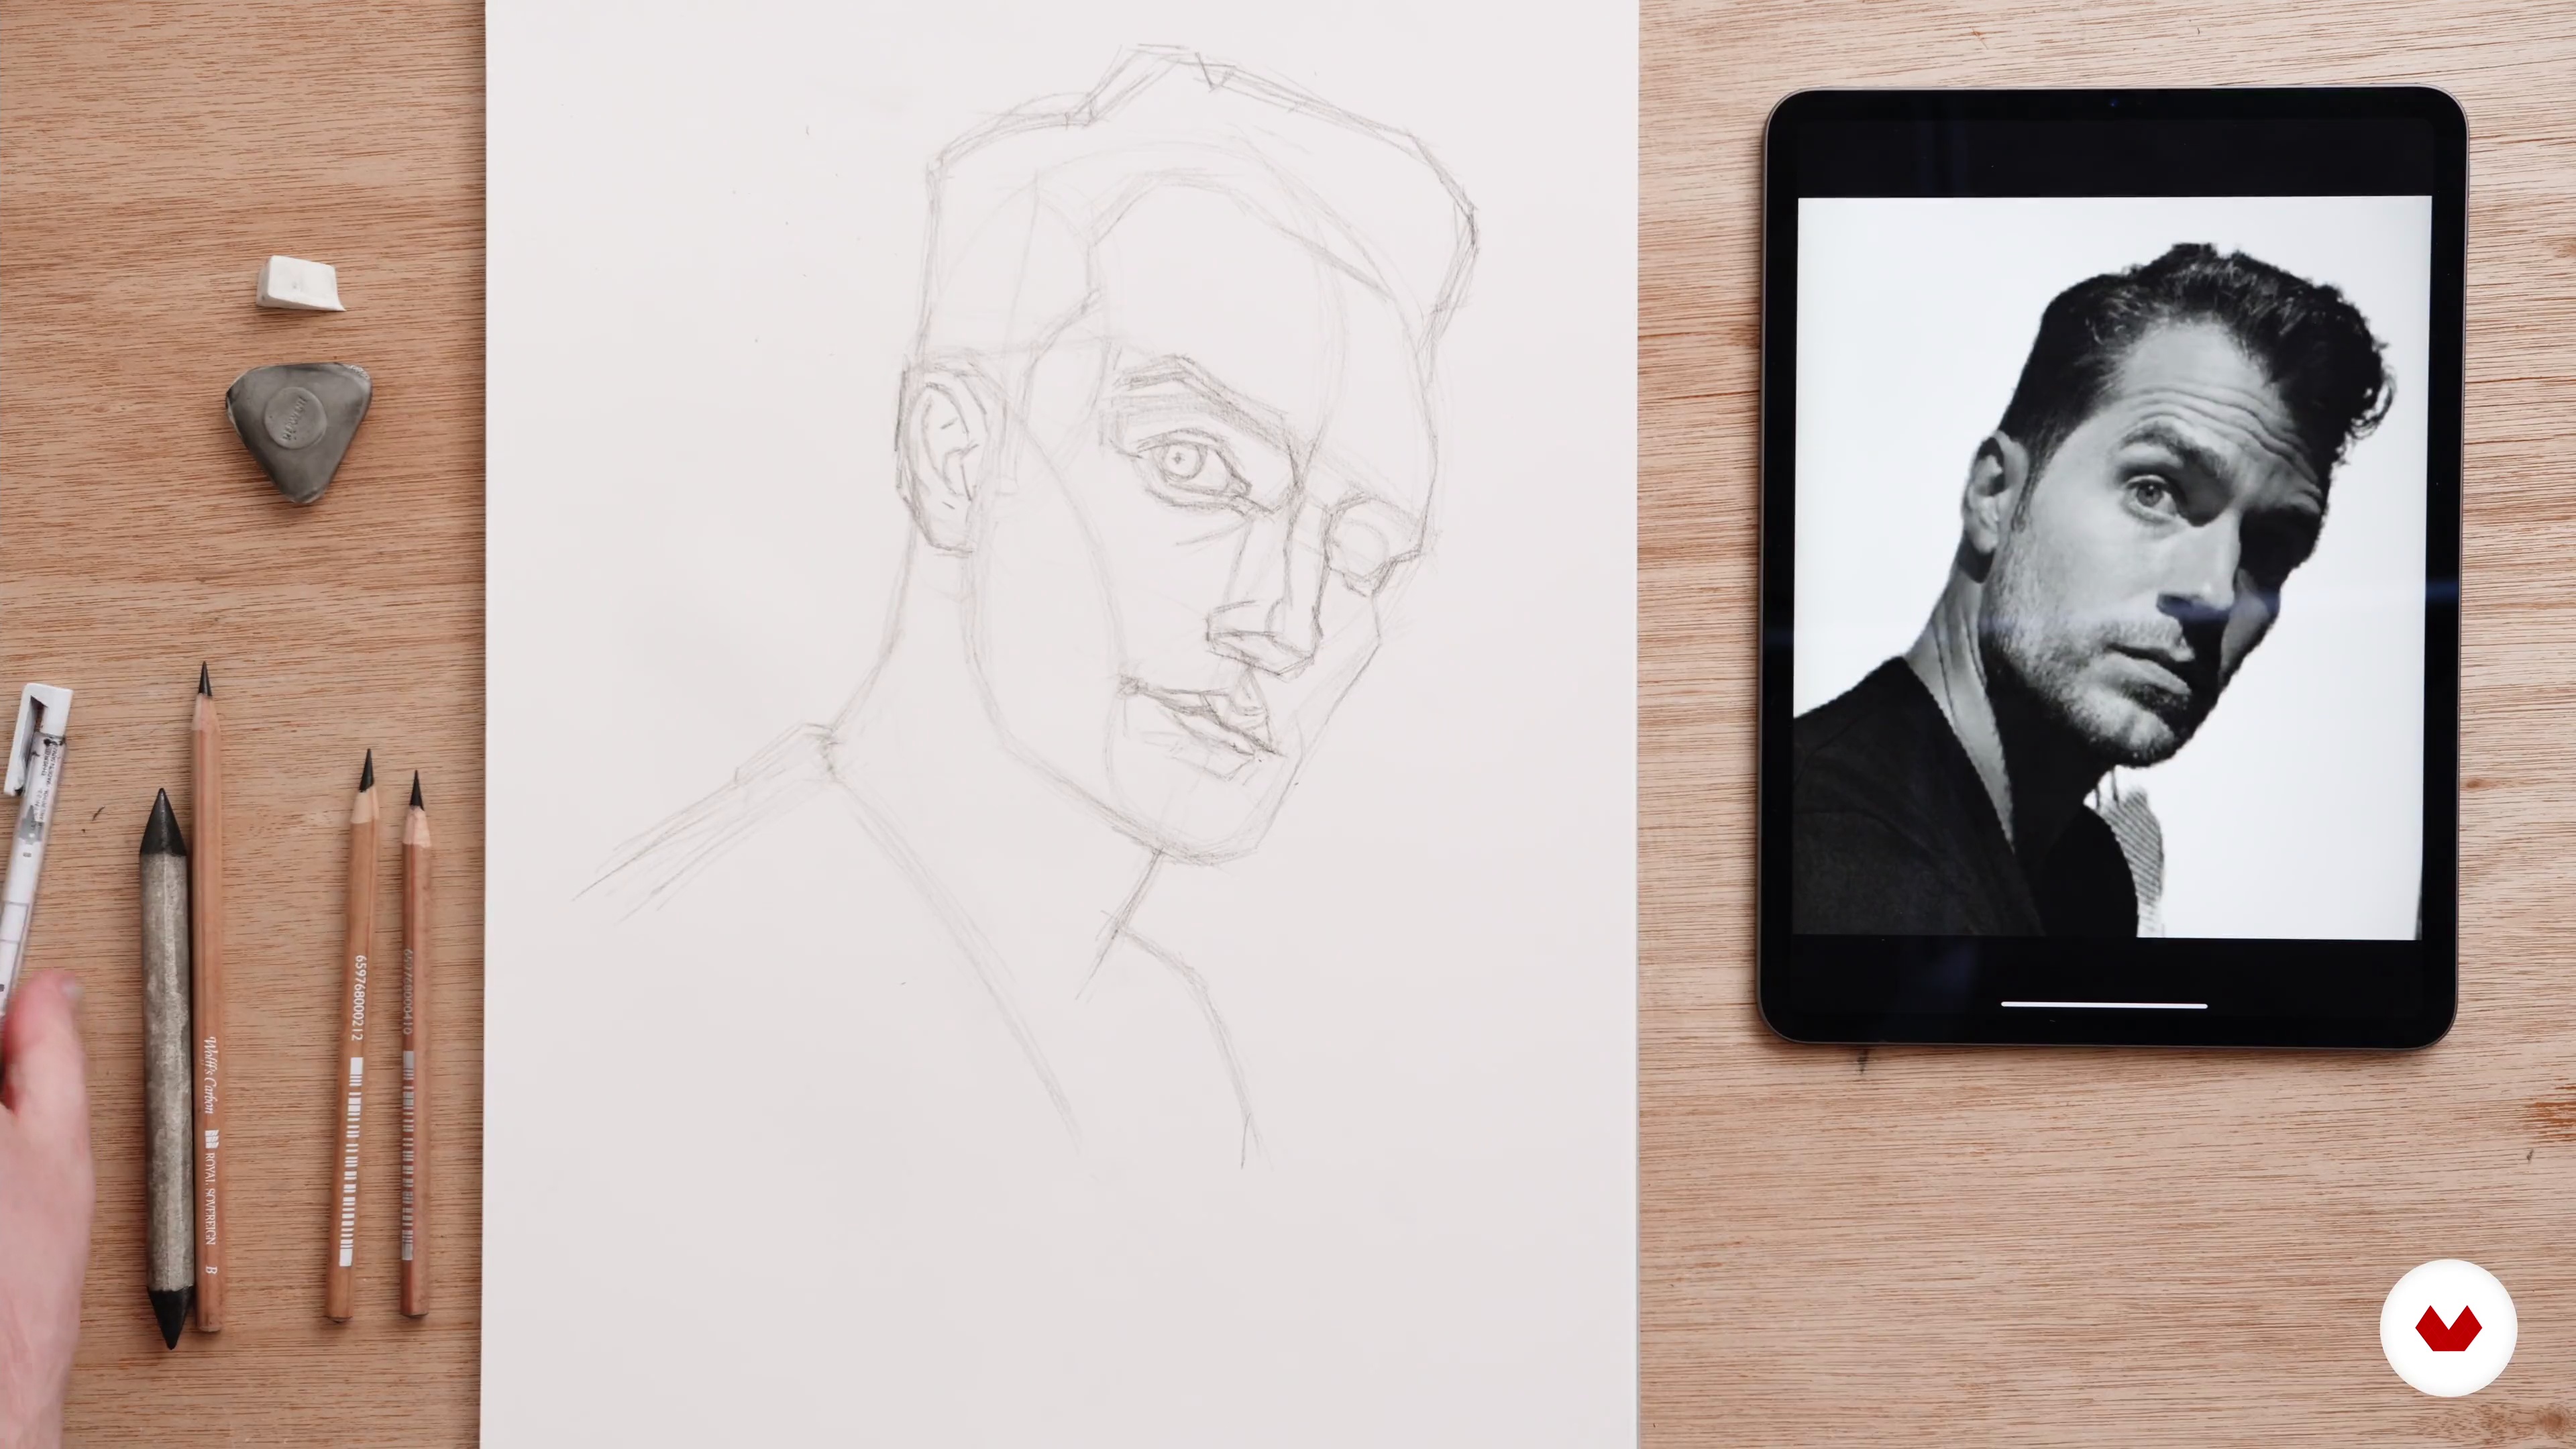
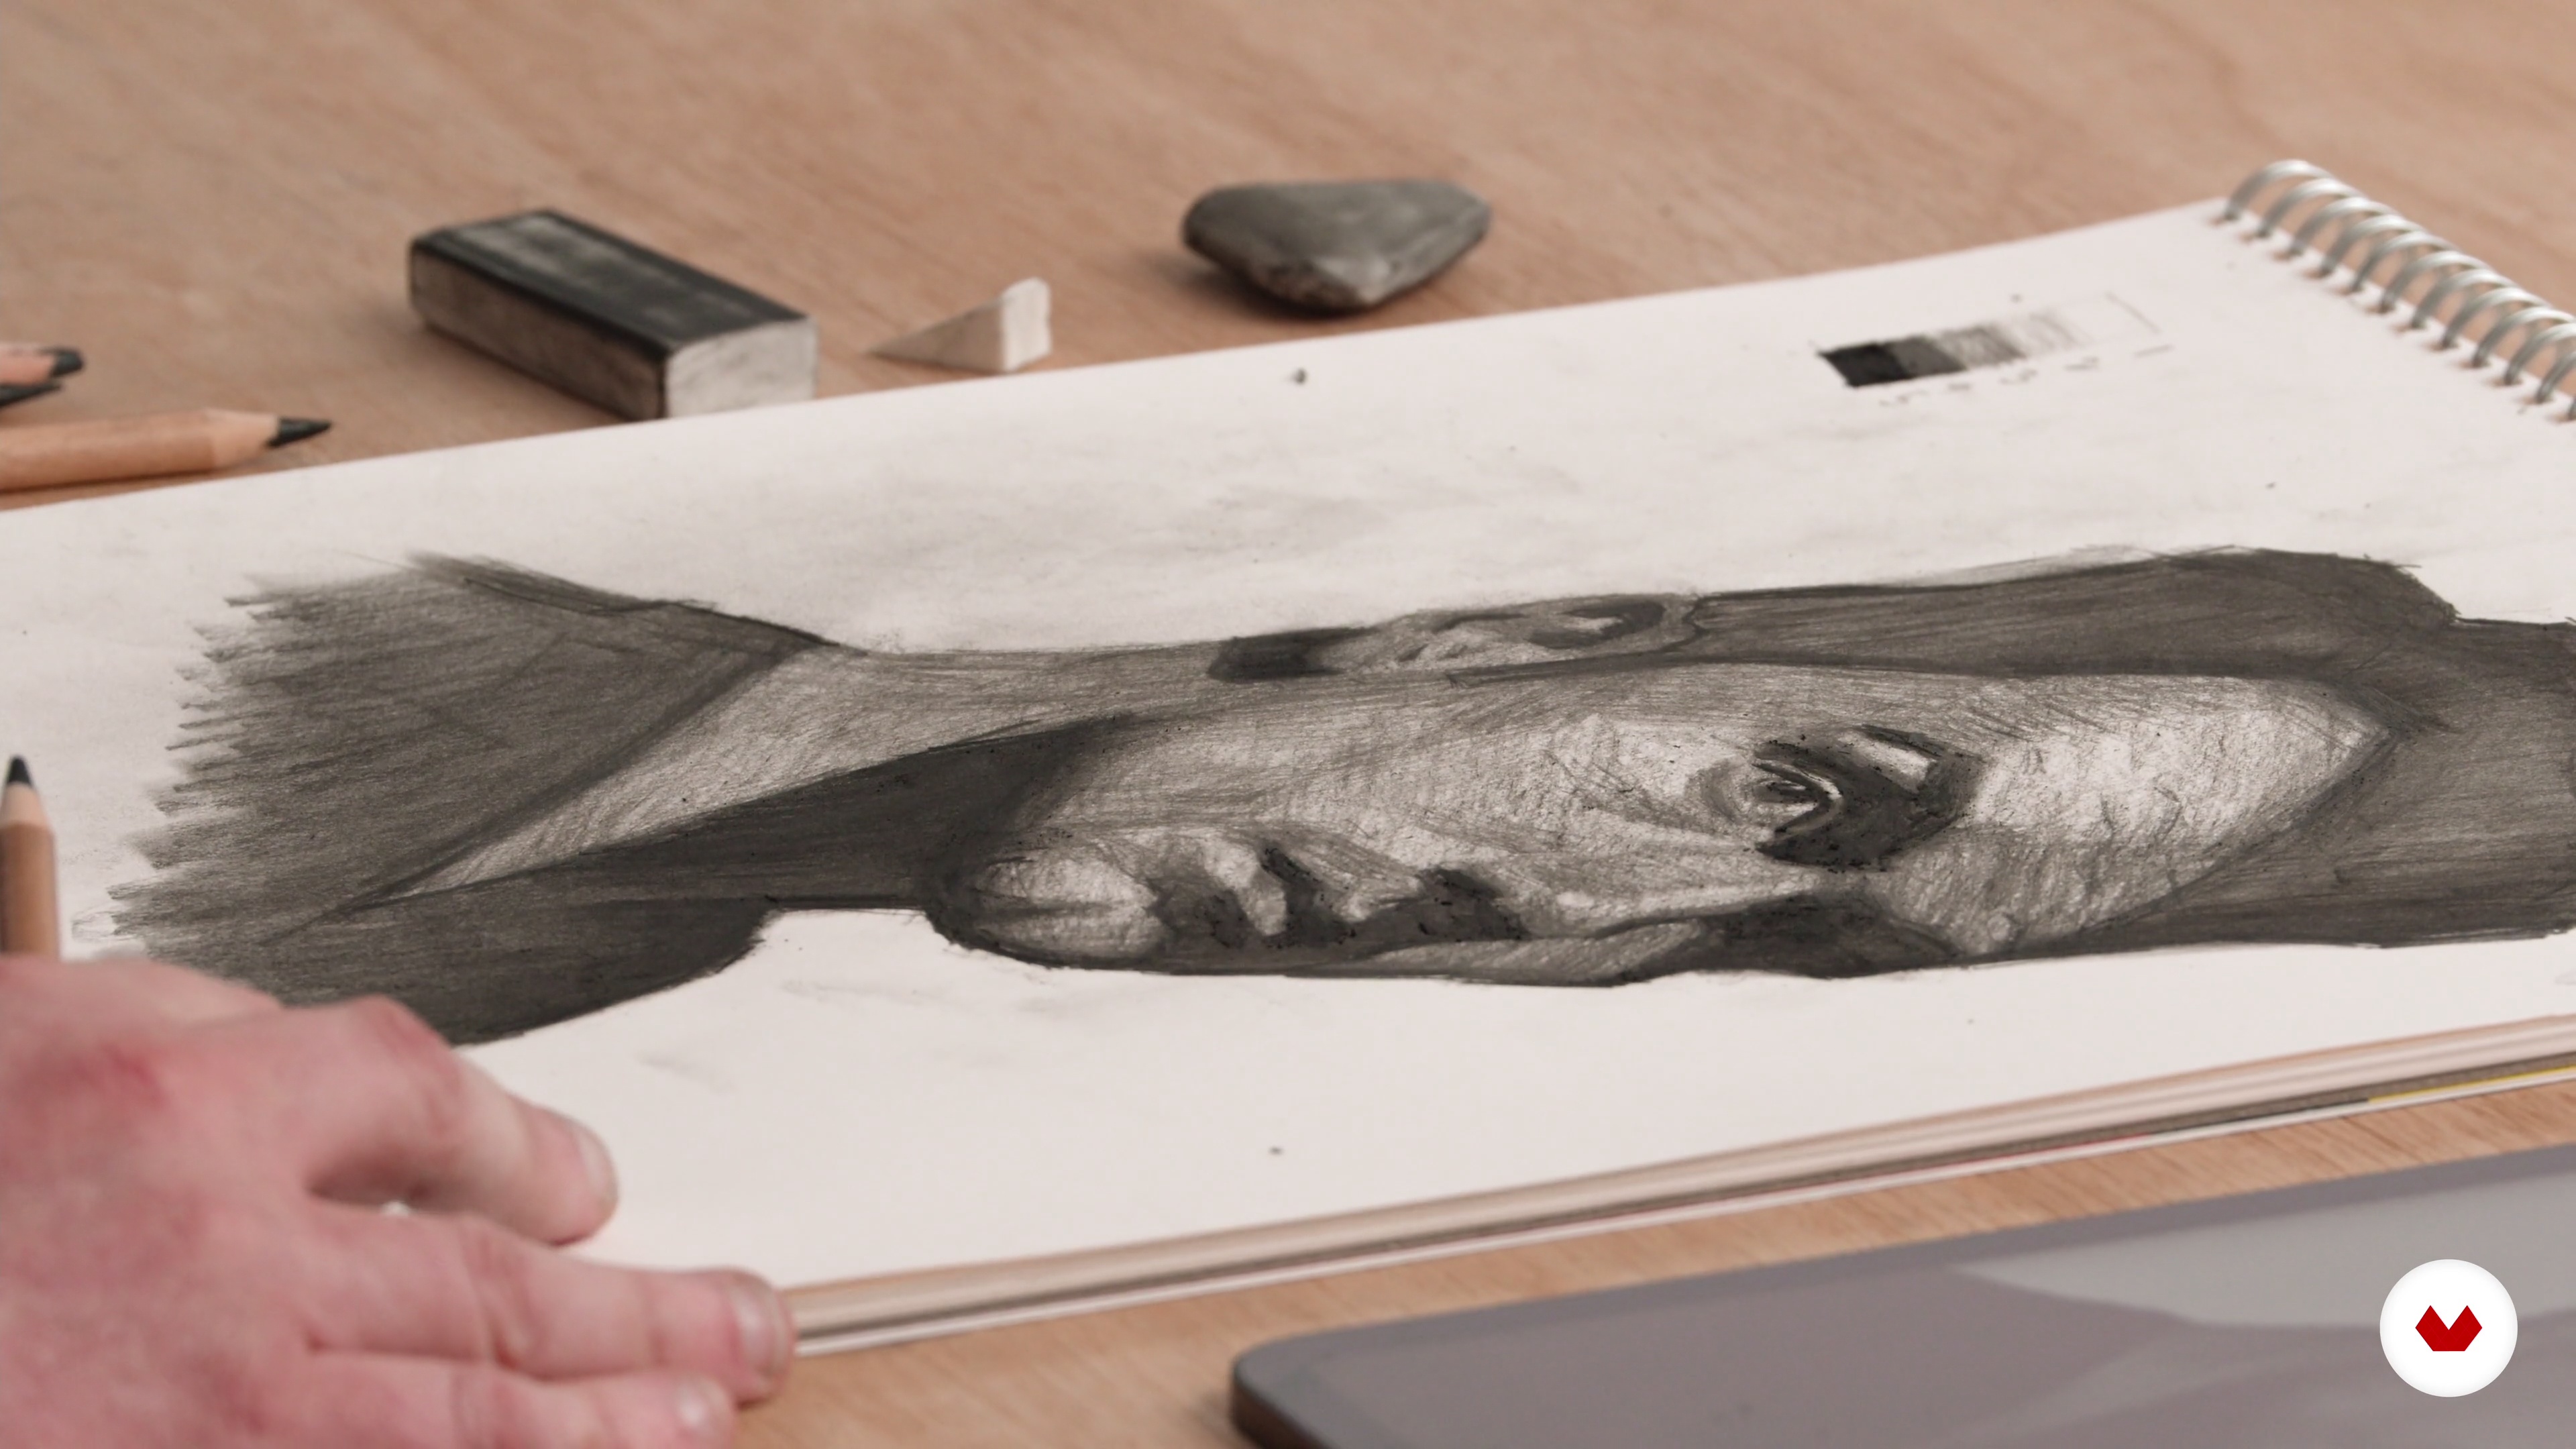
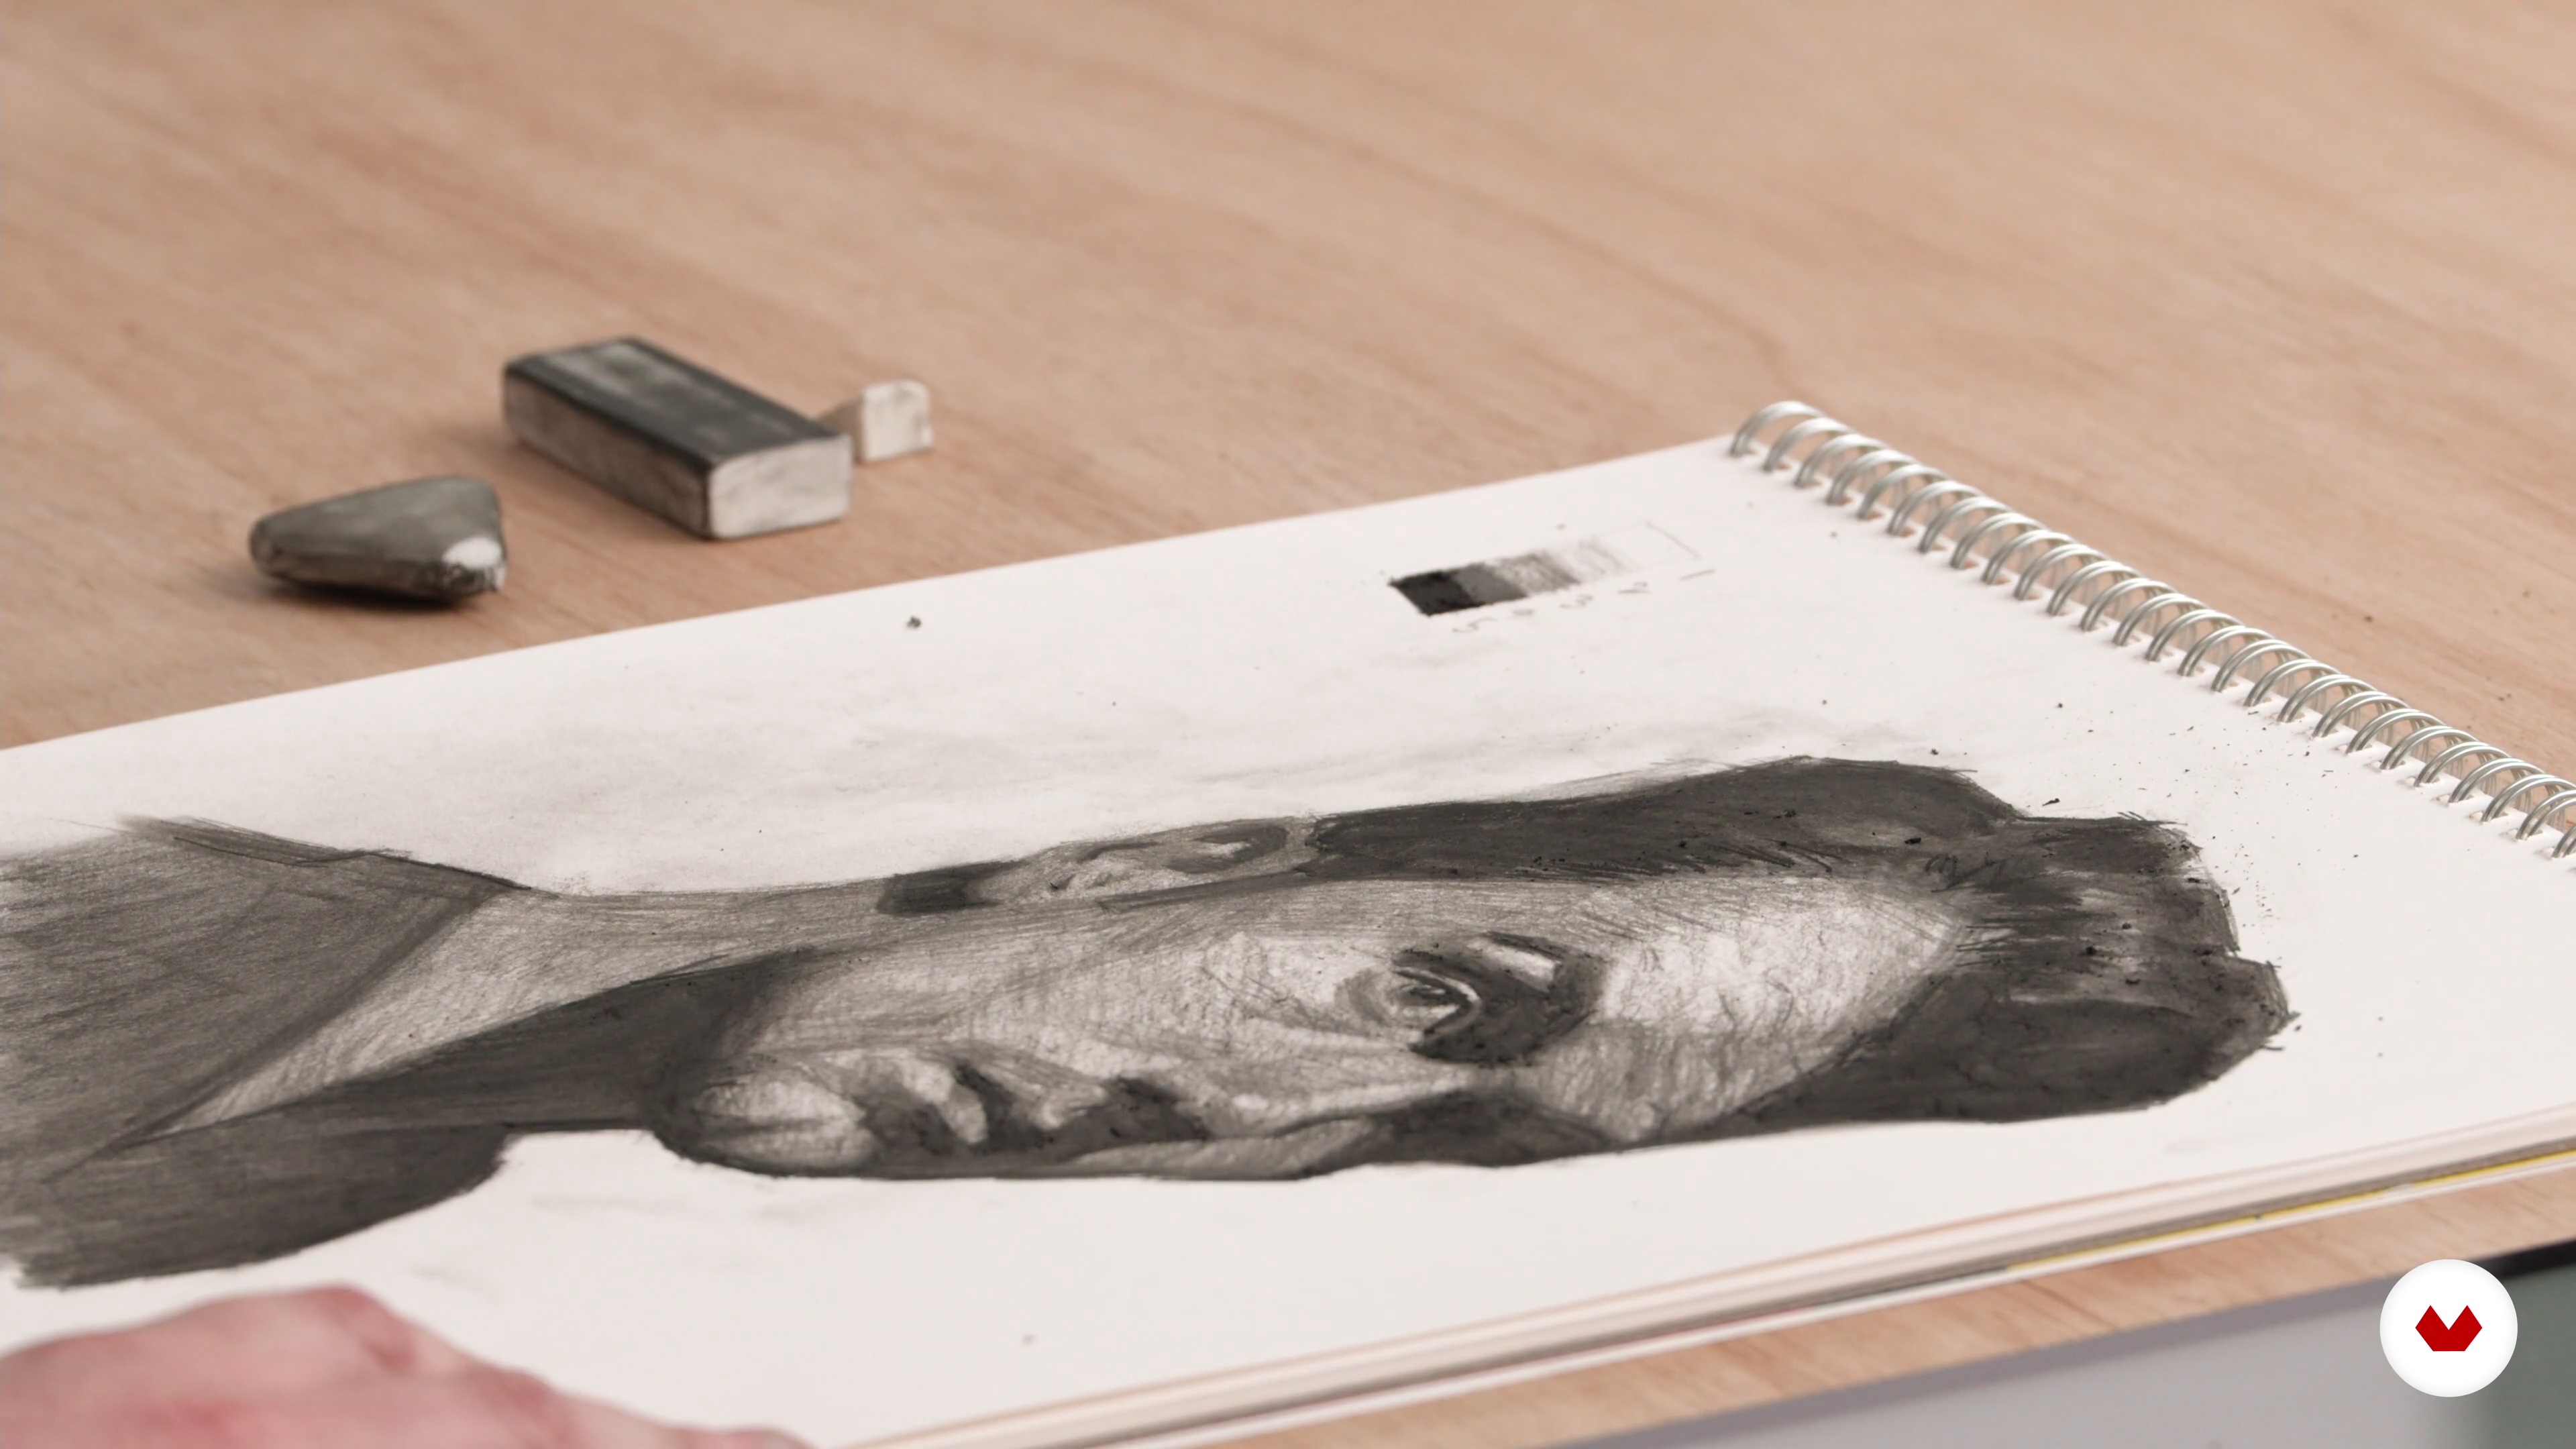
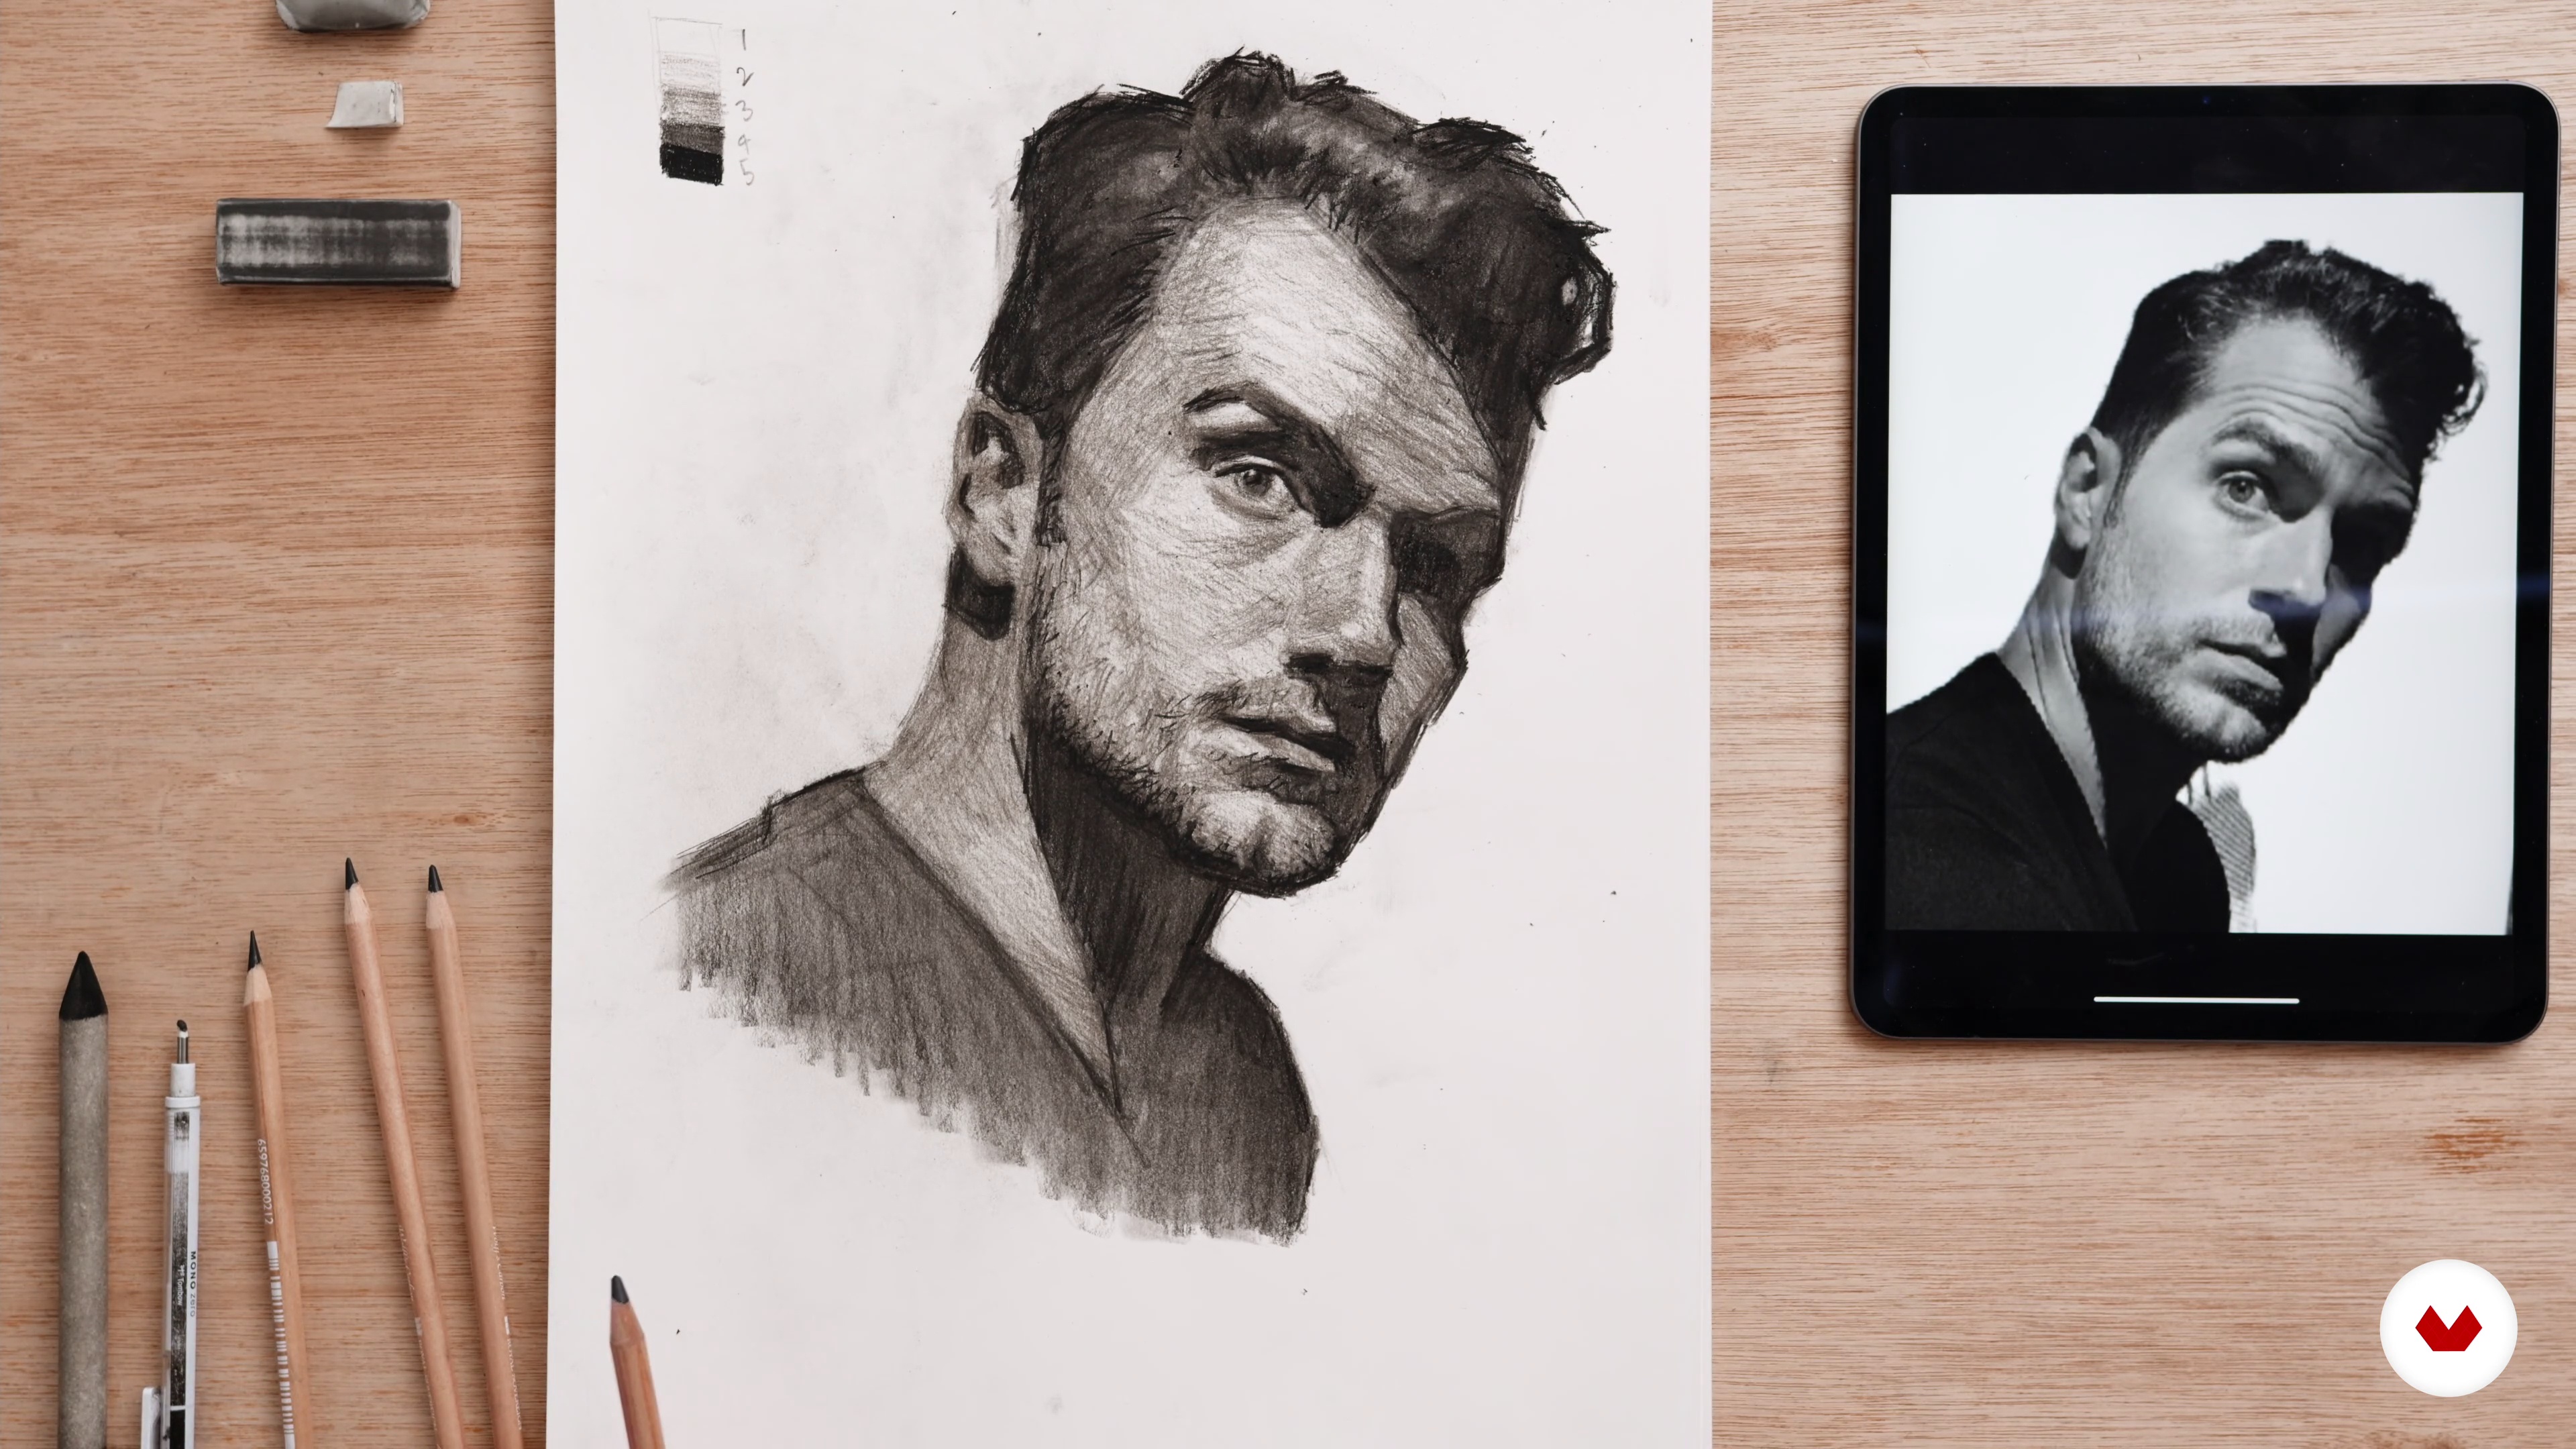
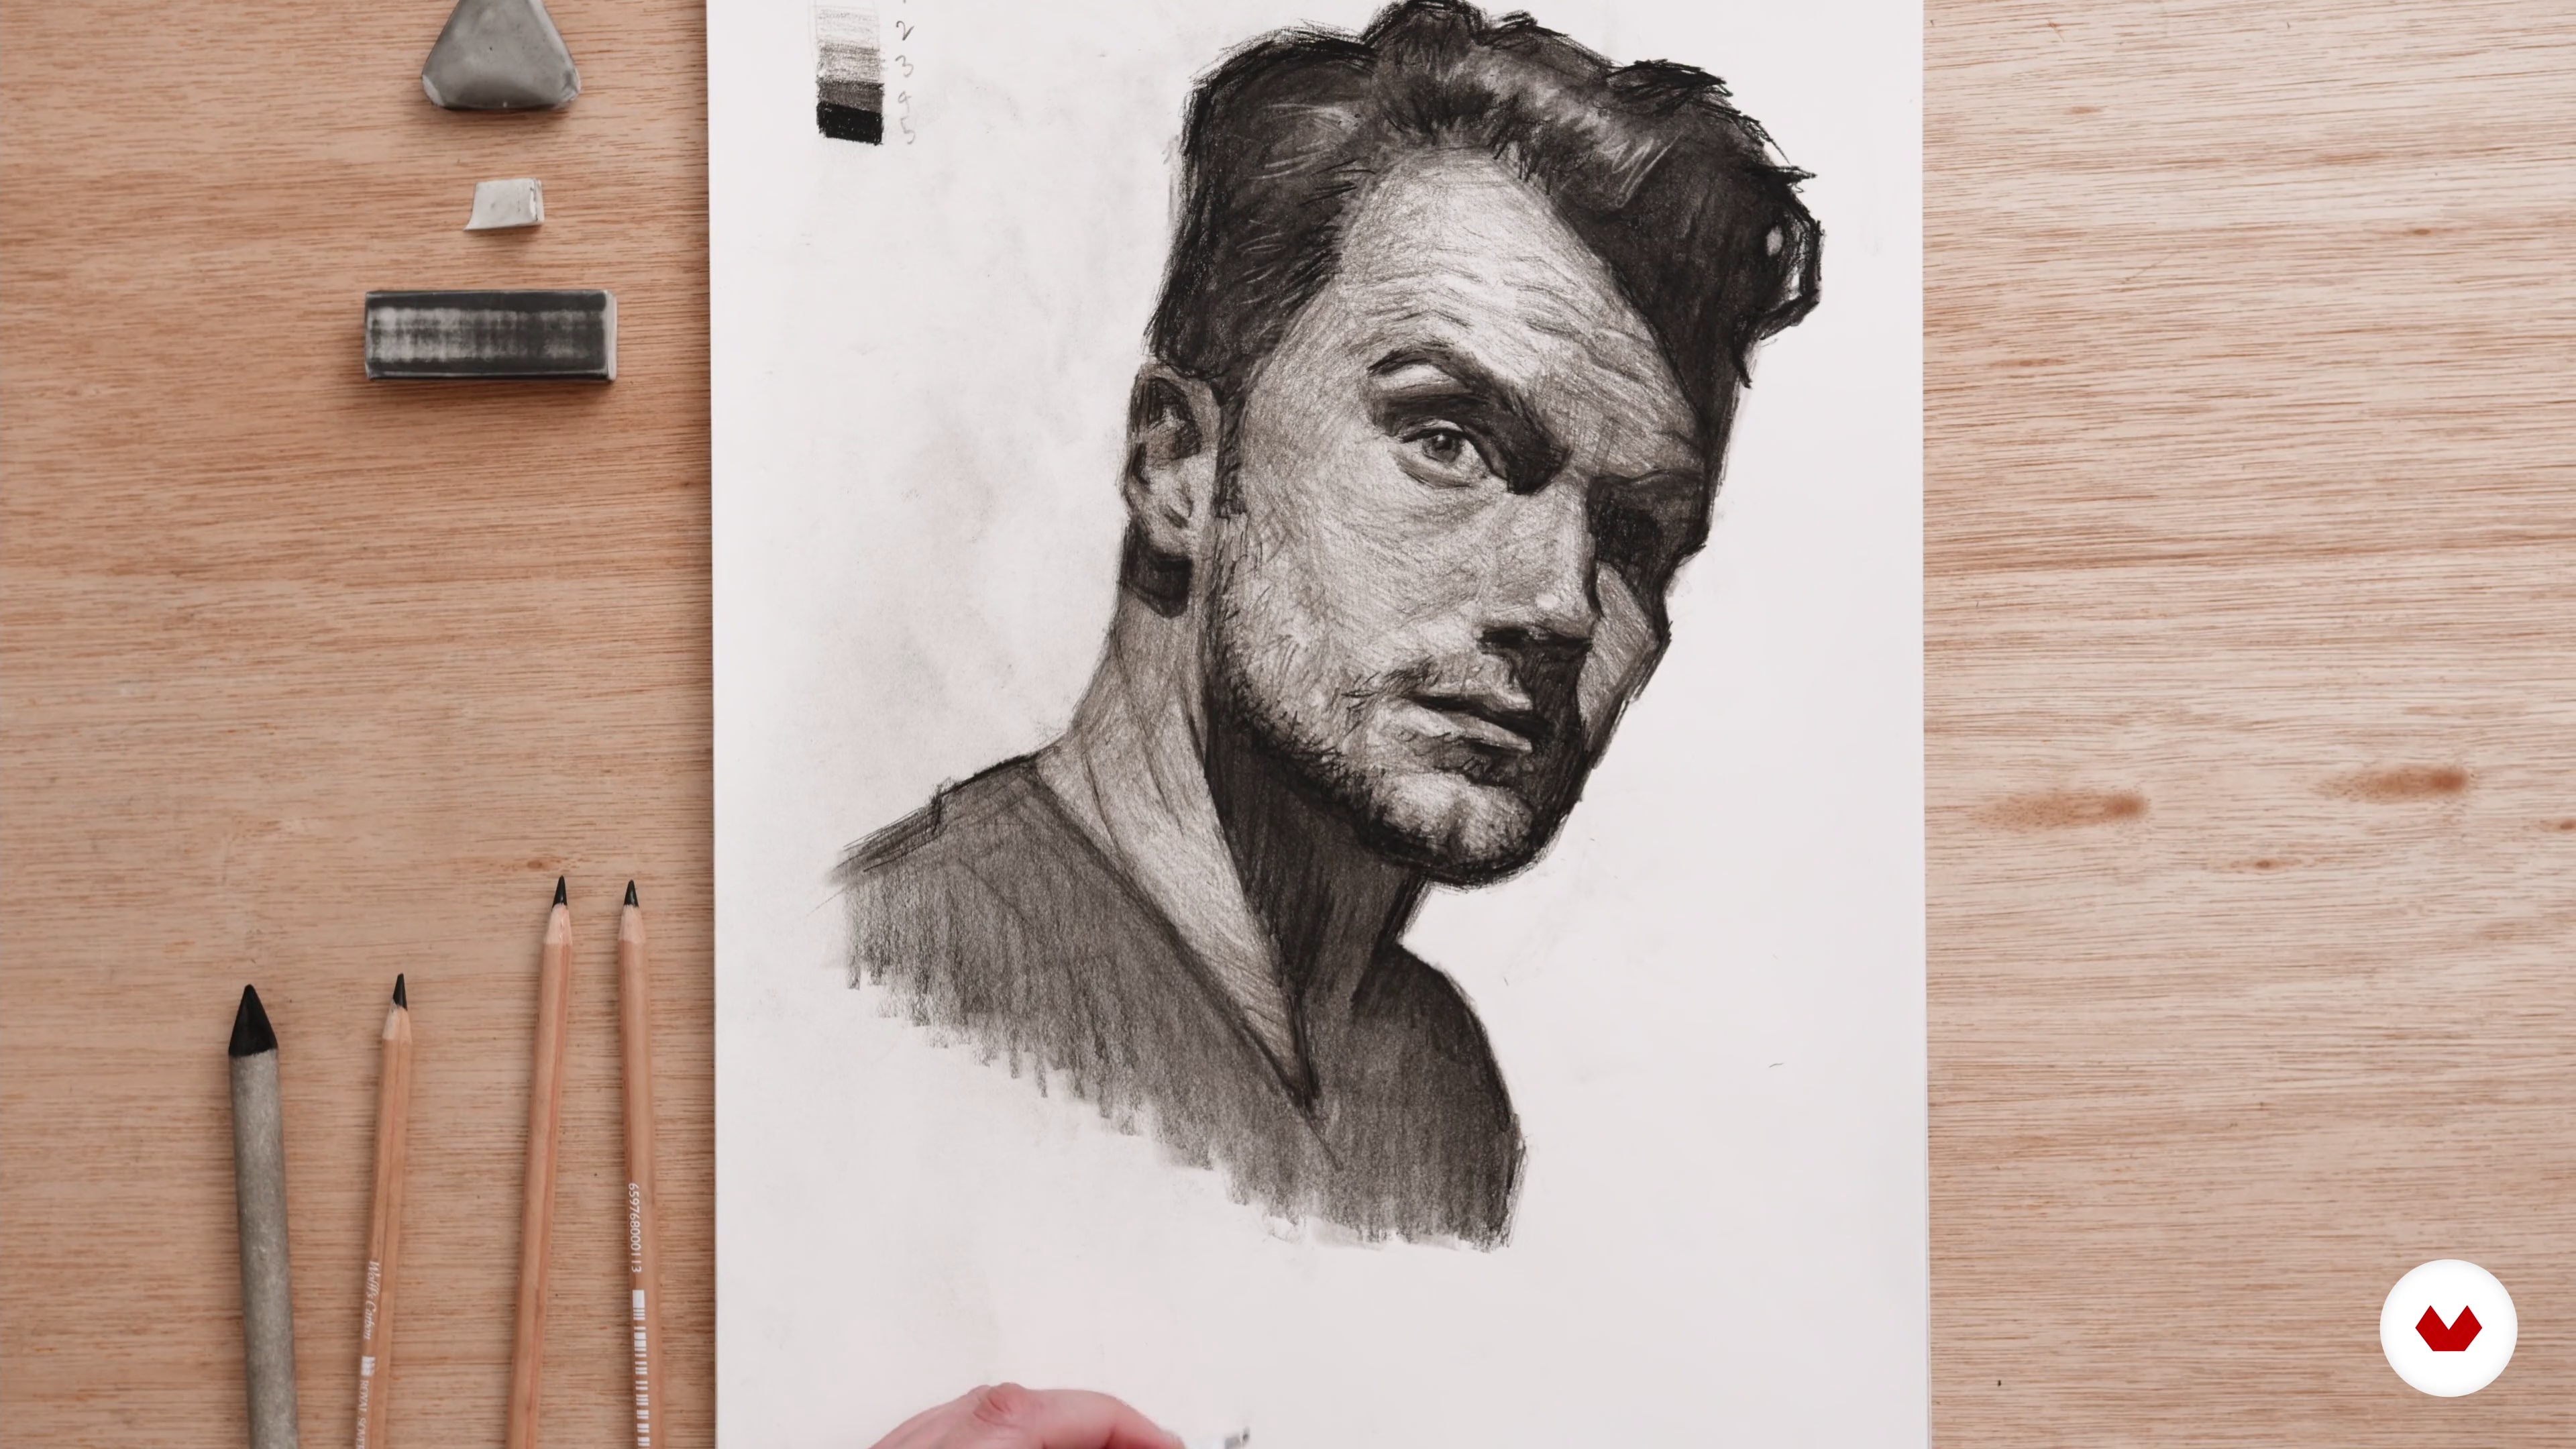
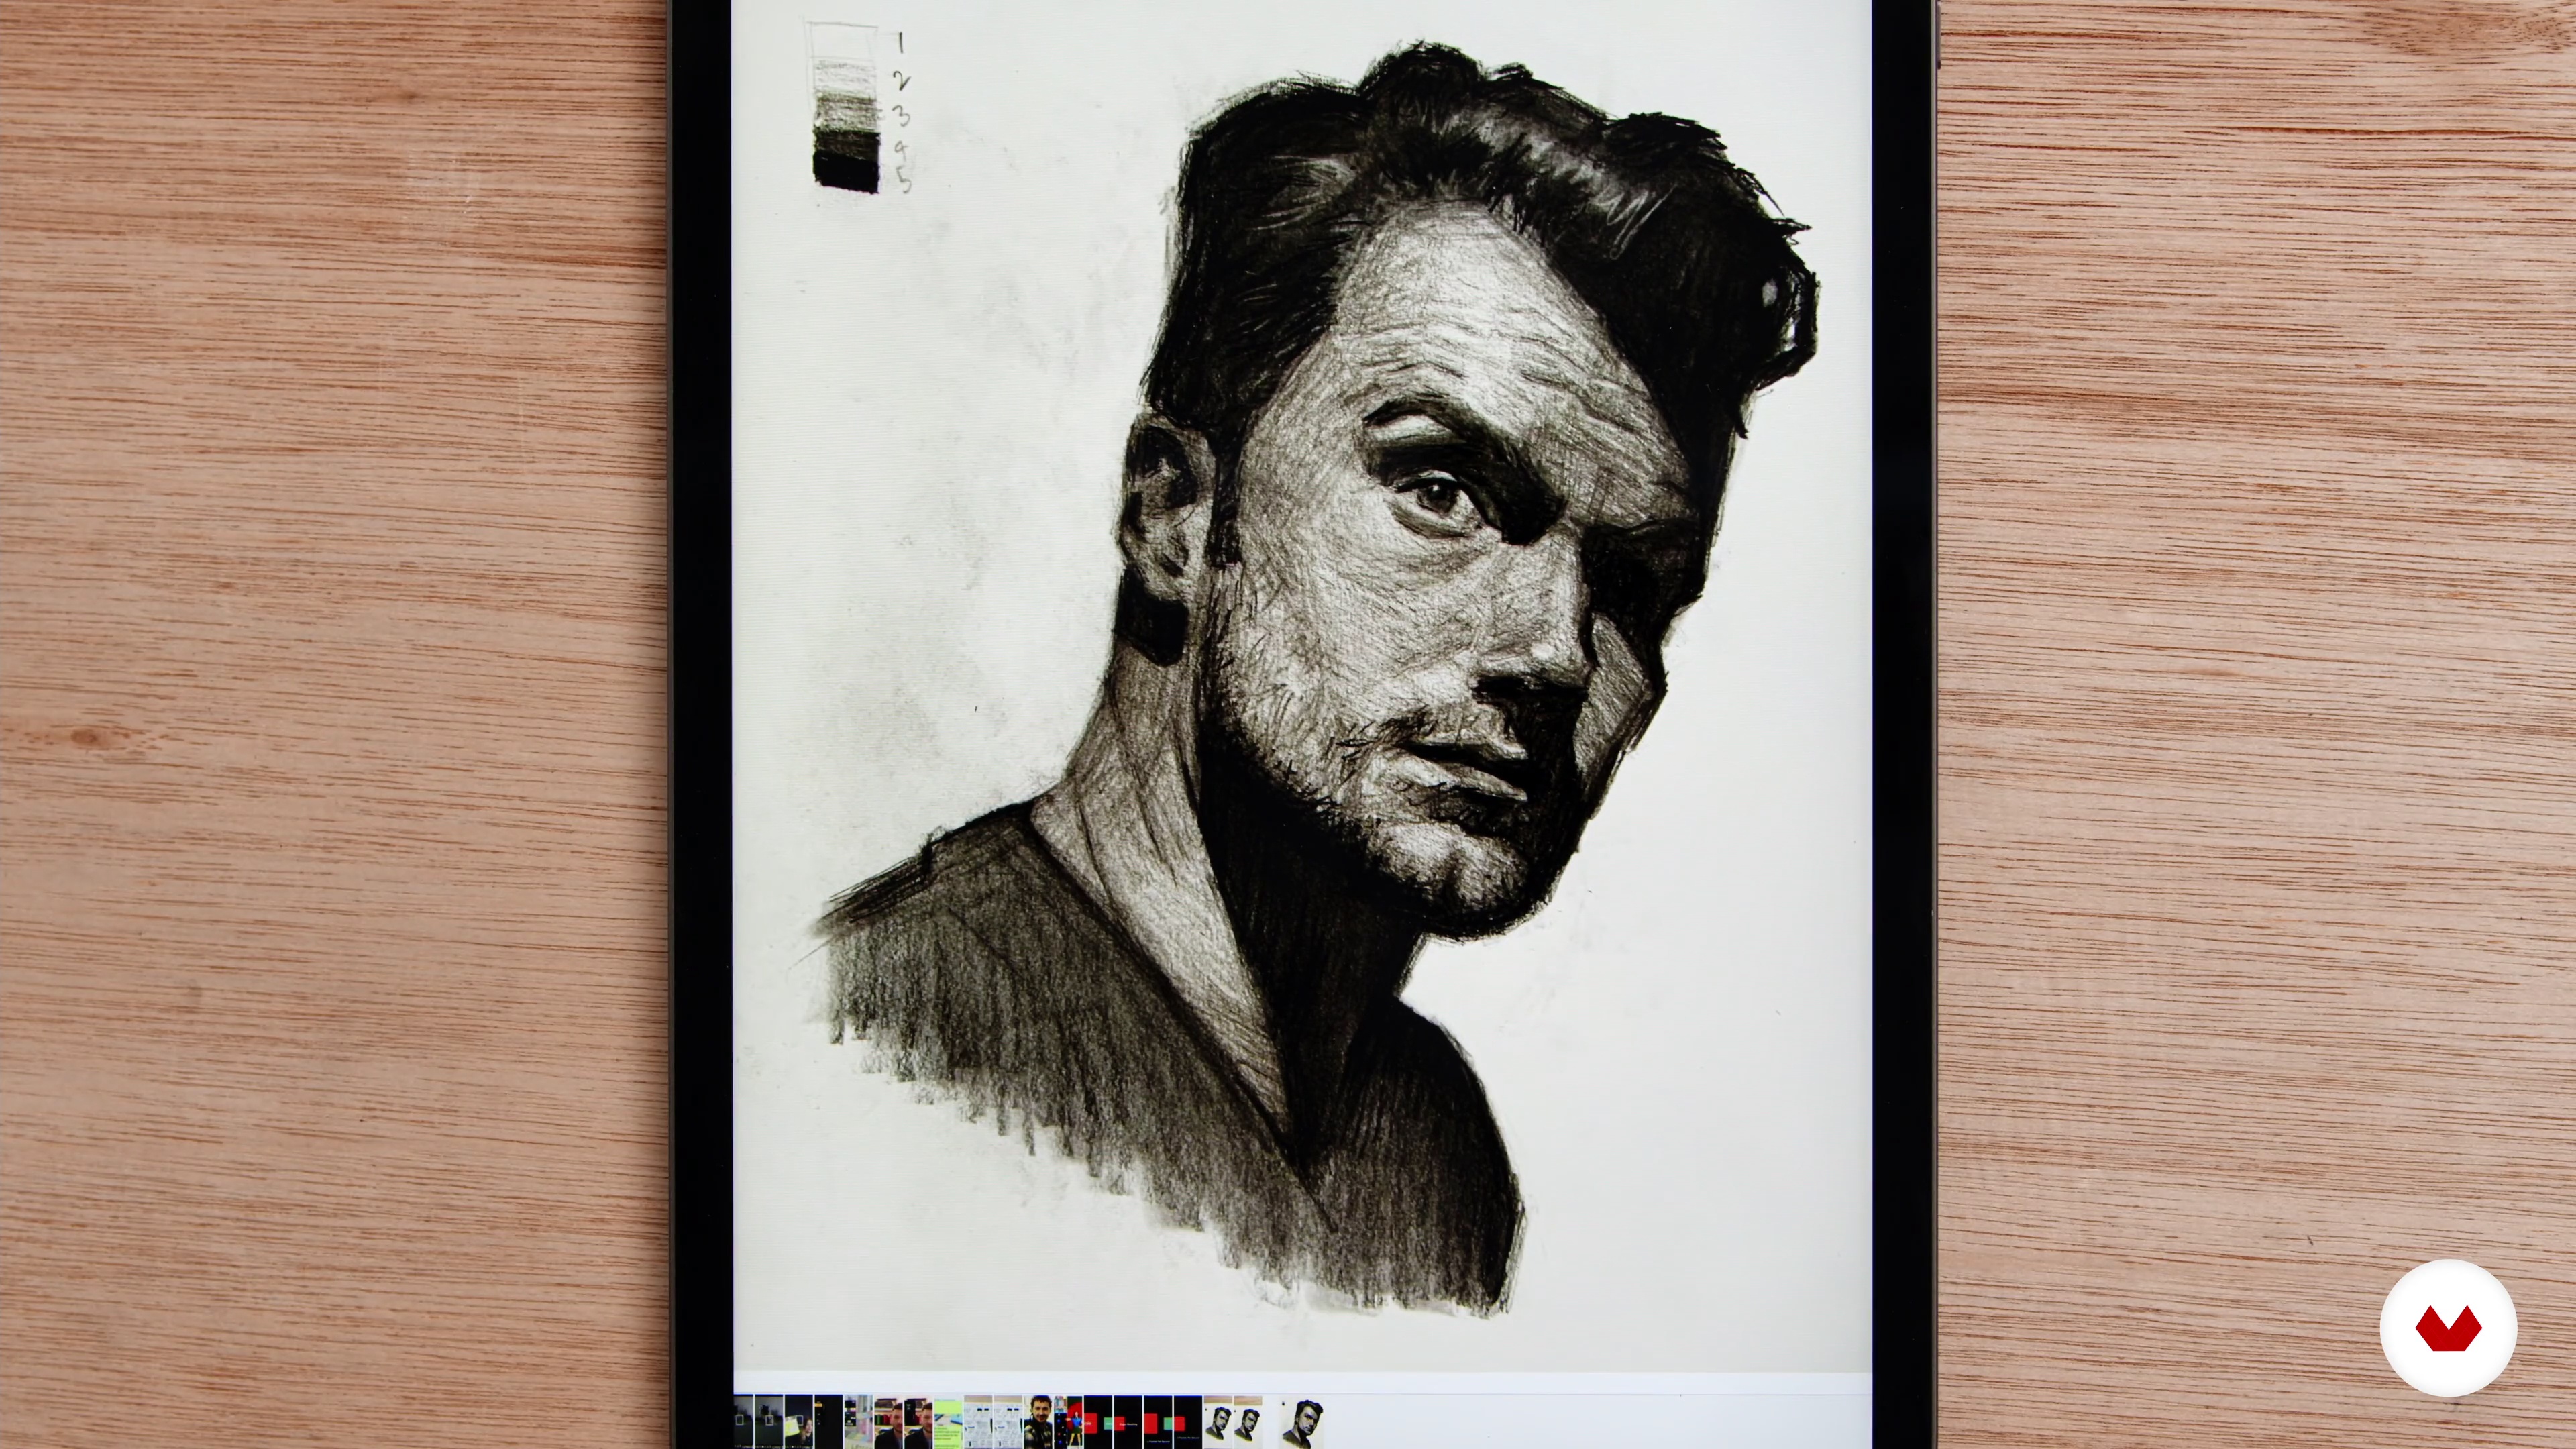
Create a full pencil portrait, focusing on values, volume, and facial proportions to achieve expressive realism. Explore dynamic light and shadow with charcoal, achieving bold contrasts. Produce hyperrealistic graphite drawings, and blend watercolor with architectural illustration for vibrant cityscapes.
Who is this specialization for?
Aspiring artists interested in mastering realistic and expressive drawing techniques will find value here. The specialization suits those eager to refine their skills in graphite, charcoal, and watercolor, exploring themes like light, gesture, and hyperrealism in both portraiture and architectural works.
Requirements and materials
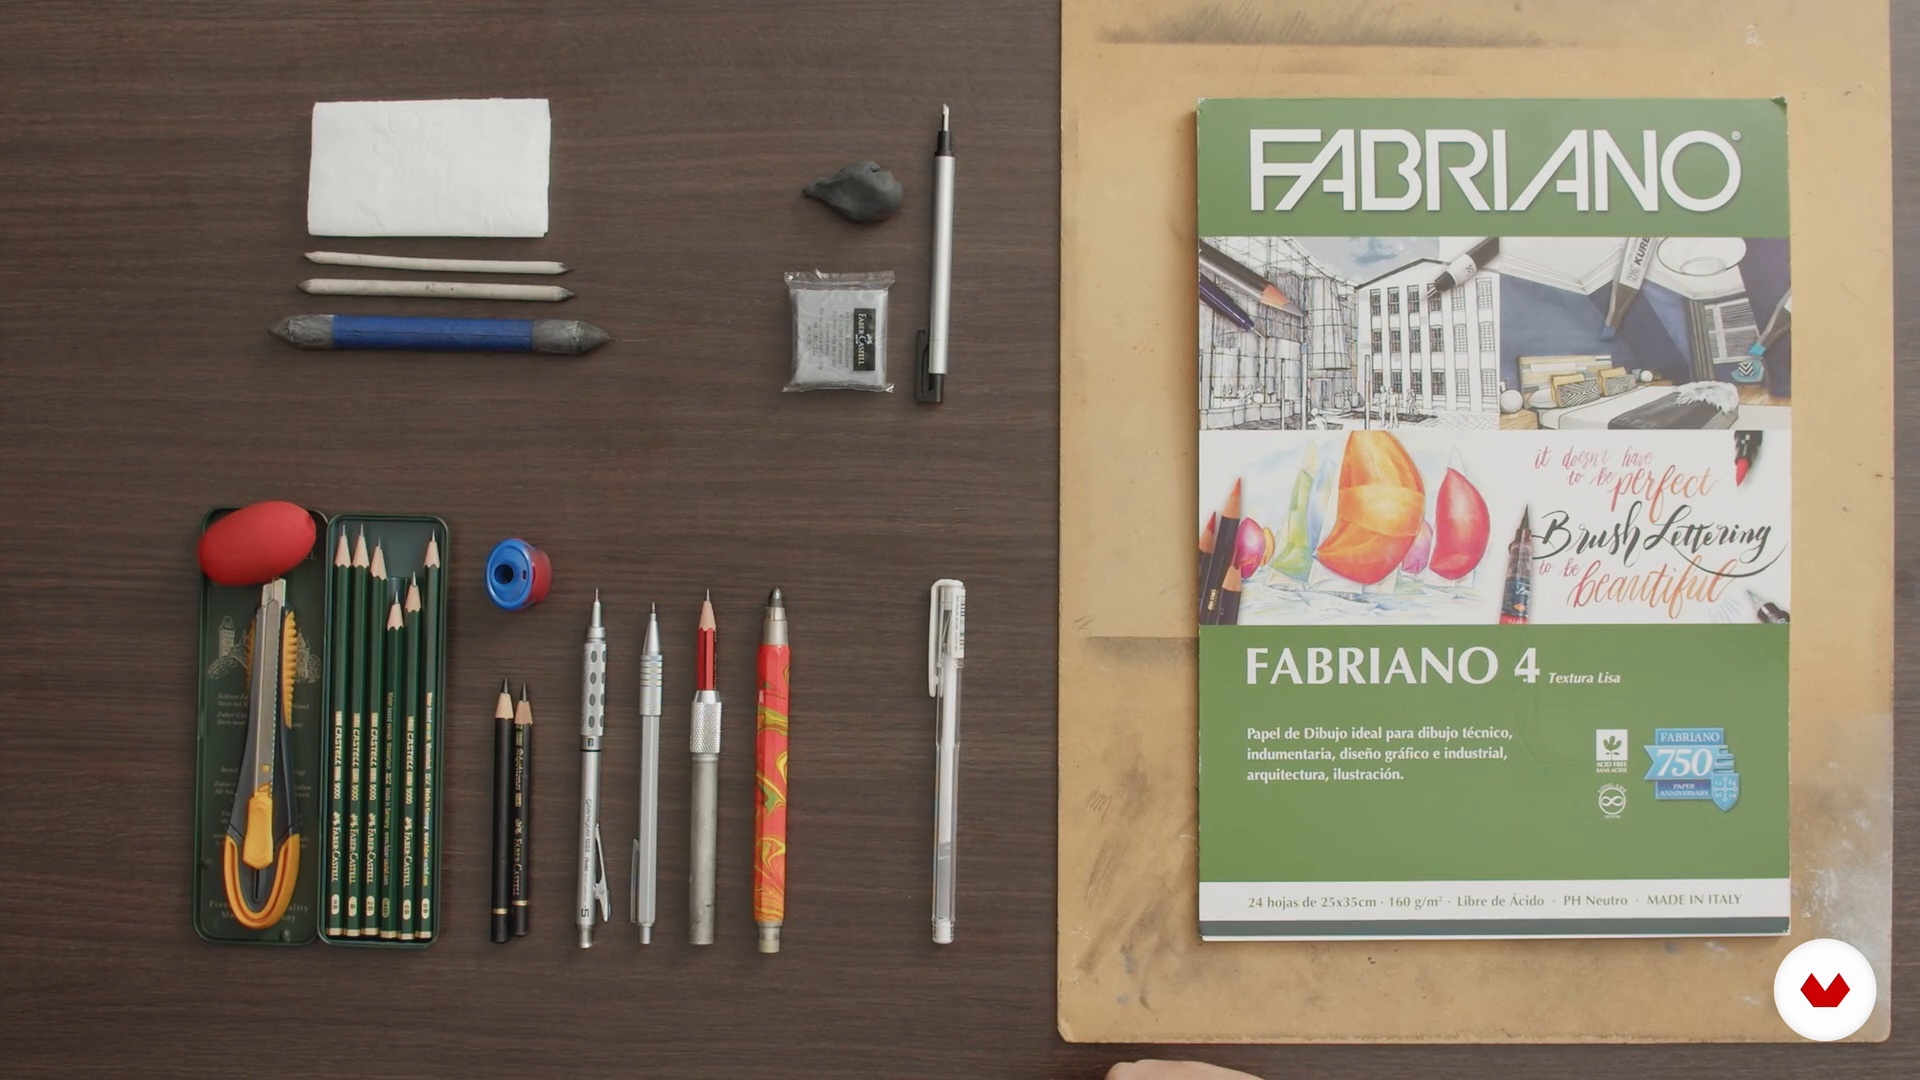
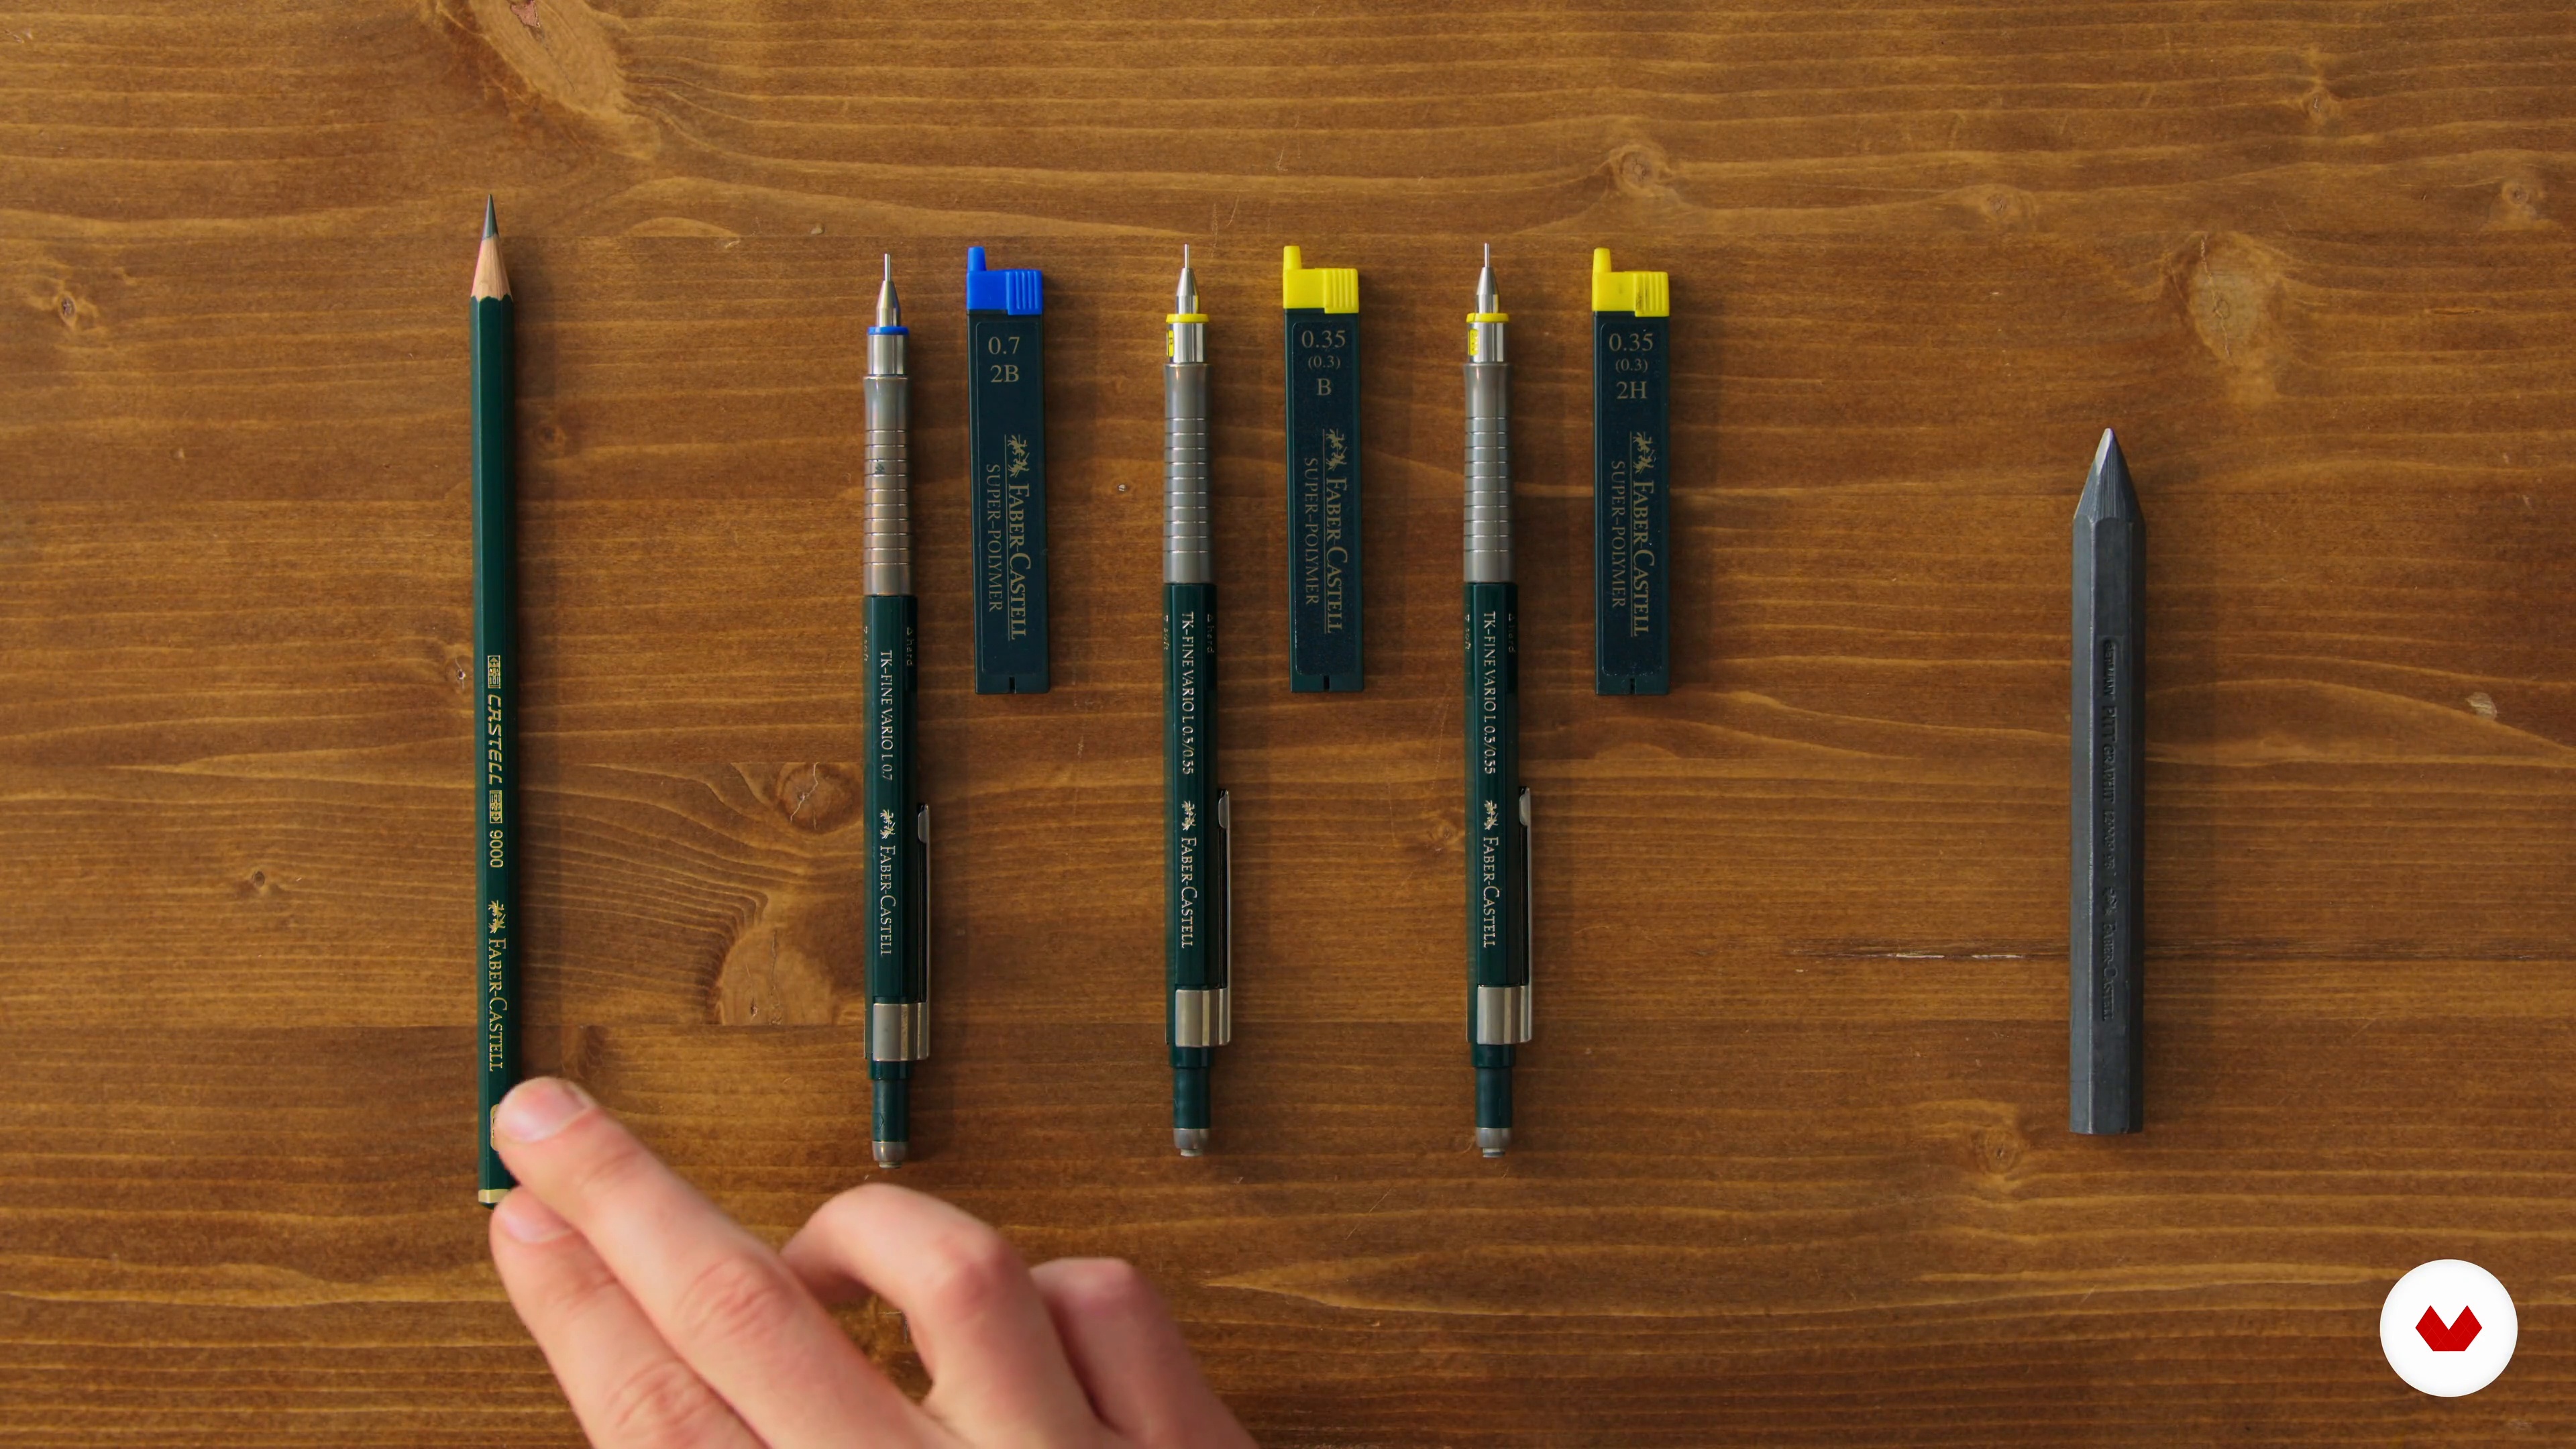
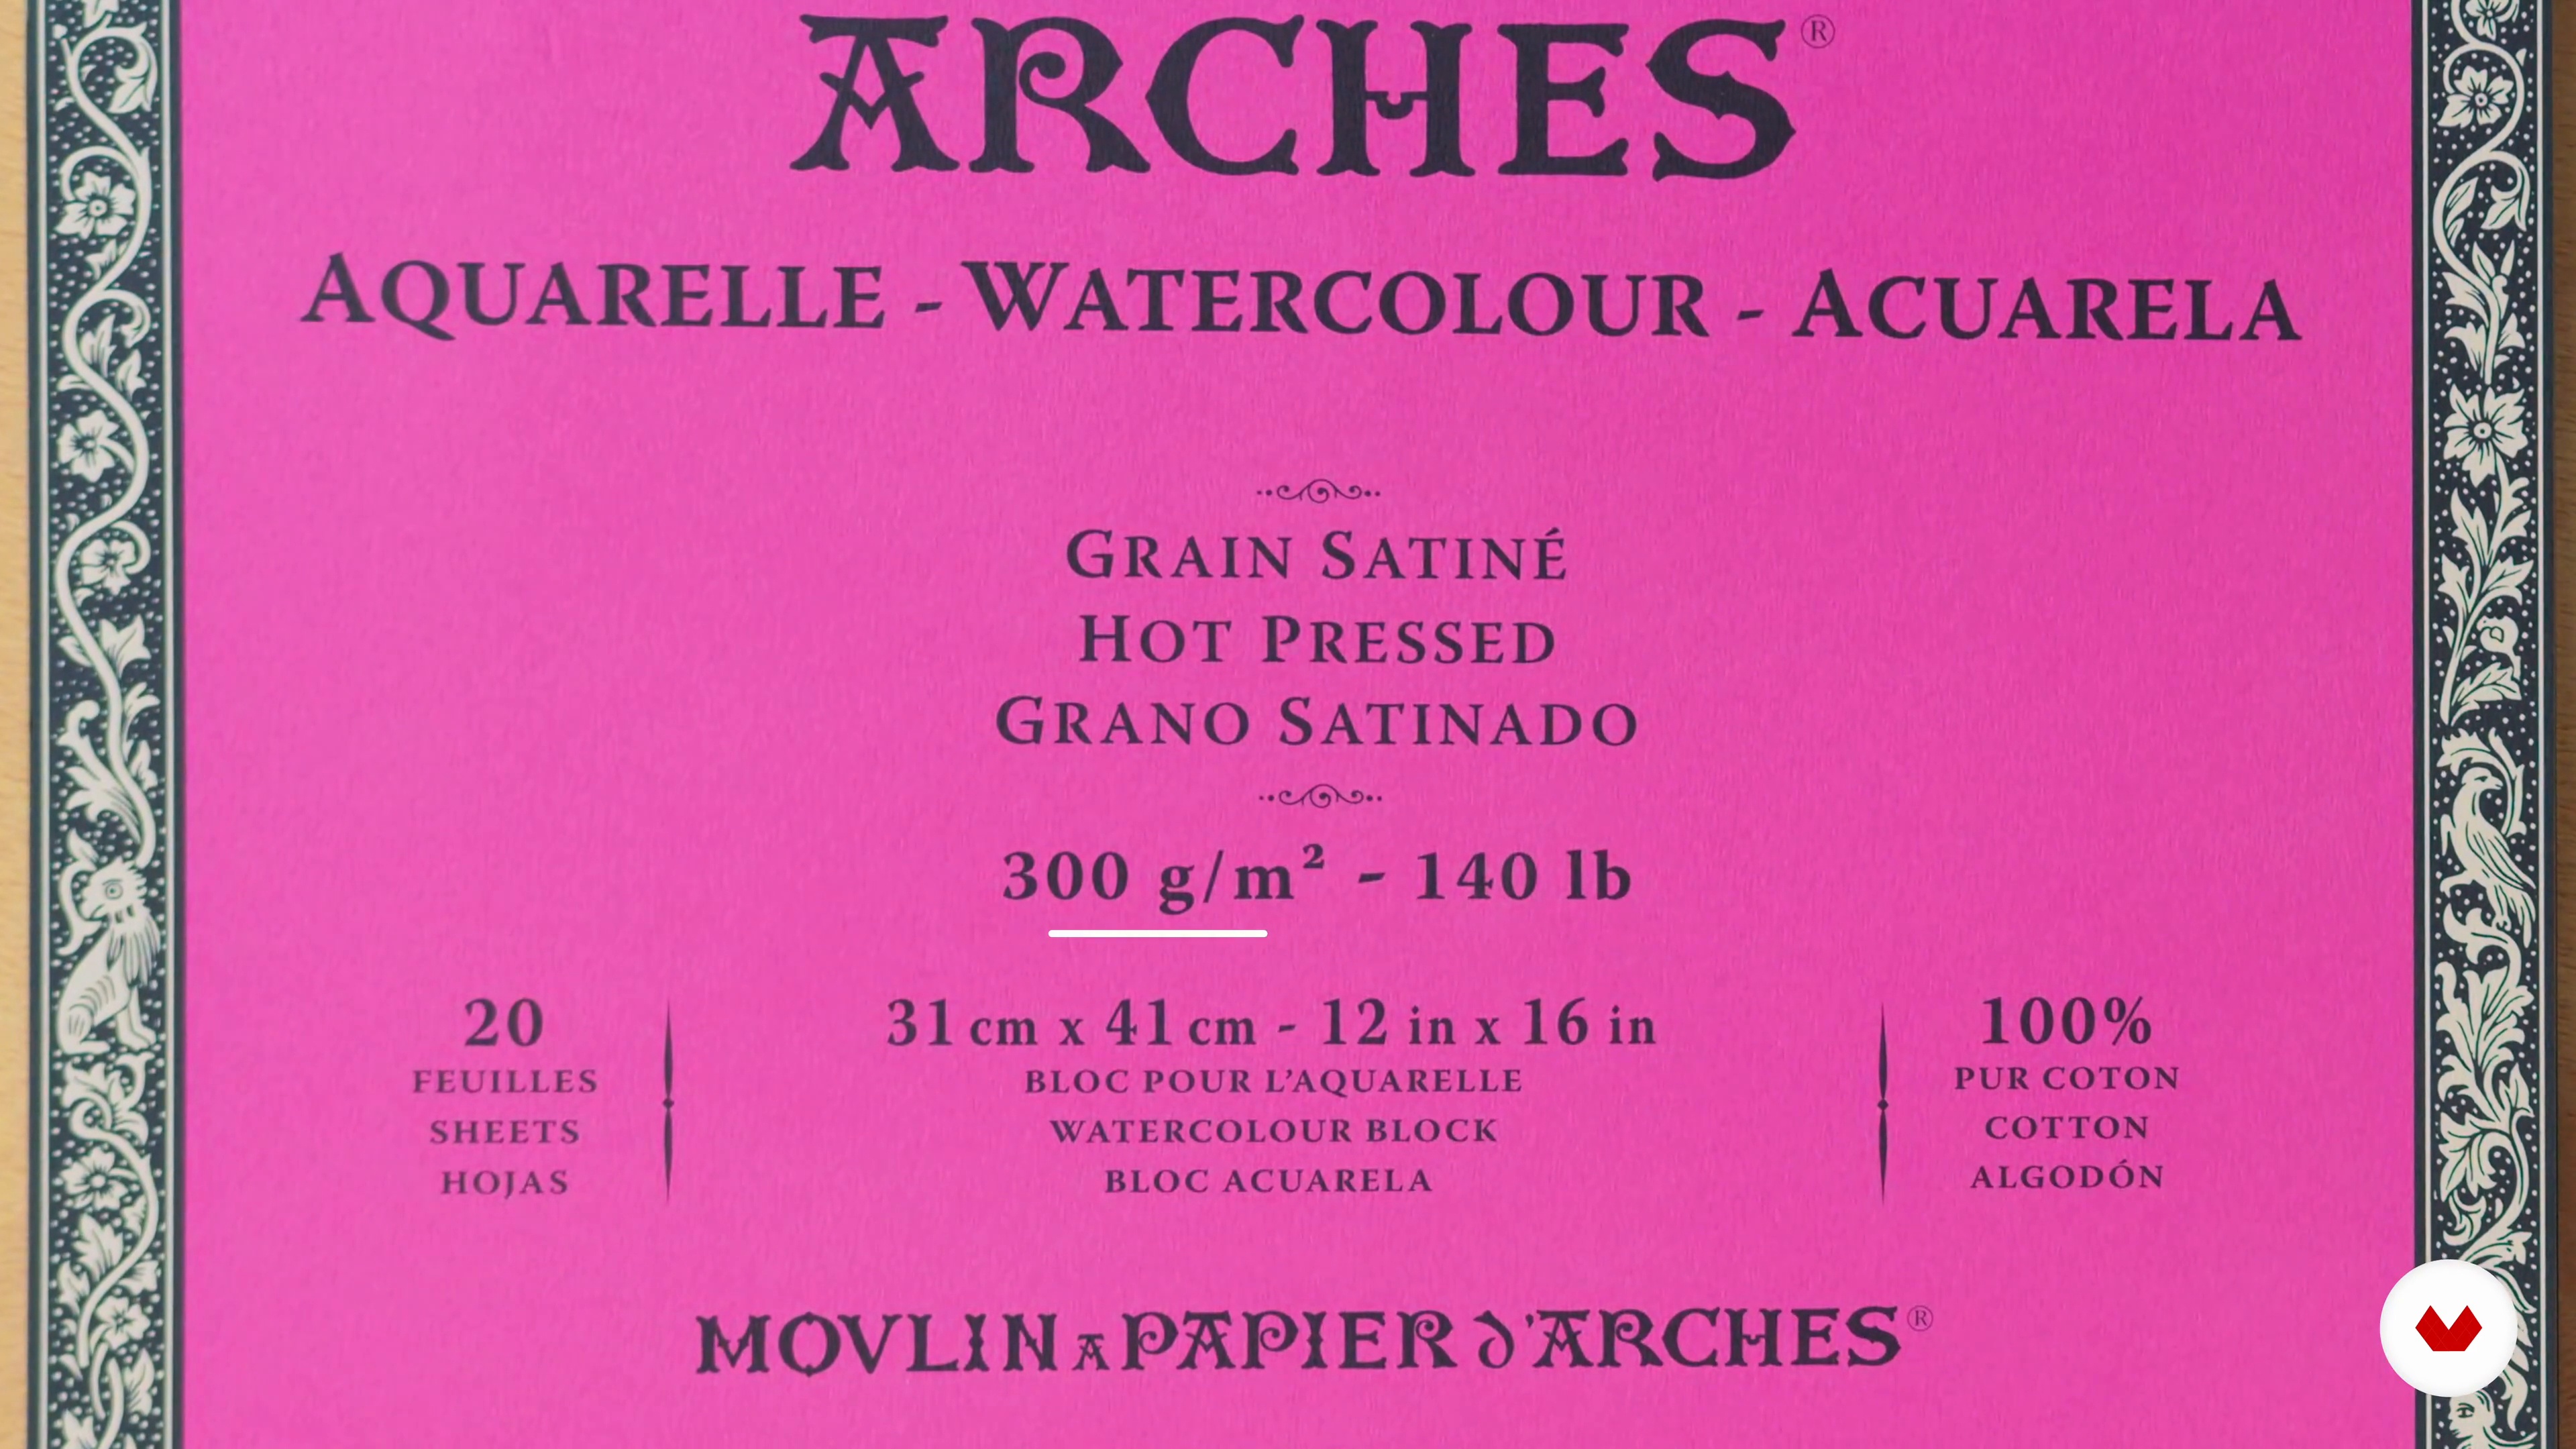
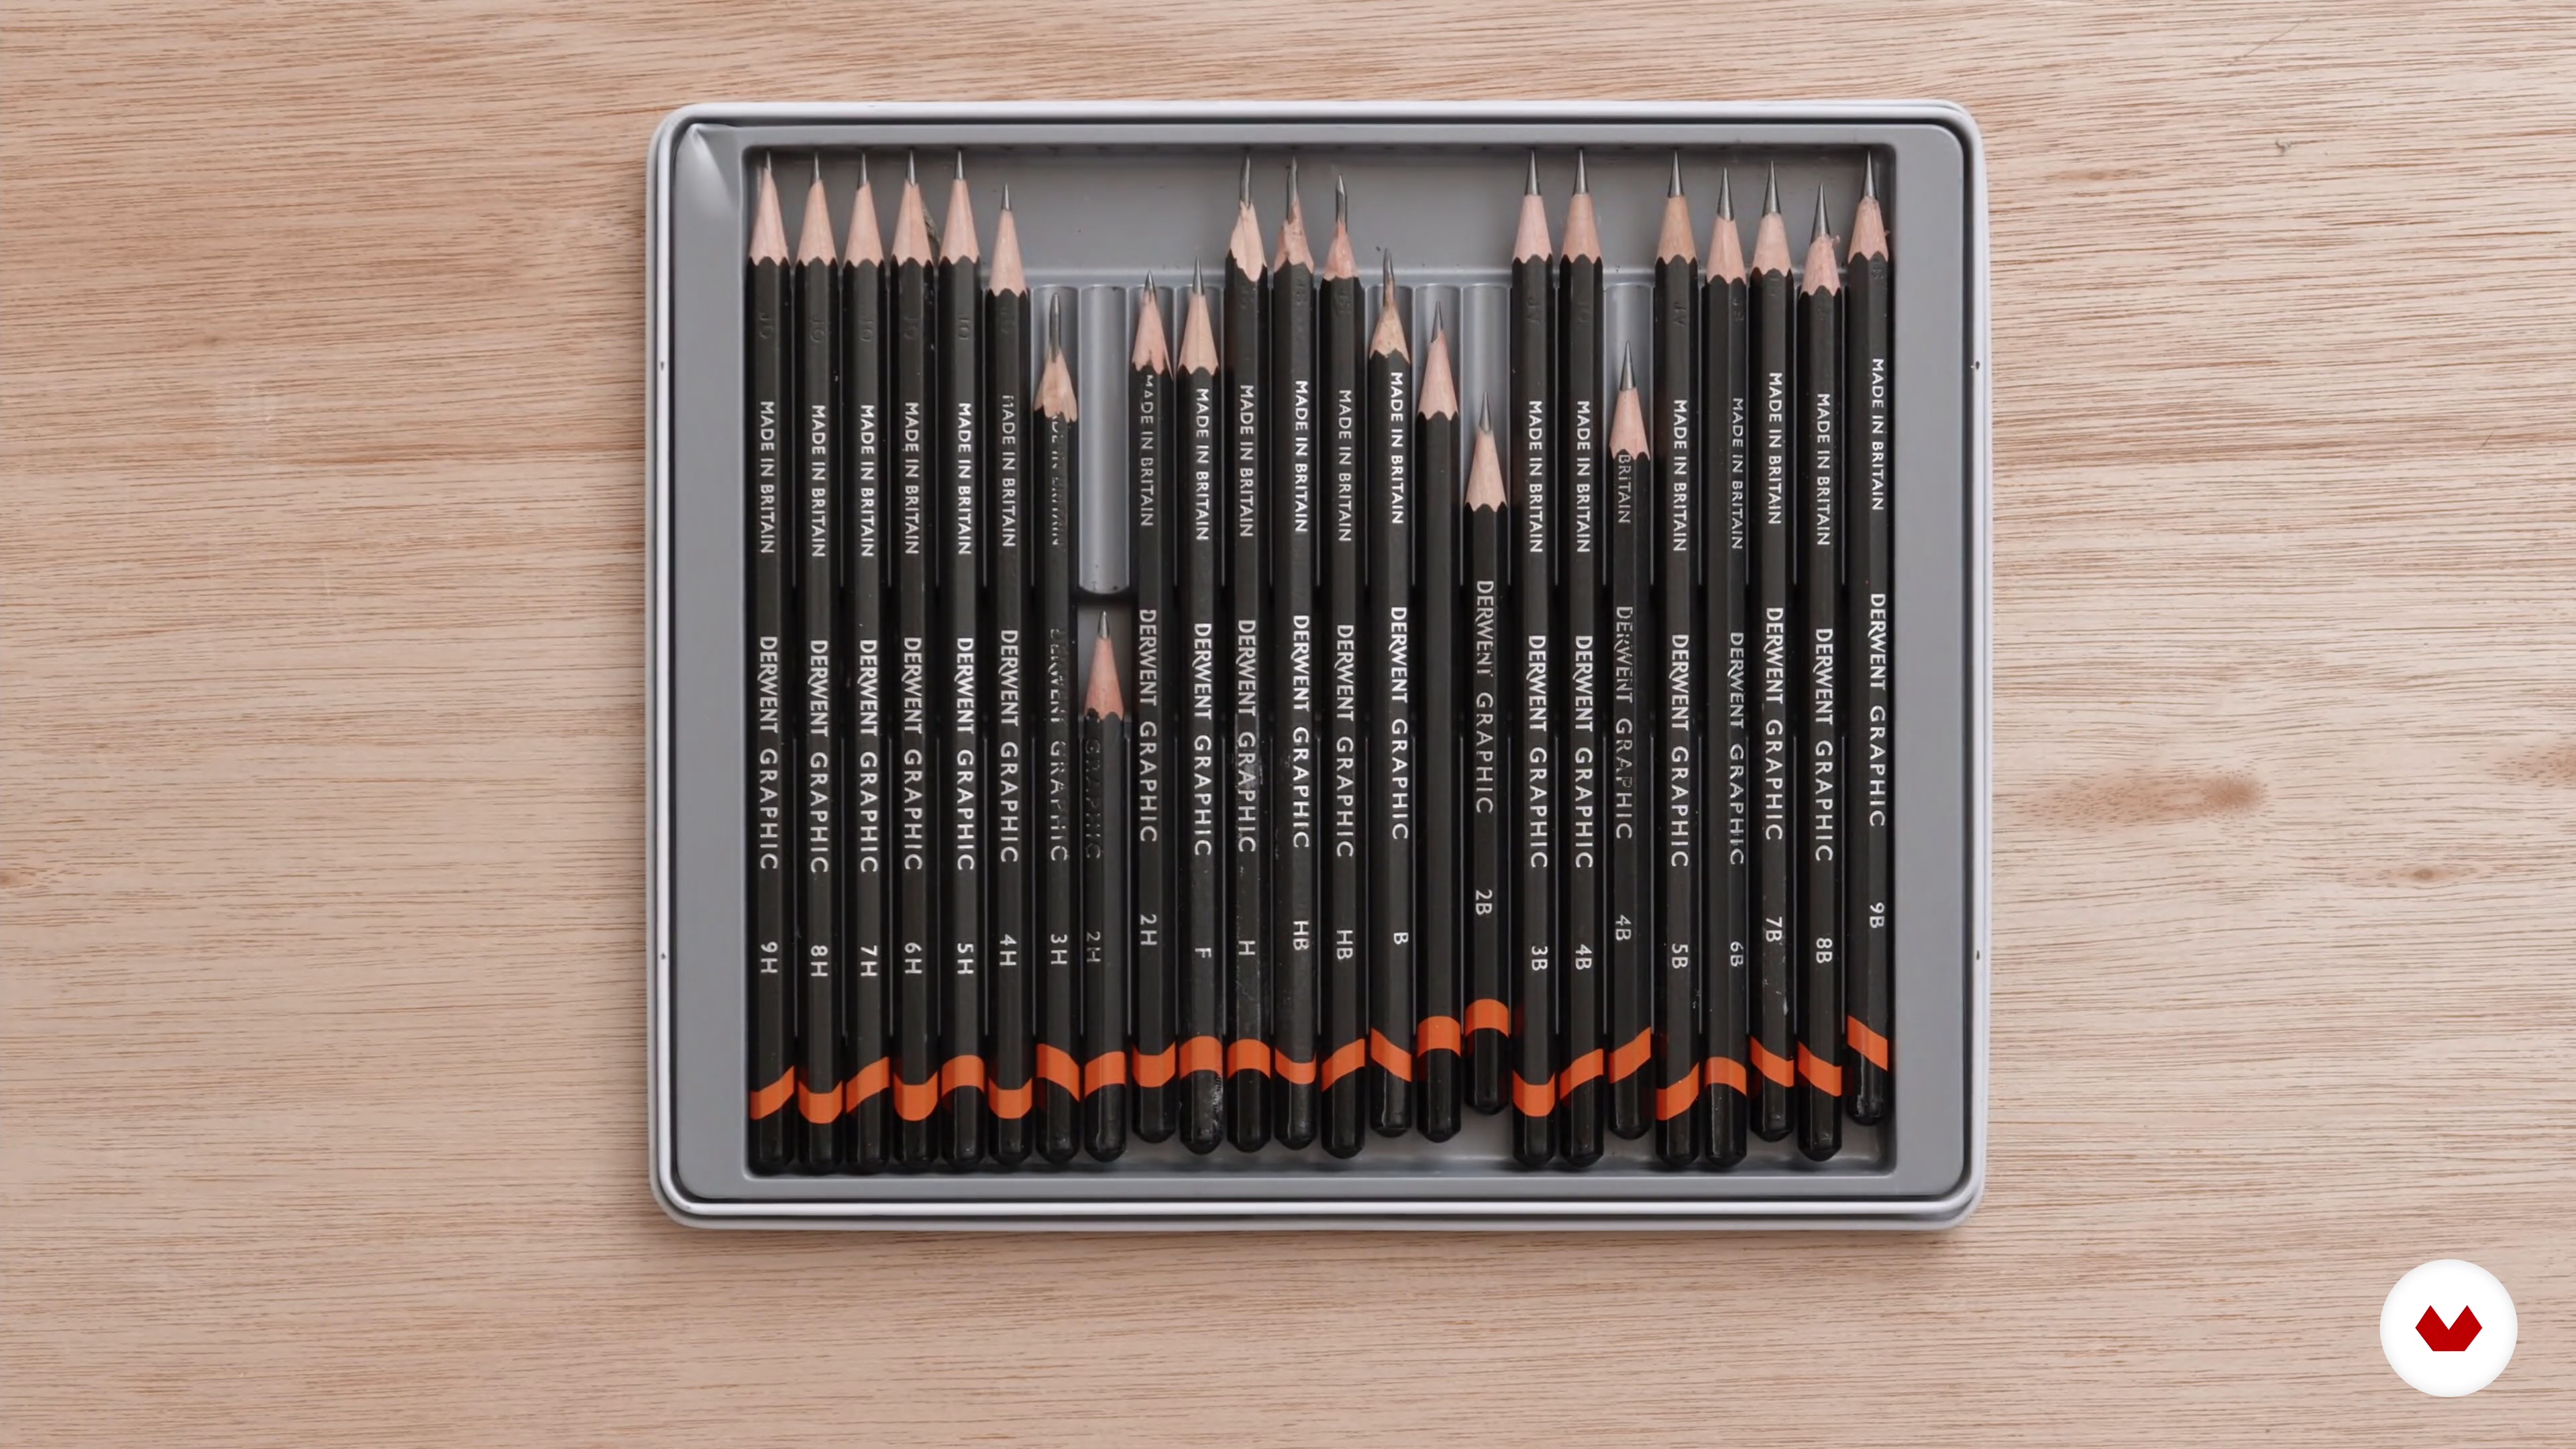
No extensive prior knowledge is required, but having basic drawing skills helps. Essential materials include graphite pencils, charcoal, watercolor, and quality paper. A willingness to explore light, shadow, and expression through hands-on projects is key.


Reviews
What to expect from this specialization course
-
Learn at your own pace
Enjoy learning from home without a set schedule and with an easy-to-follow method. You set your own pace.
-
Learn from the best professionals
Learn valuable methods and techniques explained by top experts in the creative sector.
-
Meet expert teachers
Each expert teaches what they do best, with clear guidelines, true passion, and professional insight in every lesson.
-
Certificates
PlusIf you're a Plus member, get a custom certificate for every specialization course. Share it on your portfolio, social media, or wherever you like.
-
Get front-row seats
Videos of the highest quality, so you don't miss a single detail. With unlimited access, you can watch them as many times as you need to perfect your technique.
-
Share knowledge and ideas
Ask questions, request feedback, or offer solutions. Share your learning experience with other students in the community who are as passionate about creativity as you are.
-
Connect with a global creative community
The community is home to millions of people from around the world who are curious and passionate about exploring and expressing their creativity.
-
Watch professionally produced courses
Domestika curates its teacher roster and produces every course in-house to ensure a high-quality online learning experience.
FAQs
Yes, this course is designed for intermediate artists who already have basic drawing skills and want to deepen their understanding of anatomy, shading, and advanced portrait techniques.
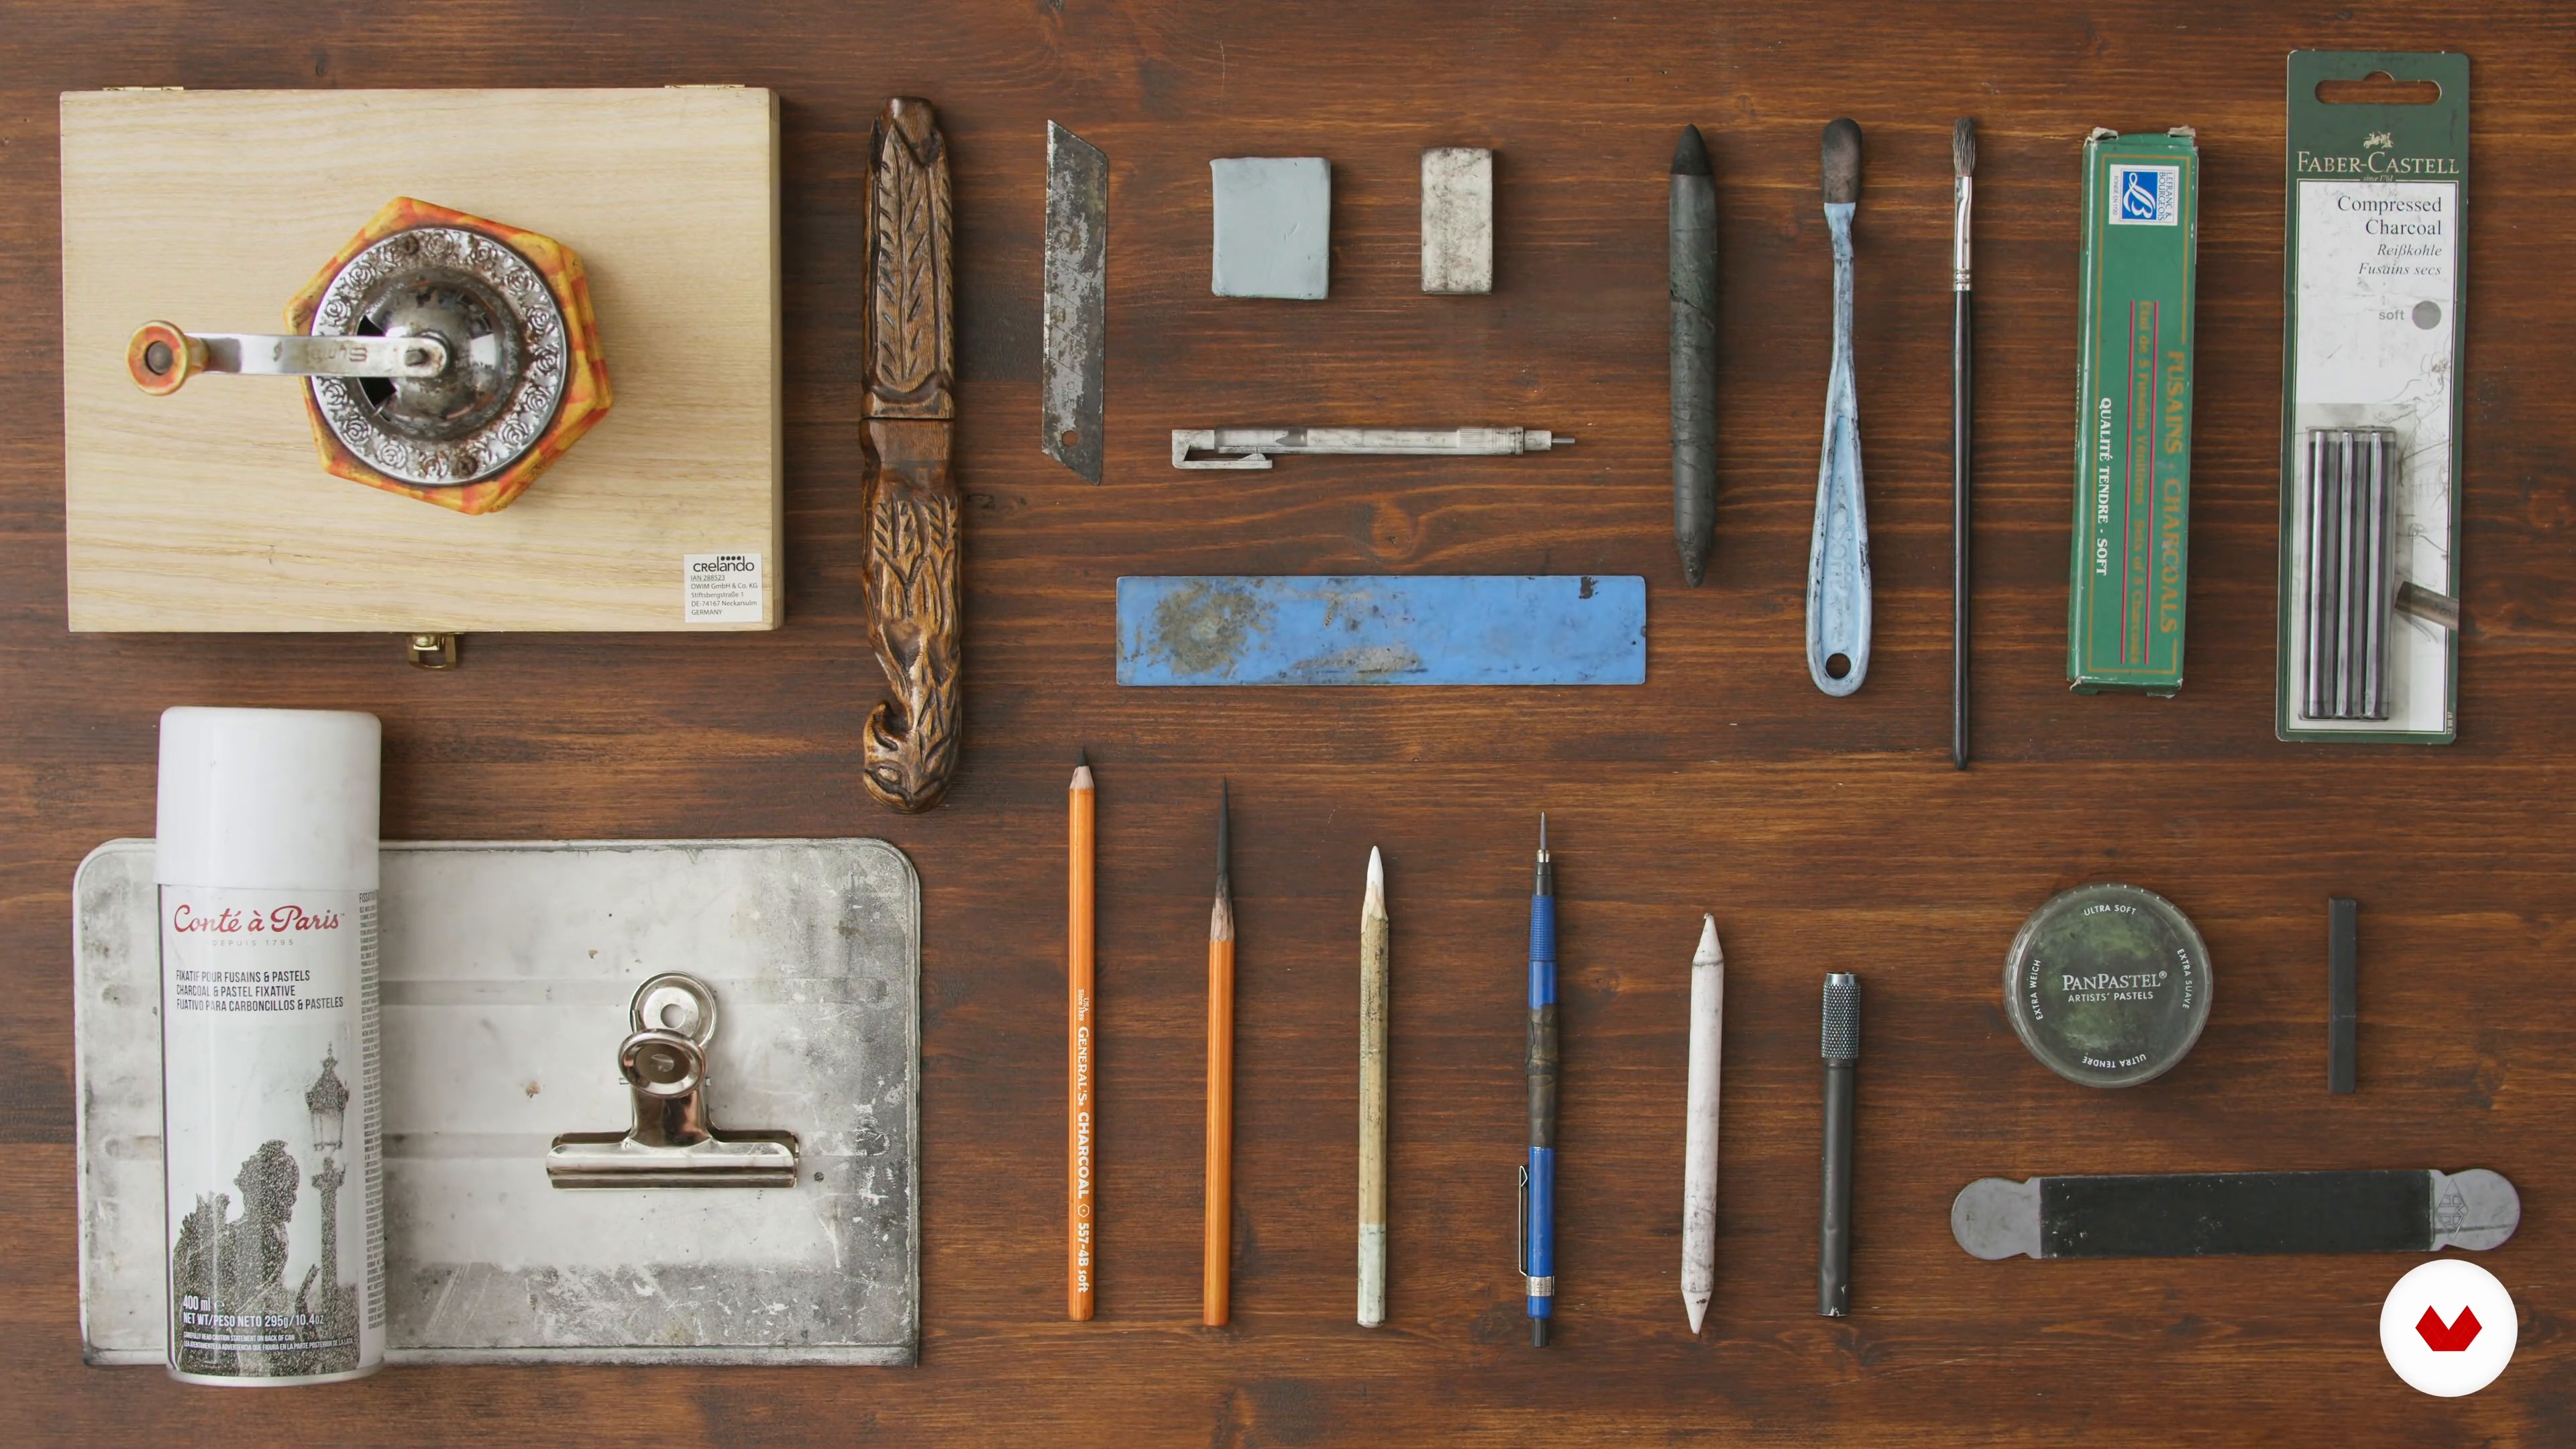
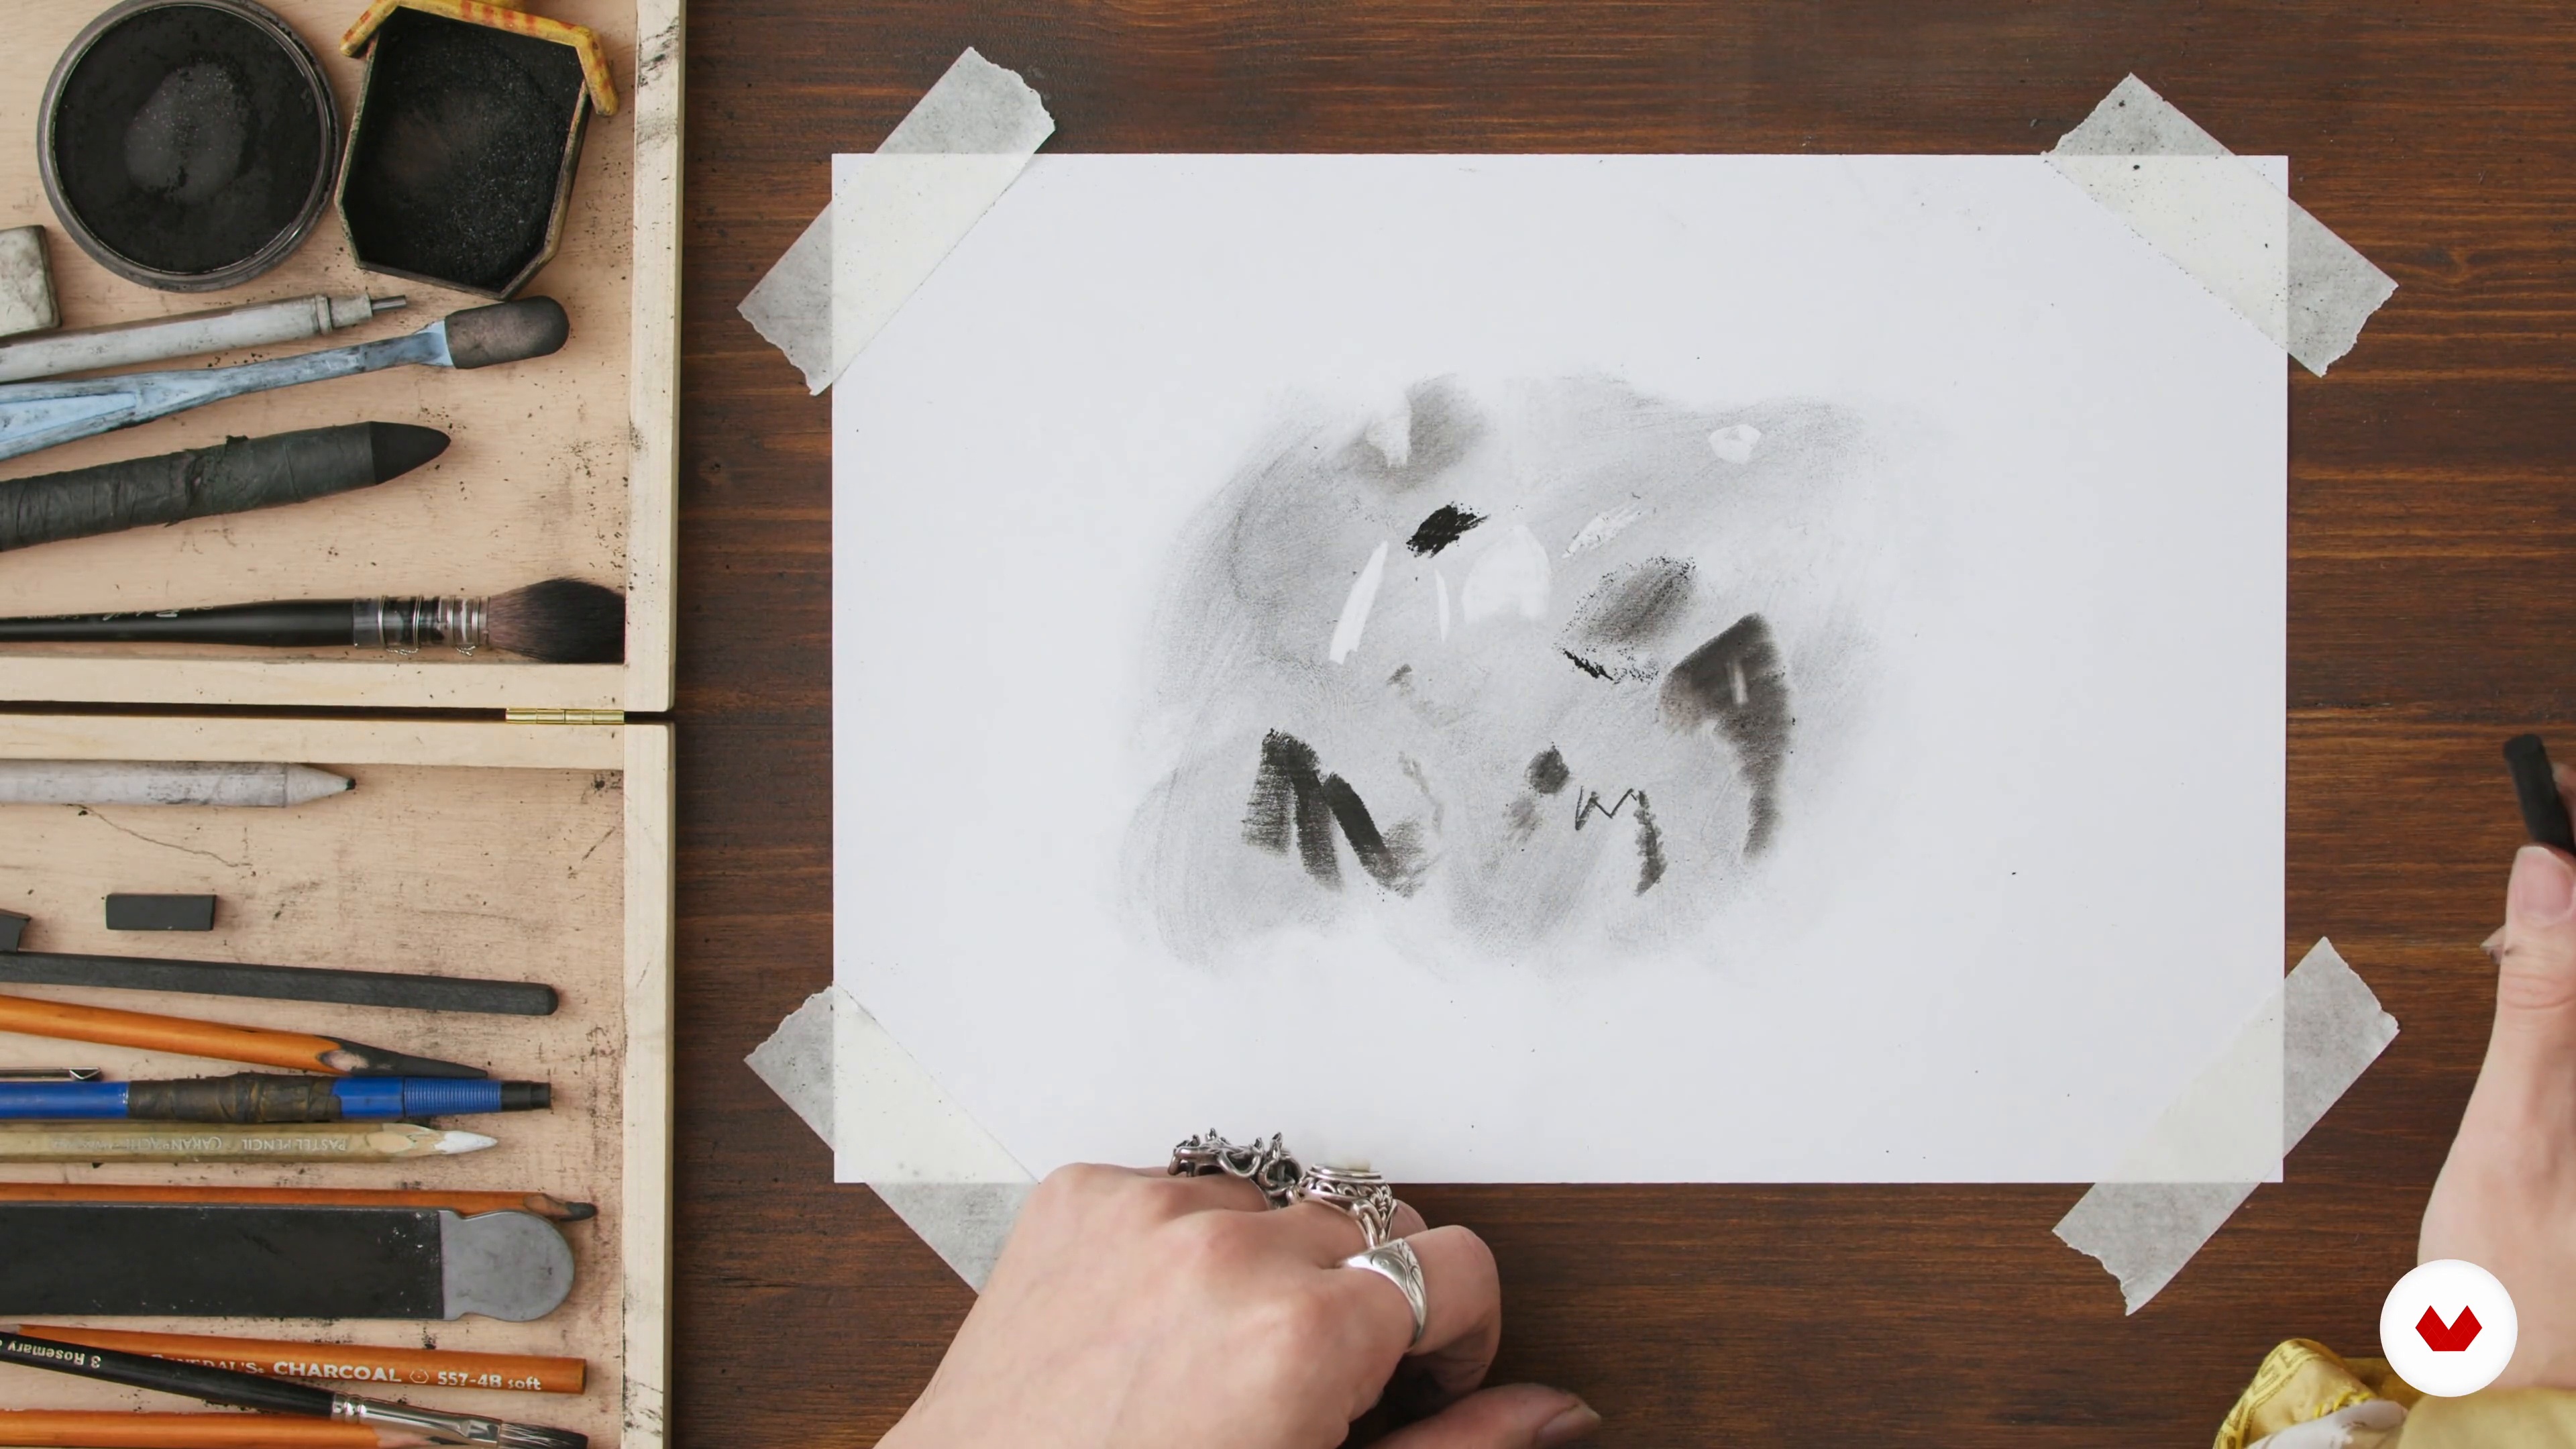
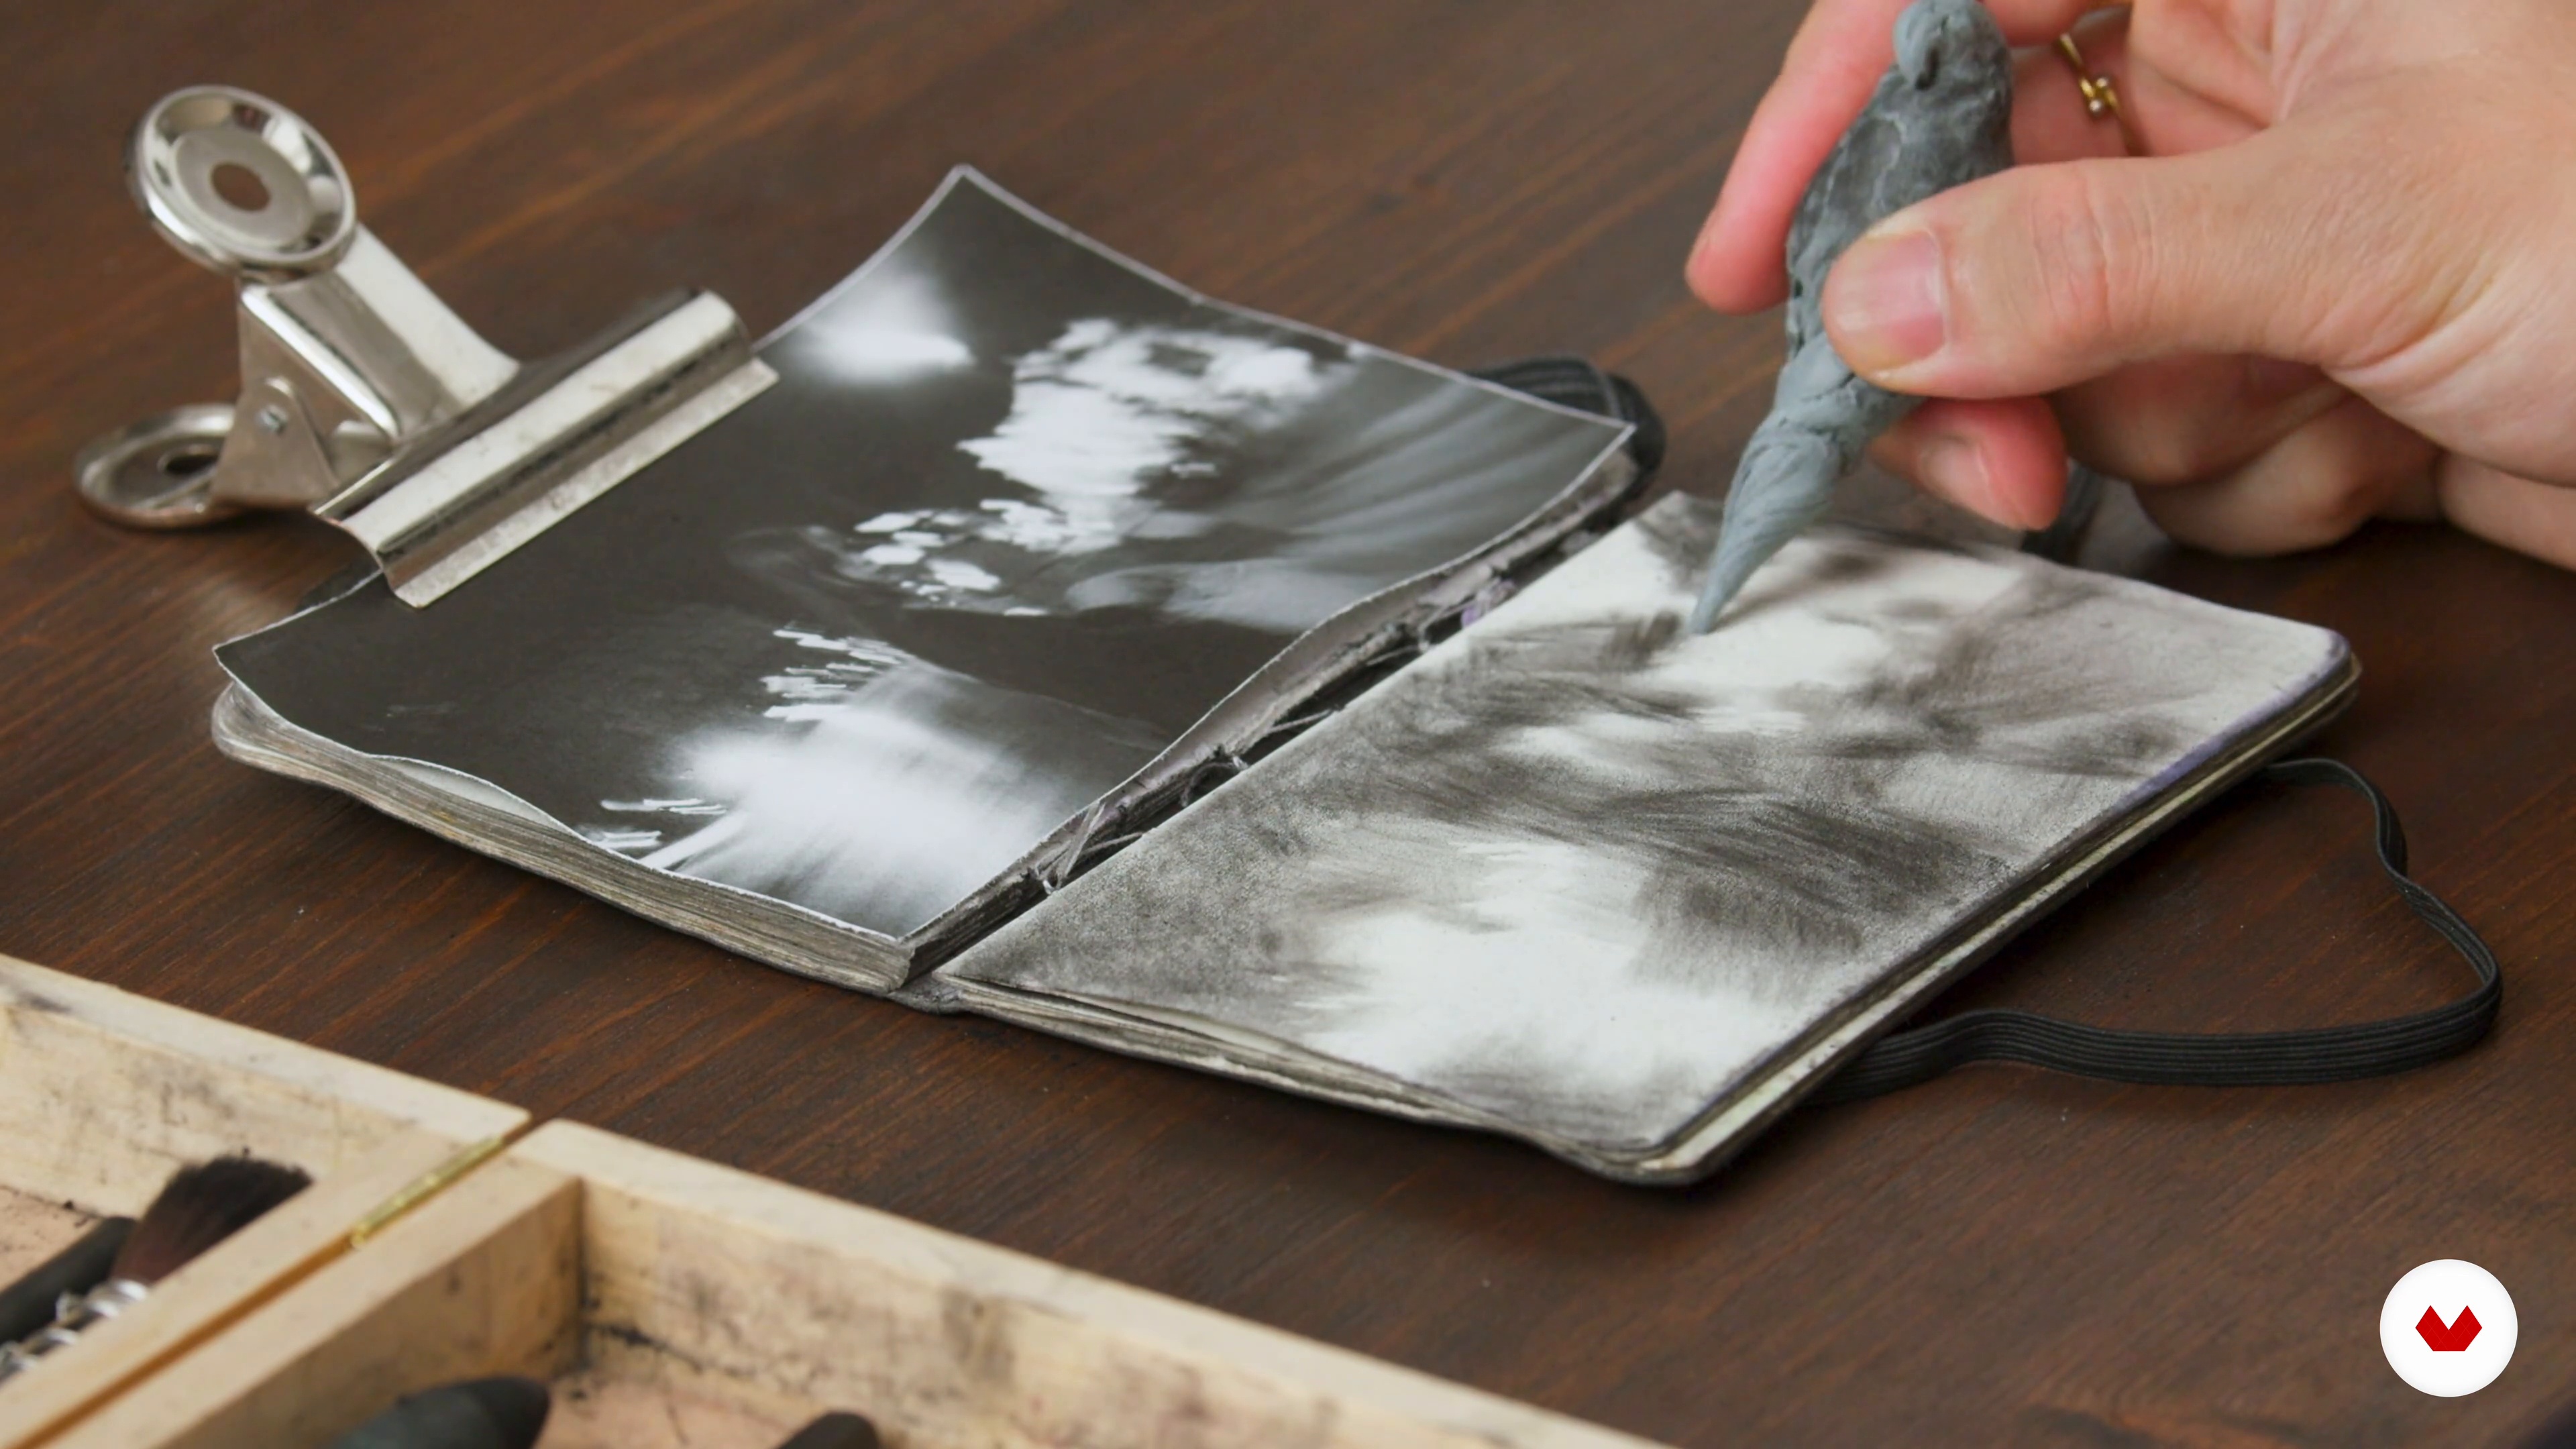
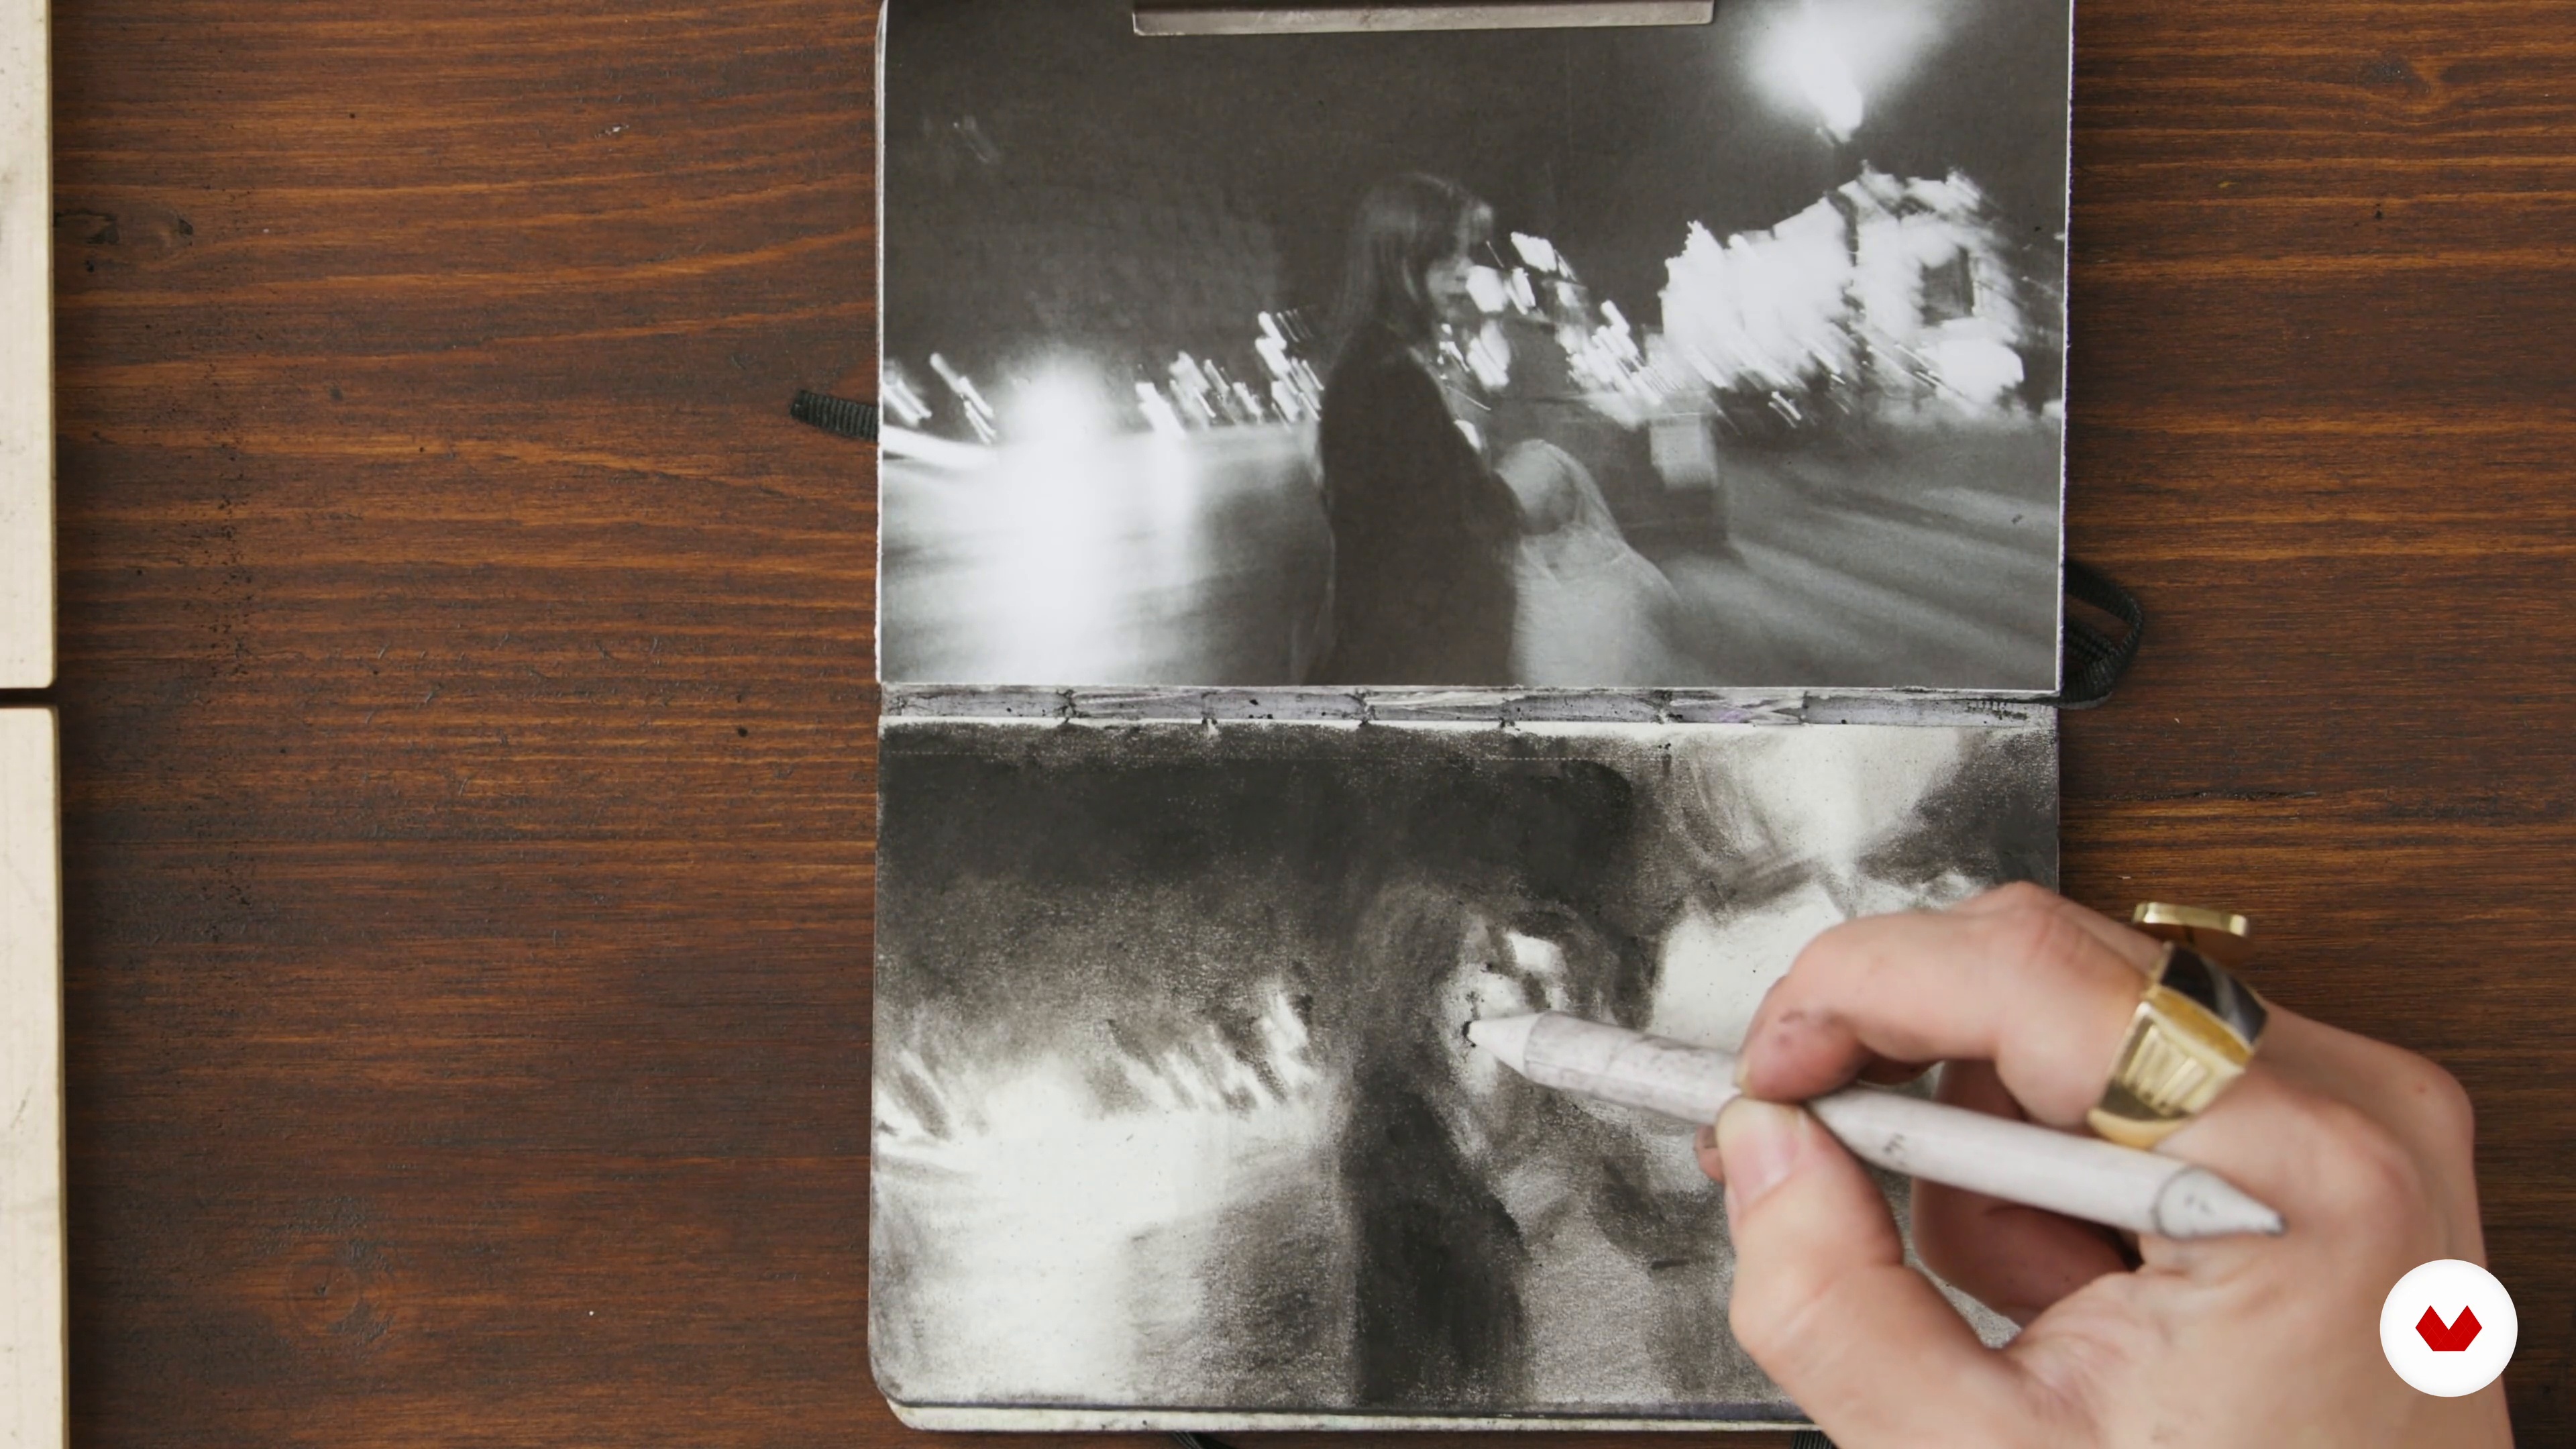
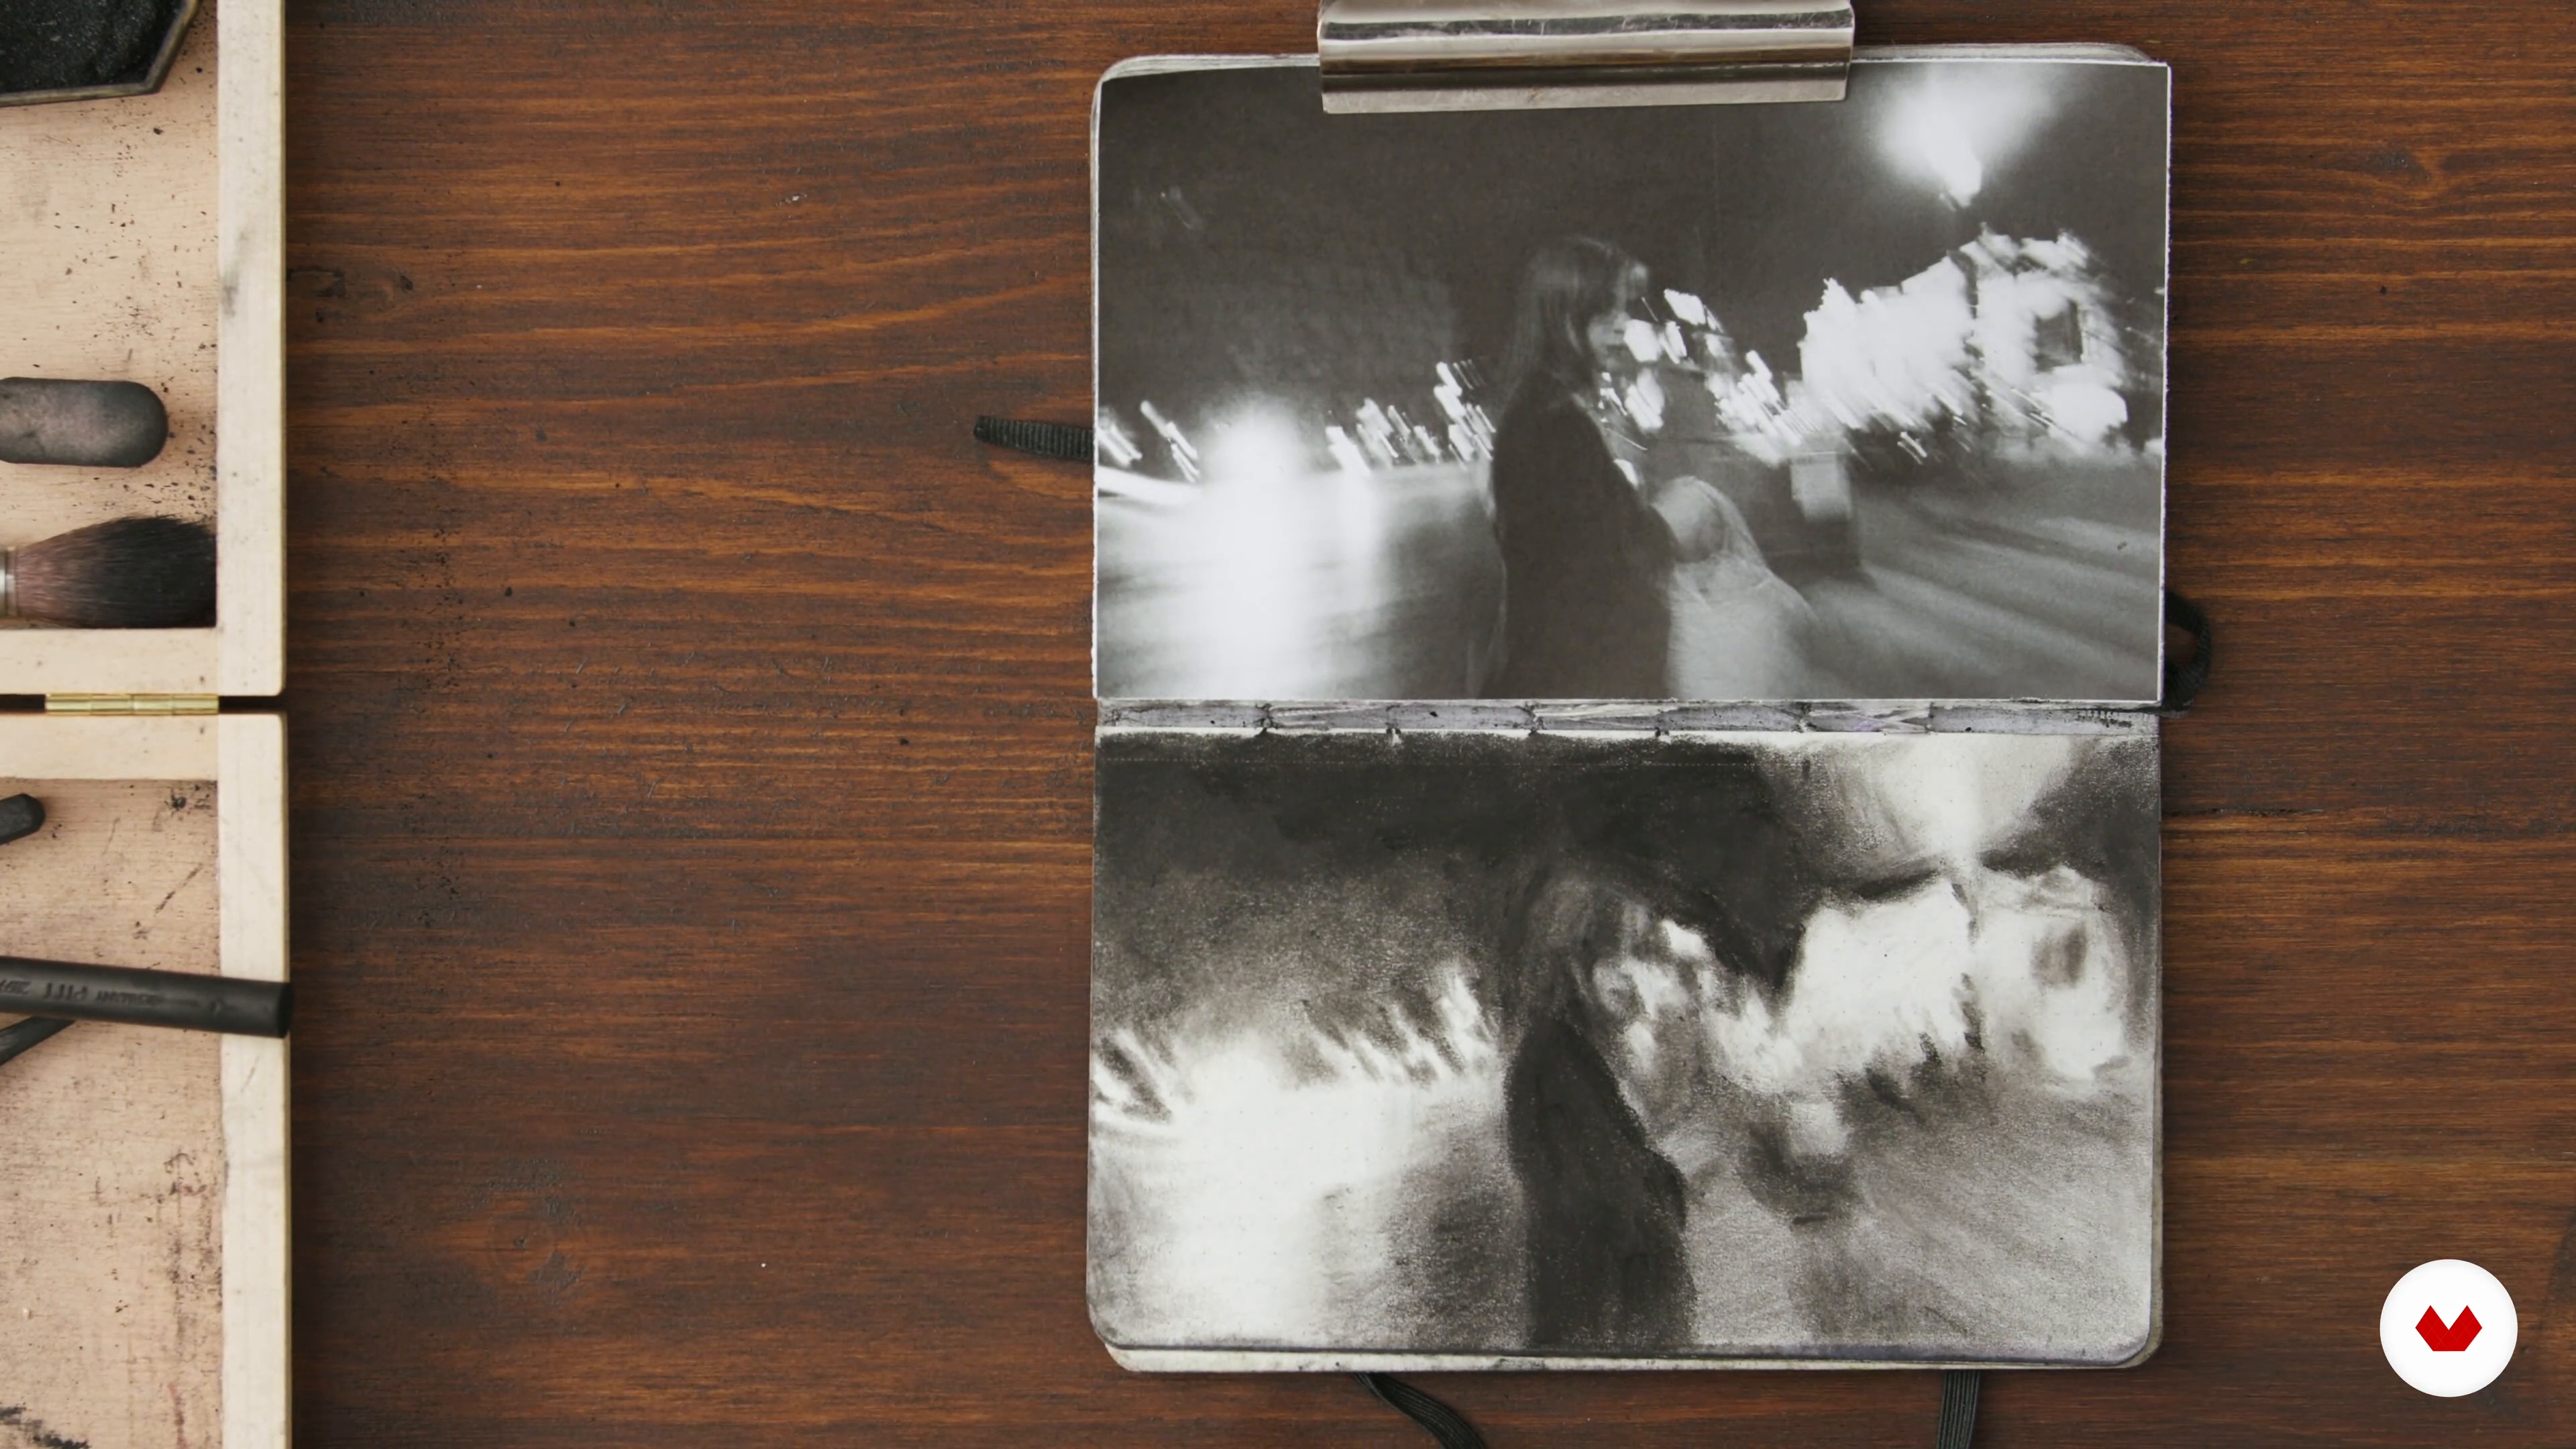
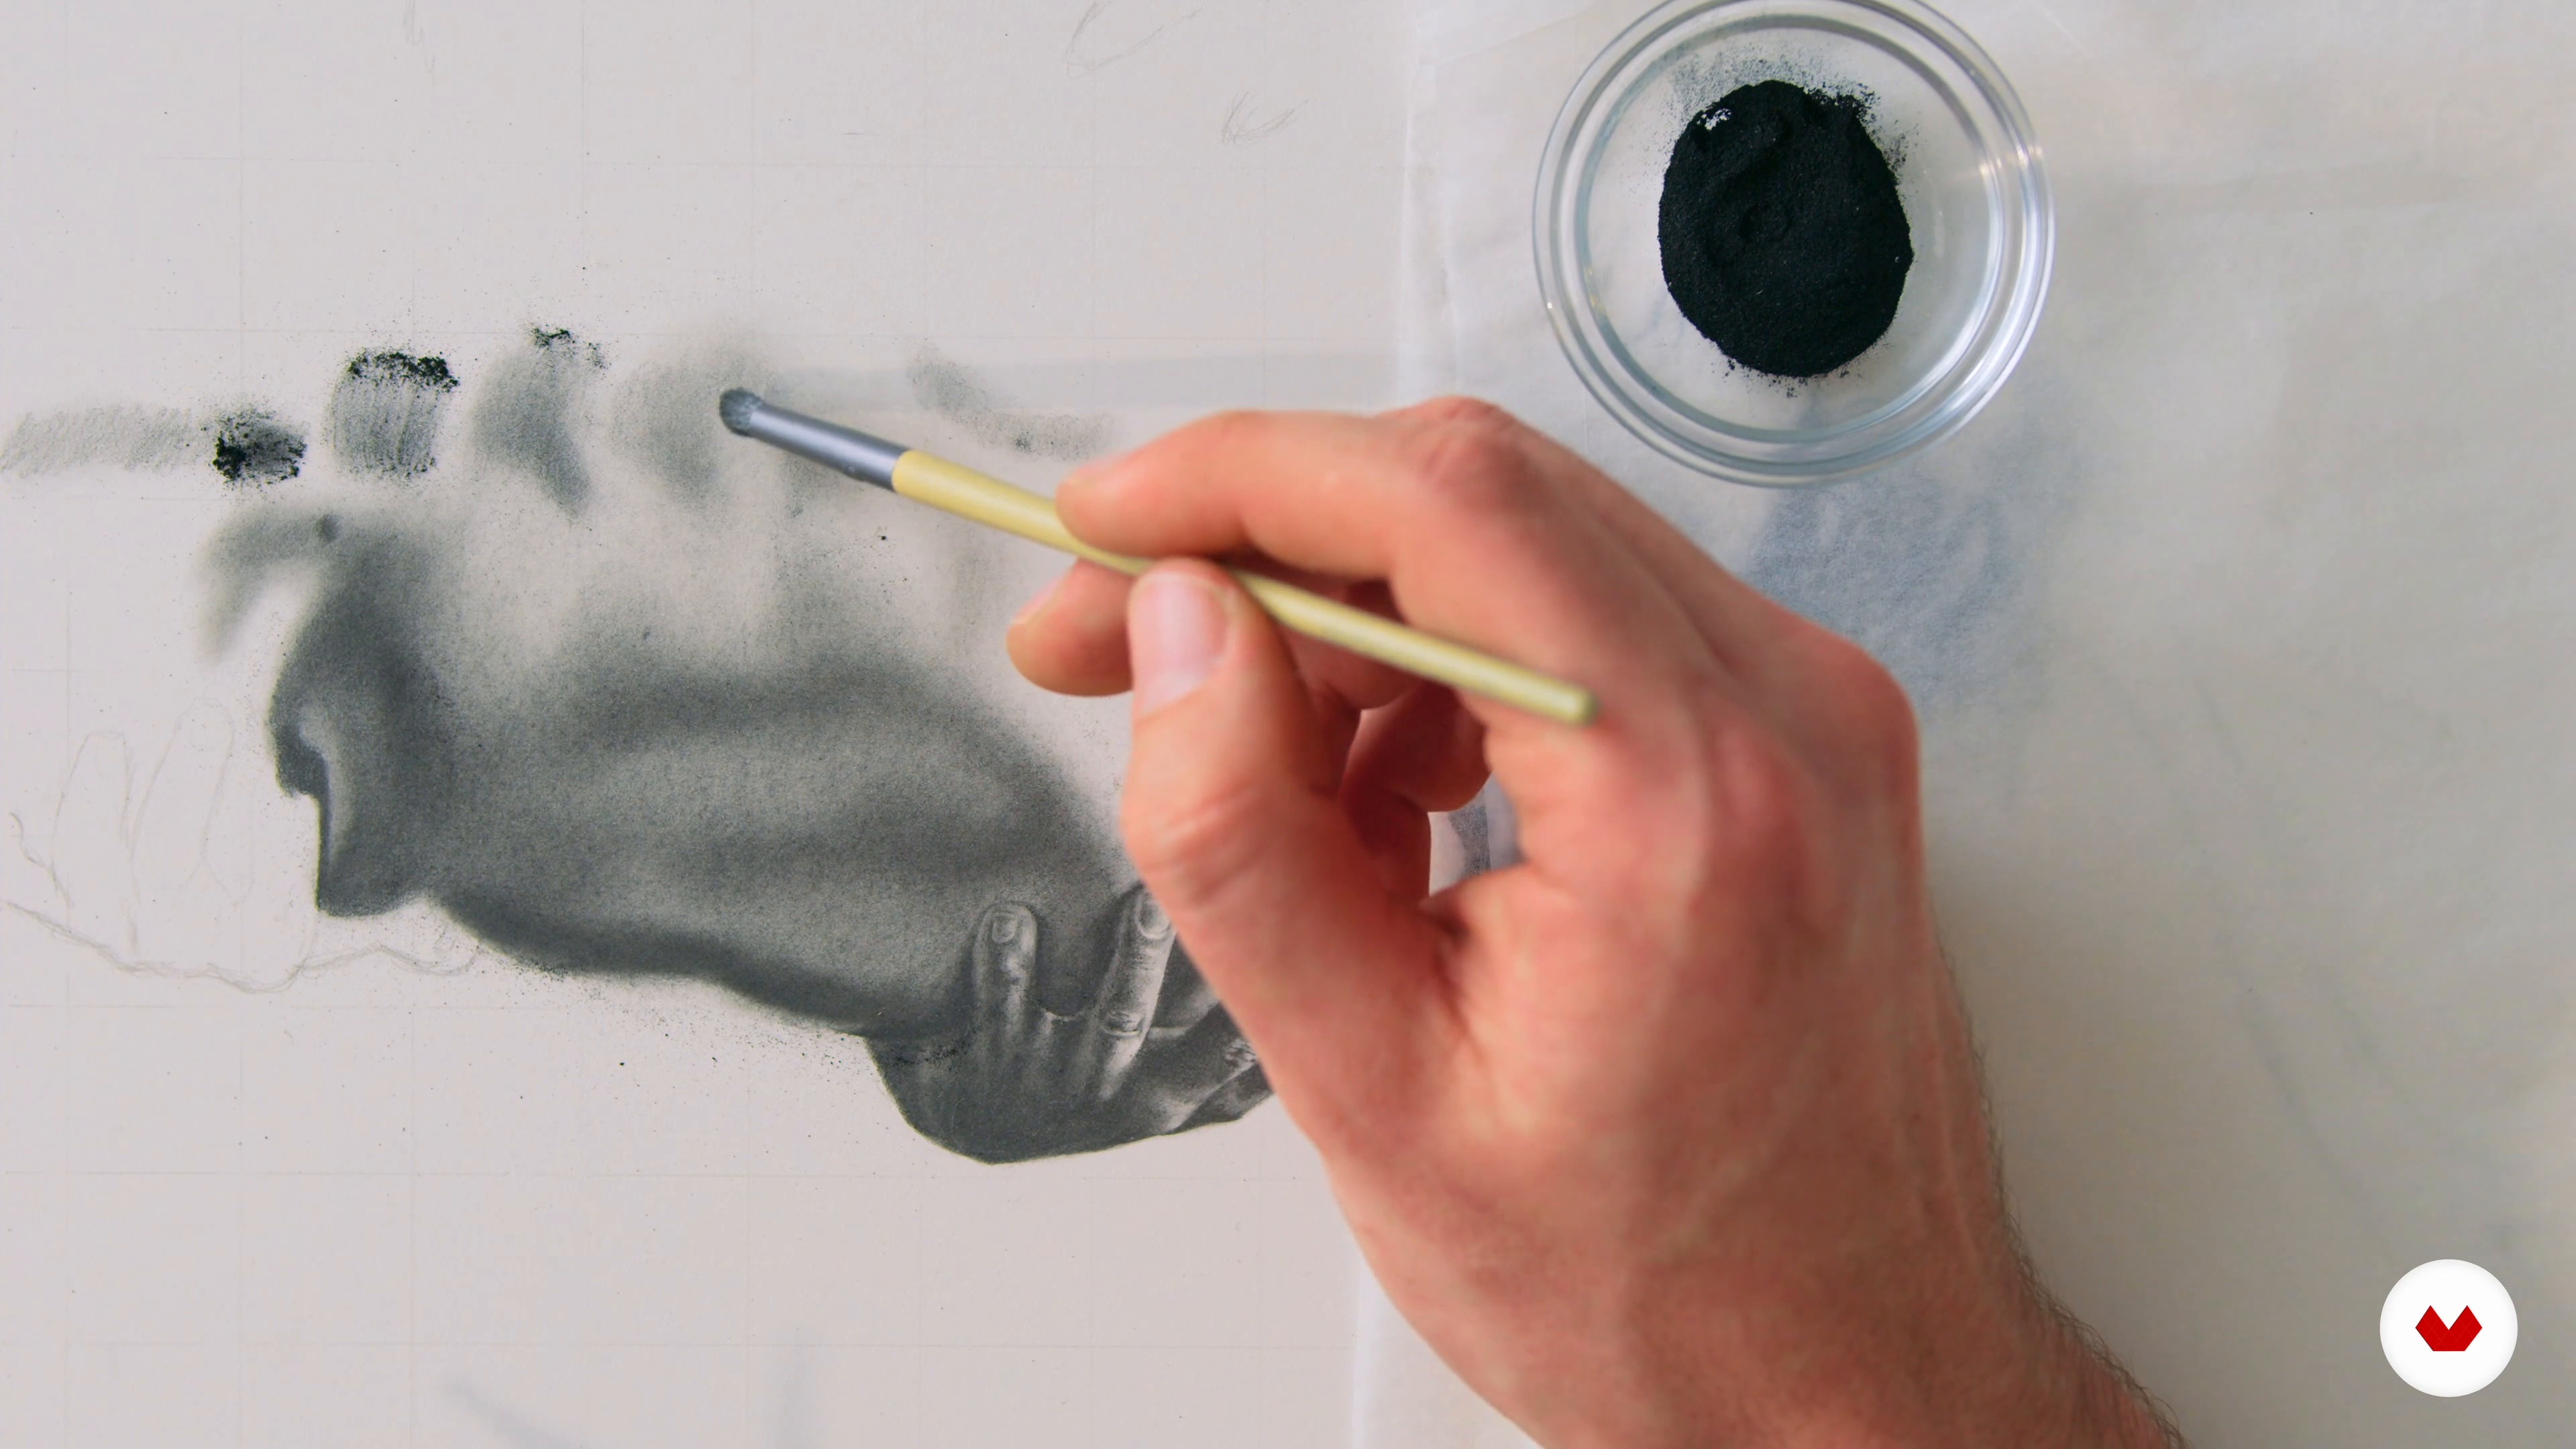
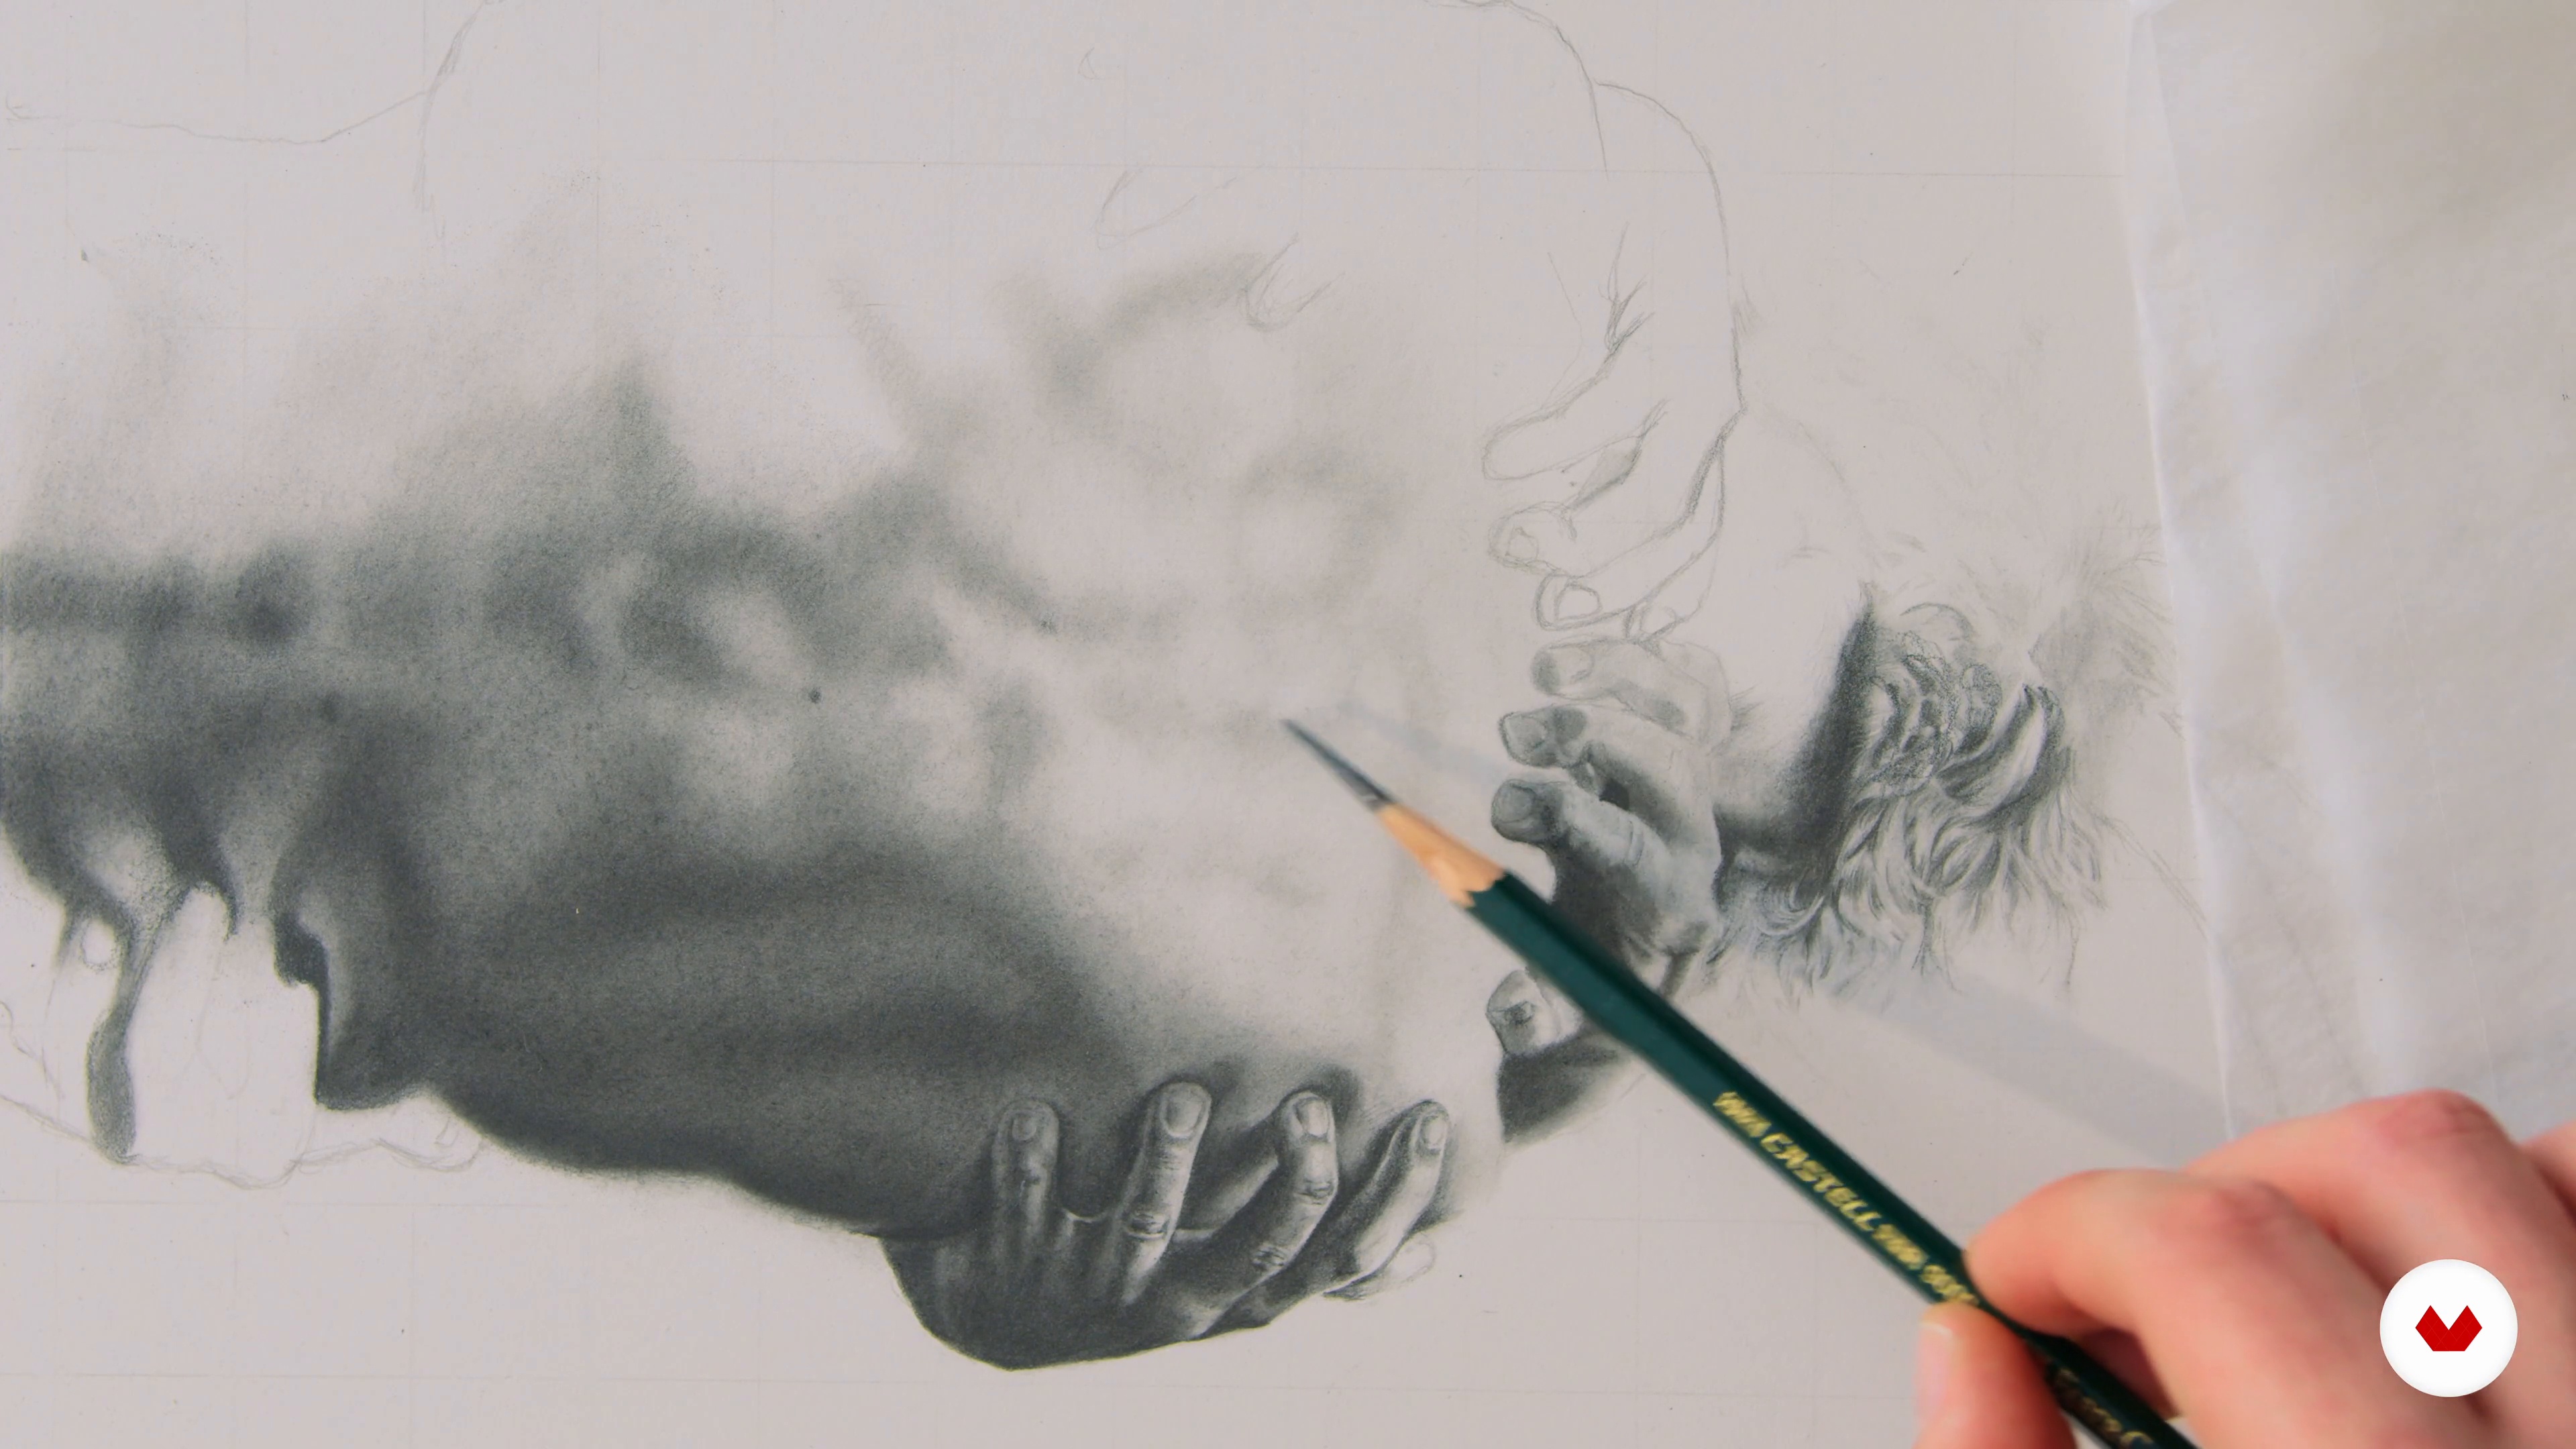
You'll need graphite pencils (various grades), carbon pencils, Pan Pastel, blending stumps, mechanical pencils, erasers, white chalk, and textured drawing paper. A reference photo and a pencil sharpener are also recommended.
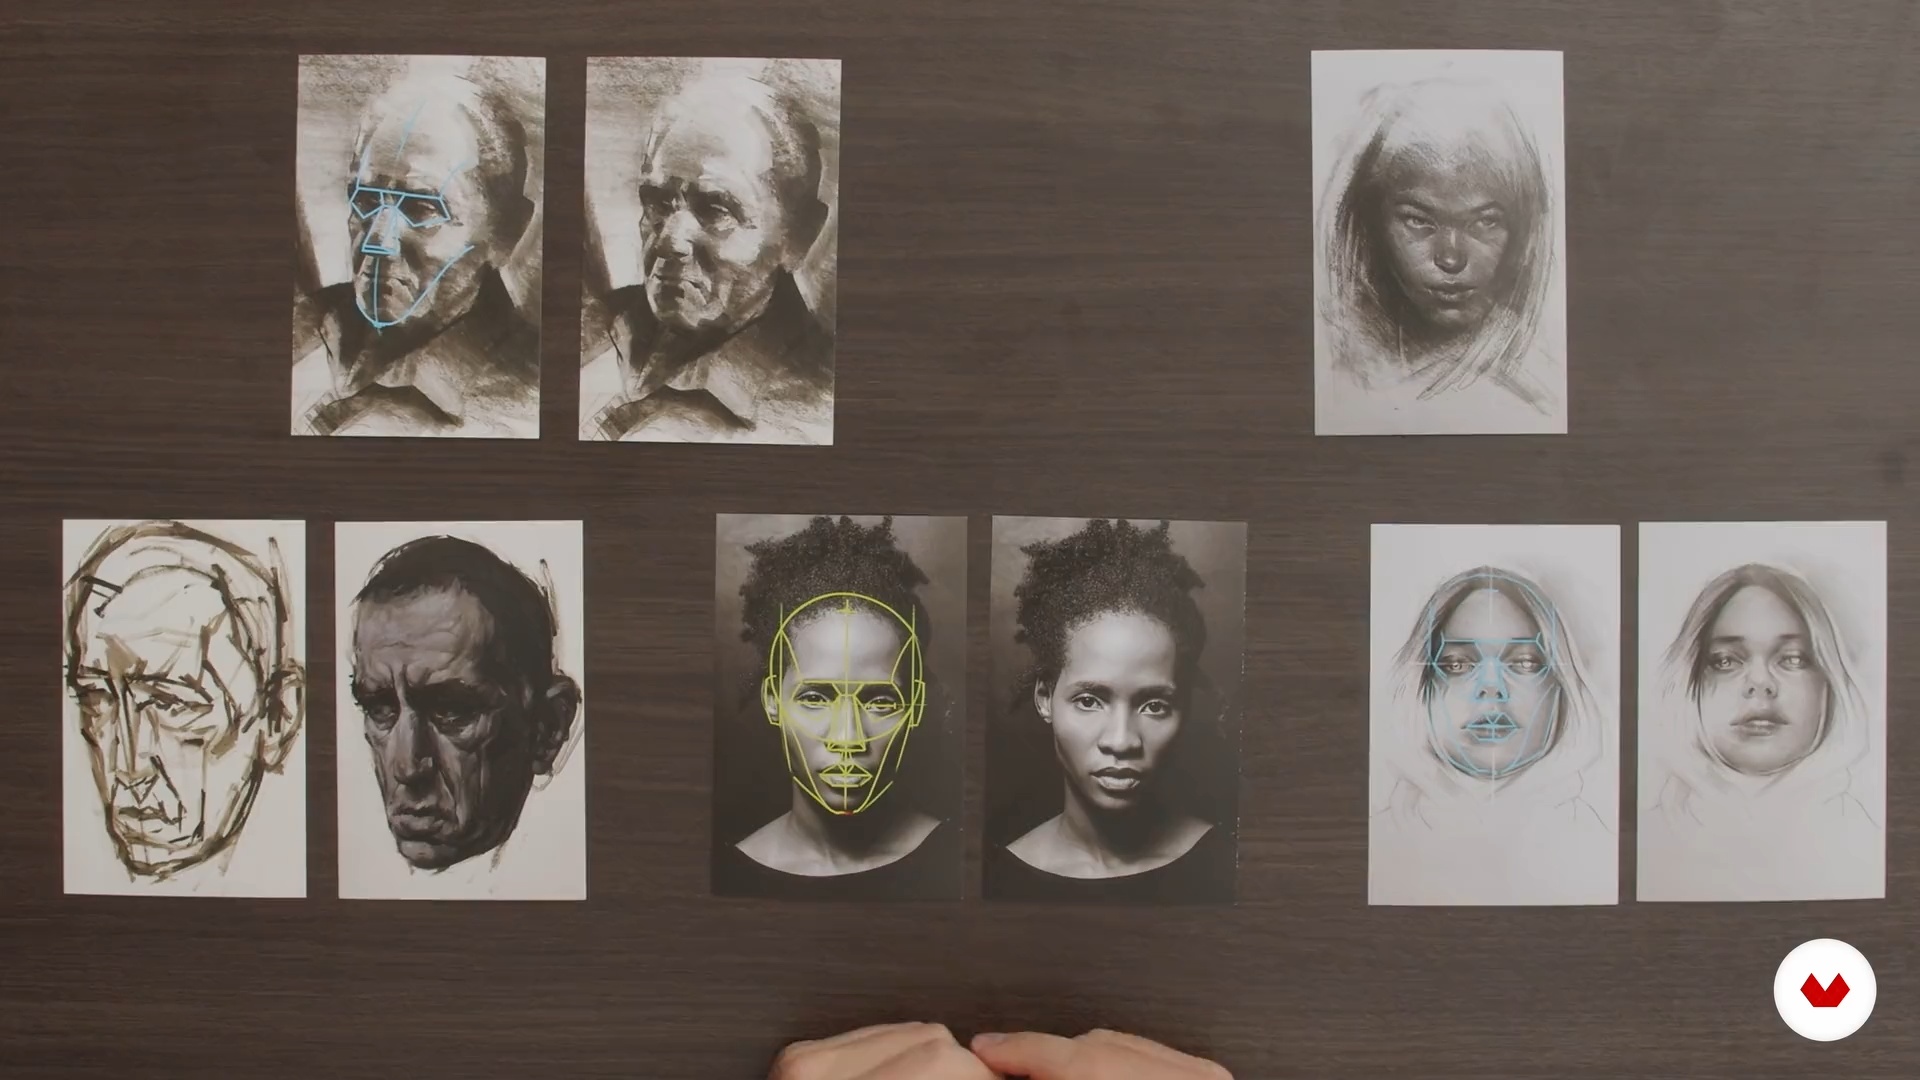
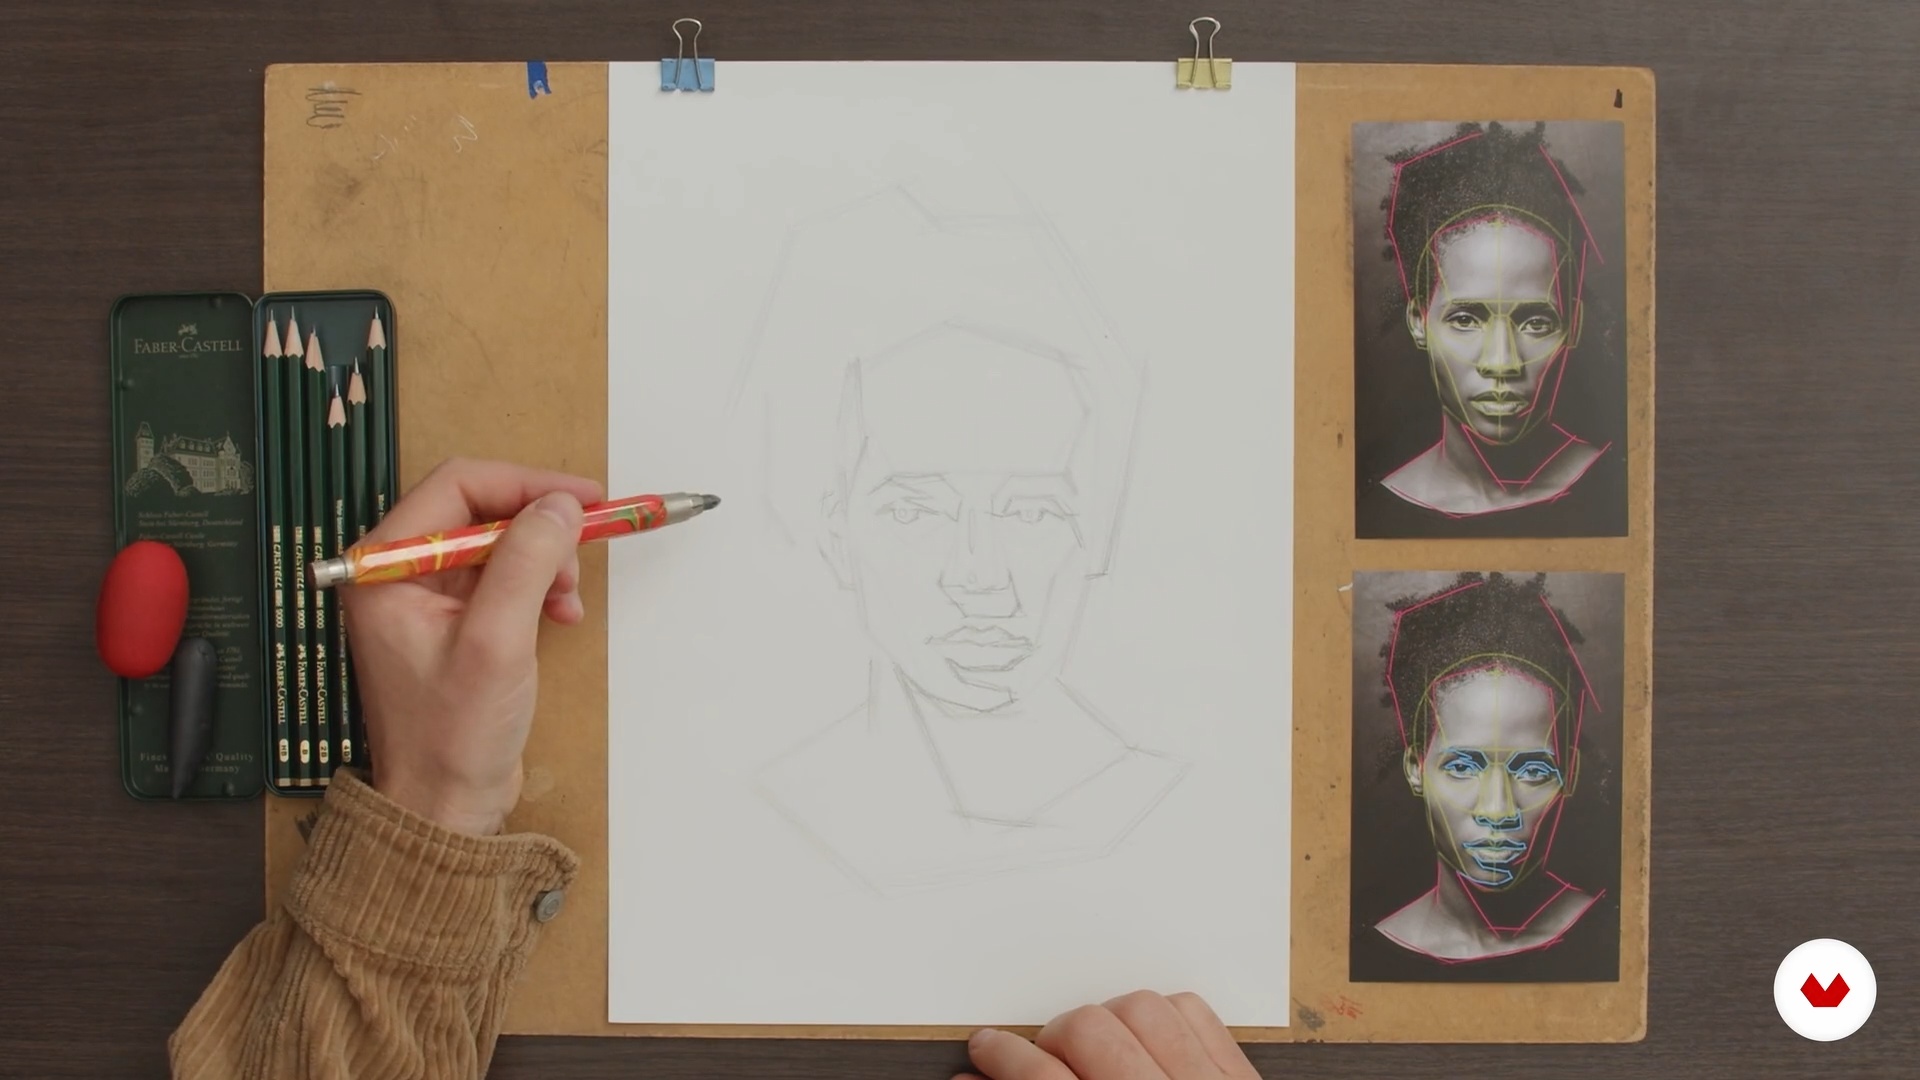
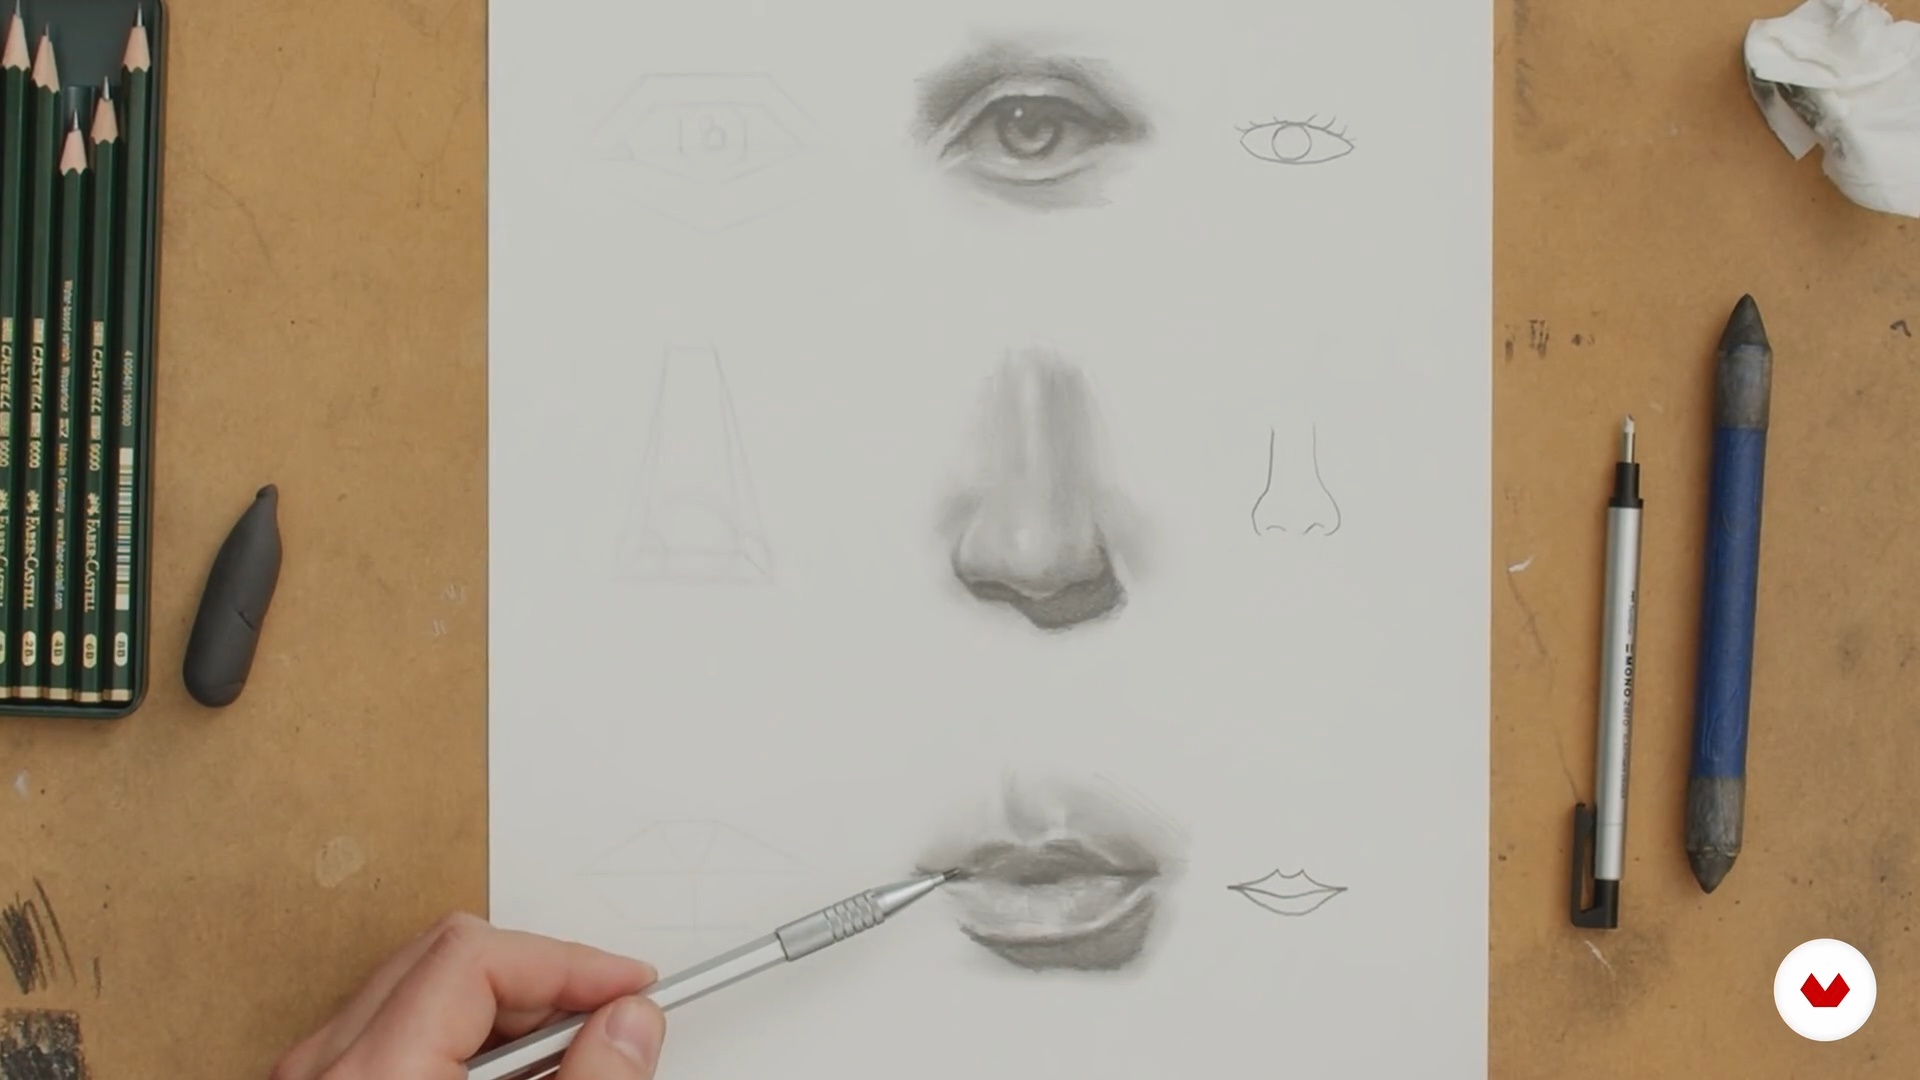
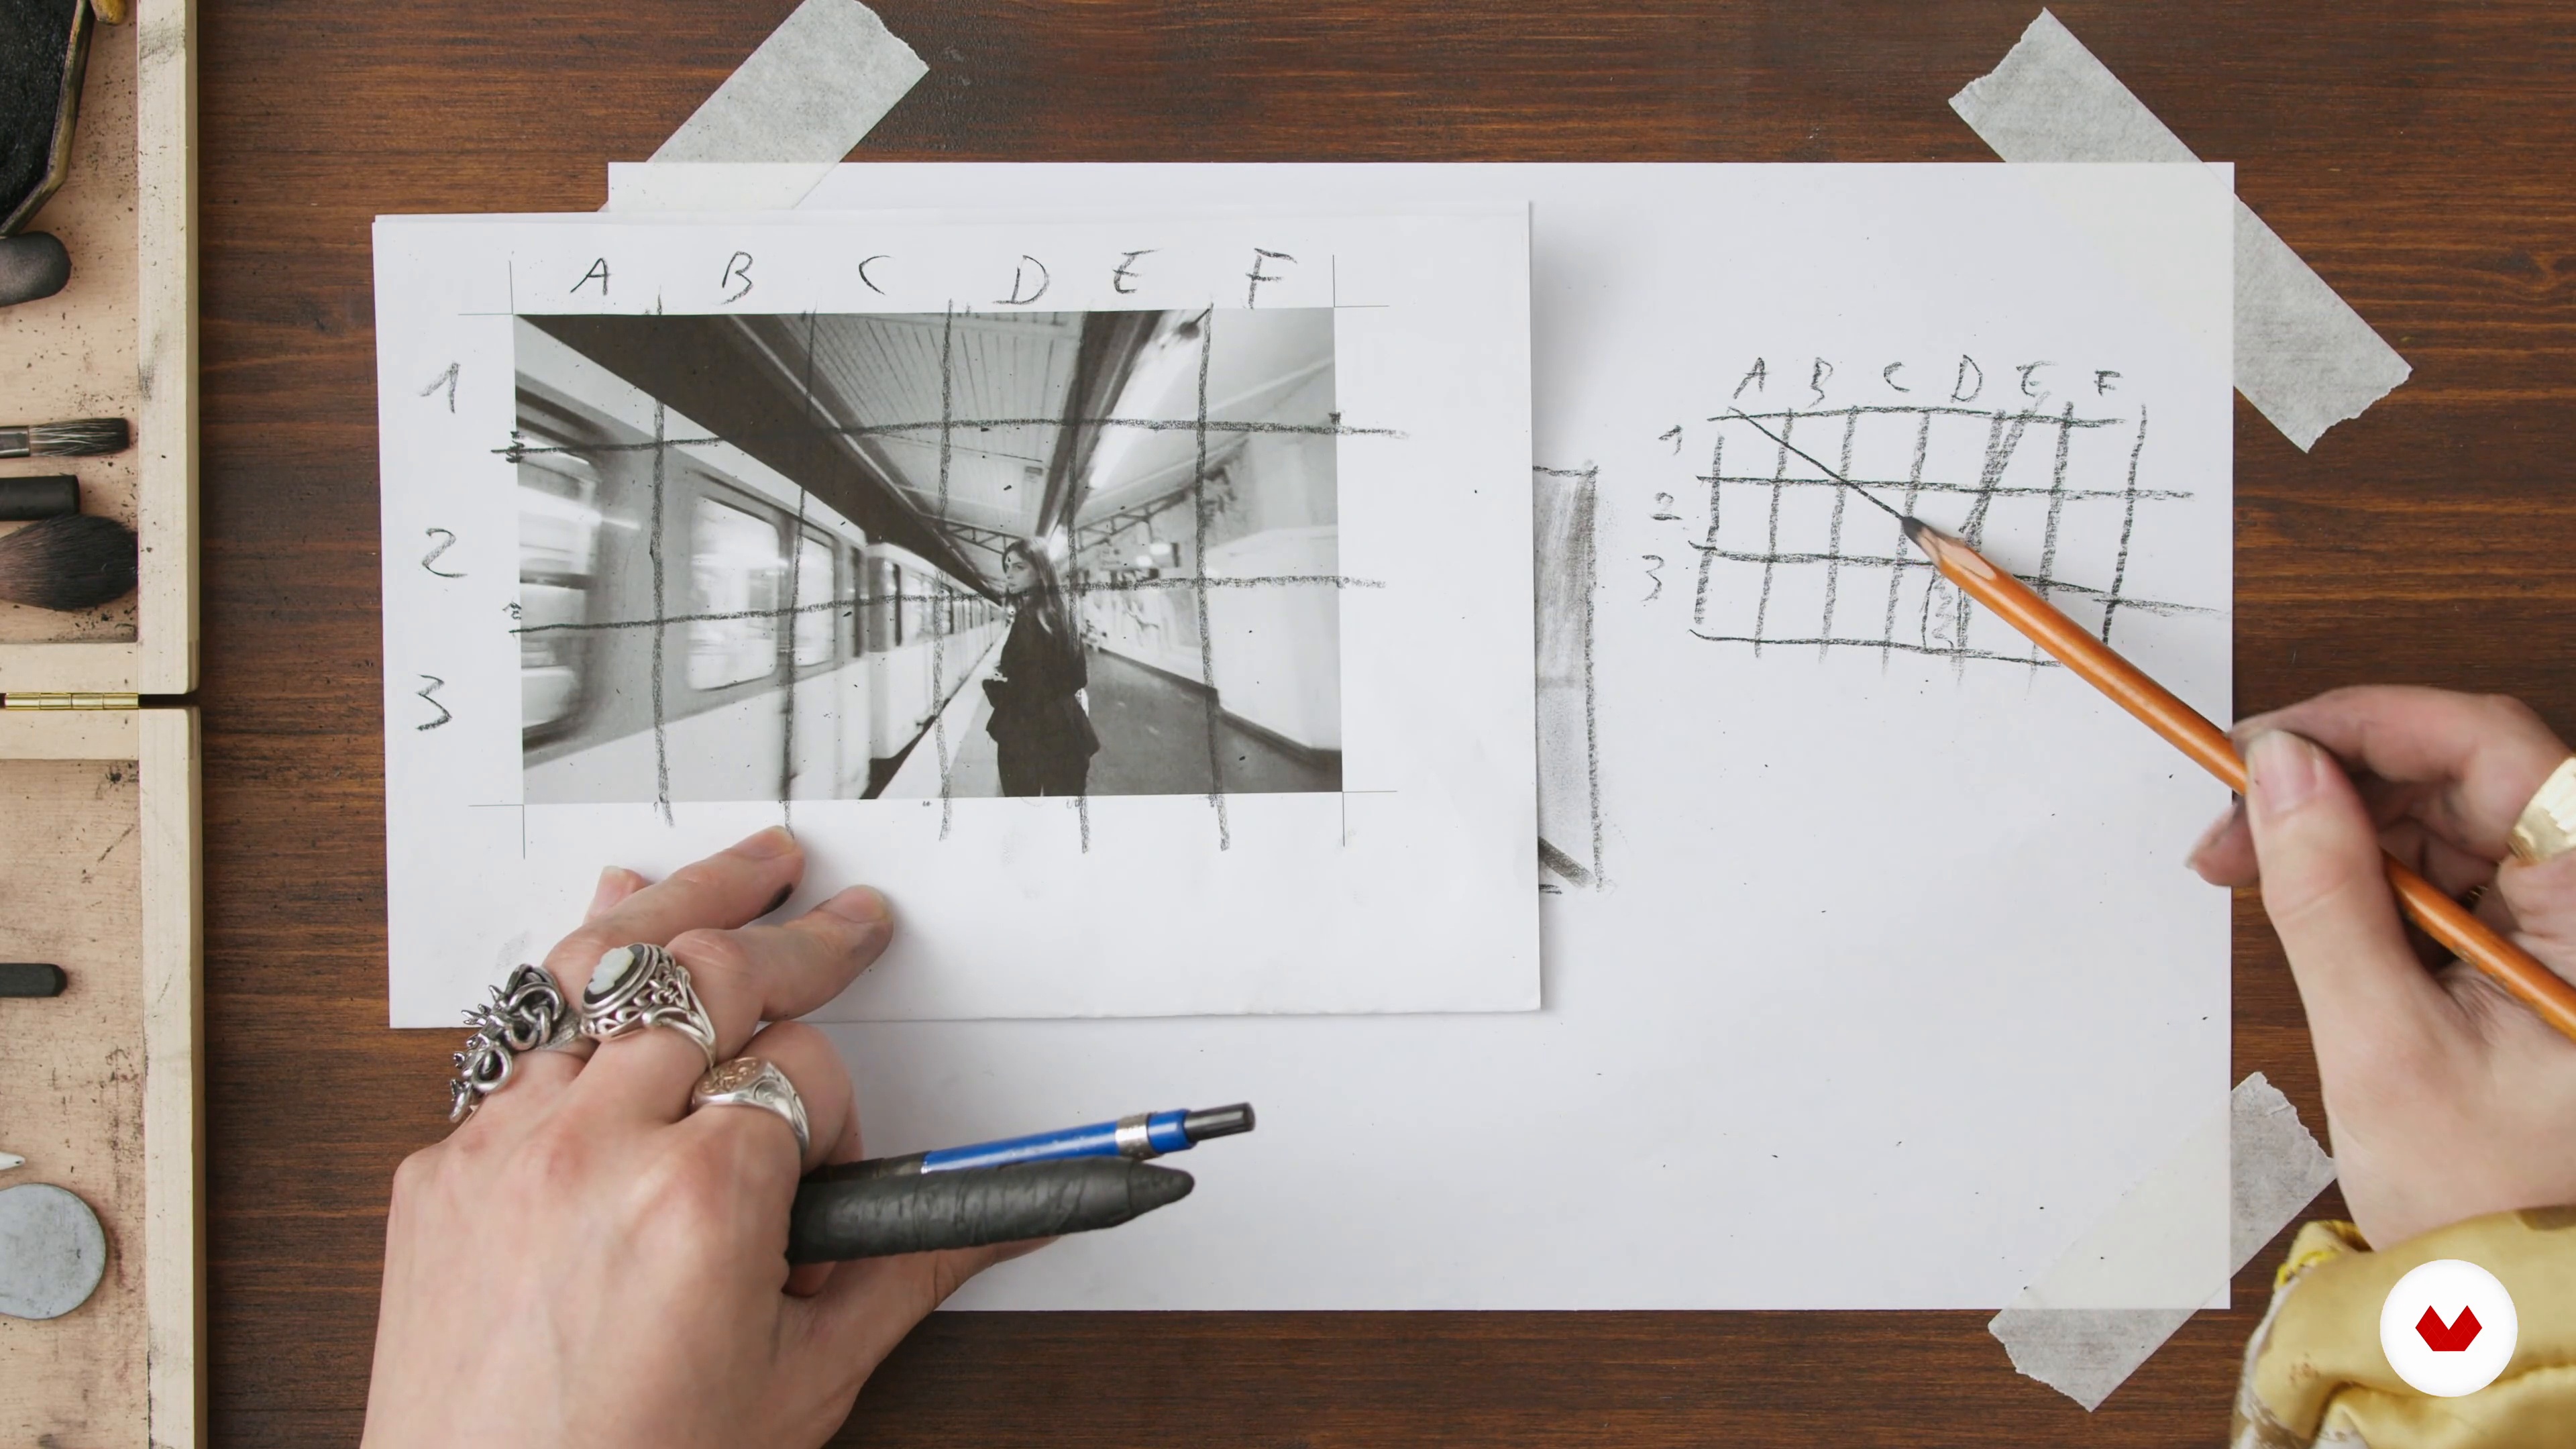
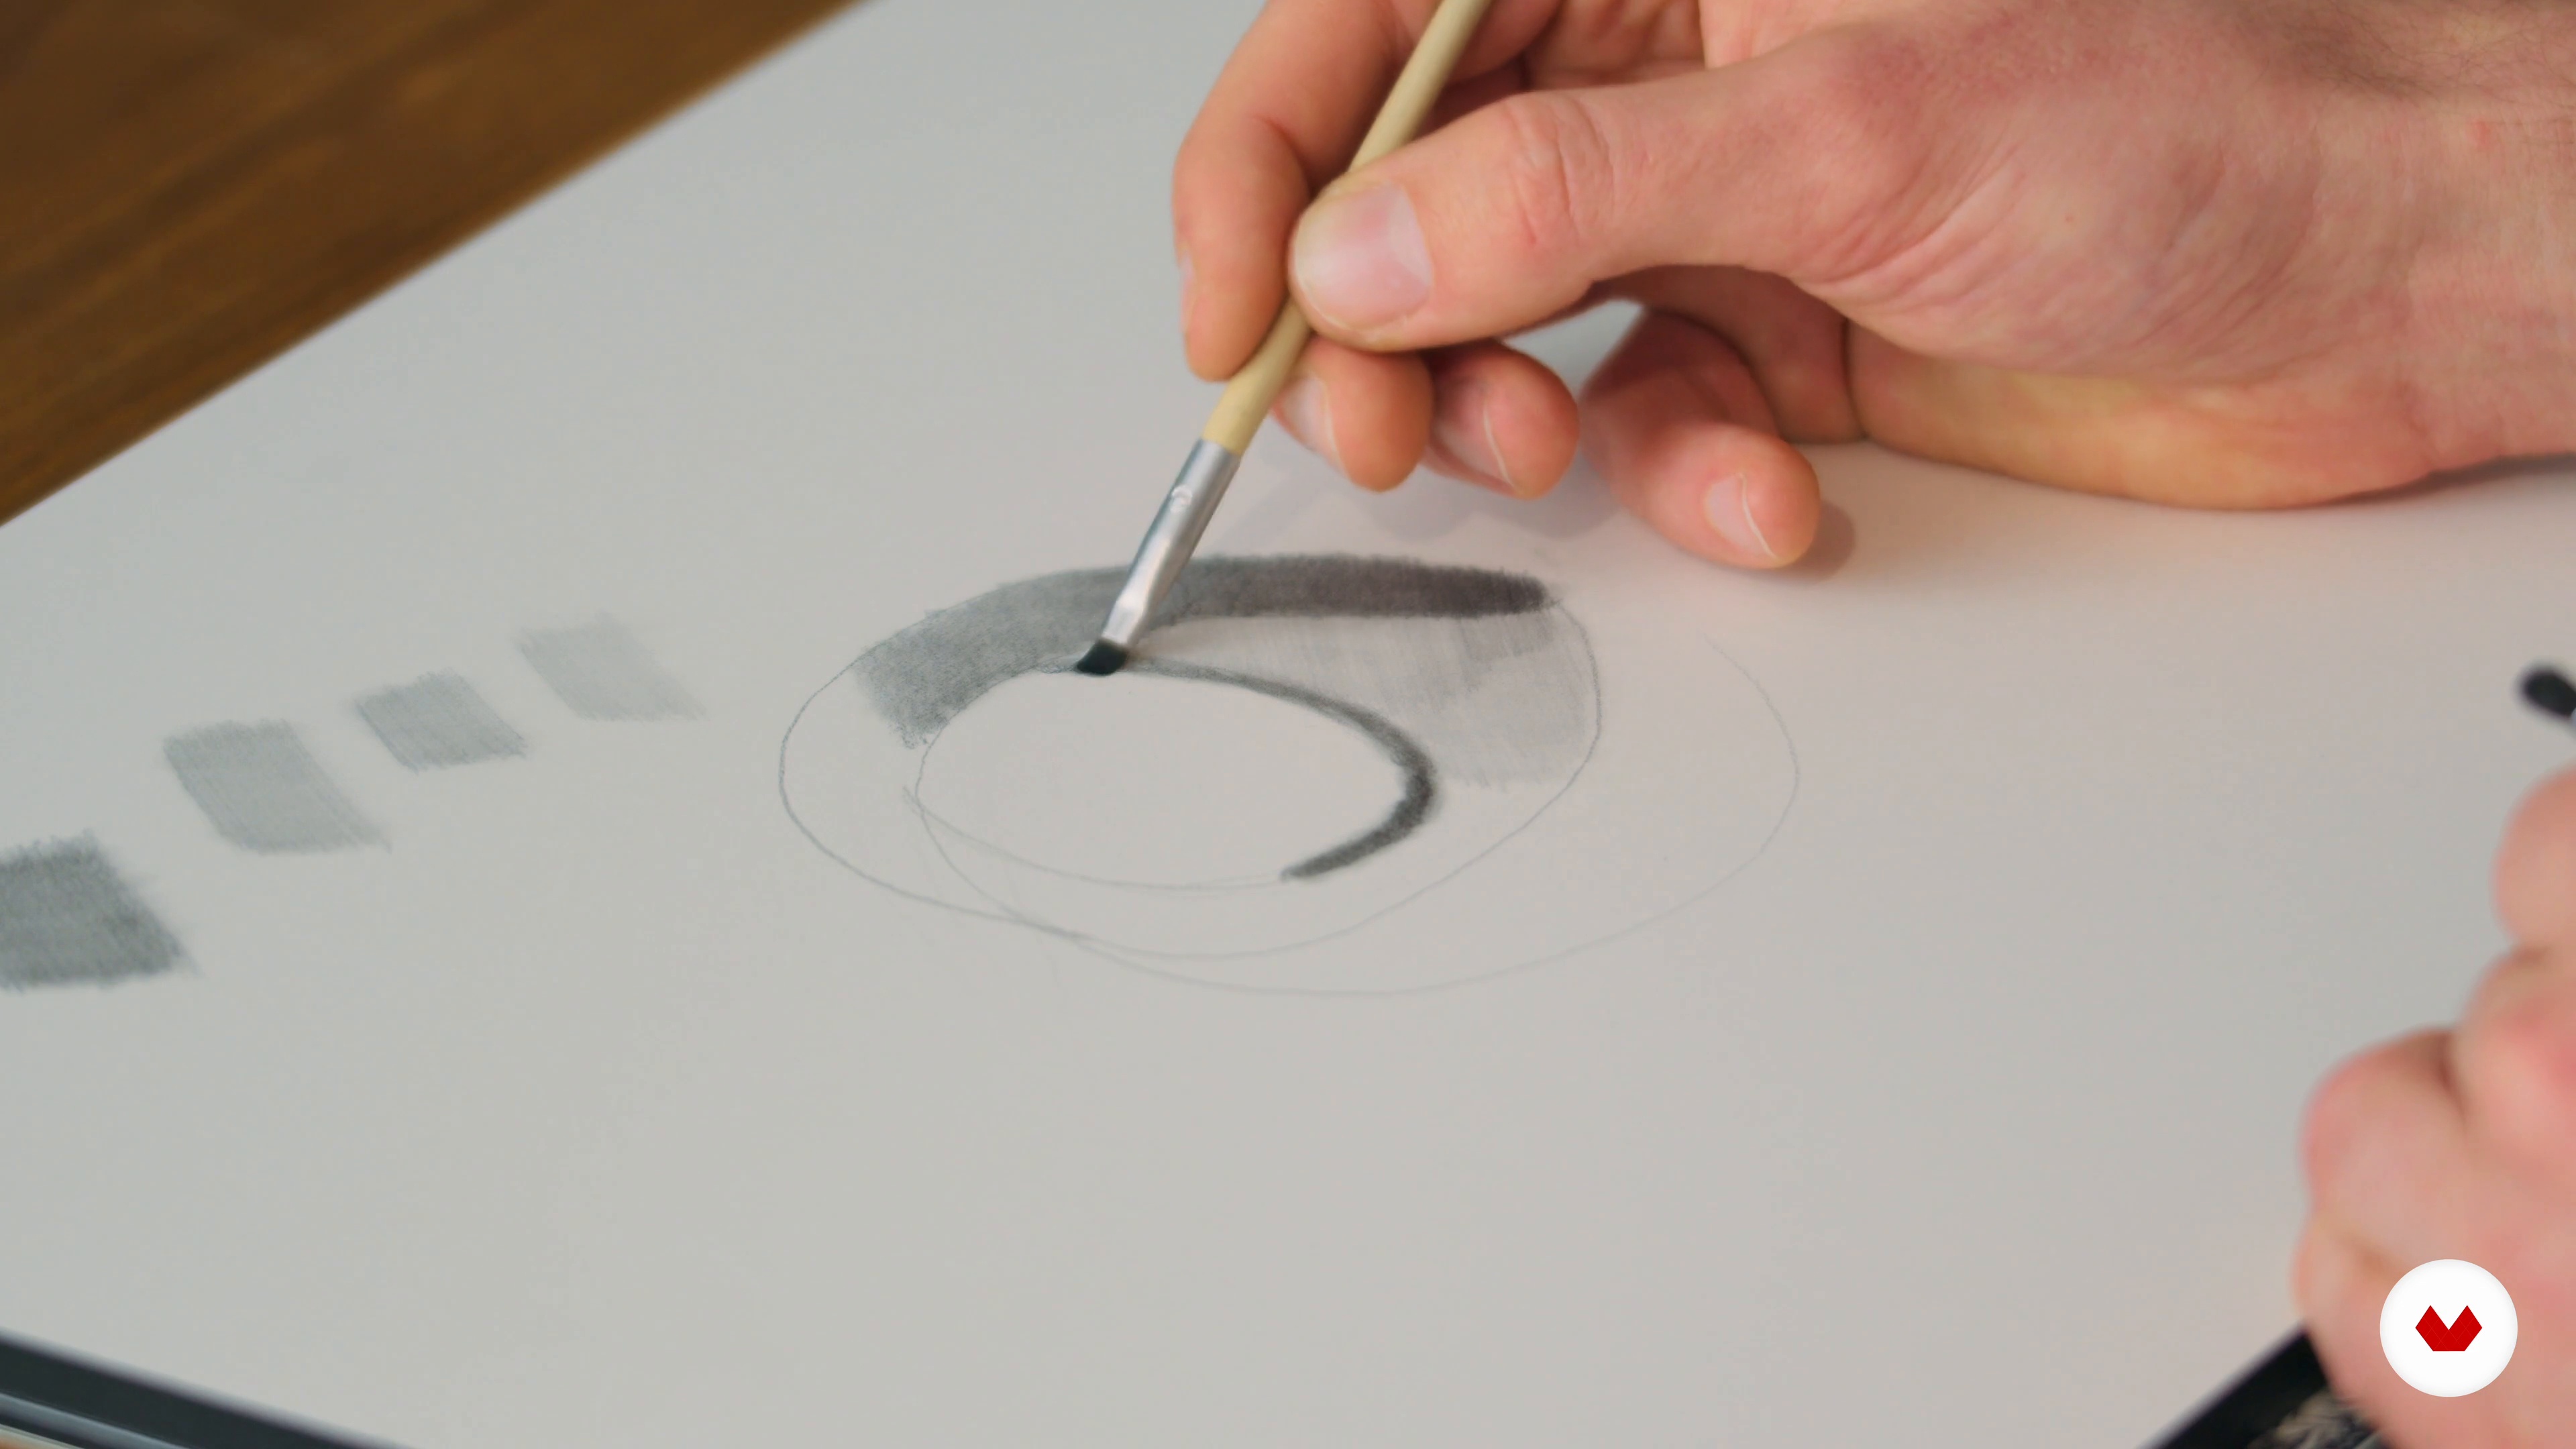
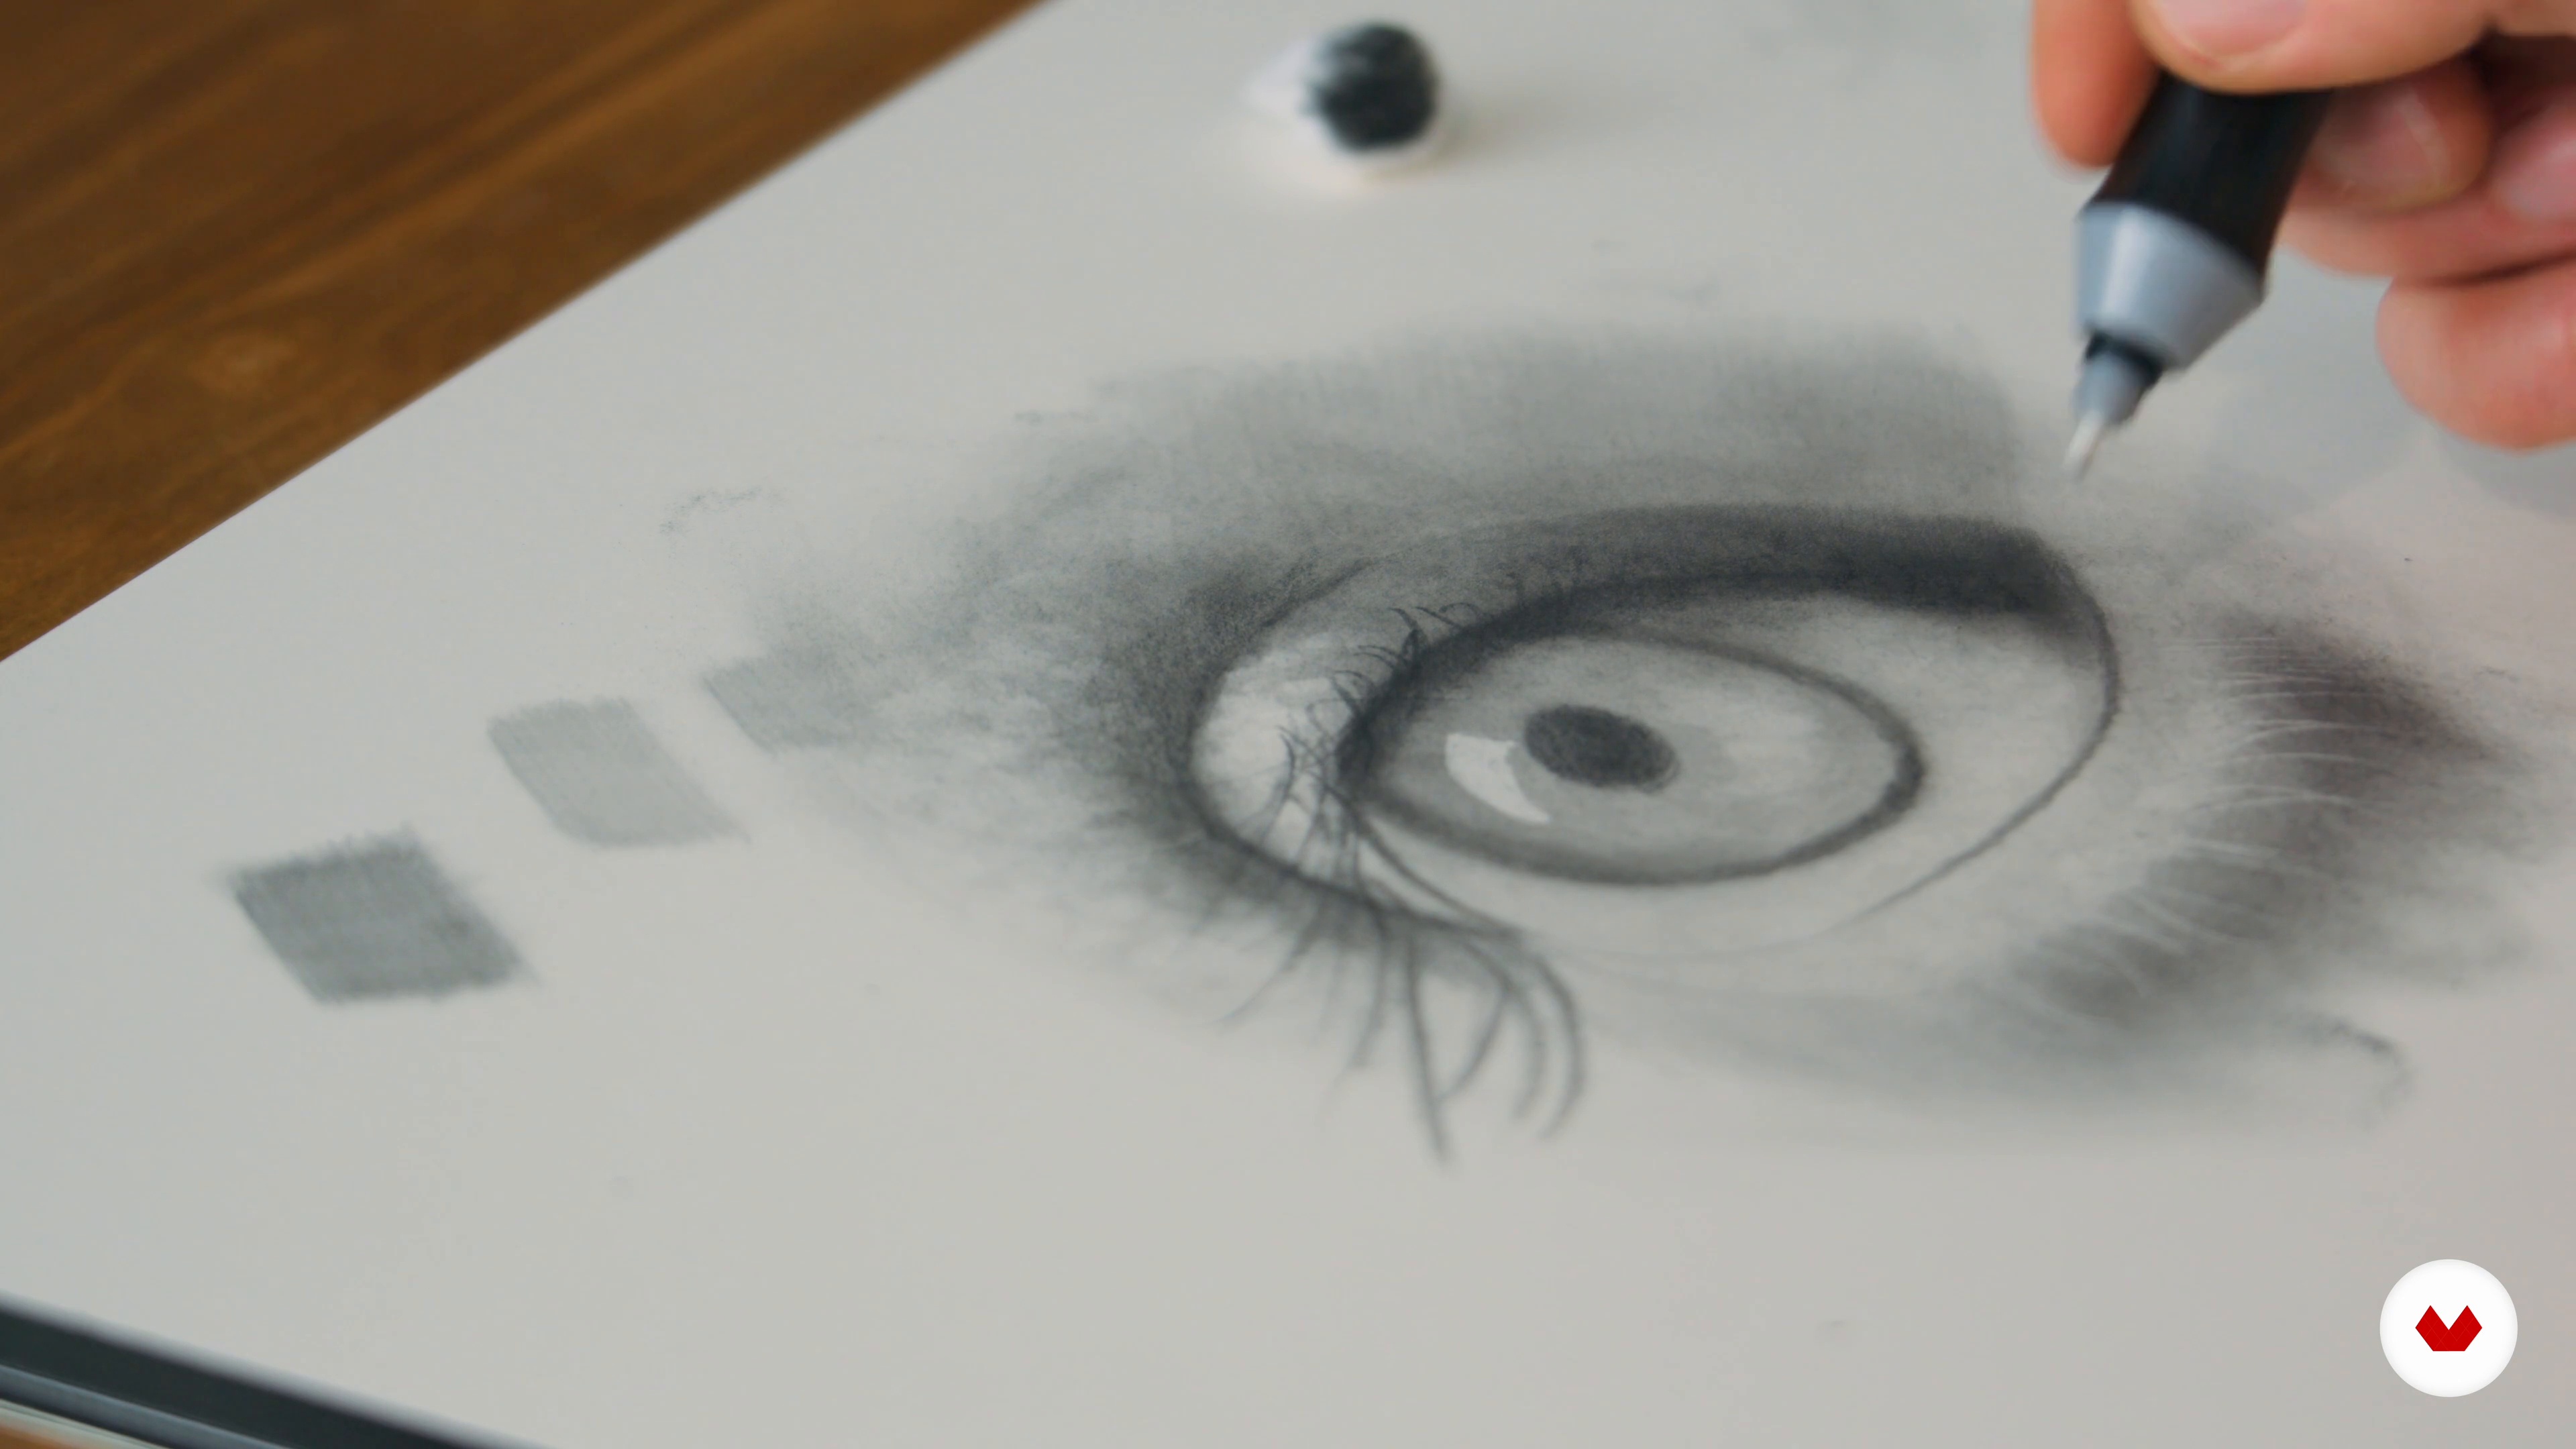
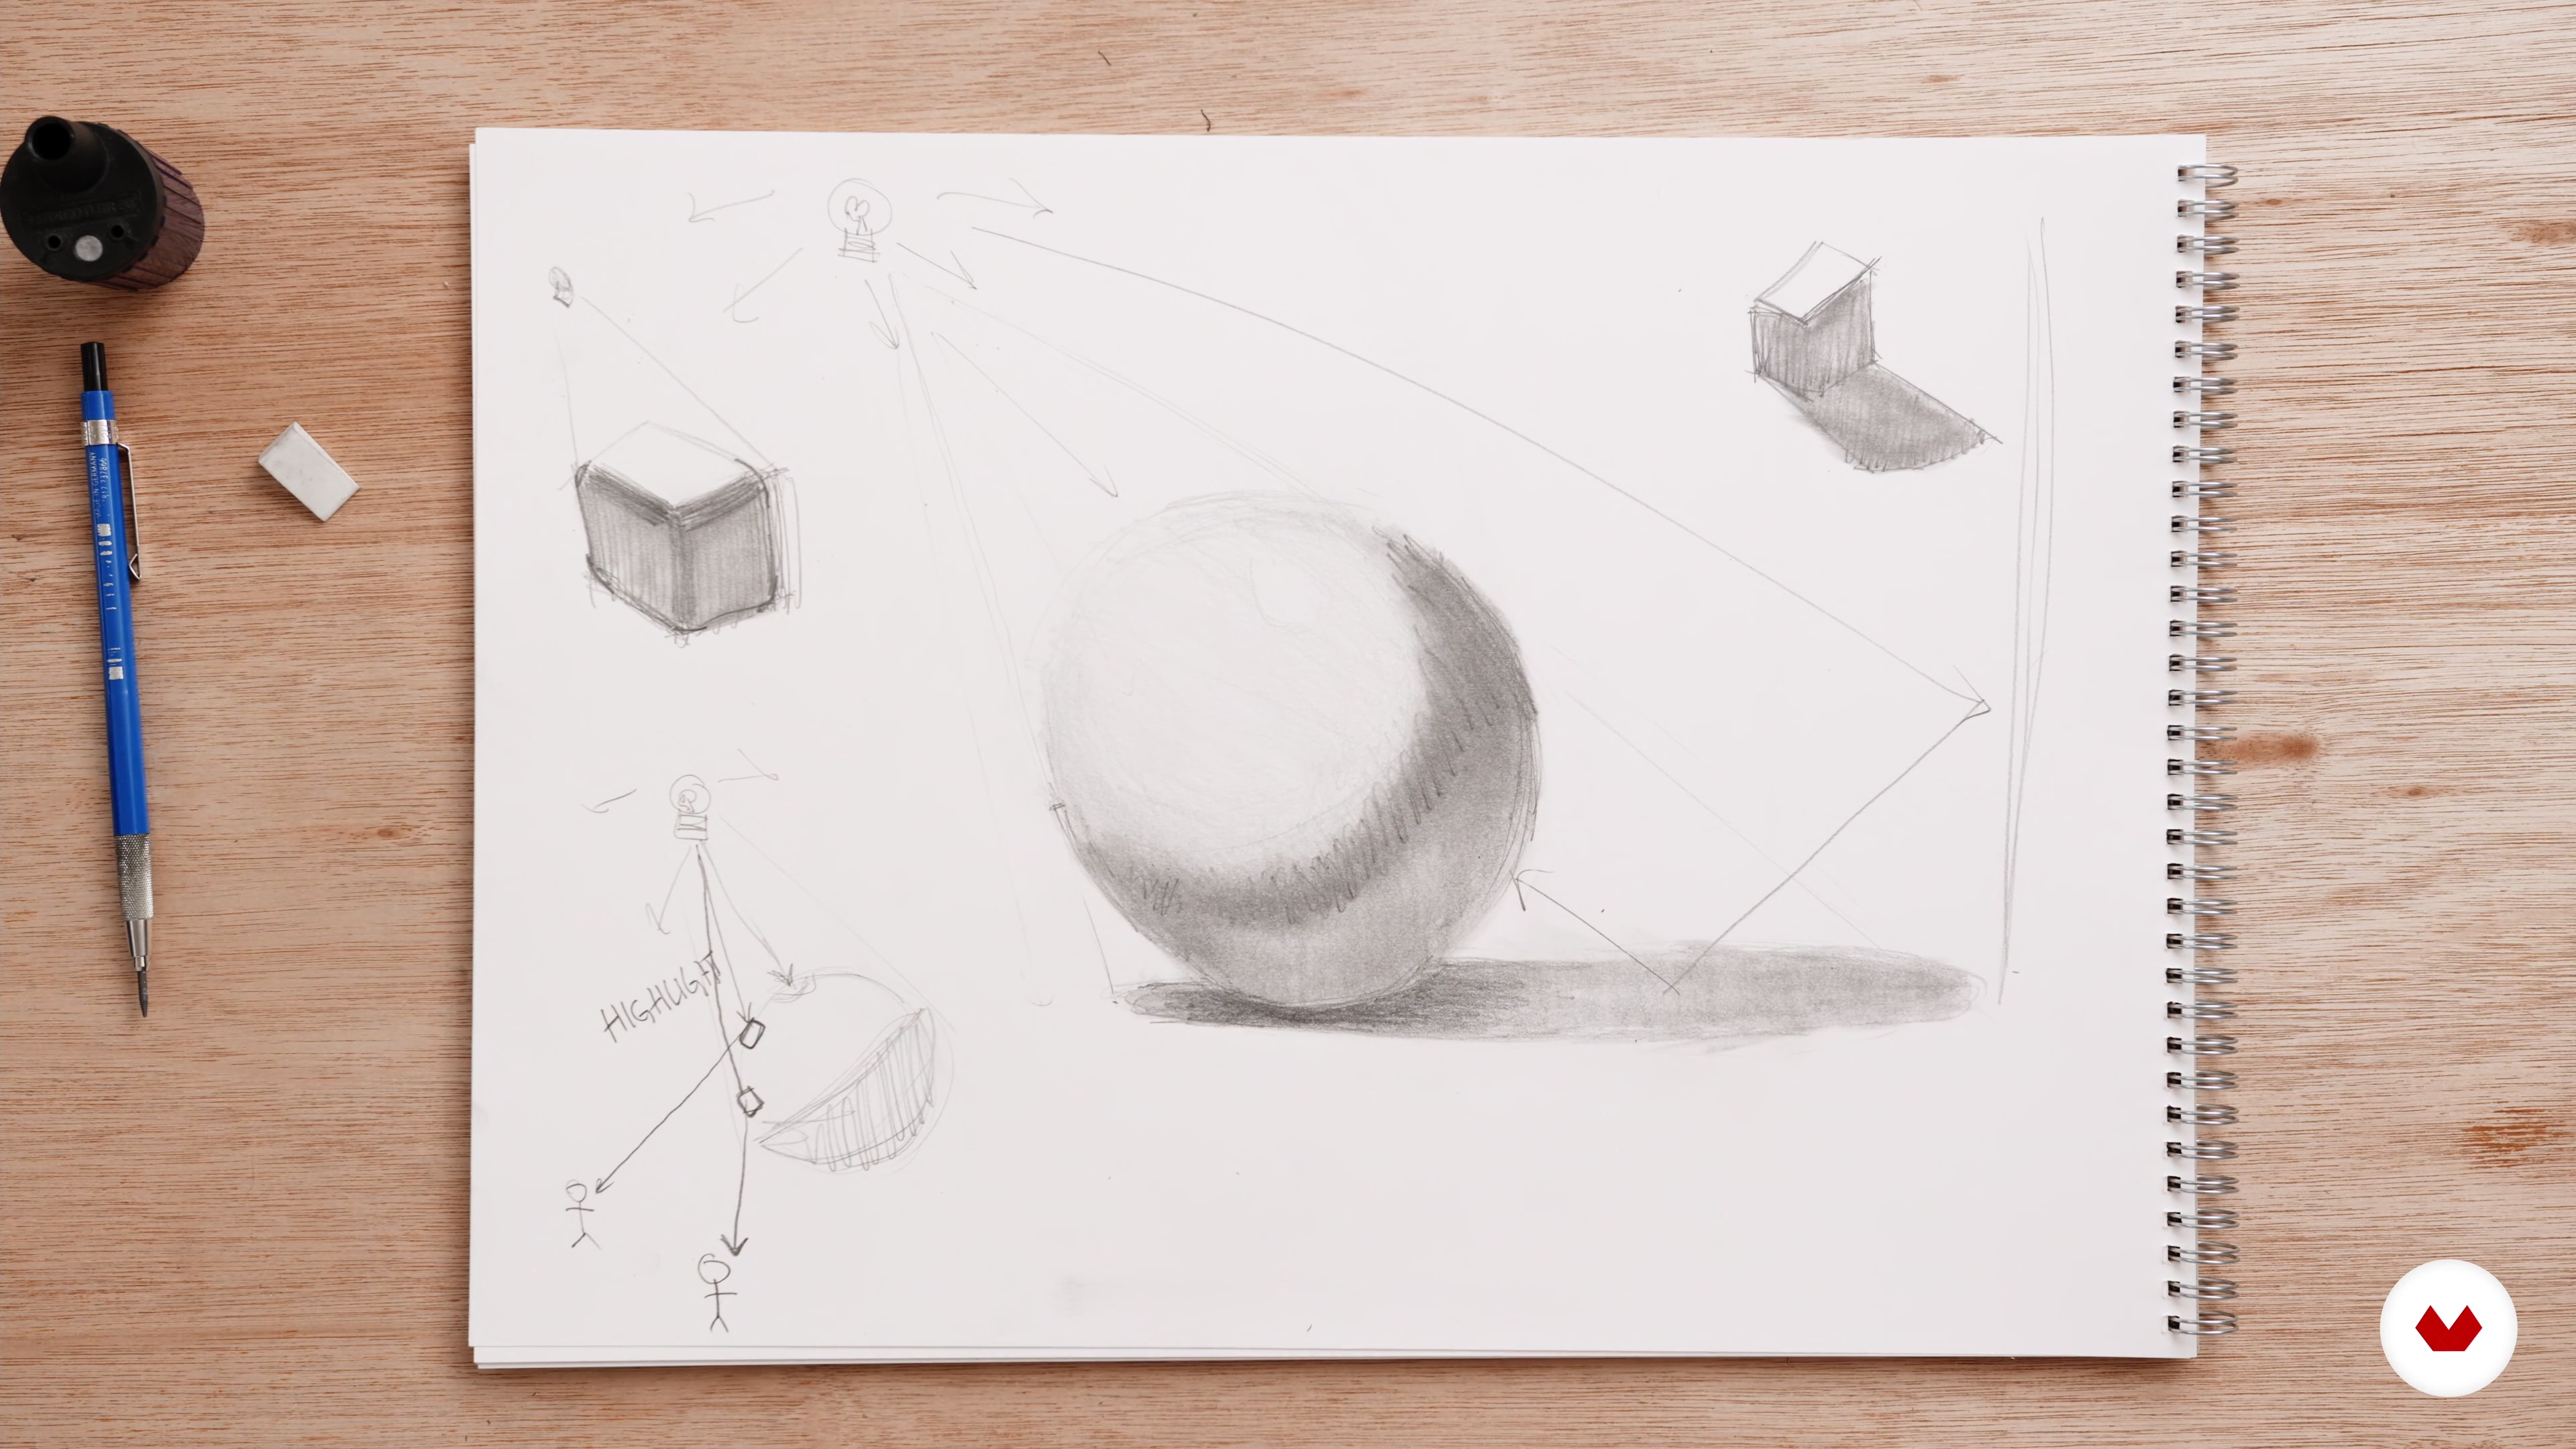
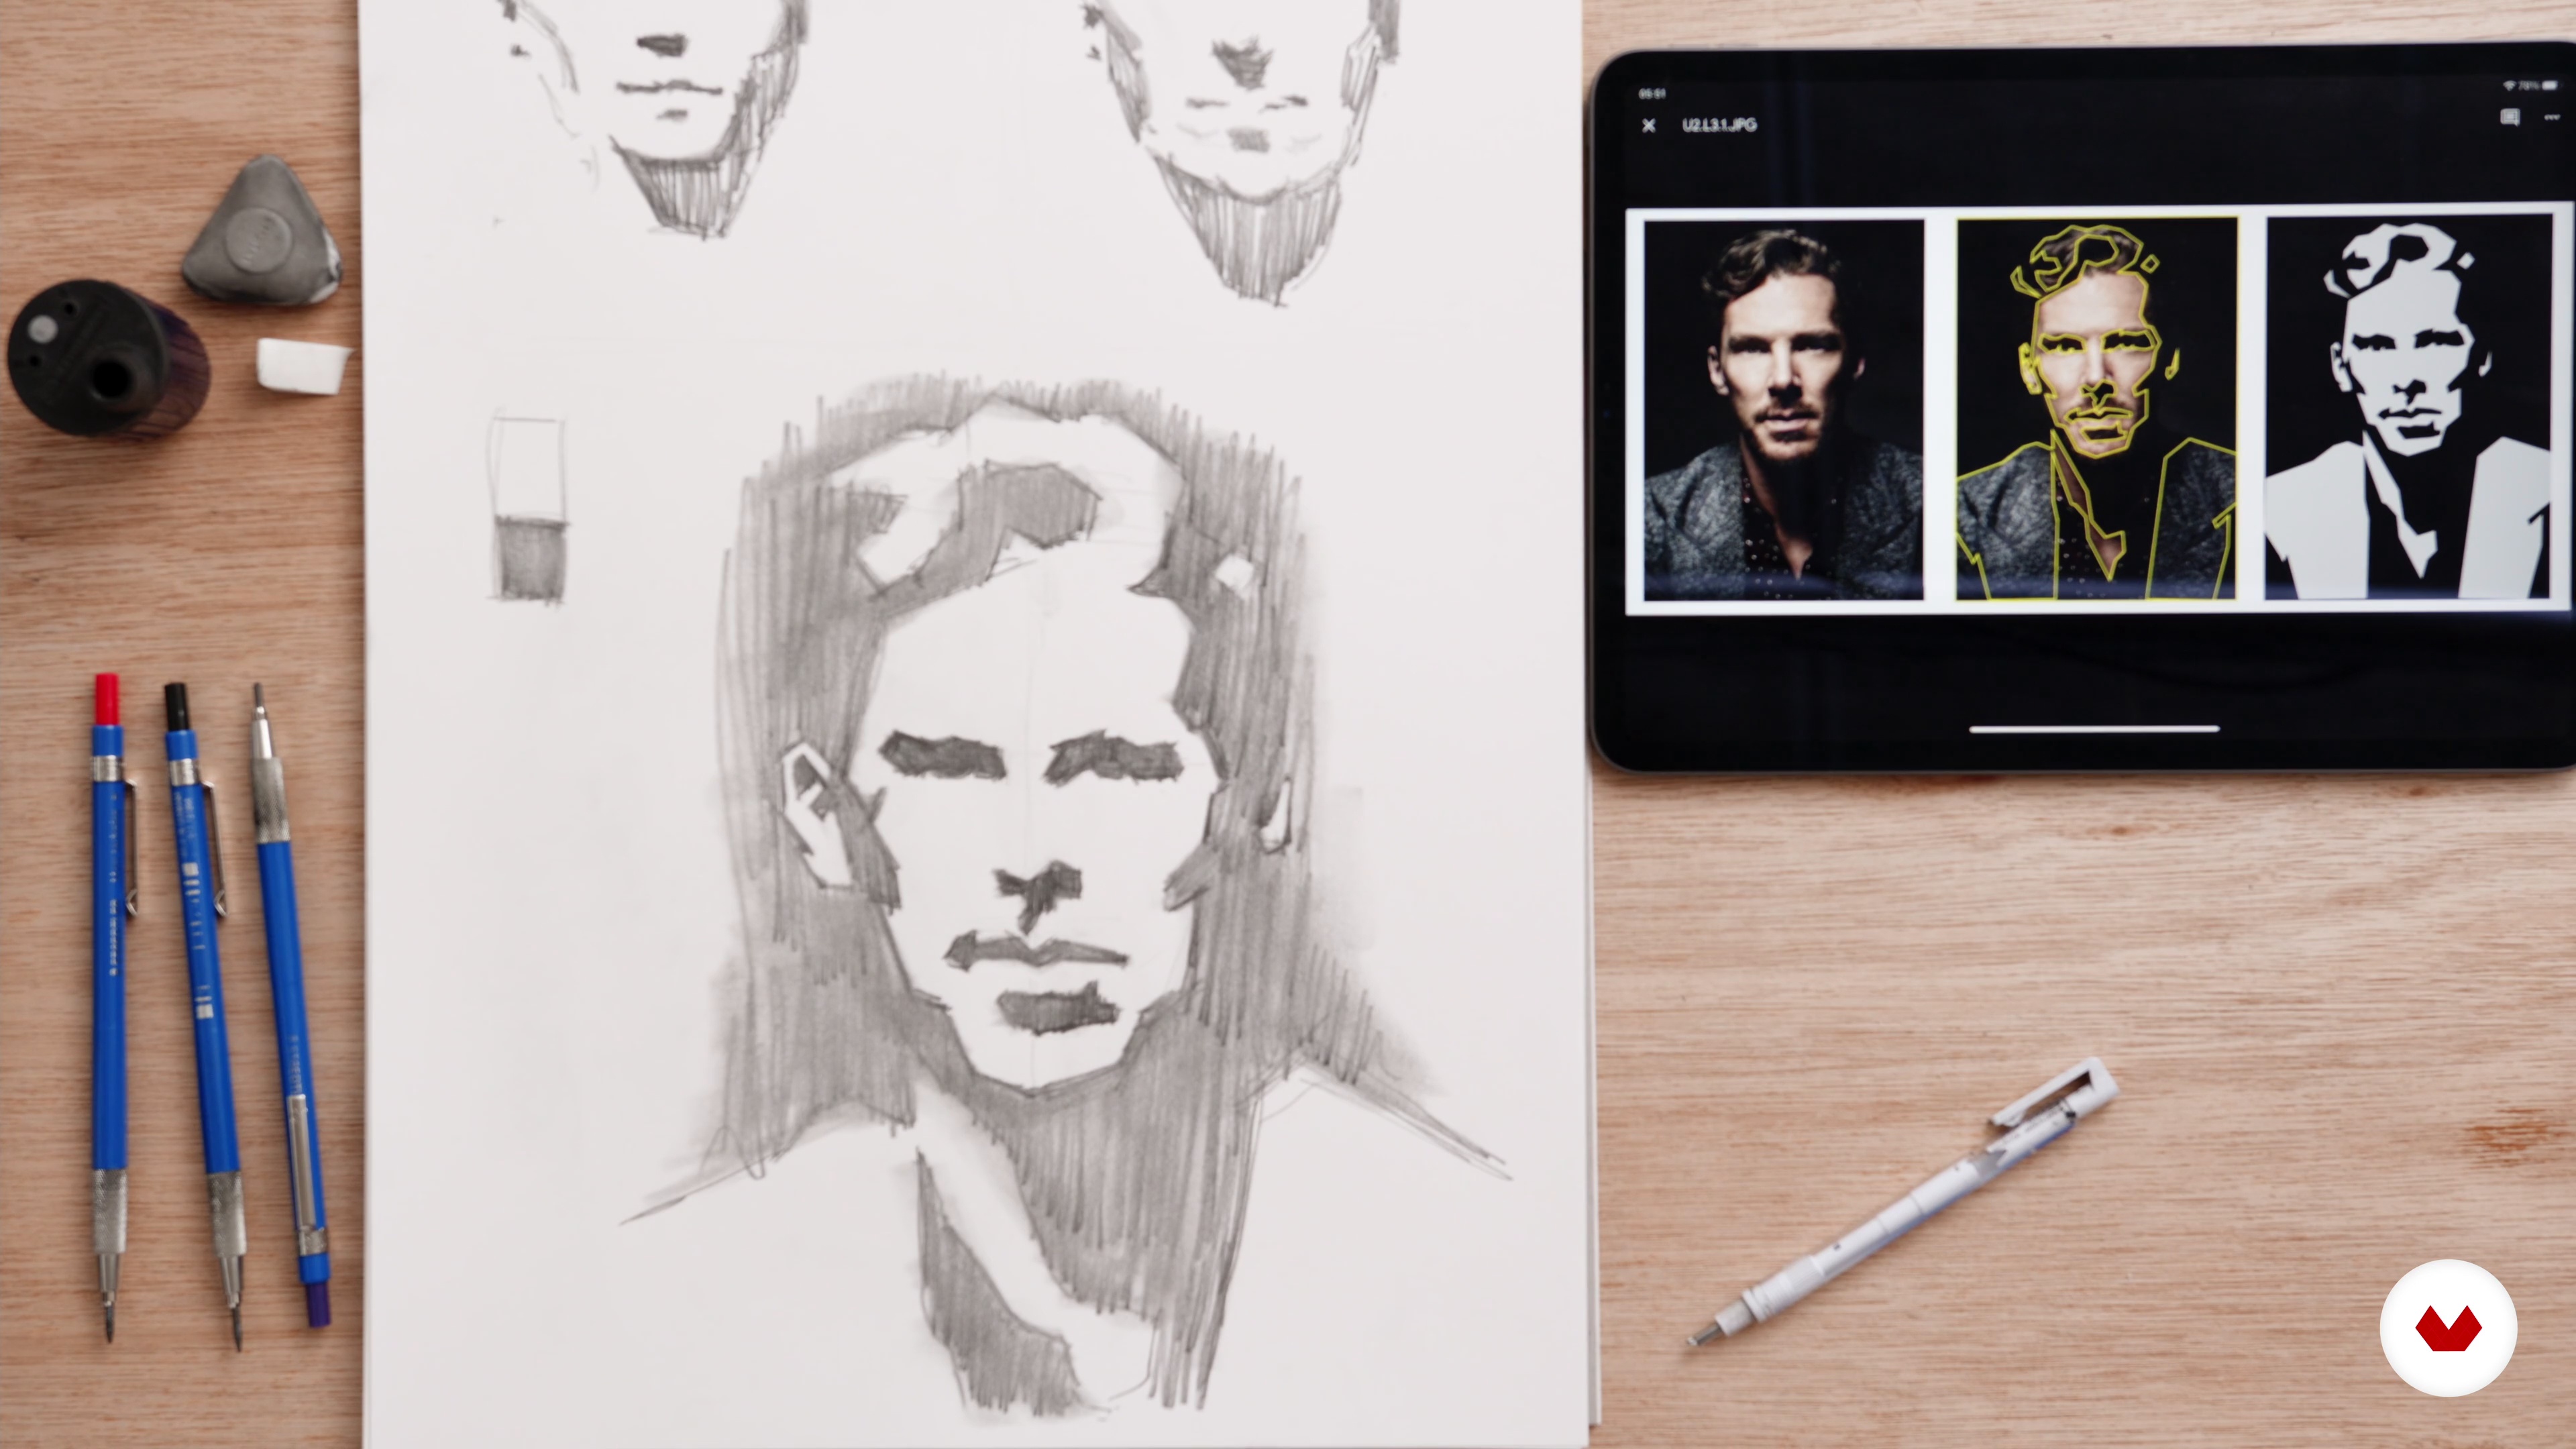
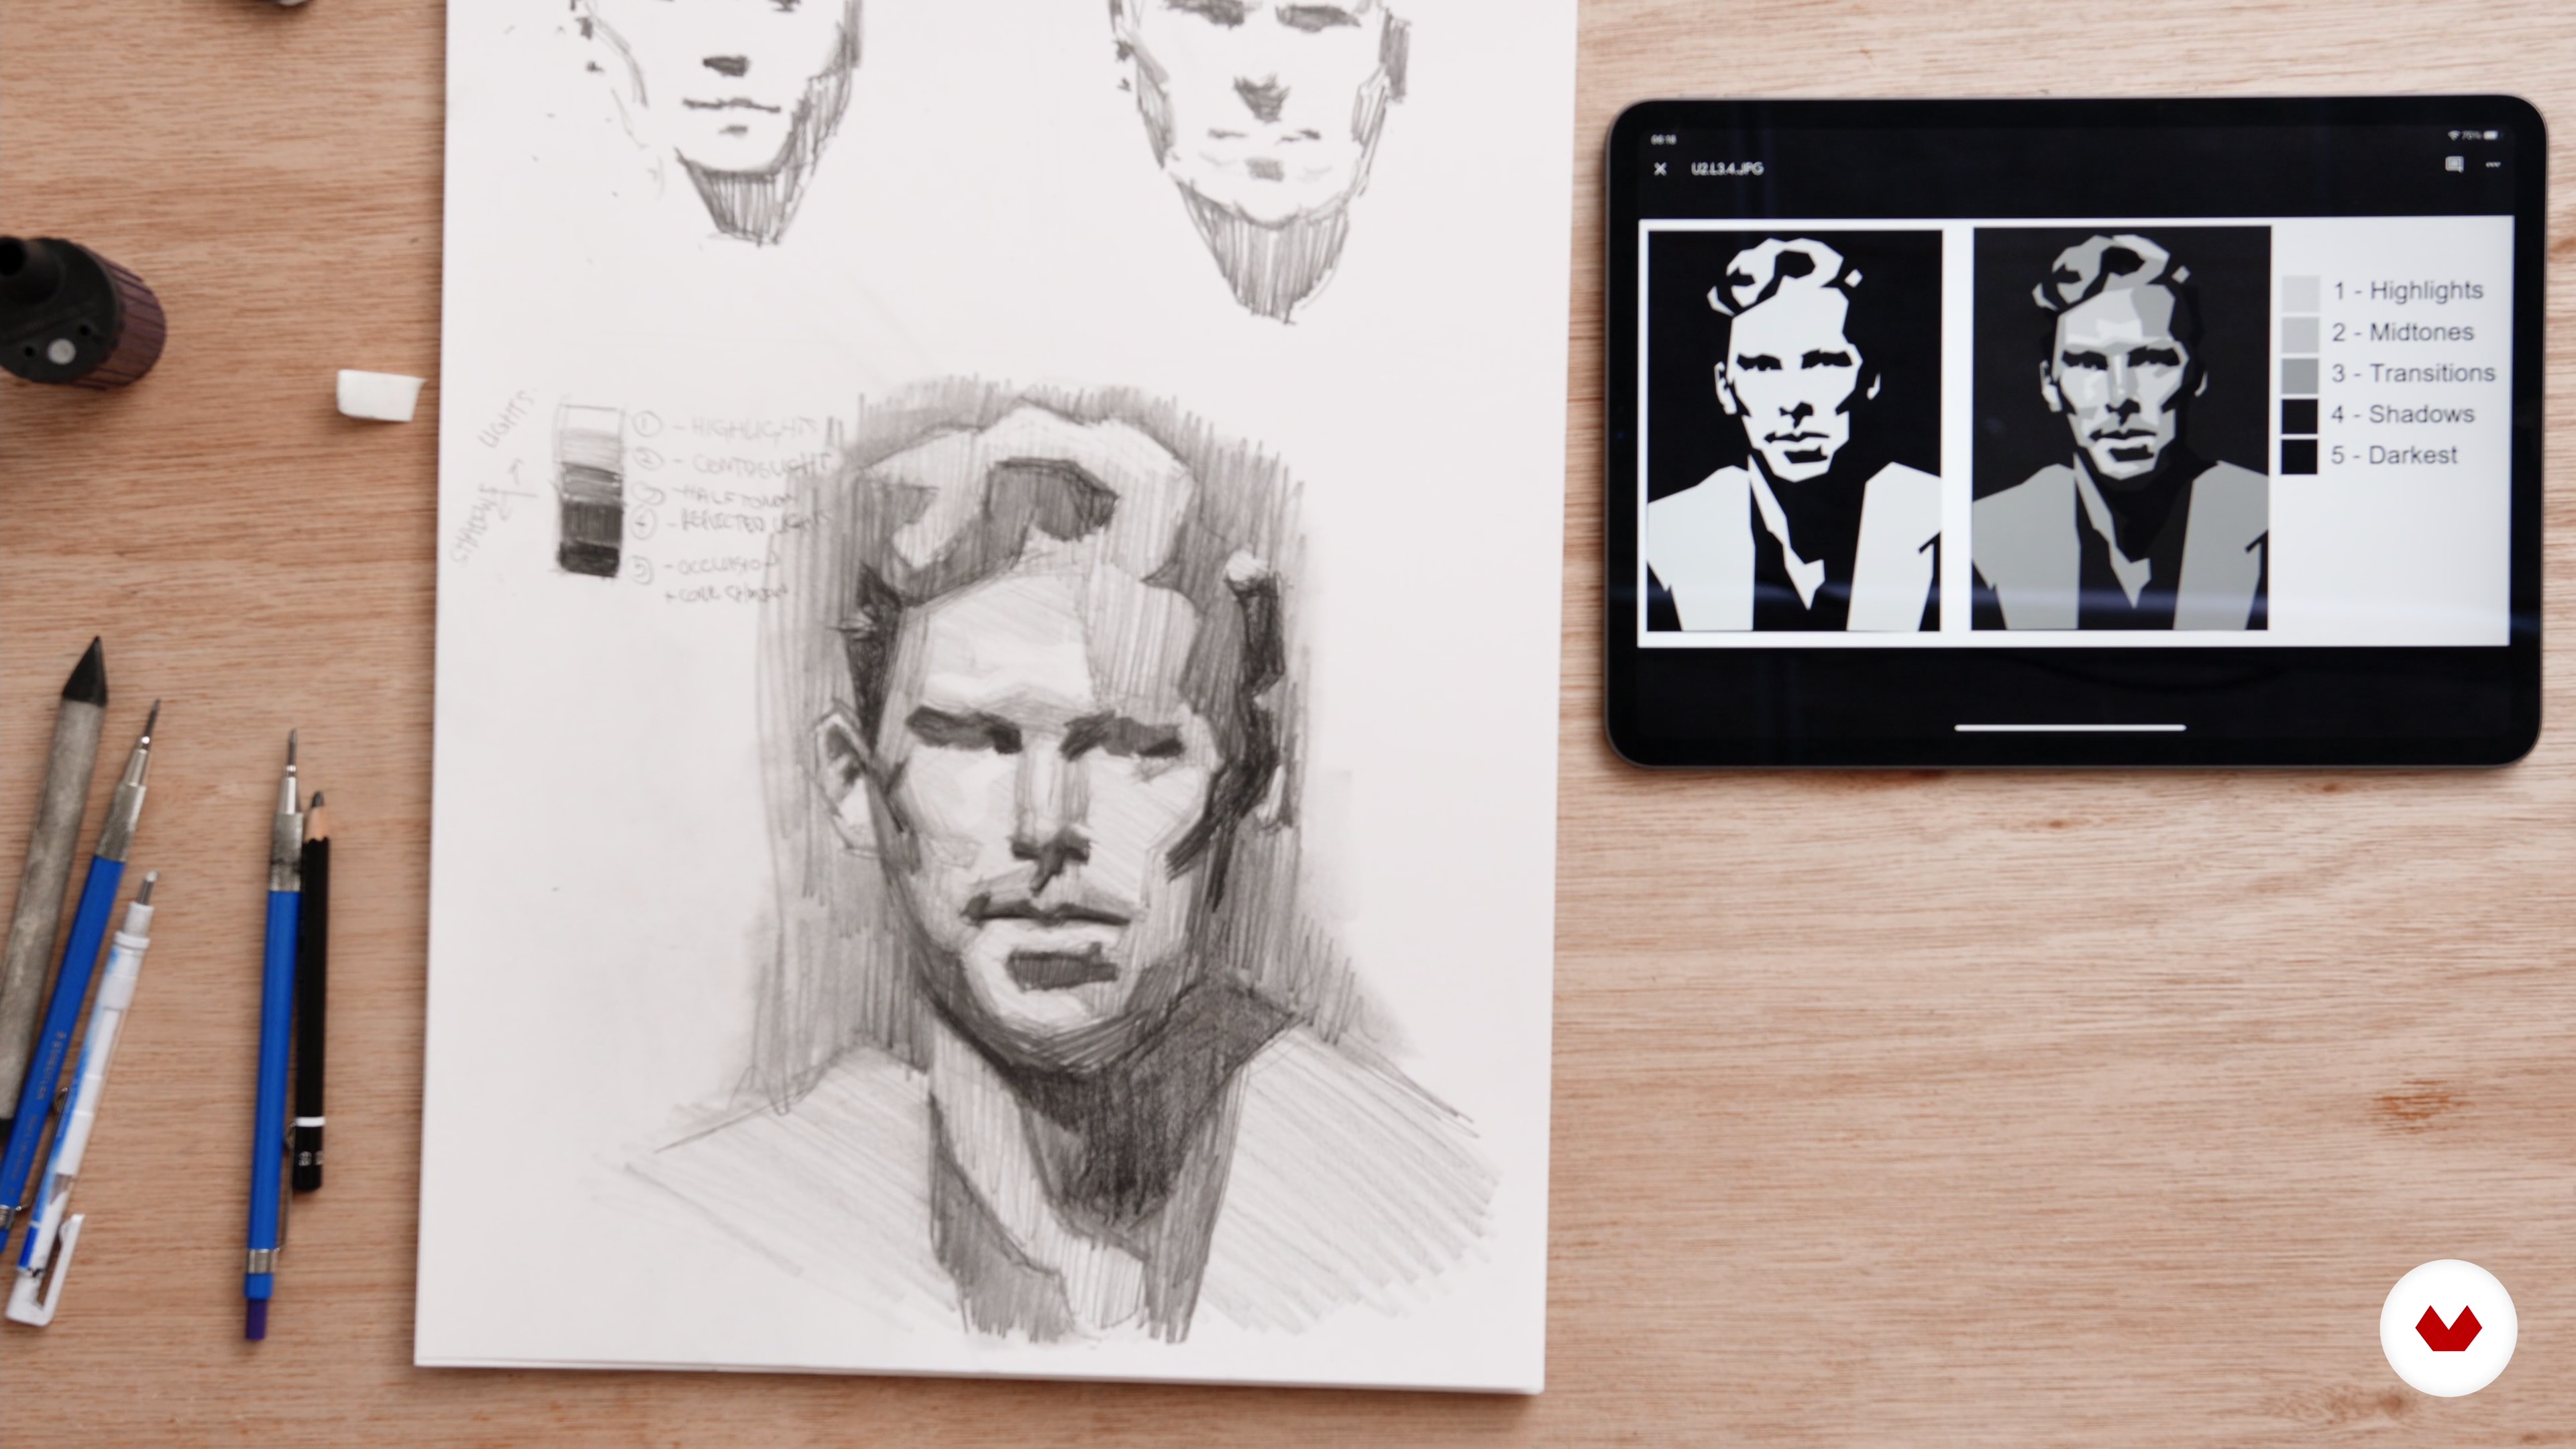
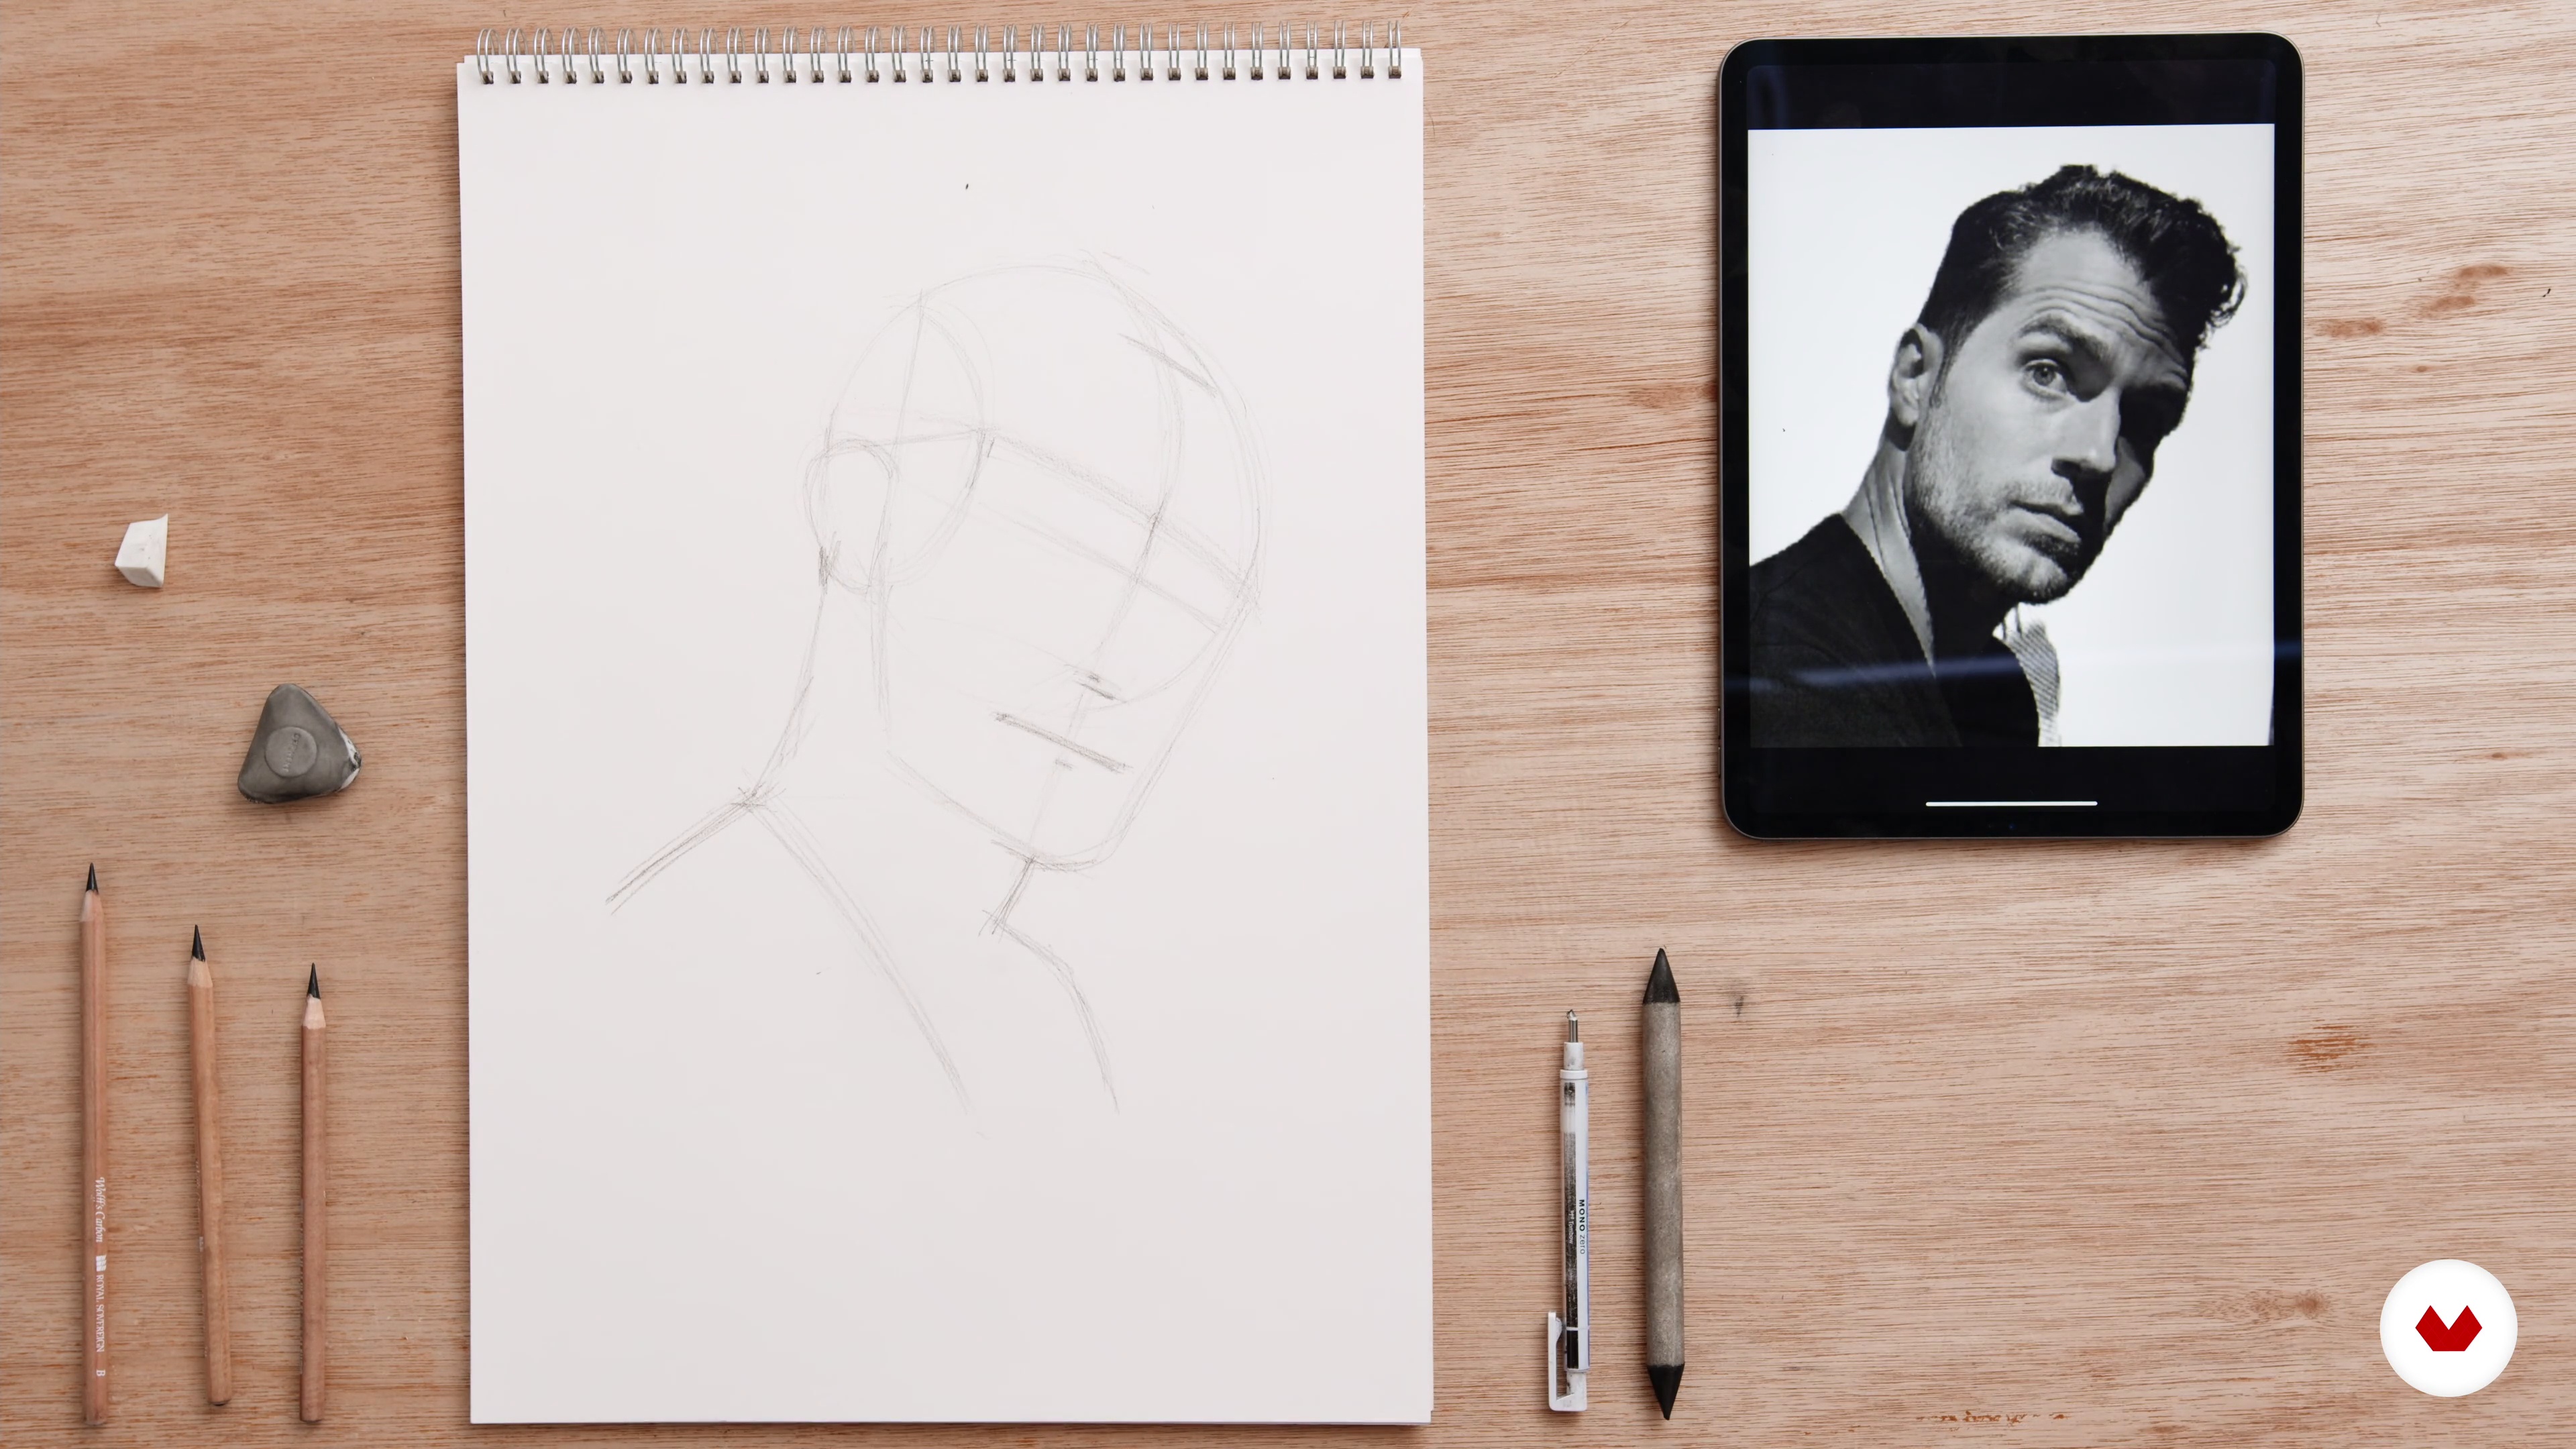
You'll learn analytical drawing, shadow shape mapping, mark making, value scales, blending techniques, highlight placement, and the Loomis head method for accurate proportions.
The course covers structural analysis, proportion mapping, and simplified anatomy, allowing you to accurately construct heads, facial features, and the human figure using proven methods.
Yes, the course includes lessons on drawing with toned paper and using white chalk to create highlights and enhance contrast in portraiture.
Yes, you'll learn how to use various H and B graded pencils to create a full value scale, achieve subtle shading, and boost contrast in your drawings.
Absolutely, the course teaches techniques for blocking and refining shadow shapes, squinting to identify value masses, and organizing light and shadow for realistic results.


I never studied art in school, so I appreciate the background here that I missed in drawing. This is an excellent course and I know I'll be rewatching it for some time.
супер
Um dos cursos de especialização mais completos que tem relacionados a mídia de grafite! São claros e inspiradores, e ainda tem um curso de aquarela que, além de diversificar o pacote, também traz aulas valiosas para quem se interessar em expandir seu repertório!
Recomendo bastante!
Excelente
Toujours passionnant les cours Domestika. Et merci de vos réactions/très rapides pour nous accompagner. -