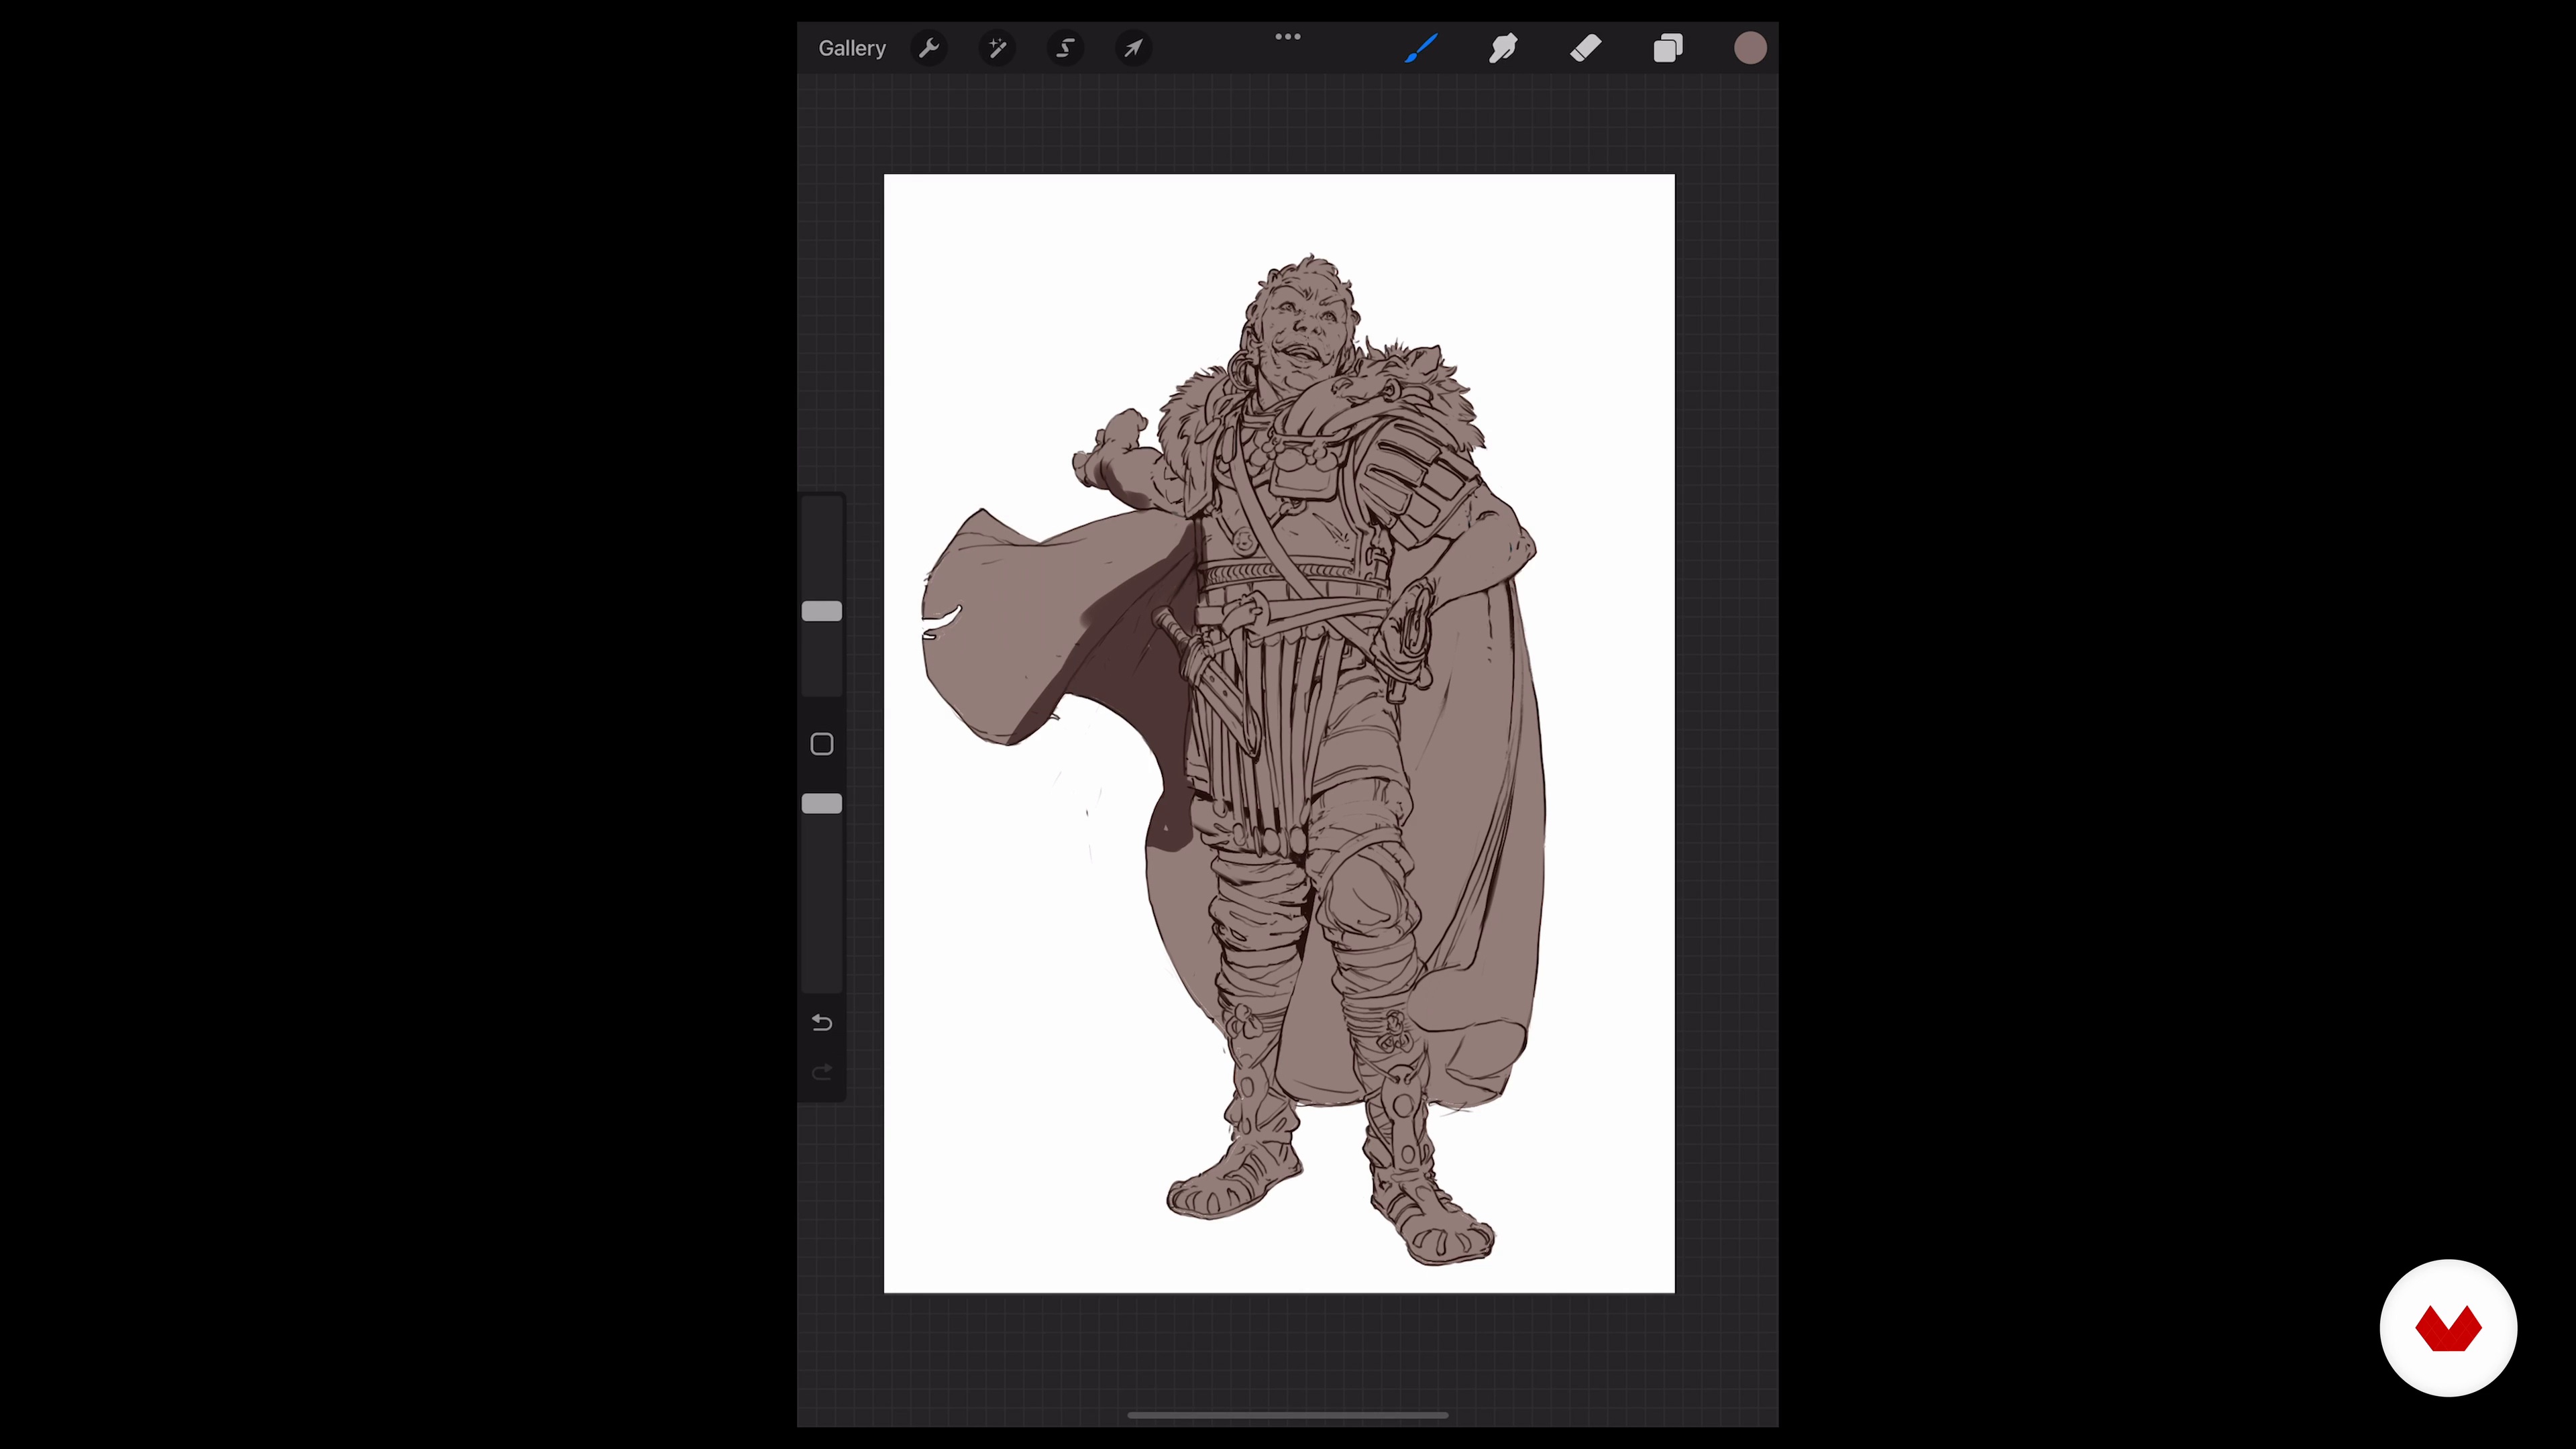
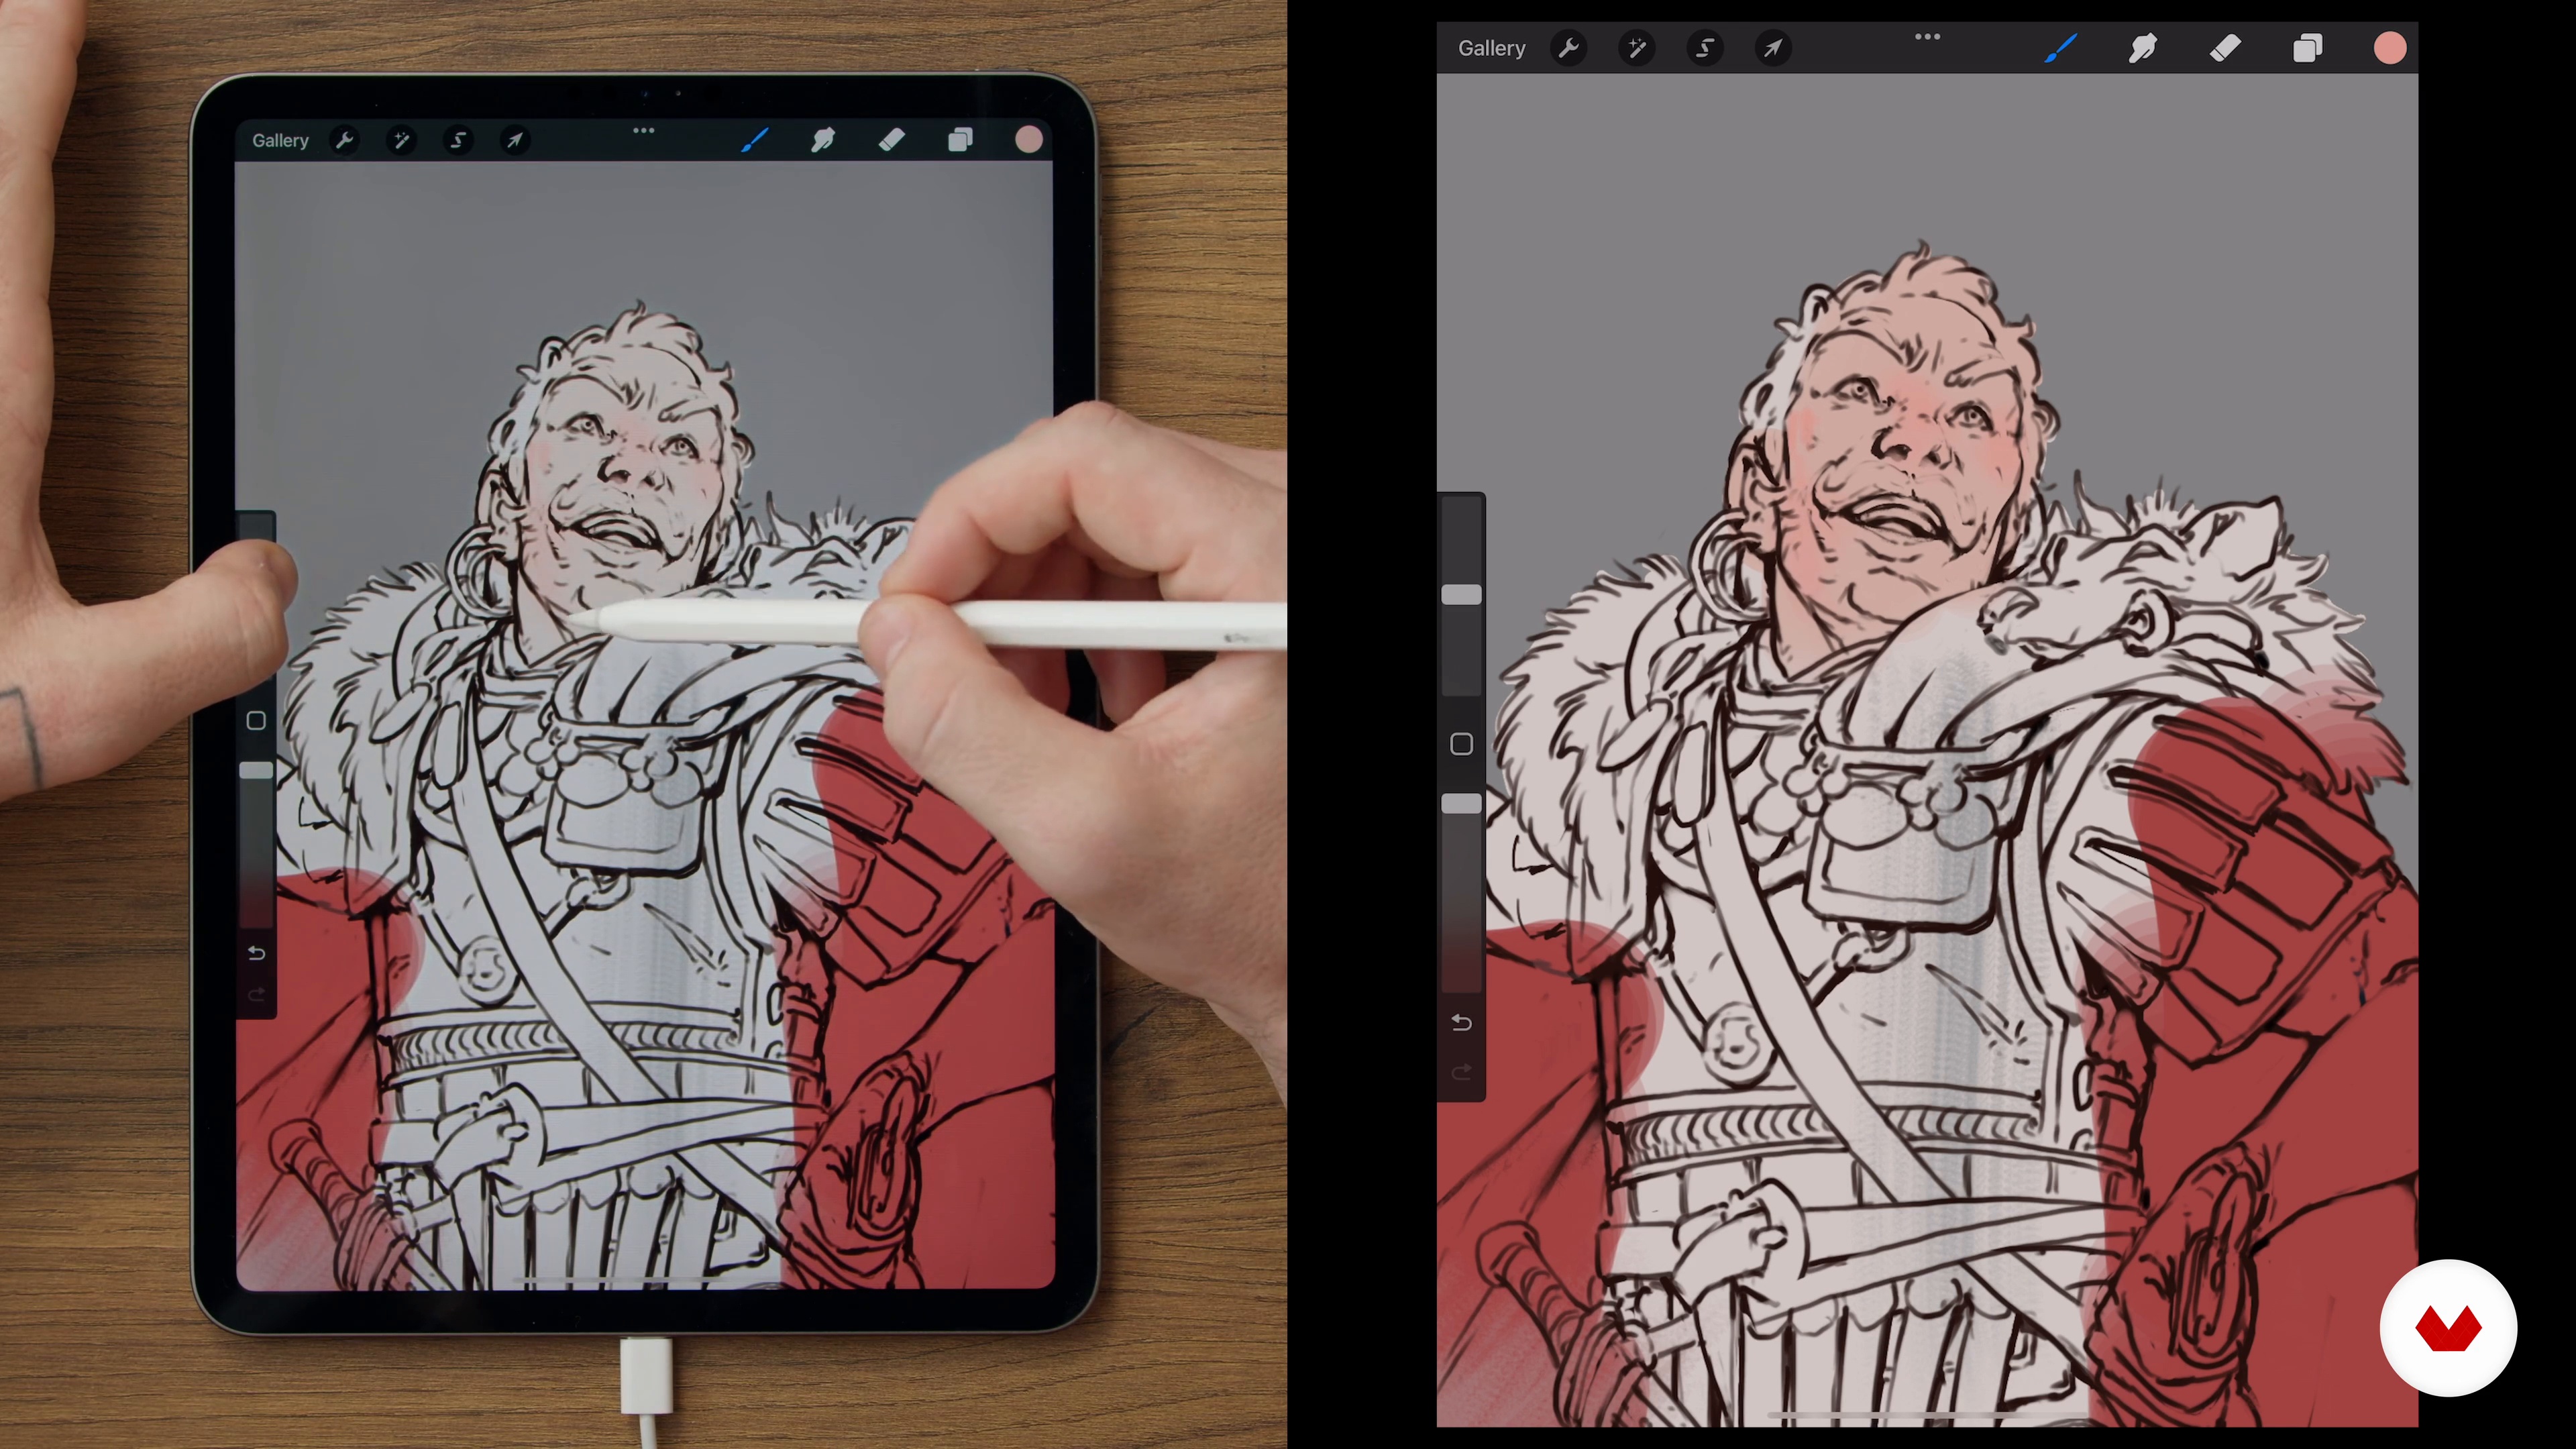
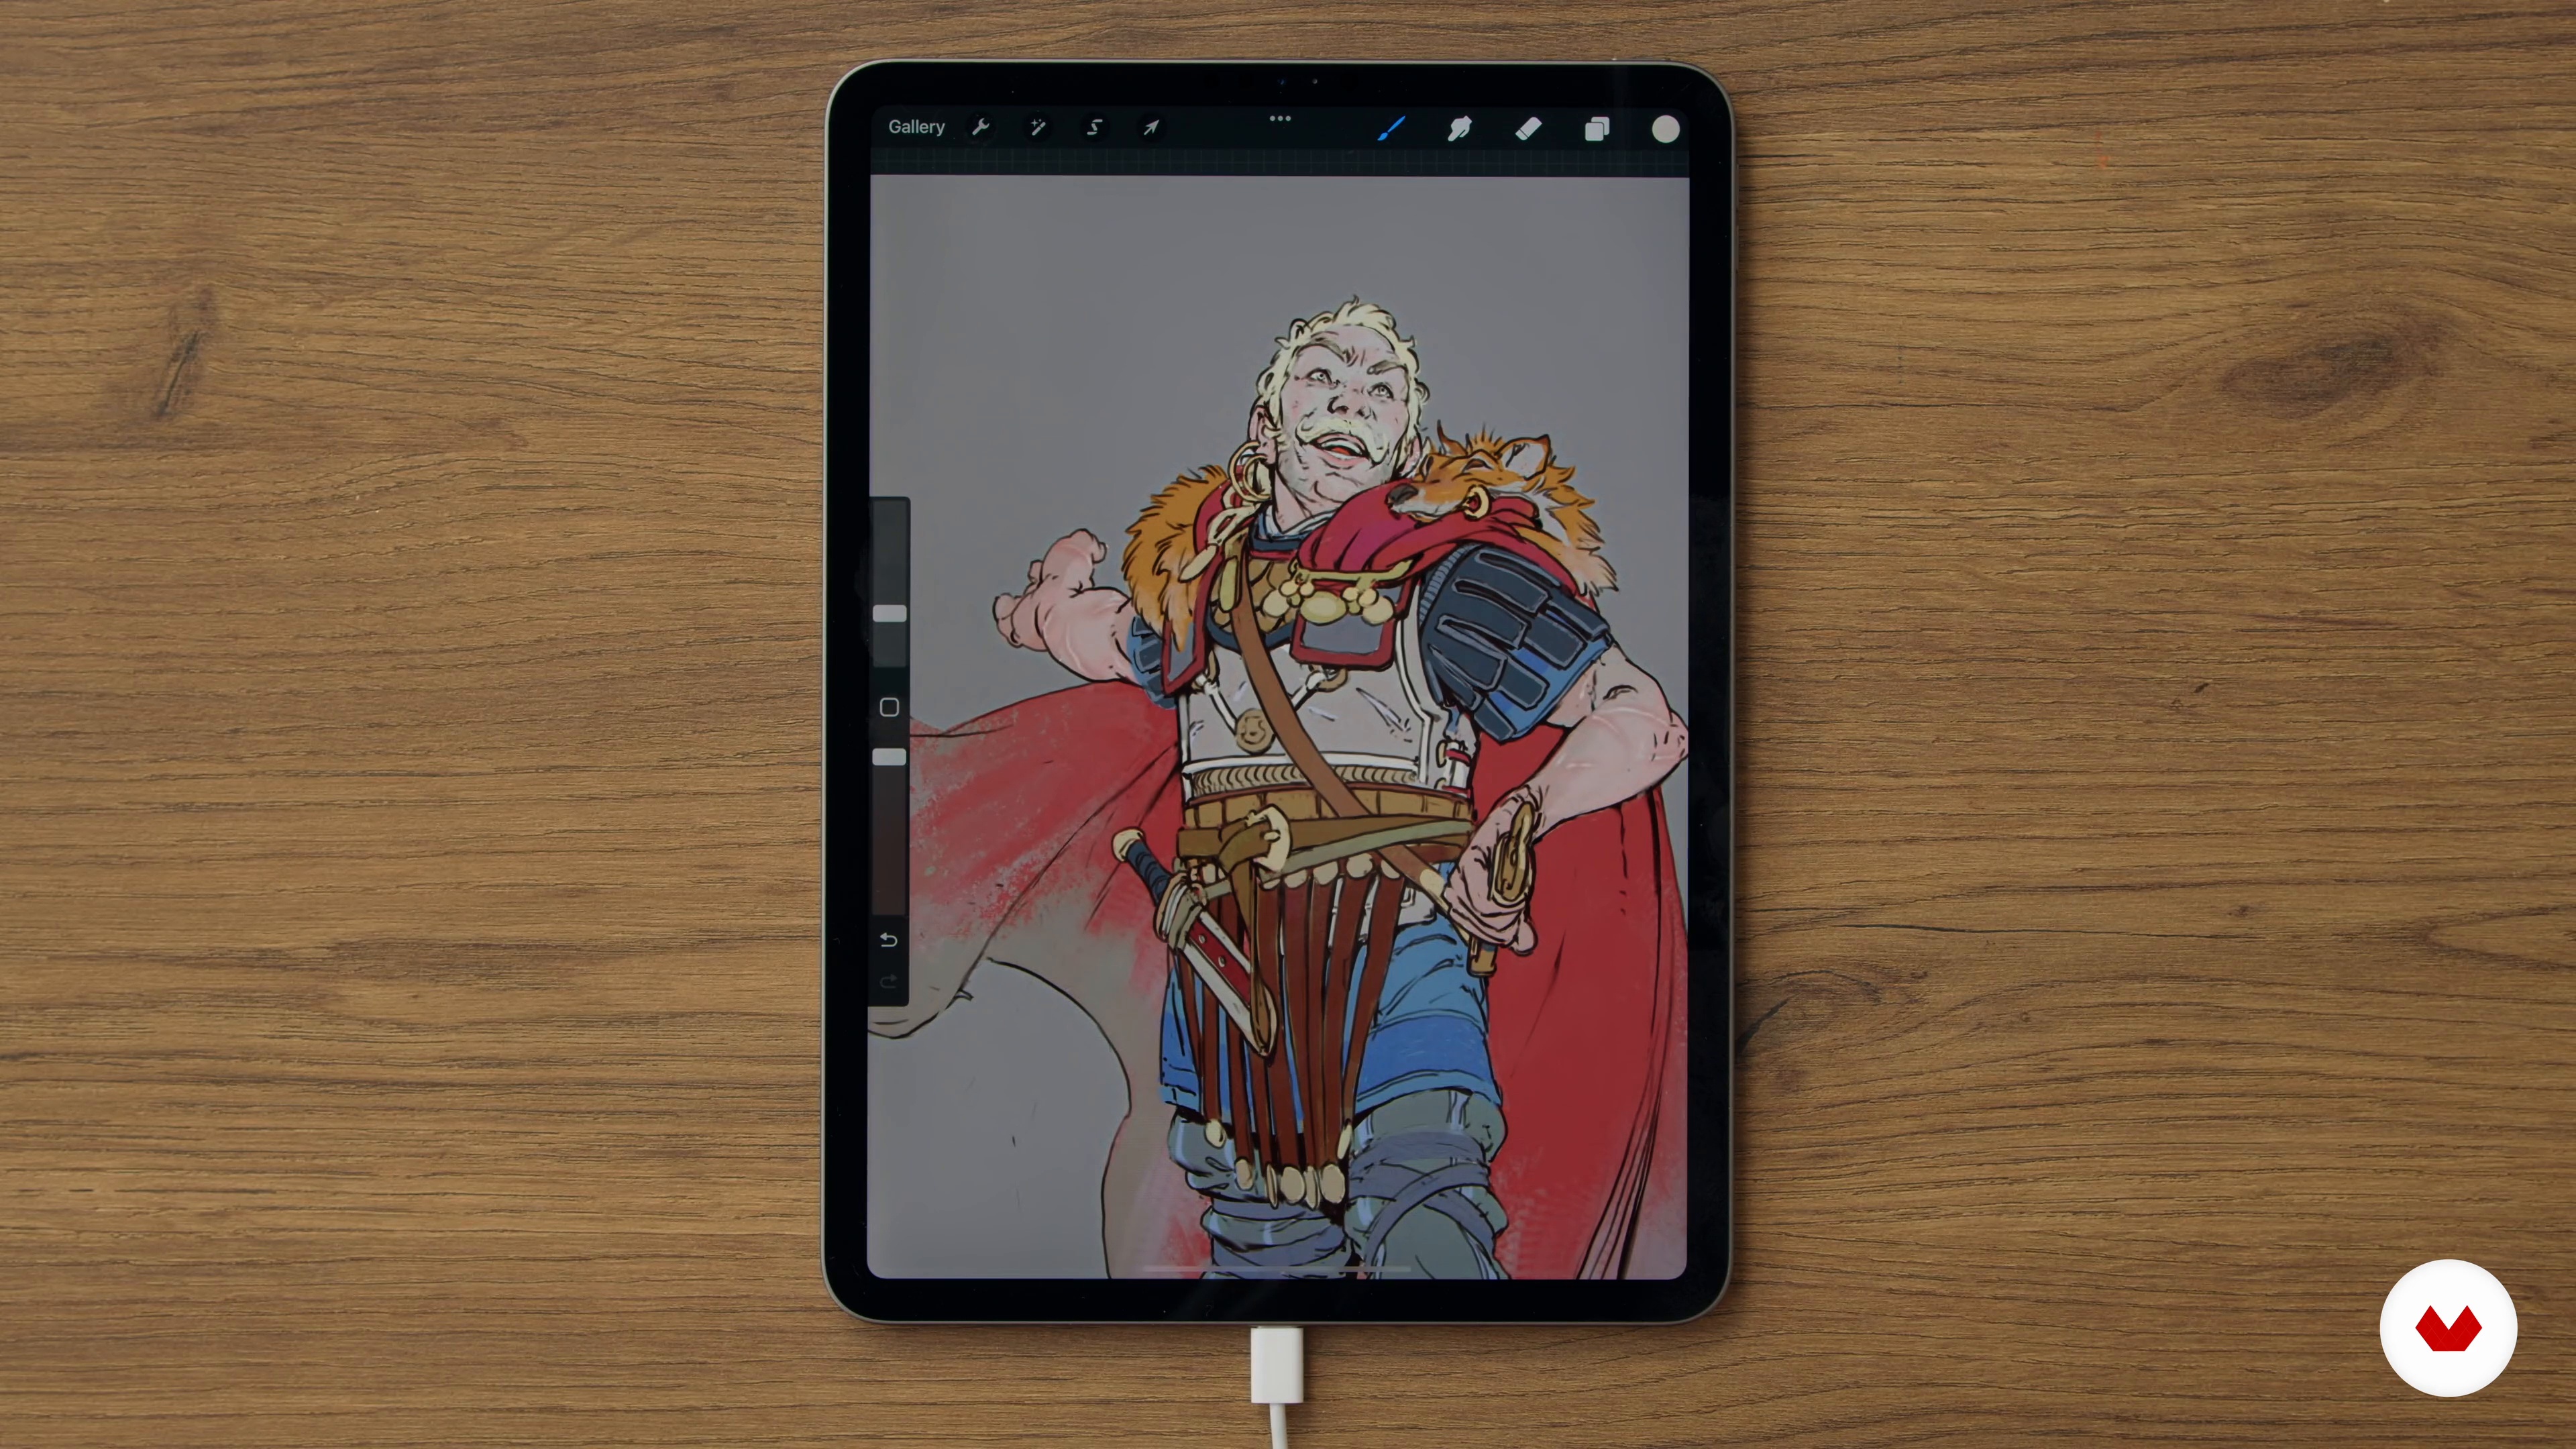
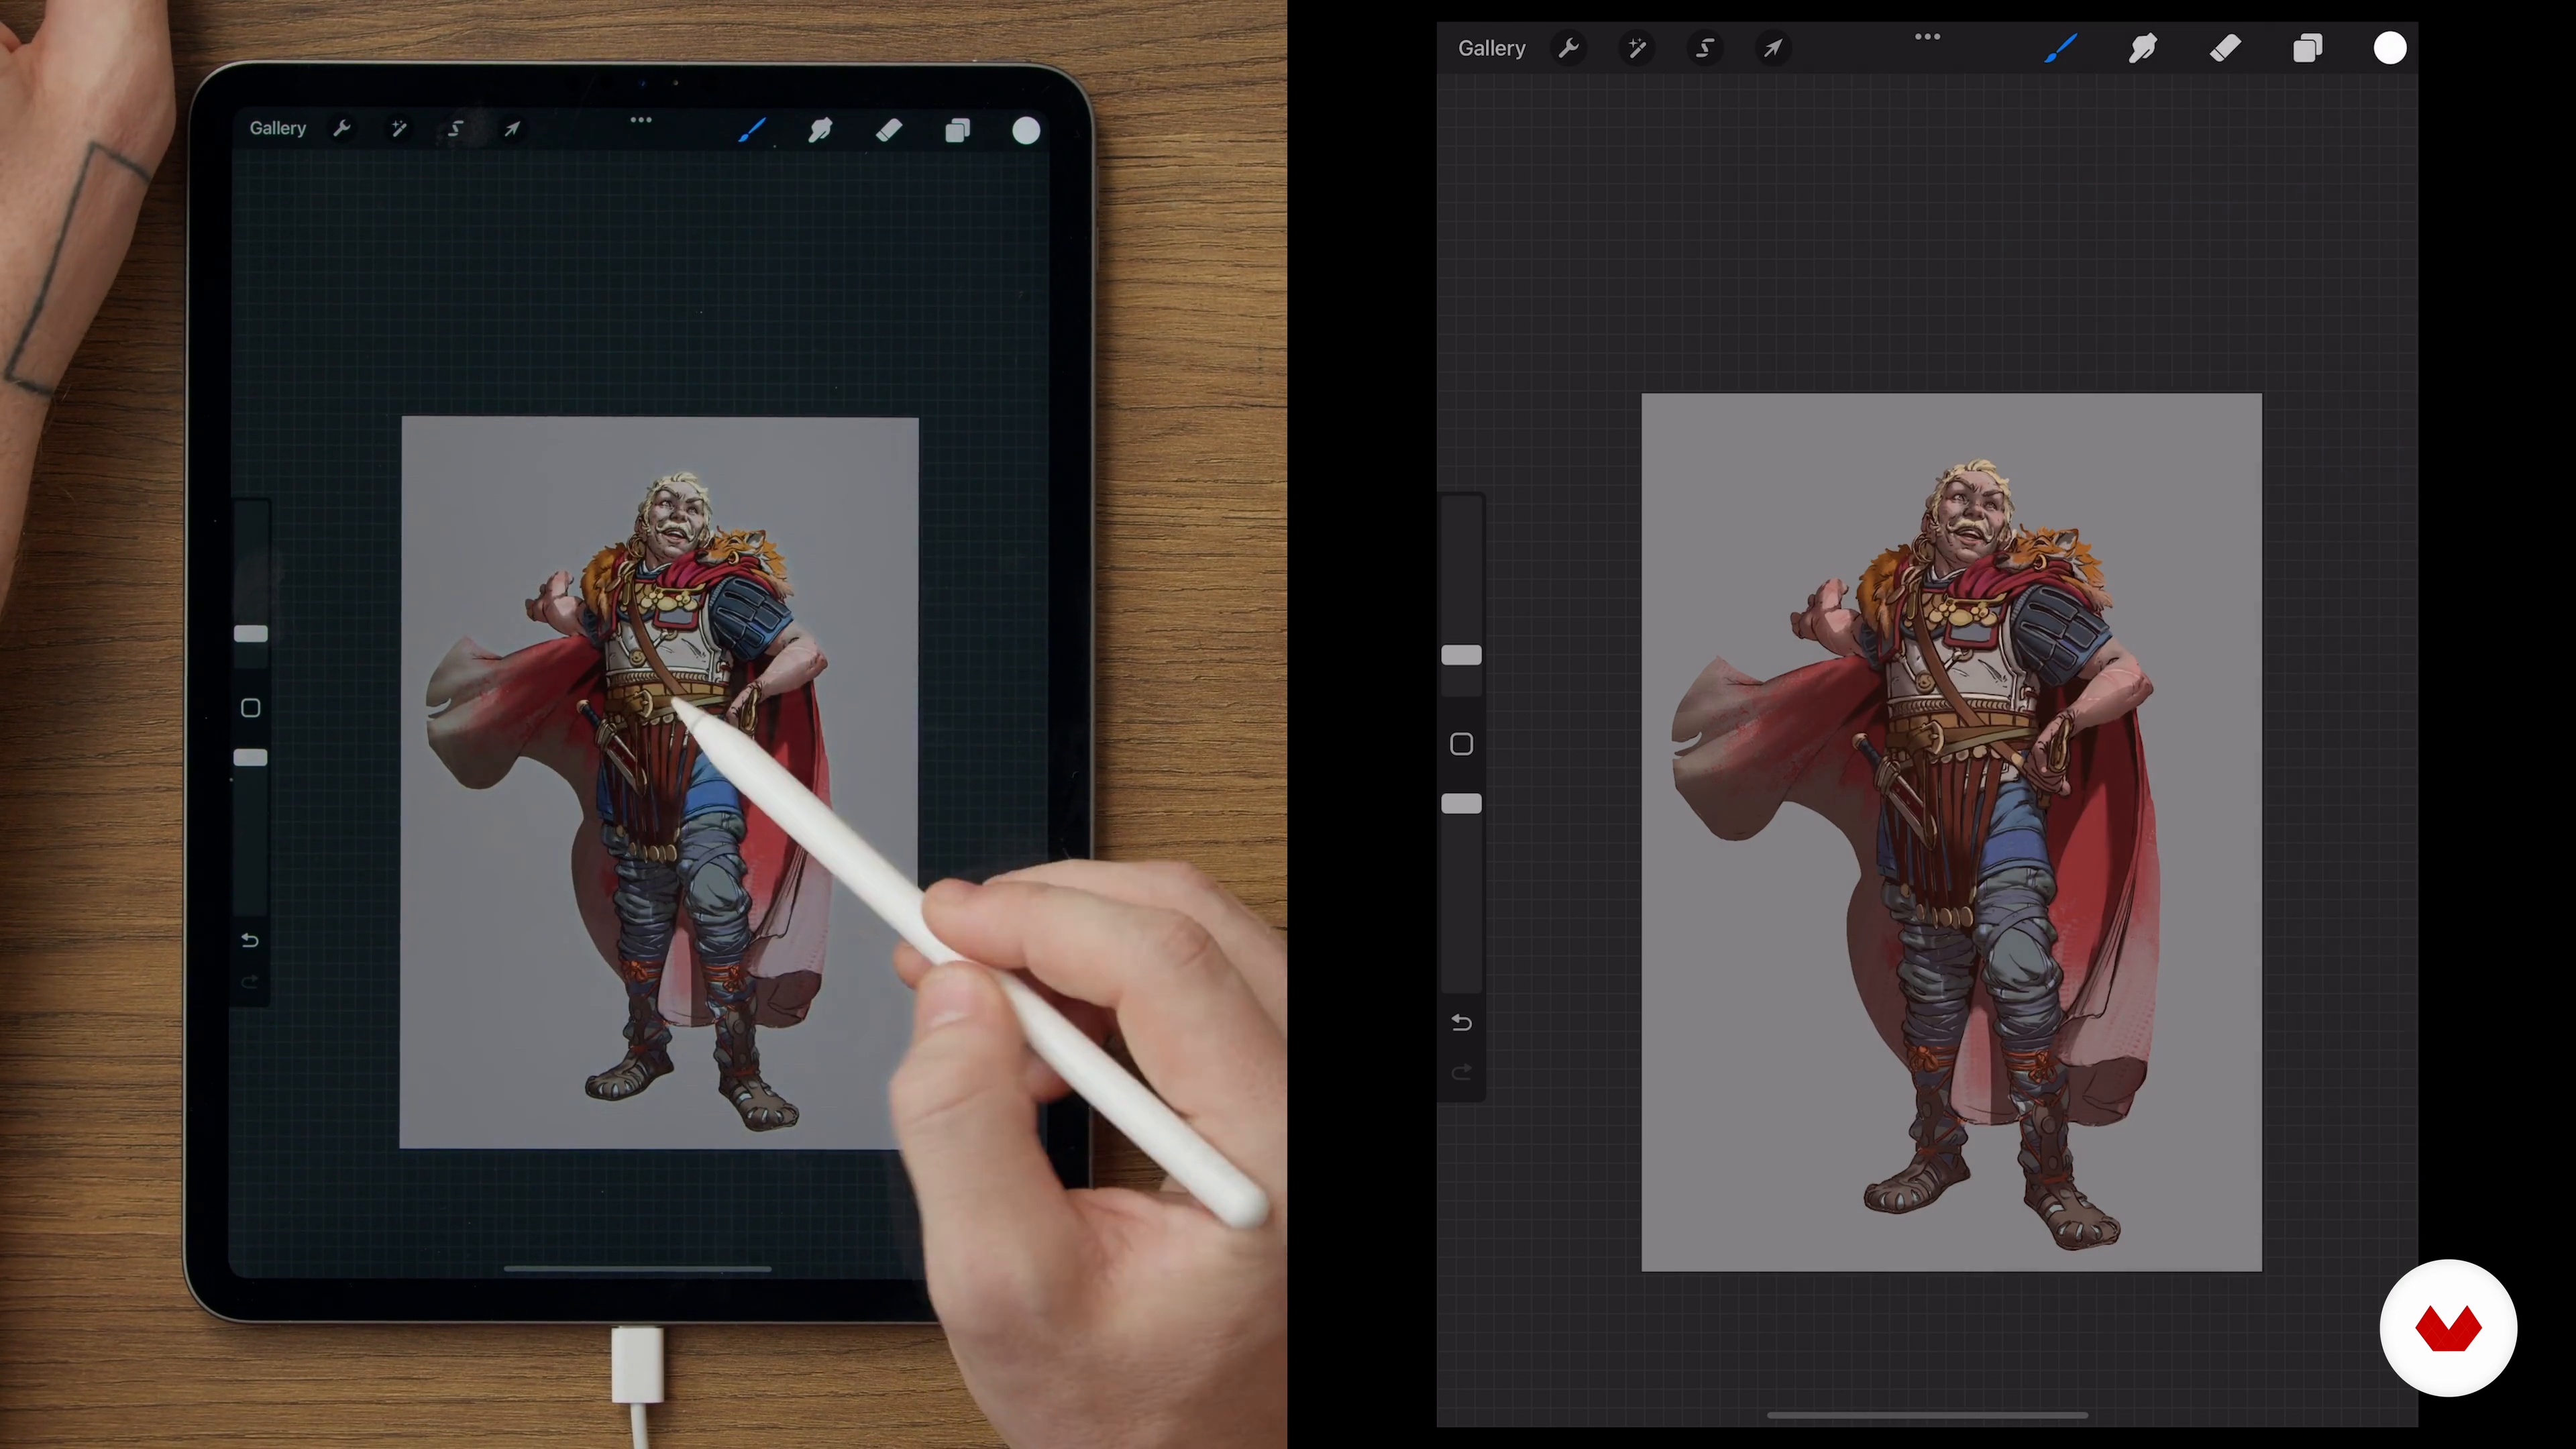
Specialization

Specialization in Concept Art: Creative design of characters and scenarios

Learn to create immersive worlds and expressive characters through the concept art, with an approach to narration, environments and characters design.

Specialization · 6 modules

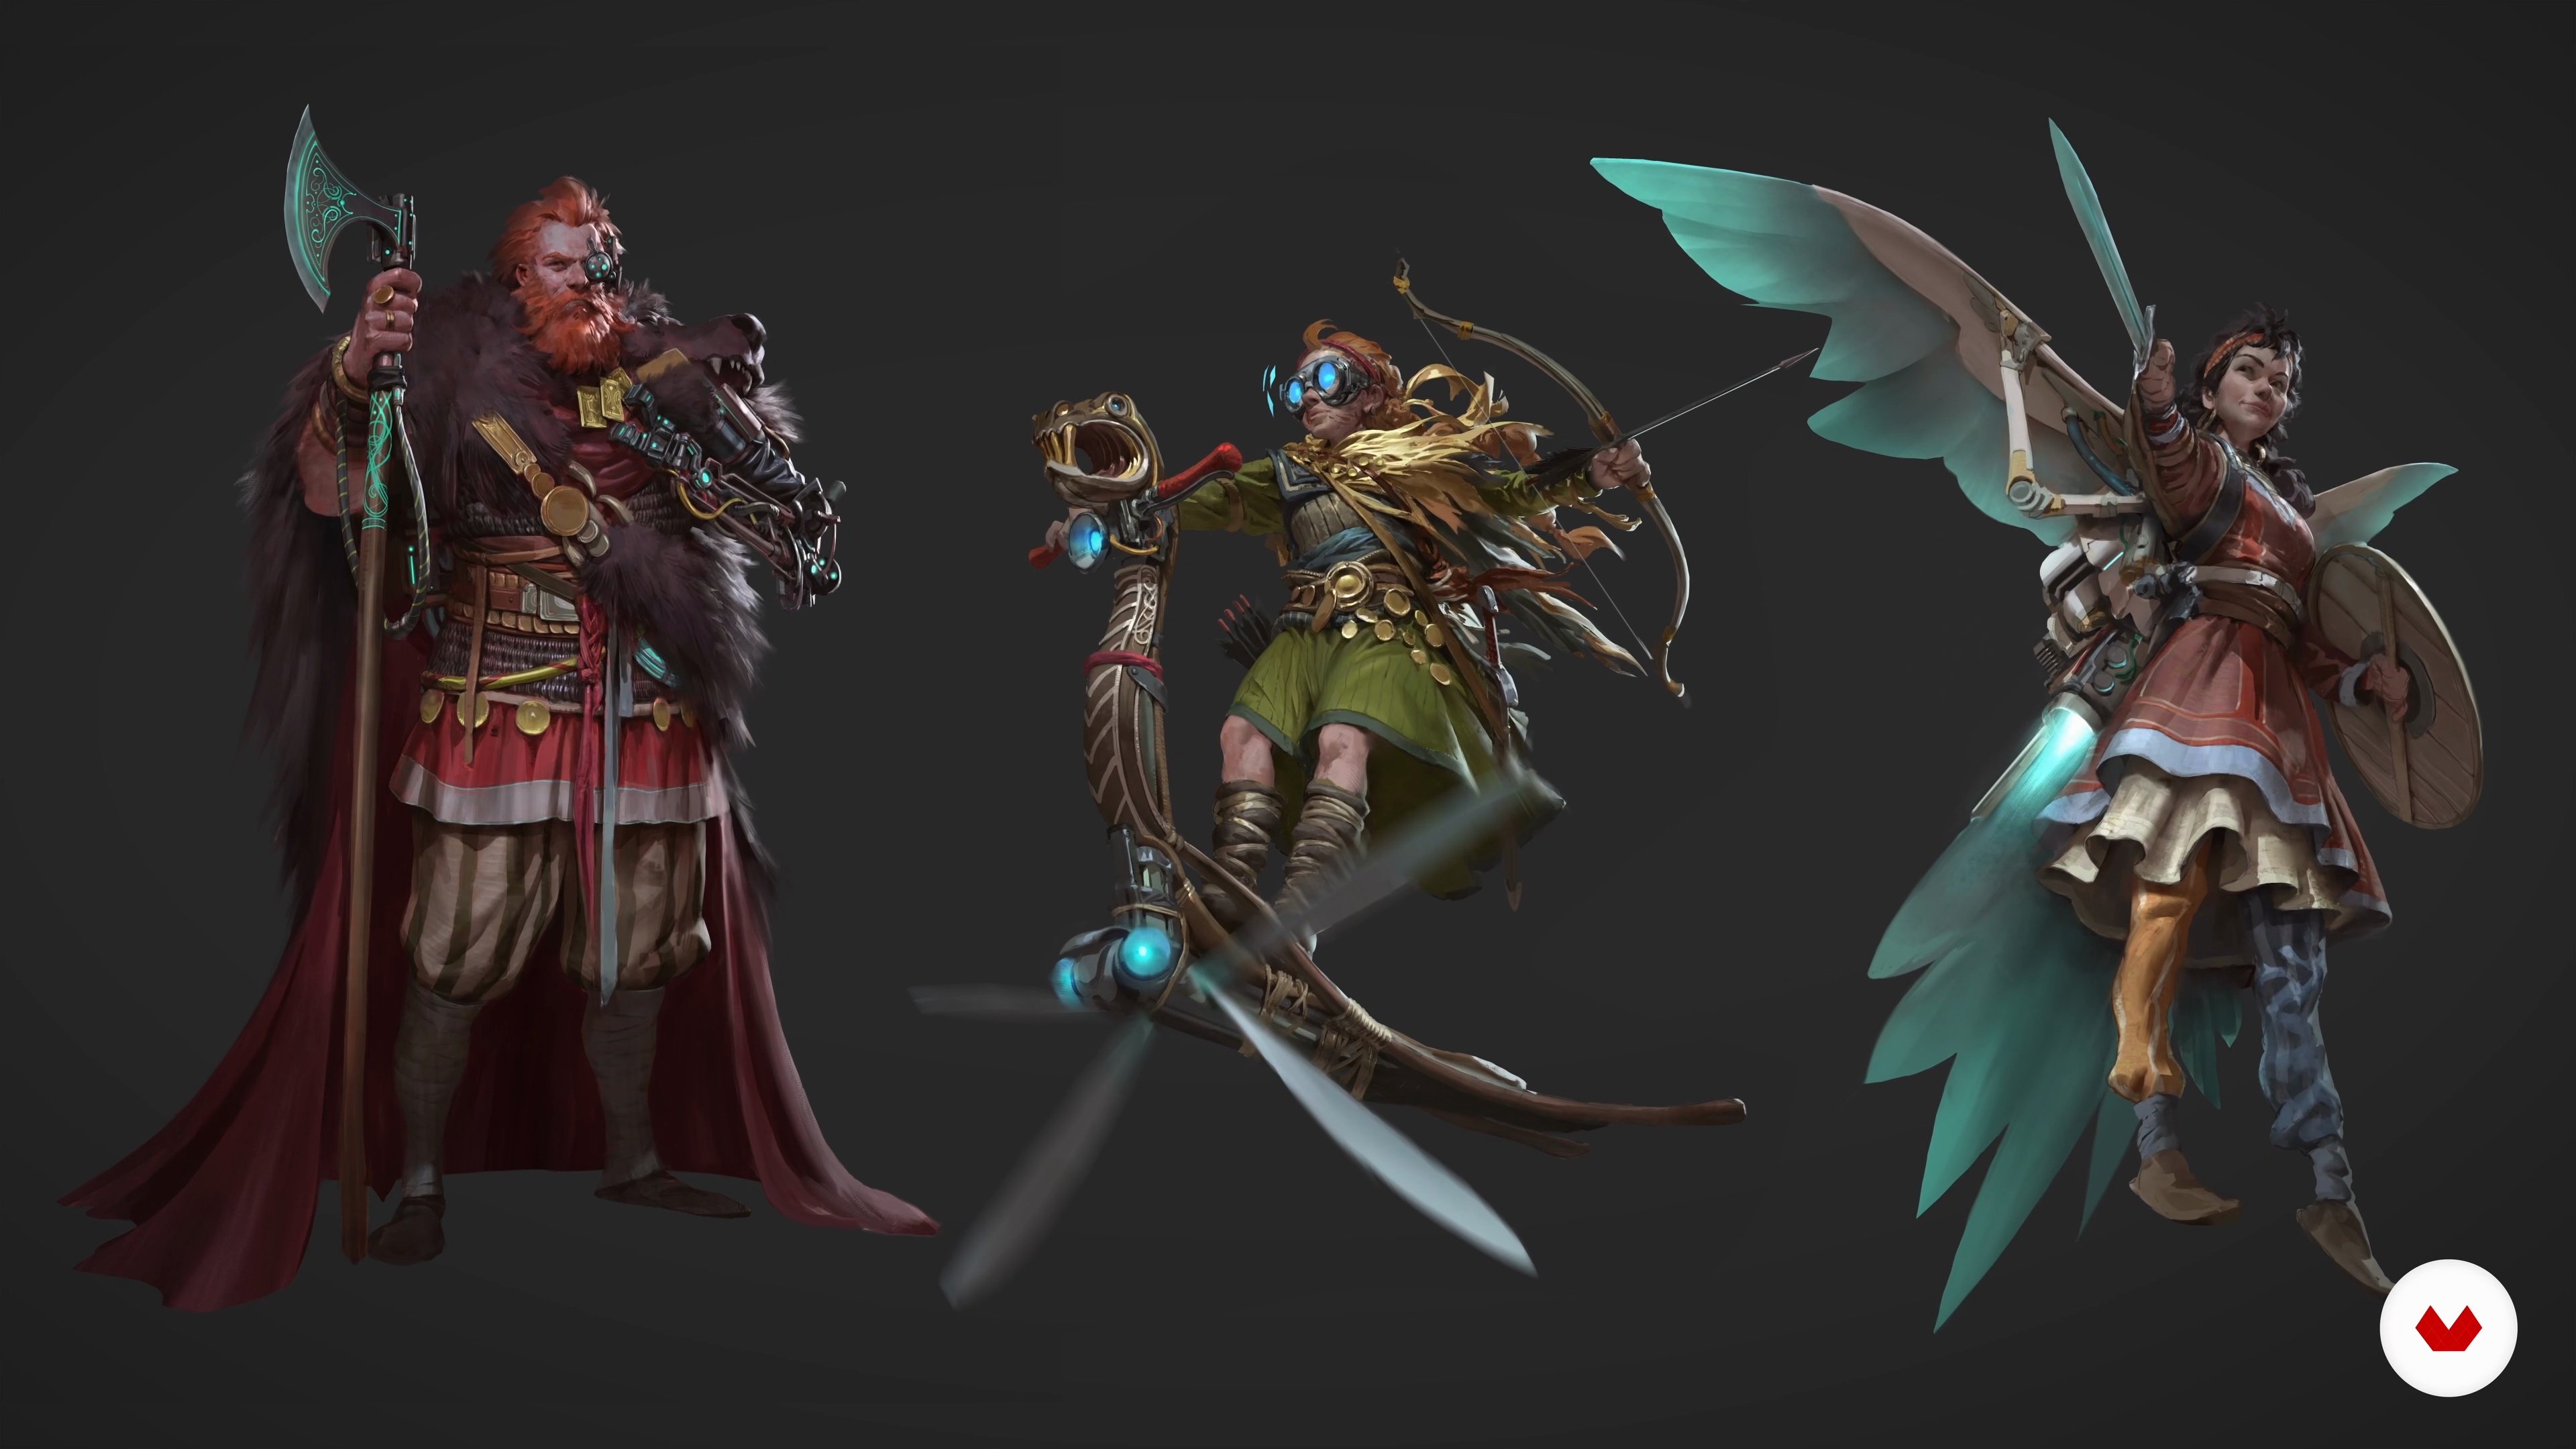
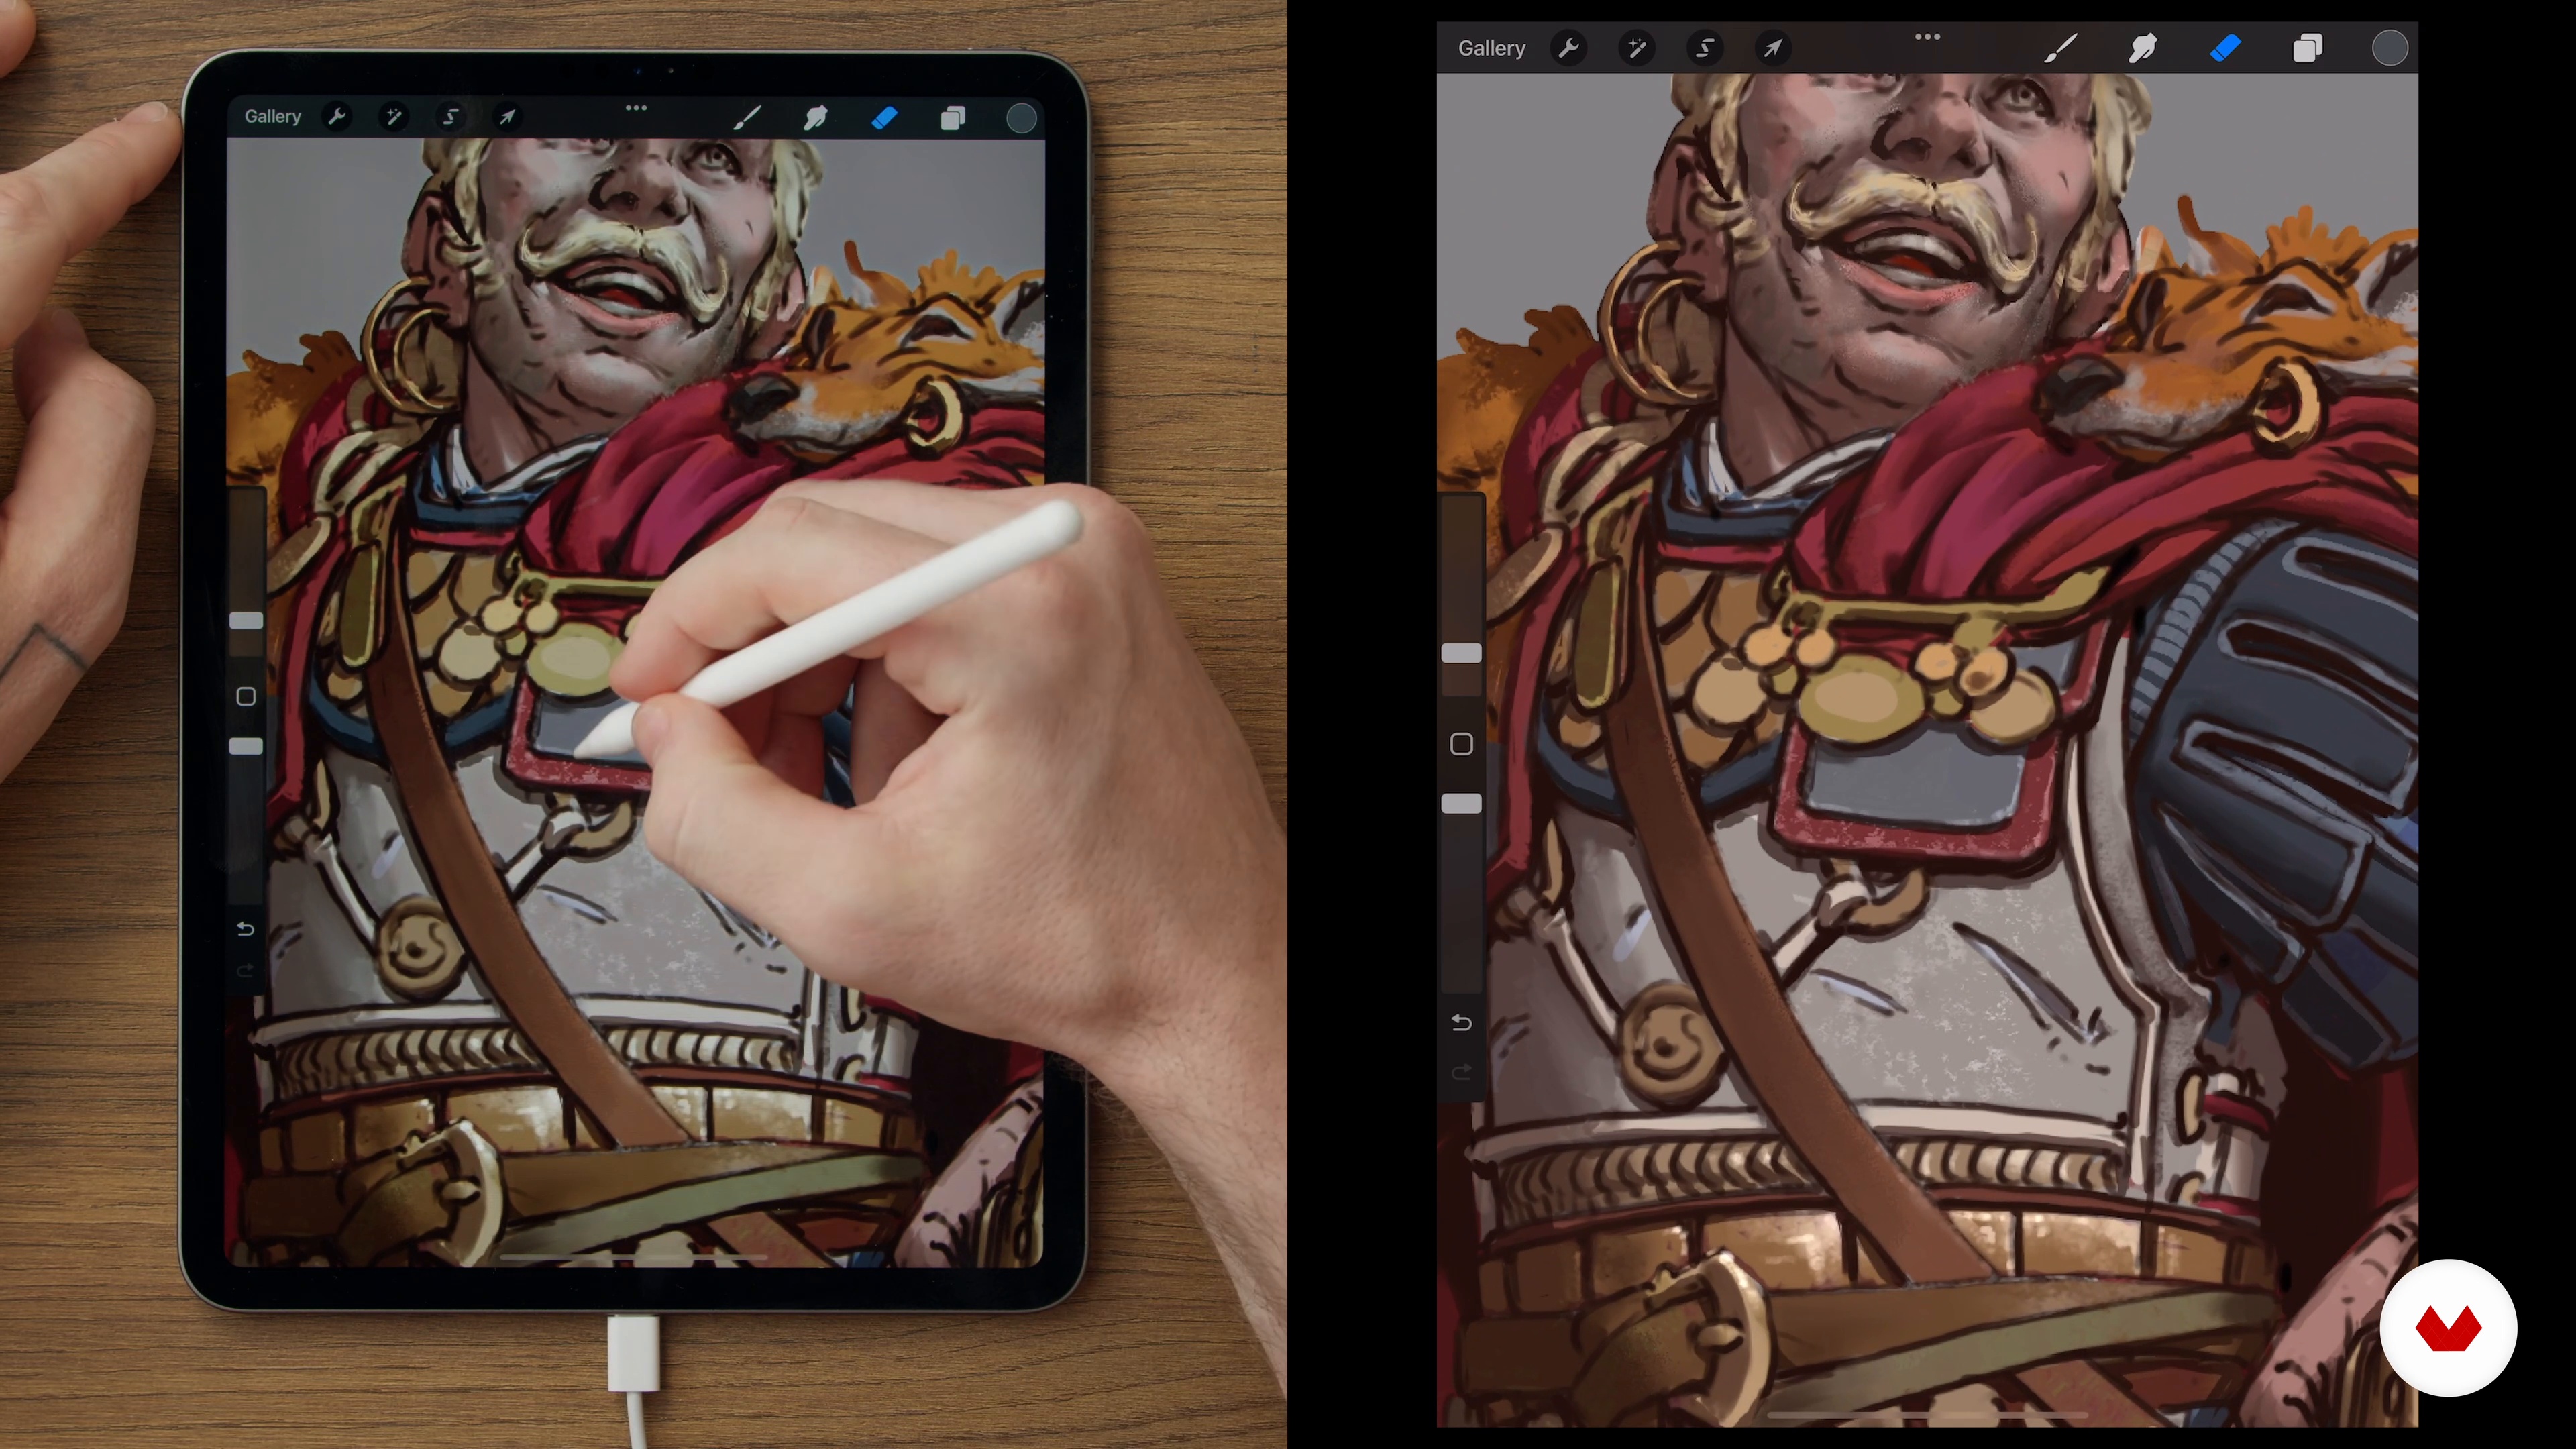
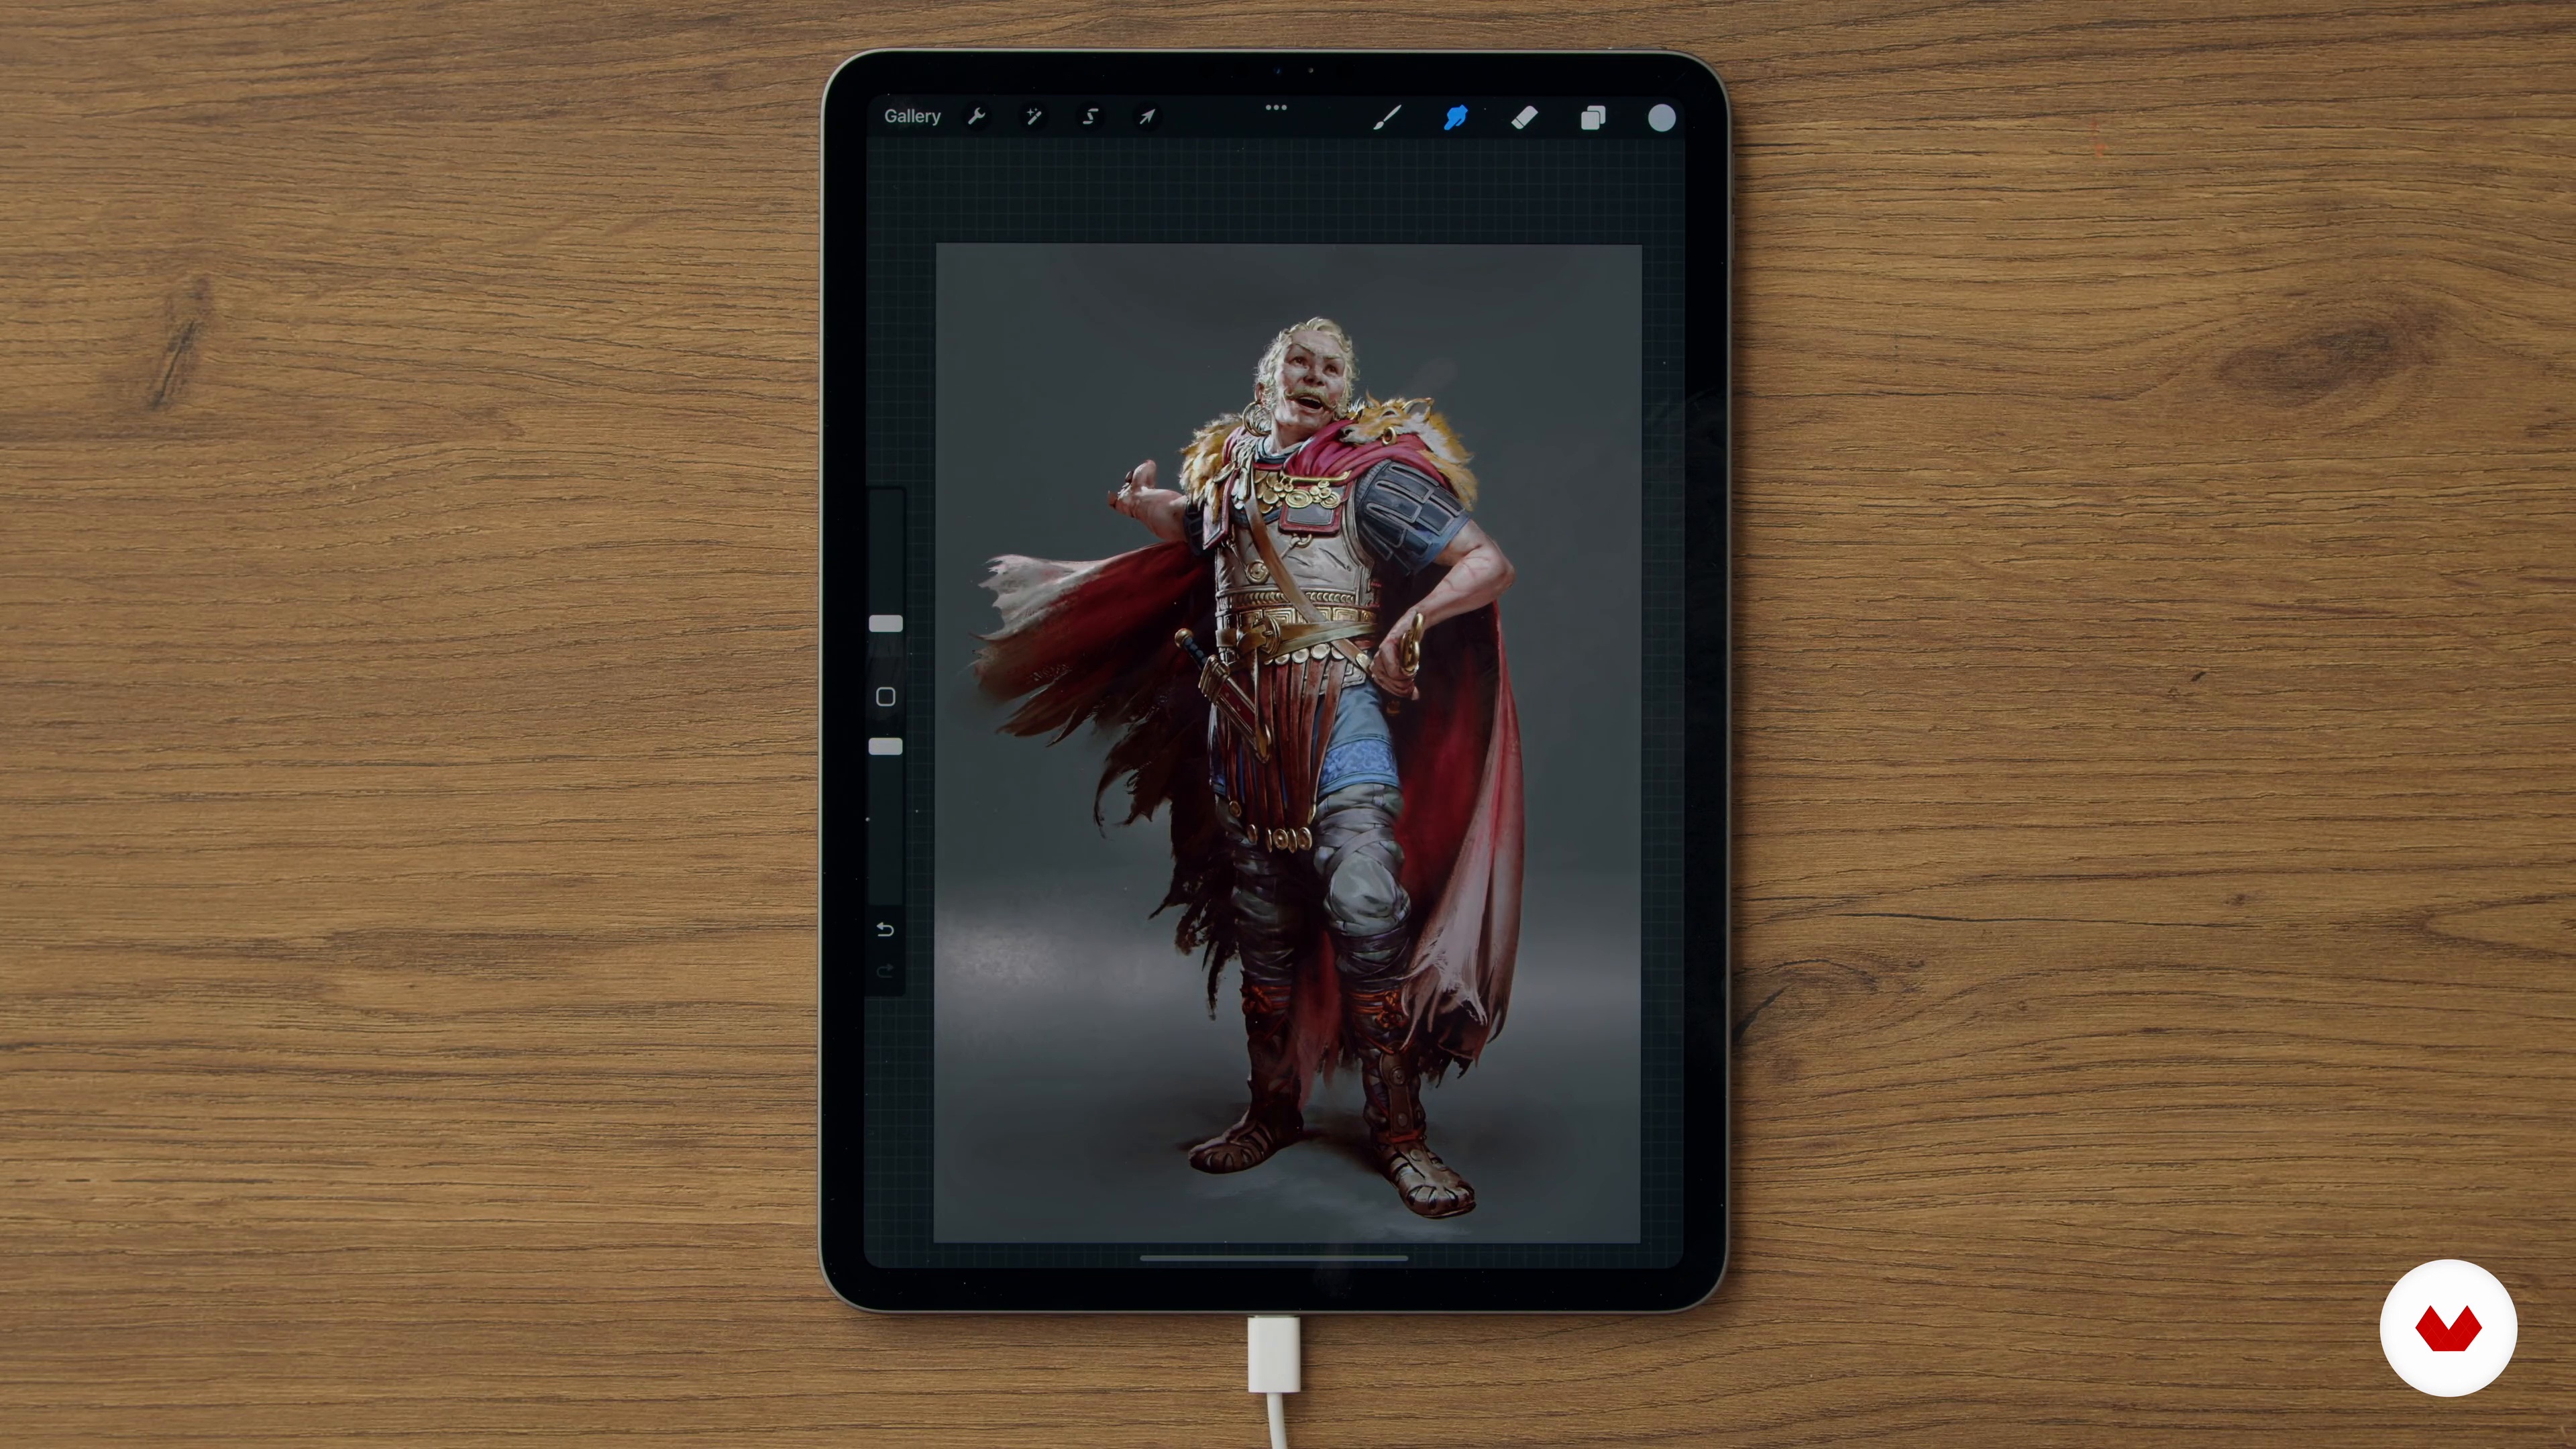
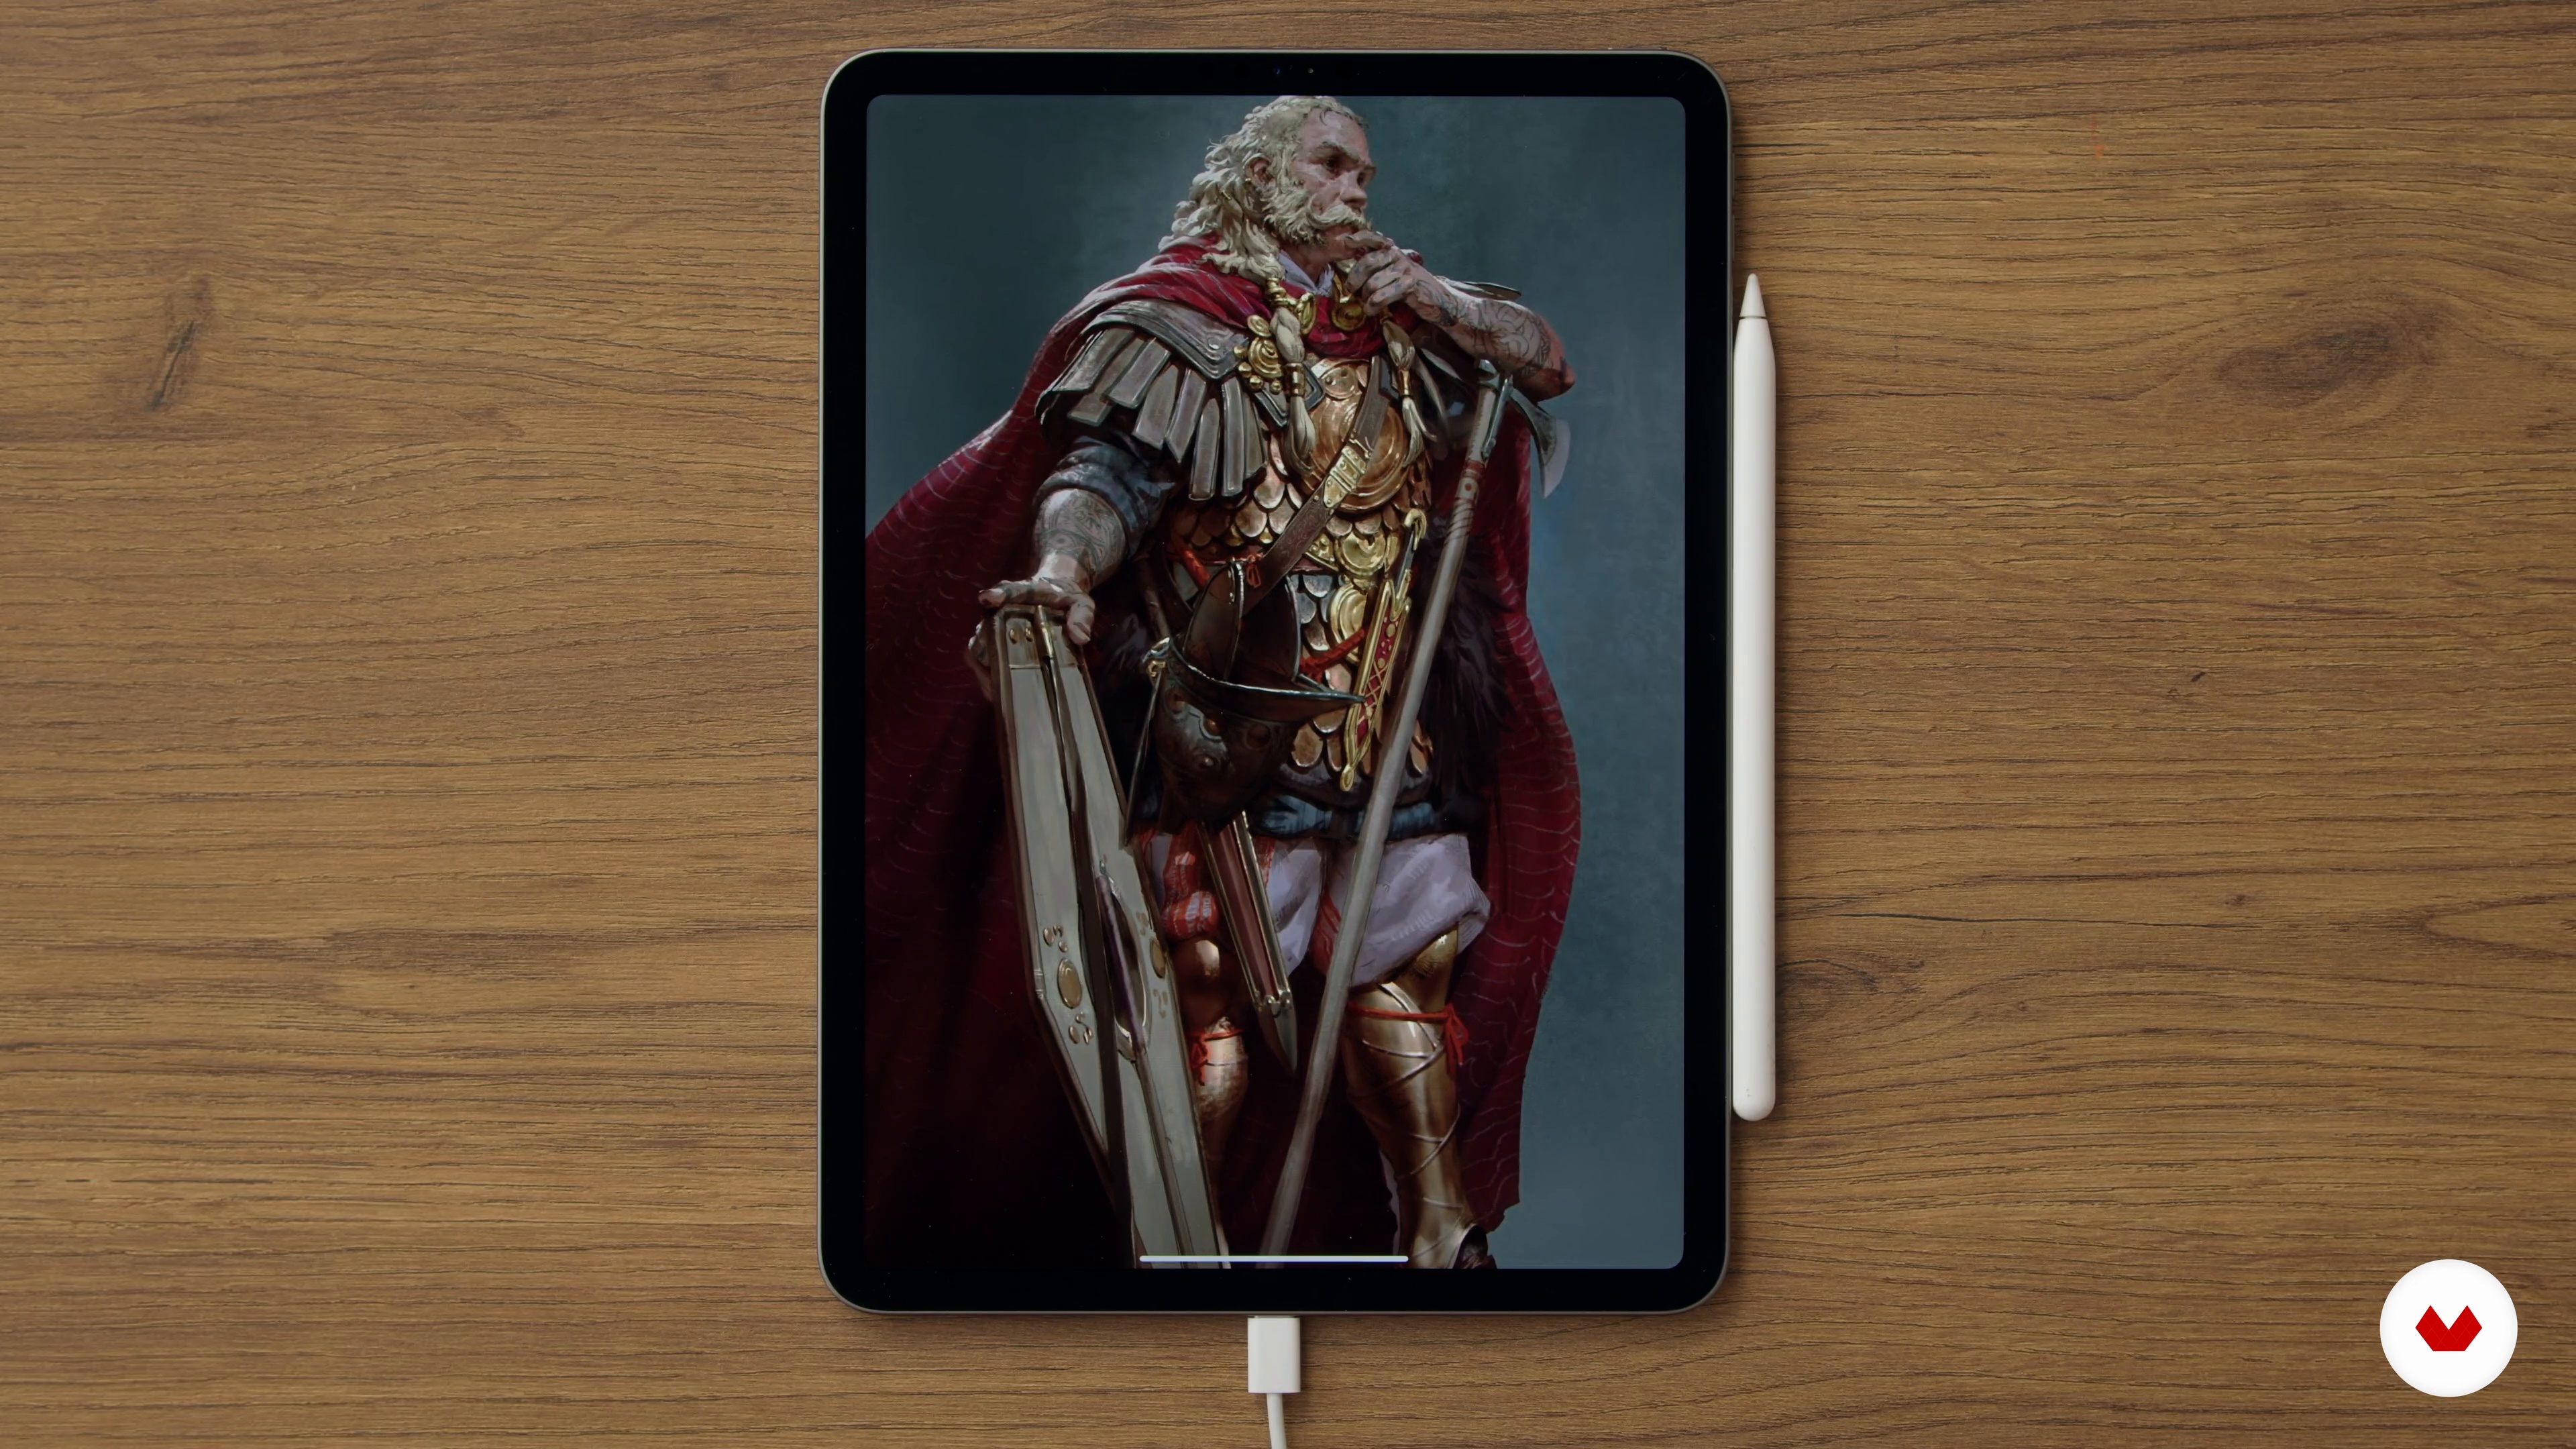
Embark on a creative journey through the world of concept art, where imagination meets storytelling. This specialization invites you to explore diverse aspects of visual design, from crafting immersive environments to developing expressive characters. With guidance from industry professionals like Titus Lunter, Tory Polska, Sergei Sarichev, Even Amundsen, and Sammy Khalid (Chigg), each course focuses on a unique element of concept art. Whether you're drawn to the enchanting realms of animation or the intriguing landscapes of ancient ruins, there's something for every aspiring artist.

Dive deeper into the art of worldbuilding, character creation, and visual narrative. Learn to design magical environments, create dynamic characters with rich backstories, and bring fantastical worlds to life. The final project challenges you to apply your skills in developing a cohesive concept art portfolio, showcasing your ability to interweave characters, environments, and storytelling. Perfect for those aiming to make their mark in games, animation, or illustration, this specialization equips you with the tools to create compelling visual universes.

Read more ↓

What will you learn in this specialization?

A total of 6 modules and 110 lessons
A total of 1d 0h 21m of vídeo lessons
Taught by 5 selected expert teachers
image
1
Introduction
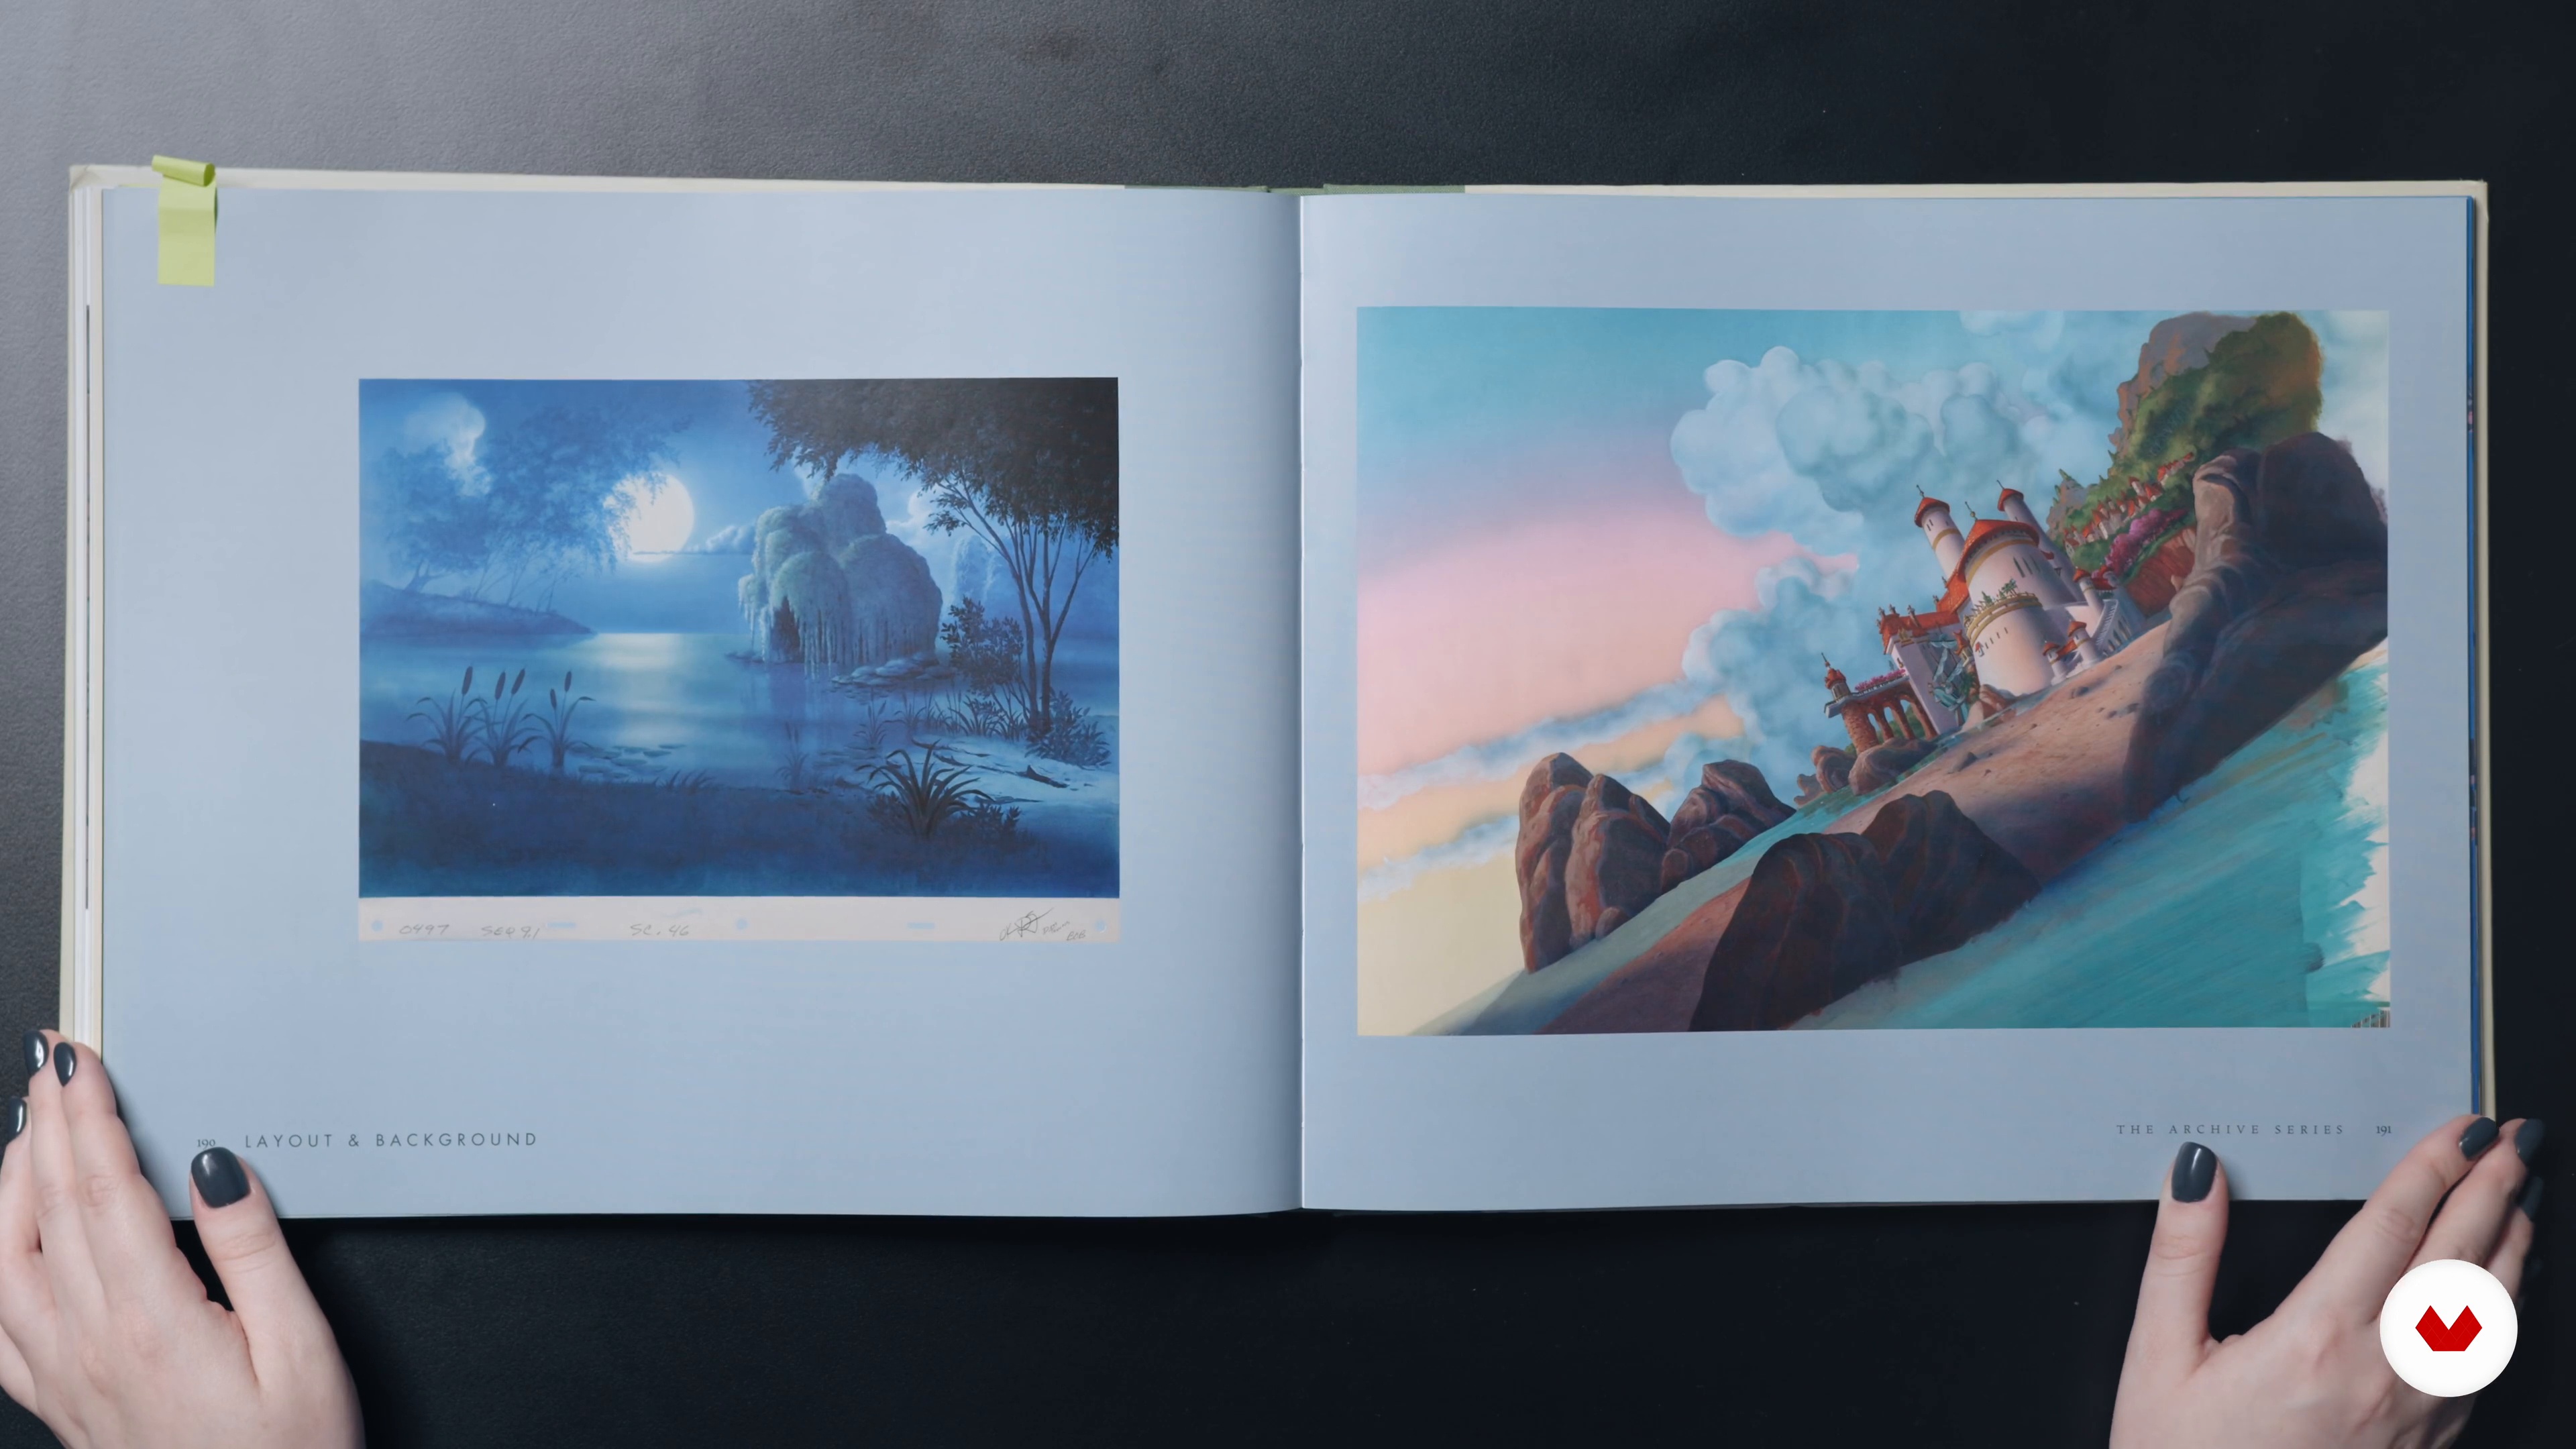
Dive into the craft of concept art as a form of visual worldbuilding. Through cultural research and visual problem solving, you’ll learn to design believable fictional spaces and characters while developing your own creative process and storytelling voice.
2m
image
2
Influences | Titus Lunter
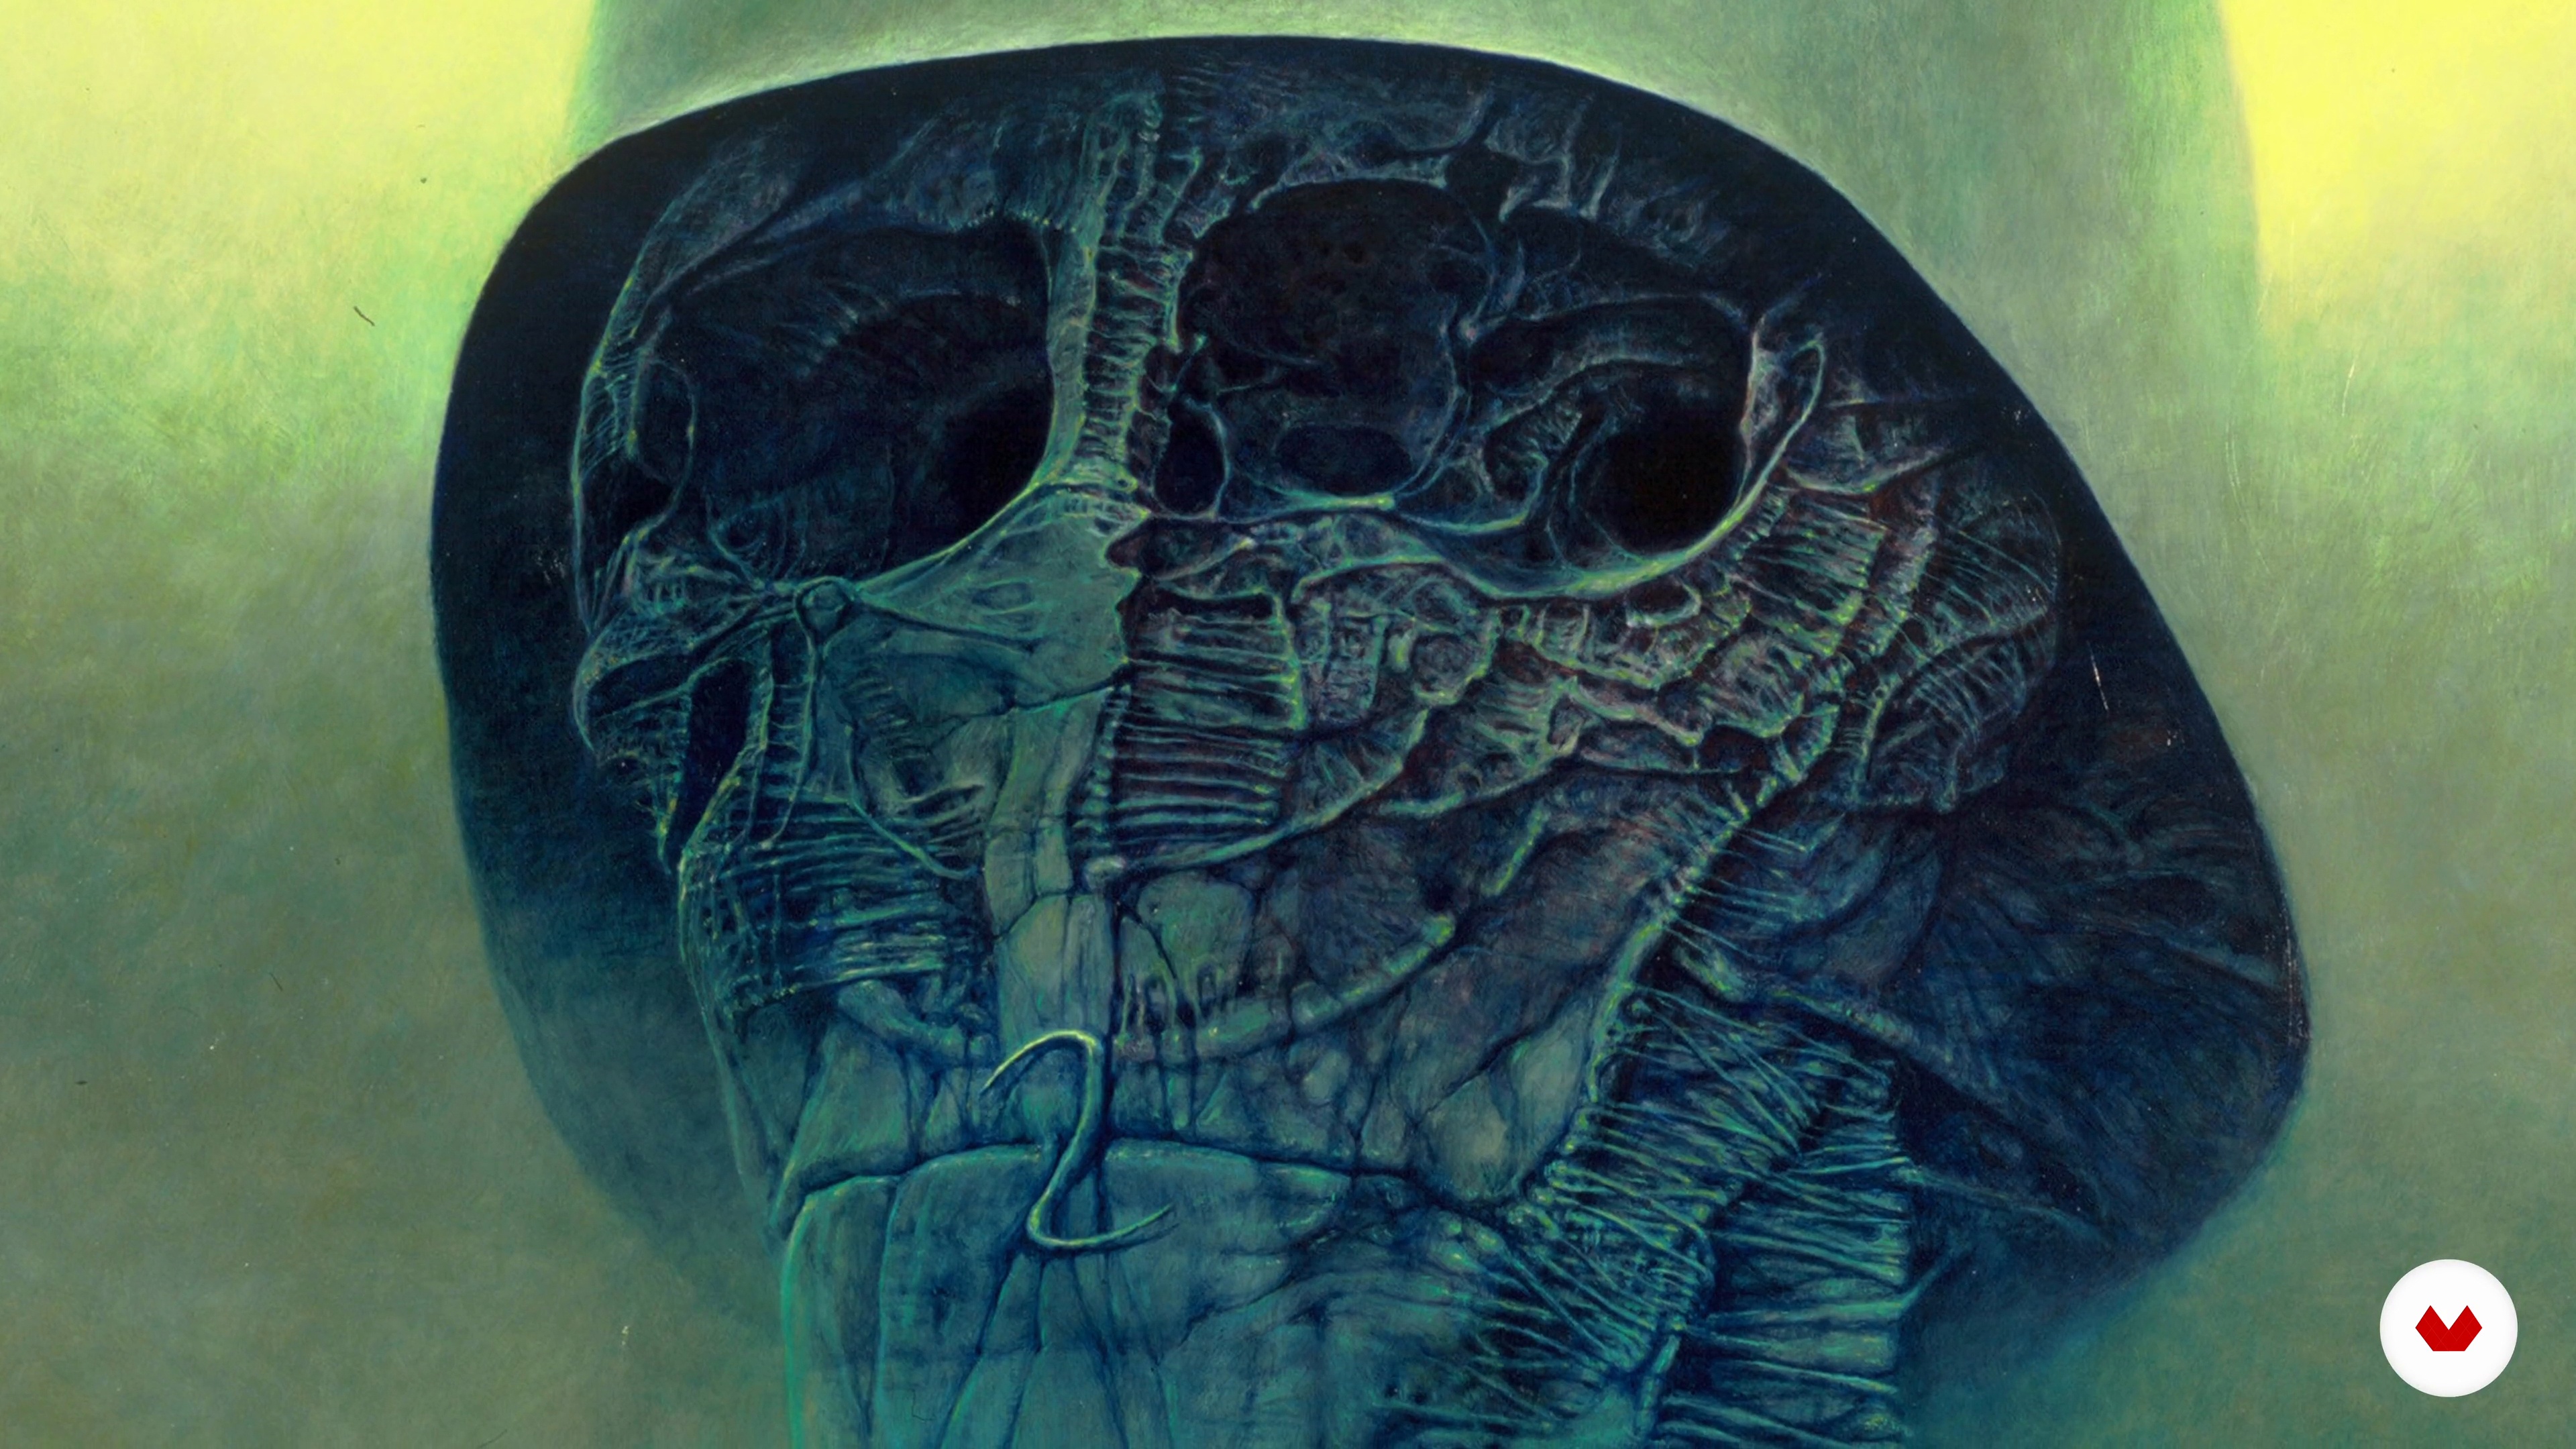
Curiosity is key when searching for influences, they can be found in all manners of creativity, from music to movies or in my case they are found in the cold darkness of space…
4m
image
3
Influences | Tory Polska
Now you know me a little bit better, I would like to mention some fantastic artists that influenced the way I see the world. Thanks to them, I now see beautiful shapes and colours, but I also see feelings, moods, and relationships between objects in space.
5m
image
4
Influences | Sergei Sarichev
Here I will explain what inspires me as an artist. I will introduce you to artists I follow, digital and traditional, as well as films and books I love to go over and constantly draw ideas from.
3m
image
5
Influences | Even Amundsen
In this lesson, I will go over some influences—from the art that first got me started to an expanding field of interests that have impacted my work. To create worlds we should first study this one, use our interests as sources of inspiration and show them in our illustrations!
7m
image
6
Influences | Sammy Khalid
The people you admire are very influential to the type of artist you will become. These influences form your artistic DNA. In this lesson, I will teach you the key artists that influenced me and shaped my early understanding of painting and design.
6m
image
3
What Exactly Is Architecture?
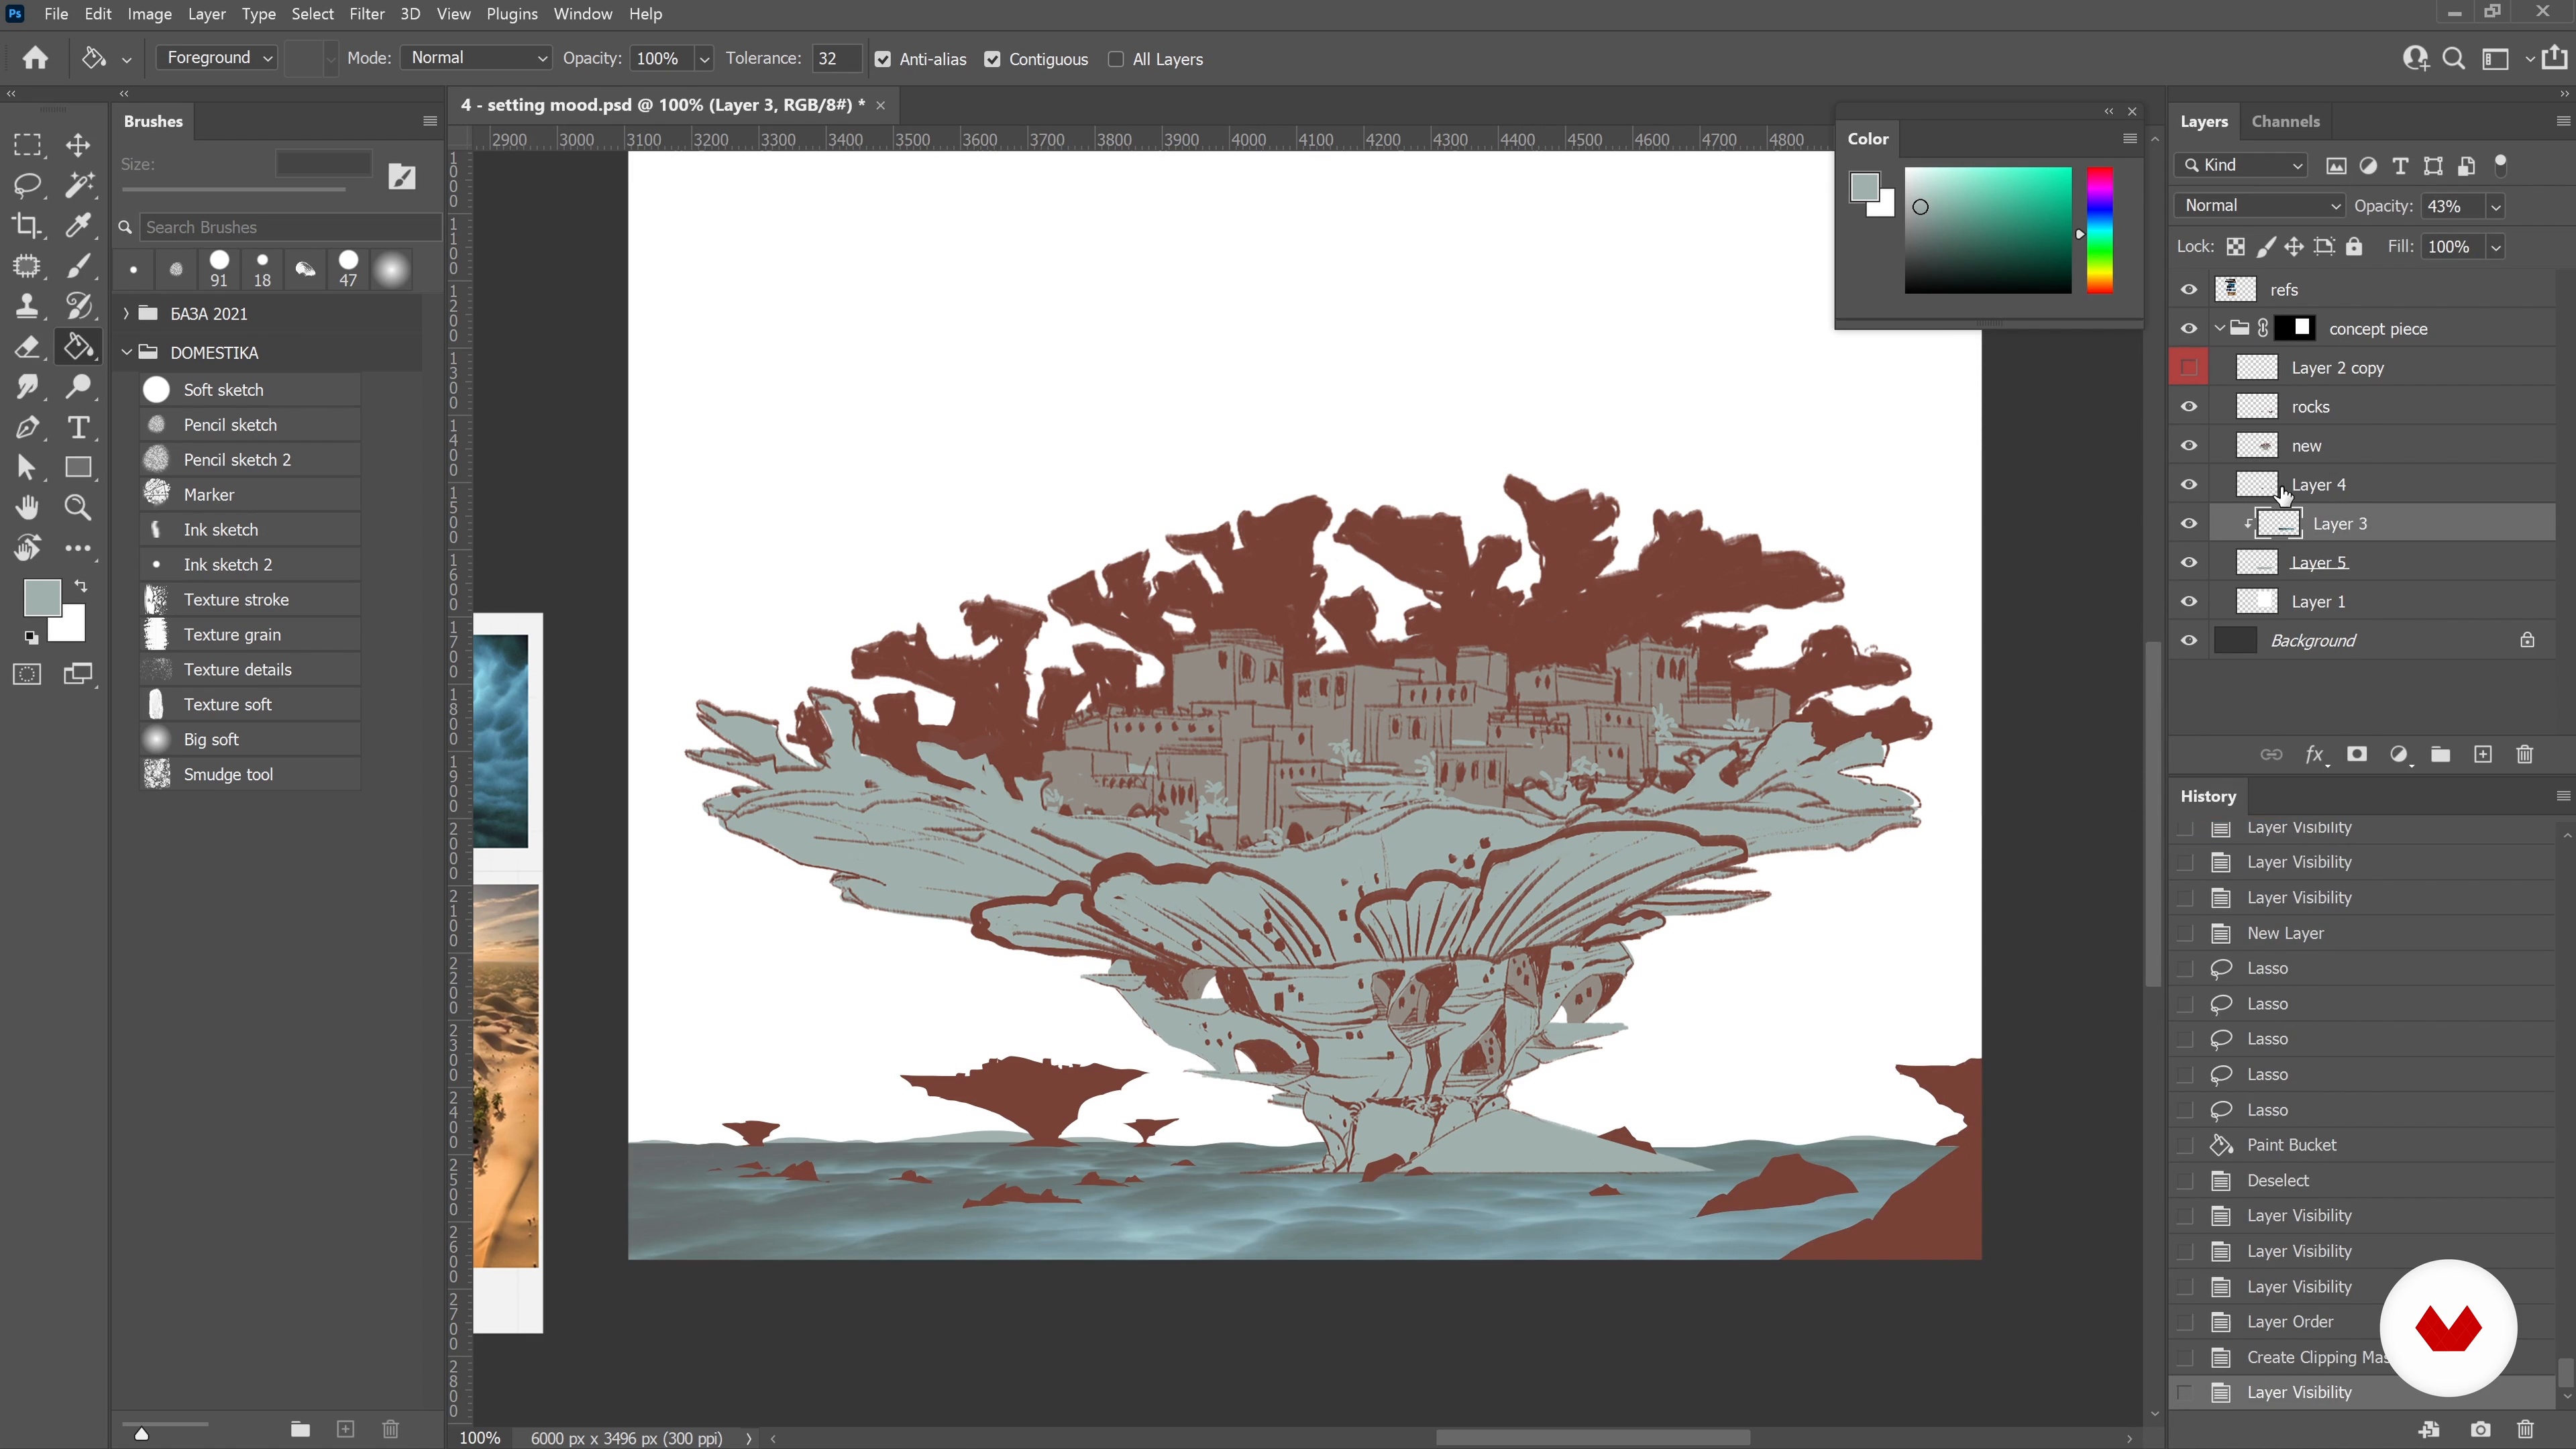
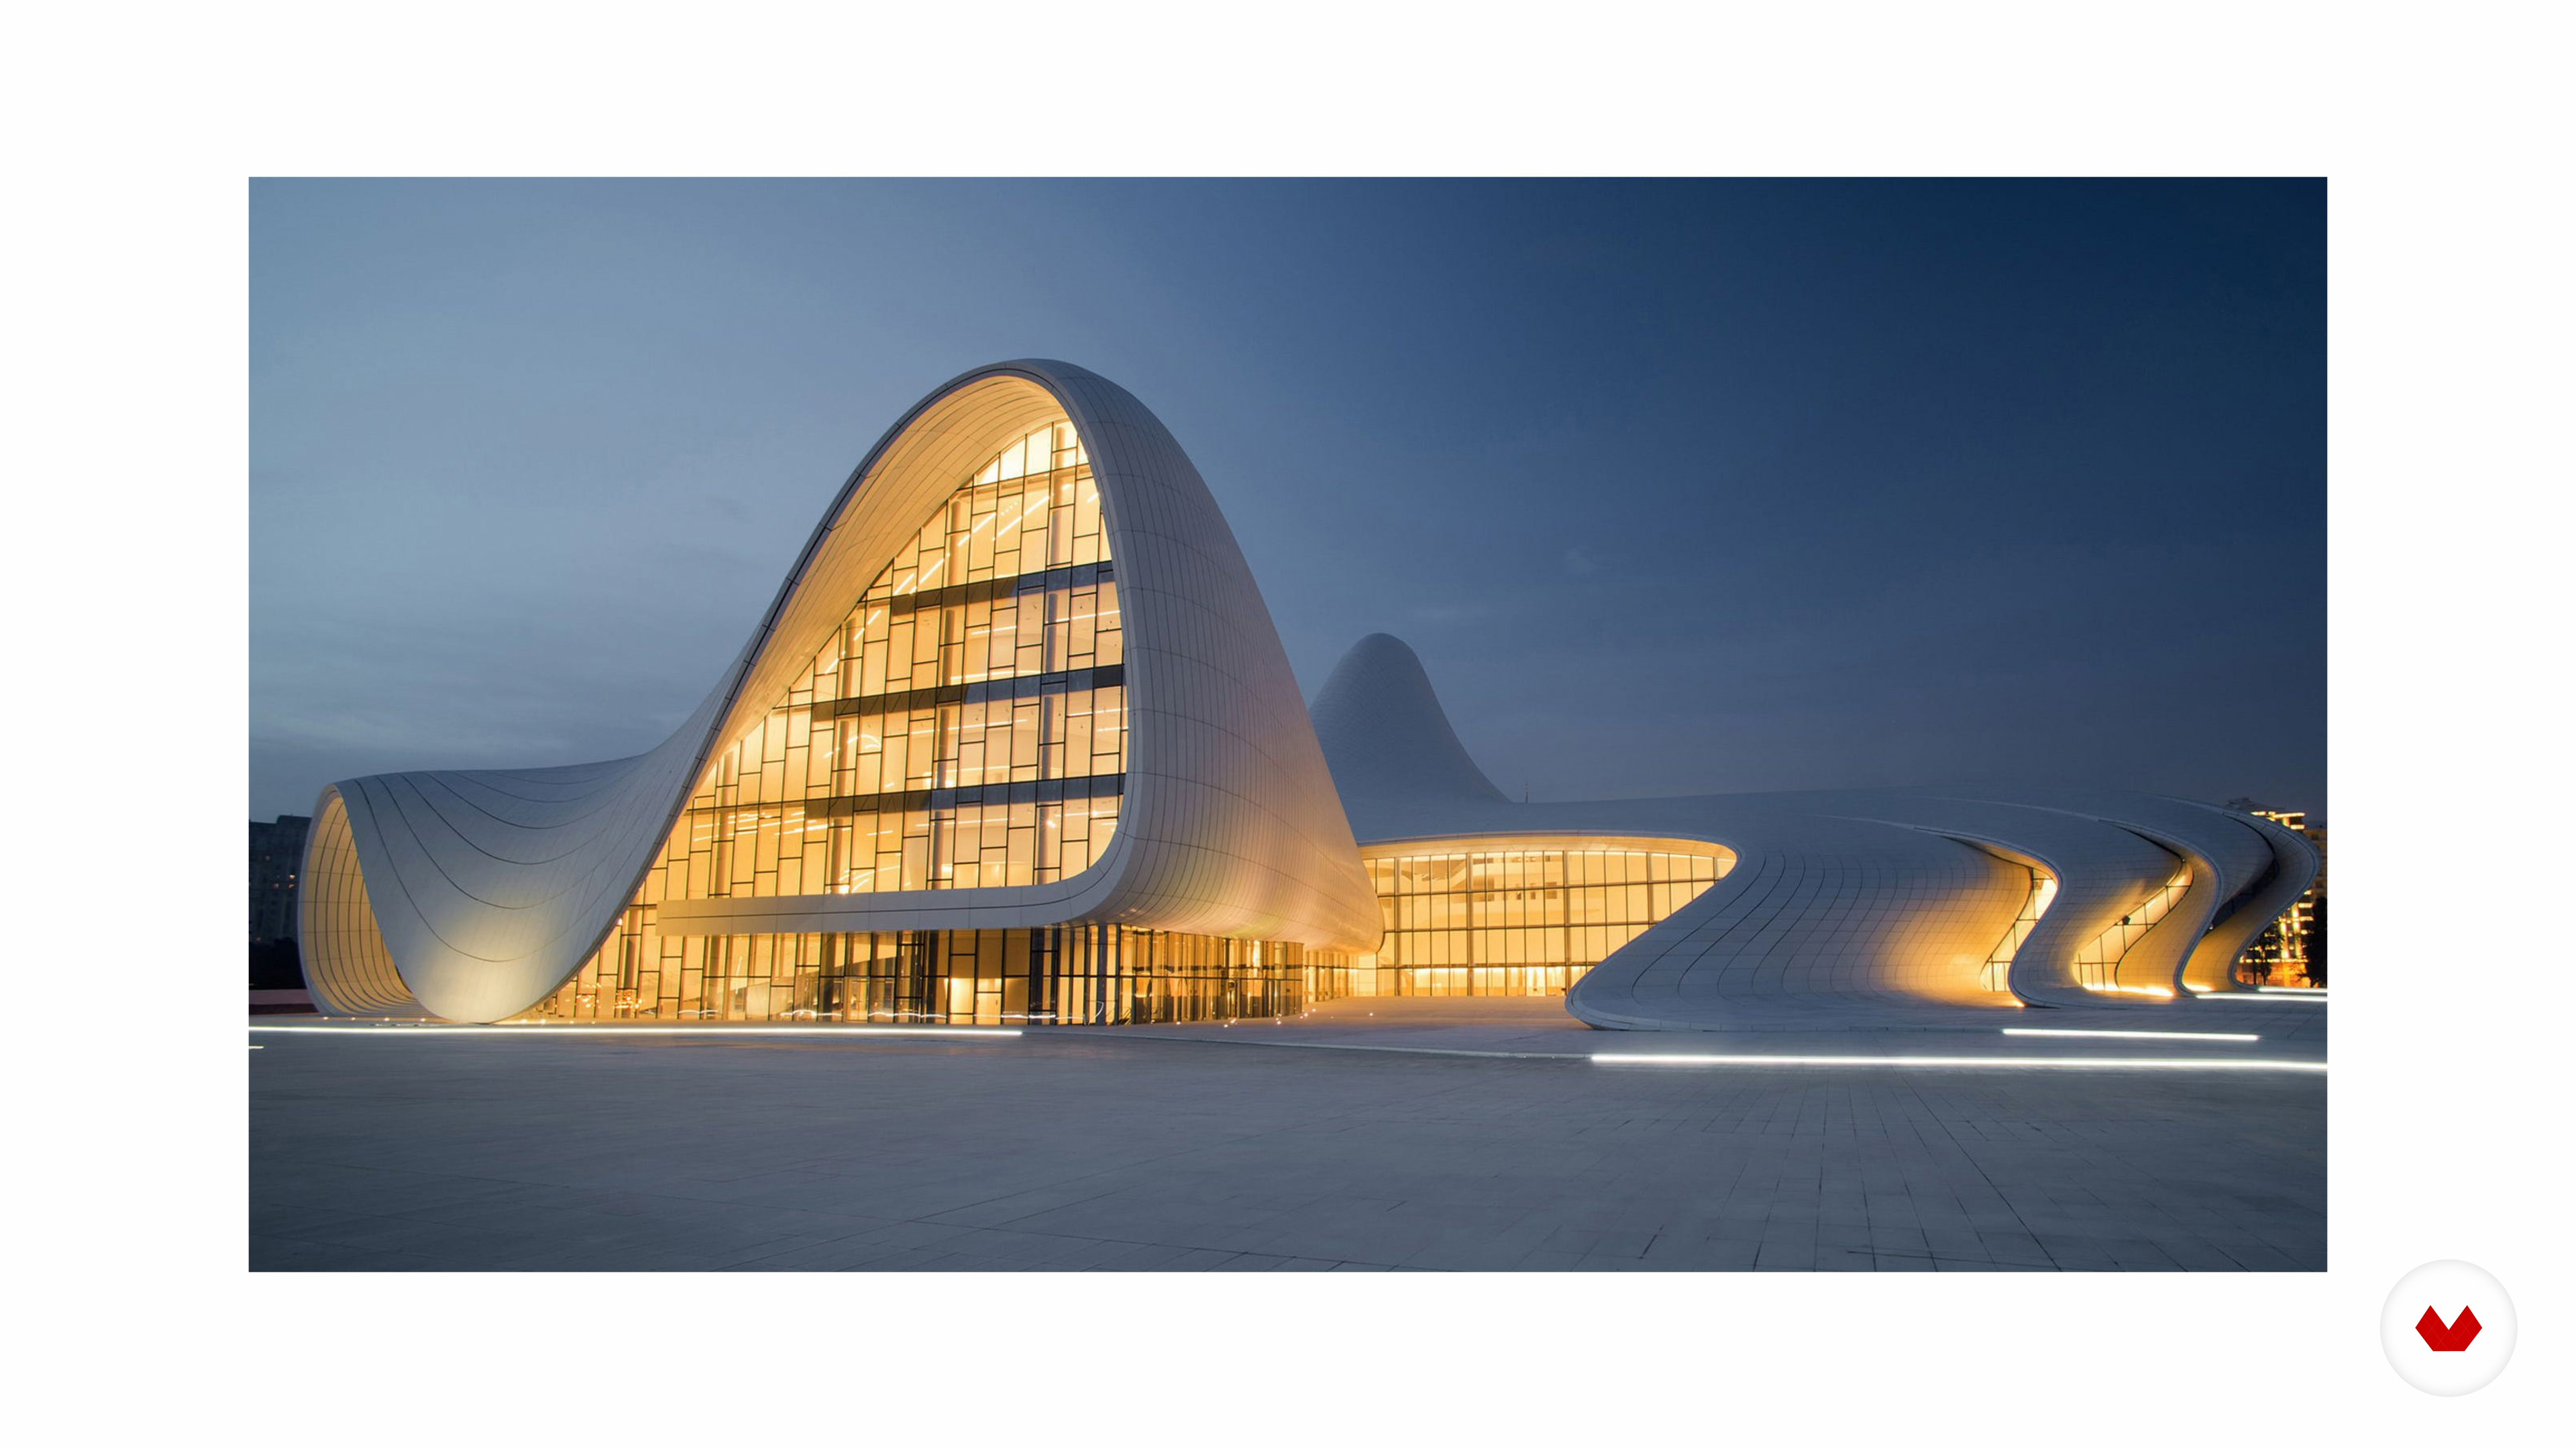
Architecture, a reflection of culture made real through technology and a specific need, but it is so much more! A device to tell stories with, a way to capture the imagination and a perfect way to set the mood and tone of your world. Here I’ll introduce you to how architecture can be used in various media and how your thinking towards it should be.
7m
image
4
Defining Boundaries and Asking Yourself "Who, What, and Why?"
To not get overwhelmed with the process, we need to set boundaries. Three core questions will help you do this. I’ll walk you through these questions, so you can set the boundaries for your project.
10m
image
5
Doing Research
Now that we know our boundaries, we can do research and let curiosity take us away to magical places! Though, let me give you some useful tips to make this journey go even more smoothly.
13m
image
6
The Dos and Don'ts of Architectural Design
What not to do is often just as important as knowing what to do. I’ll demonstrate where to pay close attention and show how a successful design starts off.
9m
image
7
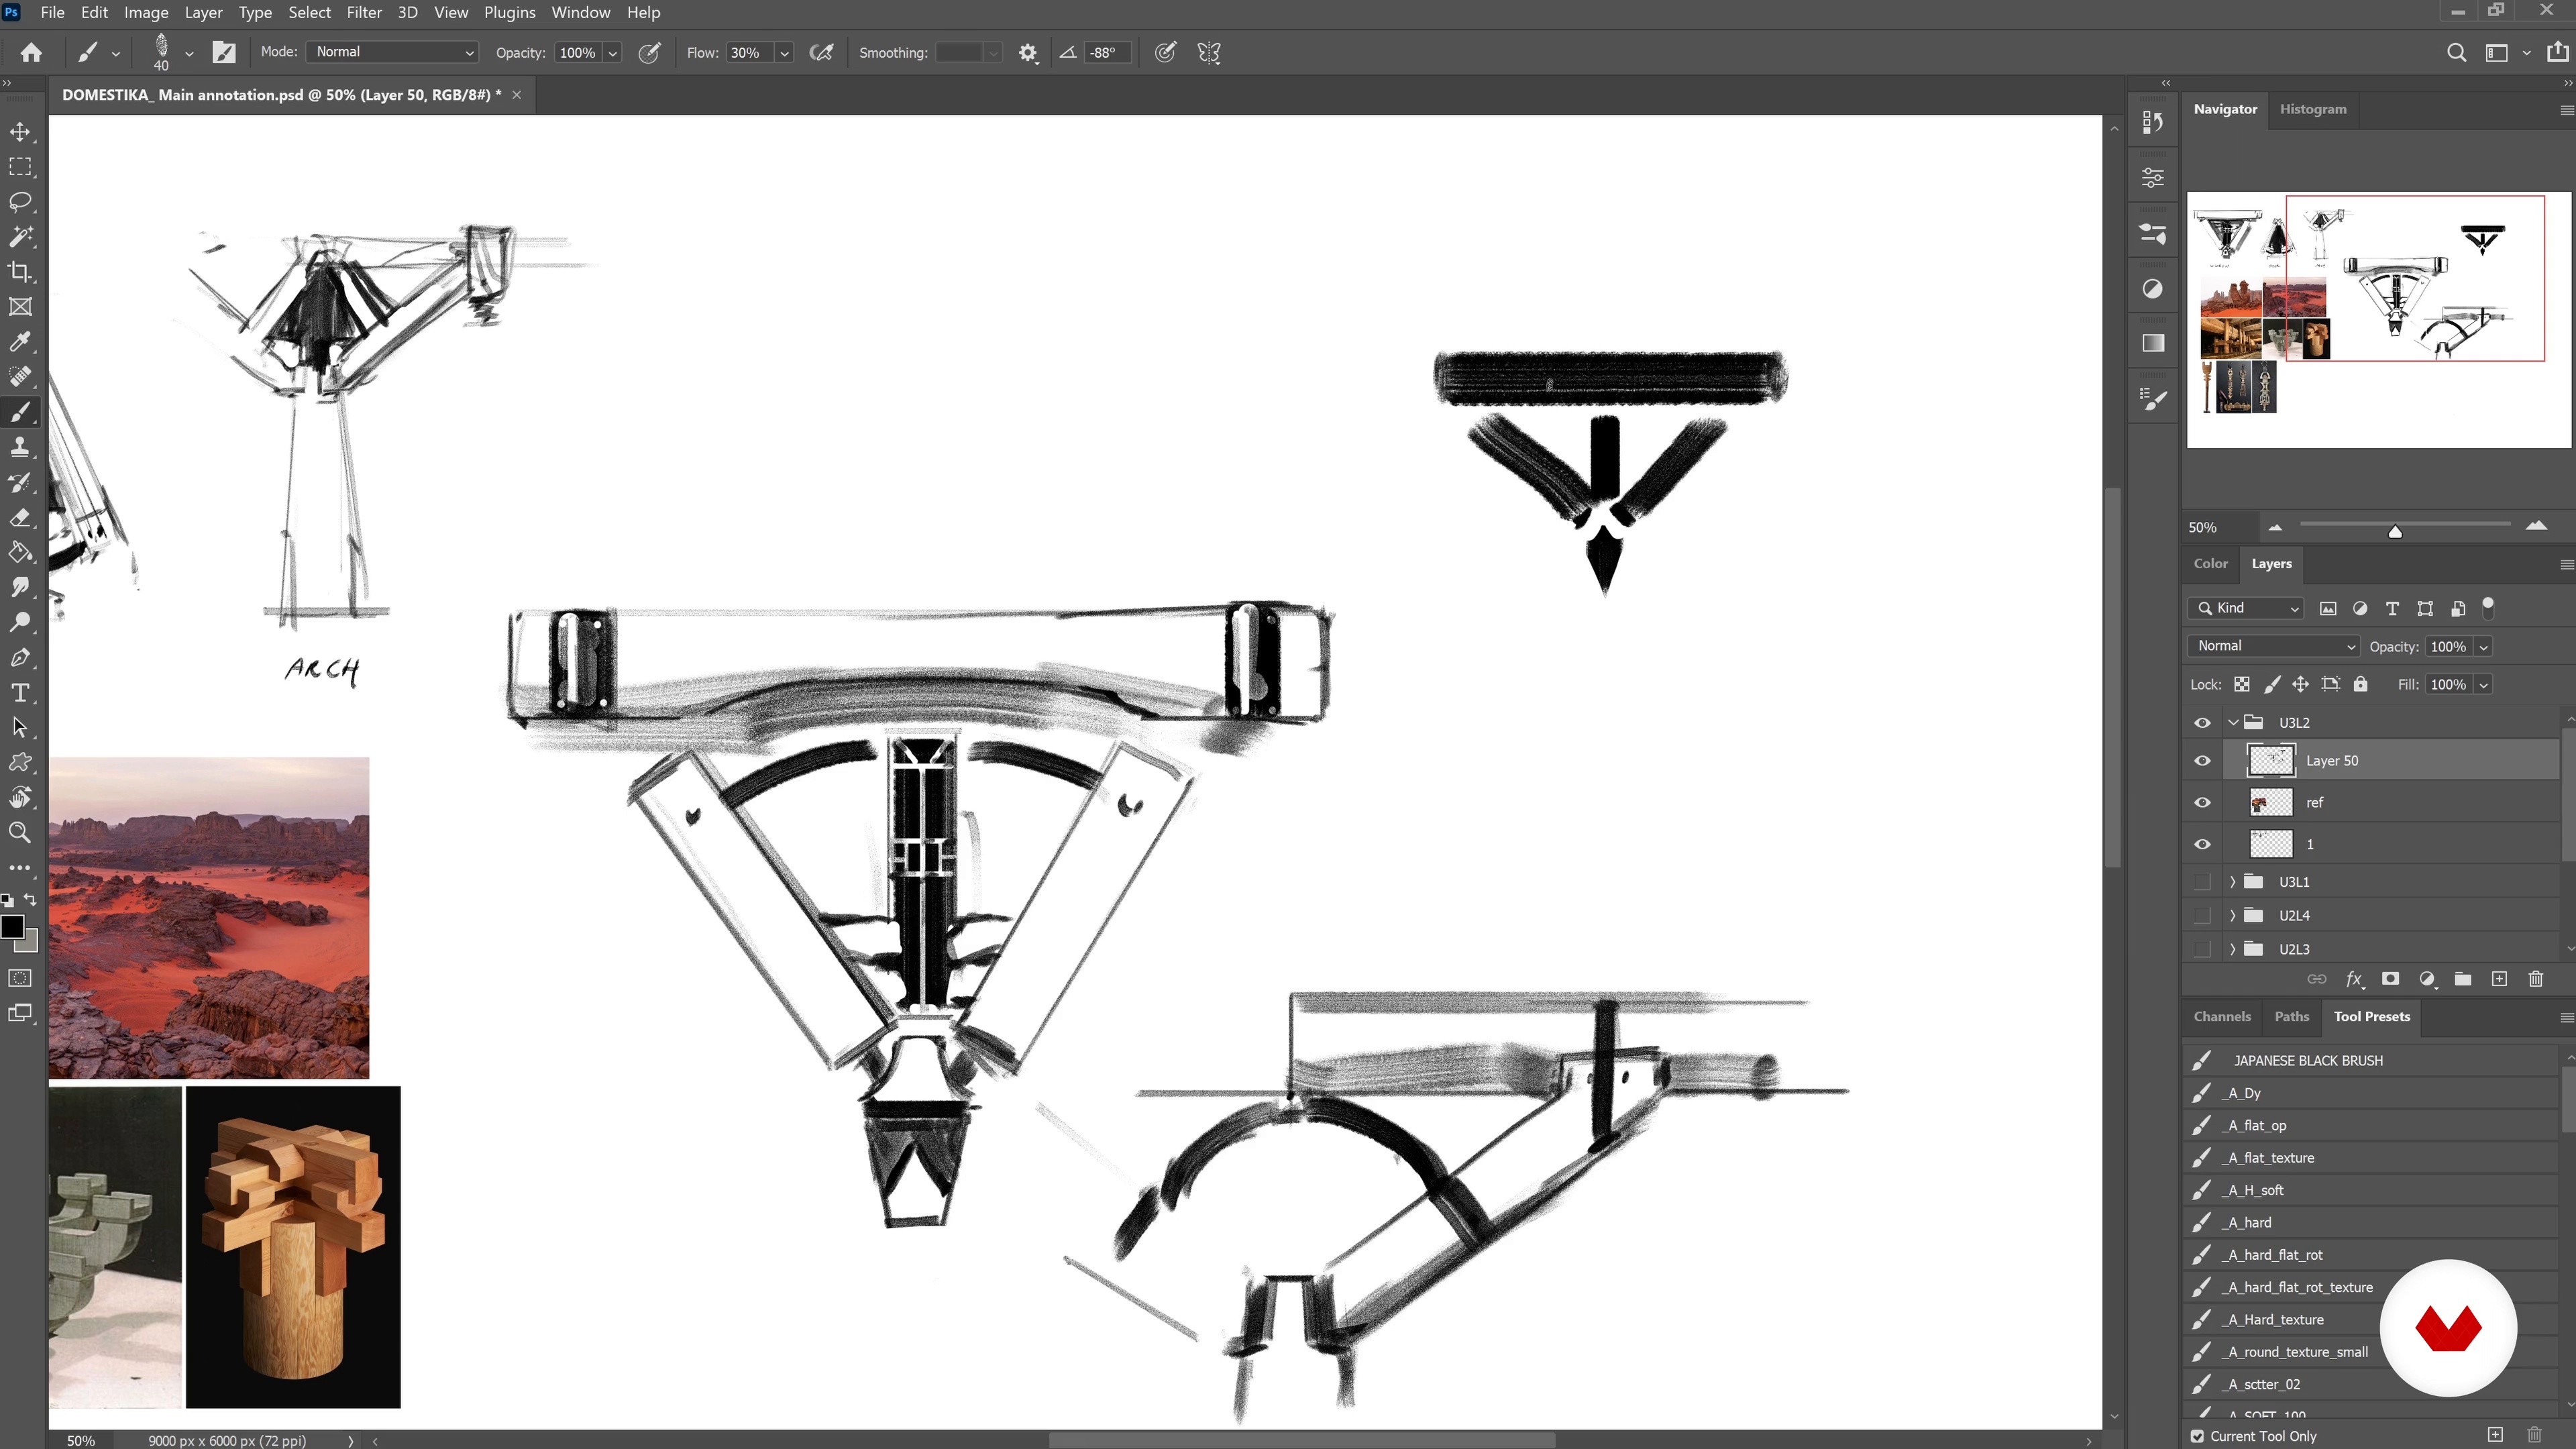
A Part-By-Part Breakdown of the Specific Architectural Elements 1
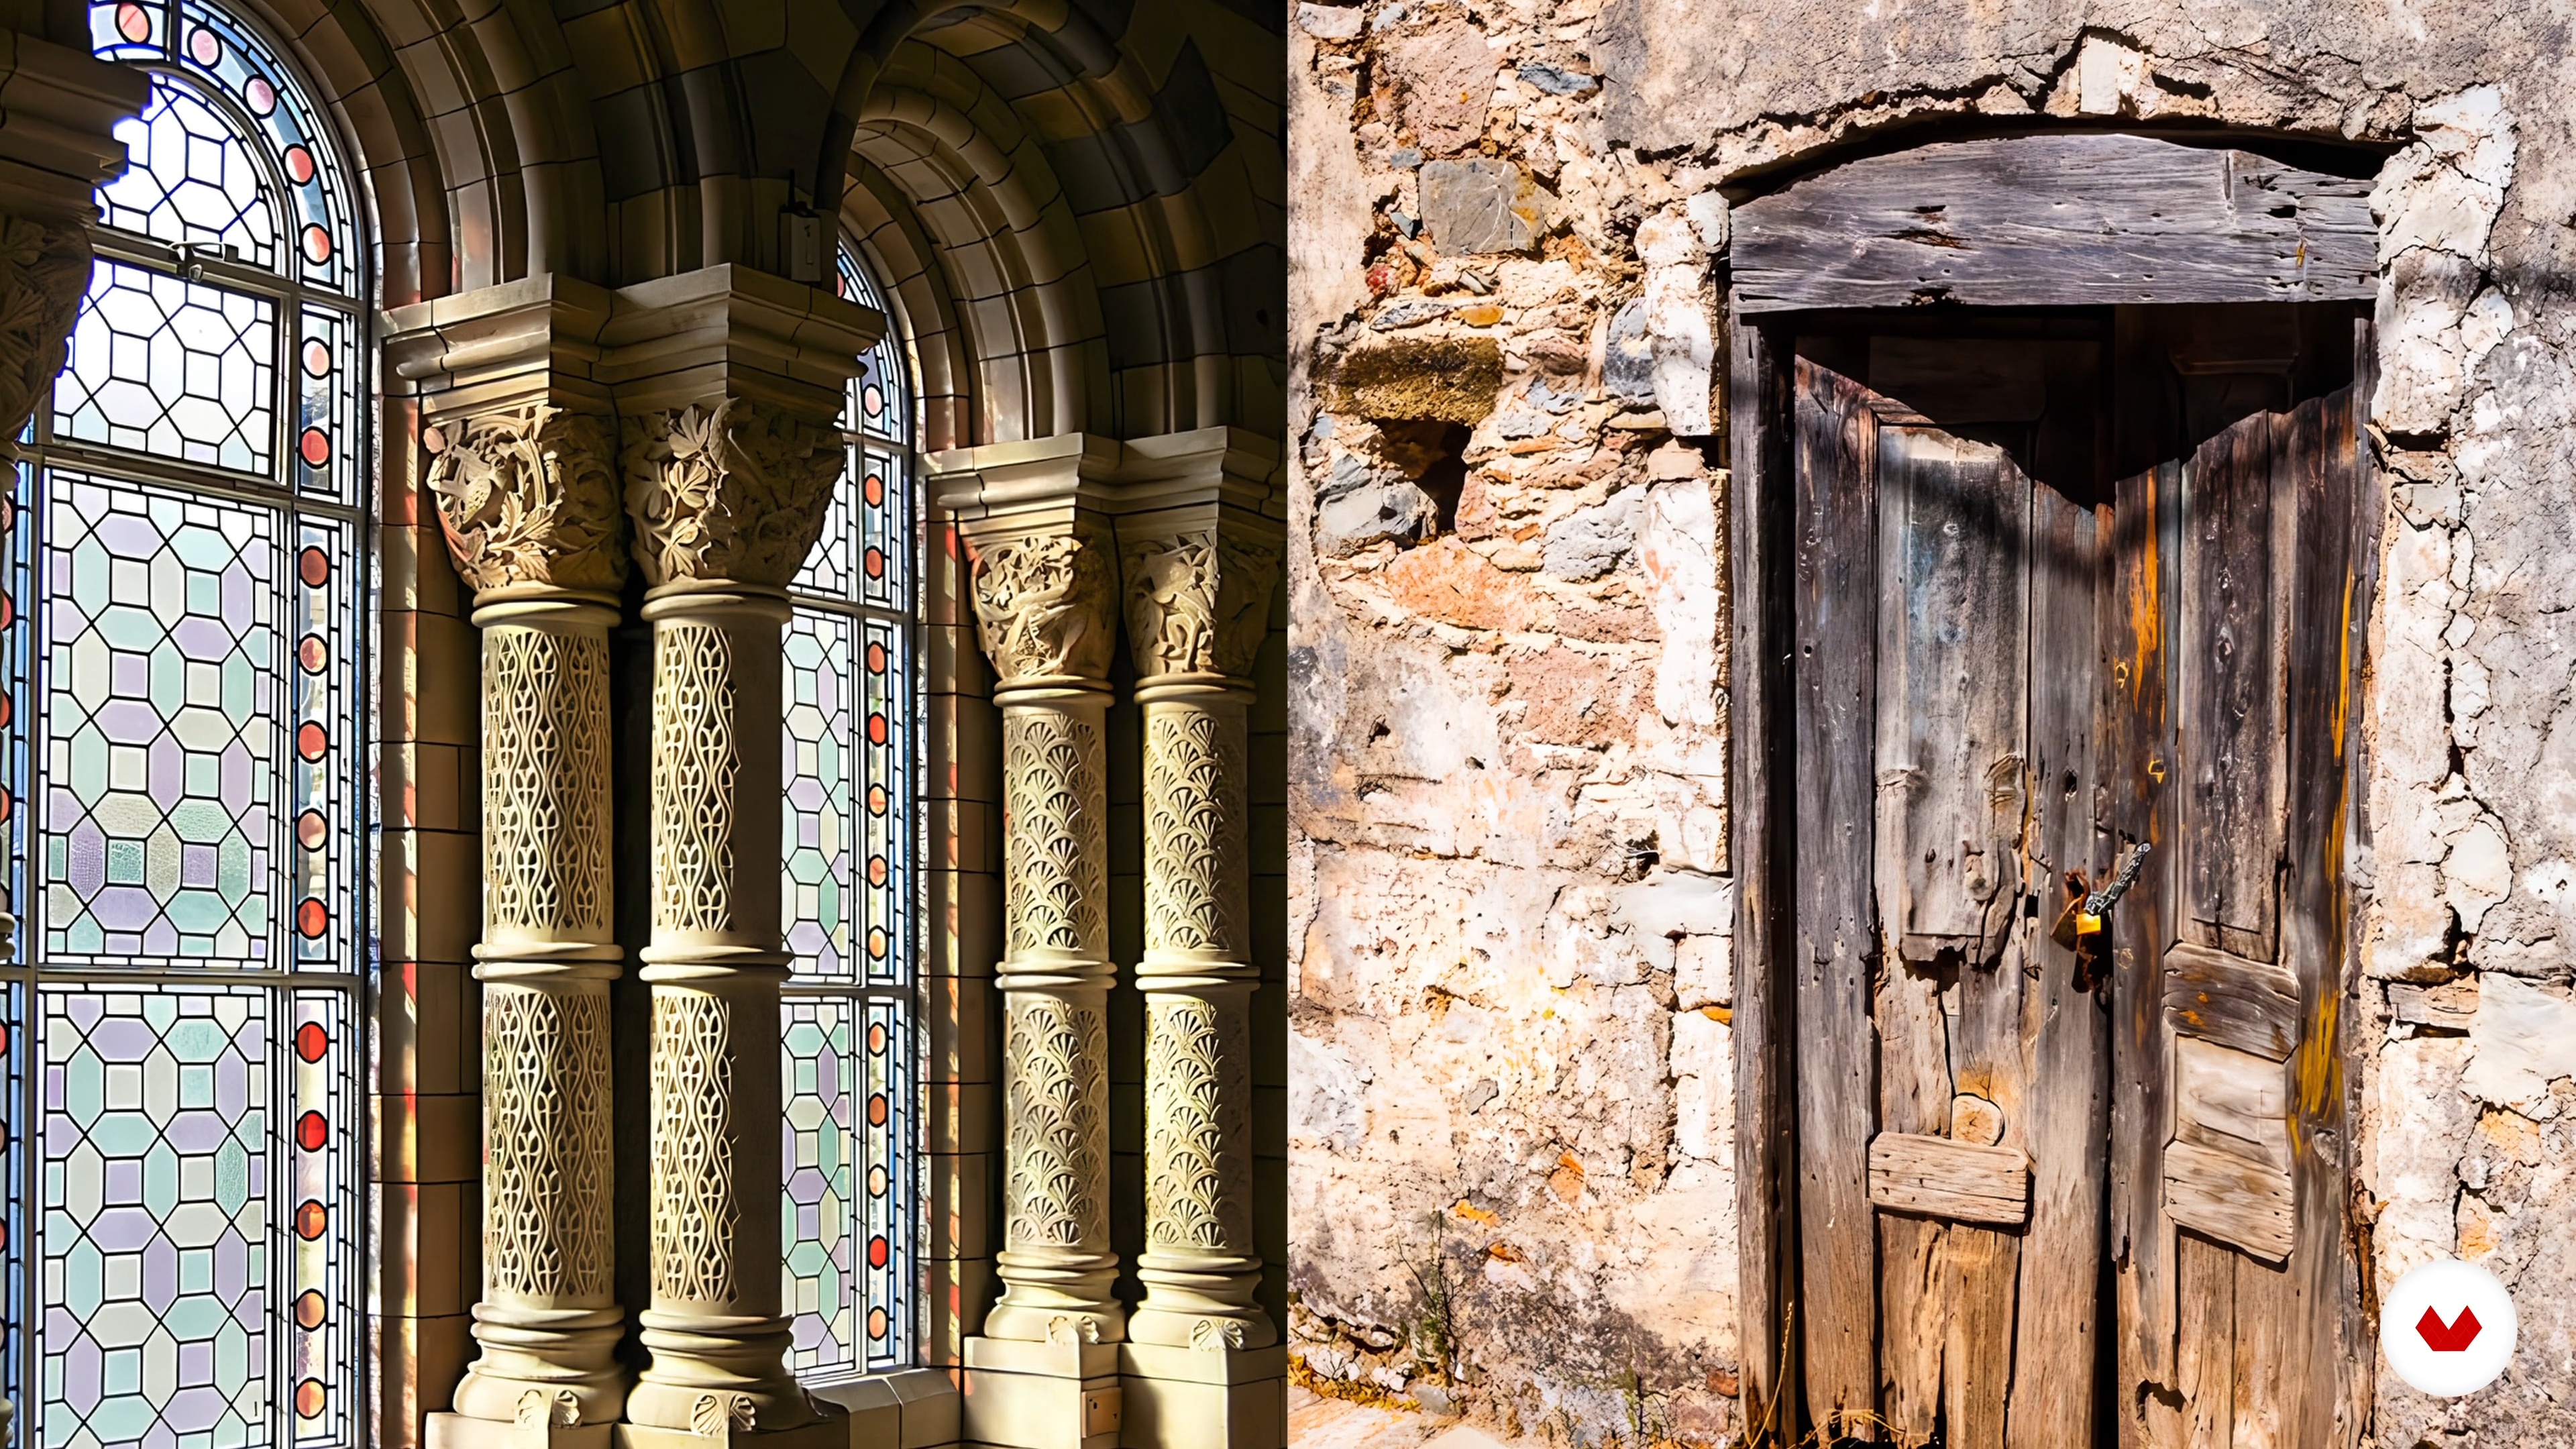
To make our life easy again, we’ll start with the basics. The window, the door, and the archway. Already sounds like a fantasy movie, don’t you think? Let’s get to sketching!
16m
image
8
A Part-By-Part Breakdown of the Specific Architectural Elements 2
Here comes the second part.
19m
image
9
Finding the Architectural Style
Time to solidify our initial ideas and designs into a style that we can use across the entire design, but also across other structures in a similar style! We’re not just making a building, we’re building a world! Shape language, sketching and some spicy questions are on the menu.
11m
image
10
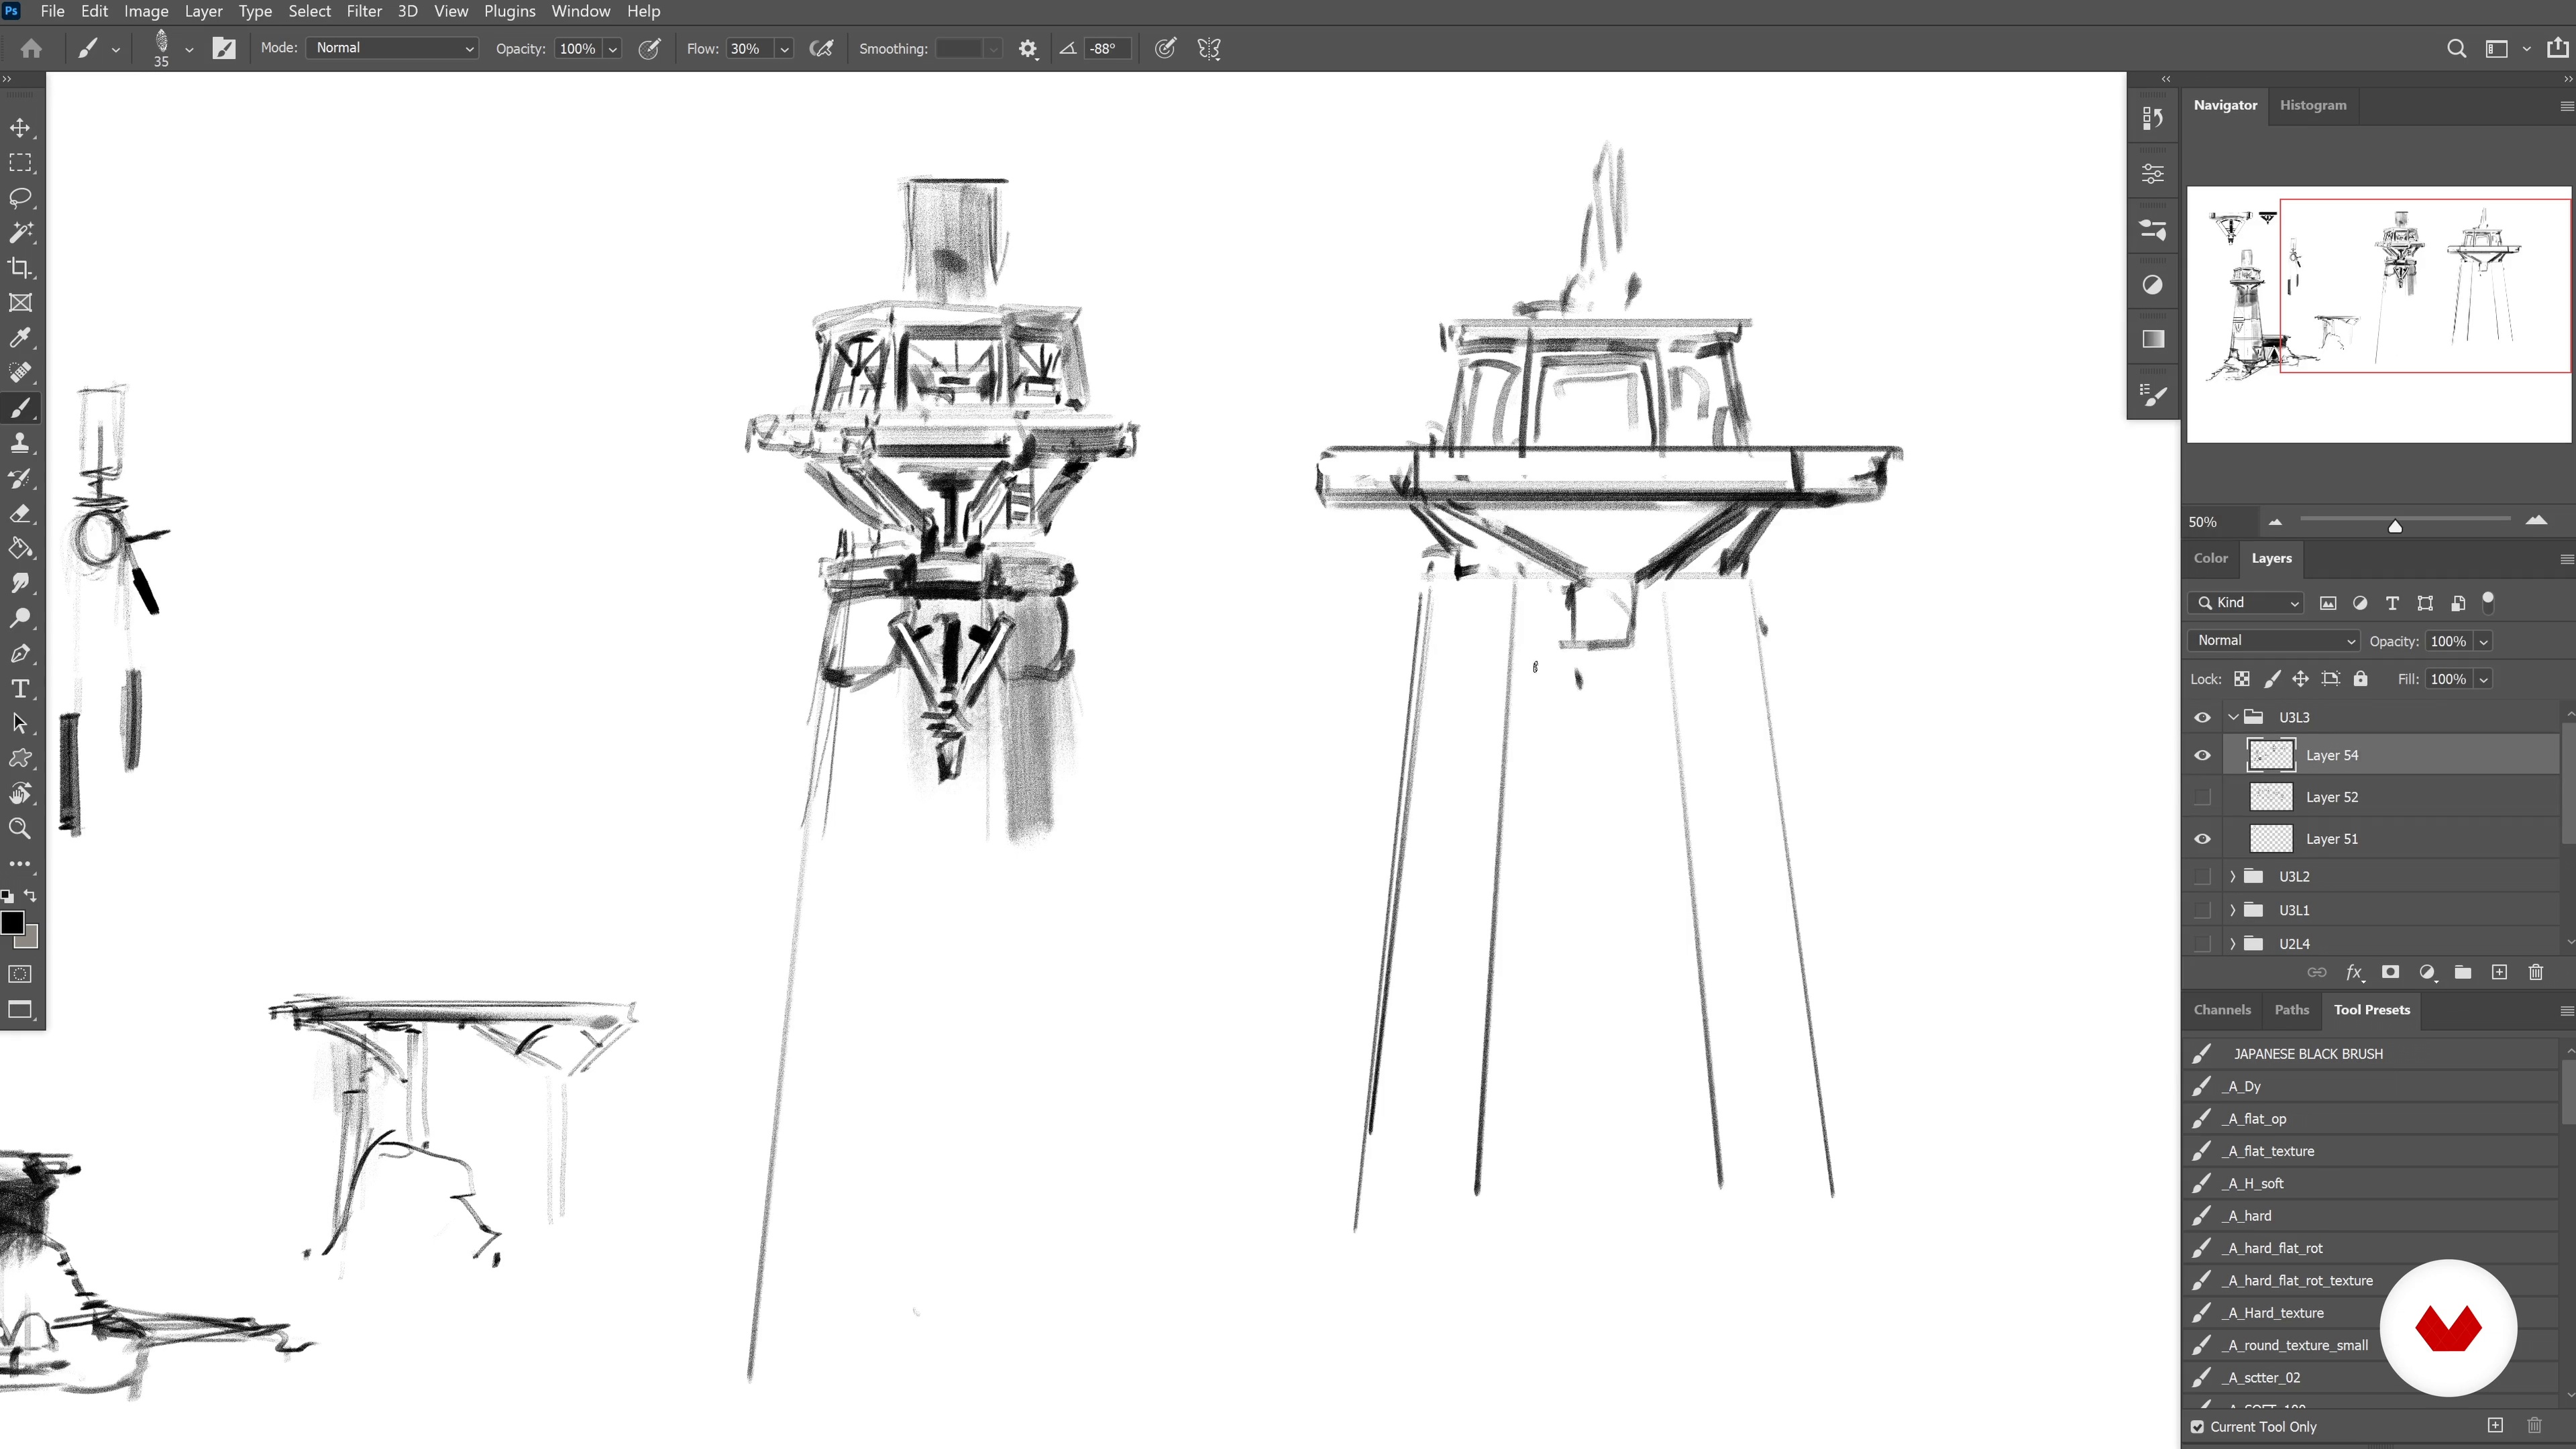
Sketching the Structure
Sketches, assemble! The time has finally arrived for us to combine our ideas and construct our complete structure. We'll transition from separate sketches and bubbling ideas to a full-fledged concept with all the bells and whistles. We're not afraid to make mistakes or to start over; we trust the process.
19m
image
11
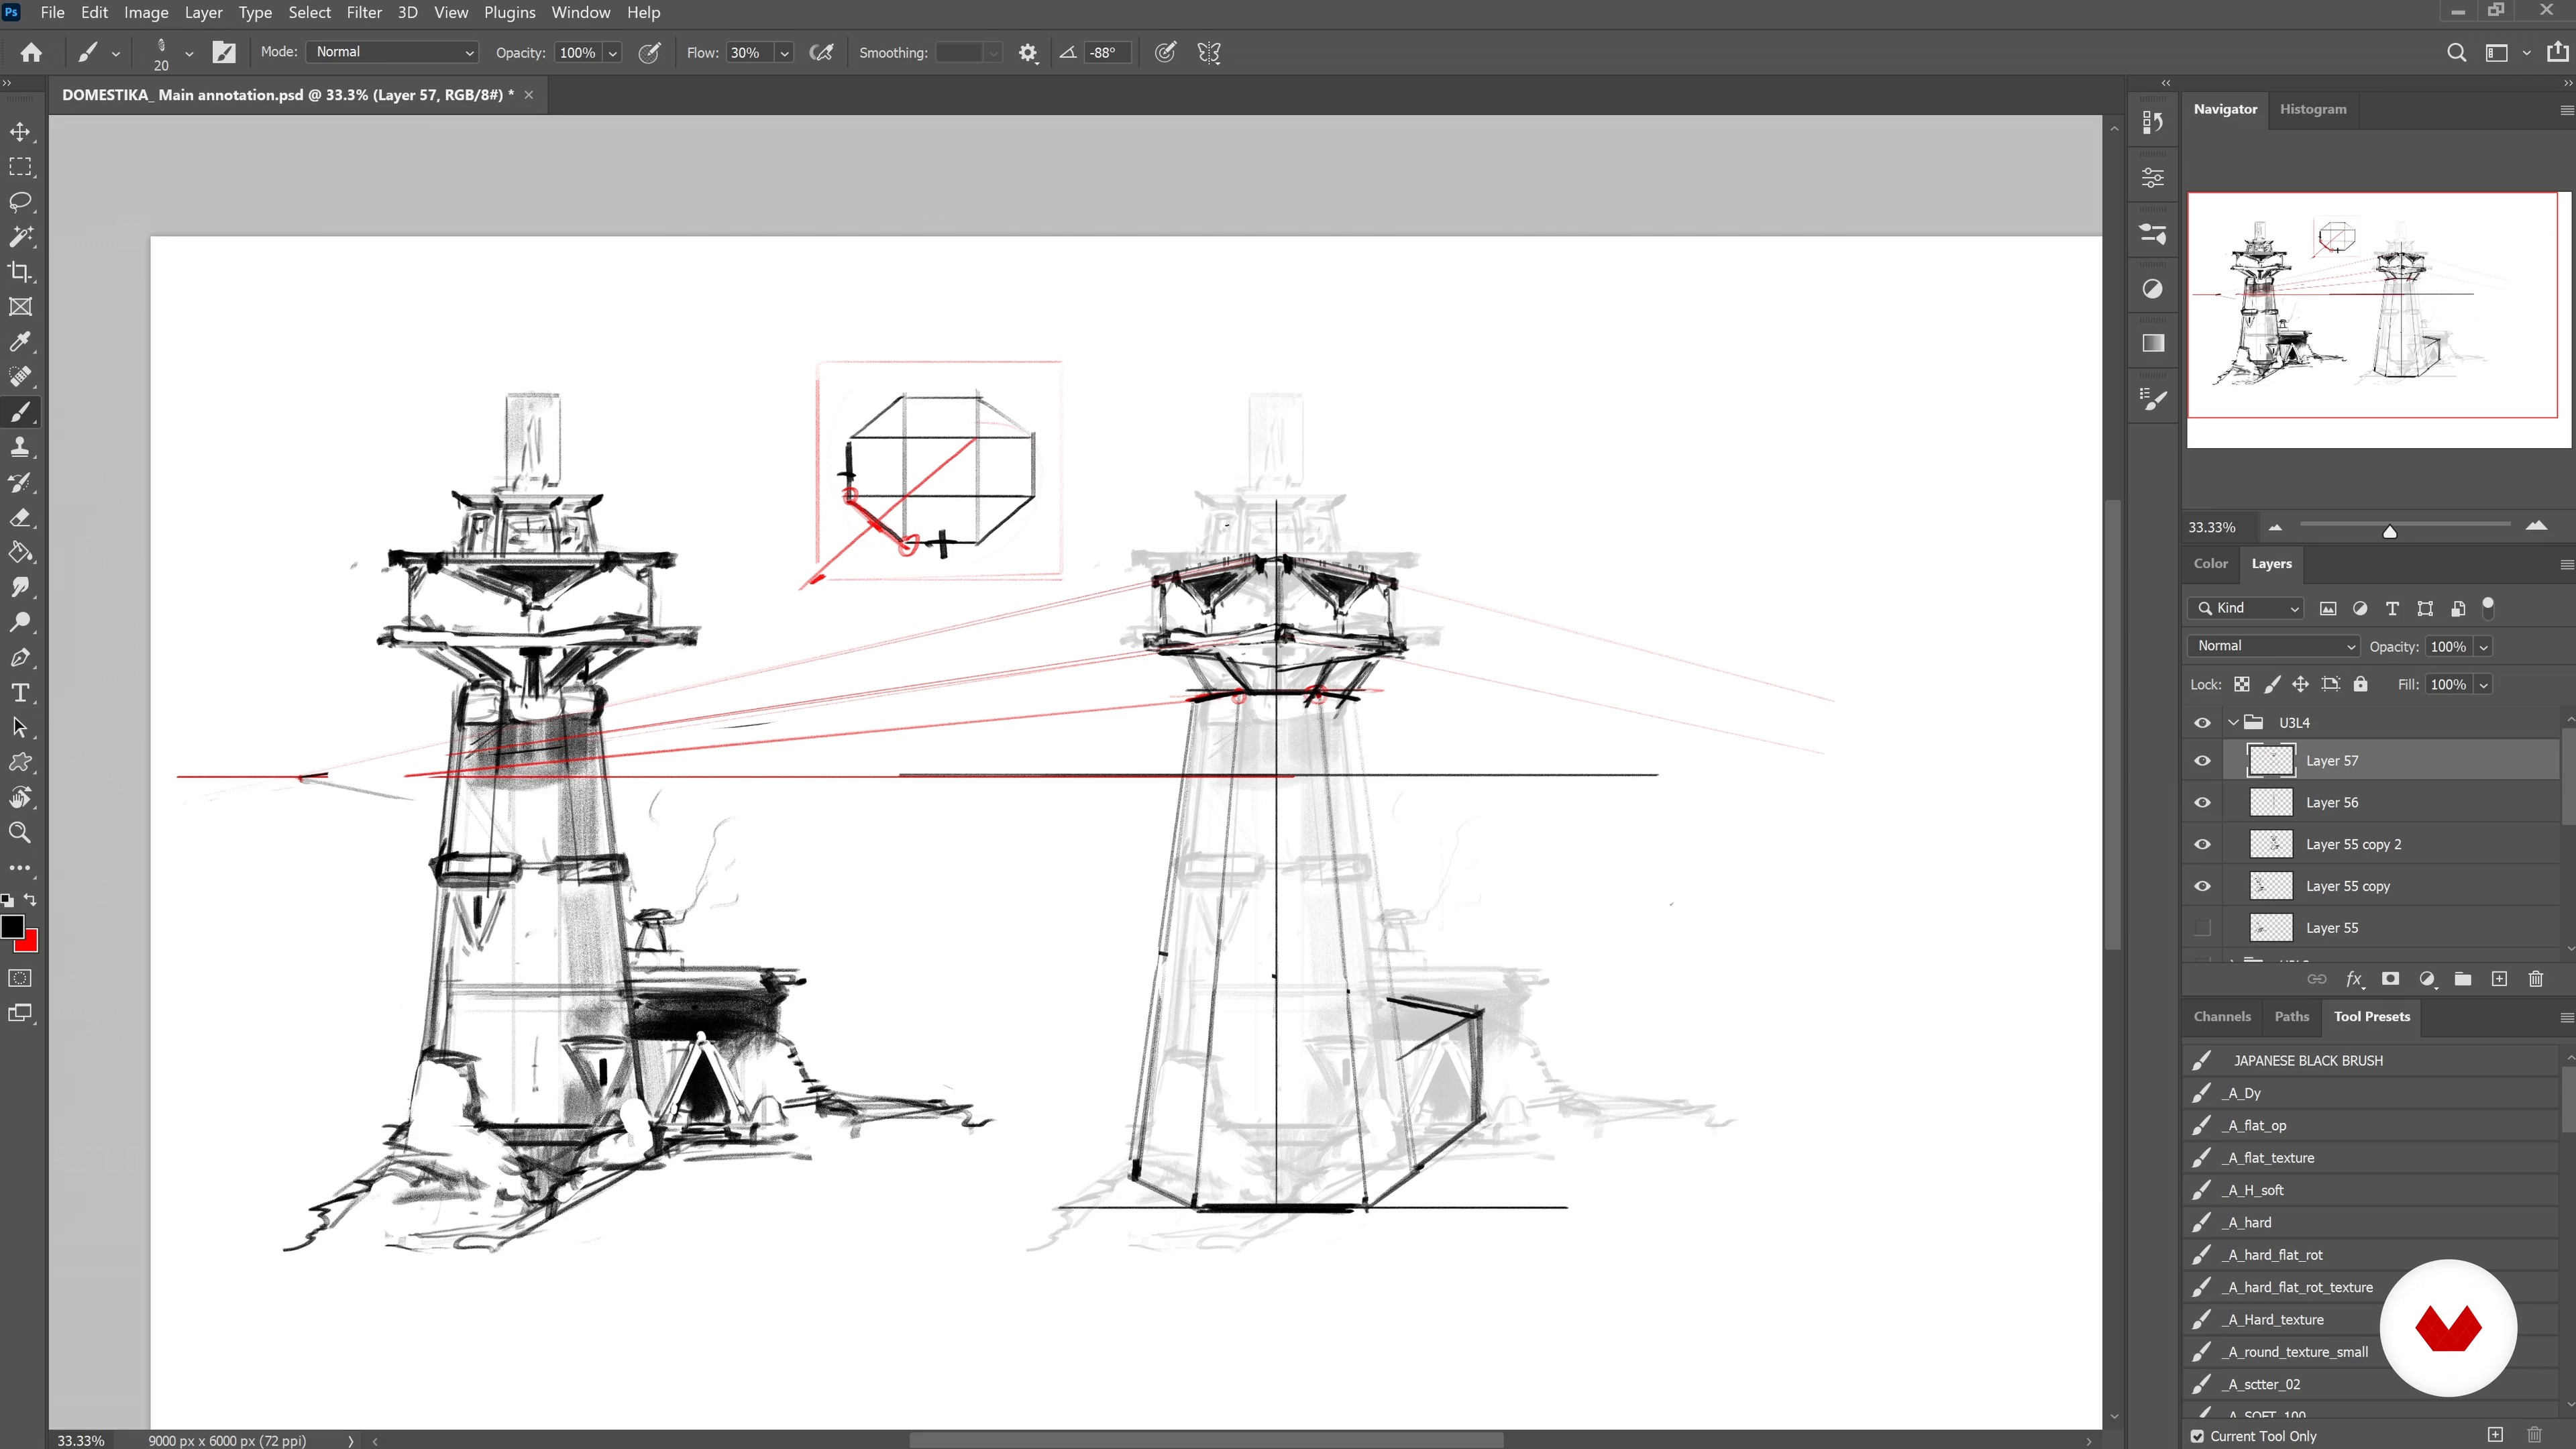
Perspective Drawing 1
Perspective can be complex, but I will show you an easy way to achieve a good-looking structure without going all out. While the more you understand perspective, the better, everyone has to start somewhere. Here, I’ll demonstrate my method for quickly turning a flat side sketch into a complete perspective drawing.
15m
image
12
Perspective Drawing 2
Now we start with the second part.
10m
image
13
Setting up for Color
Our structures are looking great! Time to look at our research again and apply the materials we have found. I’ll show you where my colors come from and how I manage them as we make our way to the final drawing.
11m
image
14
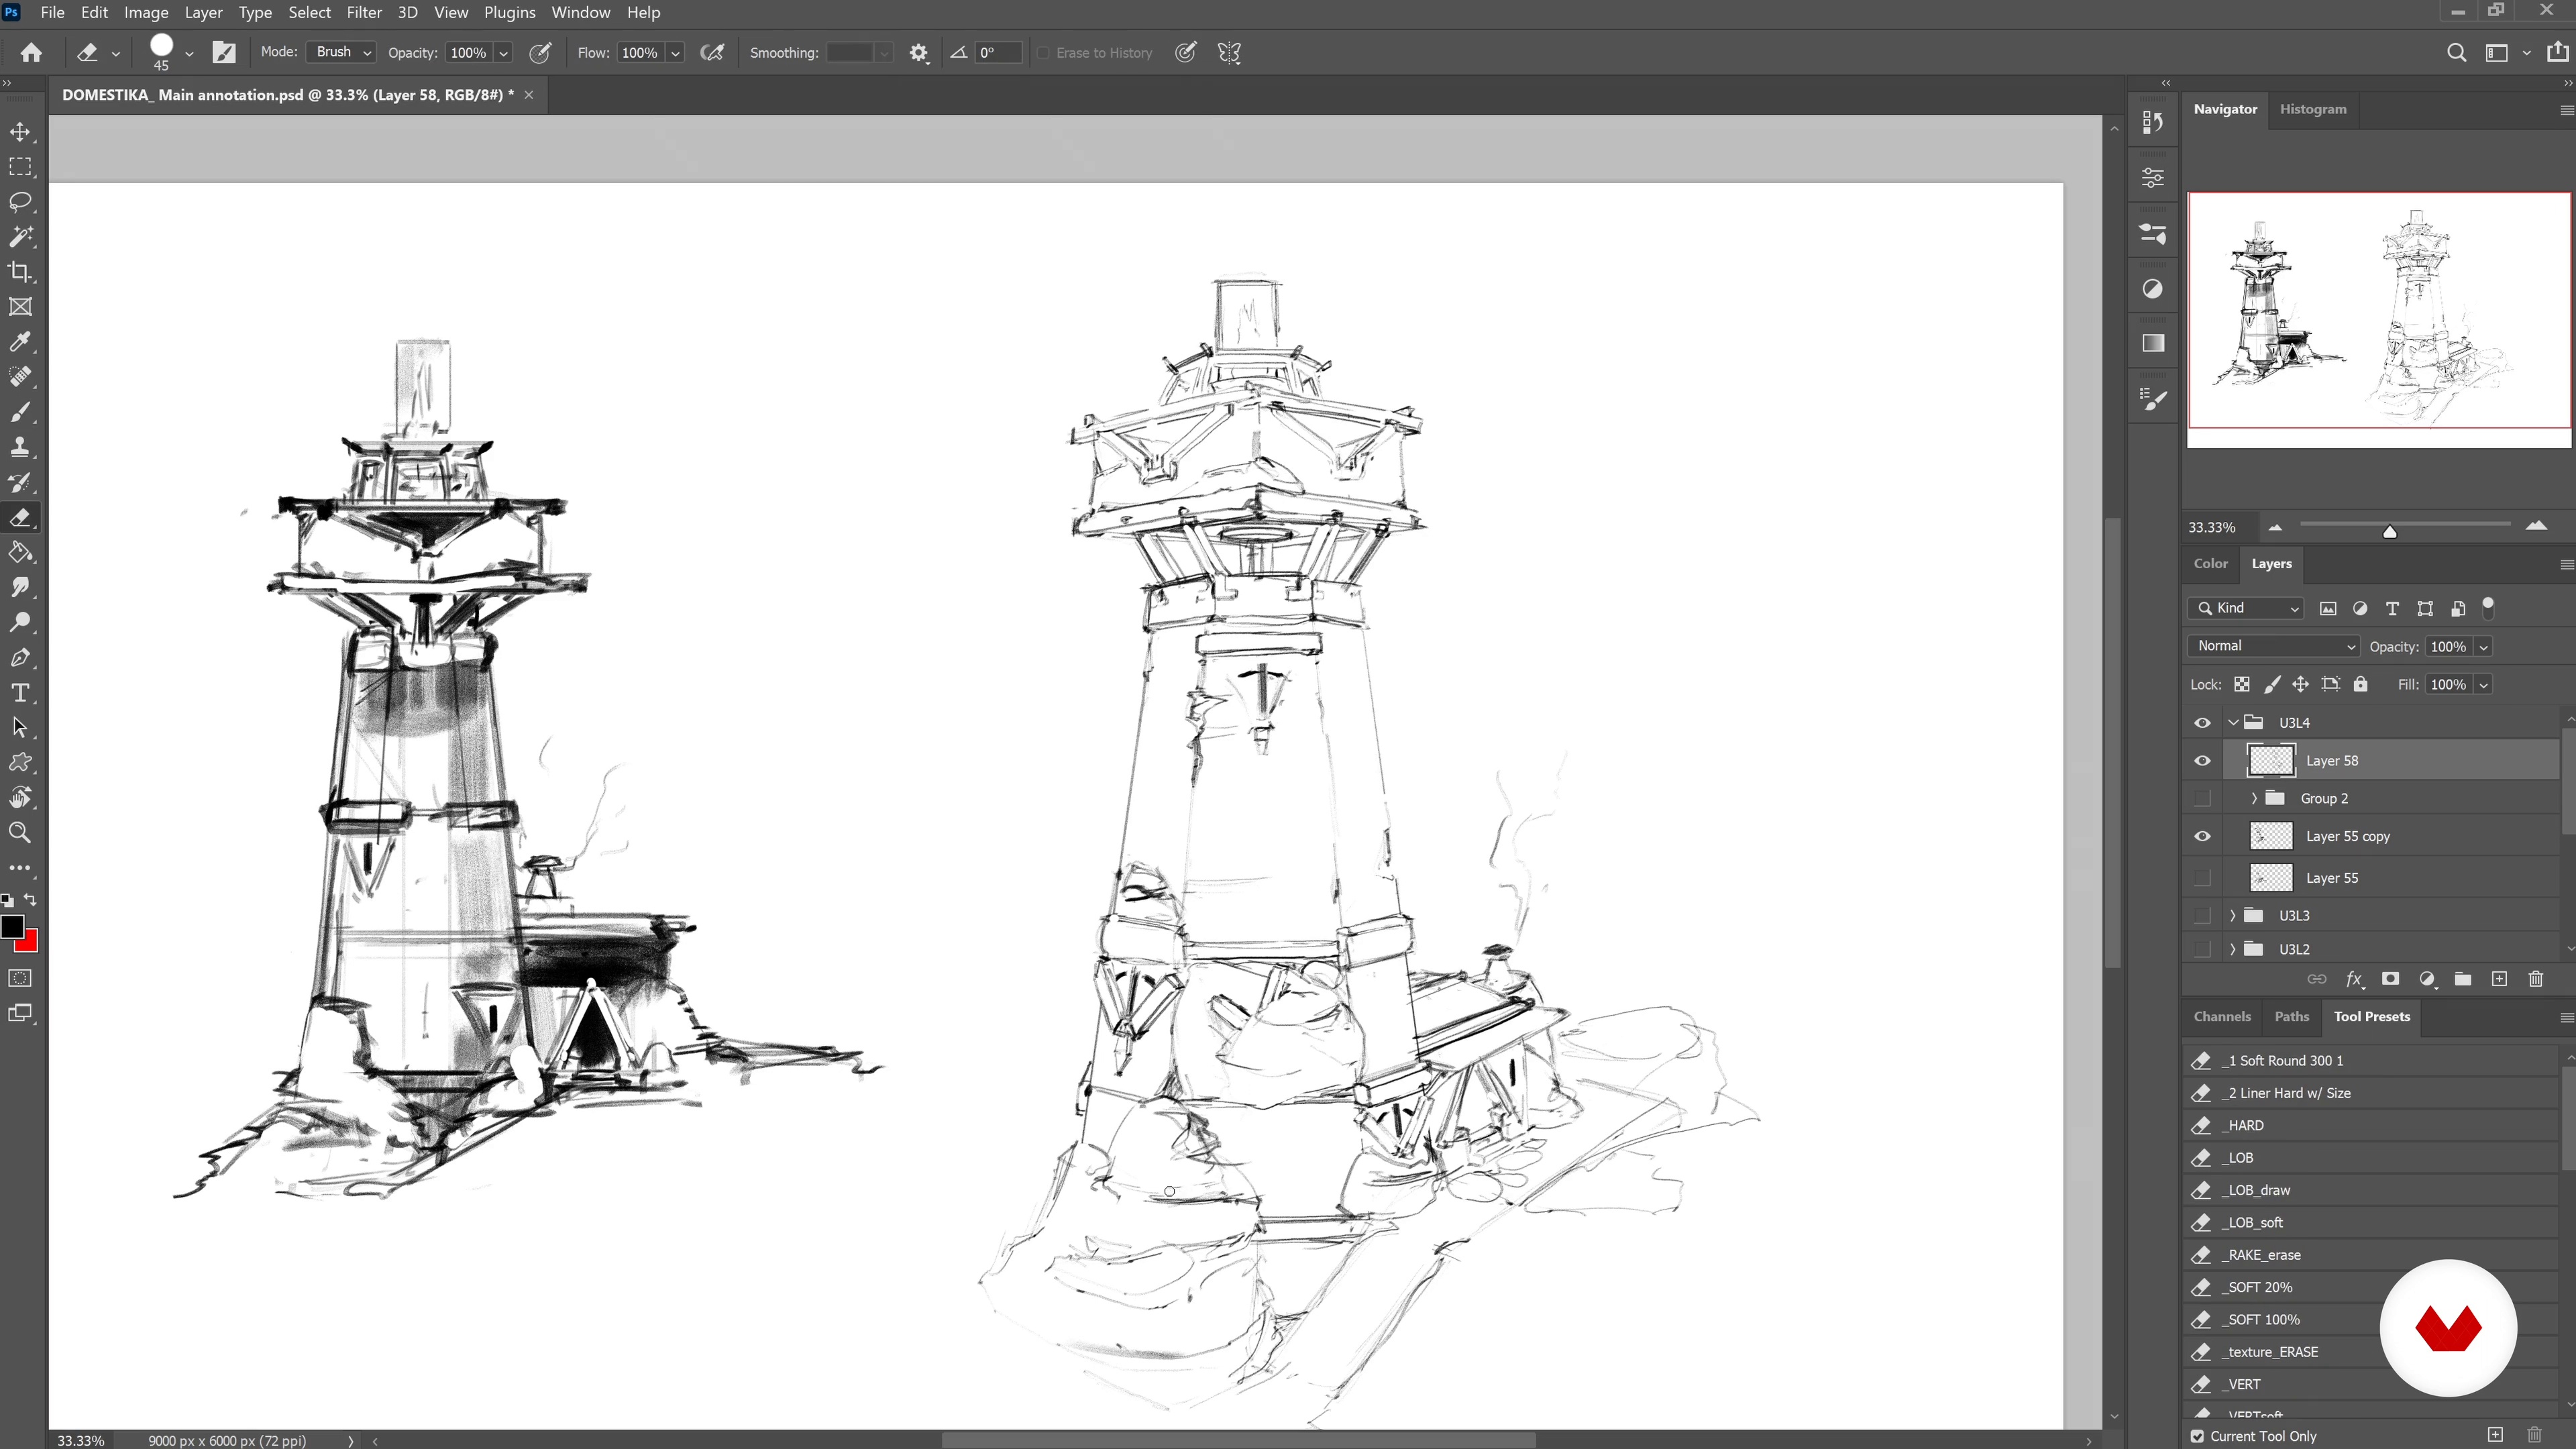
Rendering the Final Materials and Adding the Finishing Touches
A final design is the result of countless little decisions that keep influencing each other. I’ll show you how I keep iterating and just how to apply those finishing touches in order to call this design done.
11m
image
15
Reflecting on the Design
The last thing that remains now is to present our design to the world. We have to make sure that people who don’t know of our process still understand what we are trying to say. In this last video I’ll show you how.
7m
image
3
What Is Visual Development?
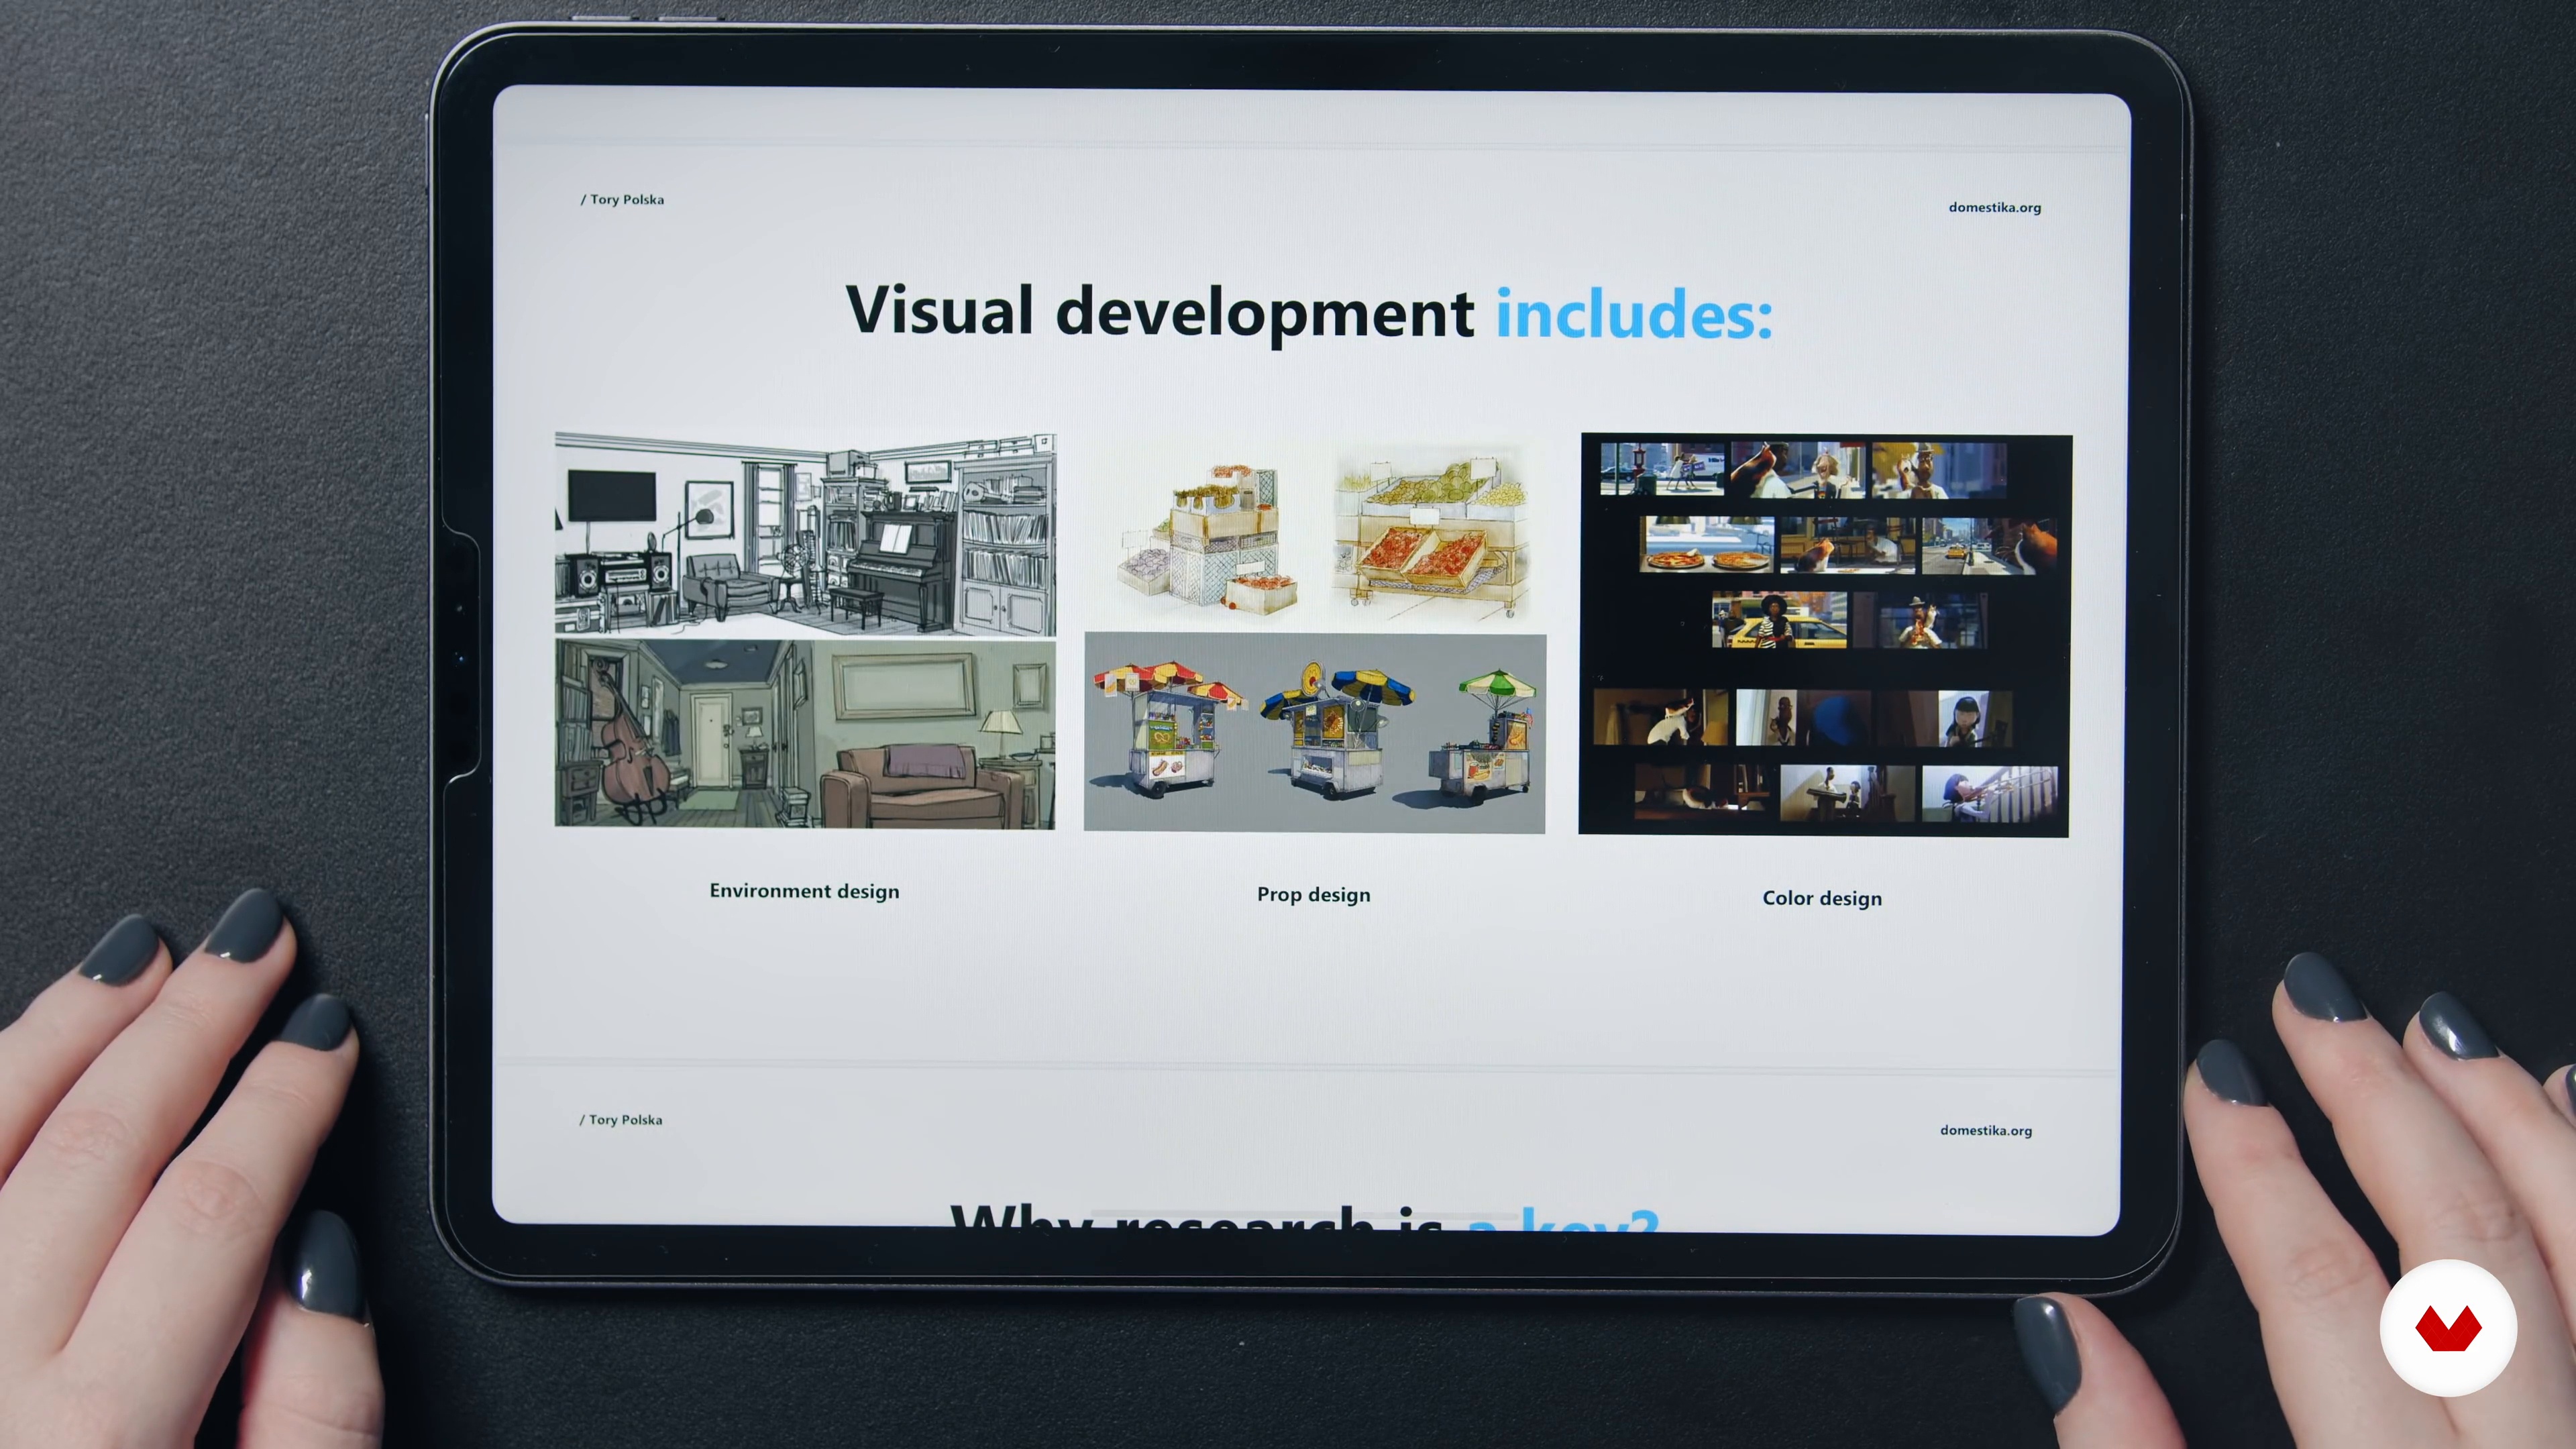
In this lesson, you will learn more about the role, duties and responsibilities of a visual development artist and how to become one. Also, I will share with you what we are going to do during this course.
4m
image
4
Working With References
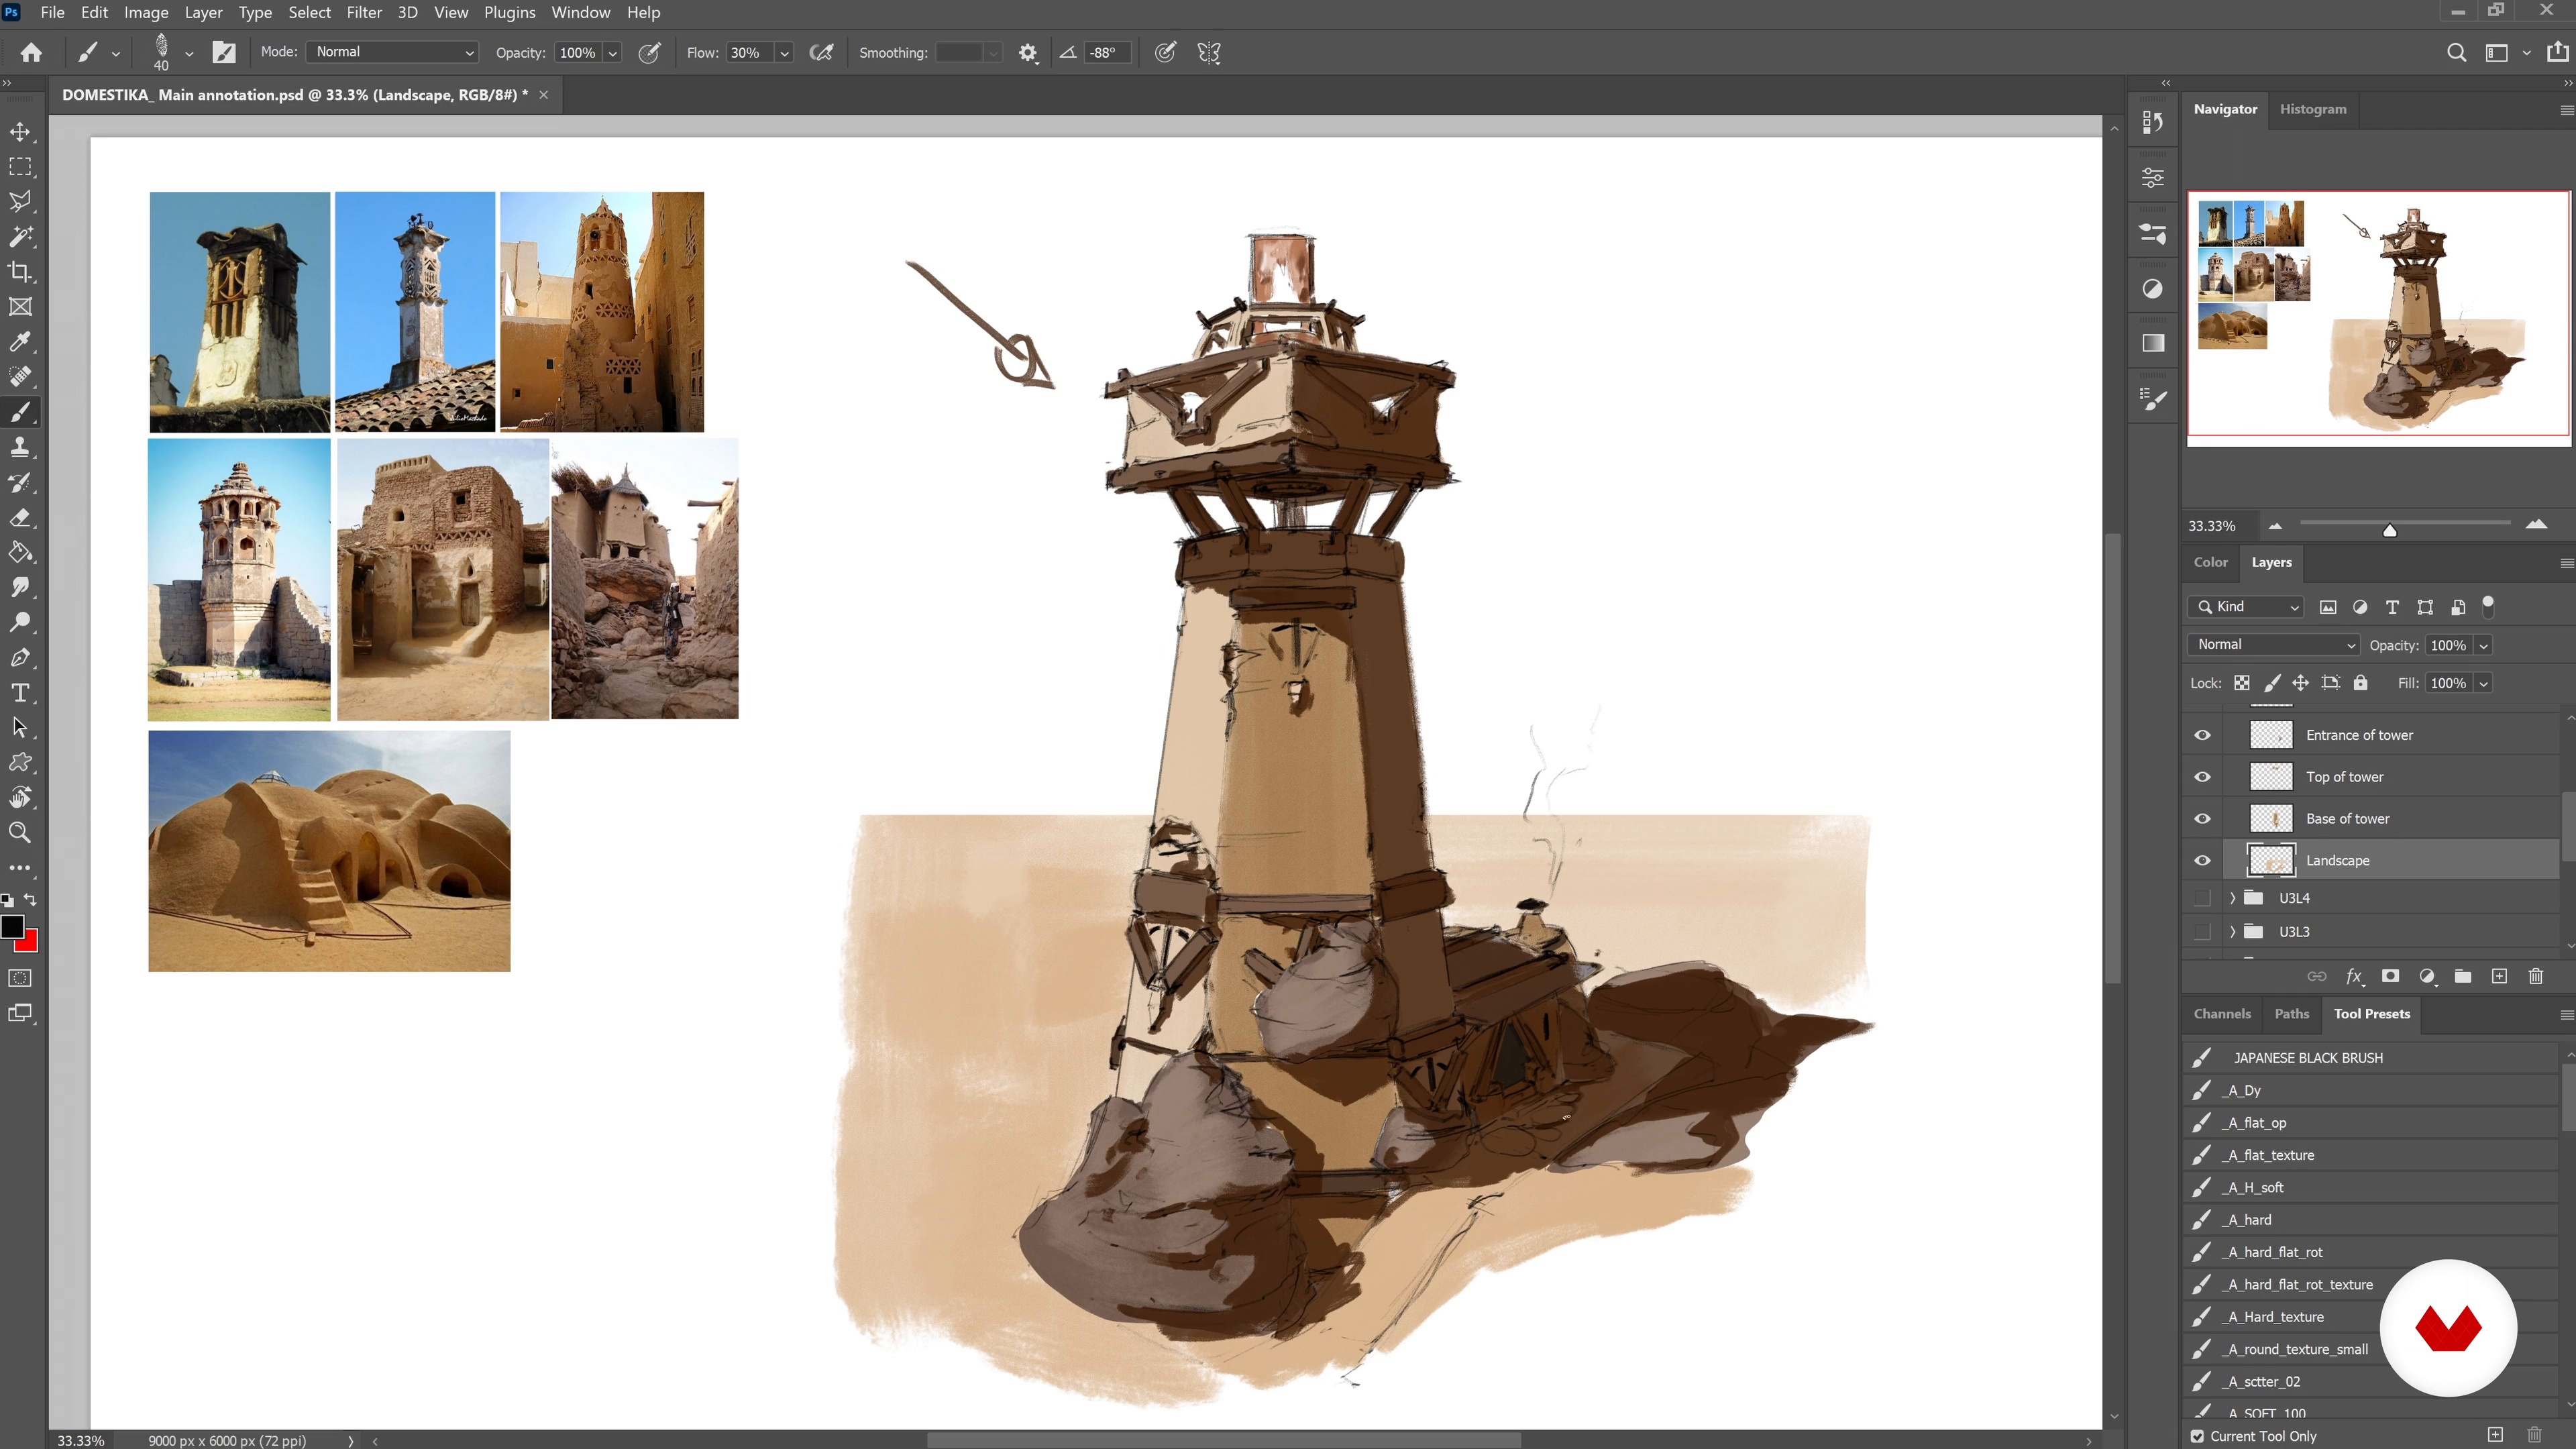
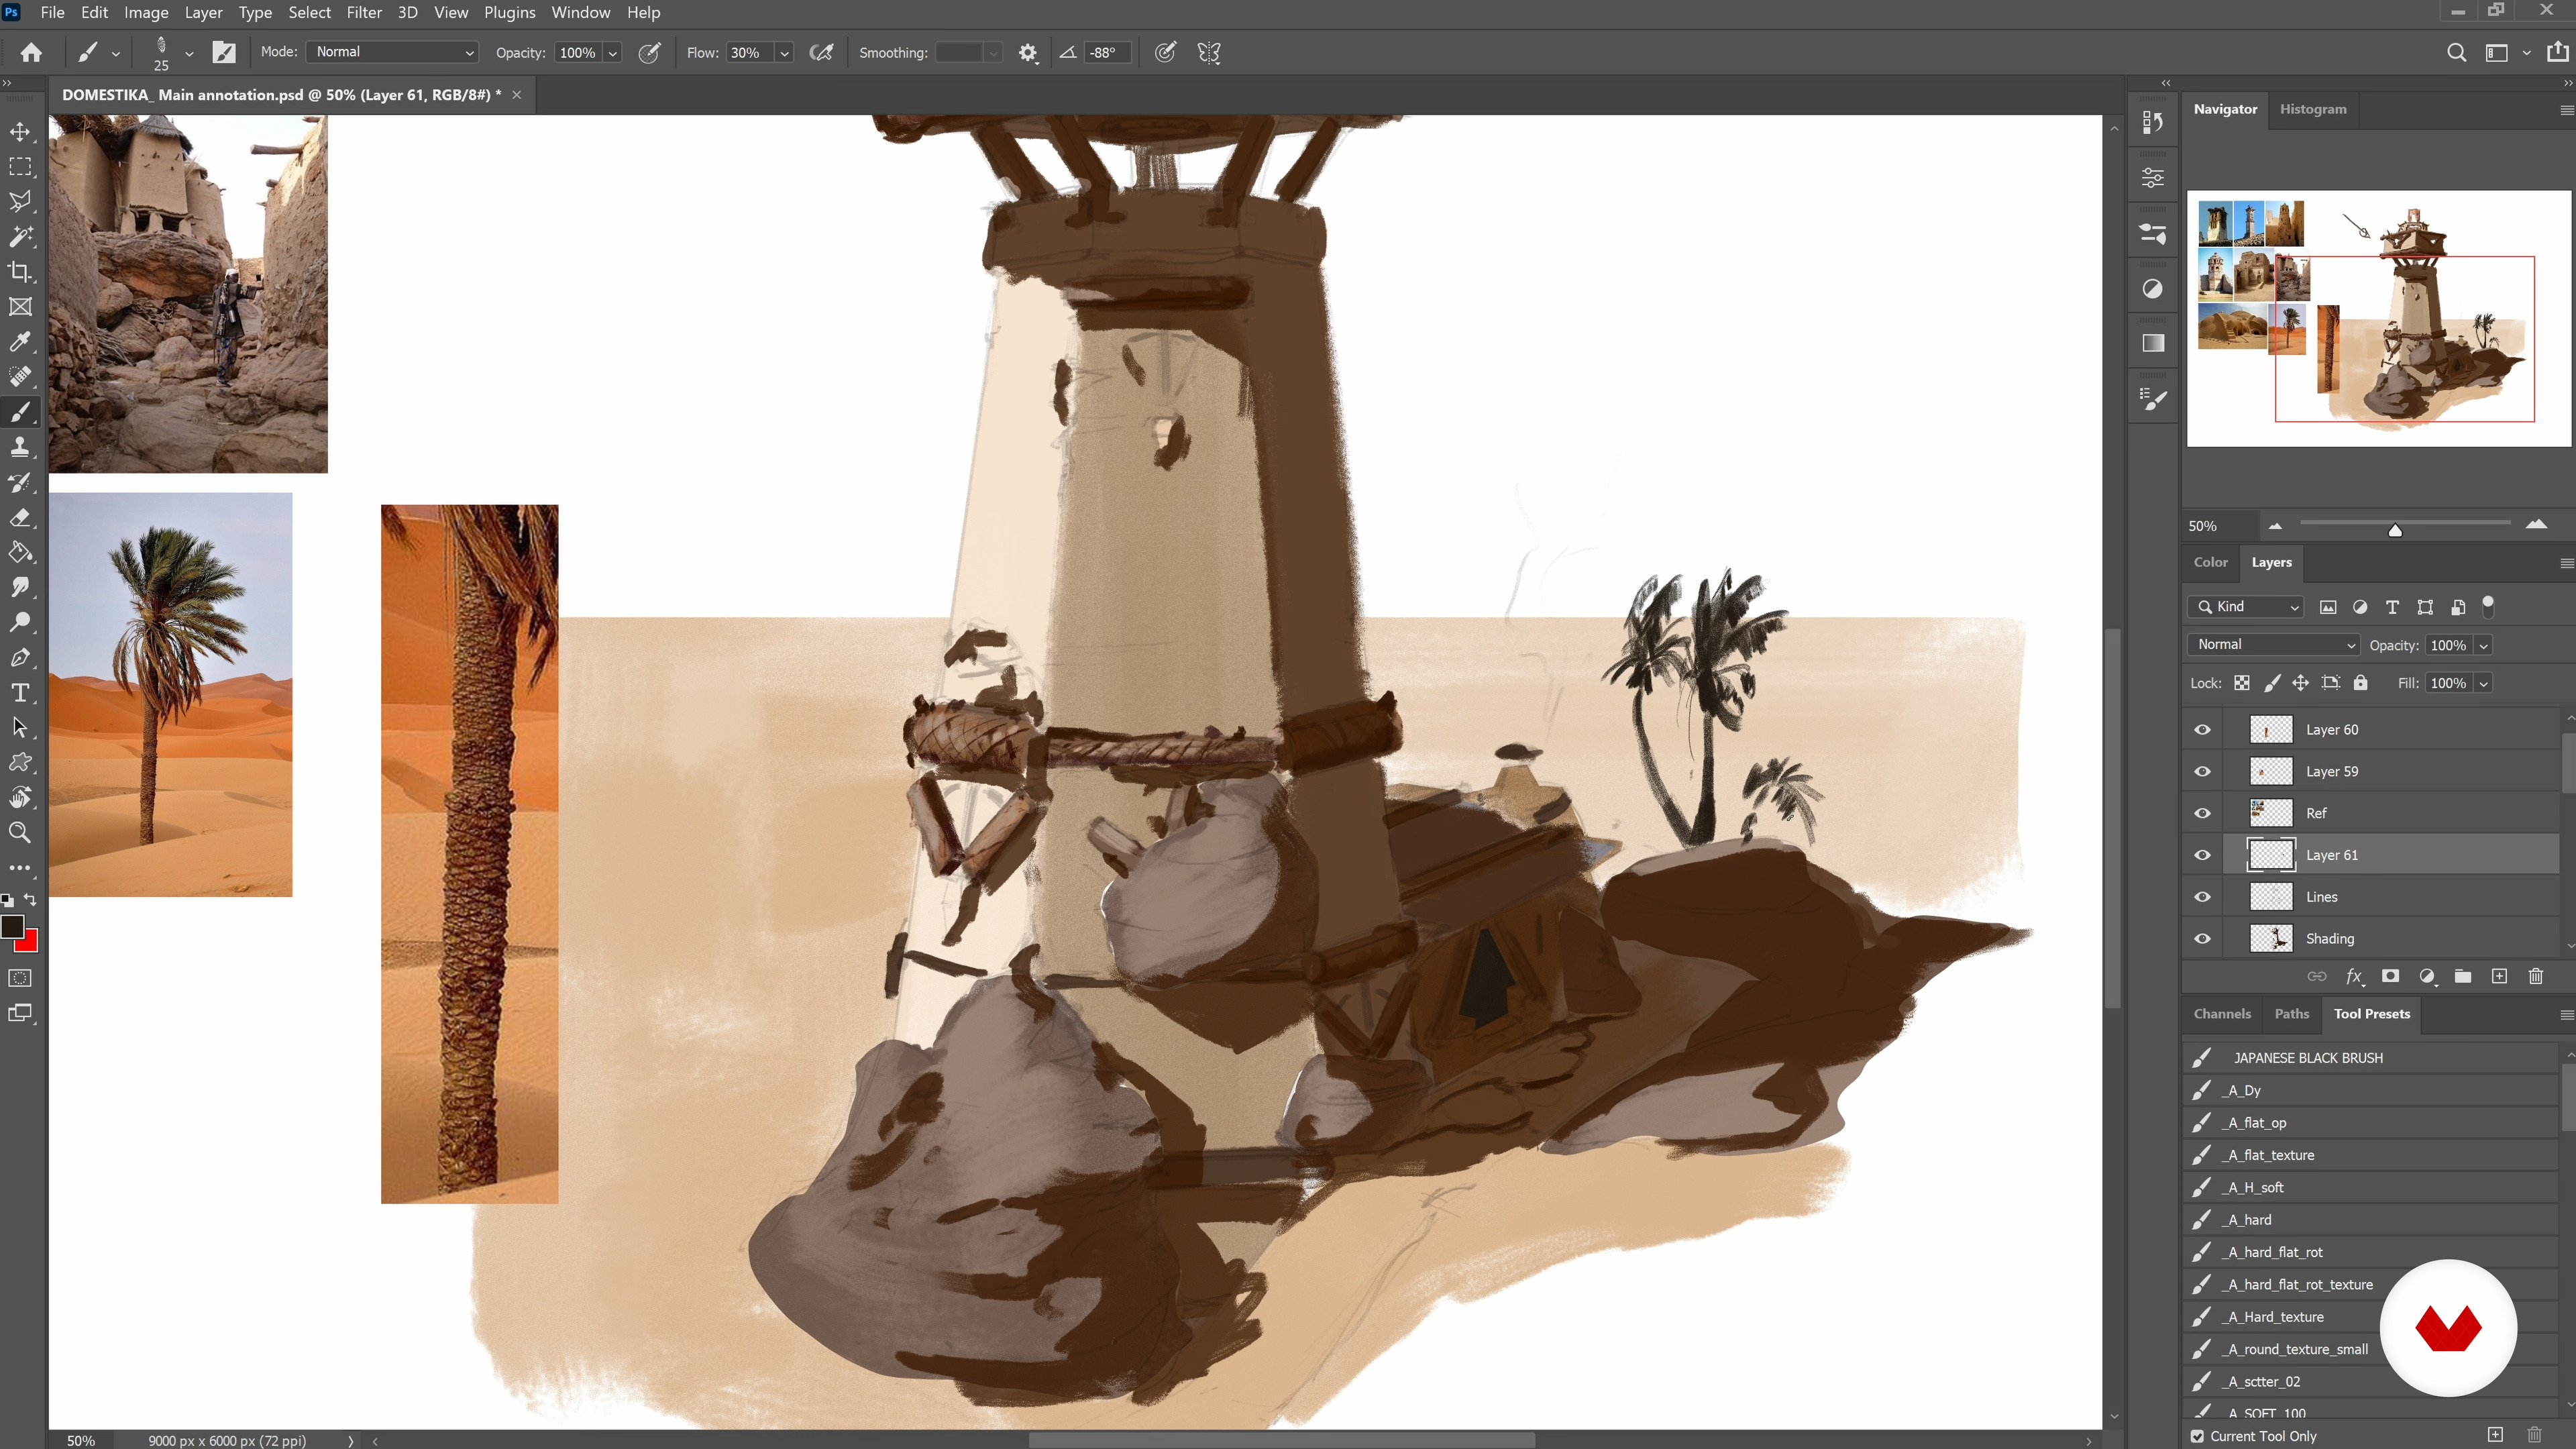
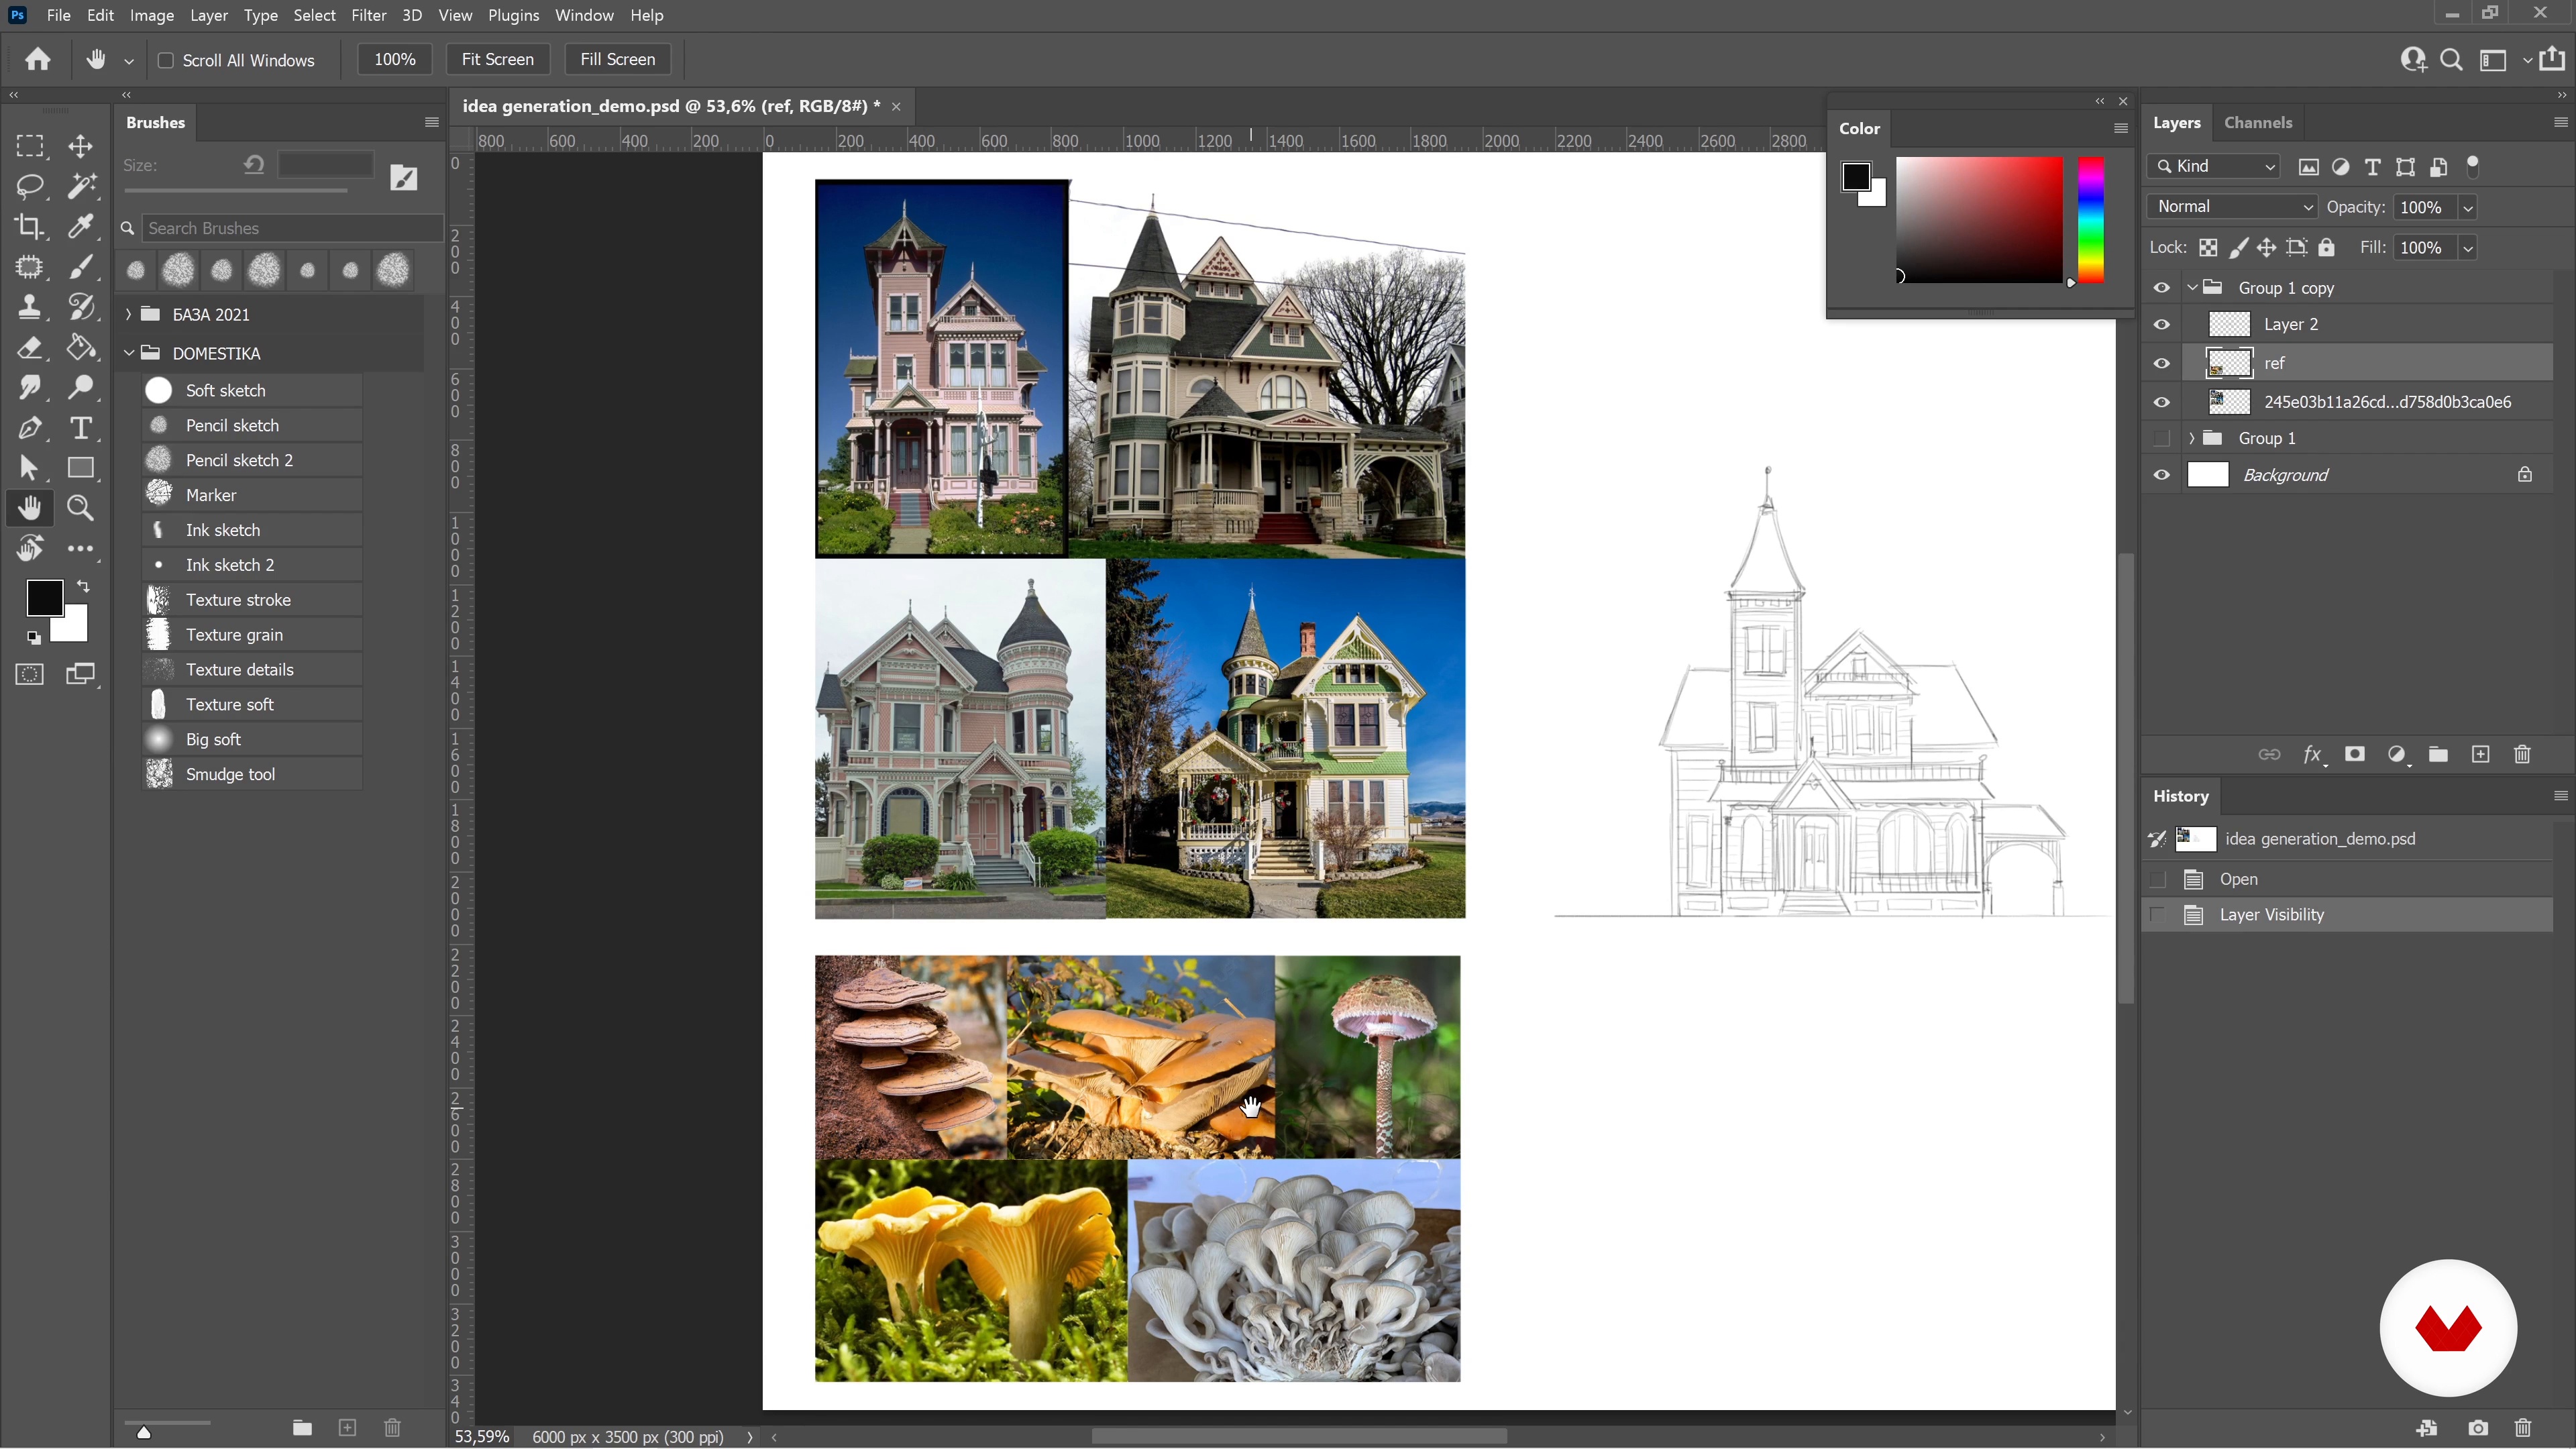
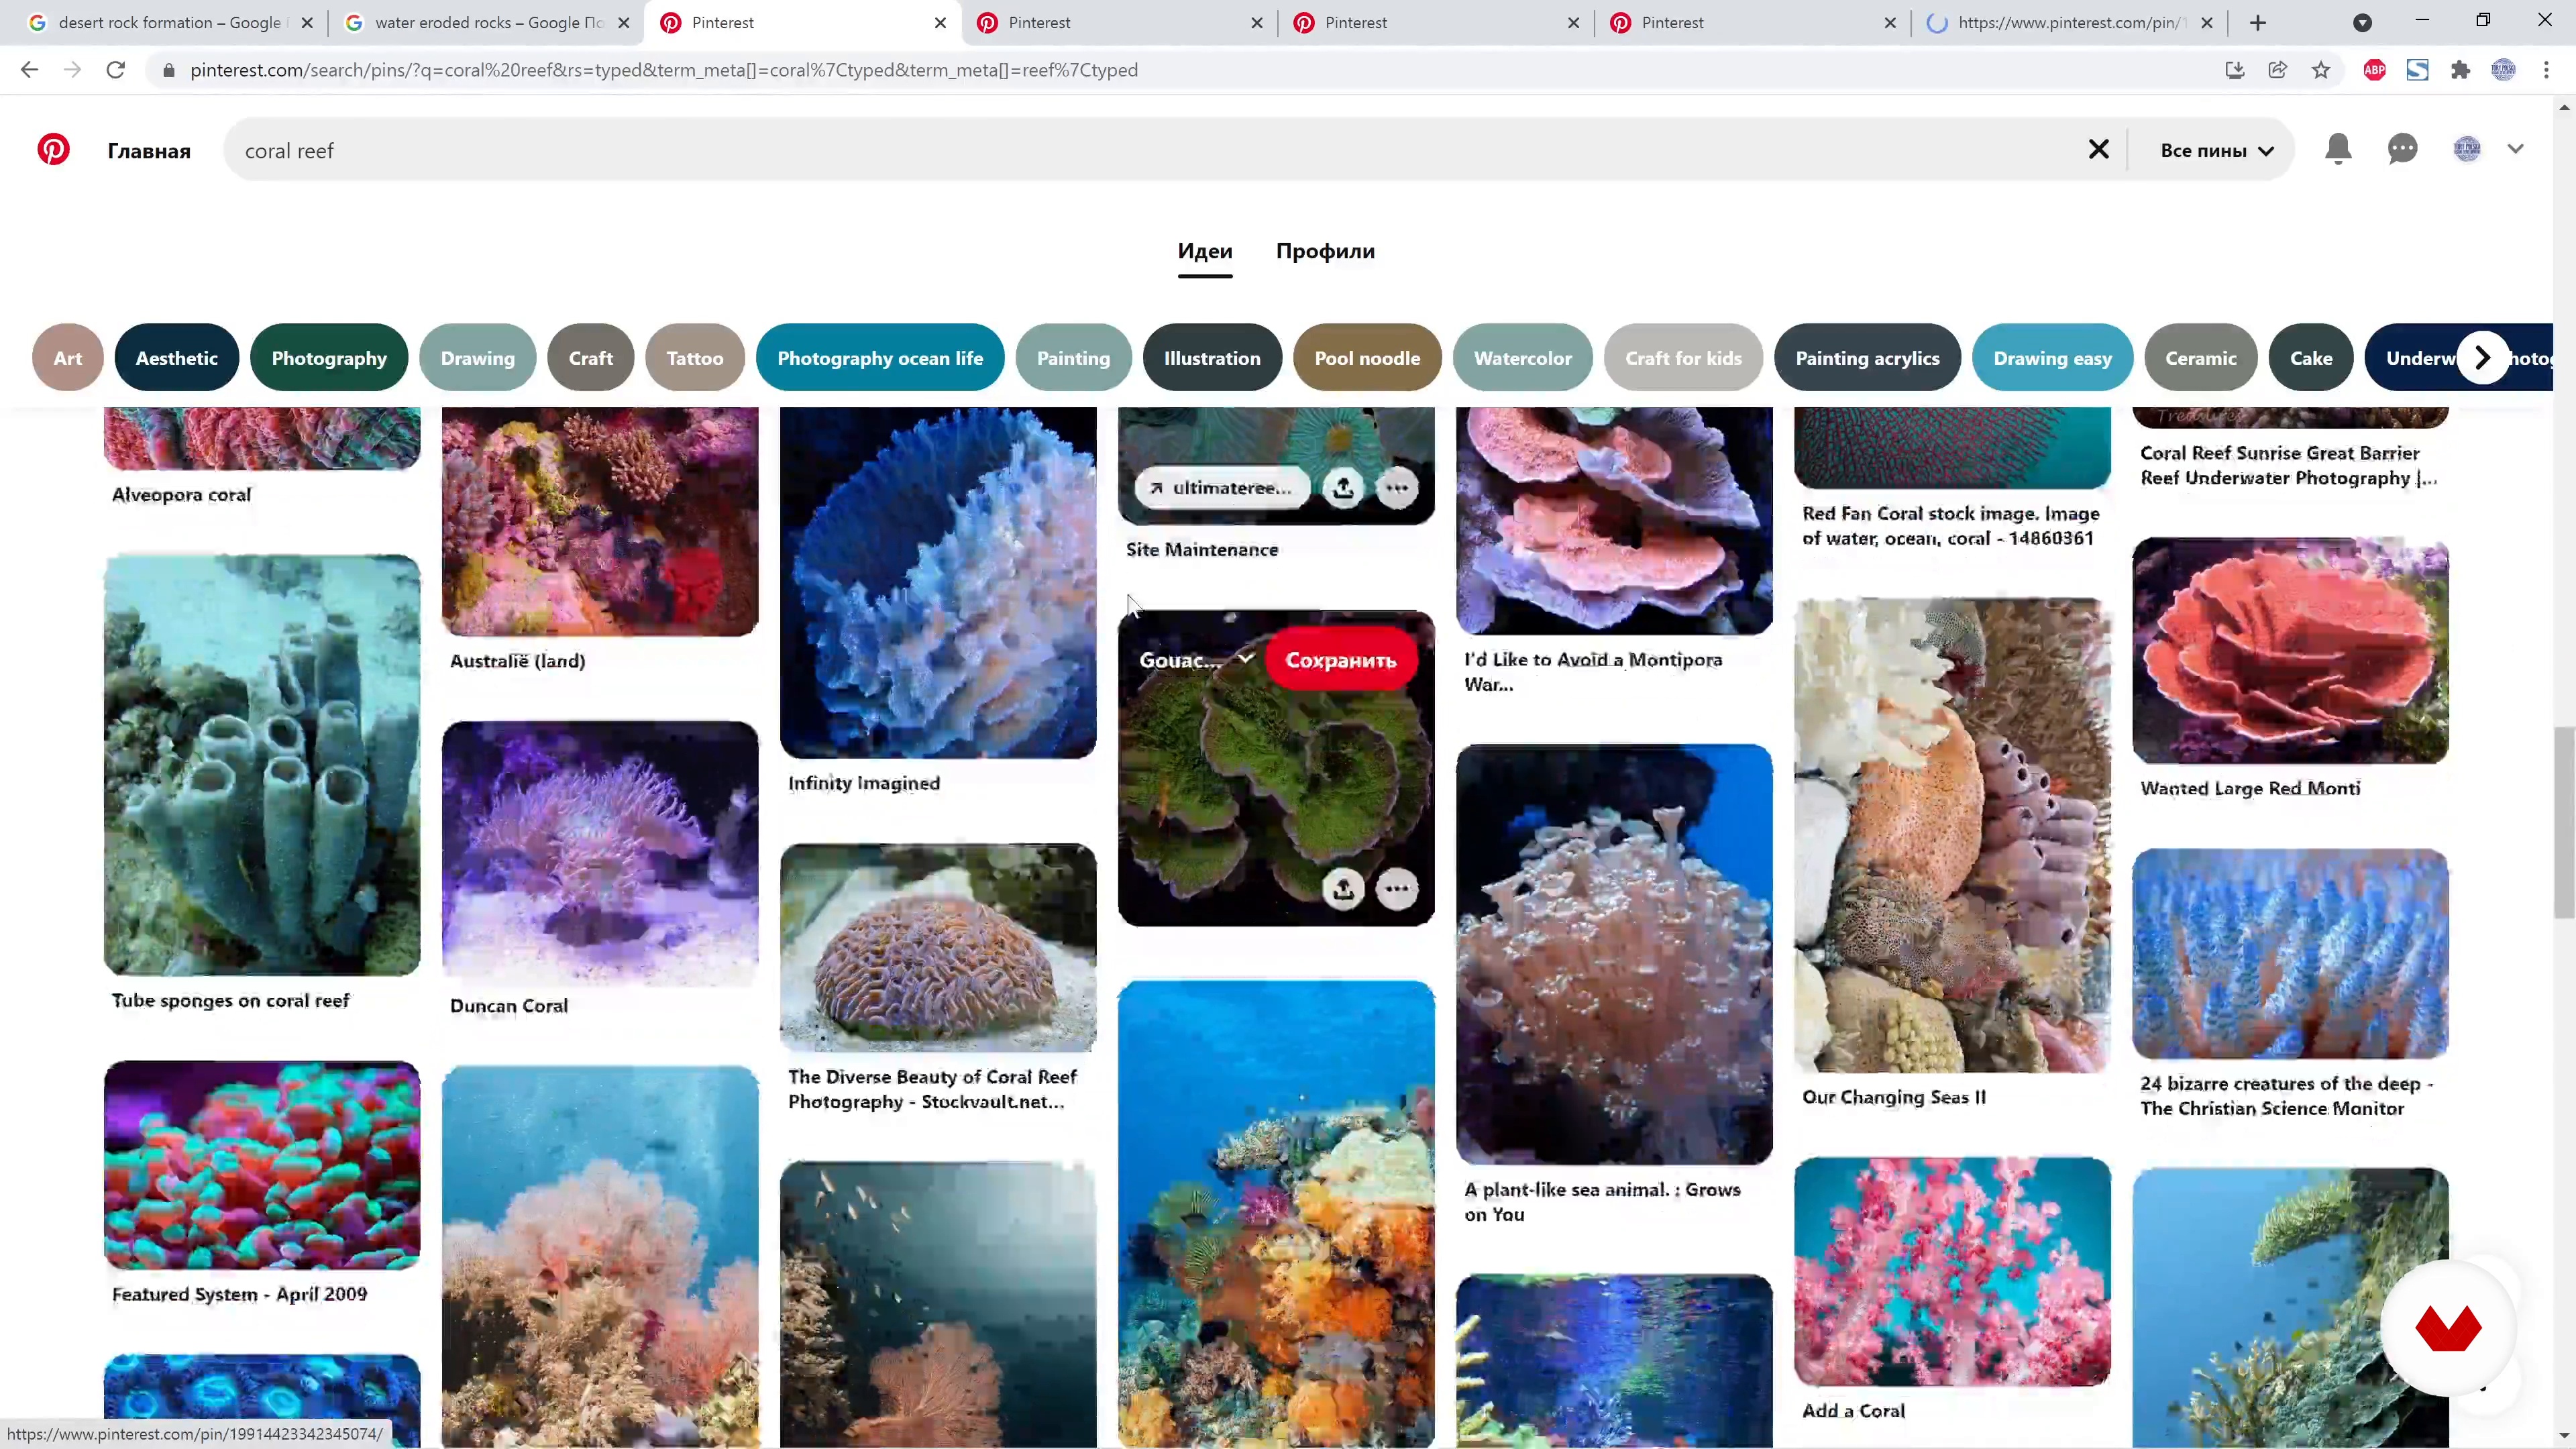
Here I delve into references and my approach to gathering them, how I pay attention to a specific image and how a great image can change the whole design concept. I will also mention basic things like brainstorming keywords for your search and more advanced tips like reference organisation and analysing.
7m
image
5
Idea Generation 1
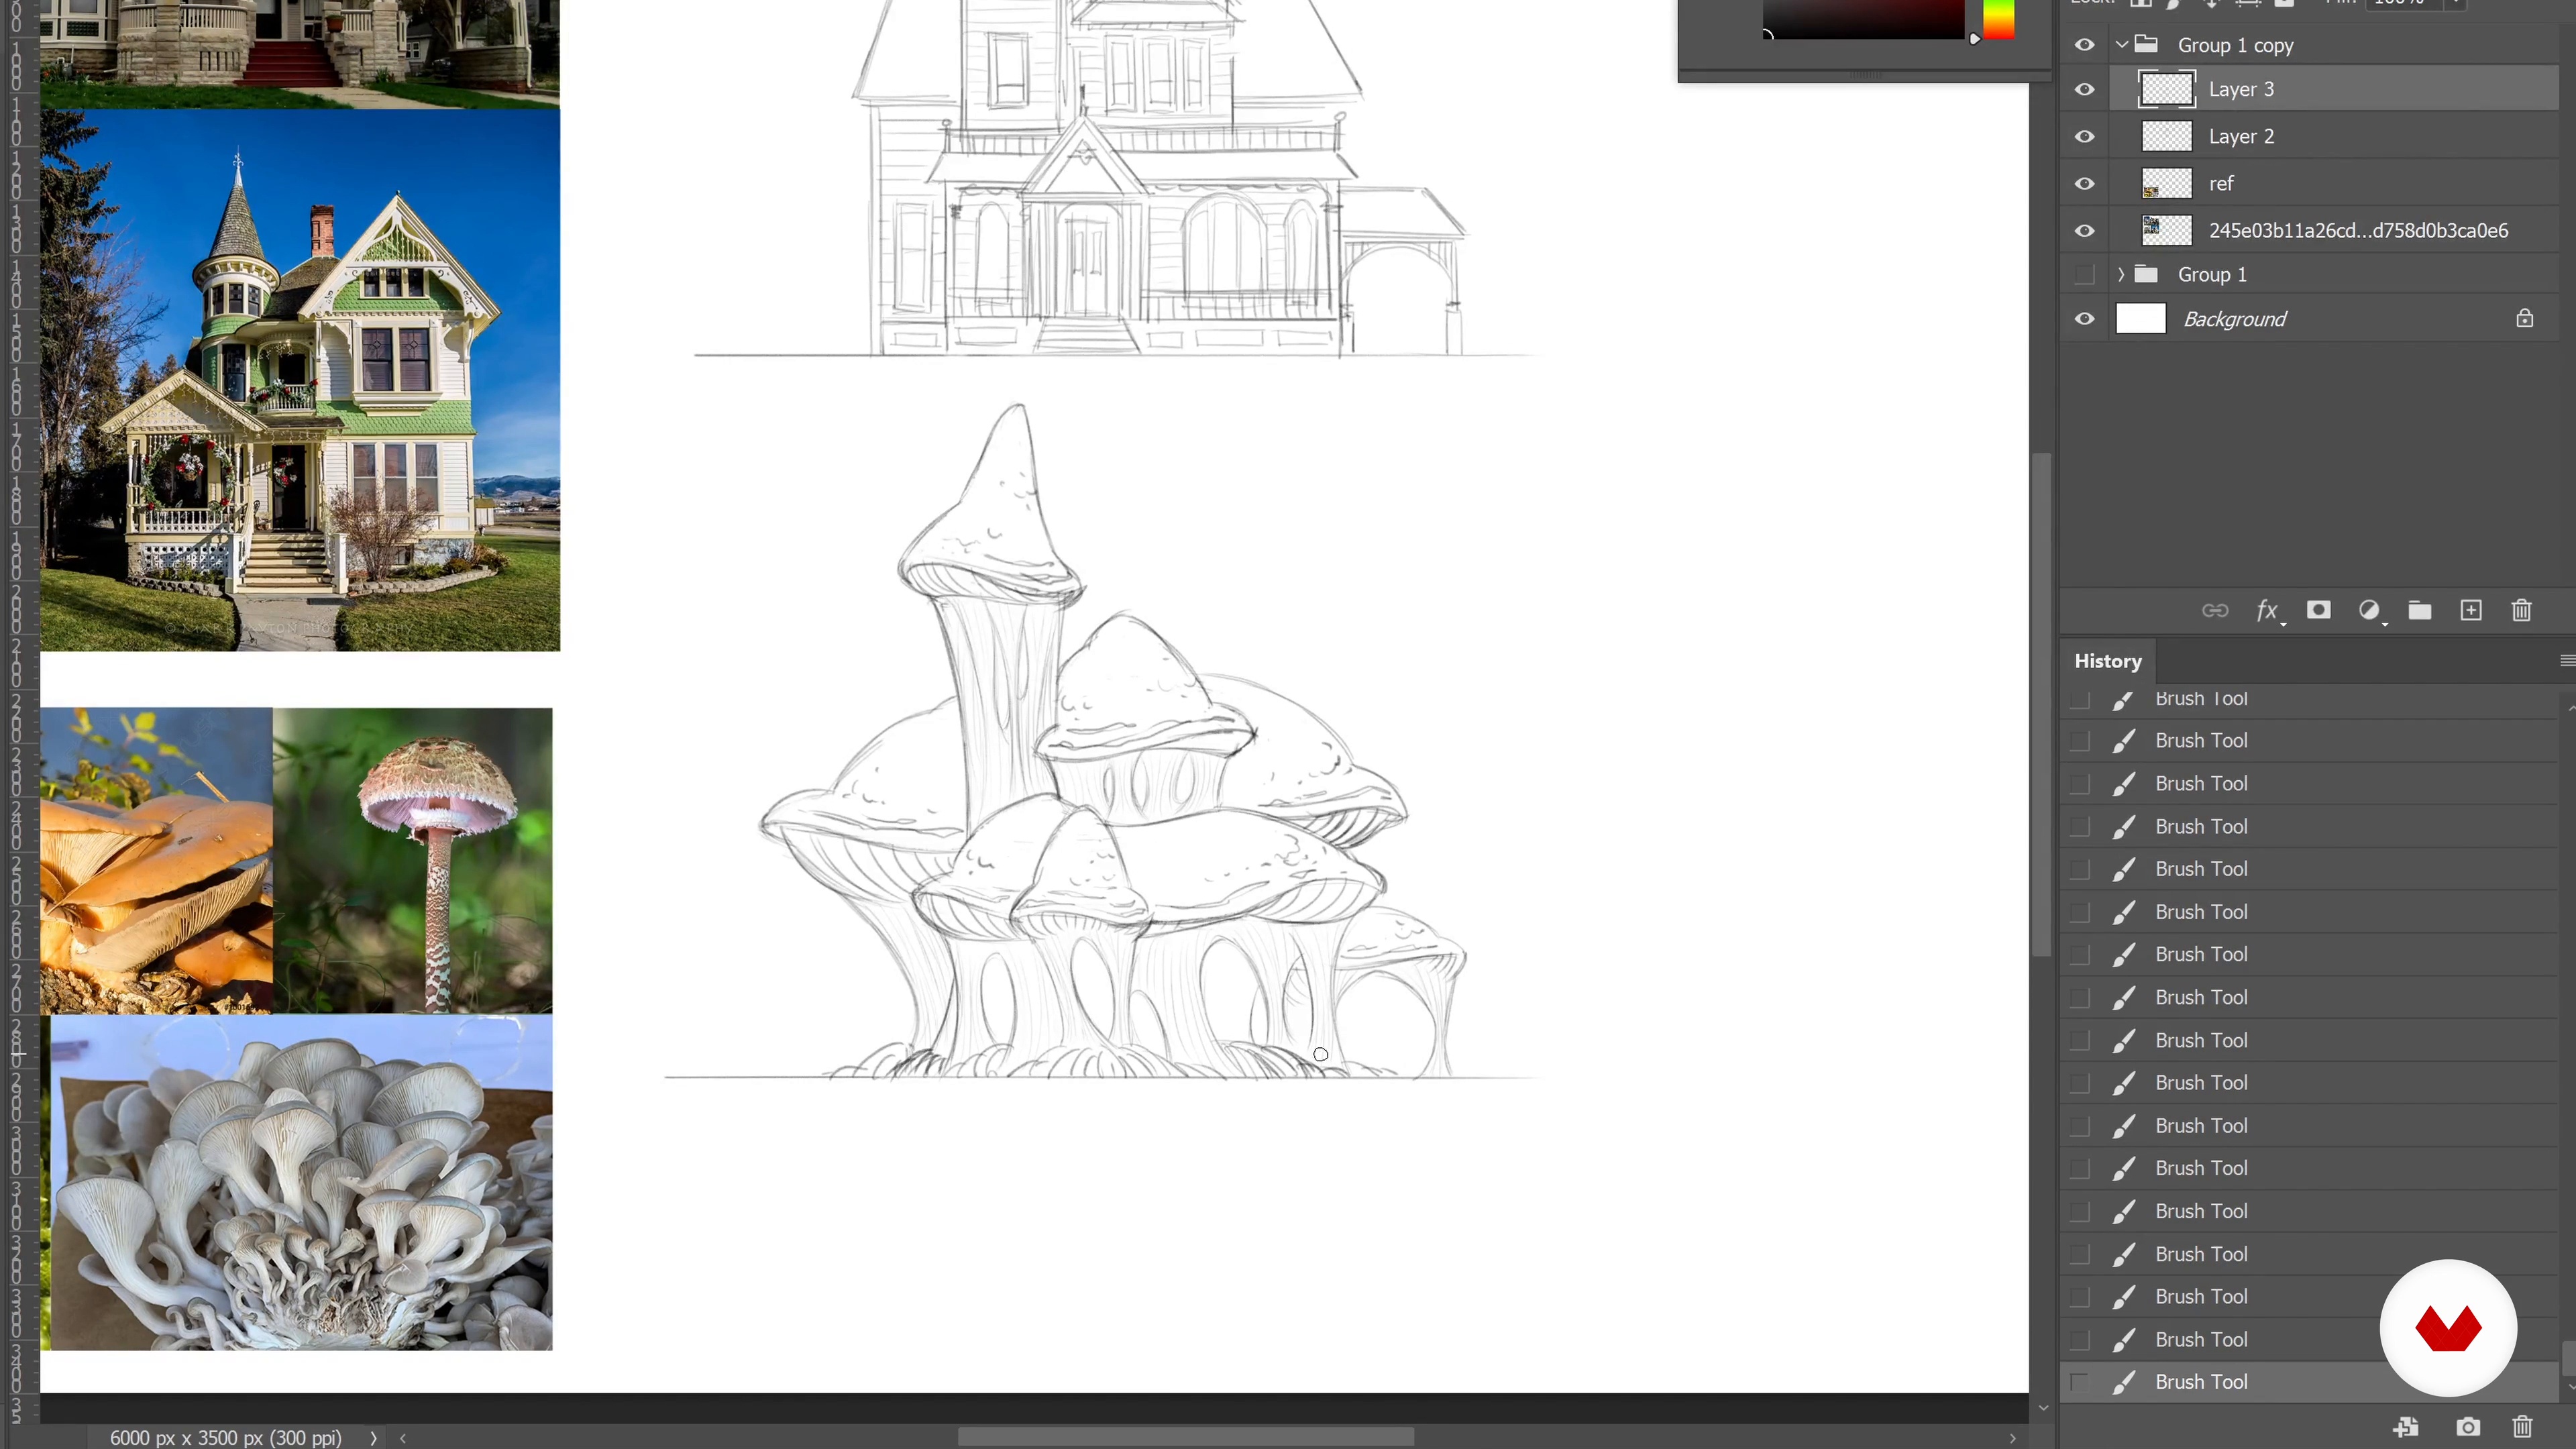
Good research feeds your mind with many thoughts, and in this lesson, I will share my way to process this information.
14m
image
6
Idea Generation 2
I'll continue explaining how I generate ideas. It’s an important intermediate step between just images from the Internet and your original designs.
14m
image
7
Stylization Principles 1
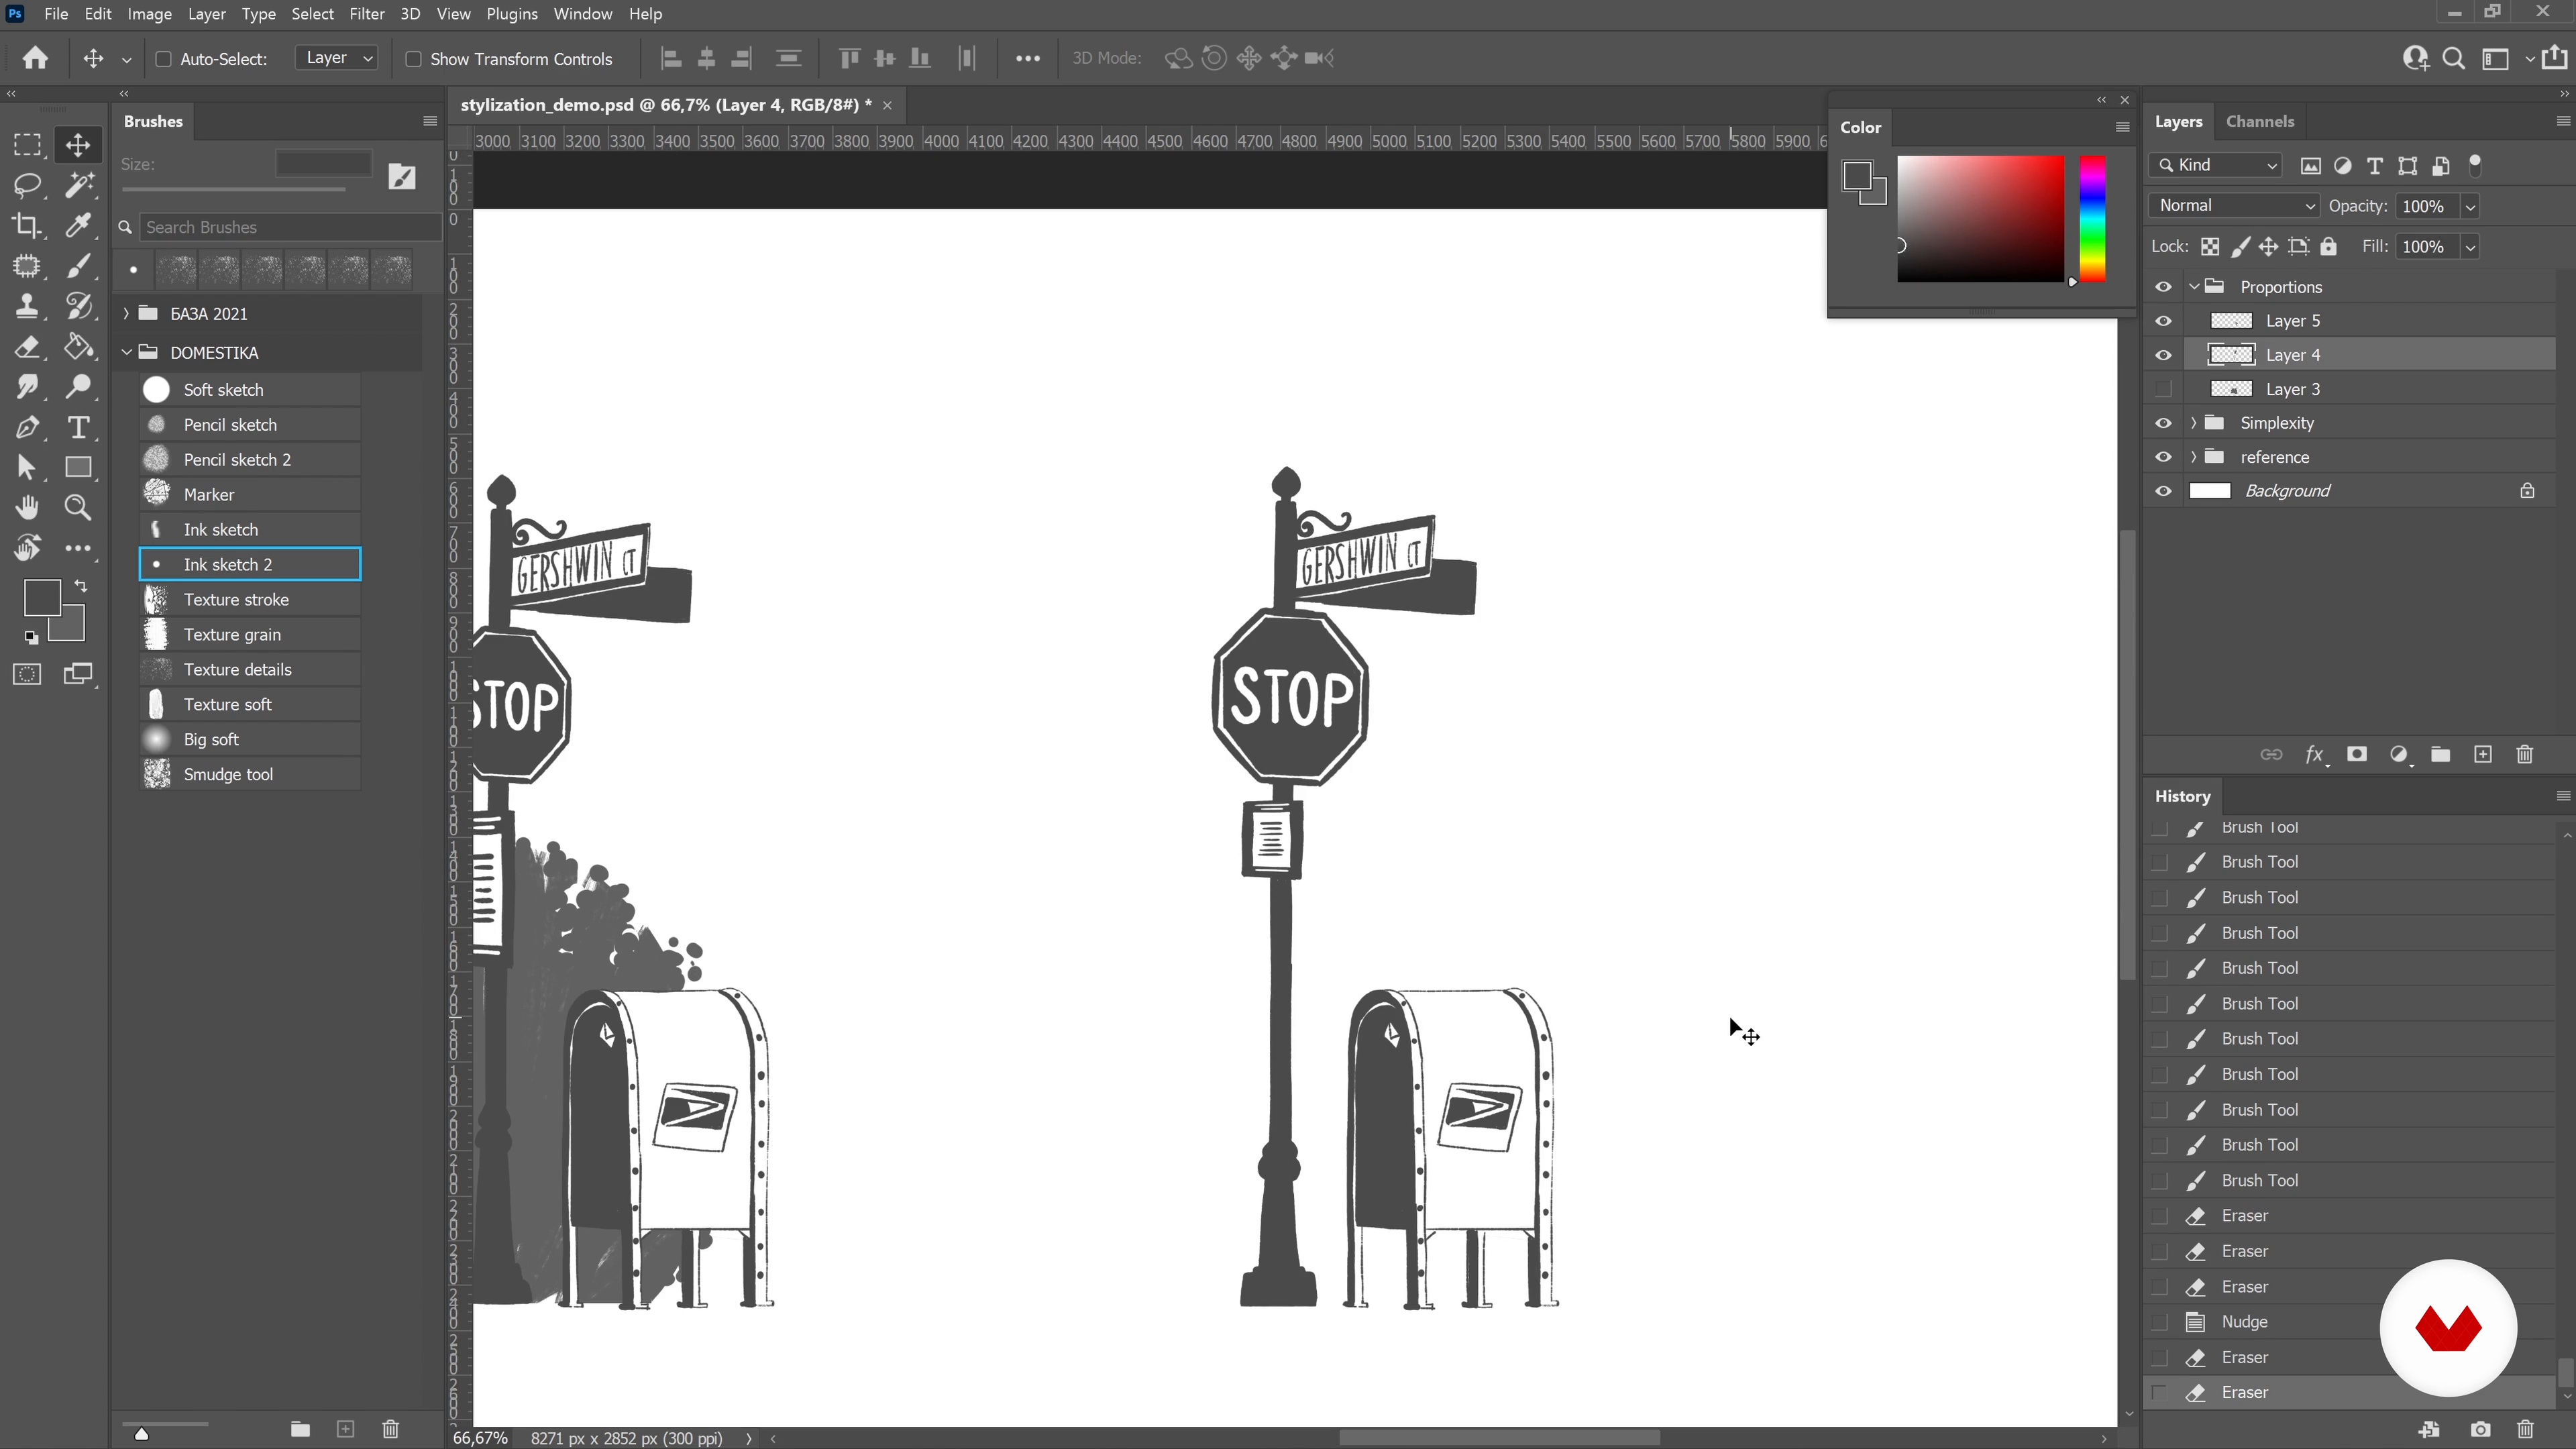
Here, you'll learn some basic stylization principles that add animation quality to your designs and help make them more specific to your needs.
17m
image
8
Stylization Principles 2
I'll keep on showing you the main principles that will add more character to your environment designs.
14m
image
9
Workspace and Tools
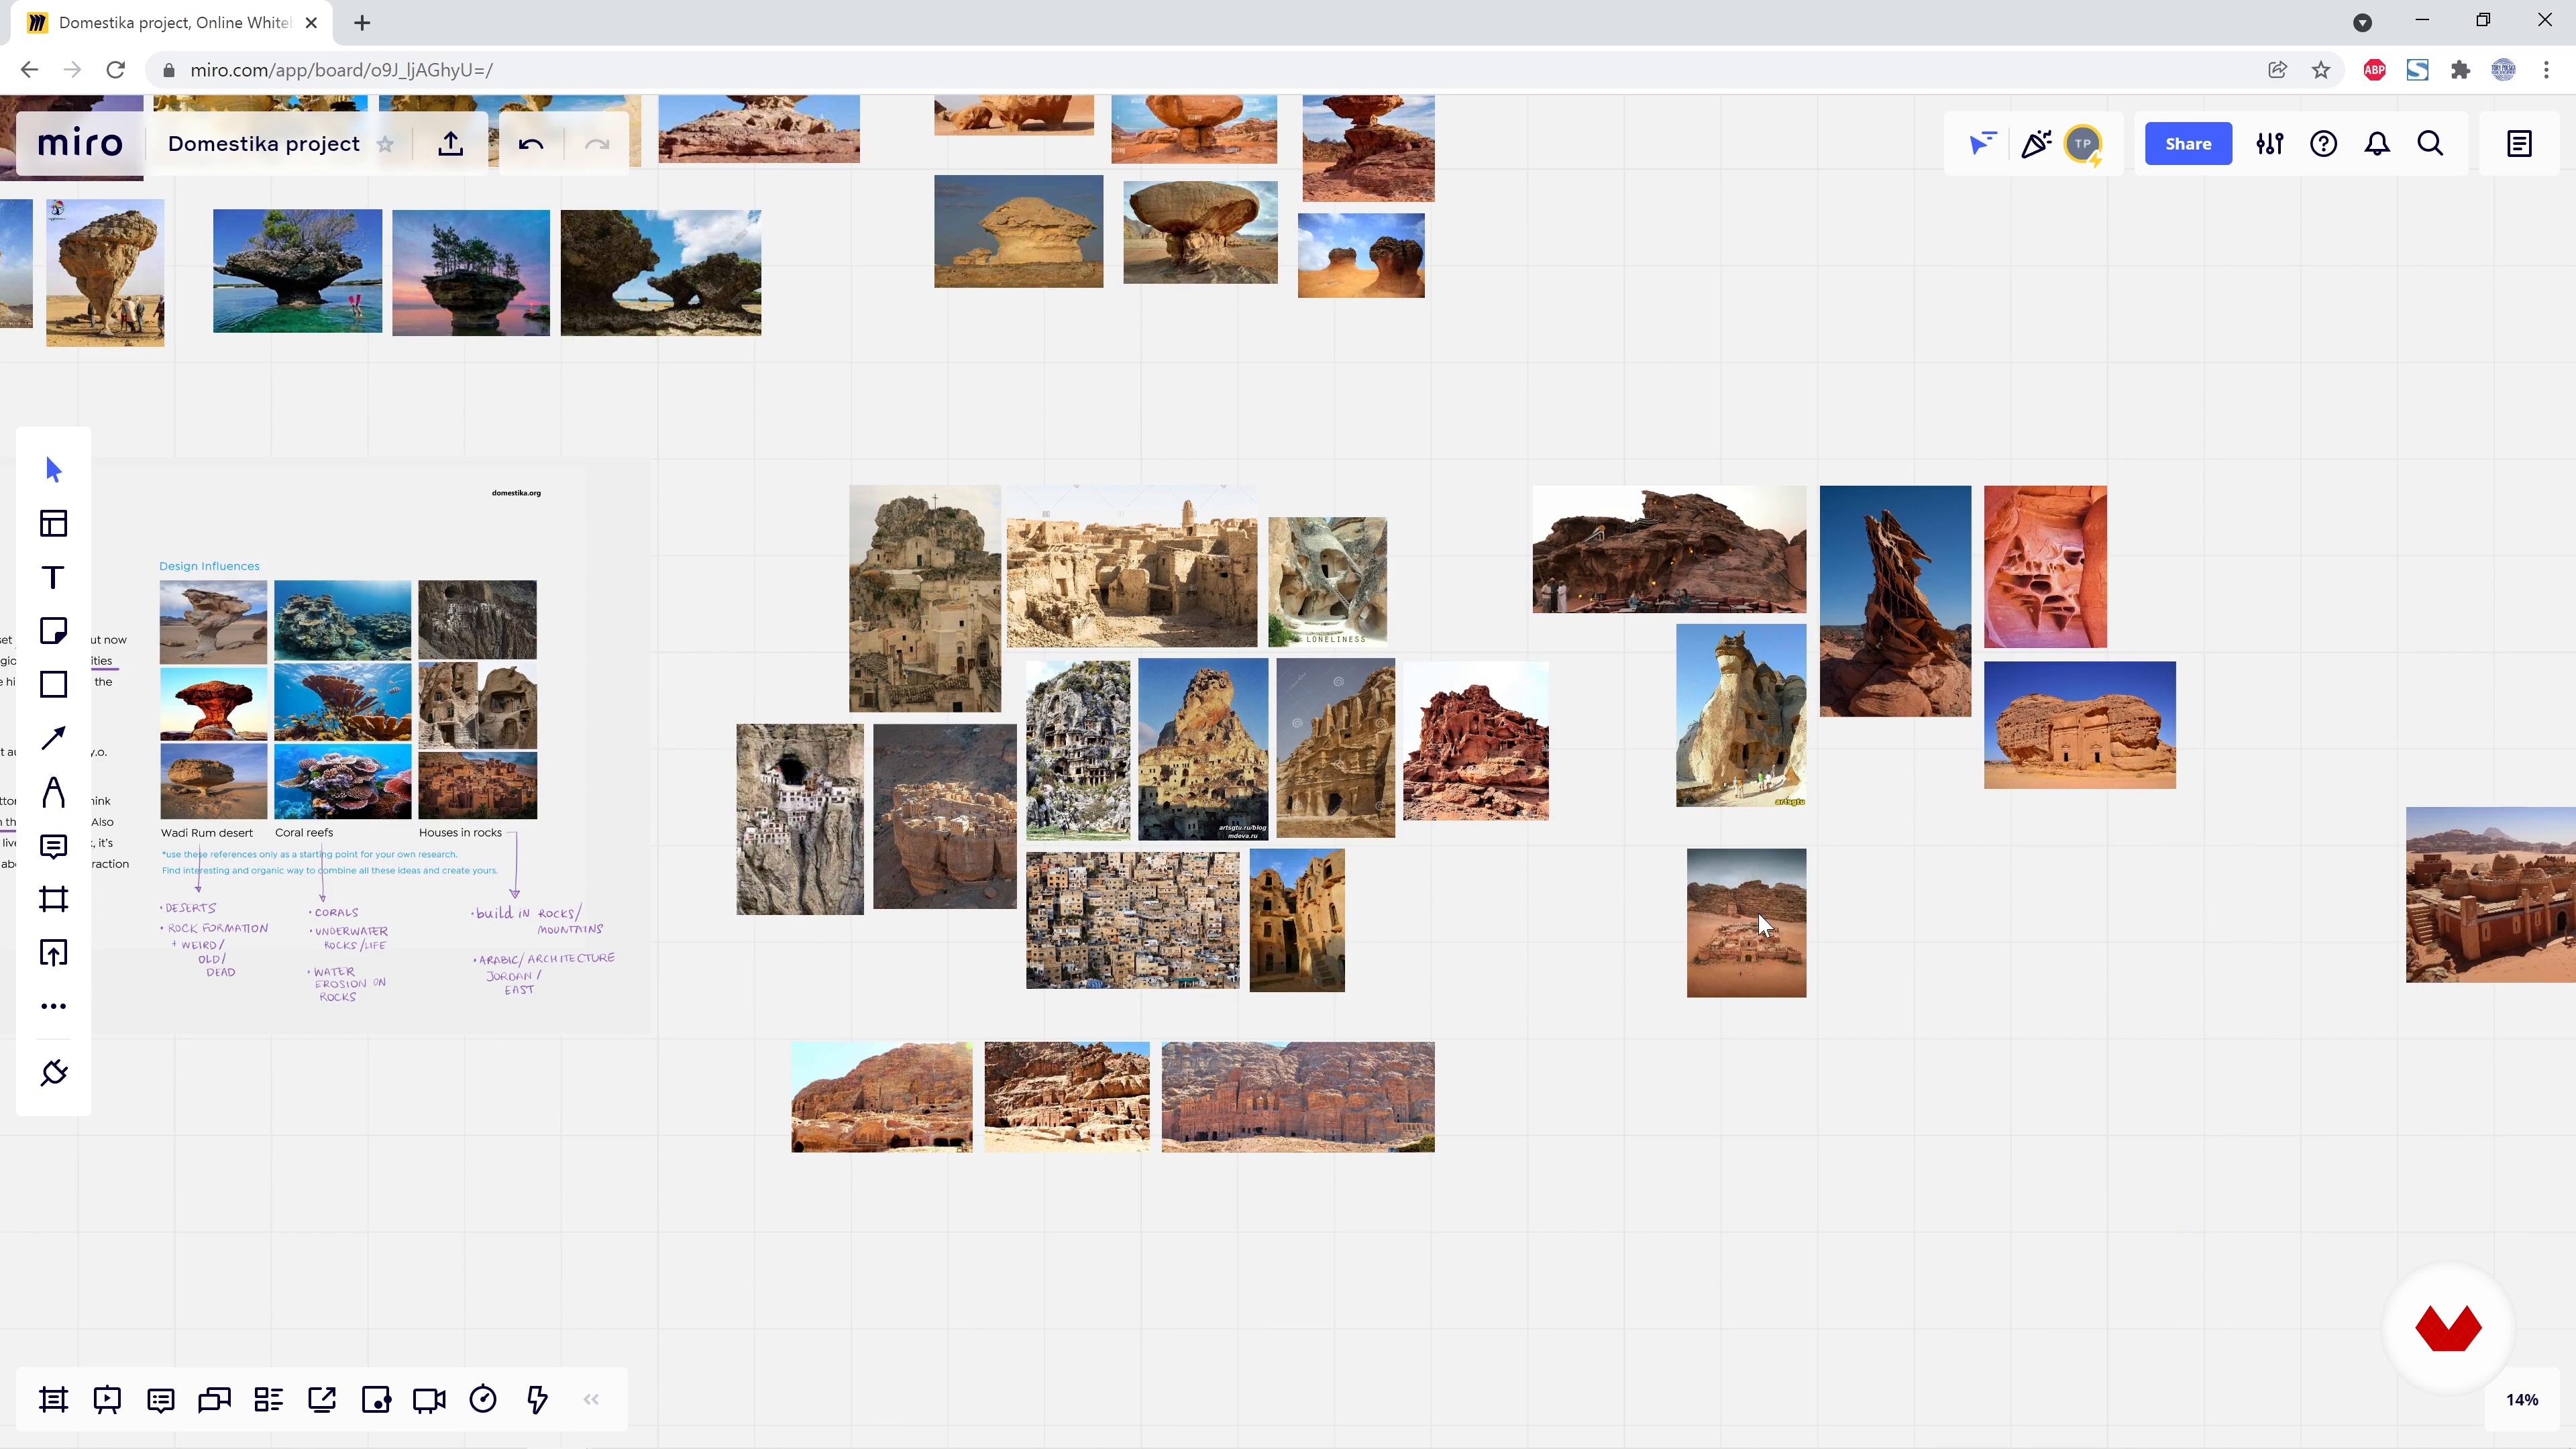
This lesson will introduce you to Miro, a tool I use for organizing my research. And then, I will show some essential Photoshop tools I use in my everyday work.
12m
image
10
The Brief
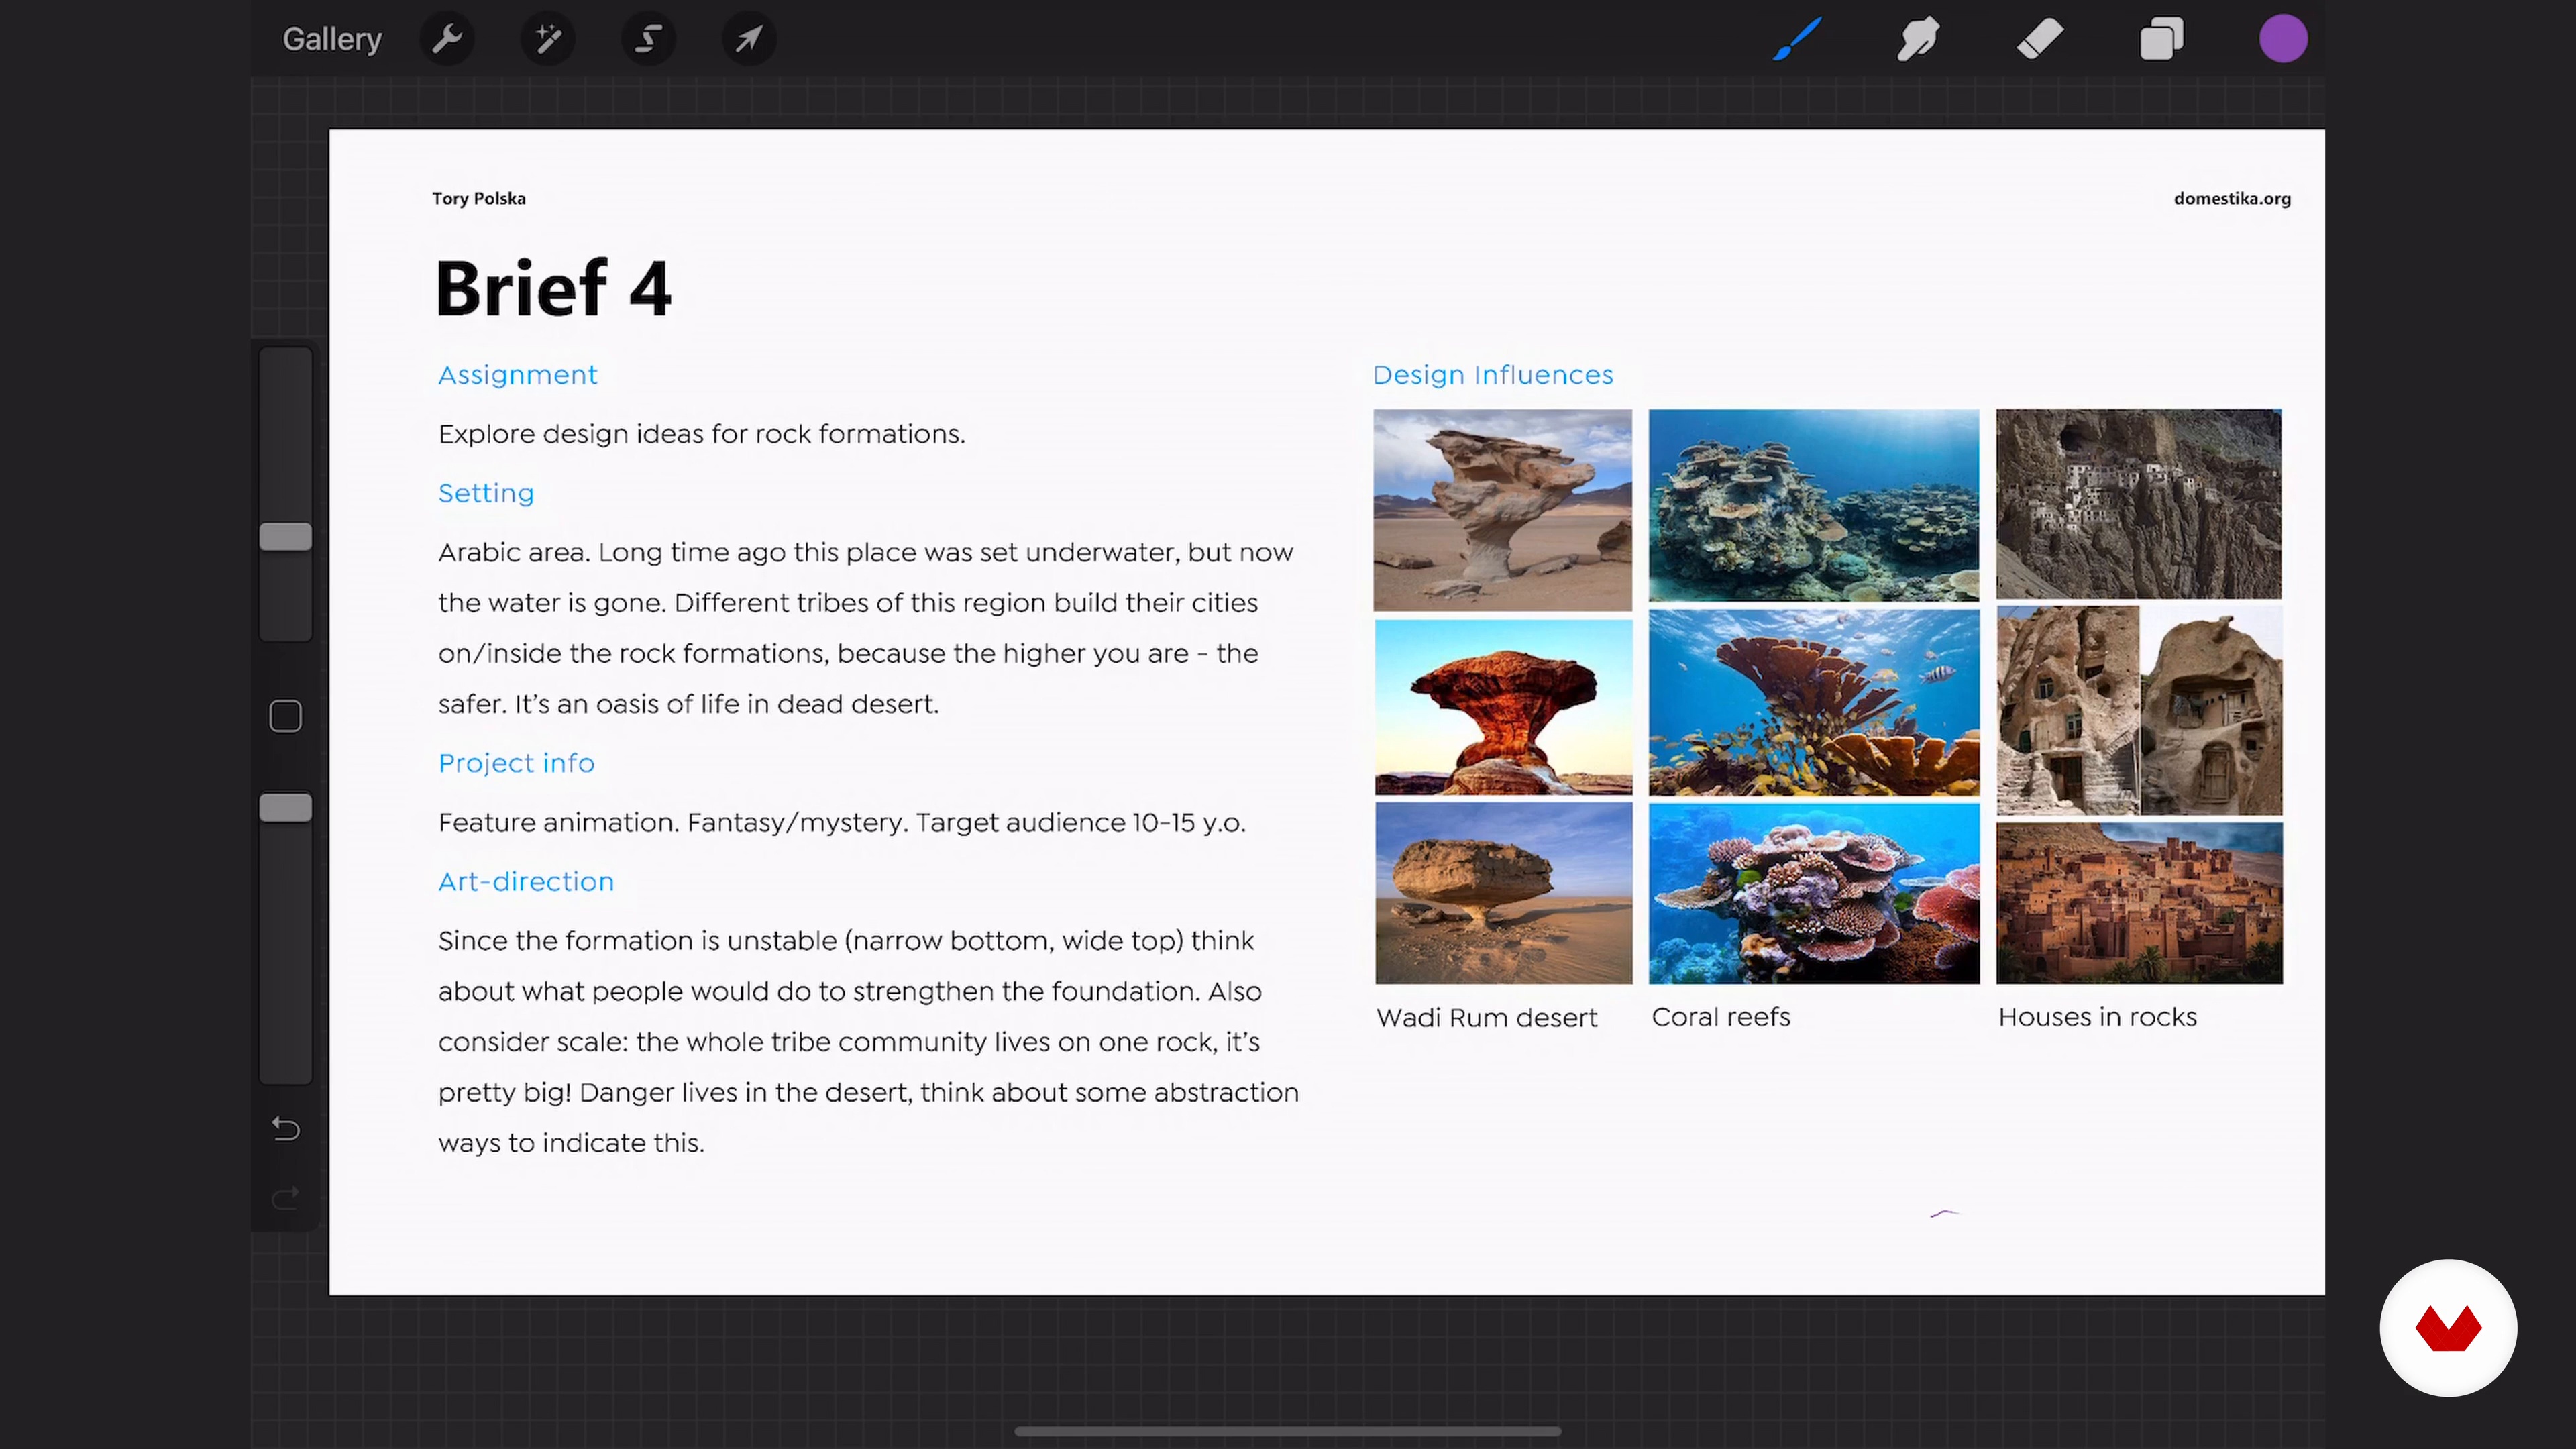
Let’s talk about tips on how to read briefs smartly and find important clues that will help you create a great design!
6m
image
11
Creating Reference Boards 1
It's finally time to work! And we will work smart! This stage is super important for the following drawing process.
10m
image
12
Creating Reference Boards 2
Now that I have my images selected and saved, I will put them together in Miro.
15m
image
13
Analyzing Your References
I'll show you my process for building a cohesive reference mood board. I'll also add some inspiration from other artists. Once we have a lot of information on our board, and in our head, it's important to structure our impressions out of it.
8m
image
14
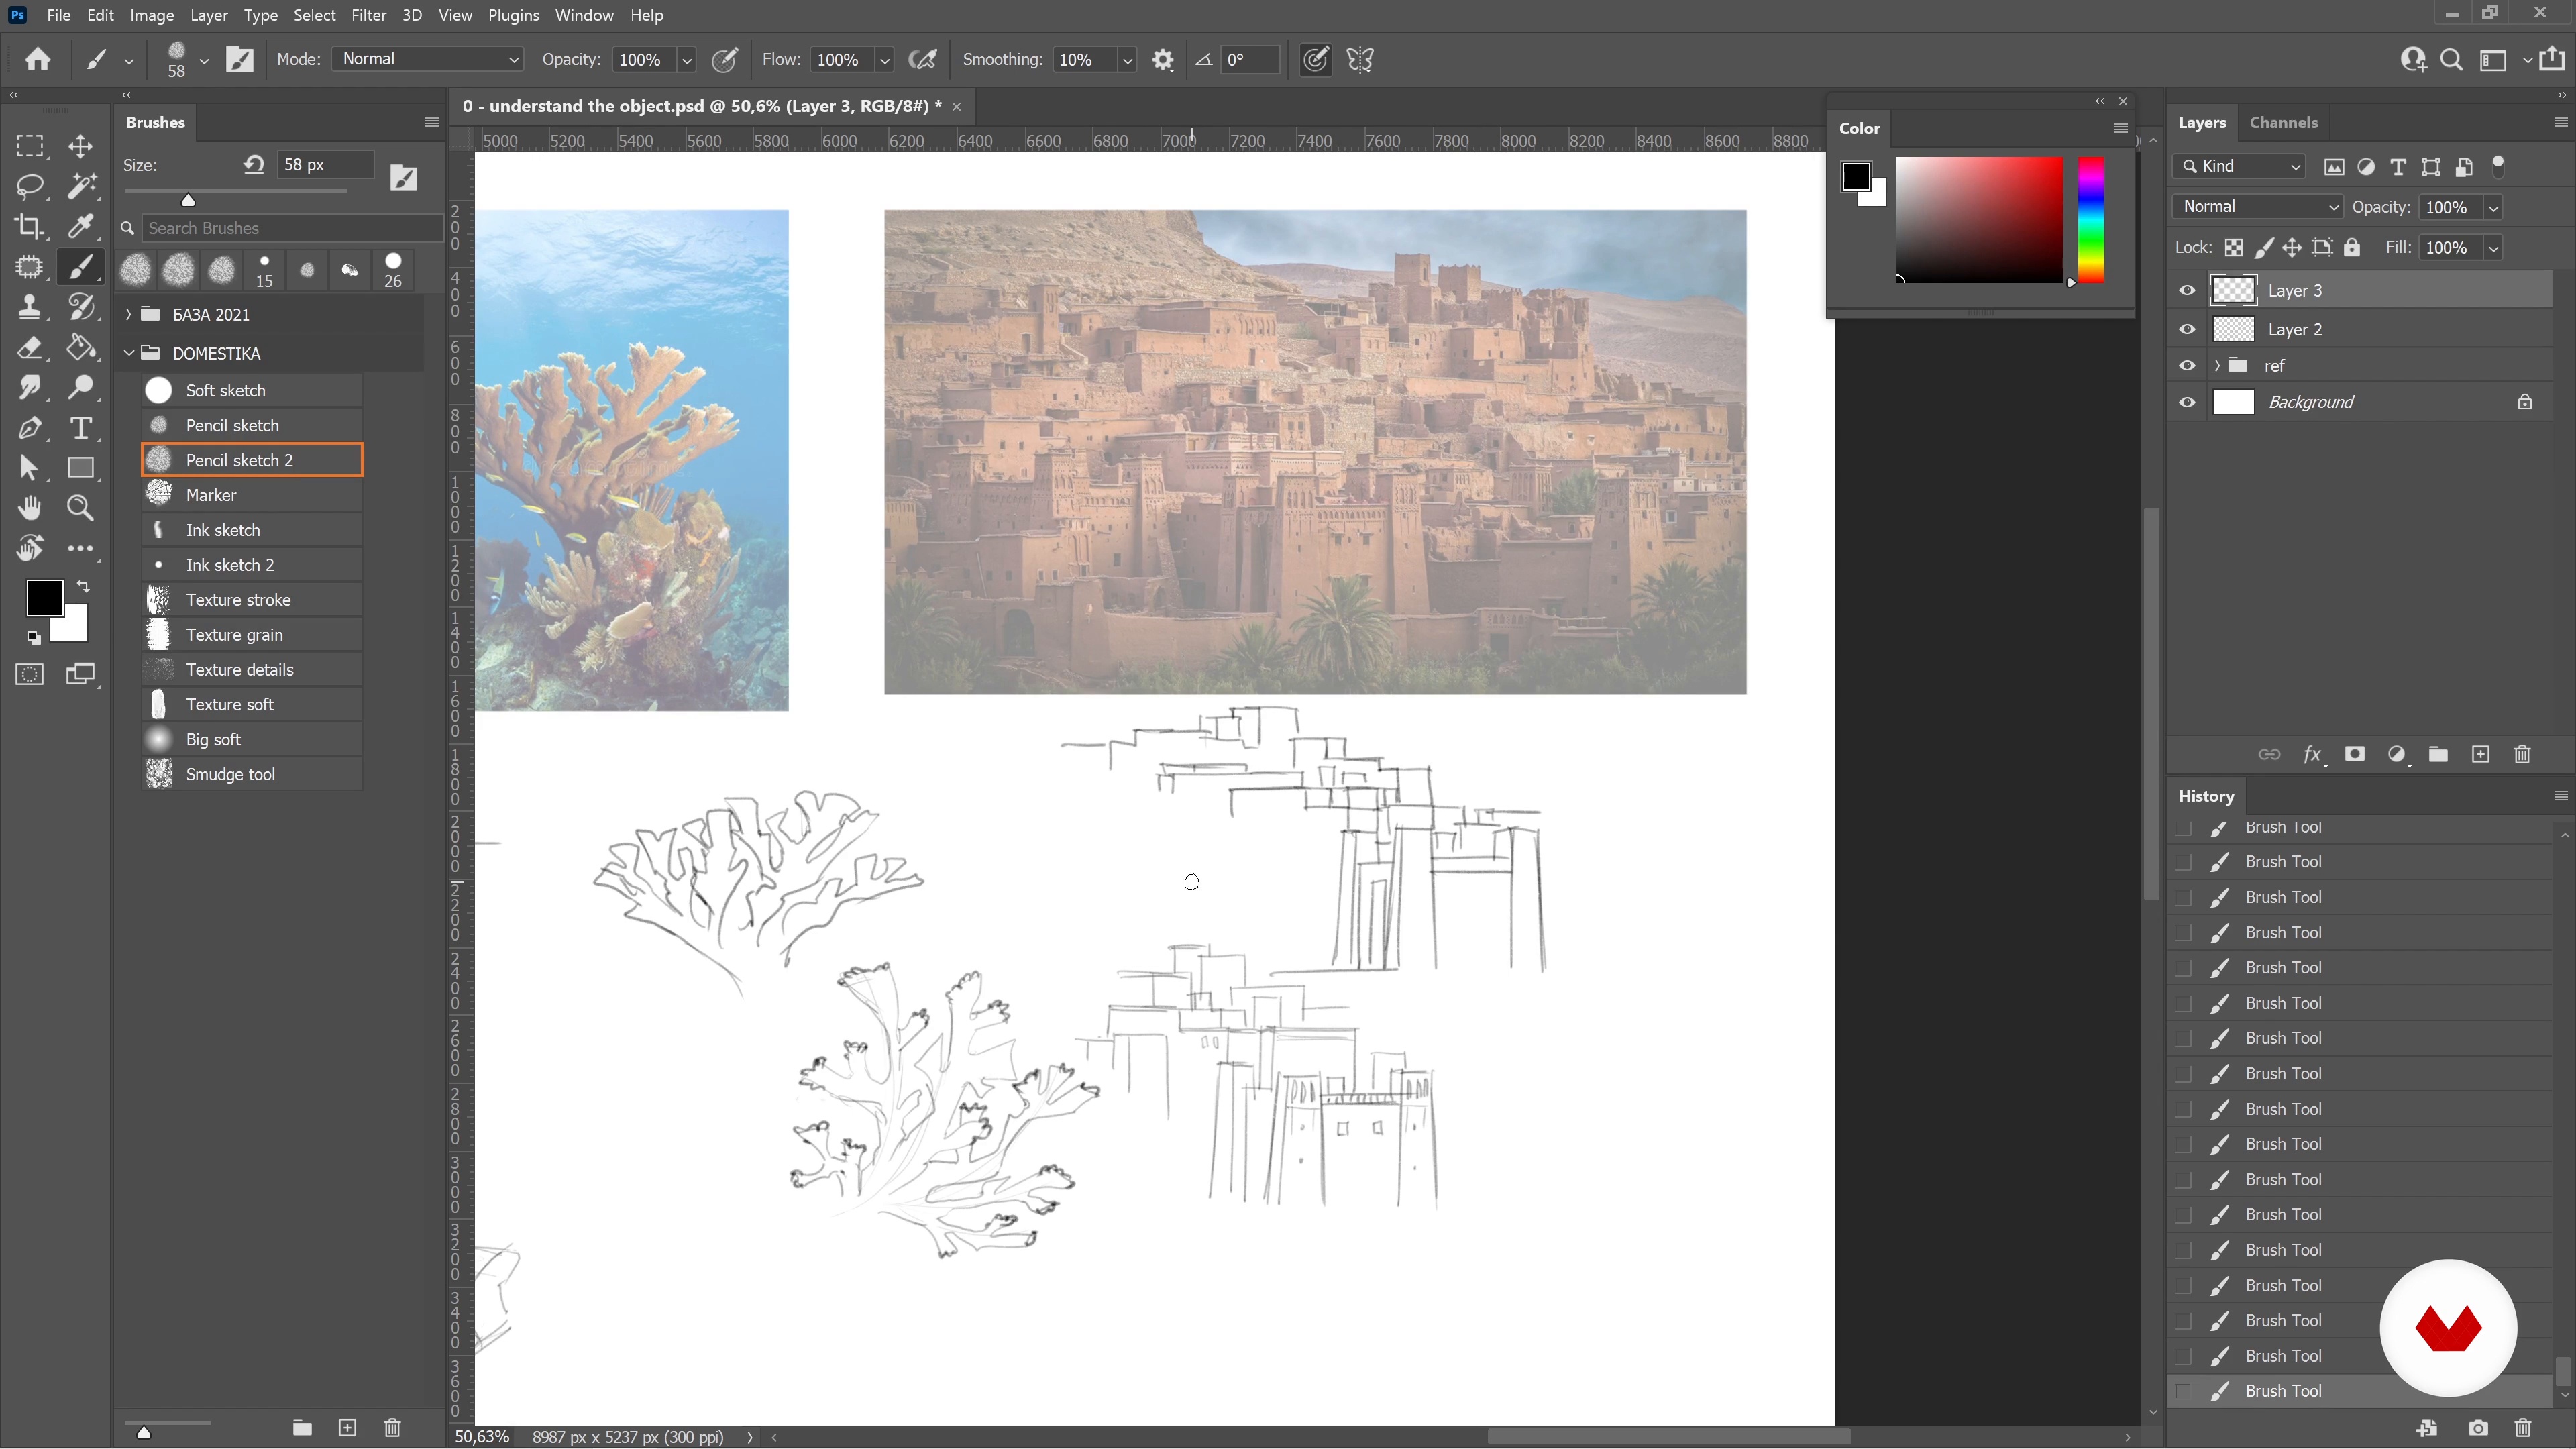
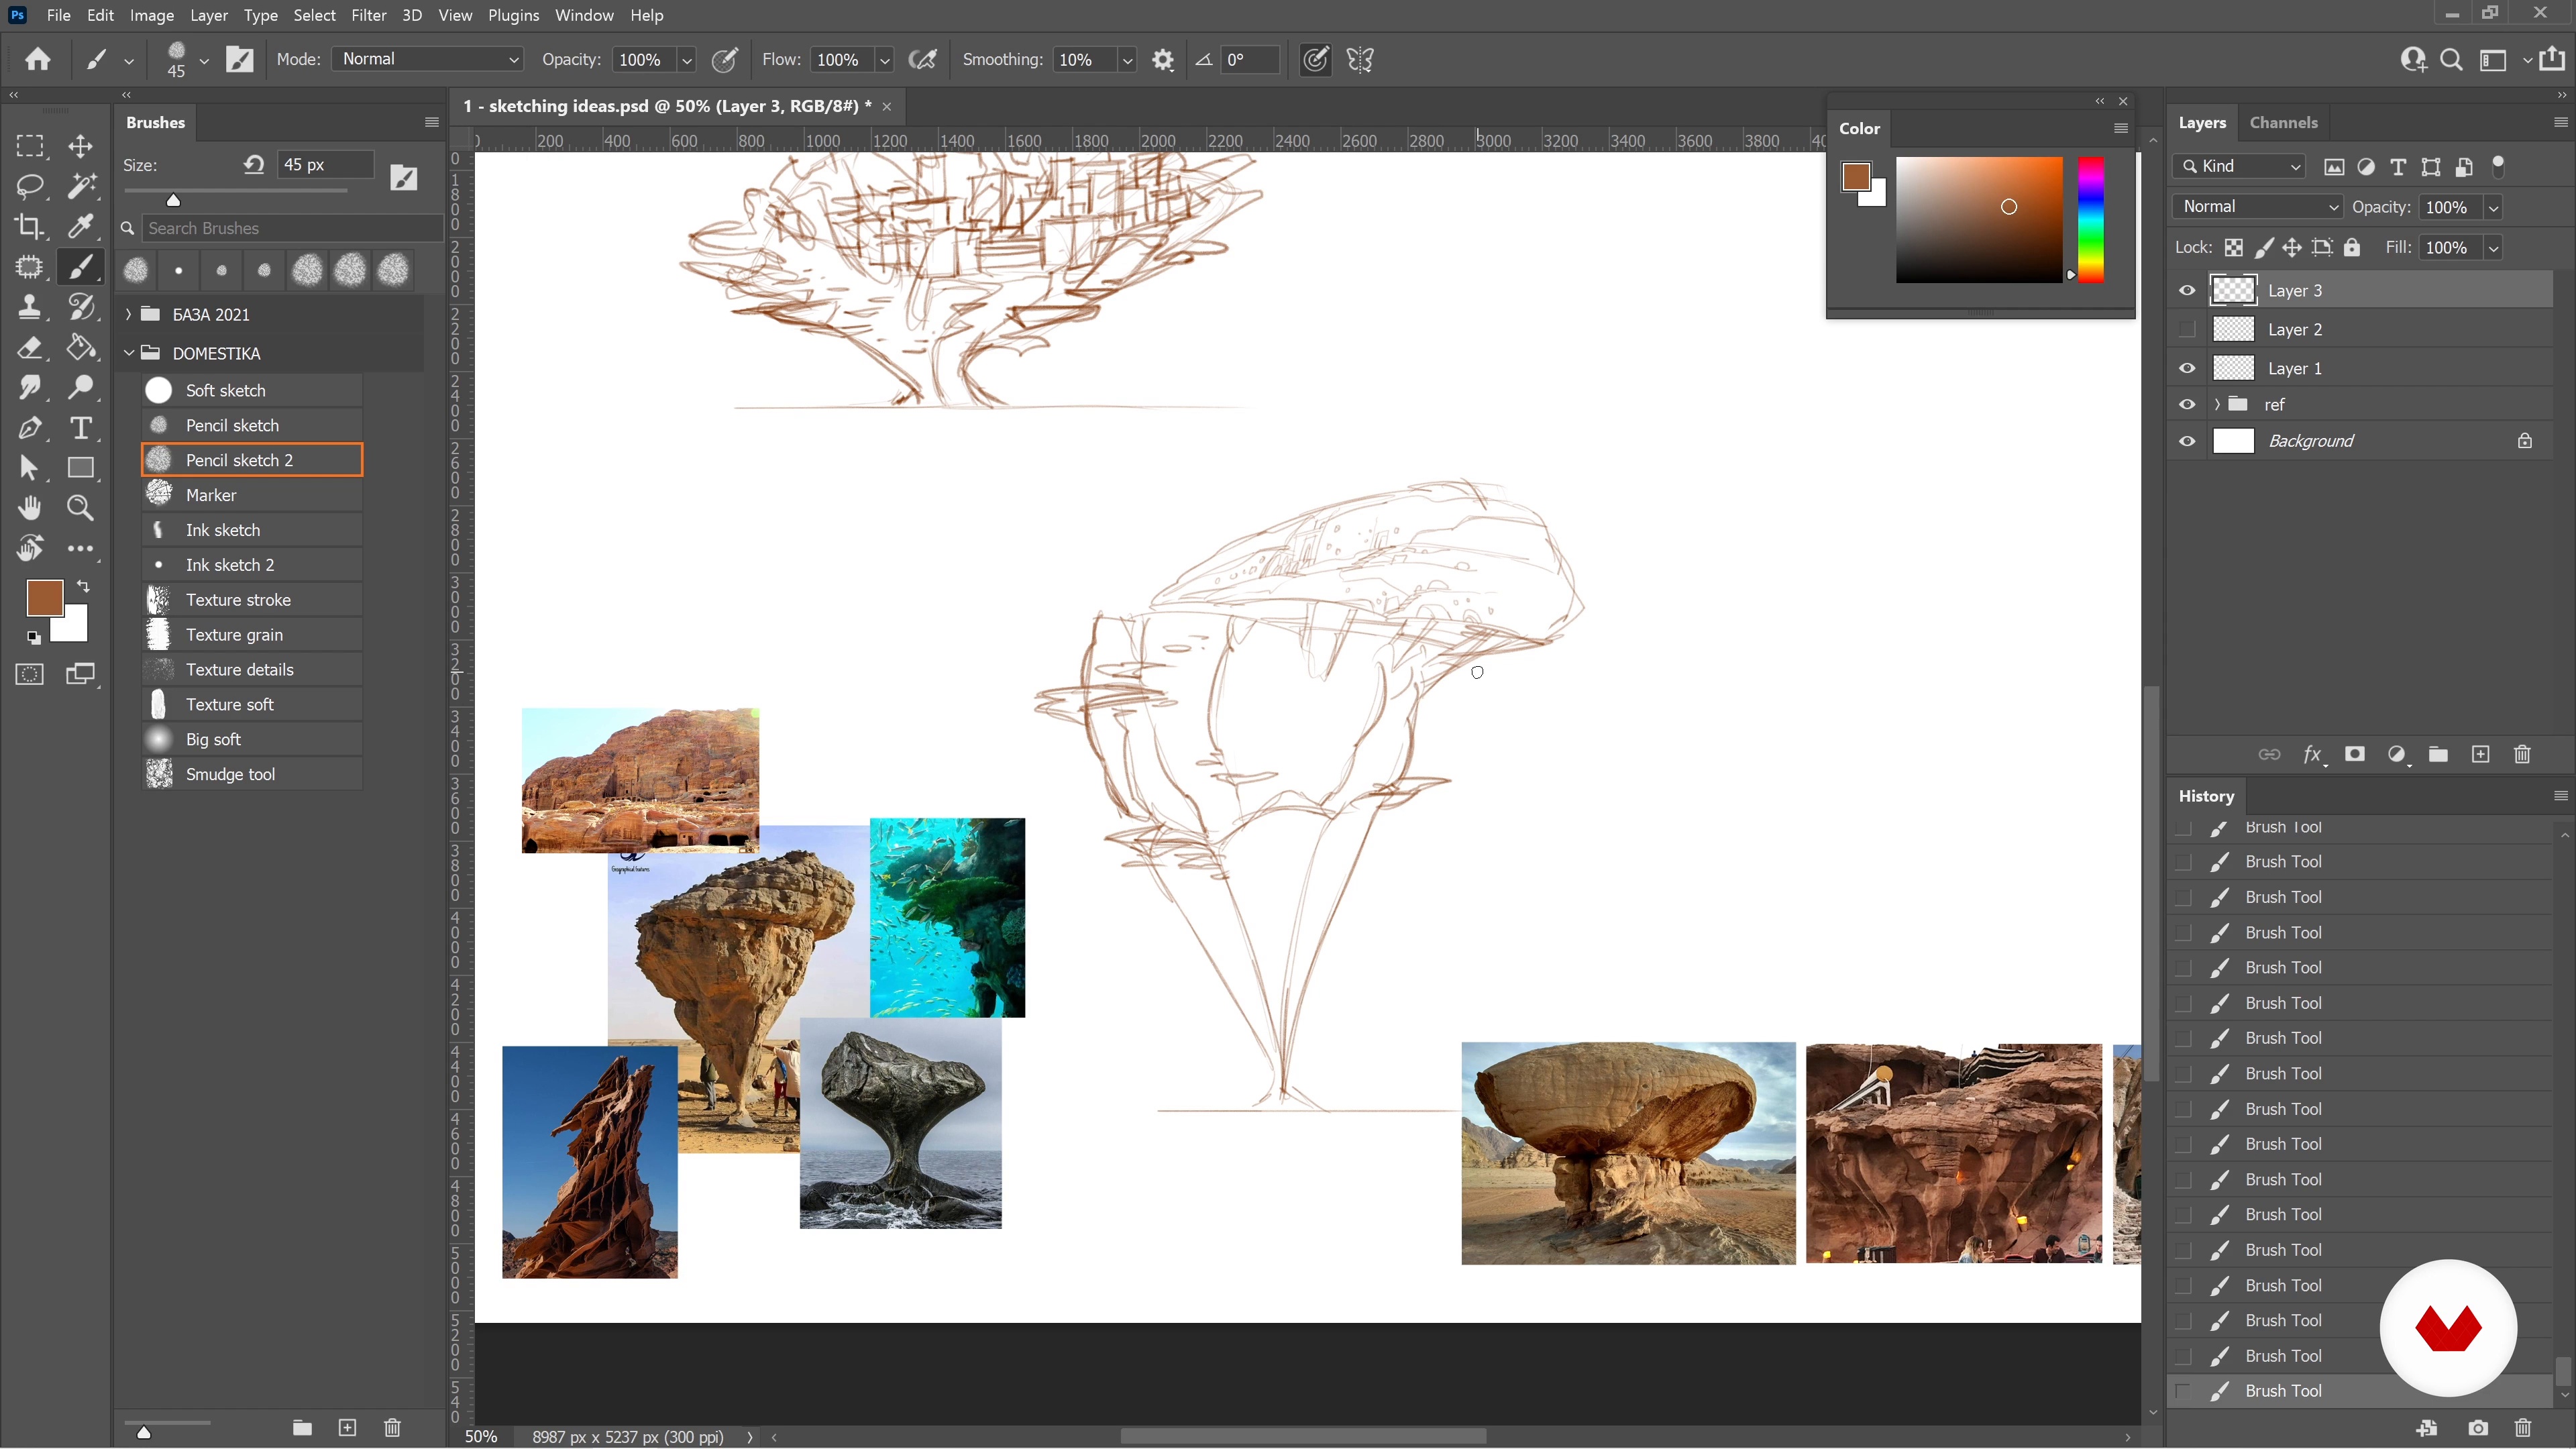
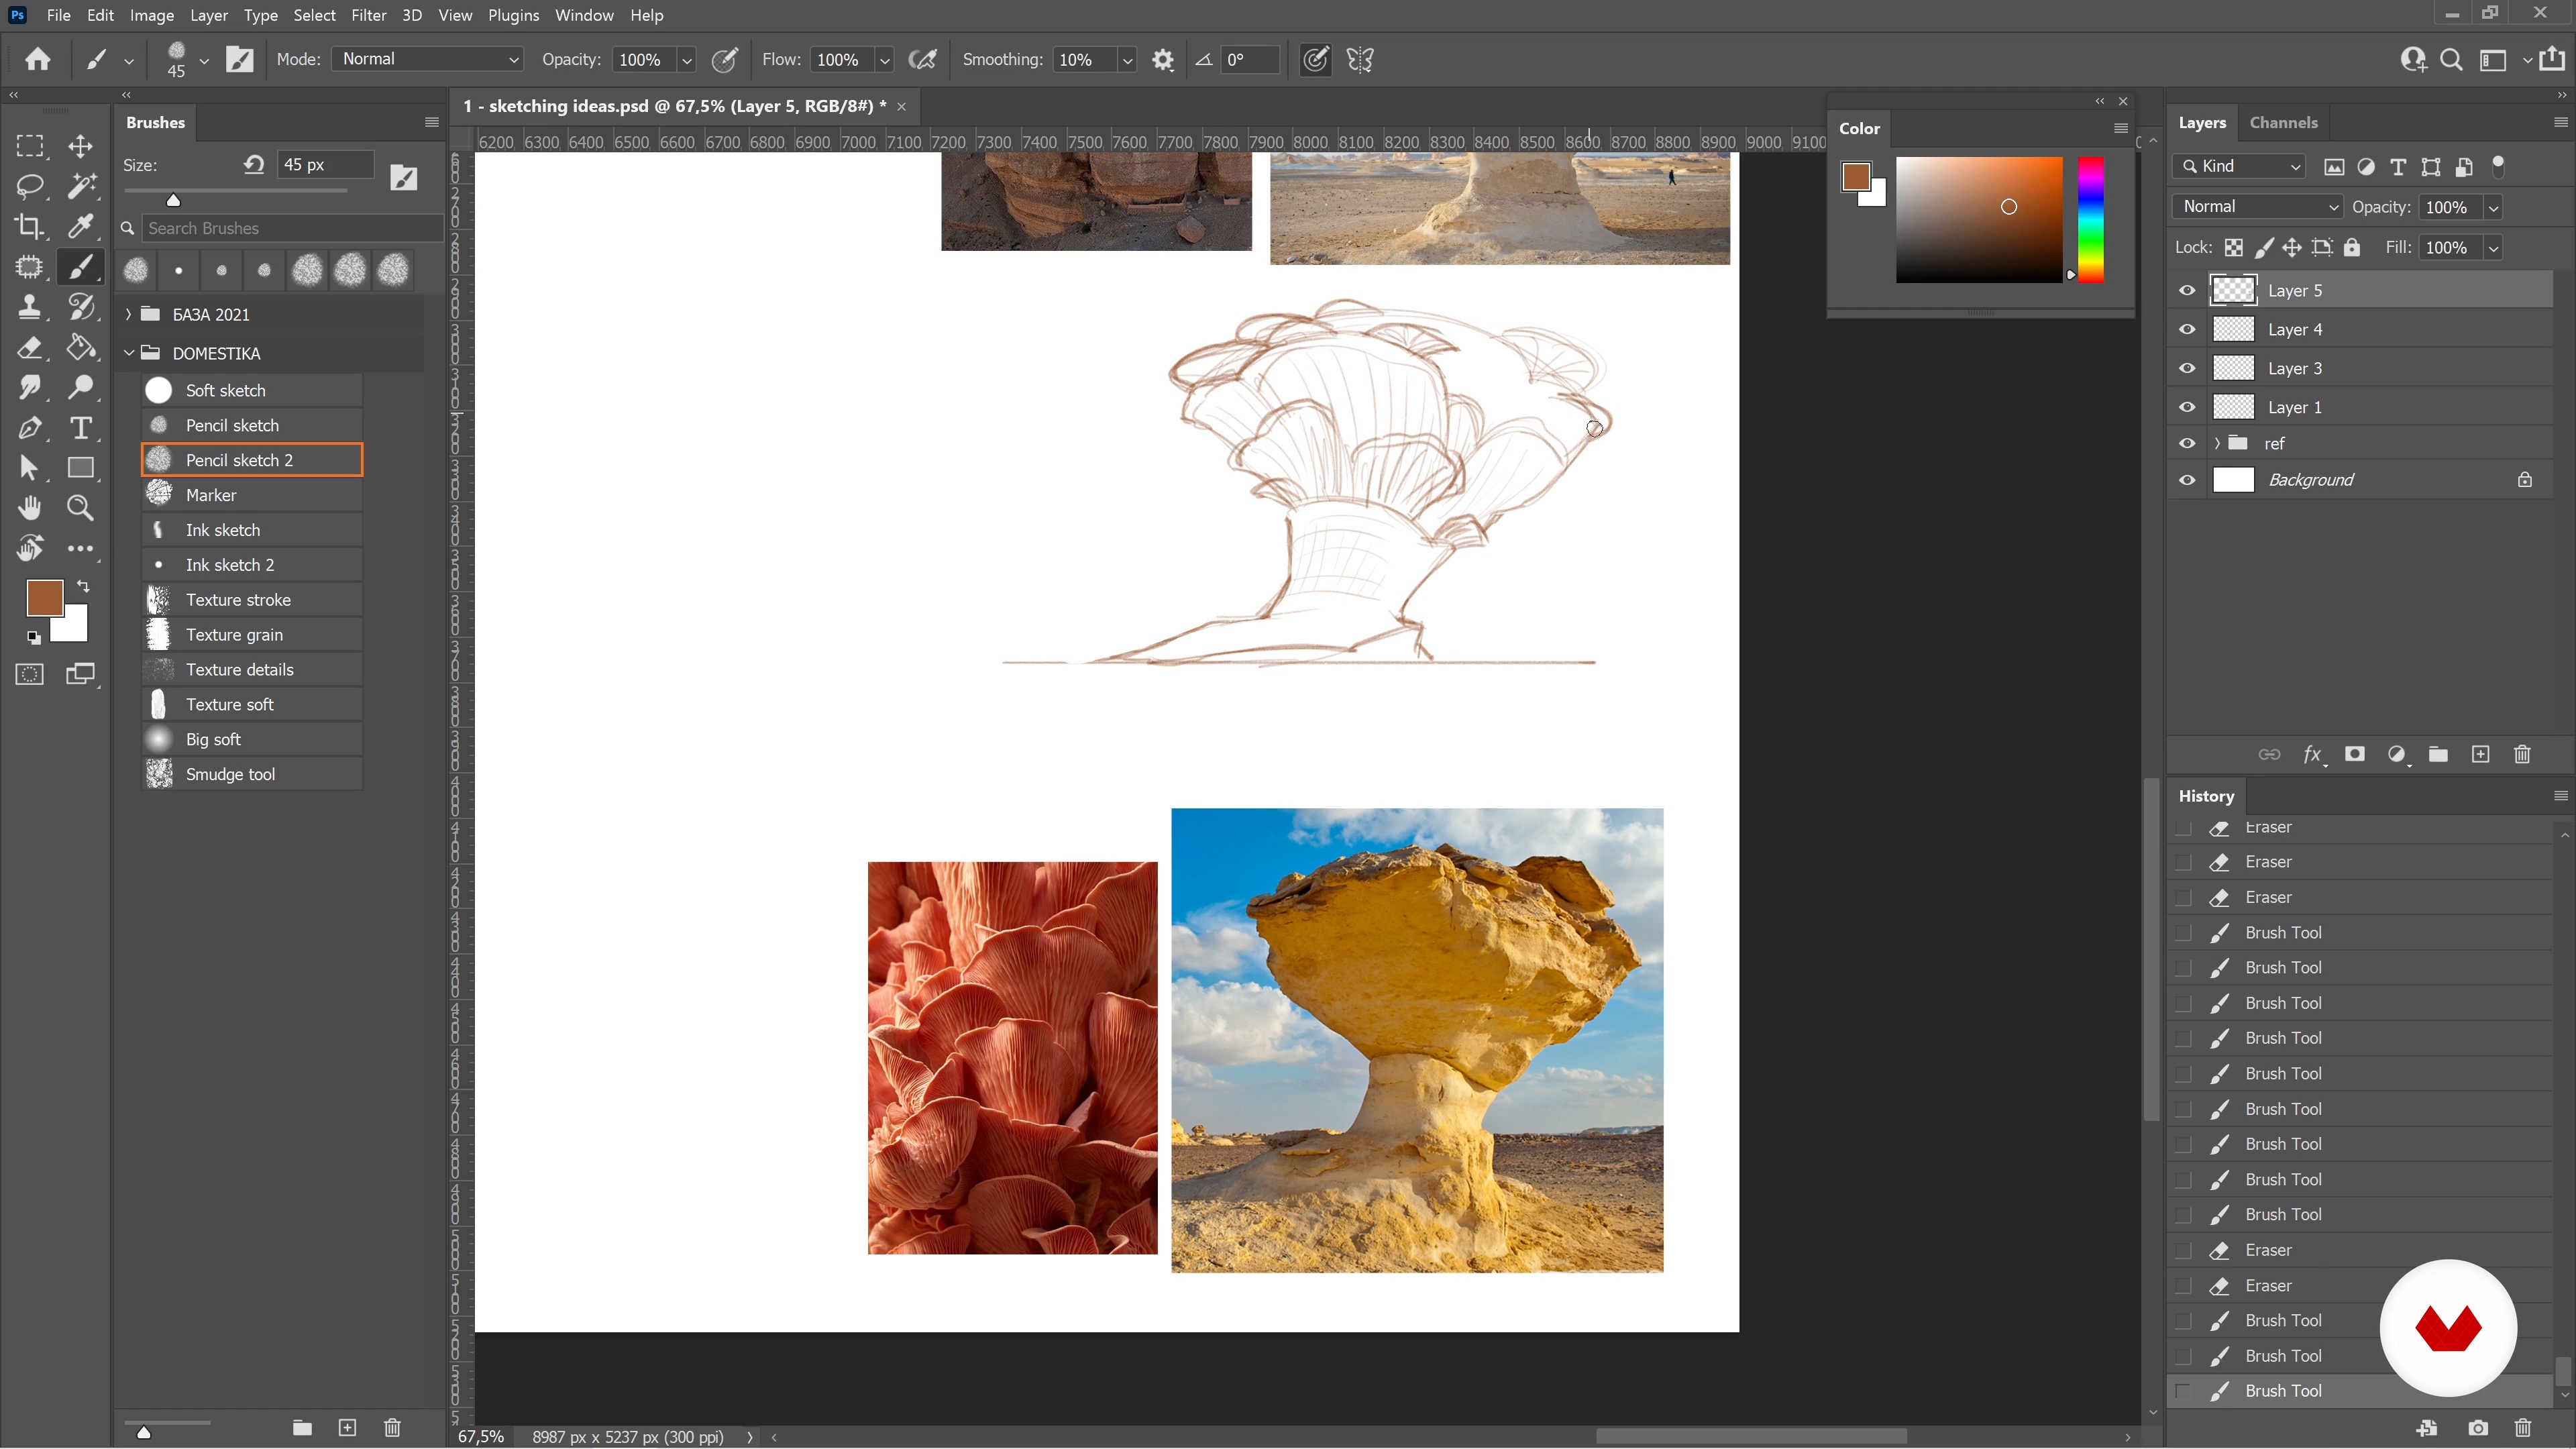
Sketching Ideas 1
You will see my process of converting information from research into visuals. At this stage, it is essential to think about big ideas and not about “picture making”.
19m
image
15
Sketching Ideas 2
Let's continue working on the sketch; it's a stage where we all can have fun without stressing about pretty lines!
20m
image
16
Sketching Ideas 3
Here you'll see the rest of the sketching process. I will work on sketches from each kind of reference I gathered before.
20m
image
17
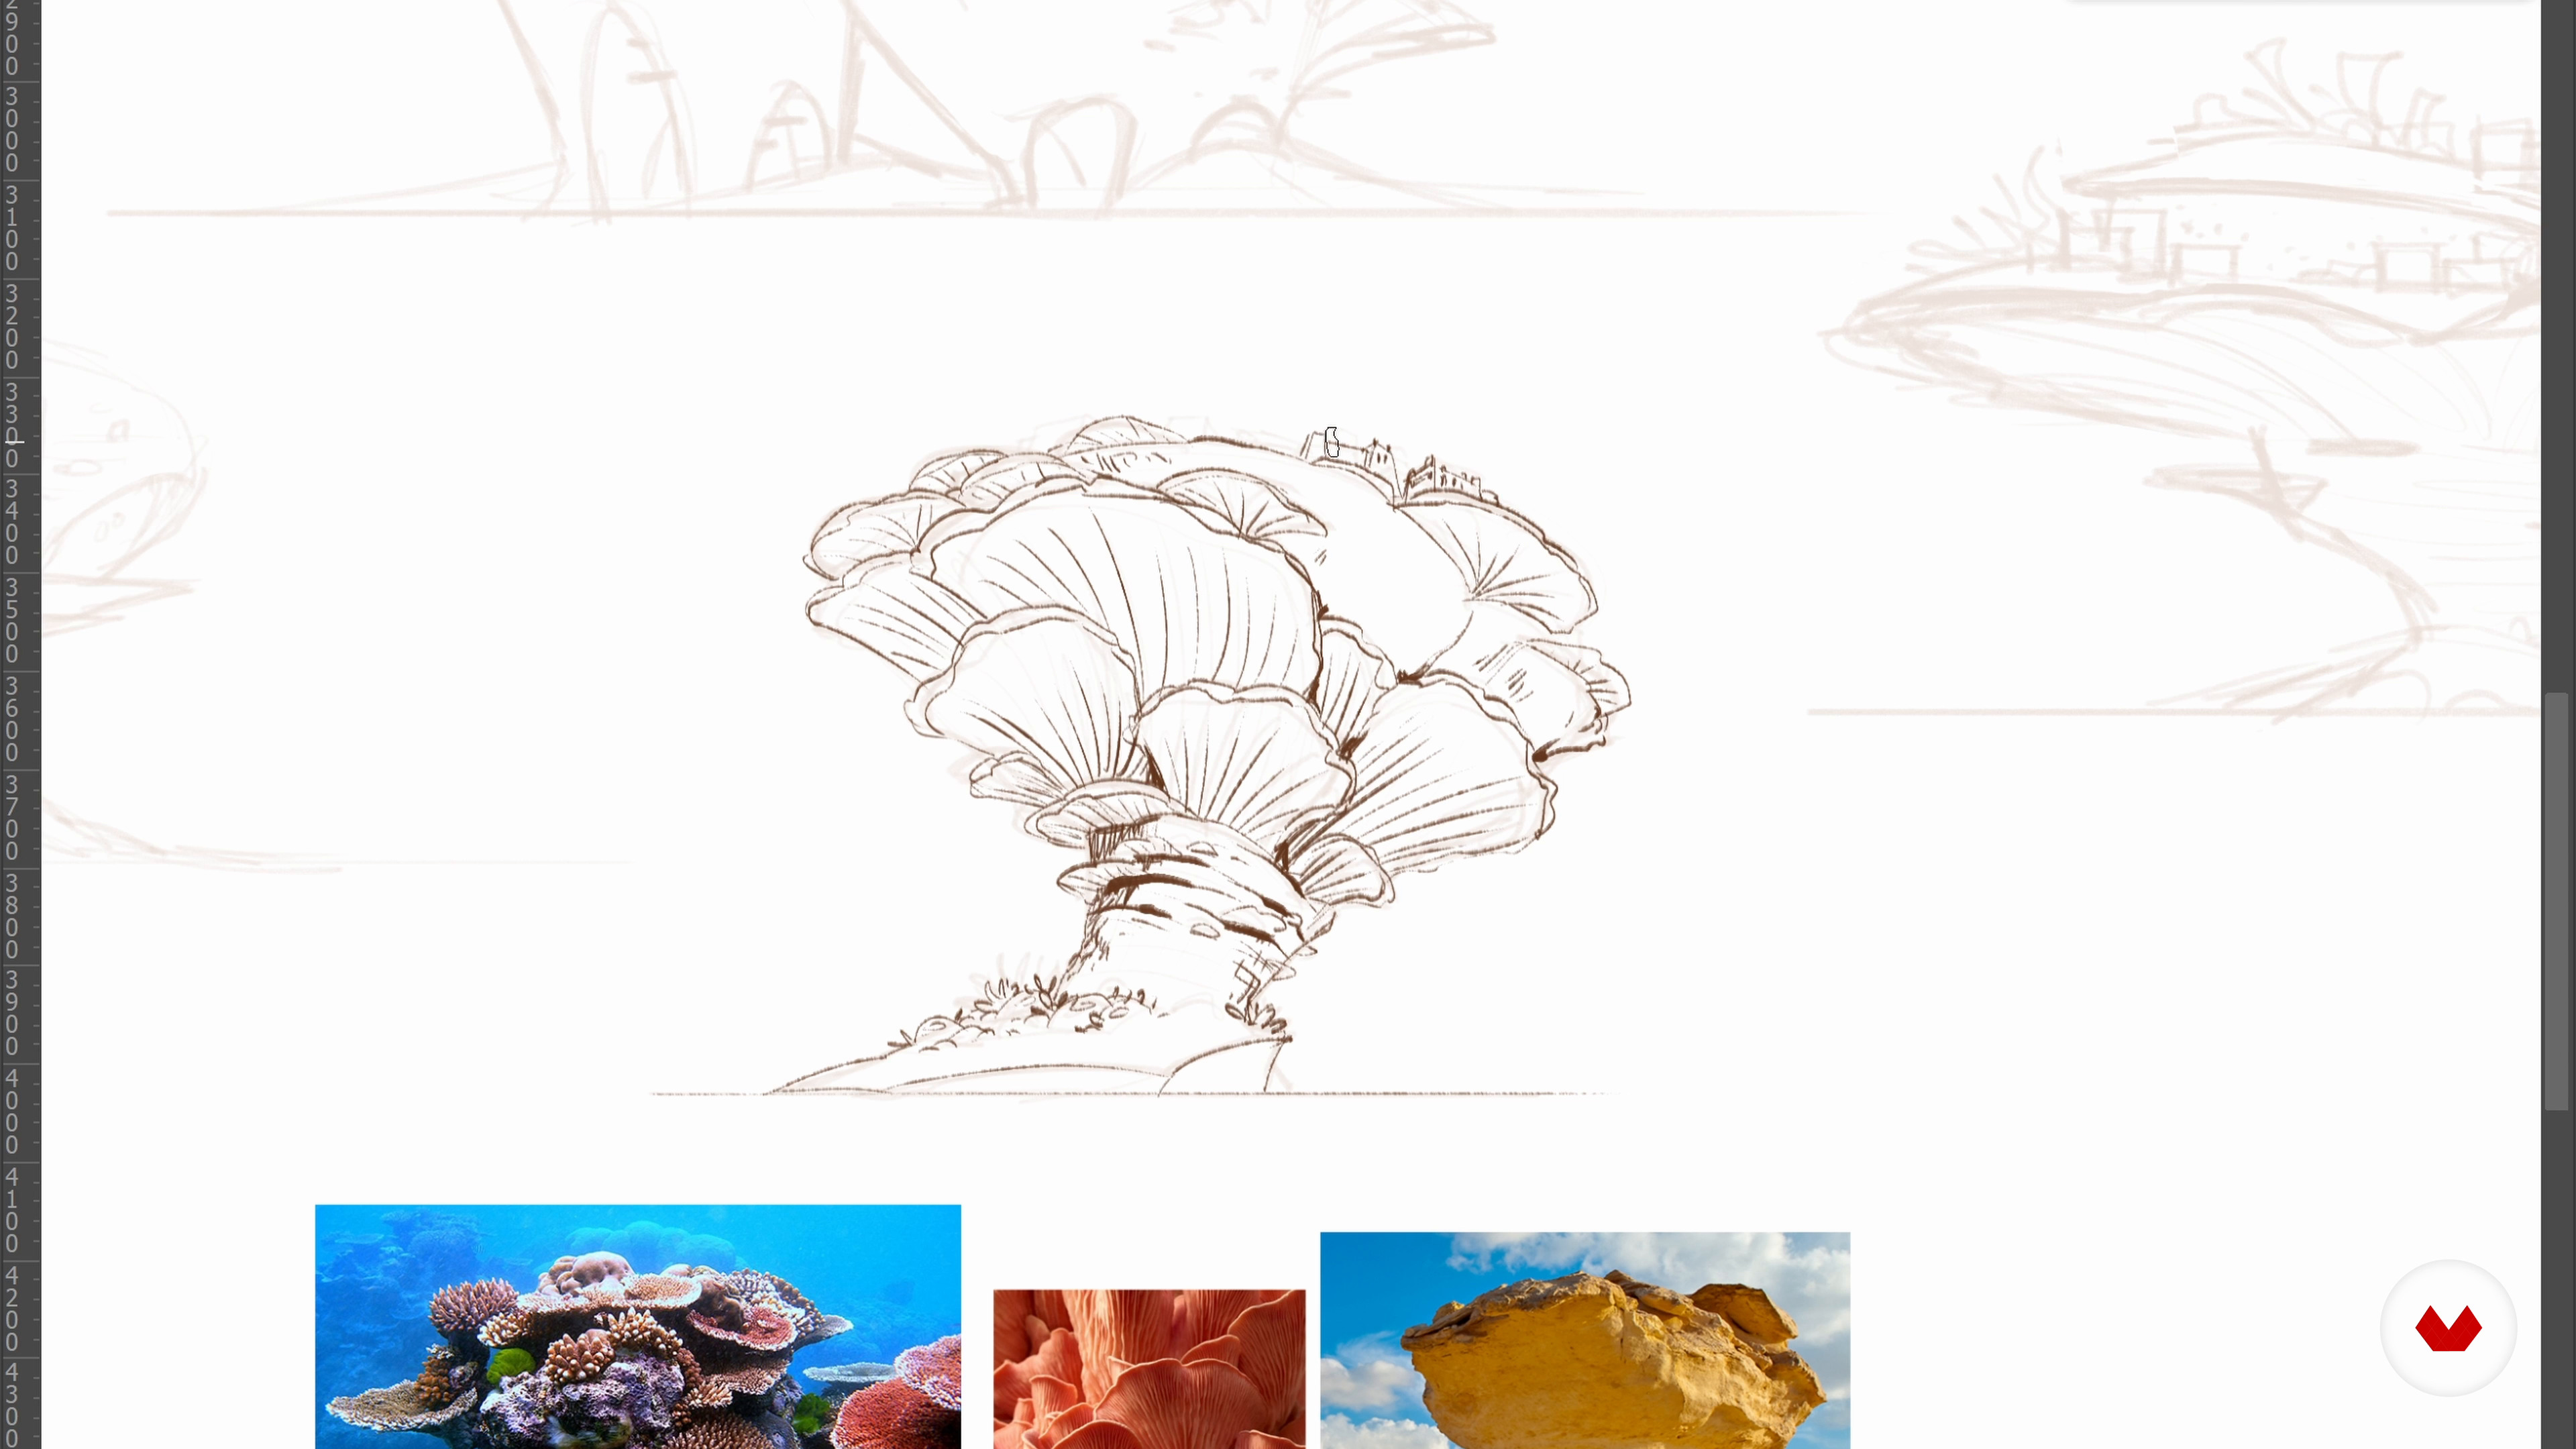
Refining Sketches
Once you have established big ideas, it is time to refine your sketches, so the pictures are easy to read. In this lesson, I will show how to clean sketches and add some values for better presentation.
18m
image
18
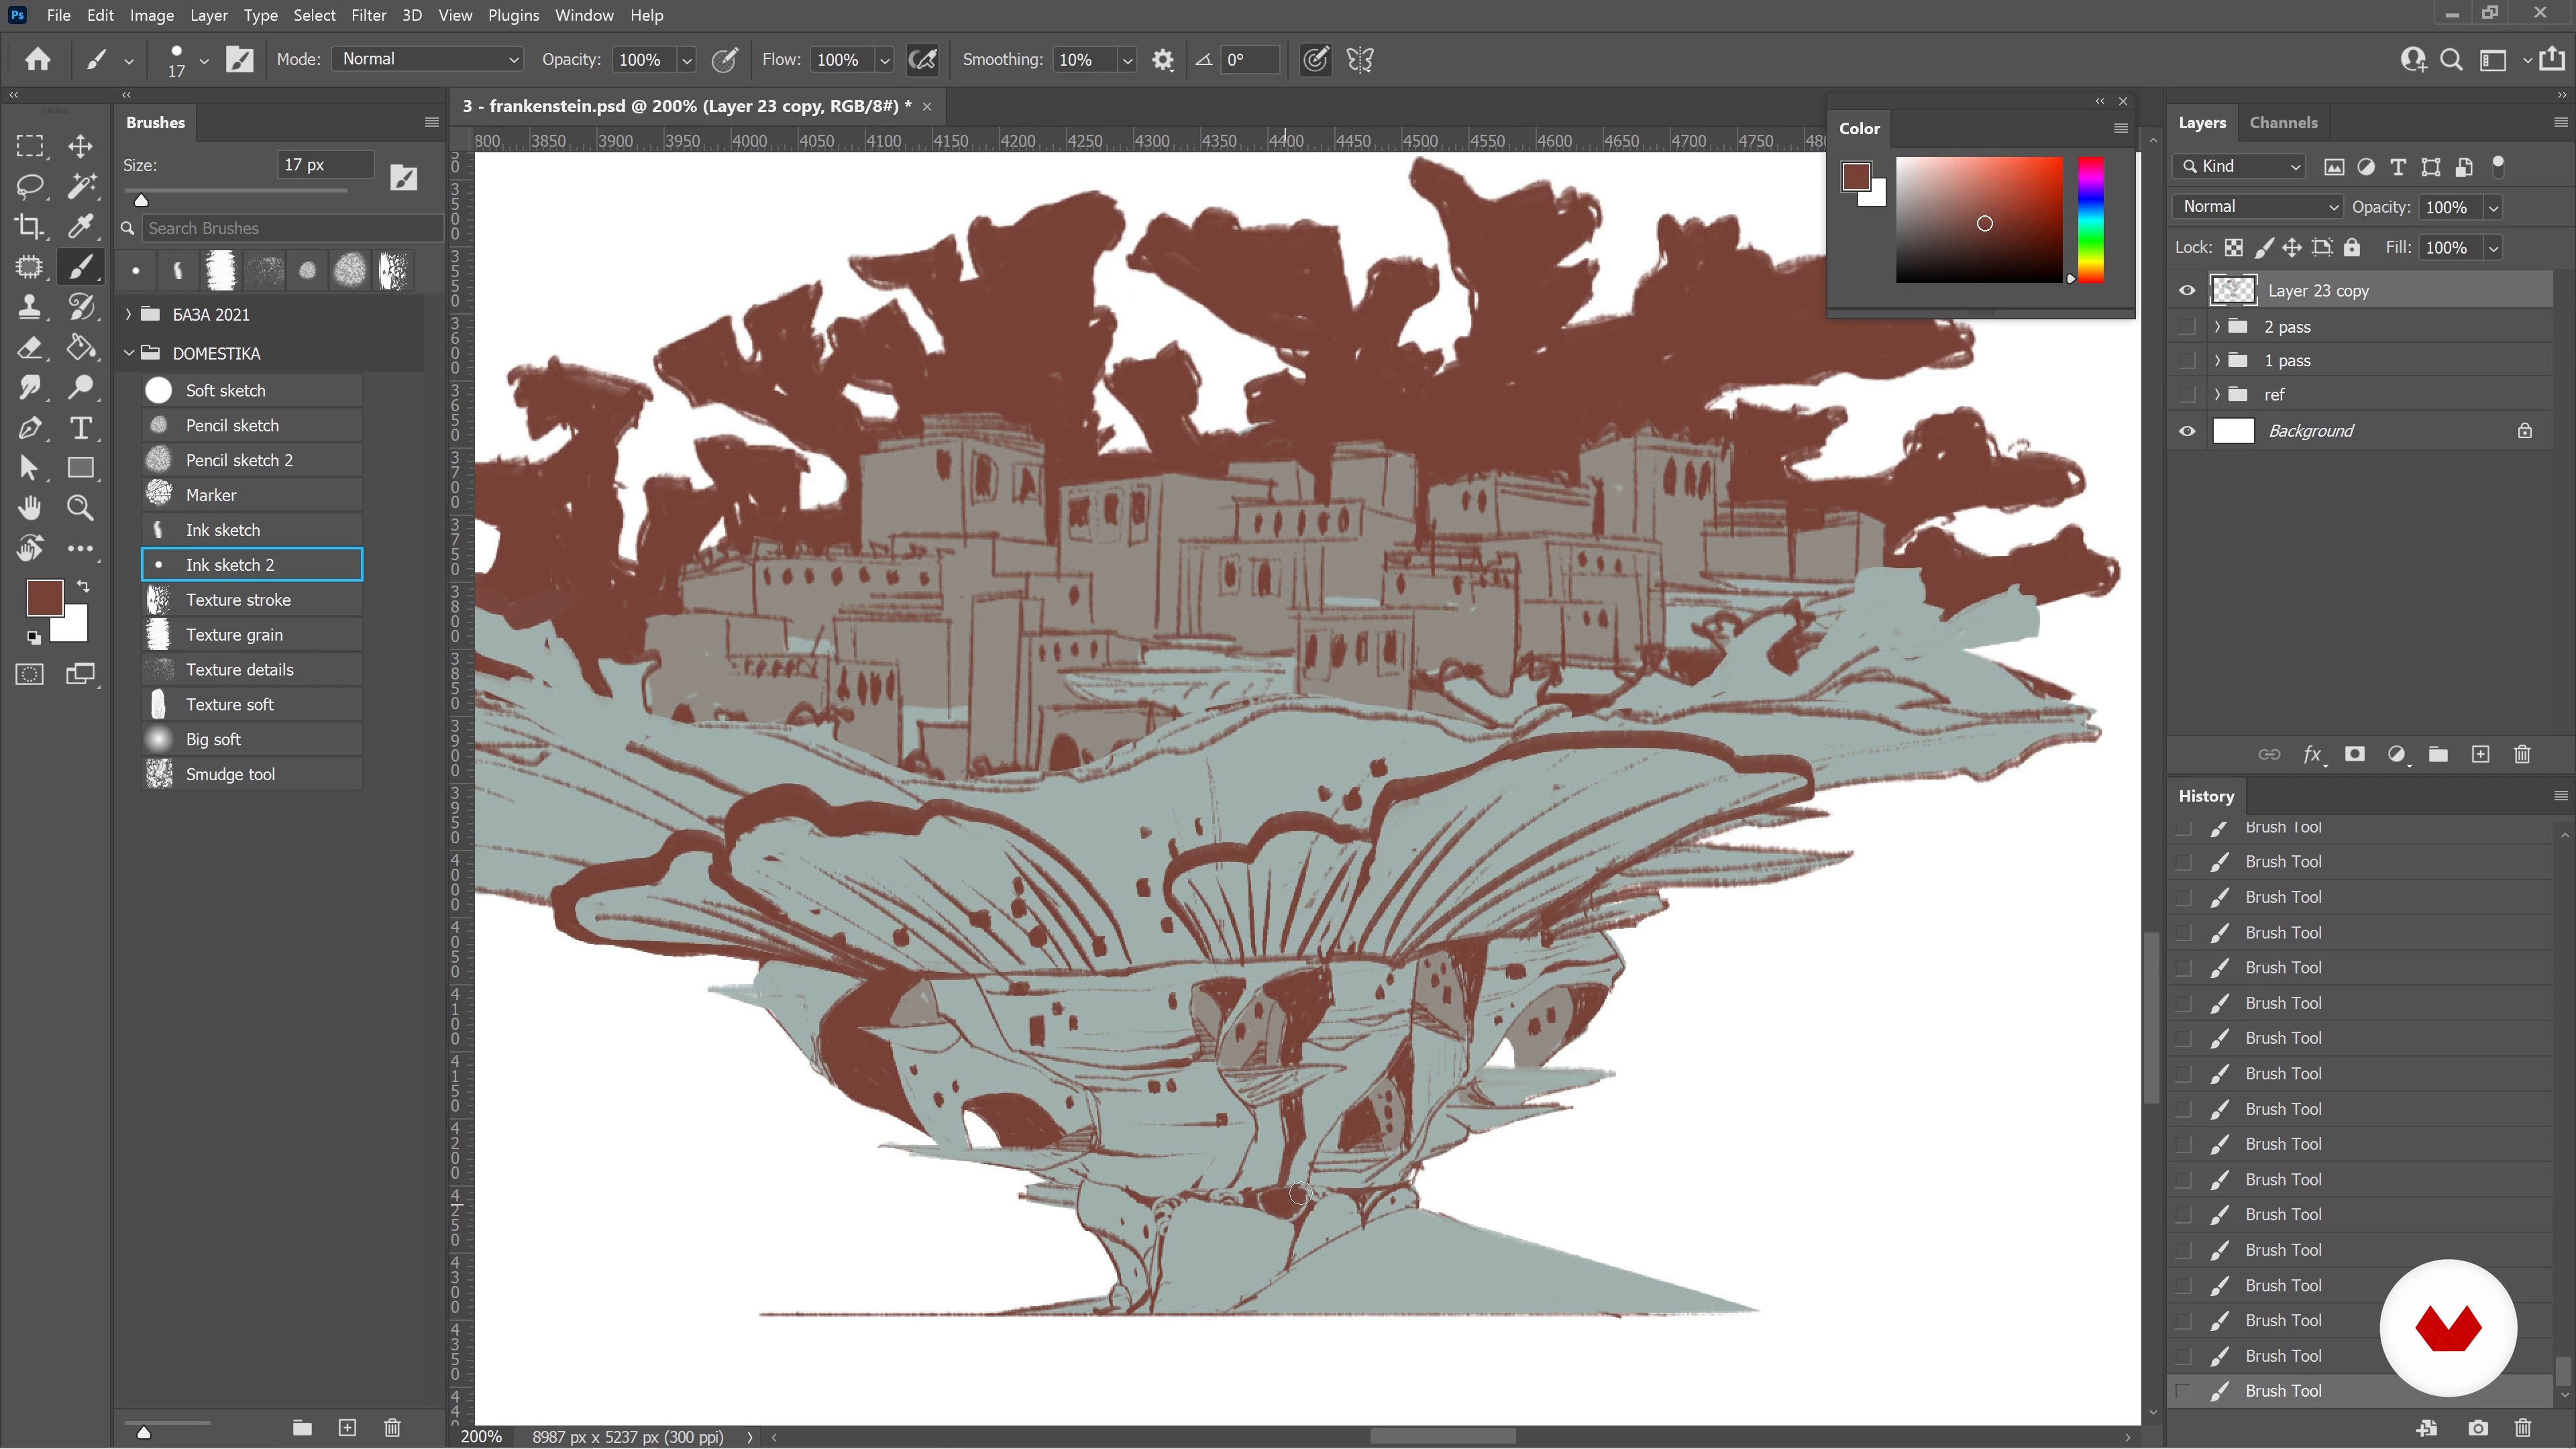
The Final Design
In this lesson, I will discuss what works and what does not in the designs I sketched out. And then, I will start working on the final “Frankenstein” design by combining different working ideas into one.
15m
image
19
Adding Context and Setting the Mood 1
Now I will start working on a final concept art piece based on the research and latest design.
17m
image
20
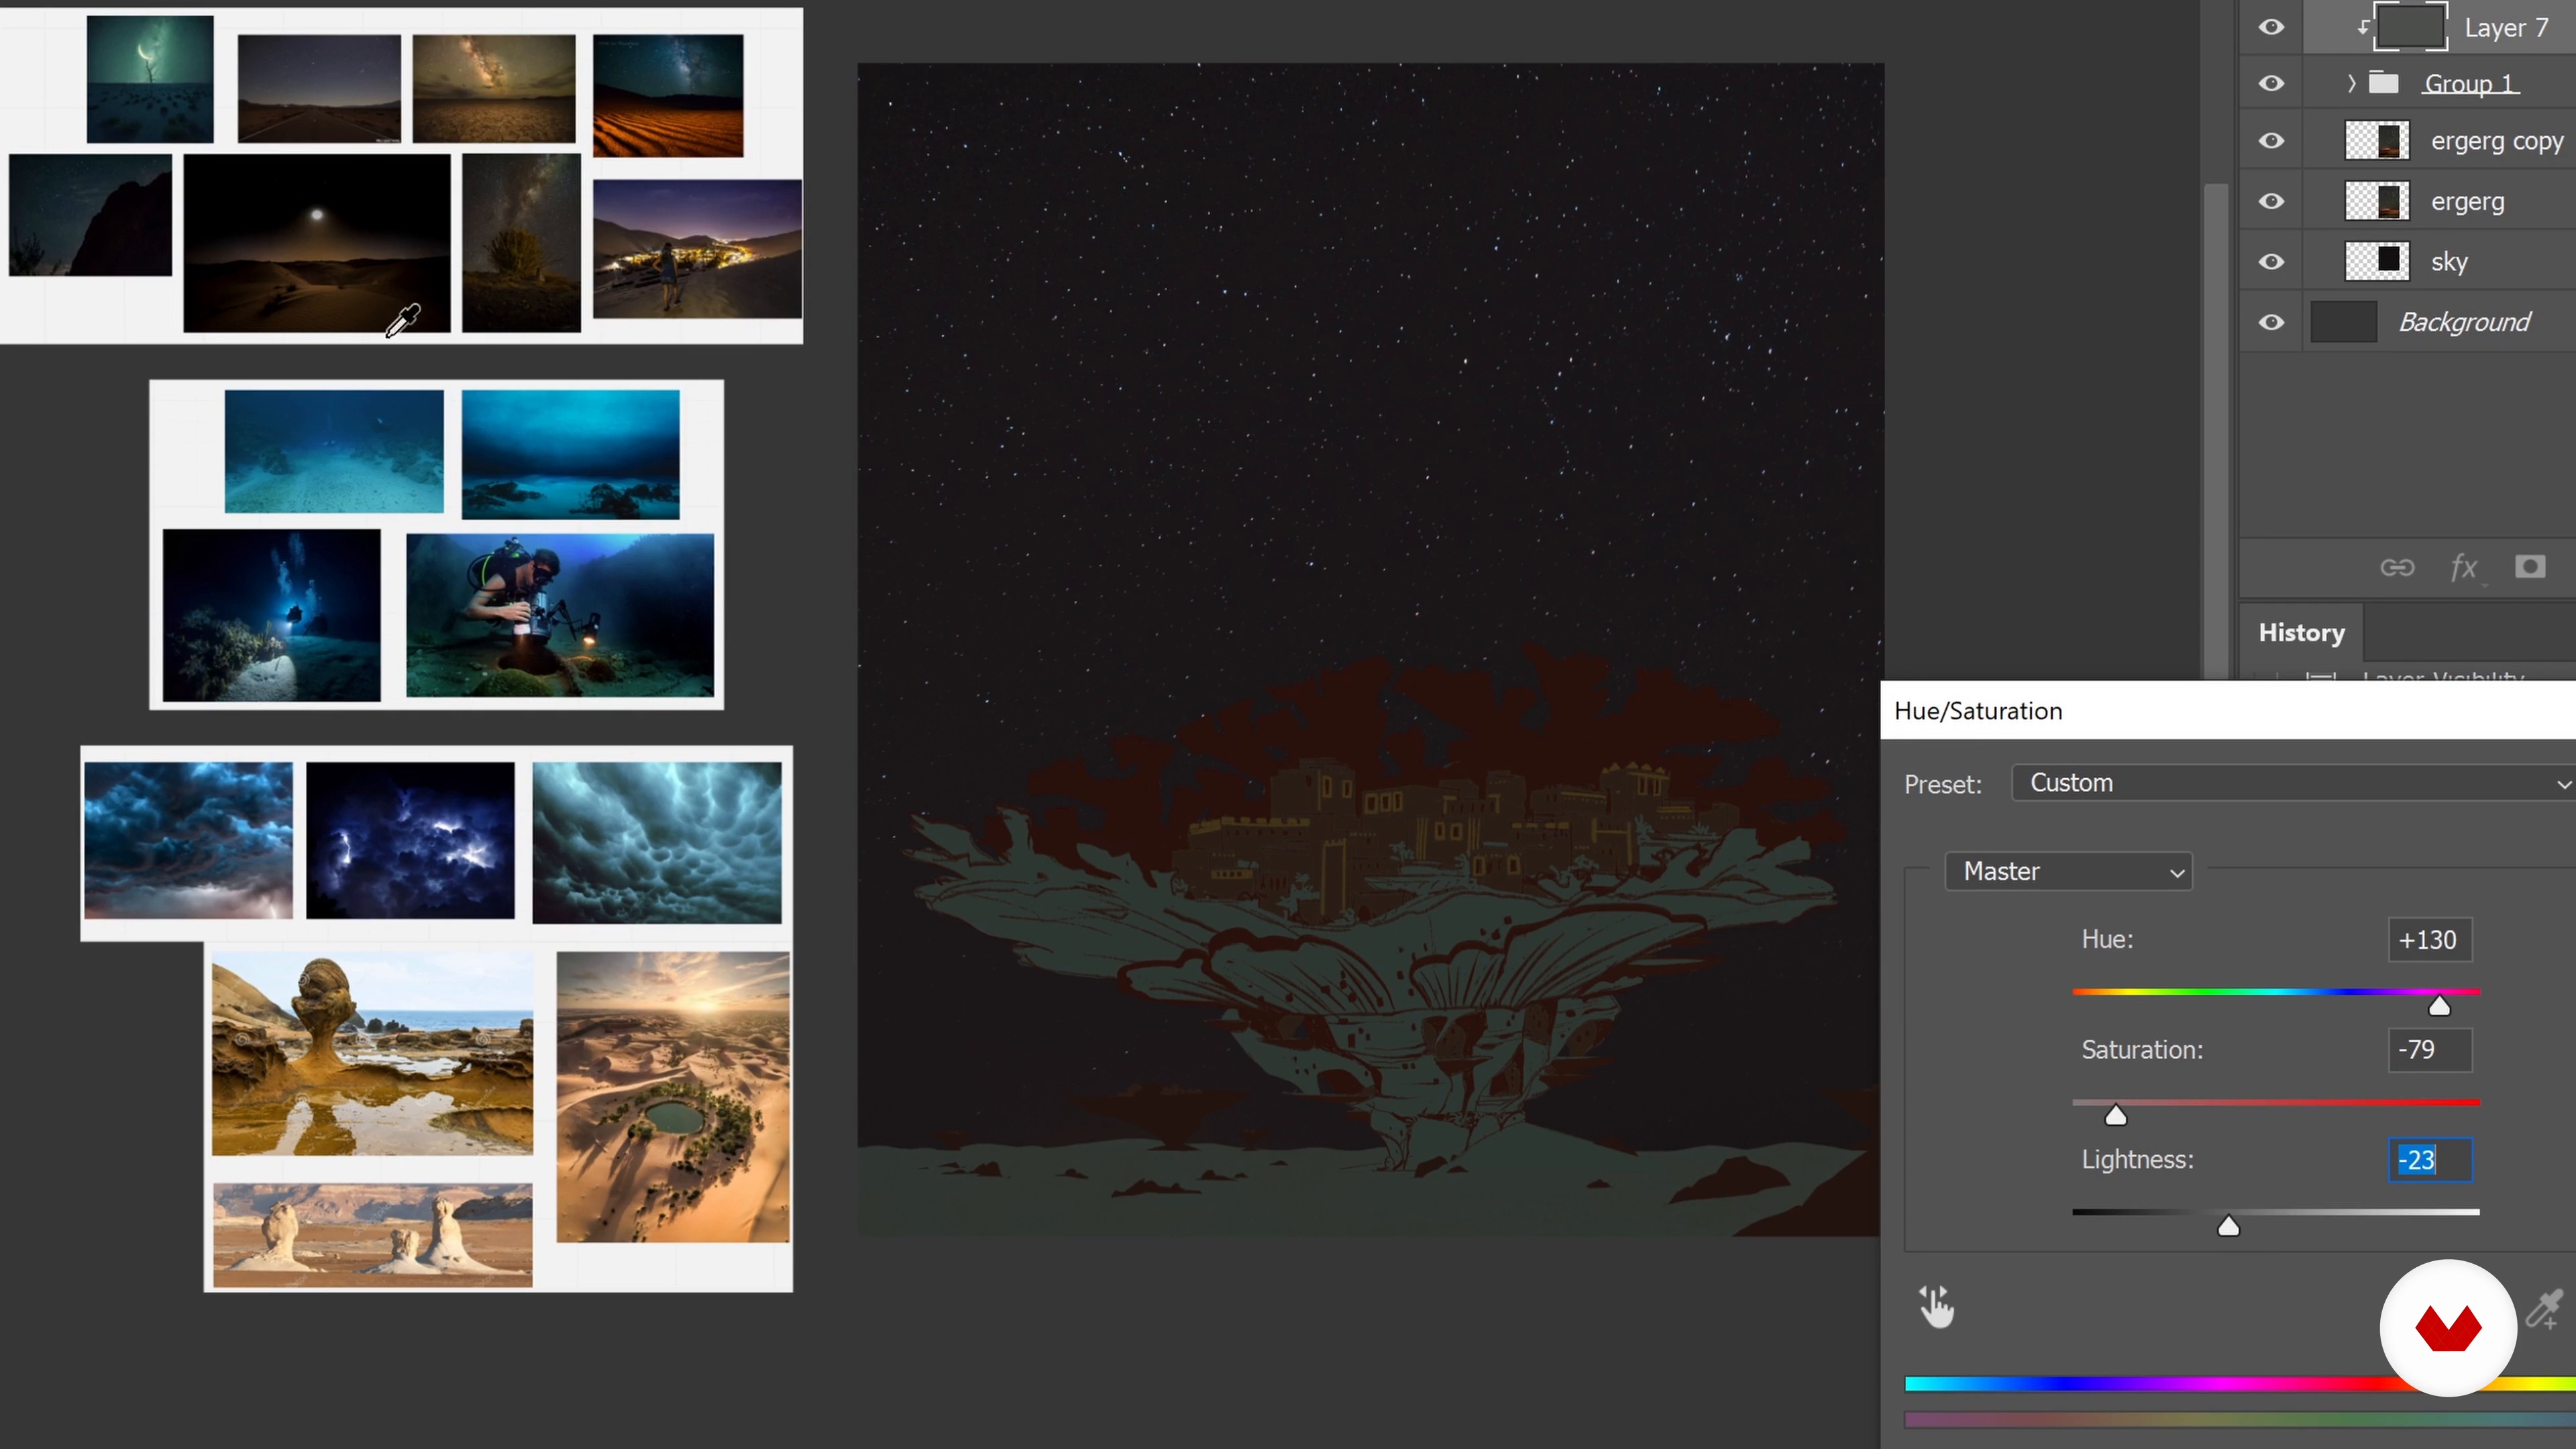
Adding Context and Setting the Mood 2
Here I'll demonstrate some quick environment context (like the sky, distant mountains, etc.).
14m
image
21
Adding Context and Setting the Mood 3
I'll work on lights and focus to indicate the idea of the environment.
14m
image
22
Adding Context and Setting the Mood 4
And it is almost done! Here, I'll refine all the details and bring more life into the composition.
15m
image
23
Final Touches
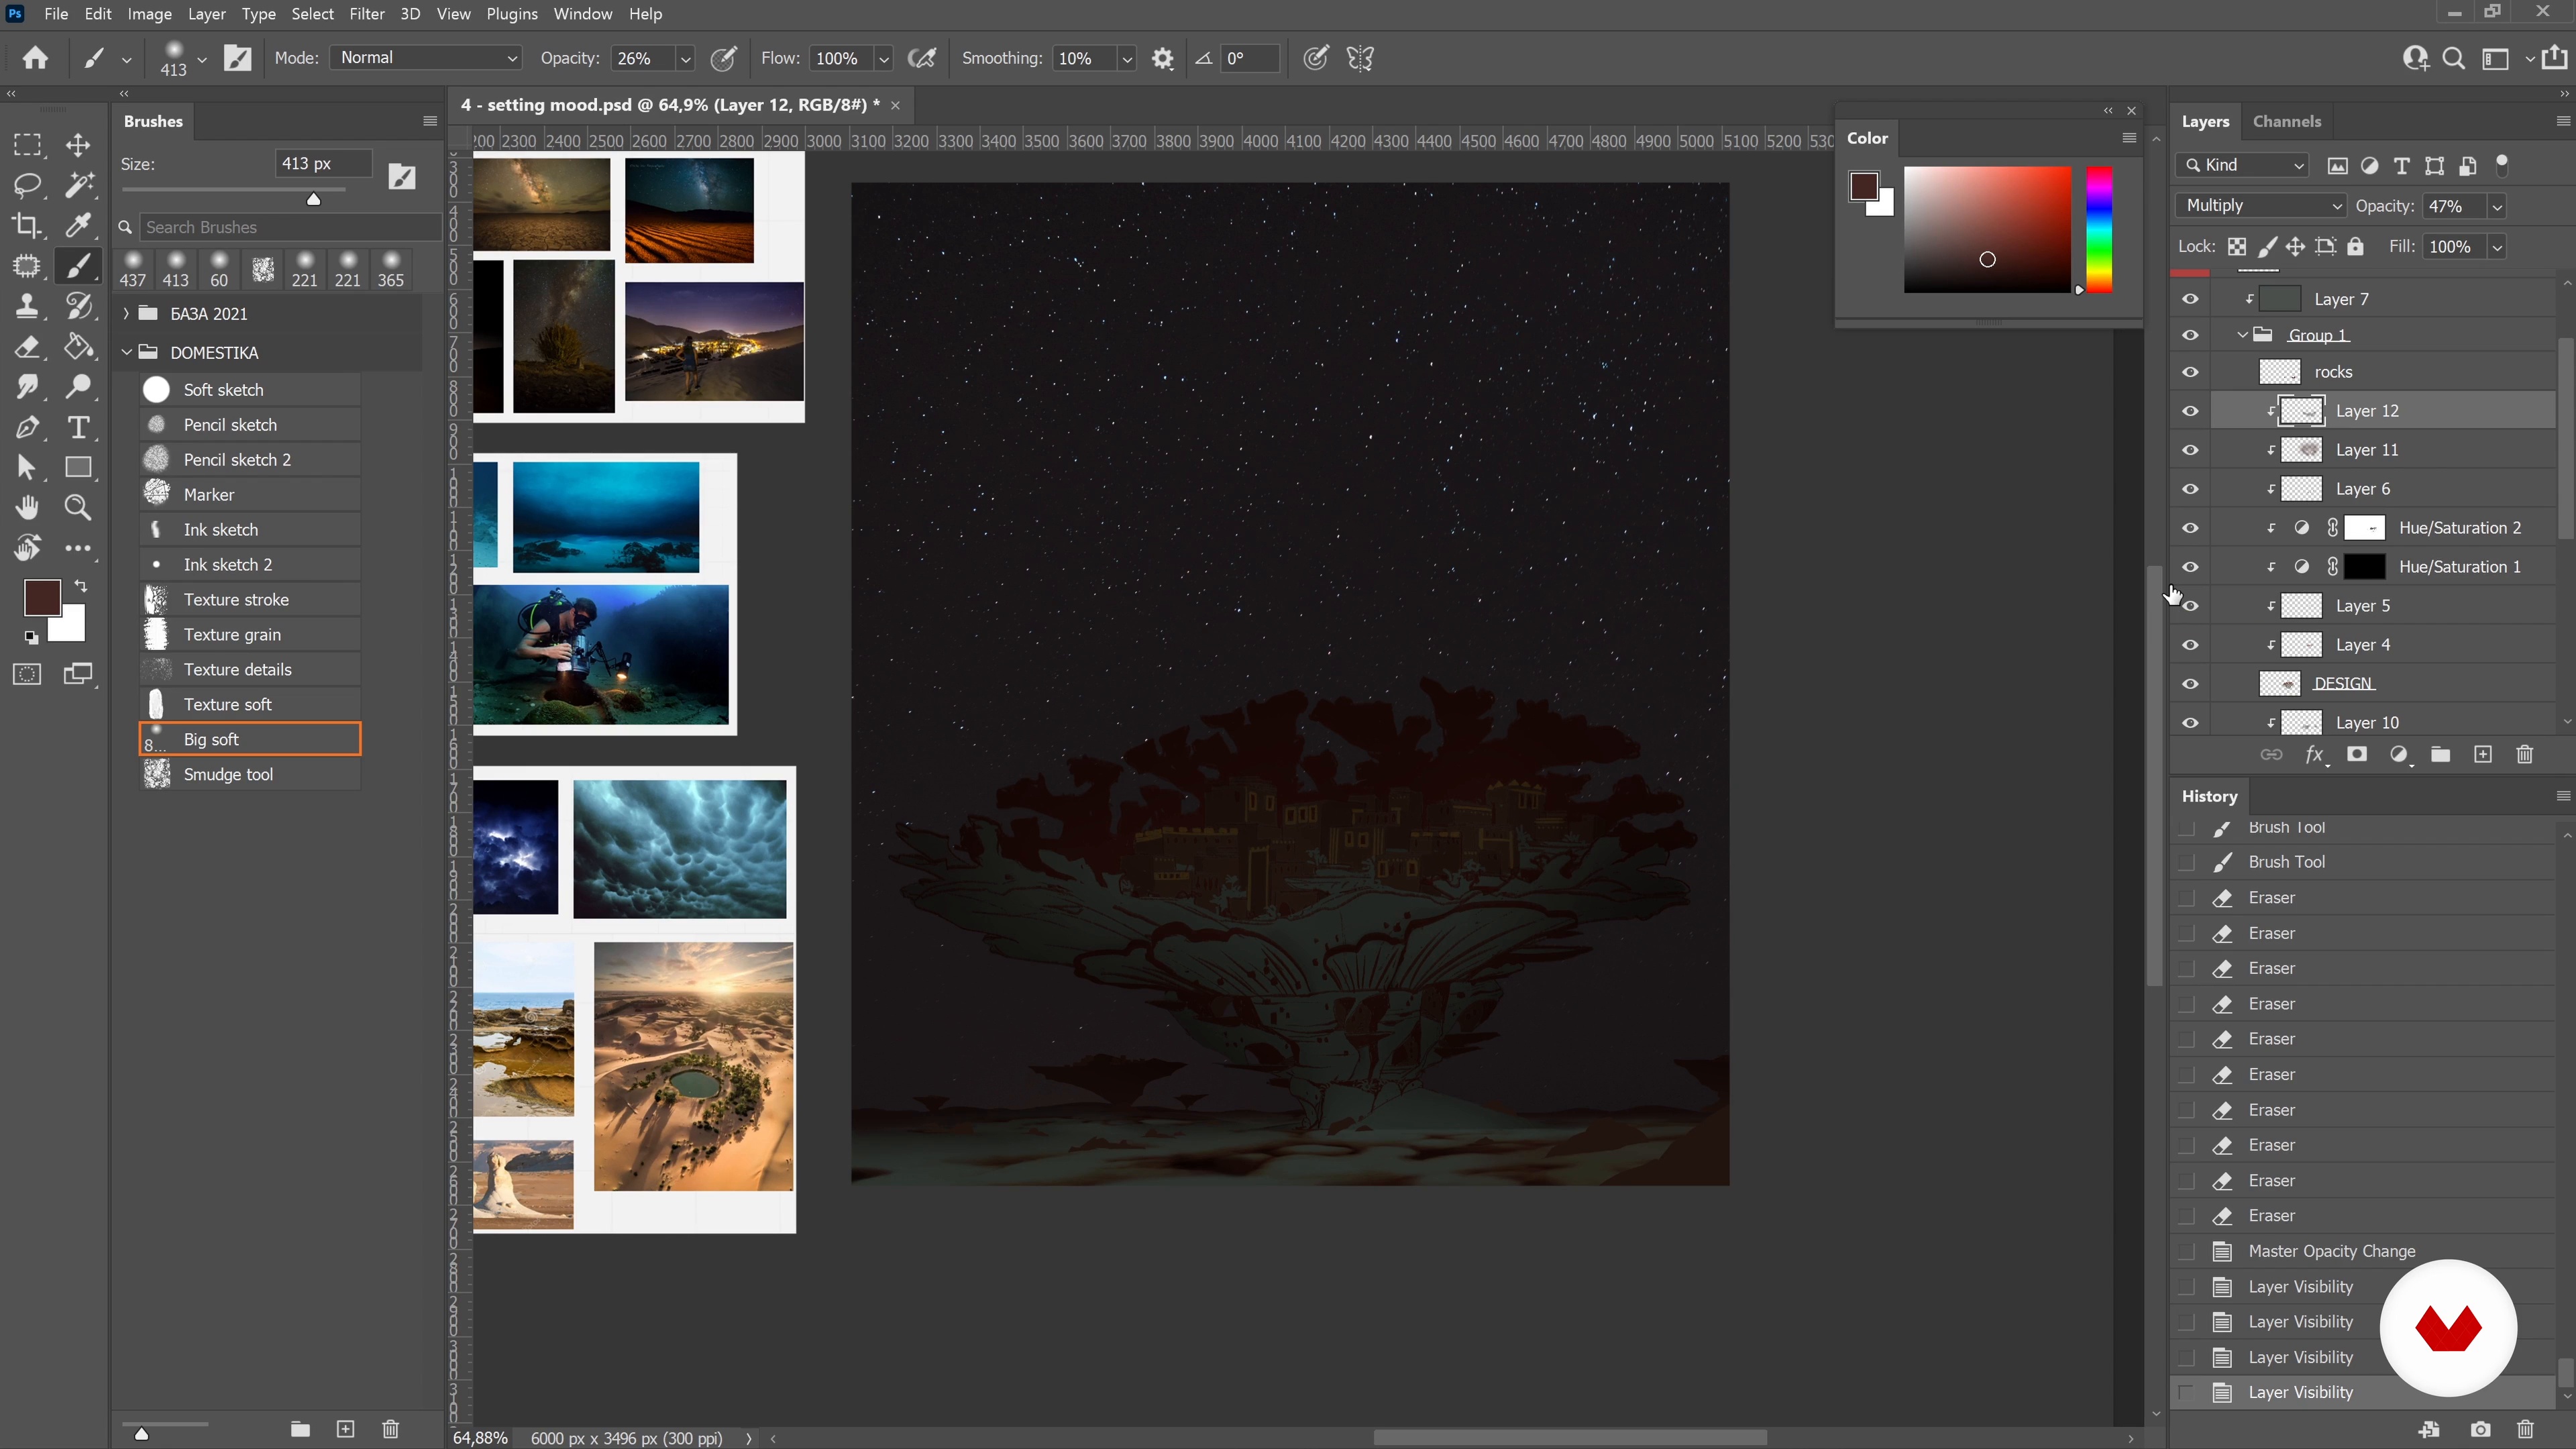
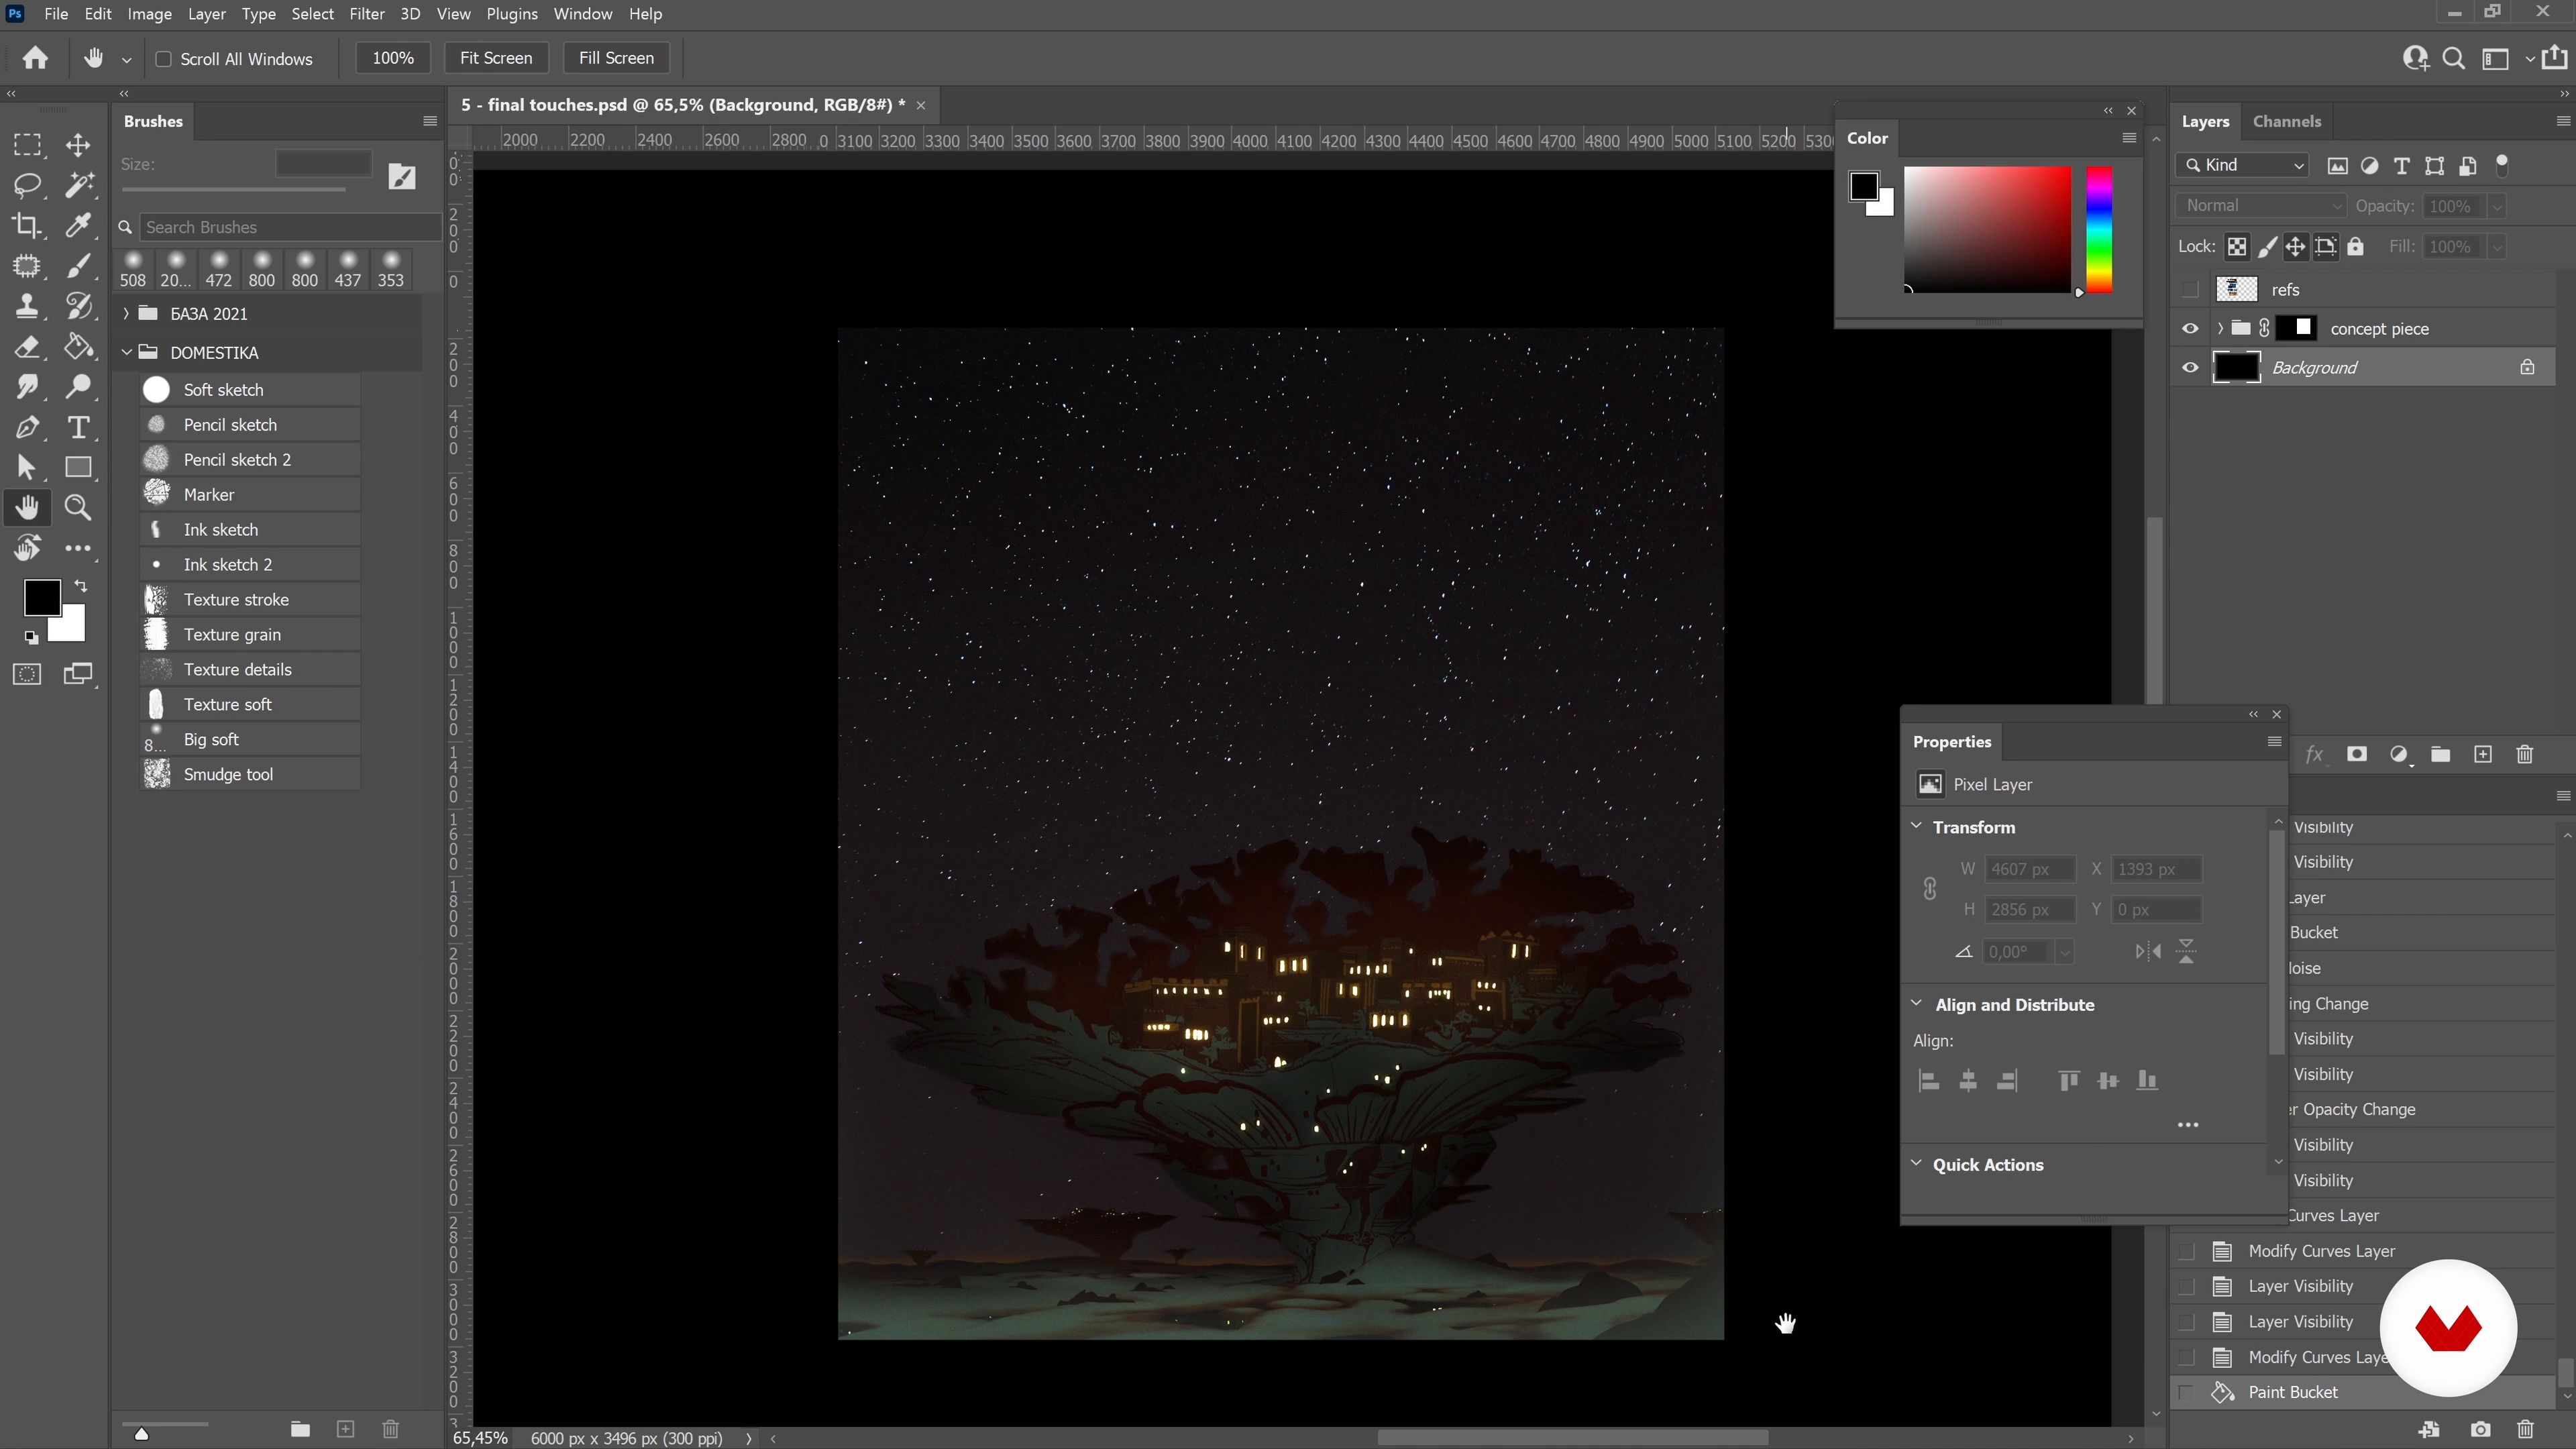
In the final lesson of this unit, I will go over my painting and do little tricks to finish the concept!
11m
image
24
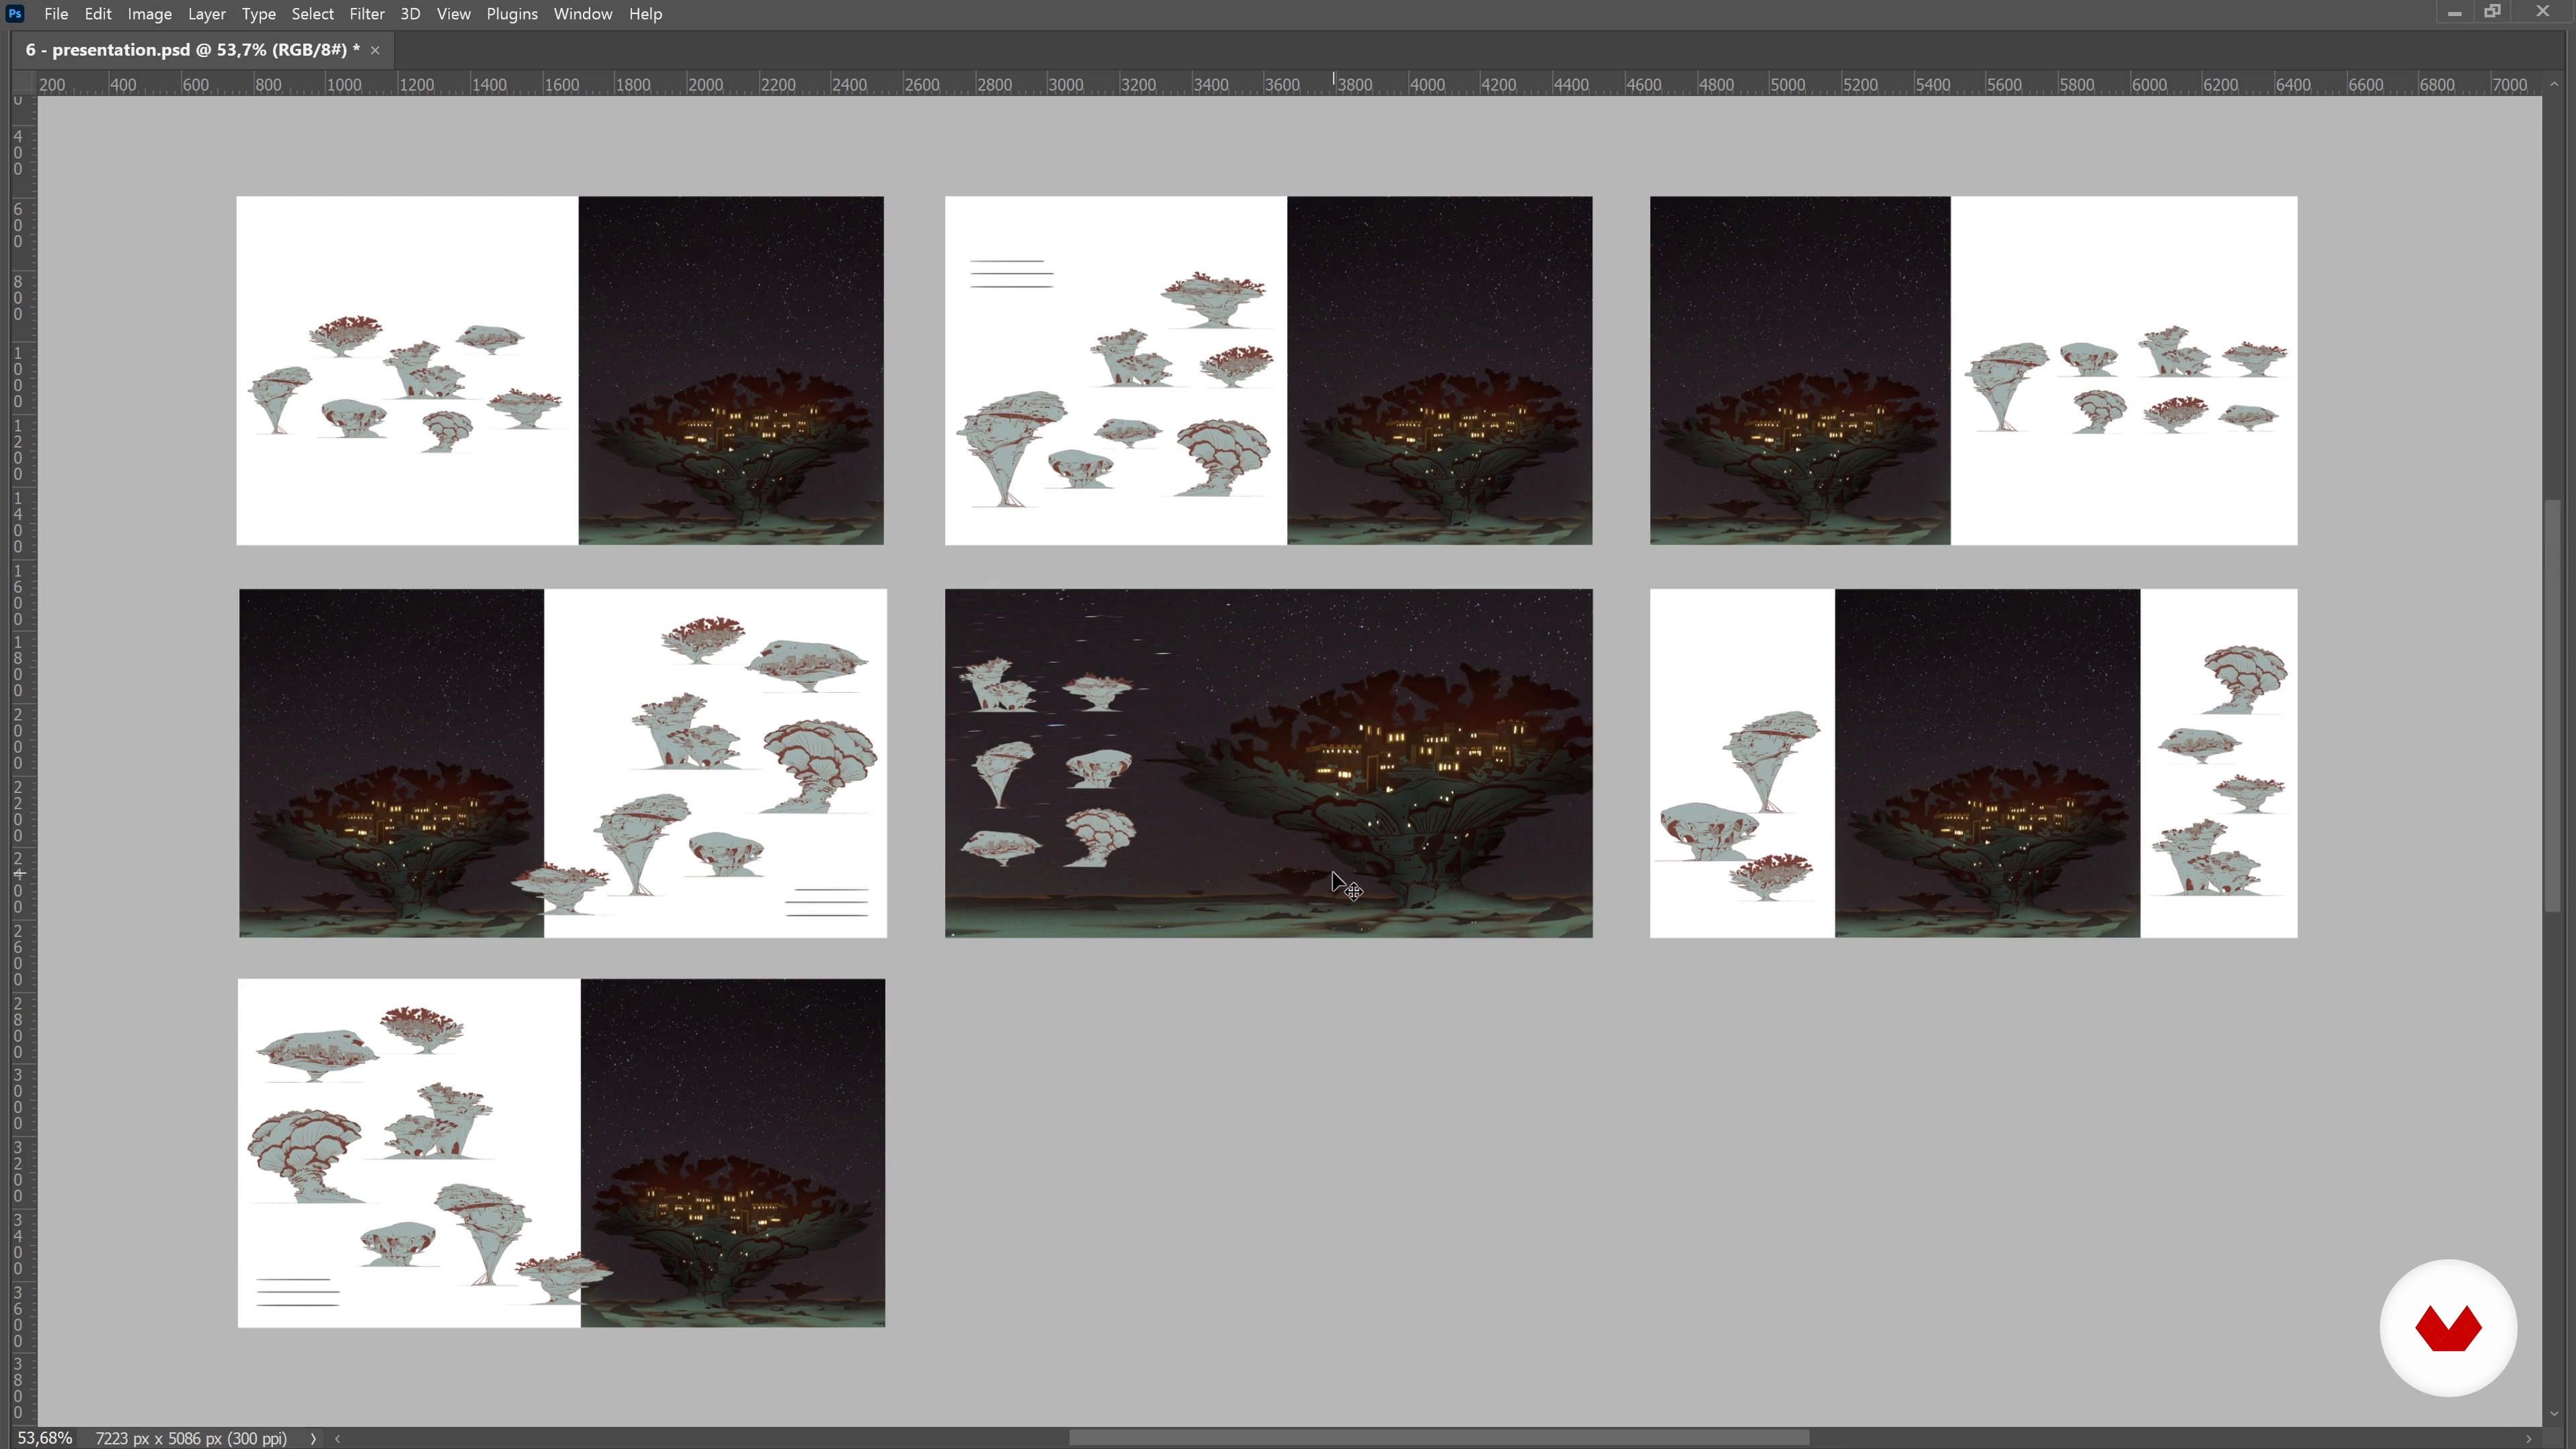
Project Presentation
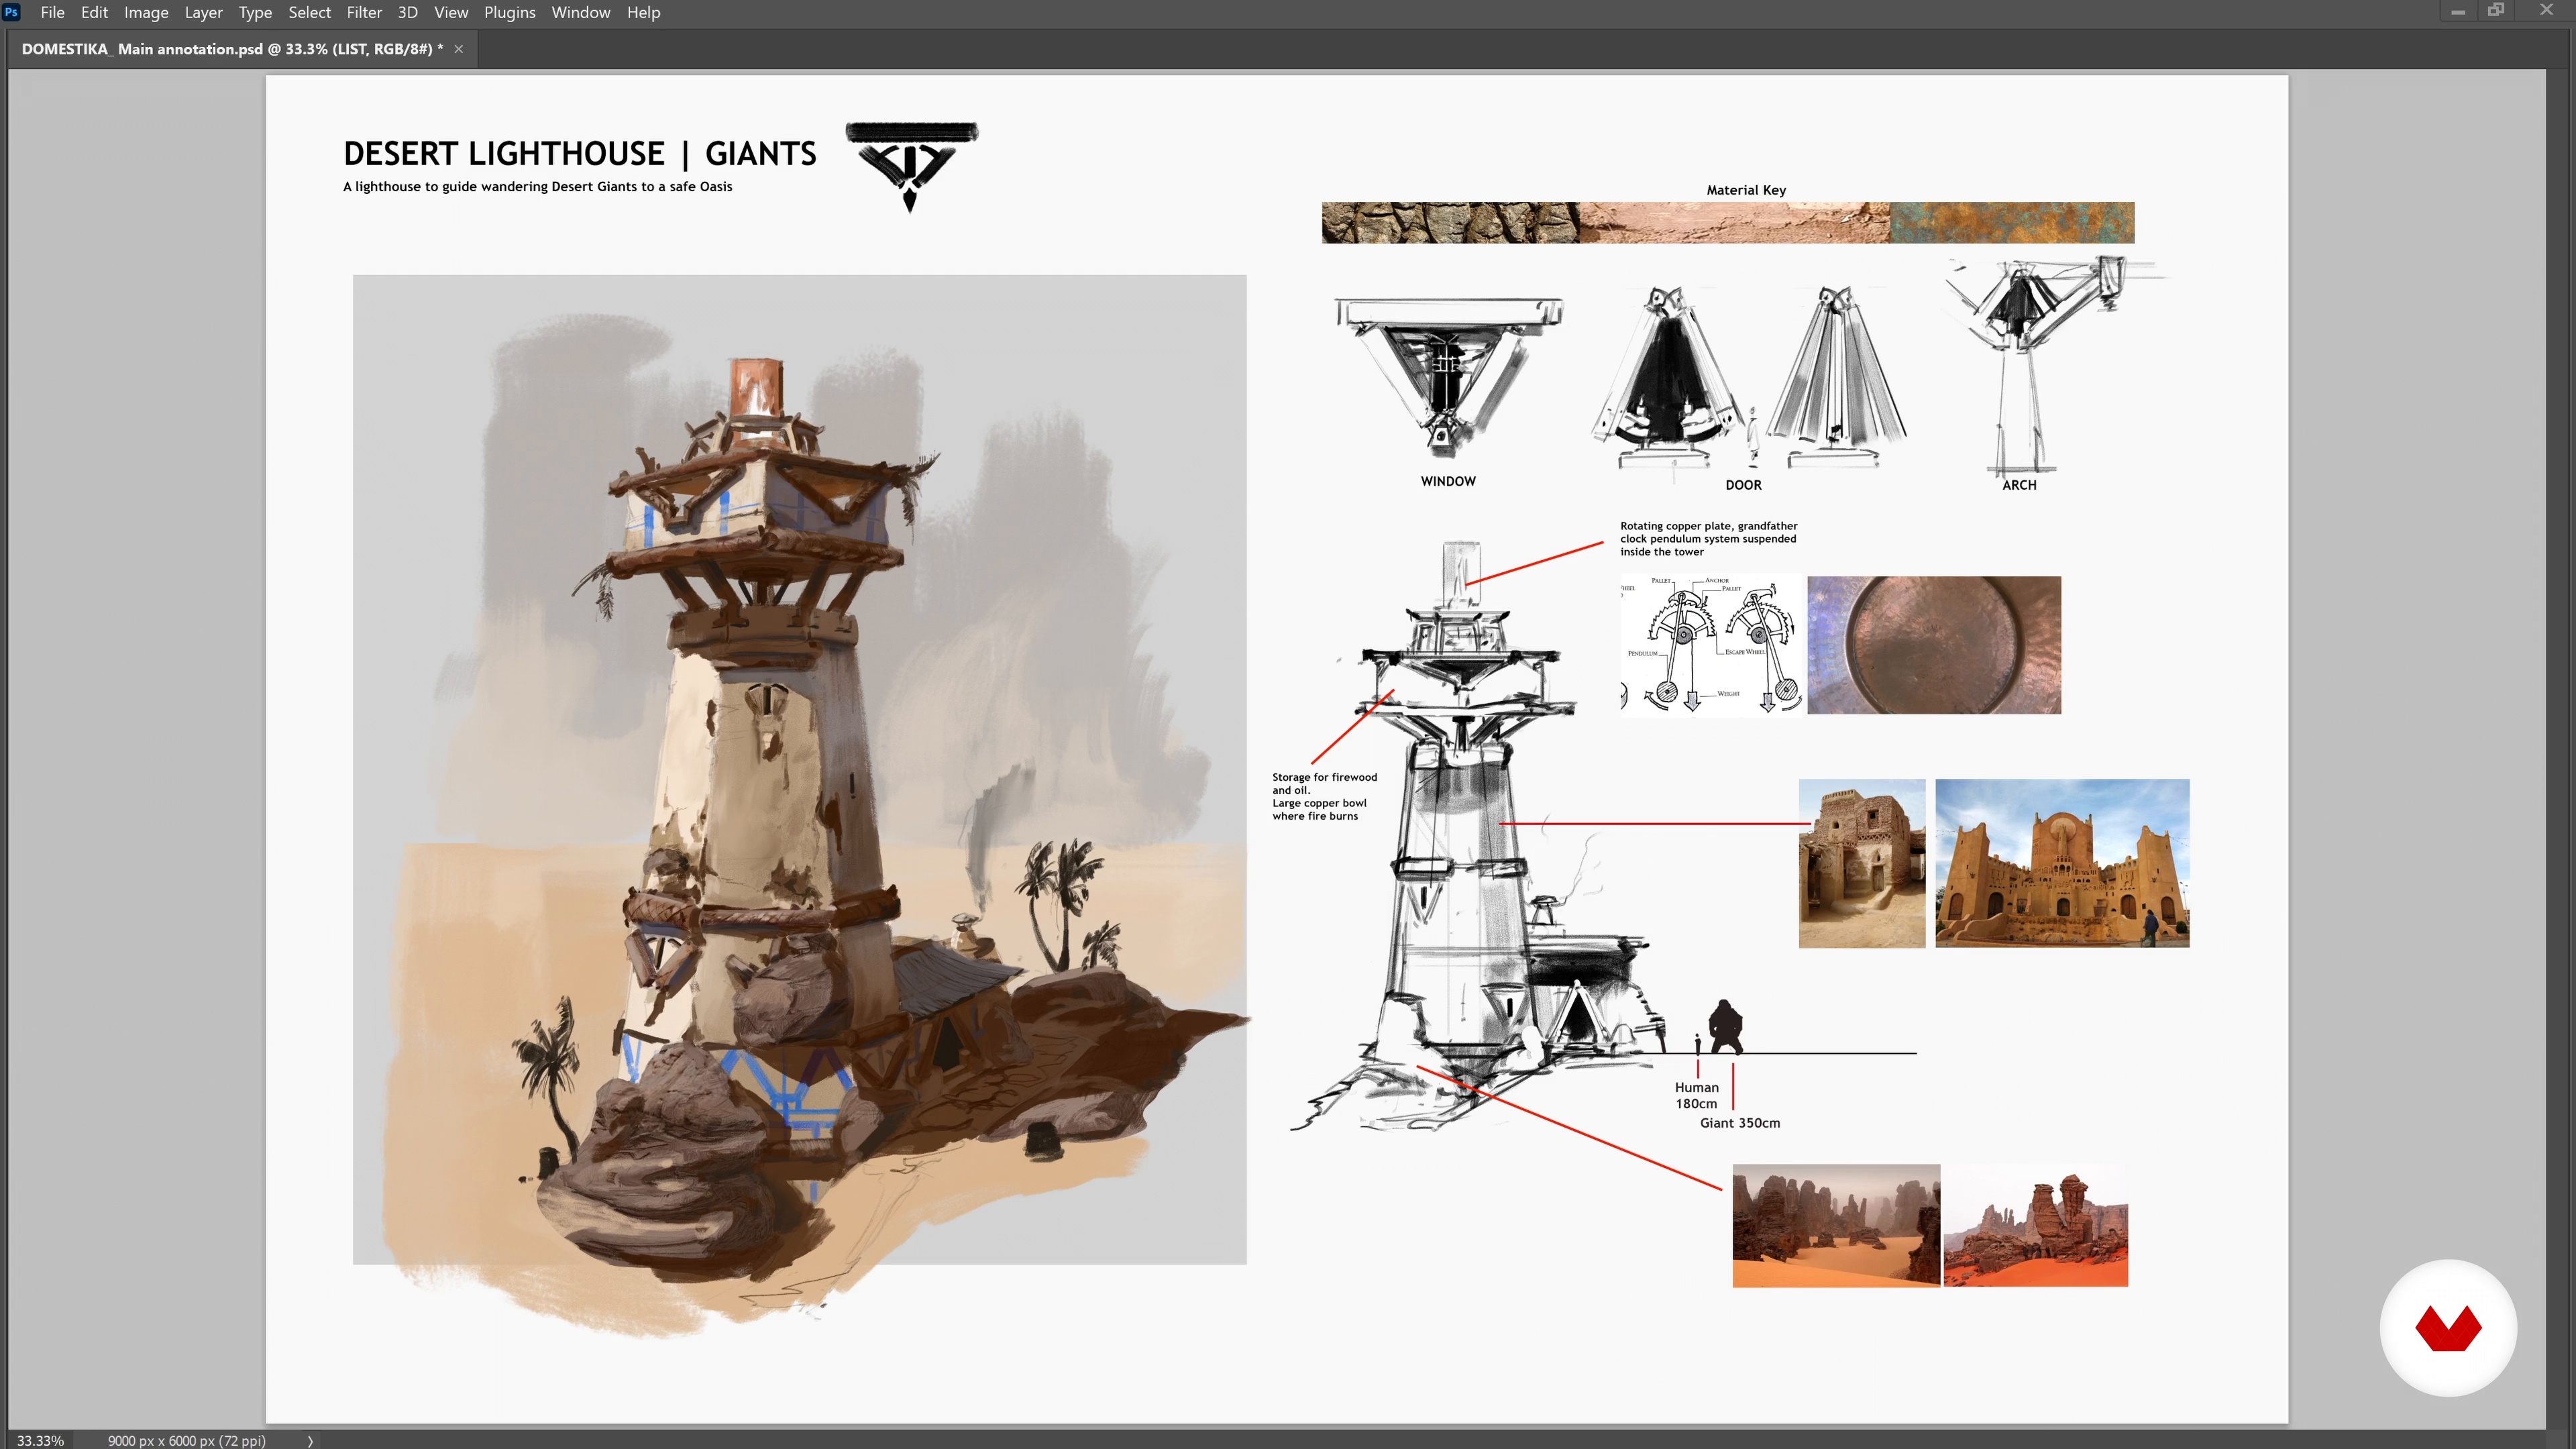
I encourage you to organise all work done during the final production into one solid portfolio page. It’s fundamental to show your thinking process, how you get from A to Z.
20m
image
25
Final Considerations
Finally, I will share some tips to create your visual development portfolio. I will also give you some thoughts about my experience to help you break into the animation industry!
4m
image
3
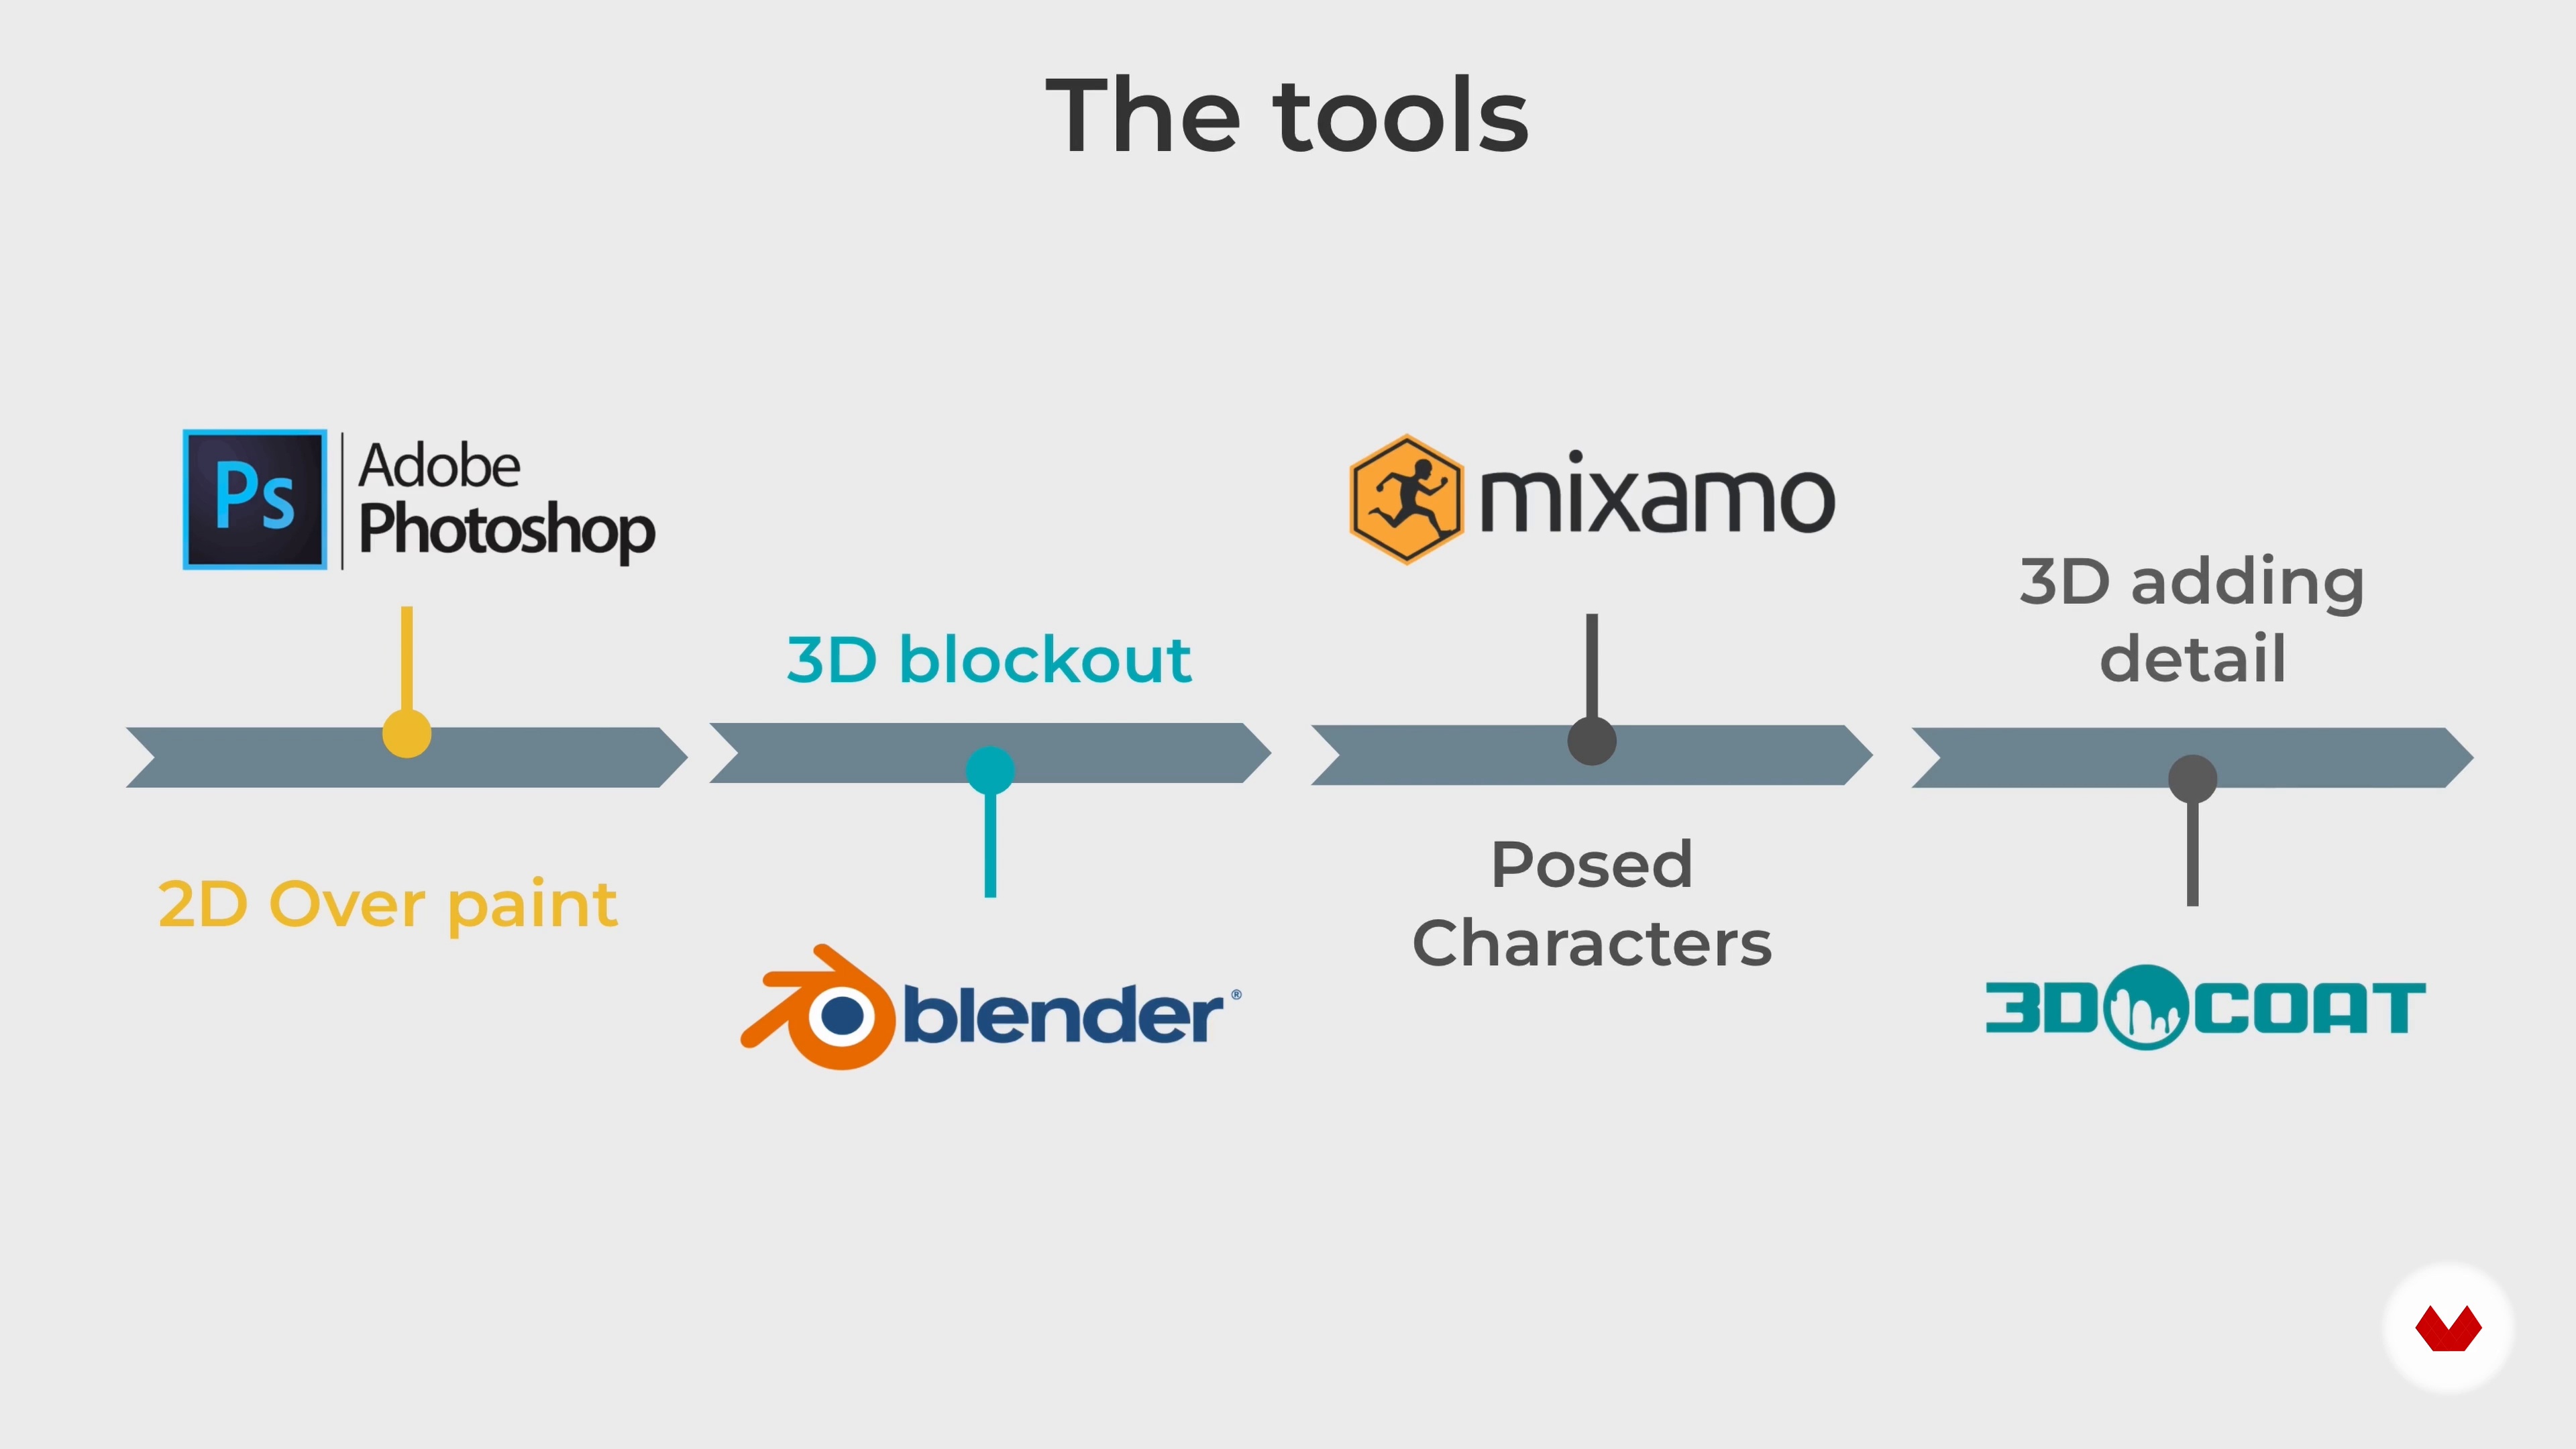
The Process and the Tools
I'll start by telling you about the process we will follow in this course, from beginning to end, and what tools we will be using to achieve that.
2m
image
4
The 2D-3D Workflow
Now, I will cover the basic structure of the 2D-3D workflow I use to create concept work. I will tell you about the benefits of both and how I combine them together for an efficient workflow.
10m
image
5
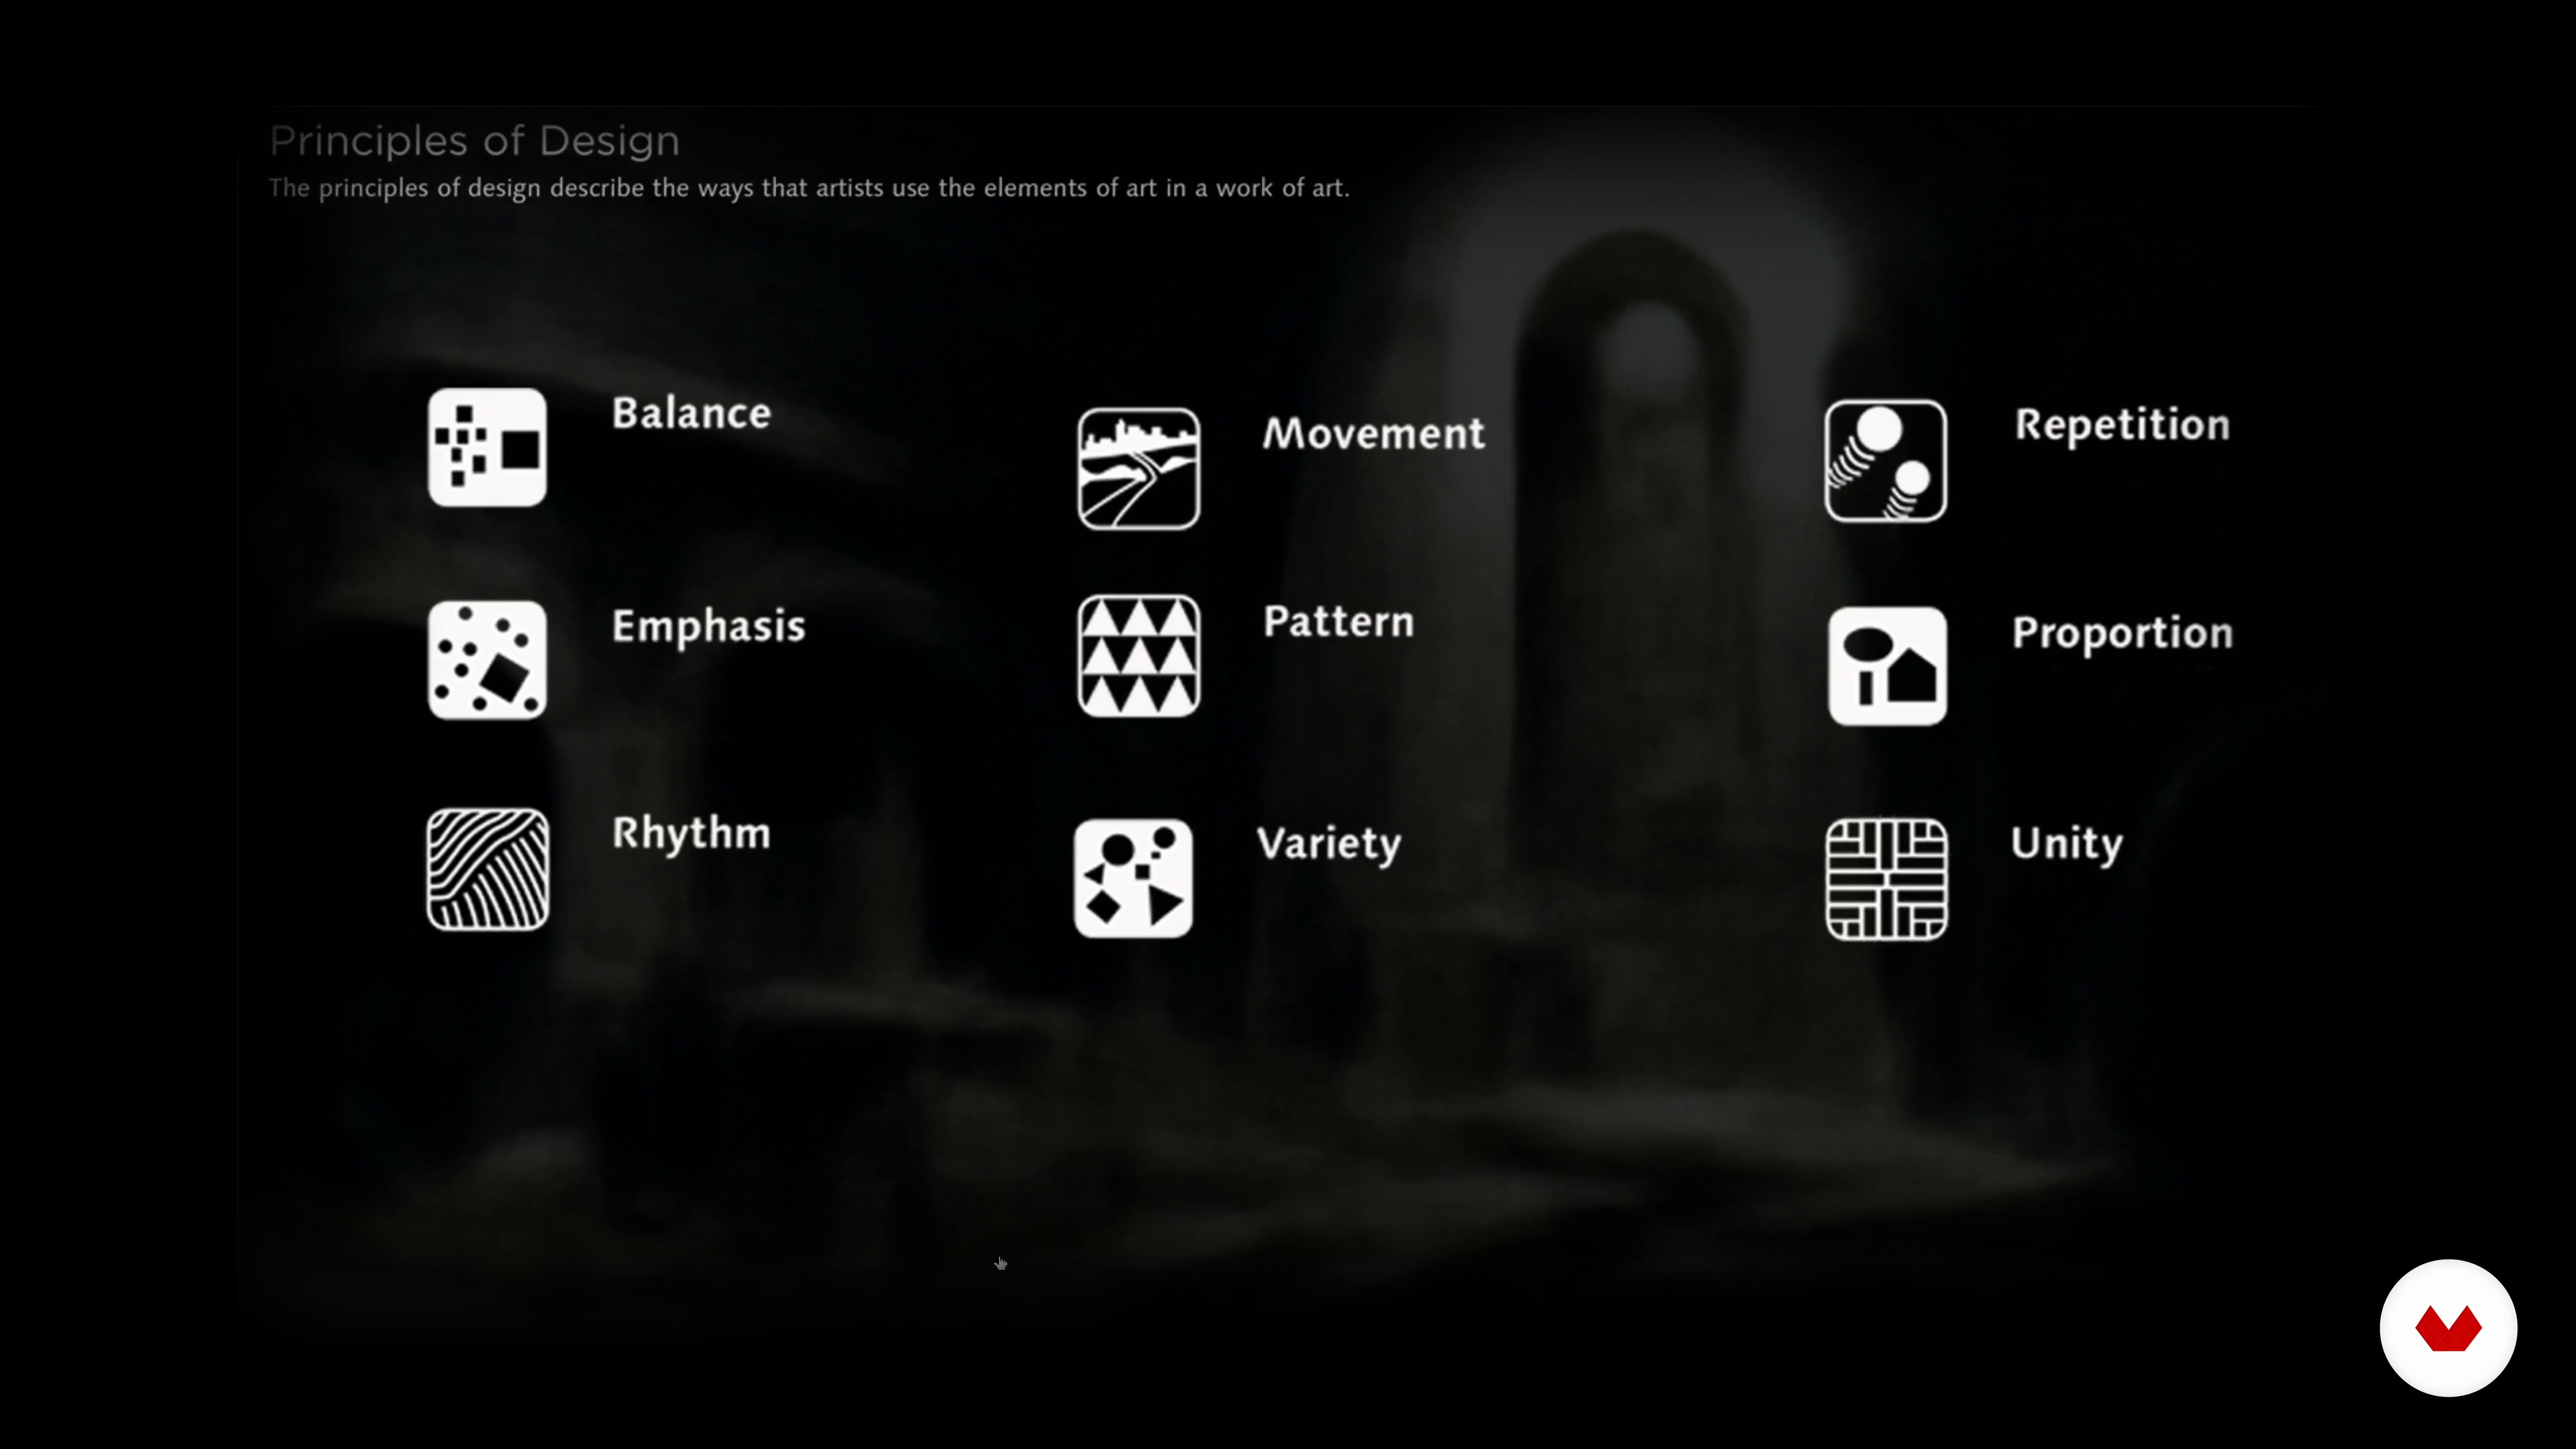
The Basic Principles of Design
The last thing I want to do before starting to work on the project is to go over the basic principles of design. I will explain what they are and how you can apply them when working on your visuals.
12m
image
6
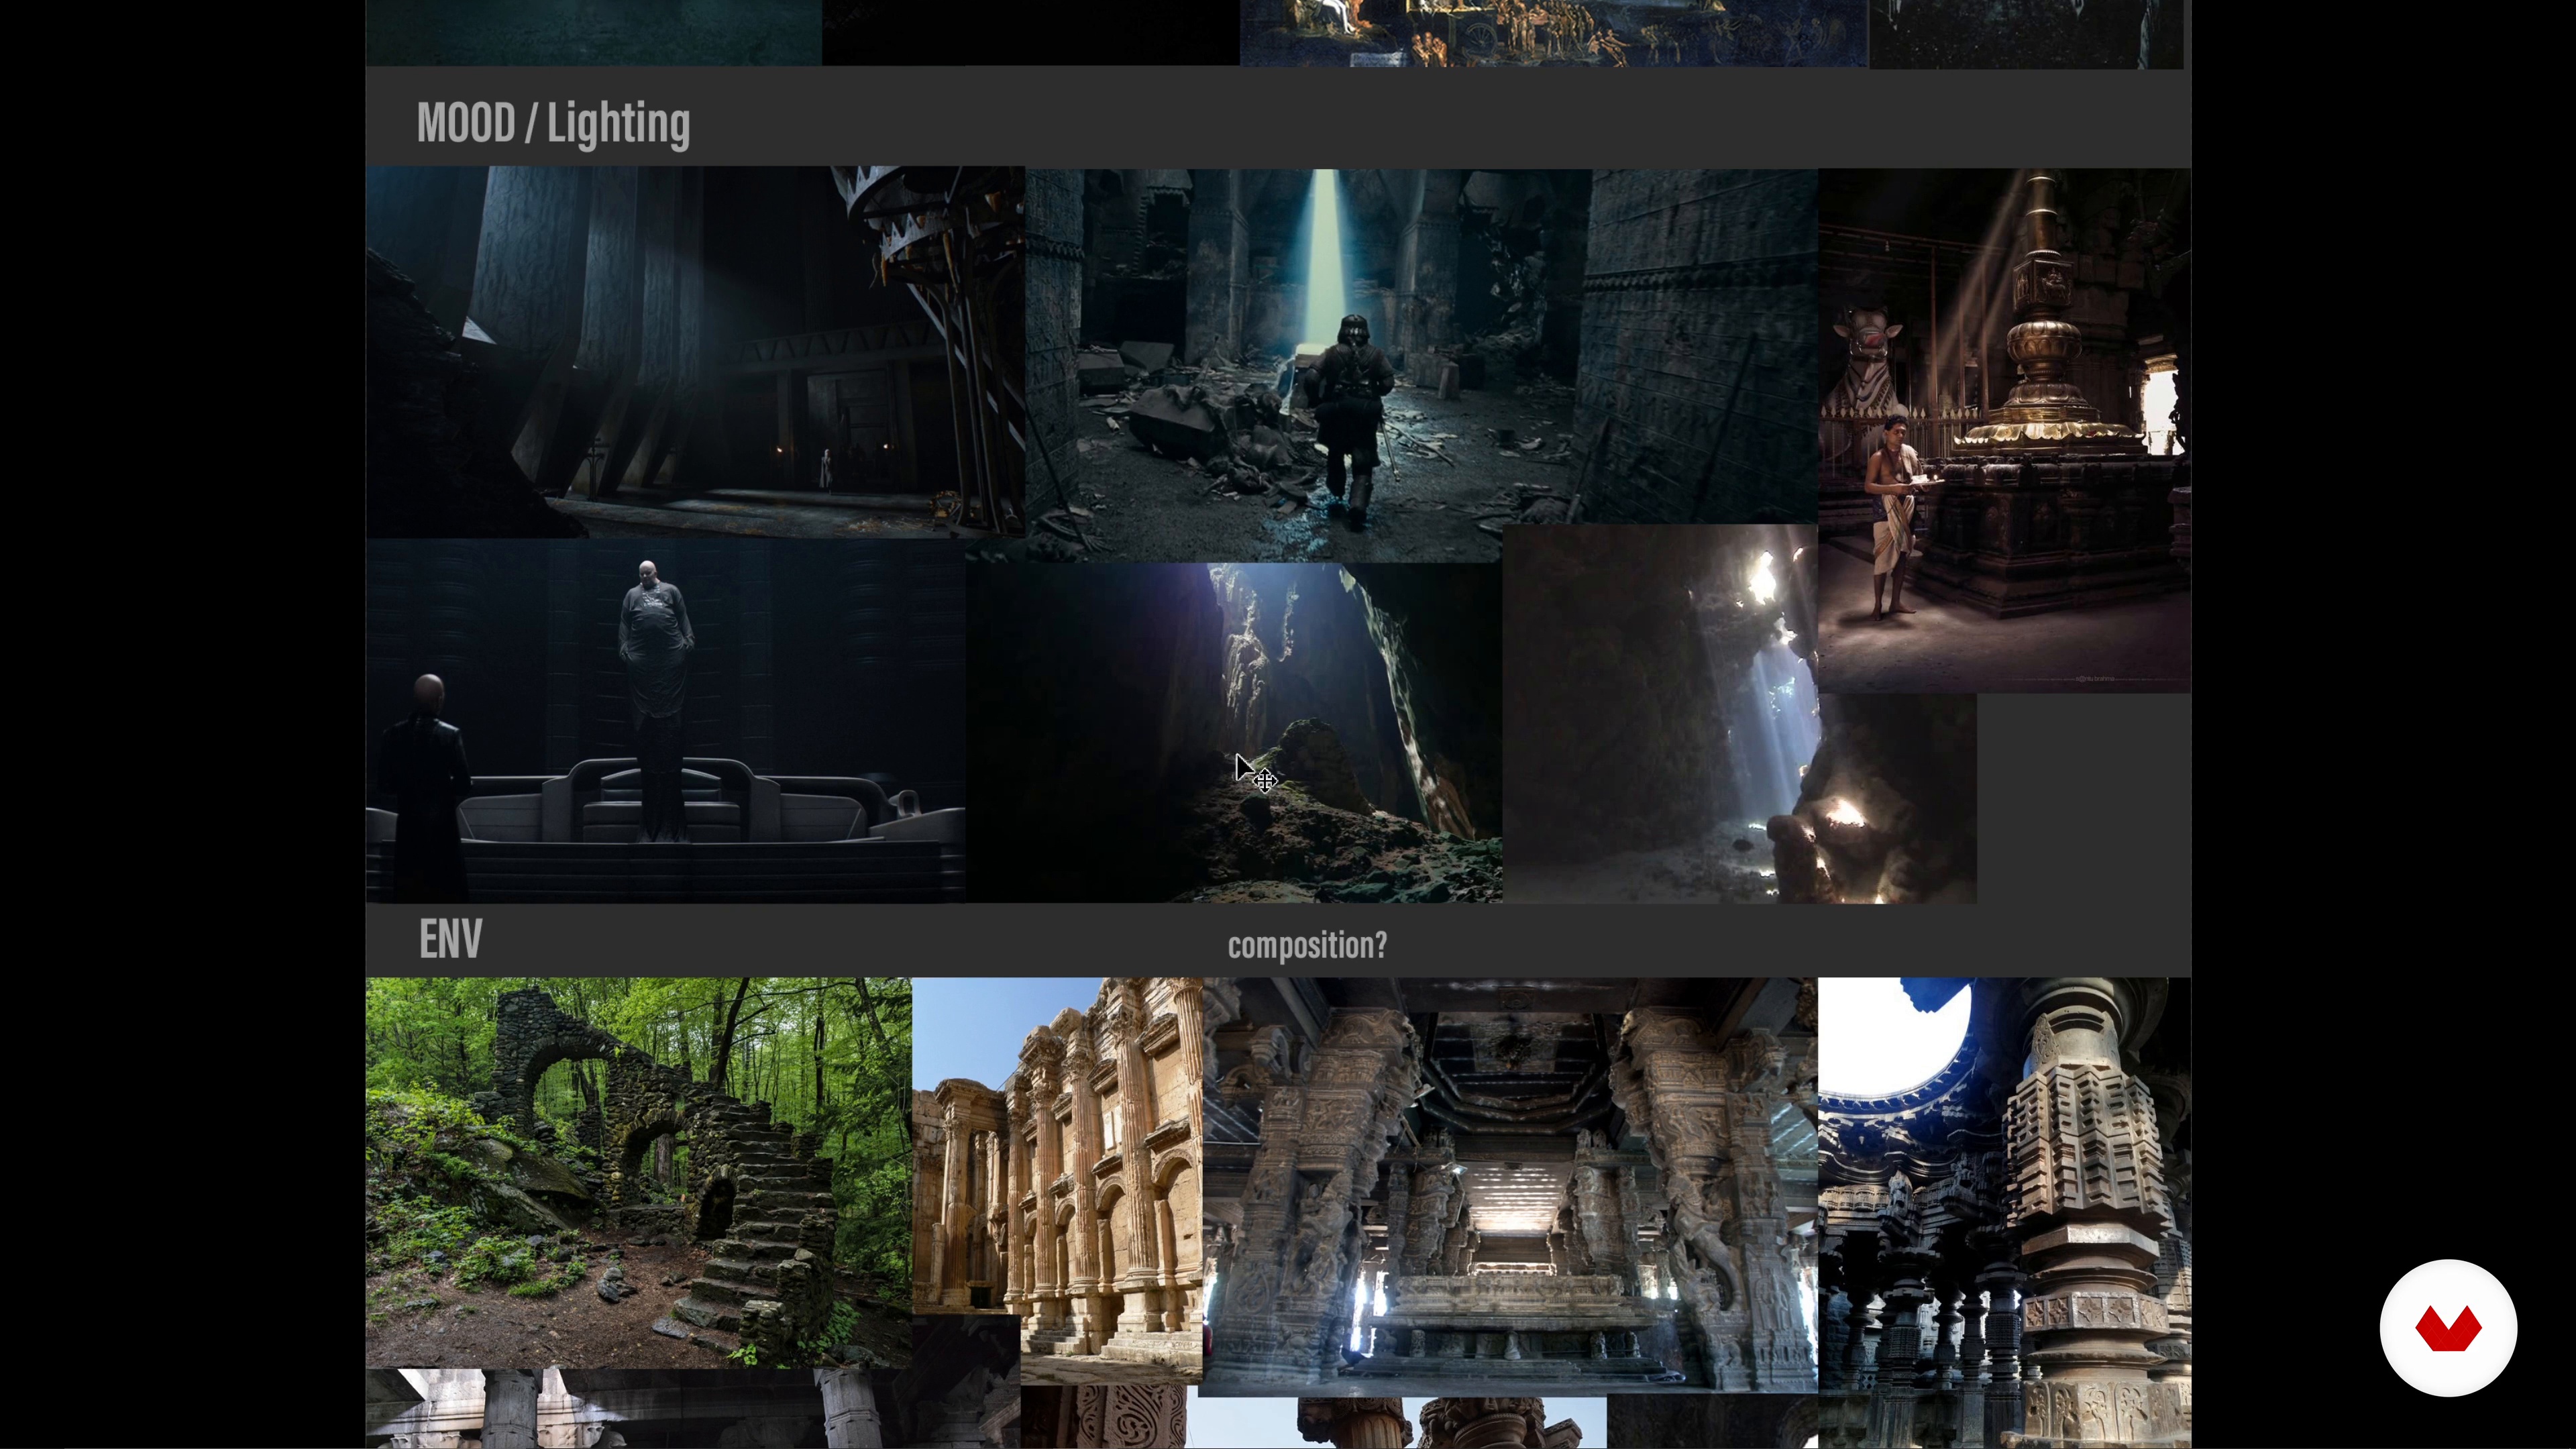
Conceptualizing the Idea
The first thing I will do is define the projects with words. This will be the foundation for the search for visual references and ideas in general. Then, I will create a style guide that I will use as a key reference for most stages of the visual work.
10m
image
7
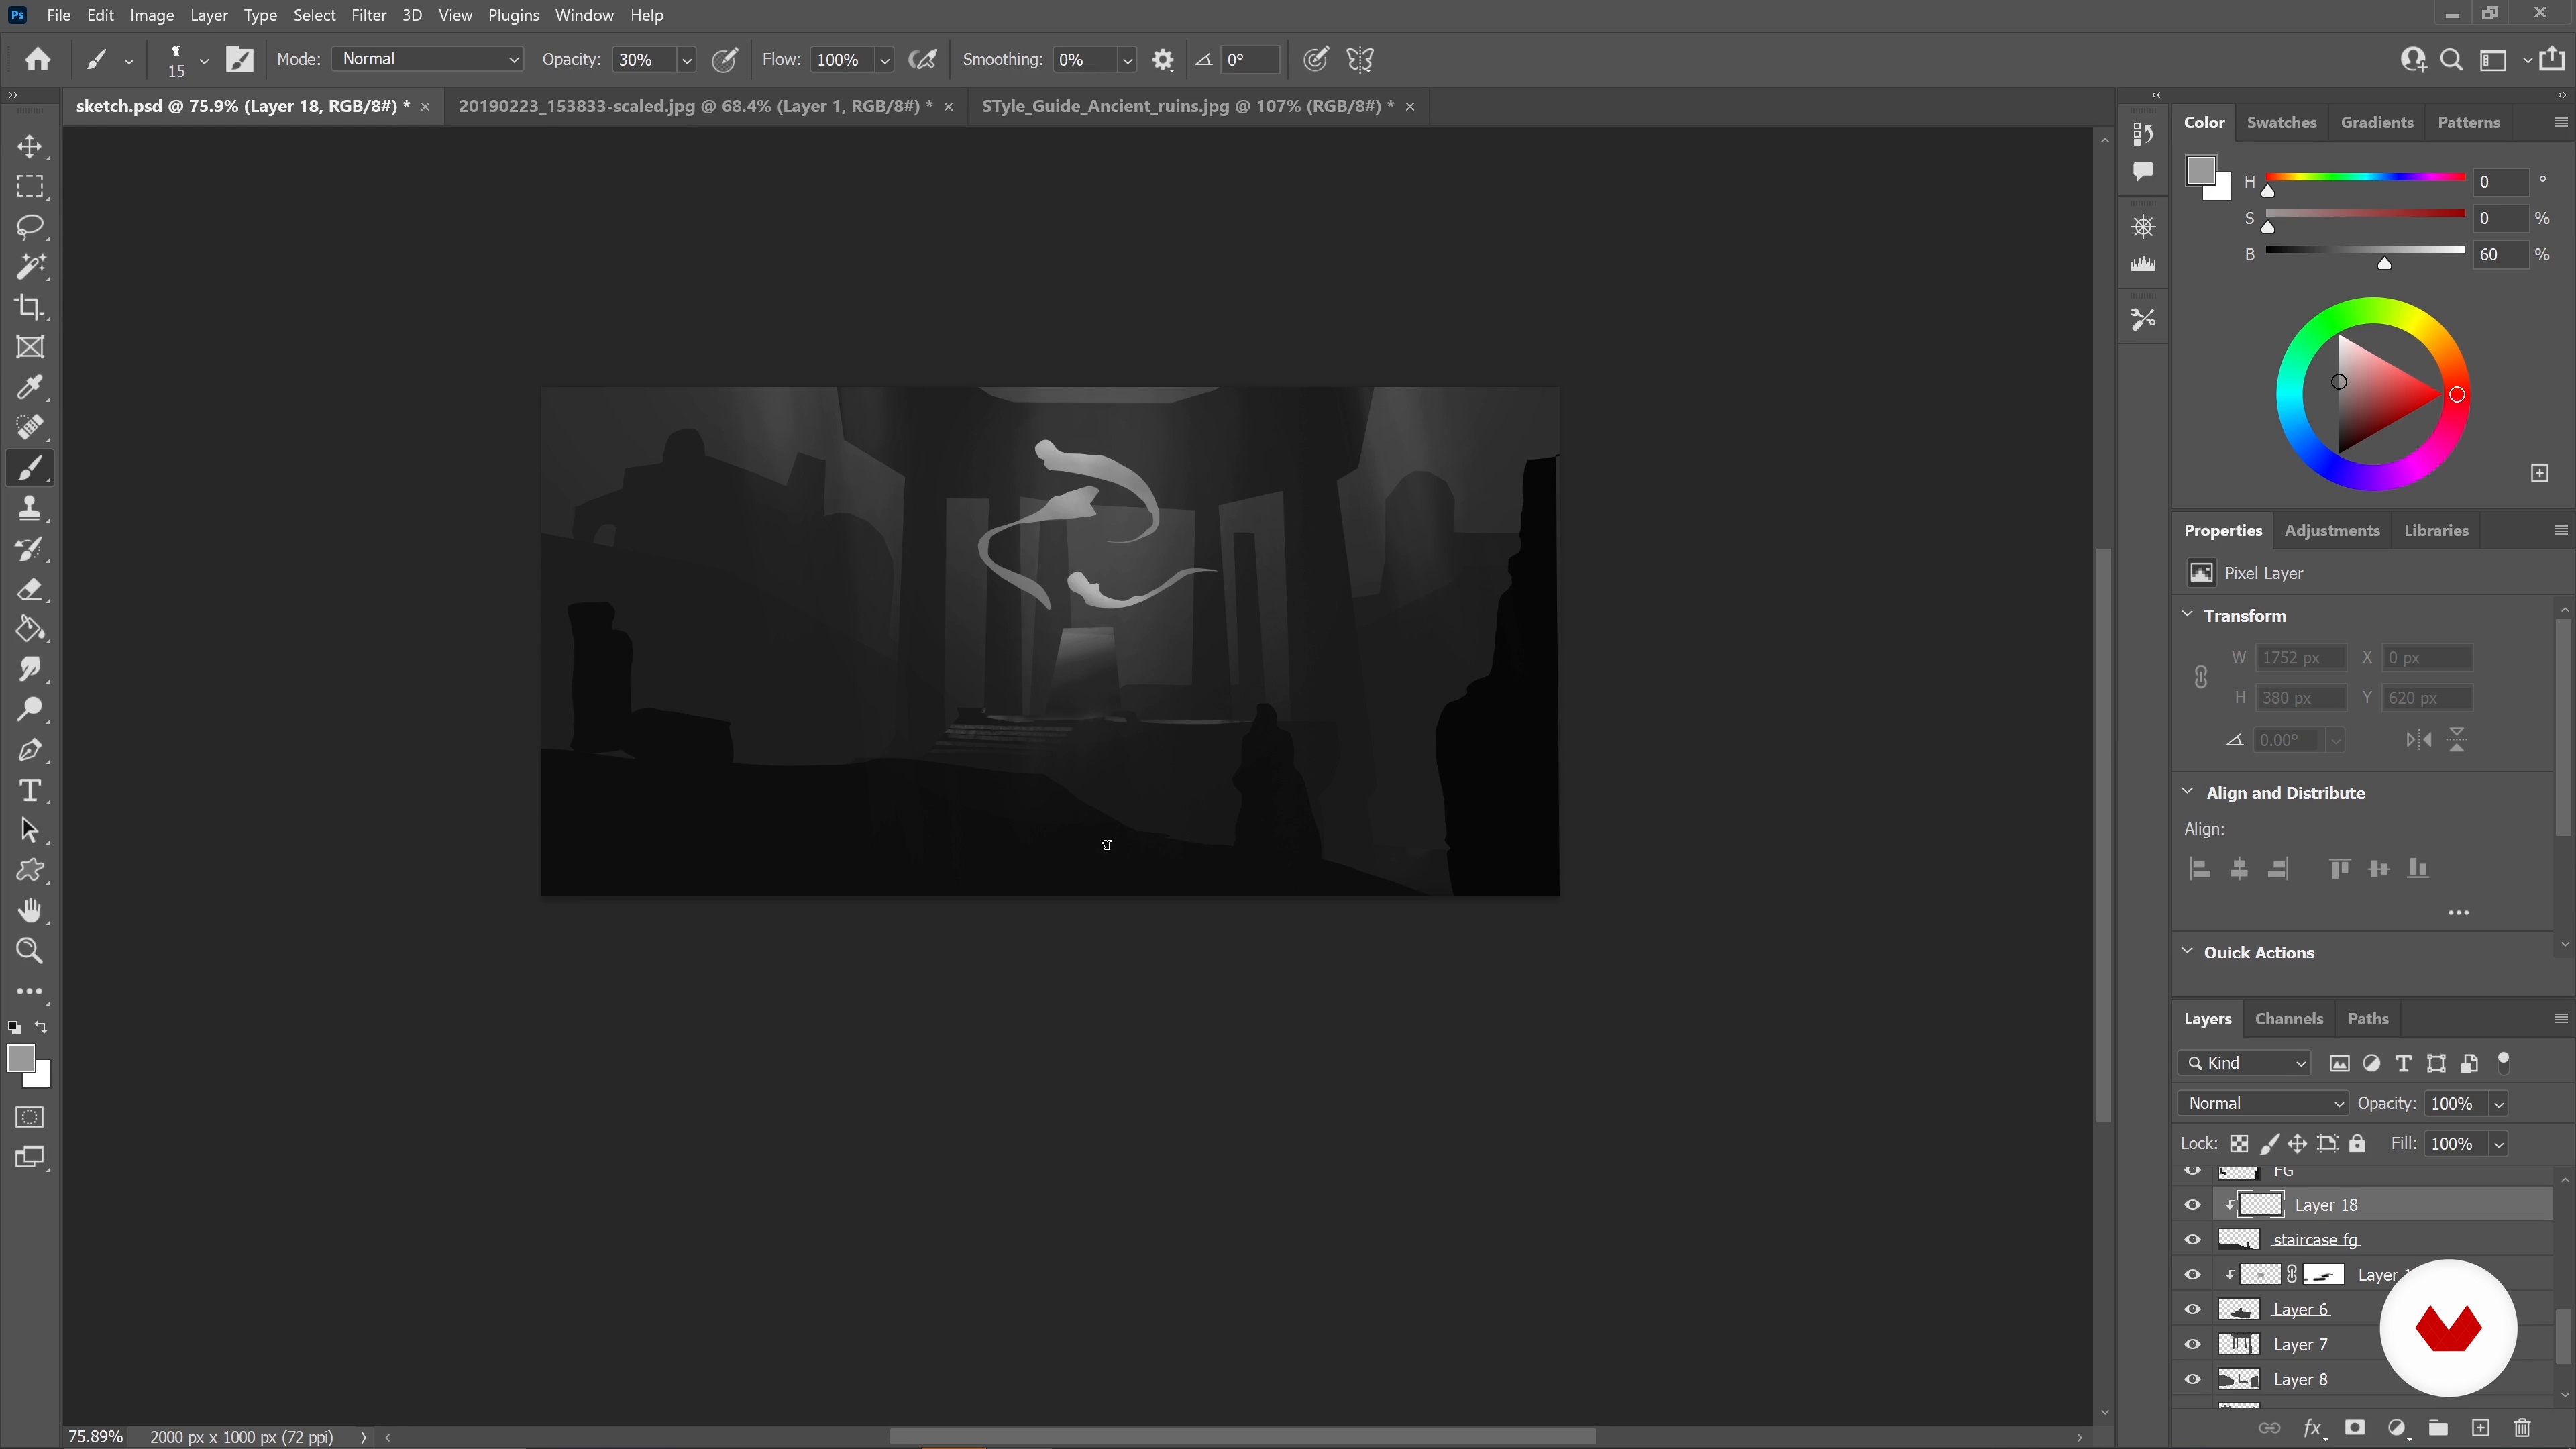
Sketching with Simple Shapes 1
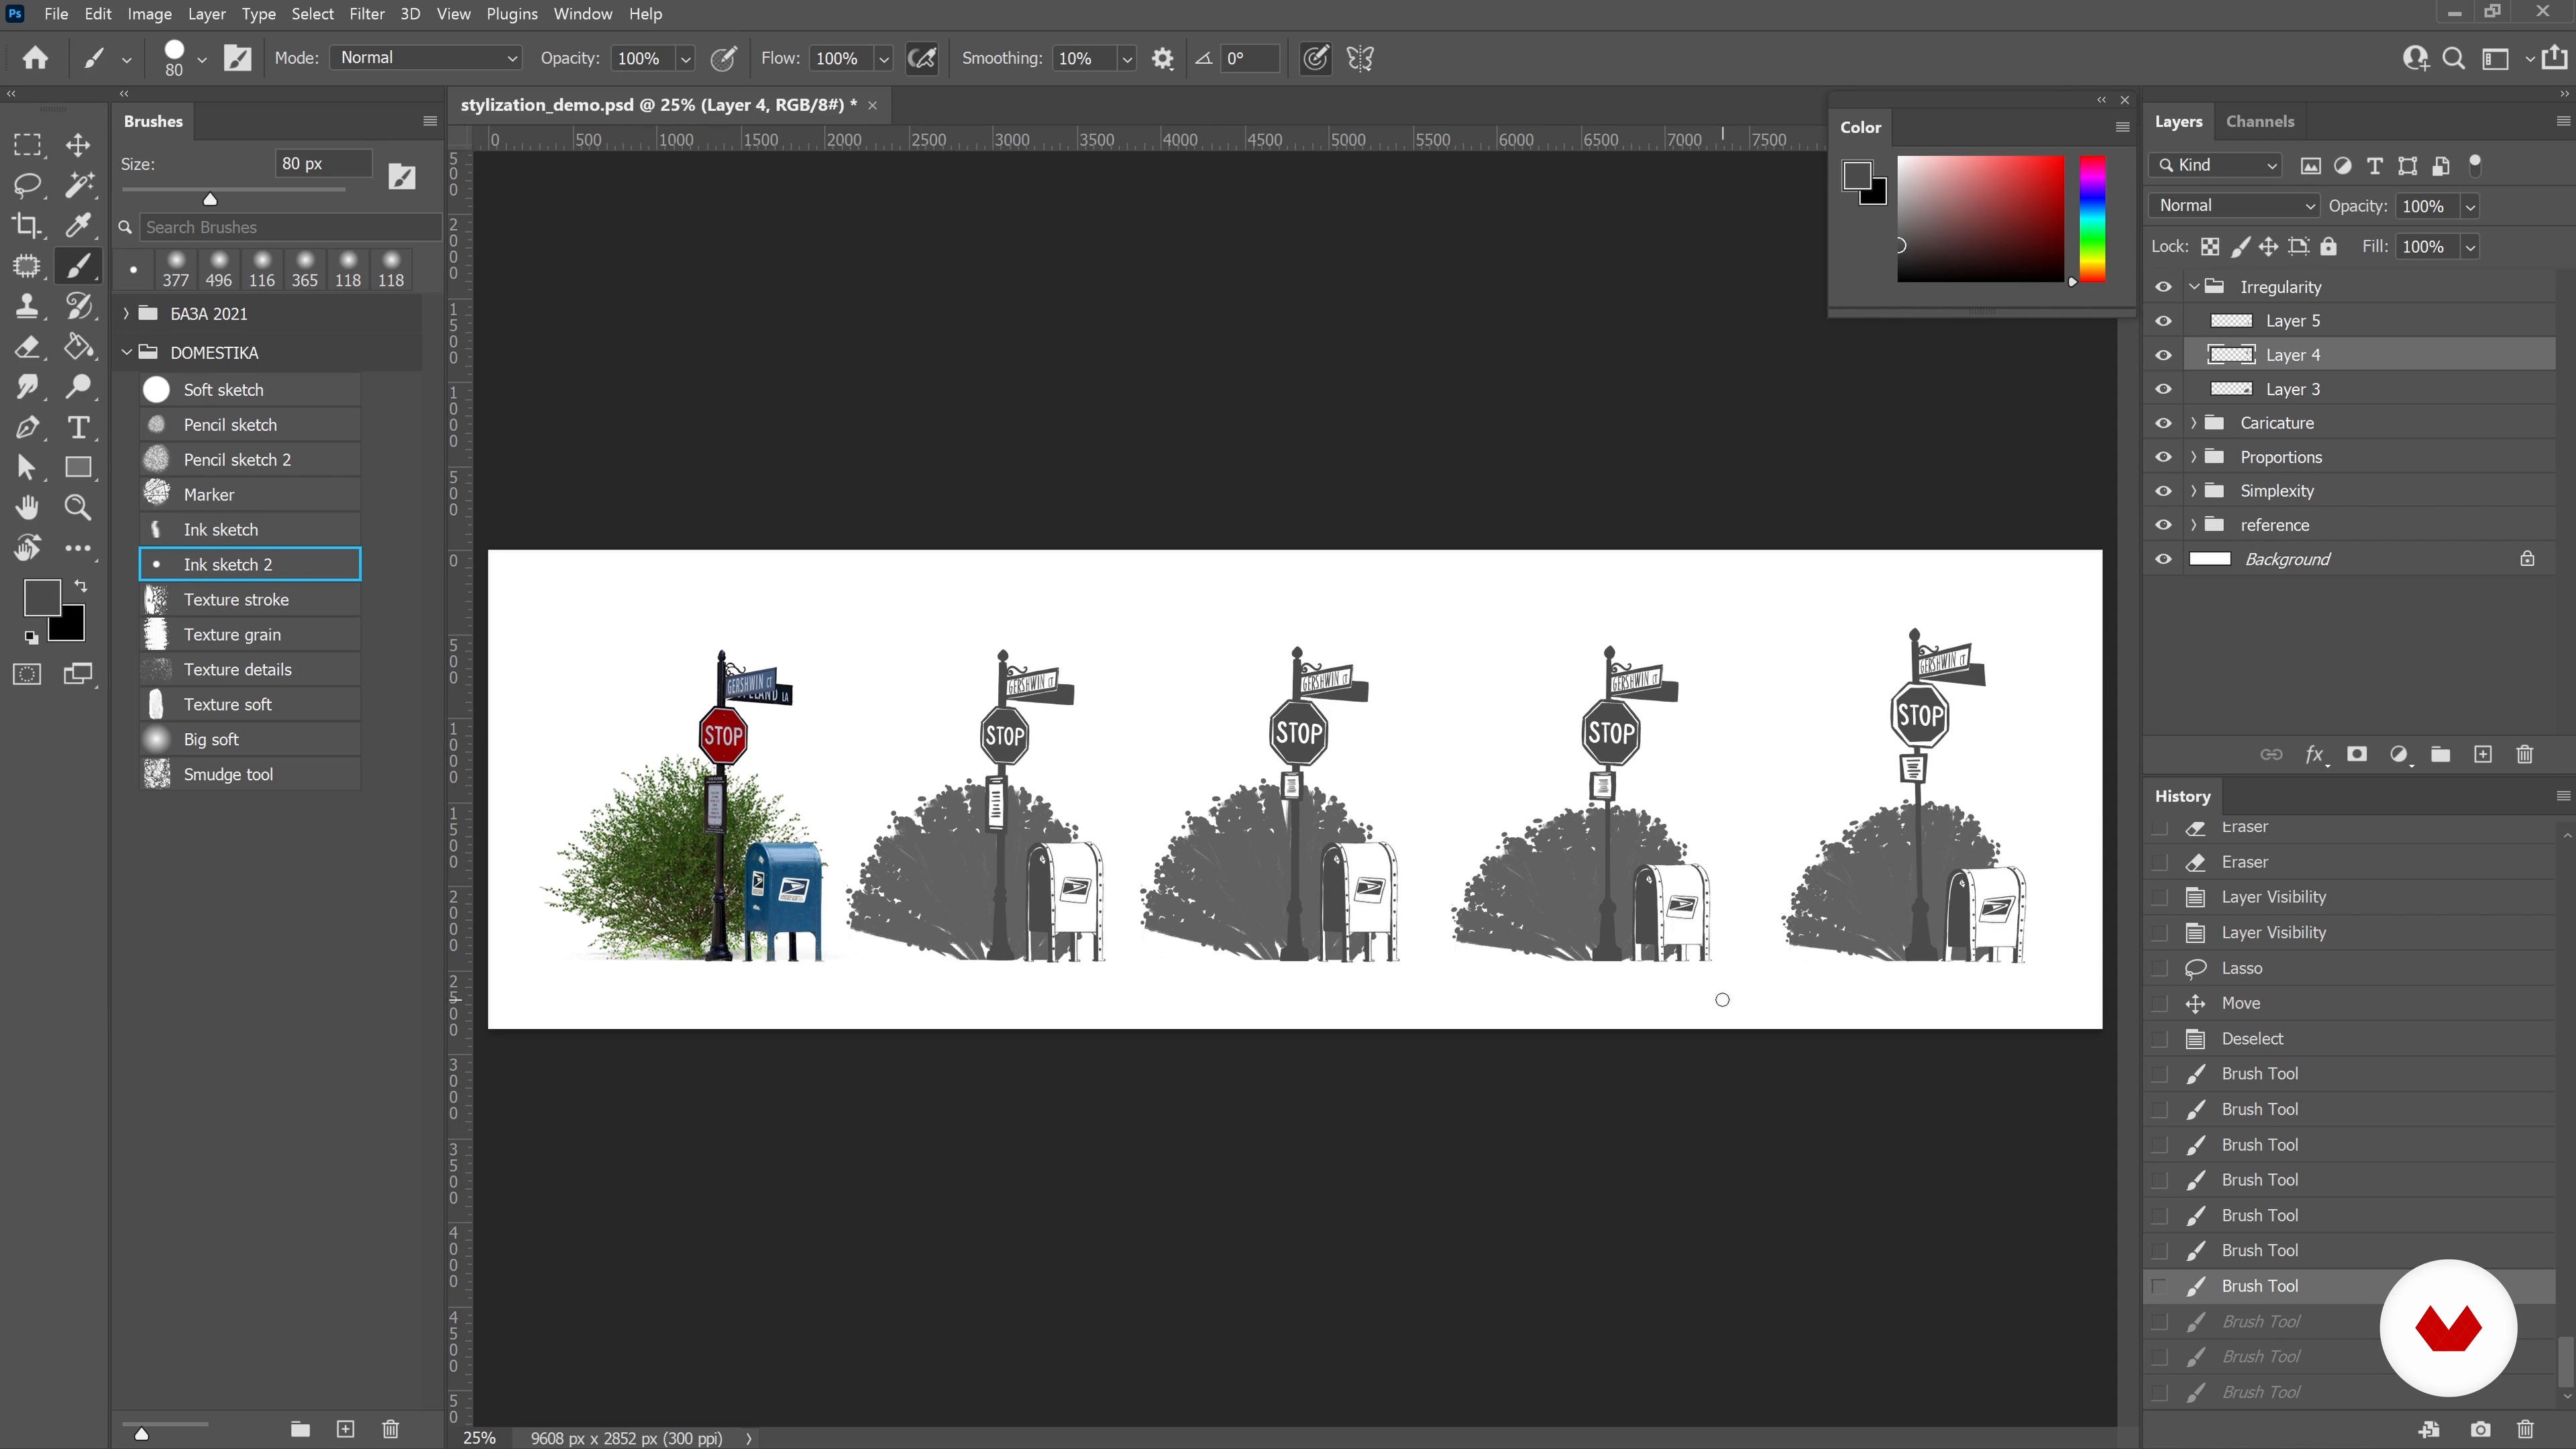
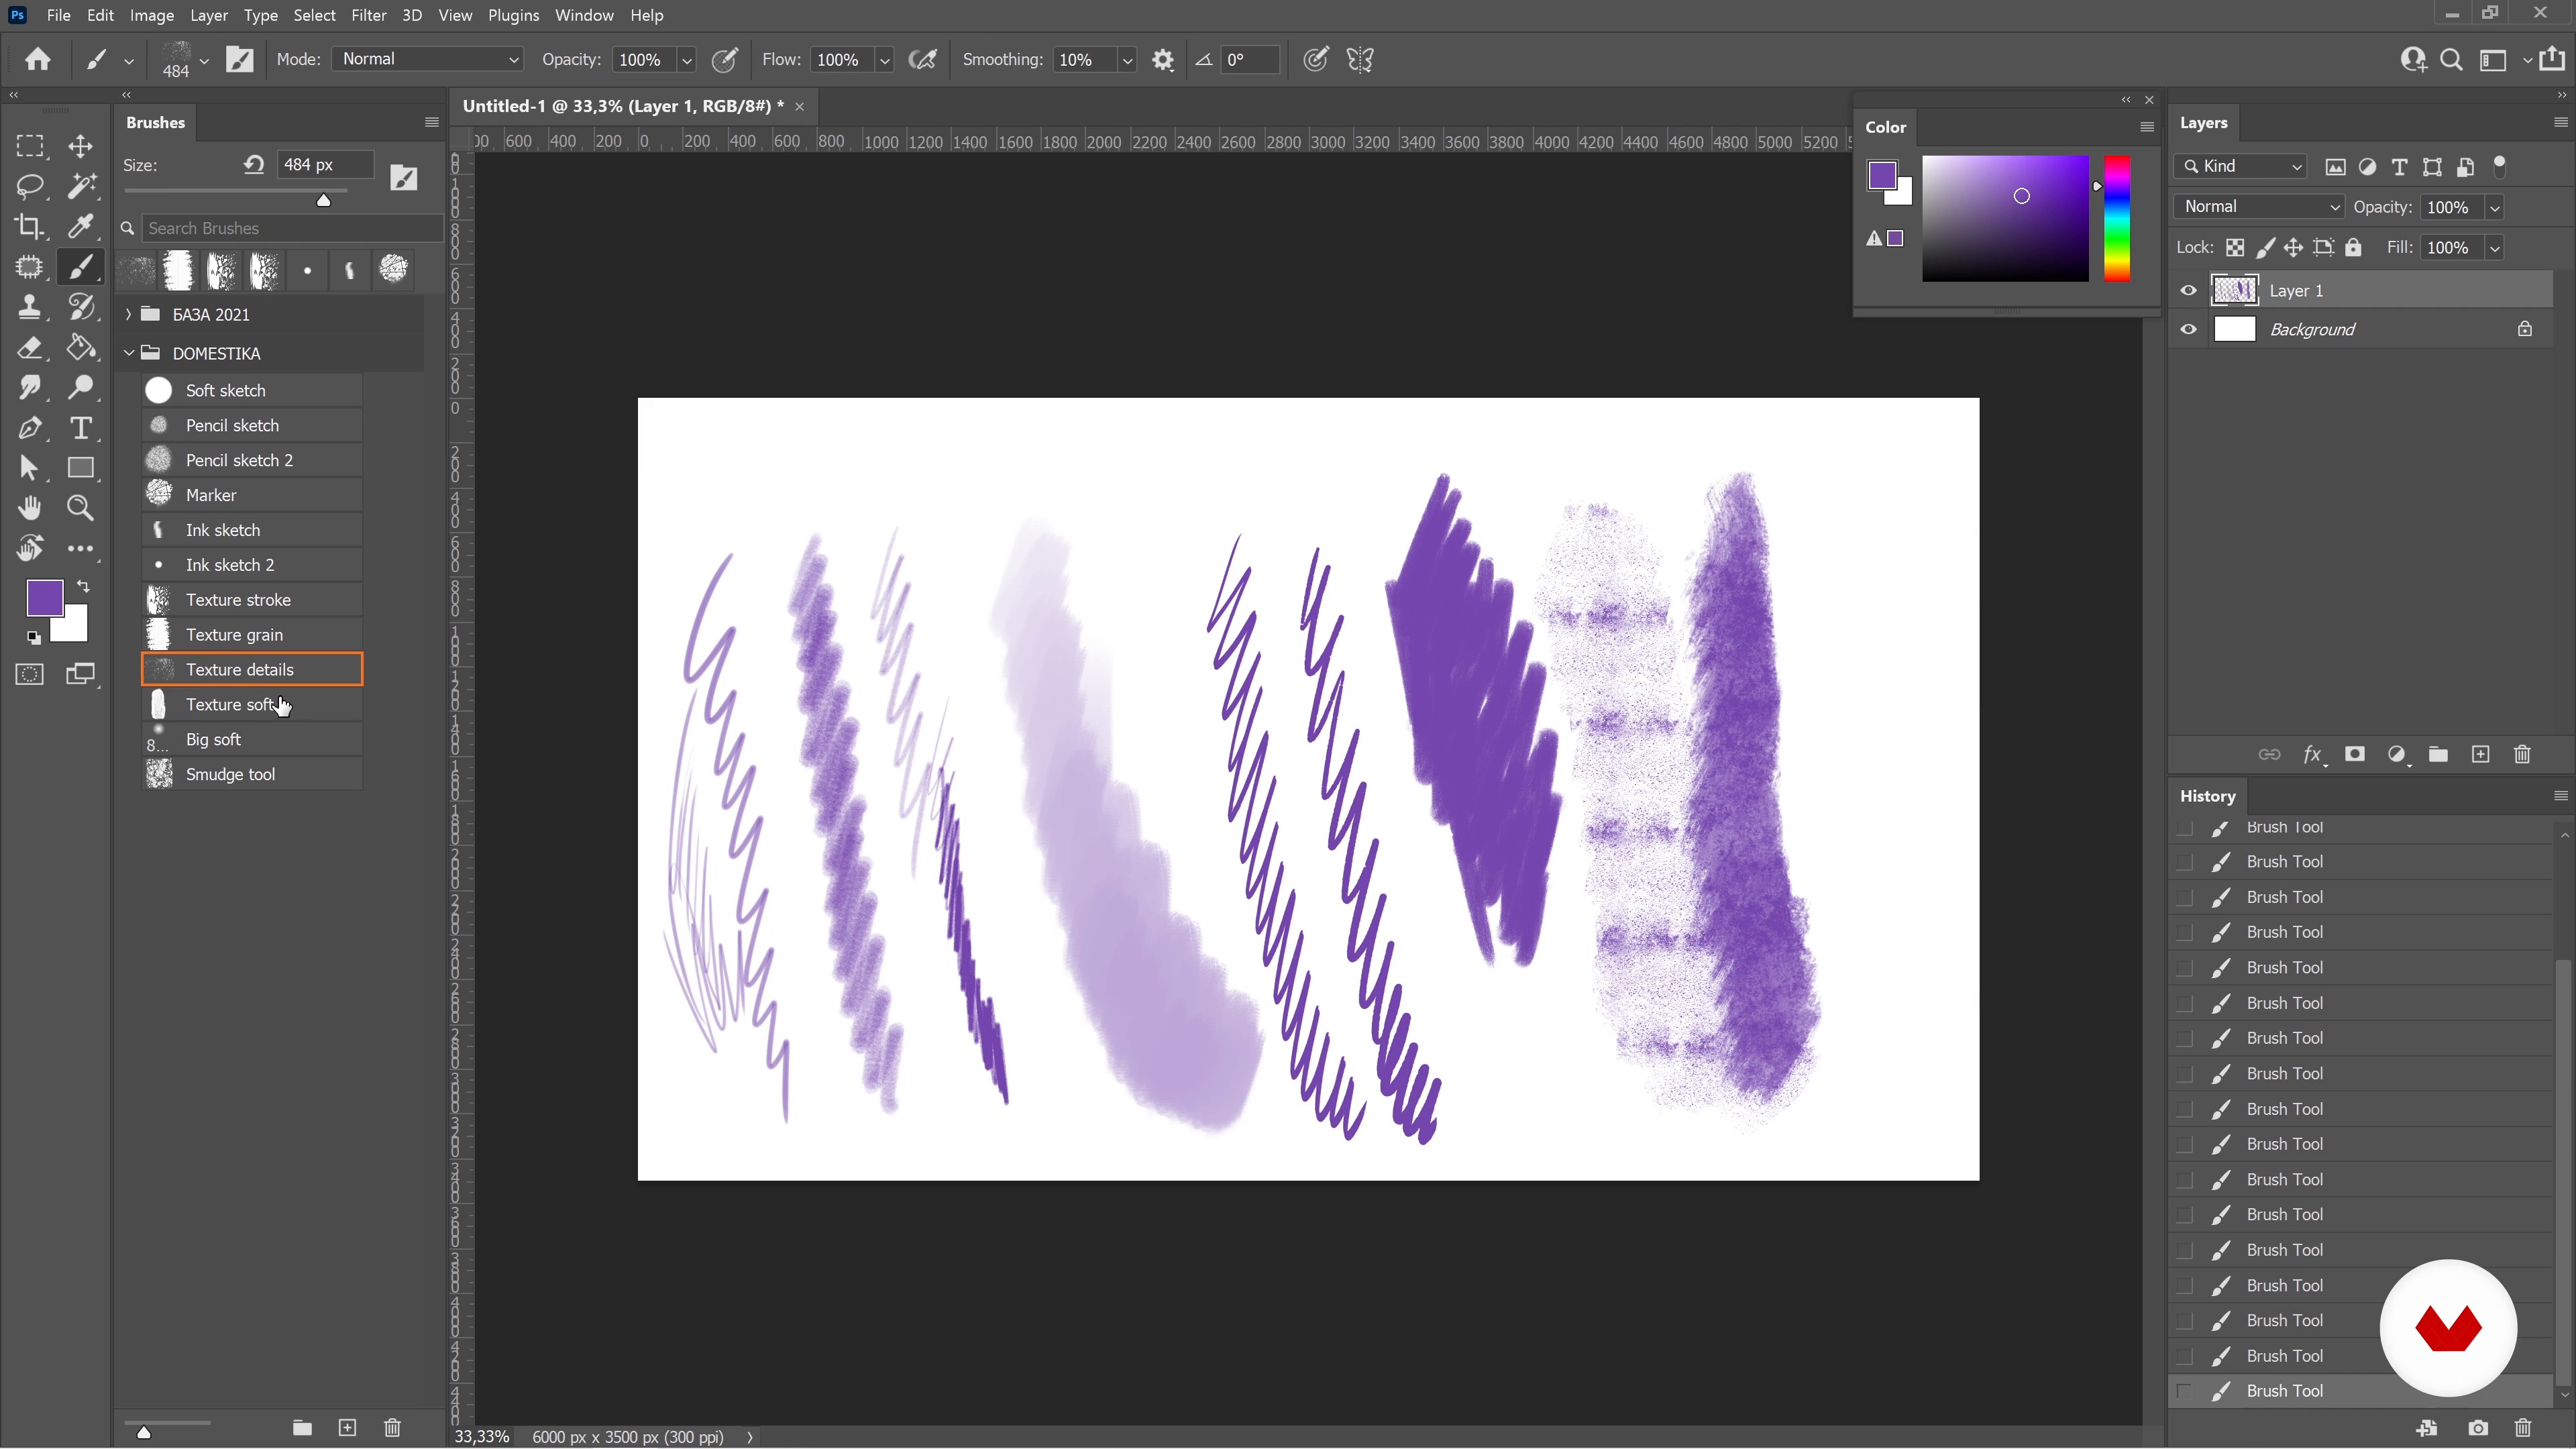
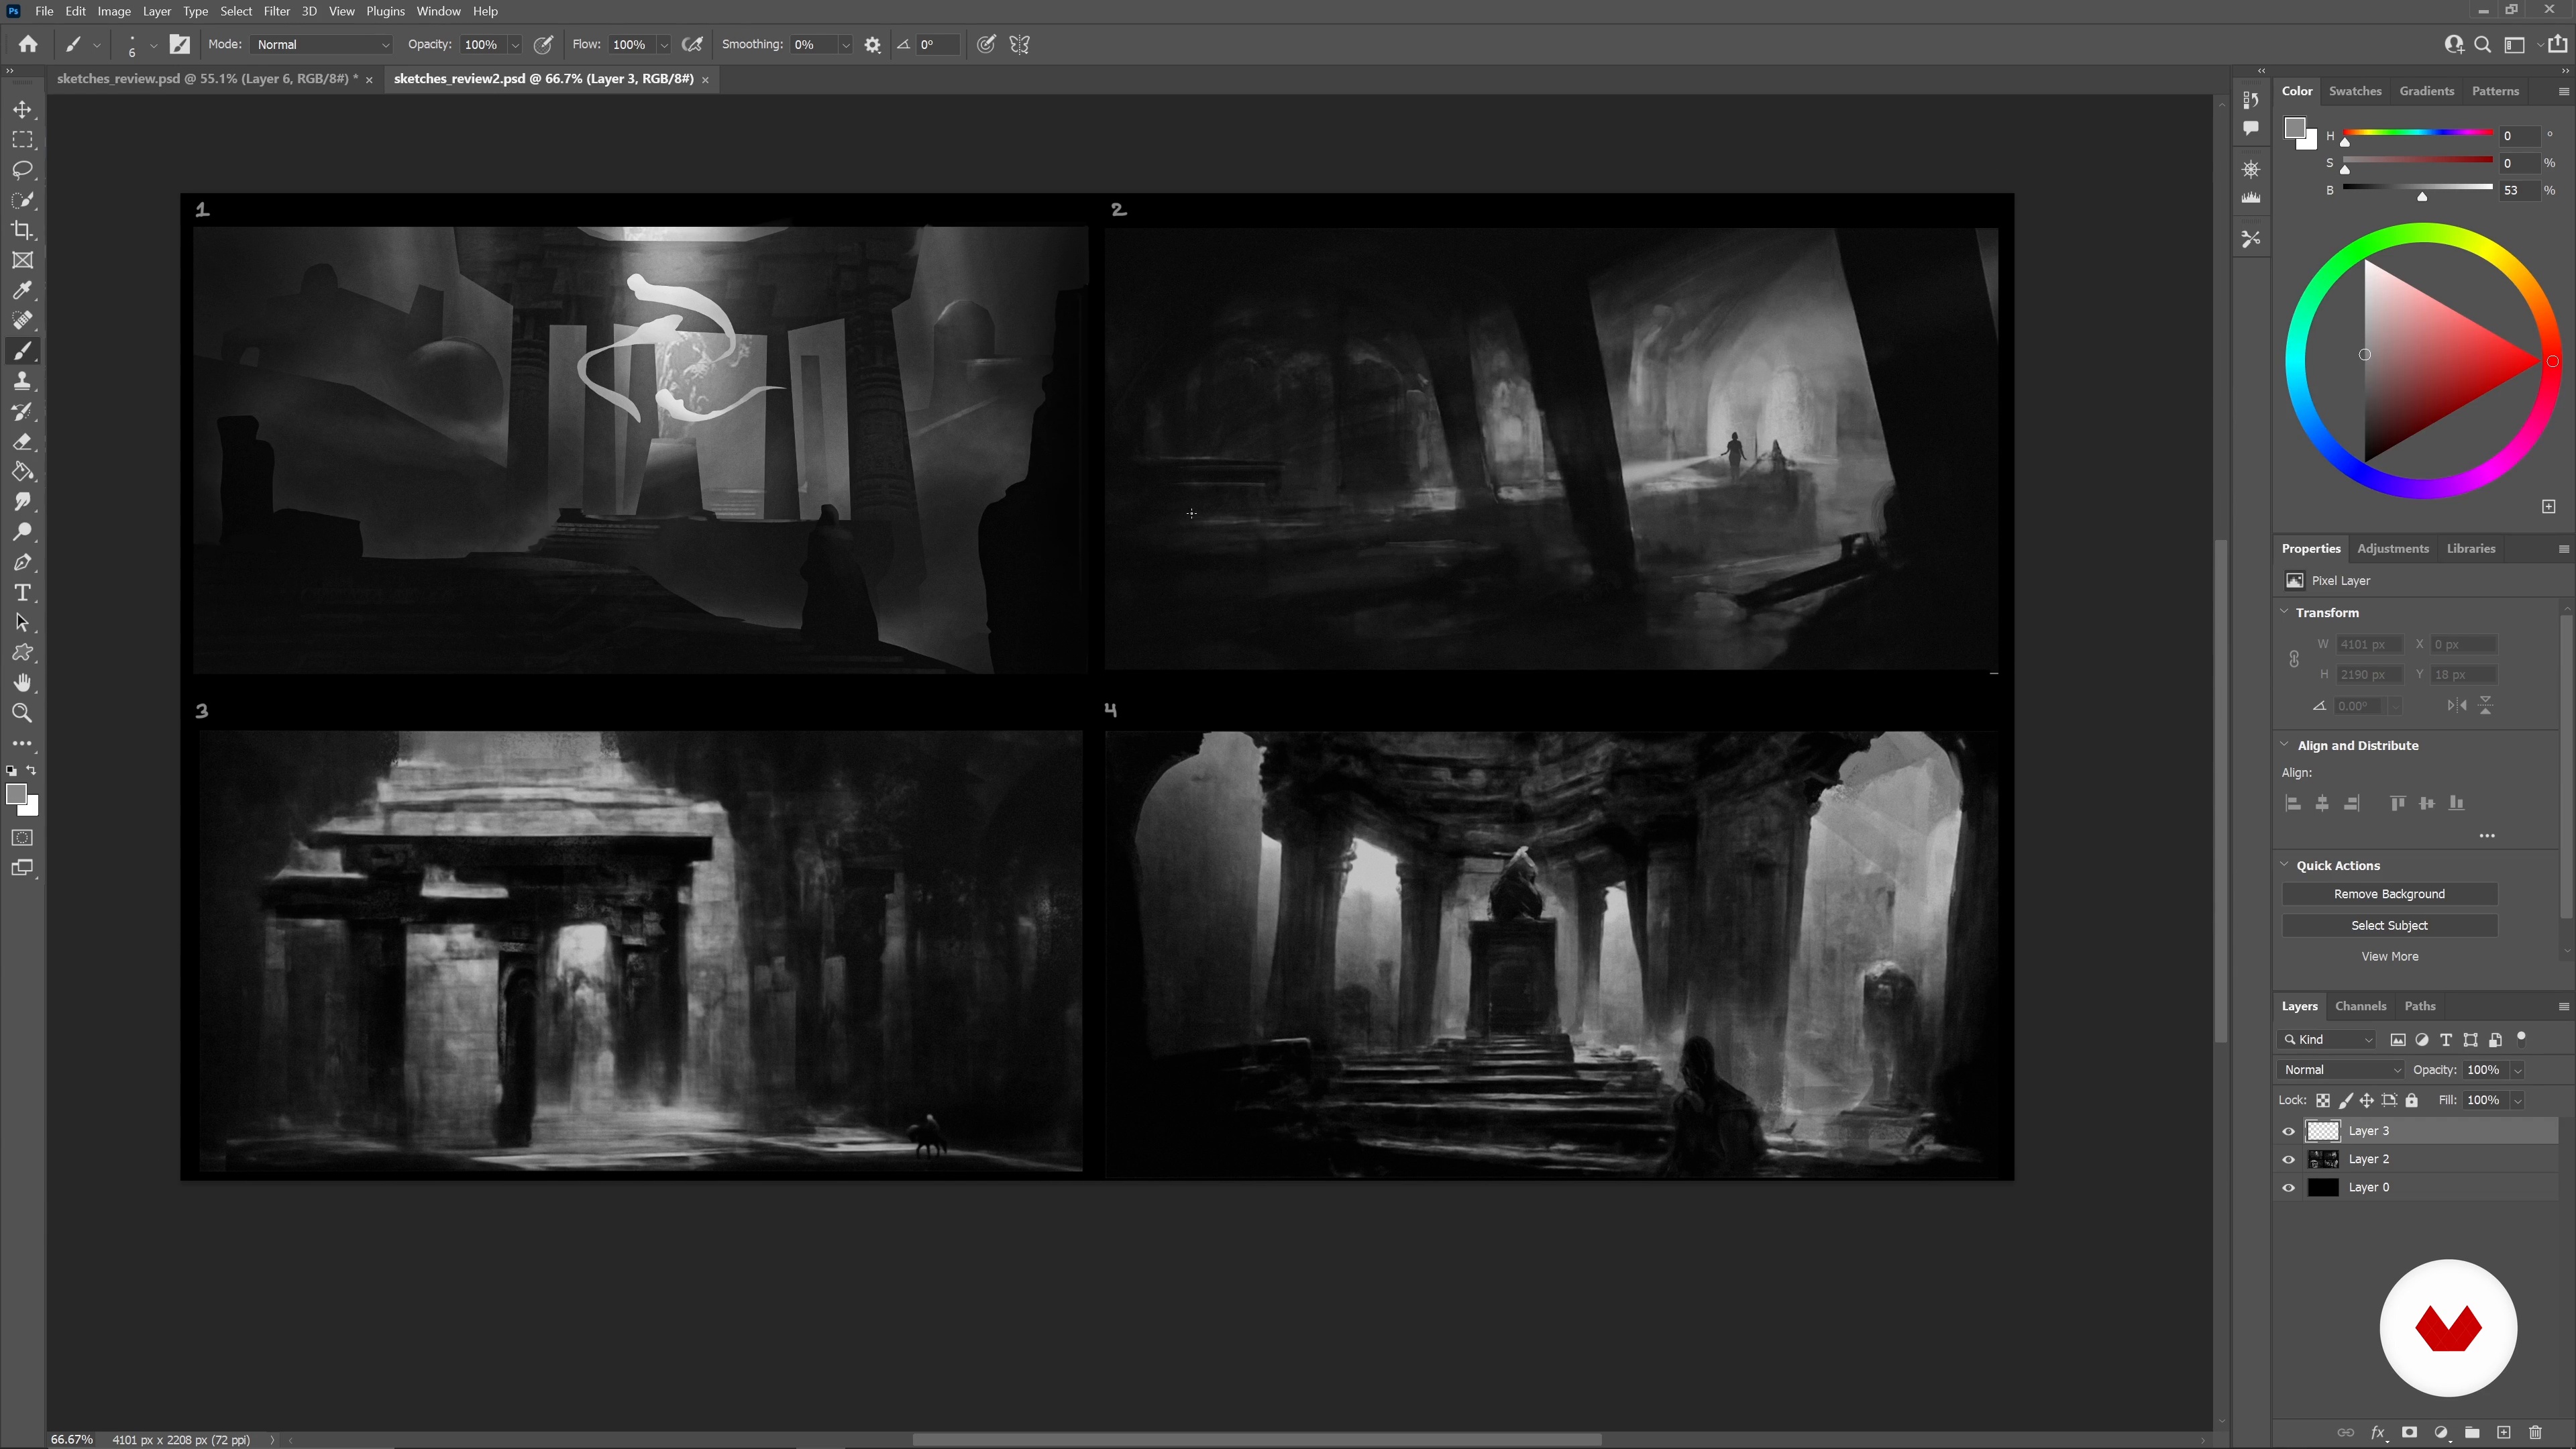
The next step in the process is to create a black-and-white sketch in Adobe Photoshop. I always start with basic linework, then move on to values, then atmosphere and lighting. First, however, I will review the types of brushes that I use.
19m
image
8
Sketching with Simple Shapes 2
I will develop the lighting some more before moving on to textures. Once I'm done with this sketch, I'll show you the other sketches I made for this project. I usually make around four of them before deciding on one.
15m
image
9
Compositing the Scene
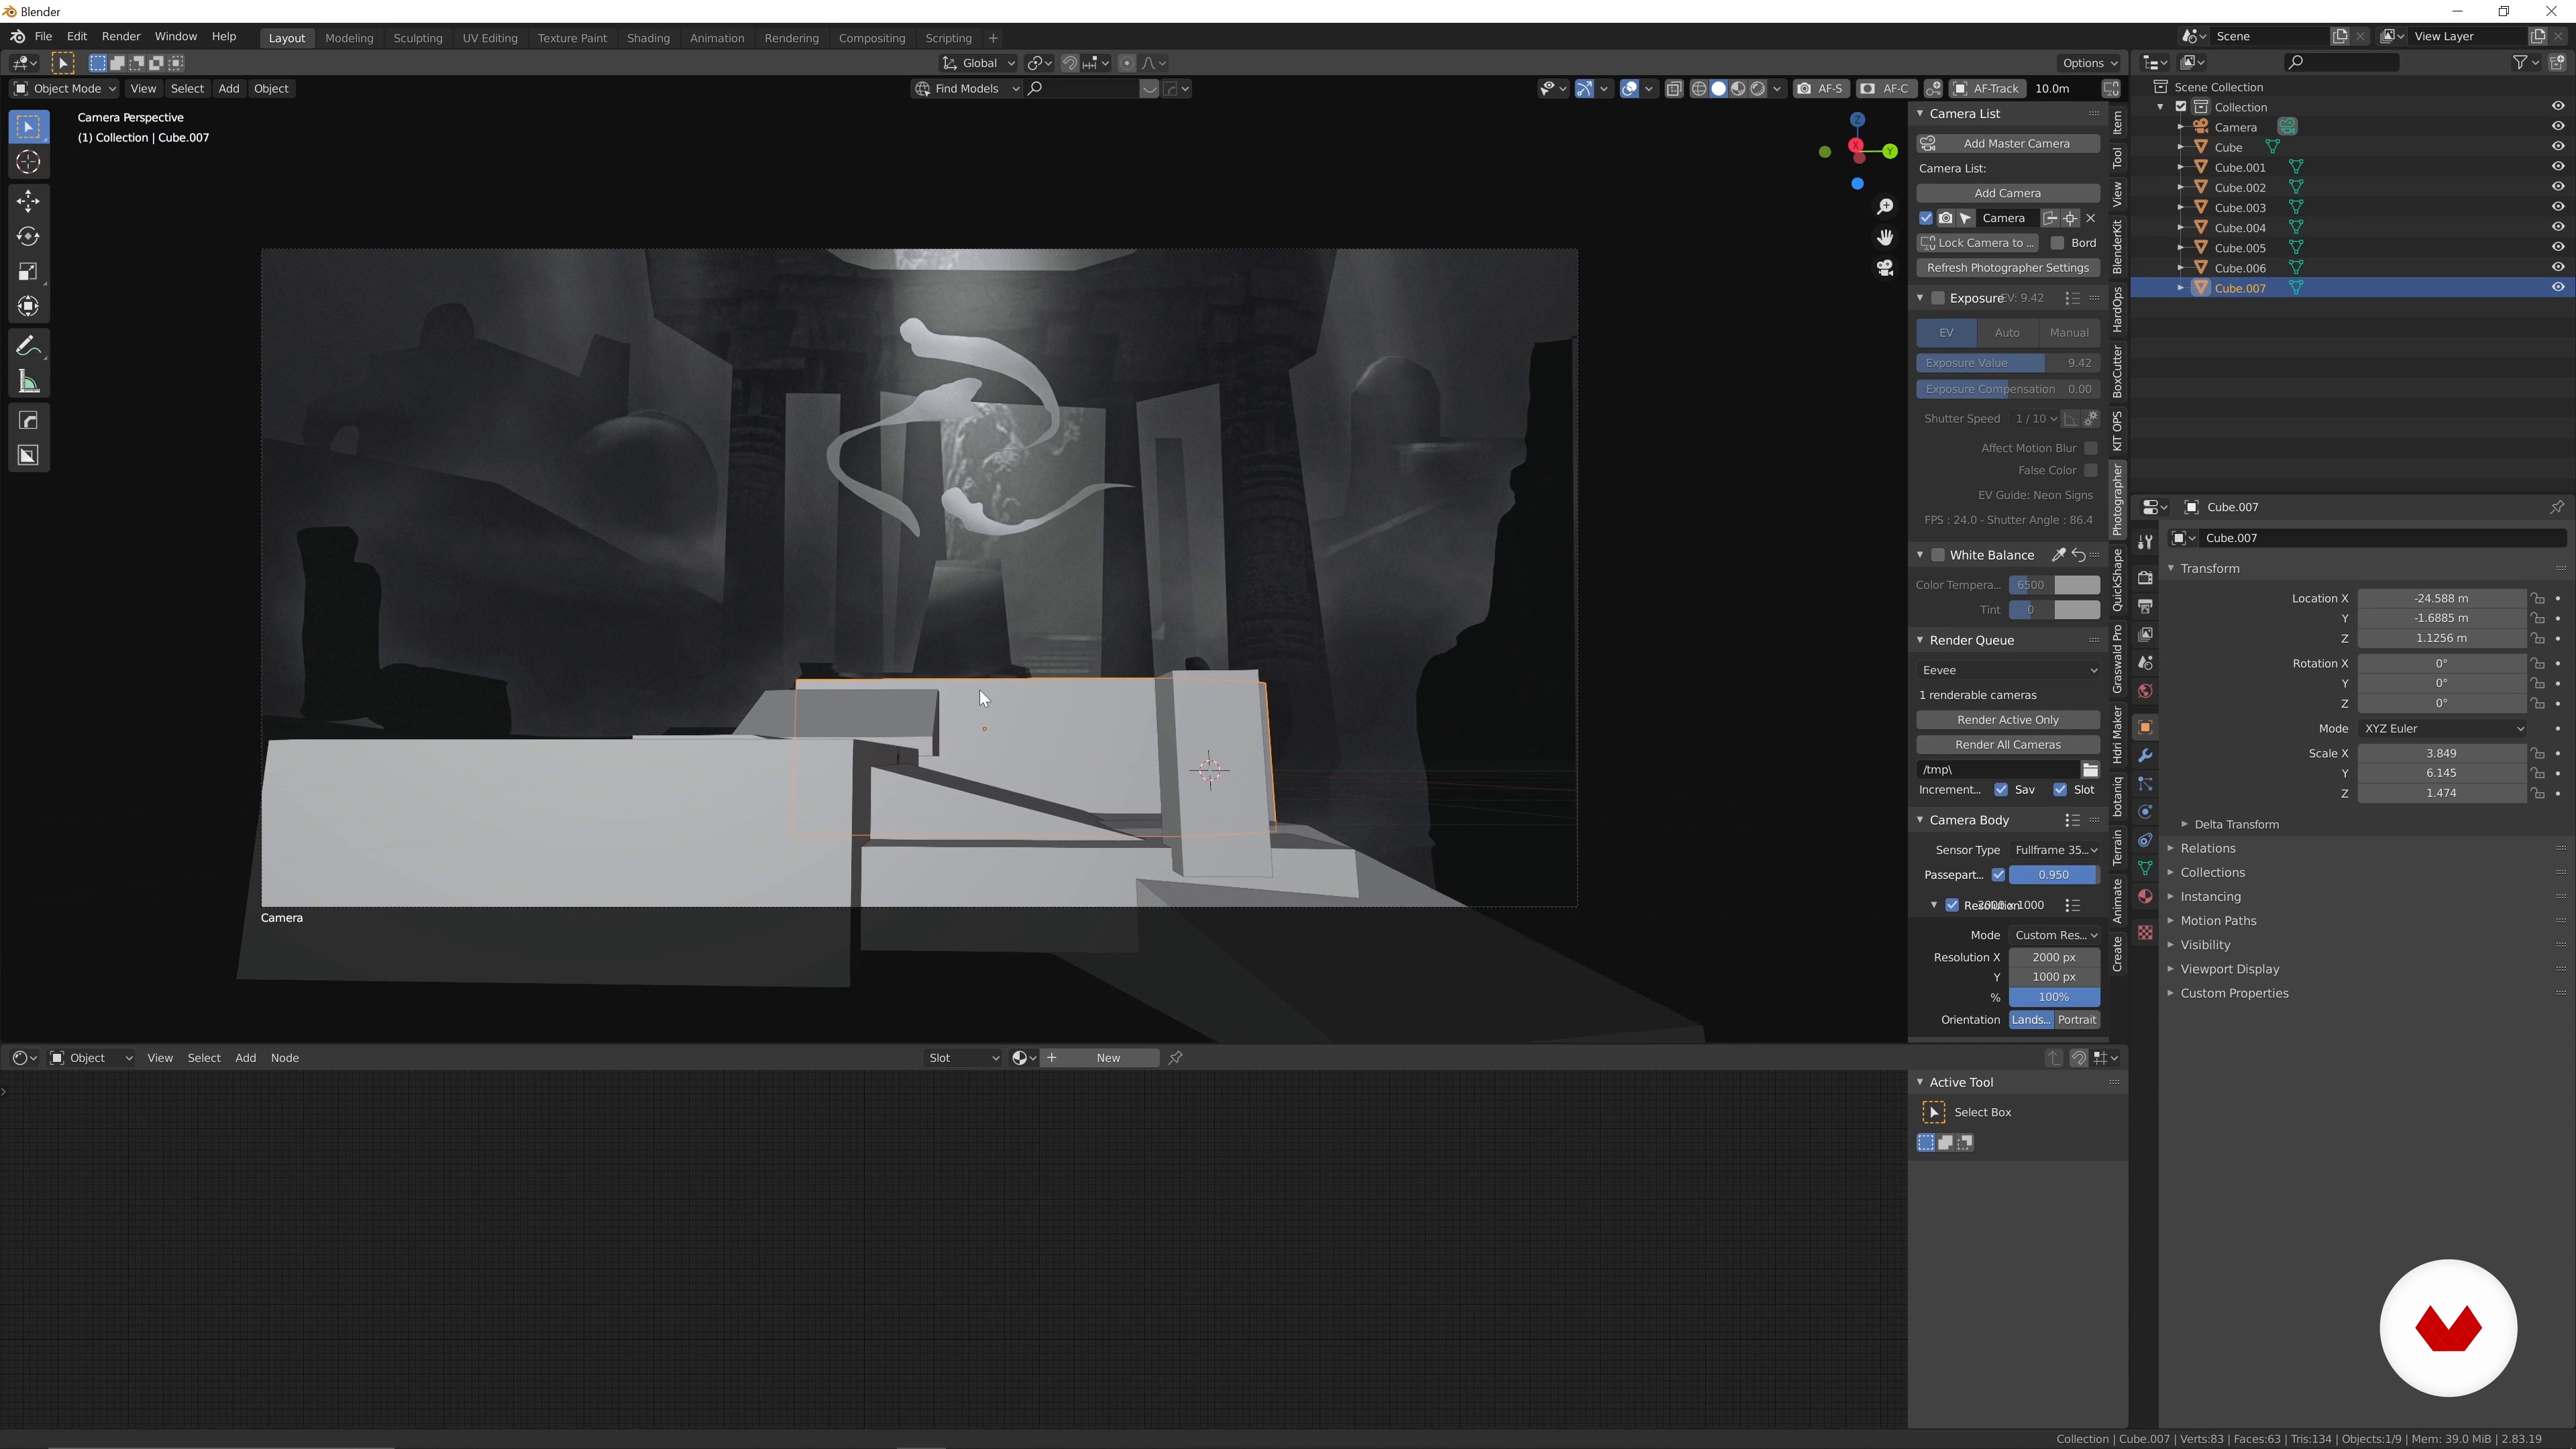
In this lesson, I will cover the initial basic 3D blocking of the chosen visual. I will show you how to set up your cameras and choose a favorable composition.
8m
image
10
Adding a Character
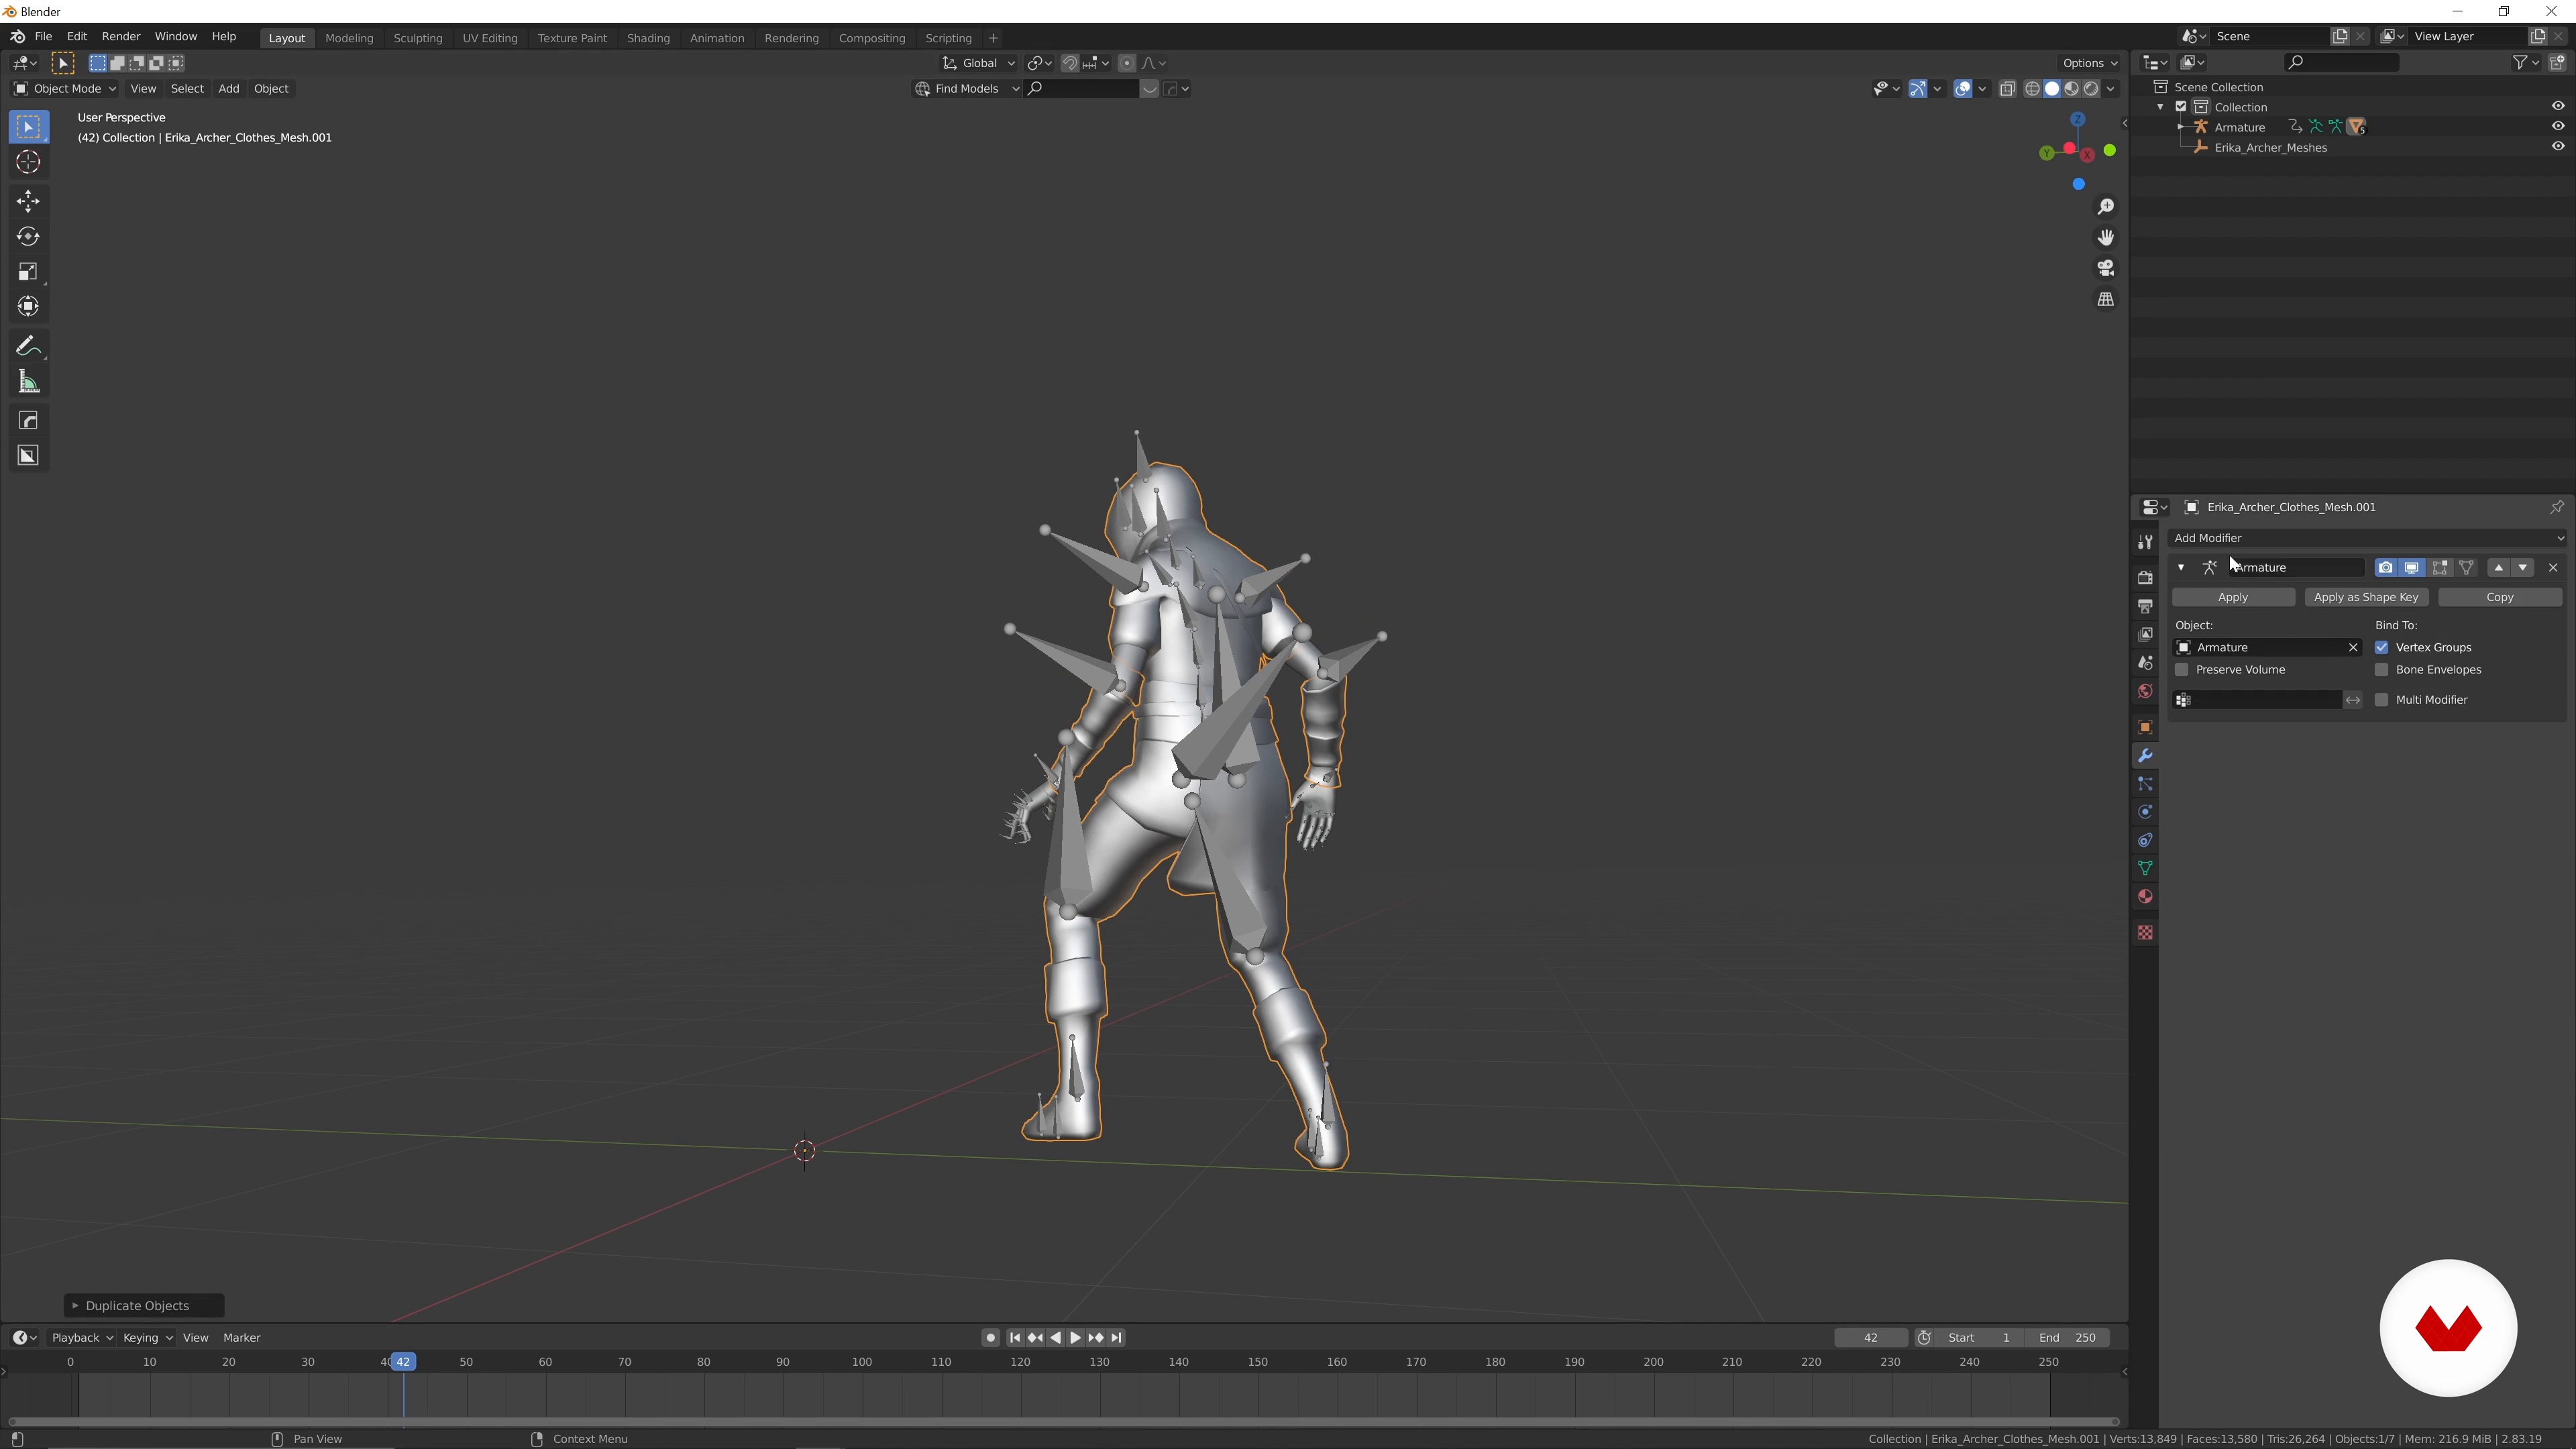
Now that my composition is done, I will show you the different tests I've made and how I landed on this final composition. Then, I will explain how to use Mixamo as a basis to add a character or creature to the scene, and how to place it in your scene once you've chosen it.
12m
image
11
Establishing Mood and Lighting
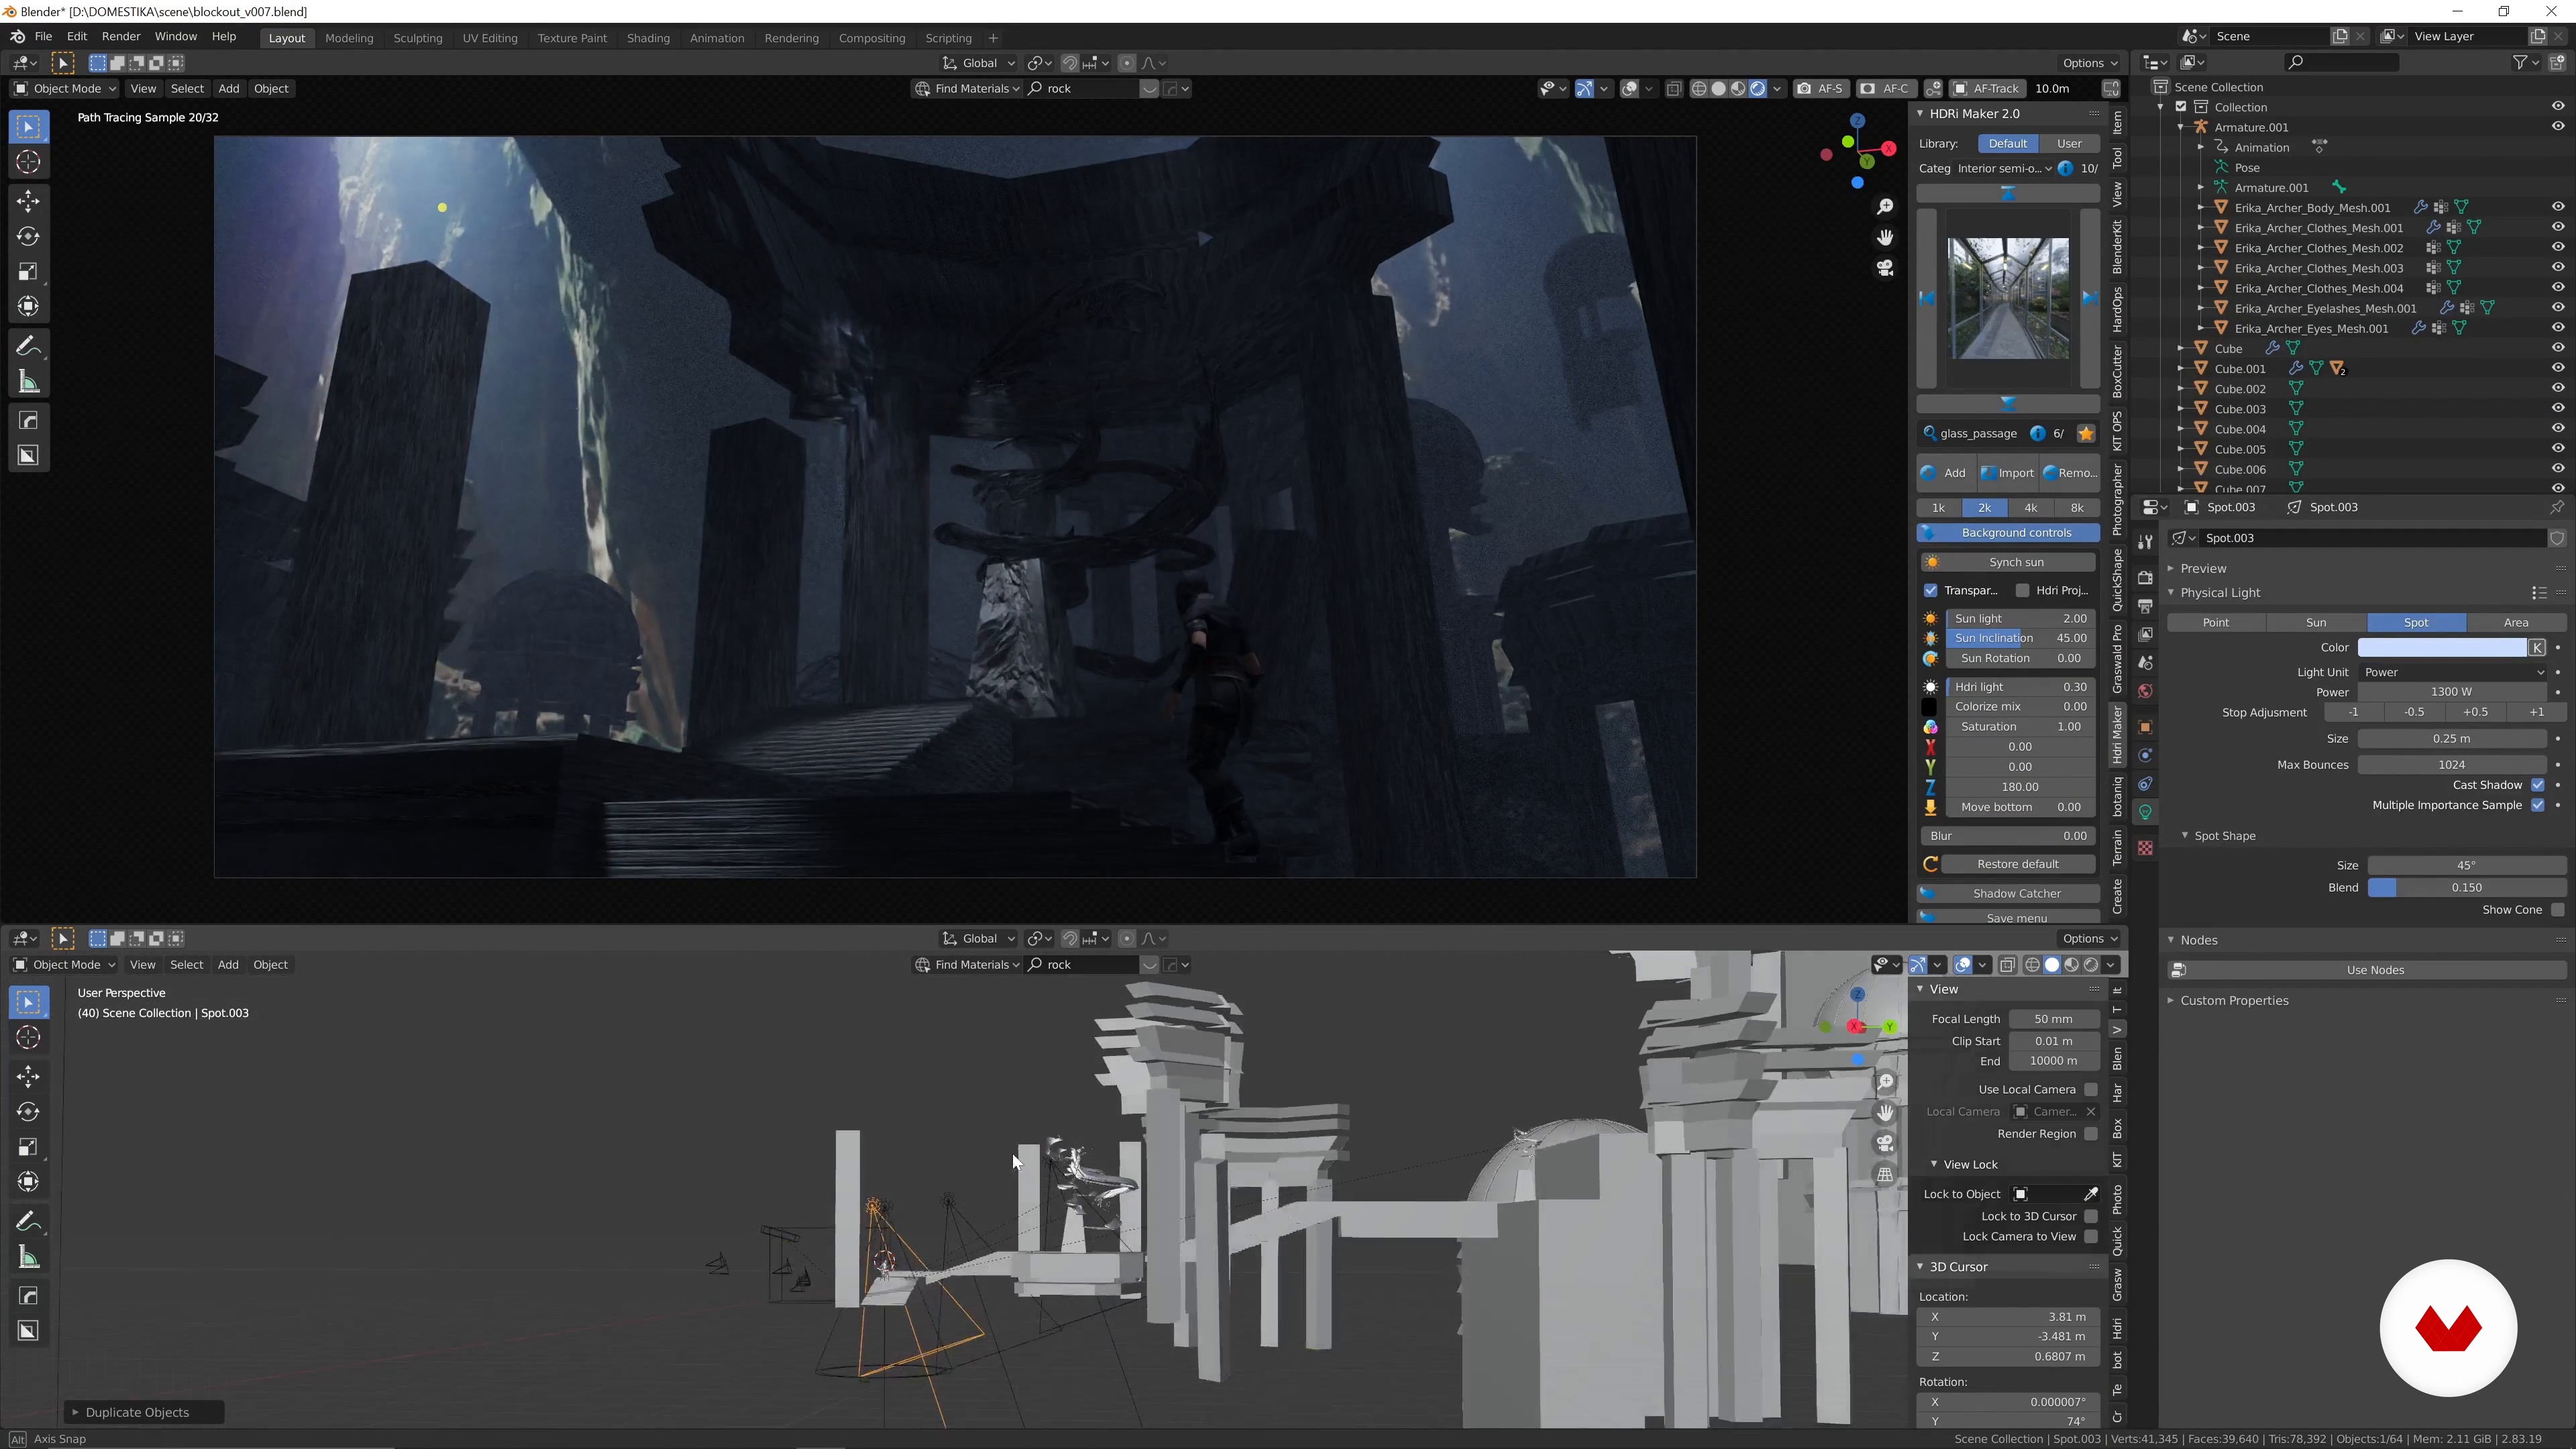
It's time to focus on the lighting. I'll present the various lighting tools available in Blender and then set up the basic lighting and atmosphere that I established in my sketch.
12m
image
12
Creating the Individual Hero Assets
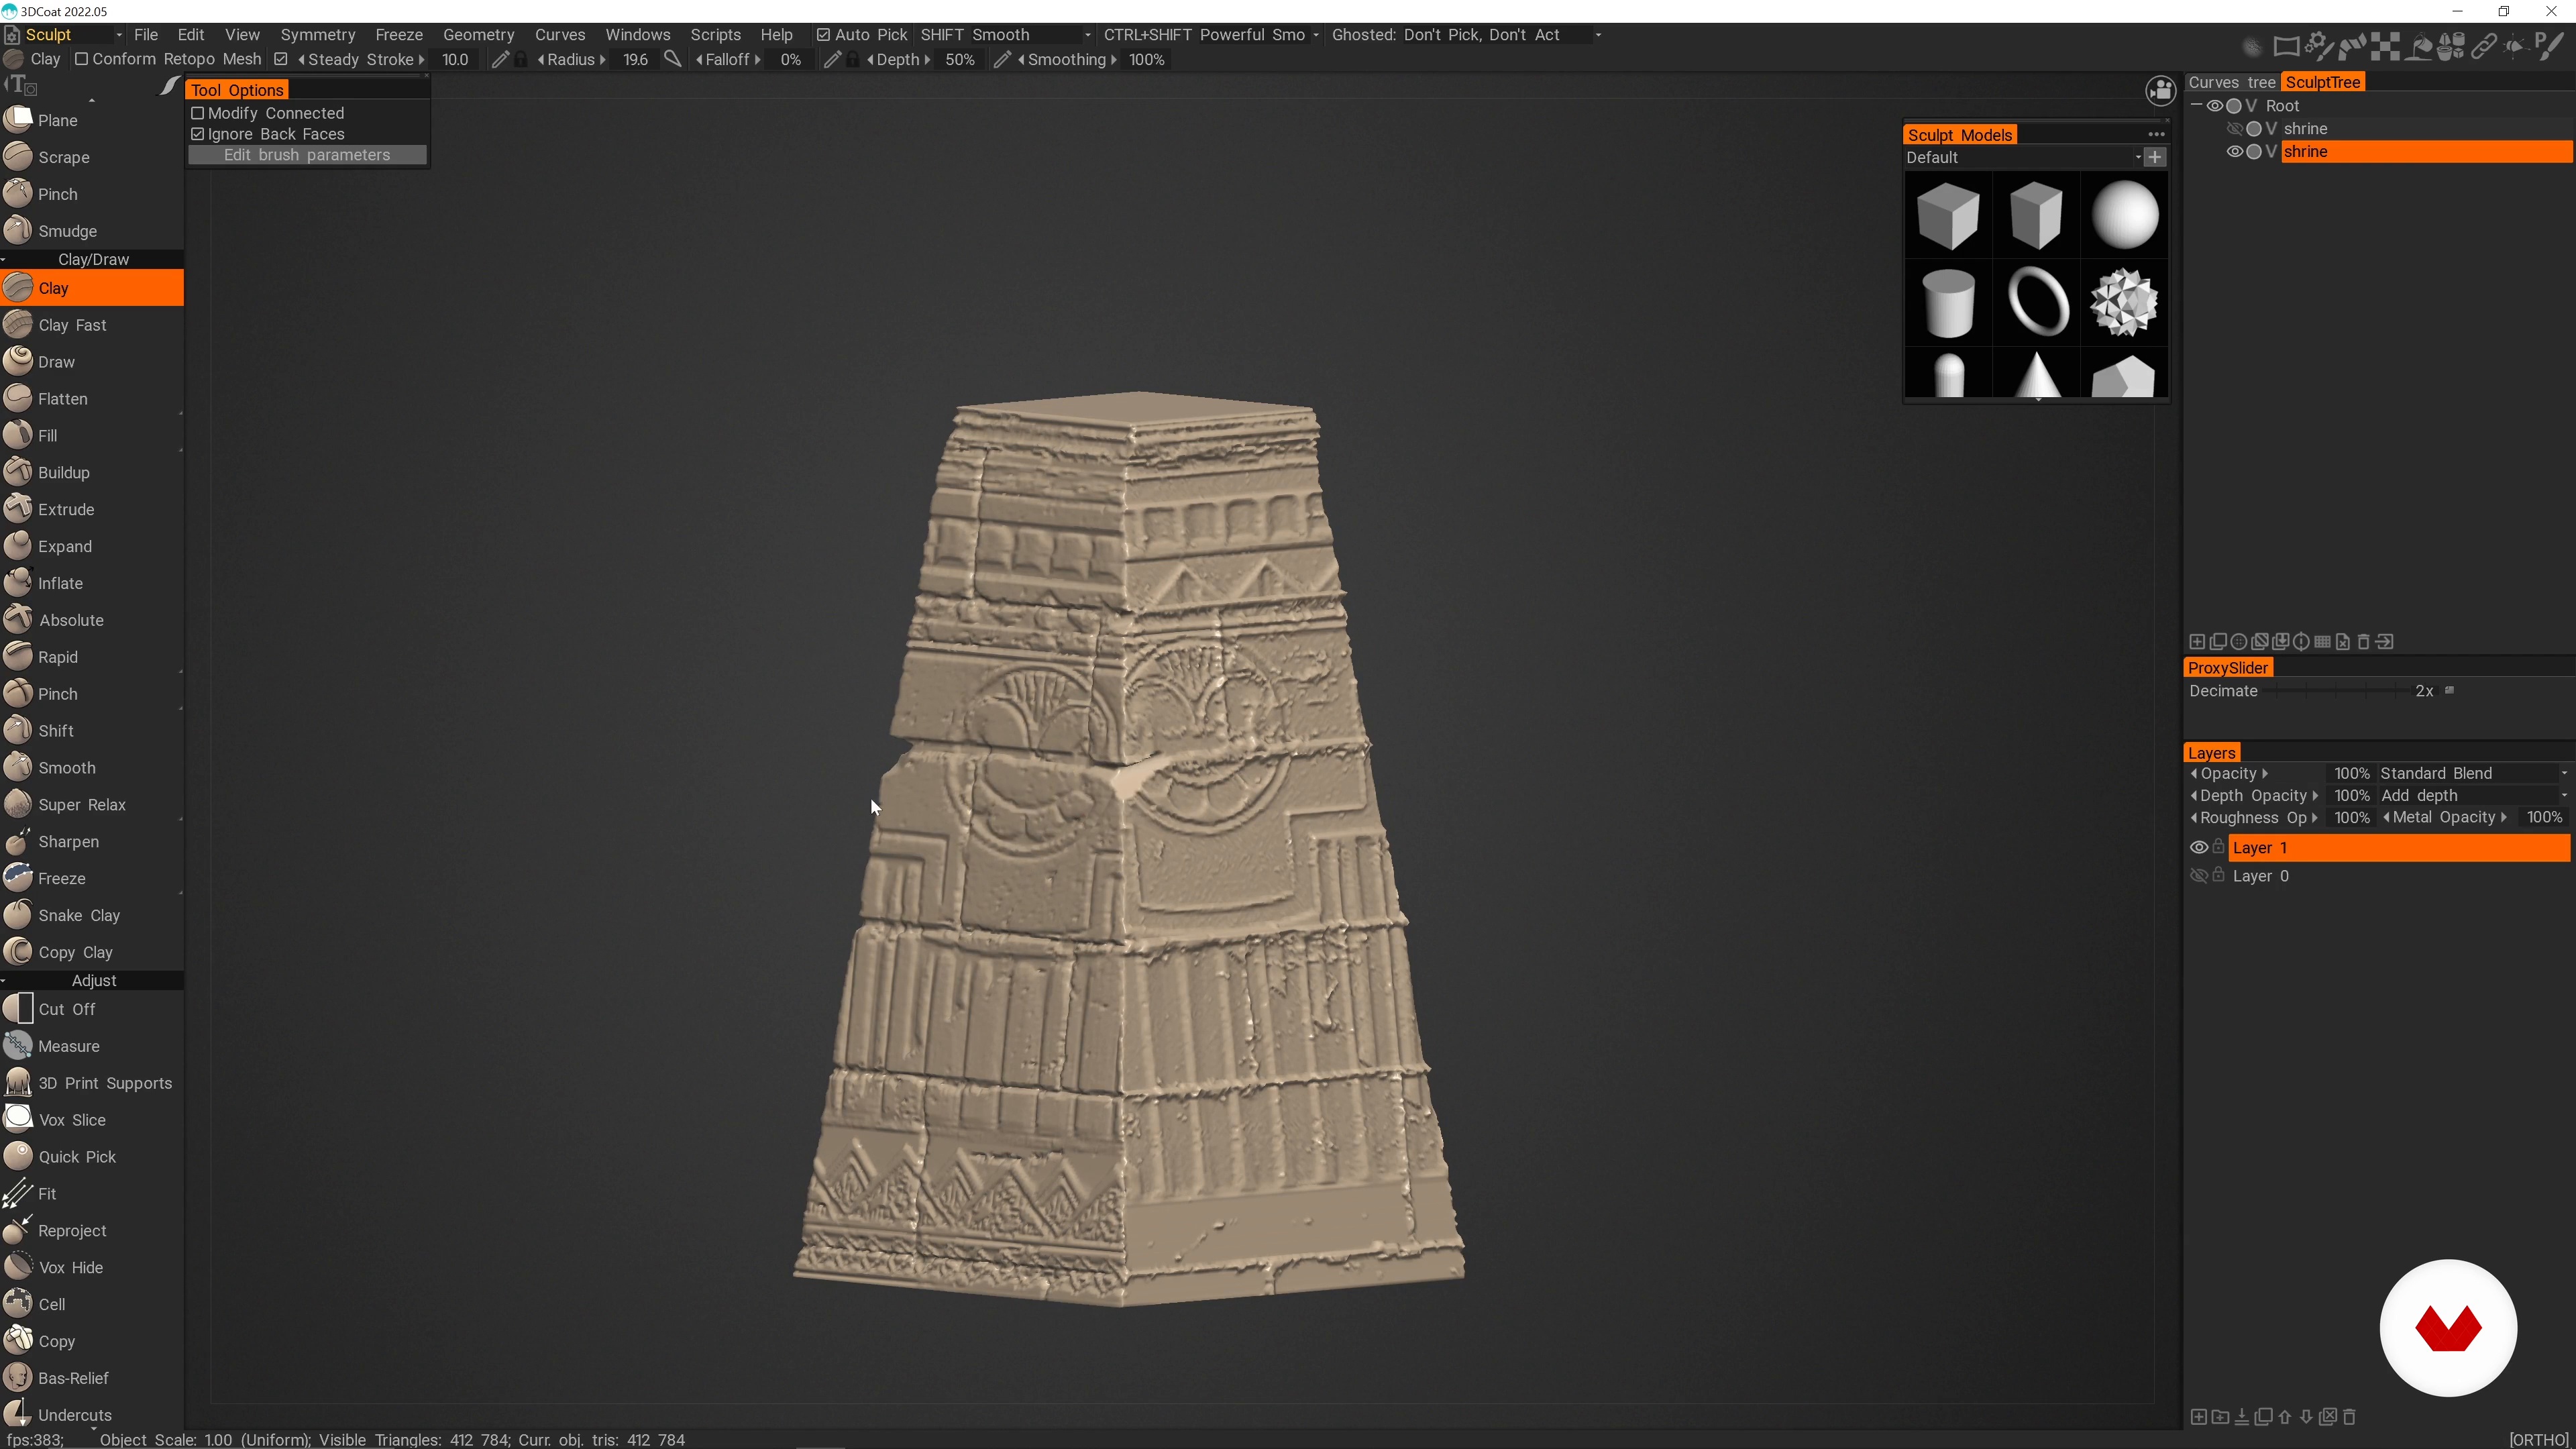
I will now come back to my initial 3D blockout and start building the hero assets that will populate the scene. These are assets that will be more visible than the rest. To do this, I will use Blender for the basic modeling and 3DCoat for the details.
14m
image
13
Rendering the Scene
My 3D scene is done! I will set up the render passes and the basic rendering properties to obtain the best results while maintaining reasonable rendering times.
9m
image
14
Setting Up the Render Passes in Photoshop
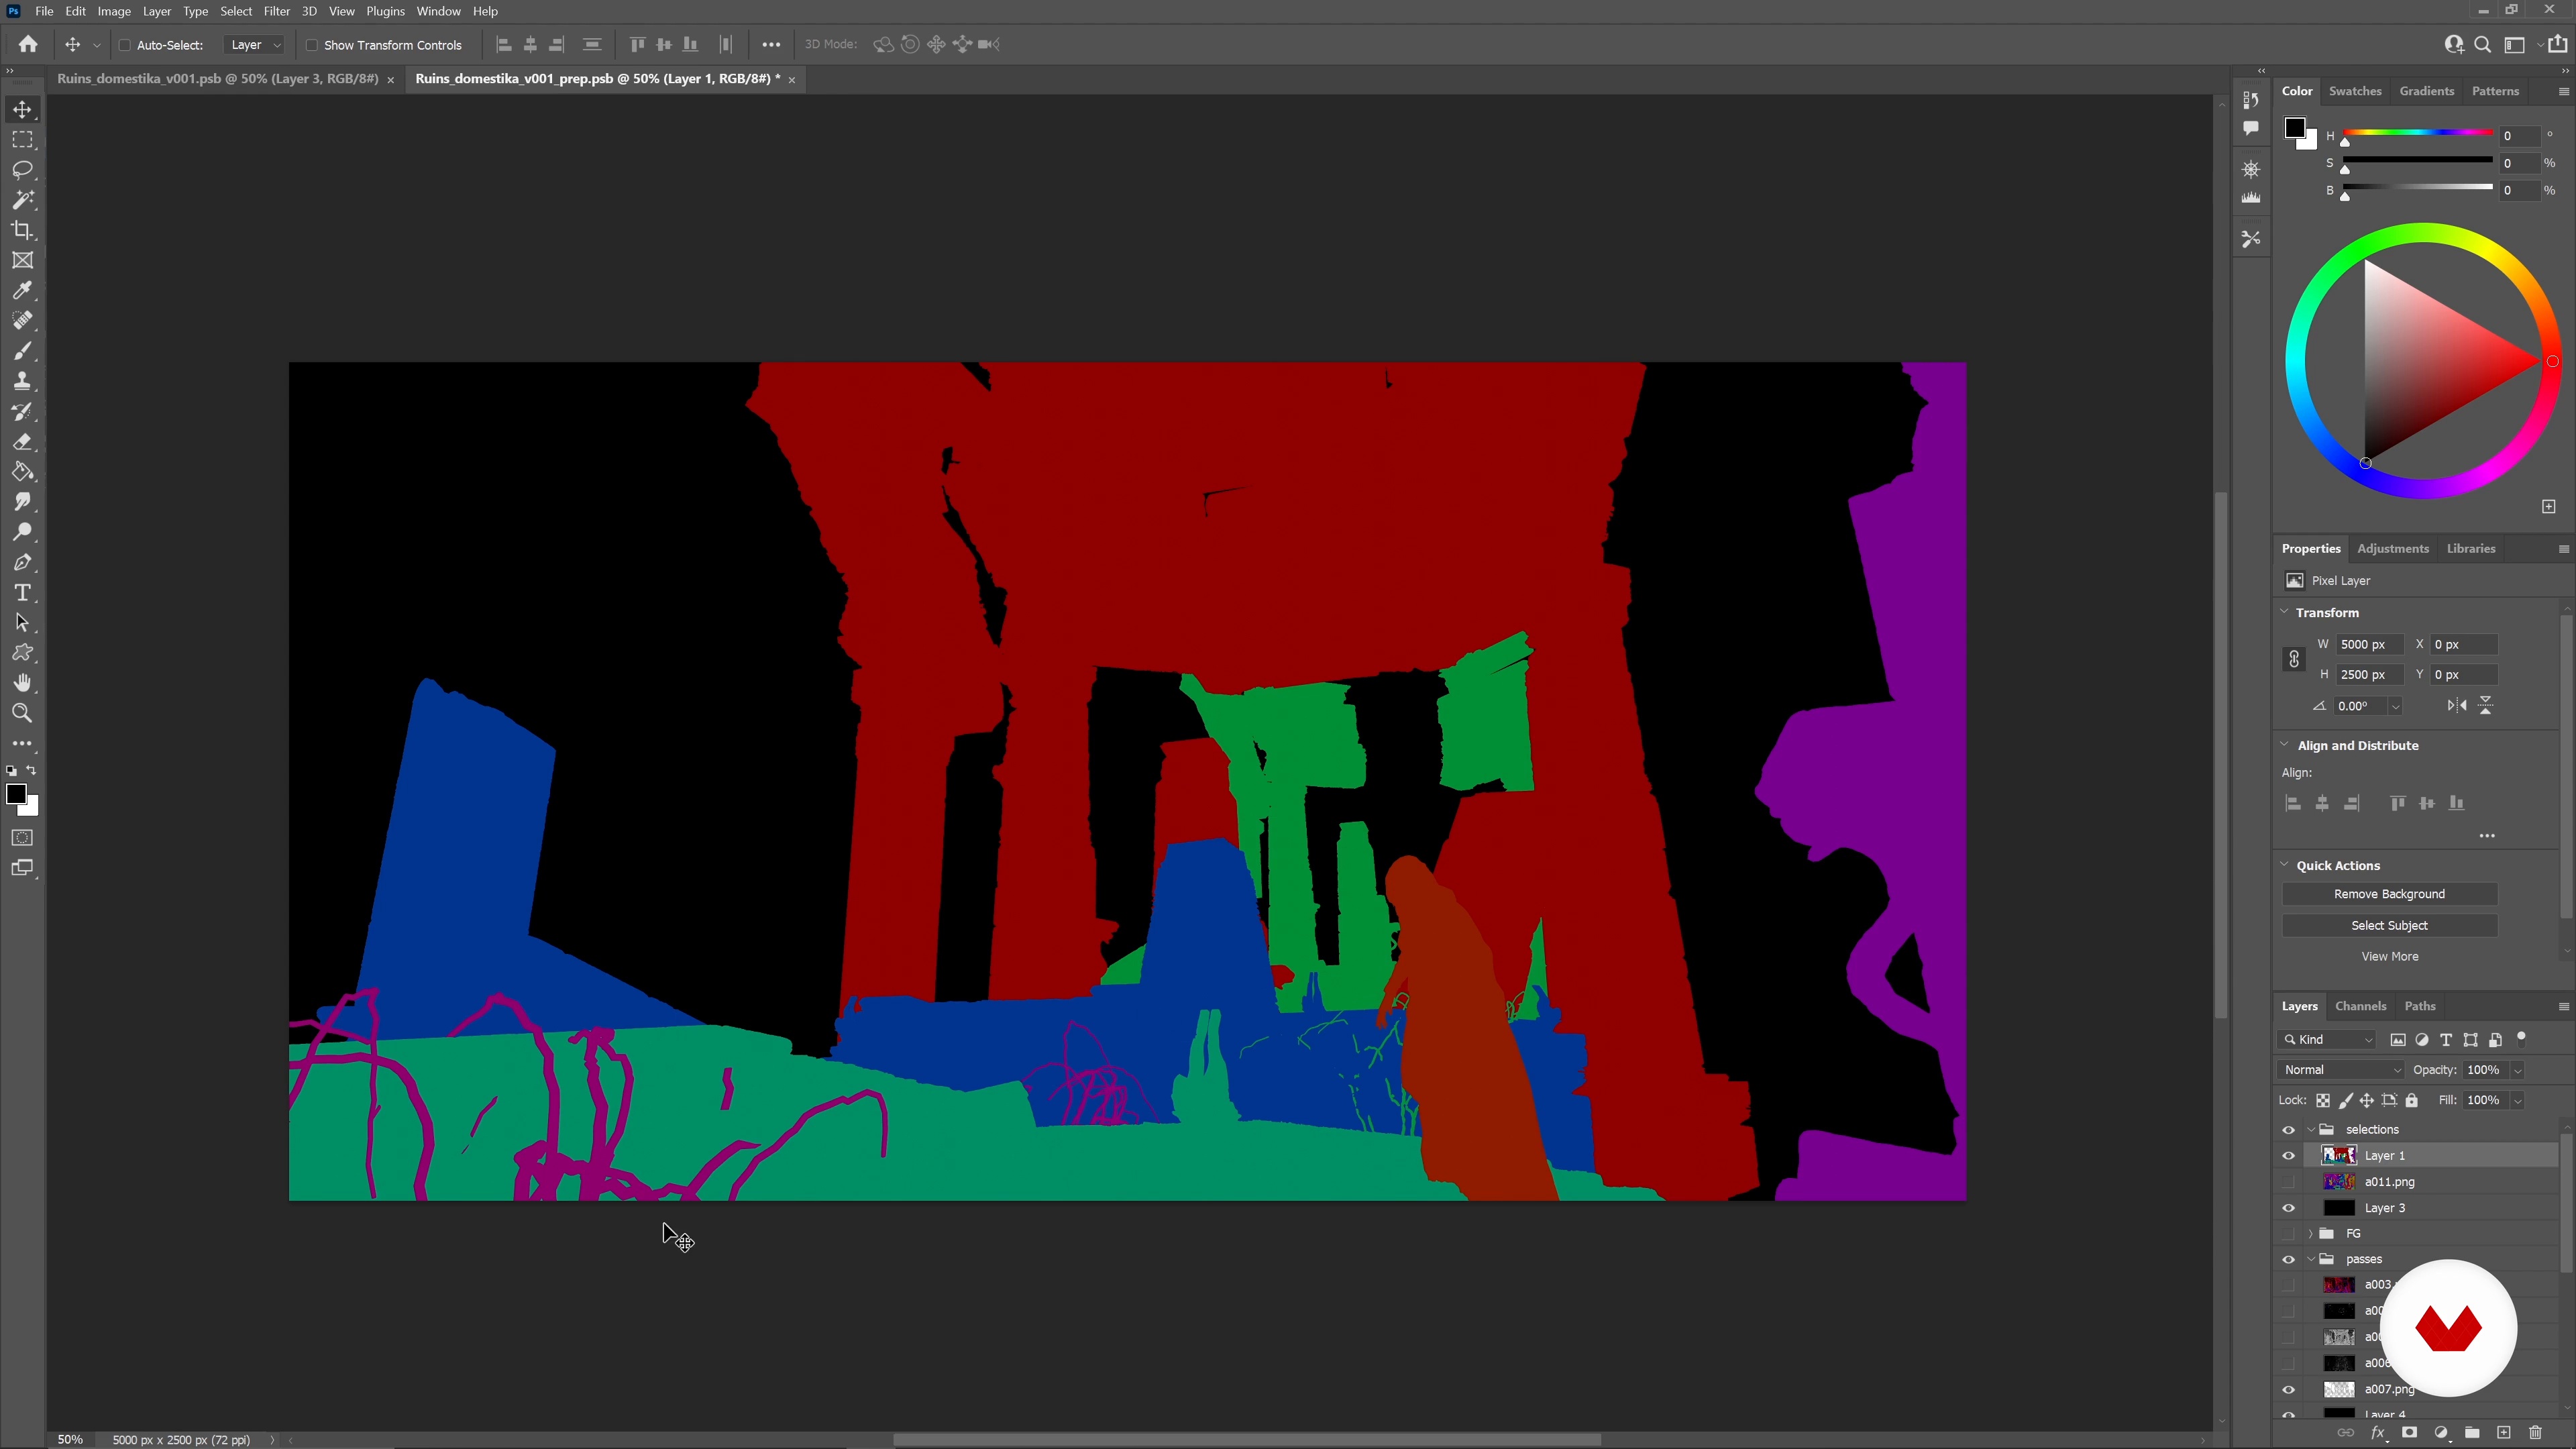
Here is where I move back from 3D to 2D. I will explain how to set up the renders done previously in Photoshop, how to use them, and then how to arrange the Photoshop file for high efficiency.
9m
image
15
Atmosphere and Background Photobashing
Next, I will fix some of the background elements that weren't properly rendered. Then, I'll teach you the basic Photoshop techniques you can use to extract usable photo elements and match them to the created image. I will demonstrate a manual way to do this and a more automatic process.
10m
image
16
Photobashing
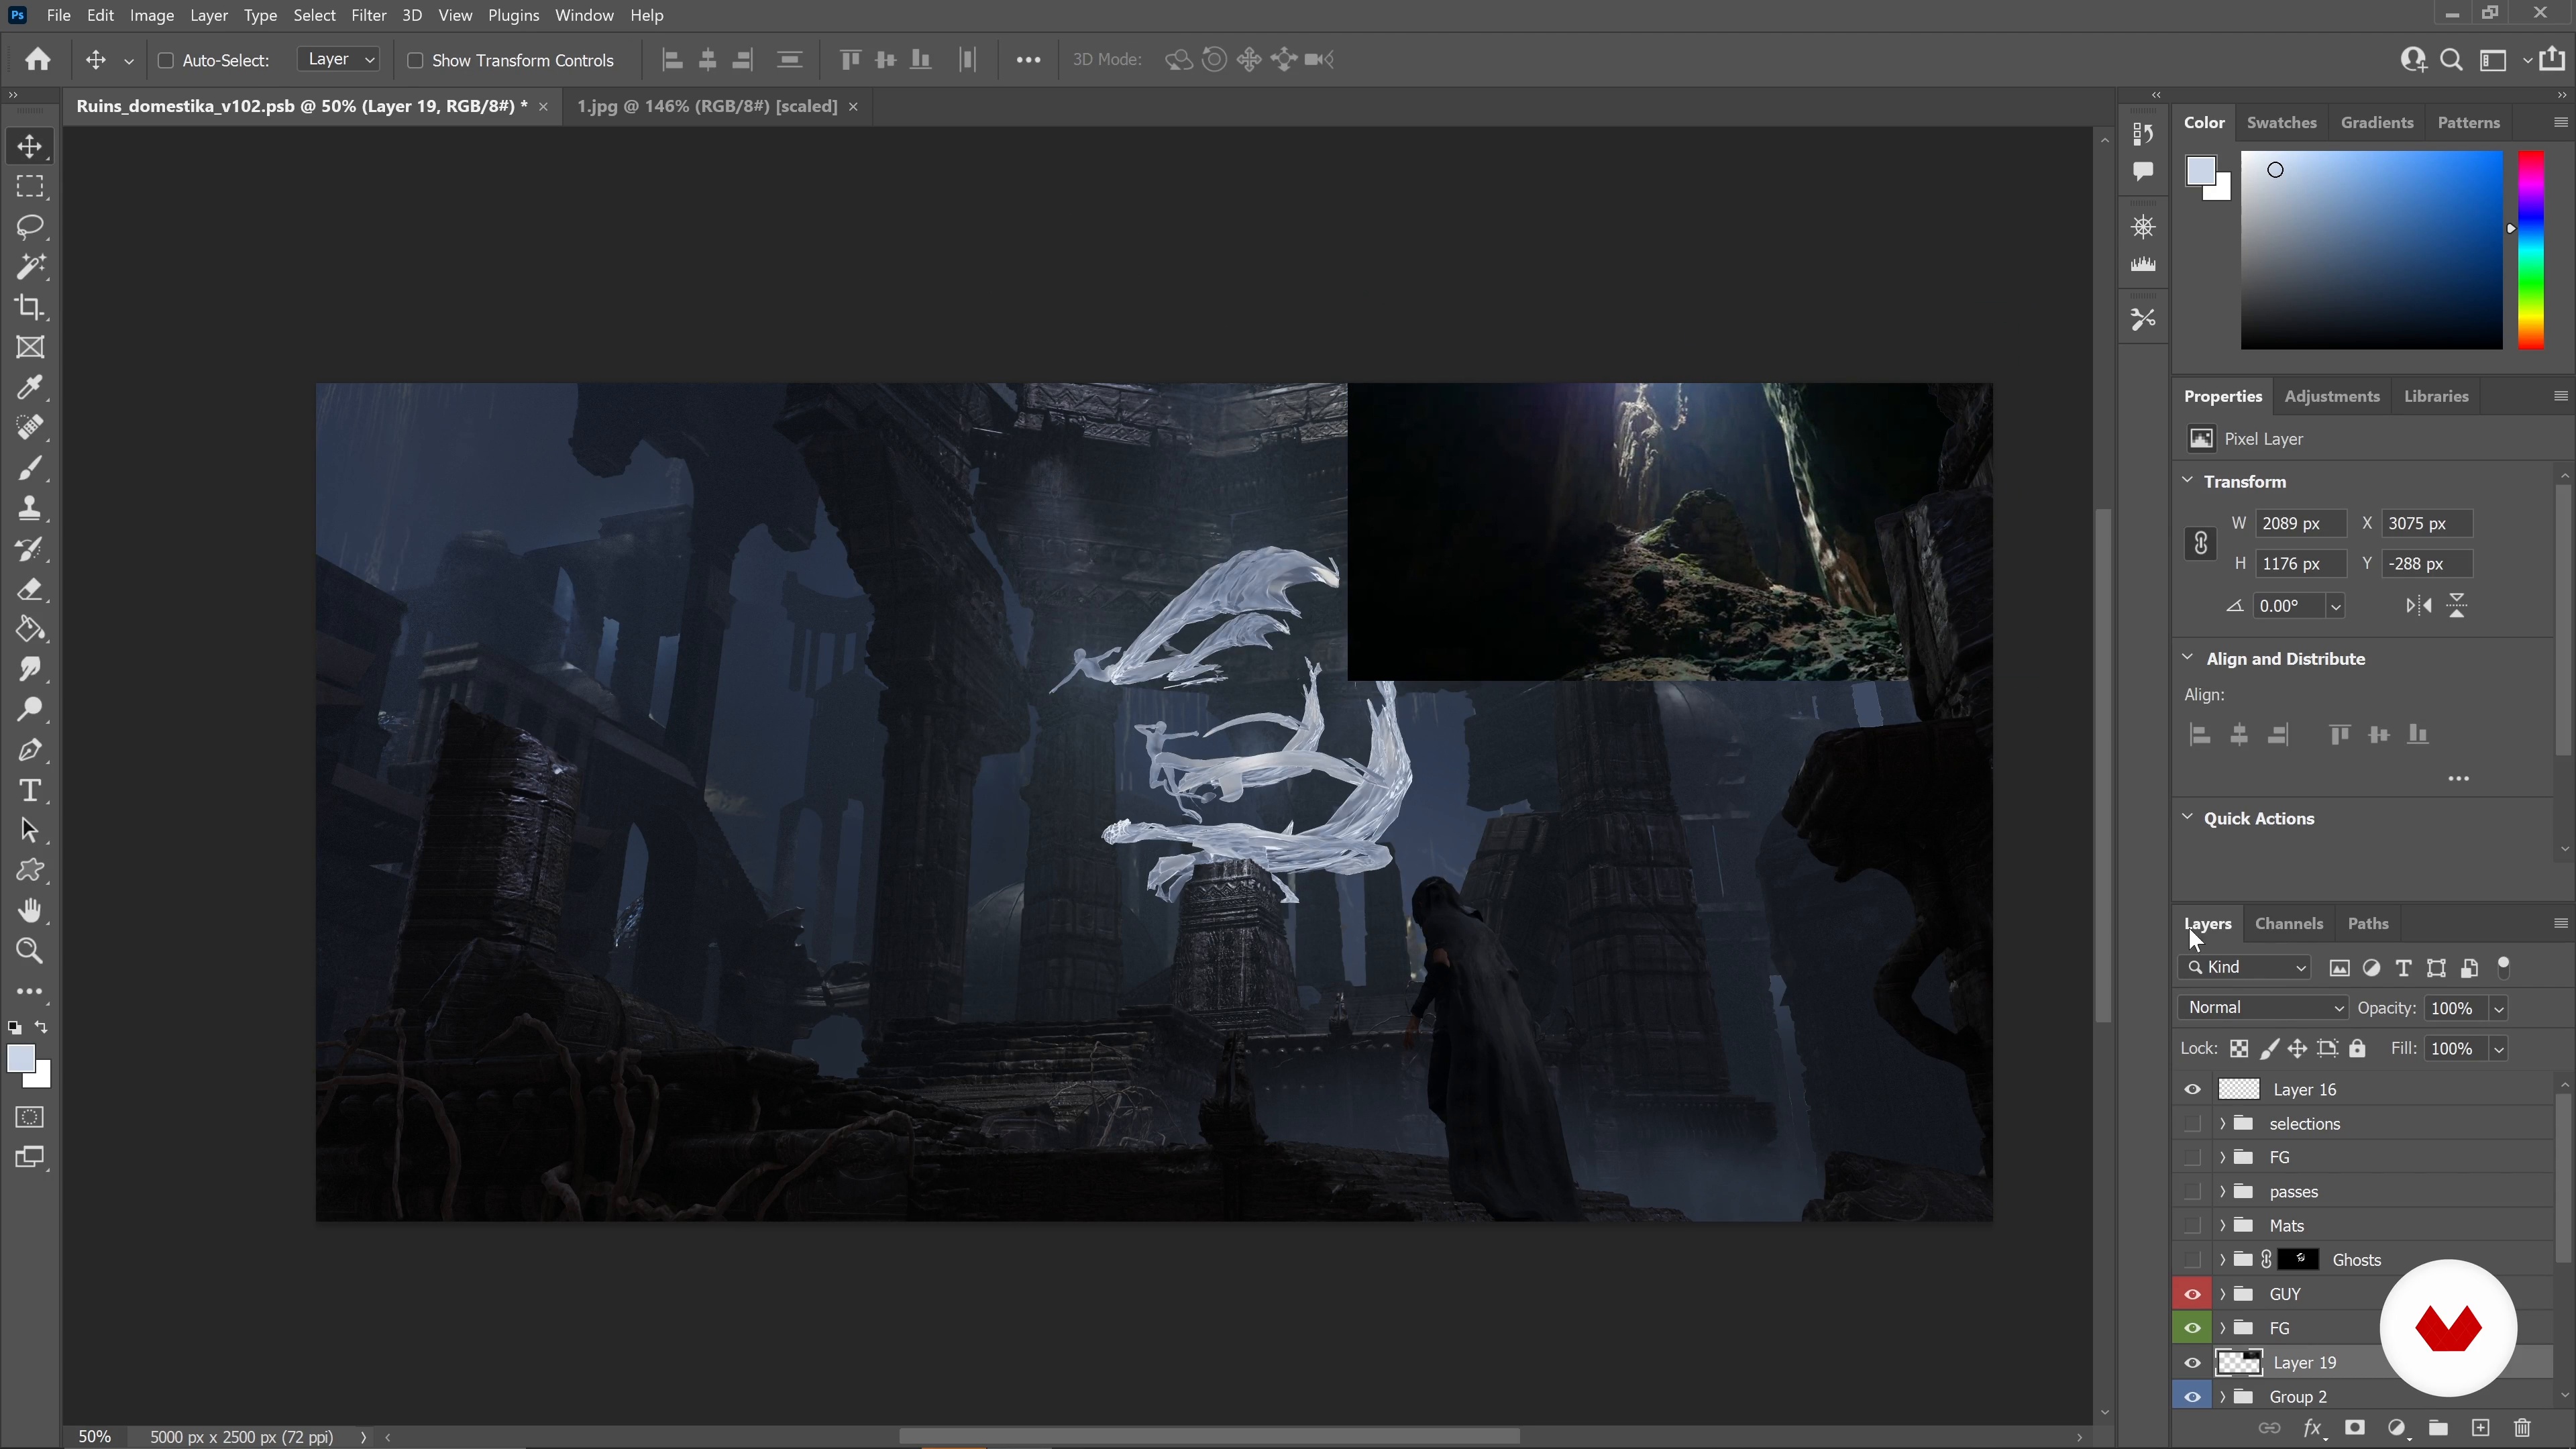
As I'm getting closer to the final image, I will go through a thorough review process of my image. Based on my notes, I will use photo elements to enhance various elements of the visual for a more realistic look.
14m
image
17
Simplifying and Unifying
I will now focus on simplifying the image by overpainting some key areas. The overpaint will unify the whole and bring a more painterly style to it.
9m
image
18
Finalizing the Image
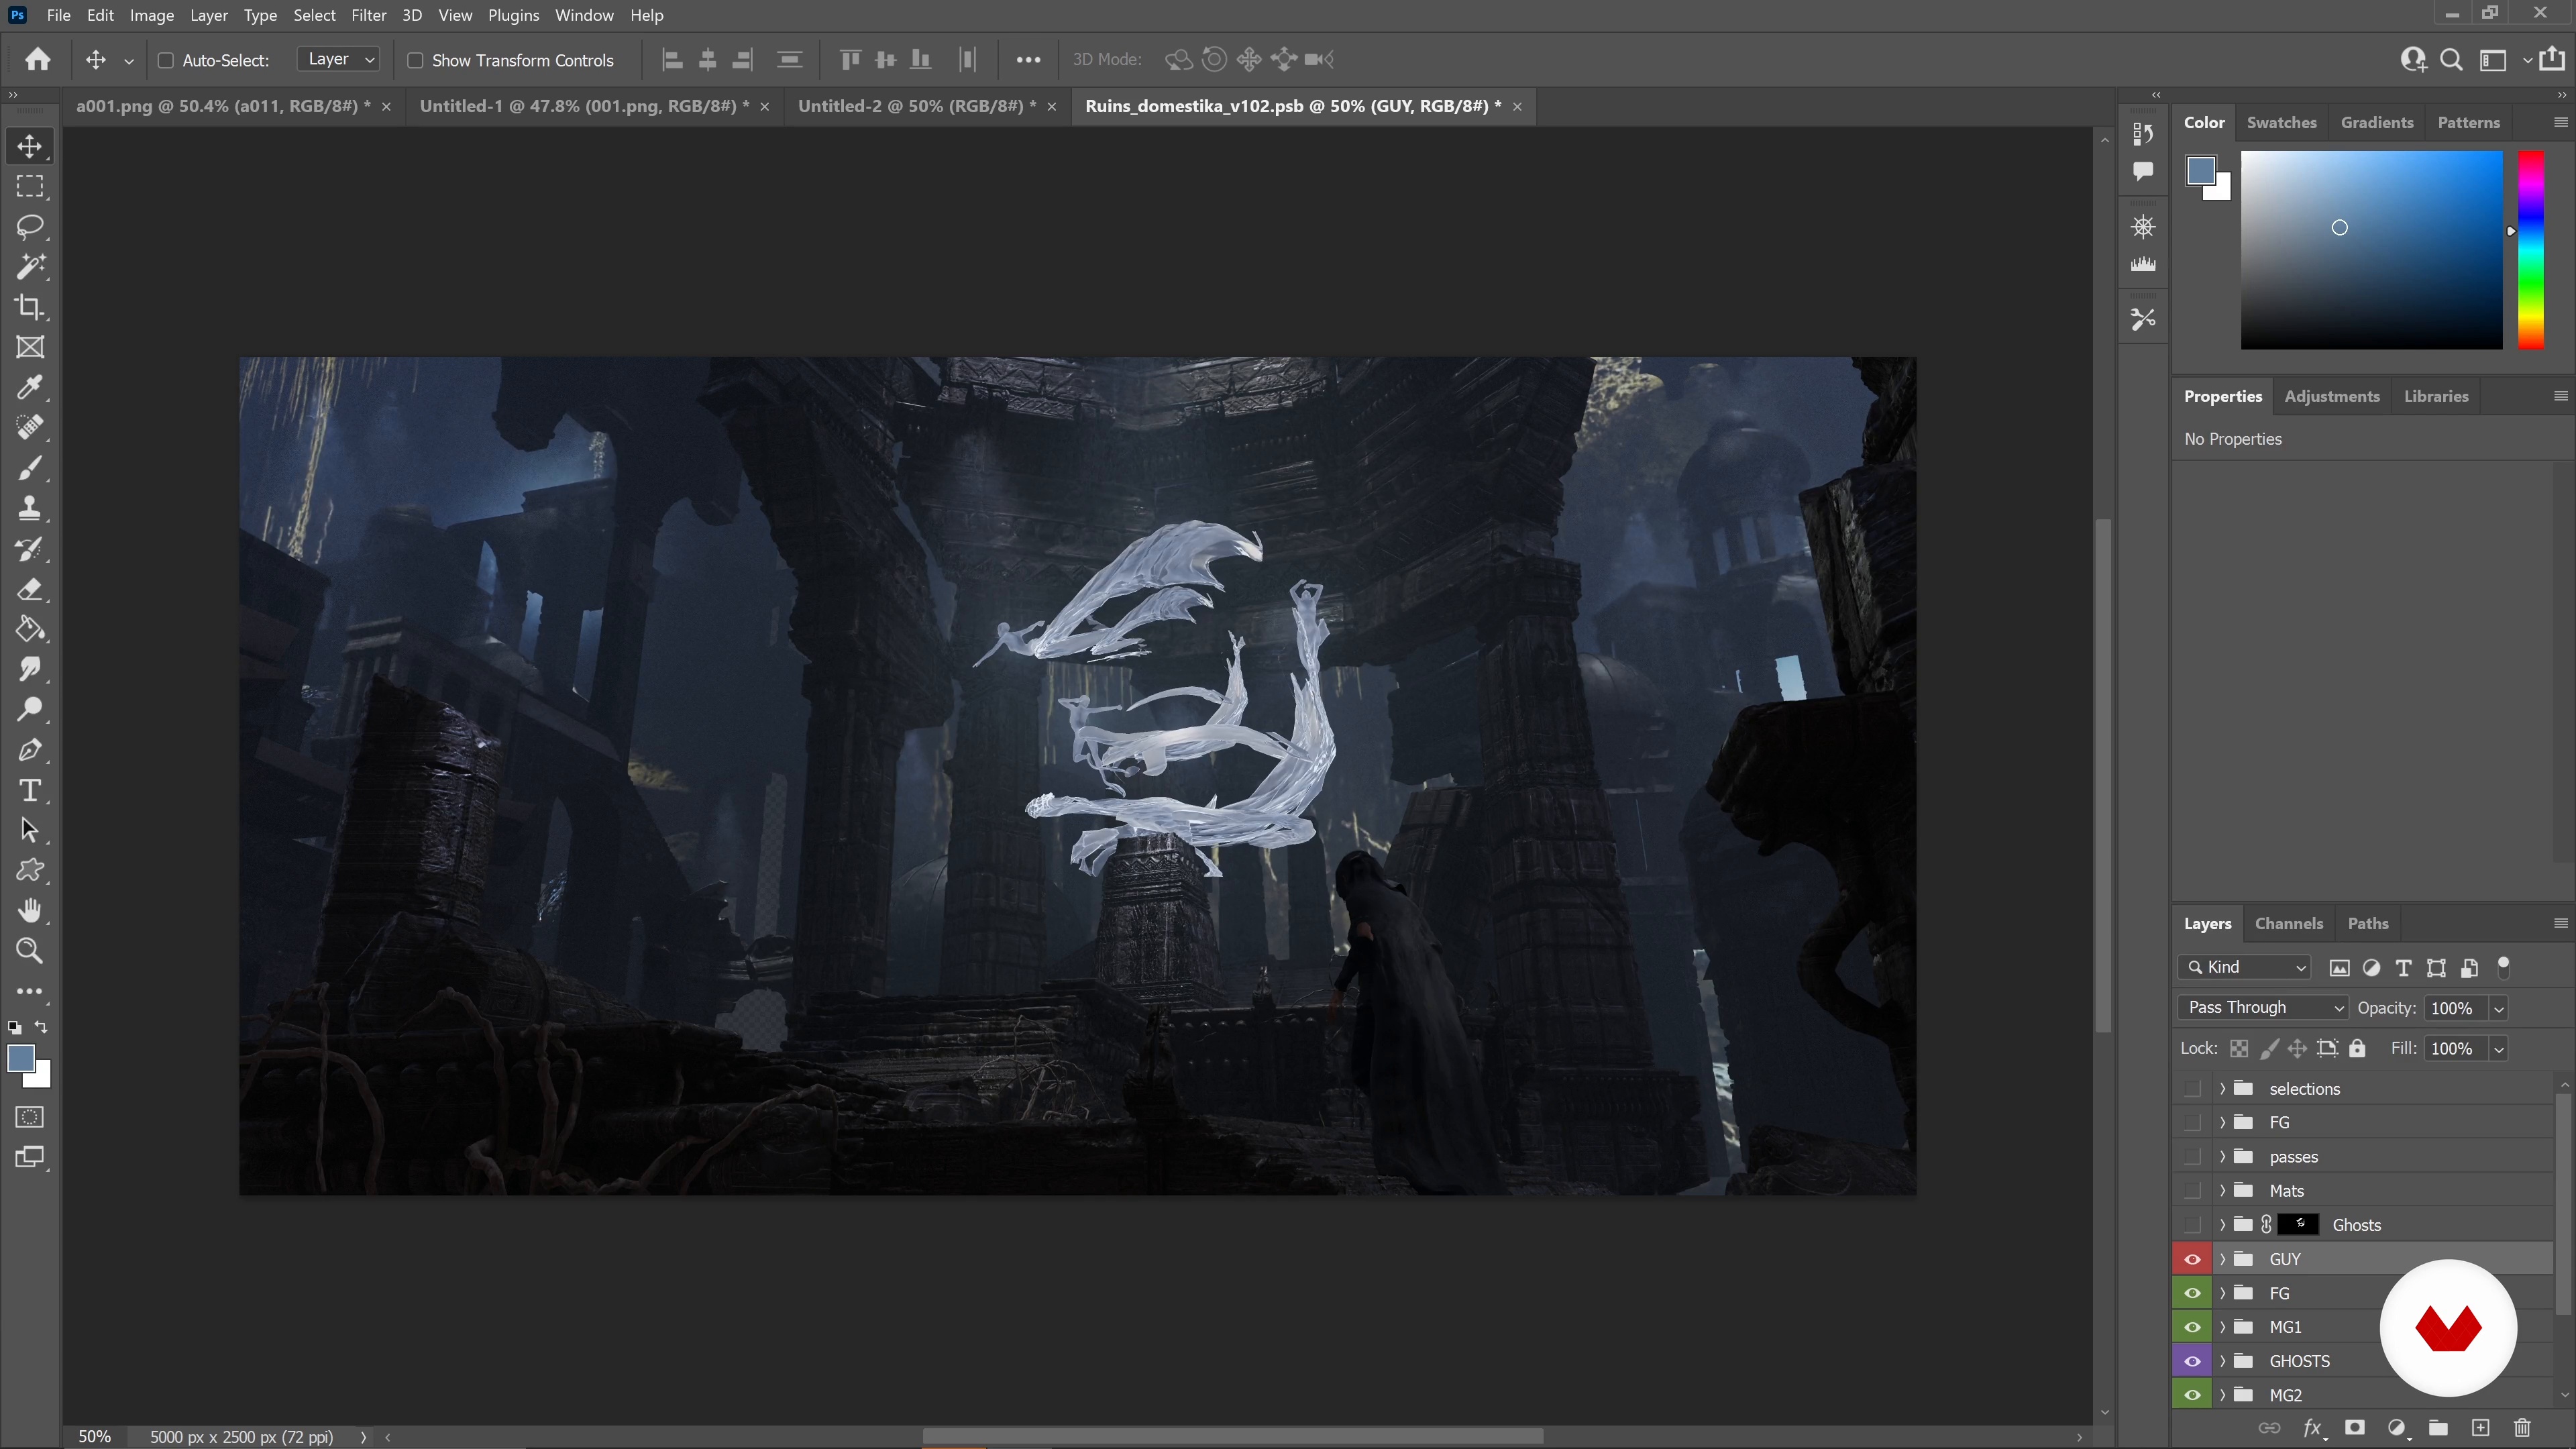
In this last stage of the process, I will work on some final touches. I will explain what makes an image seem more cinematic and show you how you can emulate those effects in Photoshop by using both a manual approach and an automatic one.
7m
image
3
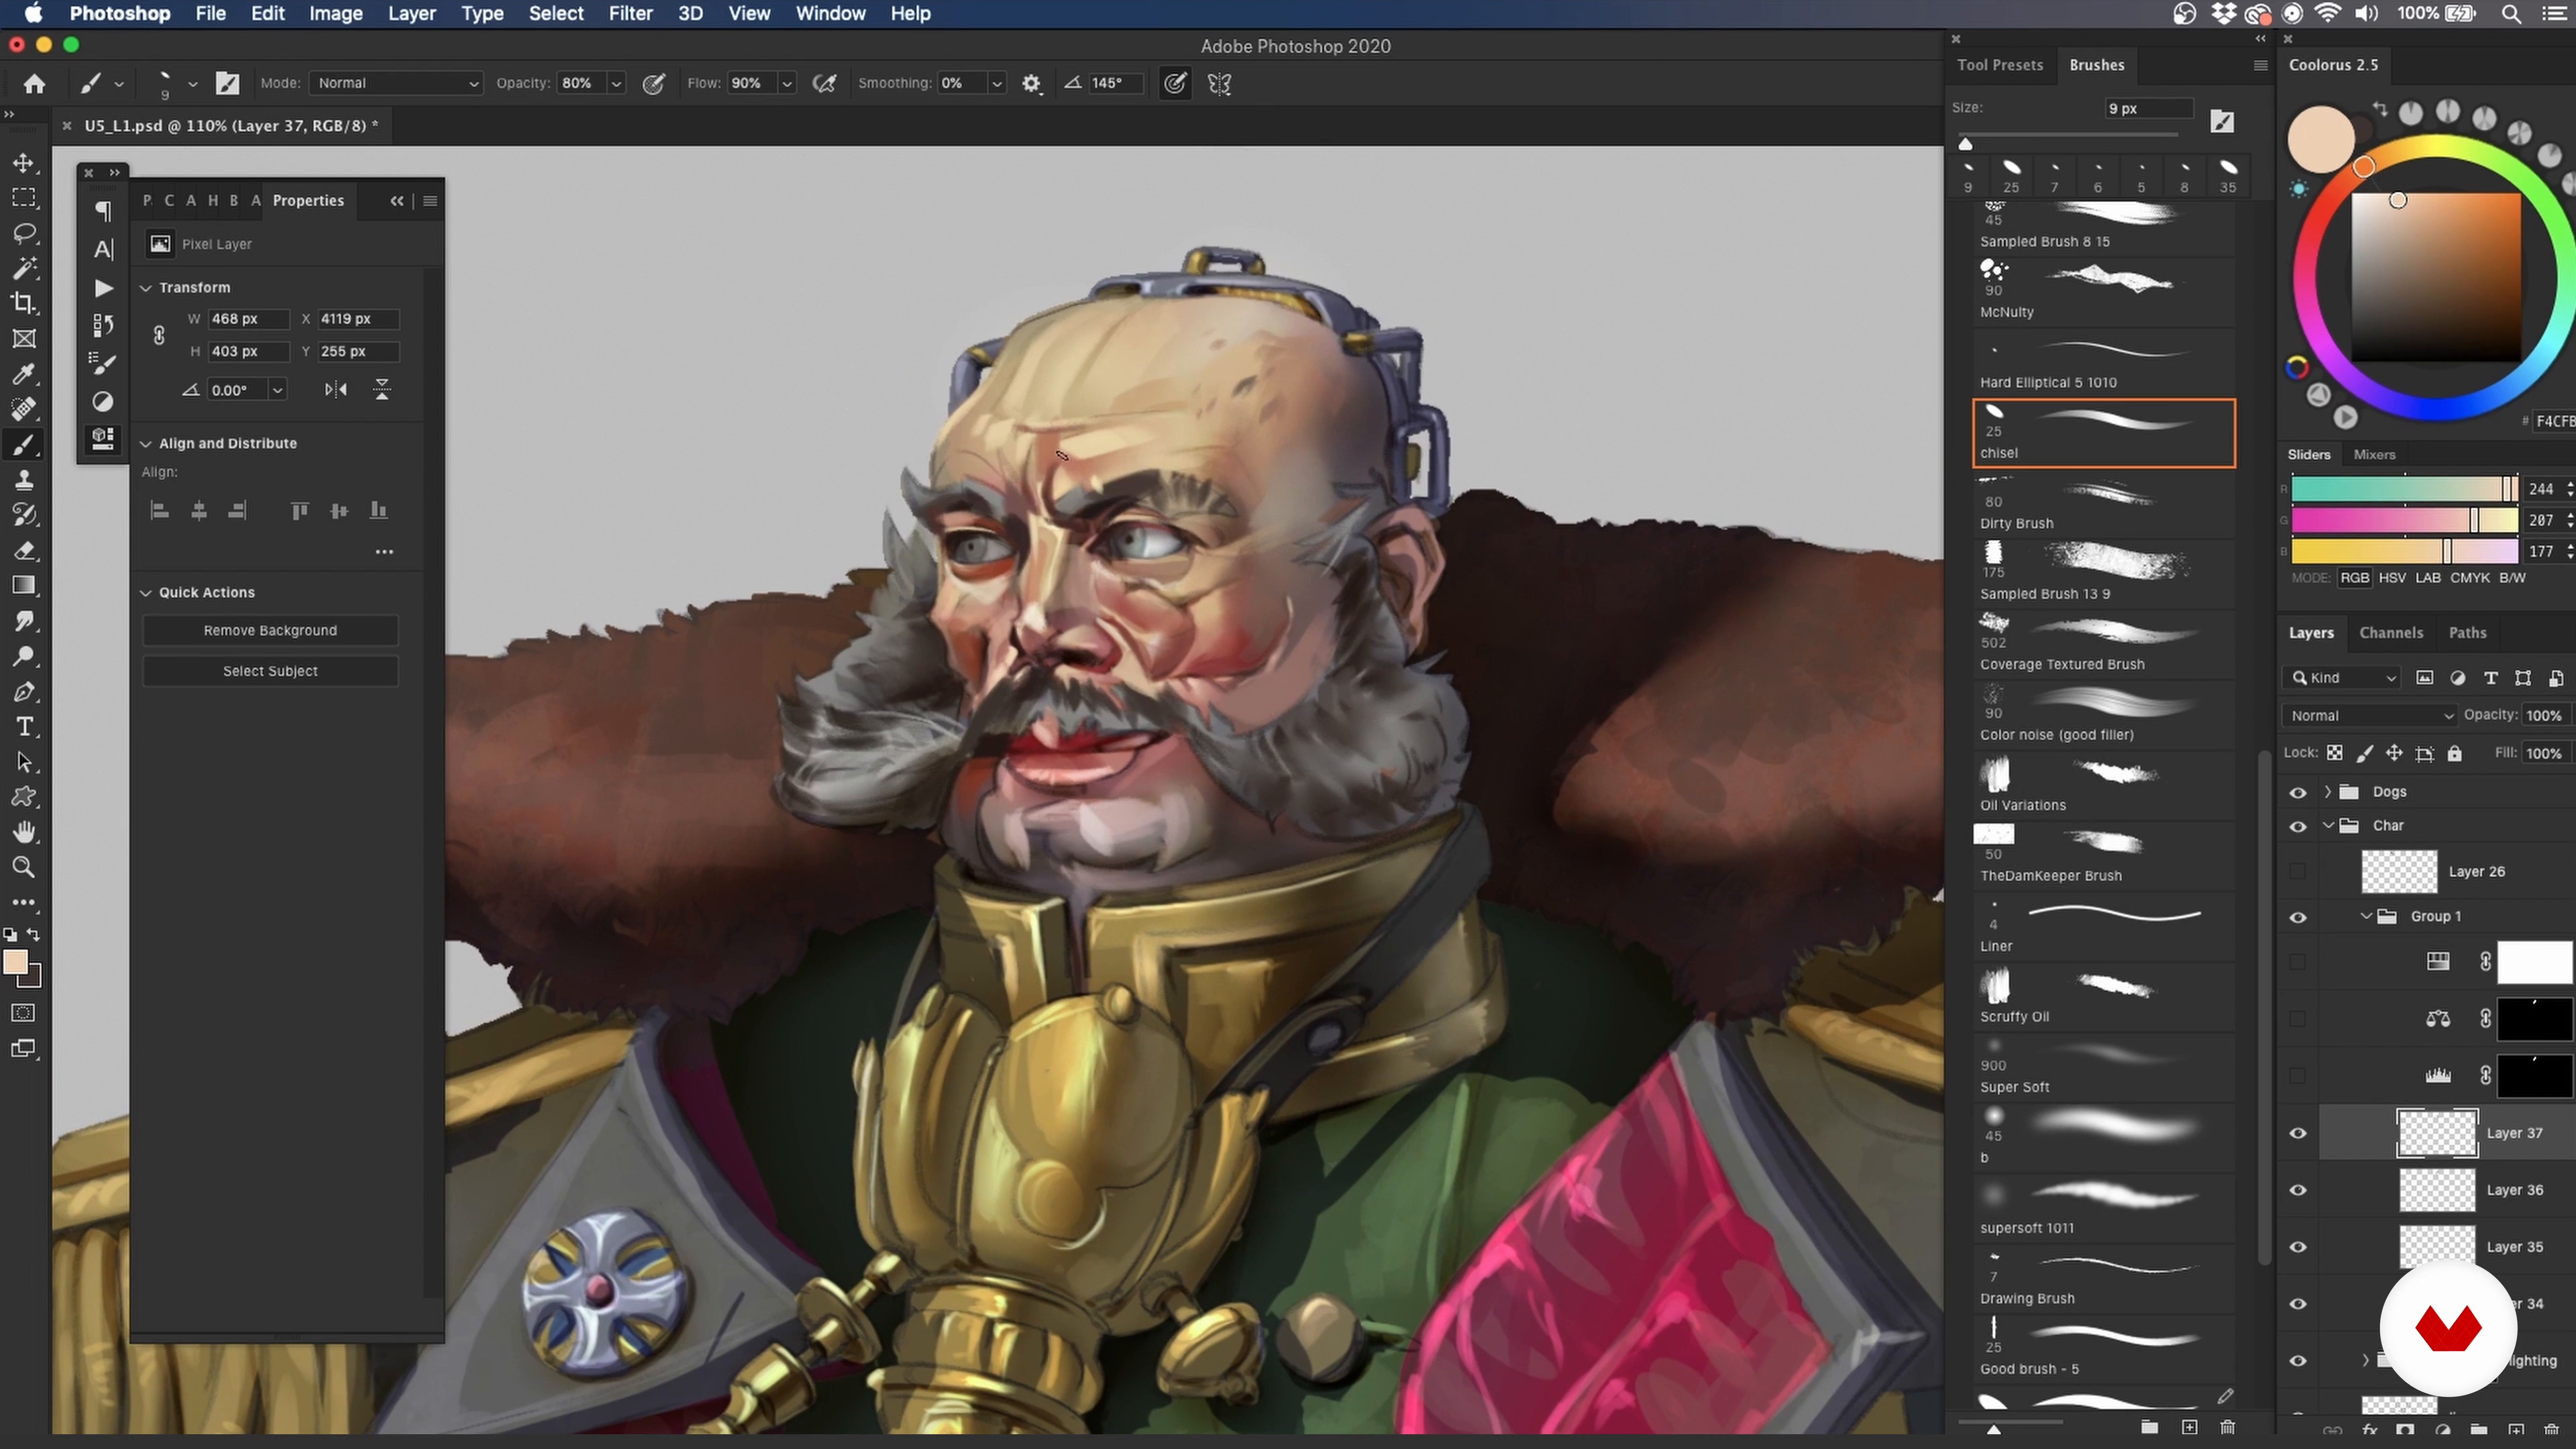
Treating the Character Like a Person
Cutting through some of the jargon used in the industry, we will discuss characters—how we build them, from craft to conceptualization, referring back to the influences for points of wisdom or particular techniques. The focus will be placed on demystifying the process and breaking it down into bite-sized chunks that can be dealt with one at a time.
6m
image
4
Defining World Constraints
The very idea of constraining creativity can seem antithetical to the idea of free creativity, so explanations are needed.
12m
image
5
Building the Setting
While we are here to make characters, it's first important to create a world for them to stand on.
10m
image
6
Defining the Character and the Context
With the framework of the world in hand, it's time to find your character’s place in it. Prince, pauper, wizard, villain, or vanquishing hero, you must understand what made your character.
9m
image
7
Creating the Character: The Whole Funnel
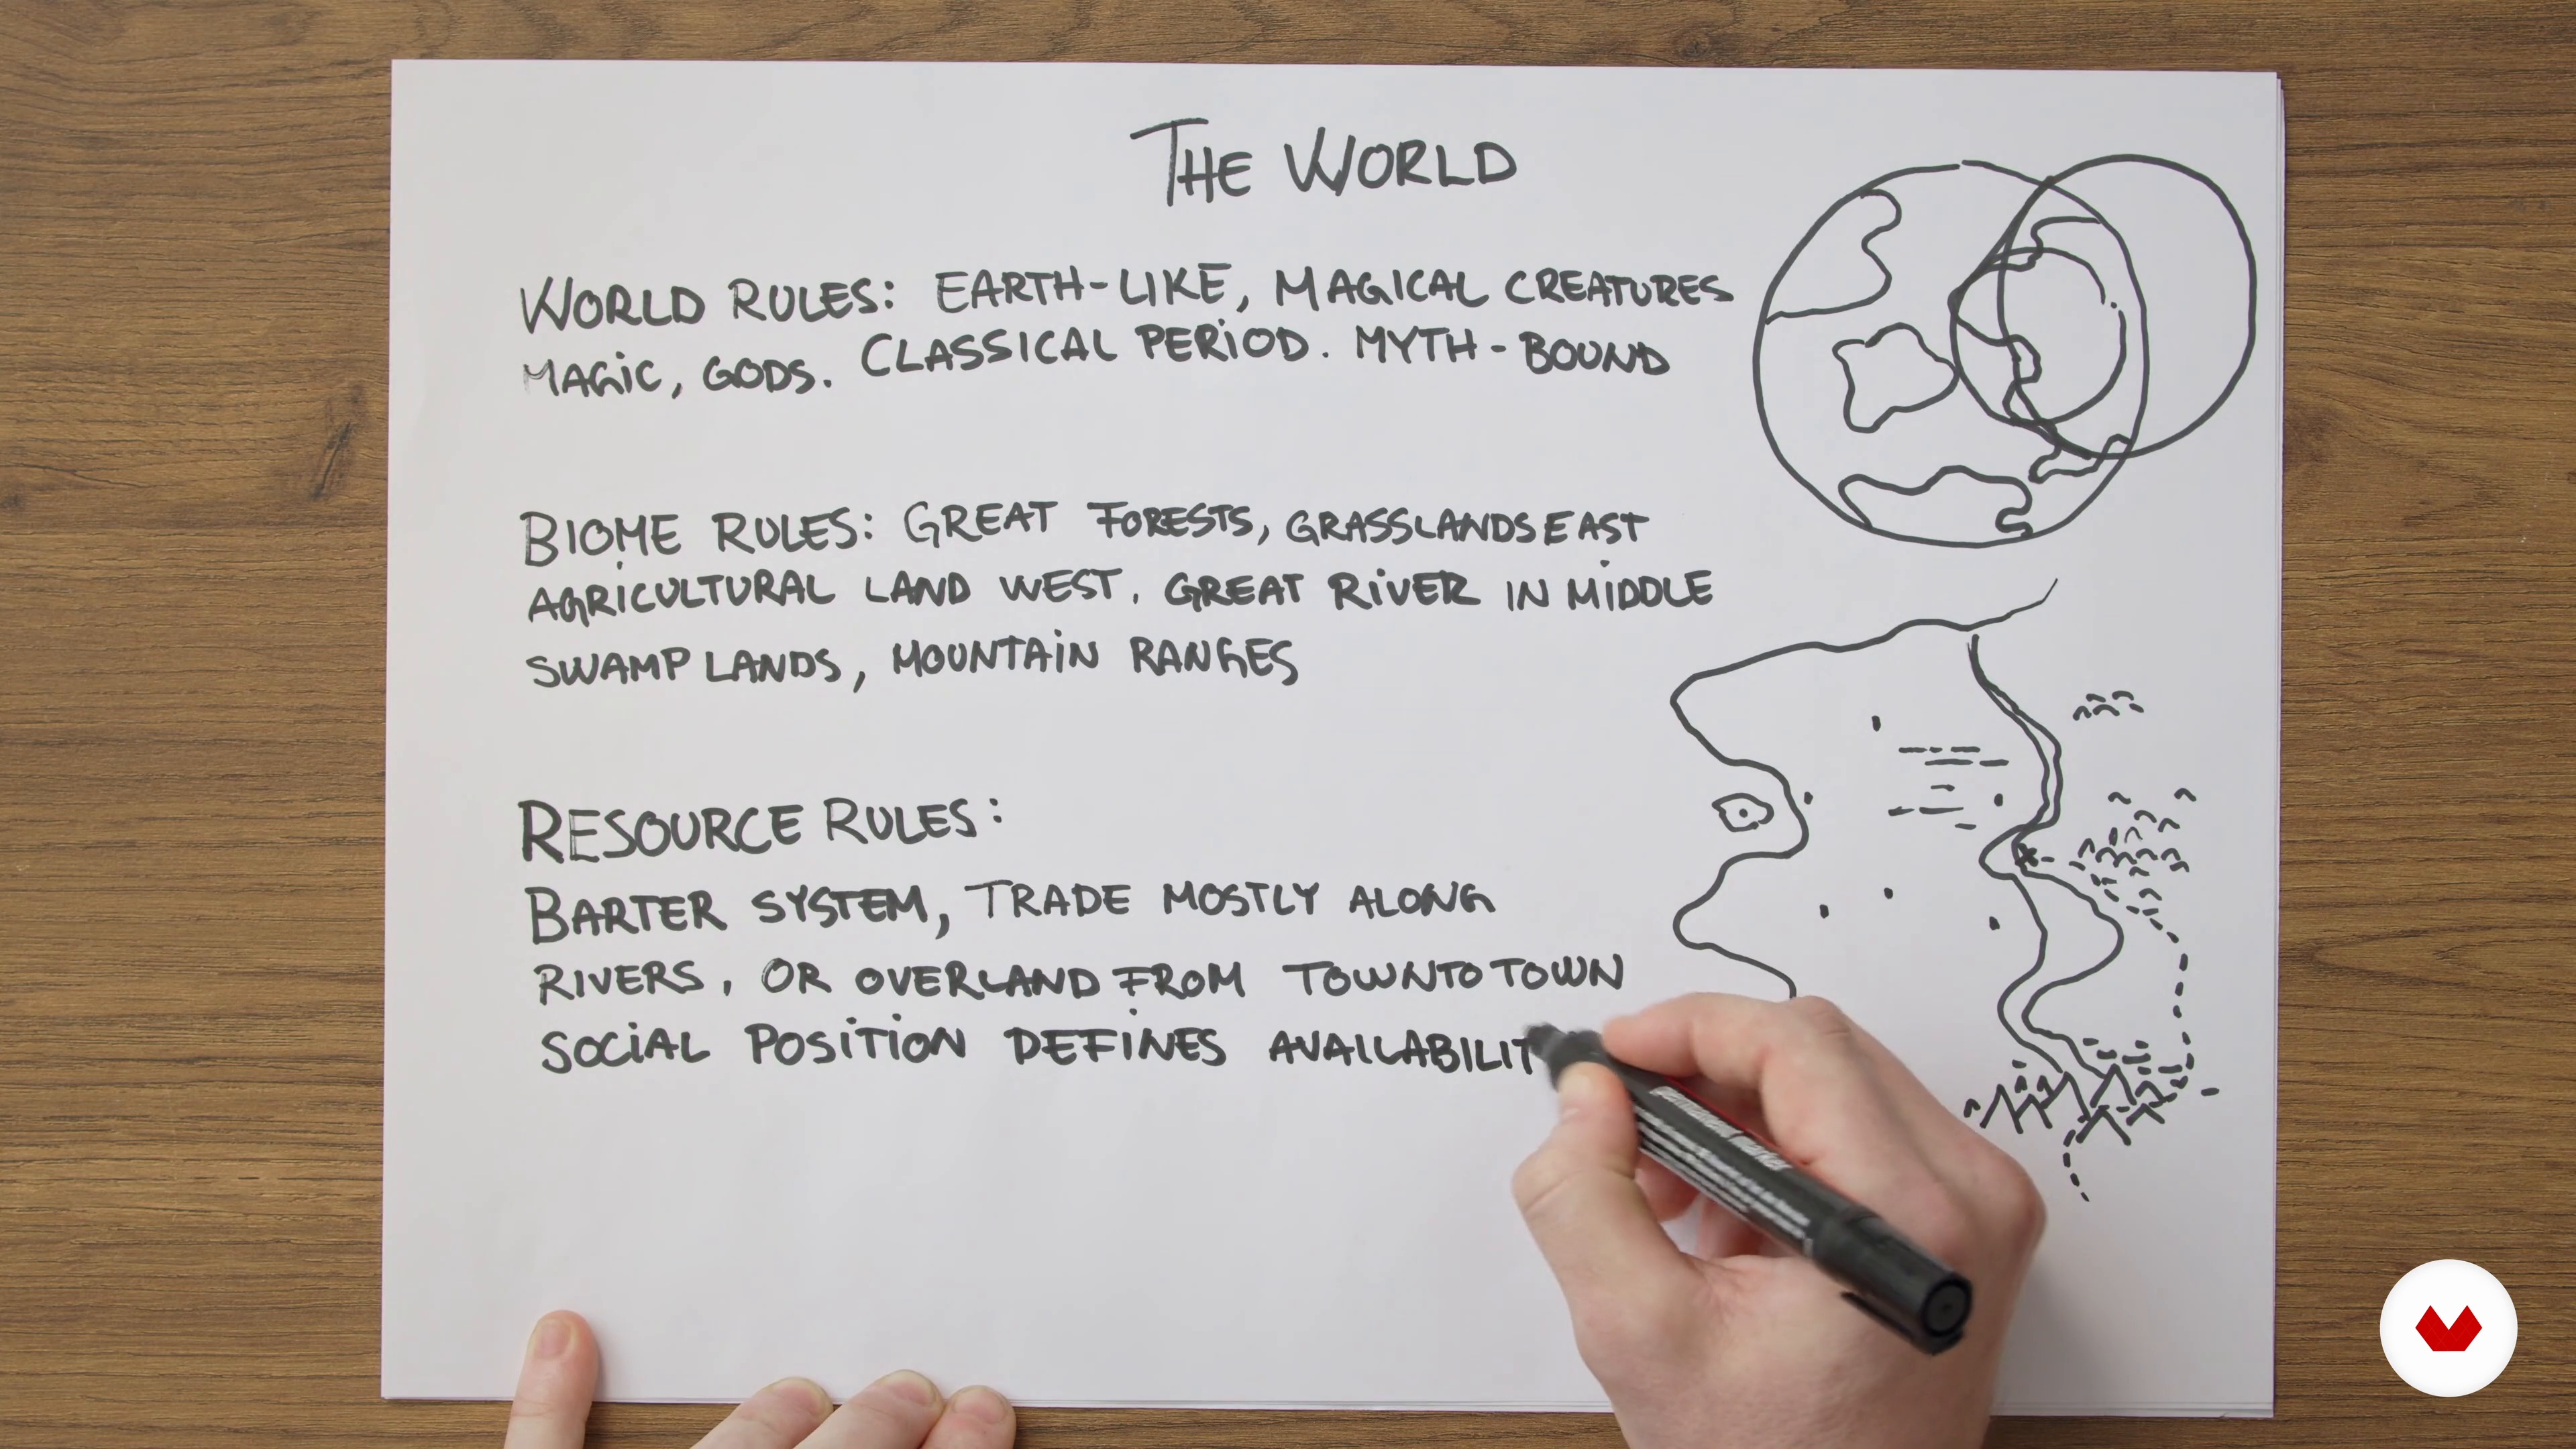
It's finally time to start building! In this lesson, I will show you how to clearly define the scope of the world that you will create. To do this, you will need to outline different categories of rules, related to your world, the biome, and resources. You will then see an example of how to develop the setting, followed by the character.
13m
image
8
Overcoming Creative Blocks
Now that we head into the mark-making stage, a major part of the preparation work is to foresee the art blocks hiding in the distance, caused by the undertaking tasks that we don't actually know how to solve. An honest appraisal of what we do and don't have the tools to solve is a good way of avoiding pitfalls and making sure our mental library is continuously growing.
8m
image
9
Constructing the Character: Proportions 1
Now that we have a concept and a bolstered mental library to work from, let's get to building the character. To get this process started, I will demonstrate how to use a mannequin to plot out the direction in which you'd like your character to go. This will establish a neutral starting point to work from, as you build the figure of your character.
12m
image
10
Constructing the Character: Proportions 2
As I said in the previous video, the time has come to activate your inner fashion guru. In the second part of this lesson, I will guide you in constructing the clothes of your character. As a guideline, I first like to think of the function of the costume, before constraining those needs by what's available in the world.
9m
image
11
Line Drawing 1
Here we will use a separate layer of line drawing to give service to all the construction from the earlier stages; keeping a close eye on the concept and making sure we end up with something that represents the original idea. I will first collate all the information that I already put down in a new layer, before adding the minute details.
13m
image
12
Line Drawing 2
Once I've finished collating all the details, I will switch off the underlayers to see the piece in all its clarity, ready to make key design choices.
8m
image
13
Lighting
To use light well, we must treat it like all the other elements, making sure it supports what we have already put down and effectively elevates the information in our piece. We, therefore, create a hierarchy of light, reasoned through the way our eyes inform our brains about the world.
19m
image
14
Flat Colors 1
When it comes to colors, you should aim to reflect the context and character in your palette and create harmony. Let me show you how to approach this.
15m
image
15
Flat Colors 2
Here I will continue to add color, working through one element at a time.
9m
image
16
Refining and Rendering 1
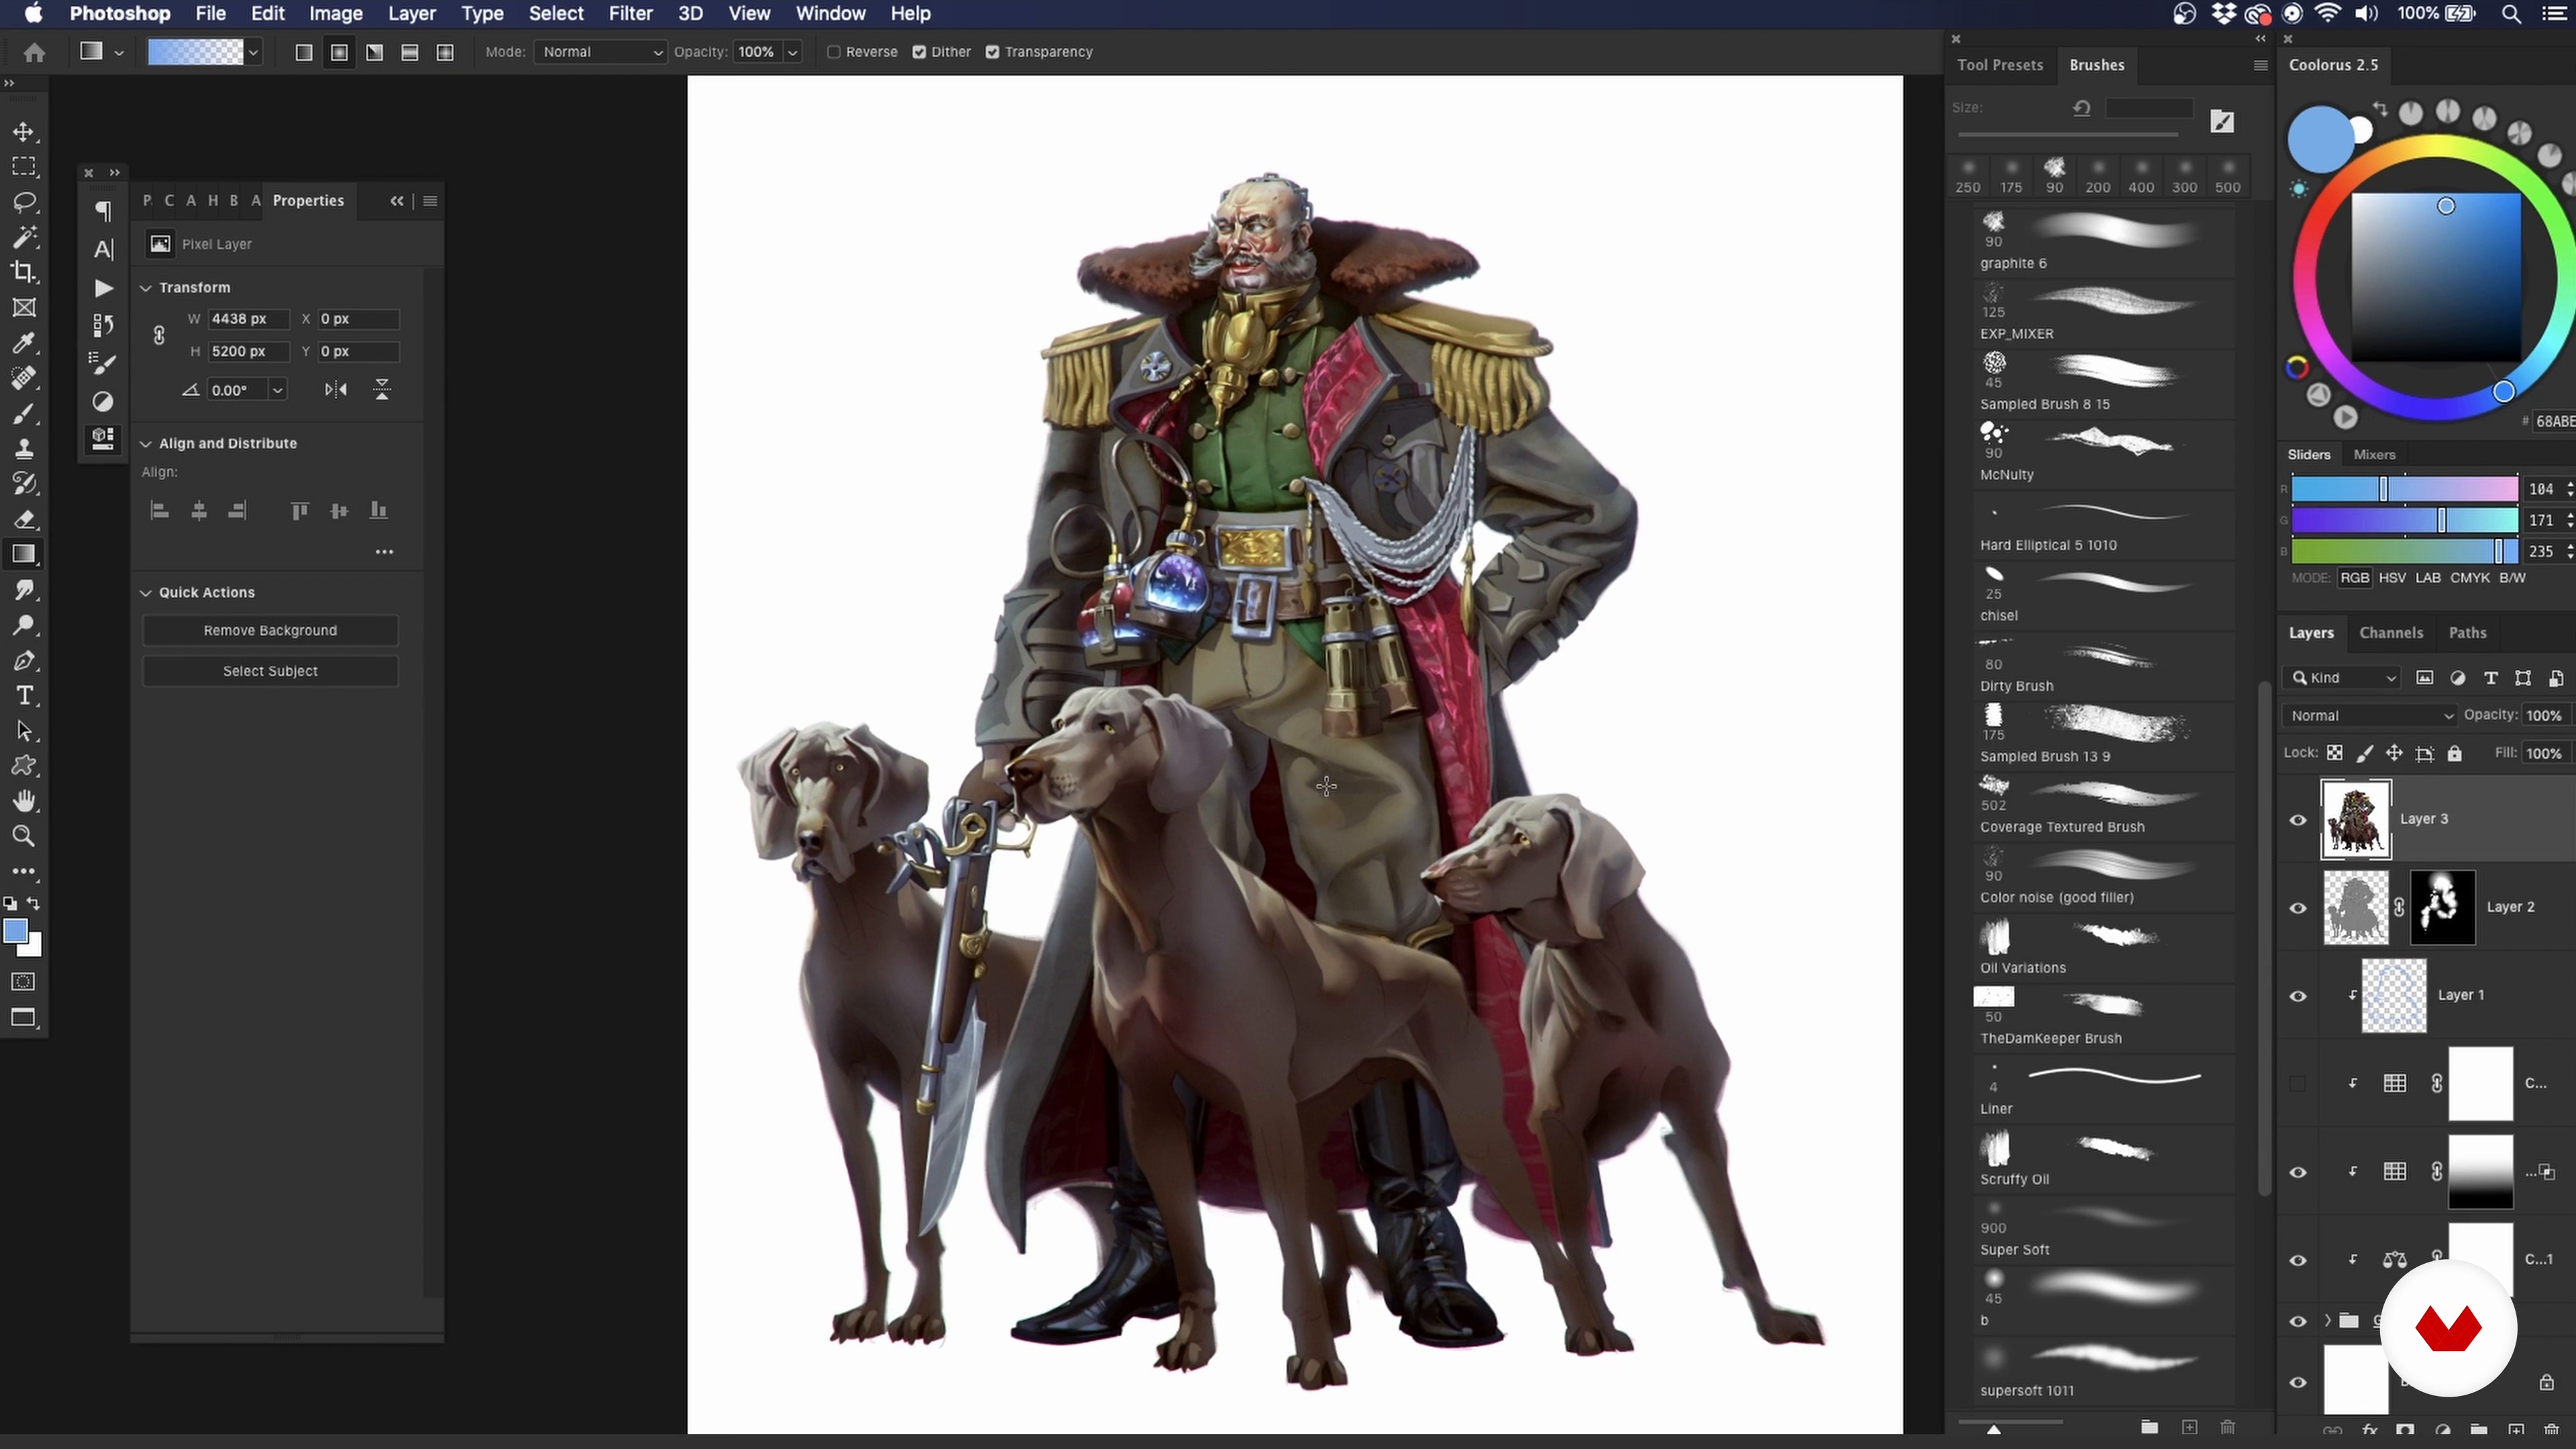
Once you have worked through all the layers and tidied up your character as best you can, it's time for the surprisingly simple effort of rendering. Most of the choices have already been made, so at this point, we only need to go over the piece and consolidate. We're getting close to the finish line now, and it's tempting to go in for the highlights and rendering tricks. However, a lot of time and effort can be saved by clearing things up for ourselves first.
20m
image
17
Refining and Rendering 2
In the second part of this lesson, I will continue tweaking the piece with the pushing-and-pulling technique. As I manipulate the lines and work in the light, you will see how the illusion of form against light brings out an element of three-dimensionality.
19m
image
18
Refining and Rendering 3
This section will focus on the final touches, softening outlines to manage attention, blending textures, and adding final drop shadows.
12m
image
19
Building on What You Have
Once you have taken the time to build the world, the context, the culture, and the character, it would be a shame to waste even the smallest bit of your effort. Once you have your framework, it can yield greater and greater results the more you build on it.
10m
image
3
Fundamentals of Light 1
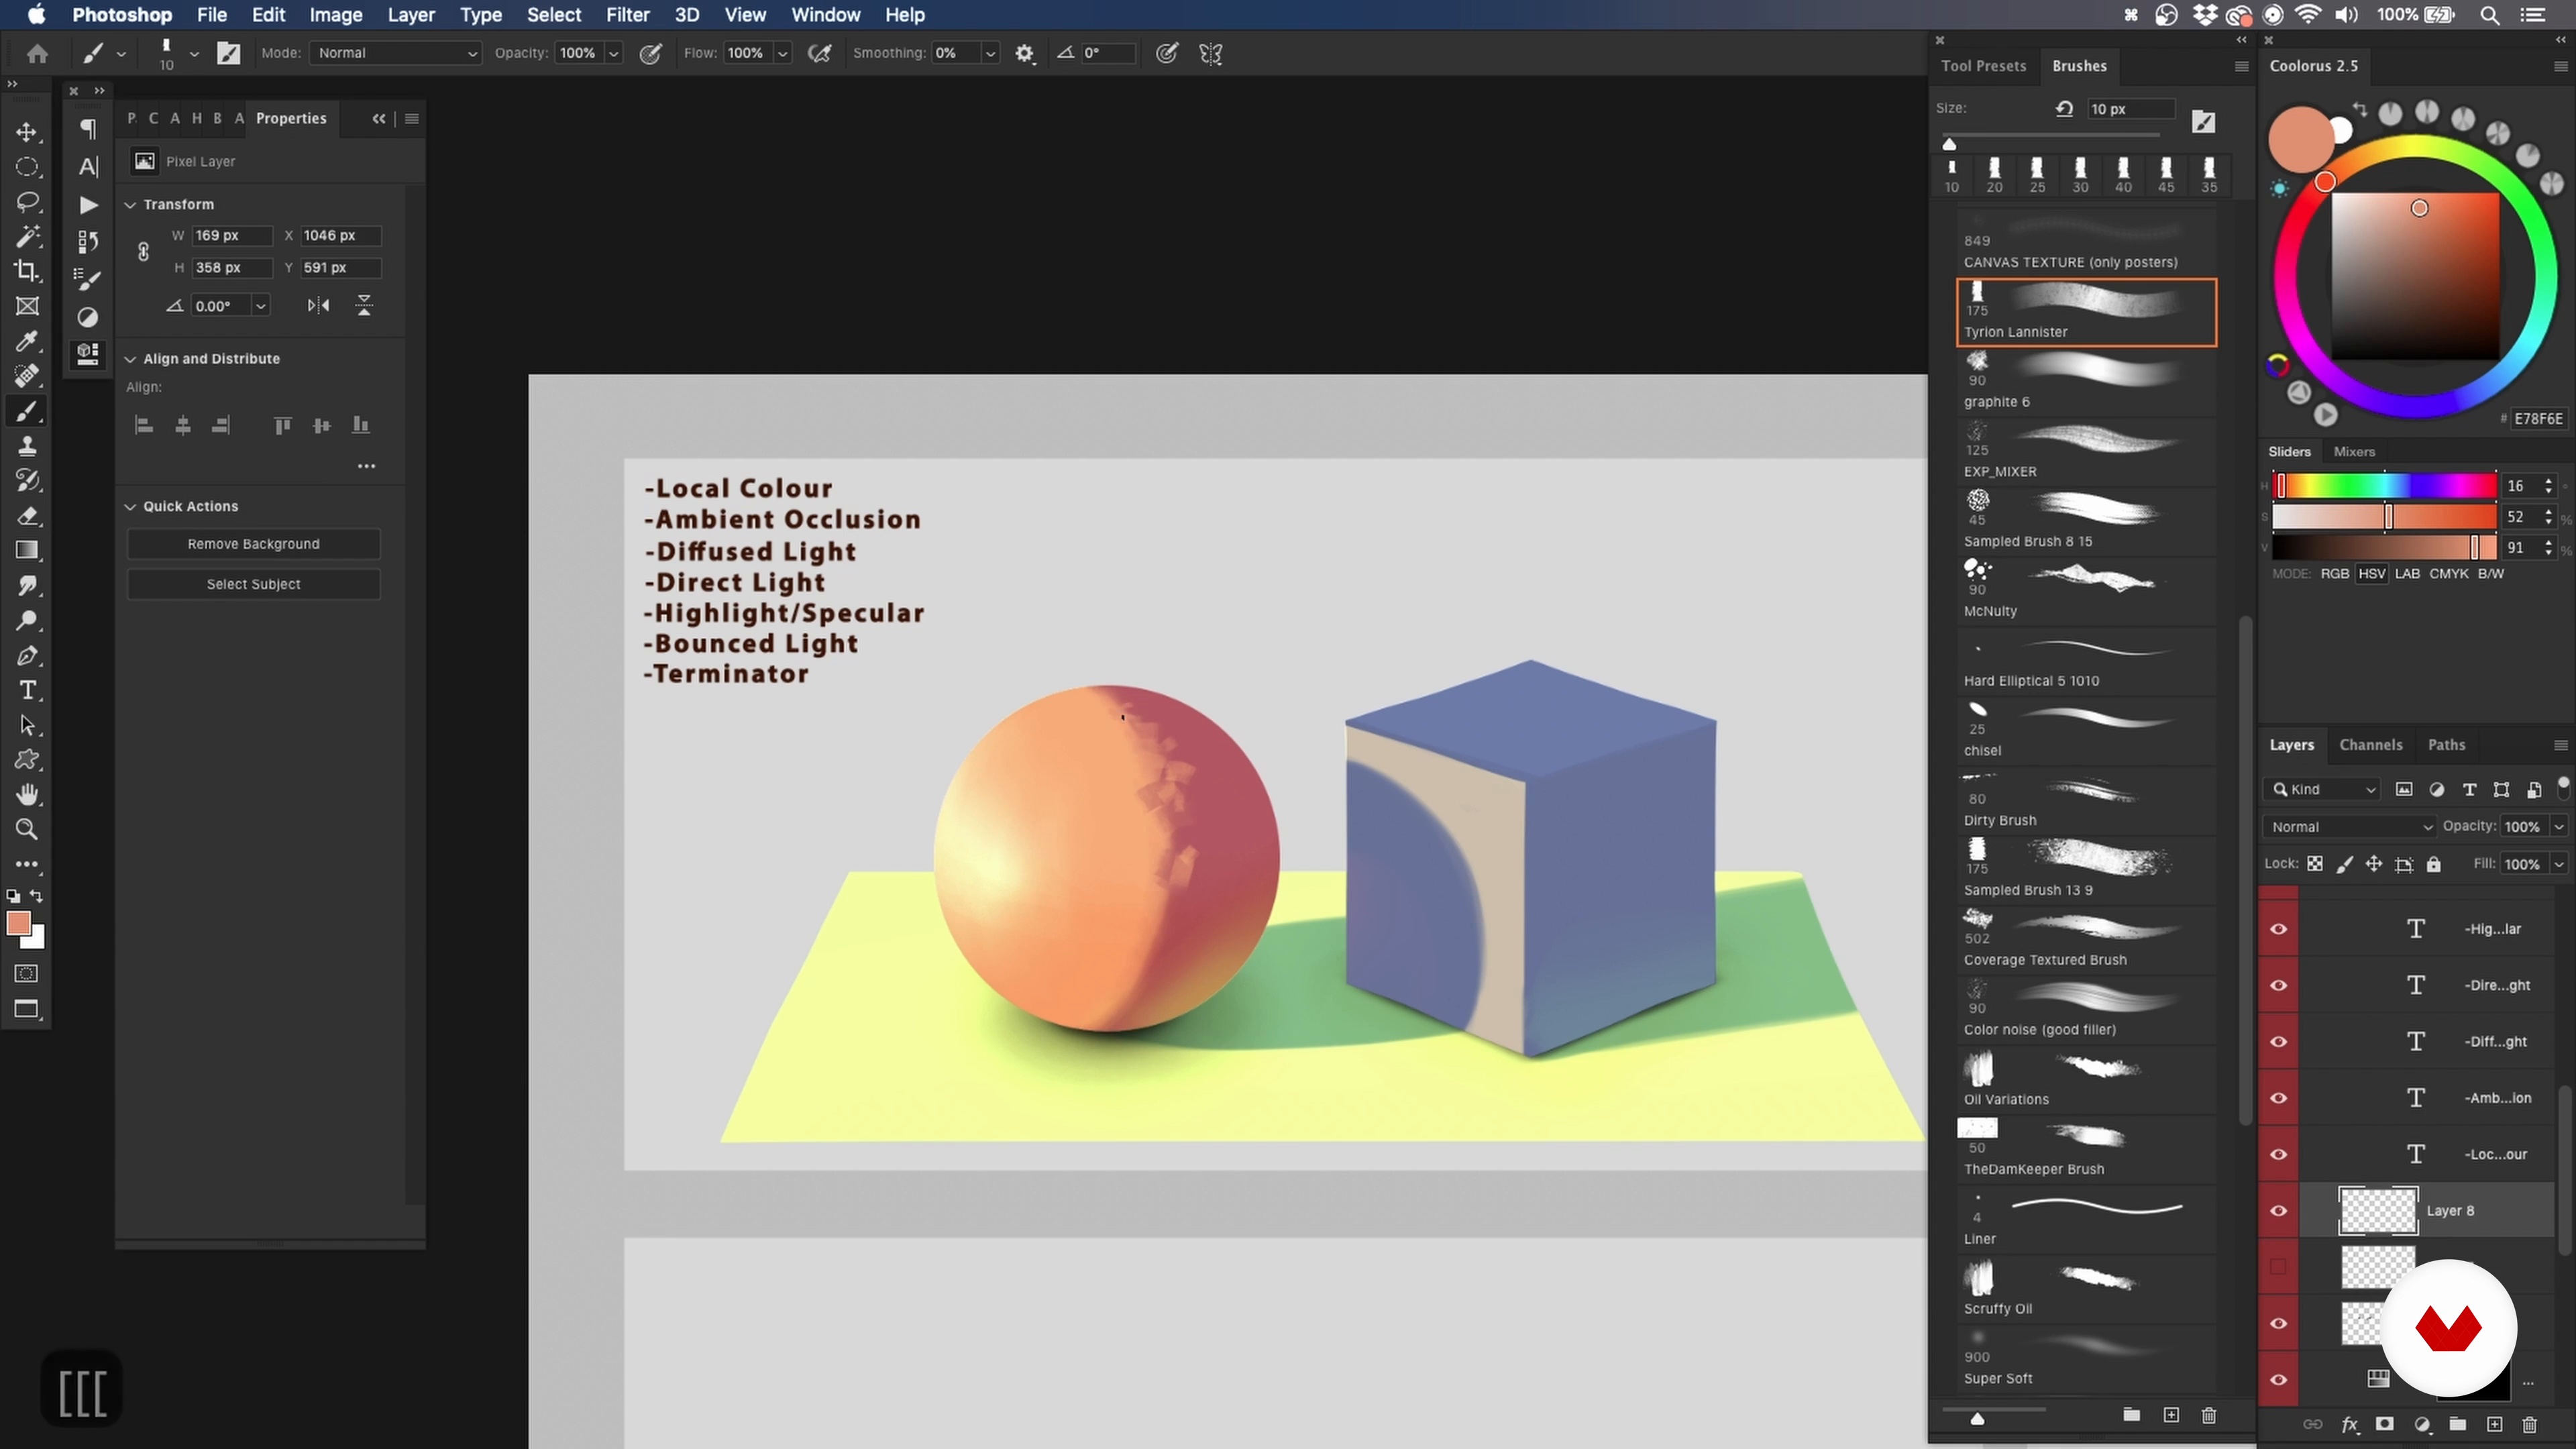
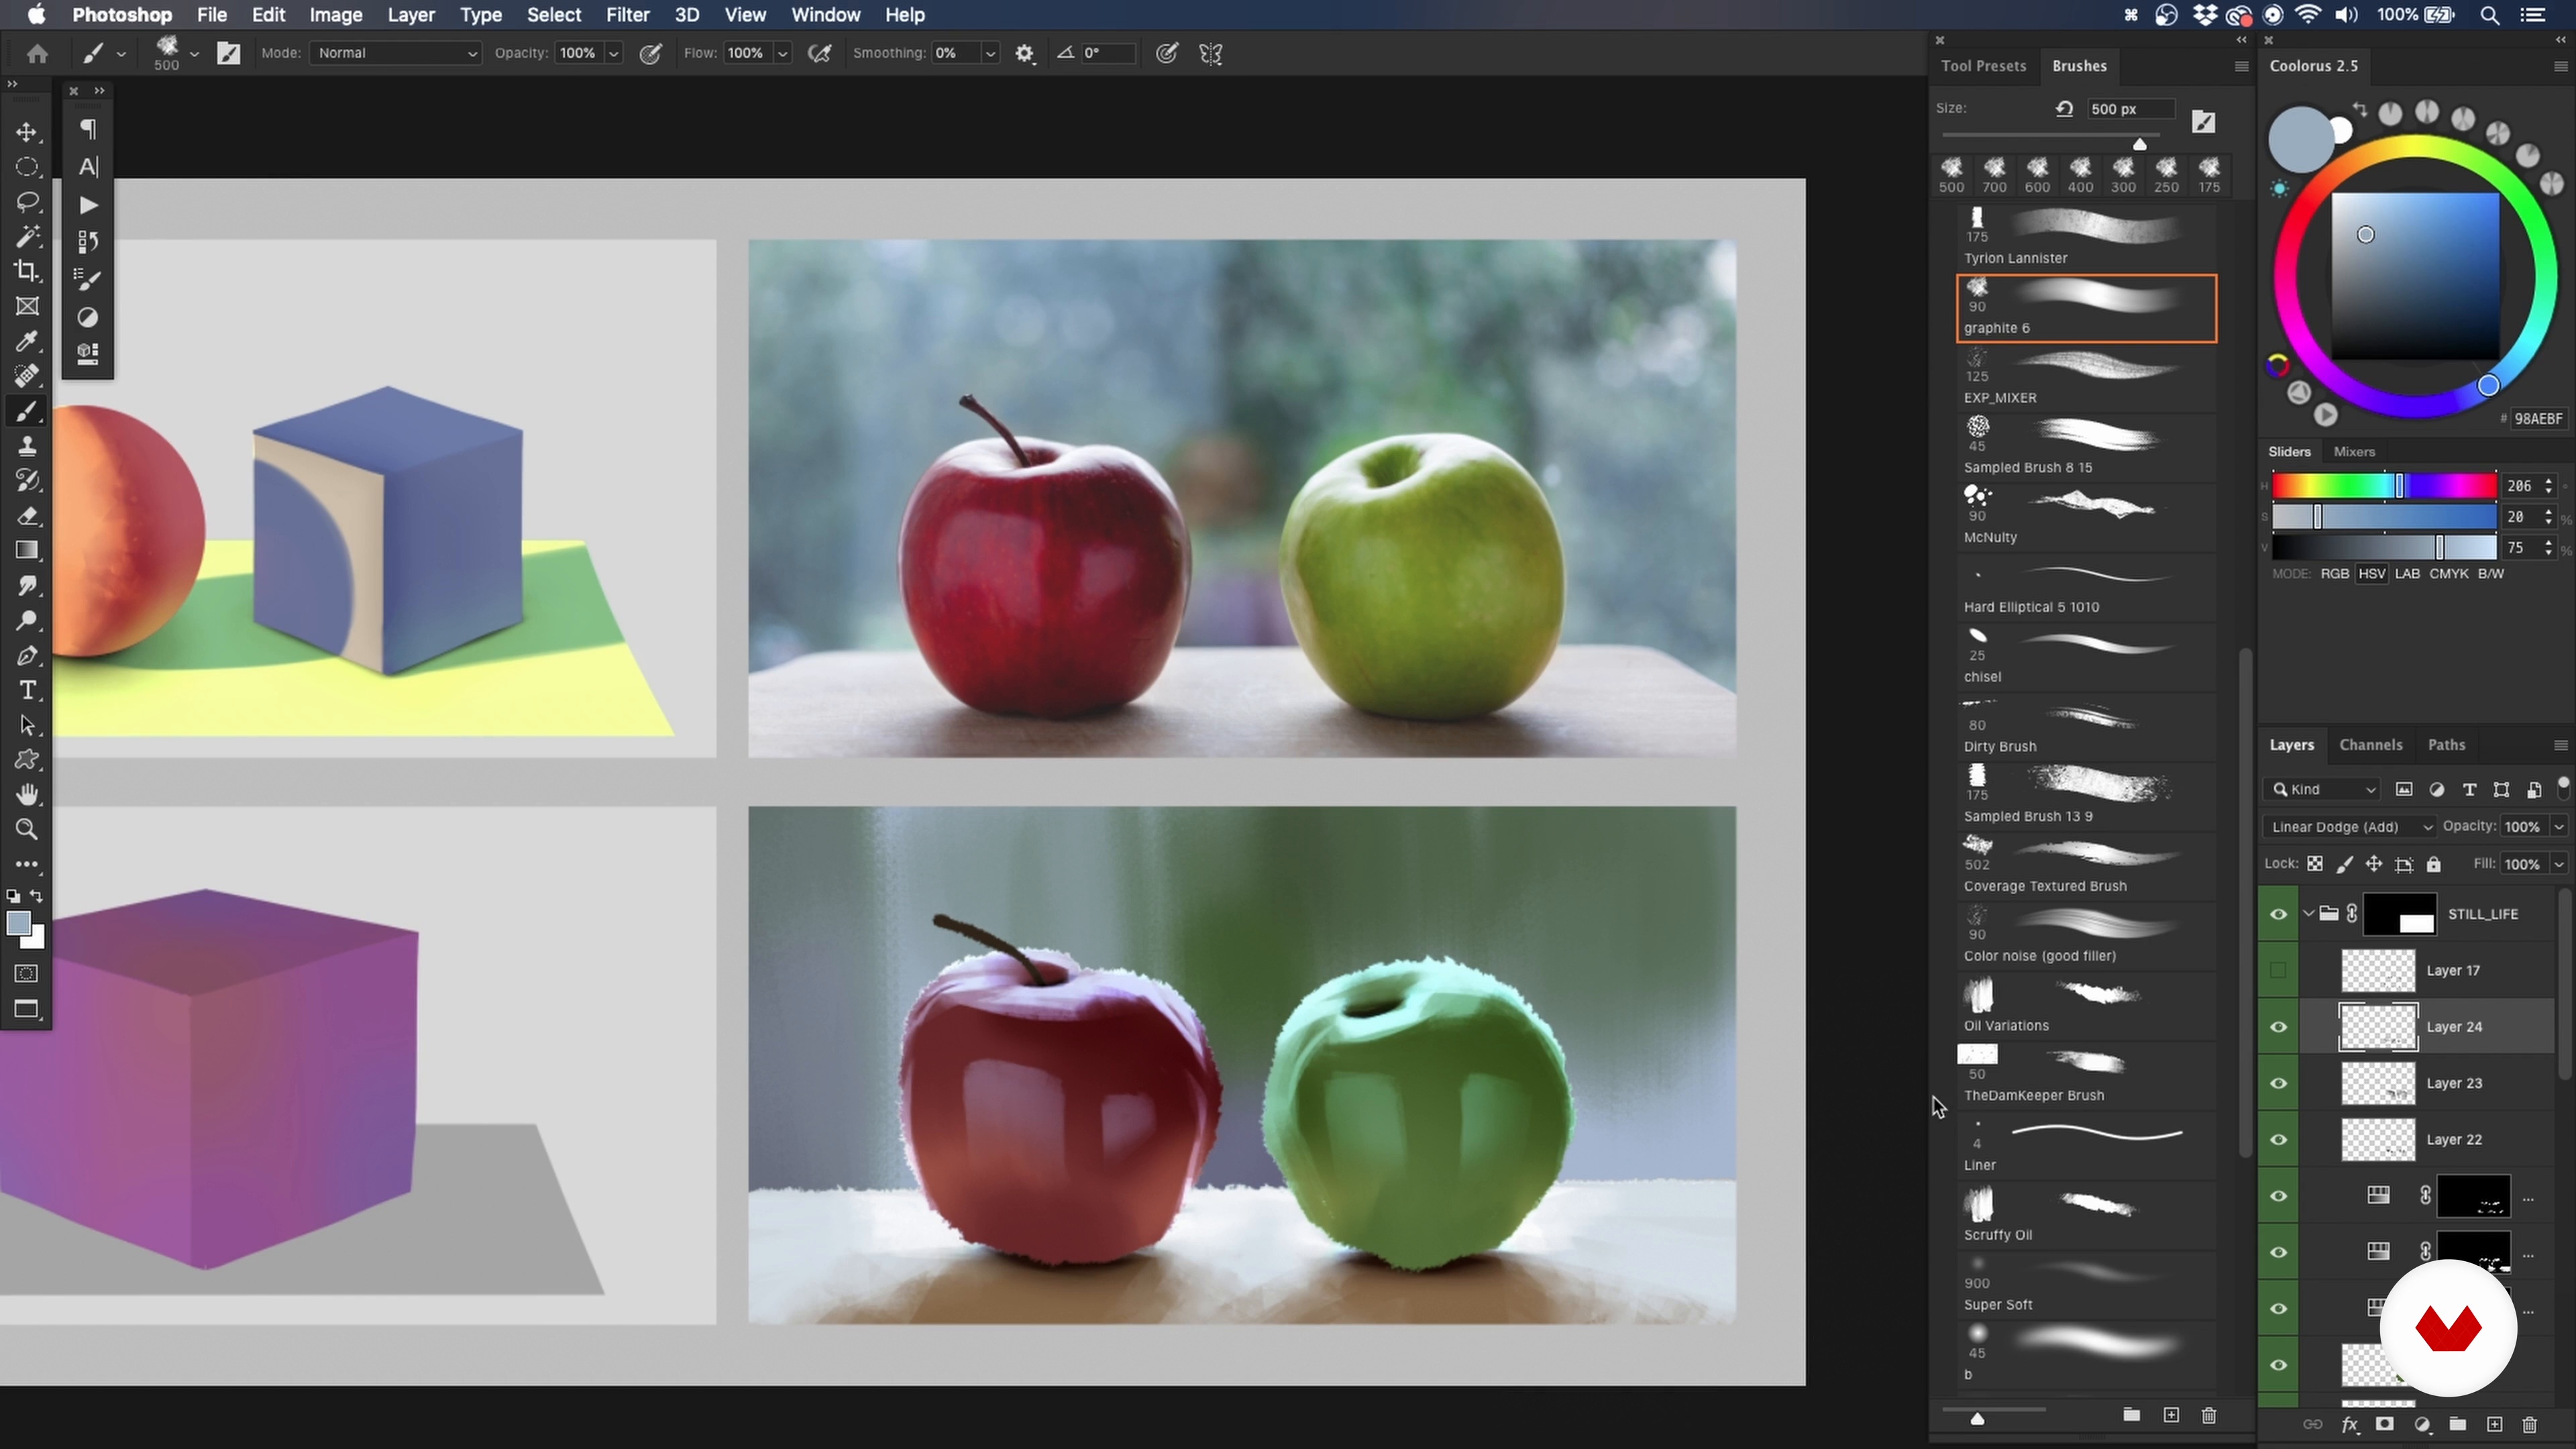
To begin, I will discuss the fundamentals of light in art. I will introduce important principles that when applied to an object will make it look 3D. These include local colour, ambient occlusion, diffused light, highlight, bounced light, terminator, cast shadow, and form shadow.
16m
image
4
Fundamentals of Light 2
Now that we have covered key terminology, I will demonstrate my approach to colour theory and still life painting.
19m
image
5
Fundamentals of Design 1
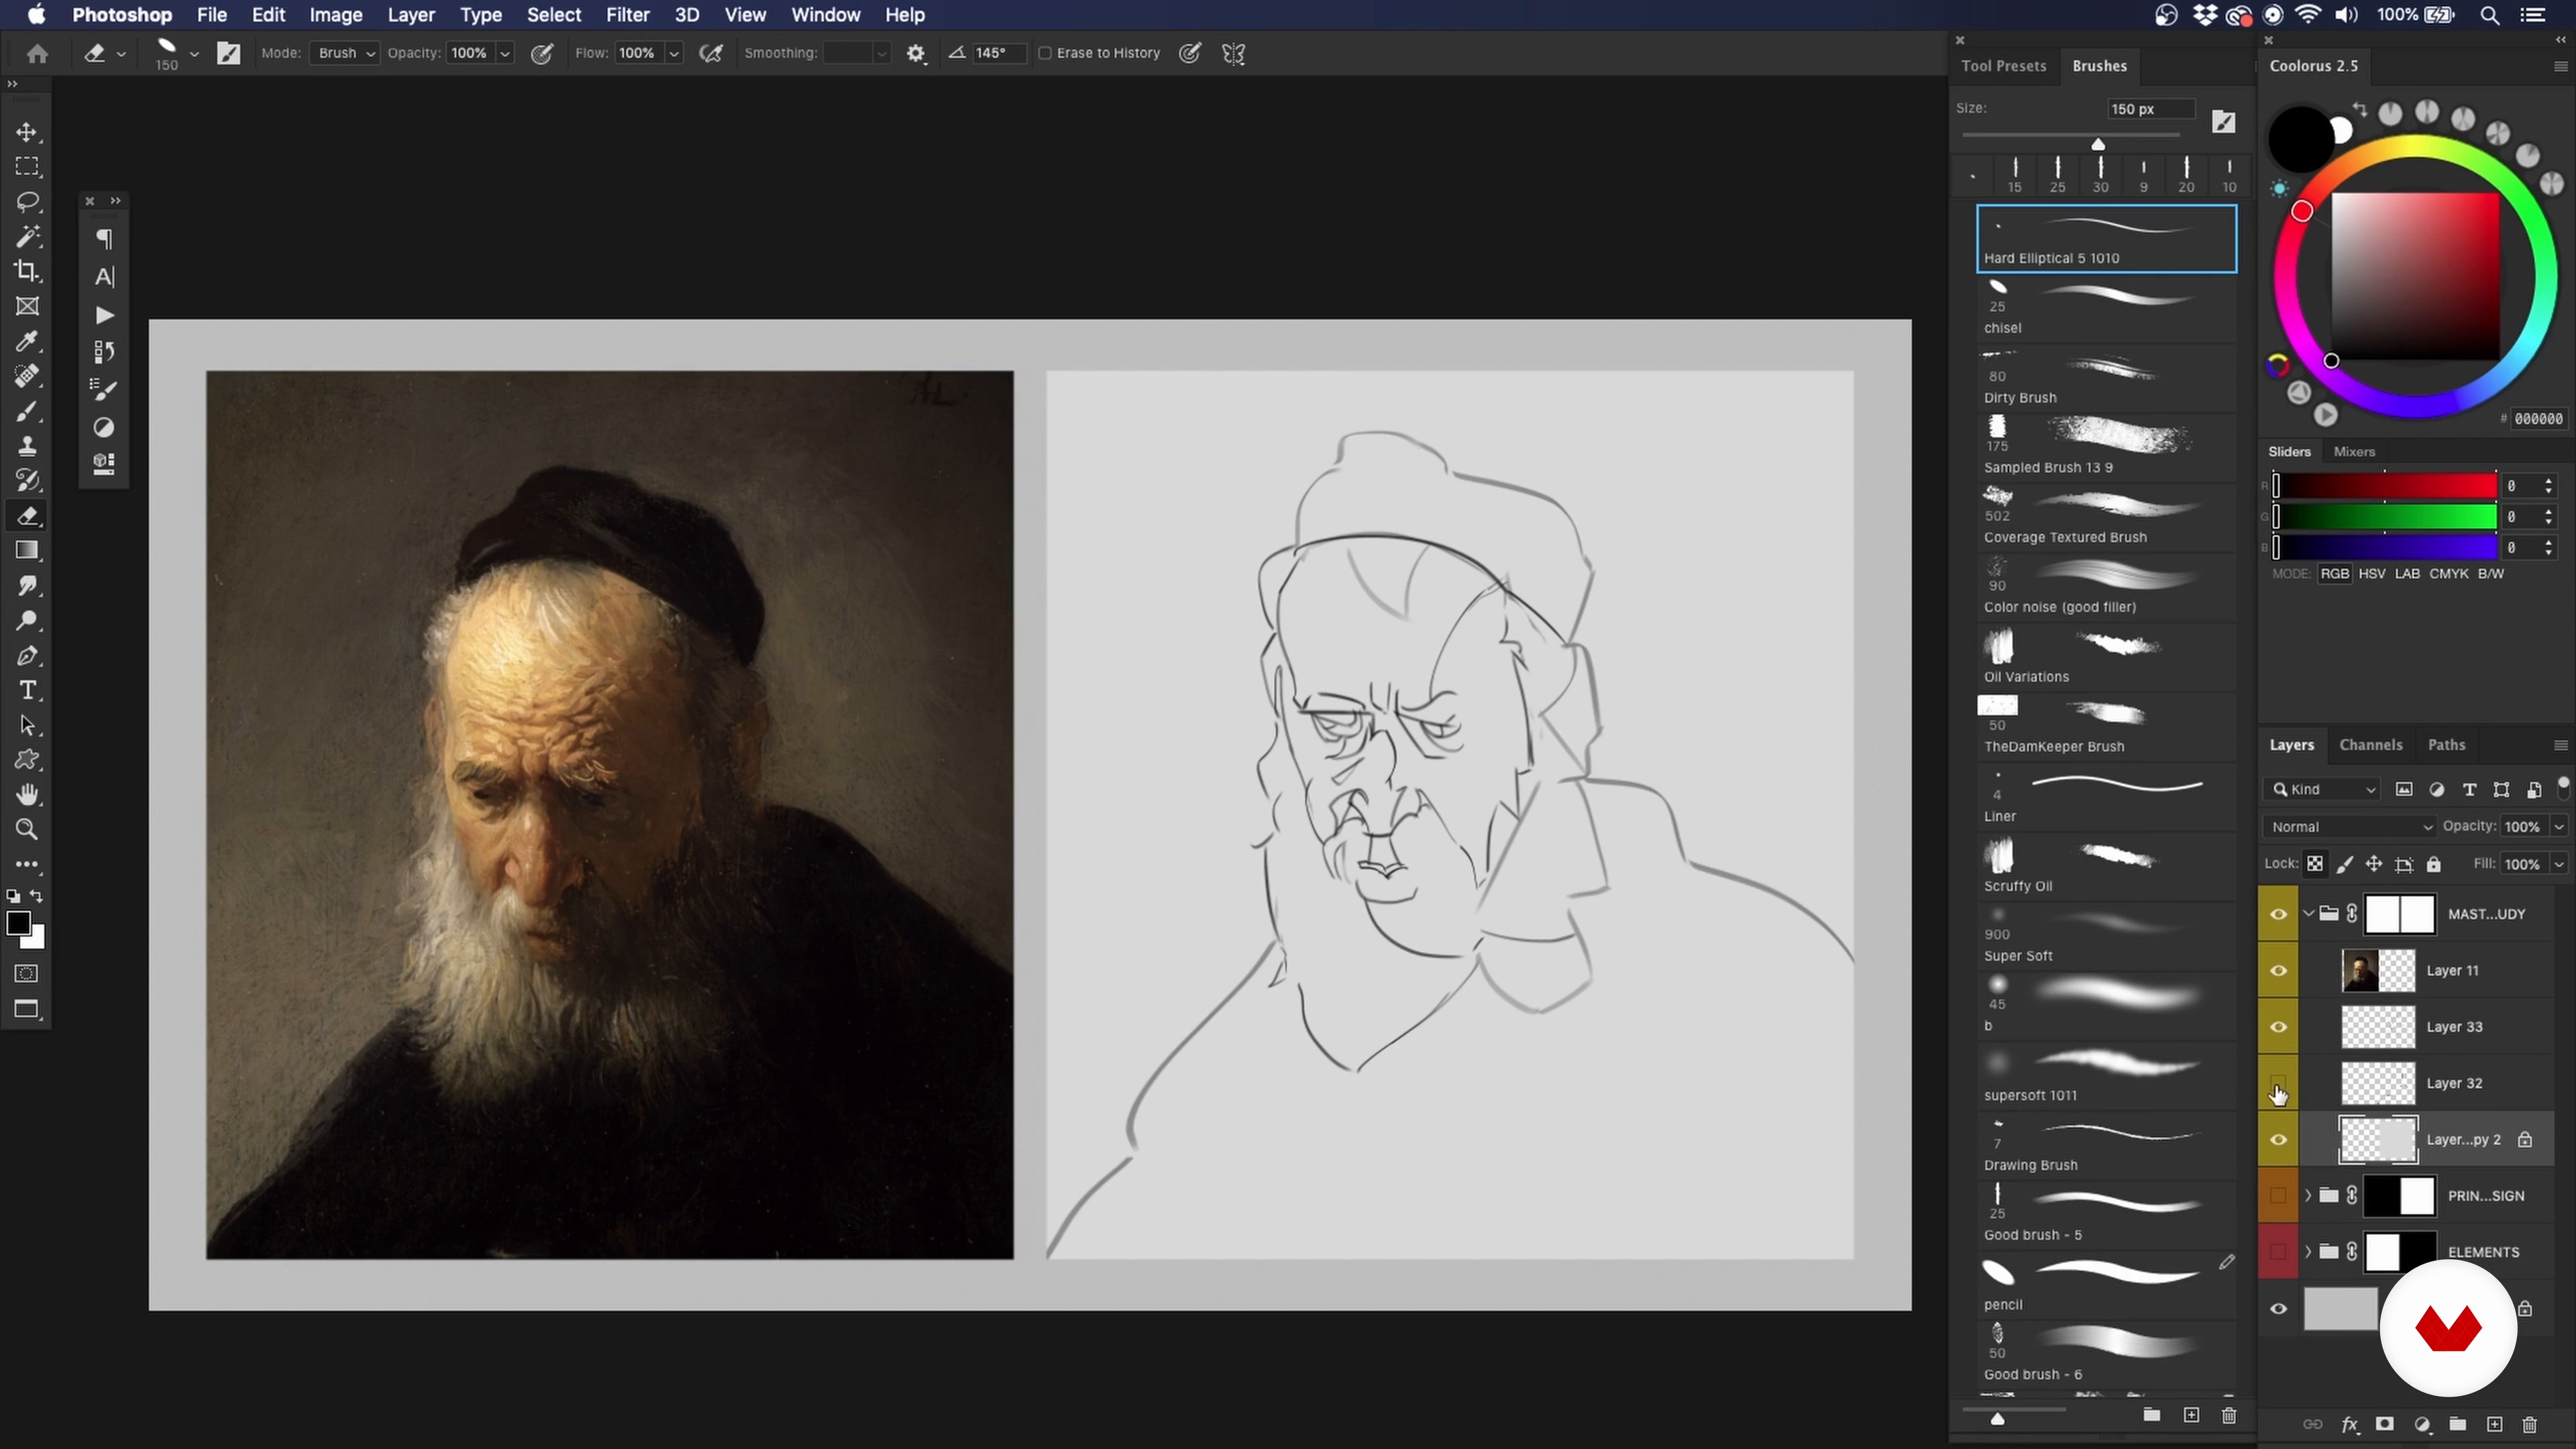
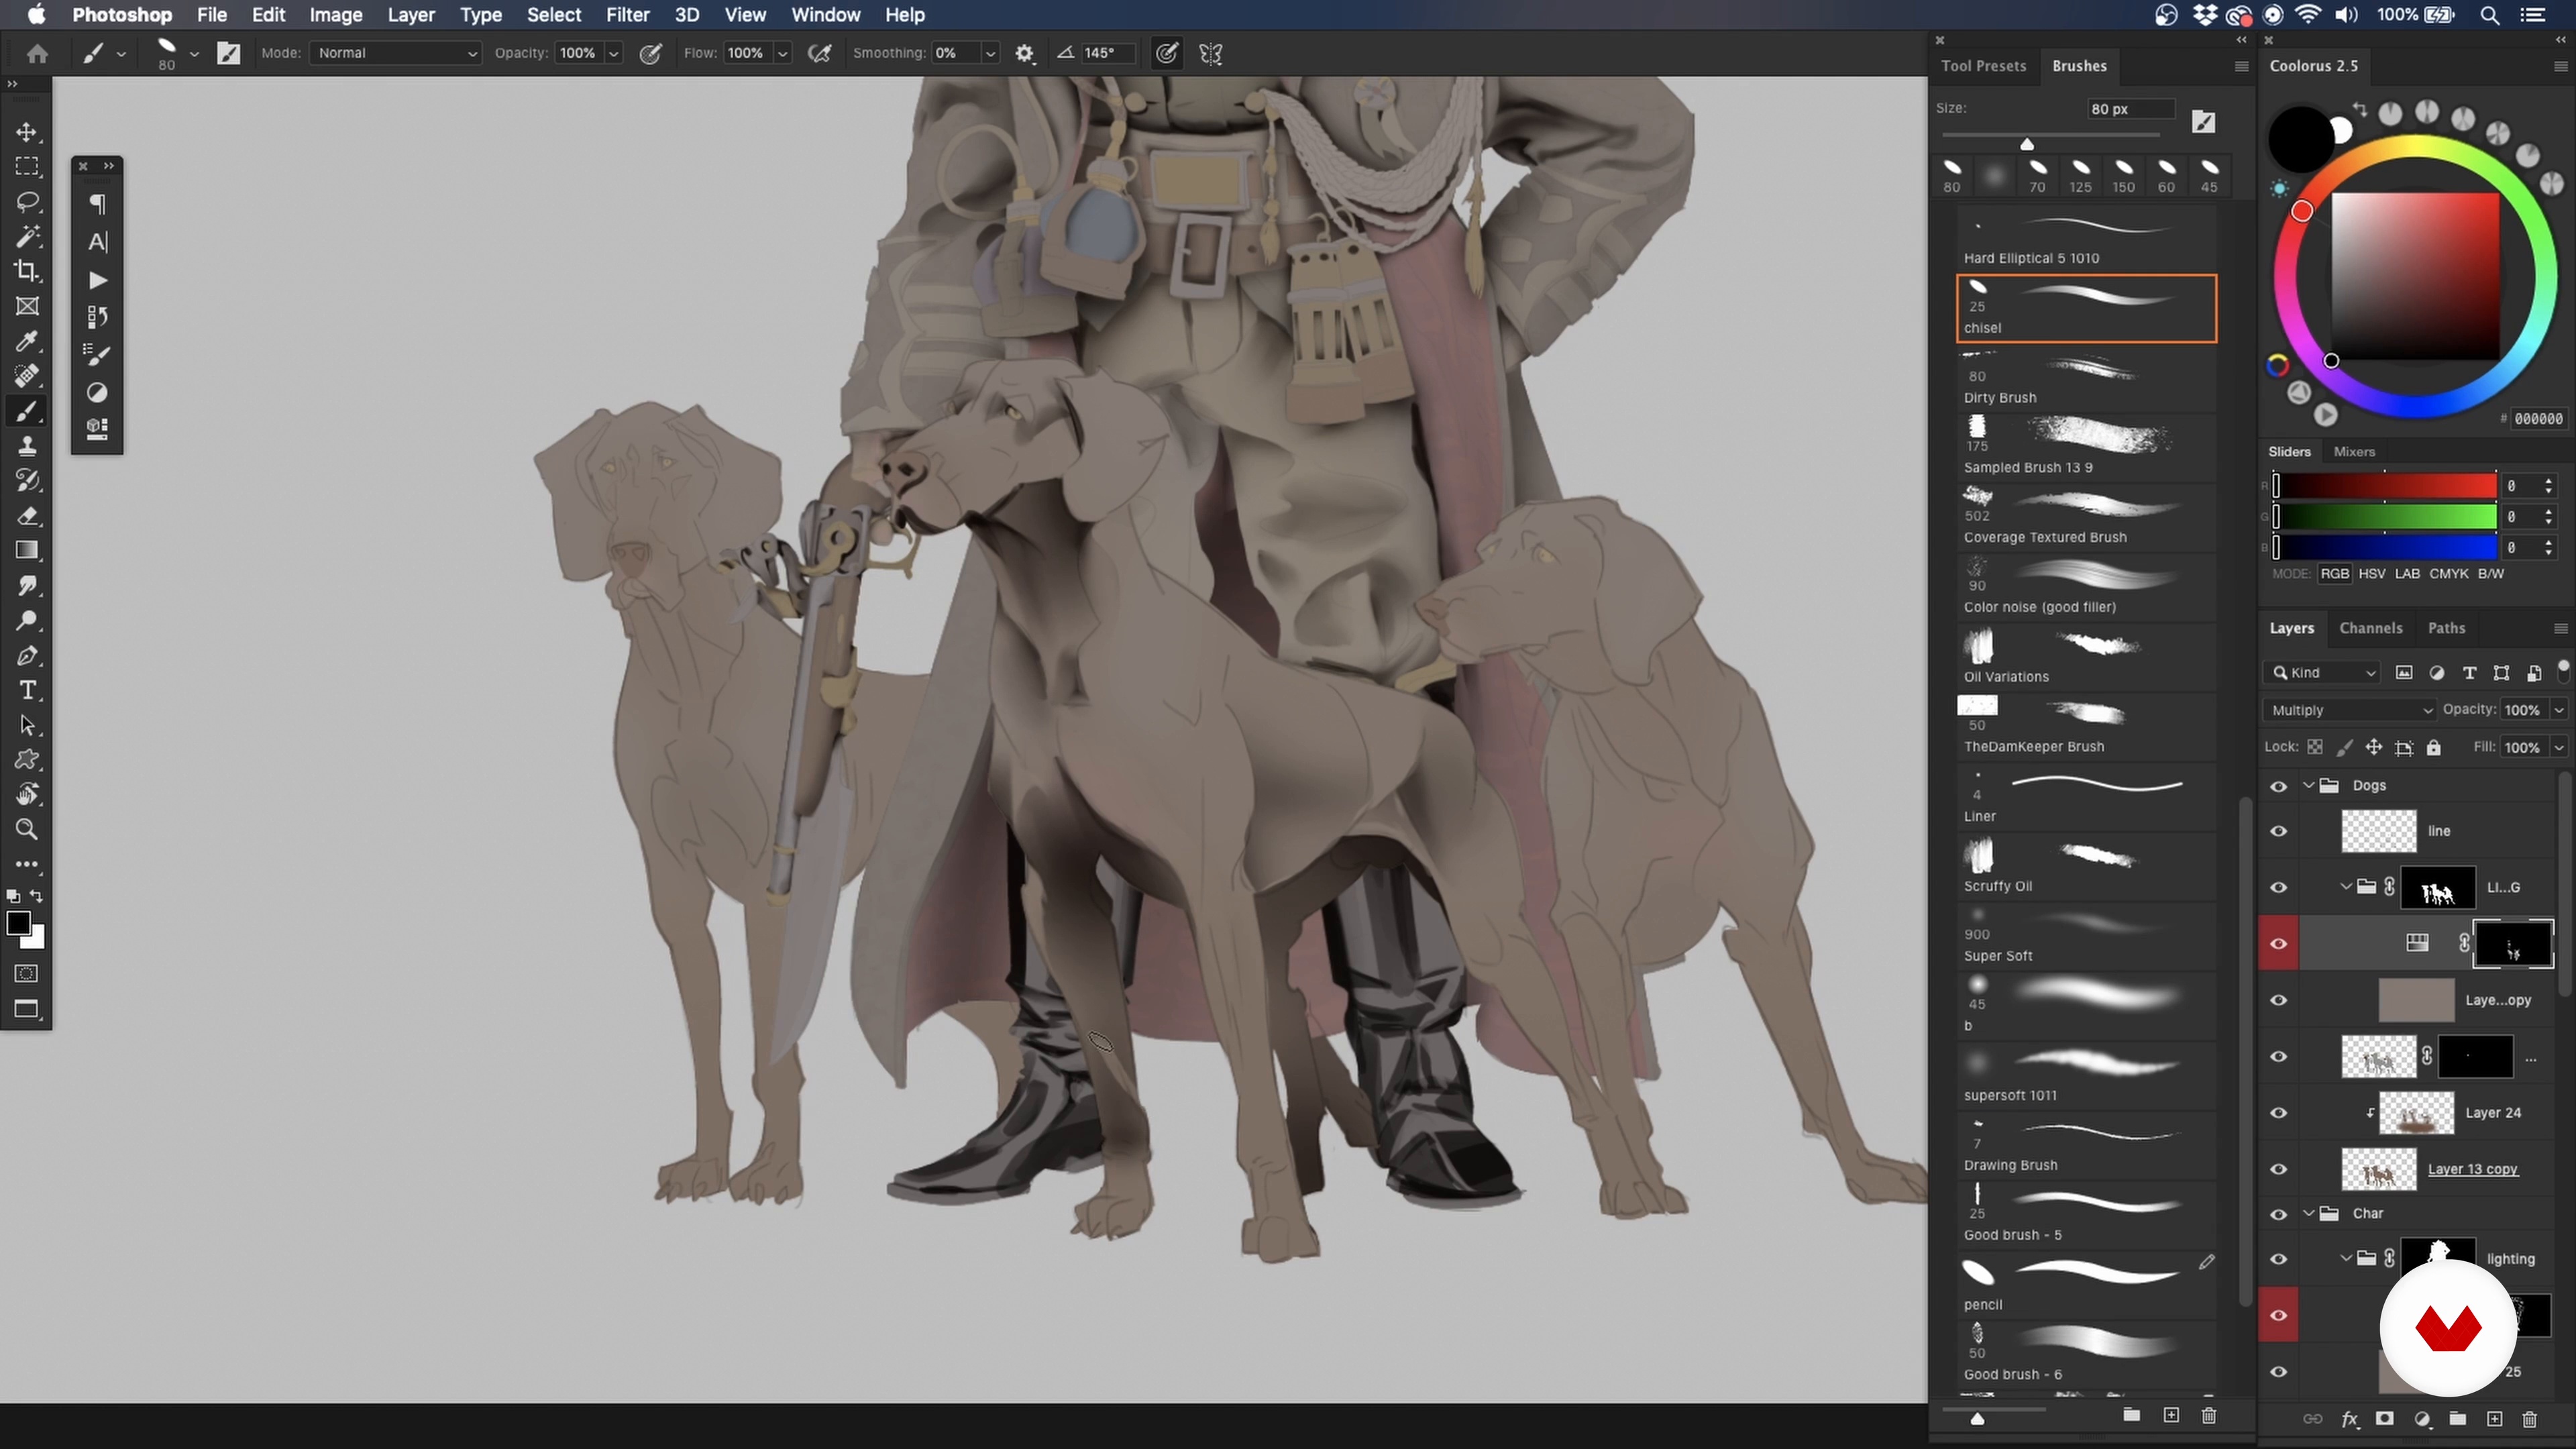
In this lesson, I will introduce important design elements and principles that I always keep in mind while drawing. I will then demonstrate how I apply these principles by sketching a master study of a painting by Rembrandt. At this stage, accuracy is less important. The focus will be placed on establishing the shapes and the relationship between these shapes.
18m
image
6
Fundamentals of Design 2
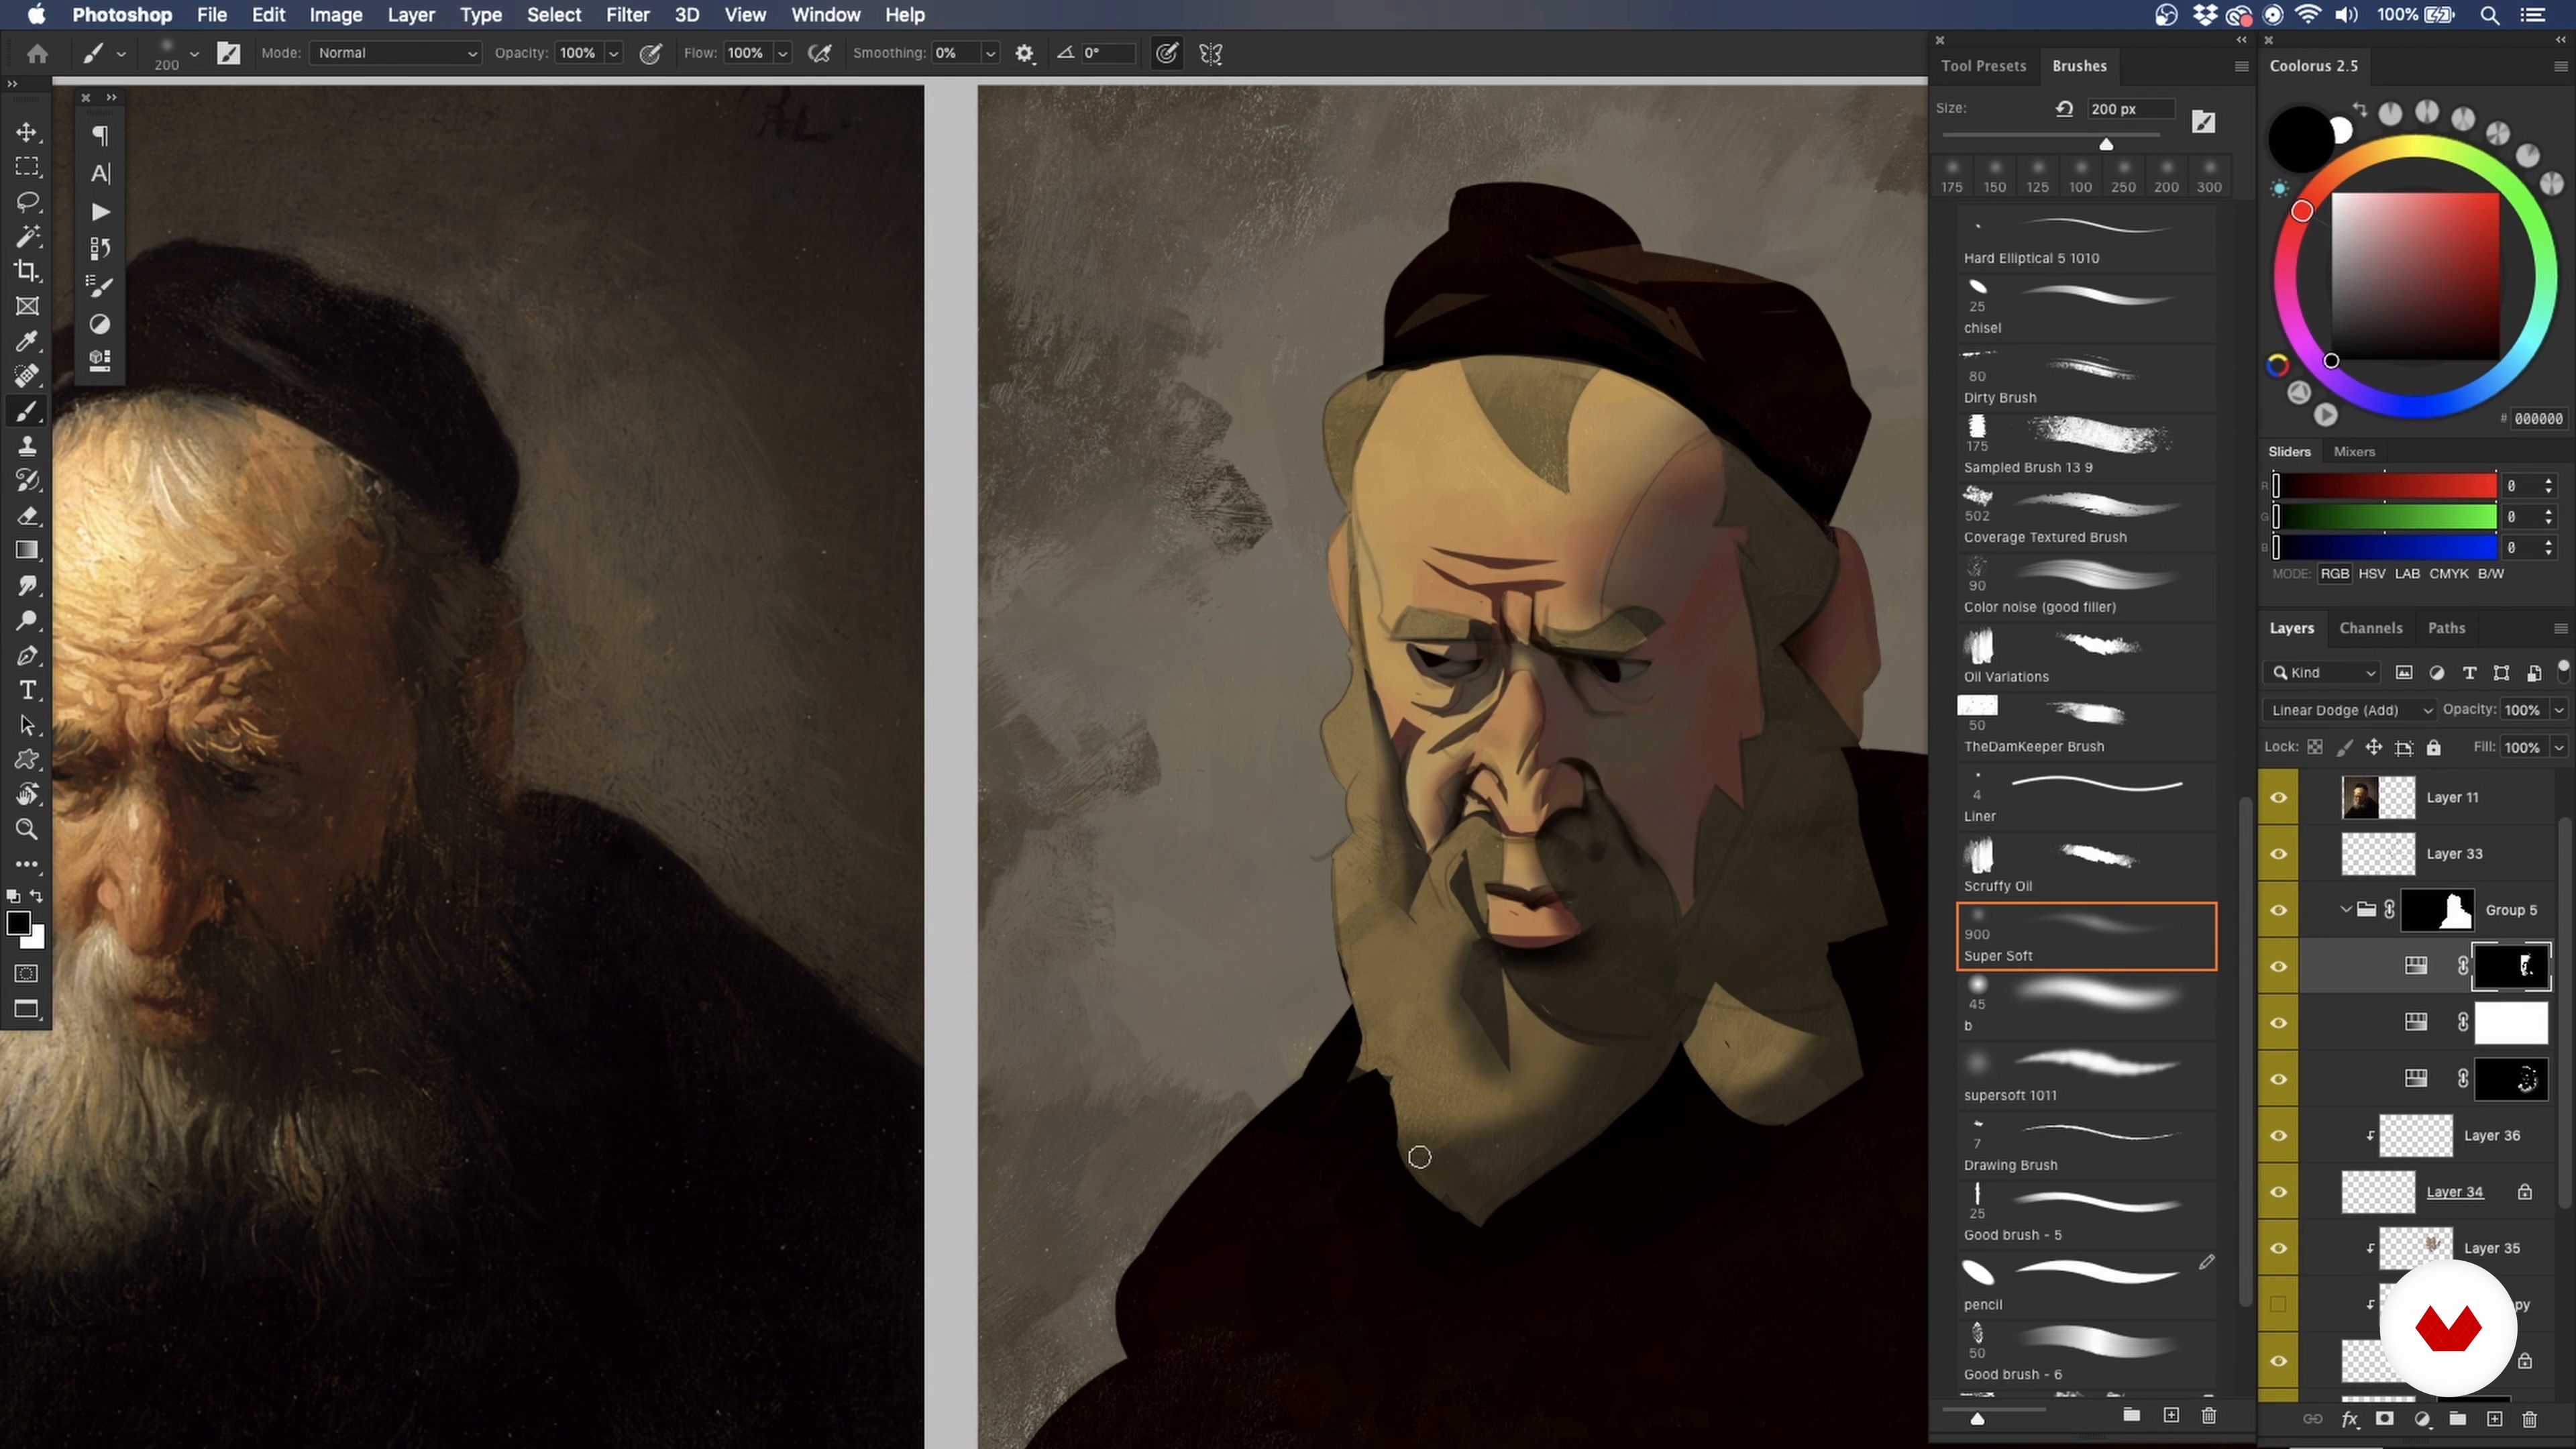
With the masks in place, it's time to start adding colour! In this lesson, I will continue to emulate Rembrandt by applying the principles discussed earlier. You will learn the importance of hue shifts, tones, ambient occlusion, contrast, and more.
19m
image
7
Fundamentals of Design 3
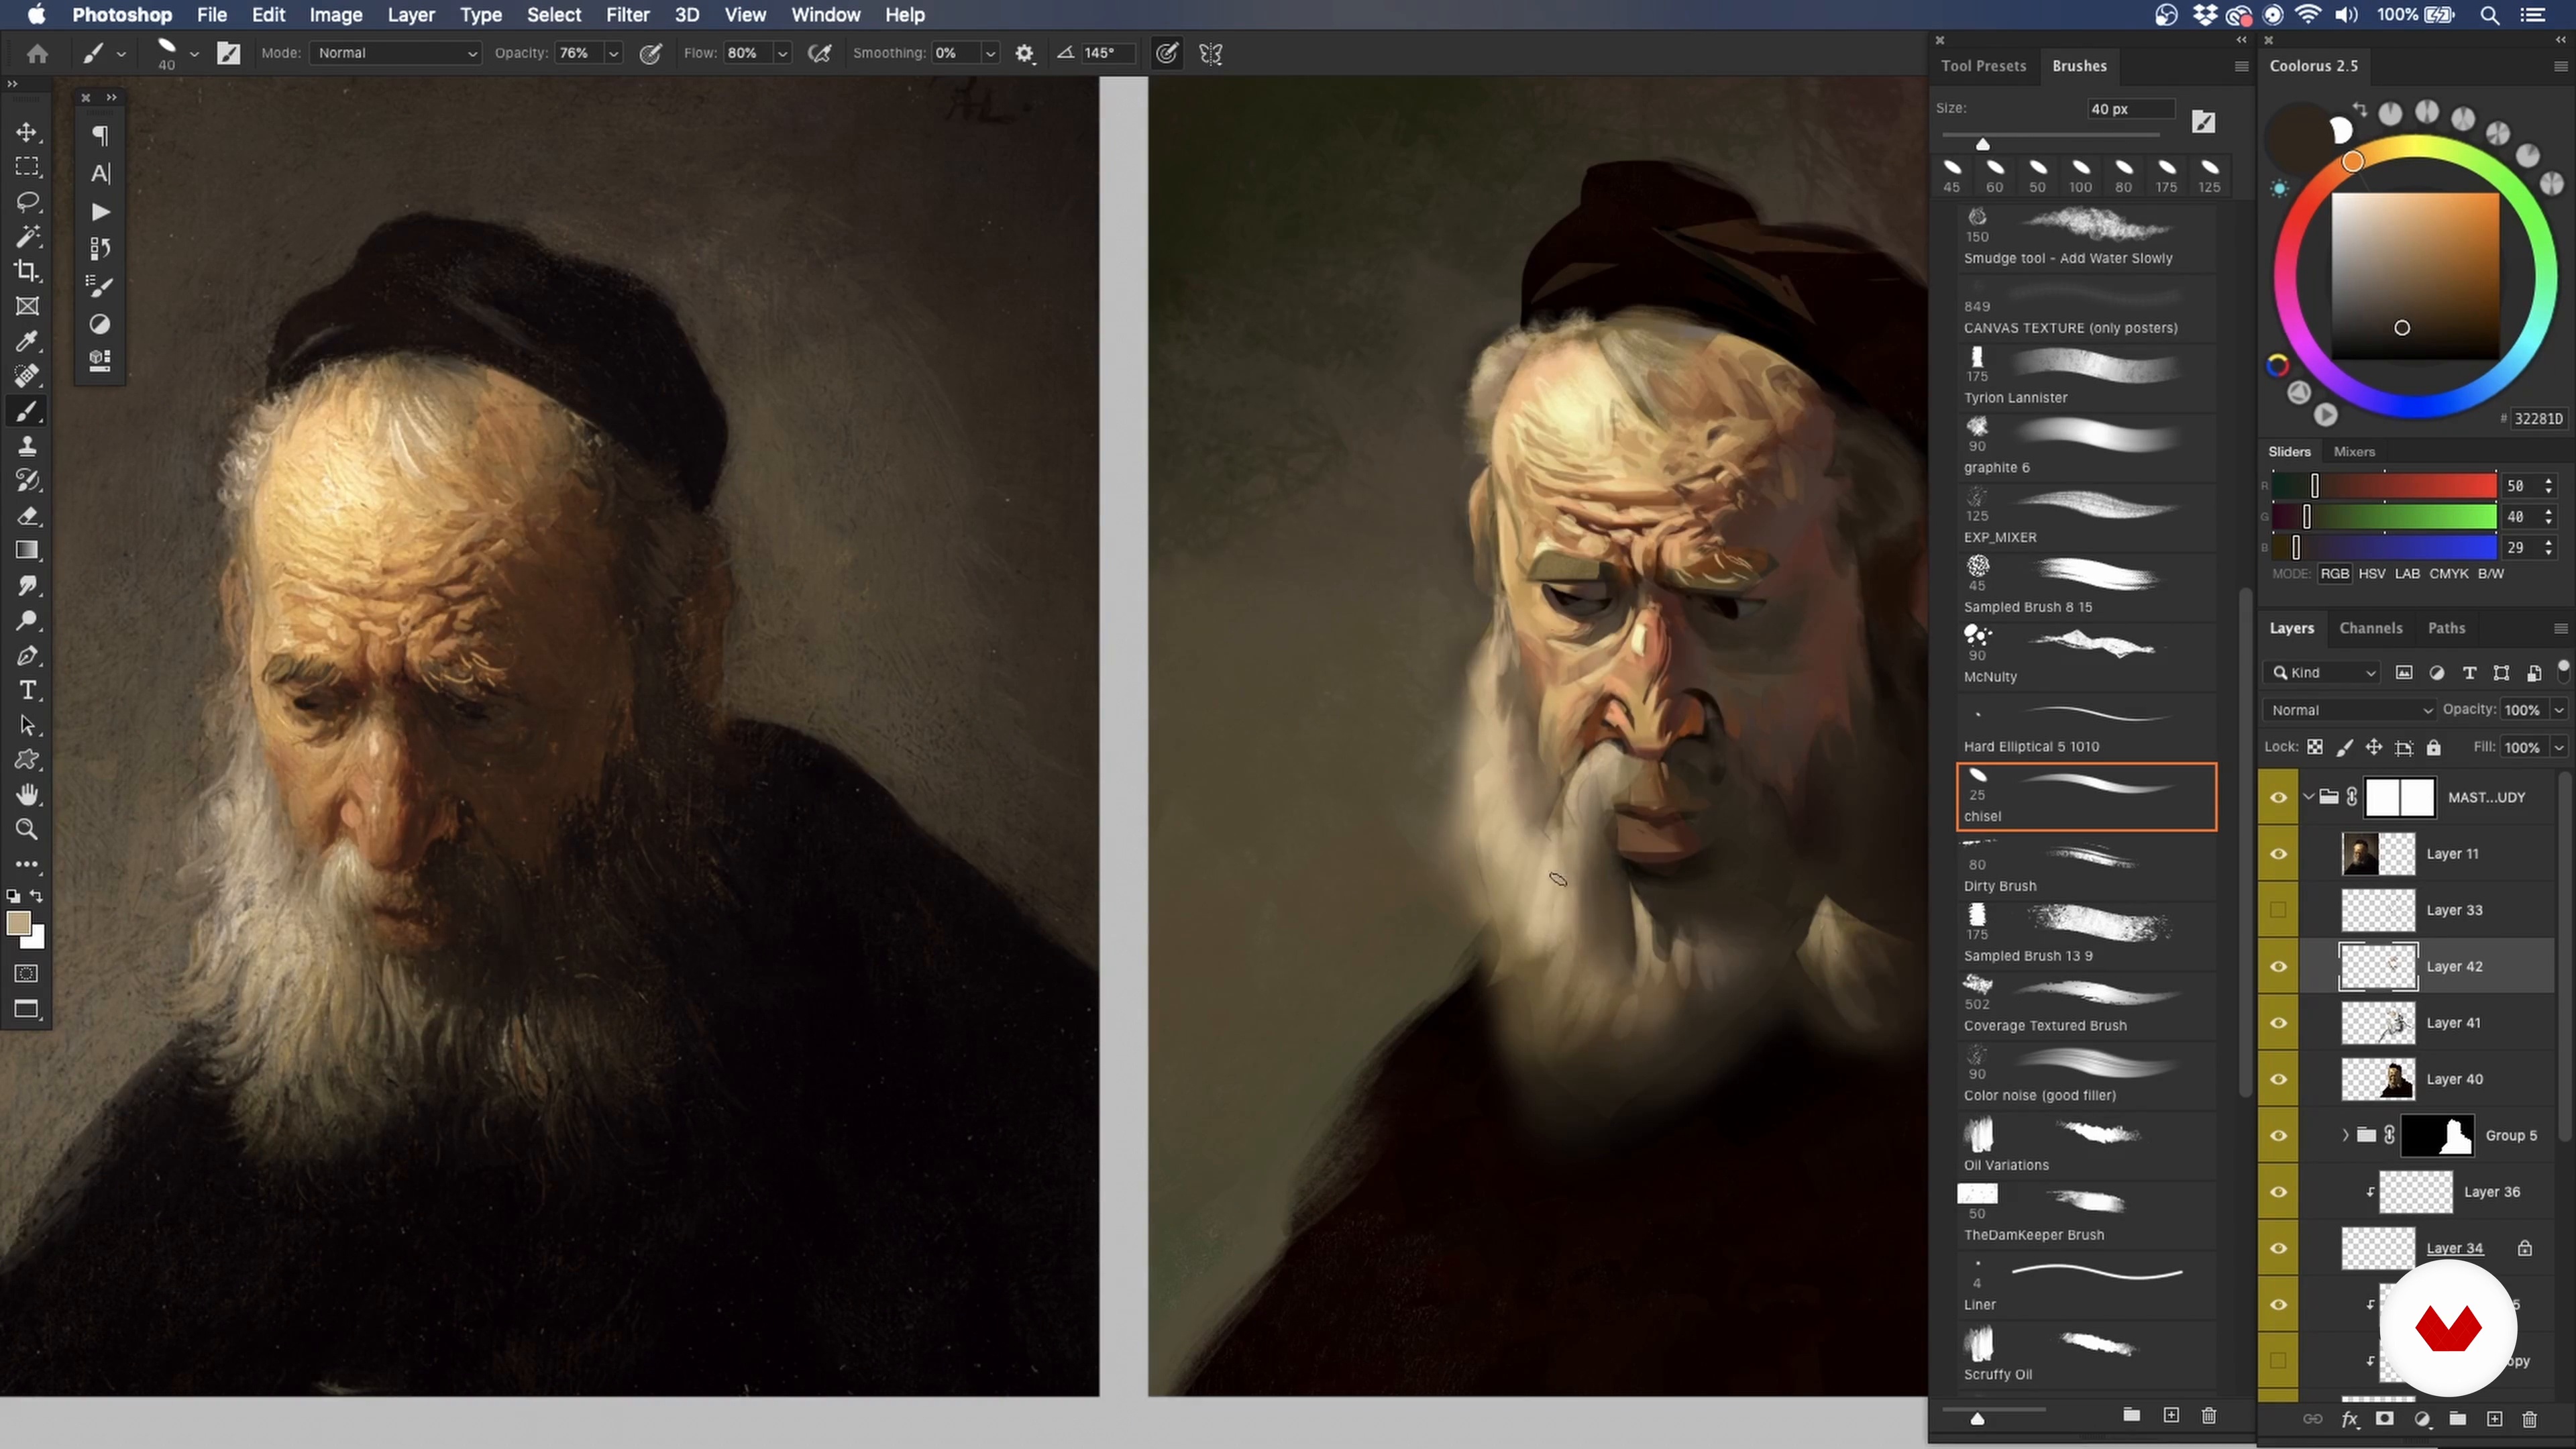
Now, I will add the final details. You will learn tips and tricks – like flipping the canvas – to expose any weaknesses and refine them.
14m
image
8
Gesture Drawing
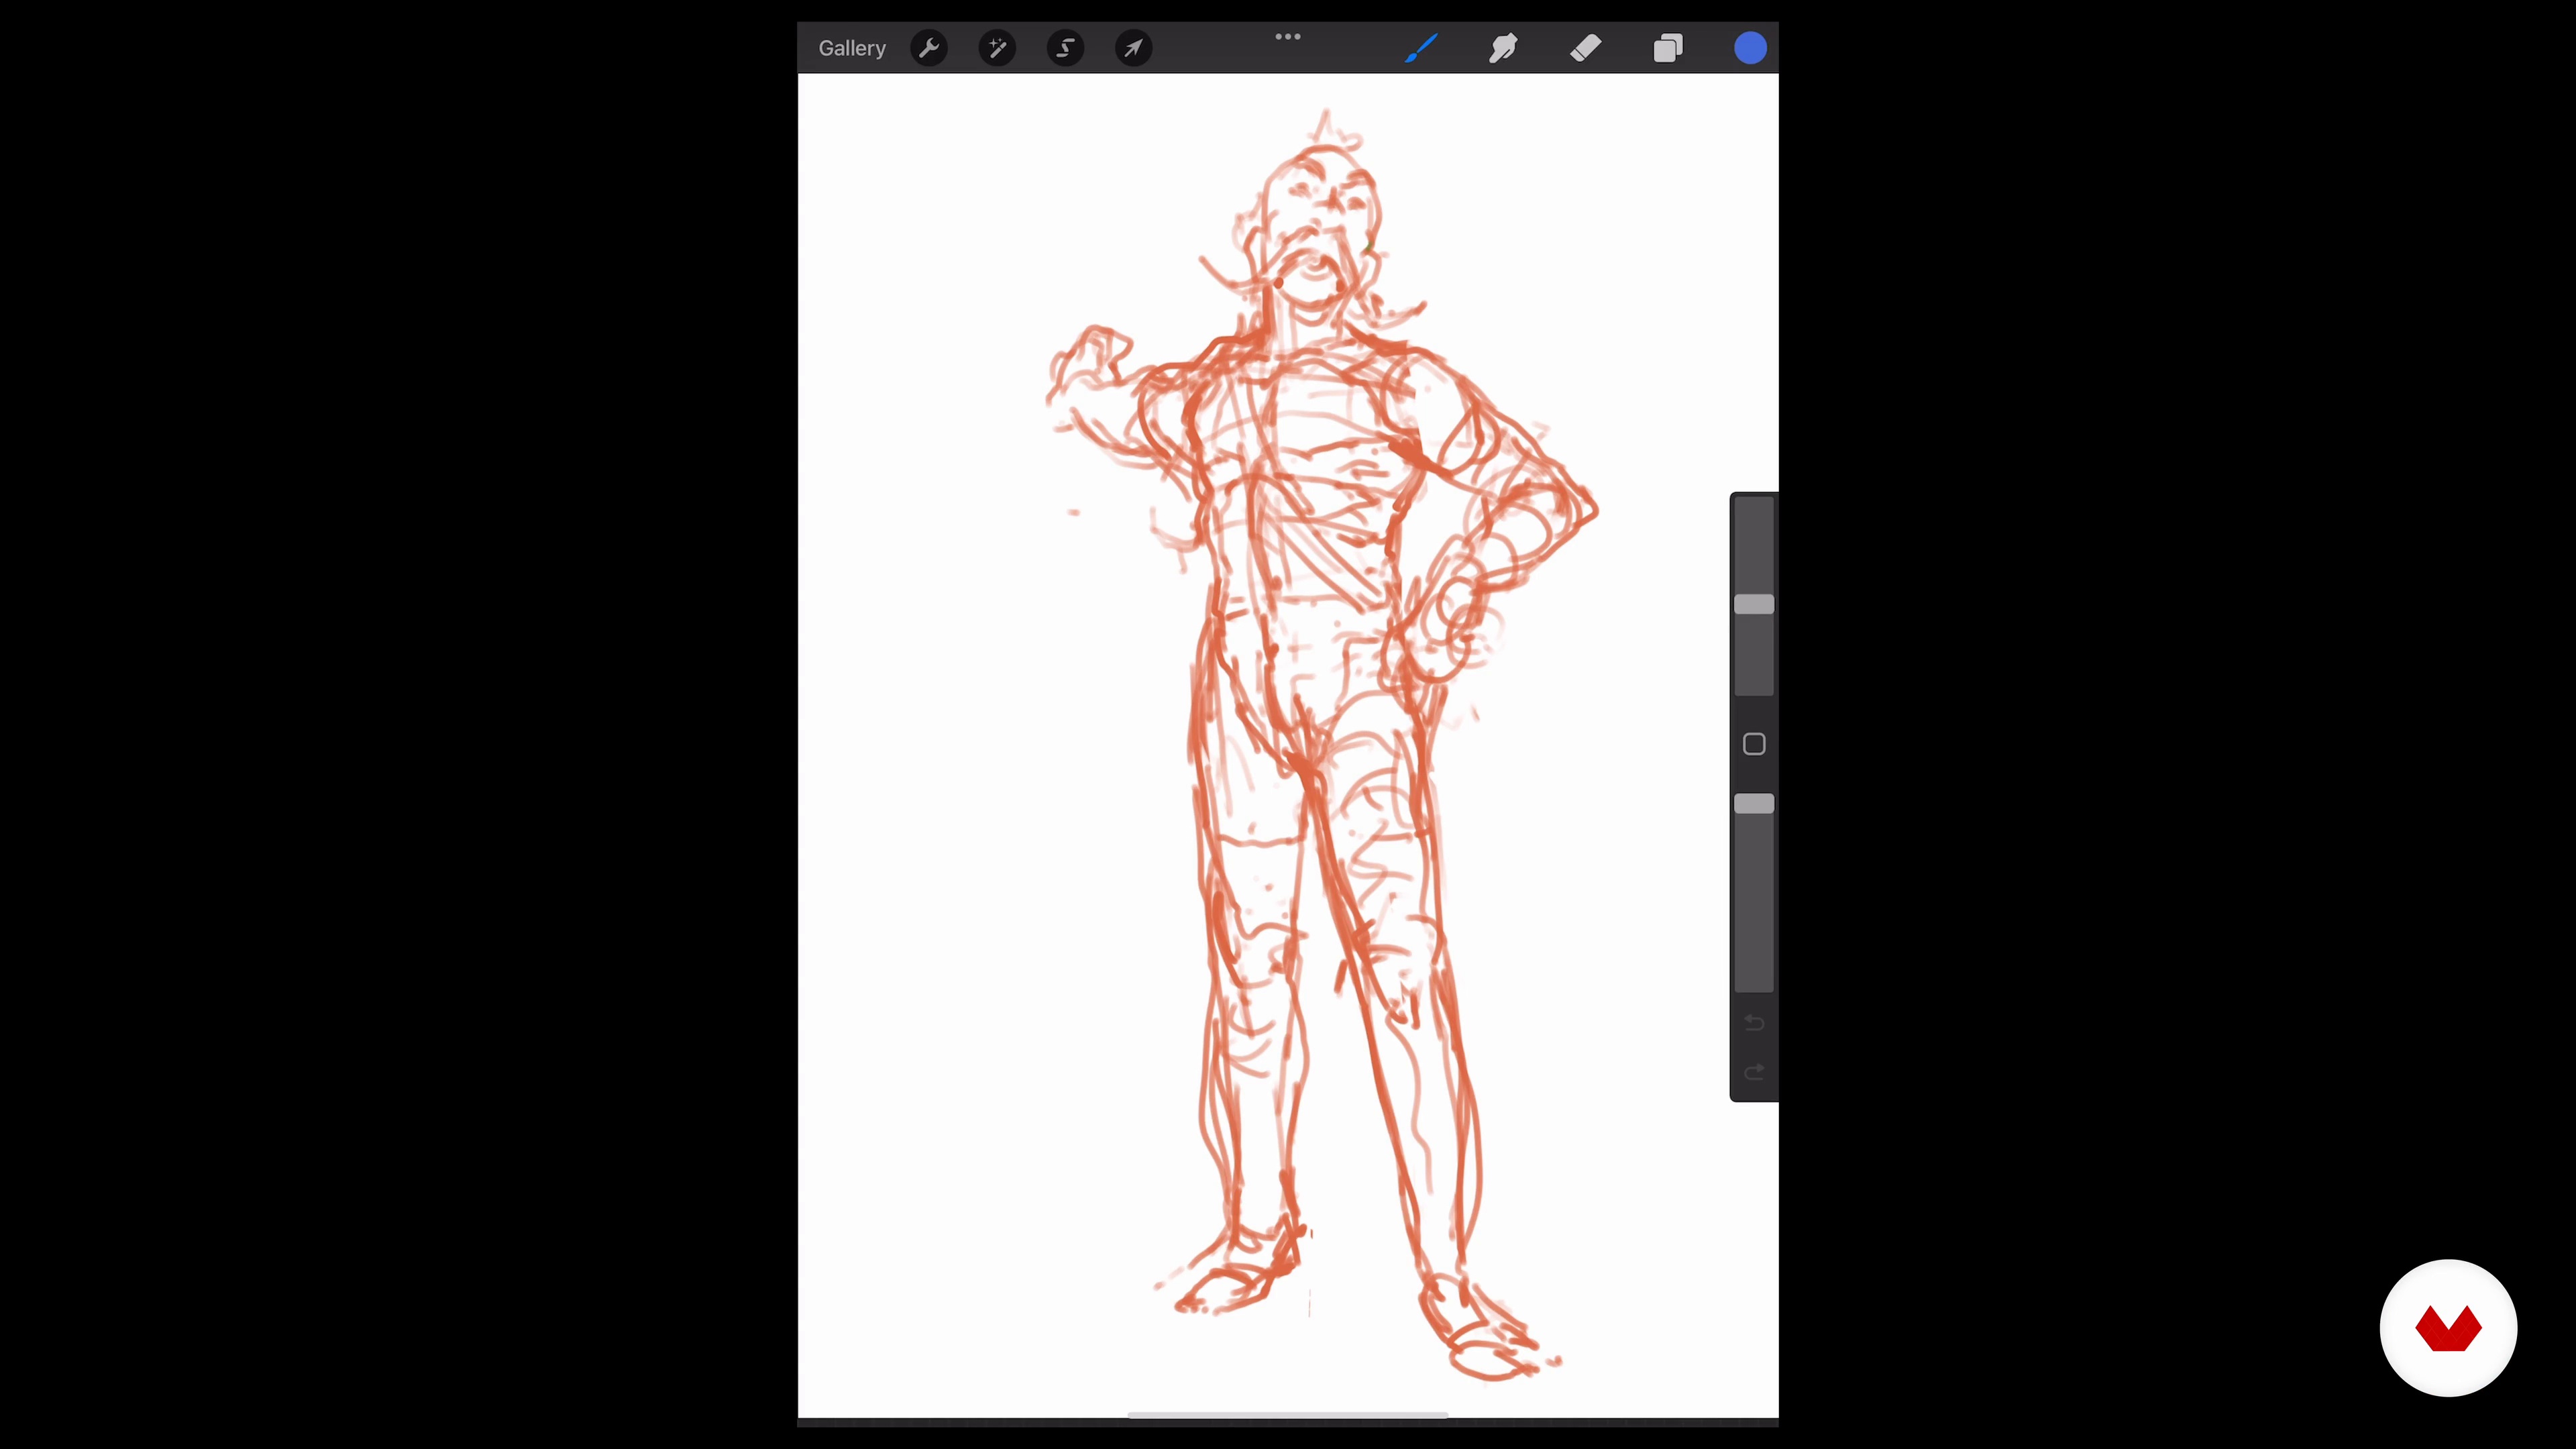
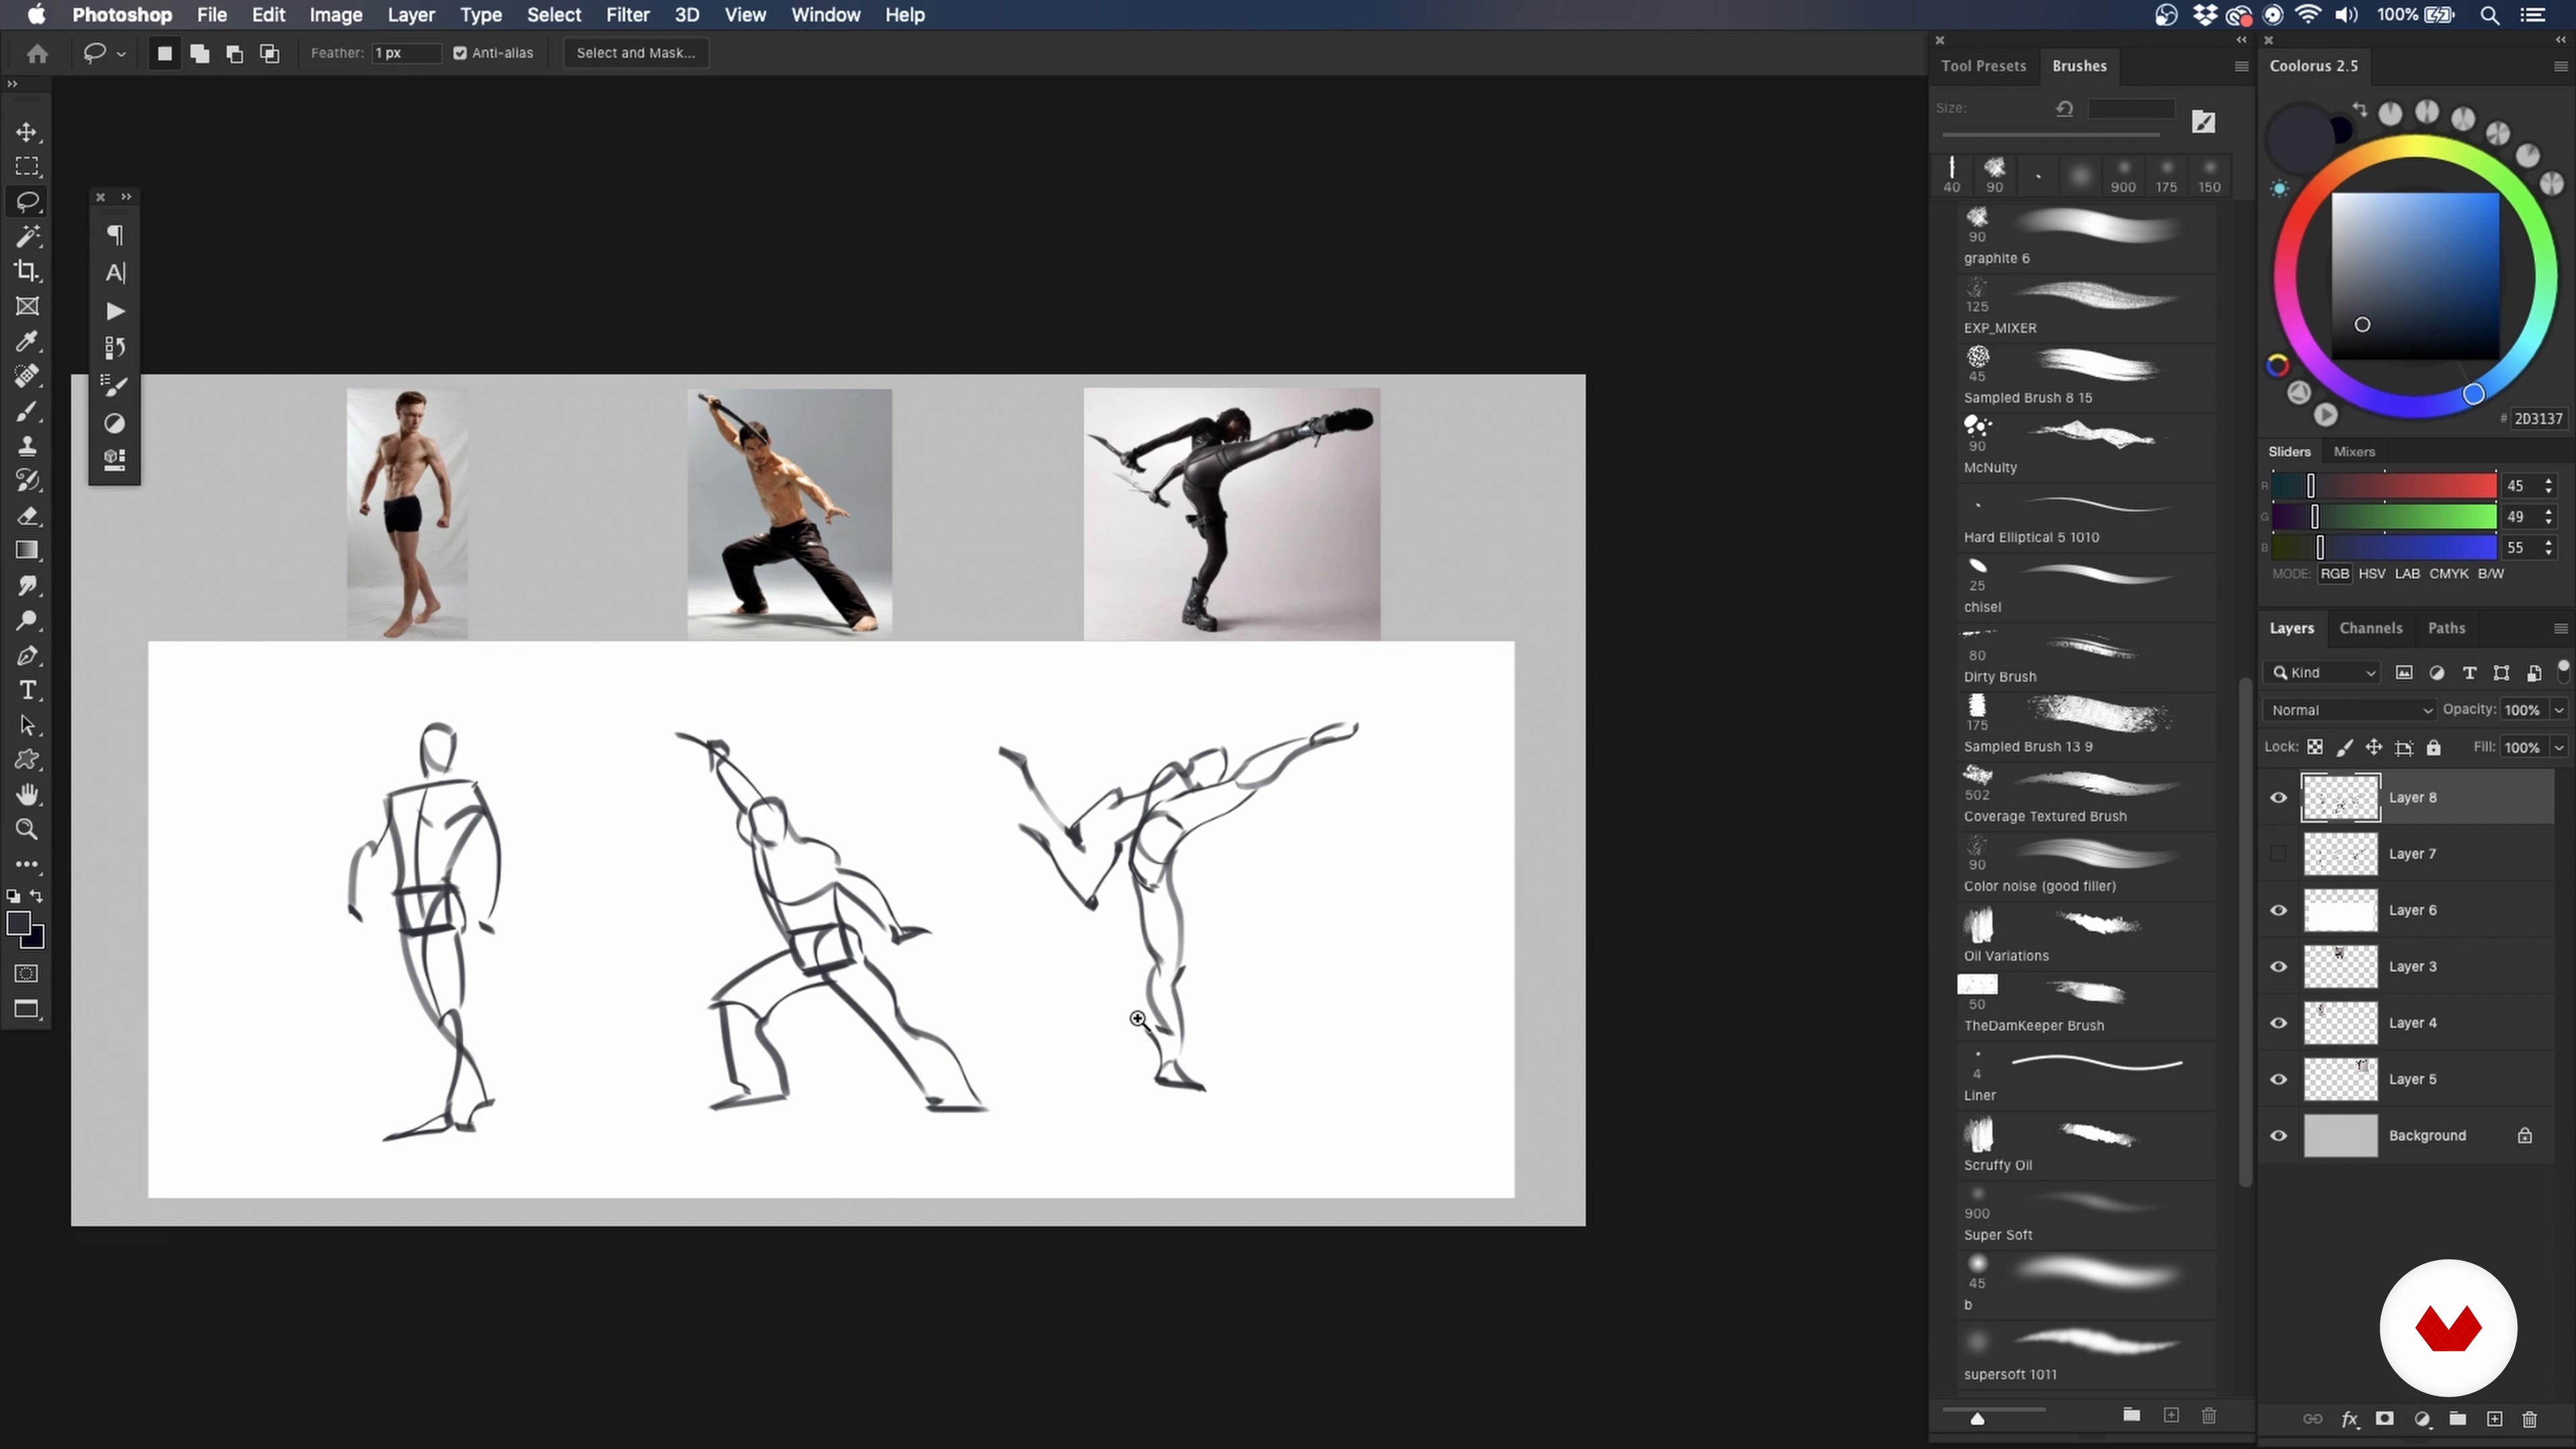
In this lesson, I will demonstrate how to achieve dynamic figures through gesture drawing. The key aspects I will cover are the line of action, opposing curves, and balance.
9m
image
9
Referencing
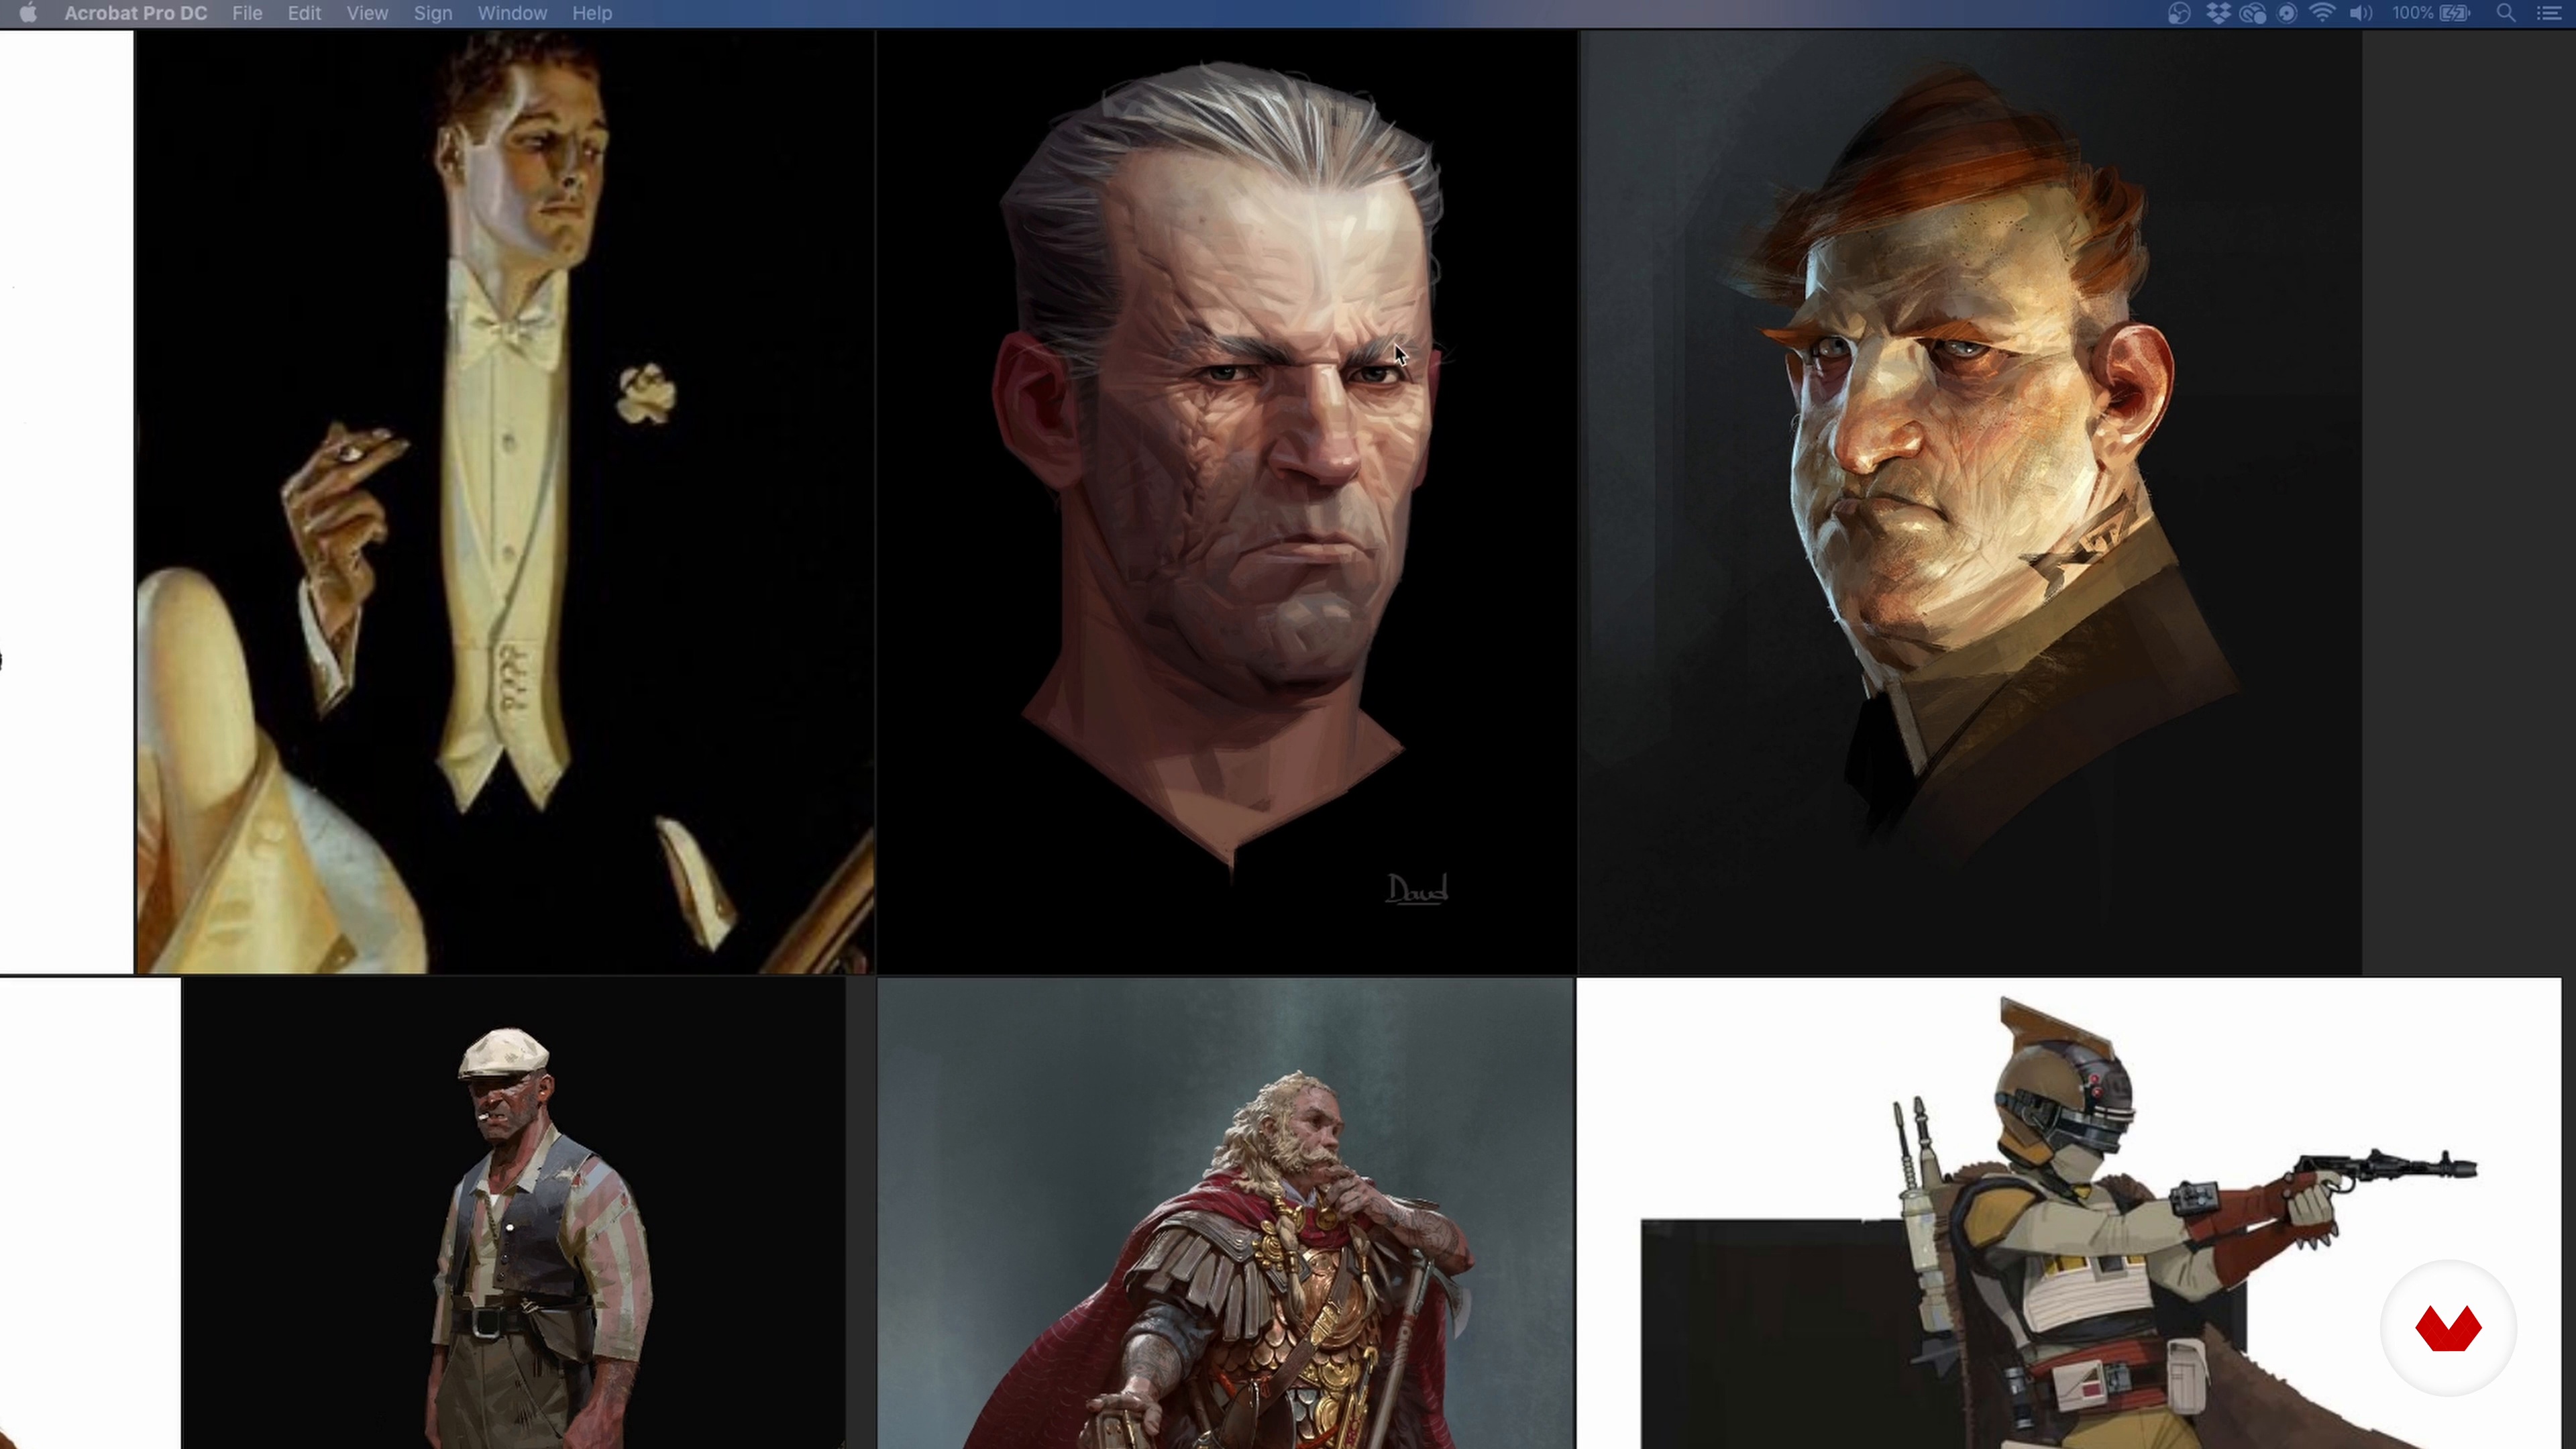
Great referencing is the cornerstone of a successful design. In this lesson, I will share how I bring depth to my characters and my reference gathering process.
19m
image
10
Sketching: Gesture
Let's begin drawing! First, I will show you how to construct the gesture of your character, focusing on movement, weight, line of action, balance, symmetry vs. asymmetry, and proportions.
13m
image
11
Sketching: Volume
Now that the gesture lines are done, it's time to establish the volumes that make up the character. This will act as a guide for making the drawing feel three-dimensional.
8m
image
12
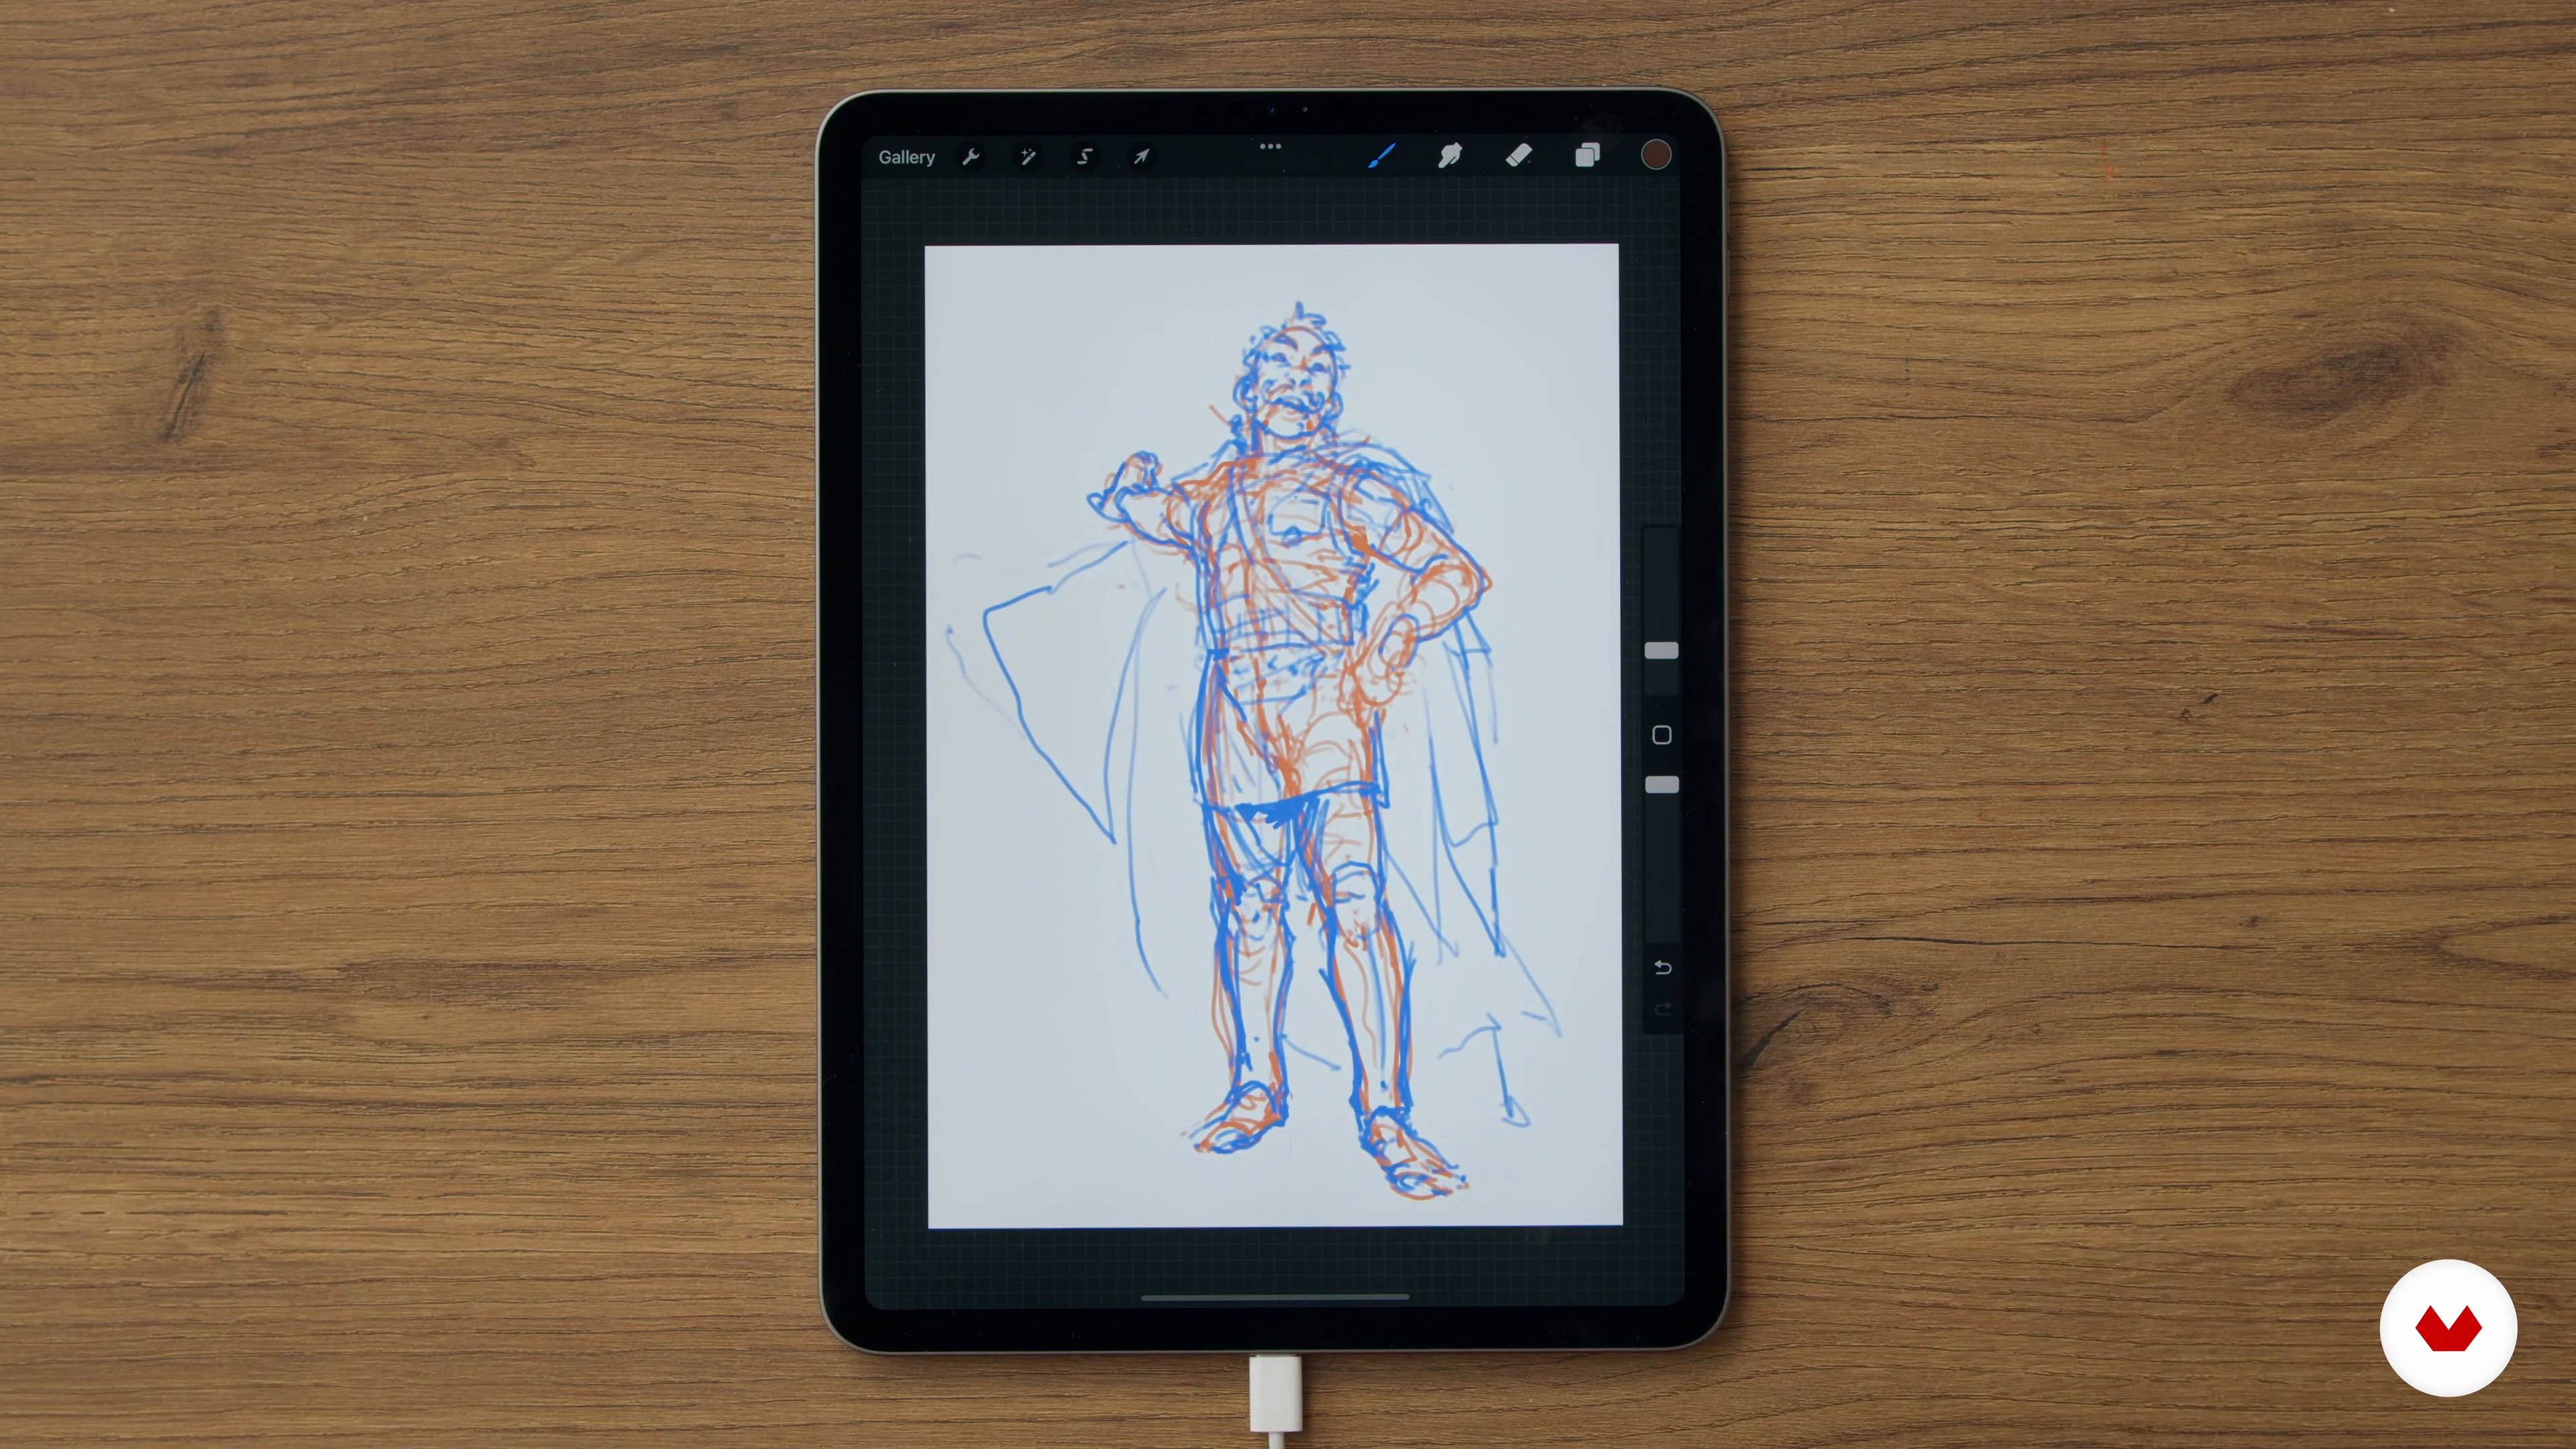
Design Sketch 1
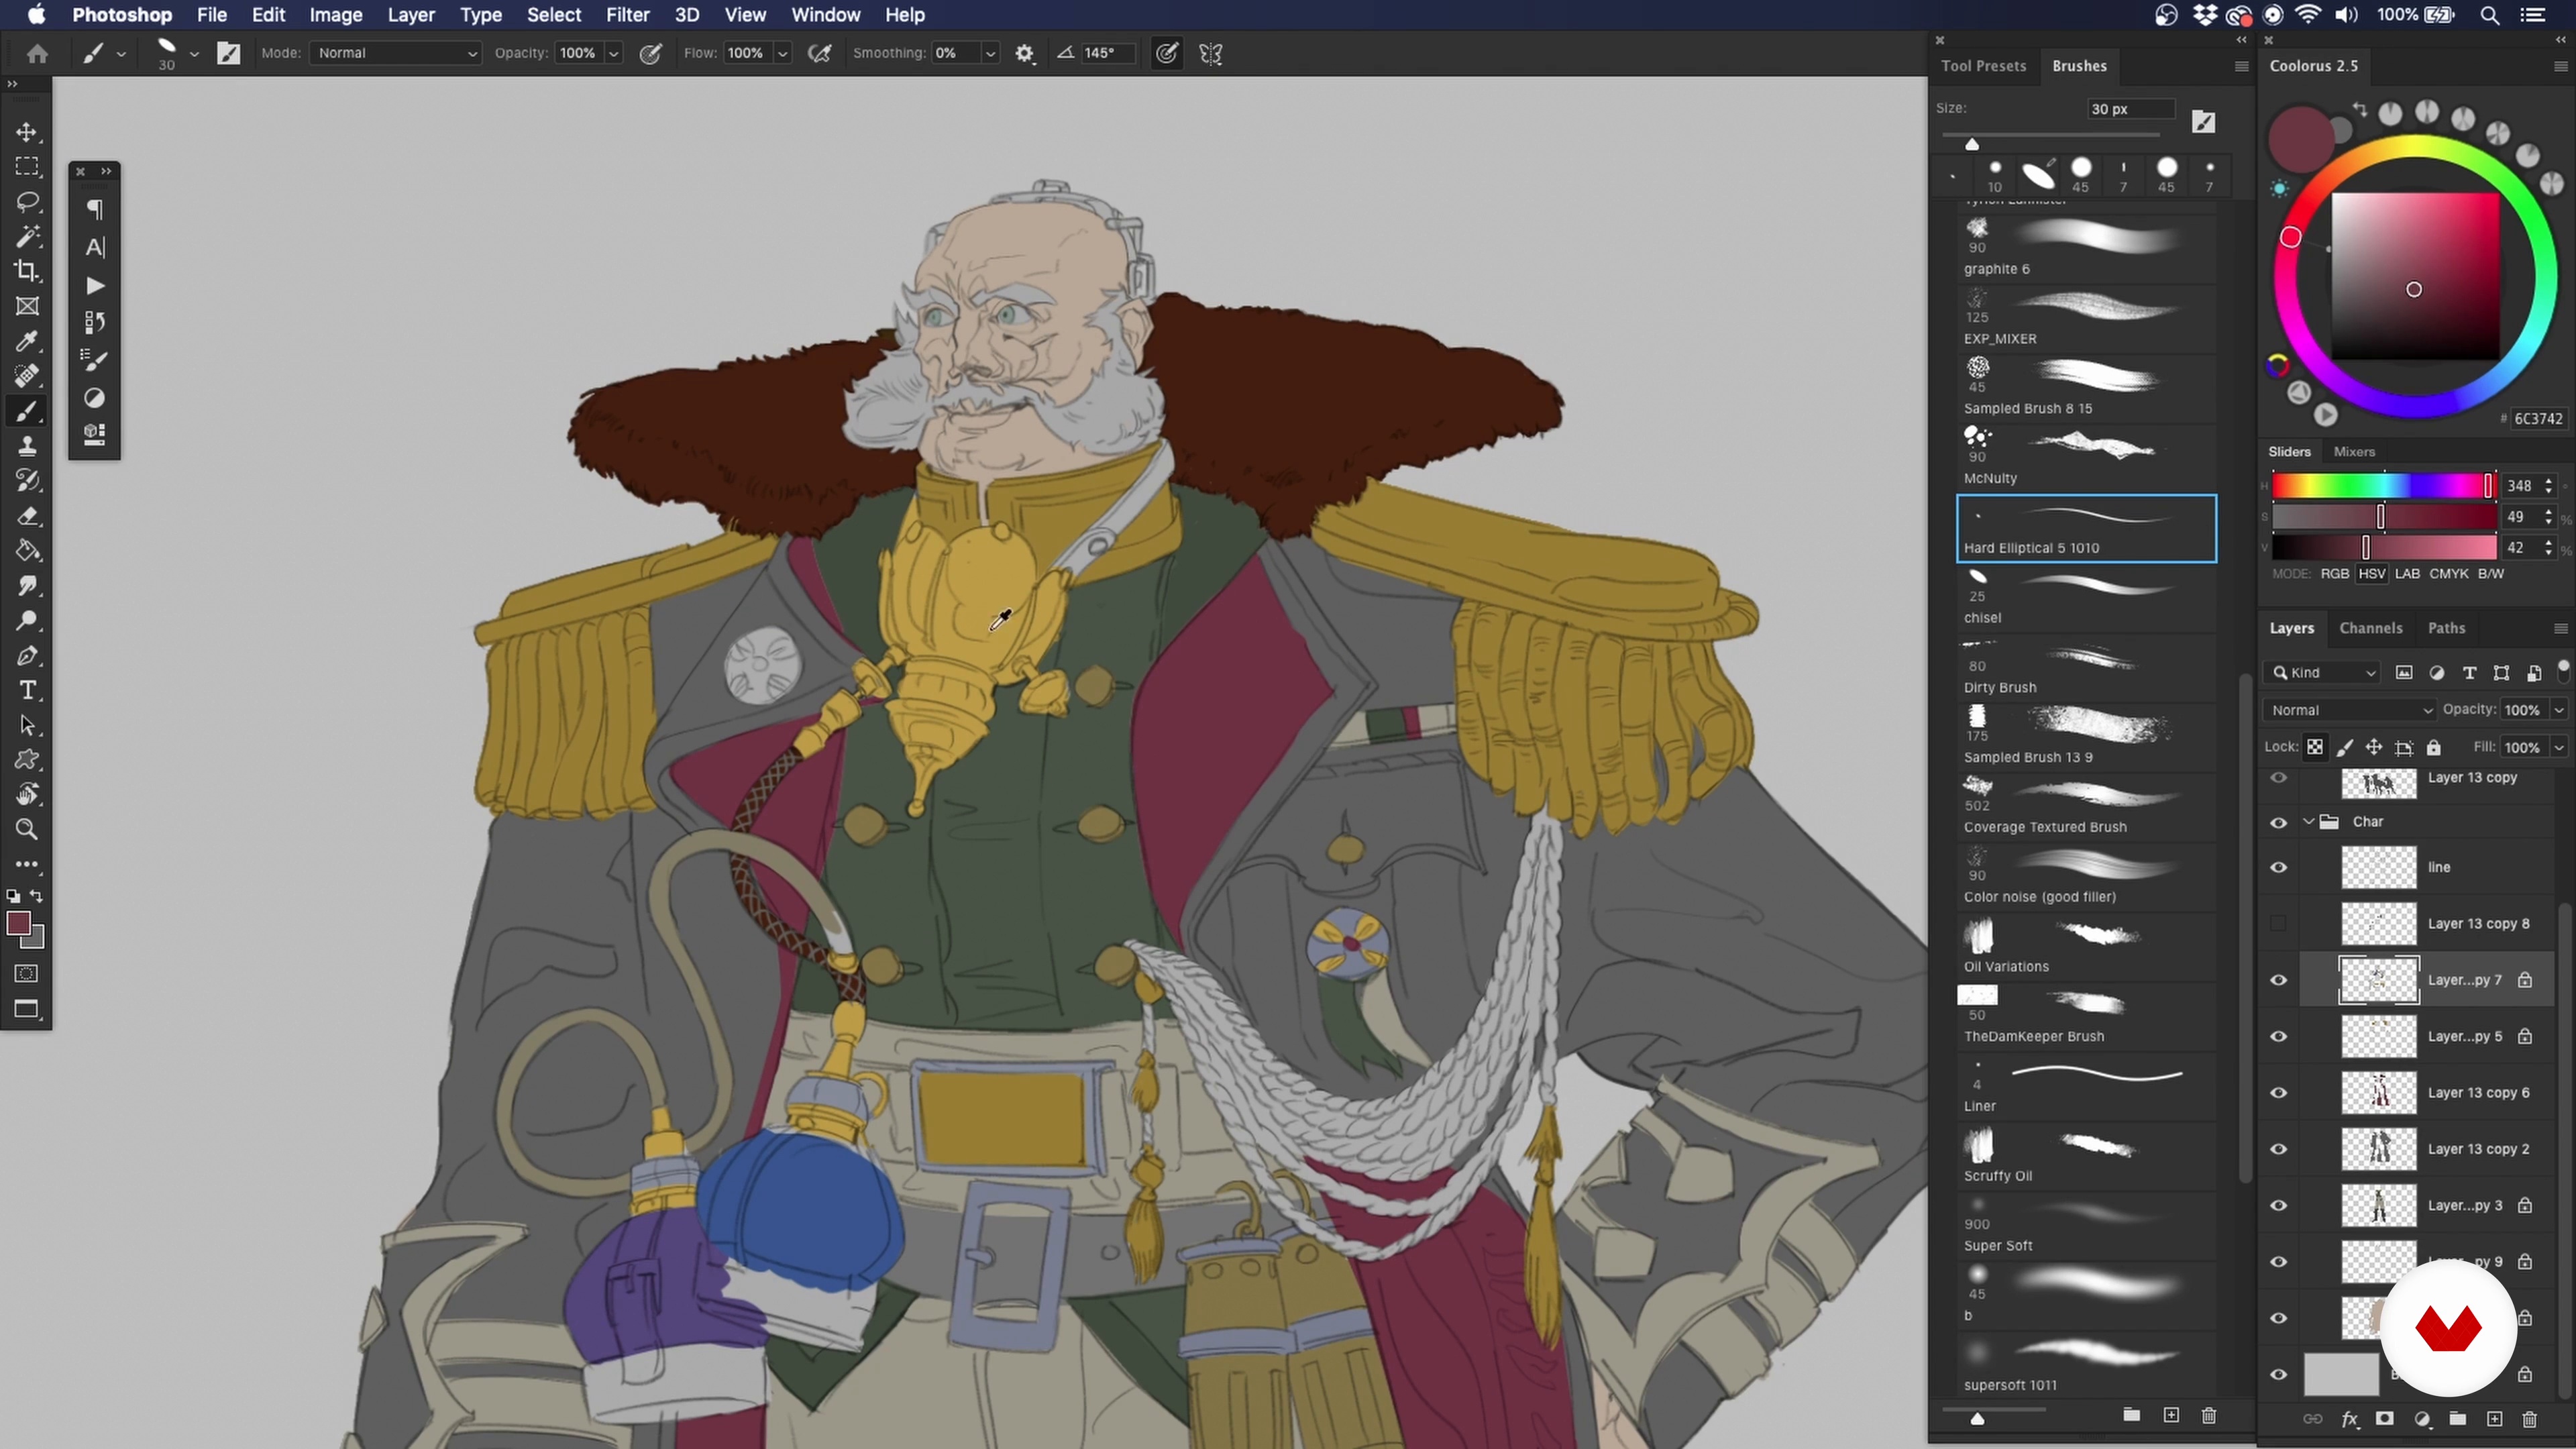
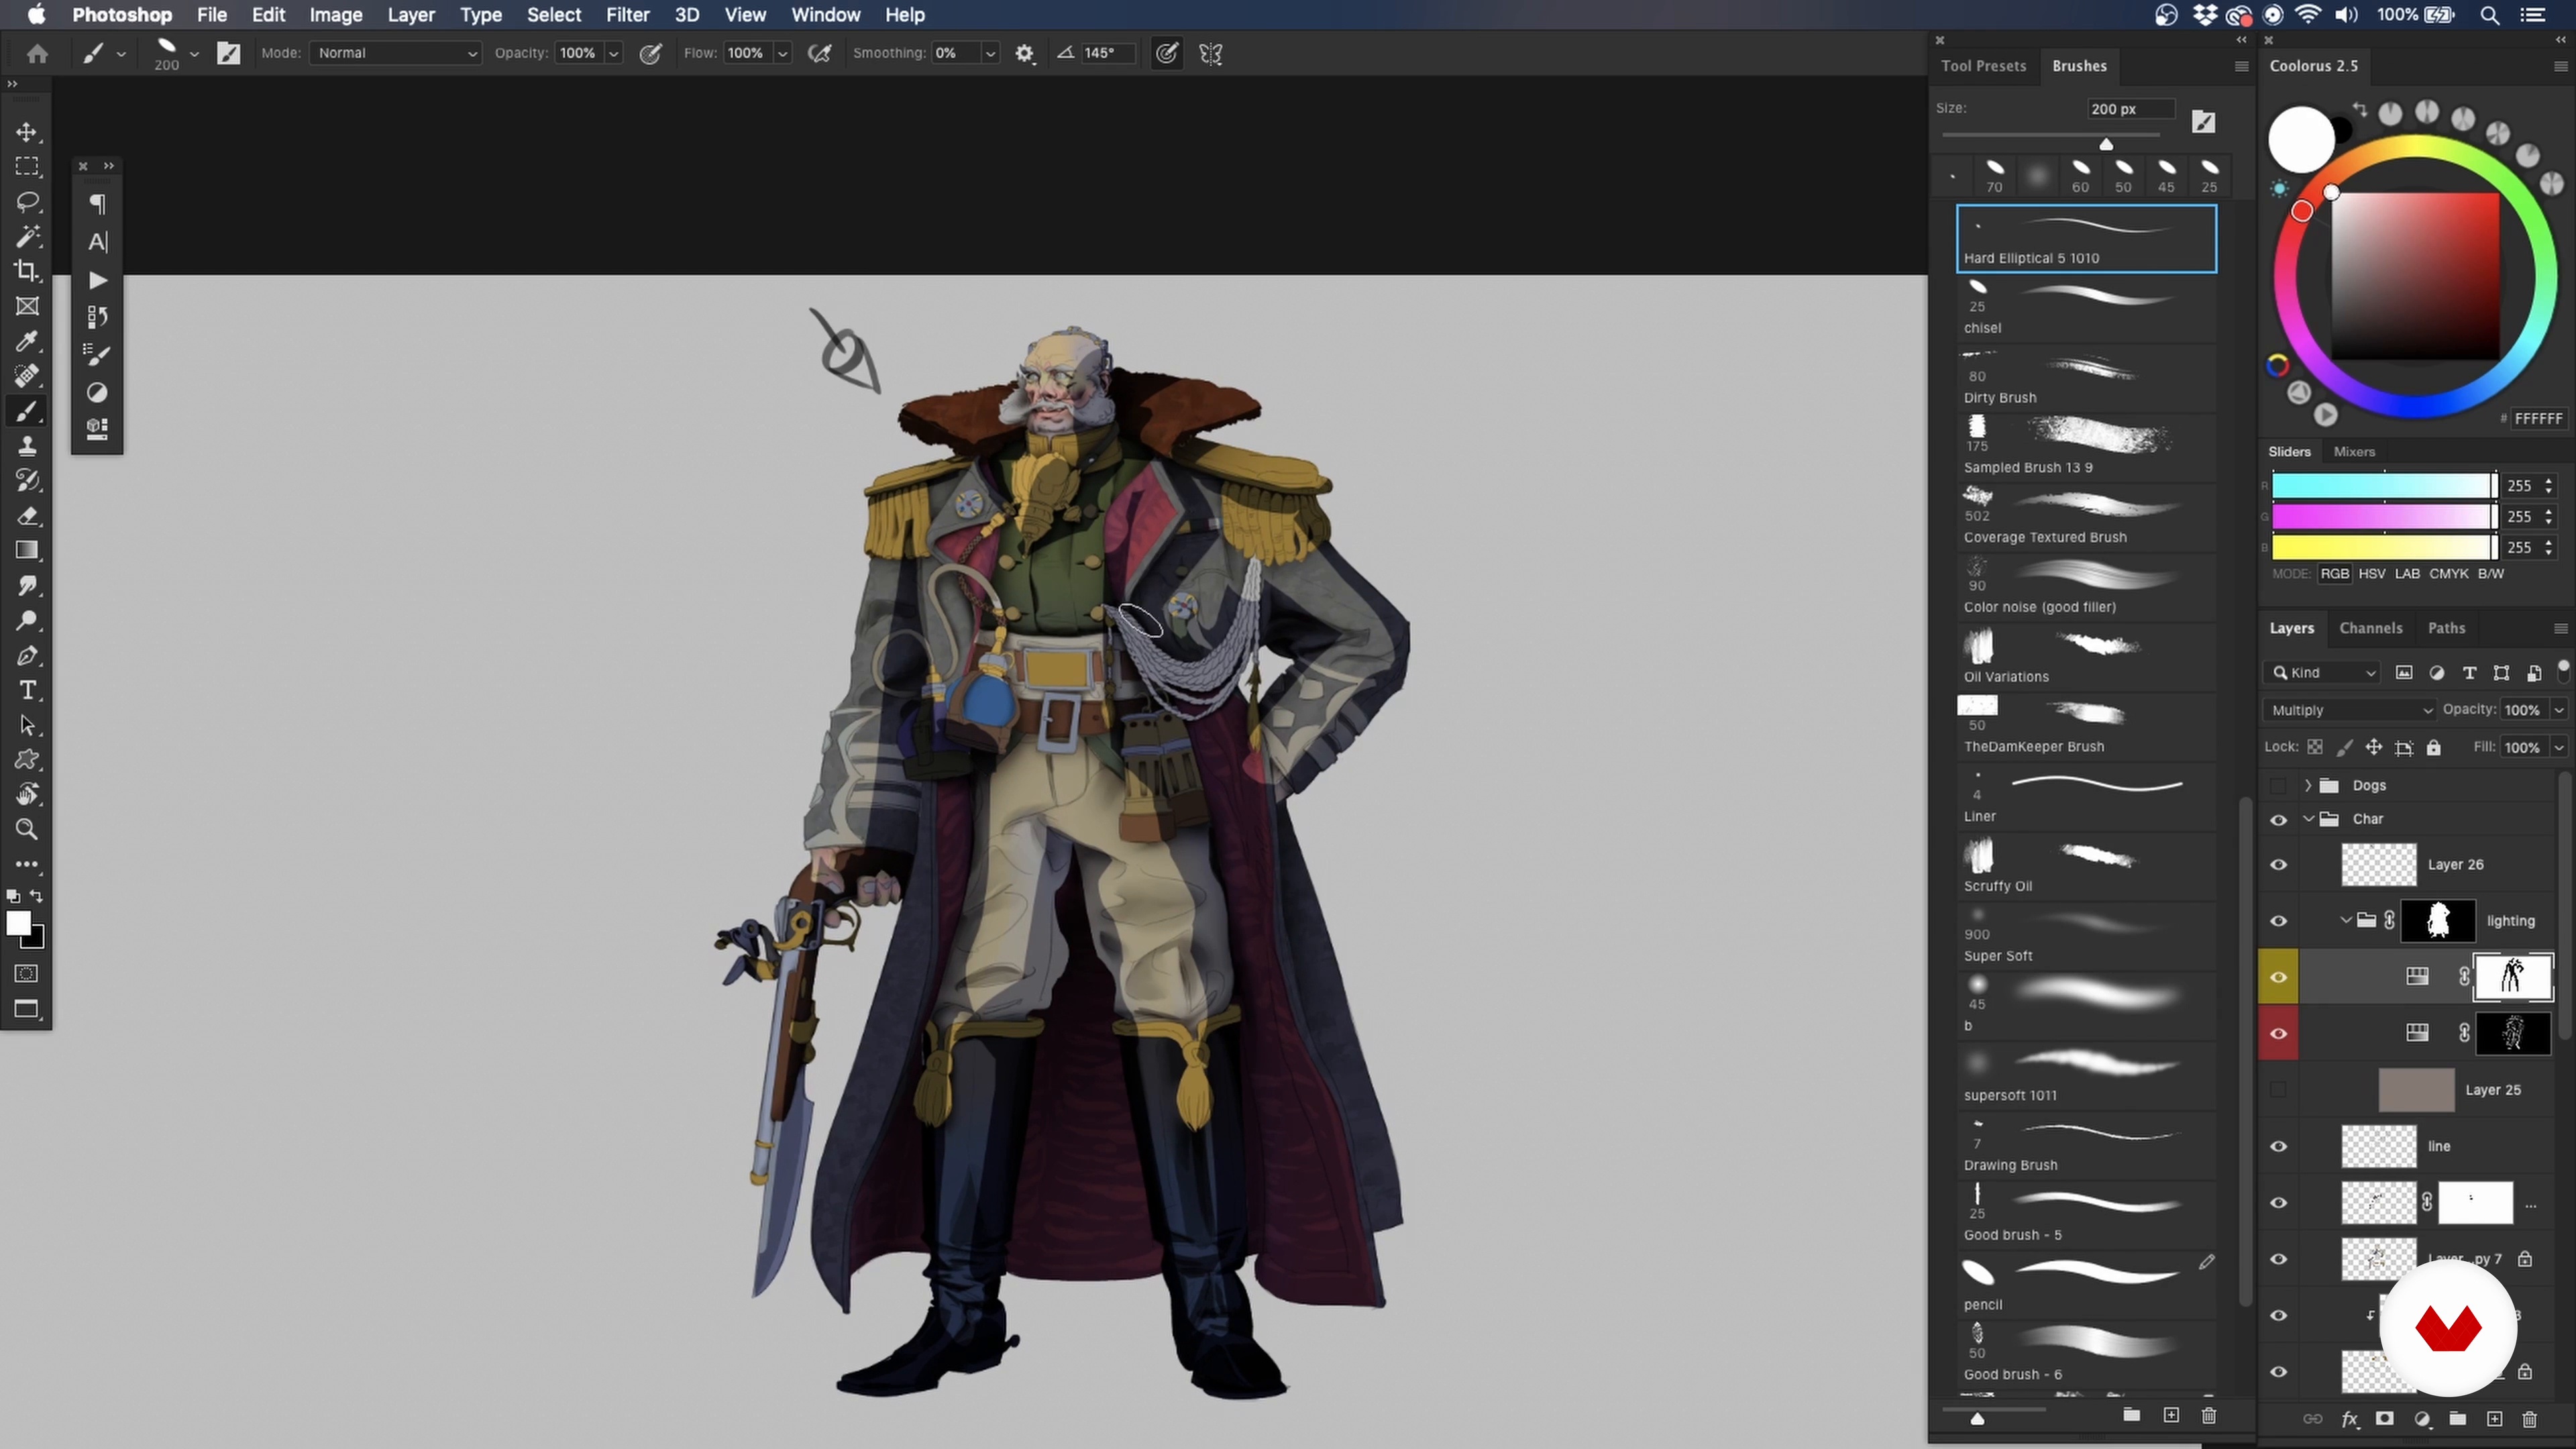
With the pose and volumes done, we can move on to designing the appearance of the character; their clothes, props, features, etc.
16m
image
13
Design Sketch 2
As you progress through the design sketch, don't be afraid to play around. This is the stage of experimentation. Here, you will see how I fine-tune the details of my character until he reaches the standard that I want.
20m
image
14
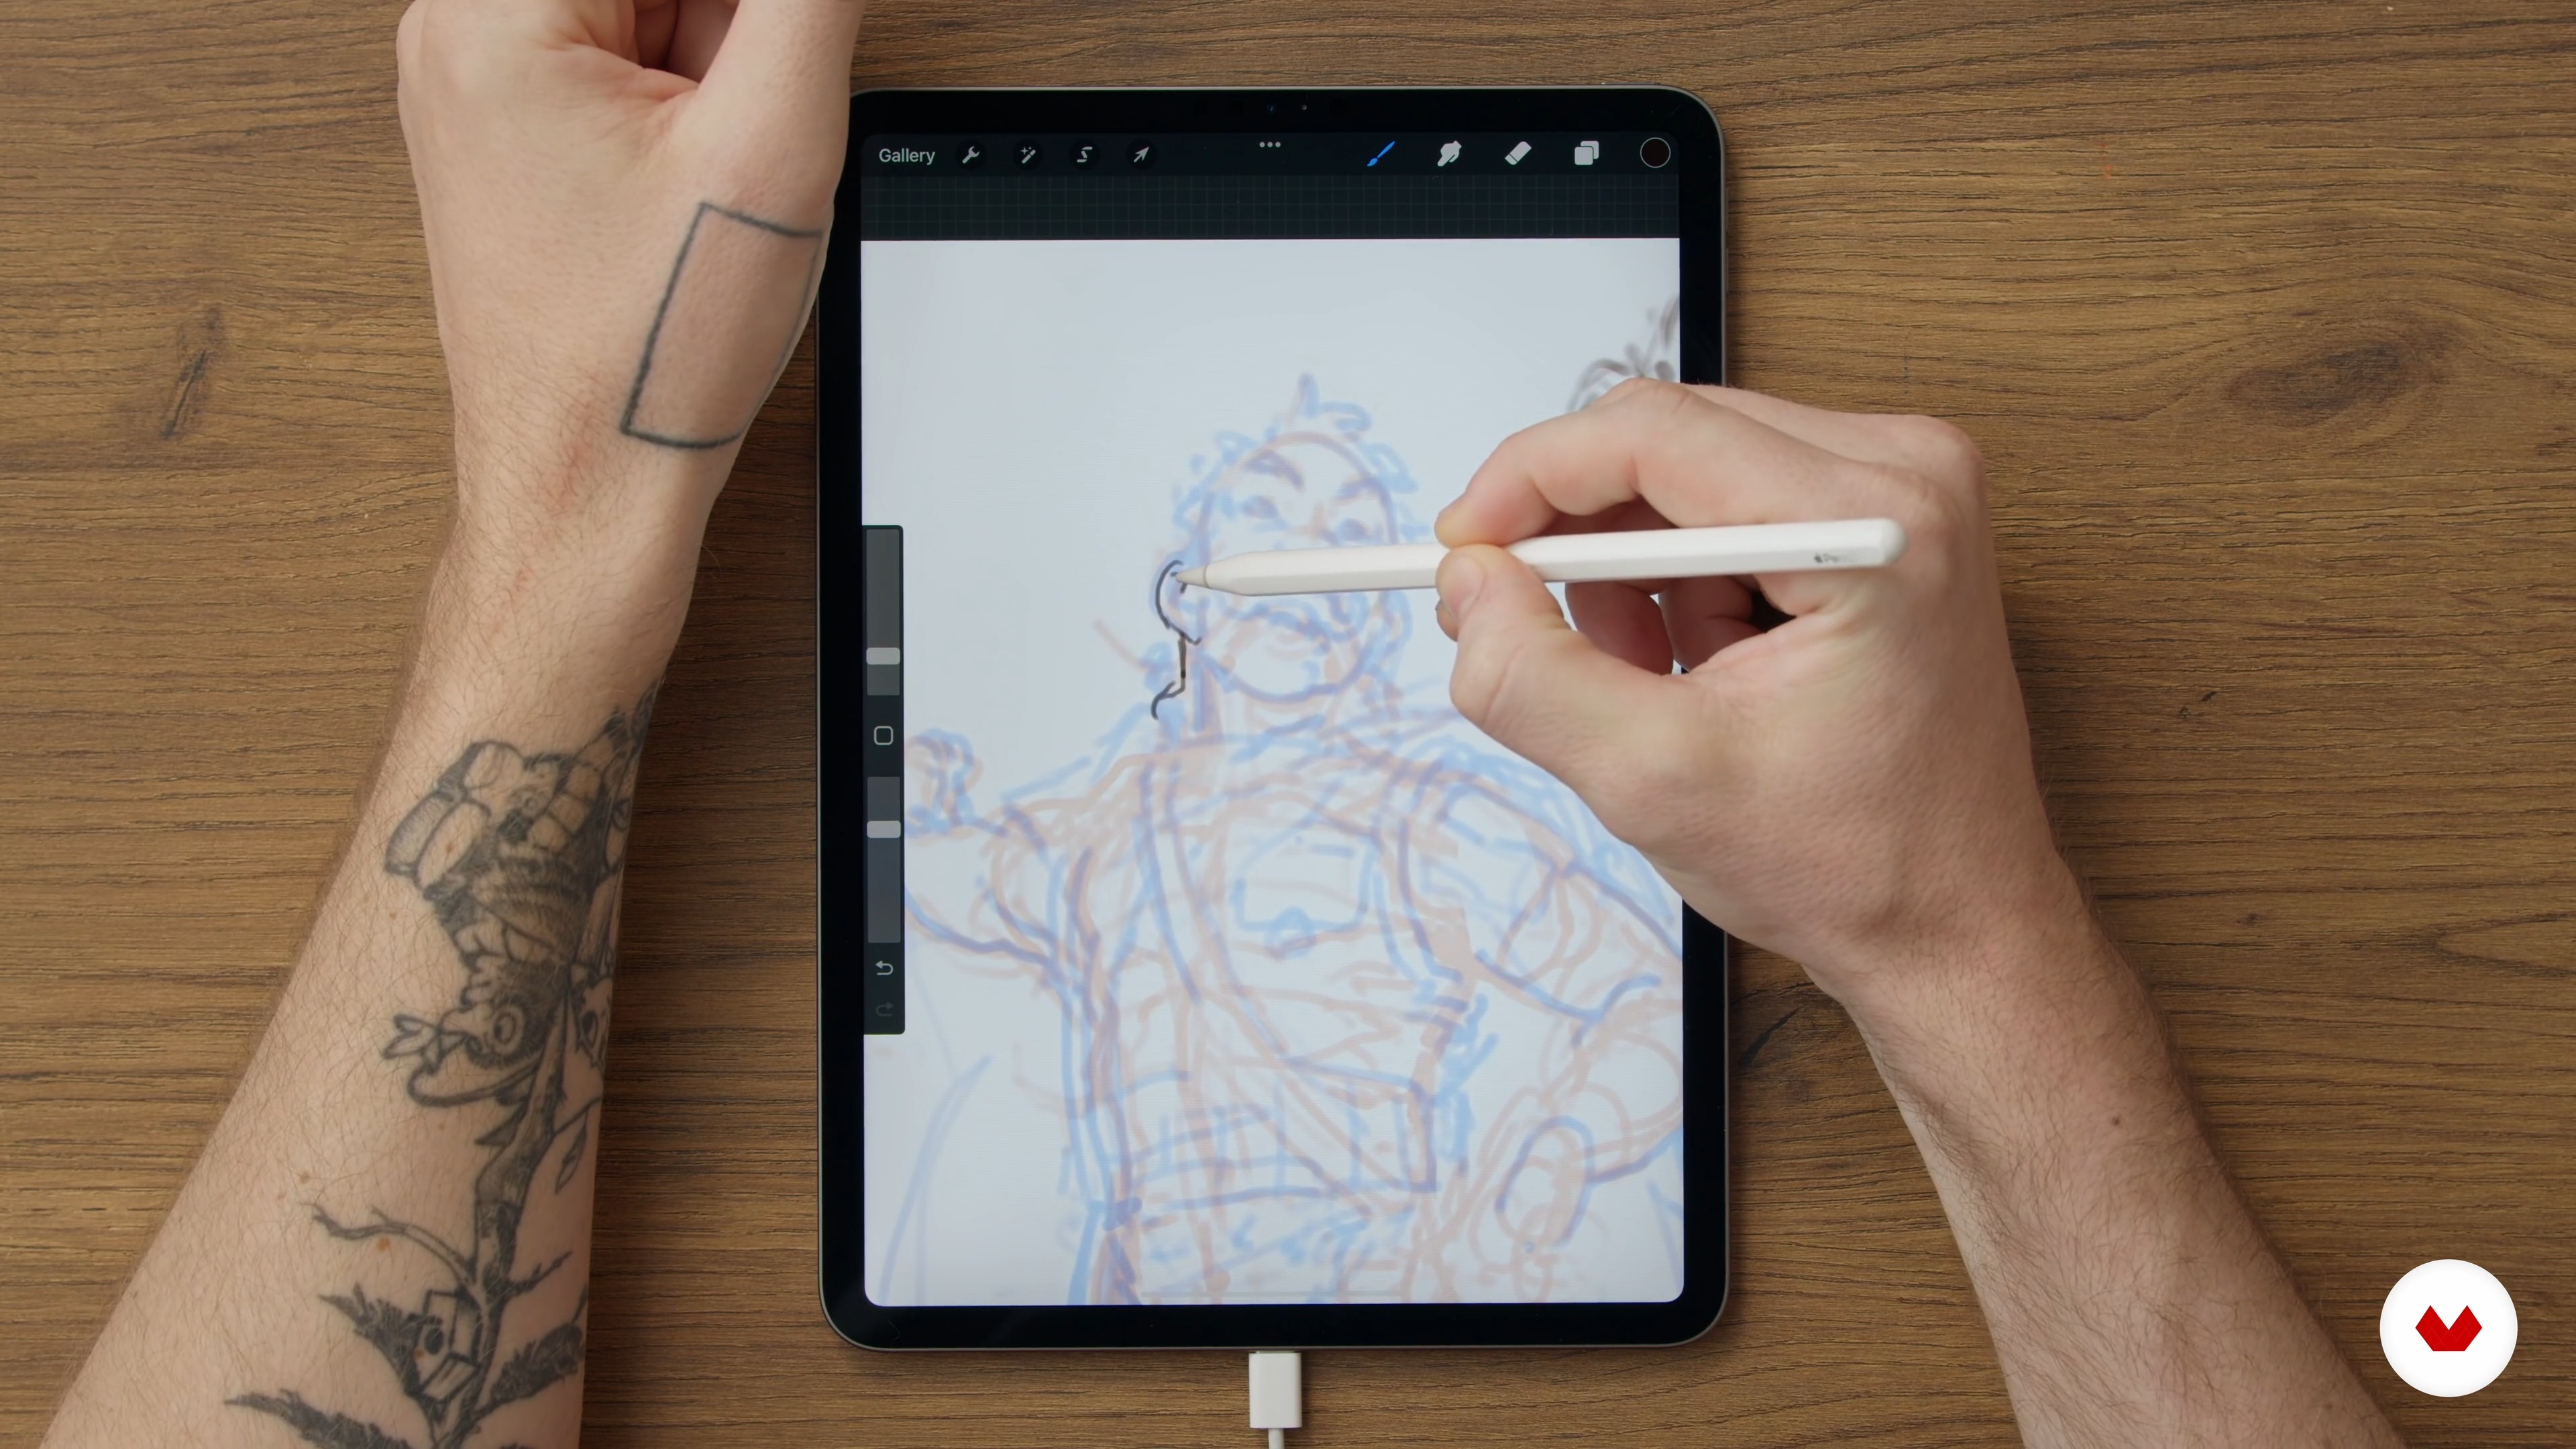
Final Line Art 1
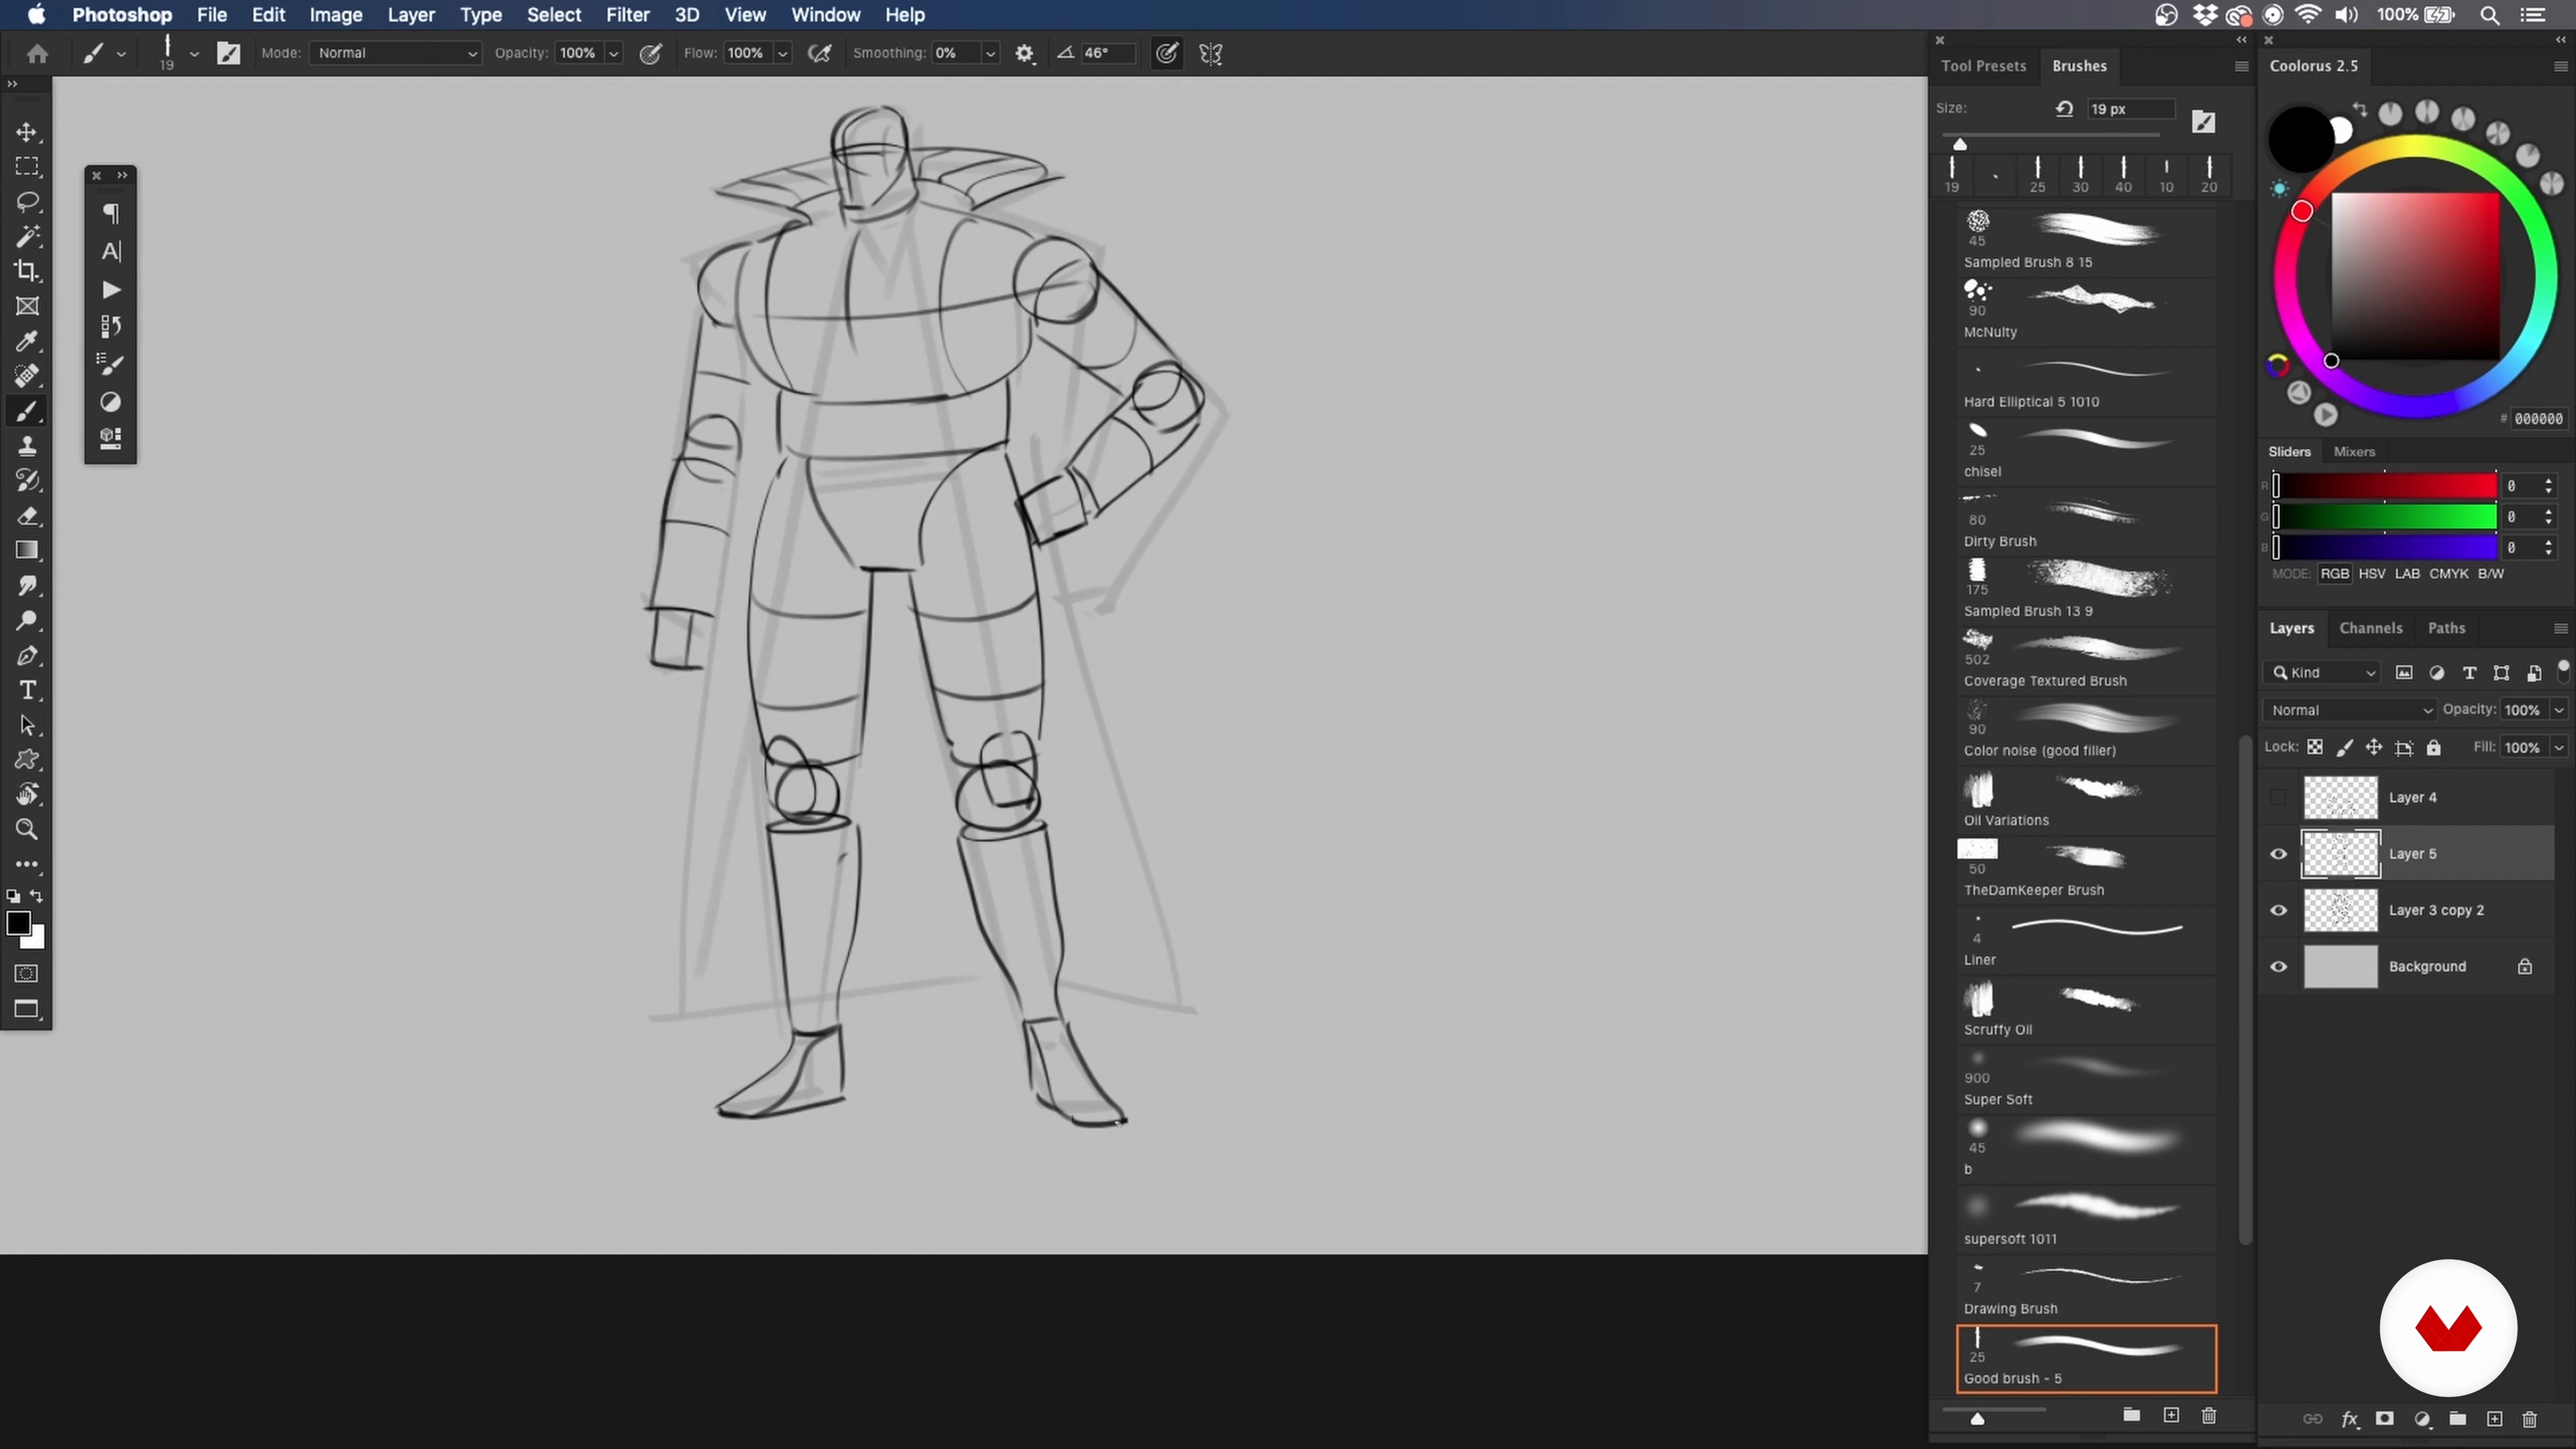
In this lesson, with most of the design figured out, I will show you how to solidify it with clean line art.
18m
image
15
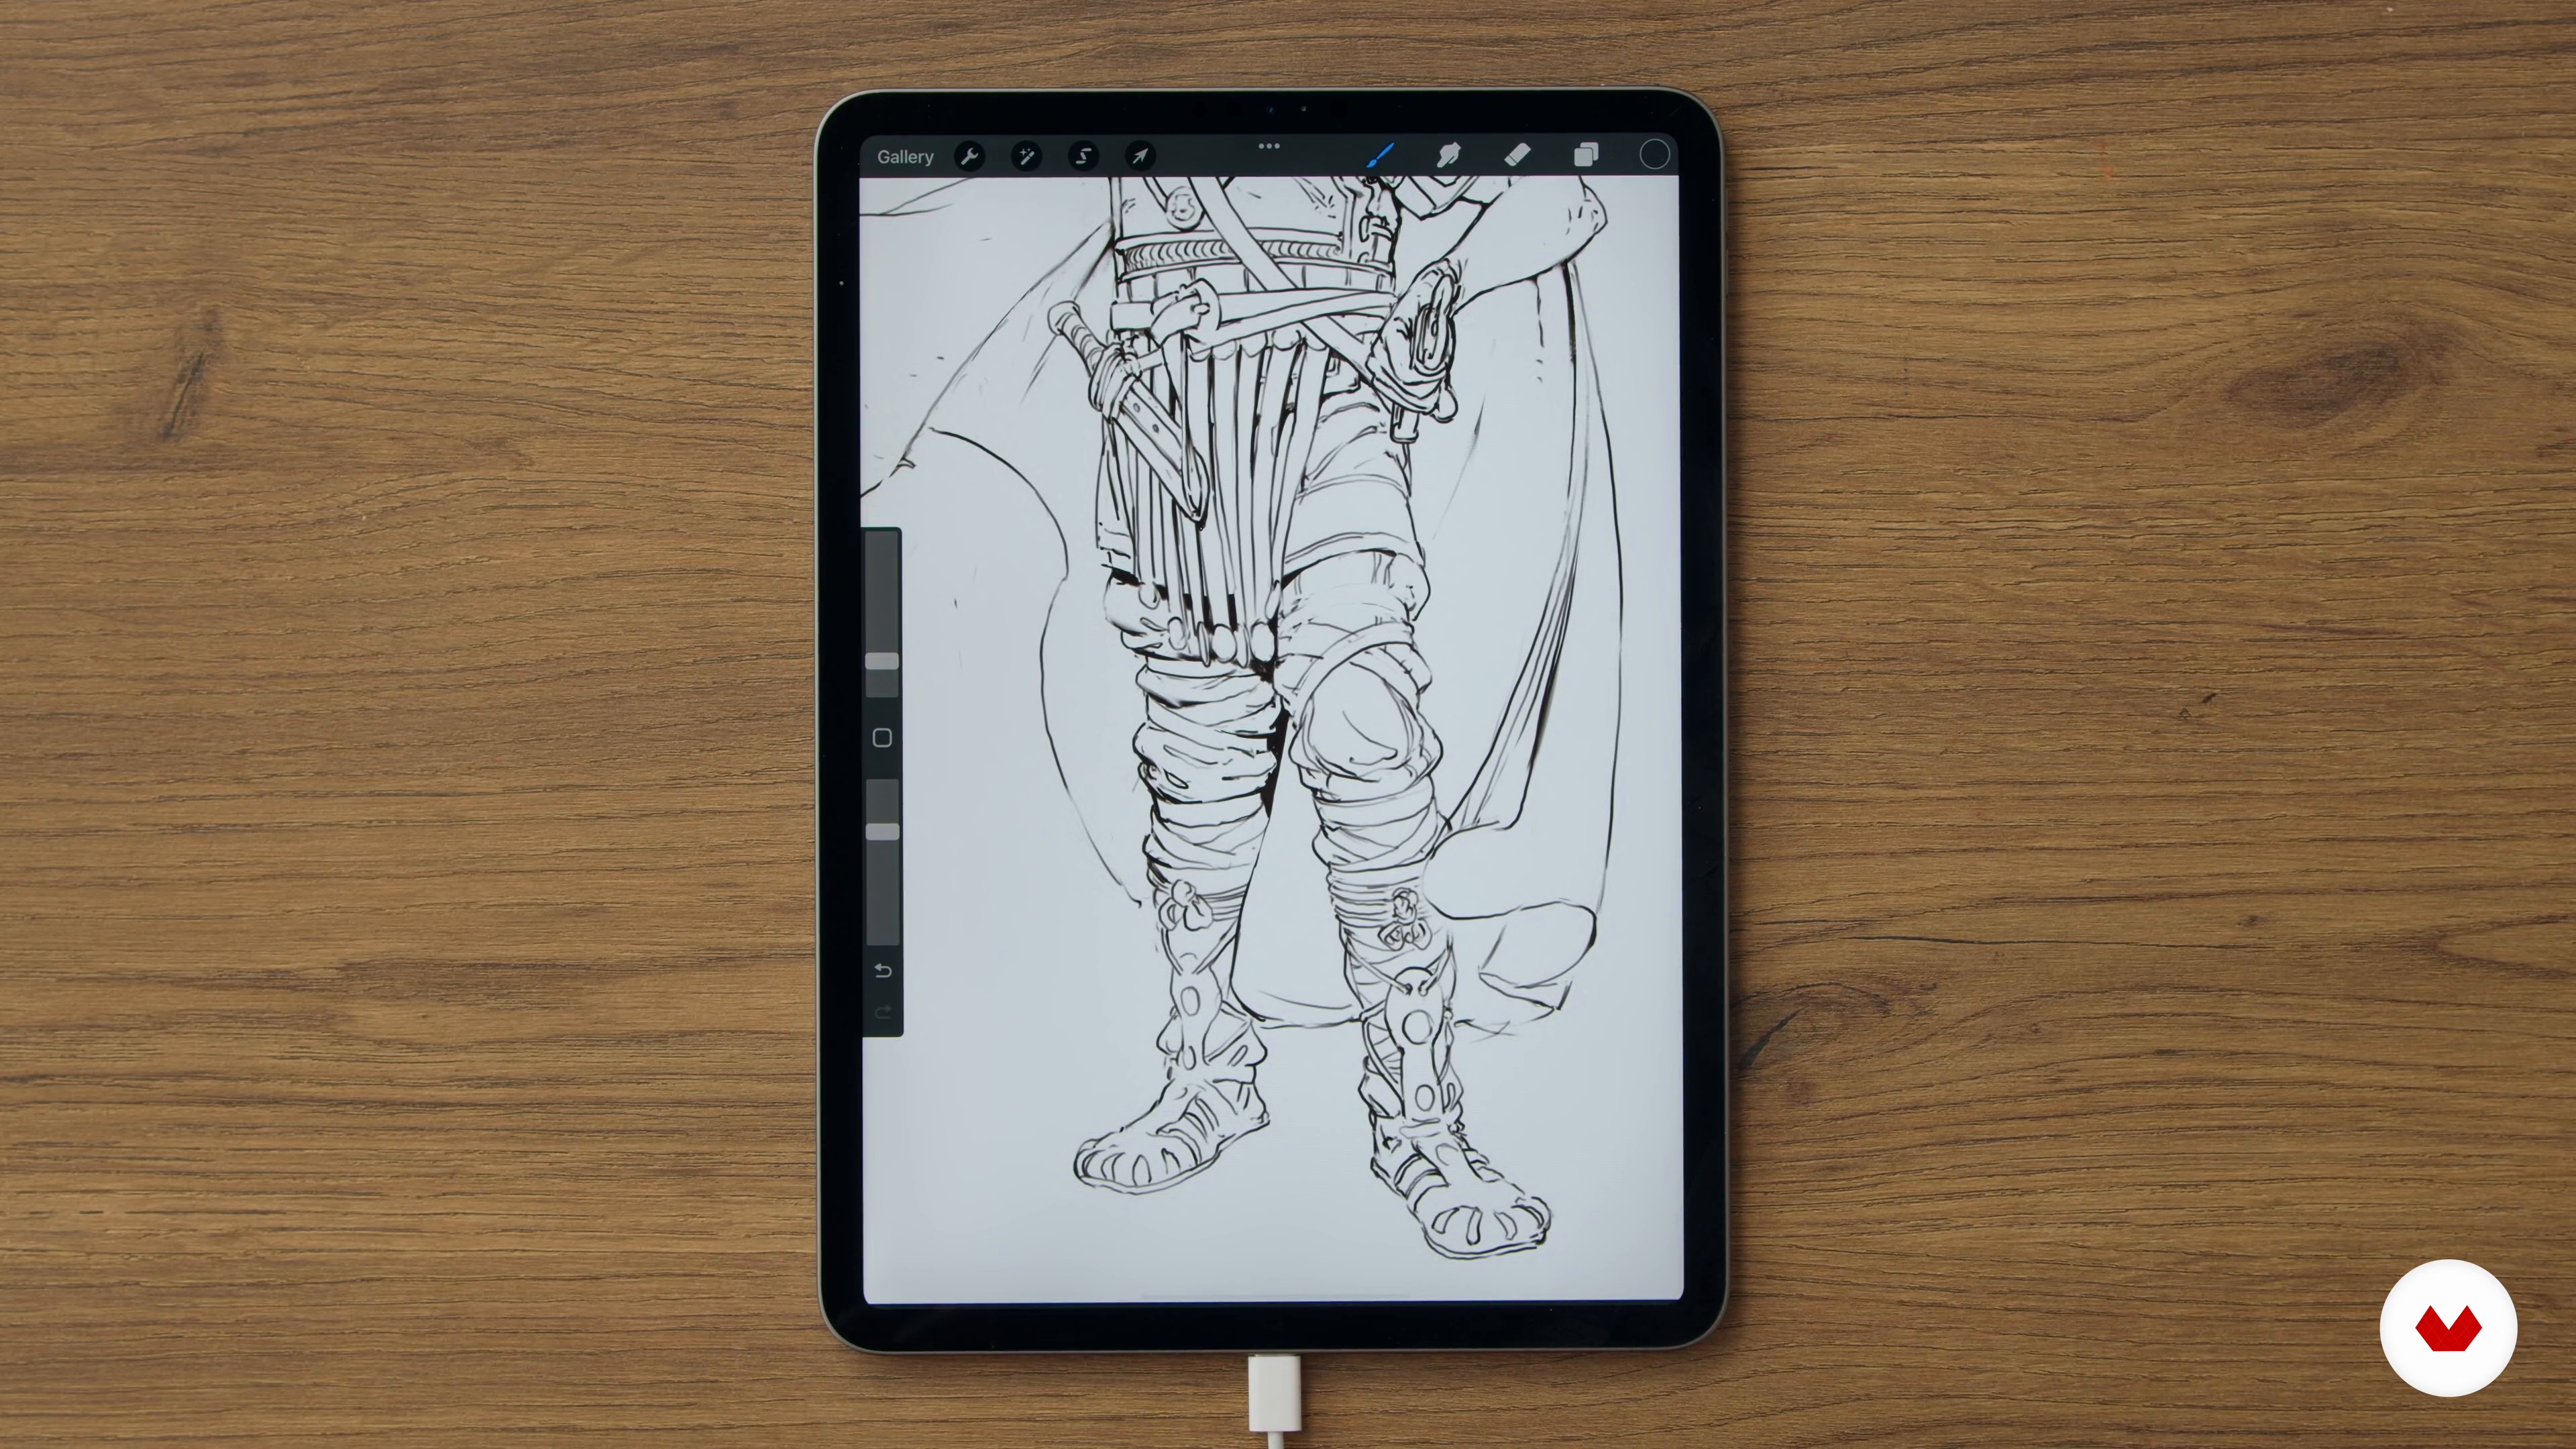
Final Line Art 2
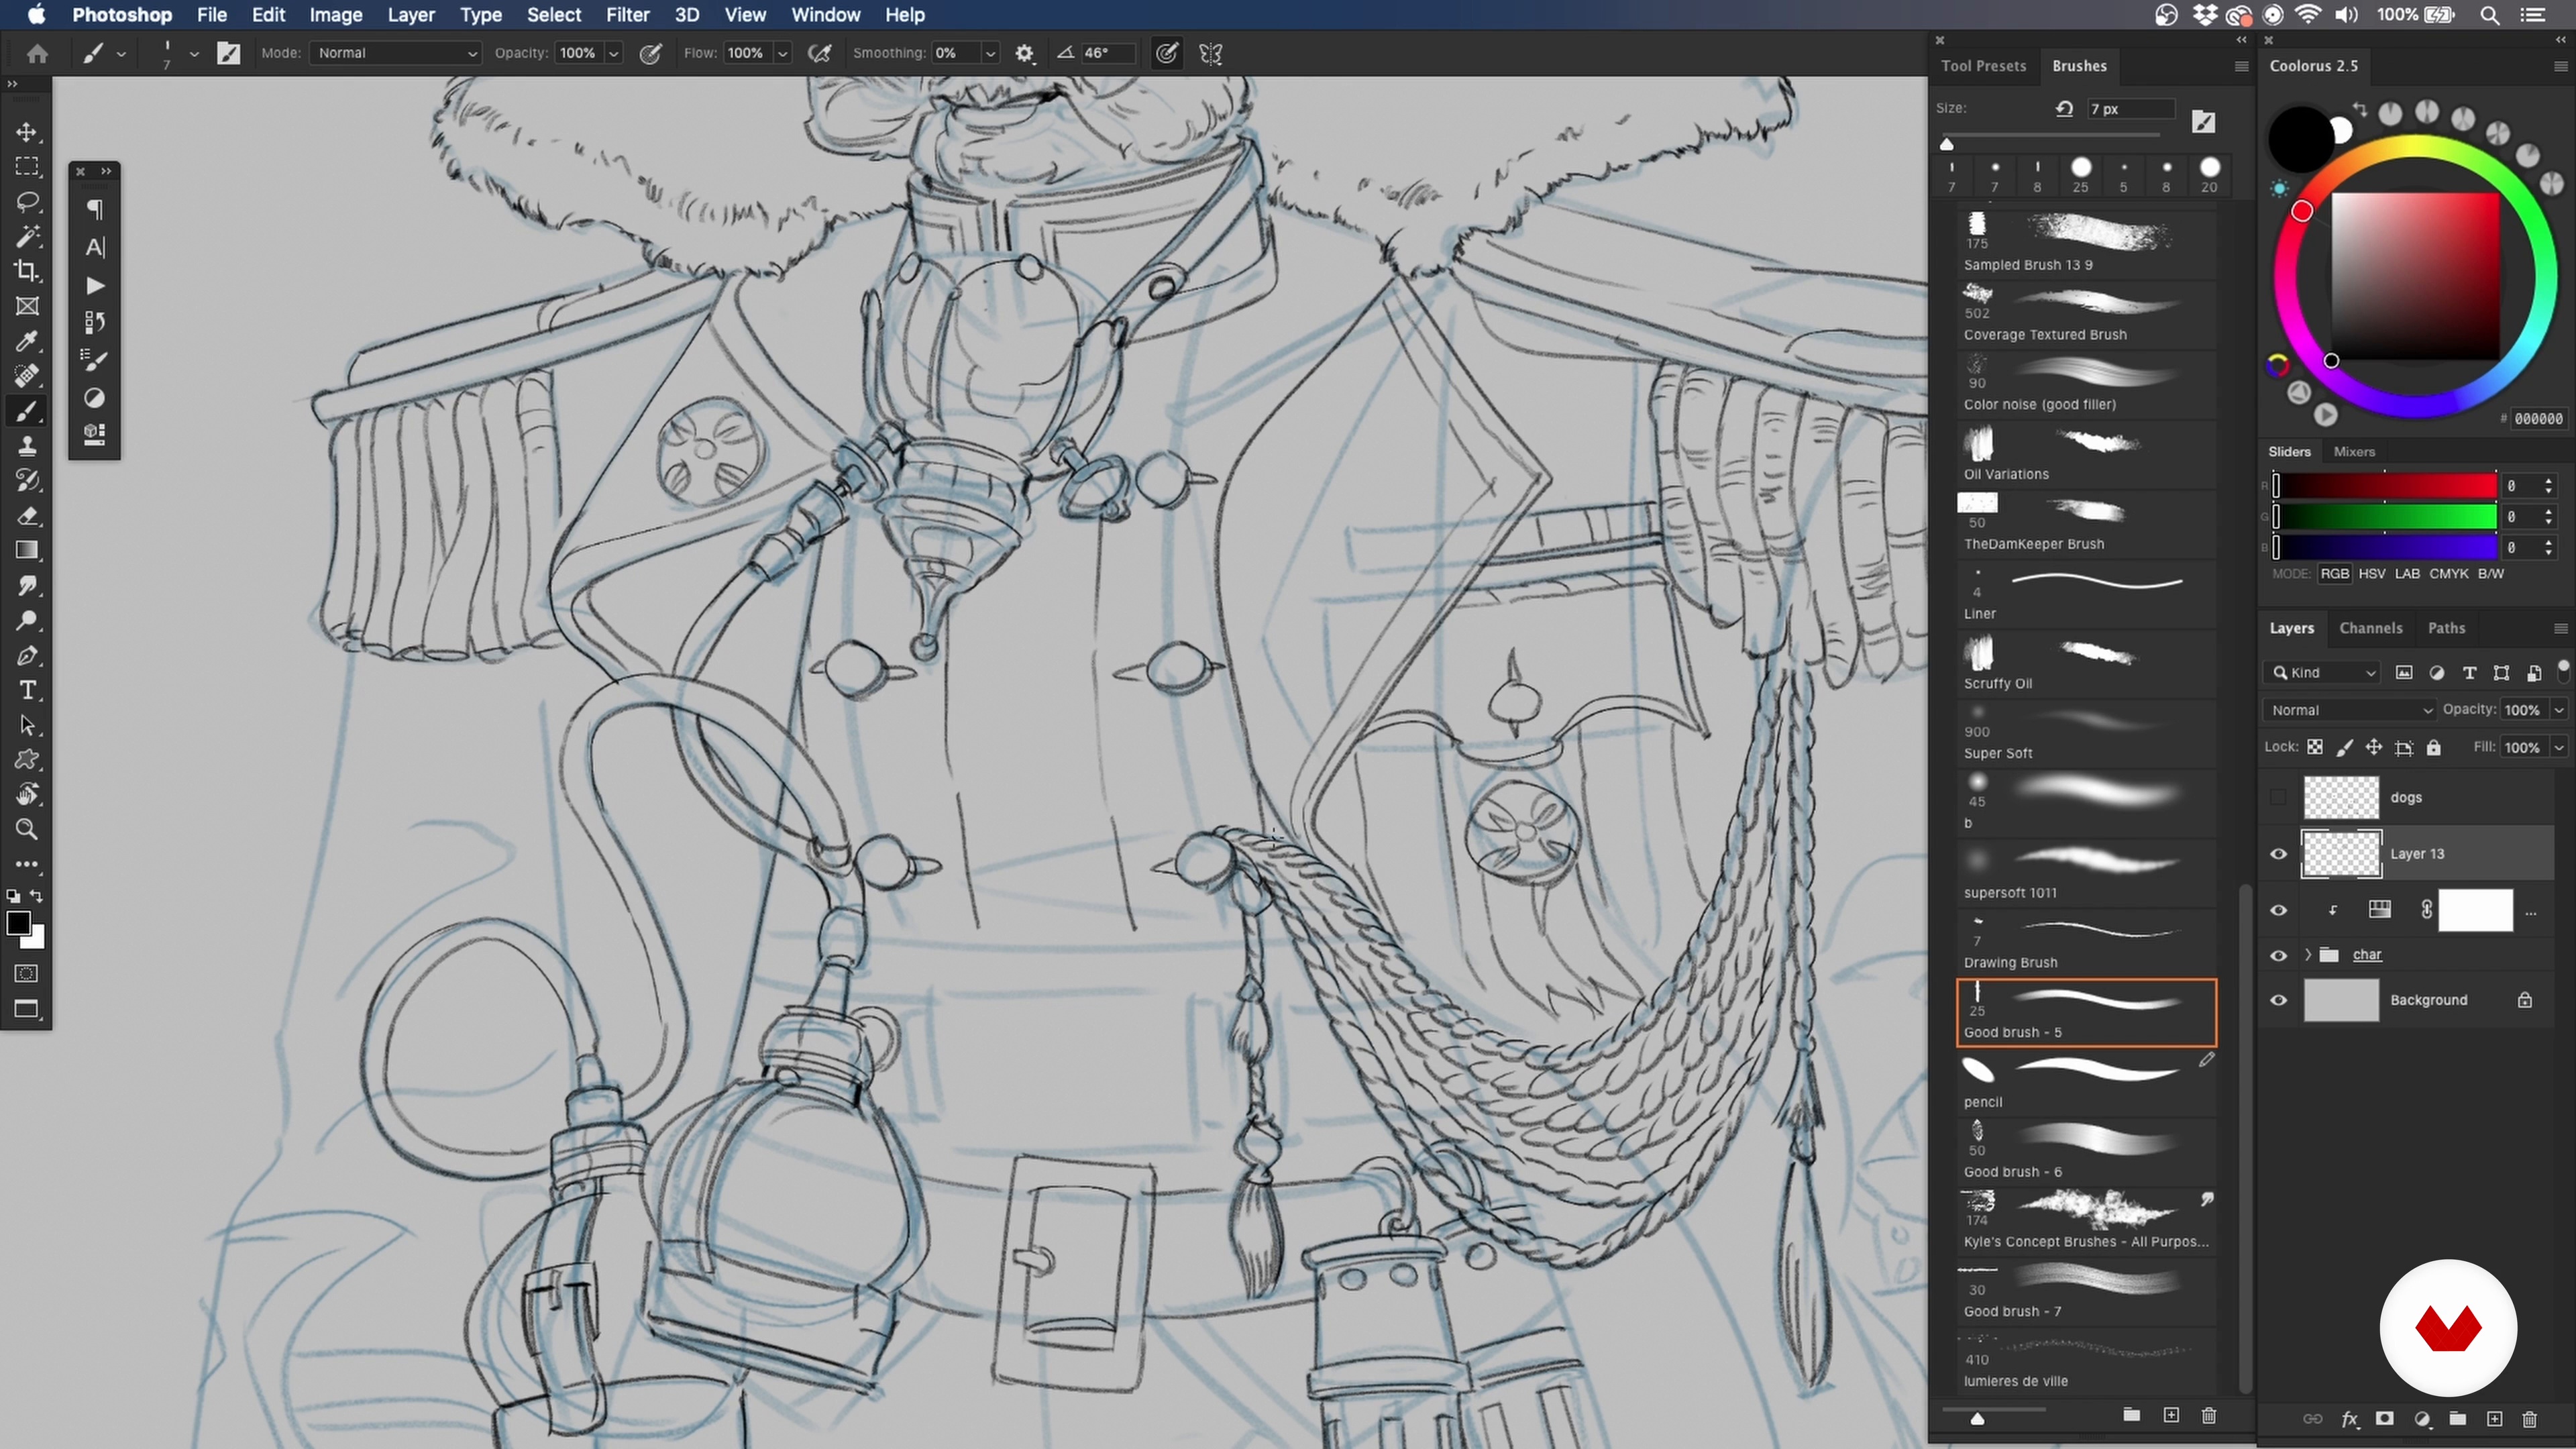
Here, I will continue to consolidate the design, focusing on the torso and moving down to the legs.
15m
image
16
Final Line Art 3
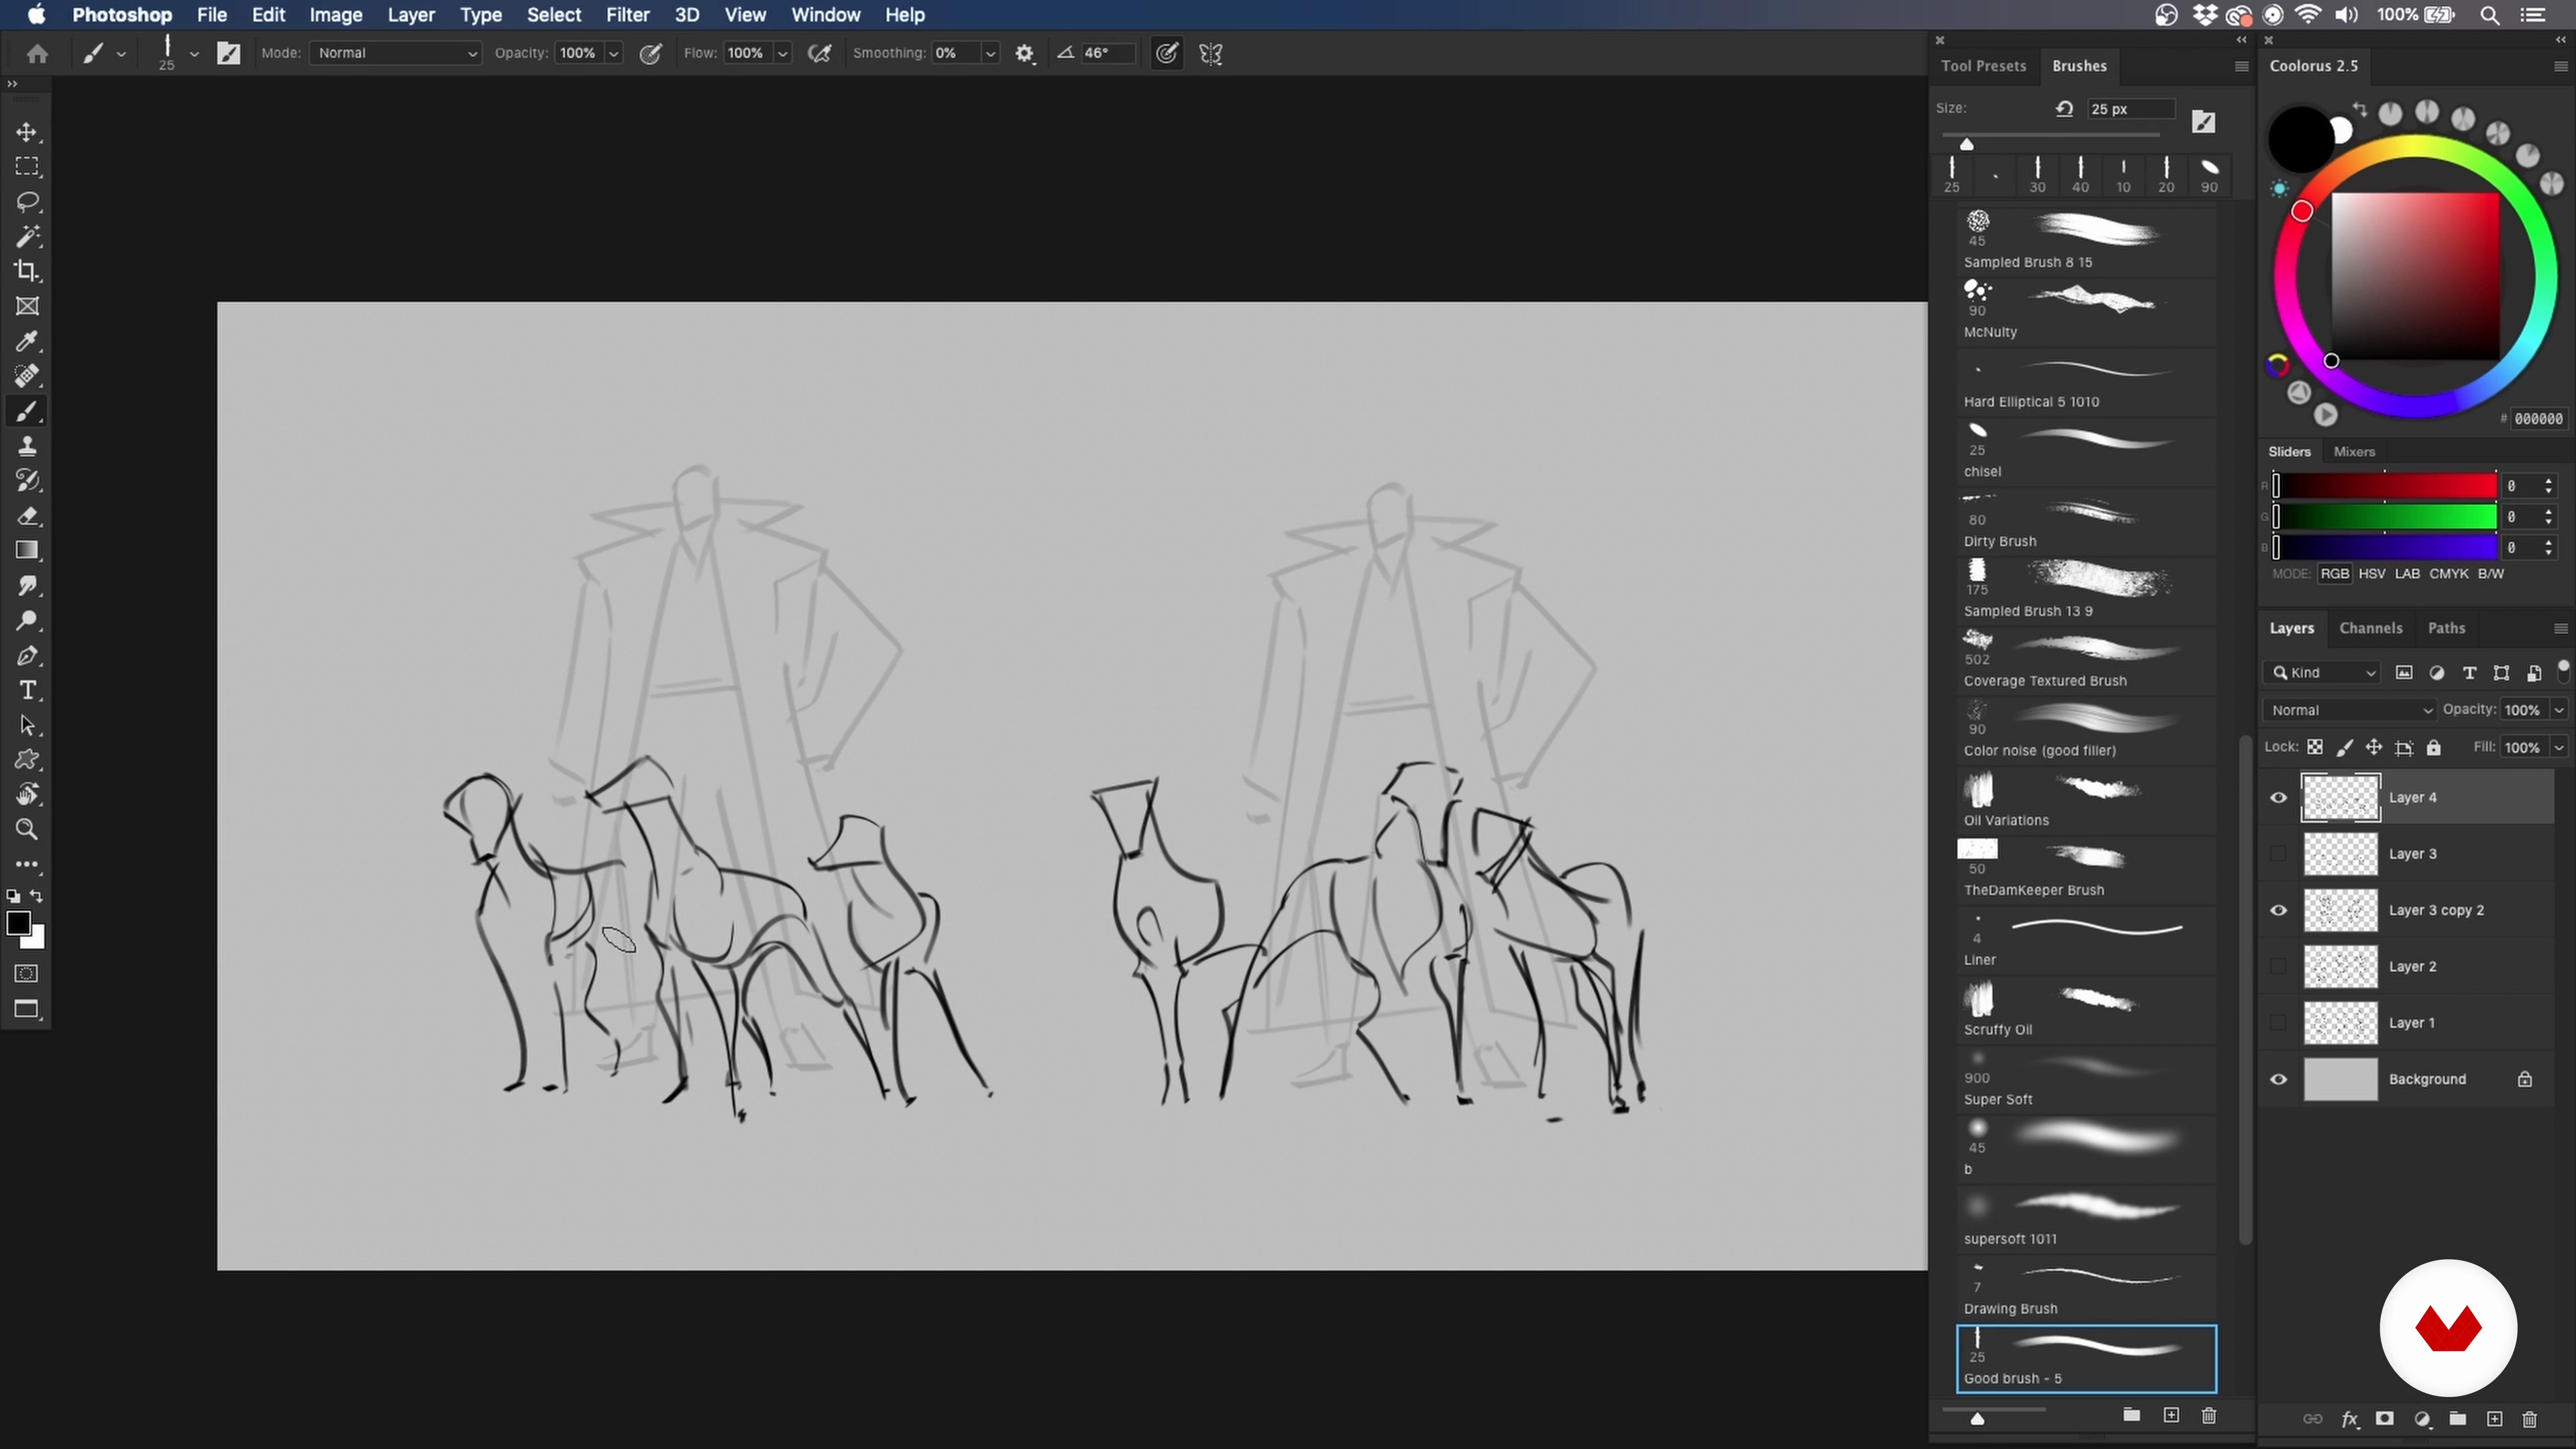
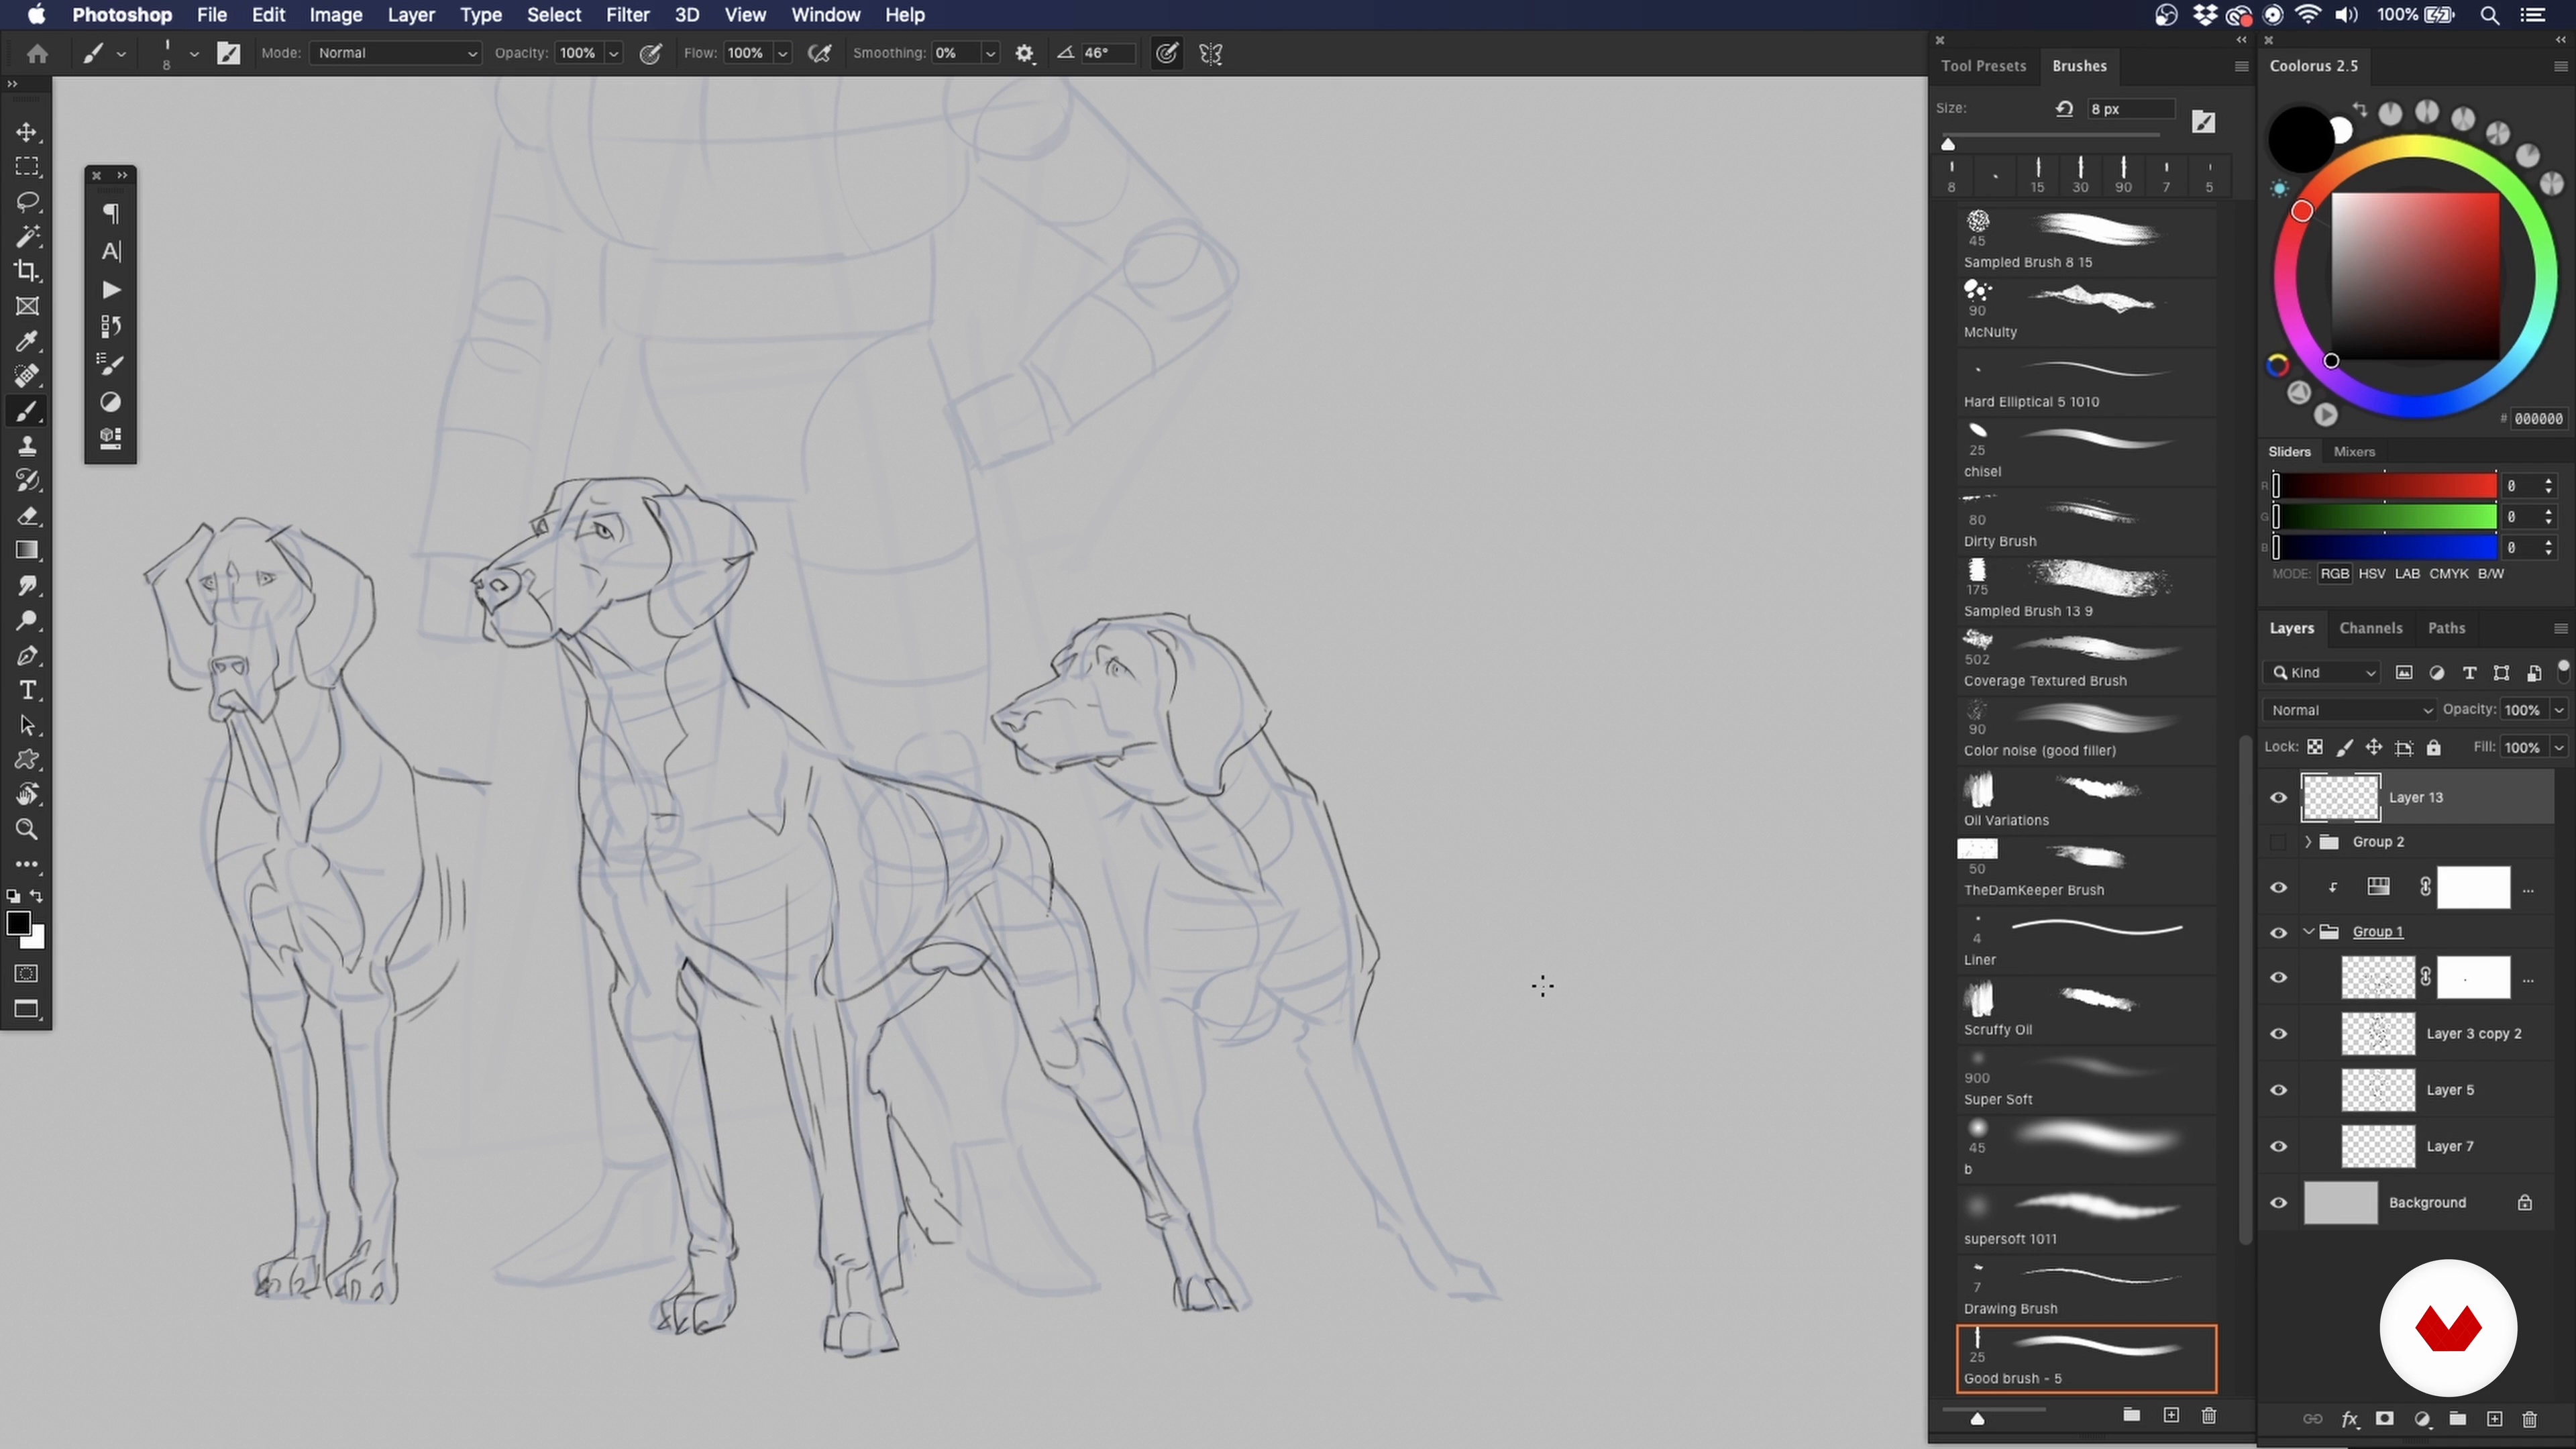
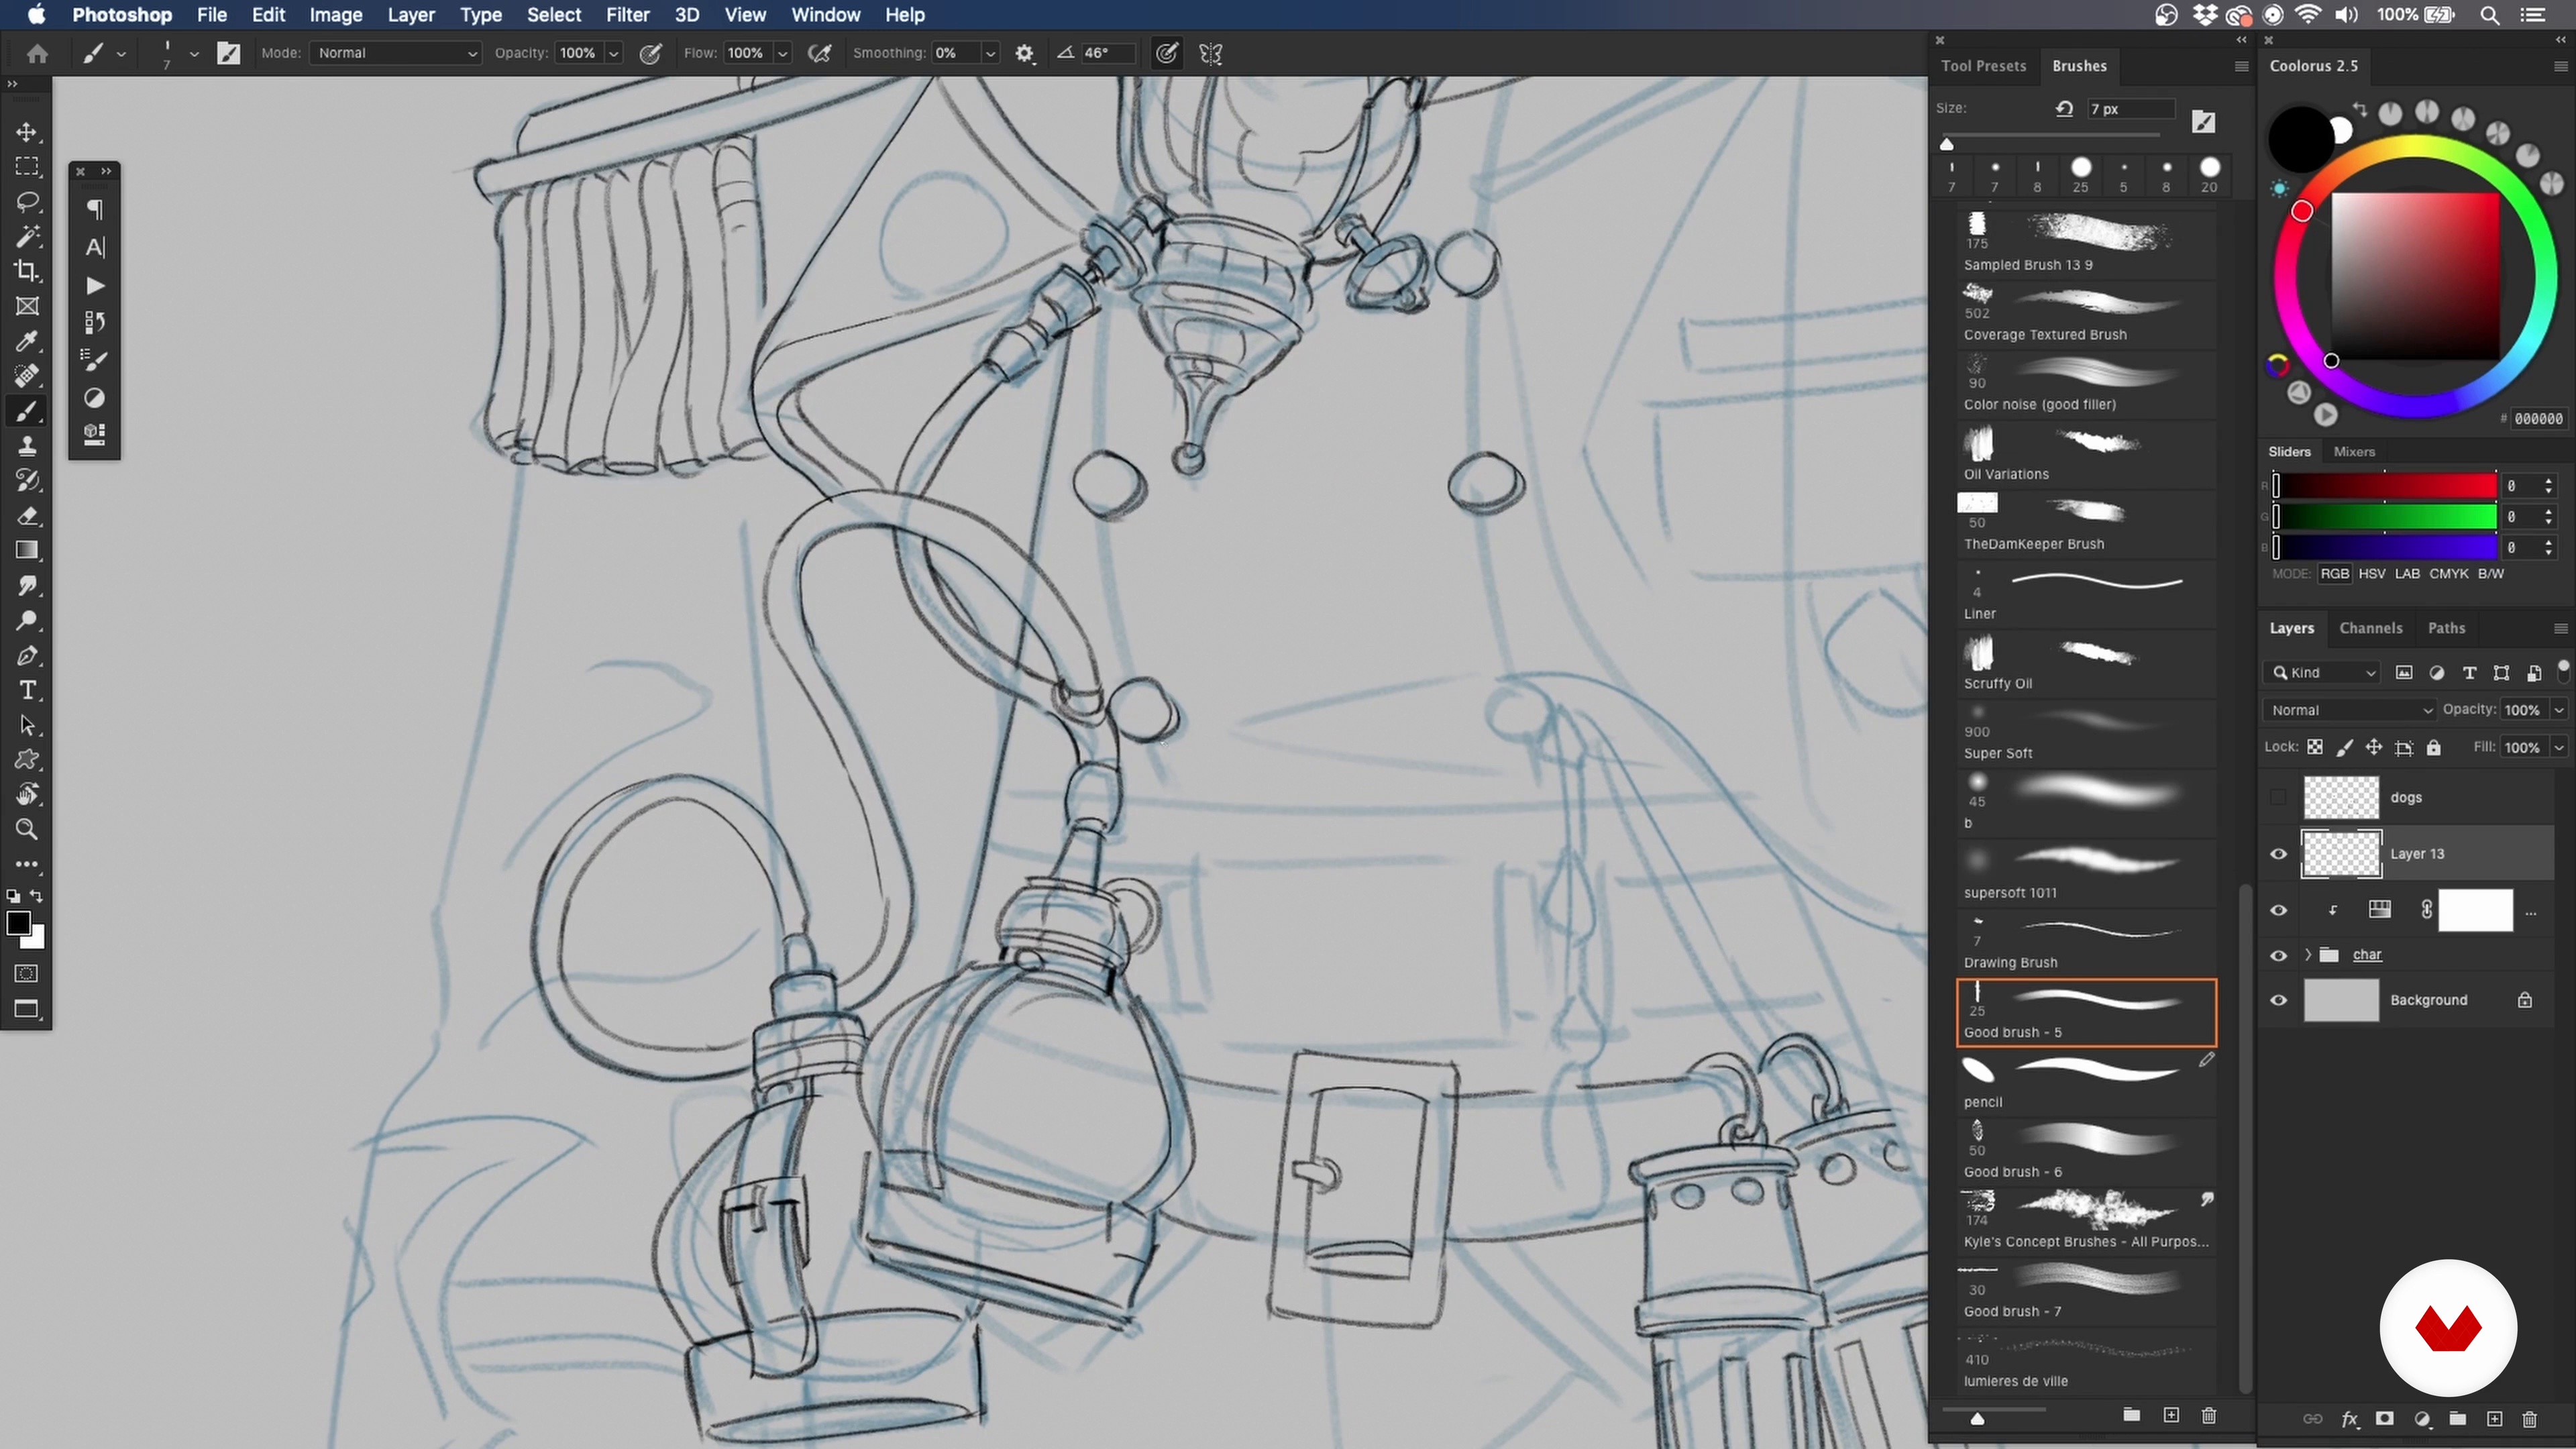
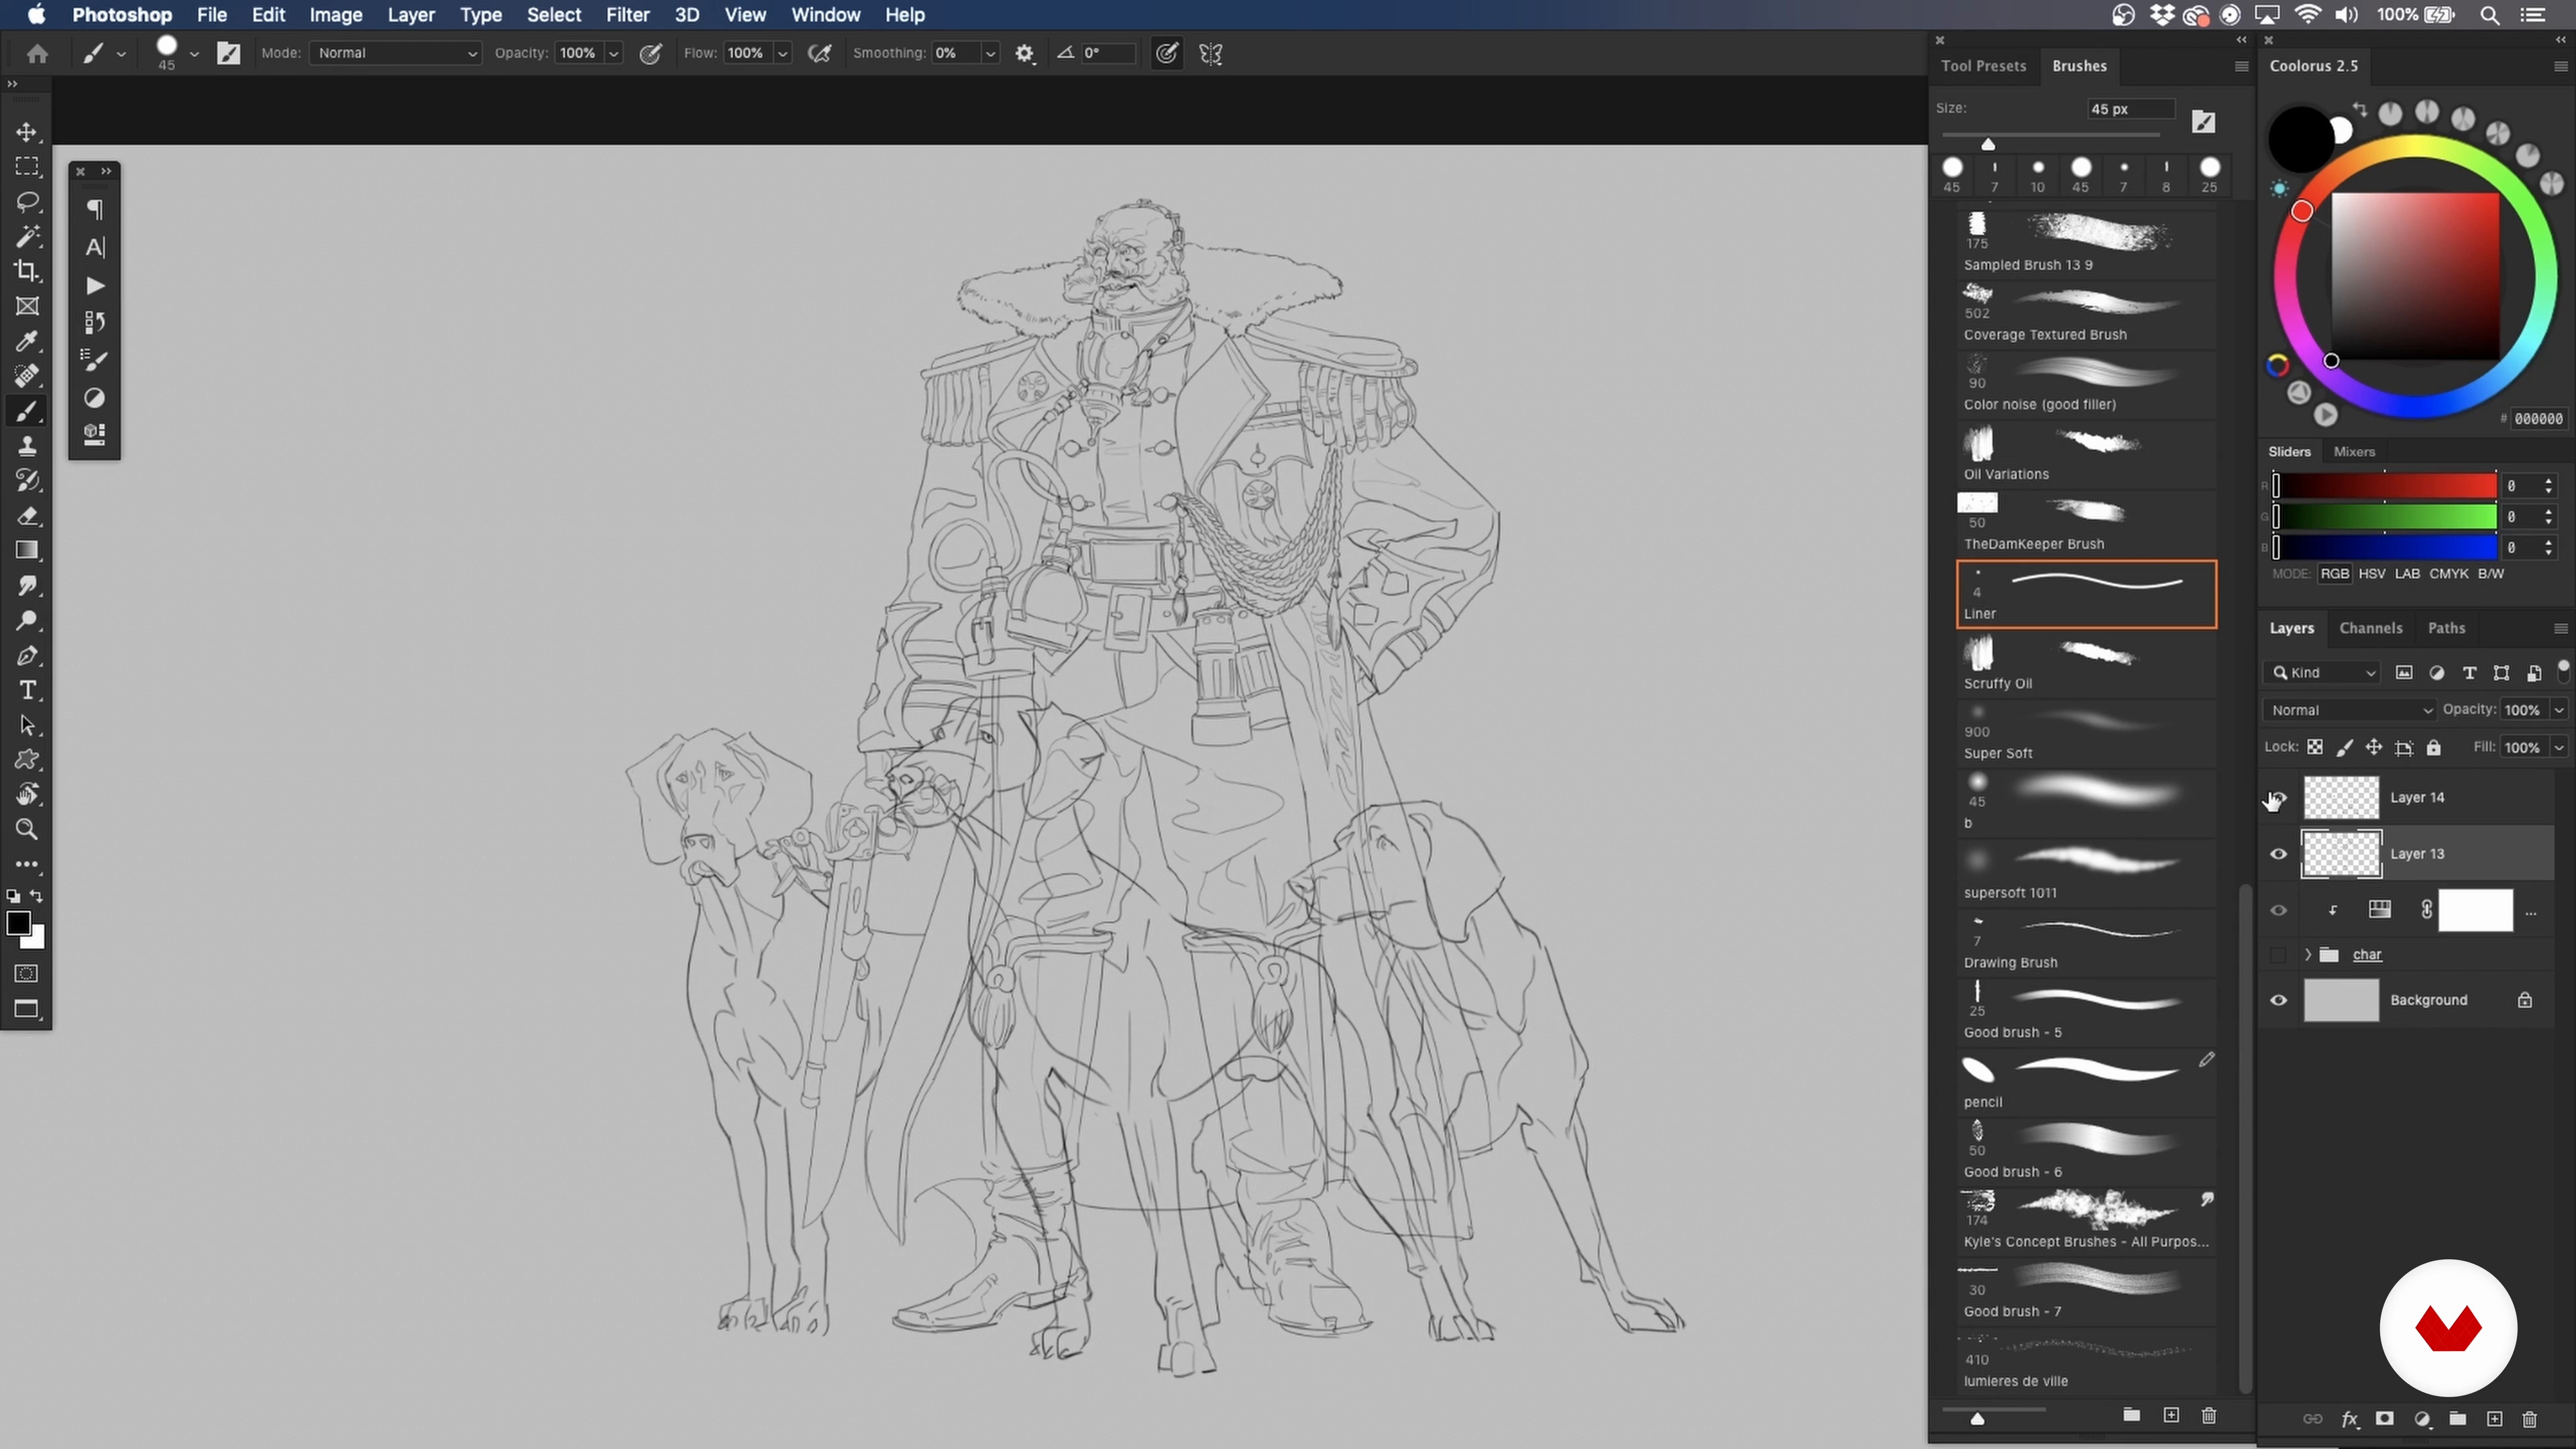
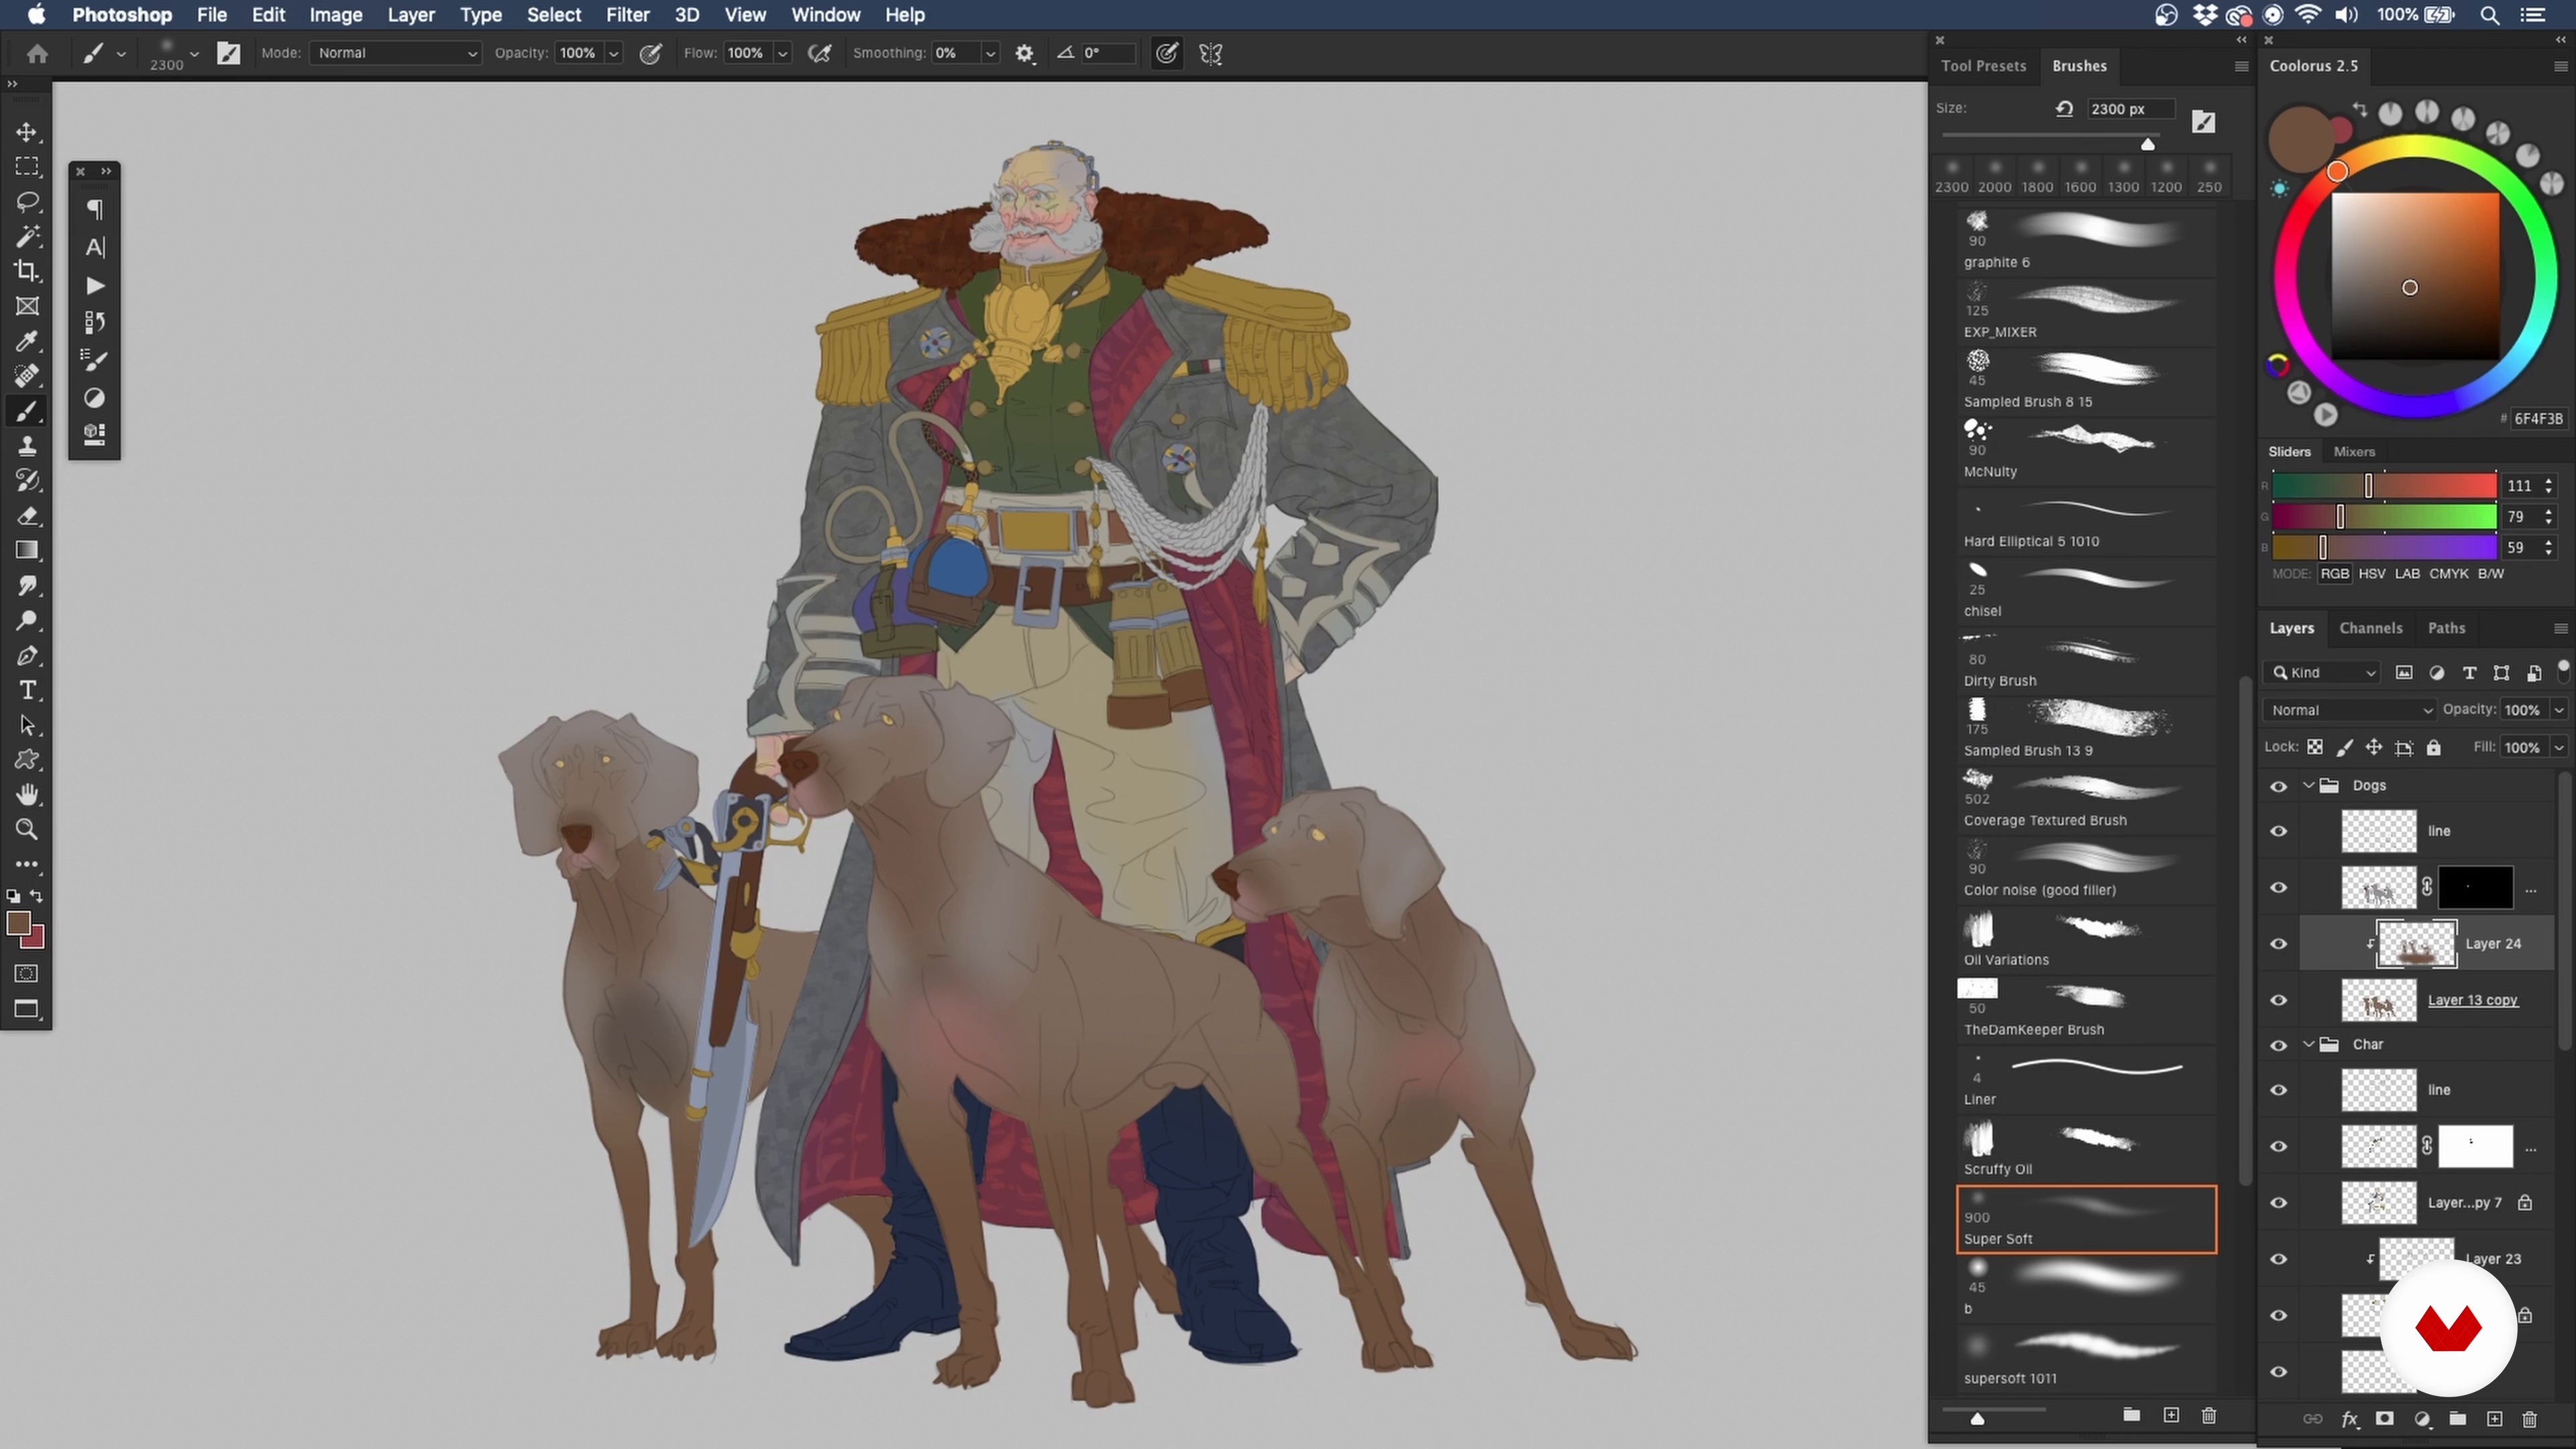
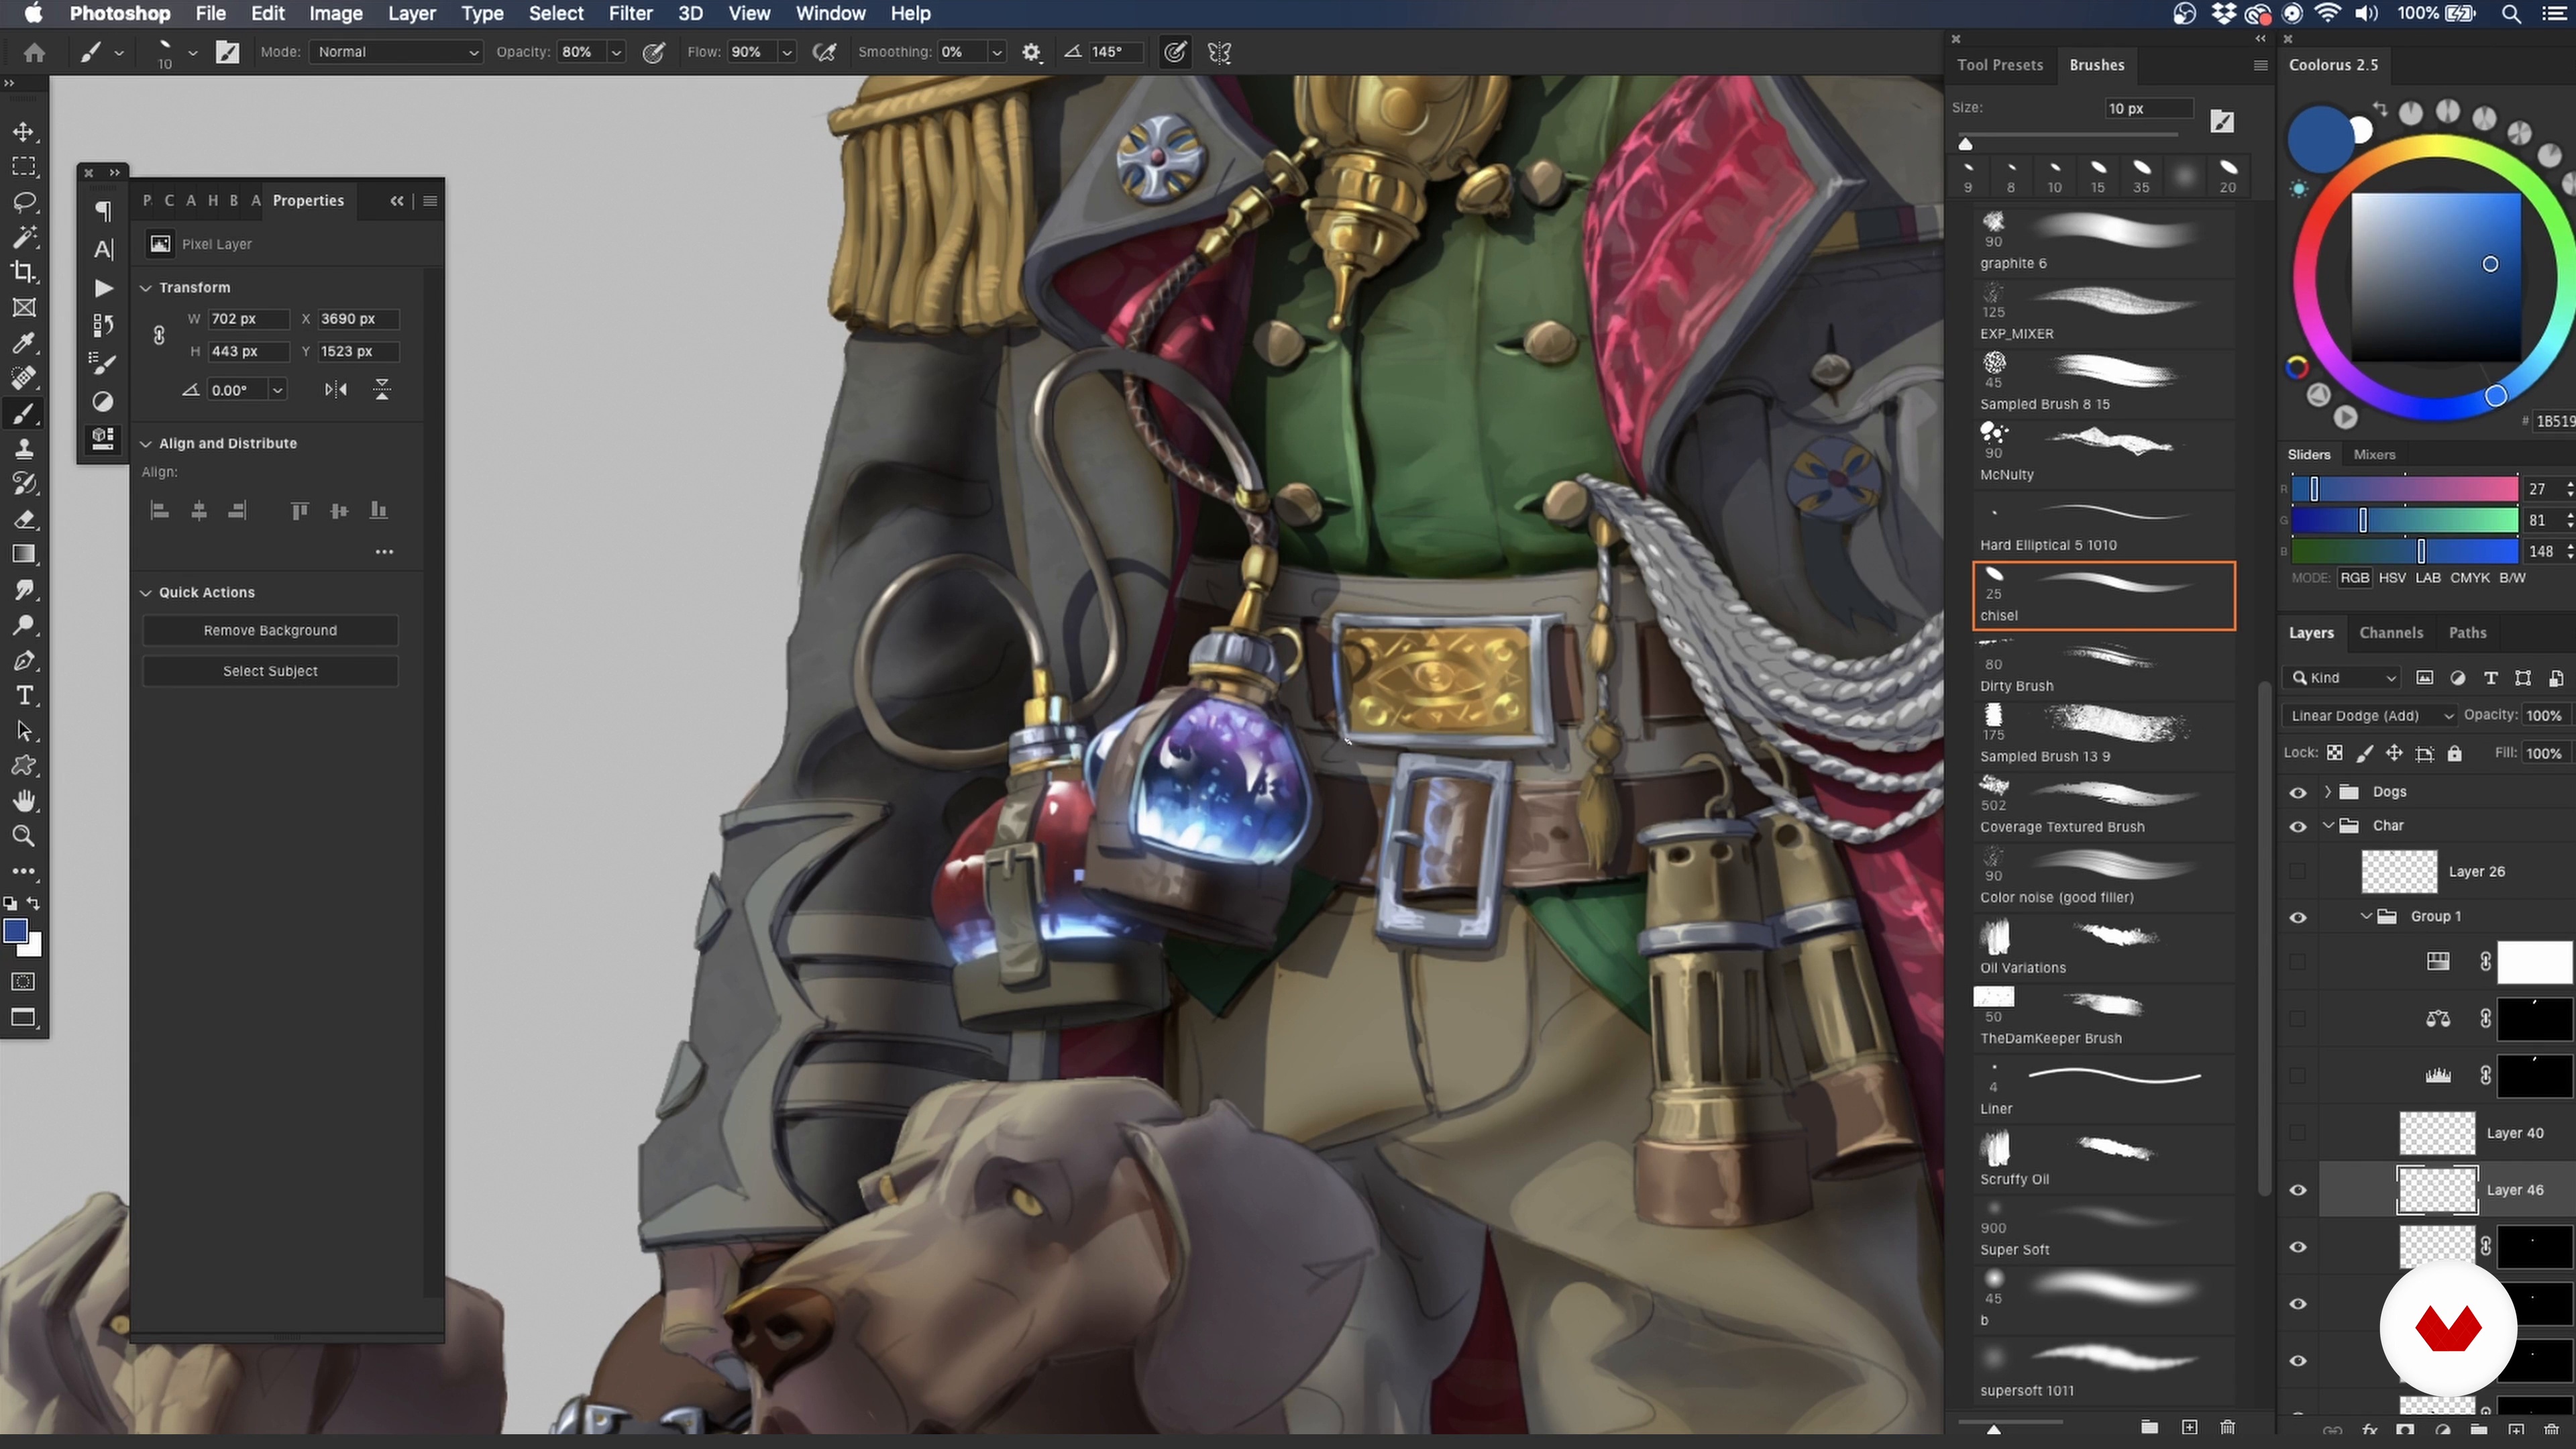
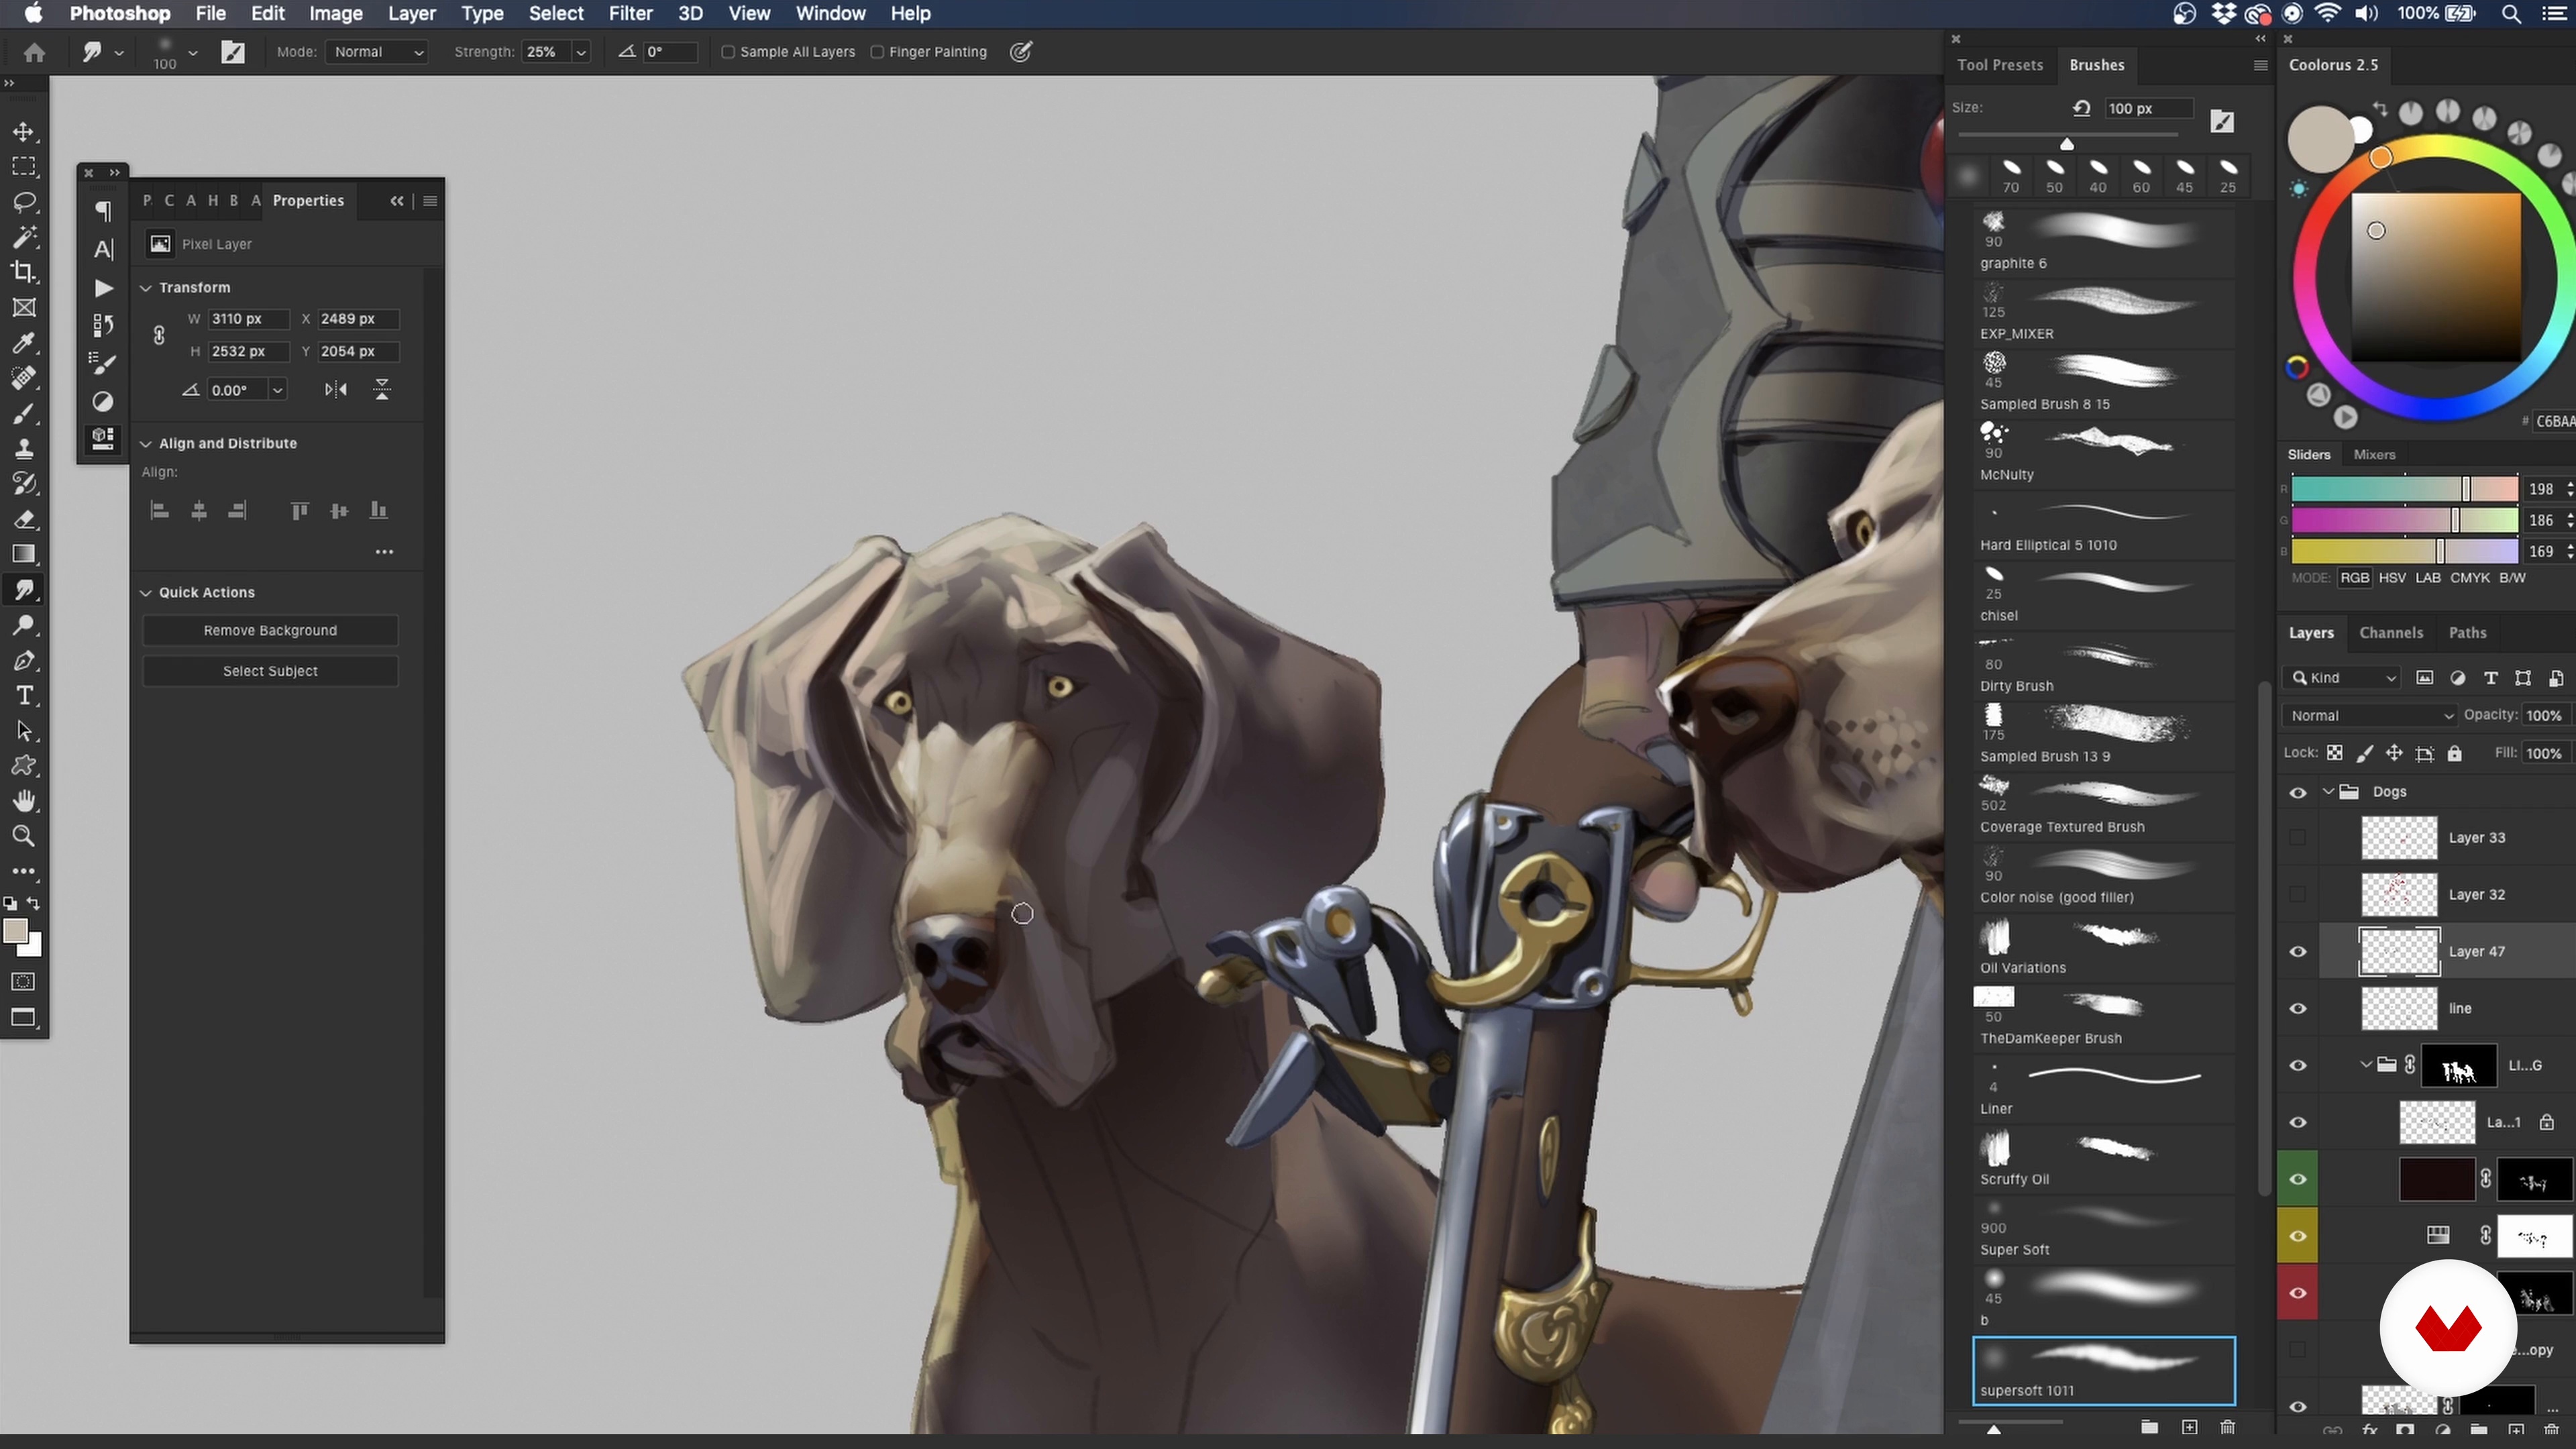
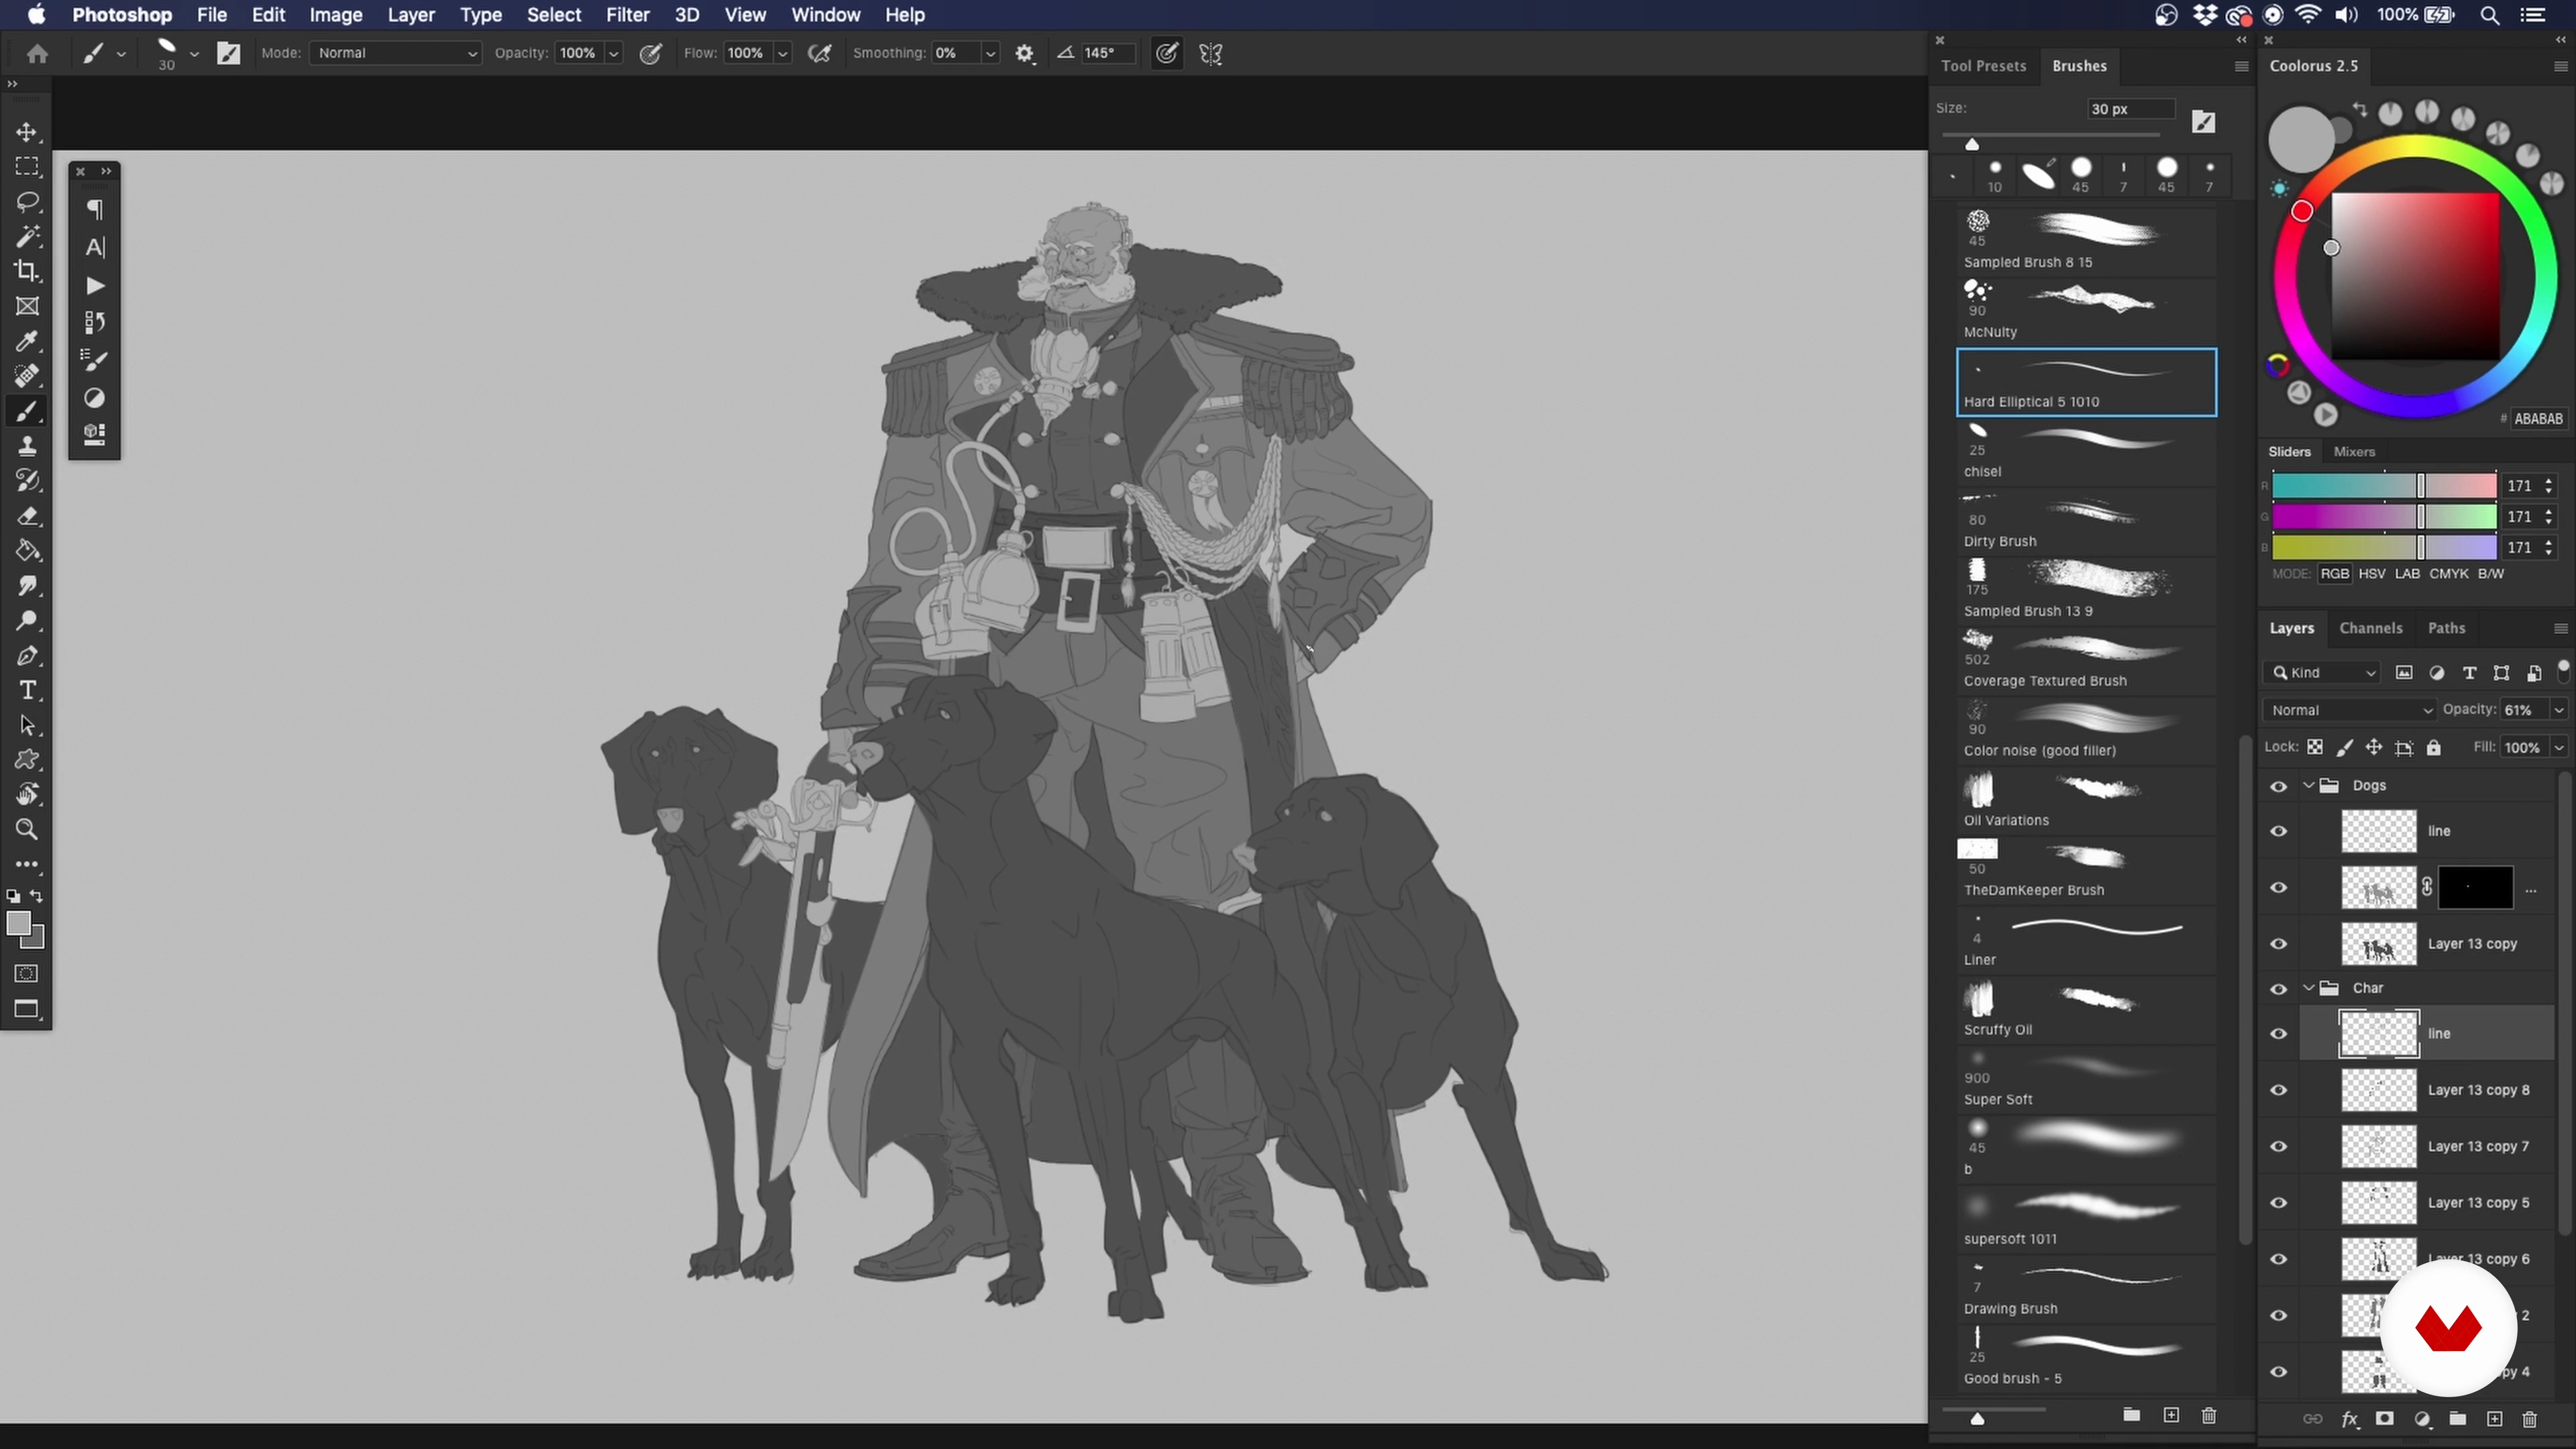
To finish the design process, I will sketch the final elements of my character: the props and the dogs. By the end, I will have solid foundations to progress to the next stage: painting!
7m
image
17
Masks 1
In this lesson, I will share different approaches, tools, and strategies for creating masks, including grouping materials. This stage will make the rest of the painting process much easier.
14m
image
18
Masks 2
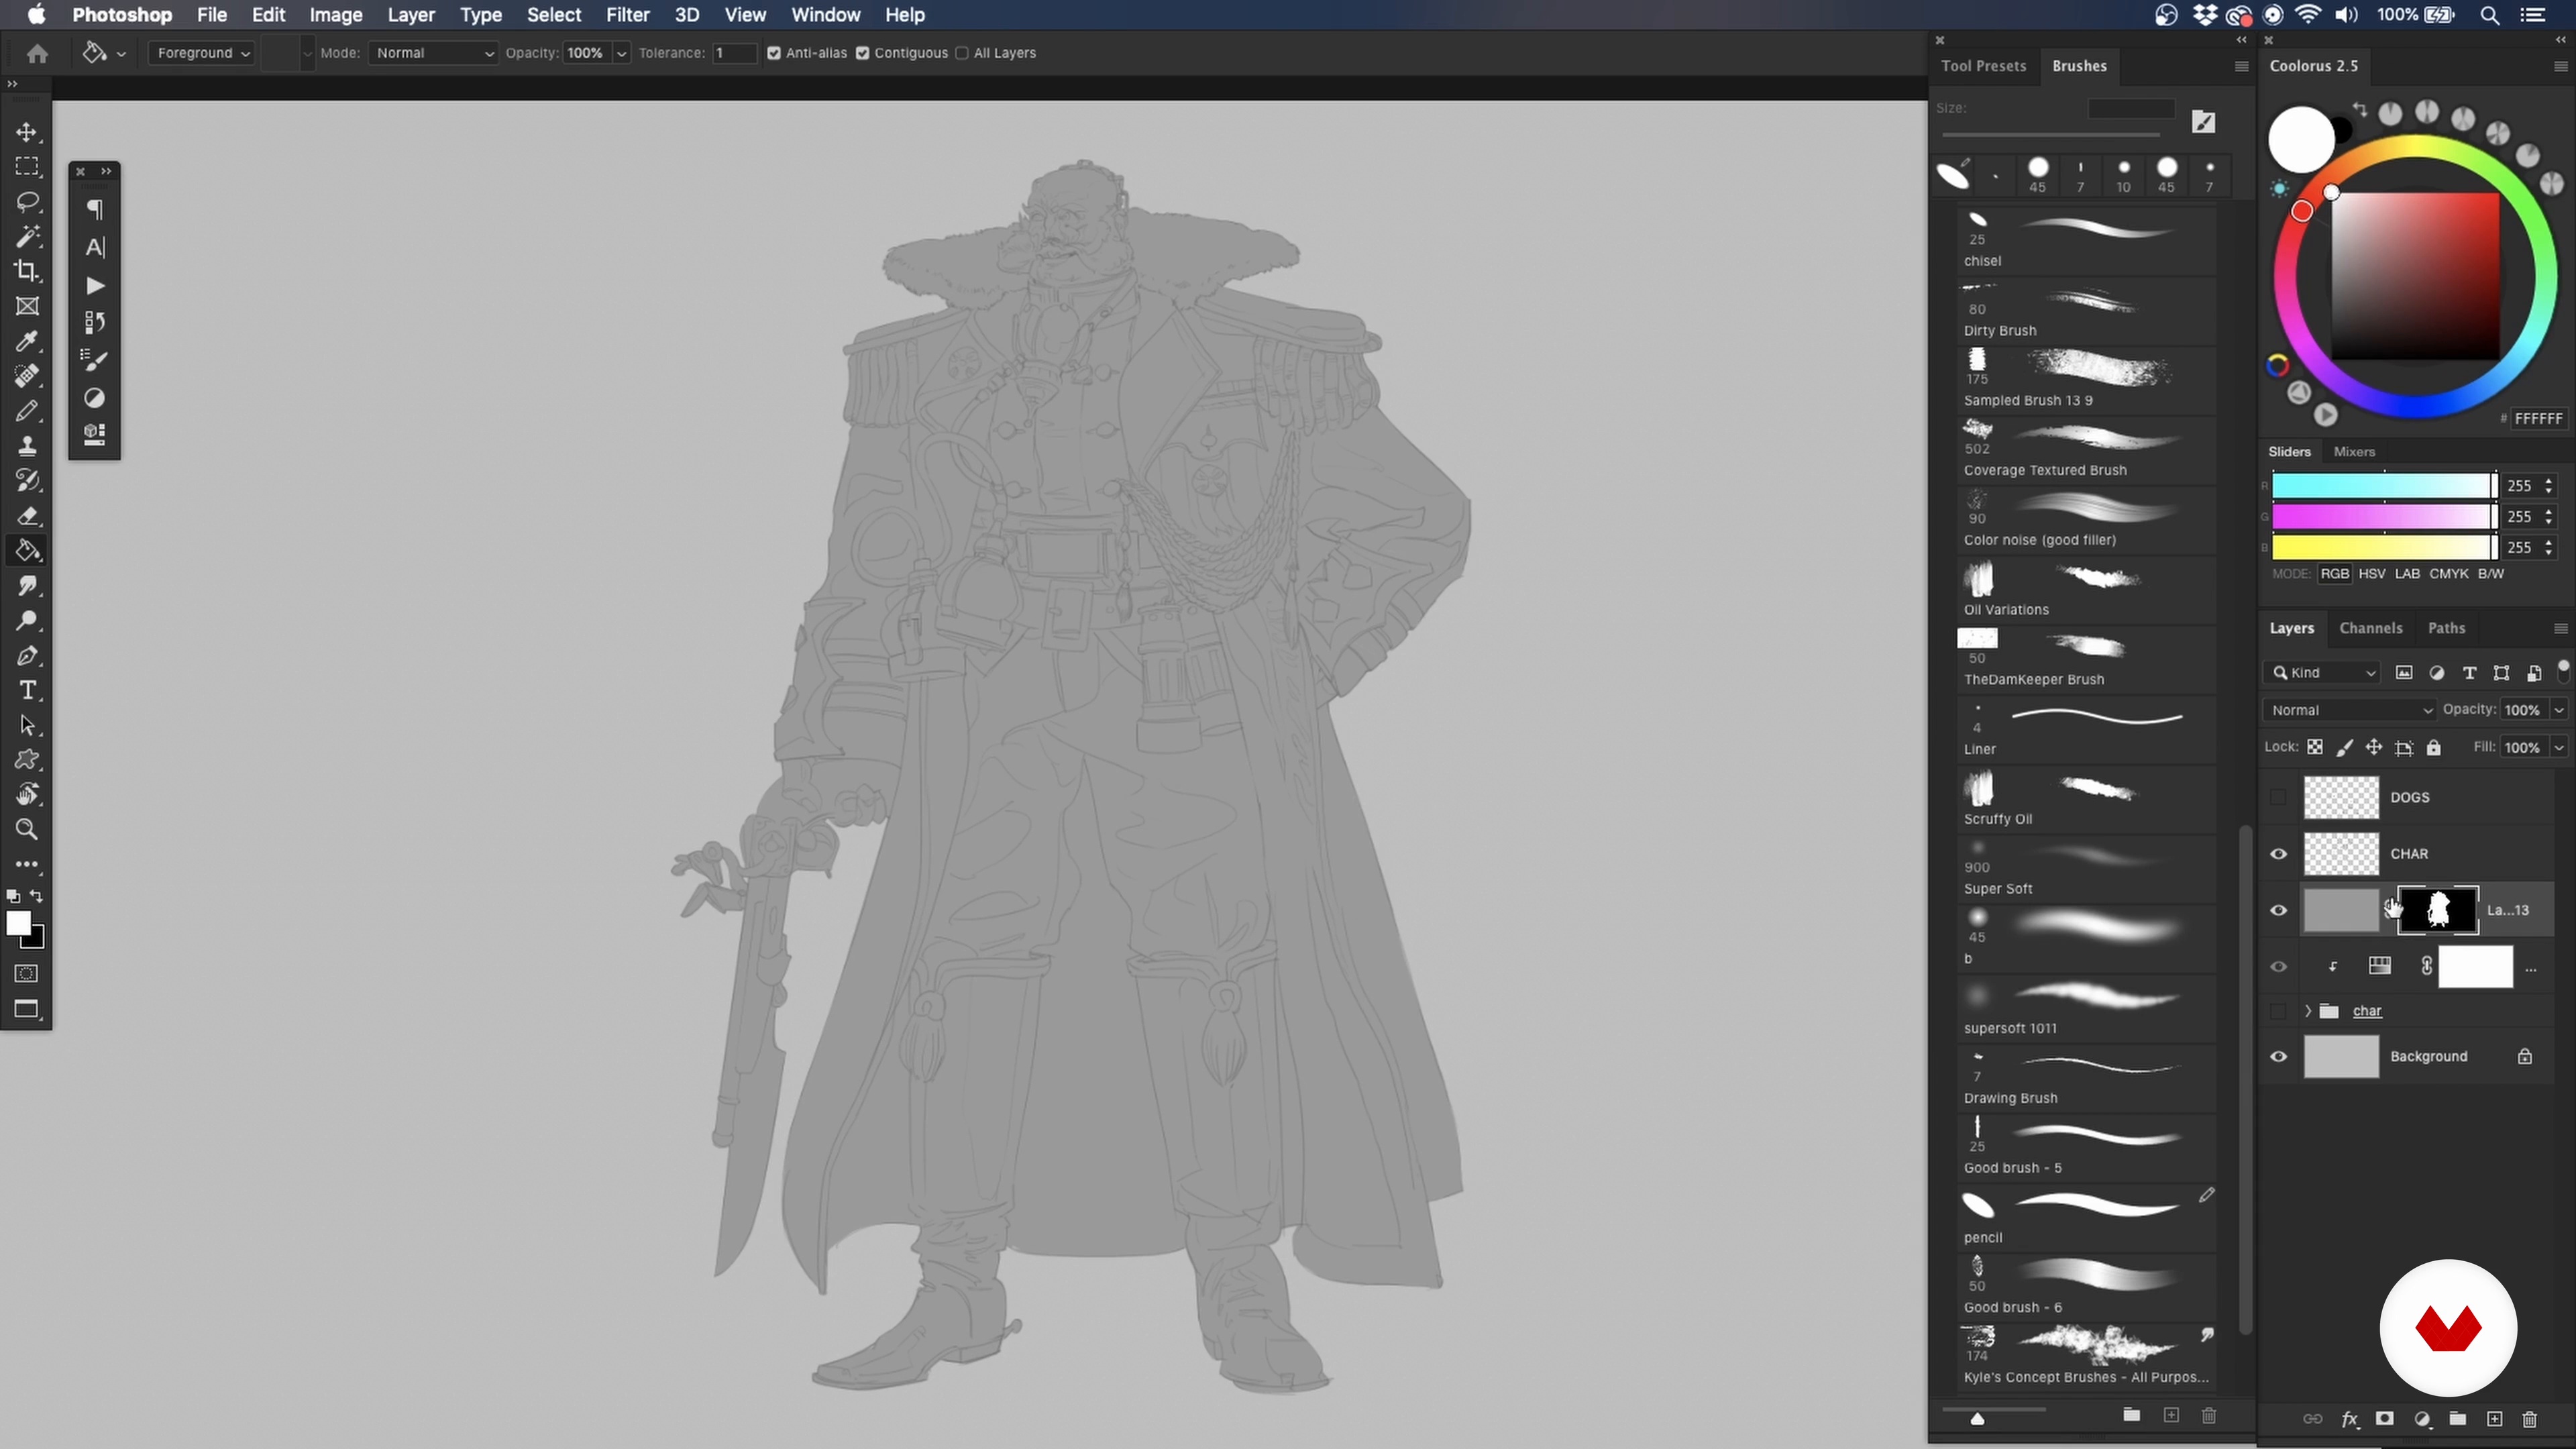
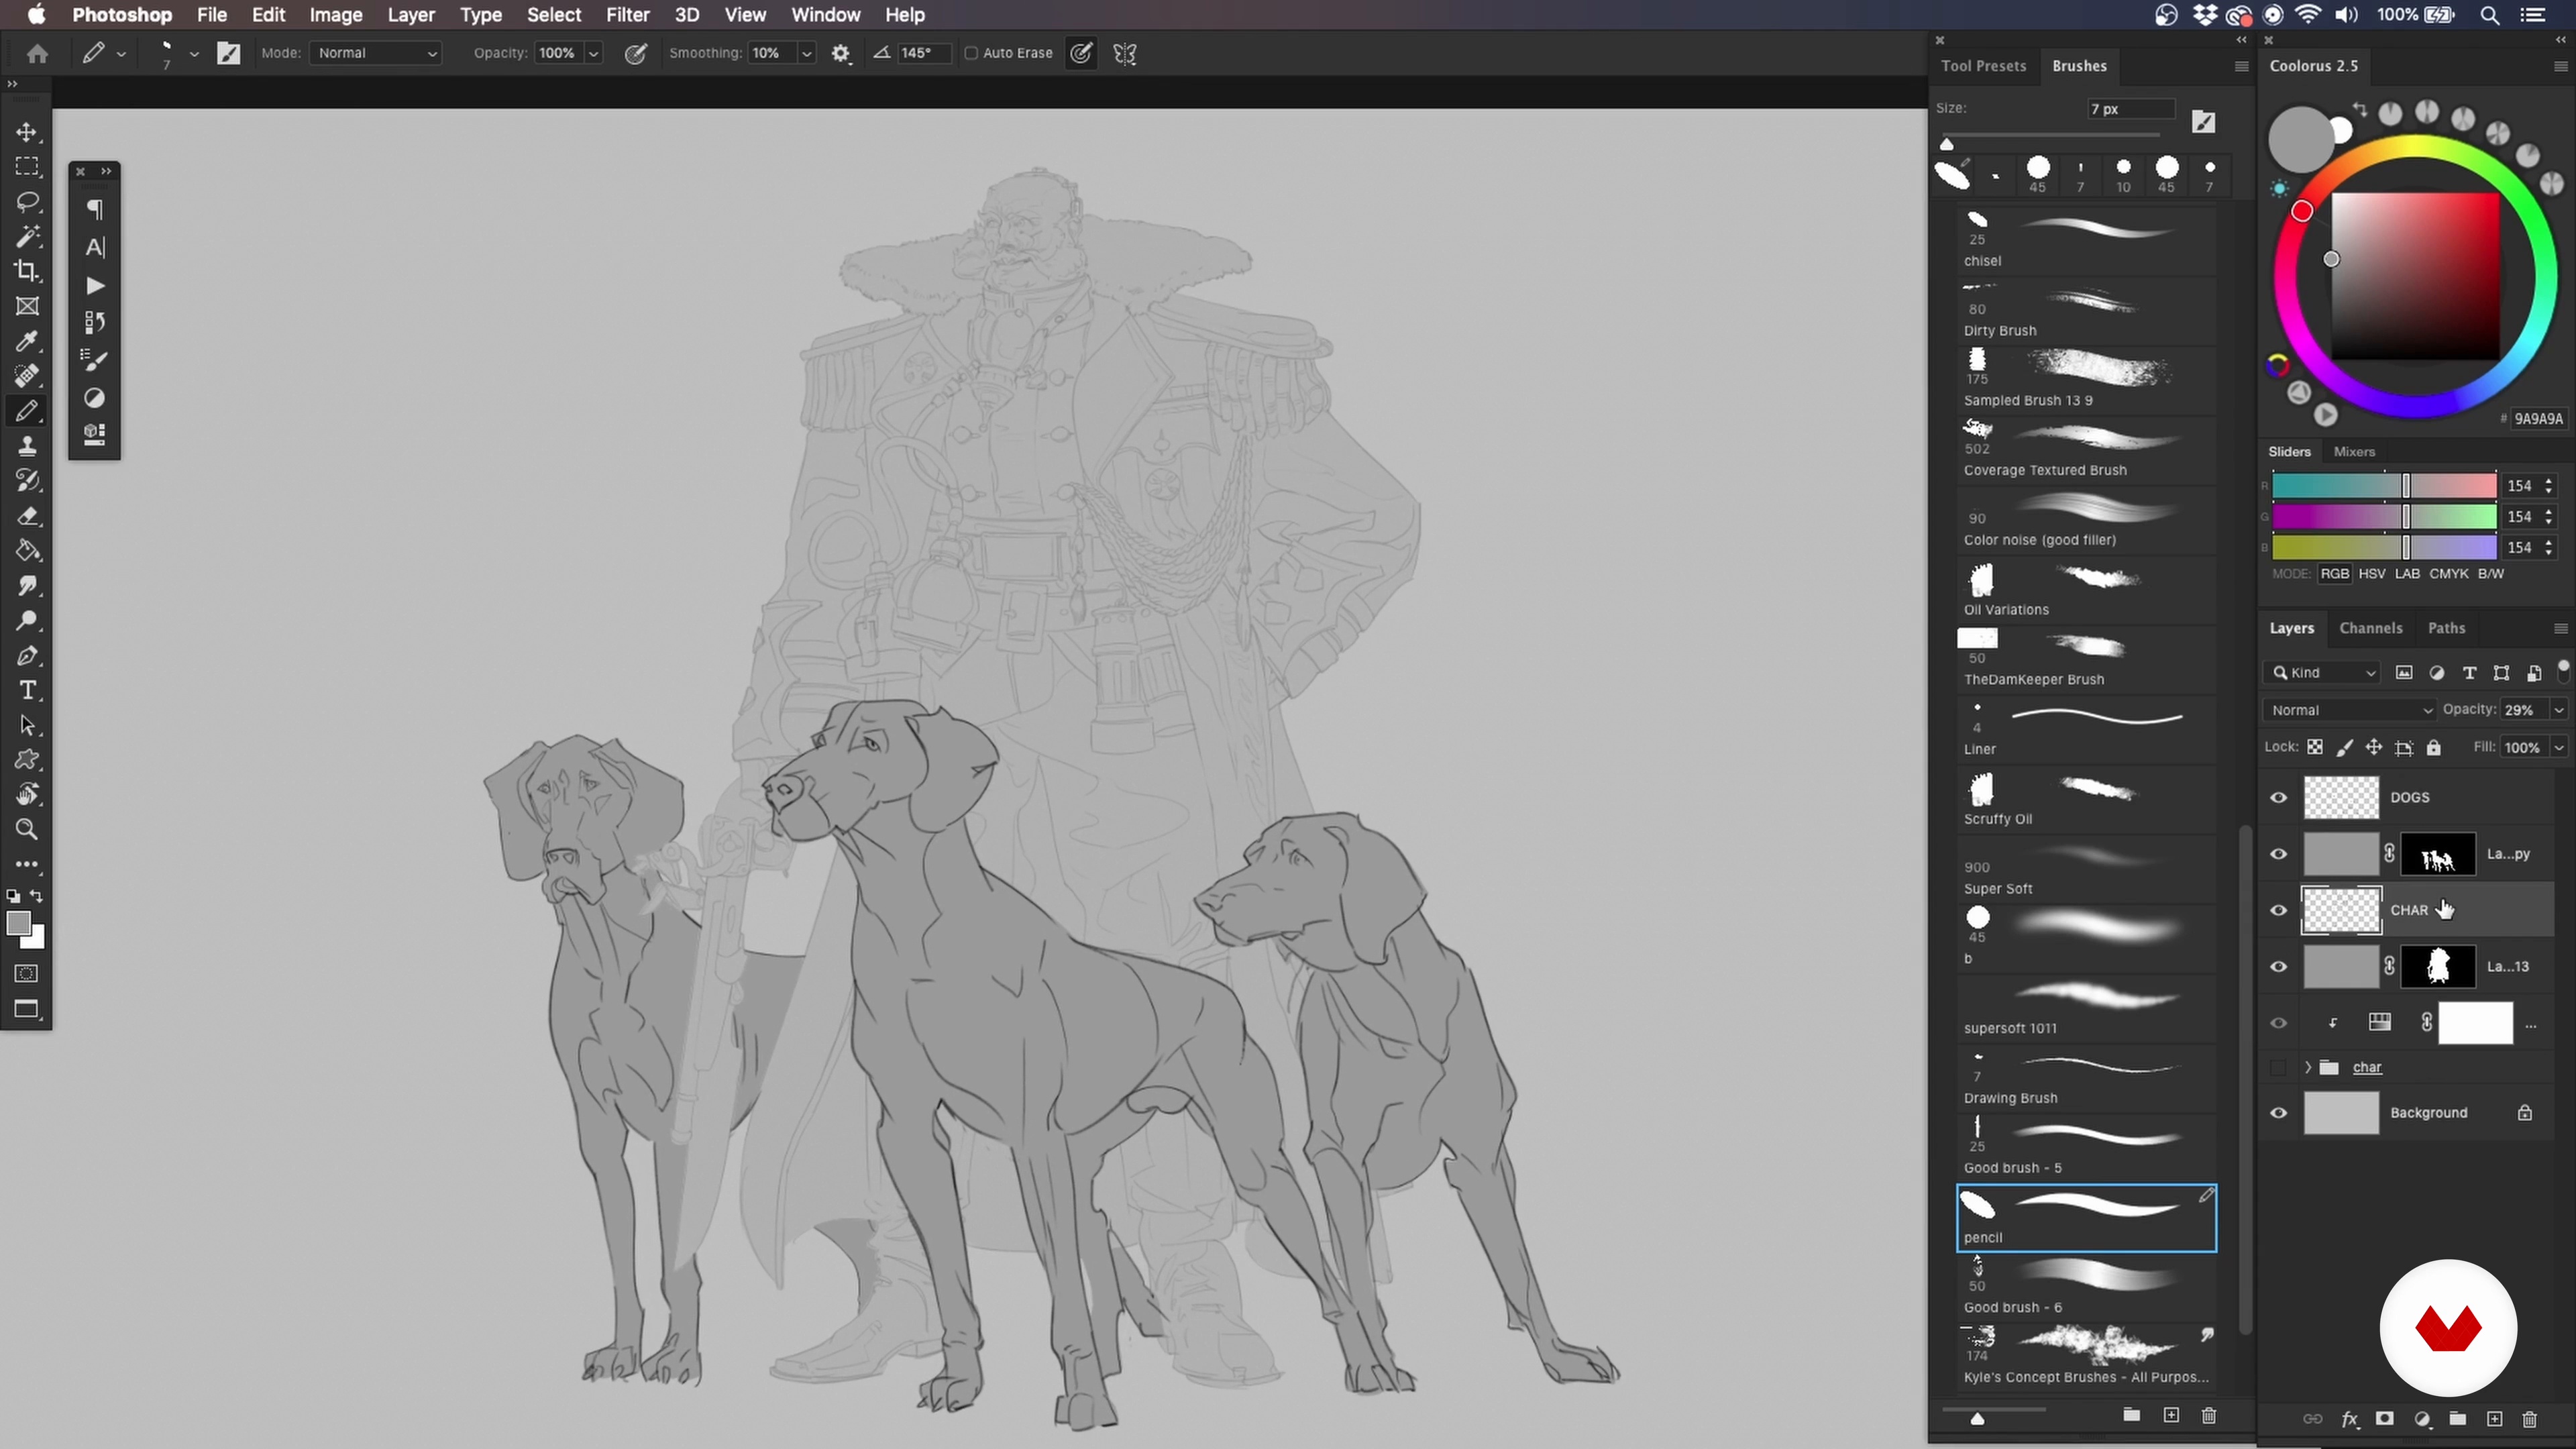
Here, I will focus on creating masks to separate my character from the dogs. Then, I will move on to isolating the jacket.
12m
image
19
Masks 3
Next, I will continue grouping the different elements of my character into masks, progressing to the props.
13m
image
20
Masks 4
Time to finalise this stage! Never underestimate the importance of creating masks. Doing this will allow you to paint freely but also maintain the structure of your design.
13m
image
21
Flat Colours 1
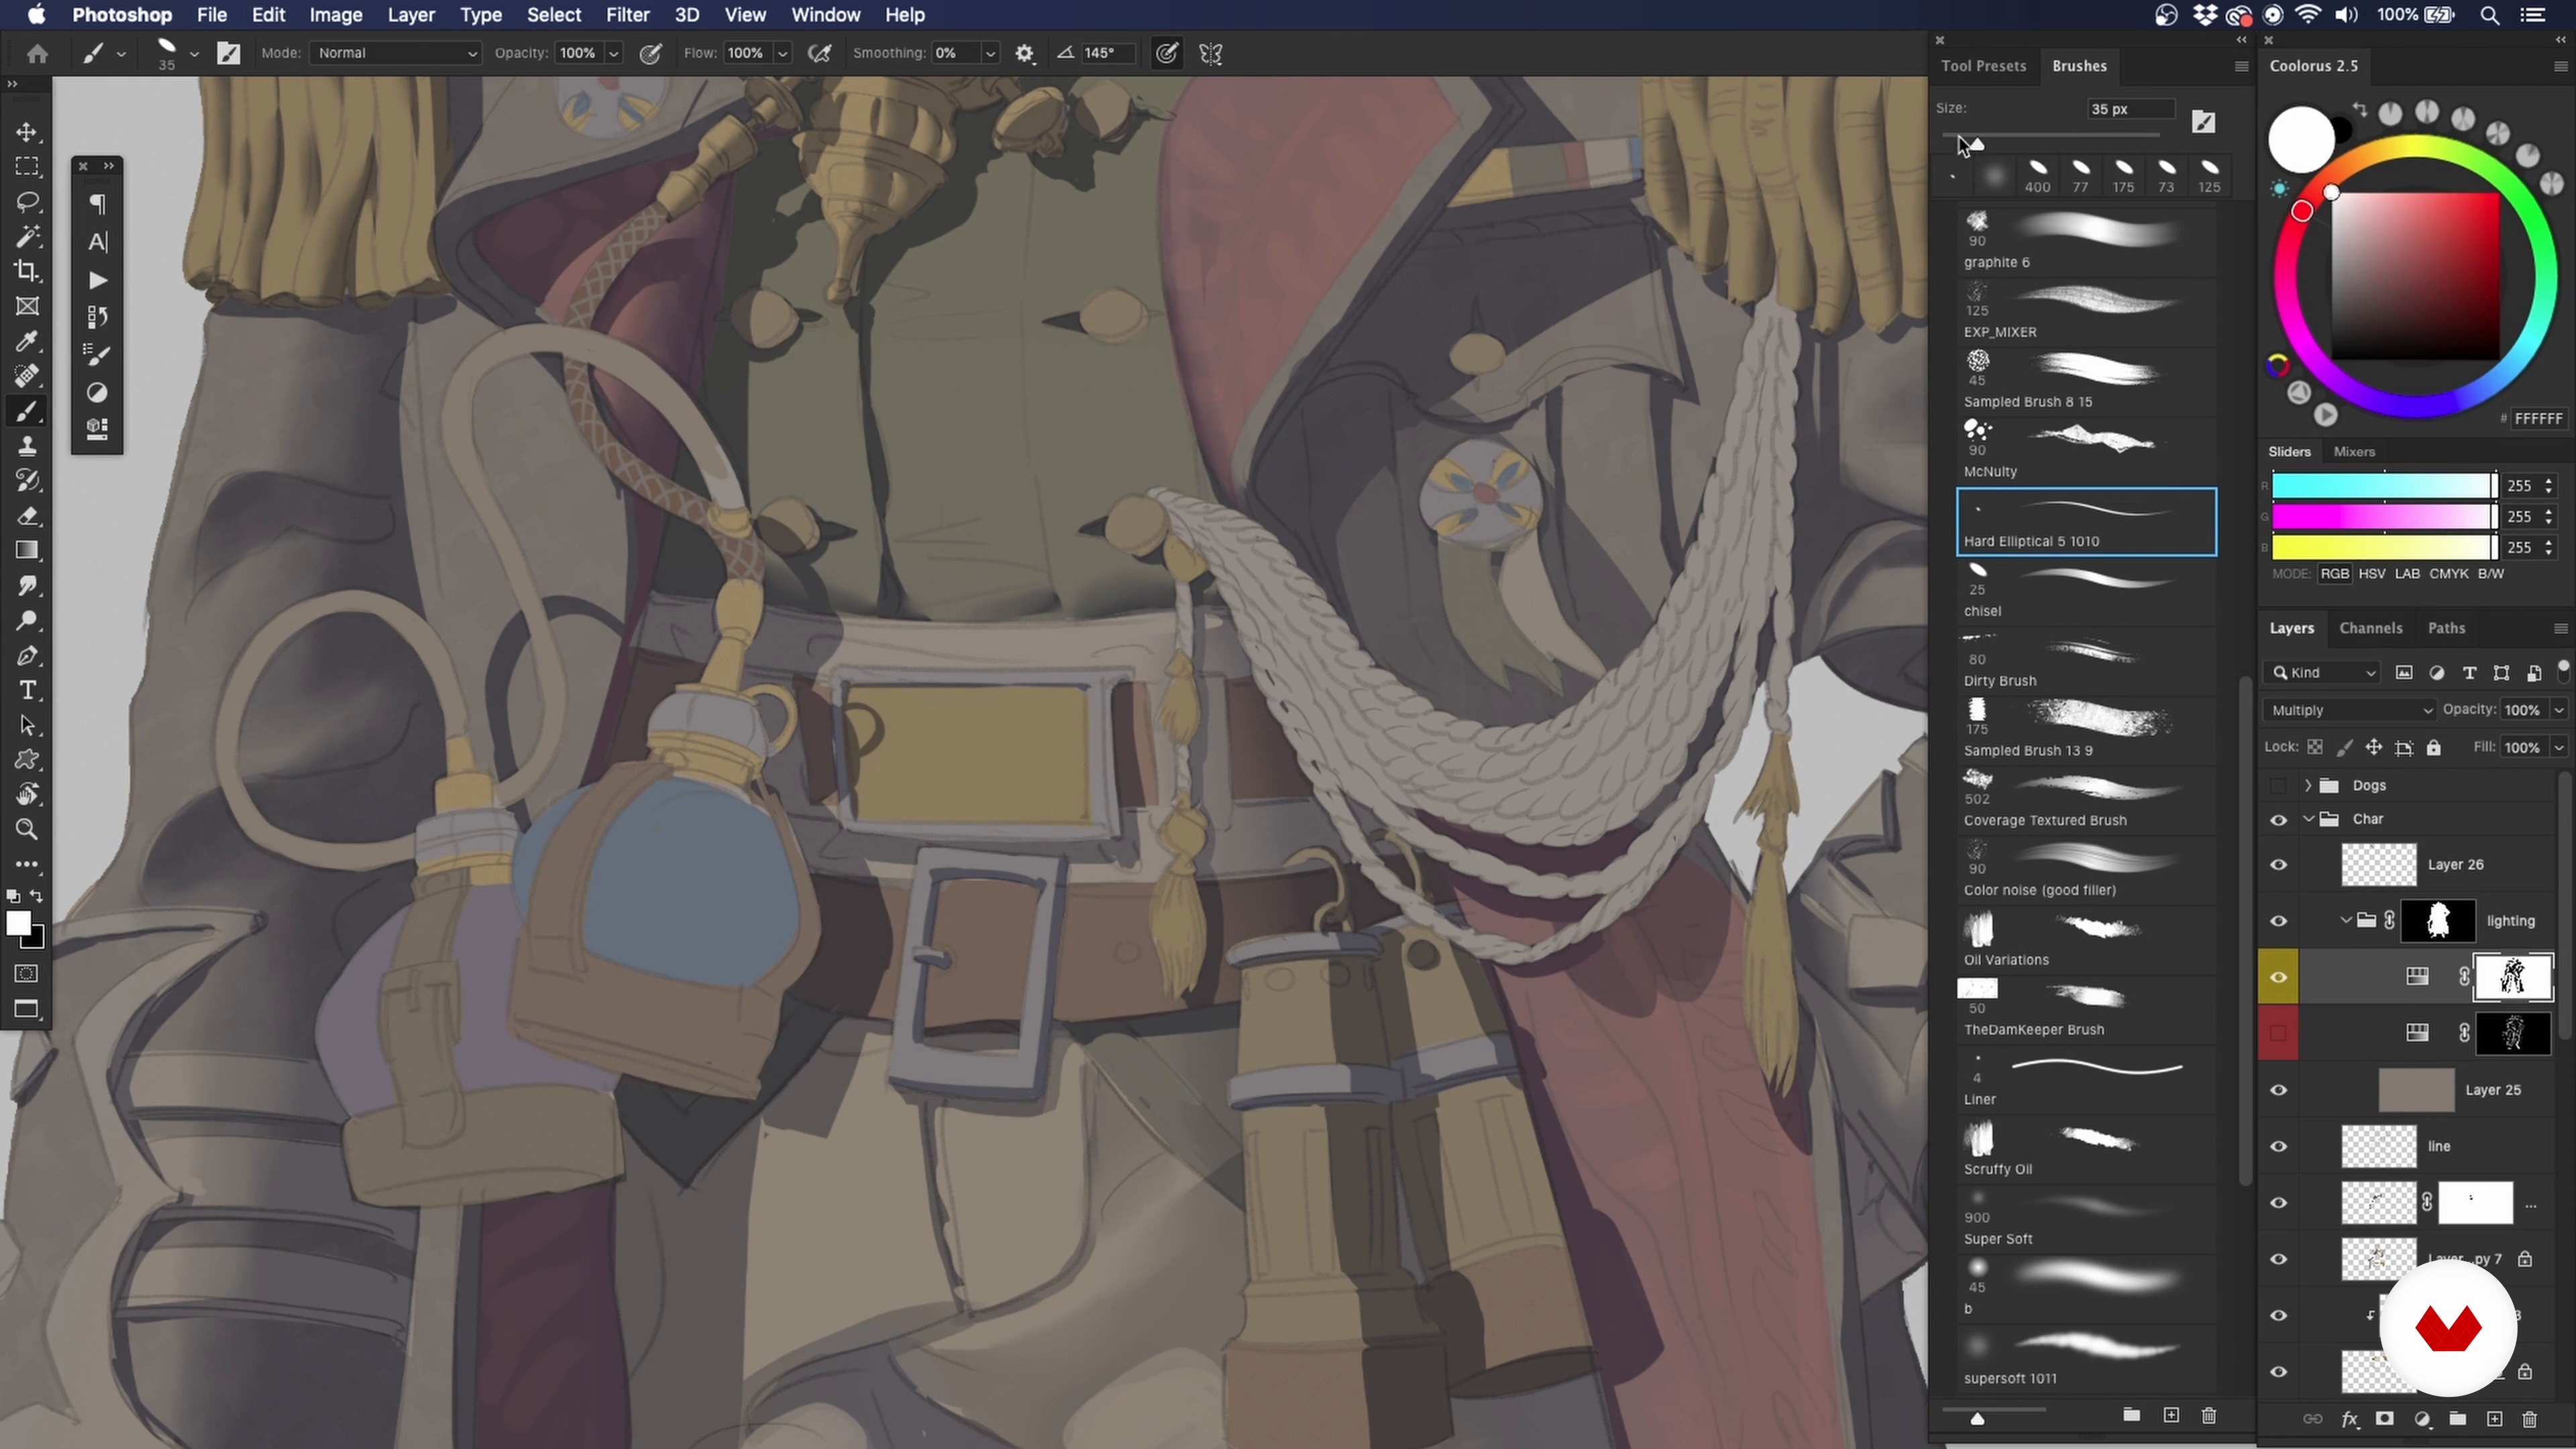
In this lesson, you will see how to add flat colours to the character using the masks from the previous lesson. I will also discuss some theories on choosing values.
20m
image
22
Flat Colours 2
Next, I will continue adding colour, progressing from the base layer to elements in the foreground.
19m
image
23
Lighting 1
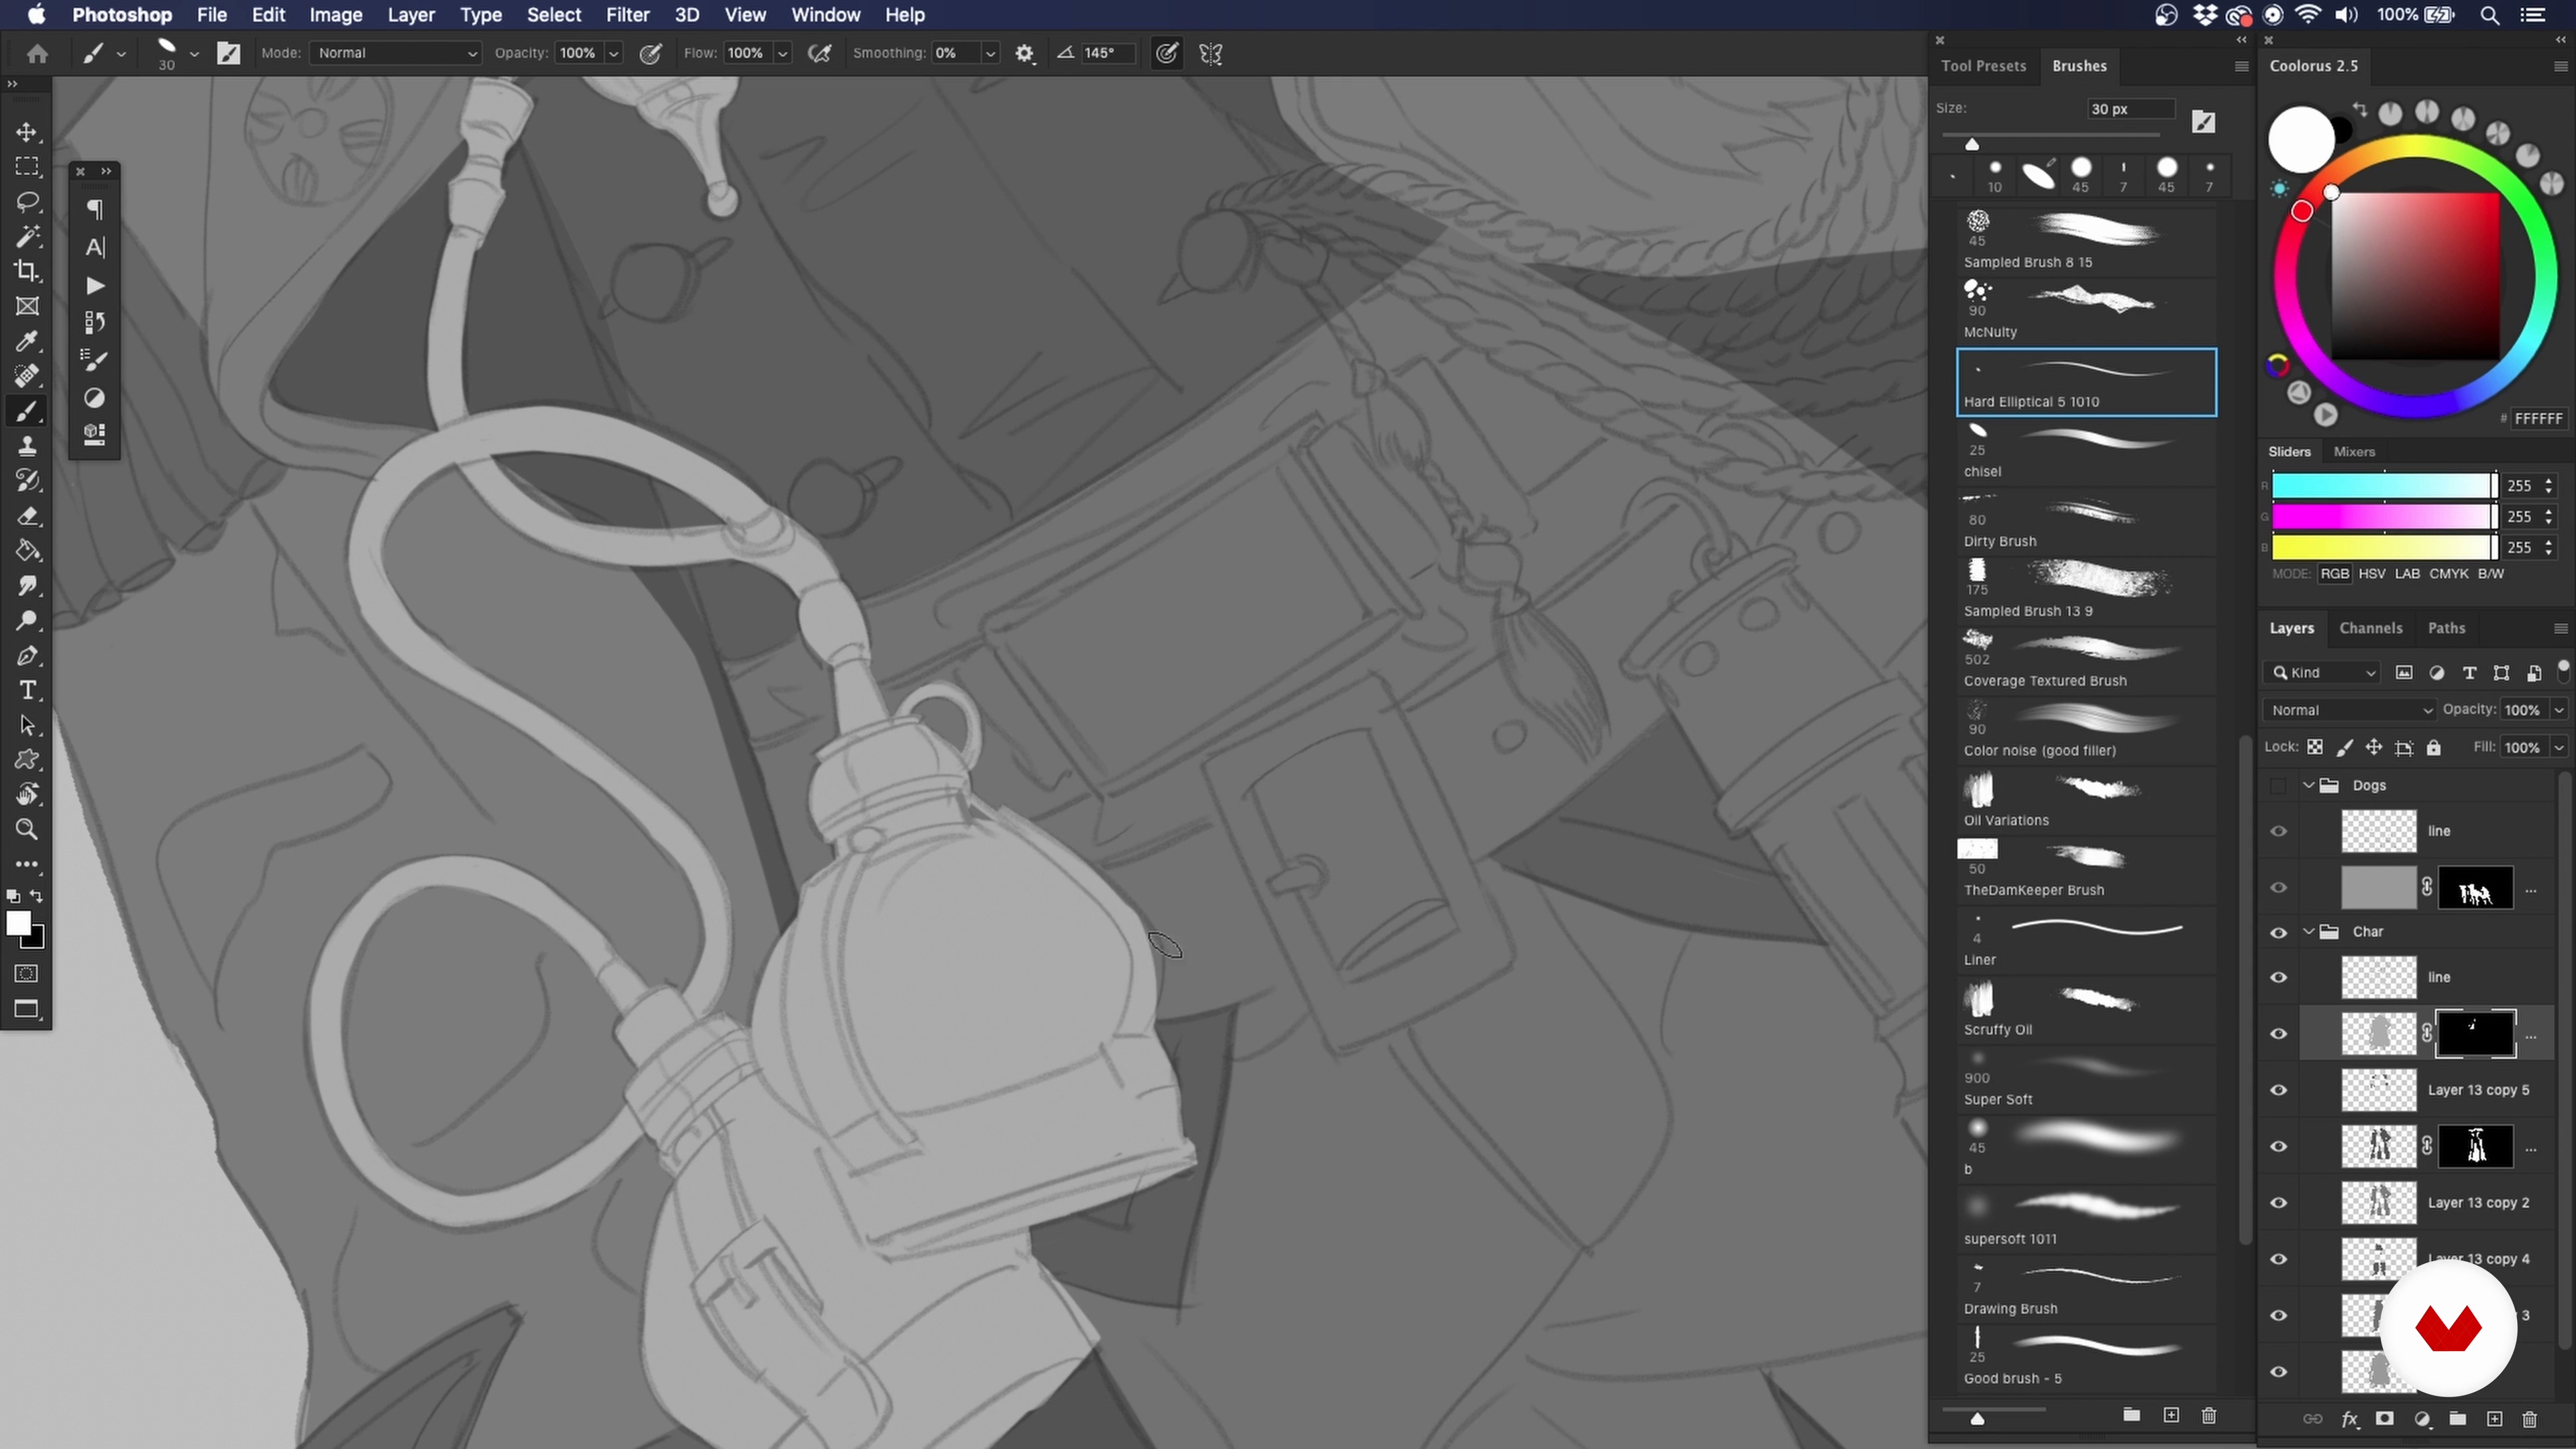
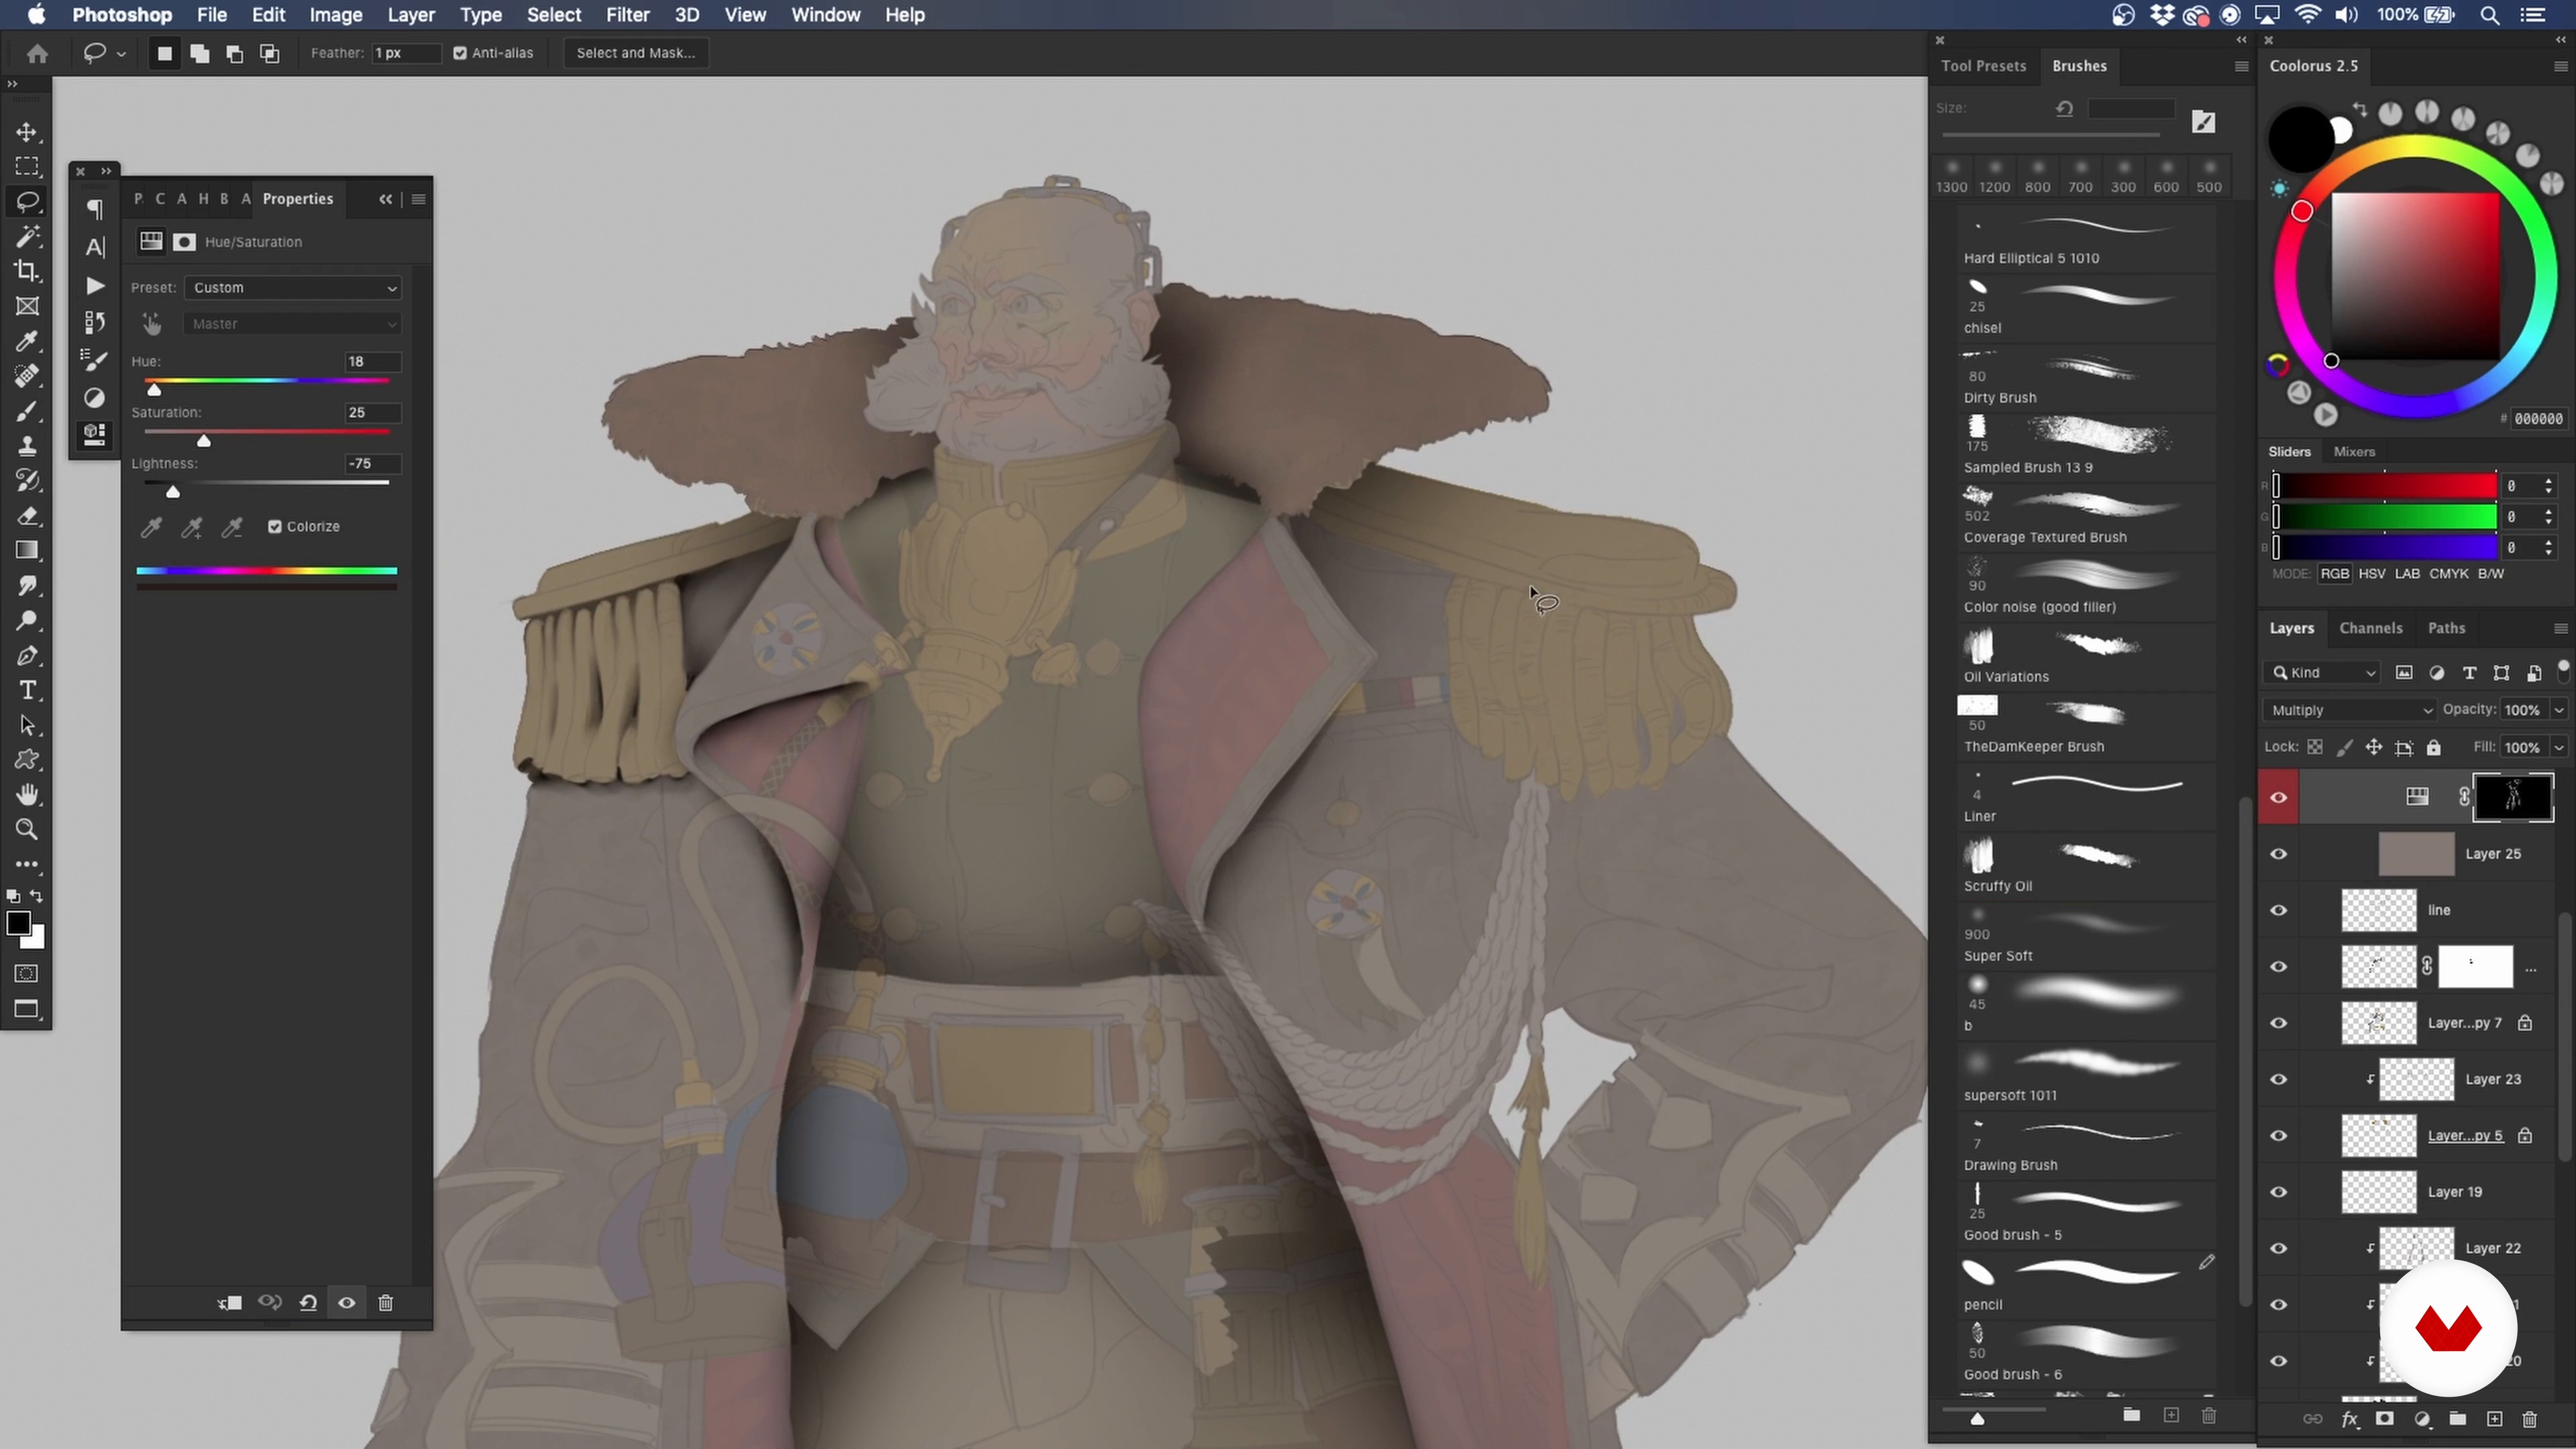
In this lesson, I will model how to apply the fundamentals of light to add realism to the character design. The topics I will cover are ambient occlusion, direct light, wrapping shadows, material indication, and specular highlights.
19m
image
24
Lighting 2
The first rule that I will address is ambient occlusion. I will simulate the soft shadows that naturally occur as a result of ambient lighting. This will bring realism to my character.
14m
image
25
Lighting 3
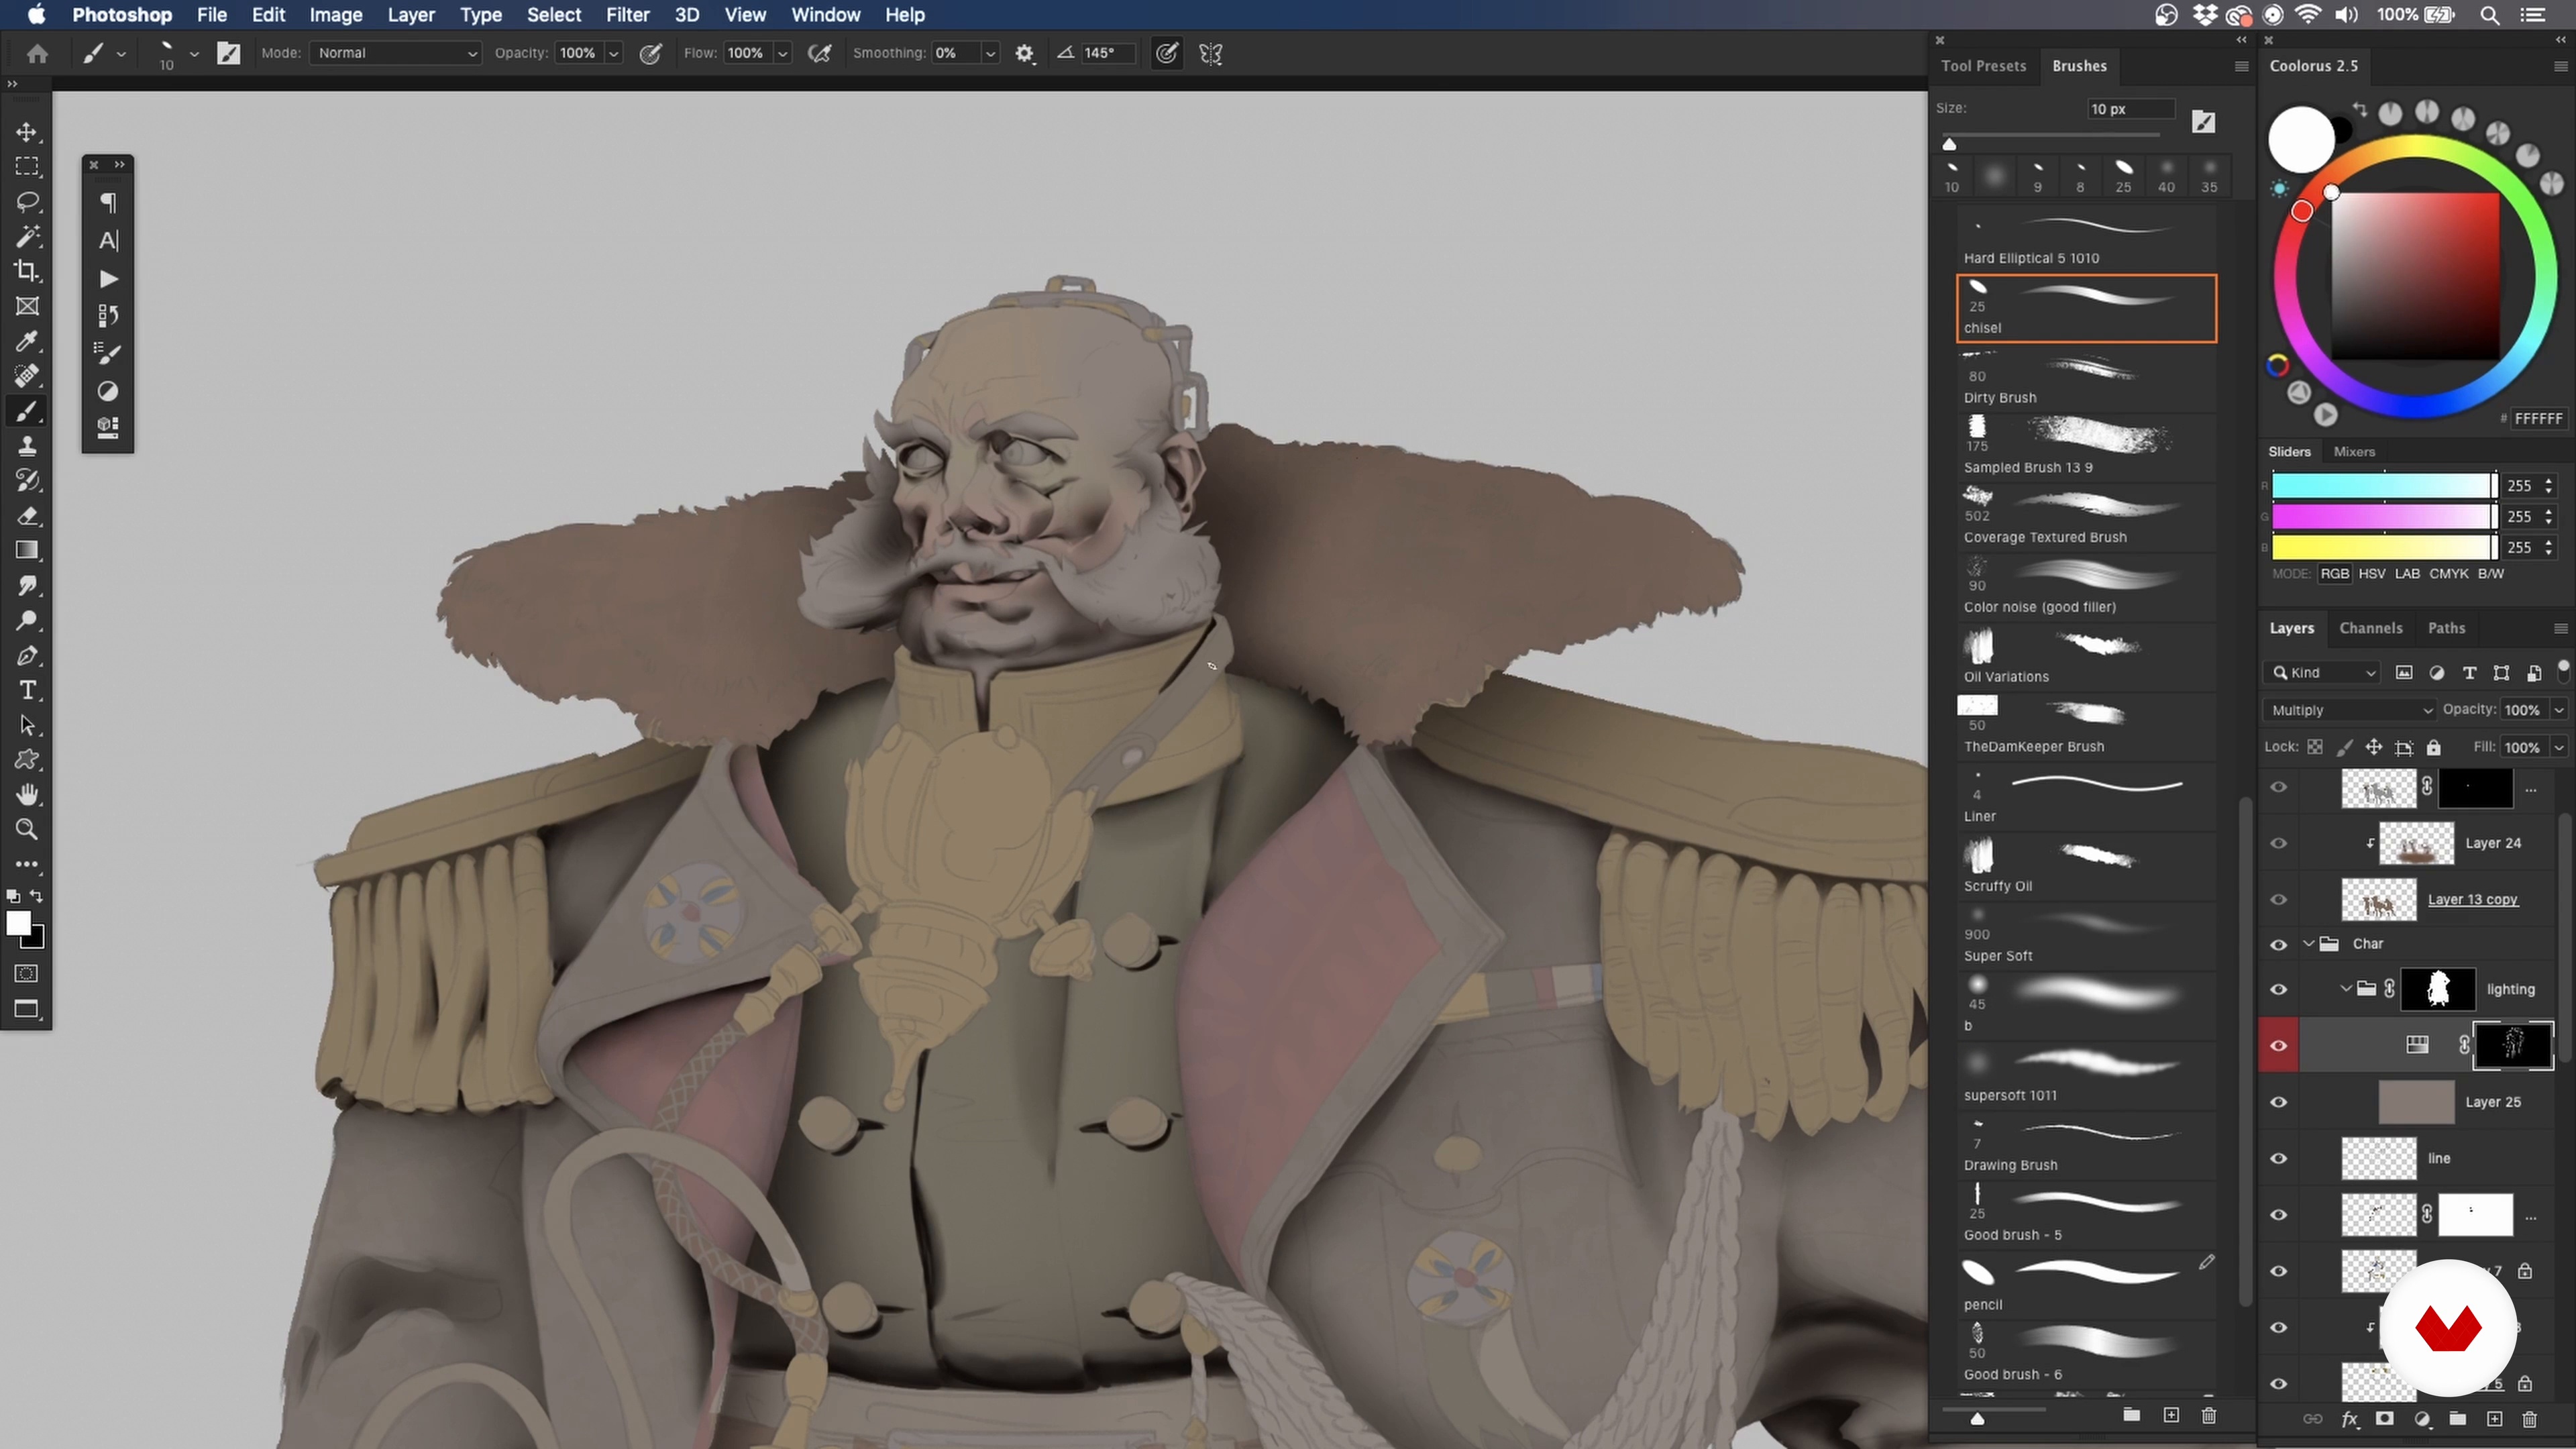
Here, you will continue to see how I apply the rule of ambient occlusion. Little by little, my character will start to come to life.
11m
image
26
Lighting 4
Now, I will move from indirect light to direct, by integrating a new light source. You will learn the tools and strategies to create realistic shadows in Photoshop, according to where your light source will be.
19m
image
27
Lighting 5
In this lesson, I will continue to manipulate the shadows of my character according to the direct light source.
15m
image
28
Lighting 6
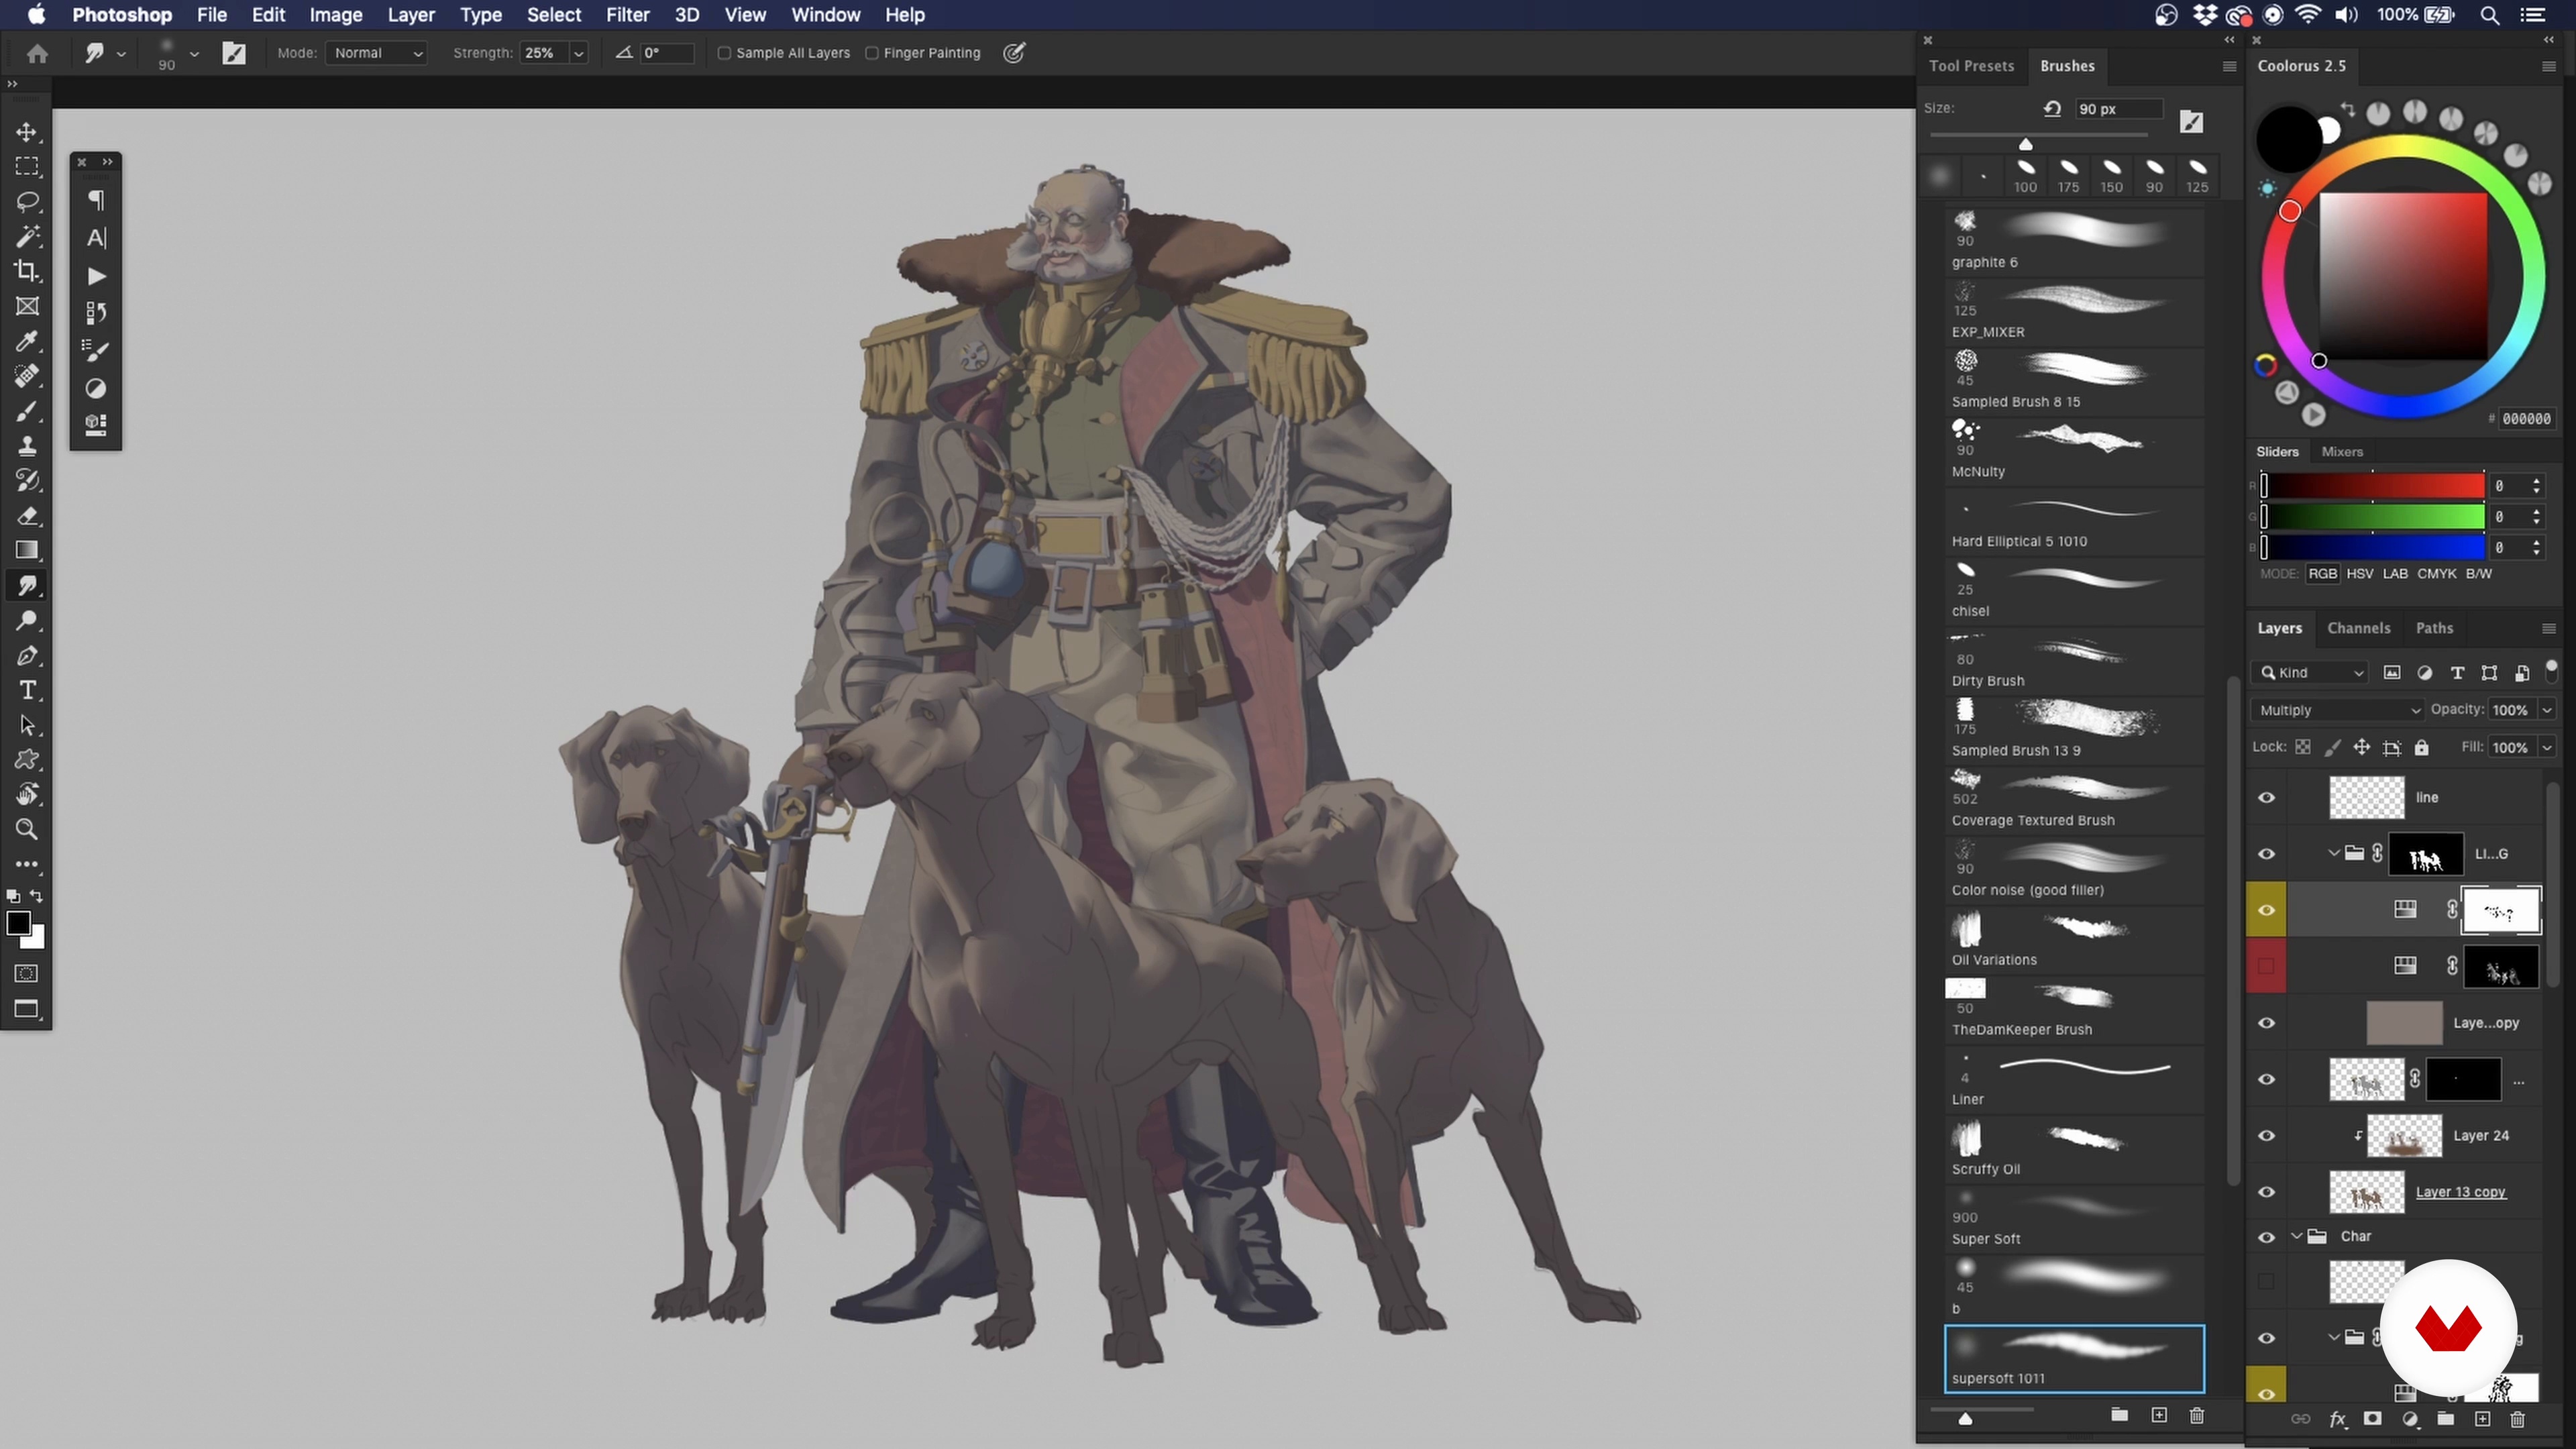
Following the theme of direct light, I will finish the final elements of my character and then move on to the dogs.
15m
image
29
Lighting 7
In this lesson, the focus will remain on core shadows. Now, I will progress to wrapping shadows. These will enhance the terminator line which will build form.
19m
image
30
Lighting 8
Now, let's apply the final fundamentals of lighting: material indication and specular highlights.
19m
image
31
Lighting 9
To conclude, I will add the remaining highlights ready to advance to the next stage: refining the smaller details.
17m
image
32
Fine Details 1
In this lesson, I will discuss where to add details. First, this will require that the focal point is identified, followed by any secondary and tertiary details. Then, I will share some tips on brushwork in order to lead the eye.
18m
image
33
Fine Details 2
Here, I will continue to work on the smaller details of my character, according to the order of importance and the pathway that I want the viewer's eyeline to take.
13m
image
34
Fine Details 3
Let's continue with the focal points! In this lesson, I will enhance the details of my chosen focal points to draw the viewer in.
15m
image
35
Fine Details 4
Next, I'll move on to perfecting the tertiary details: the dogs.
19m
image
36
Fine Details 5
To end this lesson, I will teach you how to address your edges. For example, you will see how I soften those that appear at the back to fortify the illusion of depth.
8m
image
37
Final Presentation
In this lesson, we will finalise our design ready for presentation. I will cover colour grading, glows, sharpening, chromatic aberration, and grain.
16m
  • 22 students
  • 110 lessons (1d 0h 21m)
  • 104 additional resources (52 files)
  • Online and at your own pace
  • Audio: English, Spanish
  • English · Spanish · Portuguese · German · French · Italian · Polish · Dutch
  • Level: Beginner
  • Unlimited access forever

What is this course's project?

Create an engaging and professional mini-portfolio showcasing a fully illustrated environment design with narrative storytelling, two character designs with expressions and poses, and a worldbuilding sheet. Optionally include a presentation board with thumbnails, sketches, and mood boards.

Who is this specialization for?

Aspiring concept artists, animators, and illustrators eager to explore visual storytelling will thrive. Ideal for those passionate about crafting immersive worlds, designing expressive characters, and enhancing their portfolio for careers in games, animation, or narrative illustration.

Requirements and materials

No extensive prior knowledge is required; however, familiarity with basic drawing tools and techniques is beneficial. Participants should have access to digital art software and a tablet for optimal experience. A passion for storytelling and creativity enhances the learning process.

Select to get to know your teachers in this specialization course
Read more ↓

What to expect from this specialization course

  • Learn at your own pace

    Enjoy learning from home without a set schedule and with an easy-to-follow method. You set your own pace.

  • Learn from the best professionals

    Learn valuable methods and techniques explained by top experts in the creative sector.

  • Meet expert teachers

    Each expert teaches what they do best, with clear guidelines, true passion, and professional insight in every lesson.

  • Certificates
    Plus

    If you're a Plus member, get a custom certificate for every specialization course. Share it on your portfolio, social media, or wherever you like.

  • Get front-row seats

    Videos of the highest quality, so you don't miss a single detail. With unlimited access, you can watch them as many times as you need to perfect your technique.

  • Share knowledge and ideas

    Ask questions, request feedback, or offer solutions. Share your learning experience with other students in the community who are as passionate about creativity as you are.

  • Connect with a global creative community

    The community is home to millions of people from around the world who are curious and passionate about exploring and expressing their creativity.

  • Watch professionally produced courses

    Domestika curates its teacher roster and produces every course in-house to ensure a high-quality online learning experience.


FAQs

Domestika's specialization courses are online classes that provide you with the tools and skills you need to complete a specific project. Every step of the project combines video lessons with complementary instructional material, so you can learn by doing. Domestika's specializations also allow you to share your own projects with other students, creating a dynamic course community.

All specialization courses are 100% online, so once they're published, specialization courses start and finish whenever you want. You set the pace of the class. You can go back to review what interests you most and skip what you already know, ask questions, answer questions, share your projects, and more.

The specialization courses are divided into different modules. Each one includes lessons, informational text, tasks, and practice exercises to help you carry out your project step by step, with additional complementary resources and downloads. You'll also have access to an exclusive forum where you can interact with other students, as well as share your work and your final project, creating a community around the specialization course.

You can redeem the specialization course you received by accessing the redeeming page and entering your gift code.

If you're a Plus member, when you complete a course you've purchased, you'll instantly get your personalized certificate. You can see all your certificates in the Certificates section of your profile. You can download your certificates as PDFs and share the link online. Learn more about certificates.
Specialization in Concept Art: Creative design of characters and scenarios. Illustration course by Domestika

Specialization in Concept Art: Creative design of characters and scenarios

A specialization by multiple teachers
Berkeley, United States.
Joined April 2002
  • 22 students