Color and Lighting Effects for Studio Photography
Course final project
A course by Eivind Hansen , Photographer

About the final project for: Color and Lighting Effects for Studio Photography
Color and Lighting Effects for Studio Photography
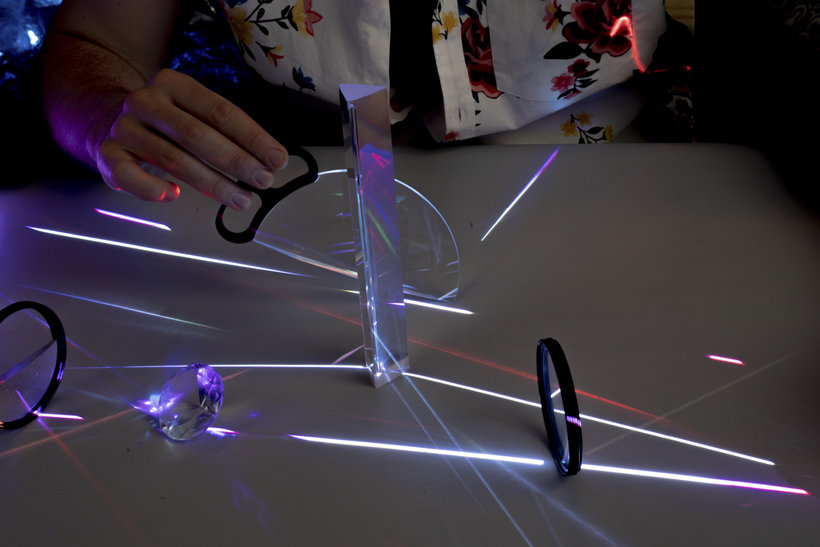
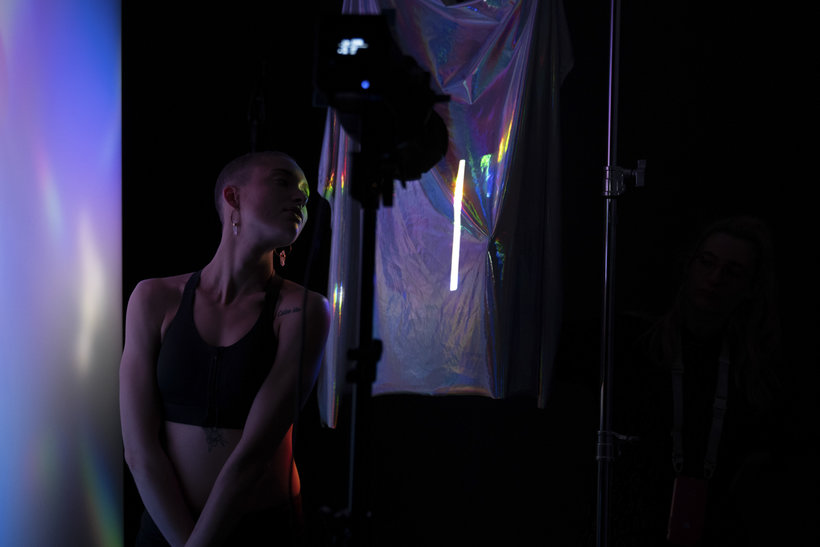
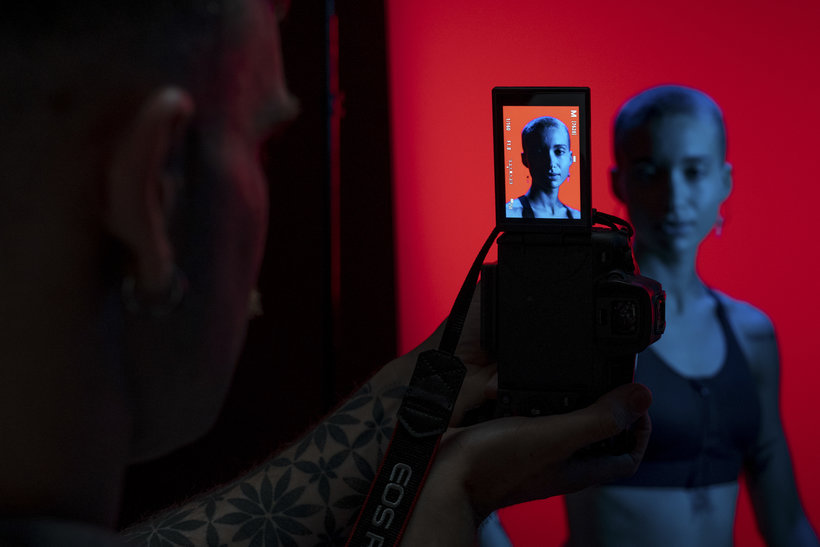
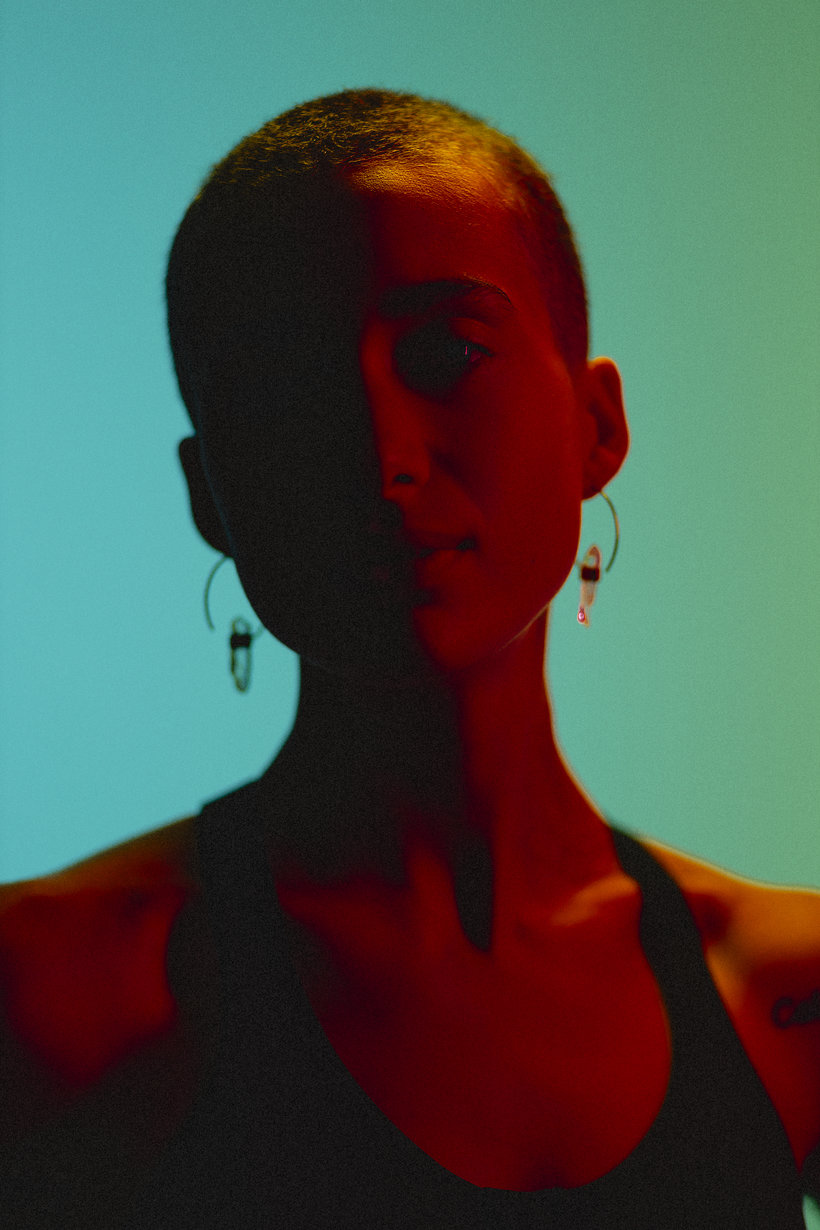
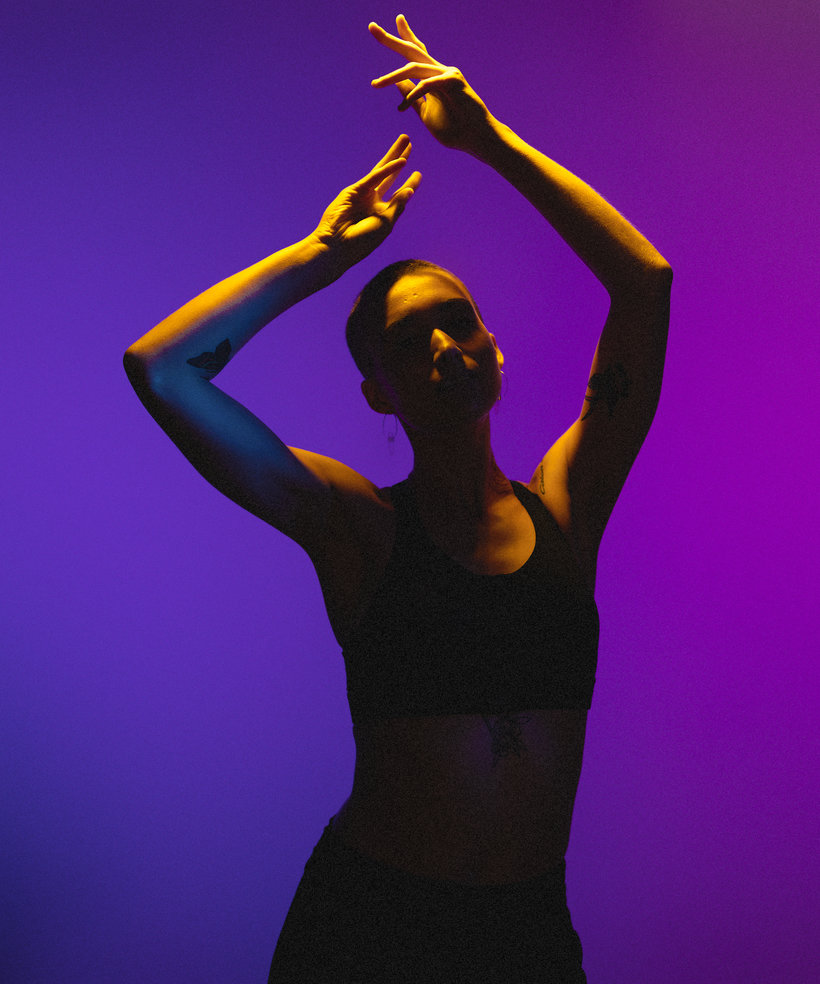
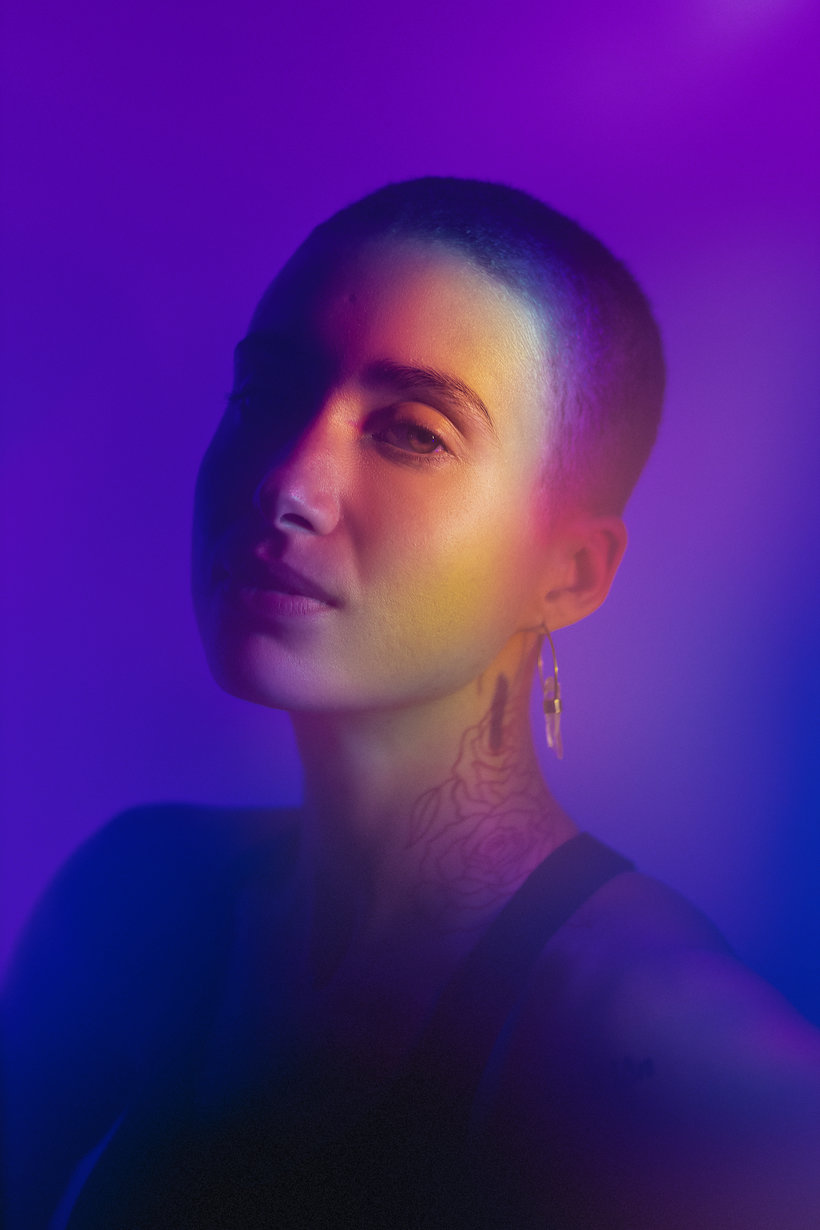
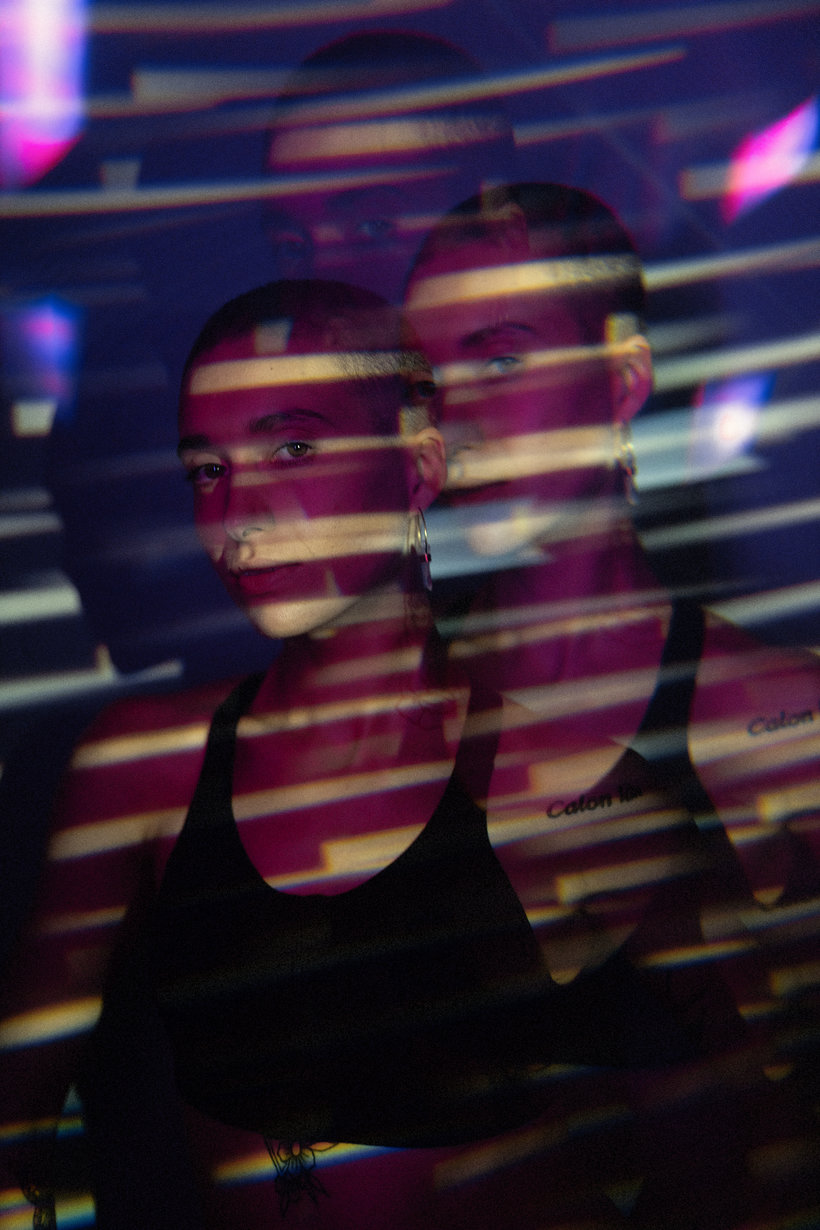
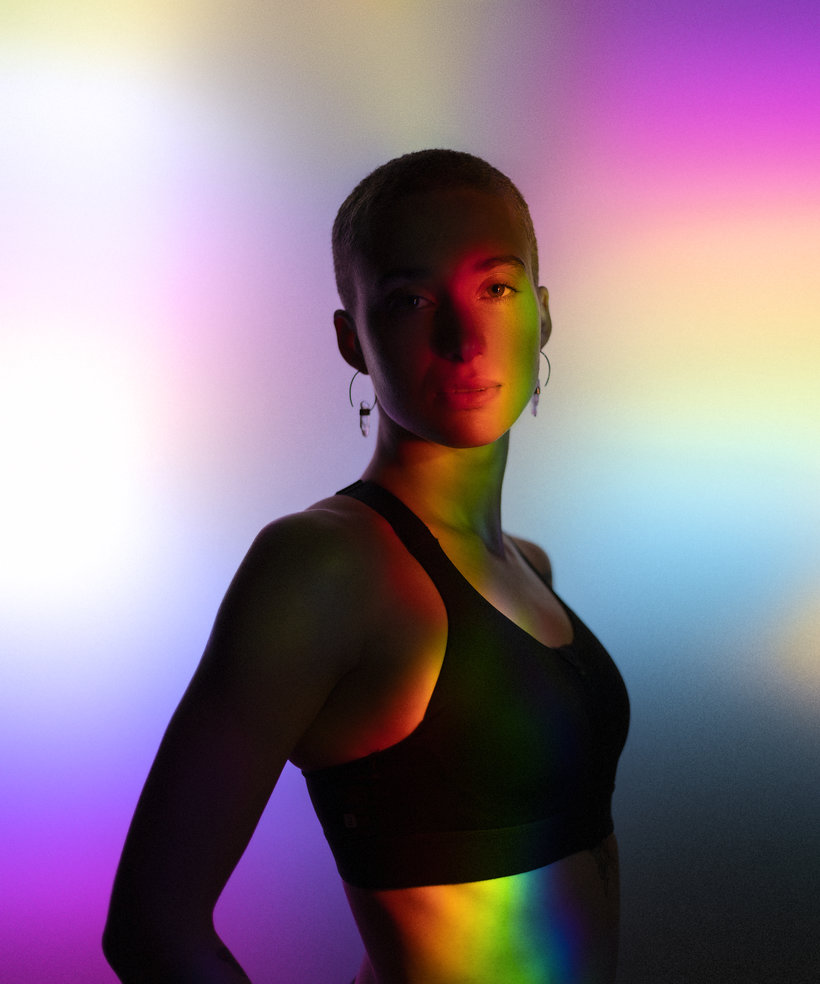
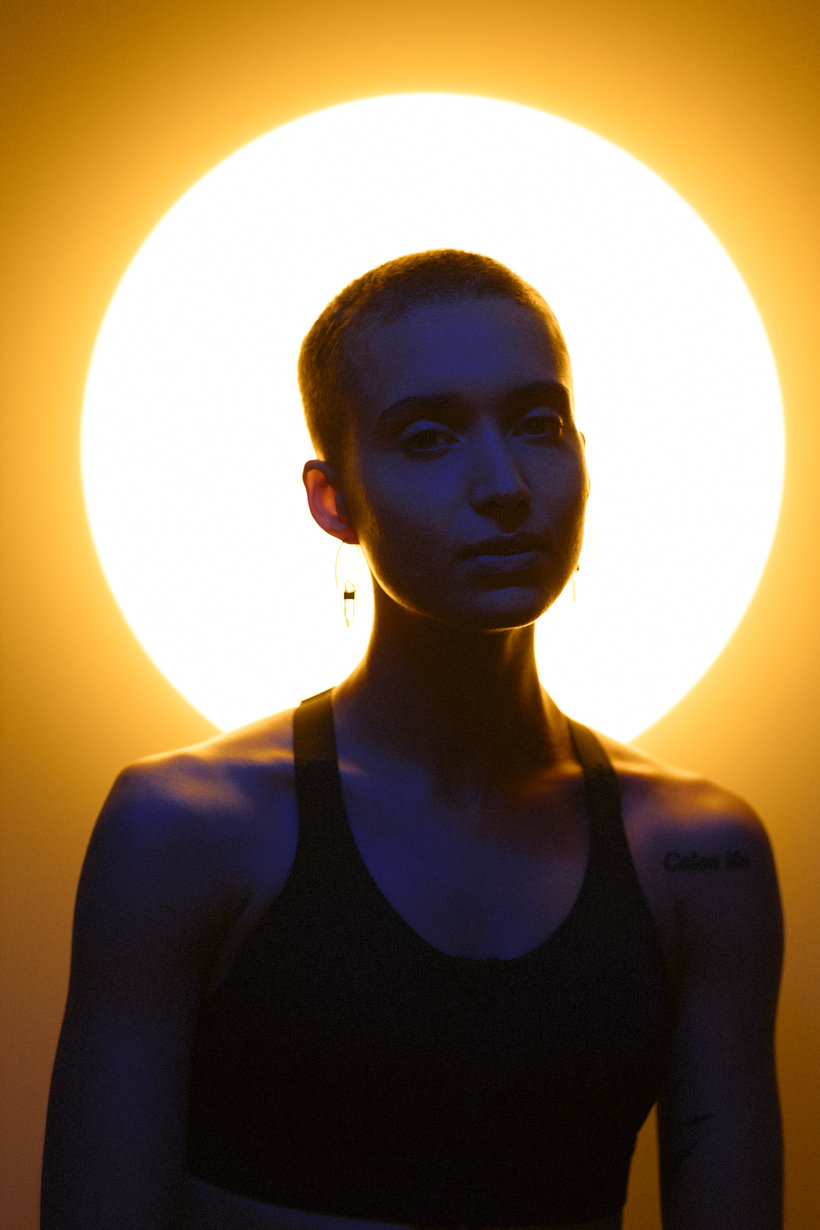
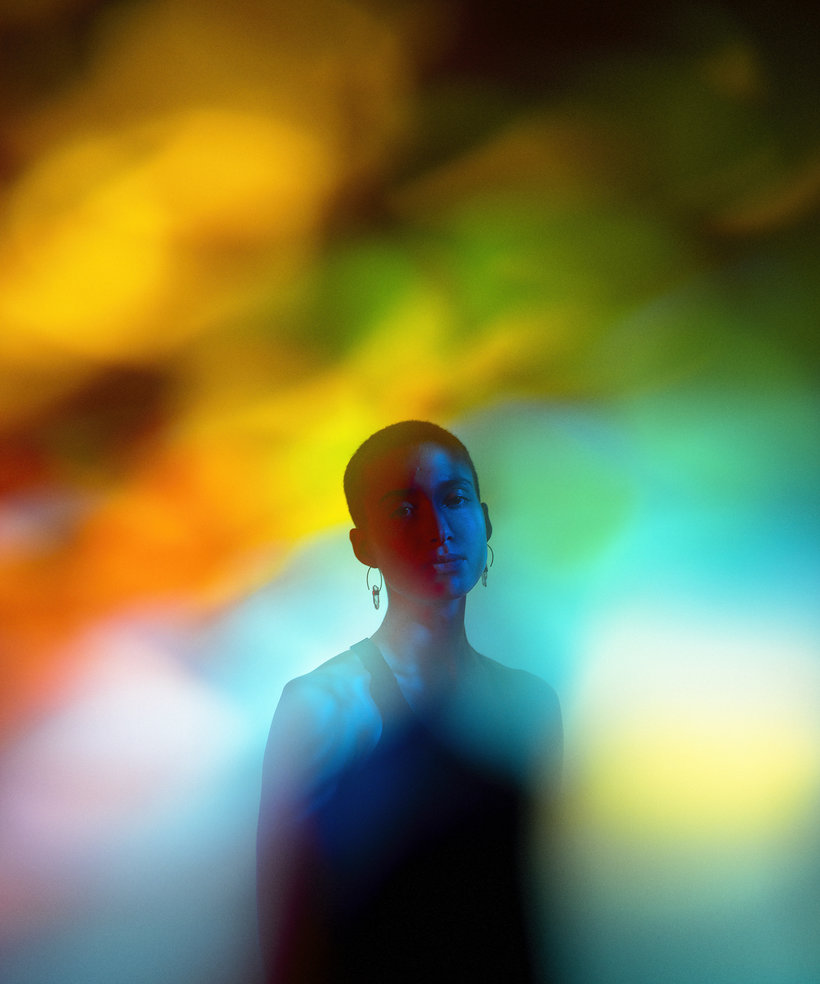
“We’ve now come to the end of the course. Thank you so much for attending! I really hope this course has served as a source of inspiration and motivation to challenge yourself creatively. I loved teaching you and can’t wait to see what you've come up with for your final project. Remember that it’s all about experimenting. You can use my images as inspiration, but please make the final project your own. There are endless ways to combine different colours and lights! I love using RGB tubes because they allow me to work with any colour and hue imaginable, but if you don’t want to invest in PavoTubes, you certainly don't have to―instead, remember all the light hacks that I showed you. You can get amazing results by just using your smartphone. Play around with different materials and objects to see how they reflect and diffract the light. Using a semi-transparent backdrop like a LEE Filter is the easiest way to create different effects without complex lighting set-ups. Before you start photographing, it’s worth looking into some colour theory using the chromatic colour wheel and playing around with the Adobe Color app. It’s a really easy way to experiment with different colour palettes and see what works best. Think of light as the paint in your photograph. You can create all sorts of compositions and geometric shapes by directing light. Have a look at Instagram for lighting inspiration by other photographers or get inspired by your favourite movies.

Partial transcription of the video
“We've now reached the end of my course. Thank you so much for participating. I hope that it has served as a source of inspiration and motivation. I love teaching it and I can't wait to see what you come up with for your final major project. Remember, it's all about experimenting. You're more than welcome to use my images as a source of inspiration, but remember, it's all about making the images your own. There are endless possibilities of combining different colors and lights. So I love using RGB lights. It allows me to choose any hue imaginable and I can control it very conveniently with m...”
This transcript is automatically generated, so it may contain mistakes.
Course summary for: Color and Lighting Effects for Studio Photography
-
Category
Photography & Video -
Areas
Digital Photography, Fine-Art Photography, Photographic Lighting, Photography, Portrait Photography, Studio Photography

Eivind Hansen
A course by Eivind Hansen
Eivind Hansen is a Norwegian photographer with a passion for complex lighting and compositions. Towards the end of his university degree, he completed his first big photography project, which was an image series titled “TETE-A-TETE” for the Norwegian magazine Hymen. The series received a lot of positive feedback, which led to Eivind doing his first solo exhibition in London in 2016.
Since then, Eivind has collaborated with clients like Adobe Photoshop, Yohji Yamamoto (one of Japan’s most famous fashion designers), and the United Nations. The latter was a photo series of the activists of the Kaleidoscope Trust, which was exhibited in the Australian Embassy and later earned him the Gay Times Honors Award for arts and culture. He is currently a brand ambassador for Nanlite, and has been featured in publications like Hunger TV, Out Magazine, and Gay Times.
- 100% positive reviews (127)
- 4,227 students
- 13 lessons (2h 27m)
- 18 additional resources (2 files)
- Online and at your own pace
- Available on the app
- Audio: English, Spanish (Latam), French, Italian, Portuguese, Turkish
- Spanish · English · Portuguese · German · French · Italian · Polish · Dutch · Turkish
- Level: Beginner
- Unlimited access forever
Category
Areas

