Rigging and Deformation of a Character
A course by @joseantoniomartinmartinLead Character TD and Rigger
A course by @joseantoniomartinmartin, Lead Character TD and Rigger

Discover how to bring your animated characters to life
Jose Antonio Martín - technical director of characters and rigger - has worked for studios such as Framestore, MPC, Double Negative in special effects productions such as Gravity , Terminator Genesis , Suicide Squad or Ghost in the shell . One of the most artistic and creative processes that he has to face as rigger is the creation of deformations of the characters, which are very important both in the animation of realistic characters and cartoon characters.
In this course you will learn to create the deformation rig of a human character from the basic deformation controls. This is the continuation of the course of Introduction to rigging for animation , so, If you have done it, you can use the elements created in it. You will learn some tricks to work the deformation, you will add the joints and you will carry out the weighing of the character, learning to define a correct deformation and make his movements more credible.
What will you learn in this online course?
27 lessons & 9 downloads
What is a rigger
4 minutes, 16 seconds
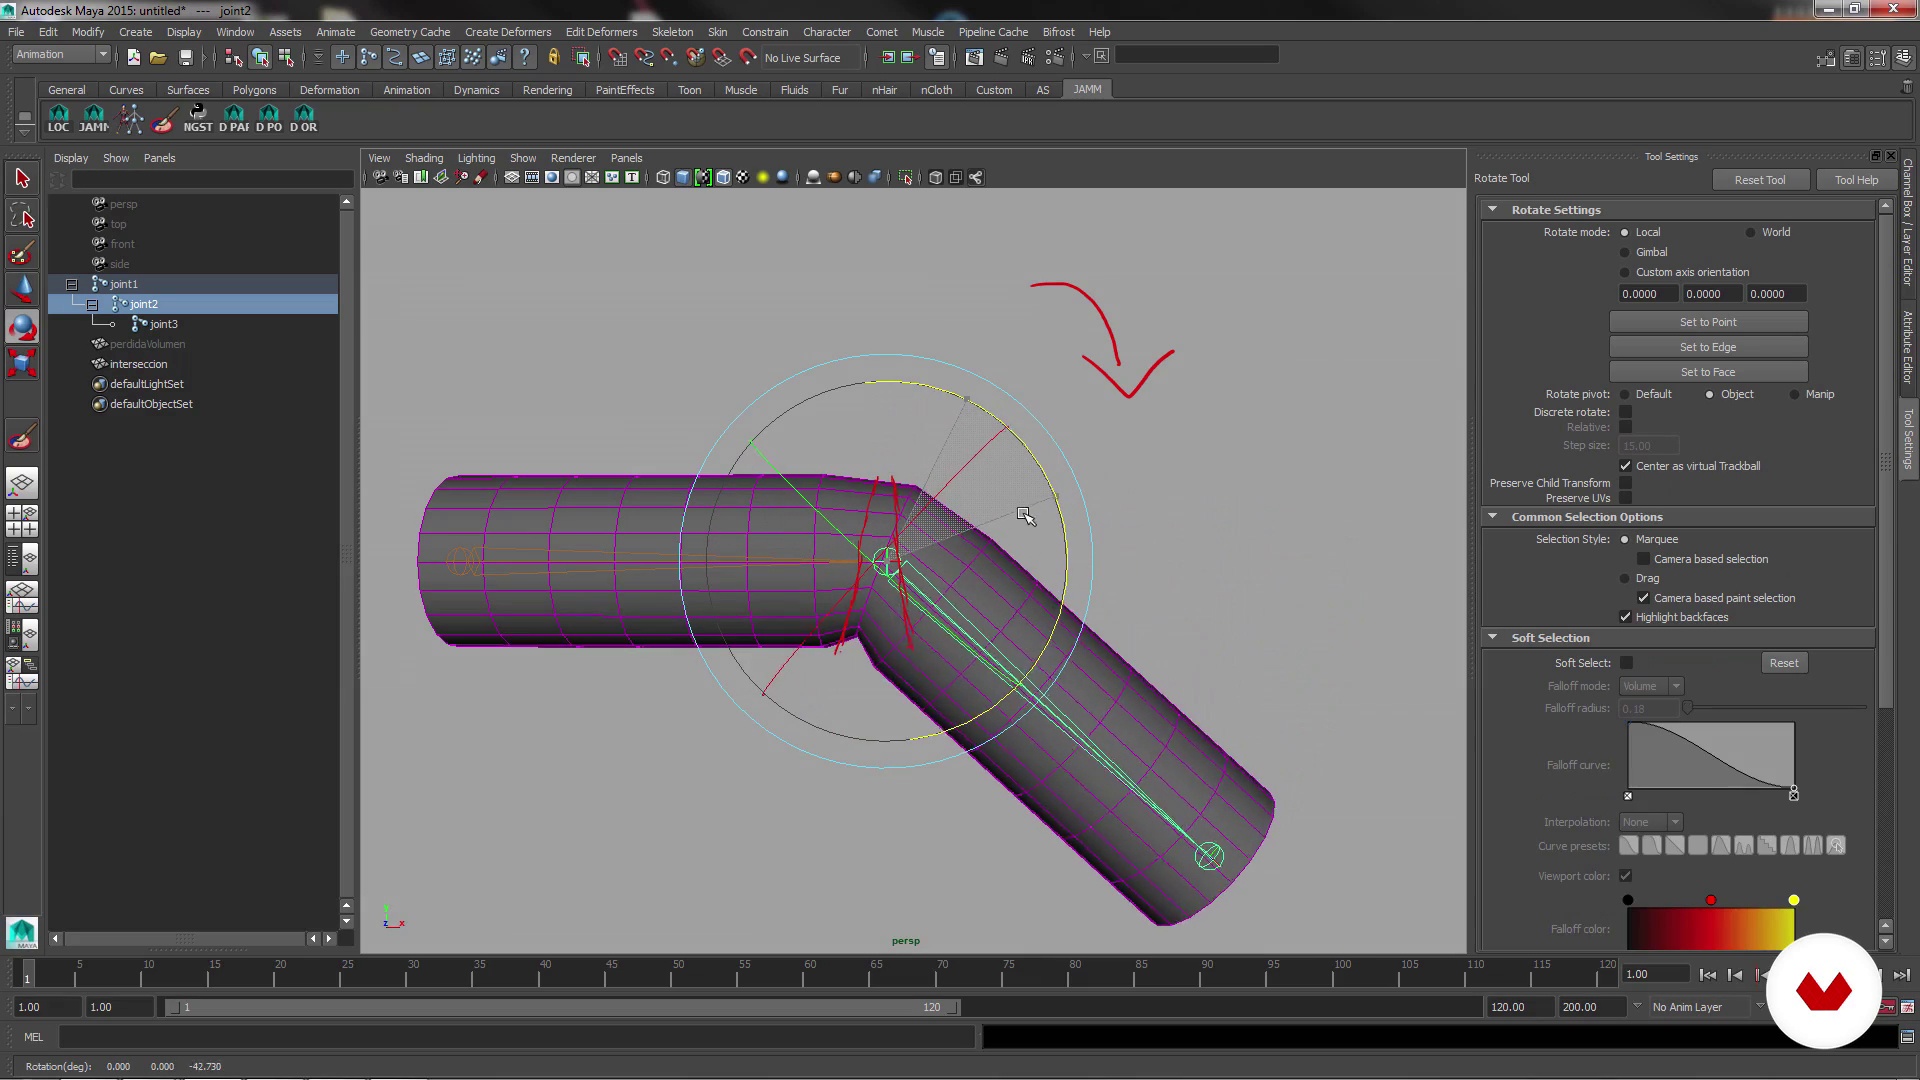
Deformation - Intersection vs. volume loss
11 minutes, 49 seconds
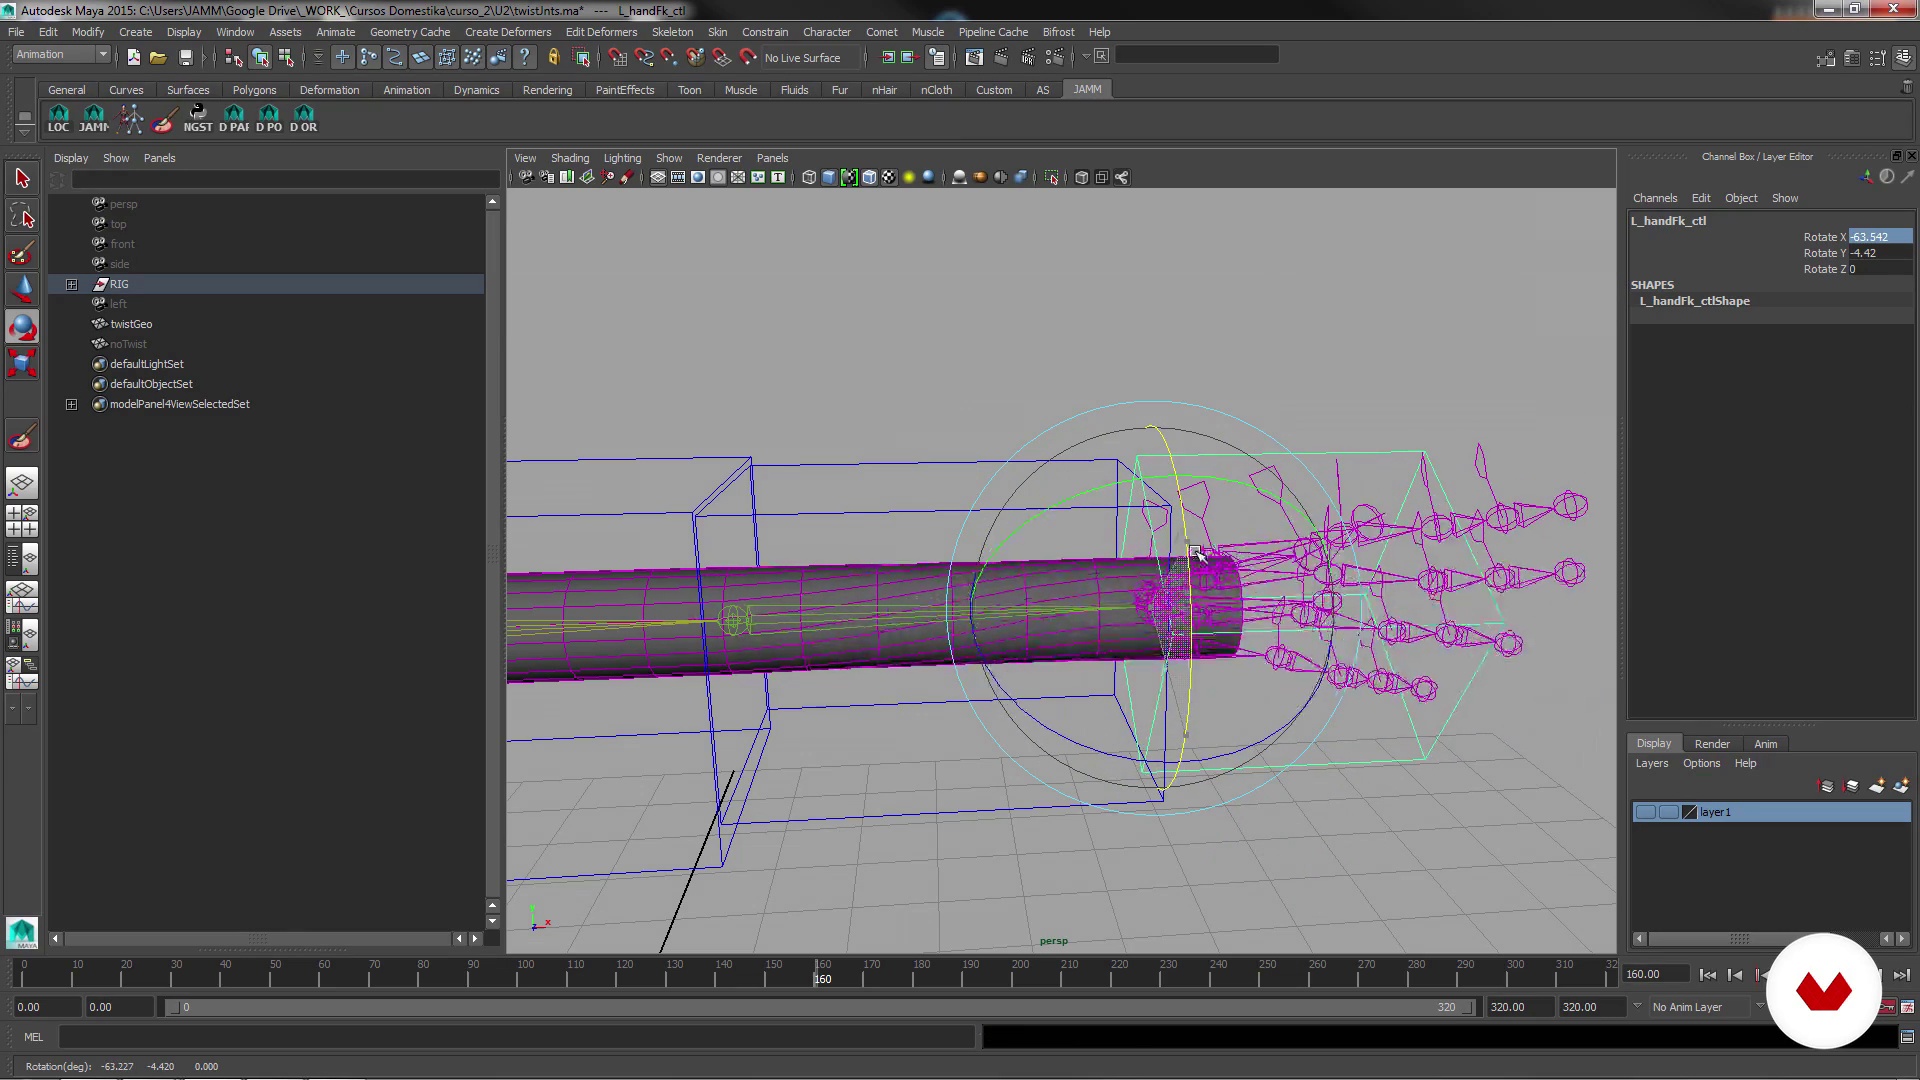
Twist joints
15 minutes, 47 seconds
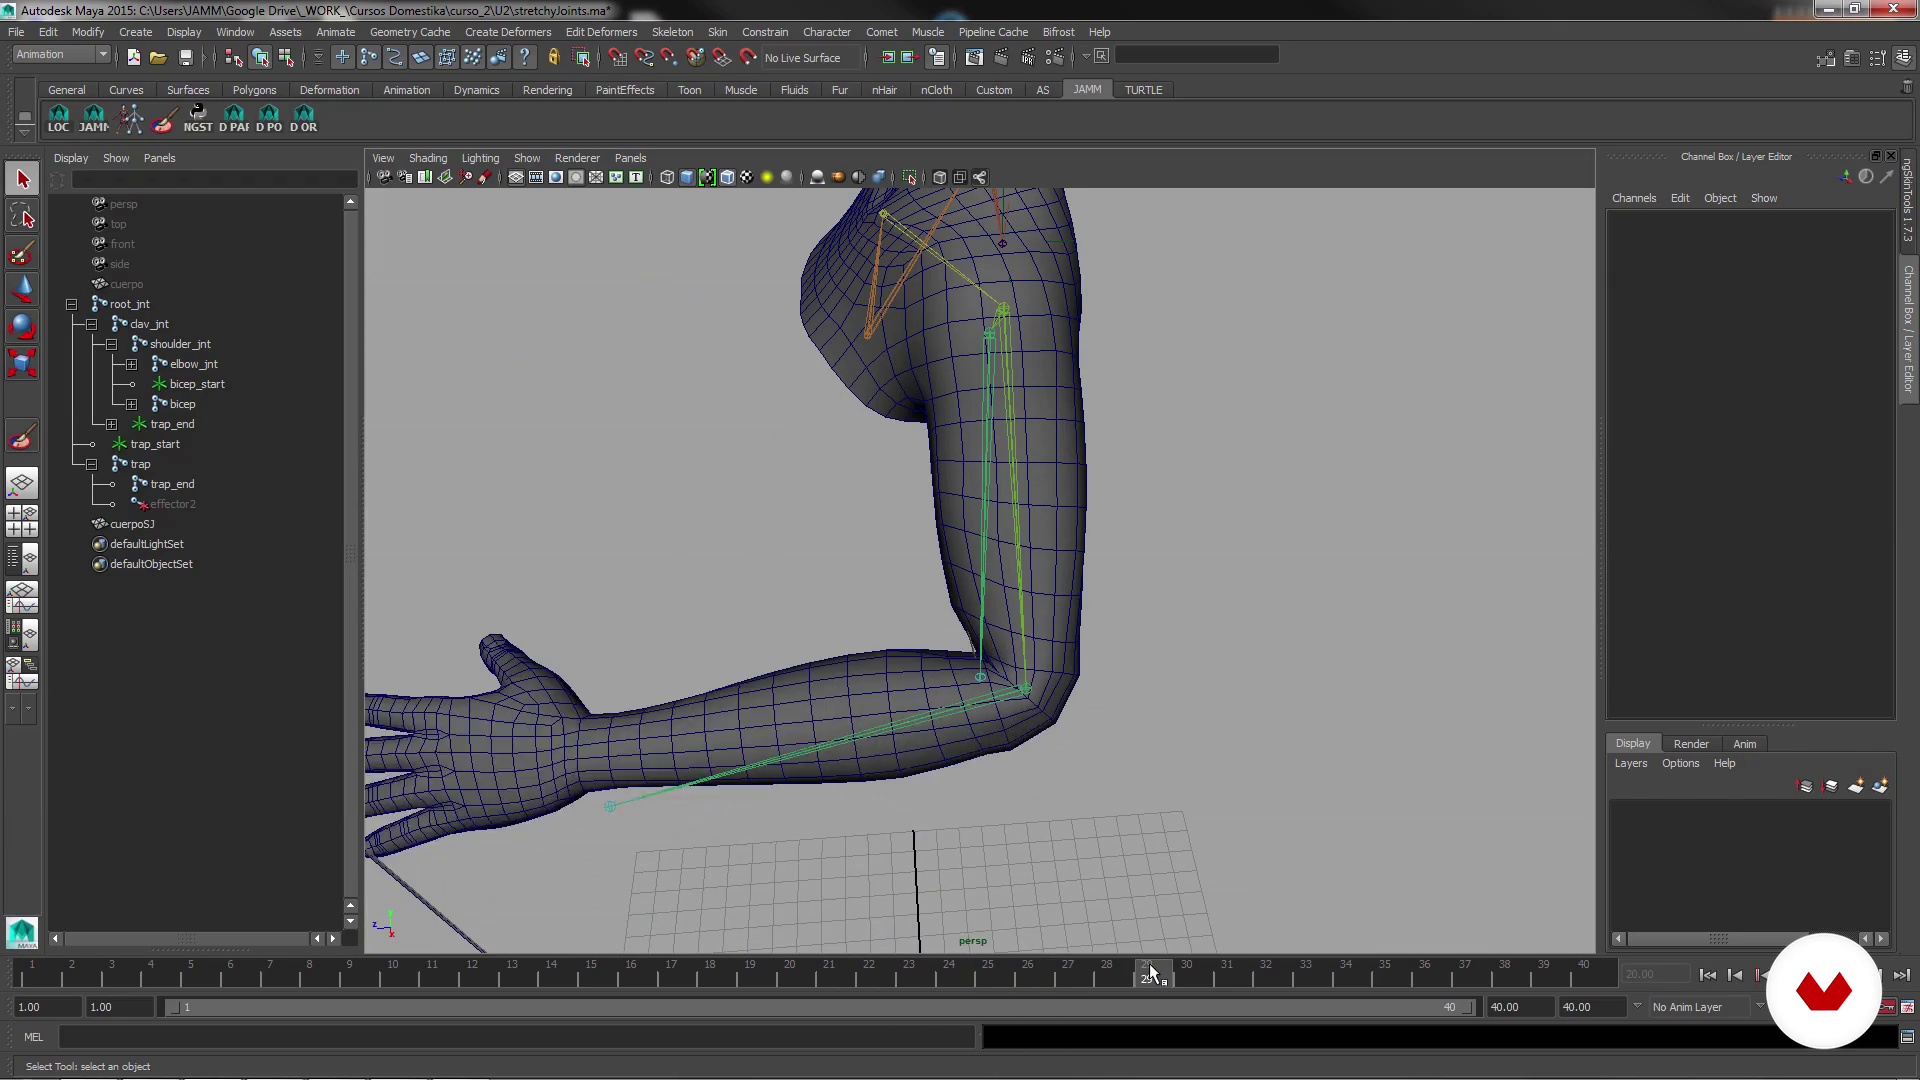
Stretchy joints 1
13 minutes, 3 seconds
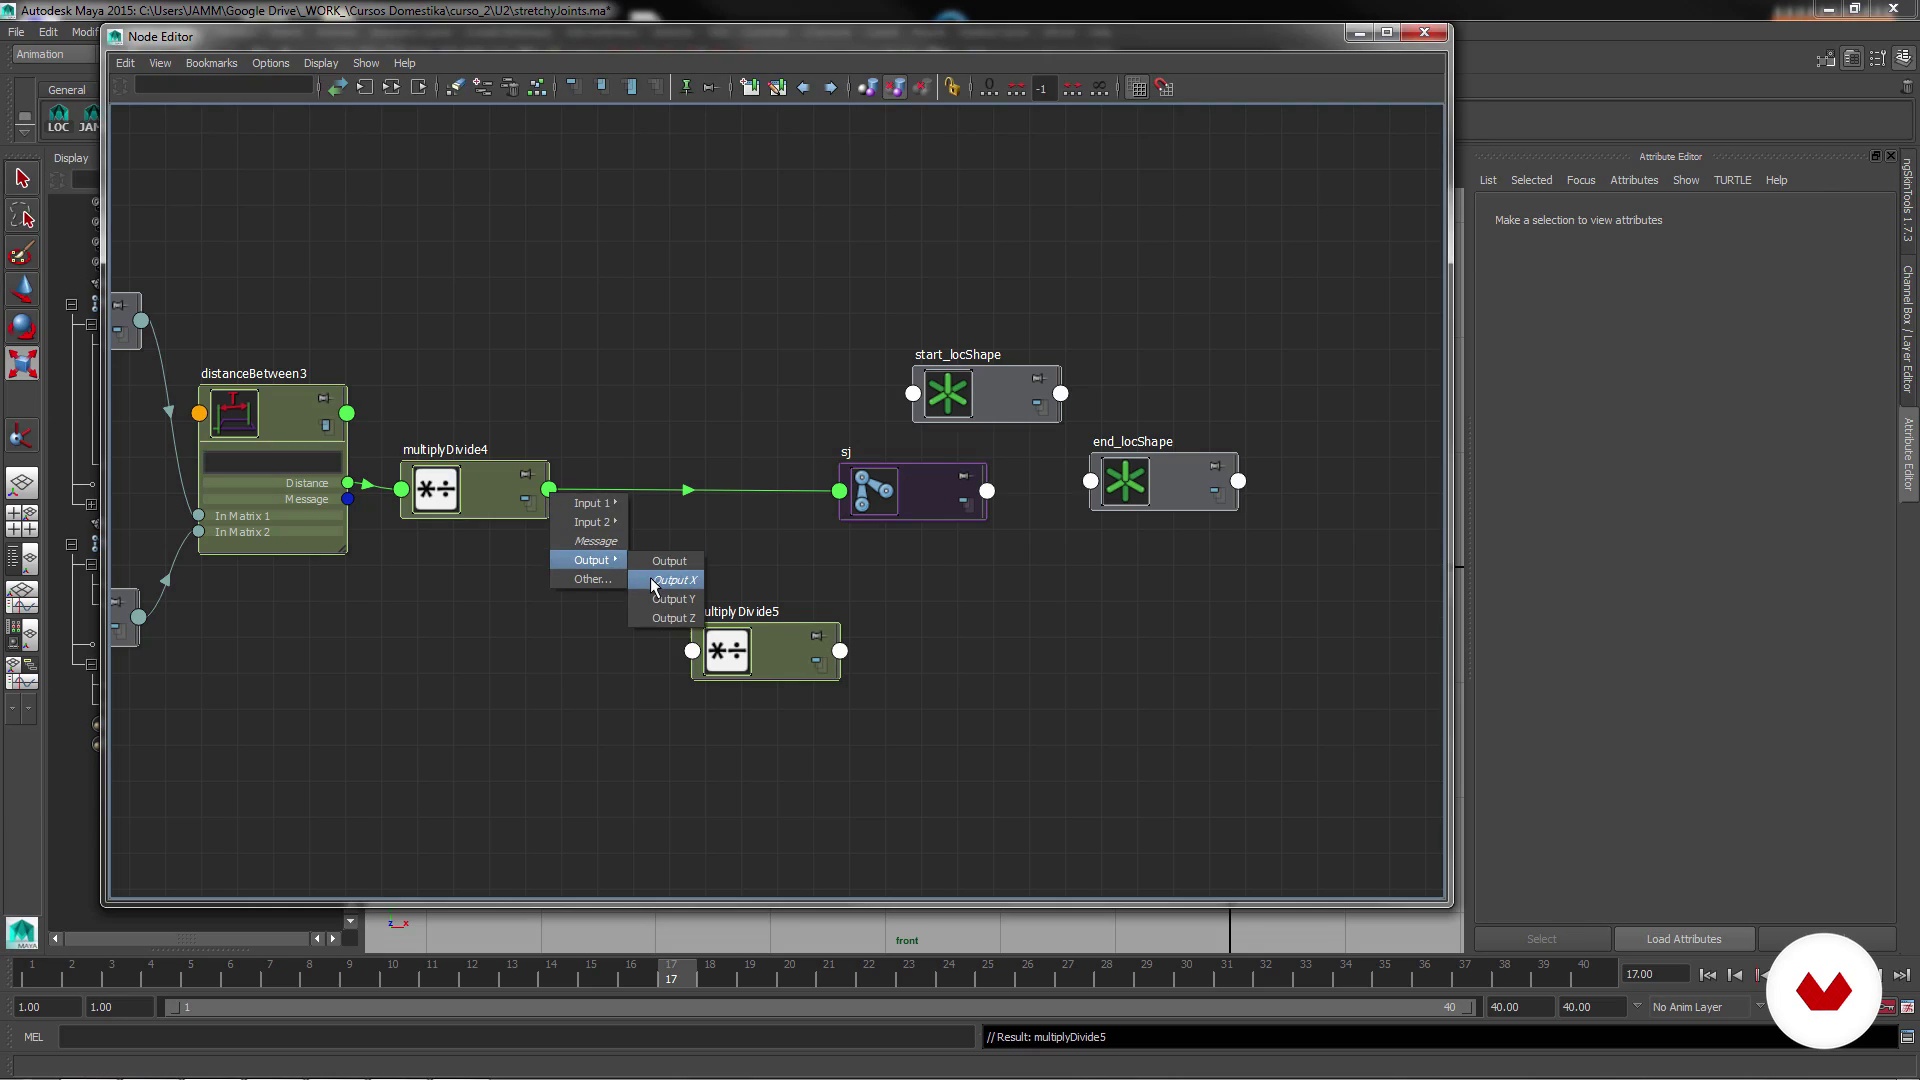
Stretchy joints 2
13 minutes, 15 seconds
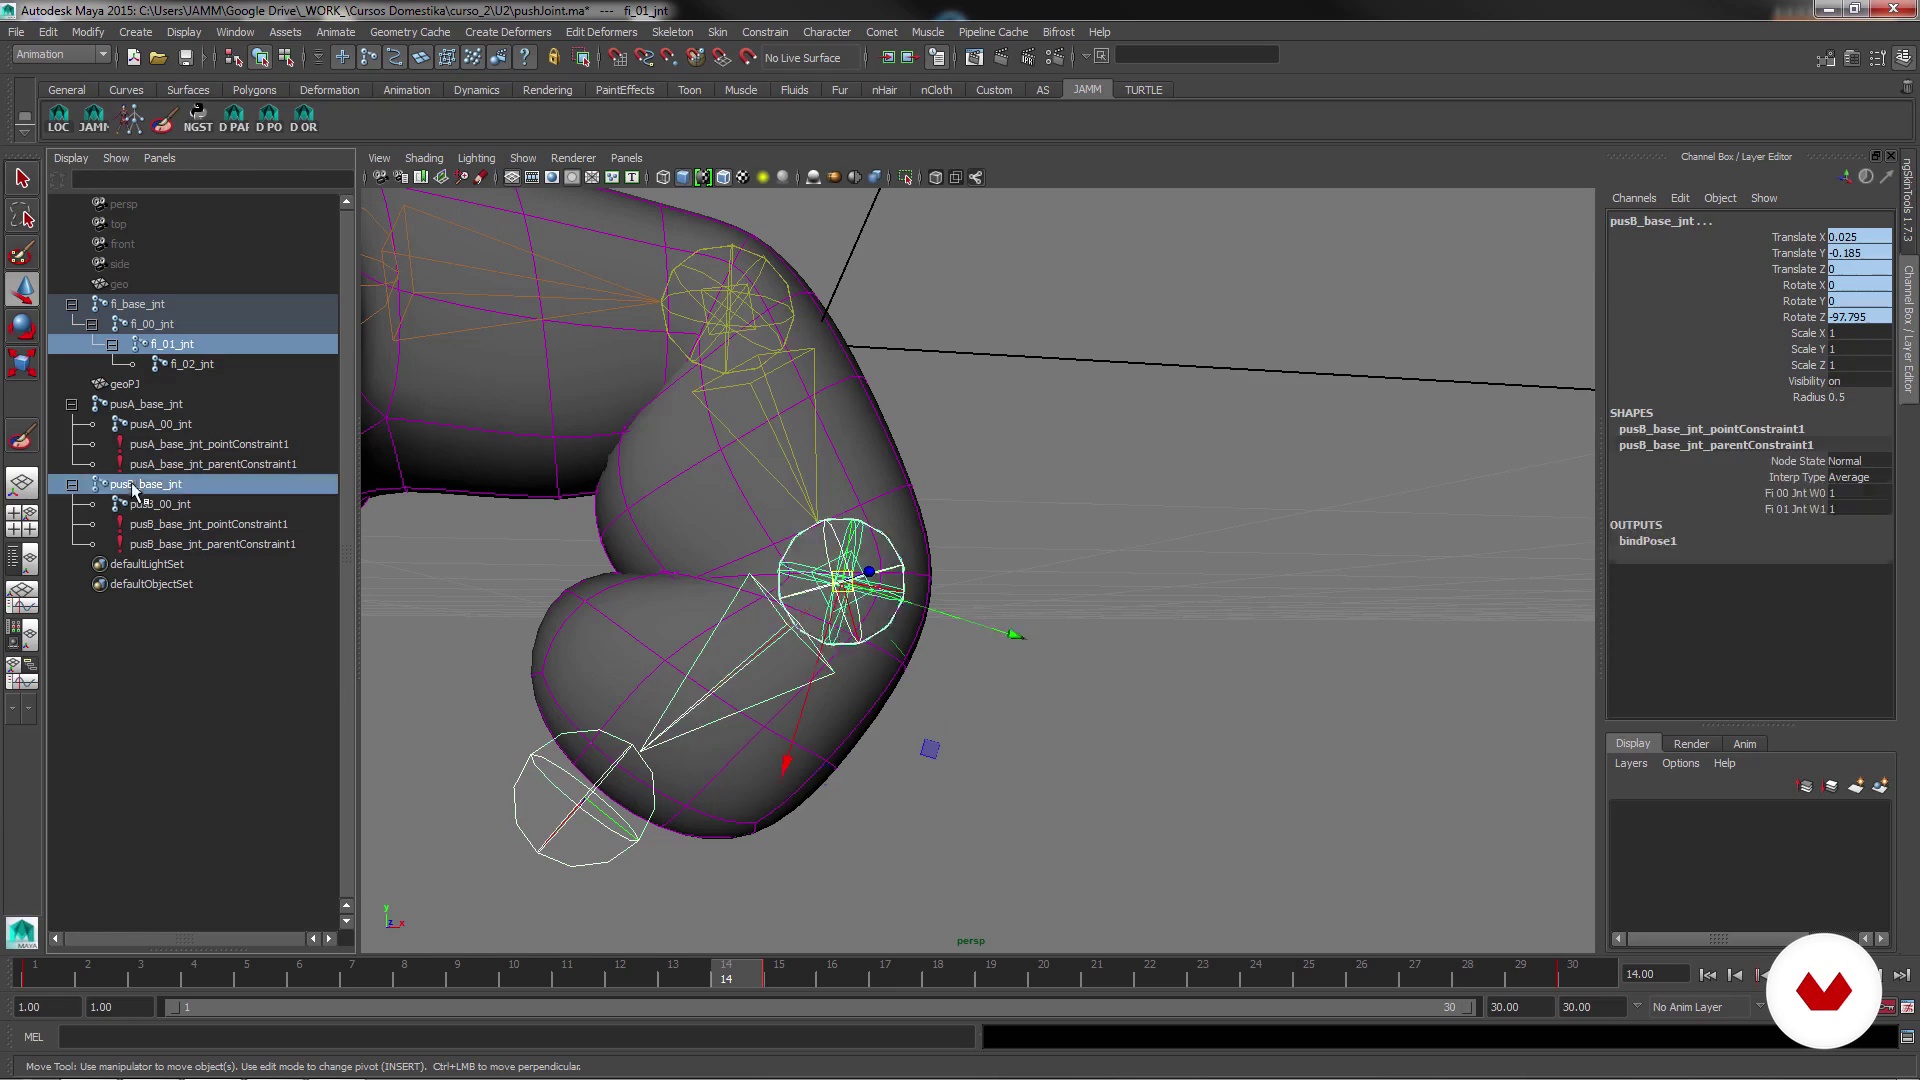
Deformation push joints
13 minutes, 28 seconds
What's included in this course?
You will begin by getting to know the work of Jose Antonio Martín, who will tell you about his influences and will tell you exactly what the rigger's work consists of.
Then he will explain the fundamental concepts that you must know to be able to make quality deformation rigs. You will discover the difference between intersection and loss of volume, you will learn what are Twist Joints, Stretchy Joints and Push Joints.
You will apply the Twist Joints on arms and legs.
Once you have created the complete rig you will start with the deformation and you will create skinCluster on the head, torso, arms and legs, that is, on all the pieces of the 3D model on which you are working.
To finish you will do a general review and you will add the necessary elements so that the movement of your character is as natural as possible.
Recommended software & tools for this course
What is this course's project?
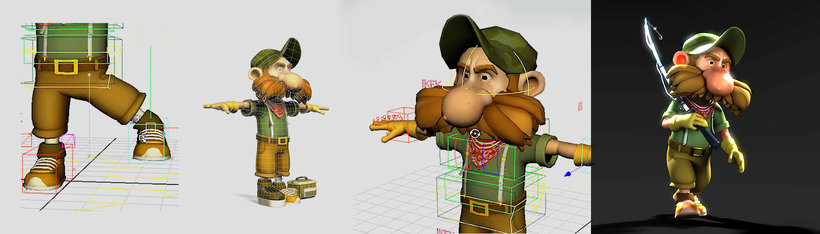
You will create the deformation of a human-like character so that their movements are natural.
Projects by course students


Who is this online course for?
A animators, riggers, 3D designers and anyone with an interest in the world of animation who wants to take a step further in the creation of deformations of a bipedal character.
Requirements and materials
This course is a continuation of the course Introduction to rigging for animation , although you can also do it if you already have basic knowledge of rigging.
With regard to the materials you will only need a computer in which you must have Autodesk Maya installed, although the concepts you will learn can also be applied to other software.
Reviews
- 6 months ago
very helpfun
- 9 months ago
excelente
- 3 years ago
buen curso
- 3 years ago
Muy interesante y fácil de seguir! da consejos bastante útiles para no volverte loco con el skinning.
- 3 years ago
muito bom

Content
- U1
Introduction
- Presentation
- Influences
- What is a rigger
- U2
Basic notions
- Deformation - Intersection vs. volume loss
- Twist joints
- Stretchy joints 1
- Stretchy joints 2
- Deformation push joints
- U3
Creation Twist Joints in the rig
- Twist Joints on the arm
- Twist Joints on the forearm
- Twist Joints in final arm
- Twist Joints on the leg
- Twist Joints on the lower leg (calf)
- Twist Joints on legs finished
- U4
Heavy character
- Heavy head 1
- Heavy head 2
- Heavy torso 1
- Heavy torso 2
- Heavy torso 3
- Heavy arm
- Heavy hands and fingers 1
- Heavy hands and fingers 2
- Heavy legs 1
- Heavy legs 2
- Heavy legs 3
- Heavy legs 4
- Possible additions to the rig
- FP
Final project
- Rigging and deformation of a character
What to expect from a Domestika course
Learn at your own pace
Enjoy learning from home without a set schedule and with an easy-to-follow method. You set your own pace.
Learn from the best professionals
Learn valuable methods and techniques explained by top experts in the creative sector.
Meet expert teachers
Each expert teaches what they do best, with clear guidelines, true passion, and professional insight in every lesson.
Certificates
PLUSIf you're a Plus member, get a custom certificate signed by your teacher for every course. Share it on your portfolio, social media, or wherever you like.
Get front-row seats
Videos of the highest quality, so you don't miss a single detail. With unlimited access, you can watch them as many times as you need to perfect your technique.
Share knowledge and ideas
Ask questions, request feedback, or offer solutions. Share your learning experience with other students in the community who are as passionate about creativity as you are.
Connect with a global creative community
The community is home to millions of people from around the world who are curious and passionate about exploring and expressing their creativity.
Watch professionally produced courses
Domestika curates its teacher roster and produces every course in-house to ensure a high-quality online learning experience.
FAQs
Rigging is the process of building a skeleton and control system for 3D models, enabling realistic animation and deformation. It’s essential for bringing characters and objects to life in digital animation.
This is an intermediate-level course; basic knowledge of Maya and 3D modeling is recommended to fully benefit from the advanced techniques covered.
You should have basic Autodesk Maya skills and prior 3D modeling experience. You’ll also need access to a computer with Maya installed to practice the course techniques.
You’ll learn to build advanced rigs, apply techniques like twist joints, stretchy joints, and push joints, optimize deformations, prevent volume loss, and prepare characters ready for professional animation.
The skin cluster links the character’s mesh to the rig’s joints, allowing the joints to influence the geometry and create natural deformations during animation.
Twist joints distribute rotation along limbs, preventing odd deformations like candy-wrapper effects and producing more natural arm and leg movements.
By using techniques such as proper mesh weighting, applying push joints, and adjusting joint influences, you can maintain volume and avoid intersections in critical areas.