Dark Mood Photography for Culinary Projects
Course final project
A course by Dácil Fernández , Food Photographer and Stylist

About the final project for: Dark Mood Photography for Culinary Projects
Dark Mood Photography for Culinary Projects
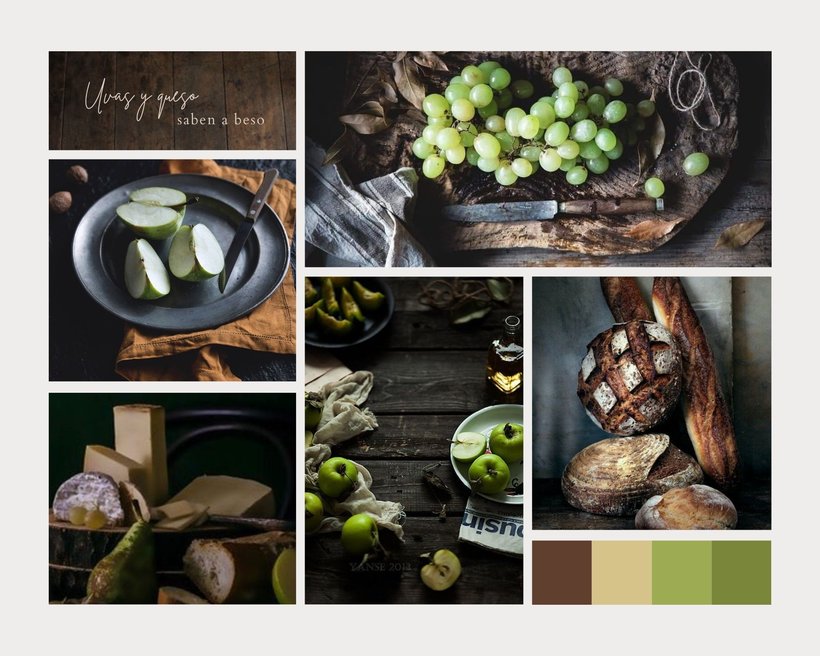
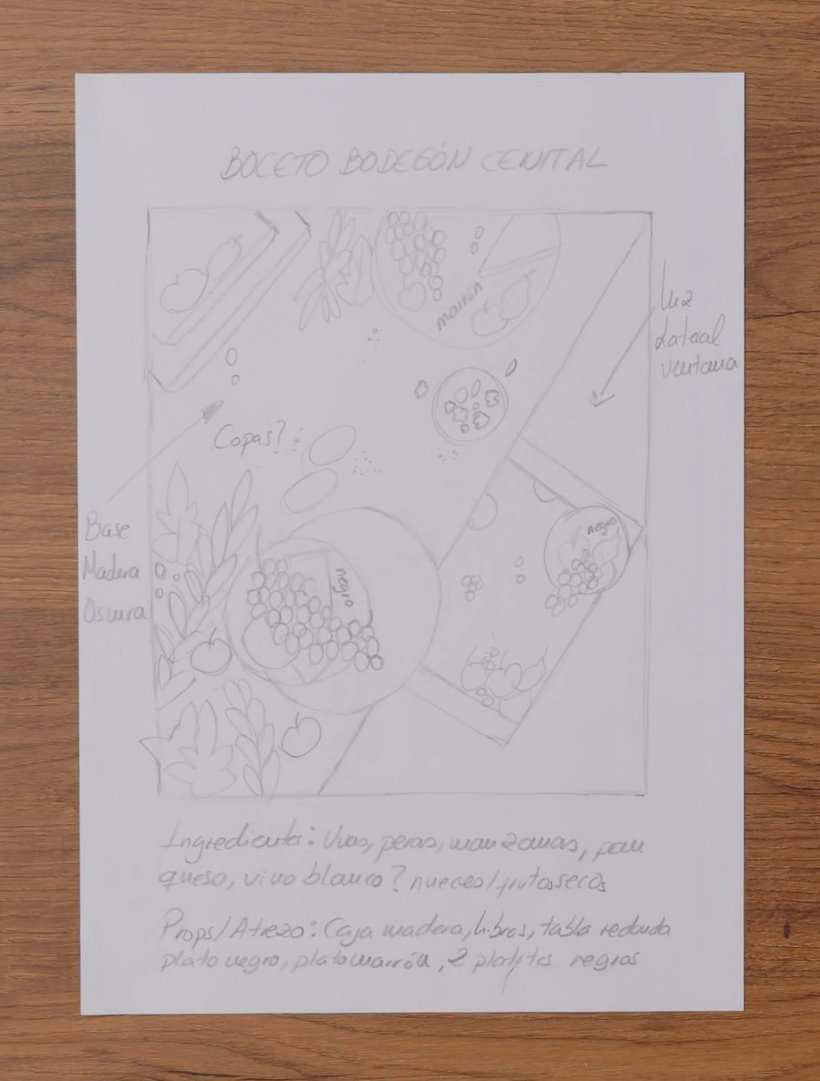
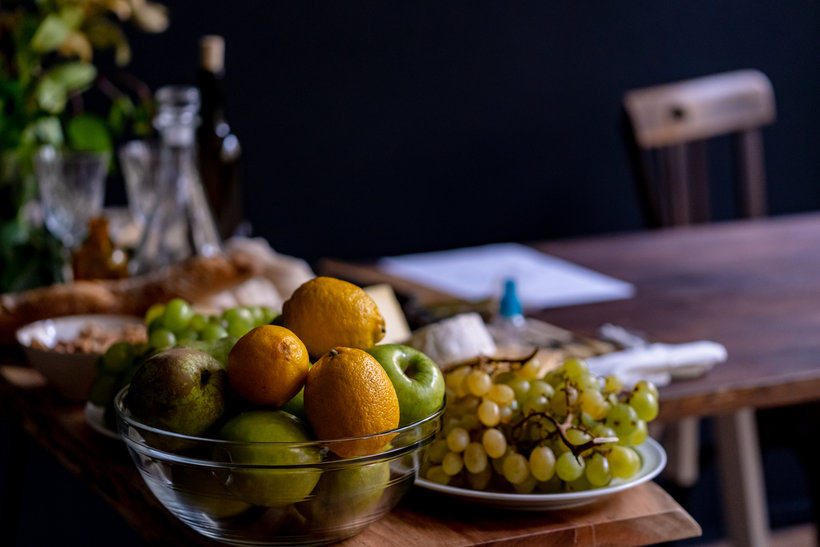
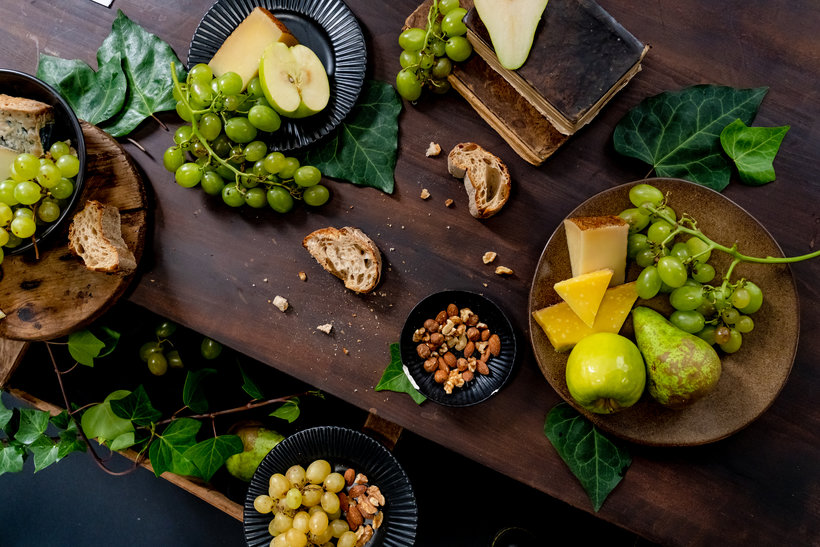
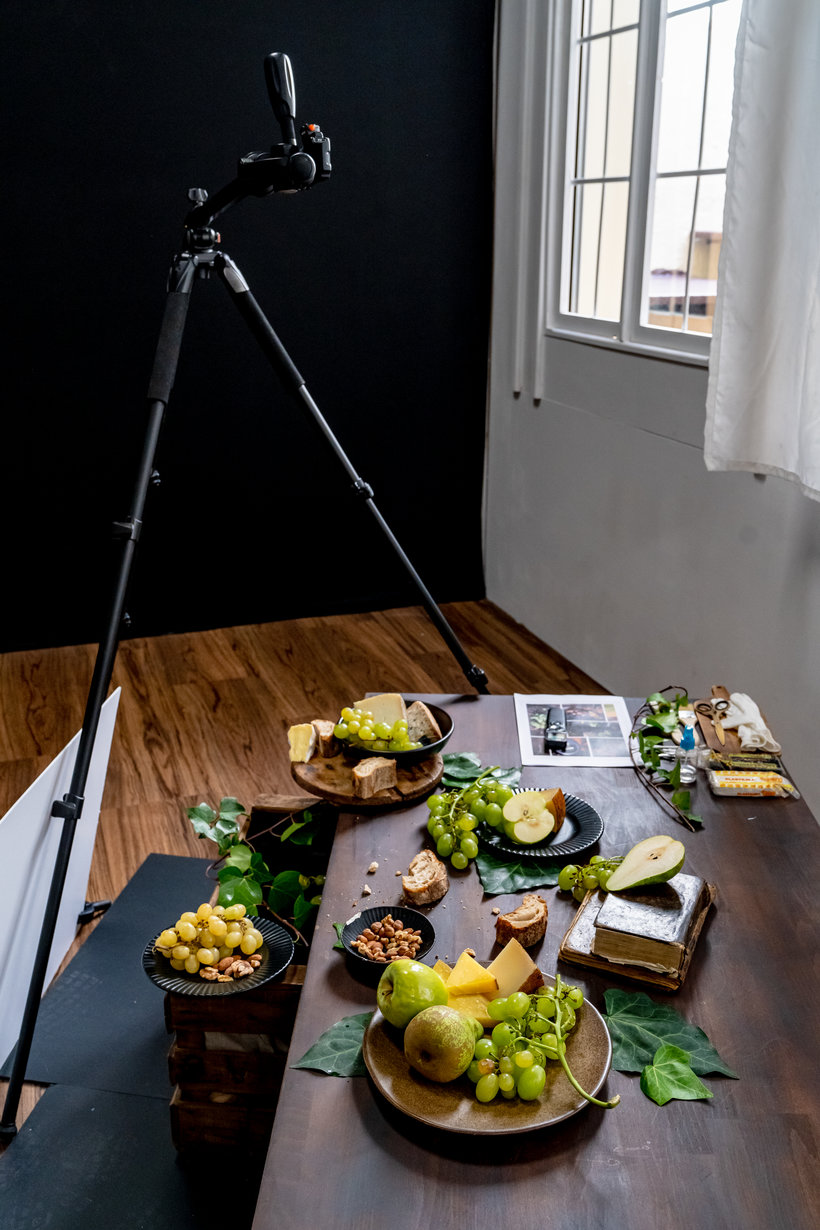
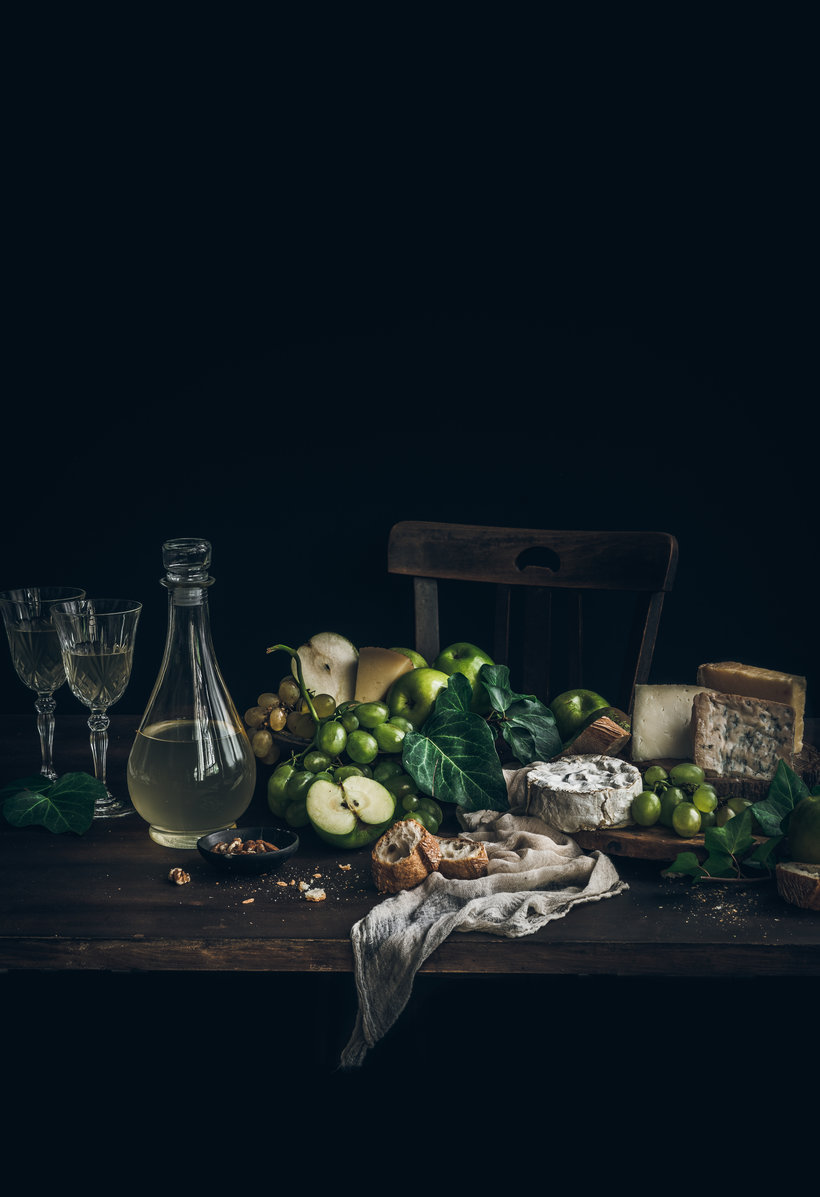
“Now I am going to review with you all the phases of the process to carry out the final project; two photographs with the same ingredients, but one from the front and the other from the top. It would be great if you showed both the finished photos and their creation process. Briefly explain what you have done in each phase and accompany the explanation with one or more images. Definition of your story and idea Start by defining what story you are going to tell. If it's something you already have in mind, perfect. If not, you will have to spend some time finding inspiration. Create your mood board, and then finish shaping the idea with the sketch. Do not forget to make your guide with notes and write down everything you think is necessary. It is very likely that you think that you have everything very well structured mentally and that later once on set you get lost. Sometimes we believe that skipping these steps saves us time and the opposite is true. Trust me, going blank on set is a real waste of time.


Partial transcription of the video
“Final Project We’ve reached the end of the course. It's been a pleasure to be with you during all these lessons and show you my vision of this type of photography. There are several factors that will make you successful in the world of culinary photography. For me, it's essential to remember that the world around you can be a source of inspiration. Keep your eyes open. For me, the best way to learn is by pressing your shutter button a lot, and remember that with passion and dedication, anyone can do it. I encourage you to experiment, be original, and explore all your creative potential. Try...”
This transcript is automatically generated, so it may contain mistakes.
Course summary for: Dark Mood Photography for Culinary Projects
-
Category
Culinary, Photography & Video -
Software
Adobe Lightroom Classic -
Areas
Food Photography, Food Styling, Instagram Photography

Dácil Fernández
A course by Dácil Fernández
Food photographer Dácil Fernández first started out on a bakery blog, where she invented stories around food and transformed them into photographs. At that time, she was a fashion stylist and decided to leave it to devote herself fully to photography.
She has worked with Mangaroca, DYC, Tefal, Kenwood, Nescafé, Paulaner, Bulldog, and Lidl, among others. All these big-name brands found their way to her through her main showcase: Instagram.
- 98% positive reviews (280)
- 9,842 students
- 17 lessons (2h 13m)
- 29 additional resources (7 files)
- Online and at your own pace
- Available on the app
- Audio: Spanish, German, English, French, Indonesian, Italian, Dutch, Polish, Portuguese, Romanian, Turkish
- Spanish · English · Portuguese · German · French · Italian · Polish · Dutch · Turkish · Romanian · Indonesian
- Level: Beginner
- Unlimited access forever
Recommended software & tools for this course
Category
Areas

