Design and Creation of Hats from Start to Finish
Course final project
A course by Betto García , Art Director, Artisan, and Hat Designer

About the final project for: Design and Creation of Hats from Start to Finish
Introduction to the design and manufacture of top and brim hats
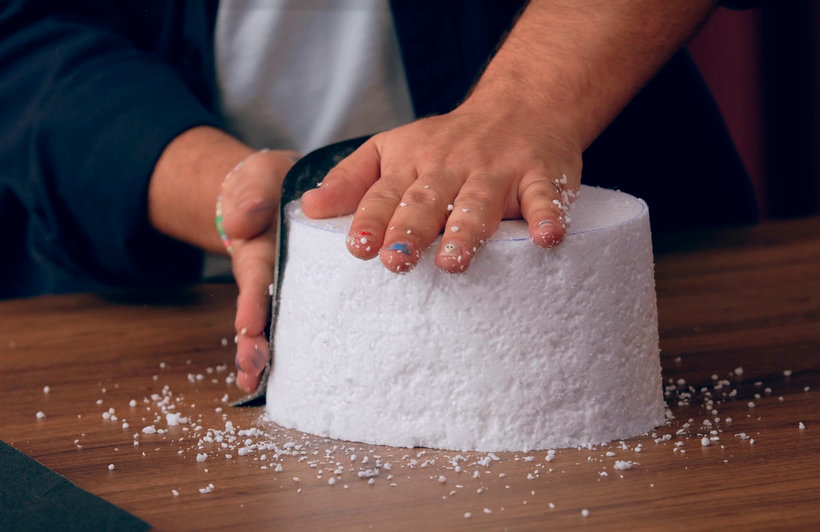
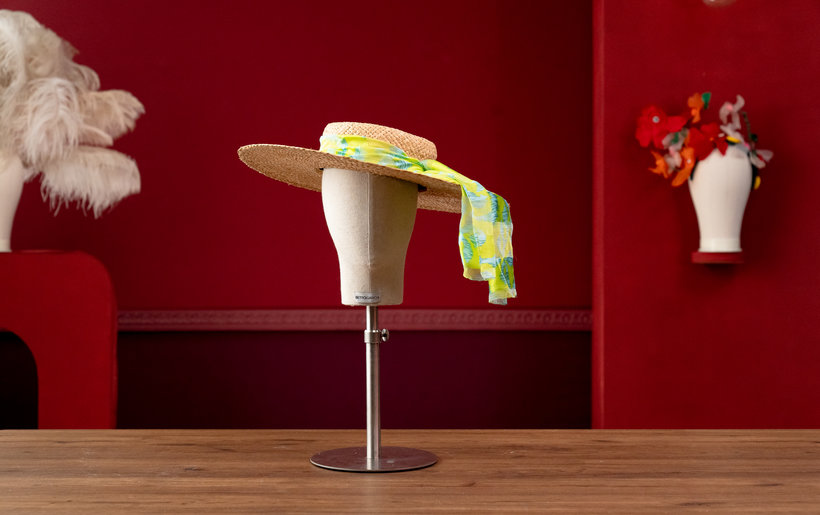
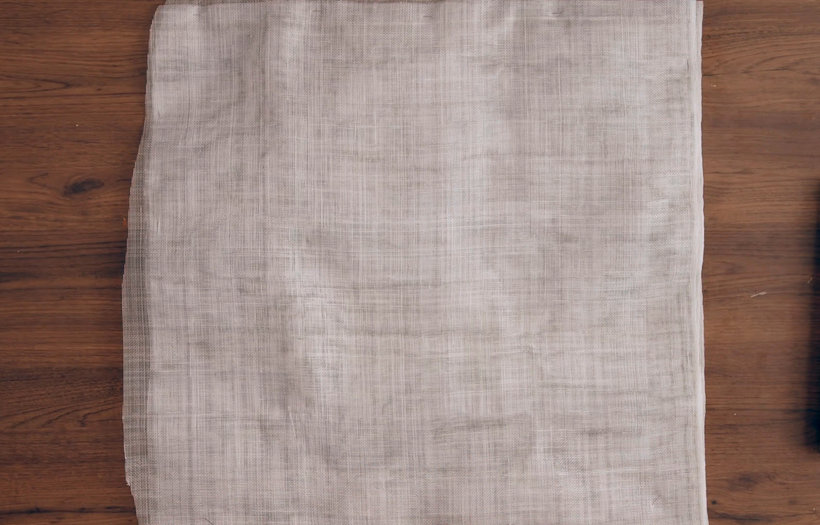
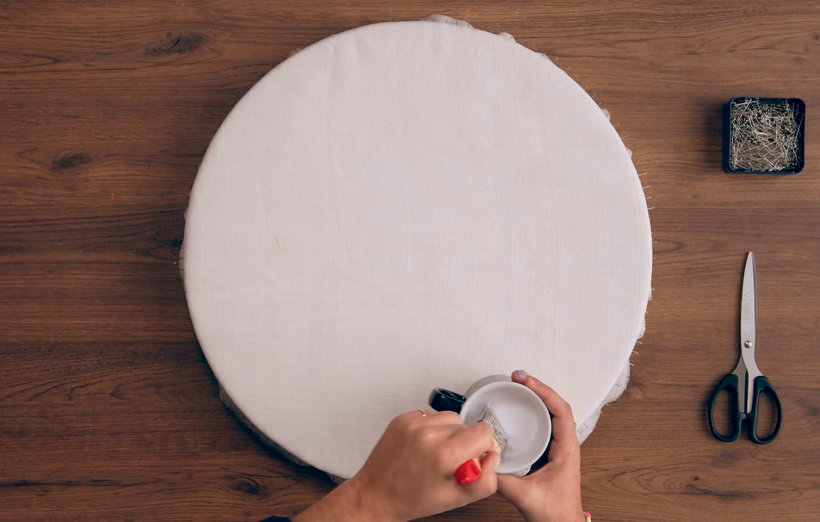
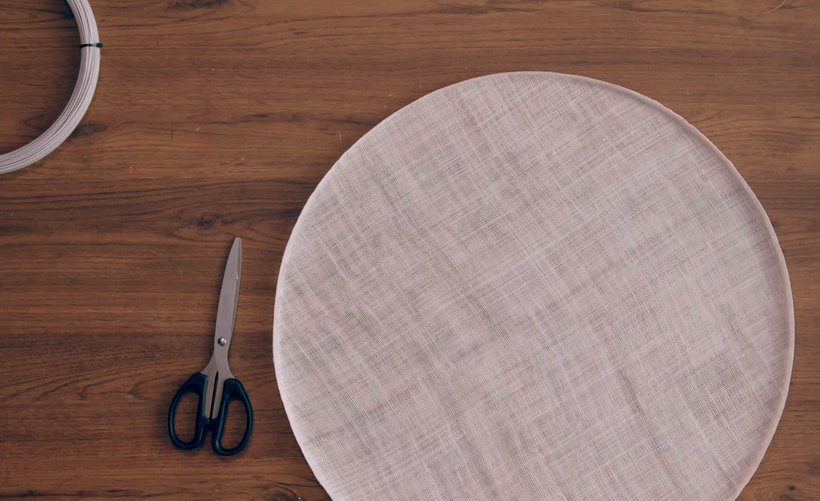
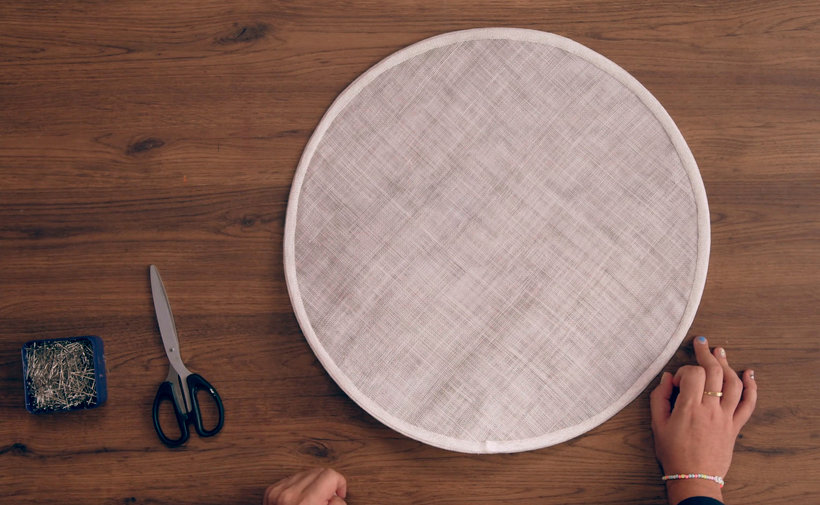
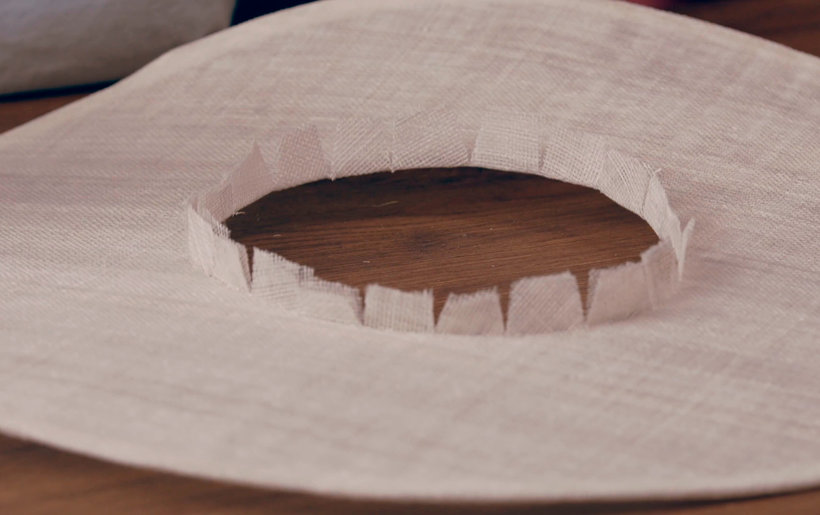
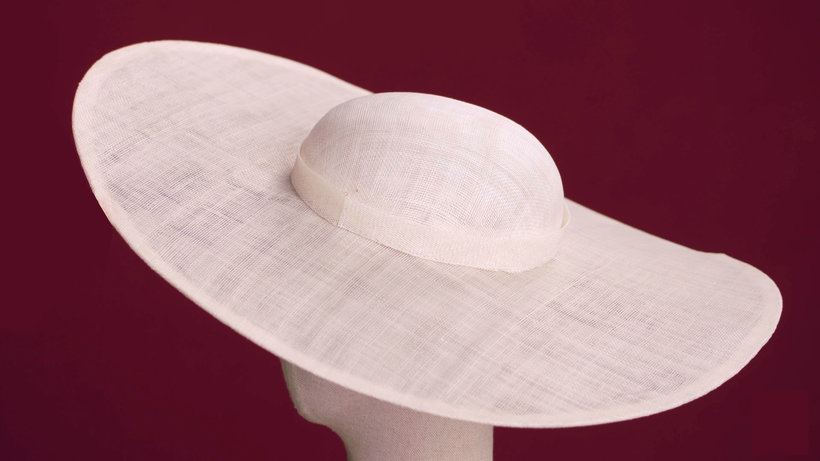
“I hope you enjoyed this course as much as I did doing it. I have created two types of hat. Choose if you want to make your last with capelin or sinamay (or if you want to try both techniques). Next, we are going to review the key phases of the project. It would be great if you showed me a picture of each phase and added a brief explanation about what you have done in each one. Head measurements and creation of the last The first step before starting will be to take the correct measurements of the head and create your own last as I taught you in Unit 3 of the course. After creating the last, you can start to model the type of hat you have chosen.


Partial transcription of the video
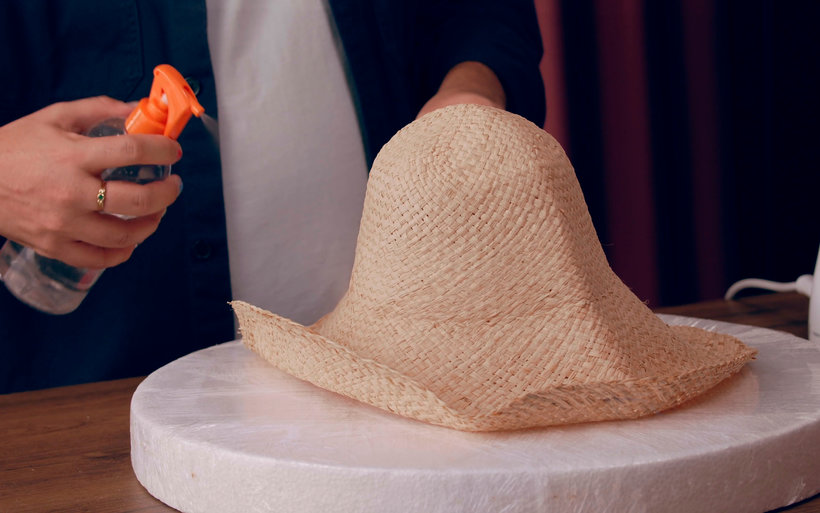
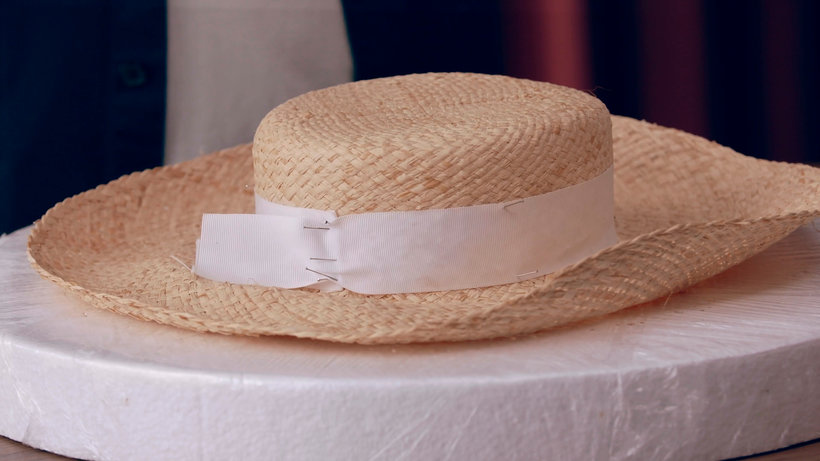
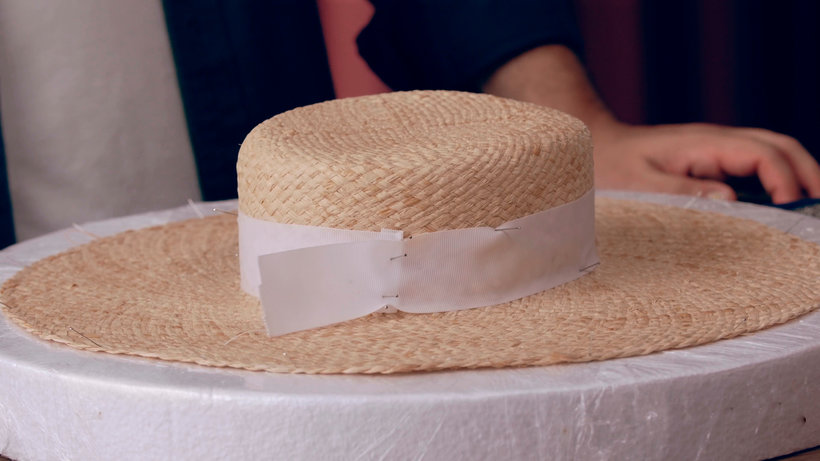
“Final Project We’ve reached the end of the course. I hope you enjoyed it as much as I did. In this video, I’ll summarize the course and some key points for making your own hat. First, you’ll need to decide whether you want to use capeline or sinamay. Take the correct measurement of your head, as this will be the size of the hat. You'll find templates under Additional Resources to make your own block at home if you don’t have one. Remember to pull the fabric taut on the hat block. Add the stiffening agent and allow it to dry for 24 hours. Carefully remove it and prepare the bias tape if you ...”
This transcript is automatically generated, so it may contain mistakes.
Course summary for: Design and Creation of Hats from Start to Finish
-
Category
Craft, Fashion -
Areas
Accessory Design, Fashion Design, Sewing

Betto García
A course by Betto García
Betto García was trained in the London workshop of the formidable milliner Edwina Ibbotson when he was just 22. There, he worked on commissions for the British royal family and attendees of the Ascot races. He is currently based out of his artisanal workshop in Valencia and his pieces can be found on sale at the concept store The Curated NYC in New York.
Throughout his career he has worked with Spanish names like Palomo Spain on his debut collaboration at New York Fashion Week, Juan Vidal, and Outsiders Division. He has also created tailored pieces for costume designer Ana López Cobos who has showcased his work in theaters and cinemas in Esto no es la casa de Bernarda Alba (This Is Not the House of Bernarda Alba) and Salir del ropero. Among the list of celebrities who have entrusted him with commissions are international rapper Cardi B, singer Rosalía, and actors Rossy de Palma and Penélope Cruz, to name just a few.
- 99% positive reviews (118)
- 4,783 students
- 17 lessons (2h 47m)
- 15 additional resources (2 files)
- Online and at your own pace
- Available on the app
- Audio: Spanish, German, English, French, Indonesian, Italian, Dutch, Polish, Portuguese, Romanian, Turkish
- Spanish · English · Portuguese · German · French · Italian · Polish · Dutch · Turkish · Romanian · Indonesian
- Level: Beginner
- Unlimited access forever
Areas

