Procreate Tutorial: How to Draw Frankenstein’s Monster
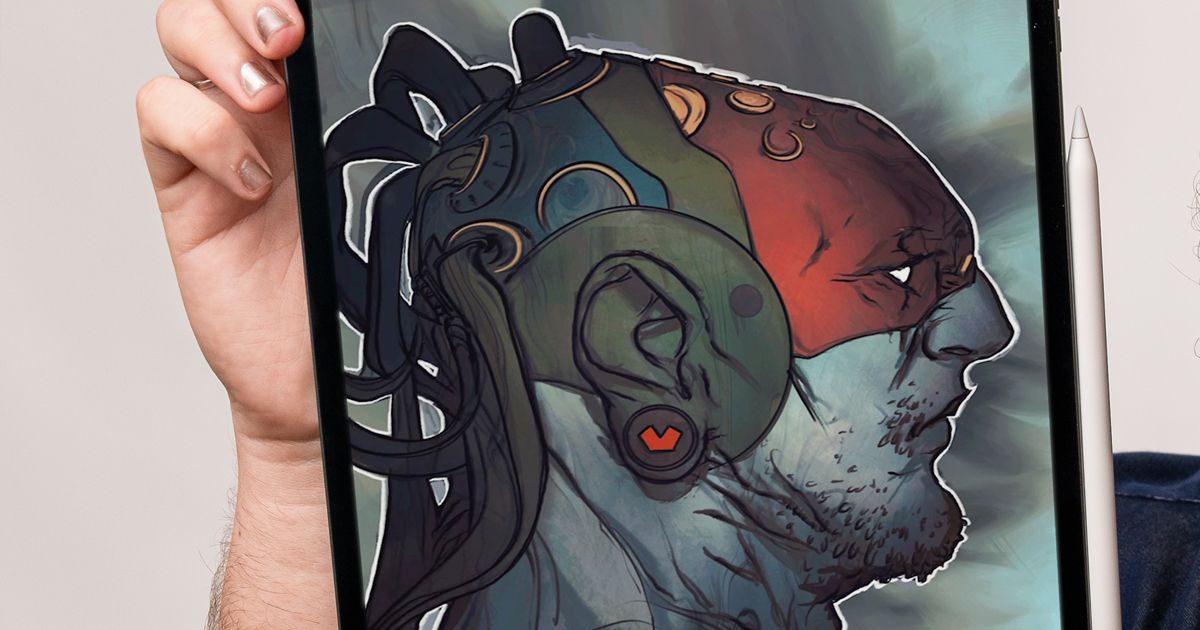
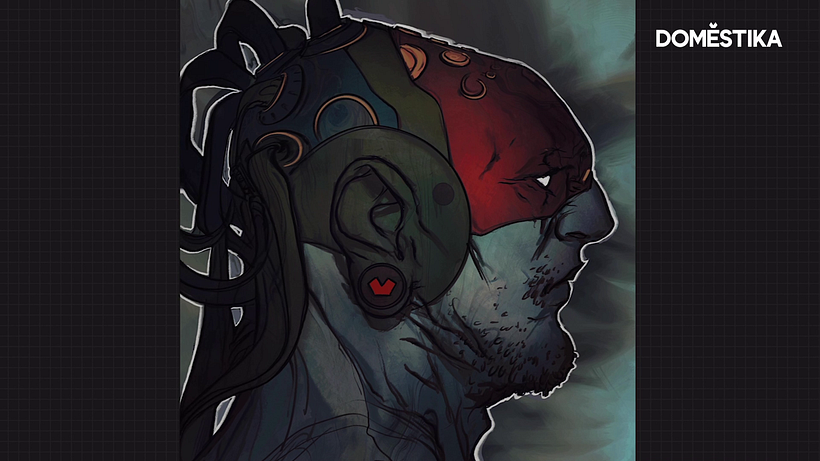
Discover illustrator Rafael Sarmento’s step-by-step tips for drawing Mary Shelley's iconic monster this Halloween
Frankenstein’s monster is a horror classic. But even though Mary Shelley’s creation has become a pop culture icon, there are still a few basic things people get wrong about him, from mistakenly calling him by the name of his creator (Frankenstein) to depicting him as green, when, in her book, Shelley says his skin is a translucent, yellowish color.
Illustrator Rafael Sarmento (@rafsarmento) loves being able to create fantastic stories. He’s fascinated by the ability of a single image to tell a whole story. Details, characters, and settings all tell subtle tales of legendary sagas in far-off times and places. He designs universes in which sci-fi and fantasy combine in such a way that it’s hard to tell the difference between incredibly advanced technology and the beating magic that impregnates it all.
Over the last decade, he's worked with clients including Wizards of the Coast, Riot Games, ArtStation, Universal Pictures, DeviantArt, Procreate, ImagineFX, MaxPacks, and many more. Rafael is also a cover artist for Dark Horse Comics and DC Comics. Sometimes, he even creates his own music.
Here, he shares his tips for how to draw your own version of Frankenstein's Monster:
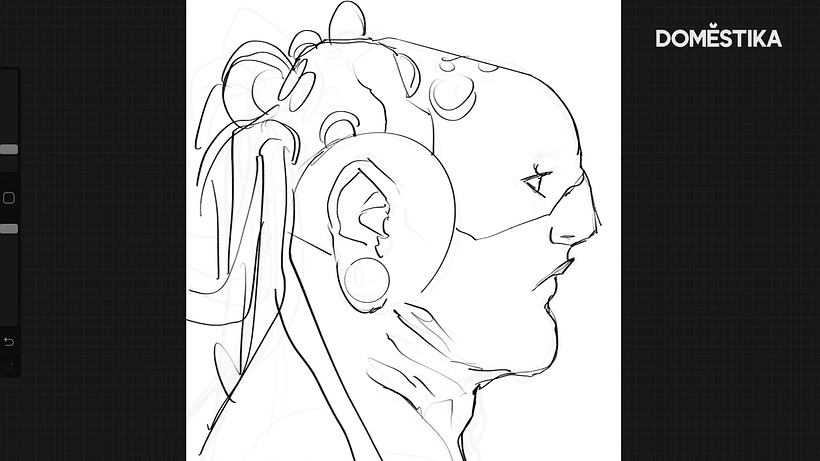
Sketch your drawing by hand
Start drawing freely, thinking about how you can create some of the elements using unconventional shapes. These strokes will give your drawing an auteur touch.
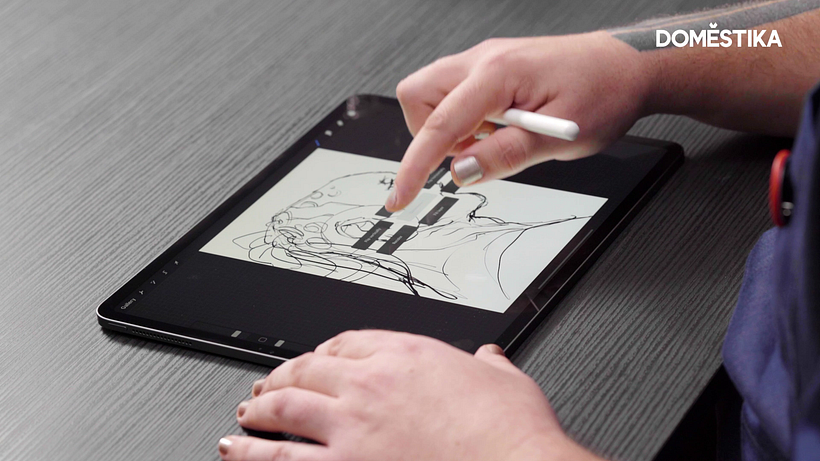
Turn the elements into a single layer
Once you’ve completed your outline, use the move Three fingers down shortcut, click Copy all and then Paste. This converts all the elements of your illustration into a single layer, ready to start coloring.
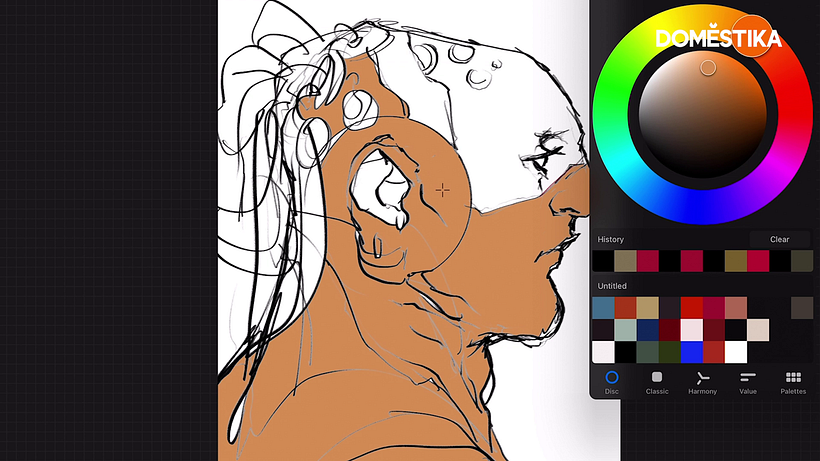
Use the Recolor tool
This tool allows you to change the colors in real time, which speeds up your creative process. Use Flood to define the amount of color you want to fill the selected area.
Play around with the colors
Part of Rafael Sarmento’s creative process involves playing around with the colors. For this illustration, he duplicated the layer to be able to use the Gradient Map function and mix the shades. Have a go at this yourself, and experiment with whatever looks interesting.
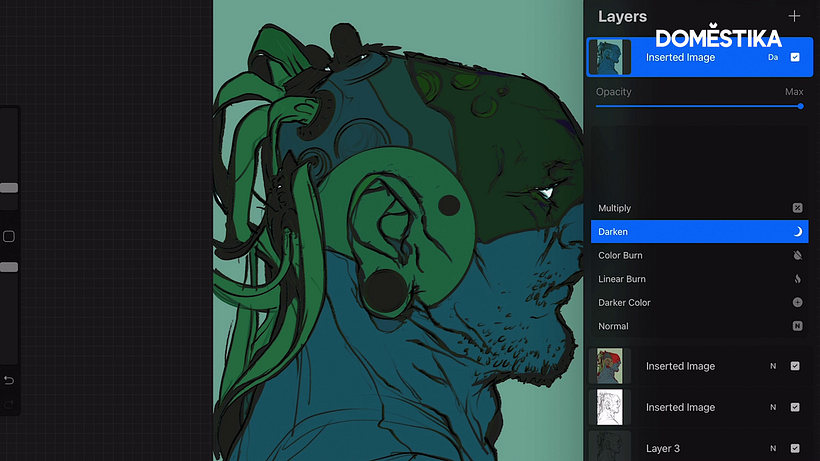
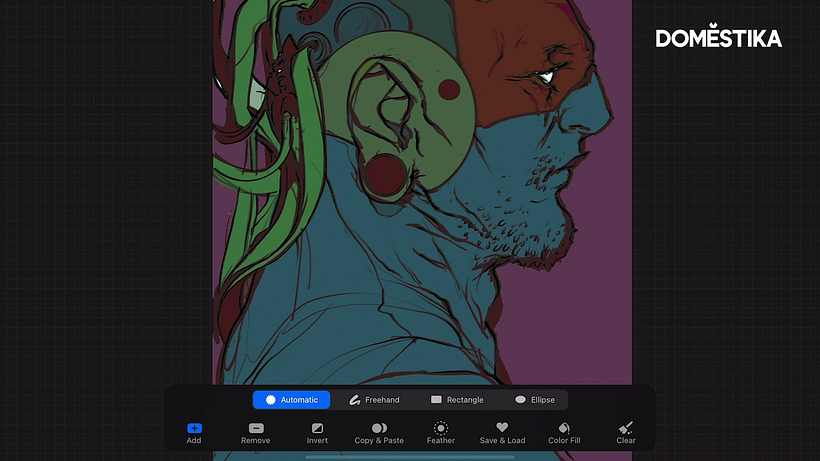
Use Selection to highlight the background
To highlight the background, use the Selection tool in Automatic mode, which makes it easier to remove entire zones. Now click Invert, which removes the background. Click Copy all and then Paste.
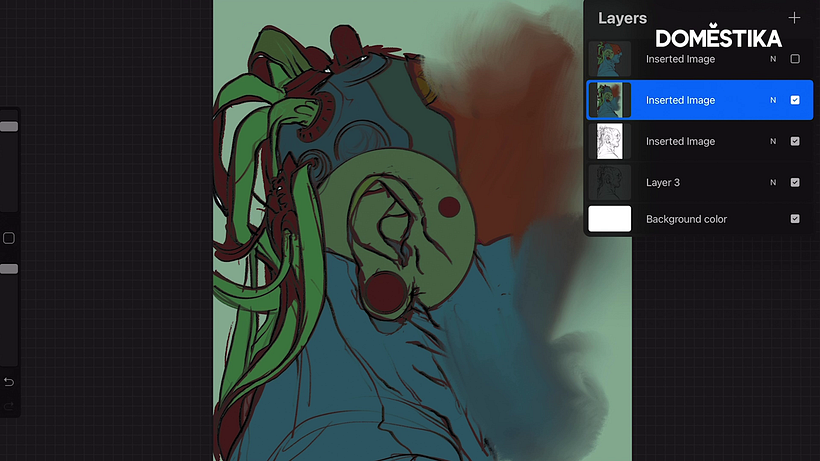
Customize the background
Use any tools you like to customize the background. You can apply anything from blurs to textures. It’s important to experiment! Use the Soft Brush to apply different textures and shadows, and to customize the main illustration.
Use Recolor to color it in or simply drag a color into your chosen zone.
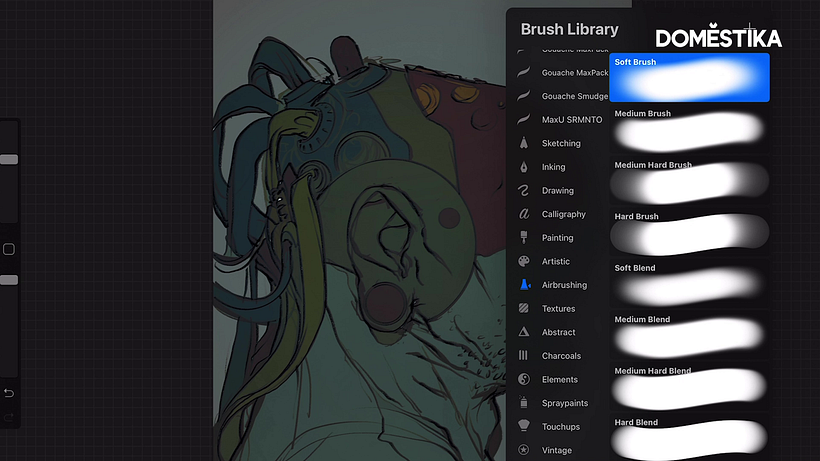
Apply the final details and save your illustration.
Love these tips? Discover our online Procreate courses. And don’t miss Rafael Sarmento’s course, also coming soon on Domestika.
You may also like:
- How Frankenstein’s Monster Turned Green
- Mary Shelley: the Young Woman who Created Frankenstein and Modern Science Fiction
- 6 Facts About Classic Halloween Movies You Probably Didn’t Know
- Fantasy and Science Fiction Digital Illustration, a course by Heber Villar Liza (Nimrod)
- Introduction to Procreate, a course by Román García Mora


0 comments