


Tie-Dye Tutorial: Crumple Technique for Beginners
Discover an easy DIY tie-dye technique you can do at home, with Peter Wasp
When it comes to DIY crafts, tie-dye only continues to get more popular and it’s not difficult to figure out why. With its bright and beautiful results, simple materials, and beginner-friendly techniques, this dyeing process offers a powerful way for anyone to add personality to their clothes and fabrics.
Fashion designer Peter Wasp (@peterwasp) has always been fascinated by the way that a piece of clothing can be totally transformed through dyeing techniques, and through all the ways that something as simple as tie-dye can be used to create unique gradients, stains, and geometric patterns.
In this tutorial, he shows you how to use the crumple technique to create unique tie-dye pieces at home.

Materials You Will Need:
- Bottles with dye
- A small container
- Rubberbands
- Fabric or clothing to dye
How to Use the Crumple Tie-Dye Technique
1. Take your fabric and lie it flat across a surface. You can either do this with dry fabric or with wet fabric that you’ve wrung out so that it’s damp but not dripping. When the fabric is wet the dye will spread and bleed, creating softer edges.

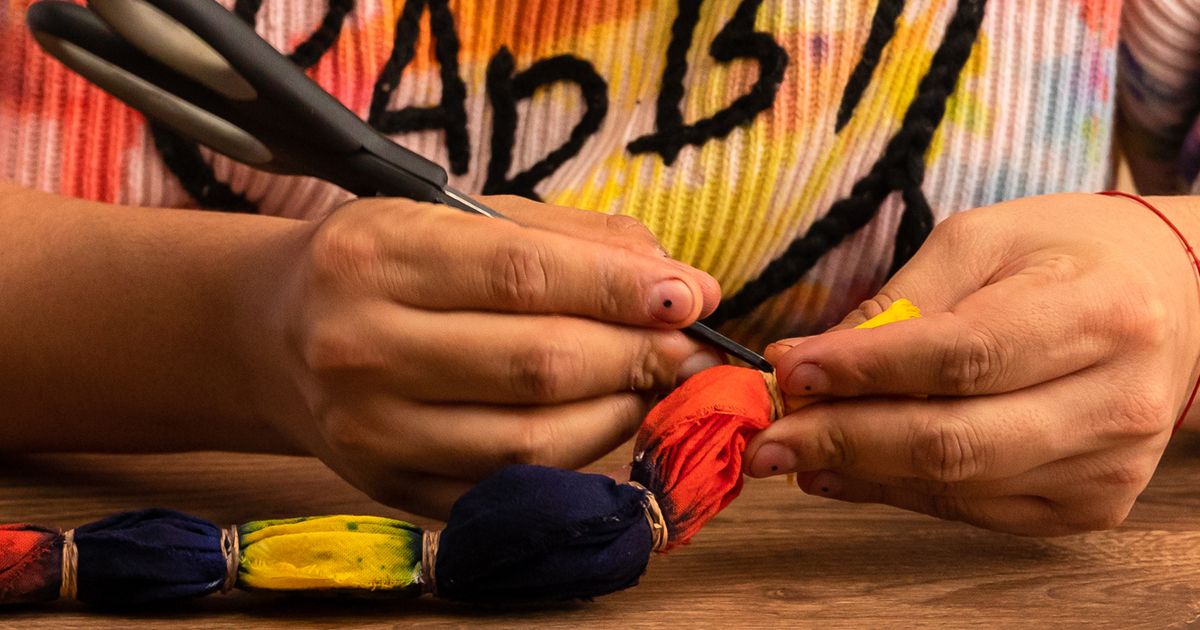
2. Crumple your fabric like you would a piece of paper, pushing in the edges to create a bundle.

3. Take your rubber bands and secure your bundle. The tighter you make the bands, the less the dye will be able to penetrate the fabric, meaning more undyed areas in your final piece. If you apply your rubber bands more loosely to your fabric, more dye will be able to reach the inner folds. Another option, if your container is small enough, is to place the bundle directly inside without any rubber bands.

4. Put your bundle in the container. You can even put multiple bundles in the same container next to each other.

5. Now it’s time to add the dye. Wasp stresses that the magic of this technique is how freely it can be done, encouraging you to think about it like a Jackson Pollock painting. Wasp’s personal preference is to squirt a base color across the fabric and then add other colors as accents afterwards.

6. Don’t be afraid to touch and manipulate your fabric. By opening some of the folds you’ll be able to get the dye to penetrate deeper into the bundle, creating more dyed areas in your final piece.

7. Once you’re happy with your results, leave your bundles to dry for 24 hours. After that, rinse any remaining dye out of the fabric and enjoy your brilliantly colored results.

If you want to learn more about how to experiment with tie-dye techniques to give personality to your clothes, check out Peter Wasp’s online course Tie-Dyeing: Fill Your Clothes with Color.
You May Also Like:
- Textile Dyeing Tutorial: Plant-based Pigments
- Macramé Tutorial: How to Dye a Textile Tapestry
- Basic Materials for DIY Shibori Technique
- What is Shibori?


0 comments