


DaVinci Resolve Tutorial: 3 TOP Tips for Beginners
Discover the basics of color correction in DaVinci Resolve, and progress from beginner to PRO, with Alex Berry
As a professional colorist, Alex Berry’s job (@make_it_pop) is to help capture the viewer’s attention and highlight the emotion and spirit of a film.
For him, DaVinci Resolve provides all the ideal tools needed to perform this task. He shares his top tips for correcting video color with this package.
Watch the video and keep reading this tutorial to discover his advice.

3 Top tips for color correction in DaVinci Resolve
1. Reduce the luminosity or brightness levels
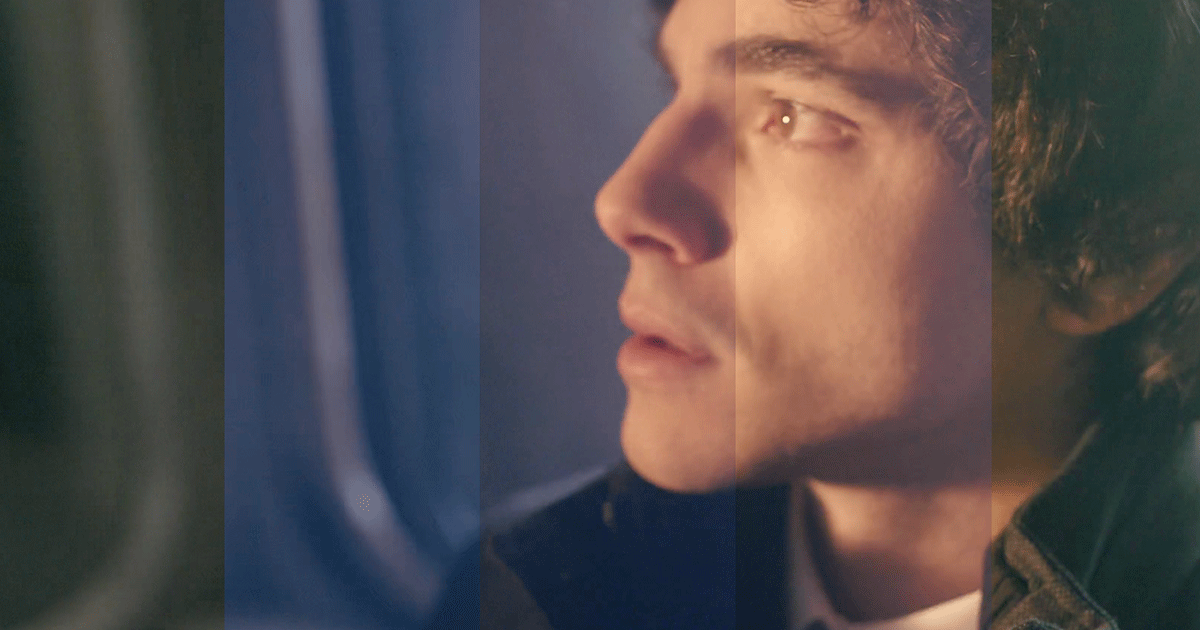
When it comes to improving the color in a face, your first instinct could be to increase the saturation. But that generates noise in surrounding elements like the background.
Berry explains that it’s better to reduce brightness instead. This will instantly give the image greater depth and harmony.

2. Use the Vectorscope
The Vectorscope intuitively gathers a range of functions together in one place. If you want to highlight the color in a specific area of the image, select the hue tool in Vectorscope and adjust the tone until you achieve the desired result.


3. Tone down the color in dark areas
Another way of highlighting a specific color is to tone it down in areas of shadow. For example, if you want the red to look brighter in a particular area of the screen, open the dark areas surrounding it and remove any red.
The area you are trying to highlight will immediately look stronger.

Like these tips? Learn the basics of color correction and grading for video using this powerful postproduction software in Alex Berry’s online course: DaVinci Resolve for Beginners.
You may also like:
- Adobe Photoshop for Color Correction, a course by Manu Torres
- Color Grading with DaVinci Resolve, a course by Sonia Abellán Avilés
- 5 Steps to Basic Color Correction in DaVinci (TUTORIAL)
- DaVinci Color Grading for Beginners in 8 Minutes


0 comments