


Screen Printing Tutorial: Get Your Illustration Ready to Print
Learn how to create the final files so your illustrations can be screen printed or risographed, with Jimena Estíbaliz
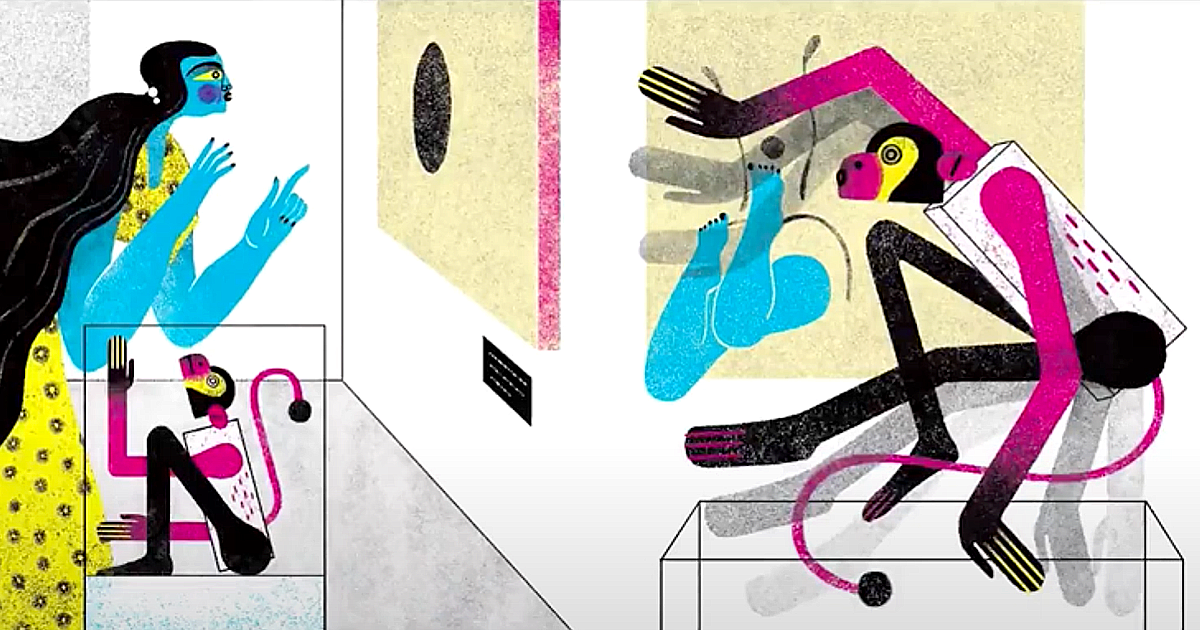
Risography and screen printing techniques have a characteristic impact on your printed illustrations. Screen printing involves squeezing ink through a screen stretched over a frame. Risography is a digital printing system that produces very similar results to screen printing. If you want to print your illustrations using these two systems, it’s very important to know how to export your files to obtain the best results.
Illustrator Jimena Estíbaliz (@jimena_estibaliz) specializes in editorial illustration and often uses risography and screen printing to finish her work. In this tutorial, she teaches you how to create the final files in Photoshop and InDesign to allow you to print your illustrations using these two methods.
Check out the video:
4 quick steps to export your files in print-ready format
1. Create your illustration in CMYK
It’s best to create your illustration in CMYK (Cyan, Magenta, Yellow and Black), as this color model makes it easier to export the print files. In Photoshop, the Channels tab shows all four colors separated into layers.

2. Save each layer
Start by selecting a channel and select Image > Mode > Greyscale in the upper toolbar. This will leave your selected channel layer in gray. Save the new file as a TIFF under the name Original color + replacement color to make it easy to remember each version. Use Command+Z to avoid opening the previous file and to be able to view all the layers. Then repeat the previous step for each channel. You should be left with four new files, one for each different color.

3. Do your screen printing color test
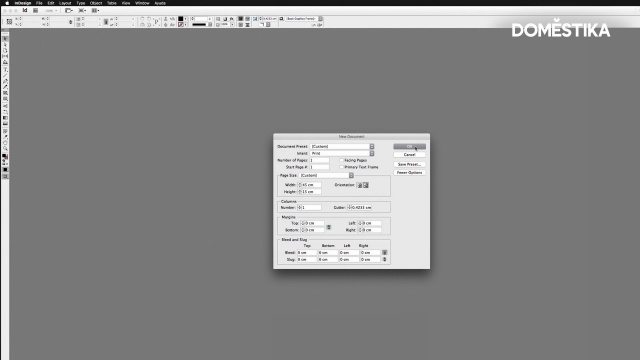
Each risography shop works with a different range of colors, and you’ll have to adapt to the selection available at your chosen firm. If you’re going to screen print, you need to create a color sample to allow the printers to match your palette. To do so, open your file in InDesign and create a file that’s the right size for your illustration. Export each of the layers you created in the previous step.
Once you’ve created the first one, double click on it. You’ll see the Fill option in the top toolbar. This will allow you to select your new color. For example, Jimena Estíbaliz replaced cyan with purple. She had already created her palette, but you can add a new shade in the New Color Swatch tab. Repeat this step for each color layer.

4. Combine the four layers
Now you have your four layers, select all, then go to the top InDesign tab and select Object > Effects > Transparency where you select Multiply. This allows you to view the final combination of all four layers in their final colors. Now click View > Overprint Preview to see the print view. Finally, export the file as a pdf to send it to your screen printer.

Like this tutorial? If you want to learn how to tell a story visually, combining narrative with manual and digital techniques, don’t miss Jimena Estíbaliz’ online course: Illustrated Scenes Using Traditional Techniques in Photoshop.
You may be interested in:
- Illustrated Vignettes: Stories That go Beyond the Screen, with Mariana Ruiz Johnson.
- Pictorial Portraits Using Digital Techniques, with Alex de Marcos García.
- Portrait Illustration with Analog and Digital Techniques, with Amy Pearson.


0 comments