Creating Fonts in Glyphs
What makes Glyphs the go-to program for designing and creating fonts?
Juanra Pastor, better known as @Wete, is a Barcelona-based graphic designer specializing in typography. He is the founder of Wete studio and has worked on lettering, typography, and advertising projects for clients such as Adobe, Carolina Herrera, Reebok, Desigual, and LVMH.
In this blog post, Juanra, who first developed a passion for letters as a 14-year-old graffiti artist, will explain the advantages of working in Glyphs when designing and creating typefaces.
What is Glyphs?
Glyphs is a Mac font editor that has been developed specifically for designing and creating typefaces. It offers up features for drawing high-precision vectors and enables us to save the fonts we create as files that we can install and use on our computers.
What are the advantages of working with Glyphs over other programs?
While we can use other vector drawing programs, such as Illustrator, to draw and create letters, Glyphs presents features that make it a much better-equipped program for designing fonts and solving specific type-related issues. Below Juanra shares some key examples.
Deleting a point on a curve
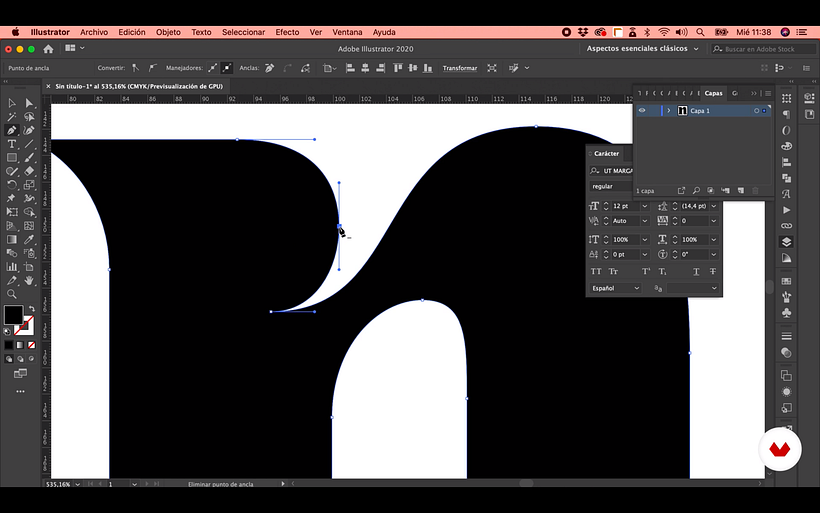
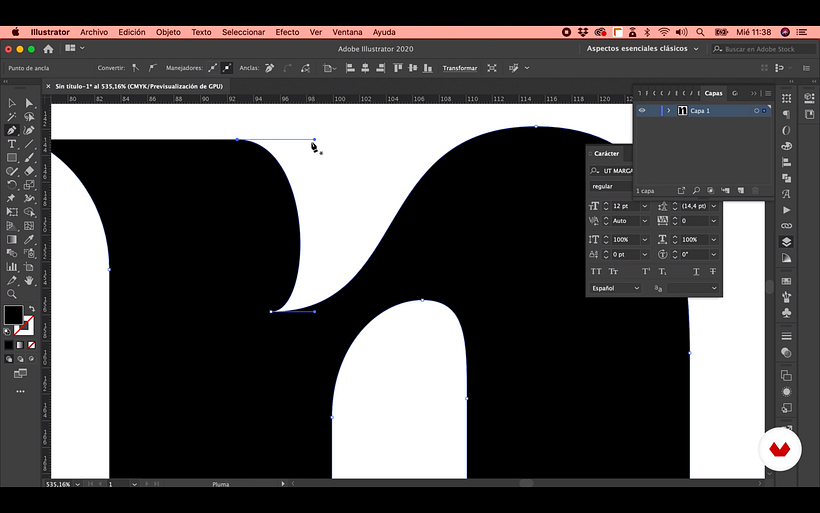
In Illustrator, say we have various anchor points on a curve, and we select the Pen tool and delete one of those points, it will distort the shape of the curve. This is because the direction handles for the remaining anchor points stay the same, so the curve changes shape.
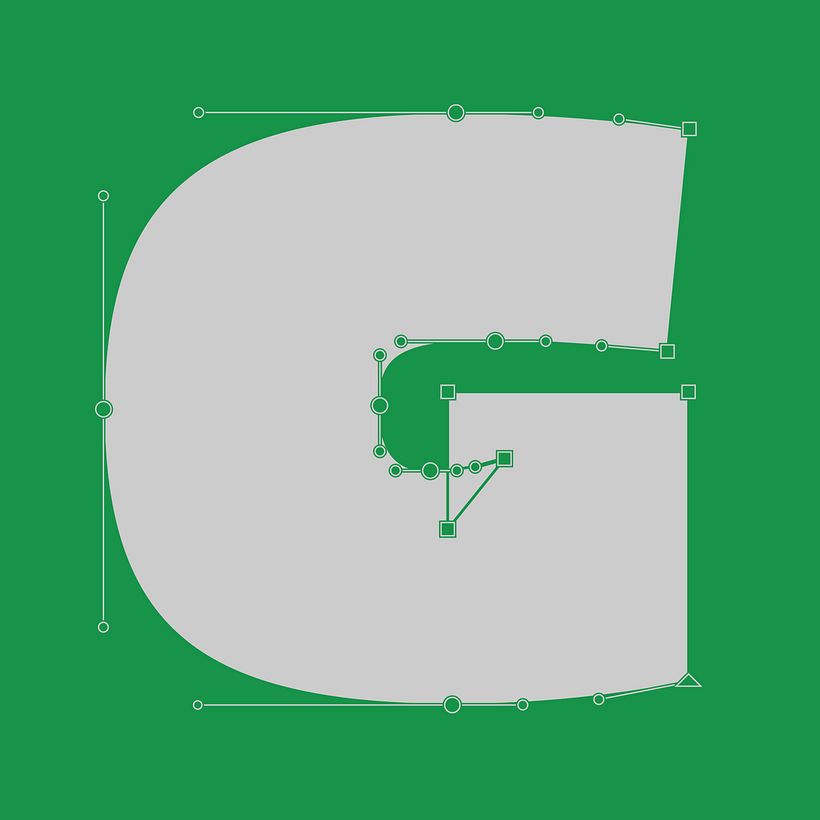
In Glyphs, however, the program recalculates the curve so that its shape remains more or less the same as it was before the point was deleted. Juanra says that this is vital as, in graphic design, we want to use as few anchor points as possible. In Glyphs, we can easily delete any anchor points that we consider unnecessary without warping our design.
Adjusting multiple direction handles at once
Another problem that we encounter when working in Illustrator, is that we can’t adjust multiple direction handles at the same time. In Illustrator, we can select multiple anchor points, but then the program won’t let us adjust these points’ handles. This means we have to adjust them one by one, which is particularly frustrating when working with symmetrical shapes (e.g., an “O”). We are forced to rely on a grid to make sure that our adjustments are accurate. In Glyphs, this is made much easier as we can edit multiple handles at once.
Corners or curves
In Illustrator, we can create curves or corners (press alt) by moving the direction handles. All of these anchor points are represented by a small square–making it unclear which ones are corners and which are curves. Glyphs, on the other hand, visibly differentiates the two, making it much easier to draw our letters.
Accurately aligning points
While we can use a grid as a guide for positioning points in Illustrator, this gets complicated when working with lots of points and can result in mistakes when it comes to lining them up. Glyphs offers features that make it much easier to position points accurately so that they are perfectly aligned.
If you would like to learn more about creating typefaces in Glyphs, check out Juanra’s Domestika Basics course, Introduction to Glyphs, and get to grips with this Mac font editor.
You may also like:
– The History of Typography: From 11th Century China to the Digital Age
– 5 Design Trends to Look Out for in 2021
– The Letters of the Alphabet as Kamasutra Positions


0 comments