


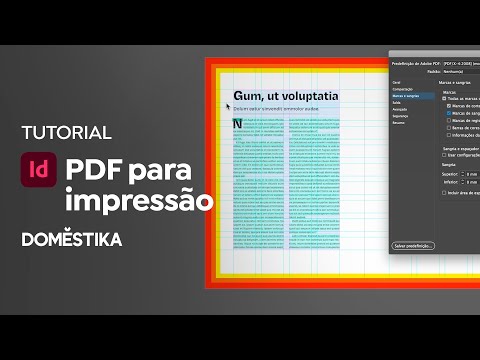
InDesign Tutorial: How to Create a PDF for Printing
Learn the basics of preparing a file and getting it ready for printing, with crop marks and bleed, from graphic designer and art director Leandro Rodrigues
Preparing a file for printing may seem like a simple process, but it requires a little care and attention so that everything goes smoothly. If you are going to need crop marks and bleeding, the process will be a little more complex, but not impossible.
In this tutorial, Leandro Rodrigues (@leon_0), a graphic designer and art director who has been working in the field for over 10 years, shows you step by step how to prepare a file simply and efficiently.
Step 1: Go to File > Export or press Cmd/Ctrl + E

Step 2: Choose Adobe PDF (print) and click Save

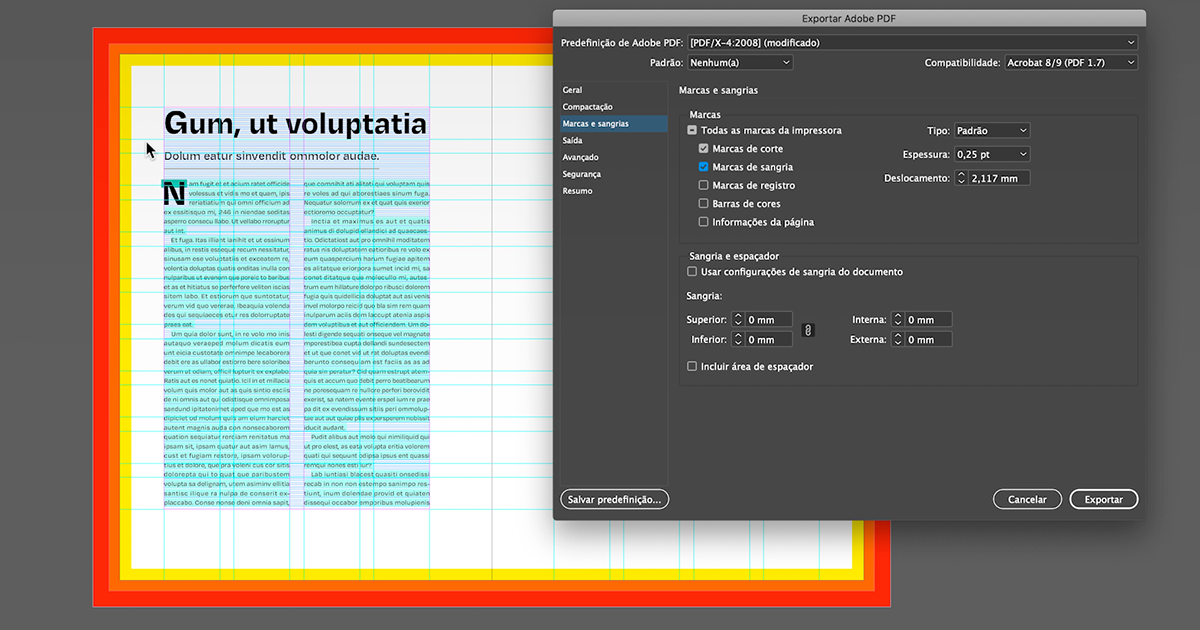
Step 3: In the Export window select Adobe PDF, click Marks and Bleeds to choose the configuration you need according to your project.

Important information:
Crop marks: indicate the place where the printer will cut and define the paper edges
Bleed marks: are the excess of the image that will be cropped once it is printed
Registration marks: used for printer alignment
Color bars: used to calibrate the colors of your file
Step 4: Click Use Document Bleed Settings if you want to keep the original file settings, as defined during file creation. If you want to customize the bleed, just uncheck the option and edit the measurements you want.

Step 5: Finally, click Export and check in the document folder that the settings chosen are correct.

If you want to learn how to layout documents and interactive files like a professional with Leandro Rodrigues, don't miss their online course Adobe InDesign from Beginner to Advanced.
You may also like:
- What Is the Color Wheel?
- The 10 Funniest Lorem Ipsum Generators
- 5 Design Trends to Look Out for in 2021


0 comments