DIY Tutorial: The Easy Way to Create Packaging

Learn the keys to making creative packaging for your work with Fatto
It’s important to pay careful attention when creating your jewellery designs. You need to take care of every detail, choose each colour lovingly and do your utmost to achieve the best result. But your task doesn’t end when you finish your work. The packaging that accompanies your jewellery or accessory is a vital presentation element you shouldn’t overlook.
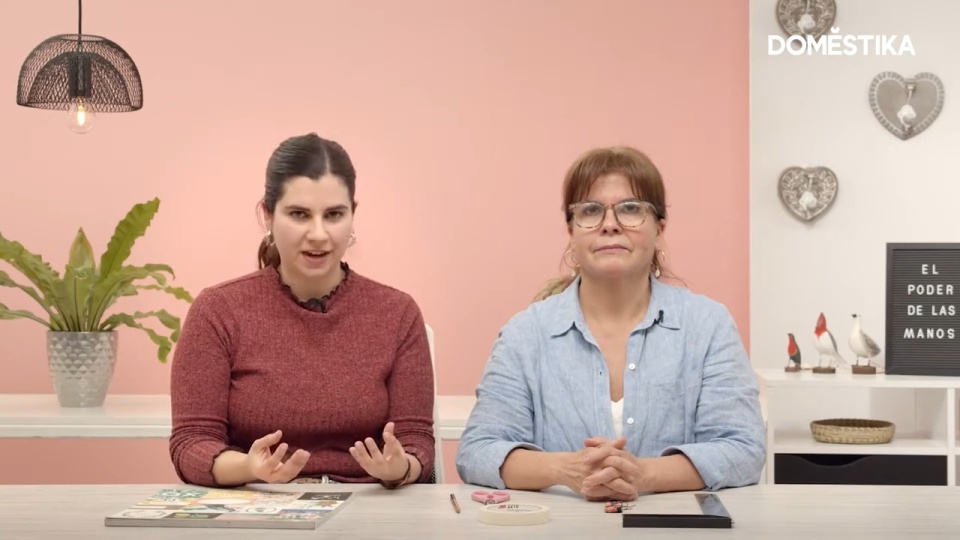
In this tutorial, Elsa and Dani, founders of Fatto (@fatto) the creative studio that designs accessories using beads, teach us how to quickly and easily create lovely packaging for jewellery, in this case, a bracelet.
Have a look:
1. Define your packaging target
The first thing you need to do is define who you’re designing for and the purpose of your packaging. If it’s a gift for someone you know, you can be more free and relaxed. But if you’re going to use the packaging to send a product, then your choice of color, style and design will be influenced by your branding.
2. Choose the type of card you’re going to use
There are all kinds of card that will work perfectly when creating packaging, for example for a bracelet. You can select plain card... or start with a piece of plain card and decorate it with your designs or favorite patterns.
You can also use scrapbook cards, which are often sold in packs containing a wide variety of designs and colors. This will allow you to find one that matches what you’re looking for more easily.

3. Not just any card will do!
The design on the card is vital. But it must also be a good visual fit with your creation, and not take the attention away from your design. Always try to find a design that goes with the colors in your piece, and that makes it jump out at you.

4. How can you create one-piece packaging?
Cut the card to the right size, in this case for a bracelet. Leave plenty of margin in terms of length, as you’re going to need to fold the card several times. But adjust the width to the size of the bracelet plus a centimeter.

Once you have cut out your piece of card, create a 1 cm tab at one end. Fold it over and slot the other end inside this tab. Once you have done this, insert your bracelet and adjust the packaging. If your card is too long, fold it over until you achieve the right length.

5. Give your packaging the final touch
Now close the packaging by placing a piece of double-sided sticky tape inside the tab. This hides the back so that your packaging is ready to be sent.
Did you like this tutorial? If you want to learn how to create your own accessories with beading, don’t miss Fattos online tutorial: Design and Creation of Beaded Jewelry.
You may also like:
- Creating Jewelry with Polymer Clay, a course by Marisa Clemente.
- Ceramic Jewelry for Beginners, a course by Juliete Álvarez.
- Creation of Textile Jewelry, a course by Maria La Biyux.


1 comment
excelente, me encantó como darle un toque especial a lo que hagas, muy buena idea