


Illustrator Tutorial: Tips for Vectoring Sketches

Learn how to use your sketches and draw them with vectors to give the final touch to each element with Mauro Martins, graphic designer and bespoke illustrator
Sketching helps us to organize ideas on paper, letting the line flow freely to give life to abstract figures that will later gain detail. It is at this stage that we can give free rein to our creativity.
The next step is digitization, which requires more attention to detail and can be quite laborious, but it is essential to define your style and identity.
To help you in this process, Mauro Martins (@mauromartins), graphic designer and illustrator, shares some tips to transform your sketches into a vector and give the final touch to each element. You can watch the tutorial here.
Once you've made your sketches, you must scan them at a resolution of at least 400dpi ideally, so that the lines of the drawing are well defined when you open the files on Adobe Illustrator.
Add the drafts on the same page
Import the scanned drawings to Adobe Illustrator by onto the same page. That way they will be easier to see and we can make sure we follow the same style for all of them.

Select all drafts and reduce transparency
It selects all the sketches and reduce transparency to 20%, making them clearer to draw vectors on.
Block the existing layers and create a new one
Blocking existing layers is a way to protect your work from any unwanted editing so you always keep the original file.
Create a new layer and call it "Final Sketch".
Select the Pencil tool
To make your stroke more stylish, select the Pencil tool with a double click and bring the Fidelity towards the center. In this step you can change the type of calibration to try different results and choose the effect you like best.

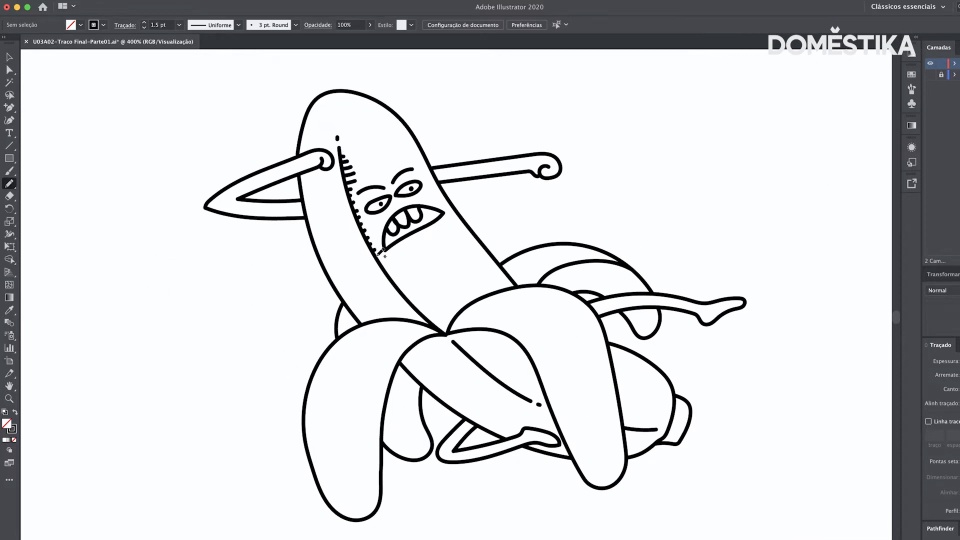
Prioritize continuous lines
The ideal is to draw continuous lines, without breaking them, to create the drawing. Make as many continuous lines as you can, this way the design will be more fluid and natural. At first it may seem difficult, but with practice it becomes simple and efficient.
If you make a mistake, you can edit the line nodes or use the pen tool (keyboard shortcut: P) to continue the stroke.
Hide the sketch layer
When you have drawn the main vectorial shapes, hide the layer of your sketch so that it does not interfere with the final drawing, and make the adjustments that you consider necessary. For example: change the position of an arm, the size of the eyes, the type of movement, etc.

Clean your strokes
To give a cleaner touch to the final drawing, select the points where the lines cross and use the + key to choose and remove what you consider necessary.

Add details to enrich the illustration
Finally, the time has come to perfect your drawing by adding details, shading, small strokes and any other final touches. You can start adding color now too.
Mauro Martins does not include colors in this step and prefers to gather all the vectors into one big illustration to color later. This way you can better visualize how the colors and elements of the composition harmonize.
When you finish your drawing, save the file.


You can use this process for any type of project that needs to be transformed into a vector.
Did you like these tips? You can learn to create a vectorial illustrations capable of transmitting different messages, starting with the brainstorm, going through the sketch, and arriving at the digital drawing and composition, in Mauro Martins' online course Doodle-Style Vector Illustration.
You may also like:
- Introduction to Adobe Illustrator, a course by Aarón Martínez
- The Art of Sketching: Transform Your Doodles into Art, a course by Mattias Adolfsson
- From Beginner to Superillustrator, a course by Puño


0 comments