


@harry_davies
Cyanotype: Simple Materials to Print Images with Light
Learn about cyanotype, a low-cost, creative, and beautiful printing process that lets you print any type of image from scratch and the surprisingly simple materials and method to apply it
Cyanotype. Sounds cool. But what is it? Cyan, as in the shade of blue, and type, as in printing: cyanotype is a printing process which has been used by artists, botanists, and architects for almost two centuries.
A photosensitive solution that dyes objects blue when it comes into contact with light is used to develop images onto a whole range of surfaces, from paper to fabric, wood, and ceramics.
For this article, Xavier and Gabriela from the design workshop Fábrica de Texturas (@fabricadetexturas), who teach the course Cyanotype: Printing with Light, have shared the materials and tools you need to embark on your own blueprint journey.

Types of image
There are three main types of cyanotype image:
- Self-drawn images (hence the markers above)
- Homemade photo negatives
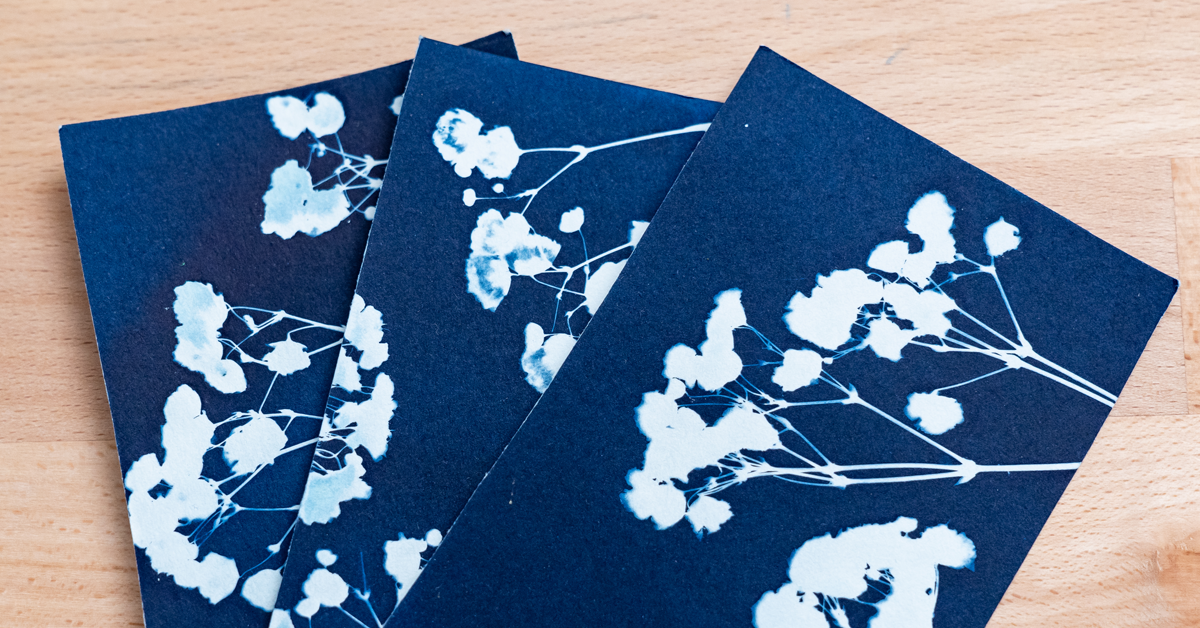
- Physiograms: objects that block light, such as a pressed plant

Basic tools
Here is a list of the basic tools you'll need, most of which you should be able to find at home or easily from a local store:
- Something to apply the liquids: a brush or sponge brush or a roller
- A container to work in: it can be your kitchen sink, a bucket, or a tupperware box
- A syringe of any size that you can find in a pharmacy
- If we’re going to draw the cyanotype, we’re going to need markers, opaque or acrylic, that you can find in any stationers
- Something Xavi and Gabriela call a “sunstroke sandwich”: you can make it with a cloth or sponge and a piece of glass. You can use rubber bands, masking tape or clips to hold the two together
- A surface to print onto: any organic material such as paper, cottons, or linens. You can use silk too but, as it is of animal origin, it requires a different kind of process
- Light source: the sun or various types of lamp

Basic chemicals
You're less likely to find the necessary chemicals at home but they are easy to find online or from art stores.
For a 200ml cyanotype solution:
- Ferric ammonium citrate (8gm)
- Red prusside AKA potassium ferrocyanide (20gm)
- Then just add 200ml of water
Tap water will do but, if you live near the coast and the water isn’t sufficiently filtered, it might be worth using bottled water, but it doesn’t have to be distilled. The chemical reaction that occurs when these two chemicals mix together is what creates the cyanotype effect.

You can also buy ready-prepared cyanotype kits with the quantities measured out for you into two vessels, or brands like Lumi, in the Americas, and Jacquard, in Europe, also sell ready-mixed solutions. These solutions aren’t made from exactly the same chemicals but are commercial alternatives for working in textiles. This means we can stick our creations in the washing machine without a problem.
Solutions, methods, and mixes can vary but they generally follow the same procedure. The first thing to do is look at the labels: be careful and don’t put them in your eyes! Avoid inhaling powdered products, gloves, tweezers, and face masks can help in this case but aren’t crucial.
Now you know what materials you need, sign up to Fábrica de Texturas’ course, Cyanotype: Printing with Light to learn the ins and outs of the art of cyanotype prints.
You may also like:
- Textile Museum of Canada: Free and Unlimited Inspiration Online
- History of the Photobook
- Photography Tutorial: How to Make a Pinhole Camera at Home


0 comments