


Amigurumi Tutorial: Basic Magic Circle Technique
Learn this simple step by step technique to create Amigurumi volume shapes with Ameskeria
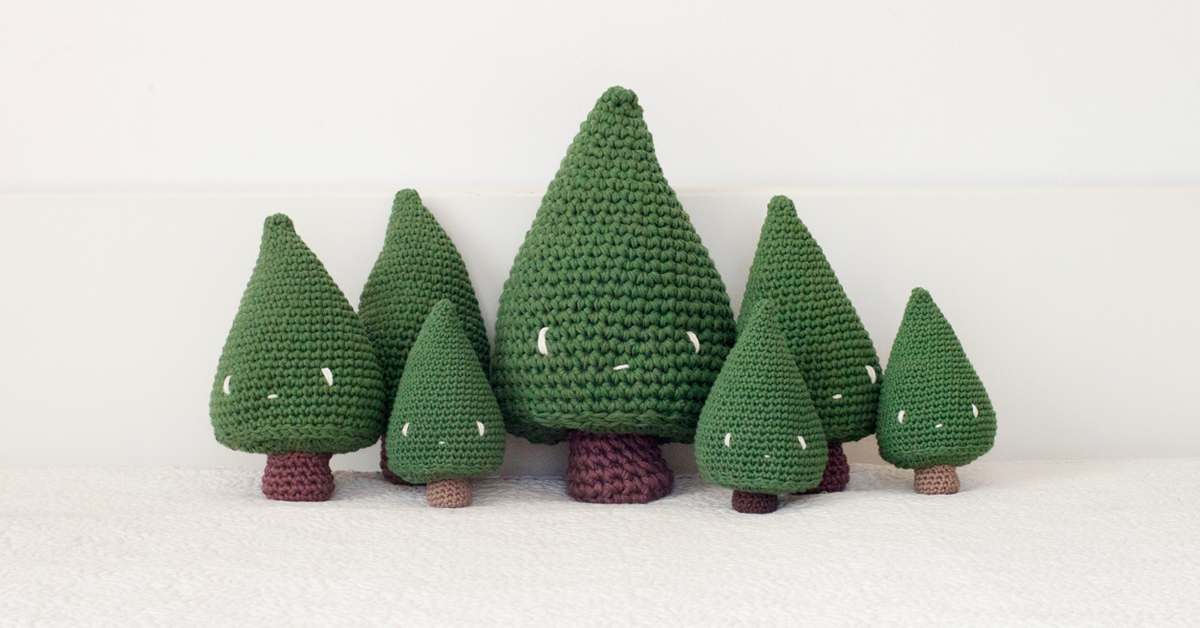
In the 80s the Japanese pop world - abundant in inventions that amuse and enchant - gave us the Amigurumi, a technique for creating small crocheted dolls. As this is a method for weaving objects with volume, it often requires a type of structure called a magic circle, which allows for "round" crochet.
In this tutorial, Ameskeria (@ameskeria), a designer and photographer from Barcelona specializing in crochet, teaches us step by step how to make this basic shape for your Amigurumi creations:
4 basic steps to make a magic circle
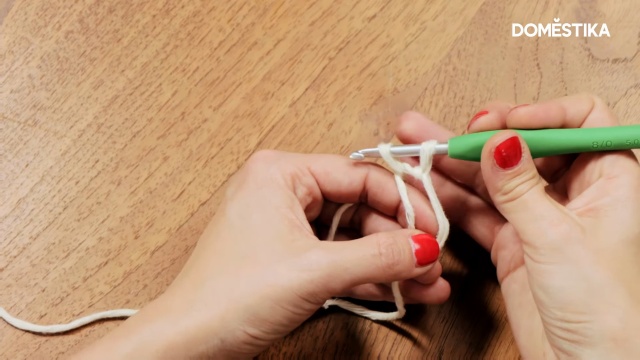
1. Start assembling the circle

Make a gun shape with your hand wrap the thread around your fingers twice, forming two parallel strands. Hook the loose end between the index and middle fingers to give it stability.
2. Make the first link.

Insert the hook inside the circle, take the thread and pull it through the circle. Take the thread (the one coming from the ball) and pass it between the two strands, forming a point. Repeat several times (as in the image below), until six of these points are formed, in the form of spikes, coming down from the hook.

4. Close the circle

At the sixth point, it's time to close the circle. To do this, make a simple slip stitch, and your magic circle is complete.
Did you like this basic tutorial? Remember that you can learn everything about this creative Japanese crochet technique with Ameskeria in their course 'Amigurumi: Creation of Characters through Crochet'.
You may also like:
- Needle Felting: Creation of Characters with Needle and Thread, a course by Carolina Alles
- Confection of Miniature Clothing, a course by Carolina Alles
- Textile Toys: Design and Creation of Fabric Characters, a course by Piti Piti


0 comments