


Photoshop Tutorial: How to Finish Your Illustrations

Learn how to use Photoshop tools to achieve the best possible result in an illustration project with Isadora Zeferino
The completion of an illustration is as important as any other stage of the creative process. It is when you will make adjustments that, although they may seem small and subtle, can make all the difference to enhance your work.
Discover Isadora Zeferino's tips for the perfect finish for your illustrations in this tutorial:
The resources mentioned in the tutorial are simple but versatile that allow you to took advantage of Photoshop as a powerful tool for your work.
1. Gradient
You can use gradients to create points of light and shadow, adding depth and softness to the drawing. The first step is to define the area where you want to apply the gradient, having tested the colors you want to apply to your finish.

To adjust the gradient correctly, activate the Overlay tool to avoid interfering with the original illustration. A valuable tip is to keep the opacity low, so that shadows and highlights remain smooth. Avoid creating an overdefined or hard shadow.

You must also establish where the light is coming from in your drawing and, from that, work the gradient appropriately.
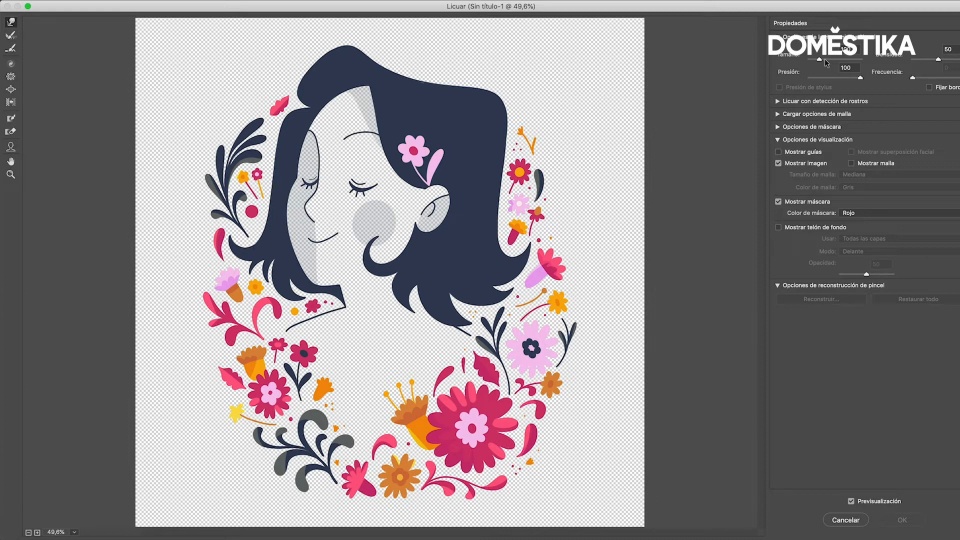
2. Liquify

The use of this resource can be controversial. Known as "digital art botox", Liquify allows for small adjustments and fixes but, as with any digital tool, it must be used correctly. Be careful not to overdo it, otherwise, the illustration may be distorted or made to look artificial.

It allows you to correct different details of the drawing simultaneously. If we try and over-perfect the image, the original work could lose its essence. A small detail that might seem to be a mistake is often exactly what gives the piece a human and original touch–which, of course, should not be "corrected".
3. Color balance and filters
Using the color balance and photo filters on your illustrations can help you achieve unexpected and satisfying results. Use it when you are doing an illustration related to environments or that requires more complex colors. That way you can then make adjustments to harmonize the palette.

This feature allows you to alter shadows, brightness and midtones to perfect the illustration. If you regret any previous color choices, you can make the necessary changes at this stage.
This is also an excellent tool for color studies, since it allows you to make changes quickly, as and visualize your adjustments easily. Pulling the temperature tones towards red or yellow, for example, gives the drawing a warmer and more welcoming atmosphere.


The use of photographic filters is also very useful. Besides being a good option to give a different effect to the illustration, it helps you see the color balance. The 2D Strip filter, for example, can show various colors are distributed so you can take steps to balance the composition. This is a fast and efficient way to ensure that everything is as you want it.

Did you like these tips? Leave your opinion in the comments.
Be sure to visit Isadora Zeferino's online course, Illustrated portraits with botanical elements, to learn how to incorporate colors and shapes from nature into your illustrations.


0 comments