


After Effects Tutorial: Basic Path or Stroke Vector Graphic Animation

Experiment with typography motion with this simple After Effects technique with Holke 79
Small animations, gifs, short videos with animated texts and other multimedia content can make the difference to your social media posts. With After Effects, the Adobe software used to create special effects in post-production, you can create simple and attractive pieces intuitively and with the use of fairly few resources.
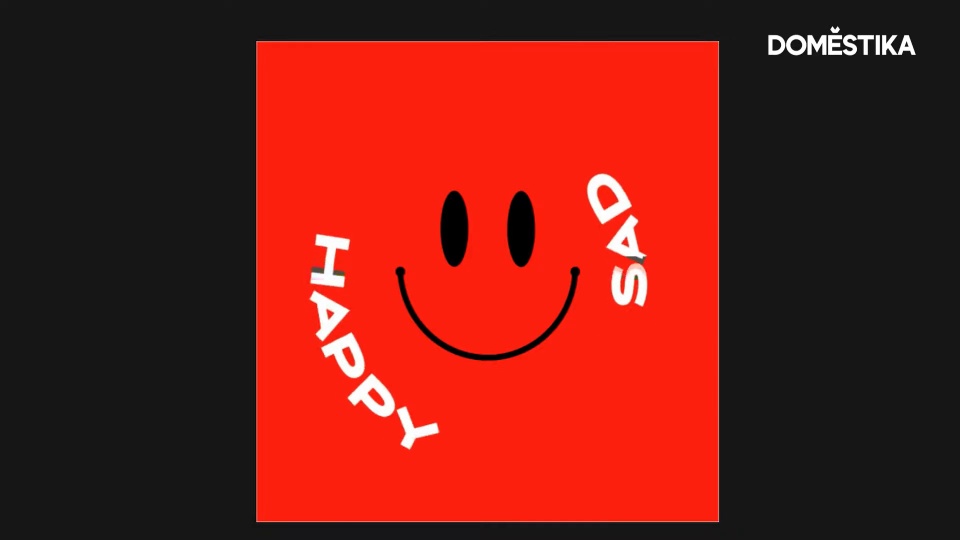
In the following tutorial, motion graphics design Borja Holke (@holke79) explains how to add movement to a simple composition of image and text, turning it into a basic animated graphic using After Effects.
Learn more in the video below:
6 steps to create a text animation with After Effects
1. Begin a new composition

If you want to use an animation on social media, check the format that each platform requires. For your Instagram feed, for example, choose a square design. Once the project is created, you can define the size, rate of frames per second, and length. These can all be adjusted later.
2. Import file

You can use Illustrator to create the image to be imported to After Effects. It's recommendable to save text and image in separate layers. In After Effects, click Import > File and then select the saved file. A box will open with two options: Footage or Composition. Choose the second if you want to be able to work with each part of the image independently. This will import the editable layers of your composition to After Effects–text and image–as well as a third reference layer with the original design.
3. Drag the layers to the timeline

Move the layers–including the reference layer–to the timeline and name them. It's also recommendable to attribute different colors to each using the commands Effect > Generate > Fill. That way you'll have better control over the layers you're editing. Make sure the reference layer isn't mixed up in the project or is rendered inadvertently, you can right-click on it and define it as a Guide Layer.
Pay attention to the eye icon by each of the layers. If it's on, the layer will be visible in the work area.
A useful tip: to expand or reduce your work space fluidly, select option Fit in the timeline box where the where you see the percentage icon.
4. Edit the text

With the text commands, type in the corresponding layer what you want to appear in the animation. The text controls allow you to choose typography, size, style, color and other resources. You can also use text commands to expand or reduce the space between characters.

To do this, you have two options: work on all the text at once, by double-clicking on the set and using the kerning VA box on the right; or change the spacing between any two given letters, by clicking in the area you'll edit and, with the Alt key (or, if it's a Mac, Option) selected, moving the keys with the arrows (right or left) until you reach the degree of separation you're looking for.

You can also create geometric elements, such as squares and circles, and use them as references when placing the text in the project, while leaving them out of the final animation. To draw a circle, for example, select the geometric shapes tool and press the Shift key while drawing it with the cursor, for perfect formatting. It is recommended to use guides to place any elements in the desired location. To do this, use the command Control (or Command) + R.
To move the piece around the workspace without moving other items, select Title/ Action Safe.
5. Test the animation

Now you can start checking how your text will look animated. Display the text commands and select Text > Path Options > First Margin. Adjust the lines in the timeline to expand the animation display area and move the guides to check if the moving text points are in the correct location. Hit play by using the space bar. At this point, you can check things like speed, if there are unwanted jumps in the text during the animation, etc.
6. Edit the images

At first, everything that corresponds to the image connect to one layer. If you want to work separately on different elements of the drawing, create as many new layers as necessary, using the Control + D command. When doing so, don't forget to name the new layers - and preferably change their colors so that you always know what you are working on at any given time.
Use the Edit > Split Layer command to split a layer in two and make it easier to edit each section separately.
If there are problems fitting text and image, switch between the different layers to, for example, increase the drawing area, reduce the characters, etc.
If you see that you need to edit the drawing, you can go back to Illustrator (or the program you initially used), edit it there, save the isolated change, and then import it back into After Effects. This time, import it as Footage, not Composition. This way, you will start directly on the layer that required the change.

To add color or details to the background, select it and create a new layer, naming it ("background", for example). All done: now, render your work, under Composition > Add to Adobe Media Encoder Queue.

Did you like this tutorial? Remember that you can learn to animate images that mix text and pictures in After Effects in Holke 79's course Animation for Typographic Compositions.
You may also be interested in:
- Introduction to Motion Design and Animation Curves in After Effects, a course by Holke 79
- Introduction to After Effects, by Carlos "Zenzuke" Albarrán
- Vectorial Animation Frame by Frame Style with After Effects, a course by Pablo Cuello


0 comments