Embroidery Tutorial: How to Create an Appliqué

Learn to create appliqués from your embroidery with Ana María Restrepo and her textile design label Amarpo
If you like to embroider, consider turning your pieces into appliqués. This process will give your pieces more uses by making it possible to transfer them to all kinds of surfaces and clothes.
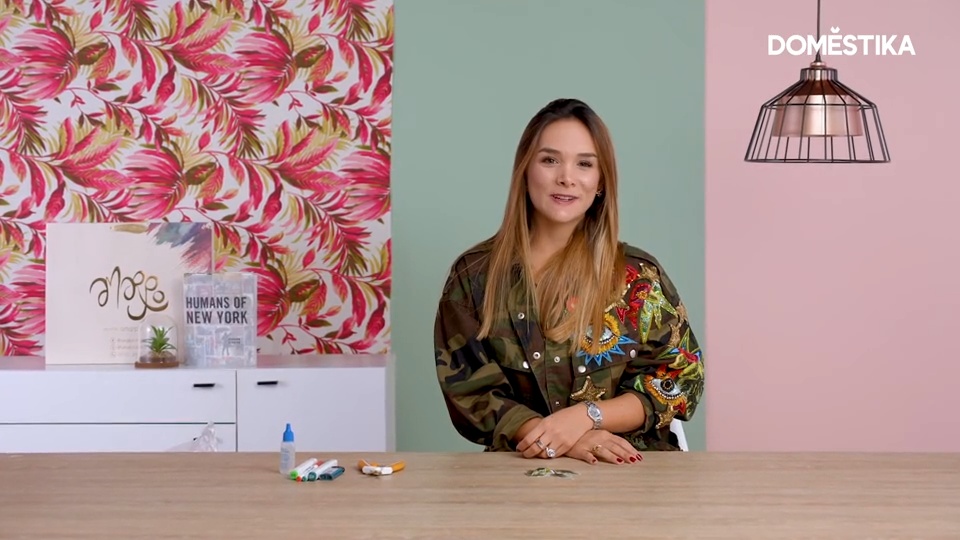
Ana María Restrepo (@anamaria_10), the brains behind the textile design brand Amarpo, shares her techniques and advice on opening up the possibilities for your embroidery pieces. Watch her tutorial here:
5 steps to create an embroidery appliqué
1. Check and fix your embroidery
When we have prepared the embroidery that we want to make into an appliqué, check the back to see if there are any untied knots or loose strands. Glue any parts that aren't secure with a specialist fabric glue like Fray Check to keep them from moving. This will mean the piece doesn't come undone at any point during the process.

2. Cut the appliqué carefully
Cut the design with a pair of sharp fabric scissors, leaving approximately 2mm of cloth around your embroidery. Any less and you risk cutting the knots of your design and damaging it.

3. Color the outline of your appliqué
Once cut, try to reduce the margin around your appliqueé, at least visually, around the border. To do this, color in the borders with fabric markers of a similar color to your design.
This way, the border isn’t noticeable, even if we put it on a different color cloth. This step is crucial for our designs to come out clean when we transfer them to another garment.

4. Seal the ends with a lighter
Use a lighter to seal your design carefully by gently burning the outline of our appliqué. This way you will avoid frayed edges and achieve a cleaner and sharper final result.
If your embroidery is made of a fine or silky thread, it will undo under the heat of the flame. Be sure to press the edges with your fingers immediately to give it the shape you want.
This technique will help prevent any loose ends coming off the piece. If you see a thread out of place, melt it gently with the flame to seal the imperfection before it creates bigger problems later on.
Remember that if your design has any beads and you damage the threads holding them up, you can apply more glue so not to lose them from the embroidery.

5. Do your final checks
The last step is to check all the parts of our design to make sure they're still secure. Touch each part with your nails. If this touch doesn't undo anything, then everything is in place and the appliqué is ready to be transferred to something else.

Now you know how, you can apply this technique to any embroidery you want to give new uses to.
If you liked this tutorial, remember you can learn to combine embroidery and painting on fabric to create unique textile pieces with Ana María on her online course Fashion Design: Painting and Embroidering Garments.
You may also be interested in:
- Advanced Embroidery Techniques: Stitches and Compositions with Volume, a course by Señorita Lylo
- Embroidery and Accessories Customization, a course by Josefina Allendes
- Creative Embroidery: The Stitch Revolution, a course by Trini Guzmán


1 comment
Great by all means and a very informative blog. I’ve learned something new today, keep sharing worthy info like this!
<a href="https://shop.digit-it.com/product-category/applique-embroidery-designs/">Applique Embroidery Designs