


Watercolor Tutorial: color palettes in botanical illustration

Botanical illustration techniques to create and apply color palettes to different types of illustrations with Ana Victoria Calderon
When creating color palettes with watercolor, one of the best options is to be inspired by nature itself. If we start from images taken from botanical photographs, we will find color palettes that perhaps we would not use on our own initiative in our illustrations. In this way, we can practice with different colors and discover new chromatic combinations.
Ana Victoria Calderon (@anavictoriana) teaches us how to extract the color palette from a floral photograph and replicate it using those same colors. Do you want to learn how to use the colors of nature? Pick a photo and let's get to it.
1. Extract the color palette from the photograph.
The first step is to extract all the colors from the botanical photograph we have chosen. We will choose a margin of the canvas we are going to cover, or we will use a separate sheet of paper, to create our palette and have it as a reference throughout our process.
Our goal is to try to replicate the main colors found in the chosen image with our watercolors. We will modulate the intensity of the colors using more or less water, and we will notice if each color needs more or less cold or heat, but there is no need to try to keep the colors that we are mixing in an obsessive way. The important thing about watercolor is that it flows, both the paint and the way we use it.

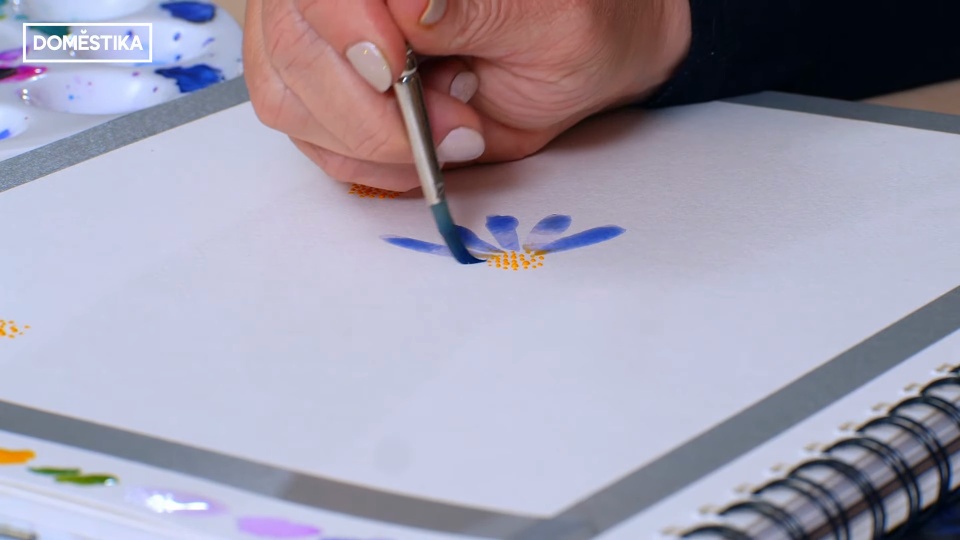
2. Paint the first coat without letting the paint dry.
Once we have the main colors in our improvised palette, we are going to make the first layer of the illustration. If we are painting flowers, we will start with the pollen in the center creating small dots with our brush. Once done, we will immediately move on to the petals of the flowers and the stems of the plants. This is because when painting with watercolor, the aspect of time is very important. We will not let the paint dry in this first phase, but we will take advantage of the fact that the paint is still wet to continue painting.
Another aspect to take into account is that the hand that carries the brush has to be comfortable, so for circular compositions such as the petals of a flower, we will turn the canvas when necessary to continue using optimal brushstrokes.

3. Add details to the illustration
Once we have completed this first layer and let it dry, it is time to complete the illustration by adding details. We will use darker colors on the petals by putting more pressure on the brush and using its tip, or we will add other colors, such as ocher to give more depth to the yellow pollen of our flowers. These details will help to give more depth to our work.
Other details that give a special and magical touch to an illustration like this are the ones we can add using white paint, splashing it on top of the drawing or using it to add lines between the objects.

Now you know how to be inspired by the colors of nature to create a color palette that will help you create your watercolor illustrations. Have you already chosen a photo to put it into practice?
If you were interested in this tutorial, remember you can learn with Ana Victoria Calderon to develop color schemes that reflect your personality and artistic sensibility in her course 'Creating color palettes with watercolor'.
You may be interested in:
- Applied techniques of watercolor illustration.
- Modern watercolor techniques.
- Botanical illustration with watercolor.


0 comments