


Procreate Tutorial: Inking Technique

Learn the technique and tricks for inking your sketch in Procreate, as well as the best brushes to do it, with Óscar Lloréns.
Full of resources, Procreate allows you to give a perfect finish to your creations through the use of simple and intuitive tools. Illustrator Óscar Lloréns (@ollorens), whose work includes creations for Coca-Cola, the United Nations and Cirque du Soleil, as well as artistic pieces exhibited in Spain, Mexico, France and China, is an expert in this versatile program and teaches us the inking technique.
This is a classic drawing method that consists of inking your sketch and then coloring the inside of the line. This technique is often used in classic comics and manga. Find out more below:
5 steps to perfect inking with Procreate
1. Choose a round brush inside the paint section.

Contrary to what it may seem, Oscar recommends using a brush not from the inking section, but a paint brush. The reason is that paint brushes have a rounder finish, which, for the illustrator, allows him to draw simpler and neater lines. Inking brushes, on the other hand, produce textured effects, imitating real brushes or markers.
2. Reduce the opacity of the sketch and paint on a layer over it.

After choosing the black color to ink the sketch, reduce its opacity and choose a layer over it to start drawing. This will allow you to draw on the original line of your sketch, as if, in the analog world, you were drawing on tracing paper on a sheet of paper. To draw different parts more quickly, the teacher recommends to do it on separate layers.
3. Activate asymmetry and choose a medium brush size.
To make the inking faster, activate the asymmetry mode. Thus, when you make a stroke on, for example, the head of a character, it will be reproduced on the other side of the drawing, as if it were a mirror. The recommended brush size is medium.
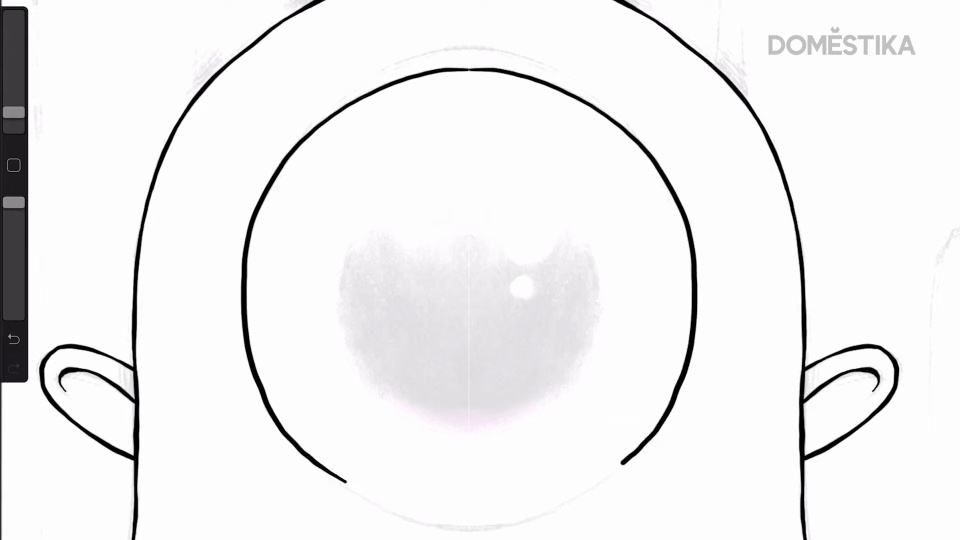
4. For a perfect circle, press it with the pencil and click on the screen.

Depending on the situation, you may be looking for a visibly hand-drawn stroke or a perfect one. For the latter, there is a useful shortcut in Procreate that allows you to achieve the ideal finish. When drawing the circle by hand, press it with the pencil and then click on the screen. You will see how the magic happens: the crooked circle becomes a perfect circle. Especially interesting for eyes, skull and other parts of your drawing.
5. For a perfect straight line, draw it and press it with the pencil.

Similarly, you may be looking for a crooked "straight" or a perfectly aligned one. For optimal straight lines, just press with the pencil on the point where you have finished tracing them.

Did you like this tutorial? Remember that you can learn with Óscar Lloréns how to face an illustration project with different techniques to find your style in his online course 'Illustration techniques and styles with Procreate'.
You might also be interested in:
- Digital illustration with Procreate, a course by Óscar Lloréns.
- Express Illustration for press with Photoshop, a course by Óscar Lloréns
- Express Illustration with Illustrator and Photoshop, a course by Óscar Lloréns


0 comments