


Photography Tutorial: lighting with beauty dish

Learn how to highlight like a pro with a beauty dish with Julia Robbs
Whether you're new to photography, you probably know that lighting is a critical element of achieving professional-looking photos. The beauty dish is a very useful tool for capturing portraits, as it creates a focal point for the light, illuminating the model and generating a soft contrast between light and shadow.
Julia Robbs (@juliarobbs) is a fashion and beauty photographer based in New York. Her love of travel has taken her to travel much of the world, working both in the studio and on location doing lifestyle, portrait, beauty and fashion photo shoots.
In this tutorial, Julia shares easy tips so you can learn how to create amazing portraits using a beauty dish.
Materials
The only thing you will need is a camera, a laptop, a beauty dish with a diffuser and a model.
4 tips to achieve professional lighting using a beauty dish
1. Always keep in mind the three pillars of lighting: distance, direction and shape
Following these principles is the best starting point before capturing any photo. Next, position your beauty dish at a distance of between 70 and 90 centimeters from your model. This will help you achieve correct light vignetting when taking your photos. Remember, the closer your model is to your light source, the less vignetting will be.
Make sure you place the light about three feet from your model, as well as tilt it down at a 45-degree angle toward your subject. The deflector plate located in the center of the beauty dish will prevent the light from concentrating in a single point, since its function is to deflect the light and spread it outwards.

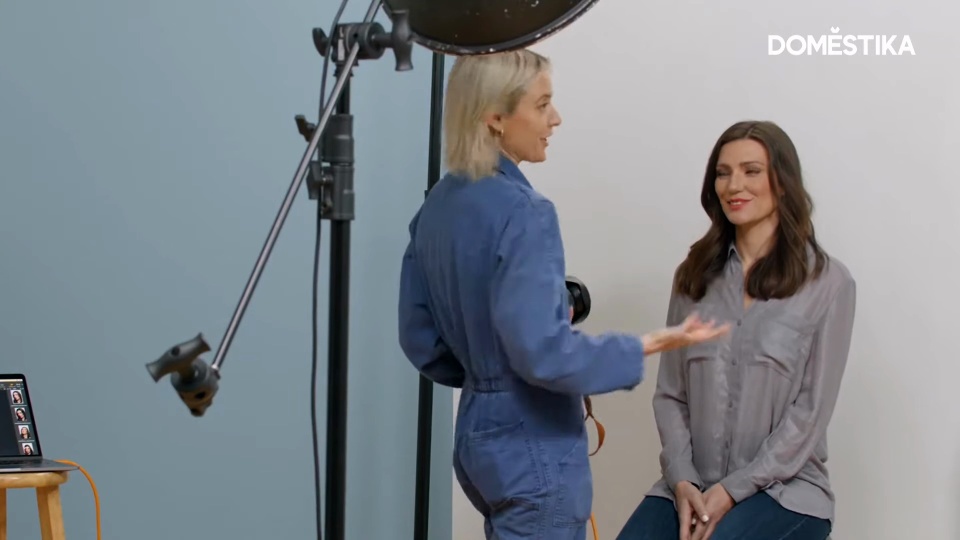
2. Review your images during the session to make adjustments
Take a look at your images on the computer regularly to make sure you're happy with how the light is falling on your model's face. It will also allow you to confirm if you have managed to highlight the facial features that are of interest to you.

3. Soften shadows with a diffuser sock
The beauty dish tends to produce a “soft” harsh light, so when using it you will get some shadows under the most prominent features of the face, such as the lips, chin and nose. This result is desirable, but if you notice that the contrast is too pronounced, you can cover the beauty dish with a diffuser sock to change the shape of the light. The effect to be generated will be similar to that of a softbox, although with a more noticeable contrast thanks to the parabolic shape of the beauty dish dish. This will spread the light in your photos even further and add a touch of shine to them.

4. Don't be afraid to take a lot of photos
To get the best results you will have to take a lot of photos. Having fun trying various techniques and forms of diffusion is part of the process of getting images you really like.
By the way, did you enjoy this tutorial? If you want to learn more about how to create a professional lighting arrangement, check out Julia Robbs' course, Studio lighting techniques for beginners.
Spanish version by @art_torres_landa
You may also be interested in:
- 5 photography courses to create self-portraits like a professional
- 5 surprising curiosities about photography that perhaps you didn't know
- Basic materials to create fashion photographs
- What is noise in a photo?
- Photography with natural light: capture expressive images
- Direction of people for portrait photography


0 comments