


Sustainable fashion tutorial: how to create a sweater pattern
Learn the steps to draw a super simple mold and create your pattern with Ximena Corcuera
Getting started in fashion pattern making, without knowing where to start, can be a bit dizzying: creating two-dimensional patterns for pieces that will eventually be worn on the body is a process that takes some getting used to. But, if you decide to start slowly and starting with the simplest patterns, entering this exciting sector is not so difficult.
For this, in the following tutorial, Ximena Corcuera (@ximenacorcuera), fashion designer, explains how to create a simple pattern for a sweater, so you can learn to build your own clothes as a first step towards a more sustainable world. Discover her tips below:
1. Tracing the pattern for the bottom of the sweater
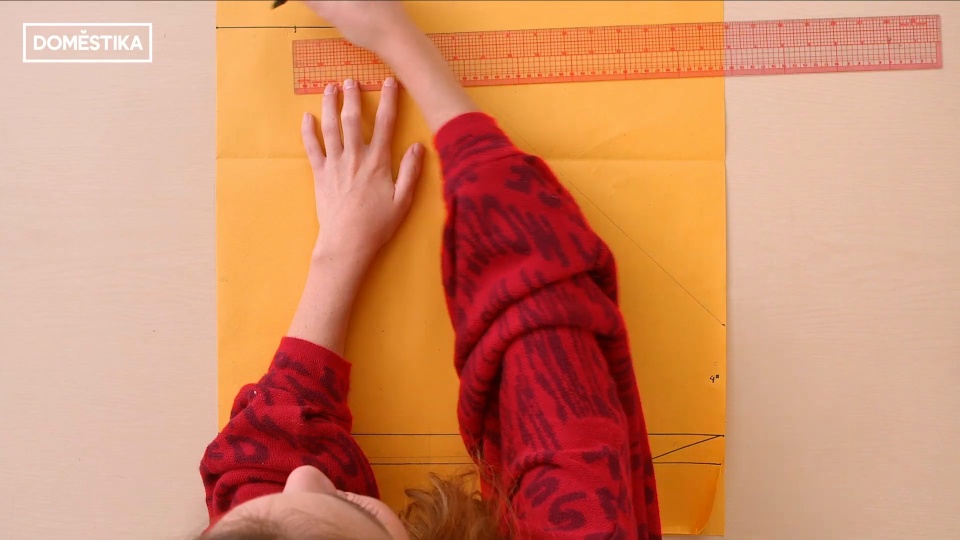
We will start with a simple pattern, for making a sweater: we need a trapezoid-shaped pattern, which will give us a poncho-like piece of clothing. To start, we have to fold in half the paper on which we will trace the pattern: that central fold will be the center of our piece, and from it we have to start tracing.
To do this, with the help of our pen and a ruler, we will draw a straight line that will go from the fold to the end of the paper. This line will mark the lower limit of our sweater. Then, leaving a space of one inch, we will draw another line parallel to the previous one, below it. Once we have it, we will measure three inches from the edge and make a small mark. Finally, we will join this mark with the edge of the top line, diagonally.


2. Drawing the pattern for the cuffs and the length
Now we will draw the lines that will mark the width of the cuffs and the length of the sweater. To do this, we start by measuring four inches from the line marking the bottom of the garment, upwards. That will be the width of the cuff.
Next, we will measure about 15 inches, at the end of the fold, from the bottom of the sweater up. We'll make a straight line and then another line about seven inches long, parallel to the bottom of the sweater. On this line, we will make a mark about three inches from the fold, which will mark the point to which the opening to insert the head will go.
Finally, we will join the top of the cuff opening to the end of this line, which marks the shoulder.

3. Creating the piece for the cuffs
Now, we will create a separate pattern that will be used to create the cuffs. To do this, we trace a rectangle four inches wide by eight inches long.
Finally, we will repeat the pattern on the other side of the fold, and we will have a symmetrical trapezoidal shape. Now we only need to make two pieces of each of our patterns: the trapezoid and the rectangular shape of the cuff.

If you liked this tutorial and want to know more about upcycling, remember that you can learn with Corcuera to give a second life to your unused garments with a weaving technique. Discover their online course 'Sustainable fashion: get started in upcycling'.
You may be interested in
- Designing handmade garments from scratch, a course by Ofelia & Antelmo.
- Introduction to contemporary patchwork, a course by Zita Chocarro.
- Basic sewing with sewing machine, a course by Julia Reyes Retana.


0 comments