


JavaScript Tutorial: How to Draw Using a Canvas HTML Tag
Learn how to draw with code using JavaScript library Canvas-Sketch in this ten-minute creative coding tutorial for beginners
Have you ever wondered how some websites are coded to look so visual and dynamic? Creative coder Bruno Imbrizi (@bruno_imprizi) combines his love of visuals with programming to produce animations, prints, interactive pieces, and more for brands including Dell, Adidas, and Universal Music.
In this tutorial, he teaches you how to use the HTML <canvas> tag to draw on a web page. Using the Javascript library, CanvasSketch, you'll learn how to build code to create static and animated imagery.

Set up your canvas
In order to begin, you must first set up your <canvas> element. The canvas is a rectangular set of pixels, otherwise known as a bitmap. It also has an API, or Application Programming Interface, which is a collection of properties and methods that allow the canvas to be programmed with JavaScript.
In essence, it is a set of tools that facilitate creating visuals with canvas. The two most important elements are the command line interface and the JavaScript library.
The JavaScript library
Open Terminal on your computer, and type in the command: canvas-sketch (your document name.js) -- open.
This will open the file in a web browser. You should also open the file in your online or offline setup. Keeping these two interfaces side by side on your screen makes it easy to quickly see what your code is generating.
Set up the Javascript file
To set up your Javascript document, import canvas-sketch into your file using "require" (pictured below).
Next, you can see the settings object, which contains the dimensions of our bitmap in pixels.
Below this, there’s the sketch function which returns an inner function known as the render function. This is where you use code to create and color your image.
Finally, there is the initializer object, which calls the canvas sketch function using both sketch and the settings properties.

The three settings within the render function above (context, width, height) are examples of some properties featured within the JavaScript library, available on Github "documentation" page (pictured below). These are values that are commonly used while sketching, so it's good to have them available.
Another useful group of properties can be found on the "settings object" tab, including commands to easily edit dimensions or pixel density.

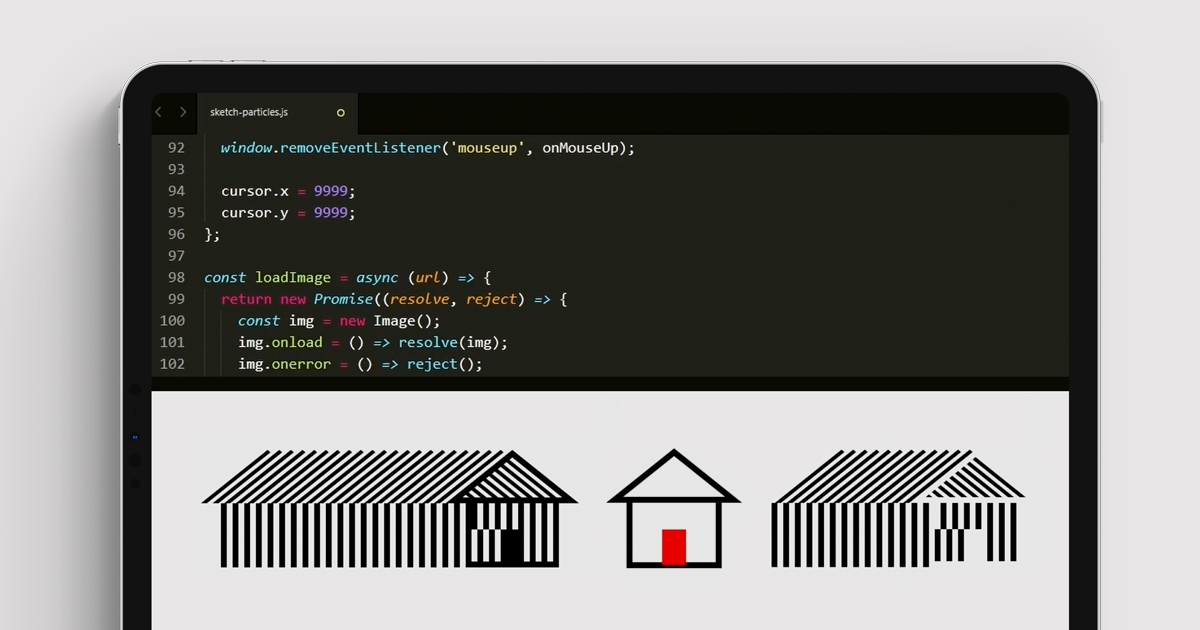
Draw a simple house
Bruno copies an example of a house from MDN and pastes the code into the JavaScript file.
In the tutorial video, he shares advice for troubleshooting common issues. For example, the house looks small because the canvas is so large, so Bruno changes the page dimensions to 800x800. The "fill style" is white, so the door on the house disappears. Bruno remedies this by changing the fill style to black further down on the script, (so that it comes in after the white background).

Add animation your sketch
The last lesson Bruno shares in this tutorial is how to add basic animation to your image.
He adds the command "animate: true," to the settings object, which calls the render object to run again and again, as soon as your web browser is ready to refresh the screen (usually 60 frames per second).
Bruno shares tips for different animation commands, including how to make the house increase in size and how to move it across the screen. He encourages you to have fun with it and experiment with variables!

Debugging and final touches
If there are any errors, and what you thought might happen with the animation doesn’t happen, you can check the consult to see what might have gone wrong. This can be found in the top right of the screen. This will tell you which lines may have an error on them, so you can recheck that line and amend the code there.
From here, you can troubleshoot and play around with different functions like stroke settings, frame rate, and color, until your animation plays as you want it to.

When you’re happy with your work, Command+S or Control+S will export the png to the downloads folder so your file is ready to use.

Learn more about technology and creativity
- If you enjoyed this tutorial and want to learn more about the fundamentals of programming to draw and animate visuals and text with code, check out Bruno’s Domestika courses: Creative Coding: Making Visuals with JavaScript and Creative Coding 2.0 in JS: Animation, Sound, & Color.
- Discover the history of artificial intelligence and art in this article exploring what AI art is and how artists are using AI in 2022.


1 comment
Ajutati-ma.Nu stiu sa folosesc in paralel motorul de cautare si Sublime Text.
Multumesc.