
Red Knot
di Sara @saartje
- 800
- 41
- 3
Introduction
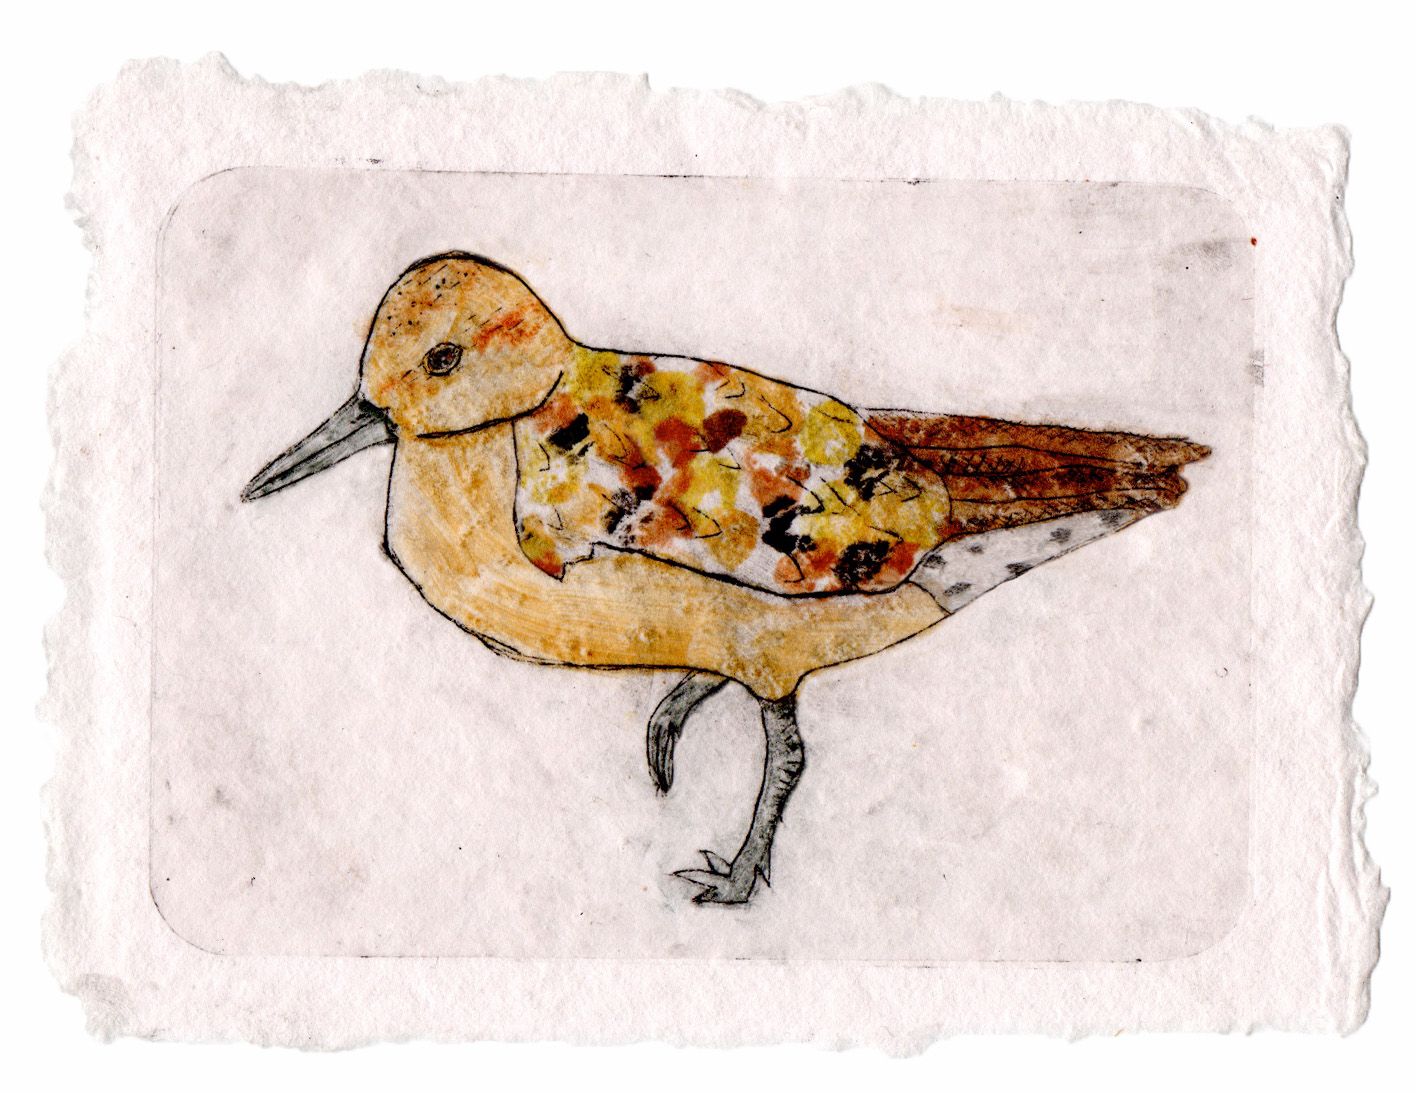
Calidris canutus - Red Knot
This illustration was created using the drypoint technique, a type of engraving in which a sharp metal needle is used to scratch an image into a plate. Traditionally, copper plates were used, but for this piece I used recycled plastic from food packaging. Unlike etching, no acids are involved in this process.
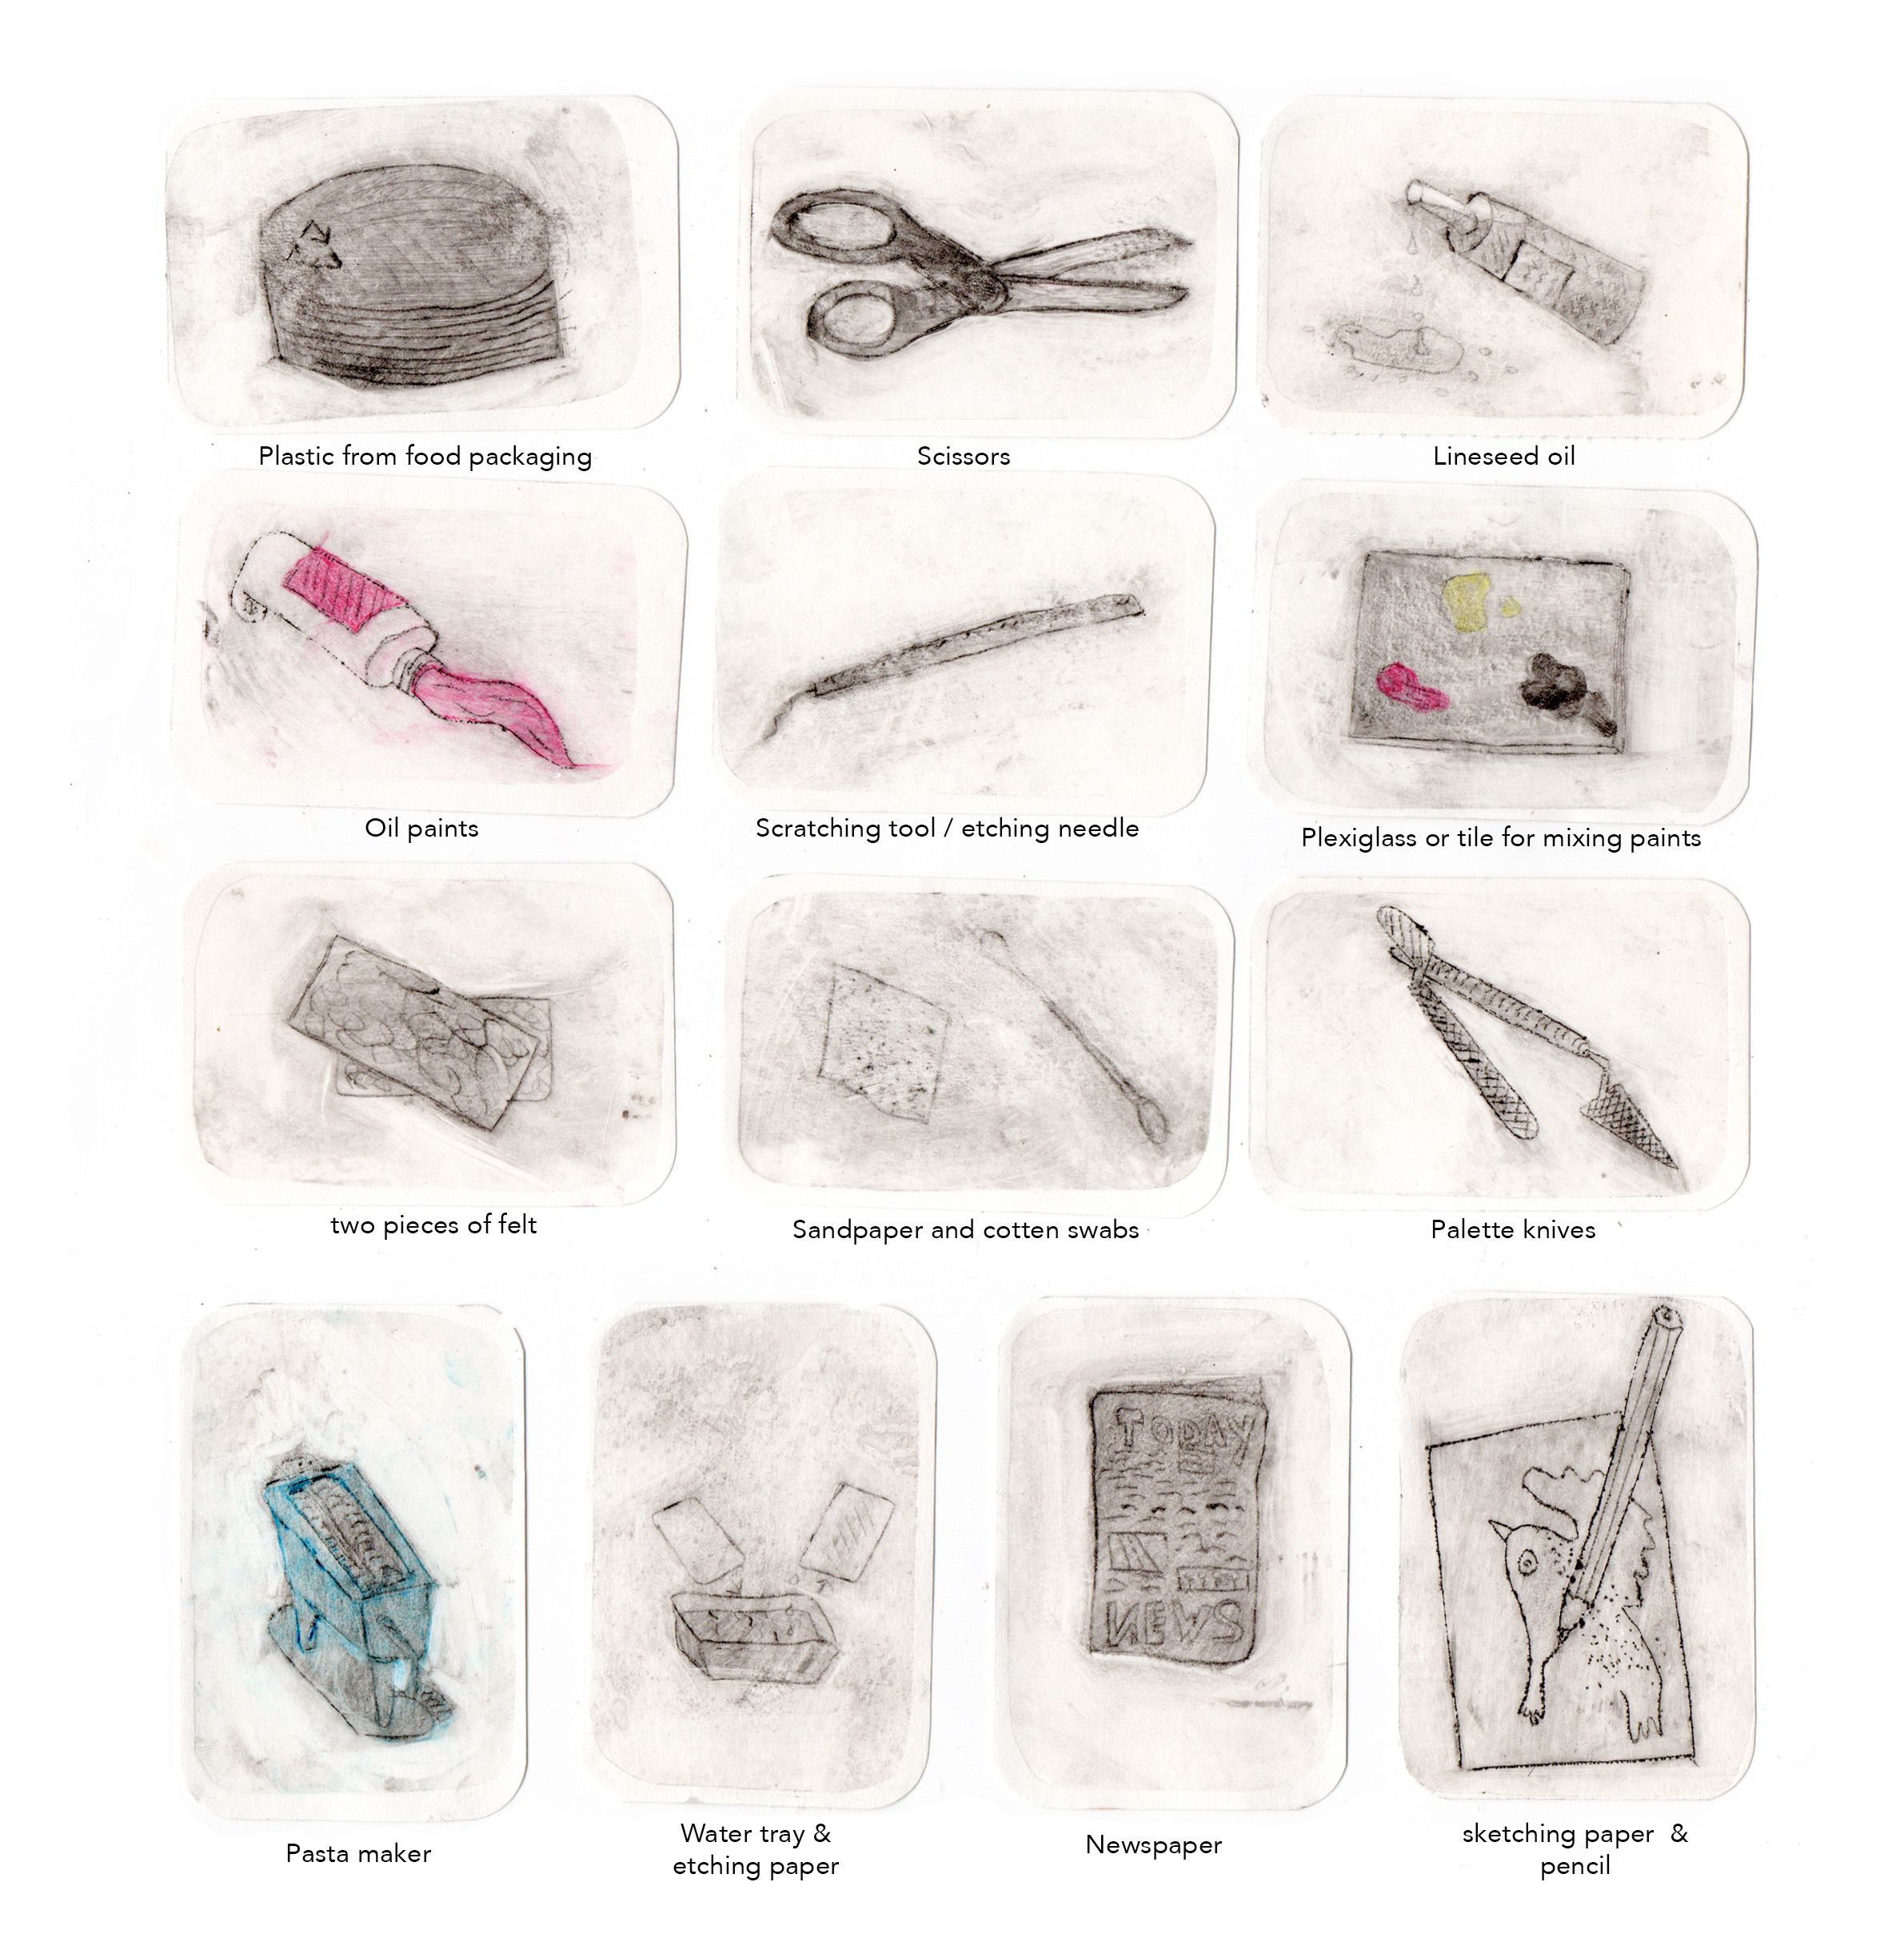
Supplies
• Water tray
• Etching paper
• Sketch paper and pencil
• Sandpaper different grains
• Cotton swabs
• Plastic from food packaging
• Plexiglass or tile for mixing paint
• Linseed oil
• Scissors
• Newspaper
• Pasta maker
• Palette knives
• Scratching tool or etching needle
• Oil paint
• Tape
Inspiration
Inspiration:
As a birdwatcher, I enjoy exploring the fascinating world of birds. As a hobby ornithologist, I also contribute to bird research and have written stories for young audiences to introduce children to the wonderful lives of birds. For this project, I wanted to depict one of the many birds that roam the mudflats during spring and autumn.
One of the things I enjoy most about creating birds in art is how the process invites close observation. In order to capture a bird, you really have to study it—its shape, posture, feathers, and subtle characteristics—which deepens my understanding and appreciation of its appearance.
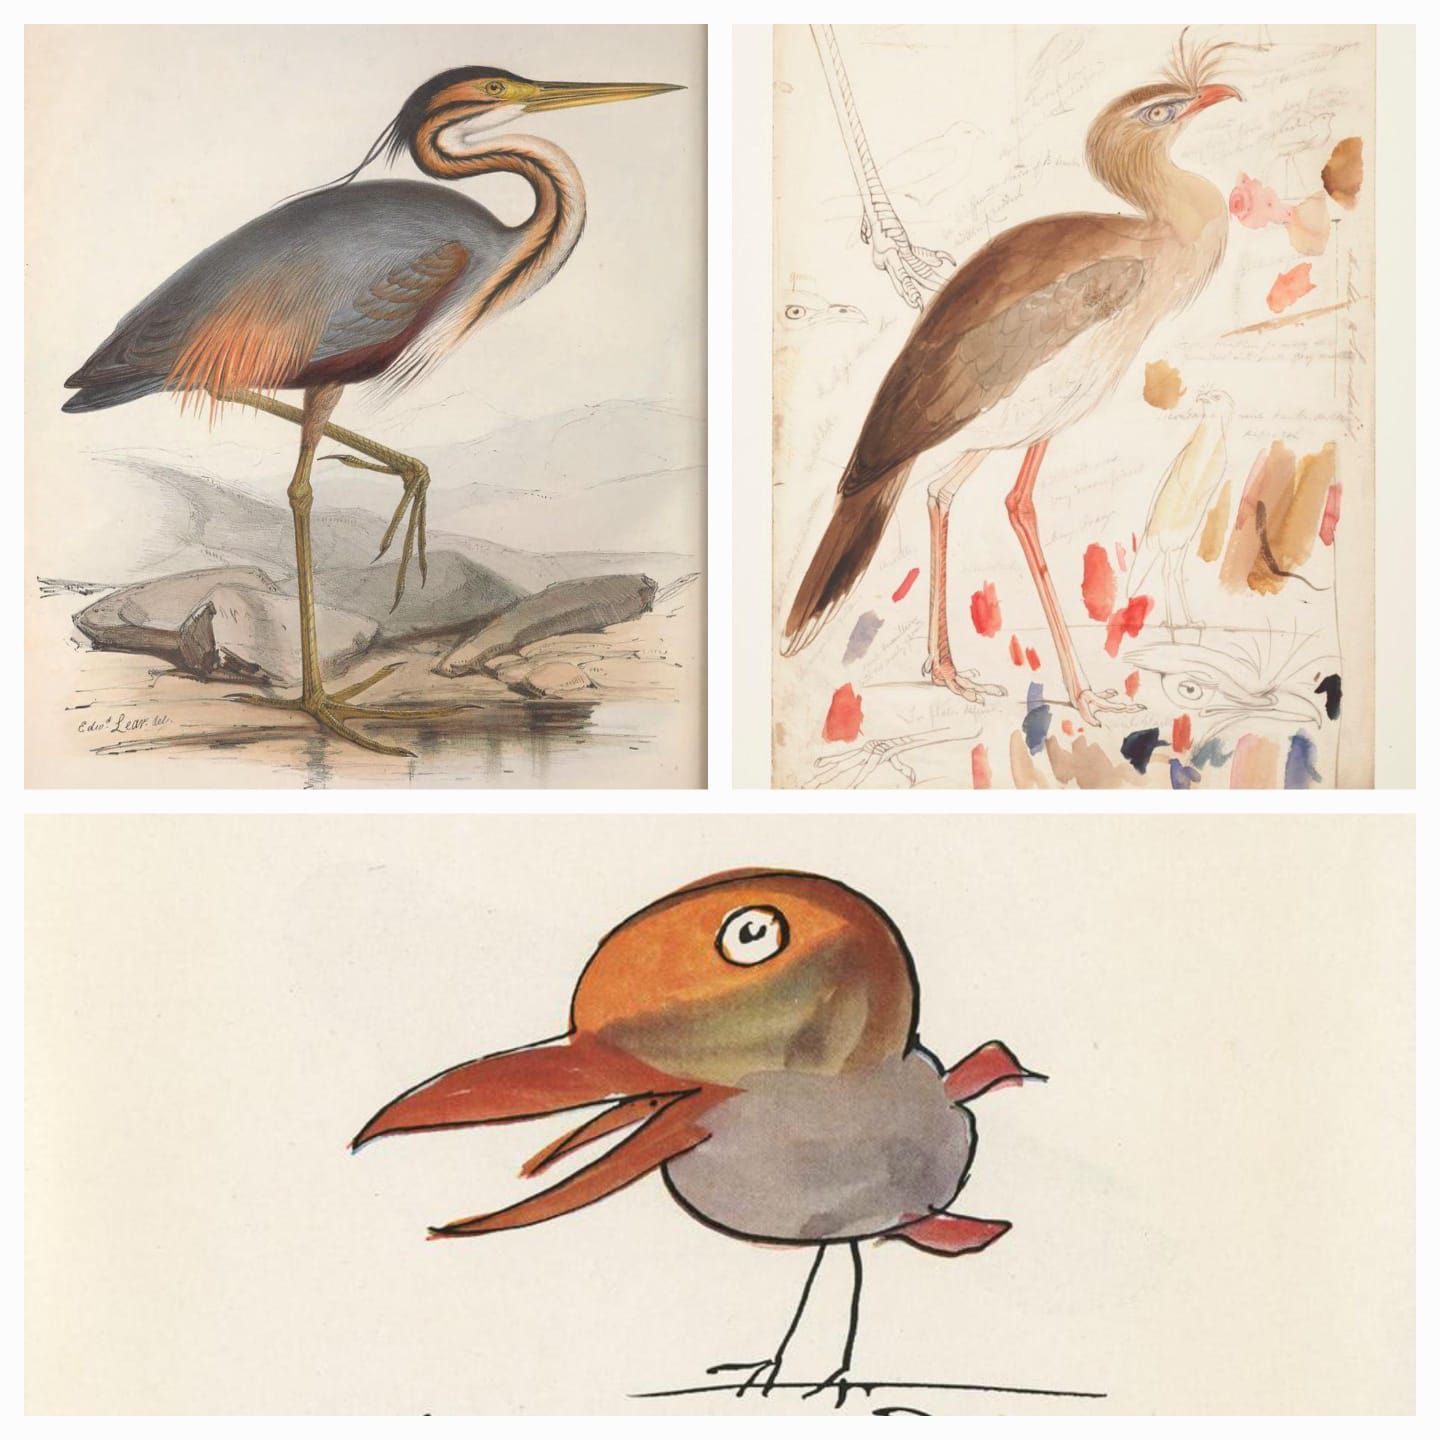
Several artists who focus on birds continue to inspire me, both in their techniques and in the way they portray the beauty of avian life.
Edward Lear
Lear is known both for his detailed bird etchings and his whimsical watercolour “nonsense birds.” His work beautifully balances scientific observation with imagination. Both his realistic and imaginary work inspire me.
Mood board
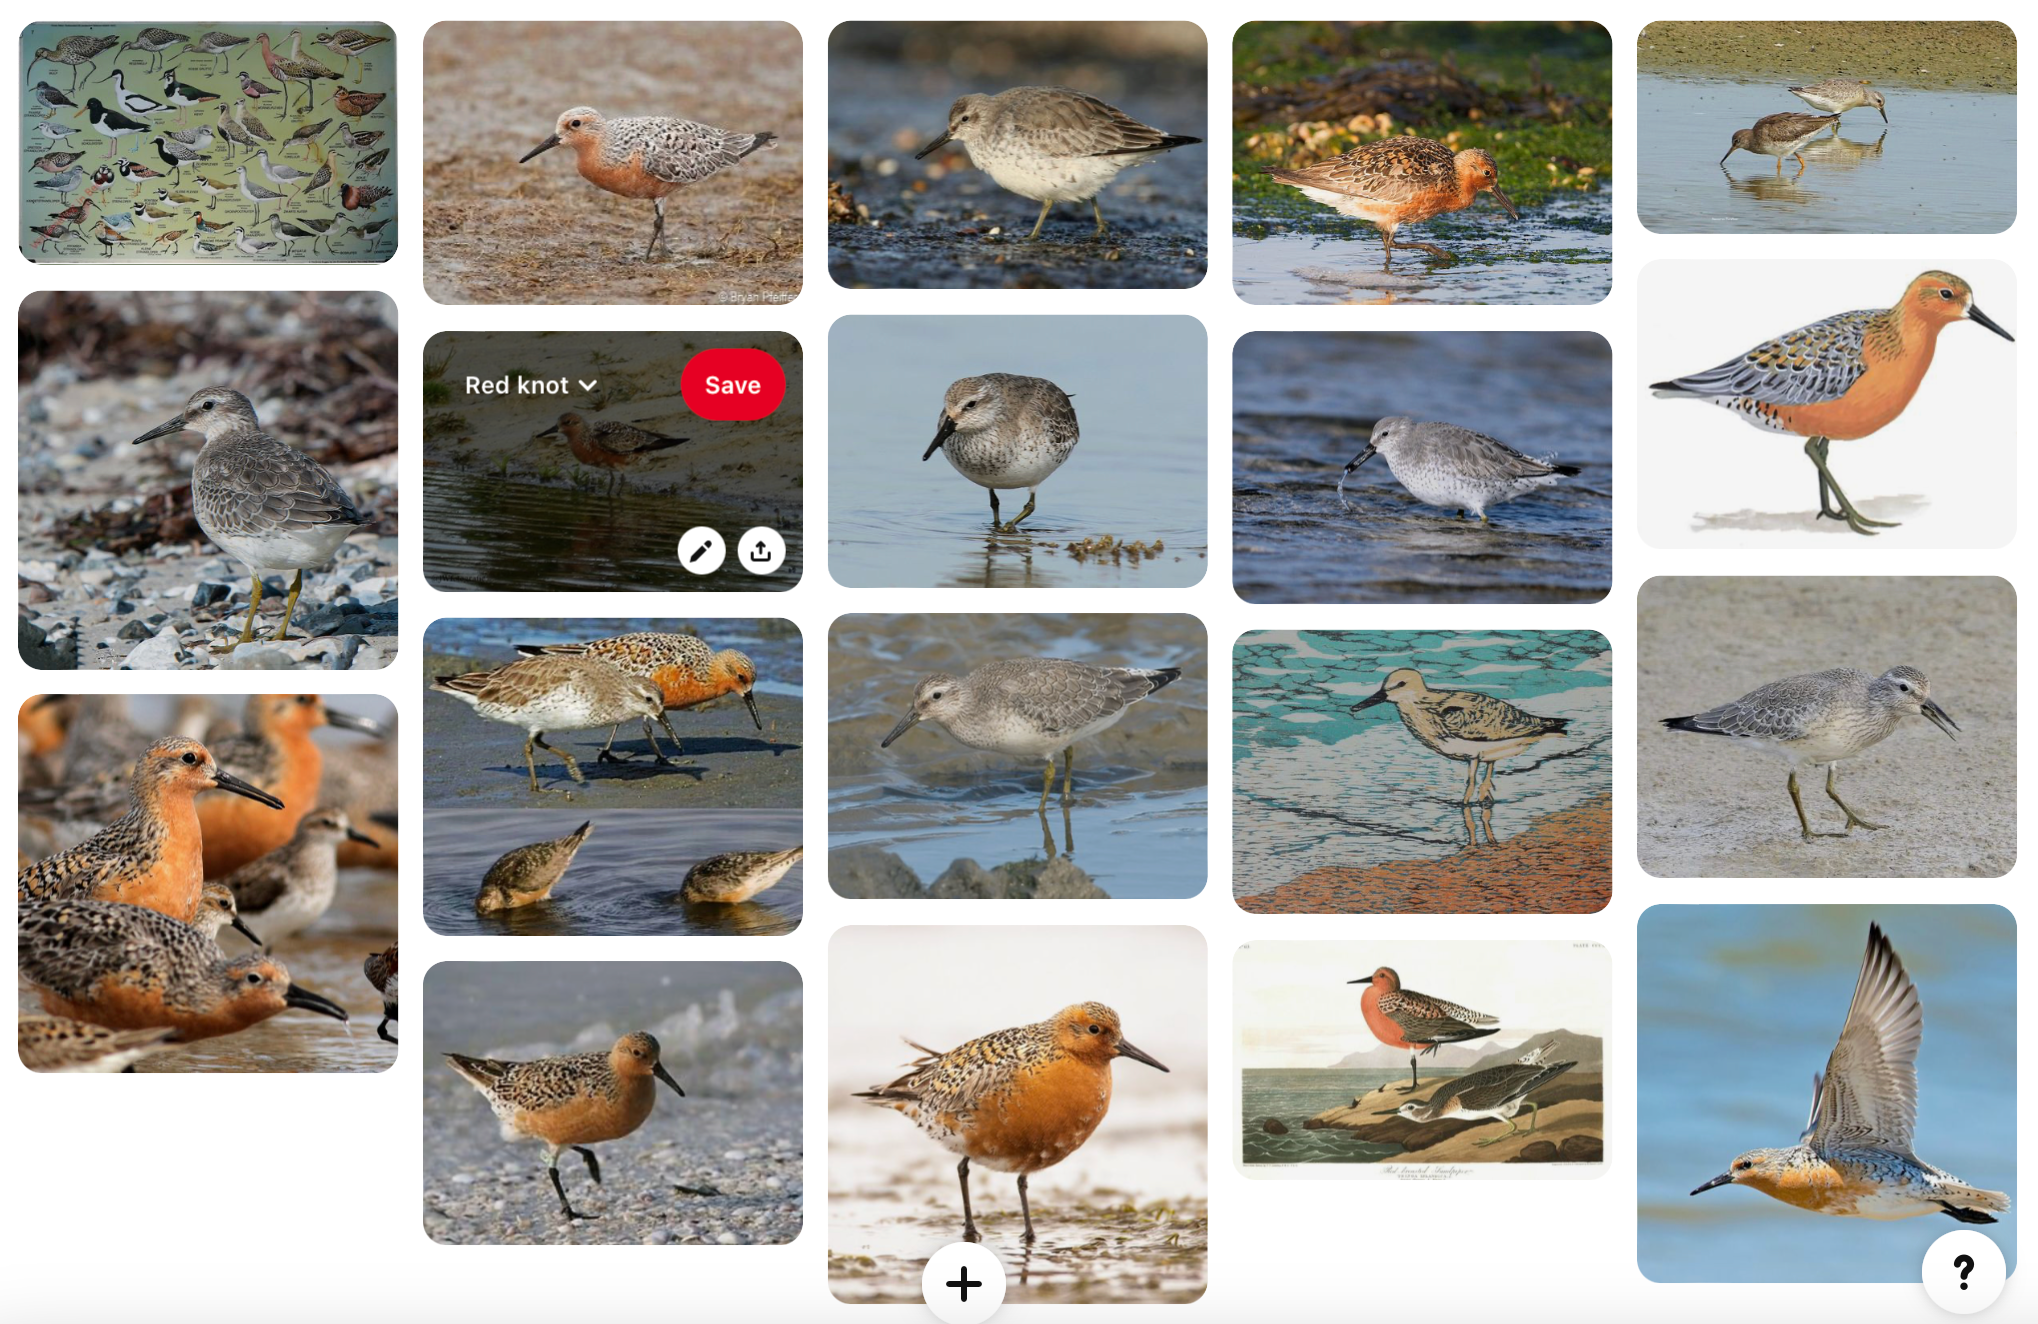
You can create a moodboard by browsing different birds (or other animals) in bird books or online, to find one you'd enjoy making a print of. It’s a great way to explore ideas and study the posture, shapes, and features of your subject before you begin sketching.
For my own project, I already knew I wanted to depict a Red Knot — a bird I often see in the field. Sometimes, just a few appear at the start of their migration, but before long, thousands gather on the mudflats to forage. It's an incredible sight.
To prepare, I created a Pinterest moodboard focused entirely on the Red Knot. Collecting photos and images helped me better understand its posture and proportions, and gave me a visual reference before starting my sketches and drypoint plate.
Prepare your plate
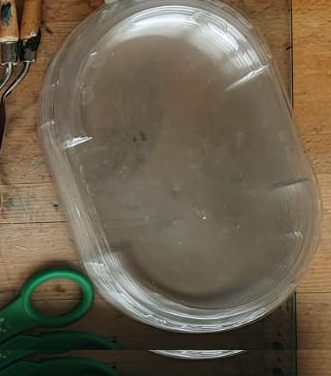
Cut a piece of plastic from your plastic waste — make sure it’s a flat, even surface. Thicker plastic tends to work better, as it holds the scratches more clearly. You can experiment with different thicknesses to see how they affect the final print. Food packaging, like transparent lids or trays, can be great sources!
Explore the technique
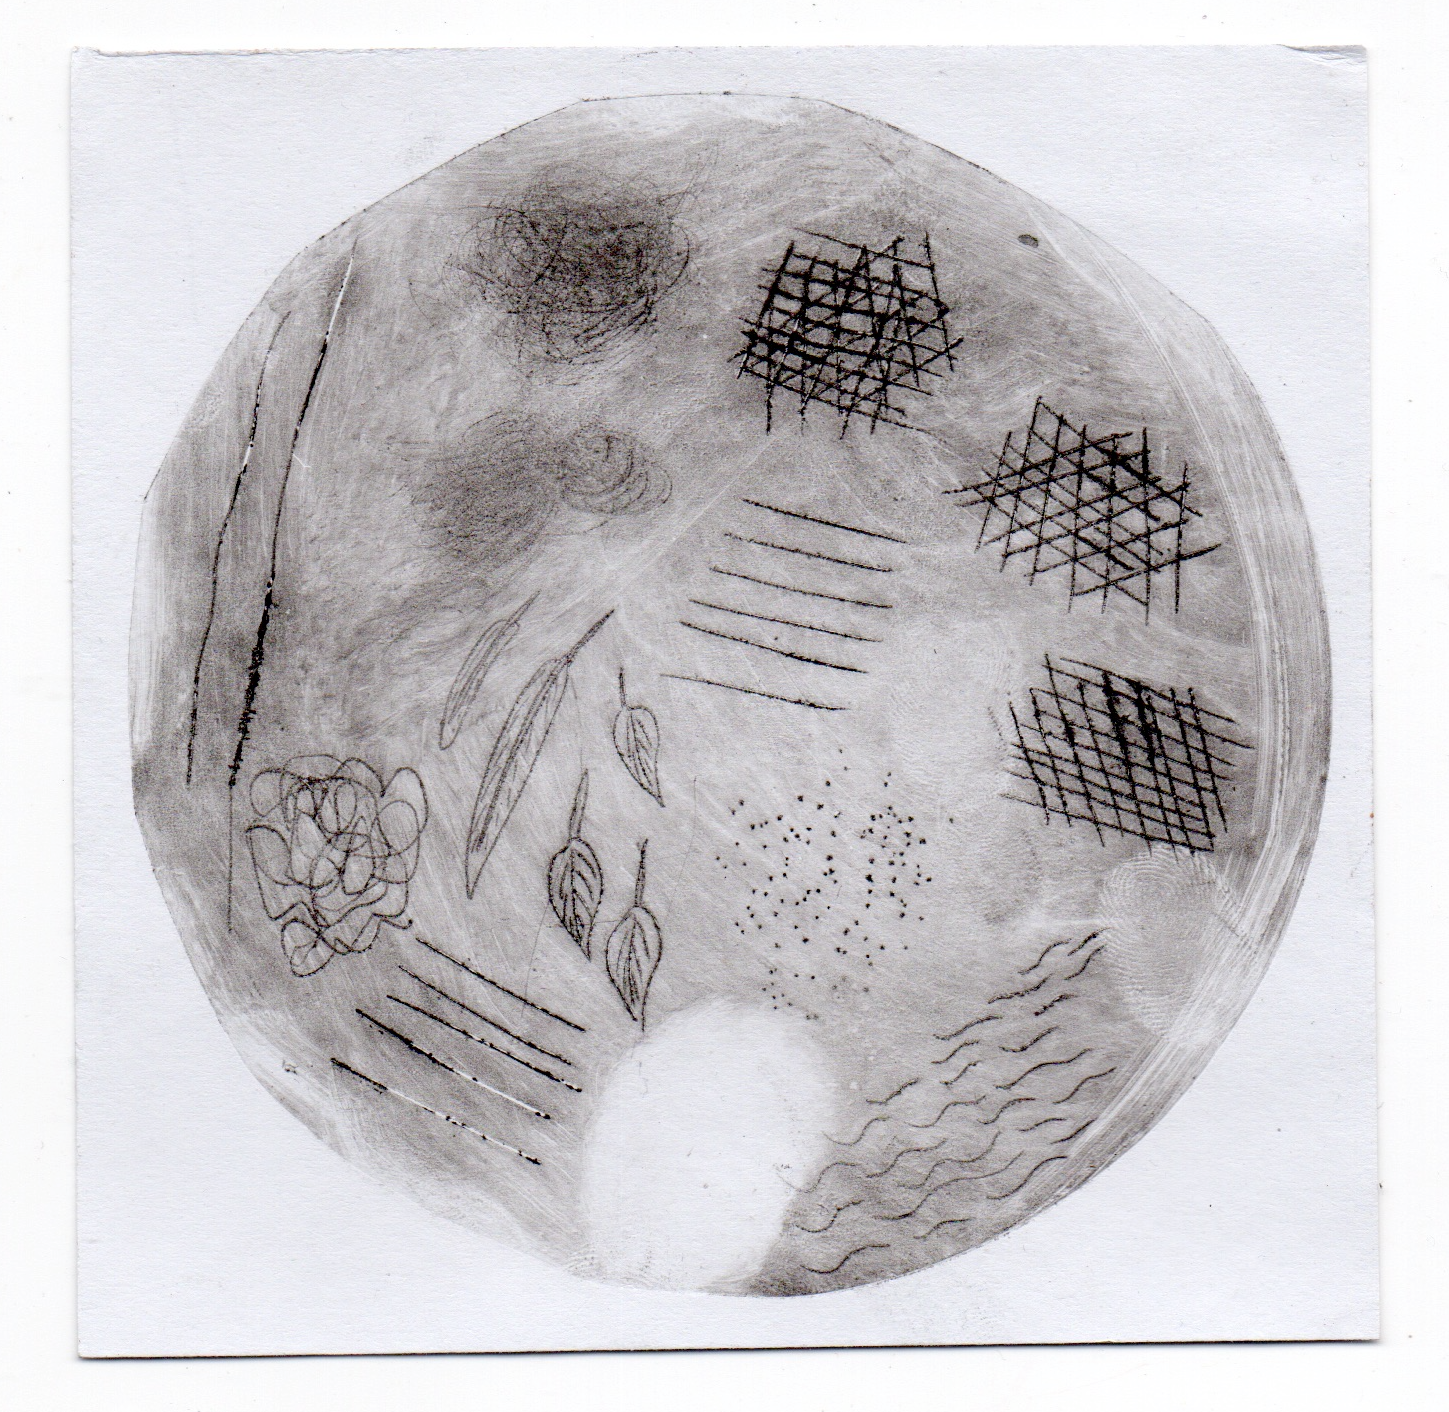
Take a plastic plate to explore the technique and try out different types of marks. Make deep lines, shallow lines, and criss-cross patterns — draw over lines twice or even three times. Use sandpaper (with different grains) or cotton tips to create textures, wipe away areas, or add smudges and dots. Try short lines, scribbles, and anything else you can think of. You might discover something unexpected that works beautifully in your final piece.
Be aware that everything you engrave will be printed as a mirror image. This is especially important if you want to include text - you'll need to write or trace it in reverse on your plate so it reads correctly in the final print.
Sketch and scratch
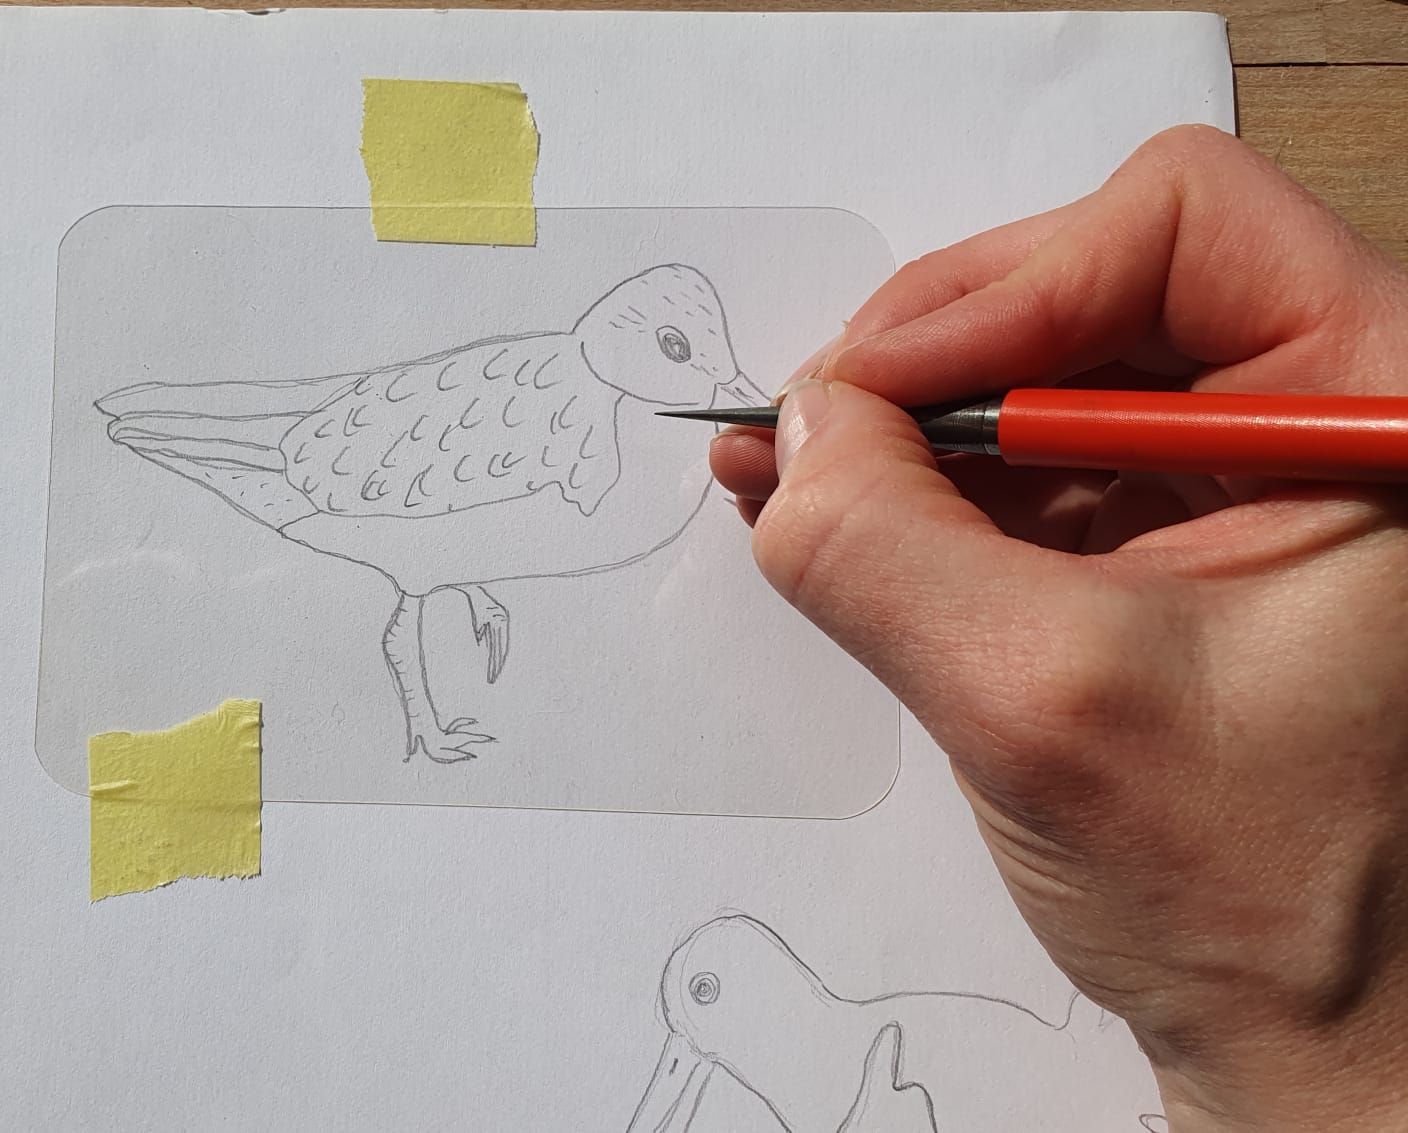
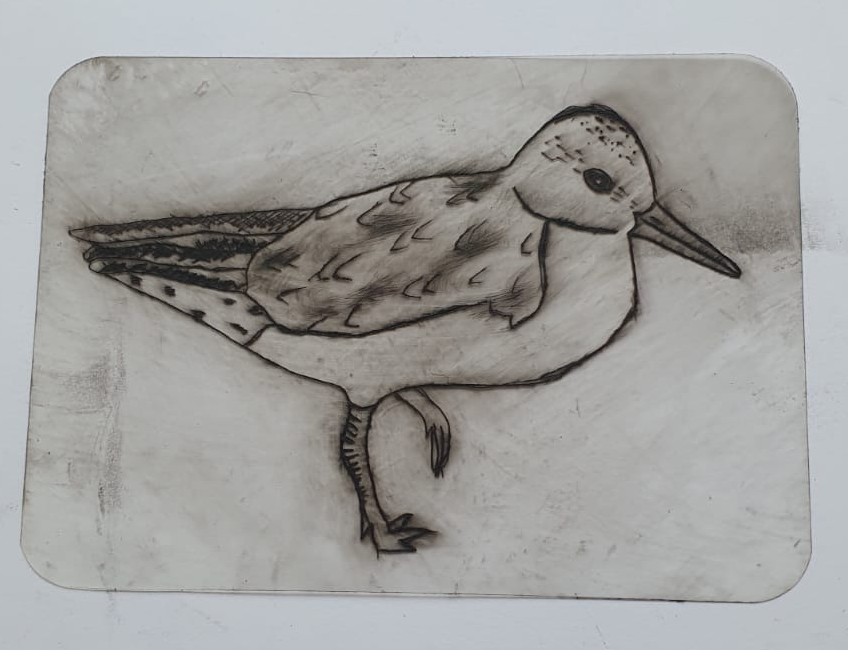
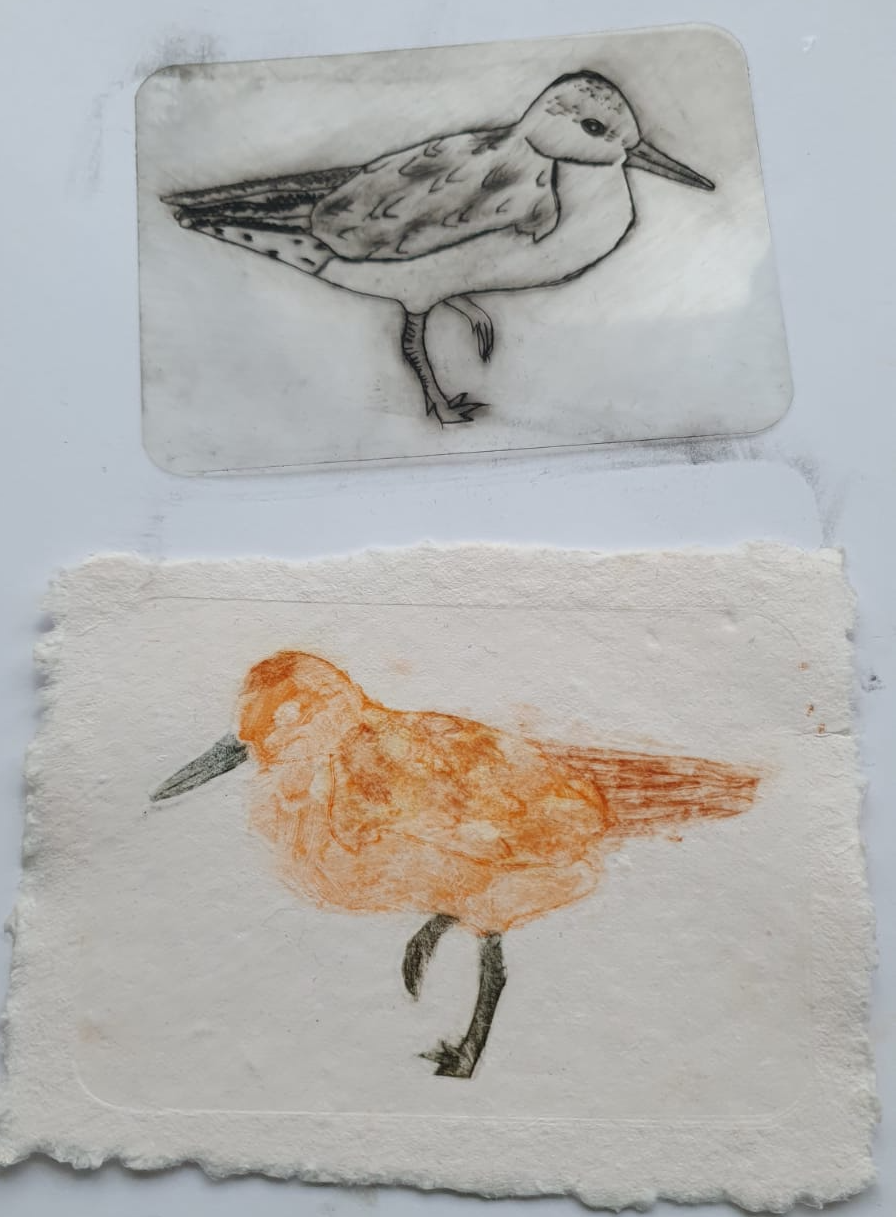
Start by making a pencil sketch of your chosen animal (or bird) on paper to explore its shape and details. Once you're happy with the design, place your plastic plate over the sketch. You can secure the plate with a small piece of tape to keep it from moving while you work. Then, use a sharp scratching tool (such as a drypoint needle) to carefully scratch the image into the surface of the plate. These scratches will hold the ink and form the printed lines in your final artwork.
Choose Your Colour Palette
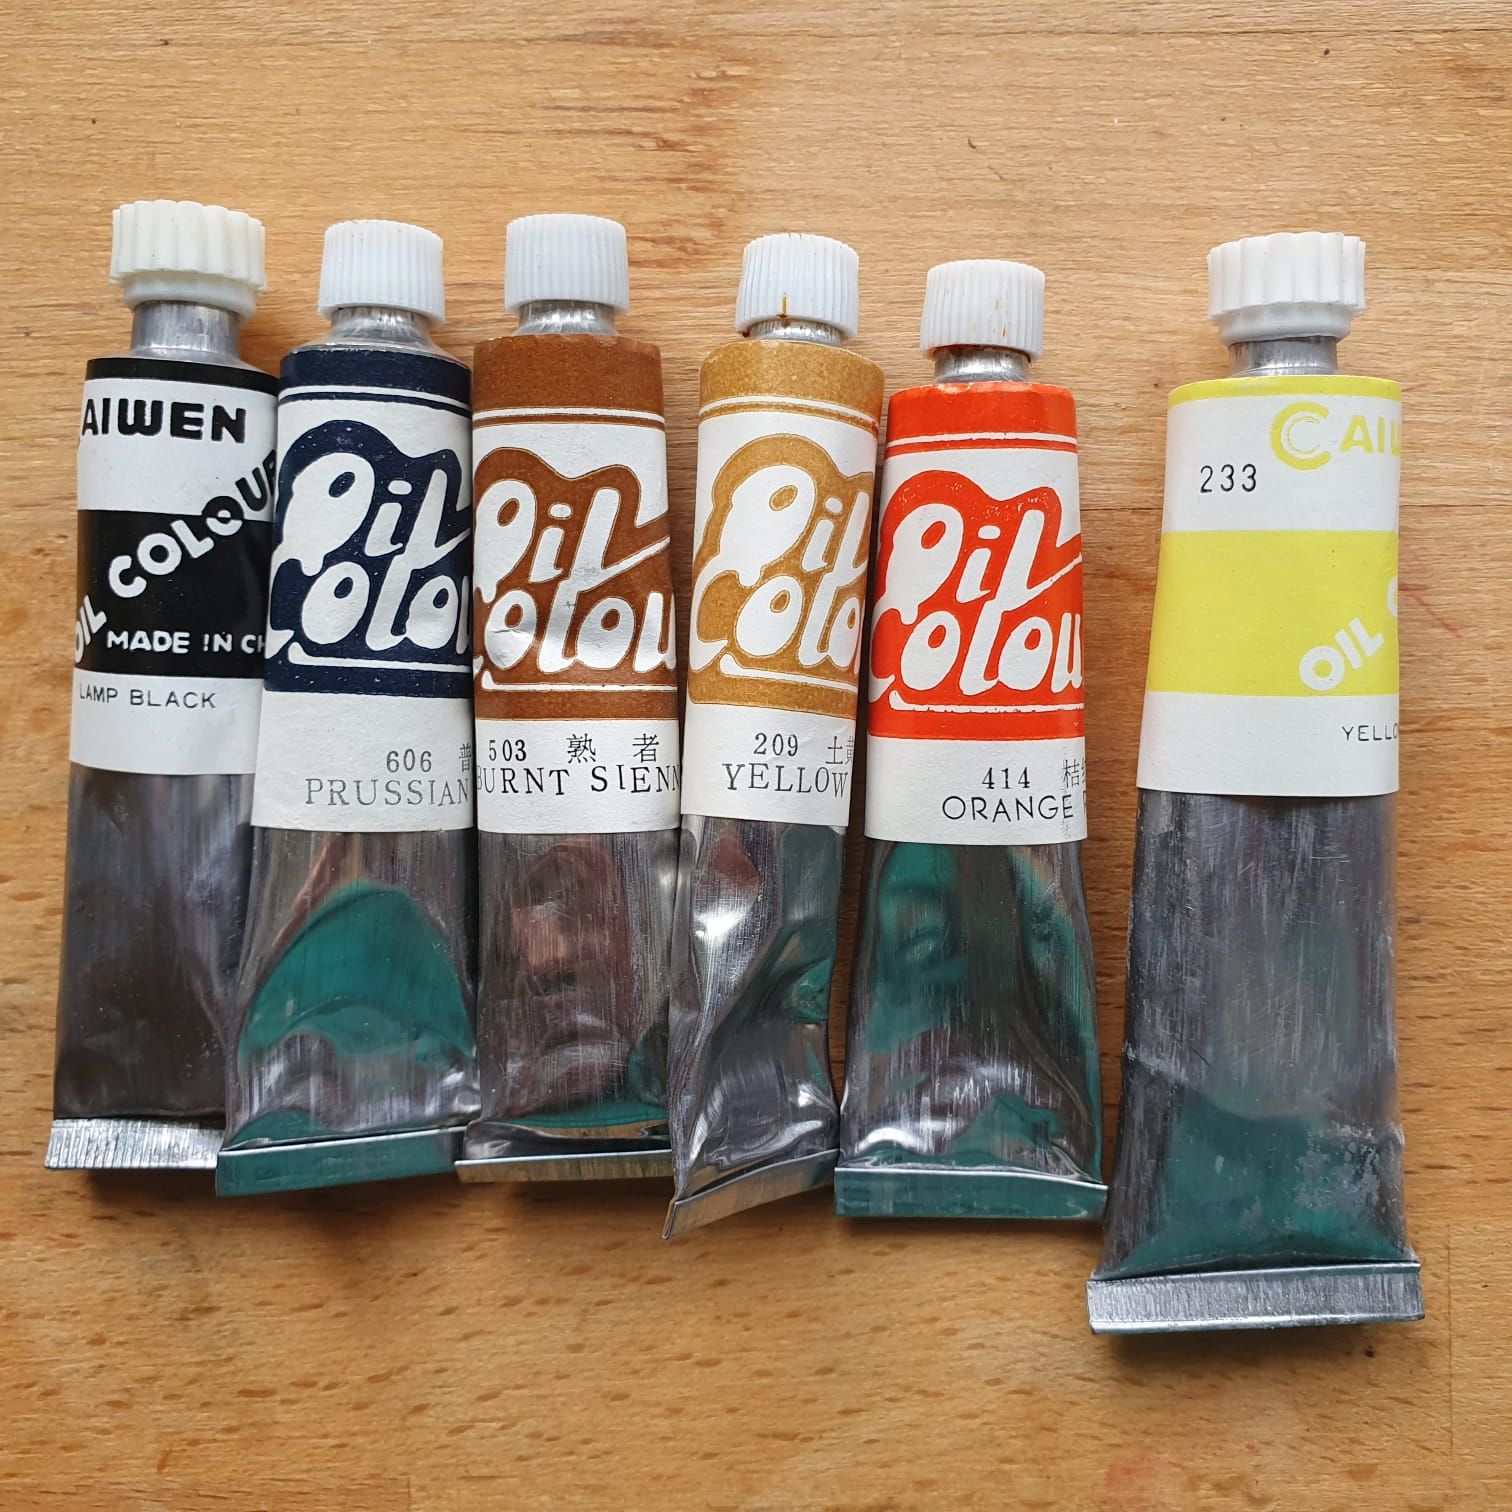
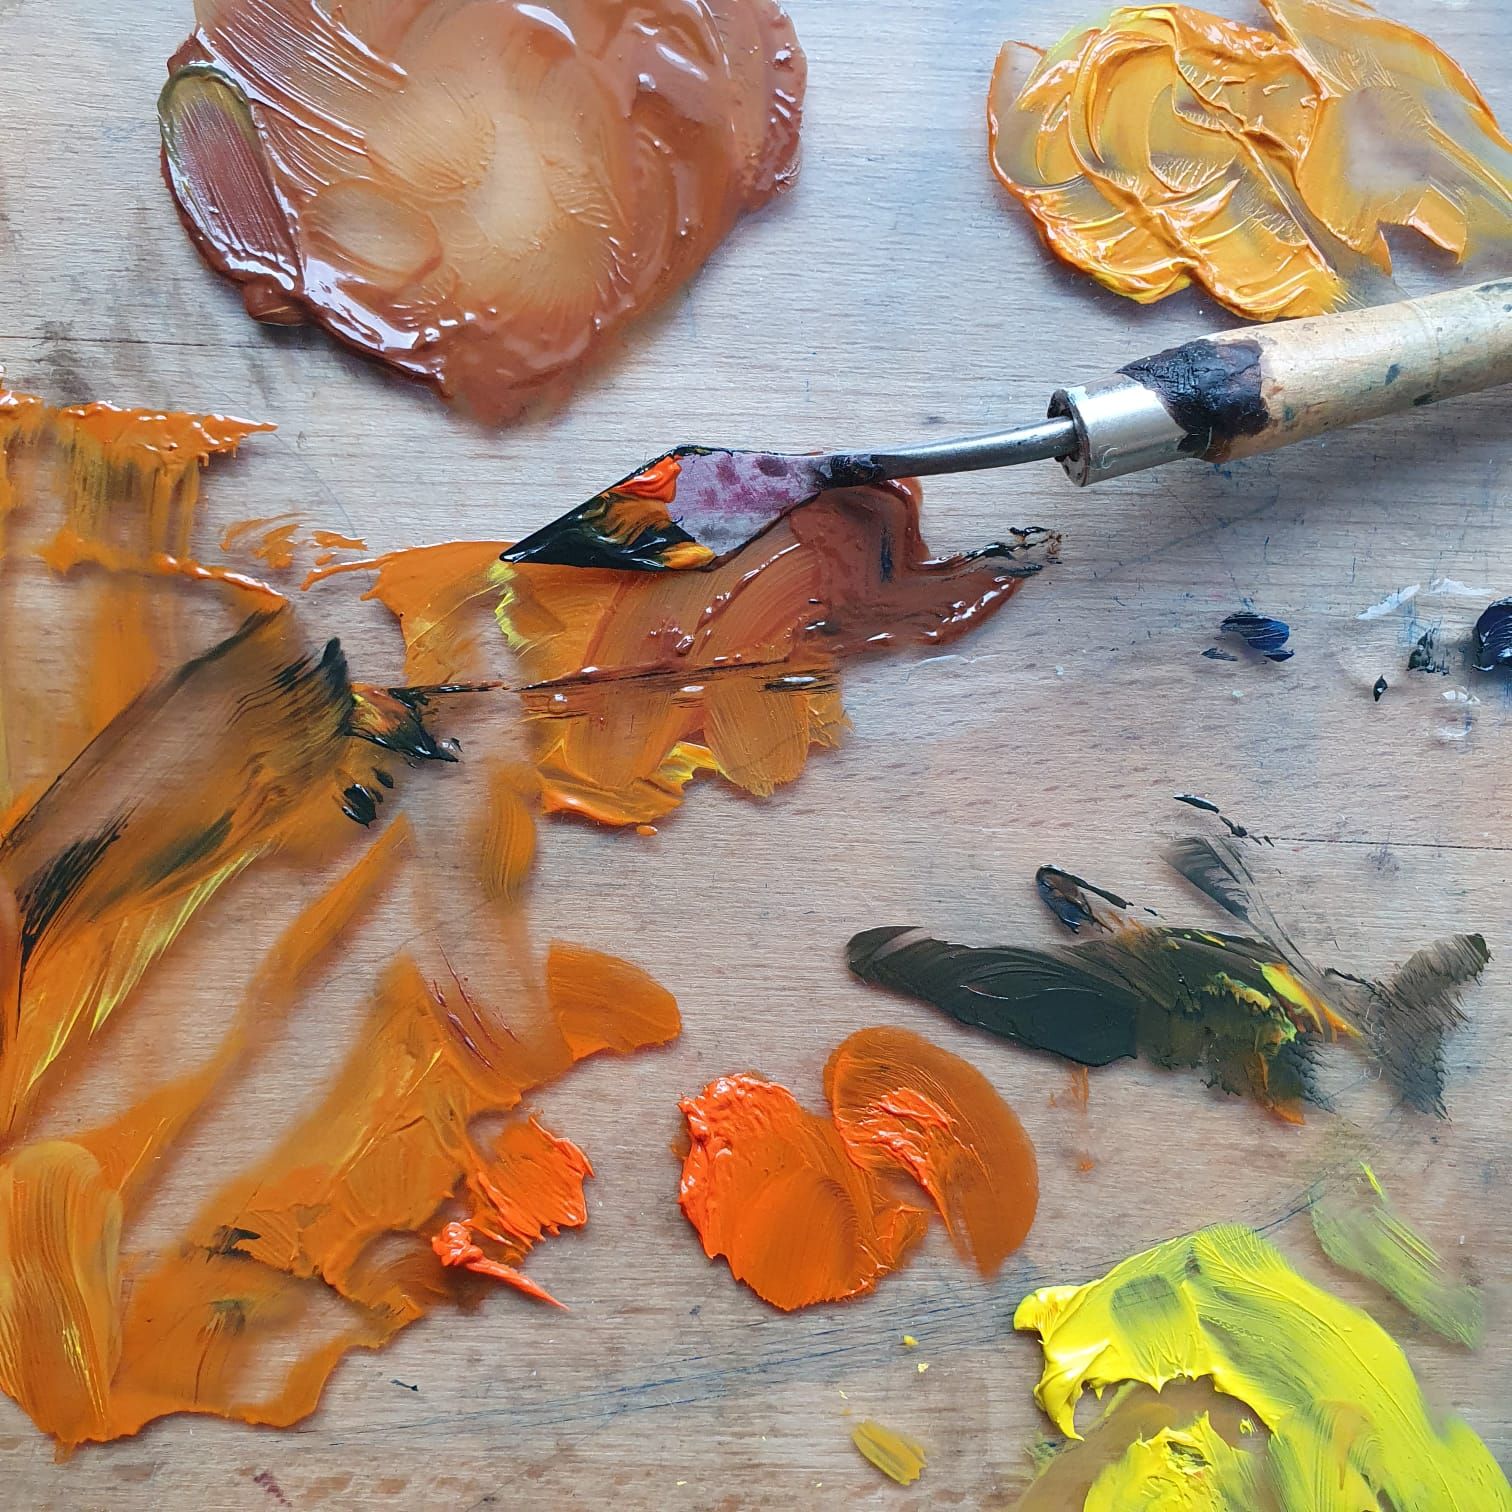
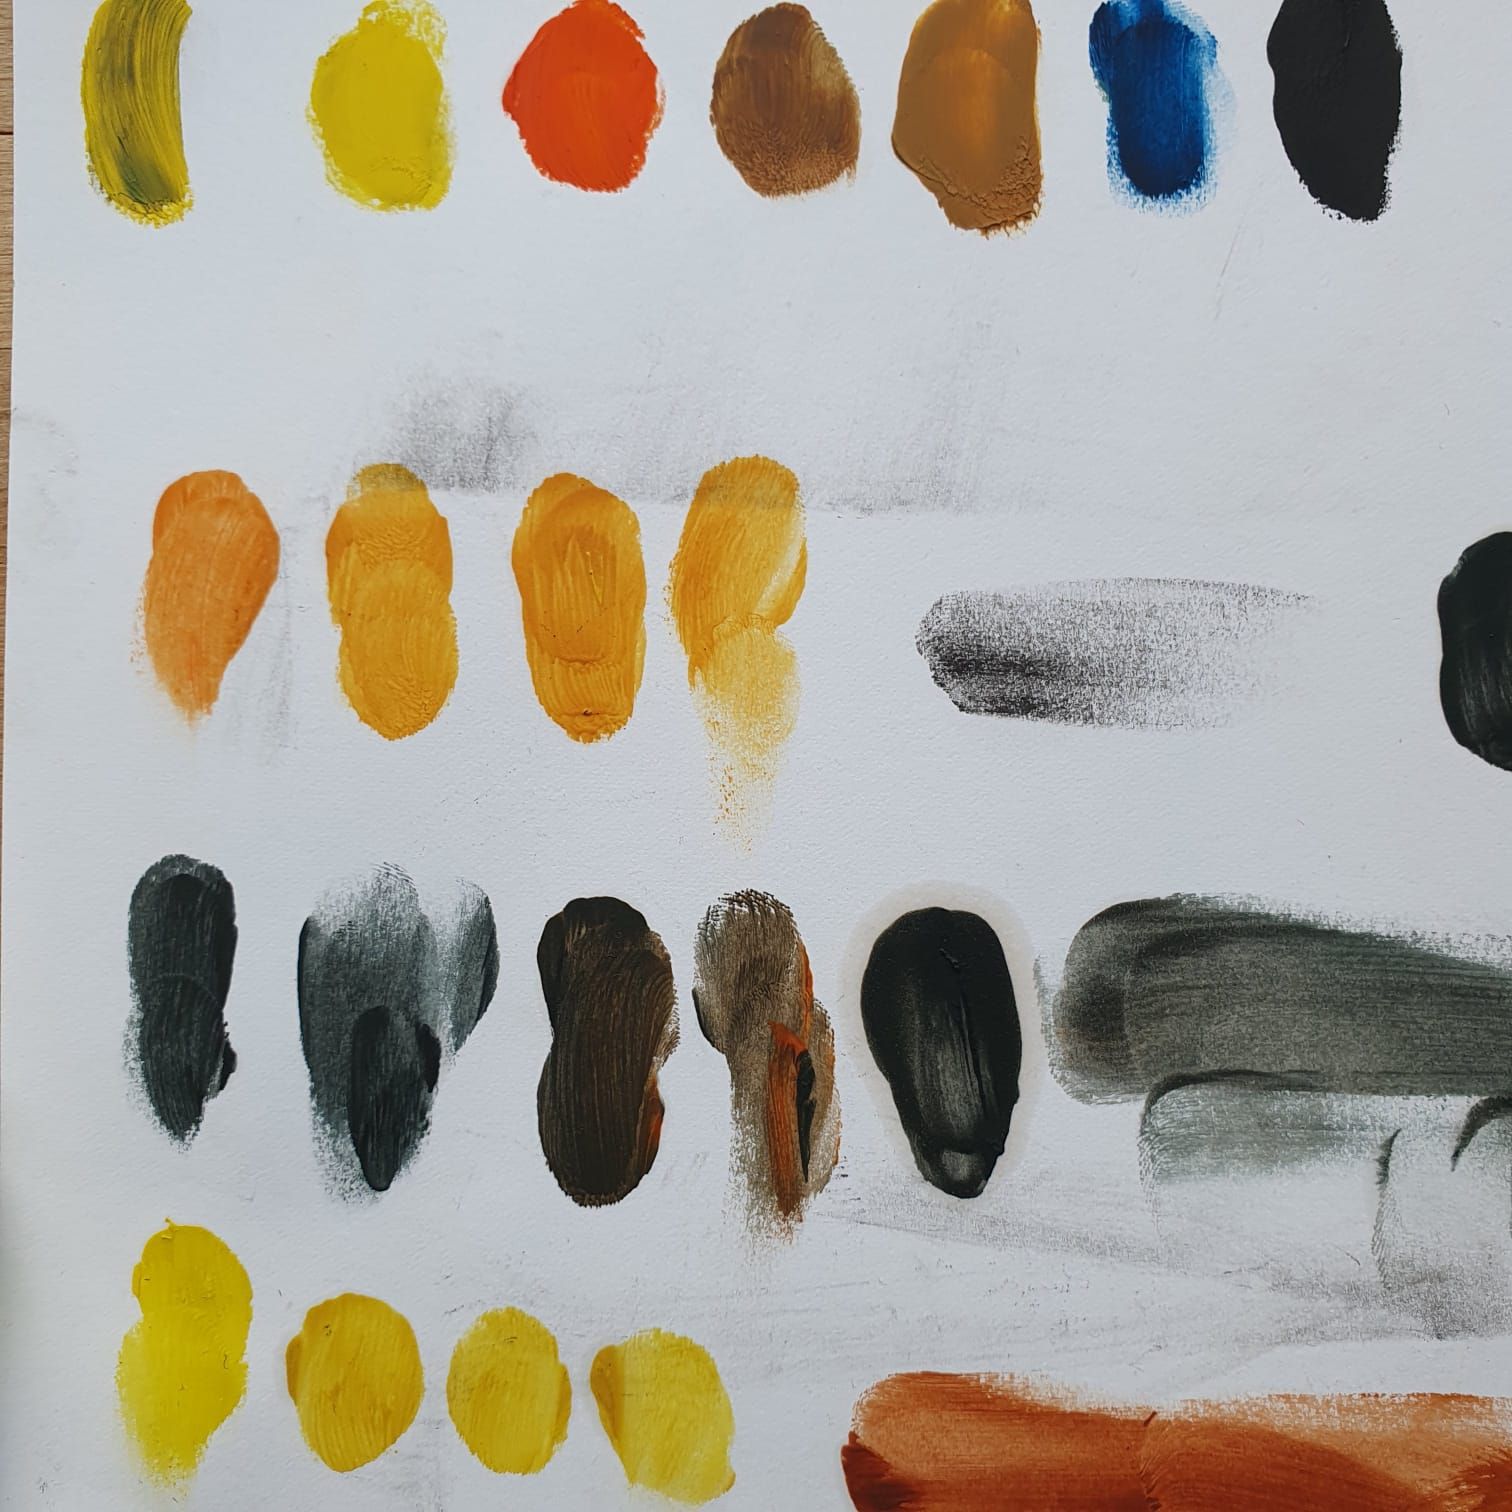
Decide on the colours you’d like to use for your print. You can mix your paints on a tile or a sheet of plexiglass. If the colours straight from the tube aren’t quite what you want, experiment by blending them and testing on a scrap piece of paper until you're happy with the result. Add a small amount of linseed oil to your mix — this will help the ink flow more easily into the scratched lines of your plate.
Prepare you paper
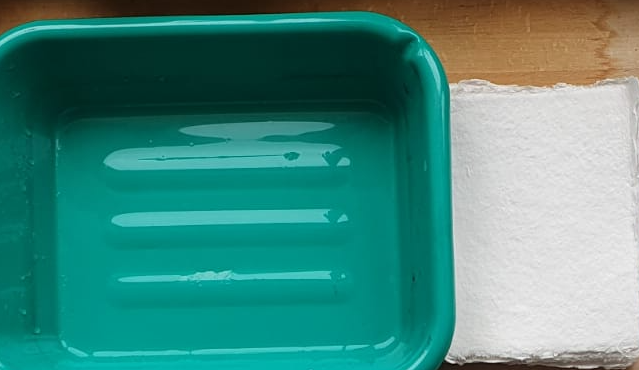
In the meantime, soak your paper in a tray of water. This helps the fibers soften so the paper can pick up more detail from the plate during printing. You can experiment with different types of paper to see which ones work best with your design — some may hold more ink, while others might give a softer or more textured result.
Colour your plate
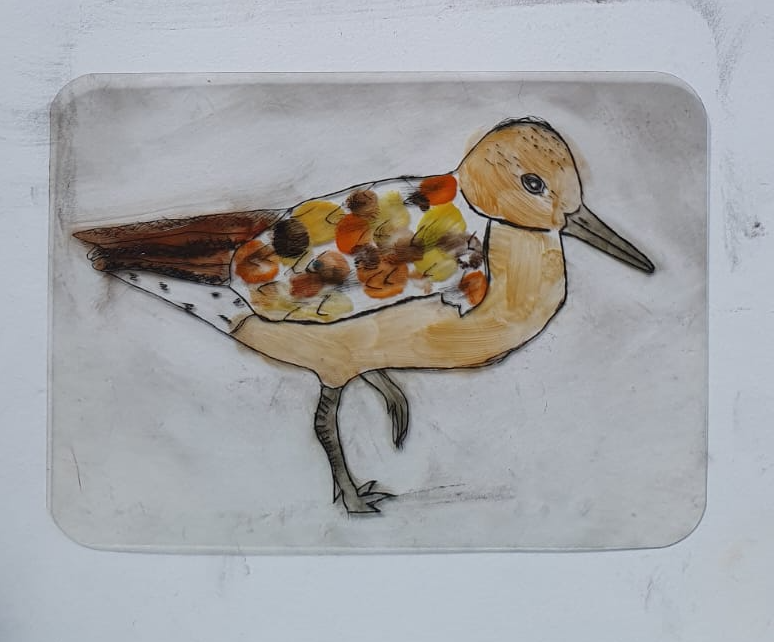
Start by applying your colours to the plate, choosing where each colour will go and how you want it to interact with the design. I personally like to use my fingers for this step as it allows for a more textured, hands-on approach. You can also use brayers (rollers) or palette knives for smoother applications.
Take your time to layer the colours and experiment with different tools like sponges or cloths to create different effects. Once you’re happy with the colour placement, it’s time for the next step.
Prepare and print
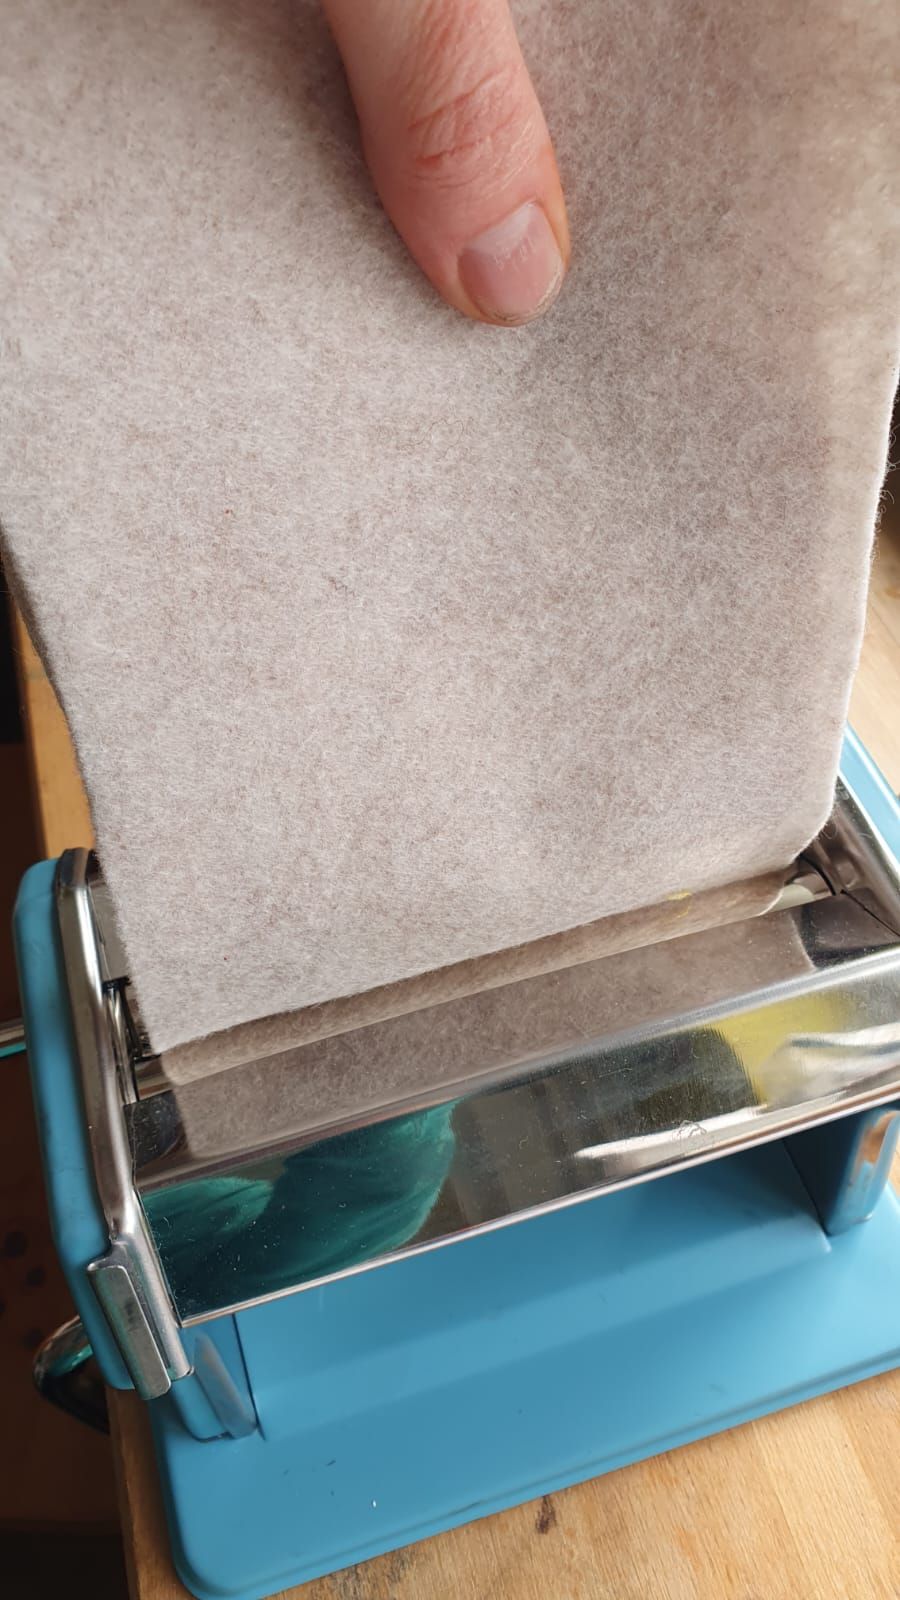
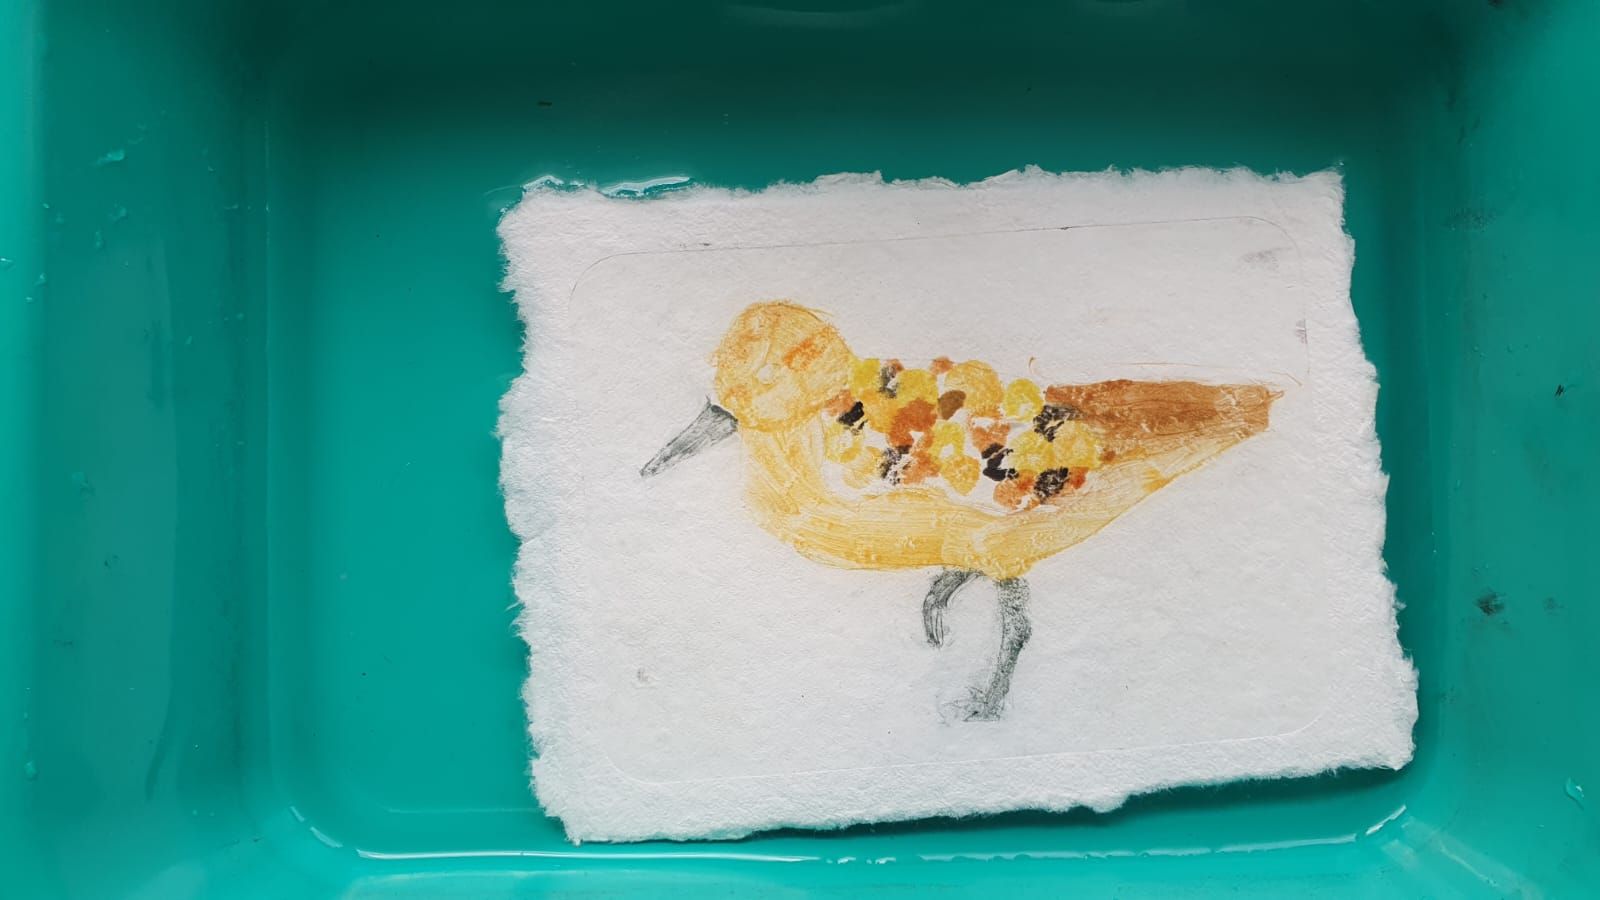
Take the paper from the tray and gently wipe off the excess water using a clean cloth or sponge. Place your coloured plate paint side down on the paper. To help apply even pressure, place two bits of felt on either side of the plate.
Now it’s time to print! In this case, we’re using a pasta maker as a press. Carefully feed the plate and paper (with the felt) through the press. The pressure will transfer the ink from the plate onto the paper, creating your print.
Next Step: Apply Black Ink
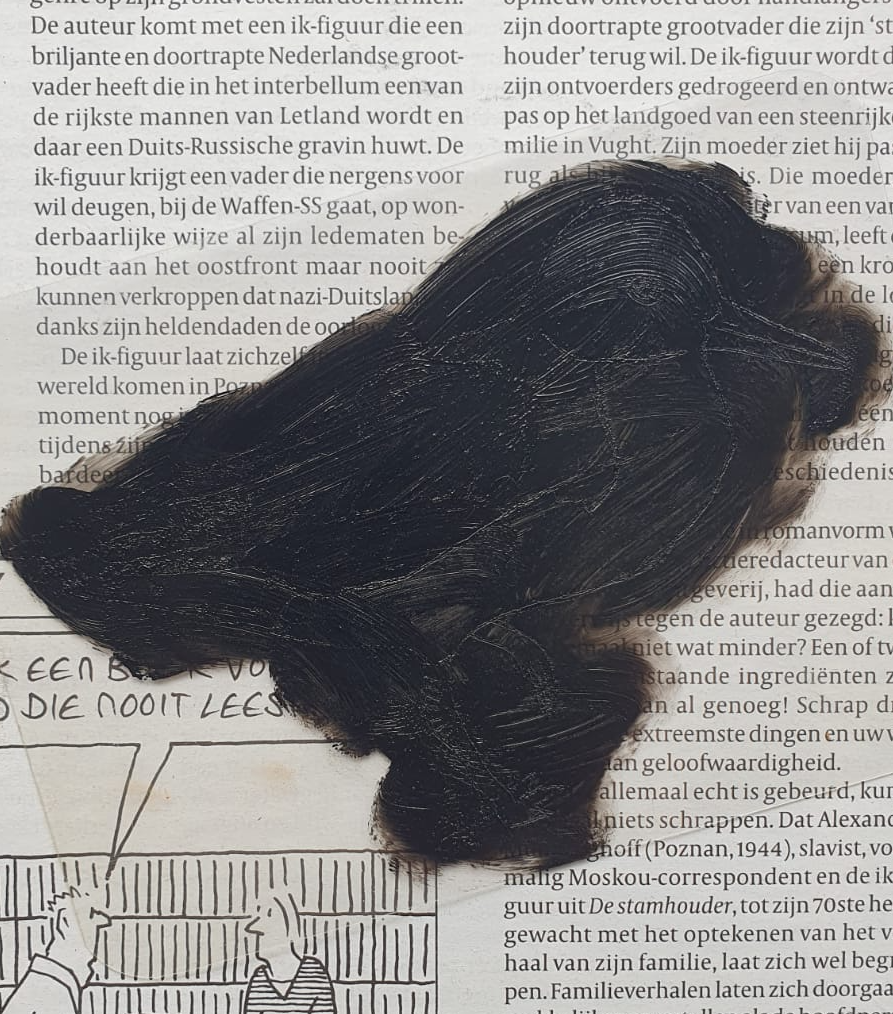
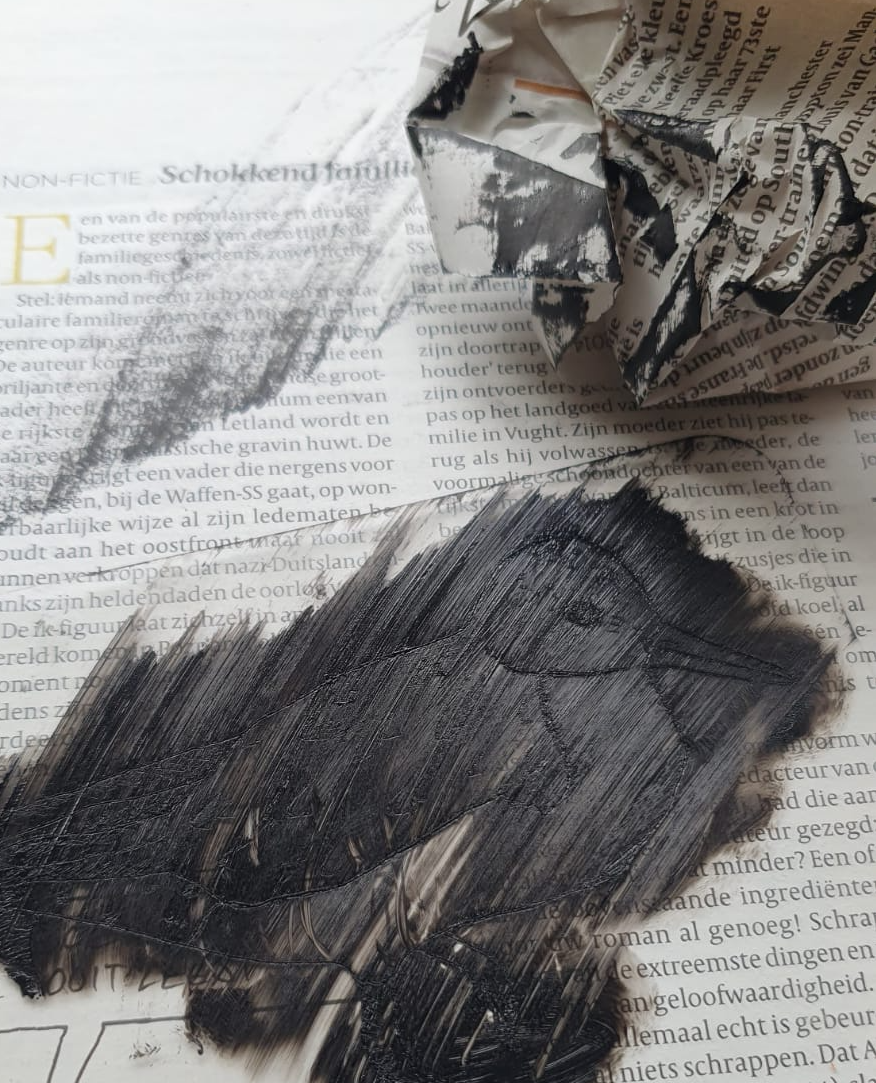
Once the coloured ink is on the plate, move on to using black ink. This is the final layer that will bring out the contrasts and details in your print. The black ink will sit on top of the coloured base, emphasizing the scratches and textures you’ve created.
Make sure the black ink covers the entire plate. Then, use even pressure to wipe off the excess ink with a scrunched-up piece of newspaper. Gently wipe the ink off to the side, being careful not to press too hard into the crevices where the ink should remain. You want to keep the ink in the etched lines and textures to highlight the details of your design.
Repeat the process
Wet the paper again, ensuring it’s evenly damp, and then carefully line up the black image over the coloured image. Precision is key here, as you want the black ink to align exactly with the coloured base. Once aligned, place it back under the felt and pull it through the press again to transfer the black ink.
Experiment and Finalize:
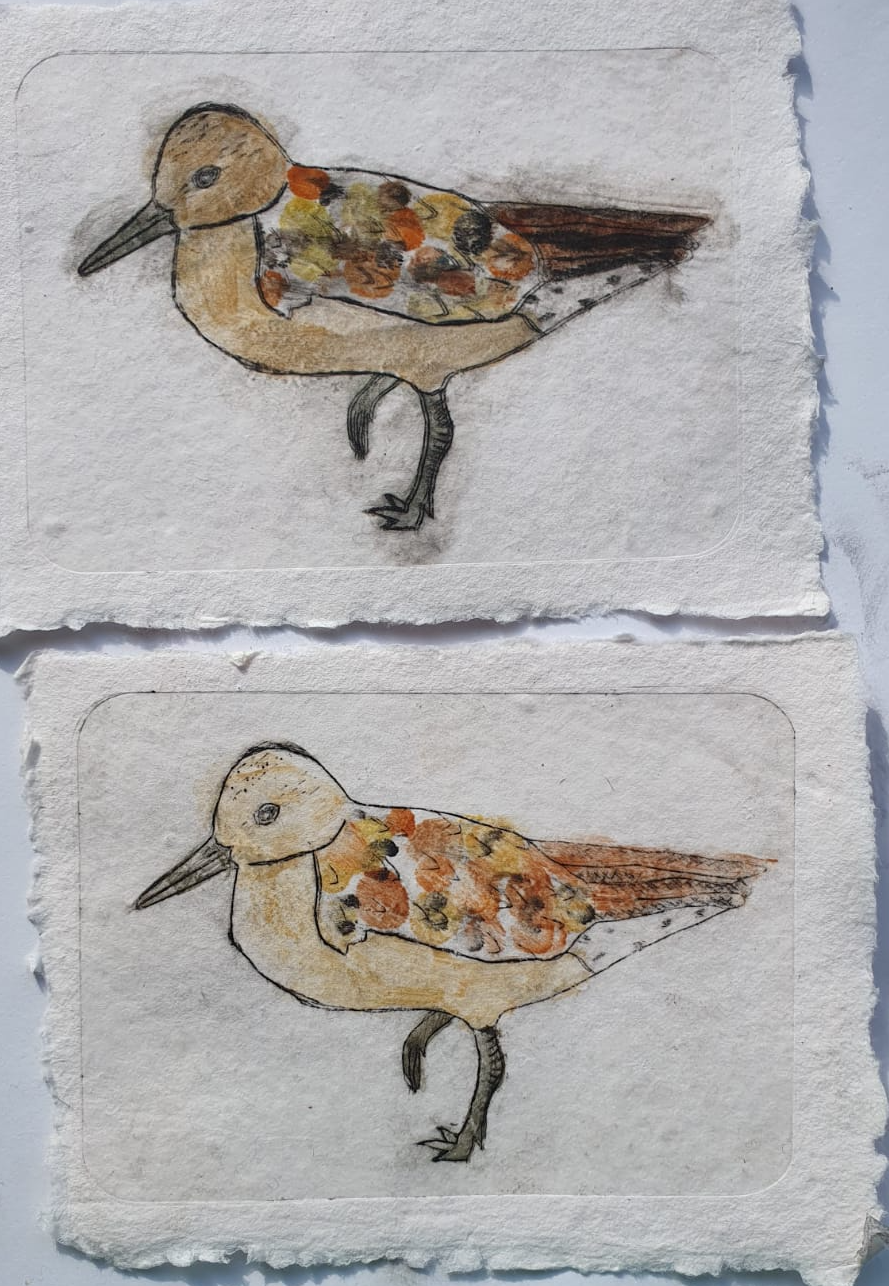
You can repeat the process multiple times to create a series of prints or until you’re satisfied with the result. Each print may have slight variations, which adds to the beauty of the technique.
Once your paper is dry, don’t forget to sign your prints to complete your artwork.

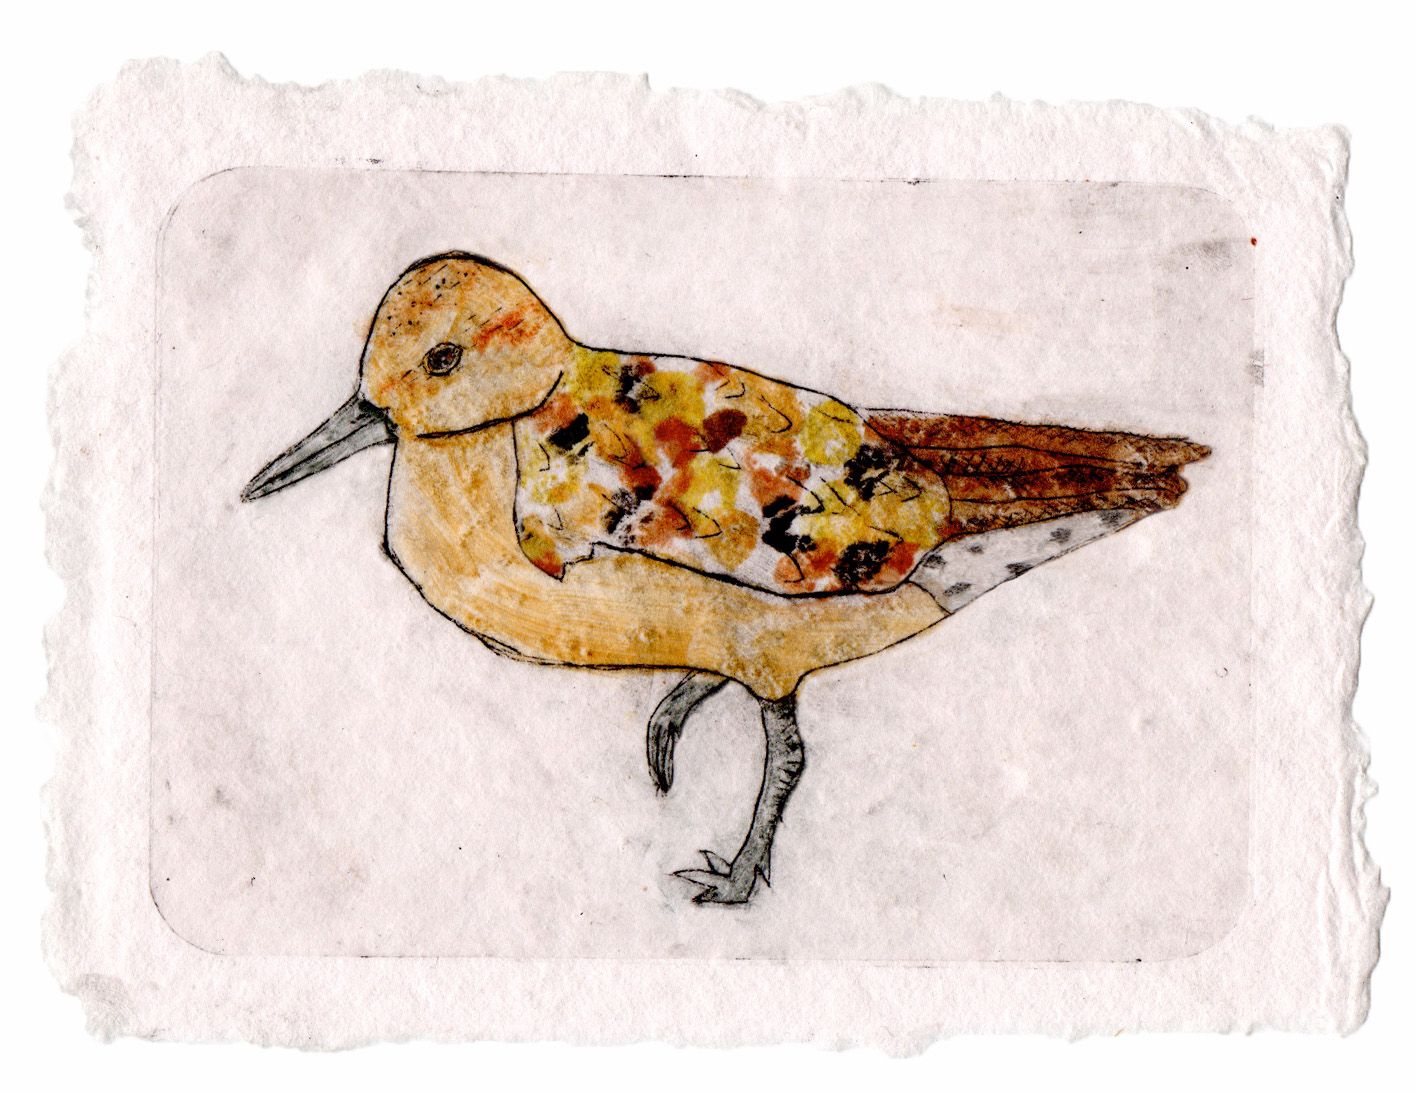
Final illustration
For me, an illustration is never truly finished without a story. Who is this bird, and where can you find it?
Take a moment to explore your bird's personality, its unique traits, and the places it calls home. See if you can uncover some fun facts that bring your bird to life. Give it a voice, a character, and let it speak for itself! After all, every creature has a story to tell — it just needs you to help share it.
------------------------------------------------------------------------------------------------------------------------------------------
Hi there! I’m Calidris canutus, but most people call me the Red Knot. You can call me that too, if you'd like.
I’m famous for my long-distance migration — I can cover over 9,000 miles, which is pretty impressive when you consider my size. In the spring, I’m all decked out in bright red plumage, but when winter comes, my colours become more muted and grey.
I’m often found with thousands of other knots, so spotting me can be tricky! But hey, if you’re up for the challenge, I’d love to have you visit me on my journey. Maybe we’ll meet on a beautiful mudflat or sandy beach!


3 commenti
Hermoso trabajo! Y tan bien documentado y explicado que me lazaré a hacer un proyecto empleando esta técnica, con mi clase de peques, . Felicitaciones y gracias a la artista y a Domestika por este concurso tan interesante.
Abrazo
Marina
@marelle Thank you for your message. It was a fun project to work on. I am curious how it worked out in your class.
I love this!! Thank you for sharing the entire process! Kerstin
Accedi o iscriviti gratuitamente per commentare