Specialization

Specialization in Cookie Decoration with Royal Icing Techniques

Master cookie decoration with royal icing, watercolor techniques, and artistic designs to create stunning edible art

Specialization · 6 modules

Embark on a delightful journey into the world of cookie decoration, where sugar and creativity transform simple ingredients into edible art. This specialization guides enthusiasts from mastering royal icing basics to exploring advanced artistic techniques. Develop a versatile skill set with guidance from experts Lili Cuéllar, Willie Soto, Hani Bacova, Rachel Levesque, and Liz Shim. Delve into royal icing, watercolor techniques, and buttercream artistry—each adding its unique flair to your creations.

Discover how to craft captivating designs, from charming characters to sophisticated patterns, while building a comprehensive portfolio that showcases your evolving style. Learn to create cookies that tell stories and evoke emotions, combining traditional artistry with modern techniques. This creative culinary adventure not only refines your technical prowess but also enhances your artistic expression, whether you aim to launch a cookie brand or simply indulge in a fulfilling hobby.

Read more ↓

What will you learn in this specialization?
A total of 6 modules and 85 lessons
A total of 14h 7m of vídeo lessons
Taught by 4 selected expert teachers
image
3
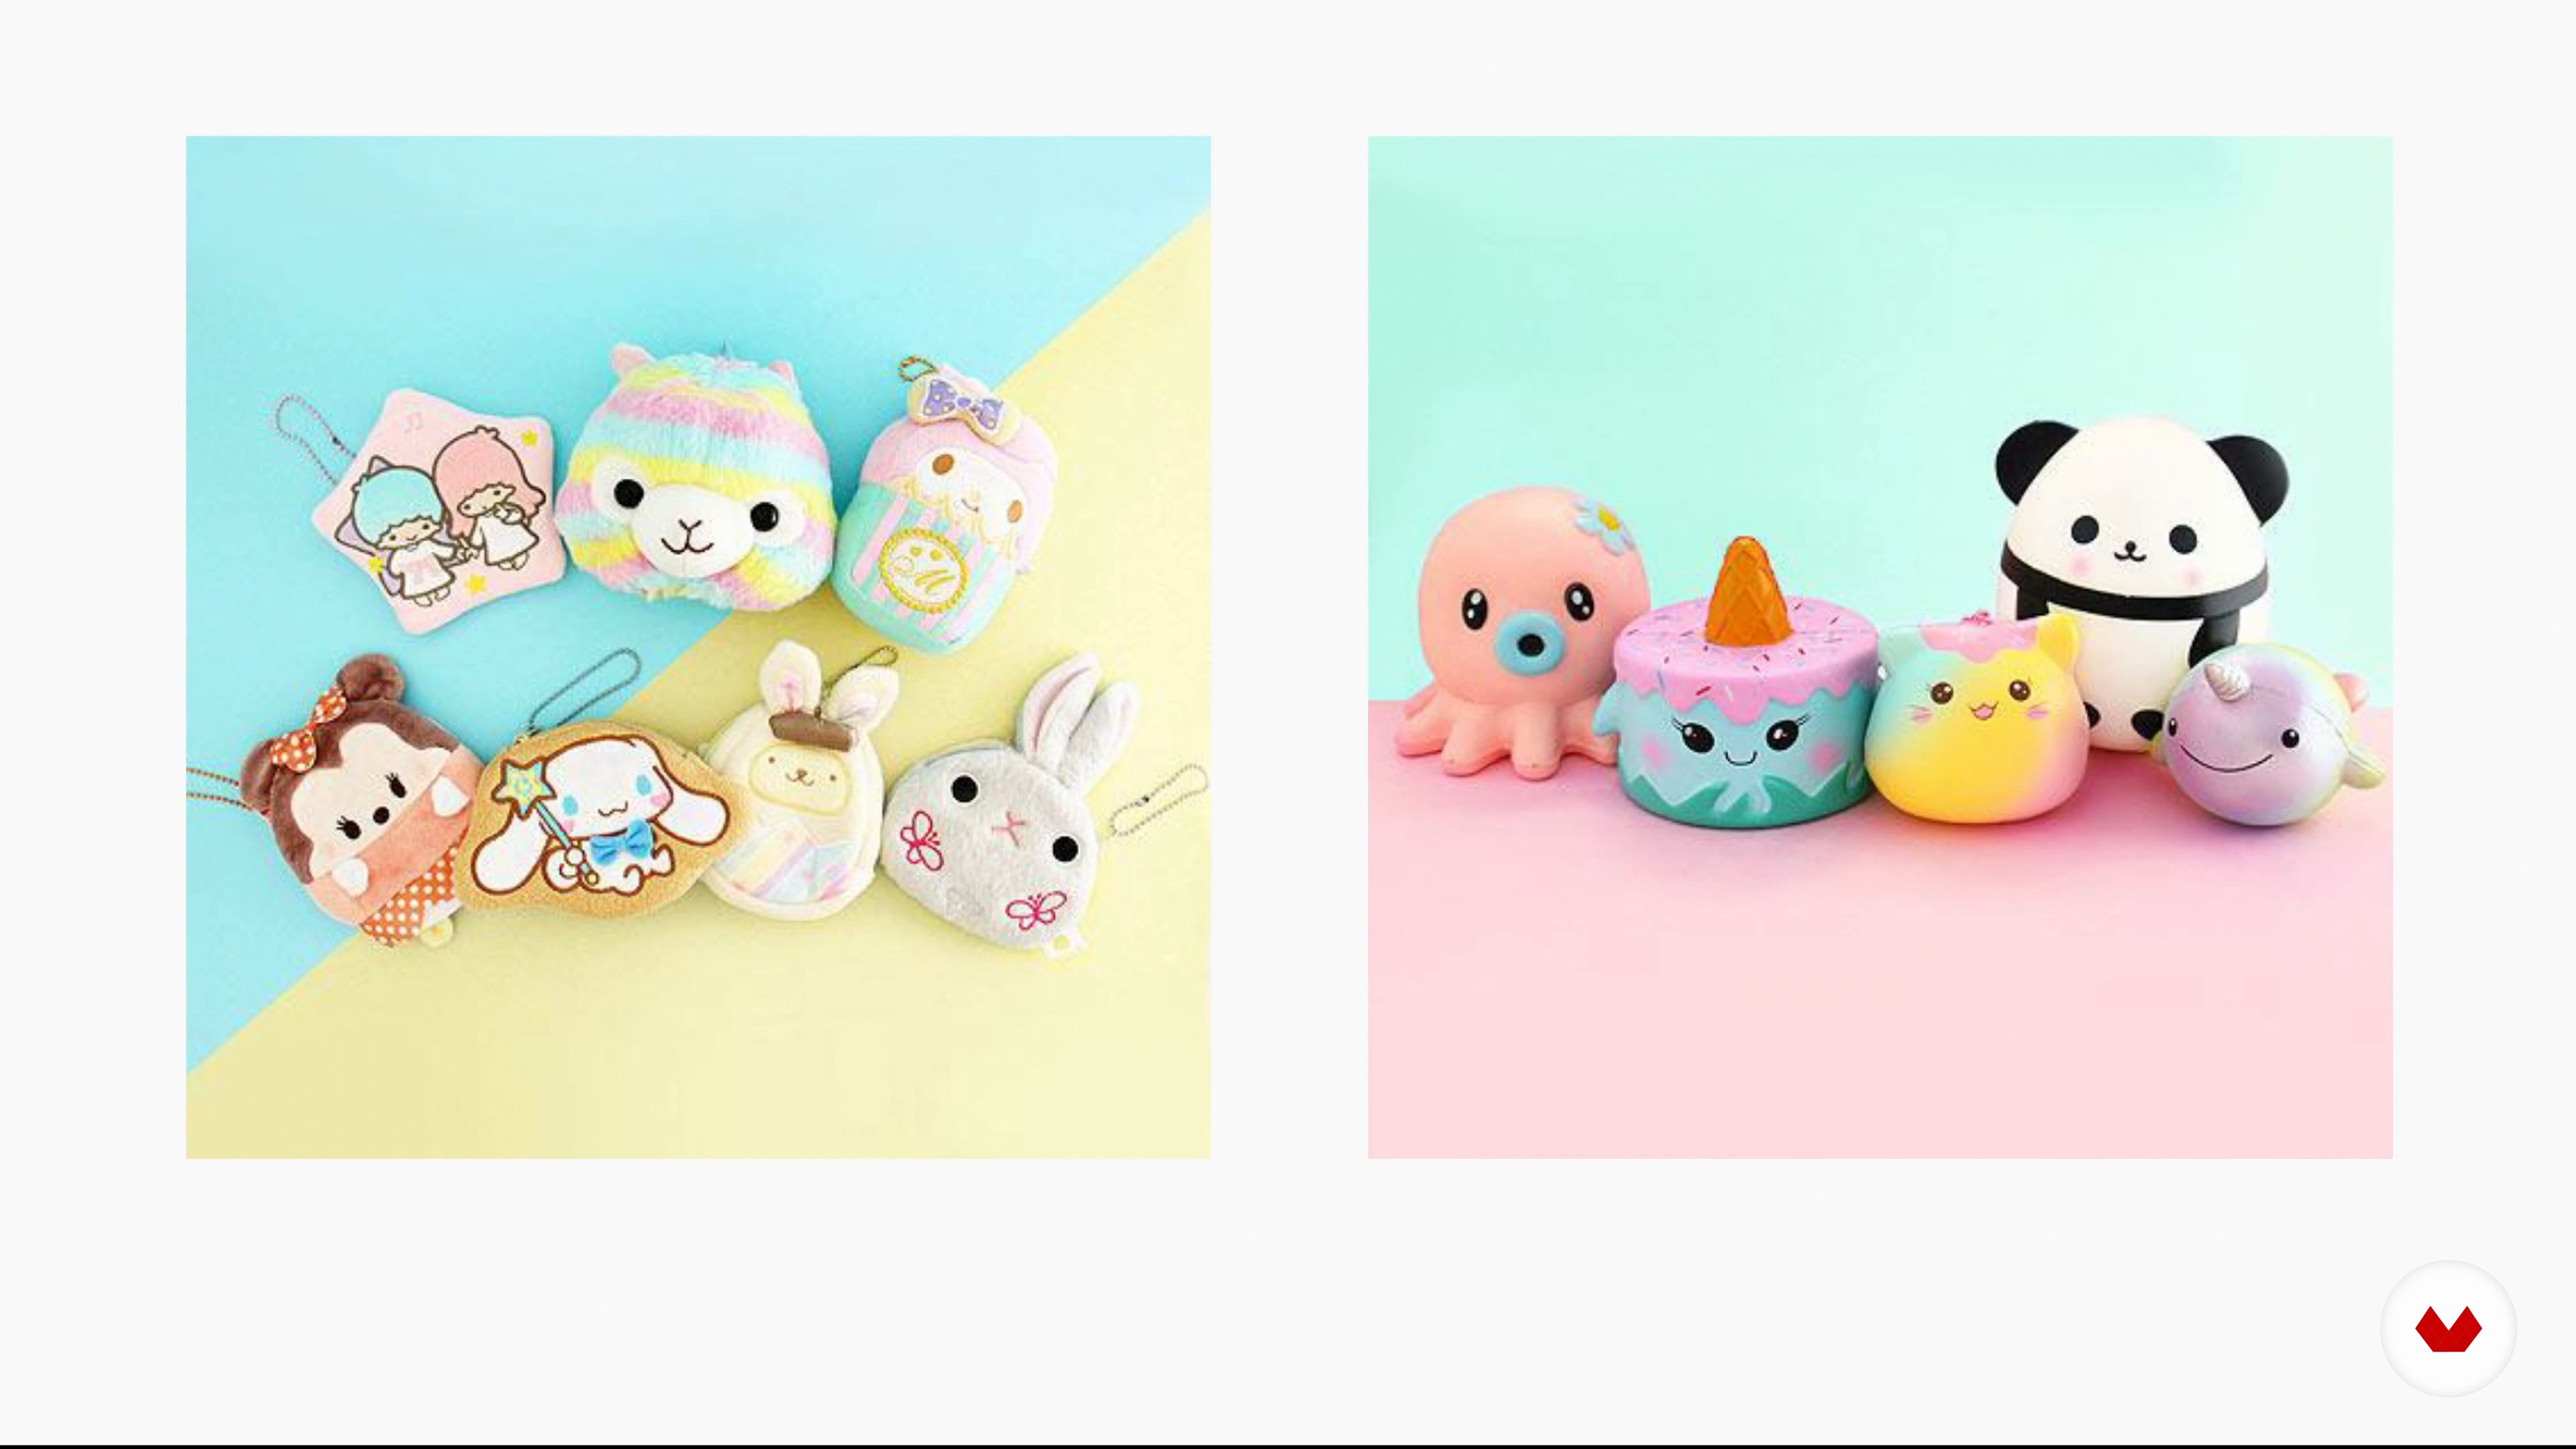
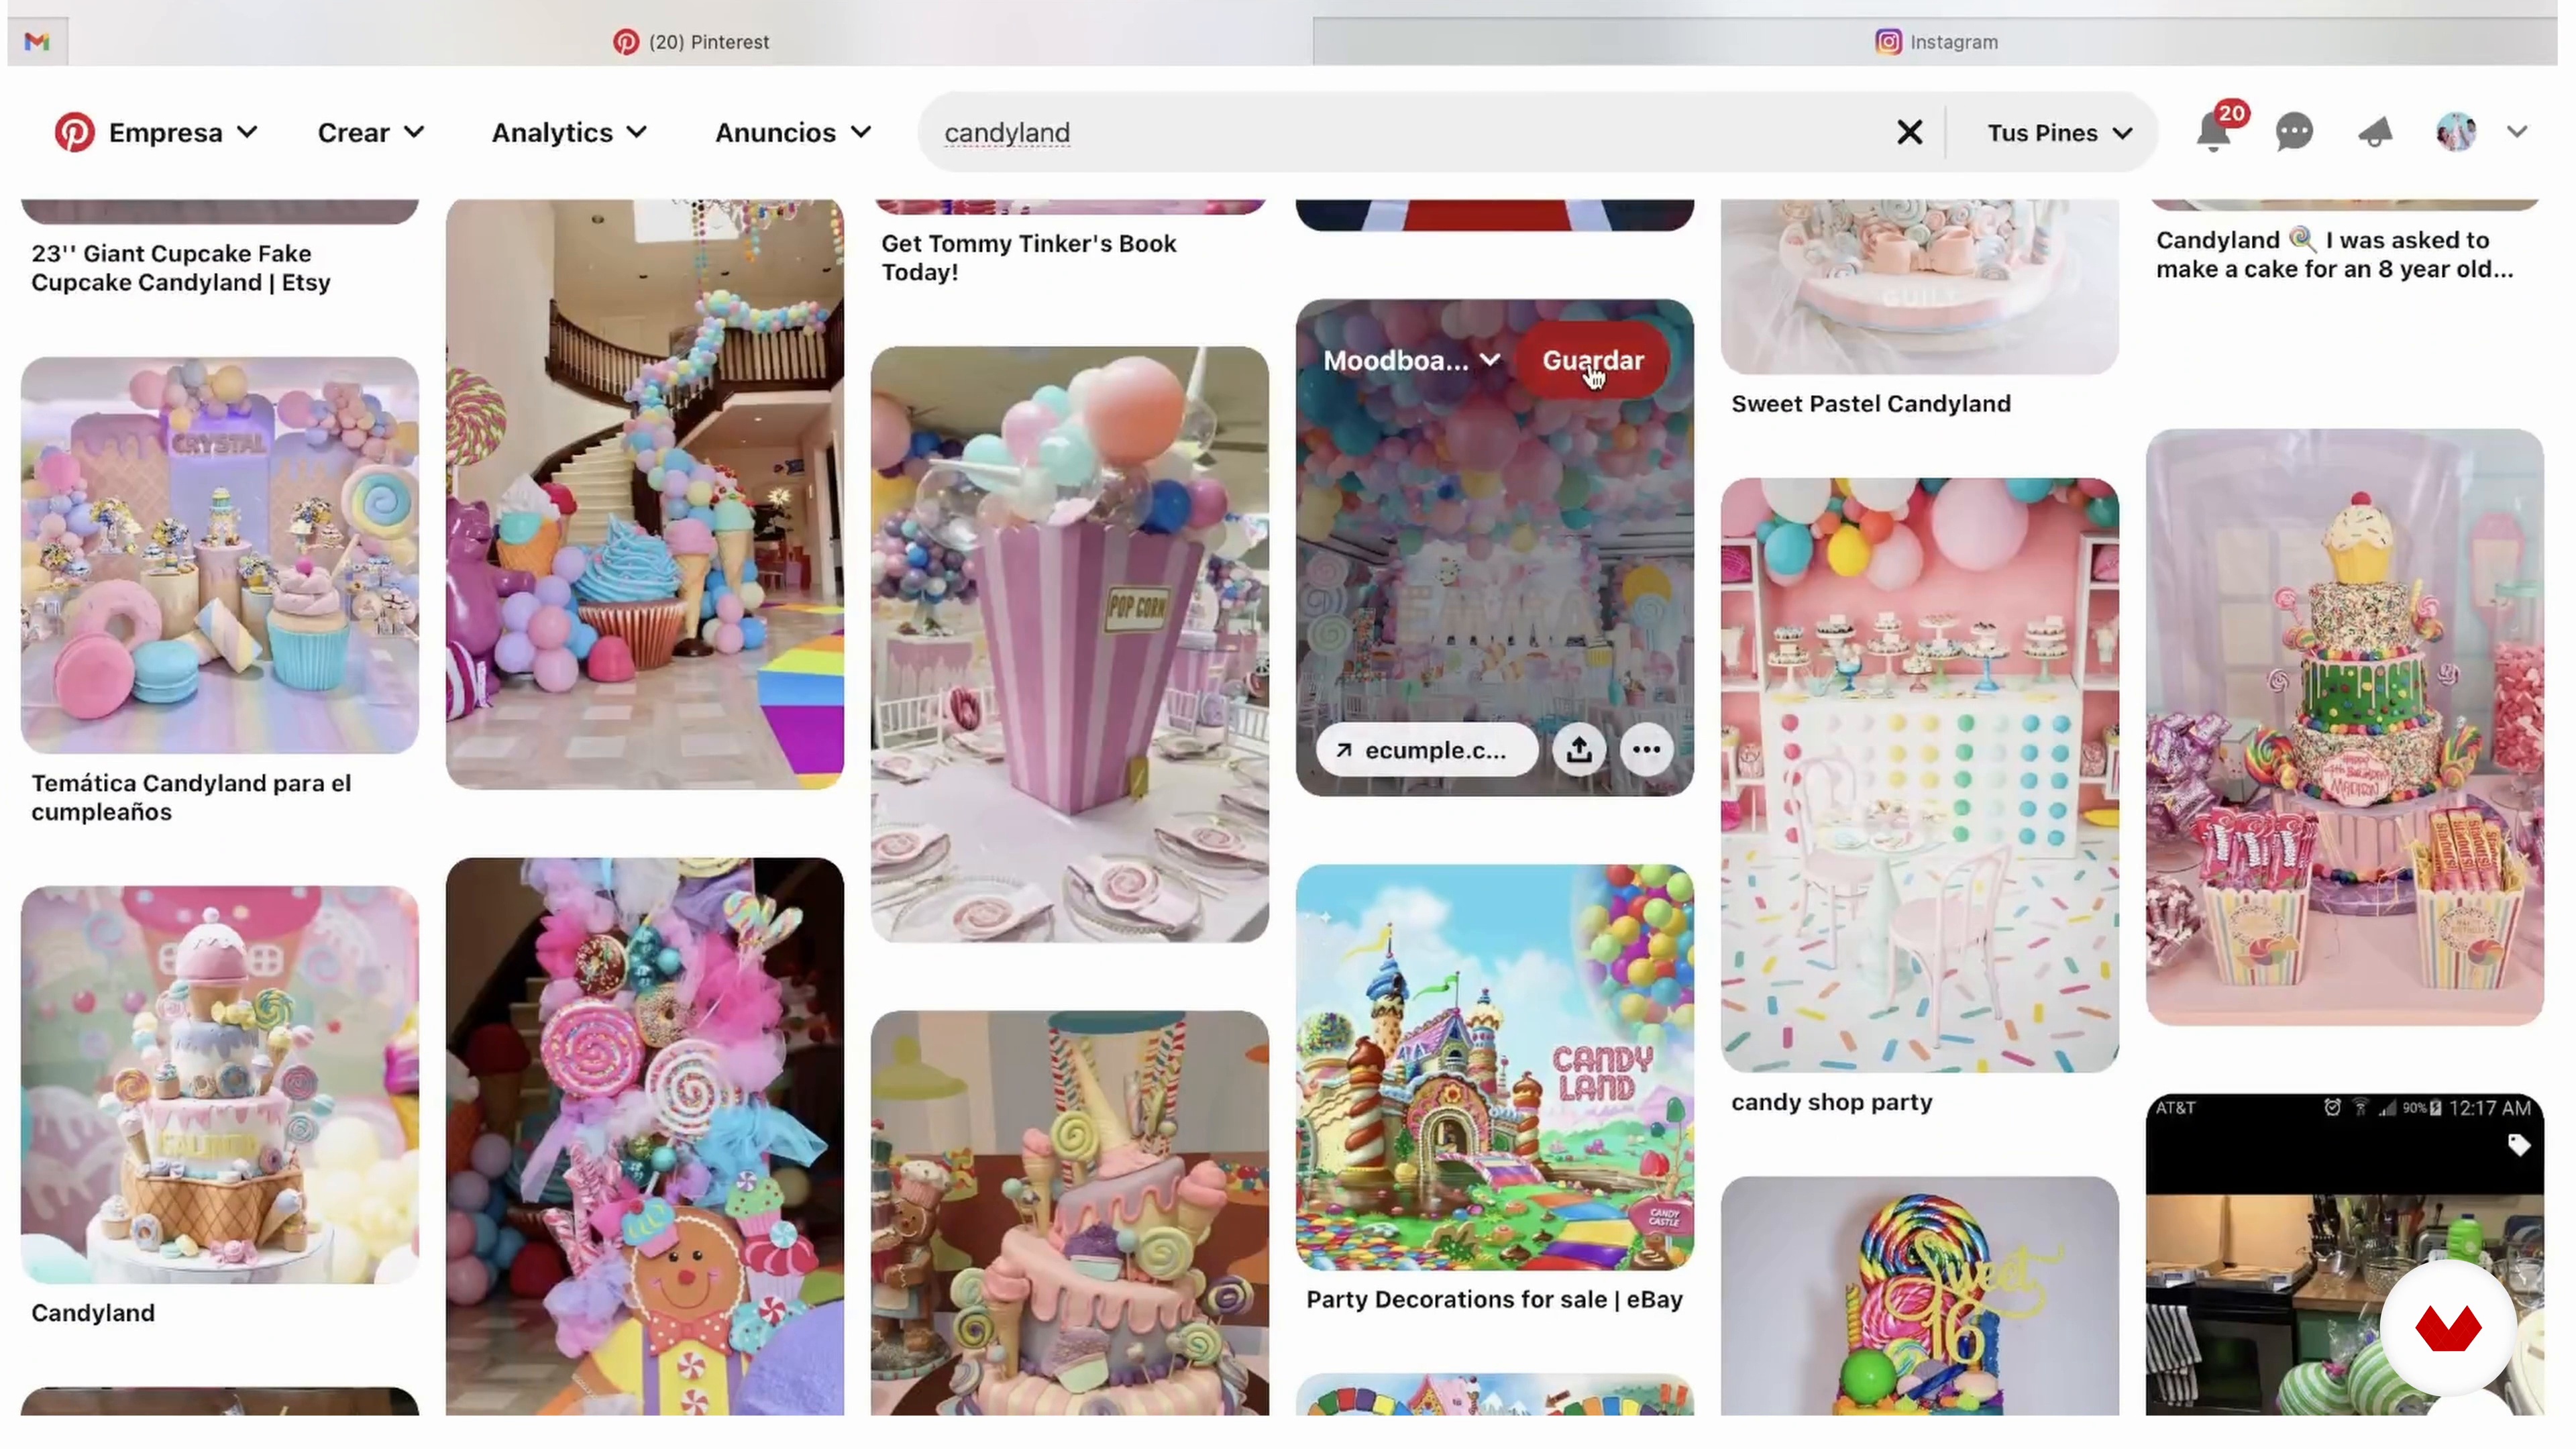
Searching for Inspiration
In this lesson we explain the process to create a personalized project that, on this occasion, will be to make our world in the form of a cookie, although it can also be used to create any type of figure.
4m
image
4
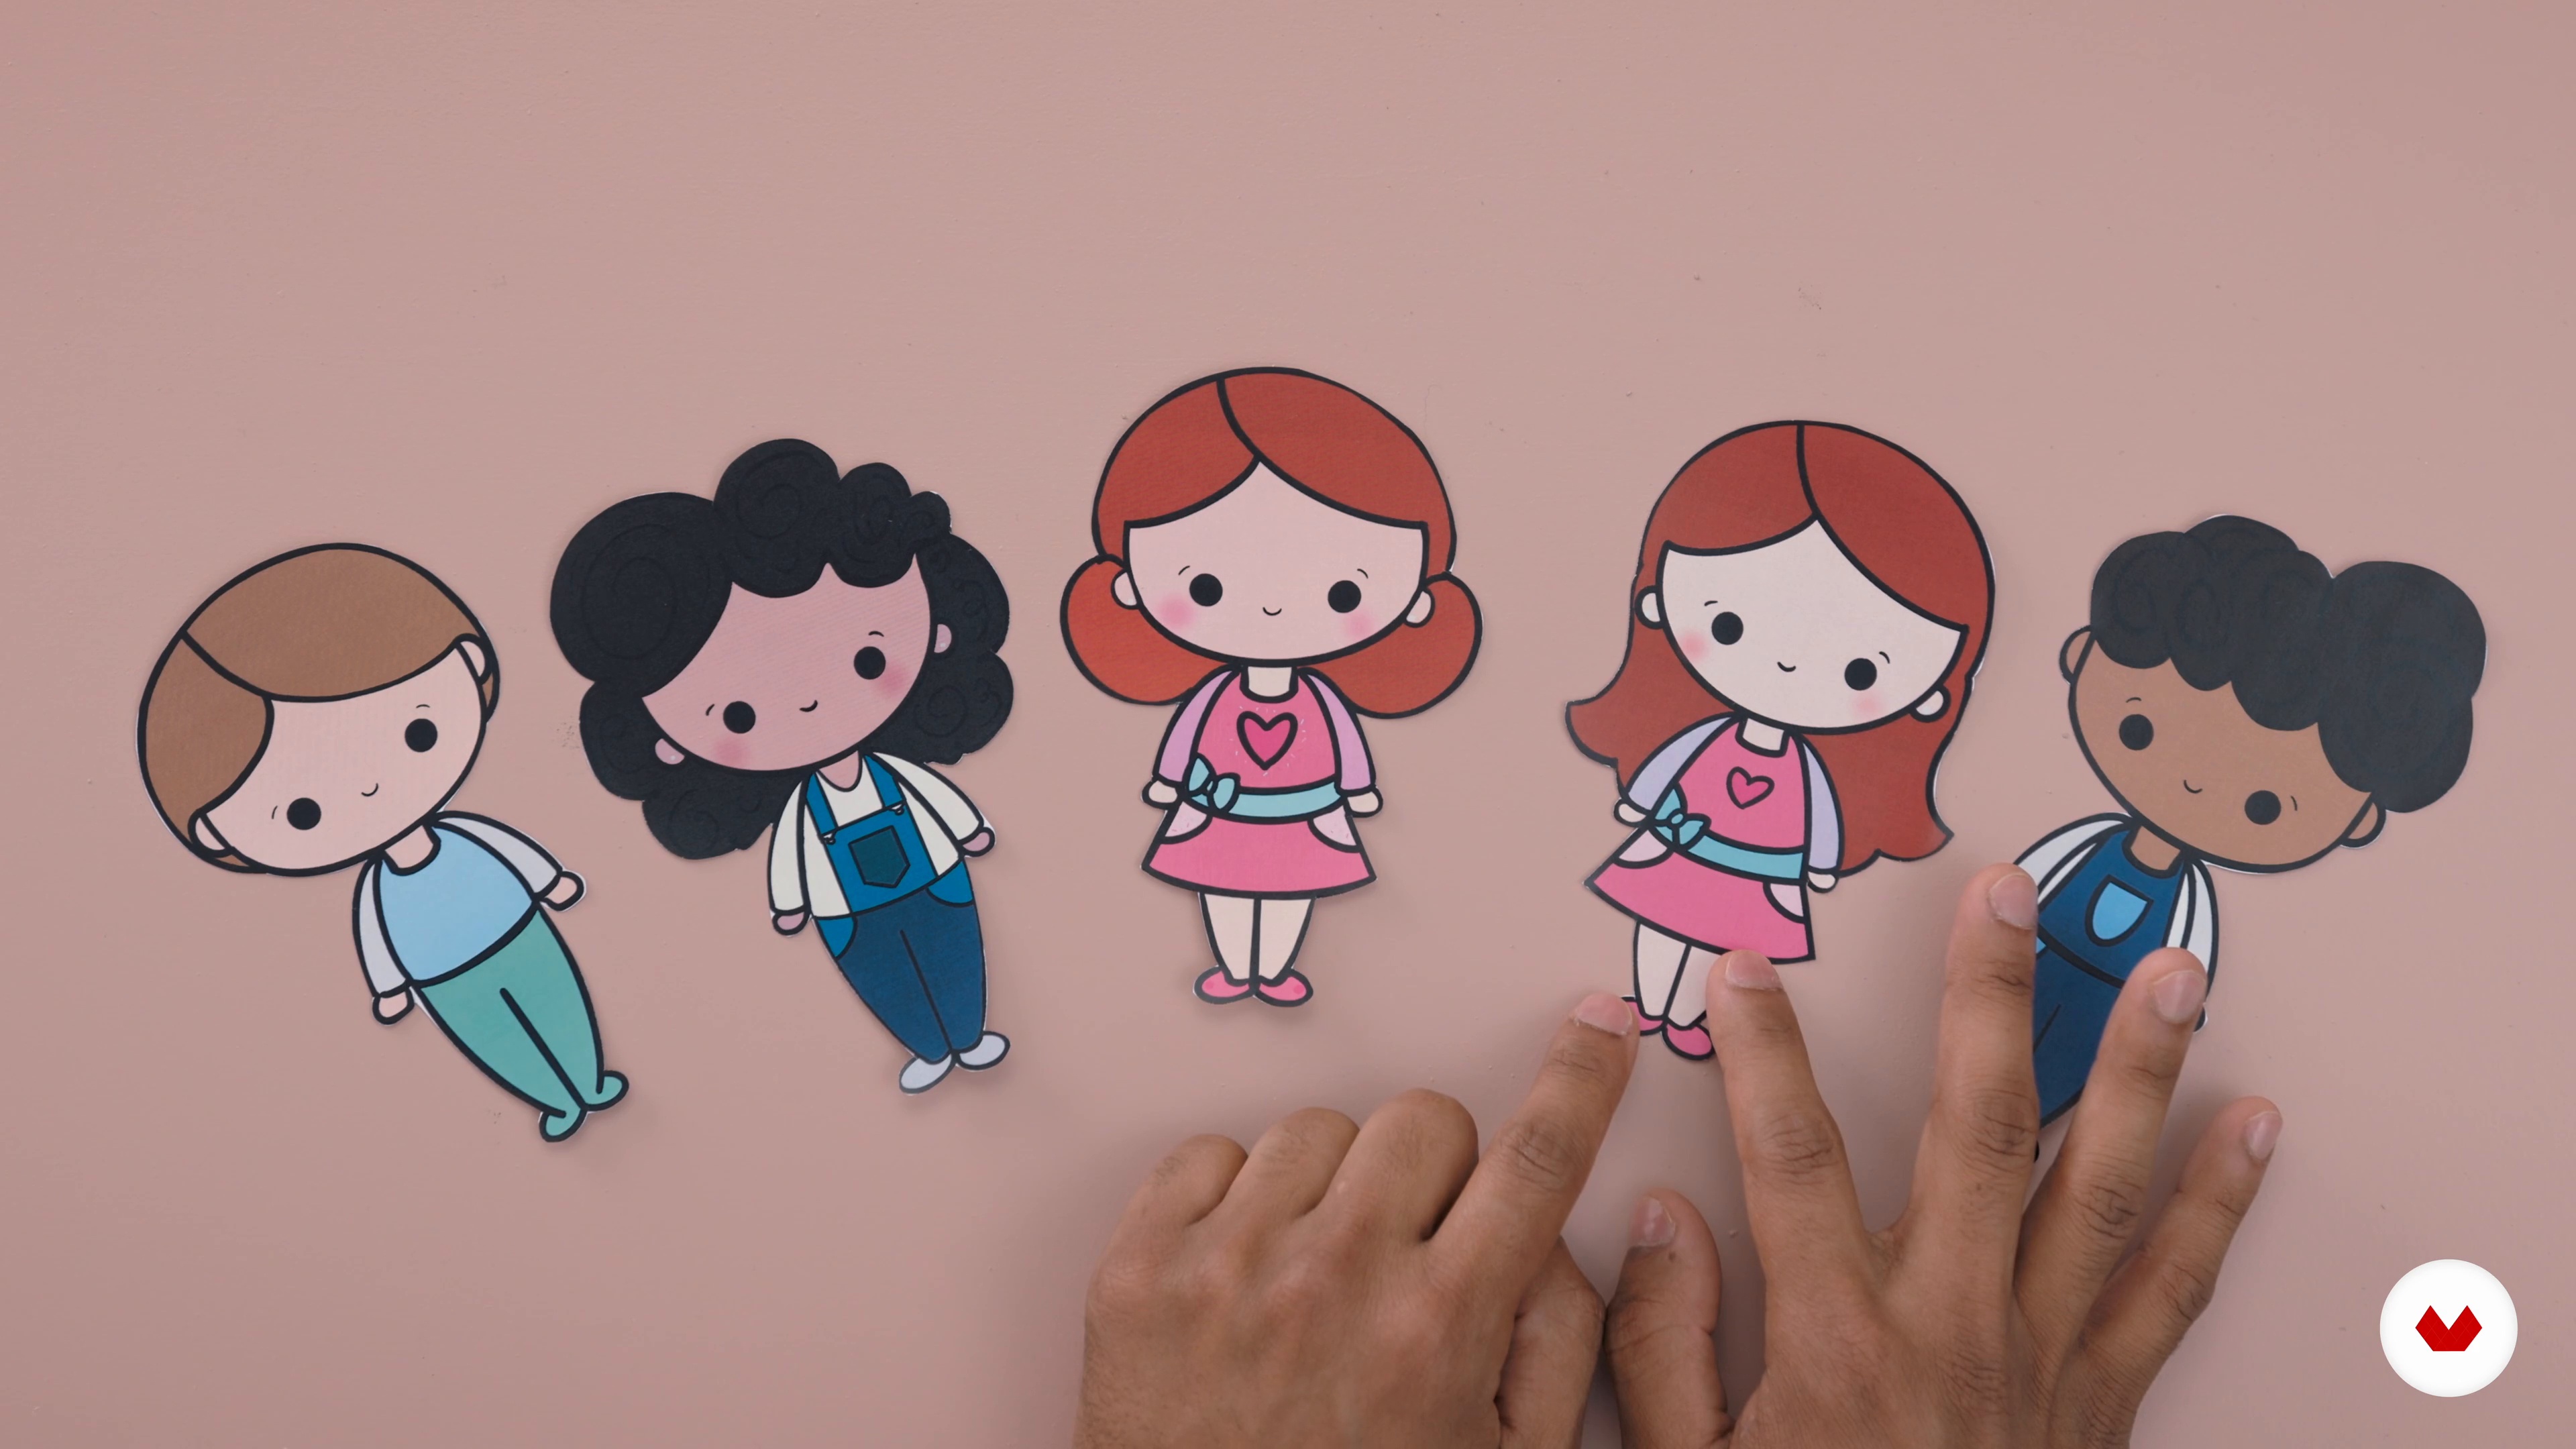
Personal Cookie Stencils
With the help of templates you can create your own cookie-shaped avatar. Here we will show you how to do it.
3m
image
5
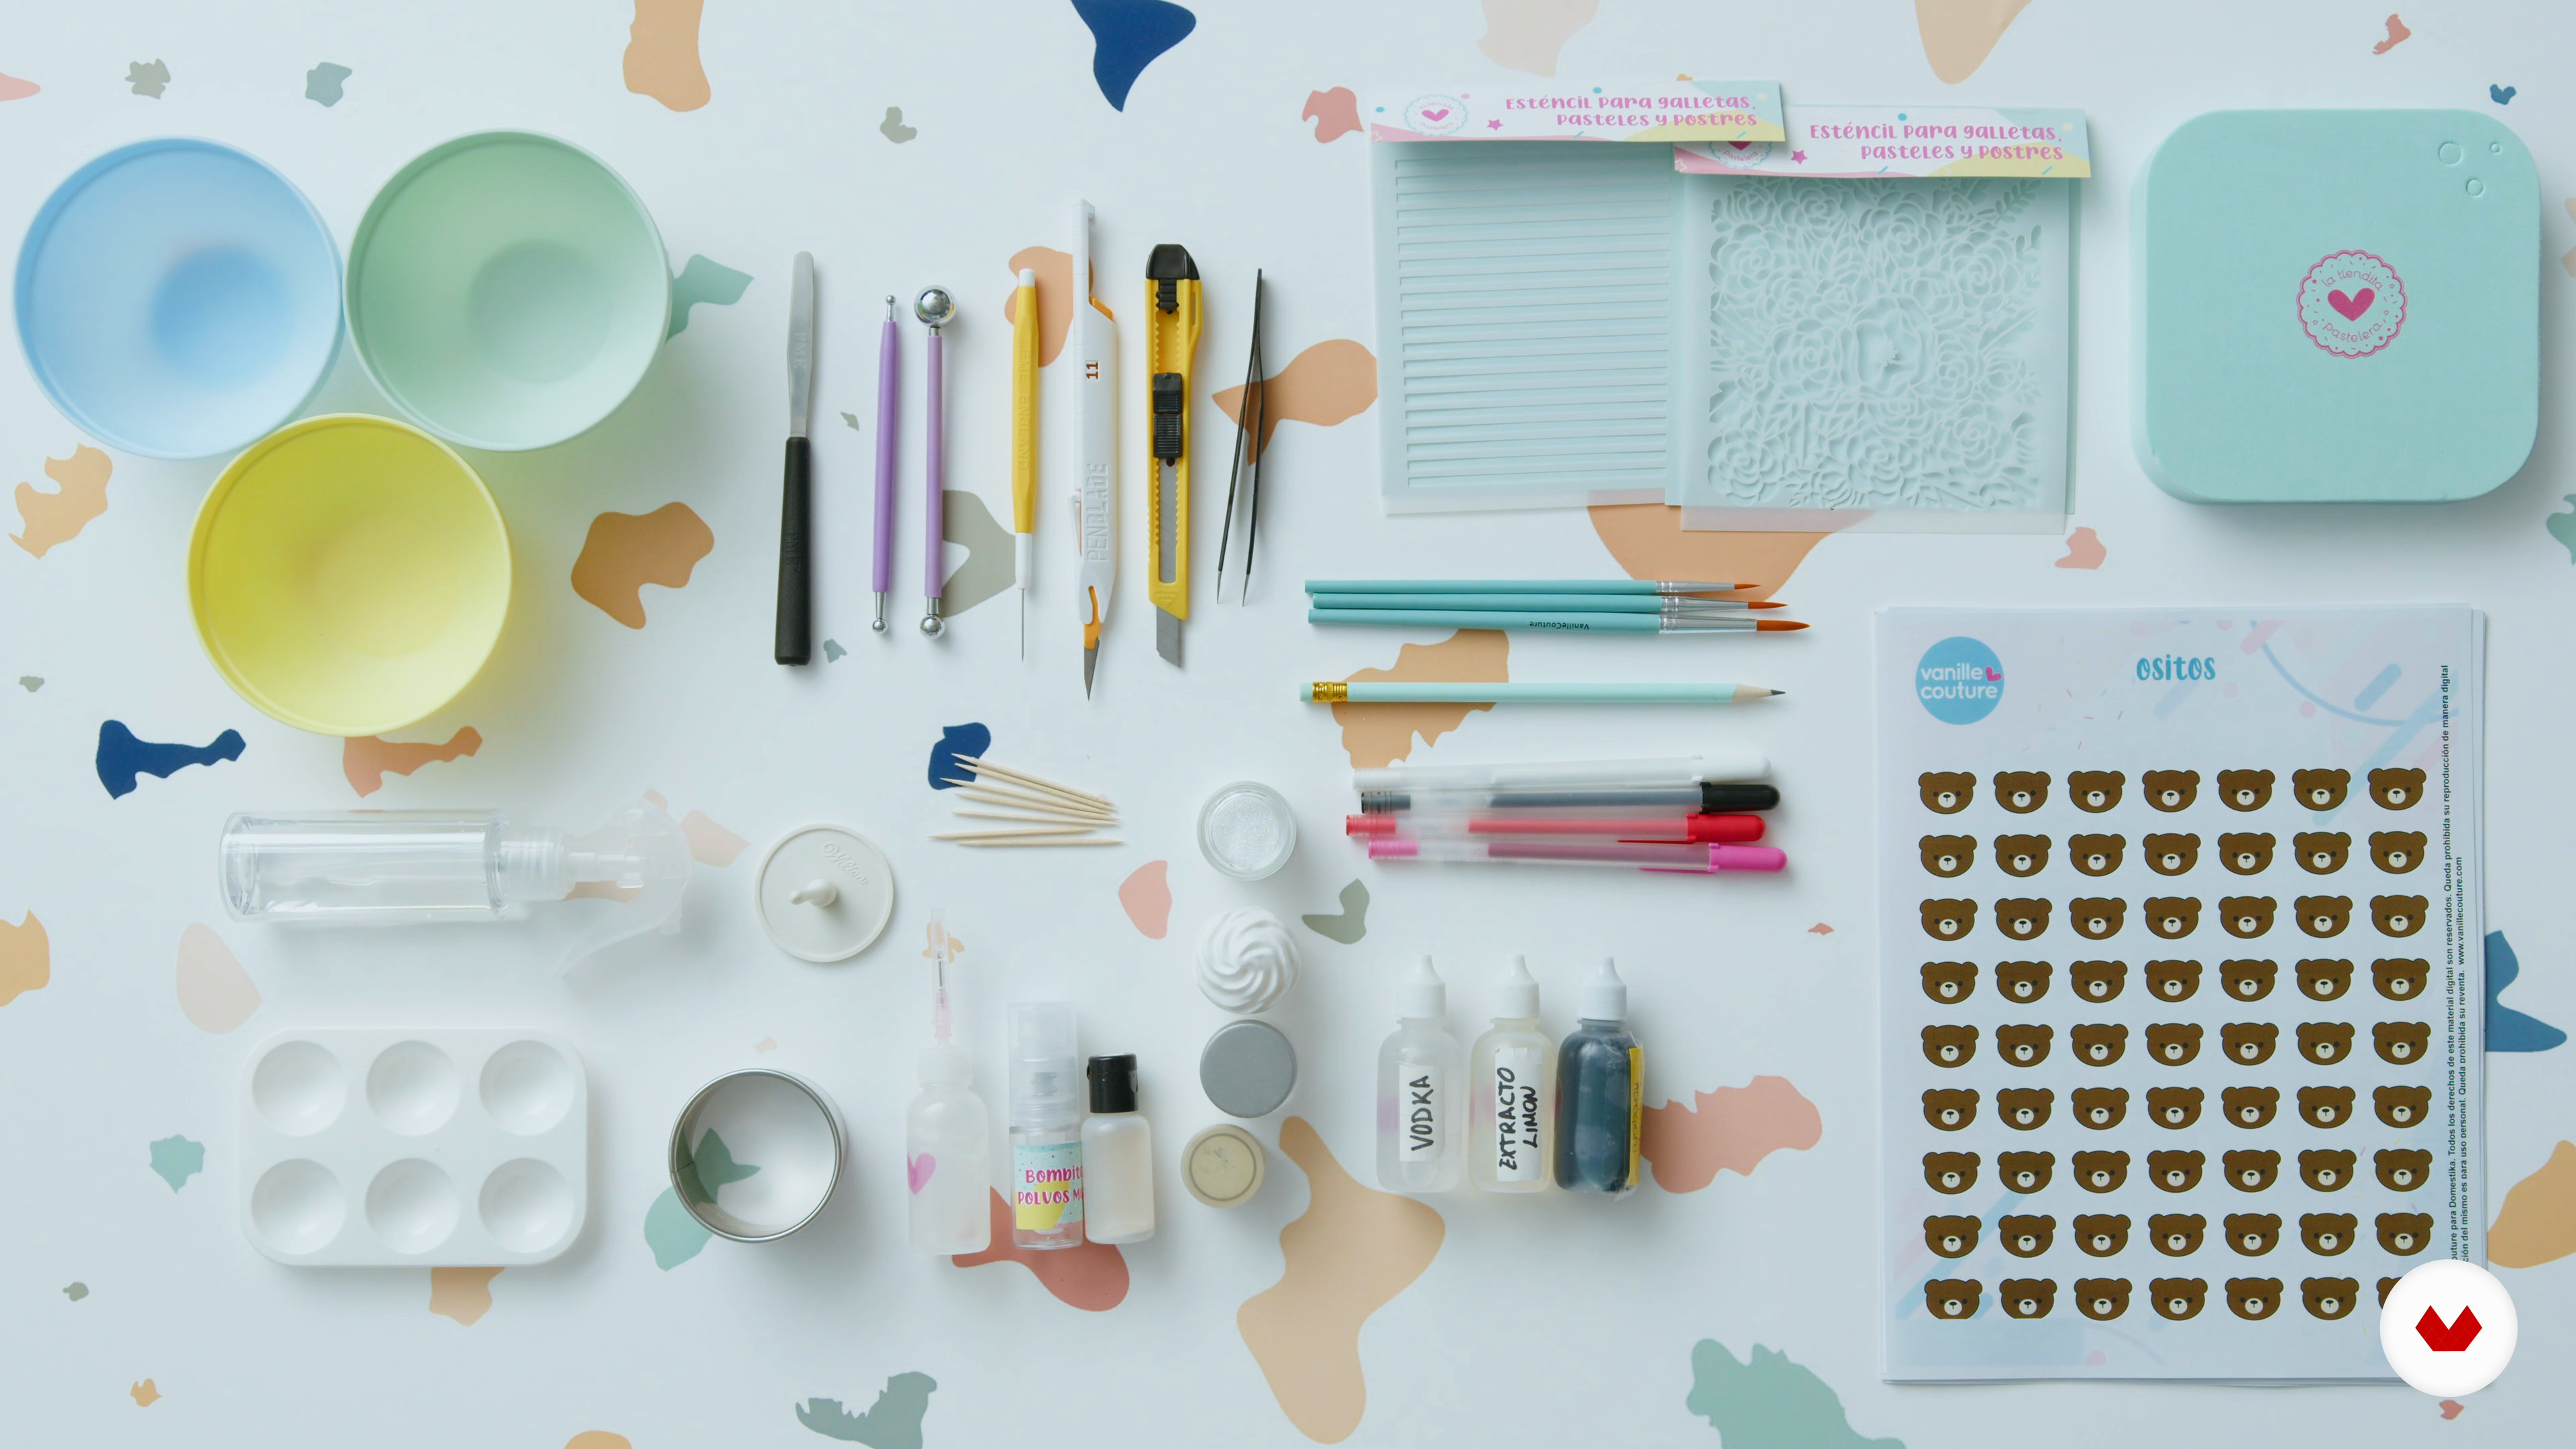
Decorating Tools
We are firm believers that the quality of the products and tools you use can change the results of your creations. We also believe that a beautiful workspace can be inspiring. Therefore, we present our favorite tools for decorating cookies.
7m
image
6
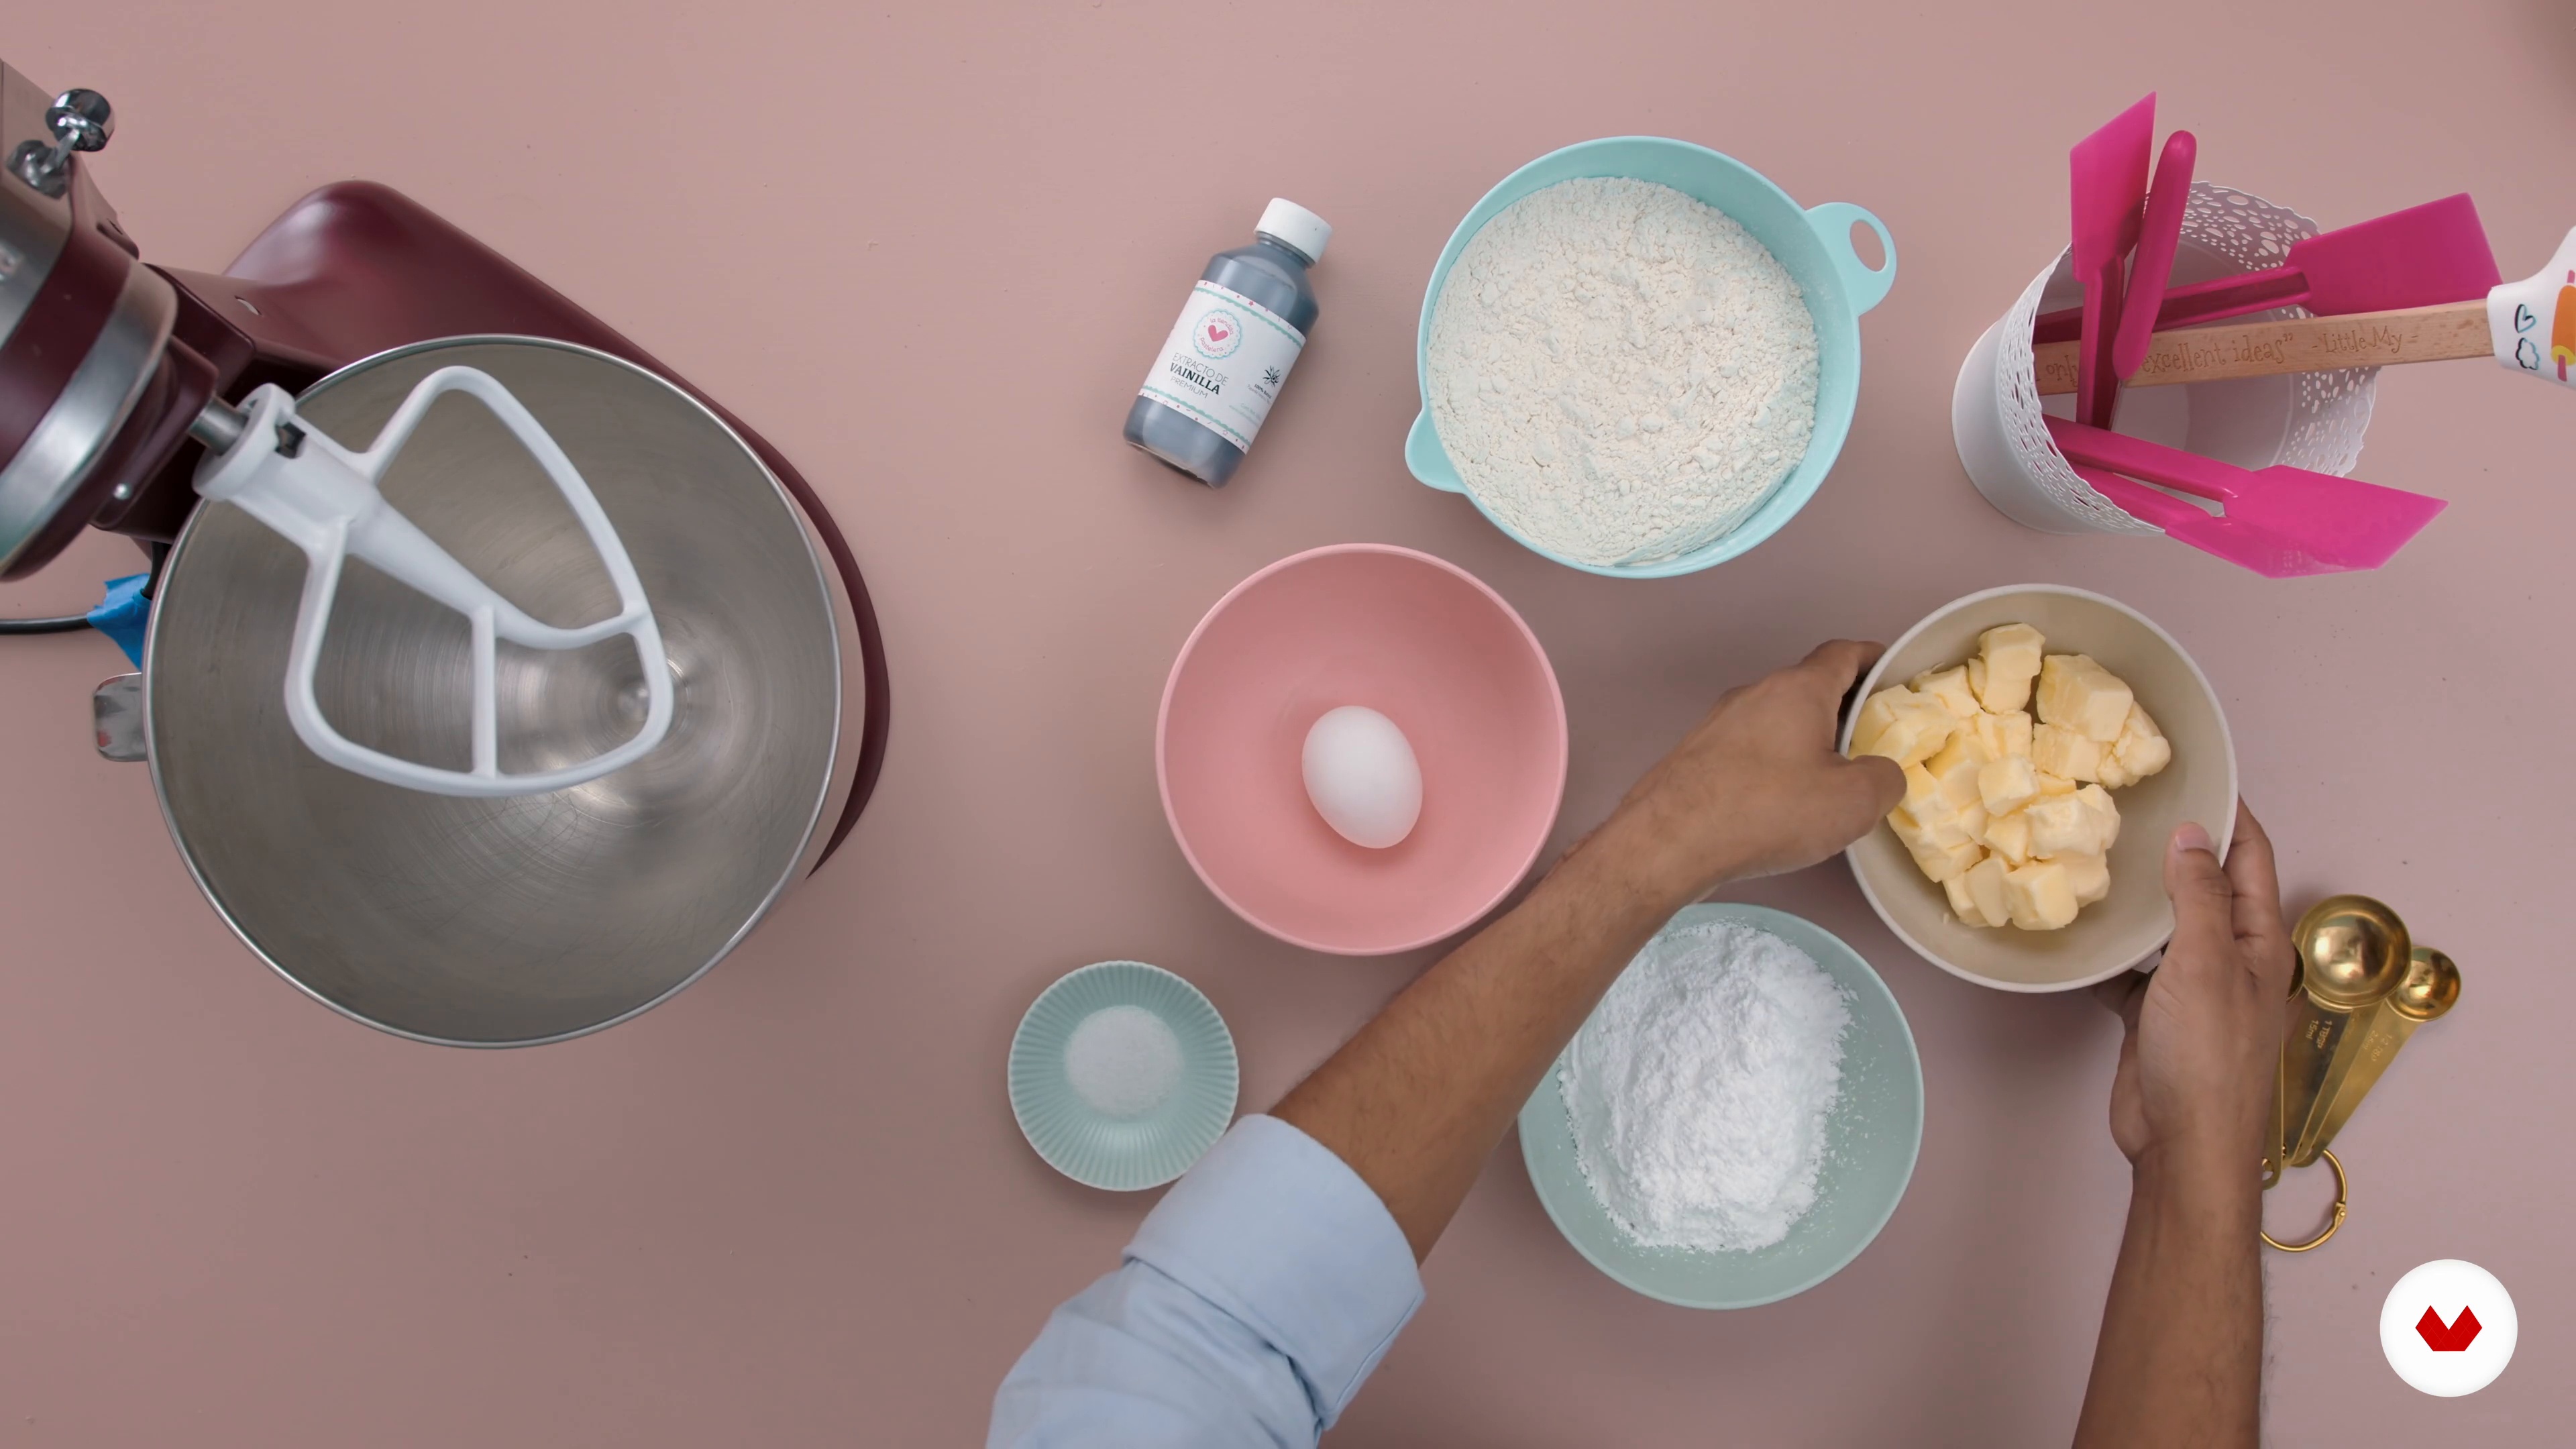
Vanilla Cookie Recipe
Cookies not only have to be pretty or well decorated, but they also have to taste good. So here we share our secret and delicious recipe so that the triumph is complete.
17m
image
7
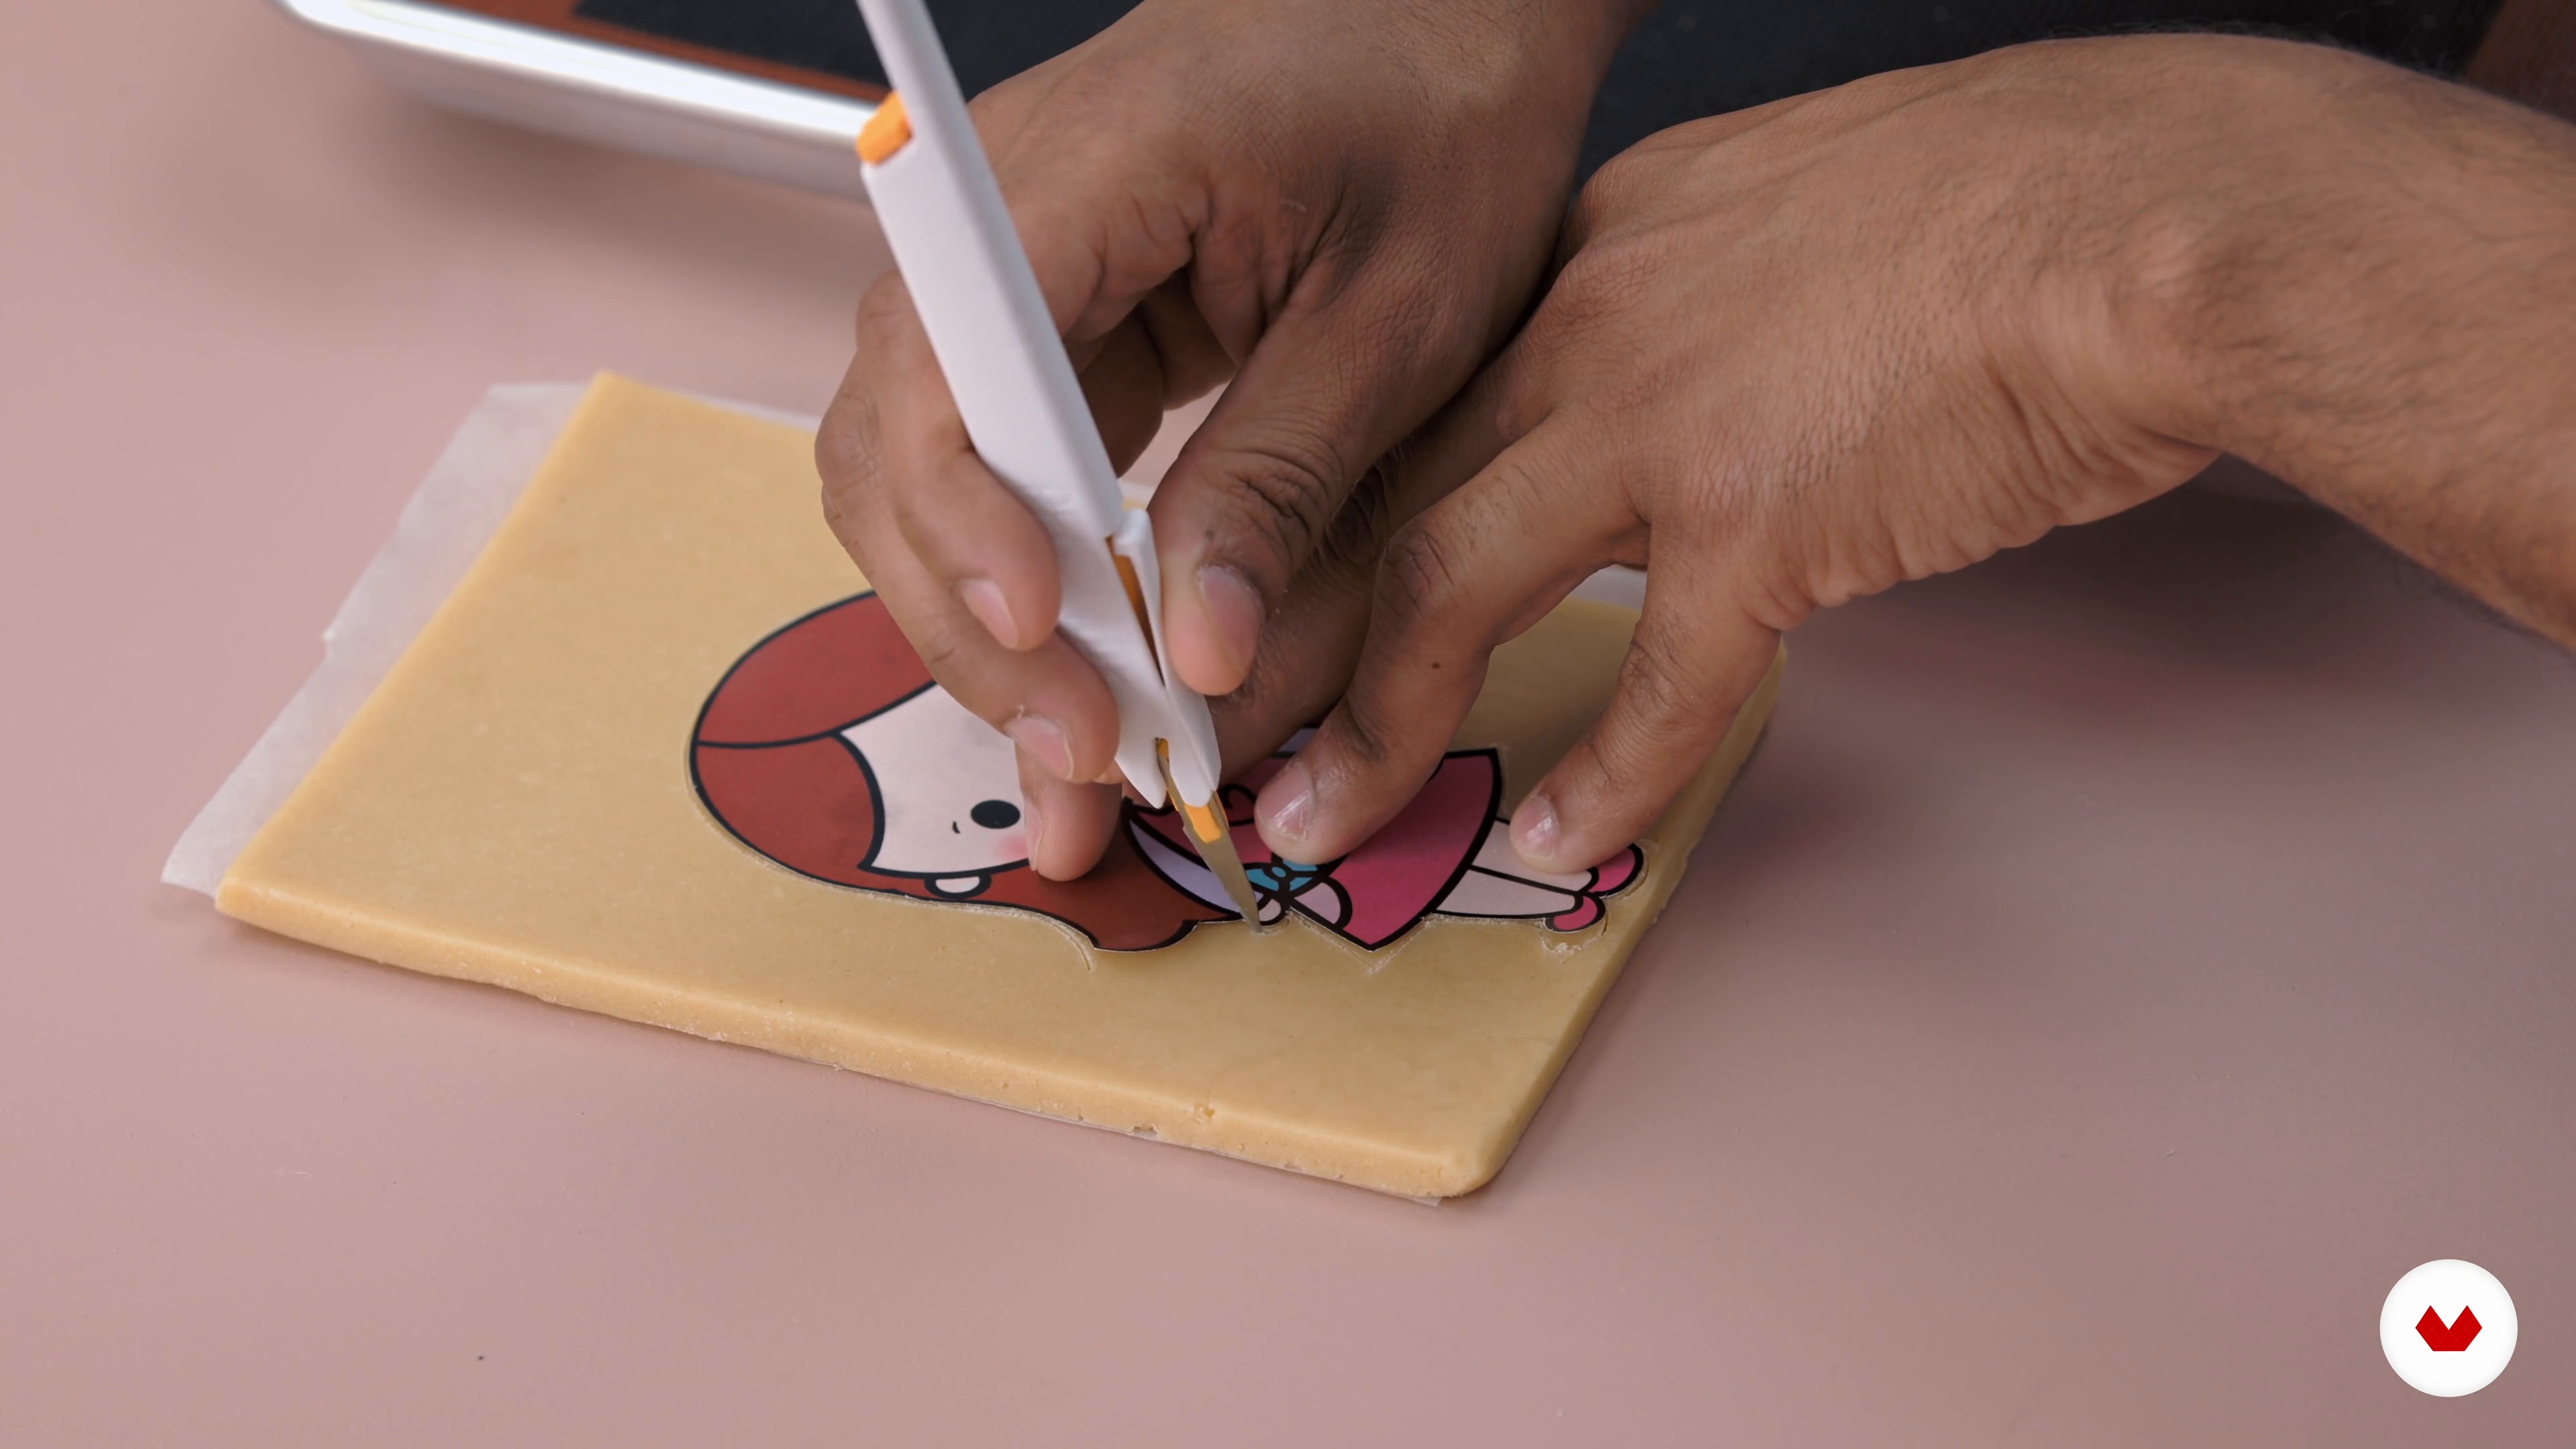
Turning an Illustration into a Cookie
In this lesson we will give you some tips to make cookies with any illustration without the need for a cutter or mold. By following these steps your opportunities to make character cookies become endless.
2m
image
8
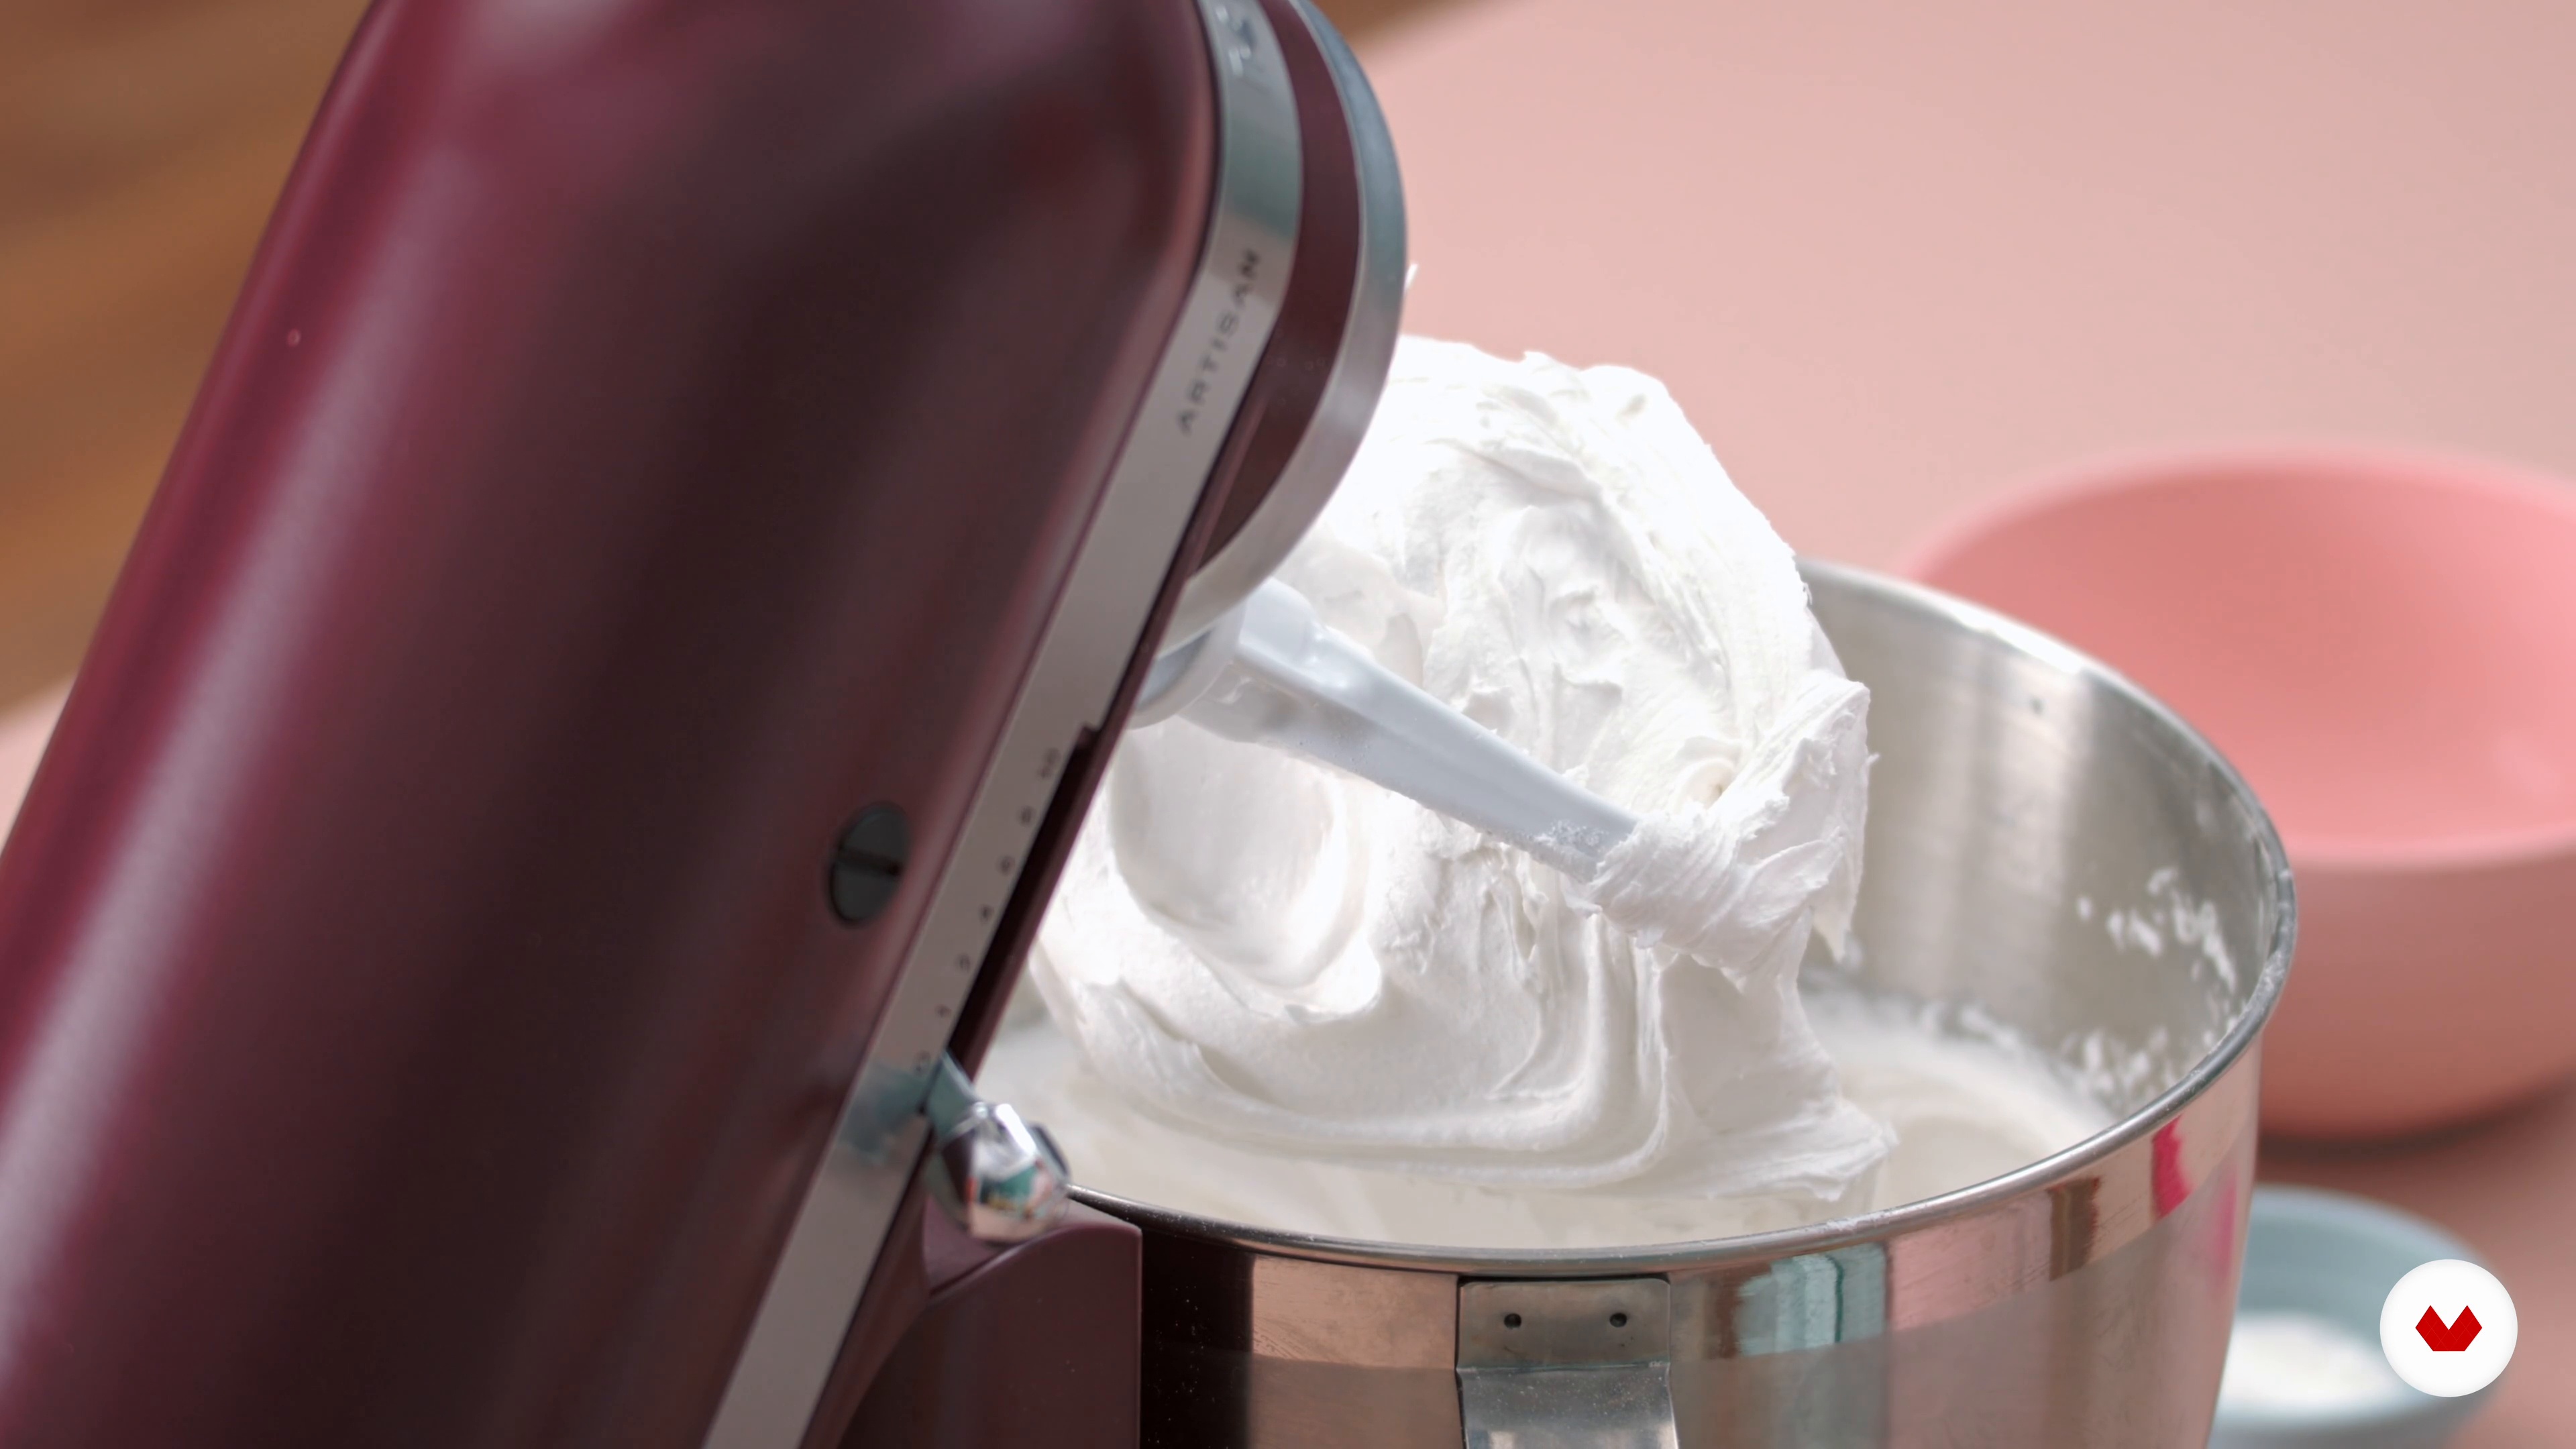
Frosting Recipe and Consistencies 1
At last we will share our royal icing recipe with you! Pay close attention to this lesson because we will tell you all our secrets to successfully decorate our beautiful set of cookies.
11m
image
9
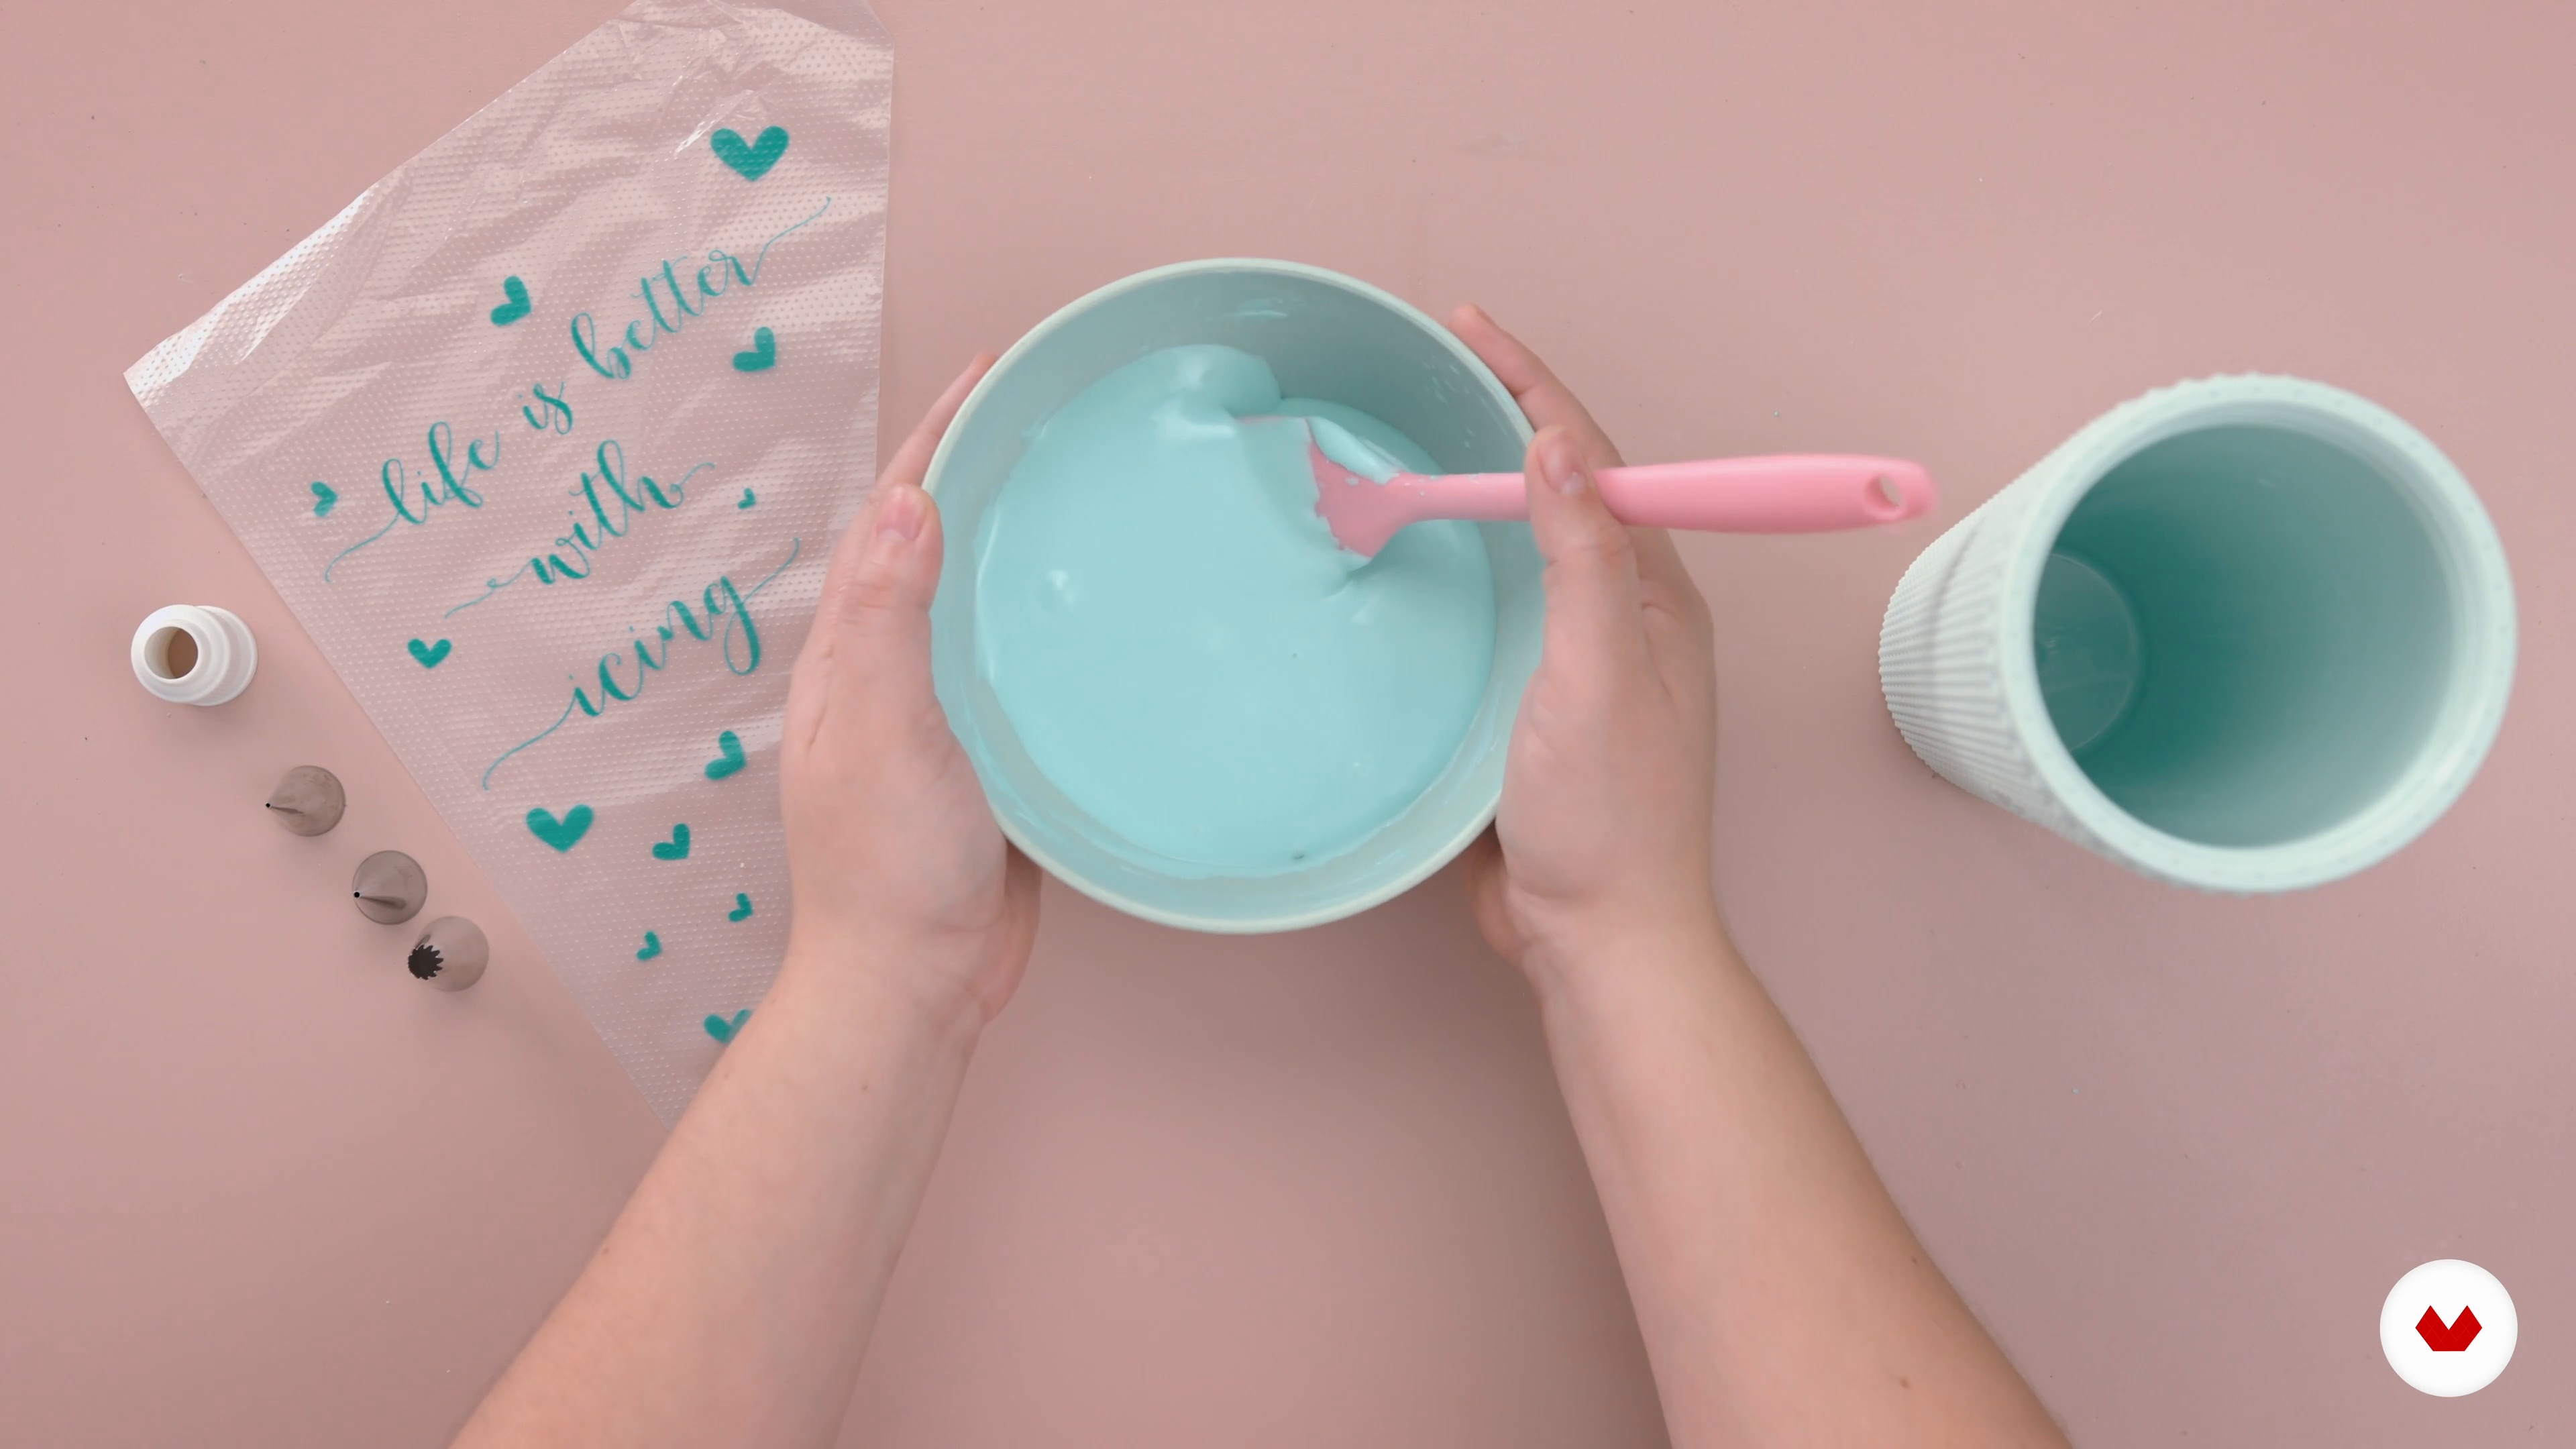
Frosting Recipe and Consistencies 2
Now you will see how to color the mixture and how to find the ideal consistency. You will learn the basic consistencies for decorating cookies and how to prepare the piping bag to apply the icing.
16m
image
10
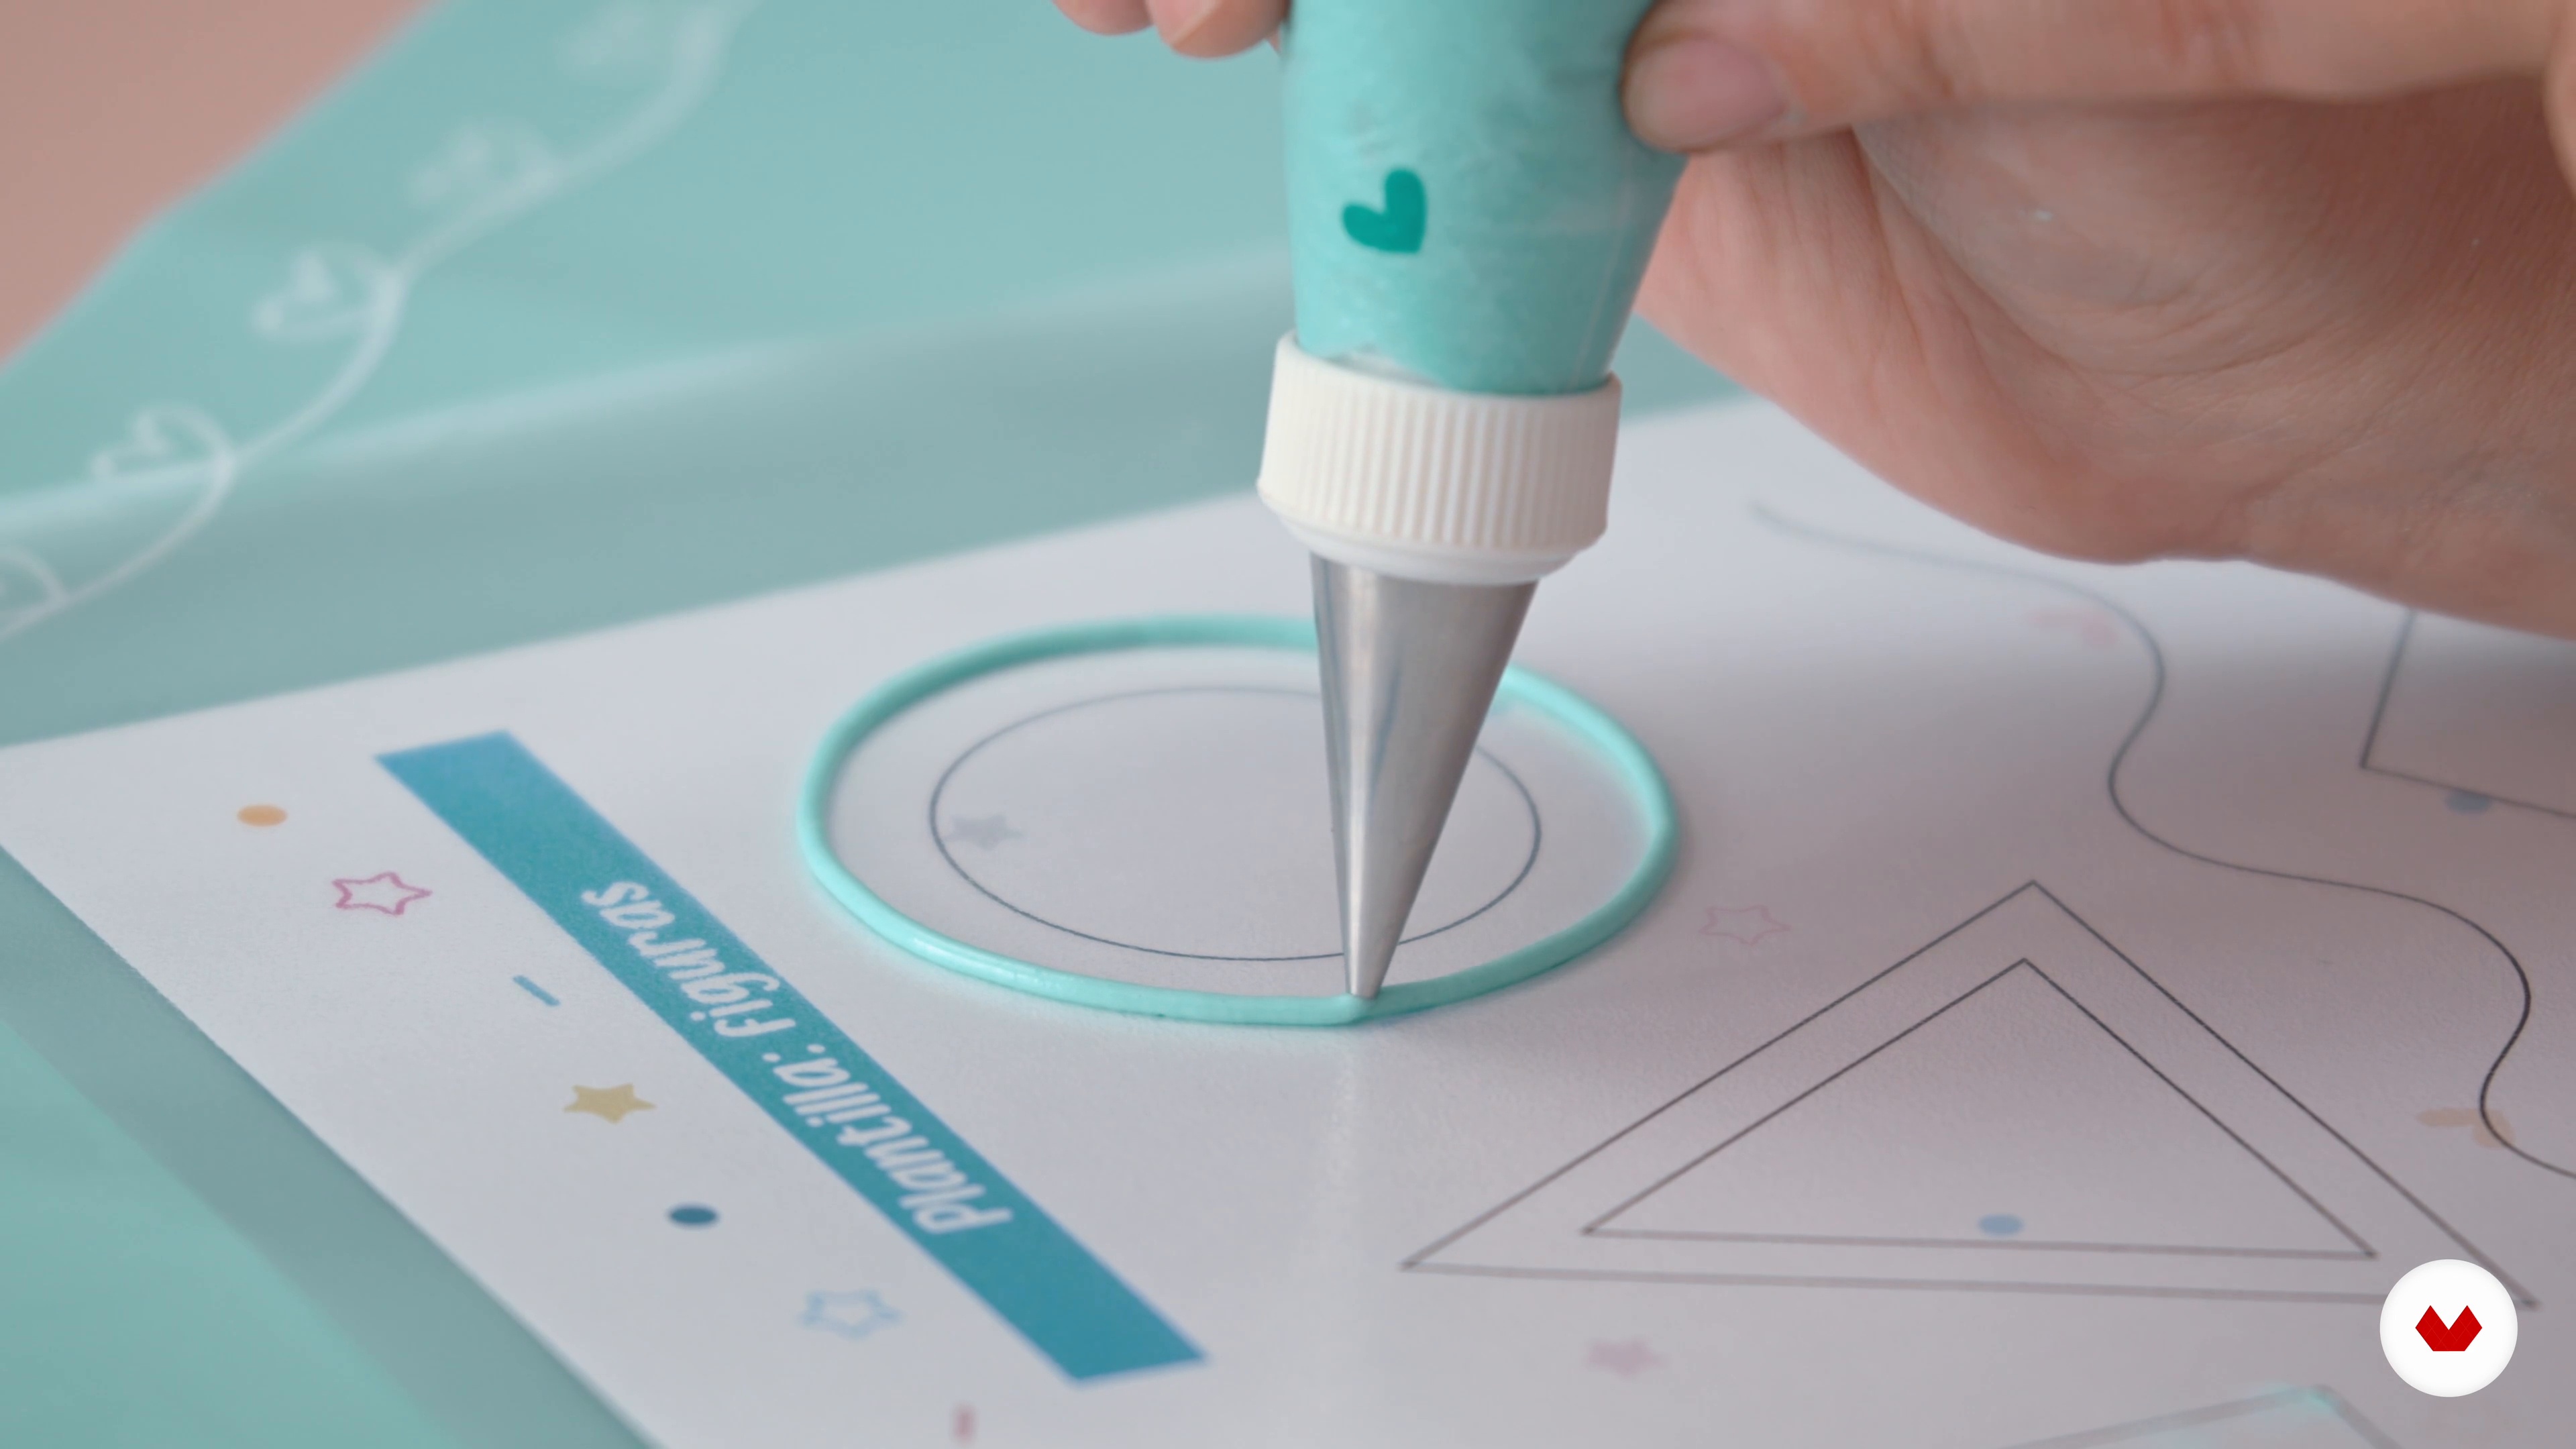
Practice Sheet 1
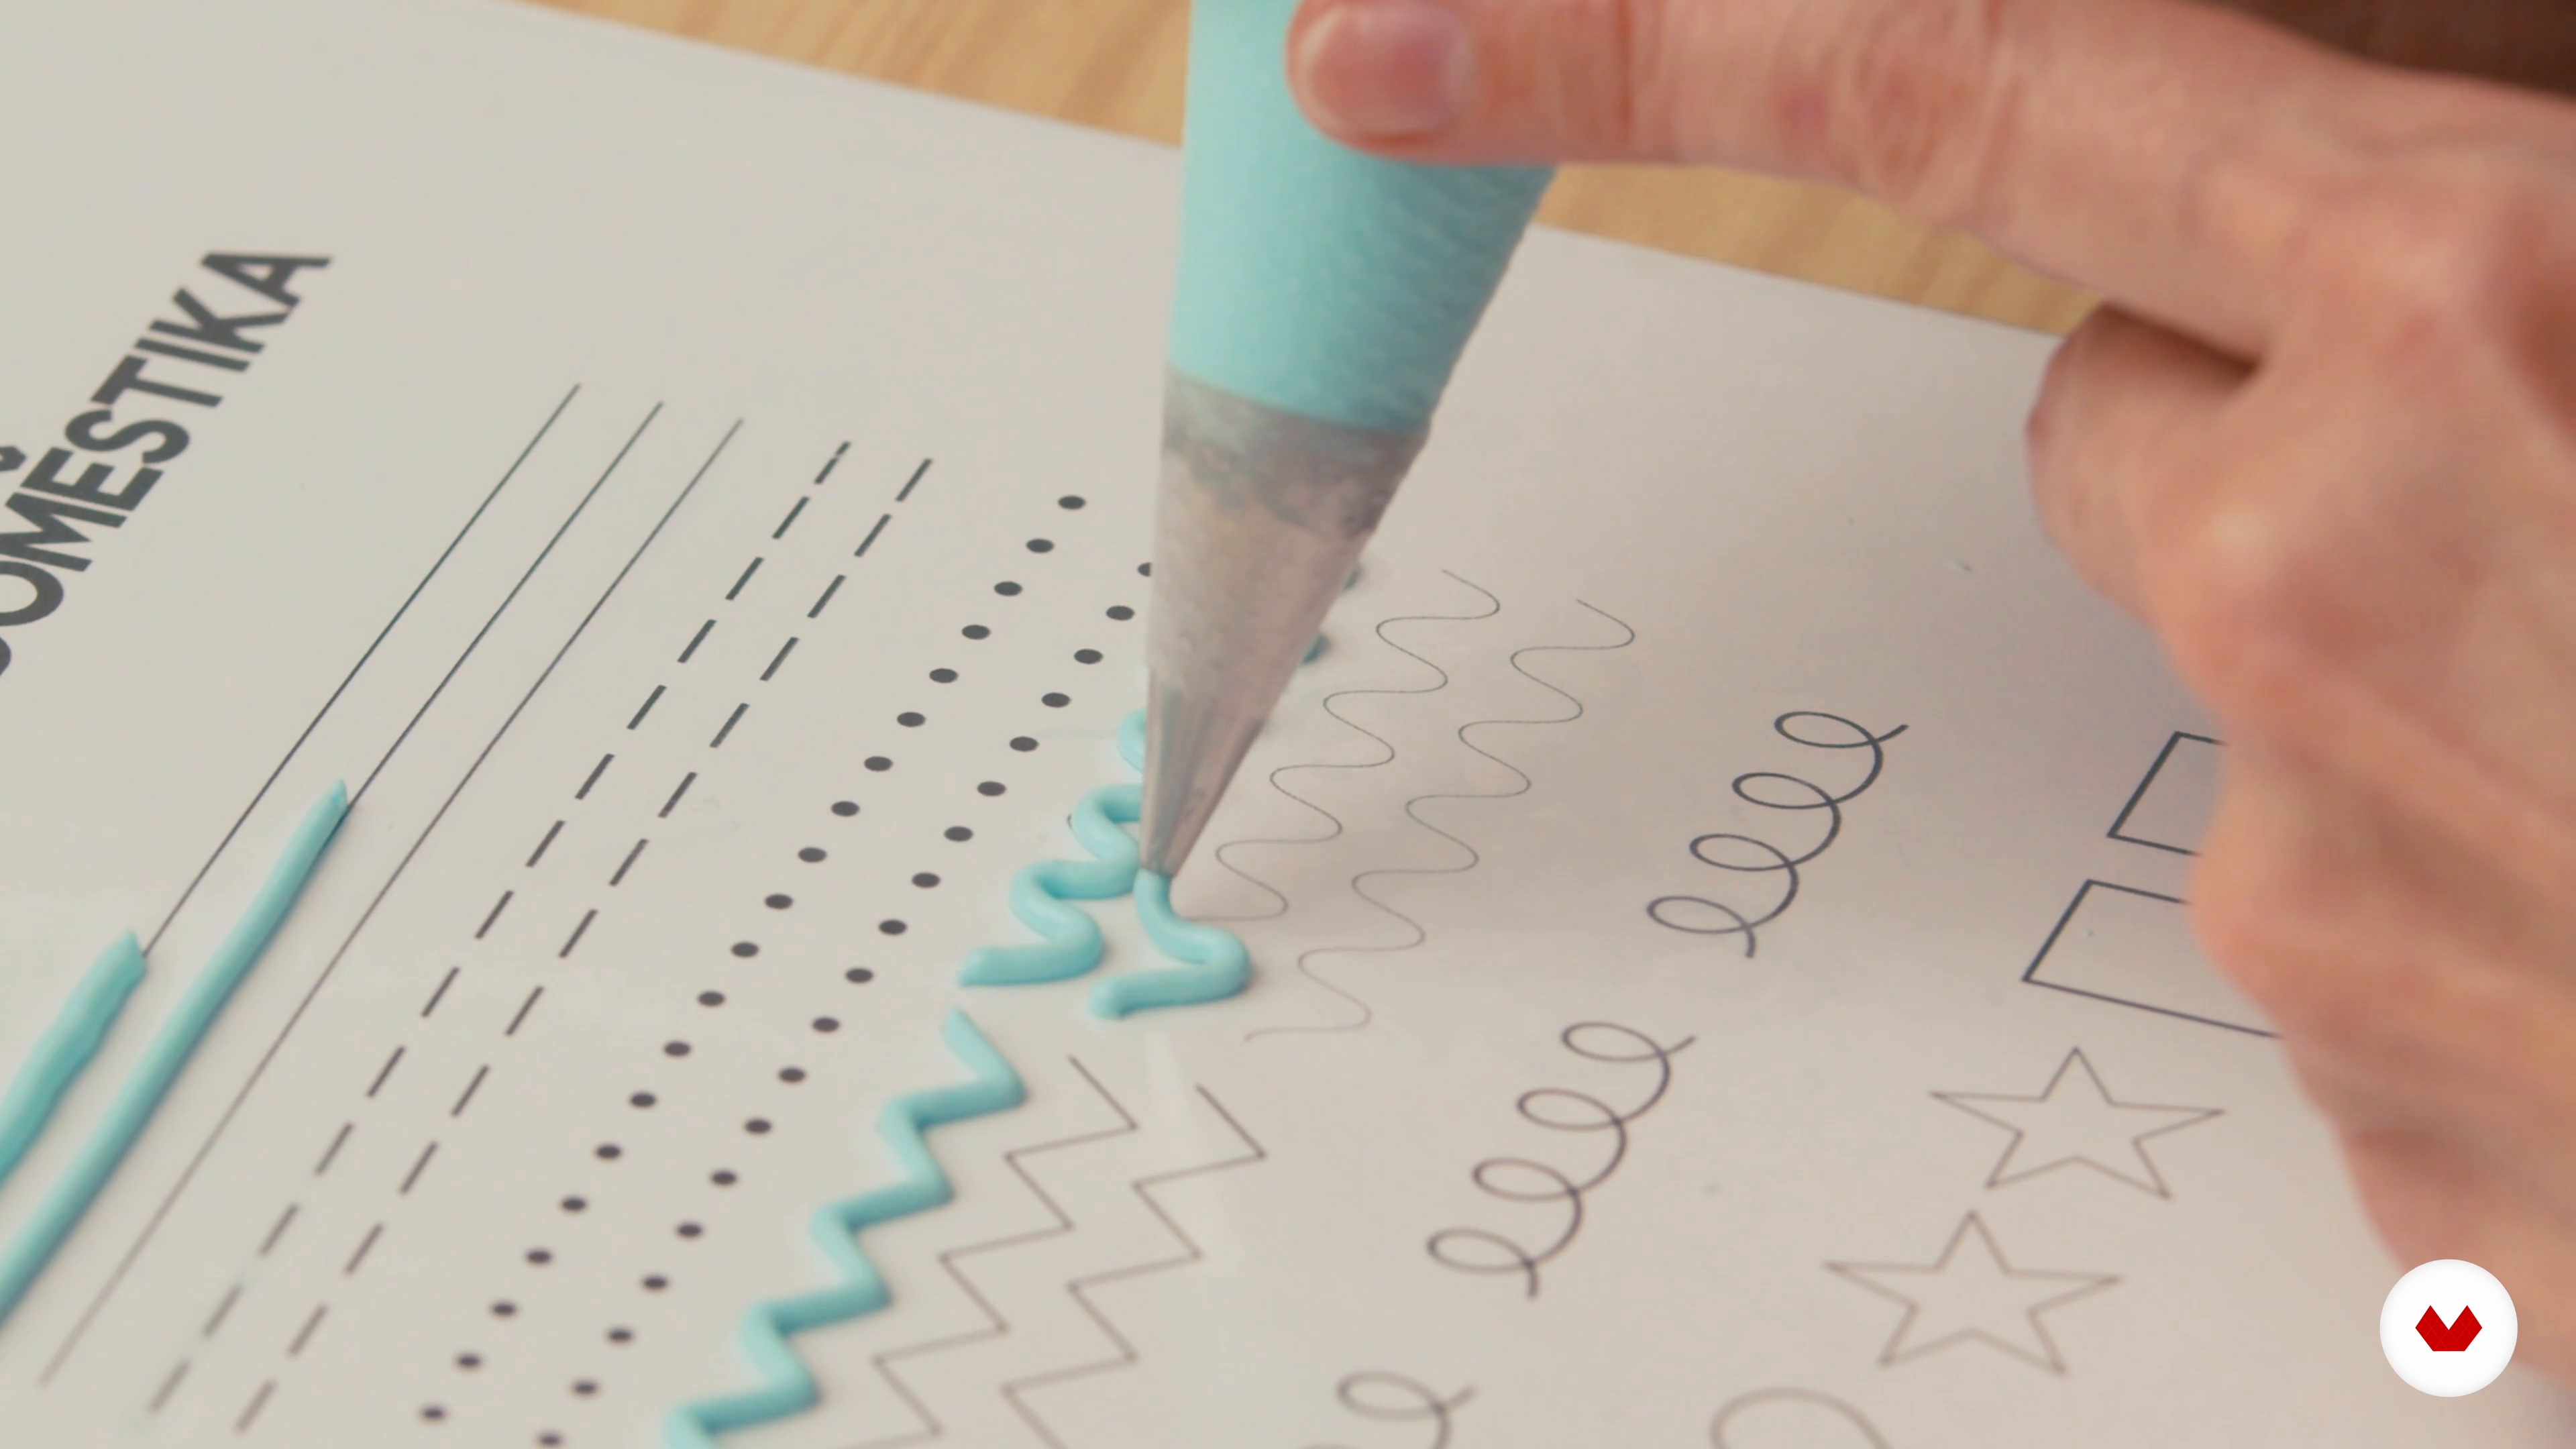
We introduce you to a great ally before you start decorating: a practice sheet, which we have also prepared for you. It is important that, before you start decorating, you spend some time practicing some basic lines so that when you apply the icing to your cookie, it will be nice and perfect.
15m
image
11
Practice Sheet 2
Here you will see other decorative shapes that can be made with icing and how to practice with them. We'll also show you common errors and how to fix them.
12m
image
12
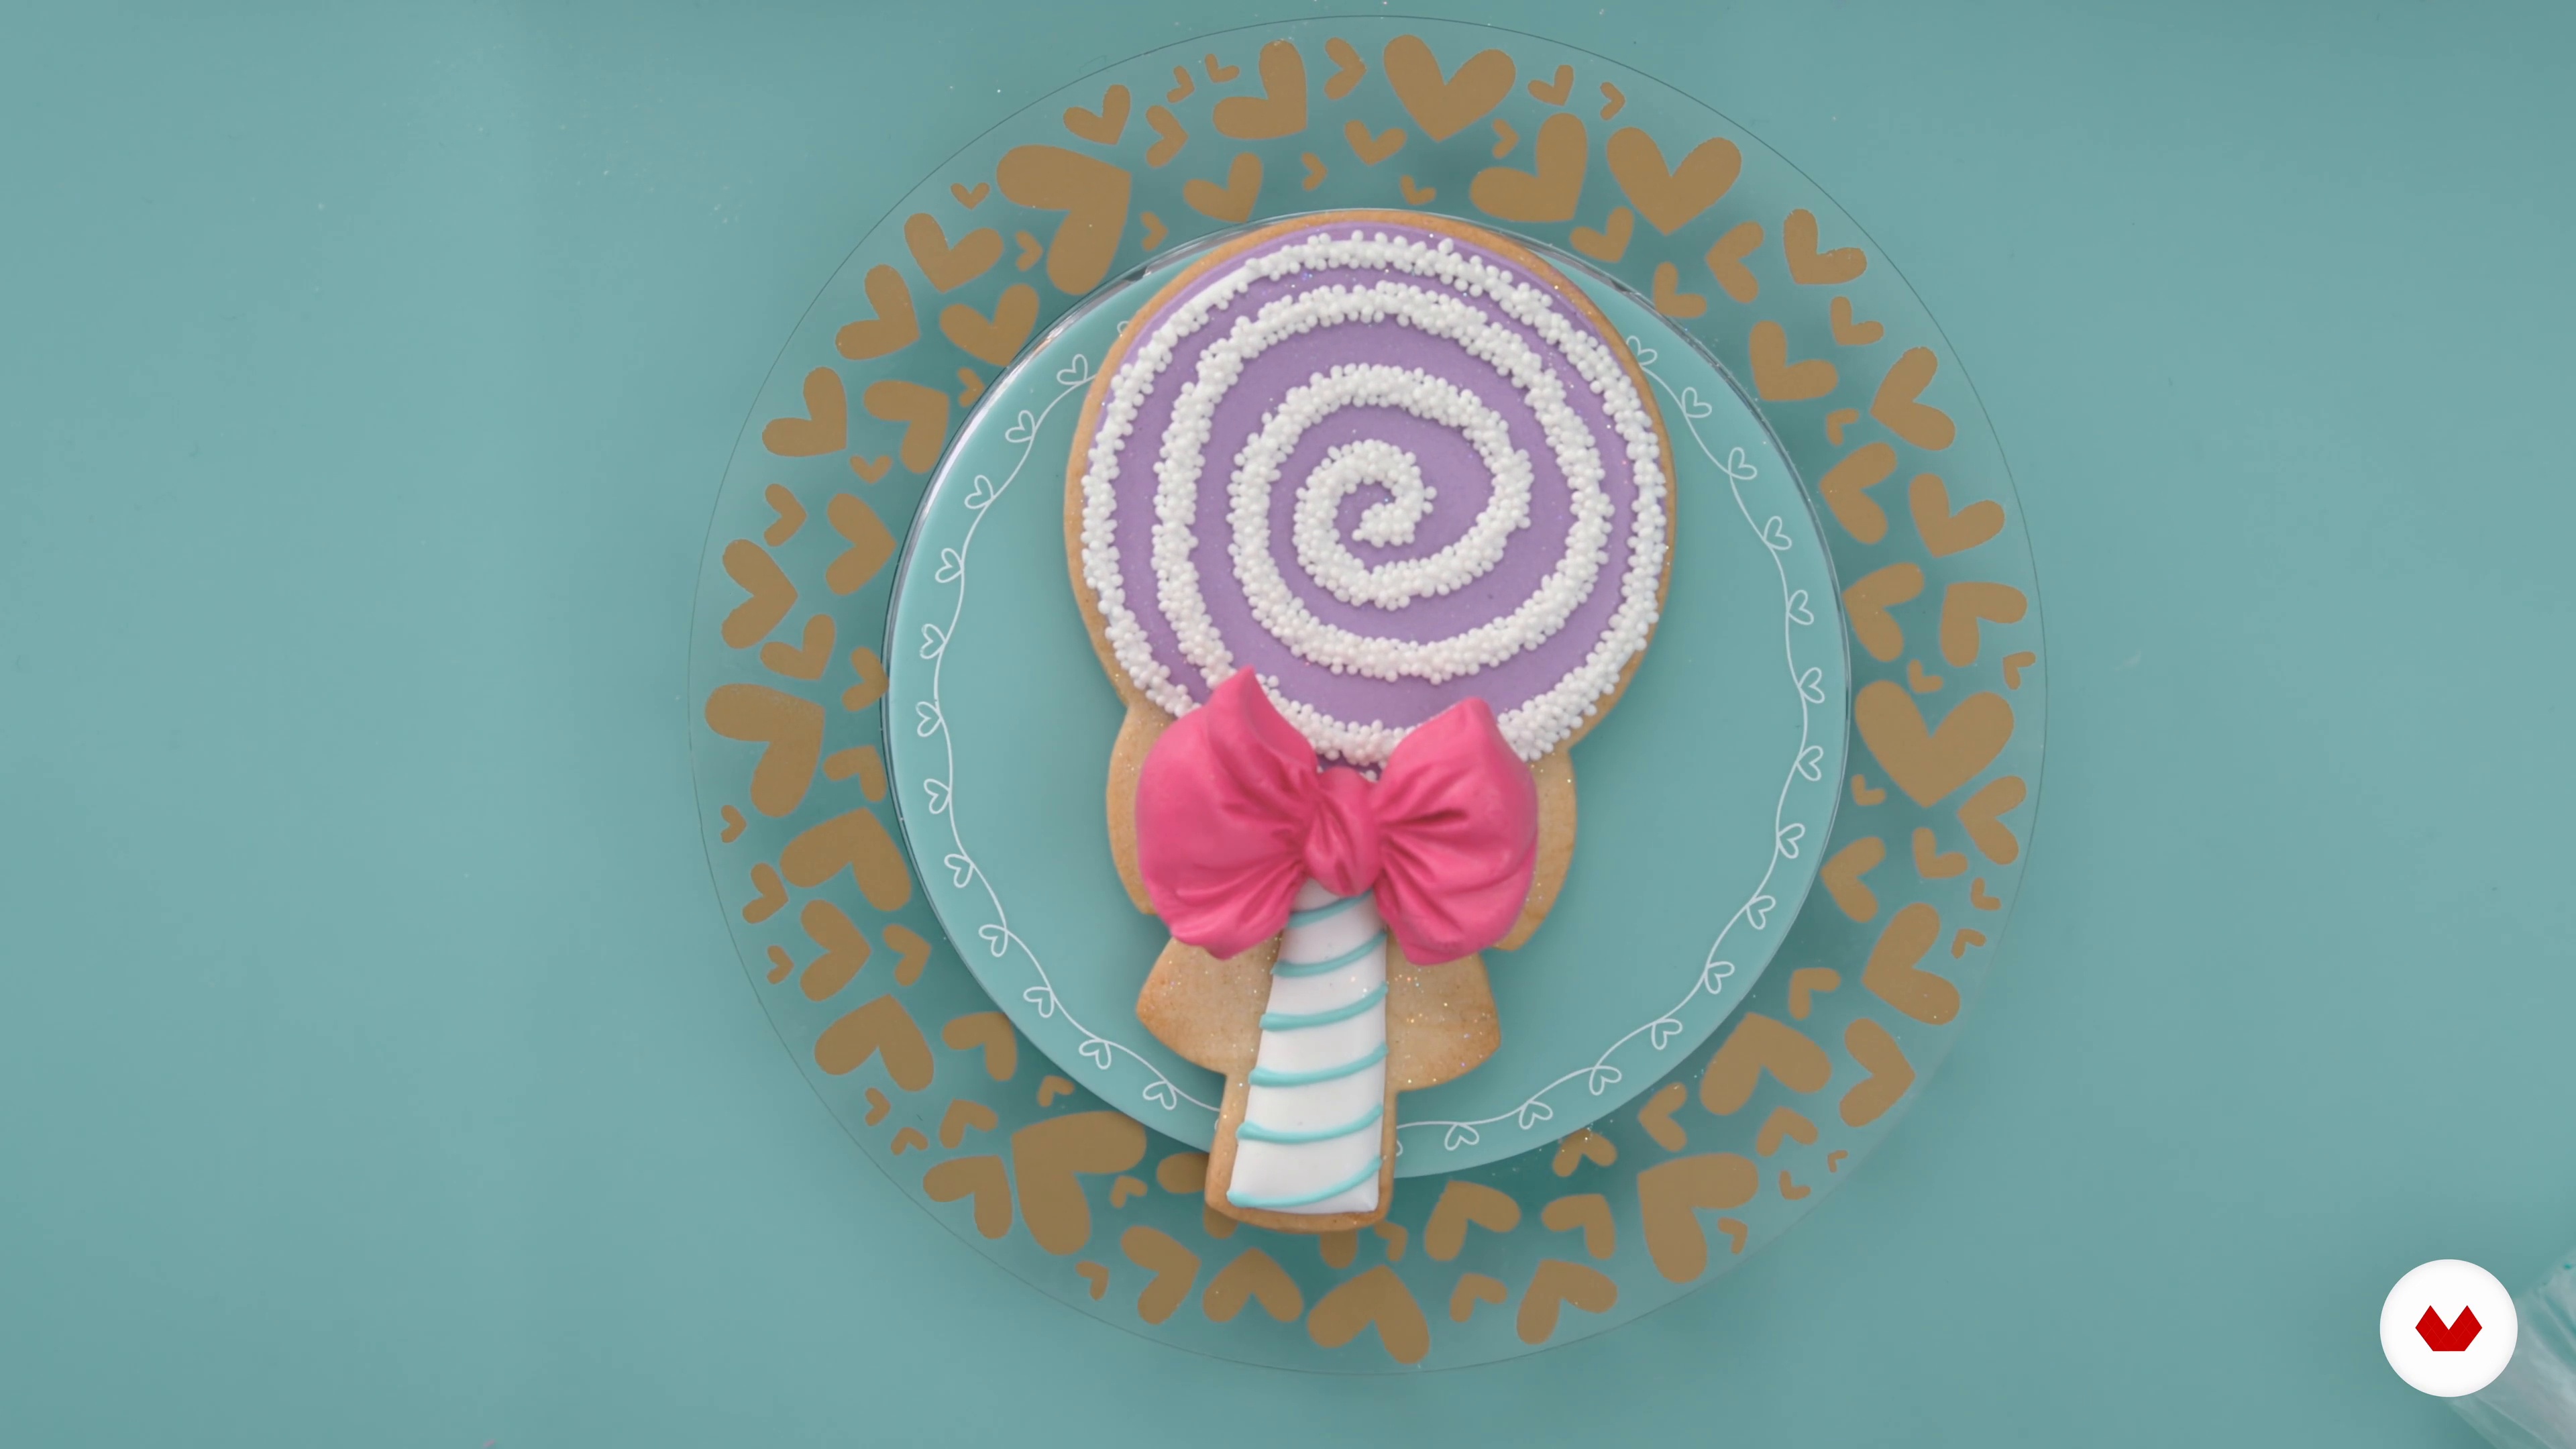
Lollipop-Shaped Cookies
Let's start decorating! After practicing a little, we will apply the techniques that we have taught you by decorating a lollipop-shaped cookie, which is basically made up of geometric figures.
17m
image
13
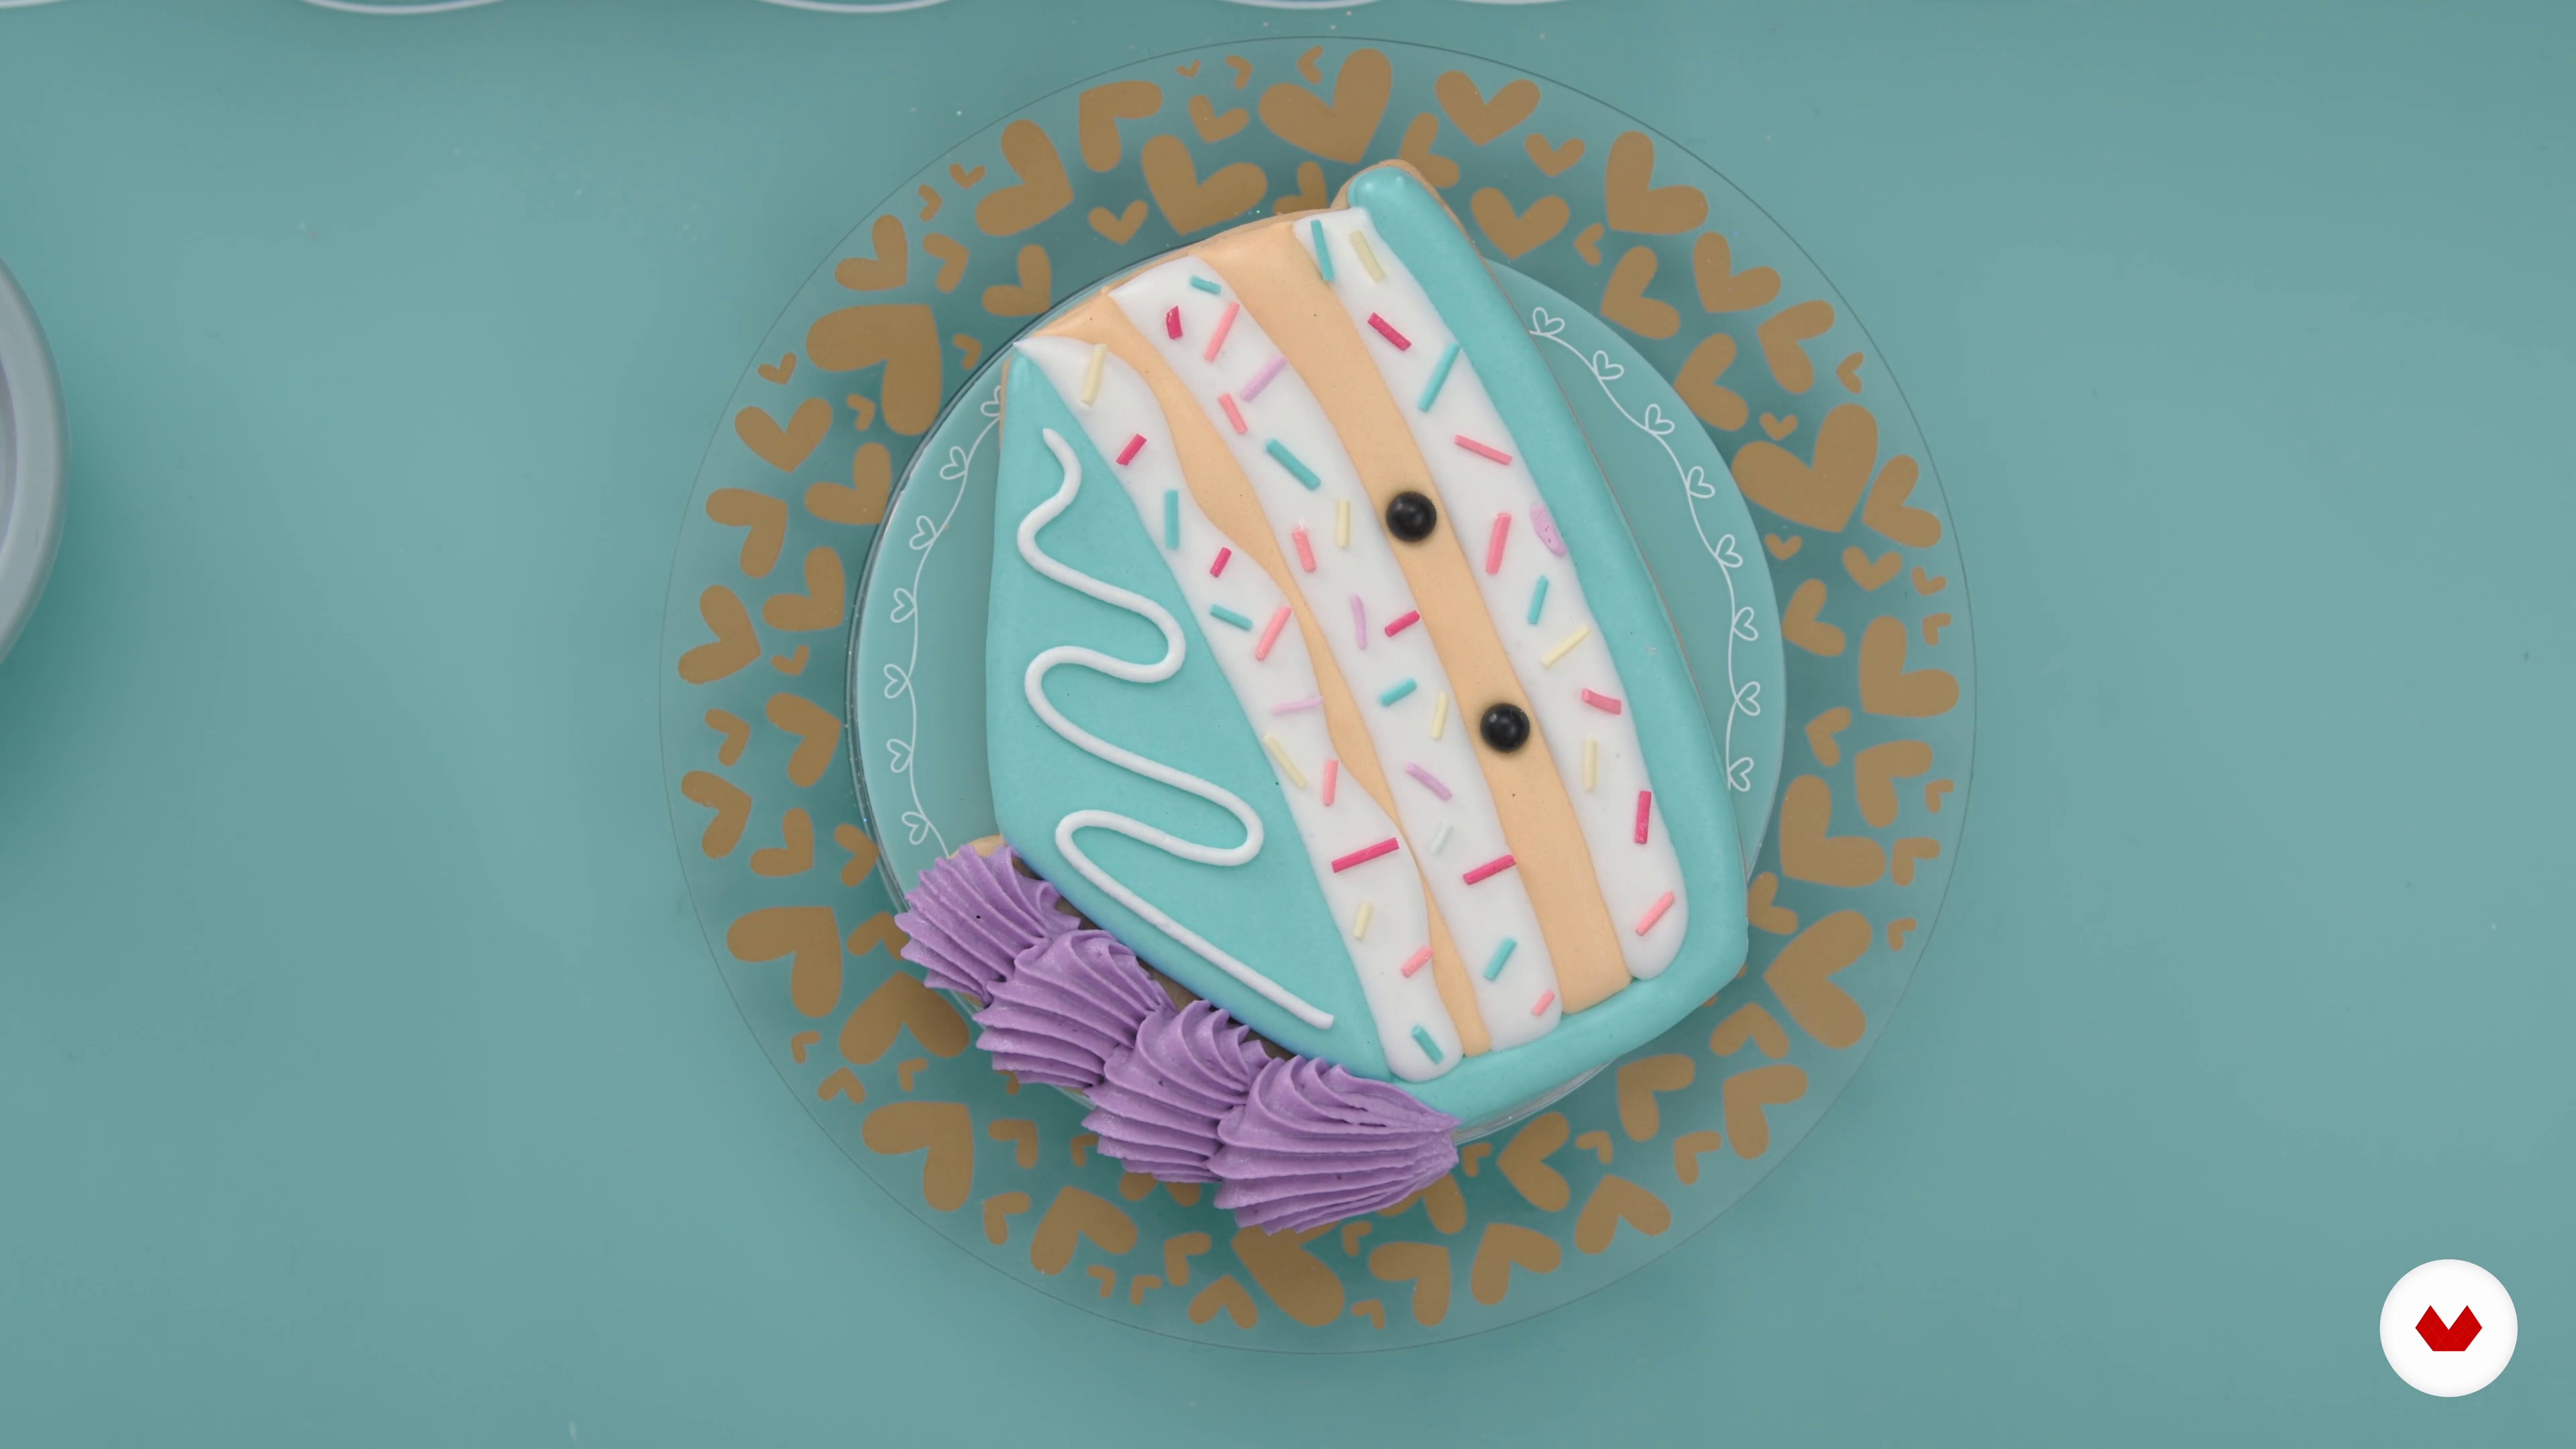
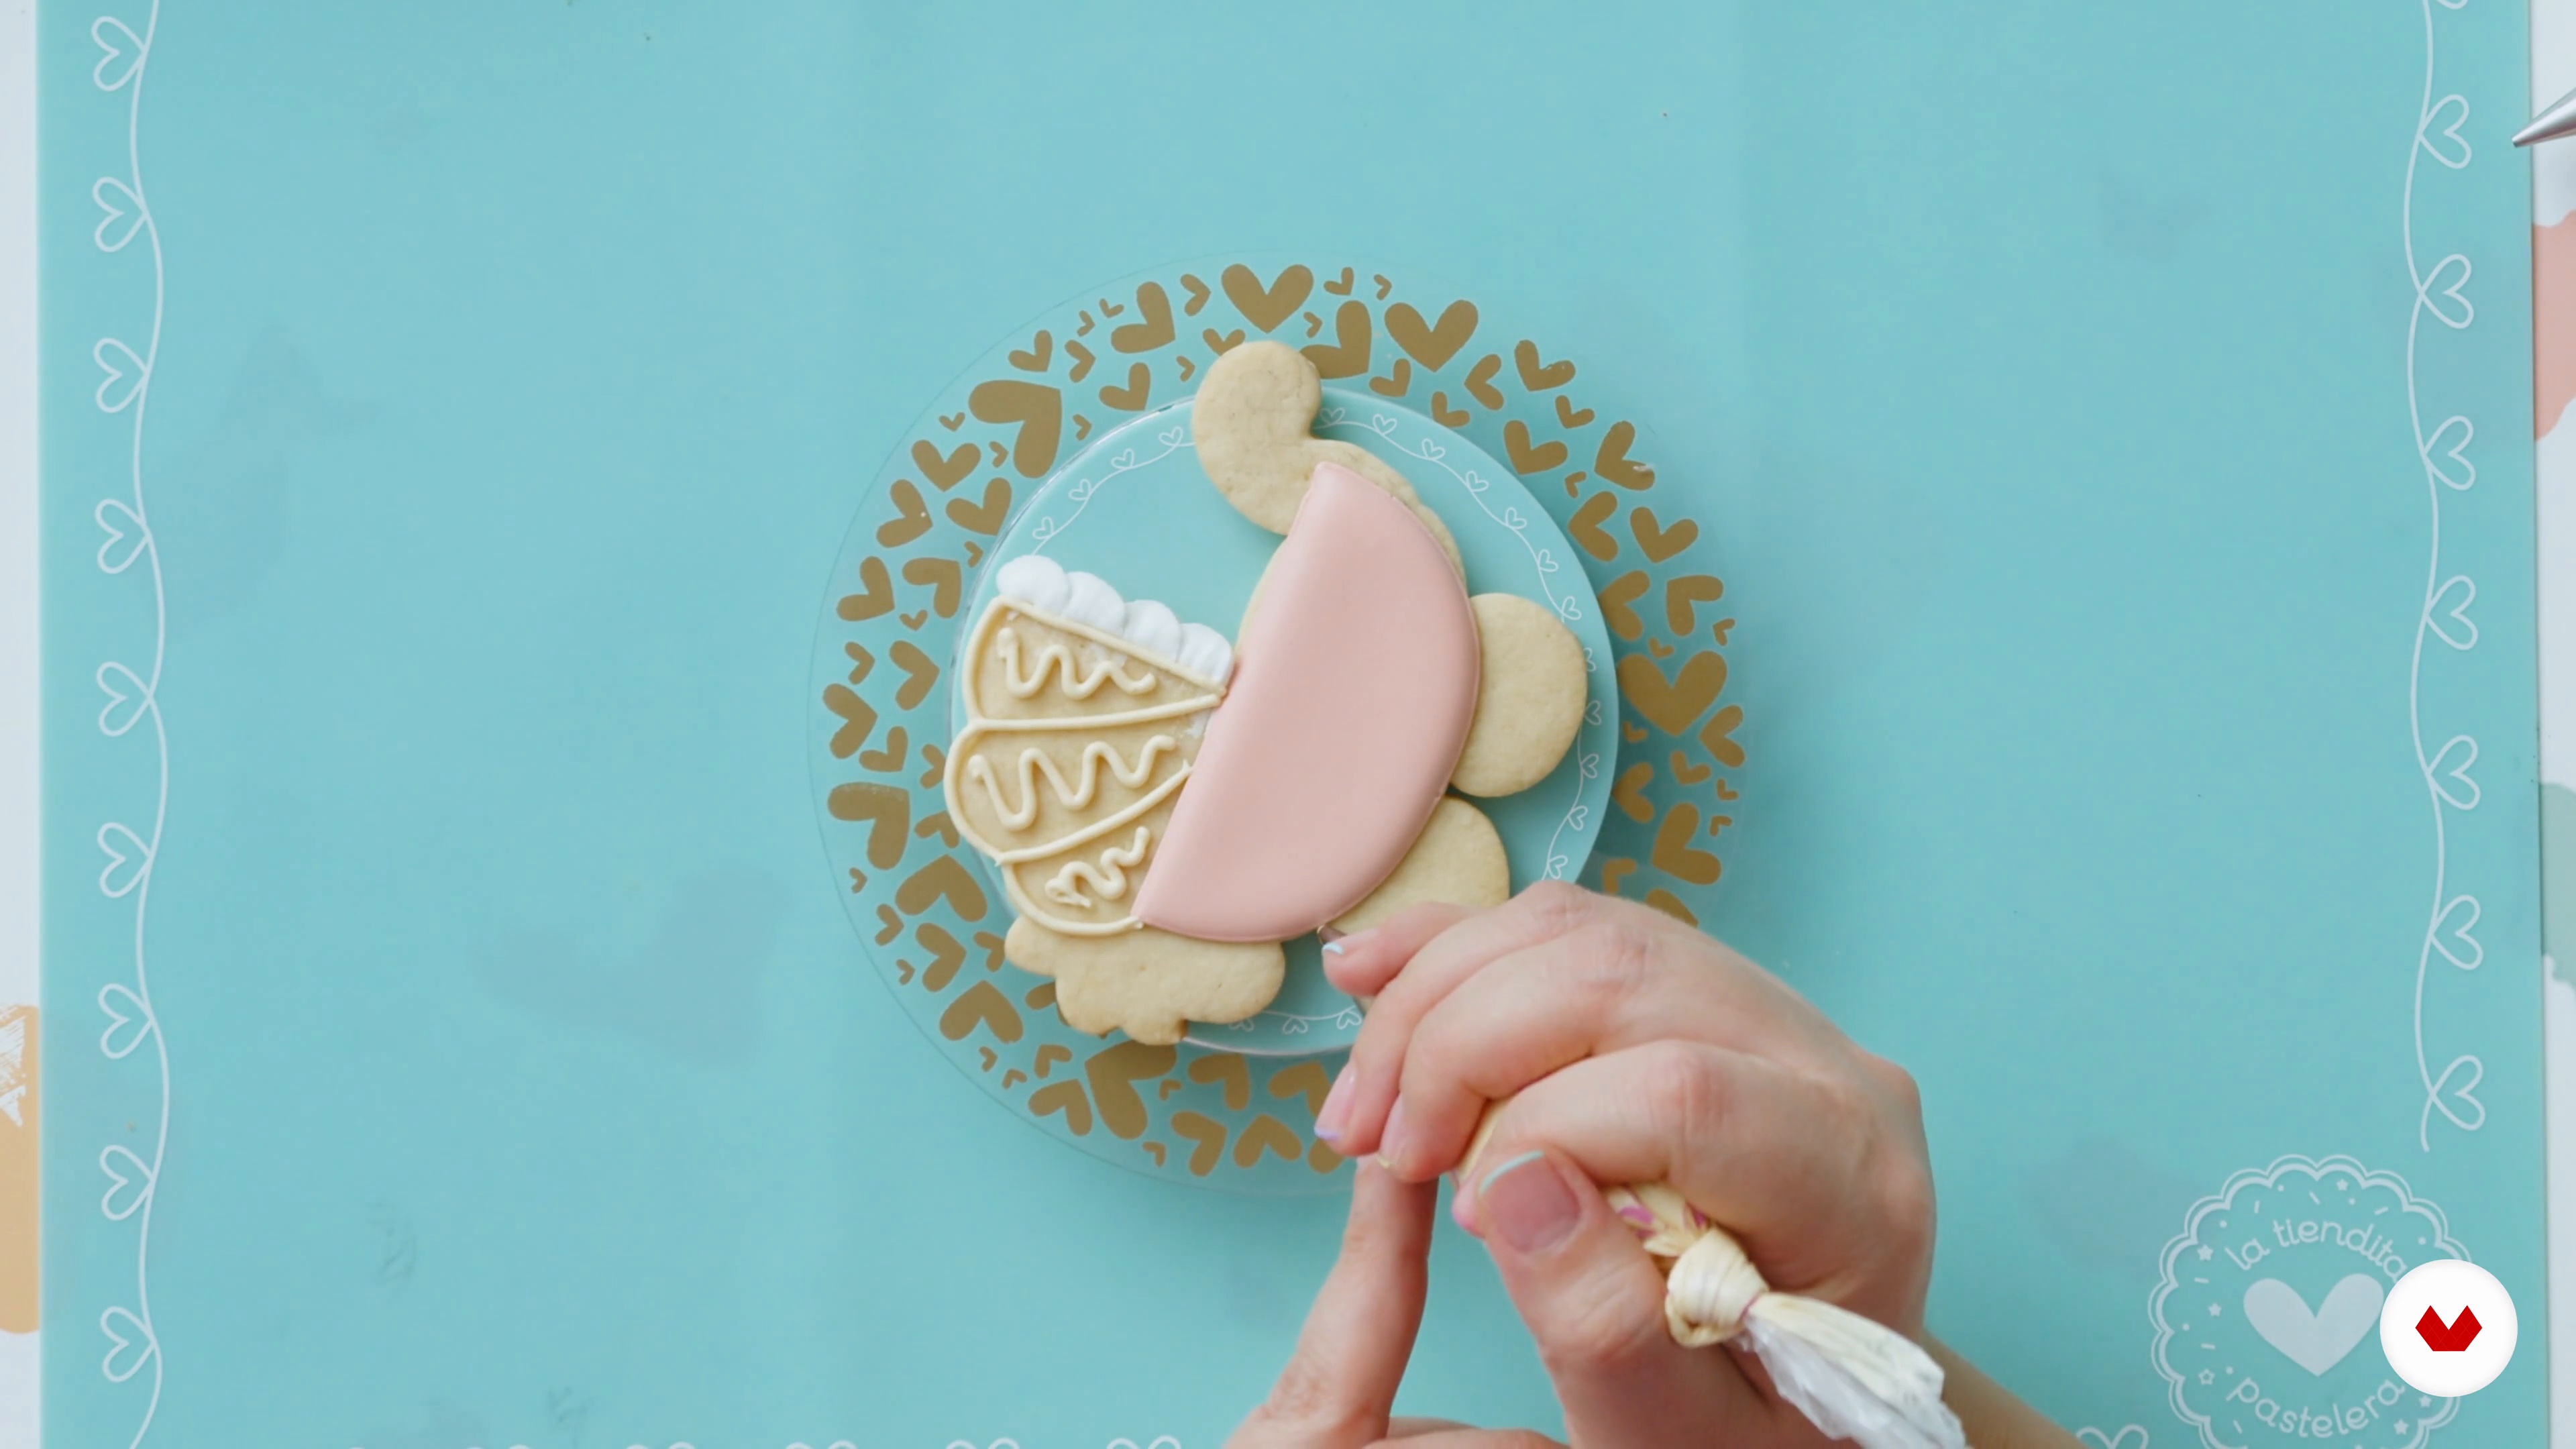
Cake Slice-Shaped Cookies
In this lesson we raise the level a bit to create—in a totally homemade way—characters, faces, textures, and sprinkles in the colors of your choice.
11m
image
14
Cookies of Your Character 1
Let's customize our cookies! Now we will make cookies in the form of characters with characteristic elements. Since you will already have your own character planned, here we give you many tips to take your cookies to the next level.
11m
image
15
Cookies of Your Character 2
To decorate a character we use various techniques. We will show you not only how to outline the shapes and fill in the sections in different ways, but also how to use molds to create decorative elements and details.
11m
image
16
Common Errors
You sure have done amazing so far! But you may have had doubts along the way. So, in anticipation of your questions, we want to show you the most common mistakes that can occur while decorating your cookies.
5m
image
17
Cookie Storage
How should I store my cookies once they are made? What care should I have? In this lesson we will solve these questions and many more.
10m
image
18
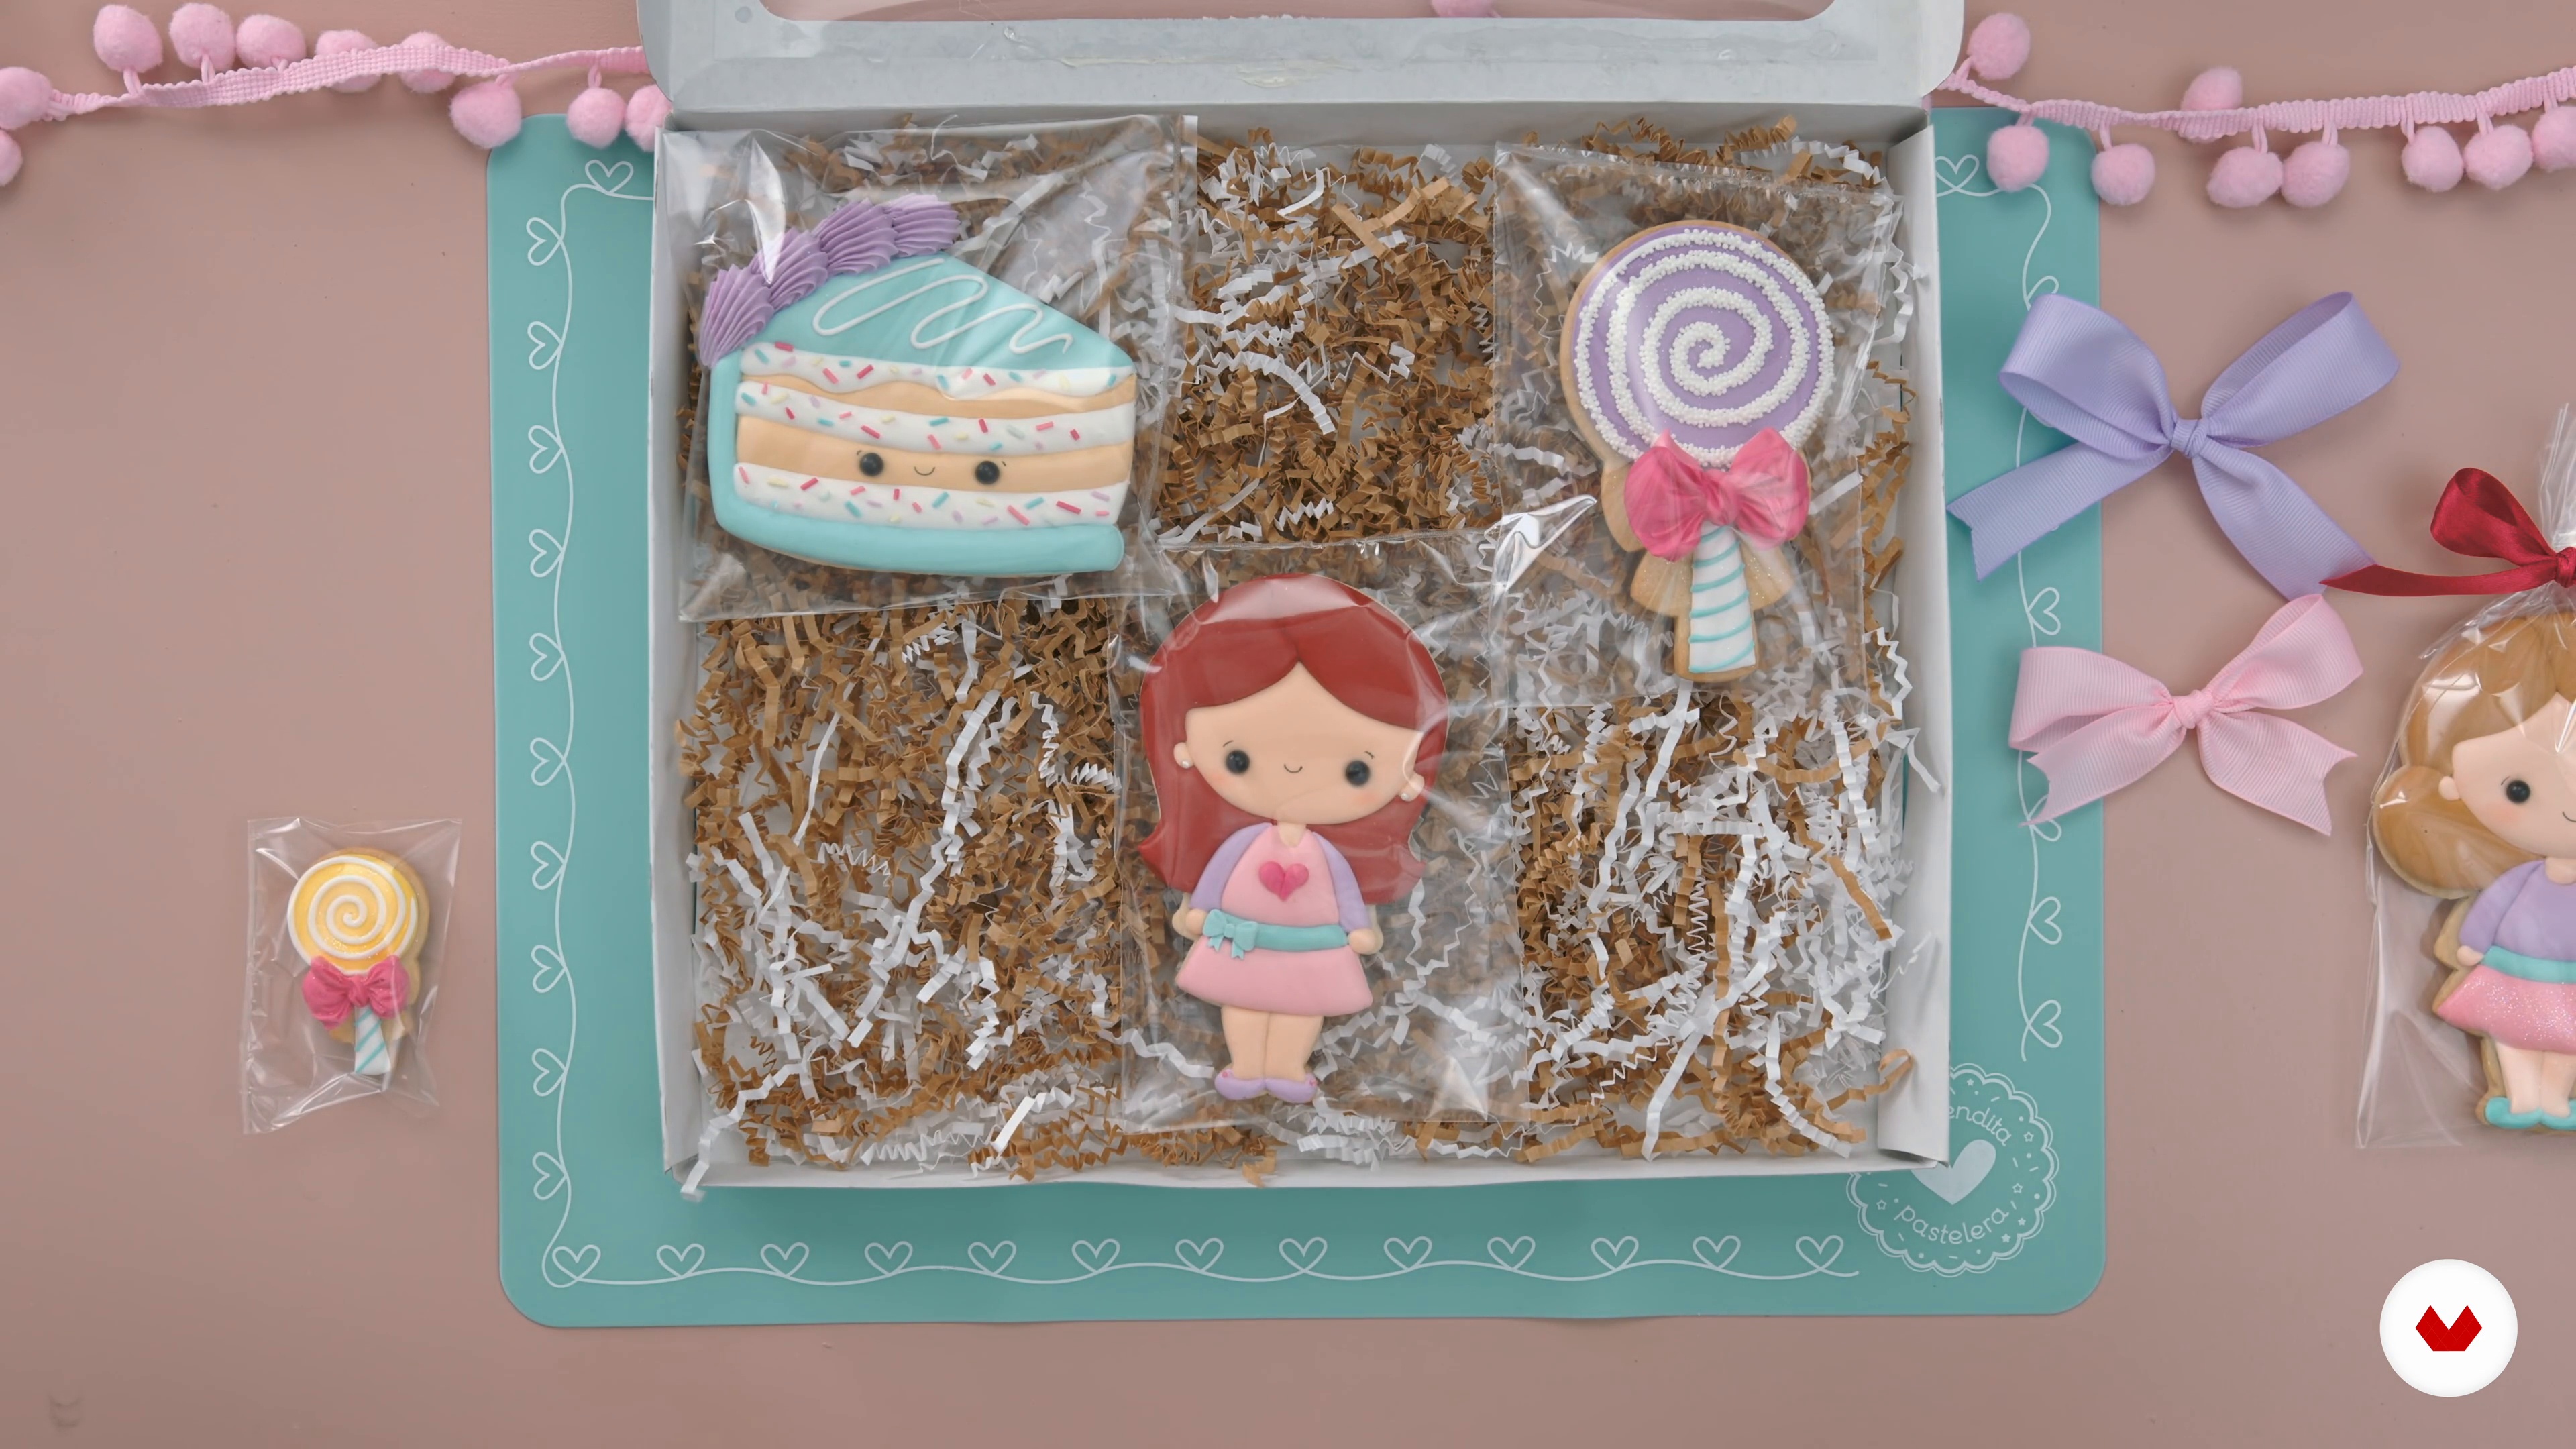
Packaging Cookie Sets
If you want to sell or give away your cookies, here are a couple of easy but charming ideas to present them in a set or individually.
5m
image
19
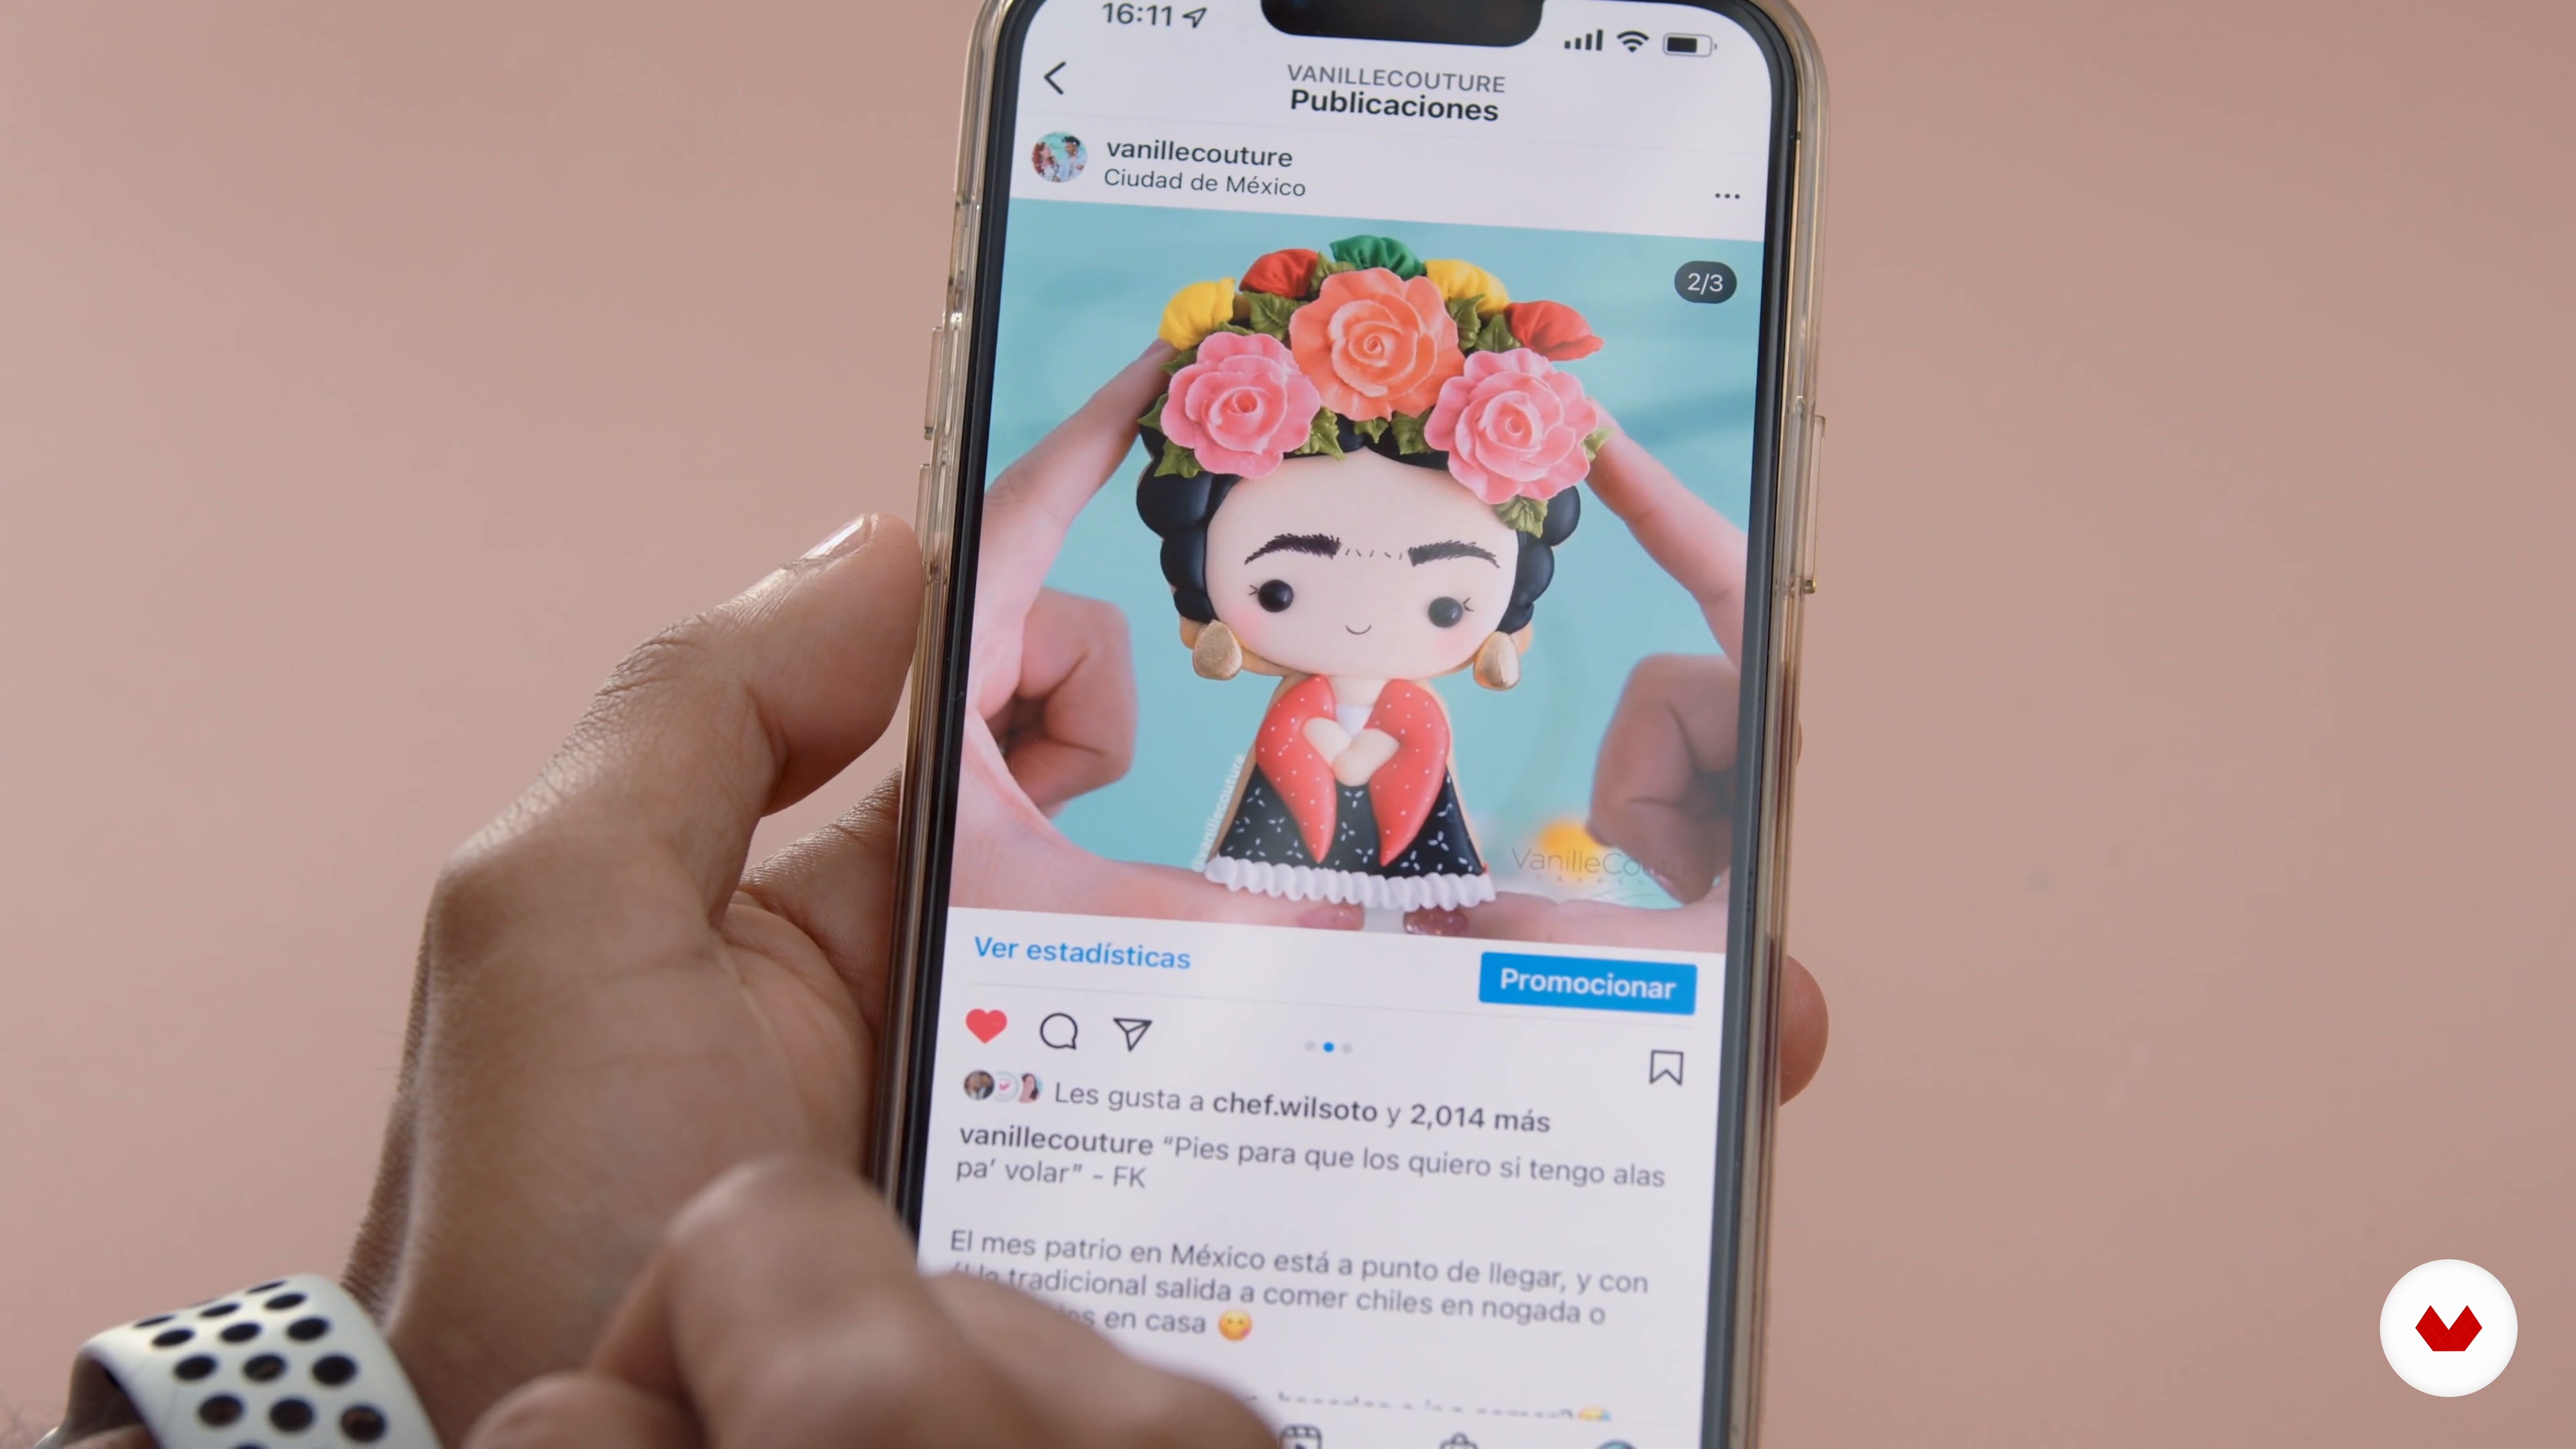
How to Showcase Your Work on Social Media
In this lesson we will cover some important points for you to take beautiful pictures with your cell phone and we will give you some tips to present your cookies on social networks.
3m
image
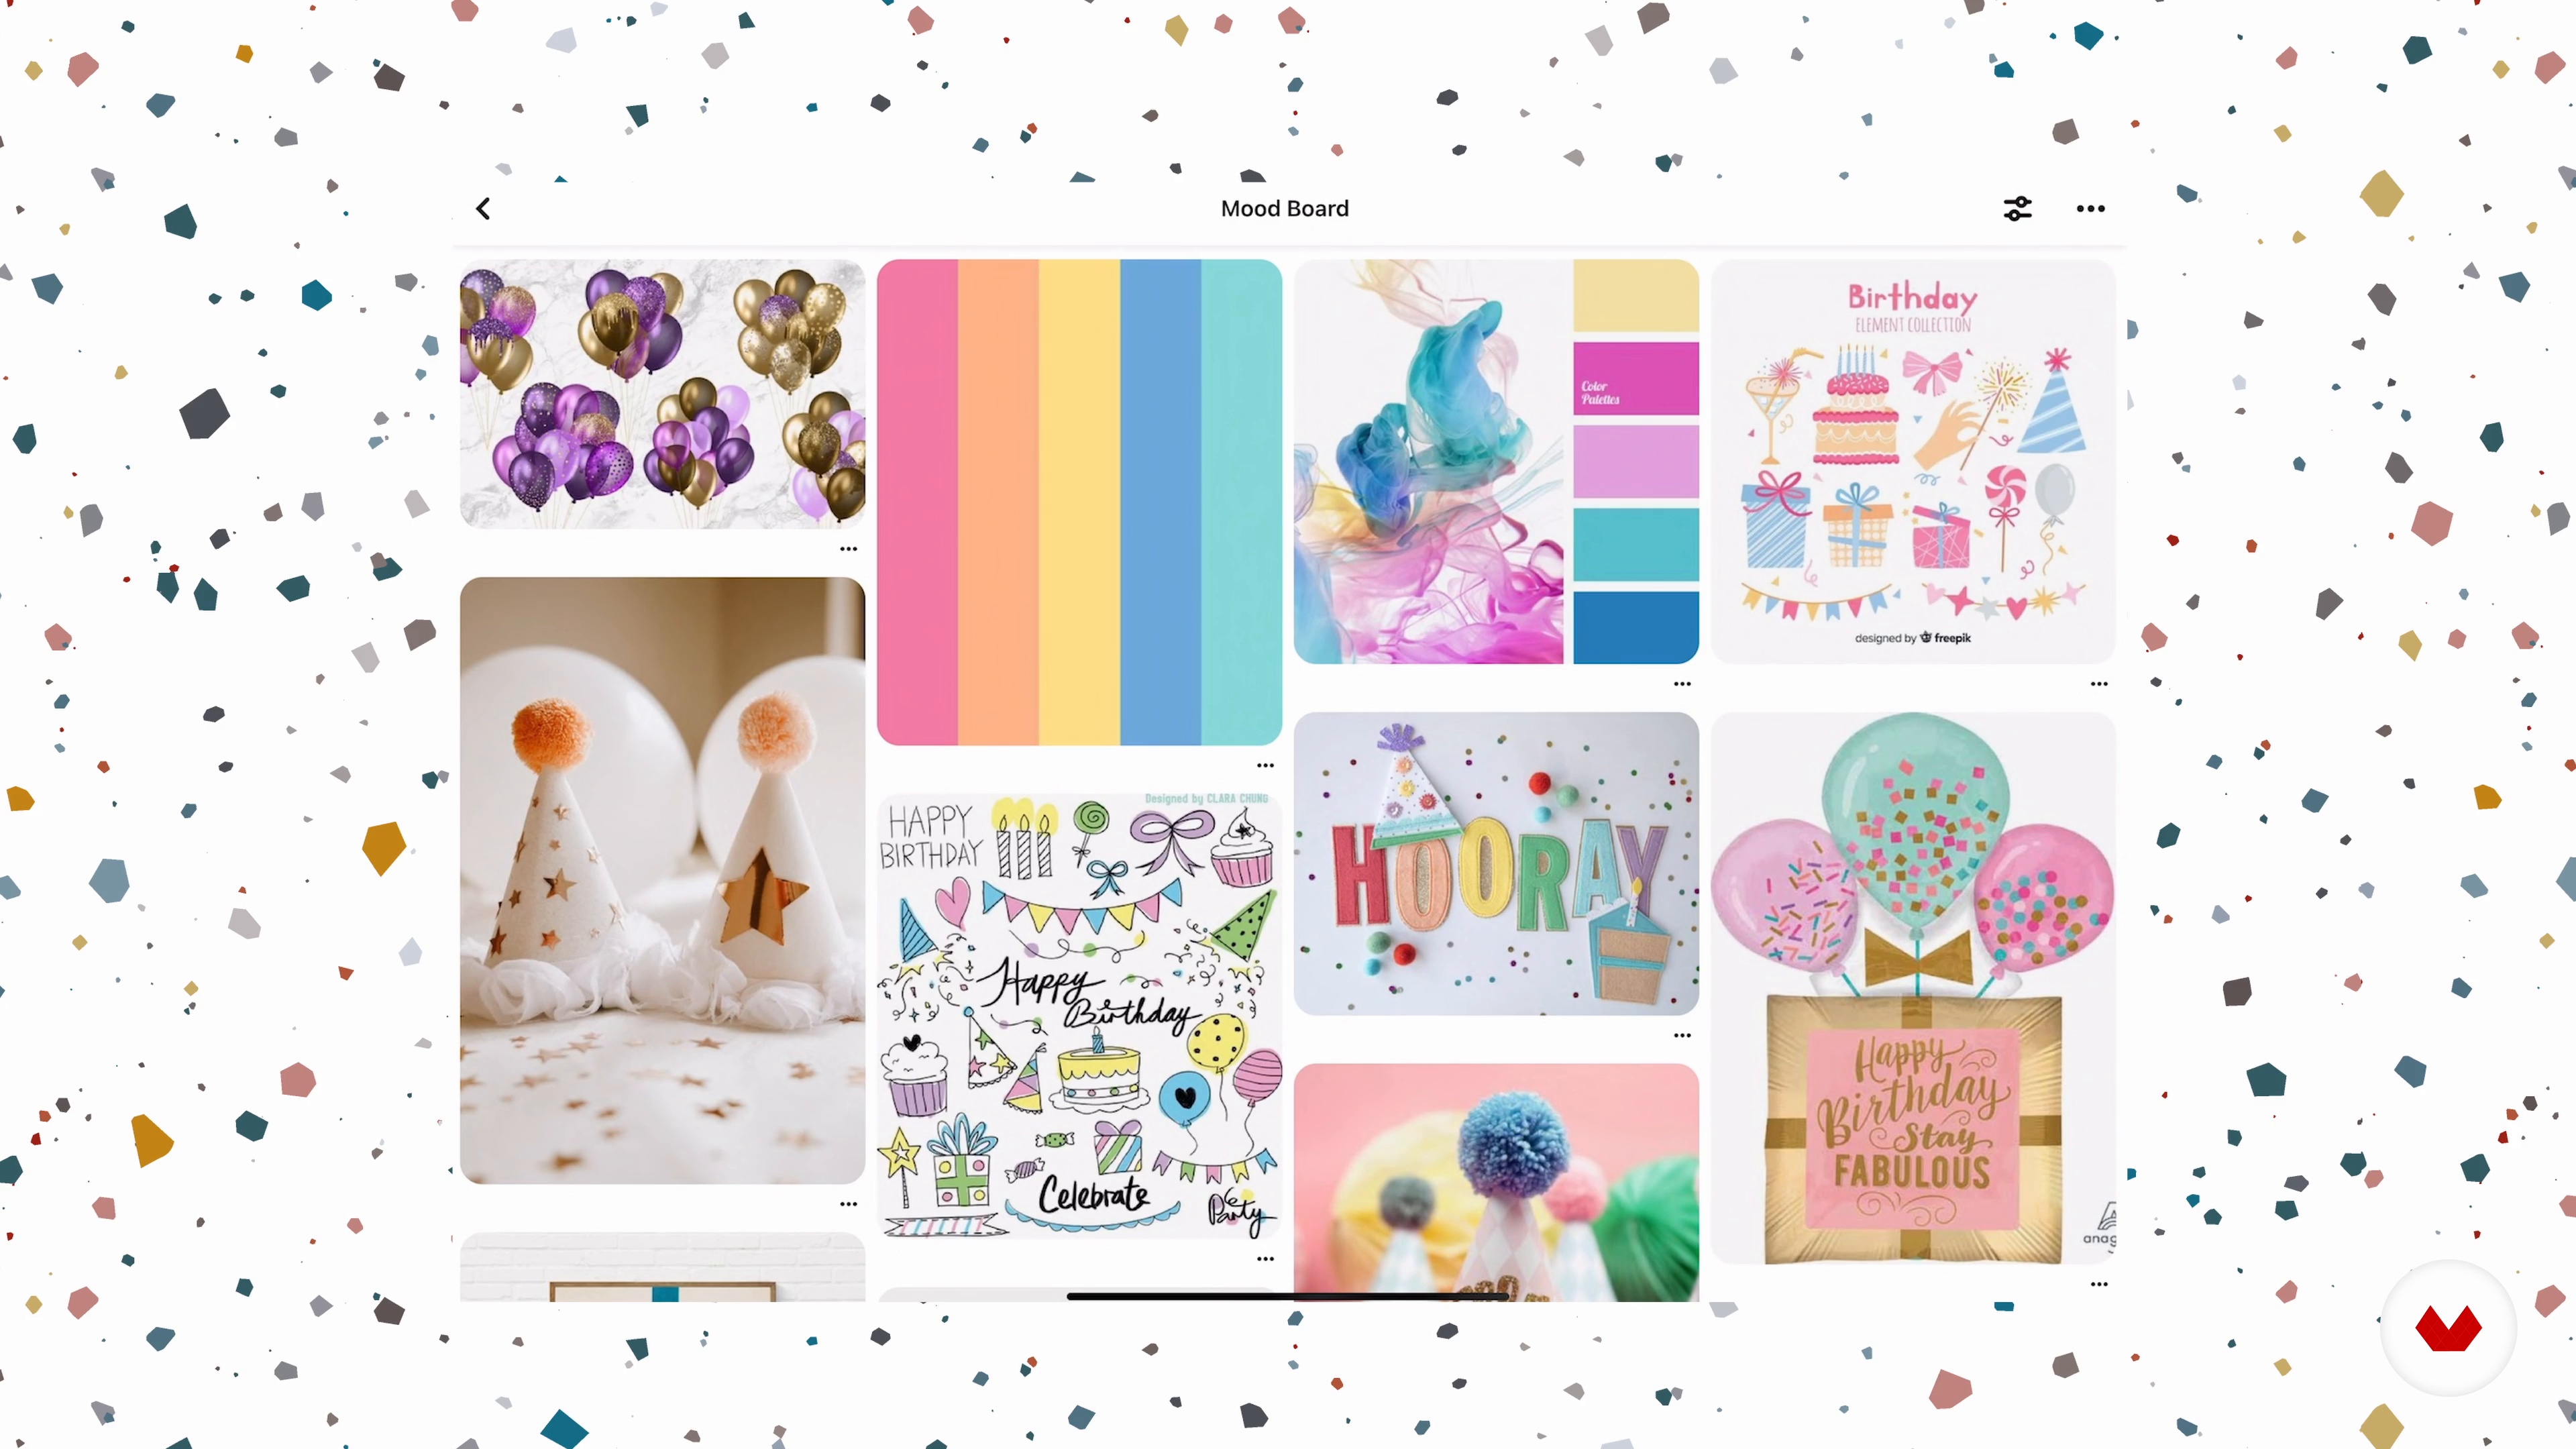
3
Inspiration and Mood Board
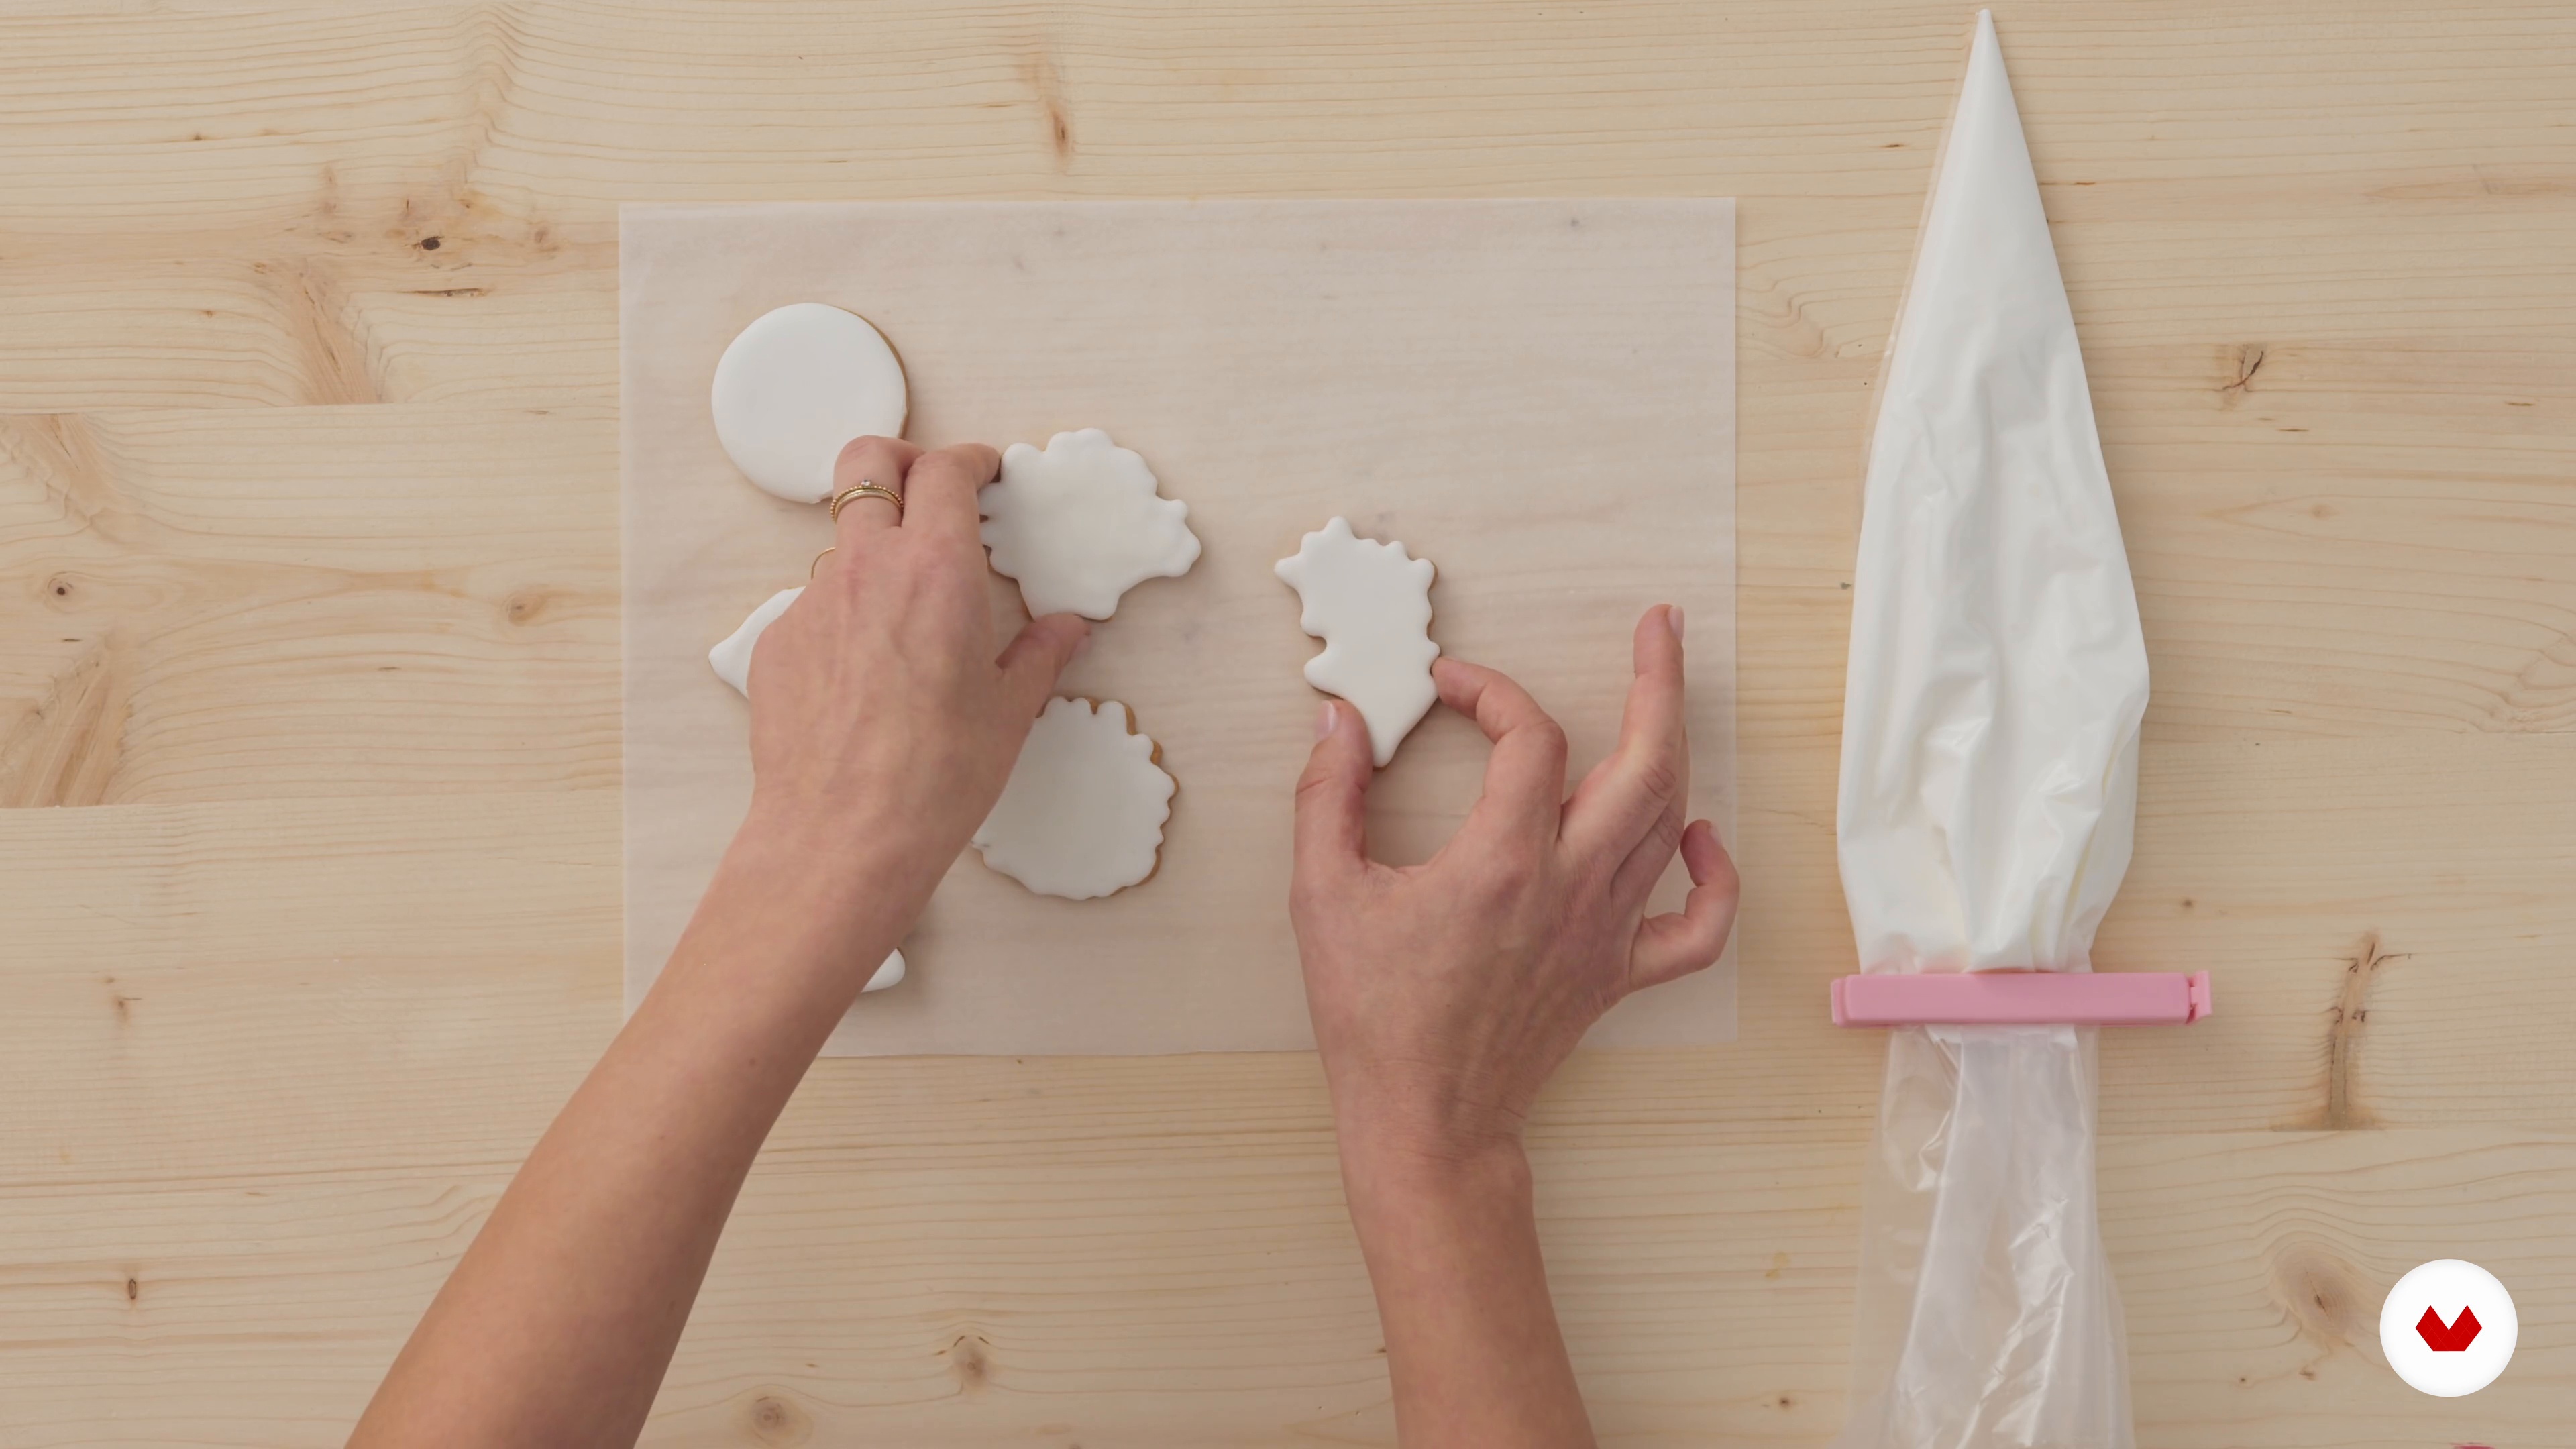
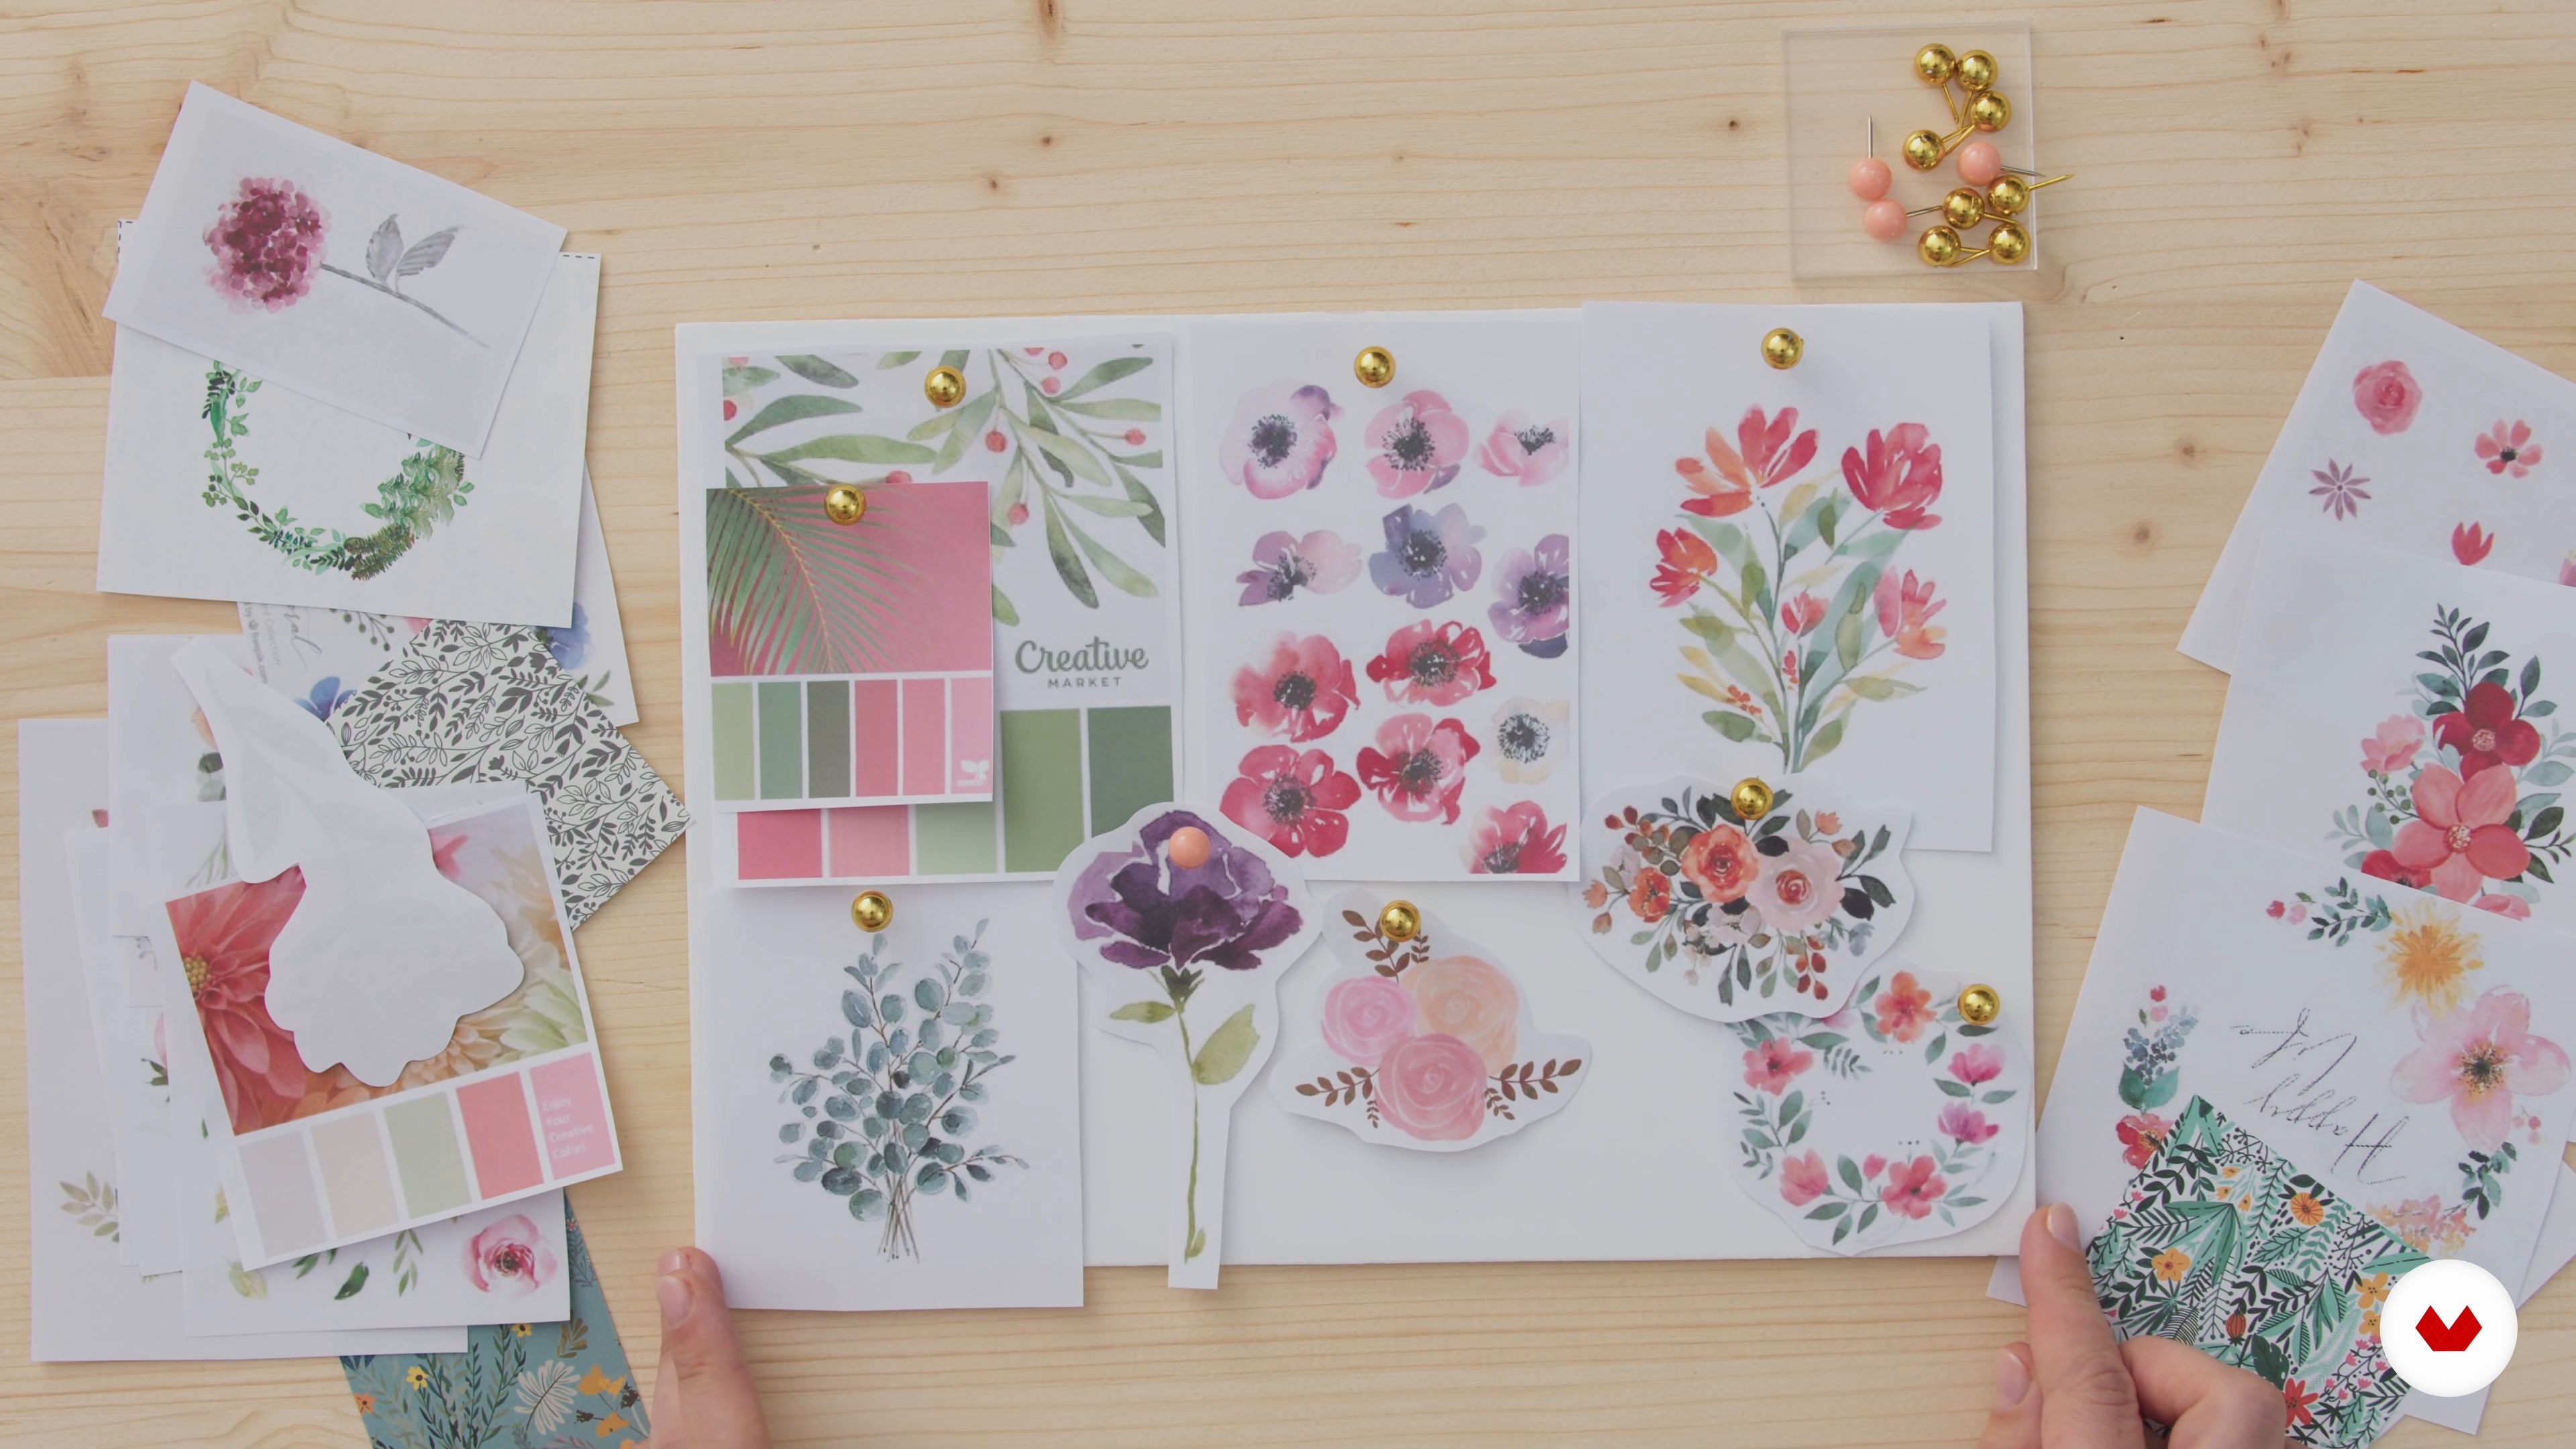
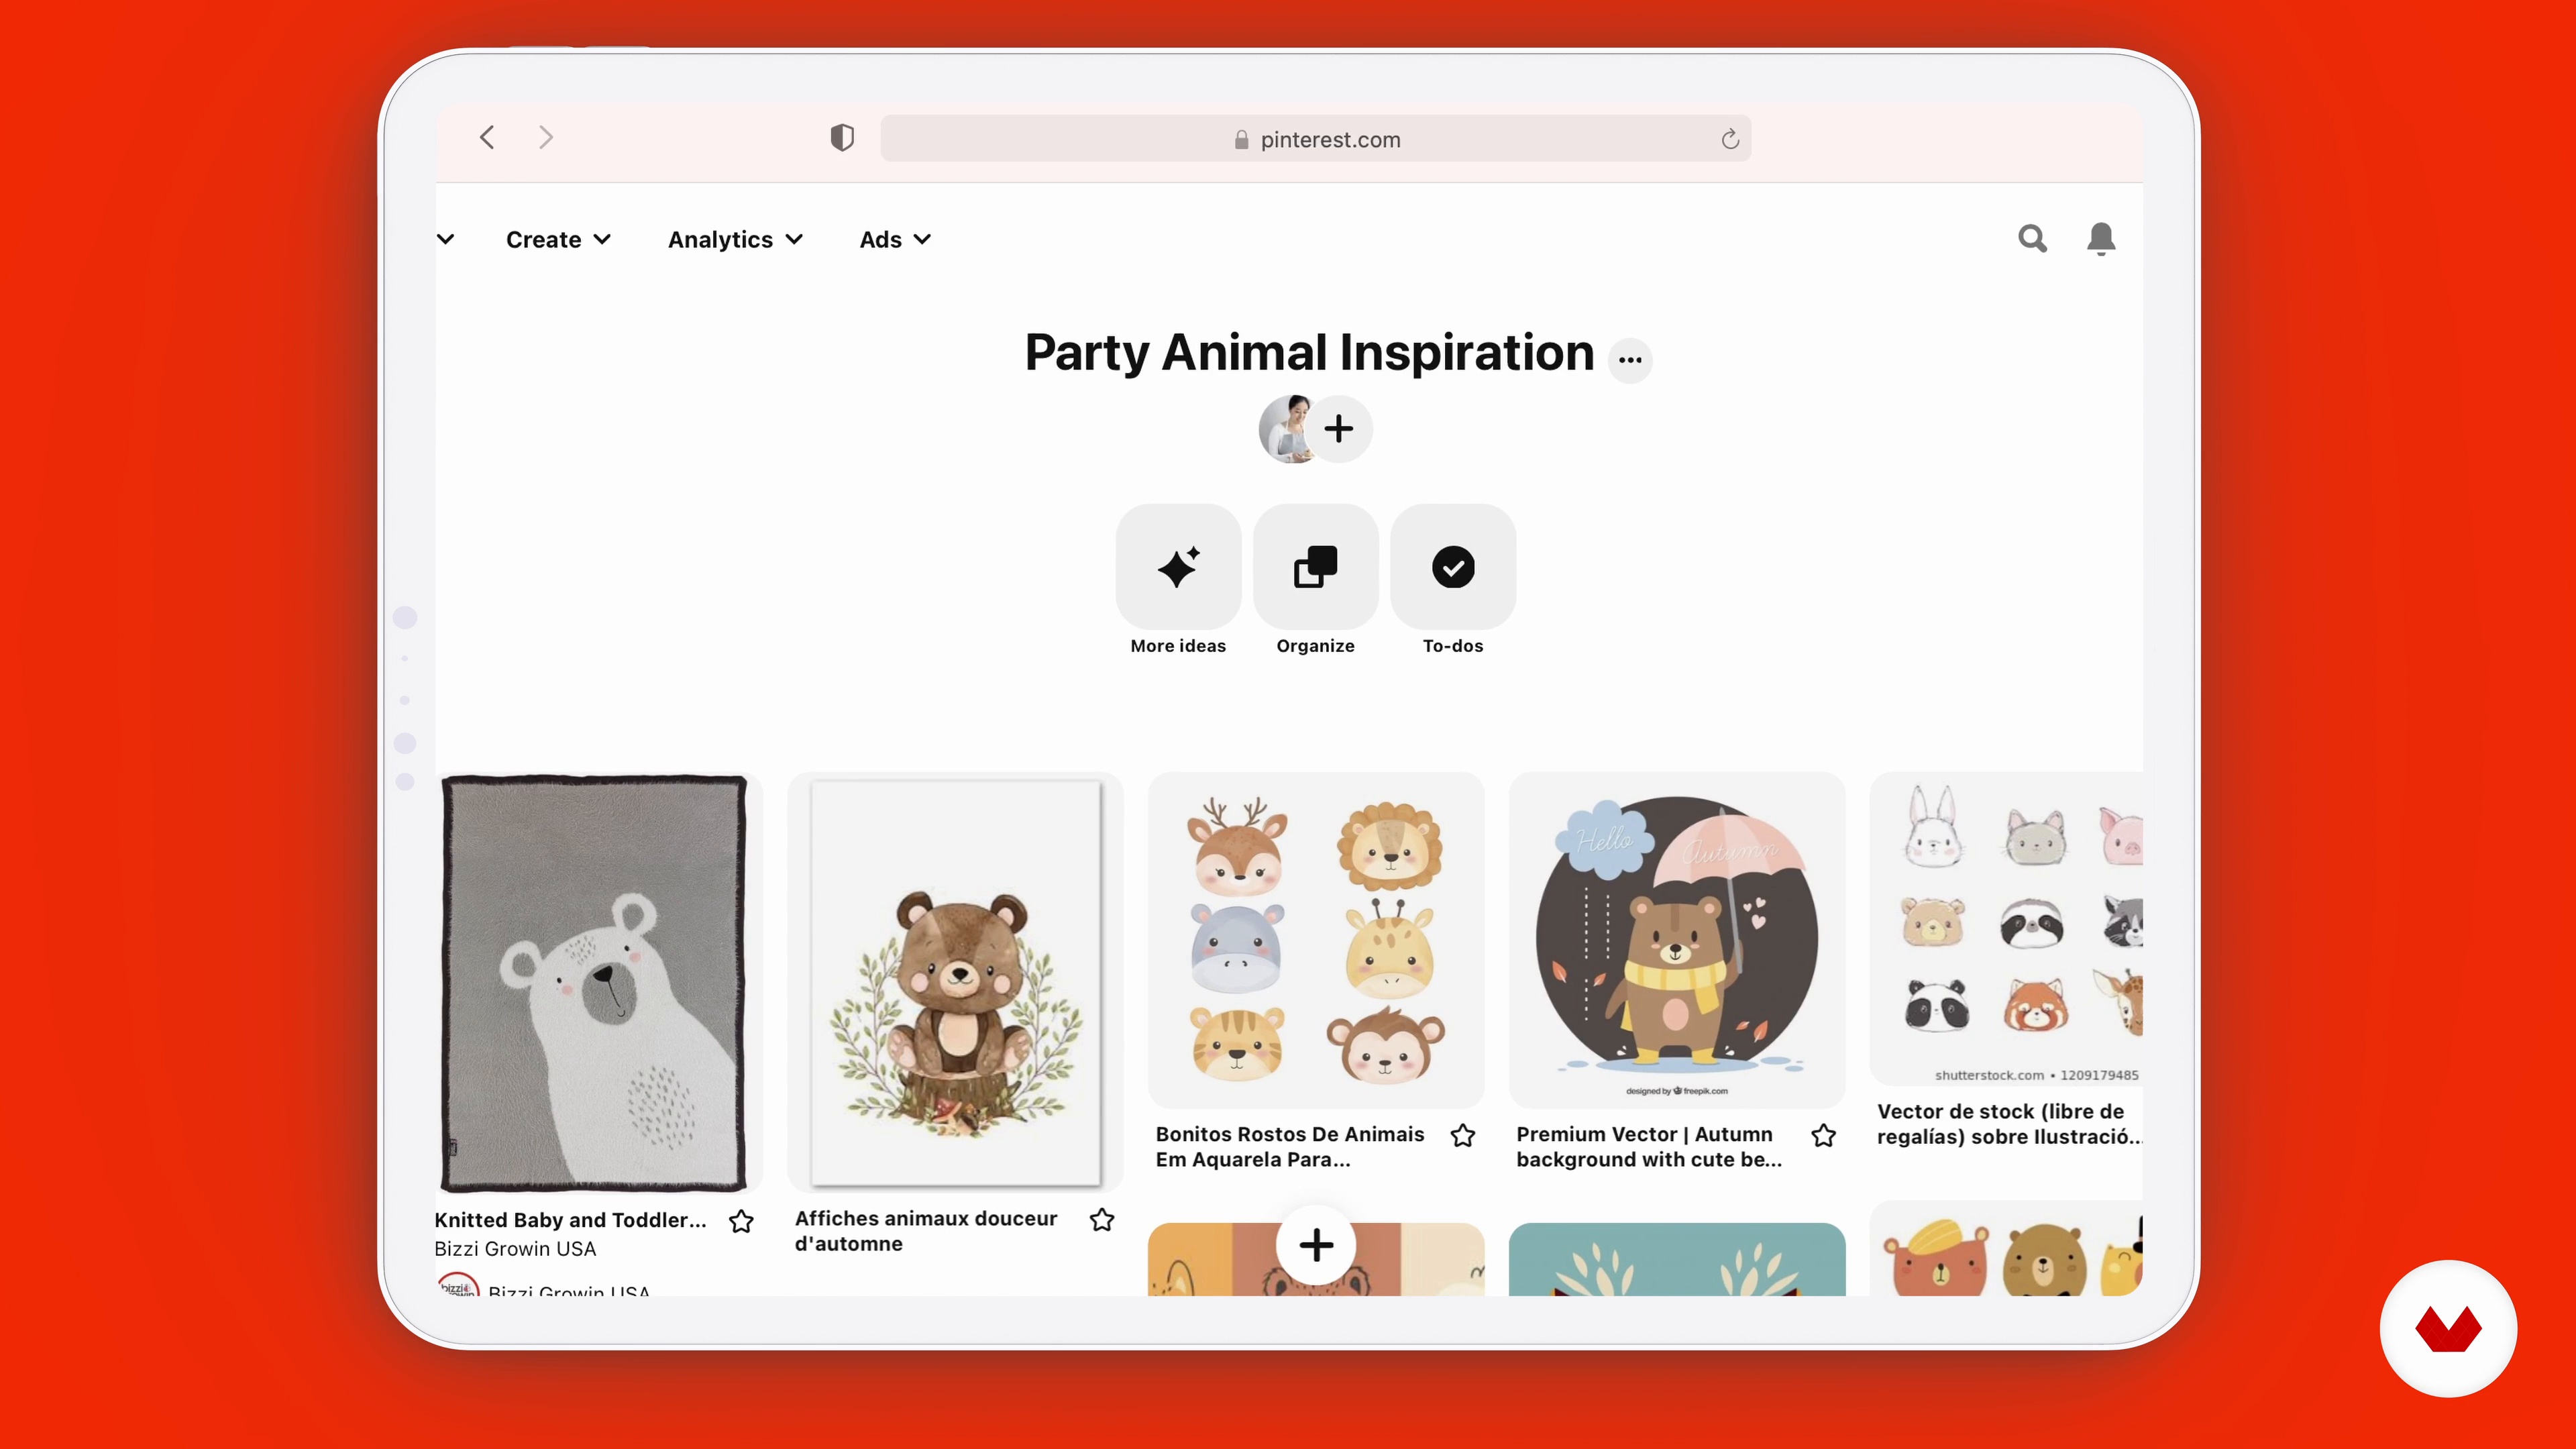
Where to find inspiration, create a mood board for birthday cookie designs, and how to make simple sketches.
4m
image
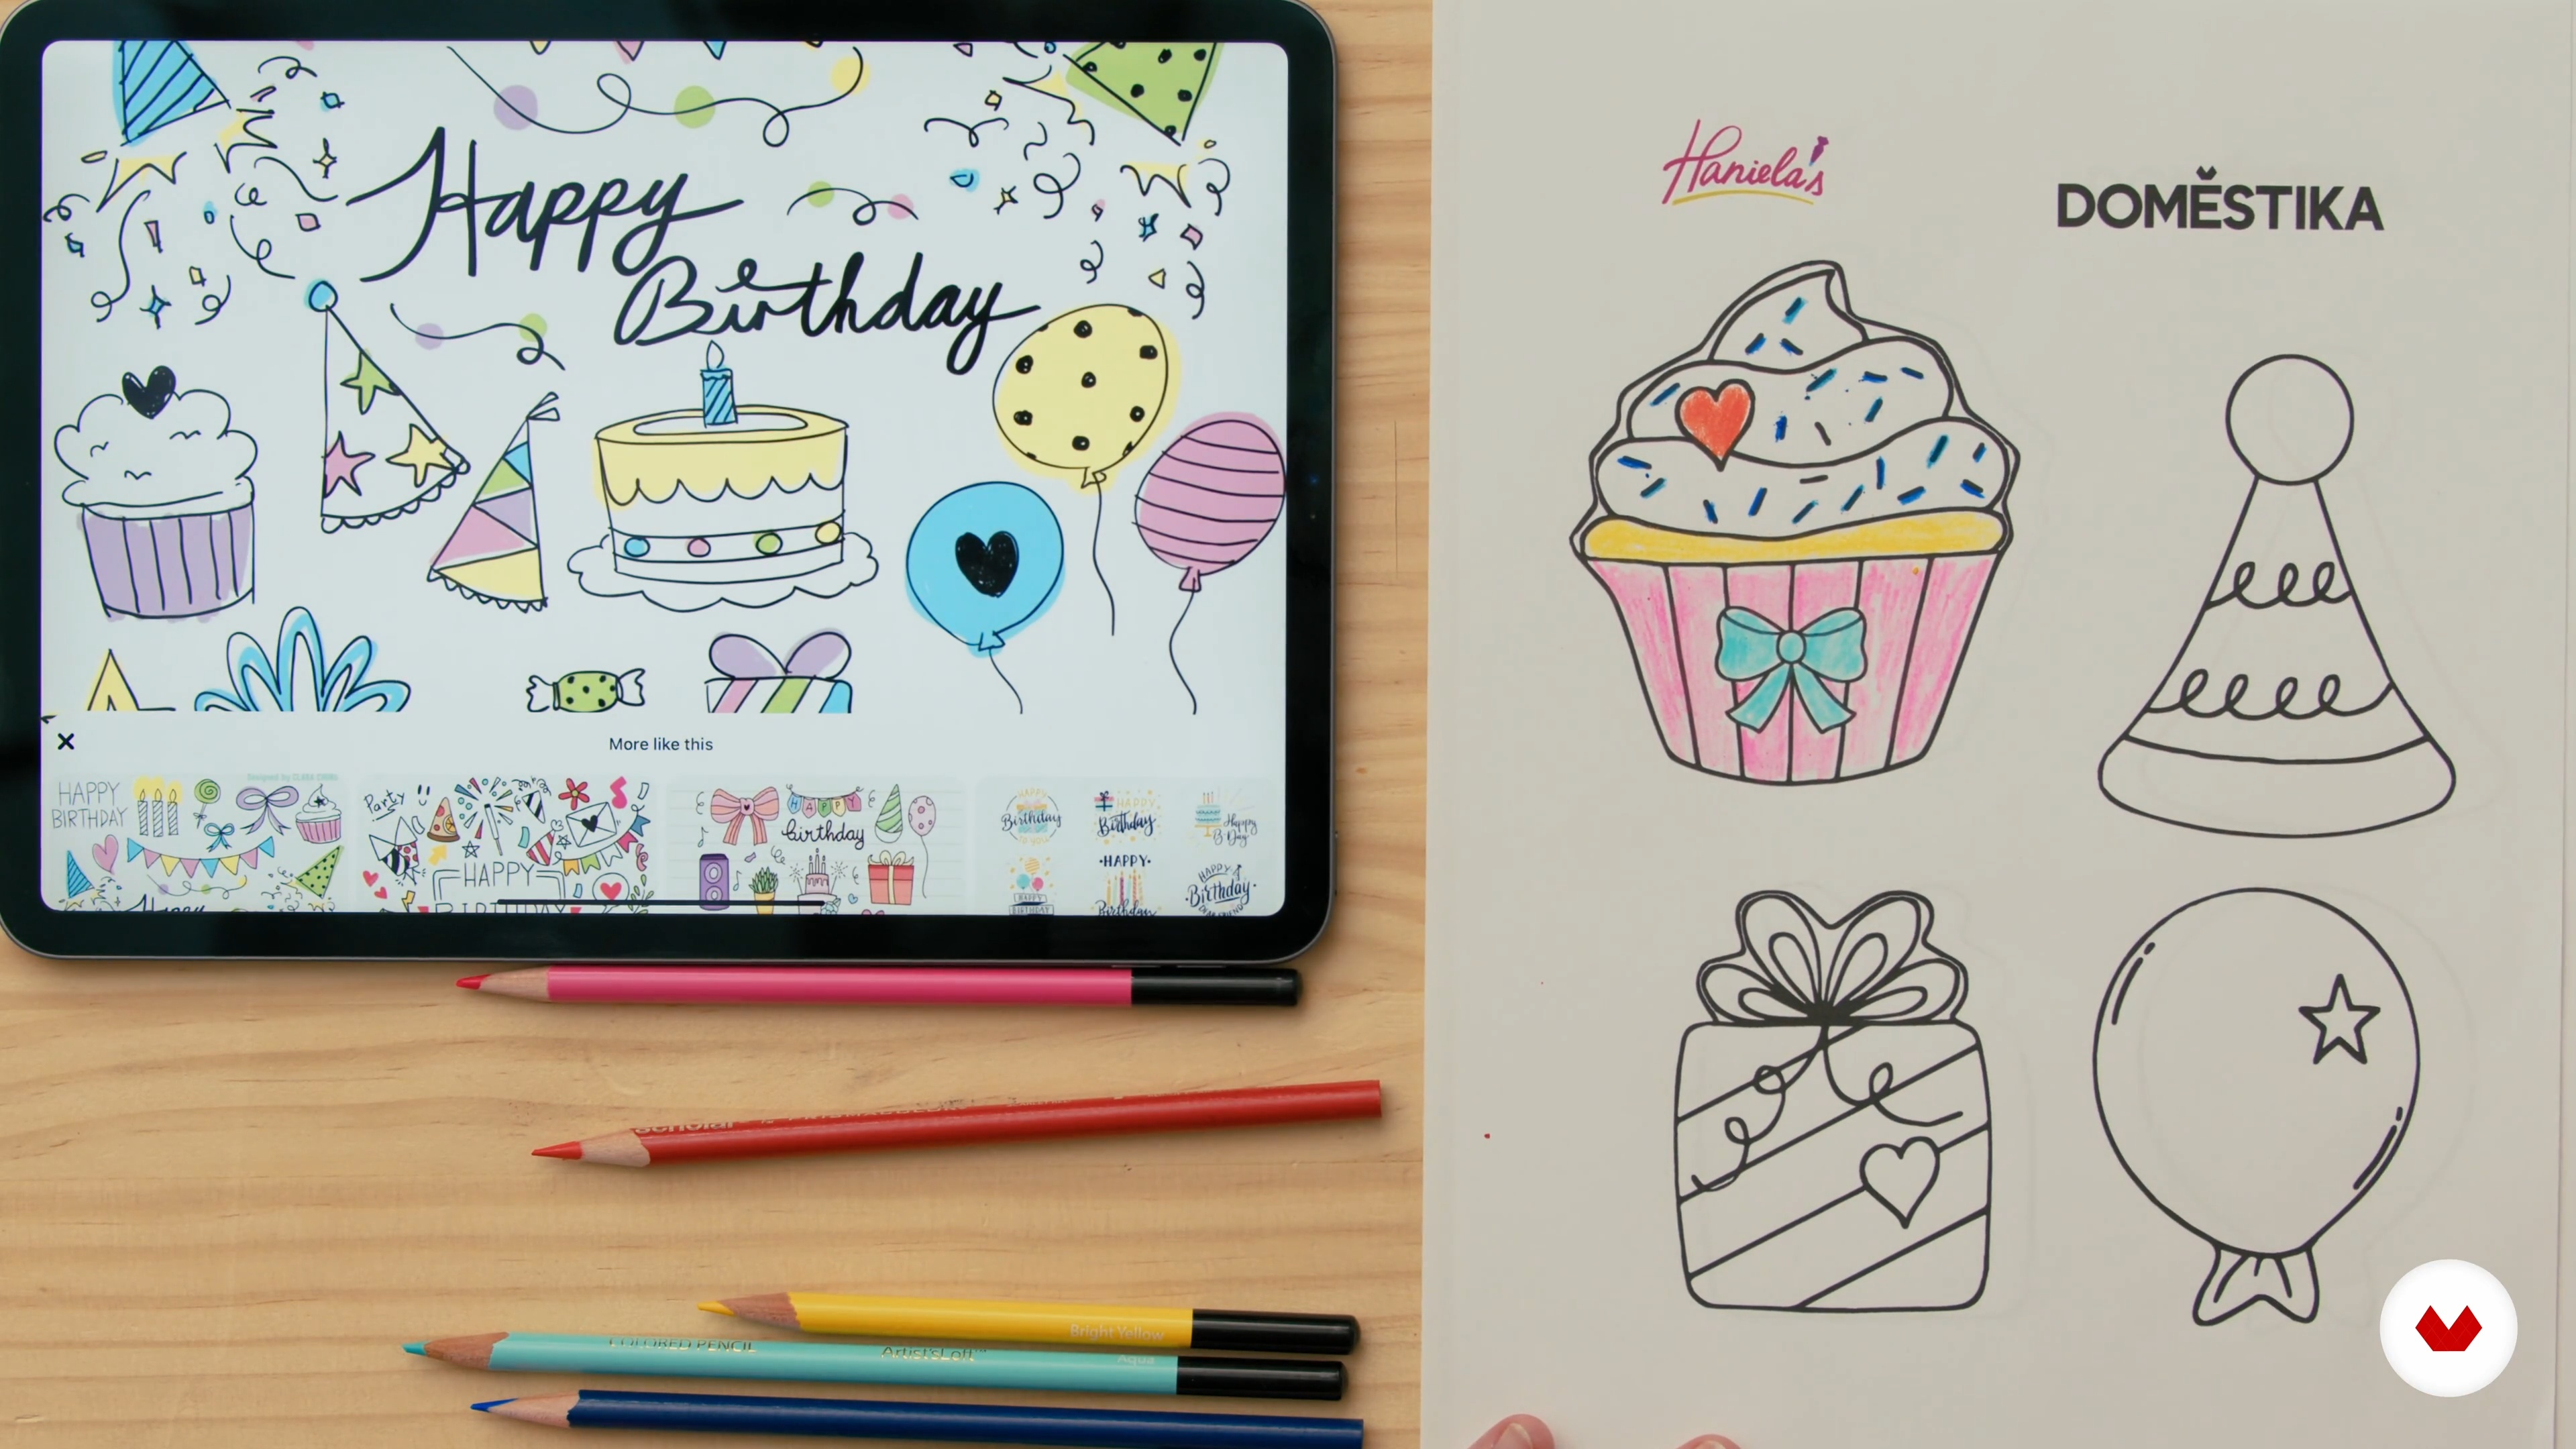
4
Cookie Cutter Templates and Sketching Cookie Designs
In this lesson, I’ll show you simple techniques for sketching cookie designs and how to make cookie cutter templates for cutting out cookies without a cookie cutter.
5m
image
5
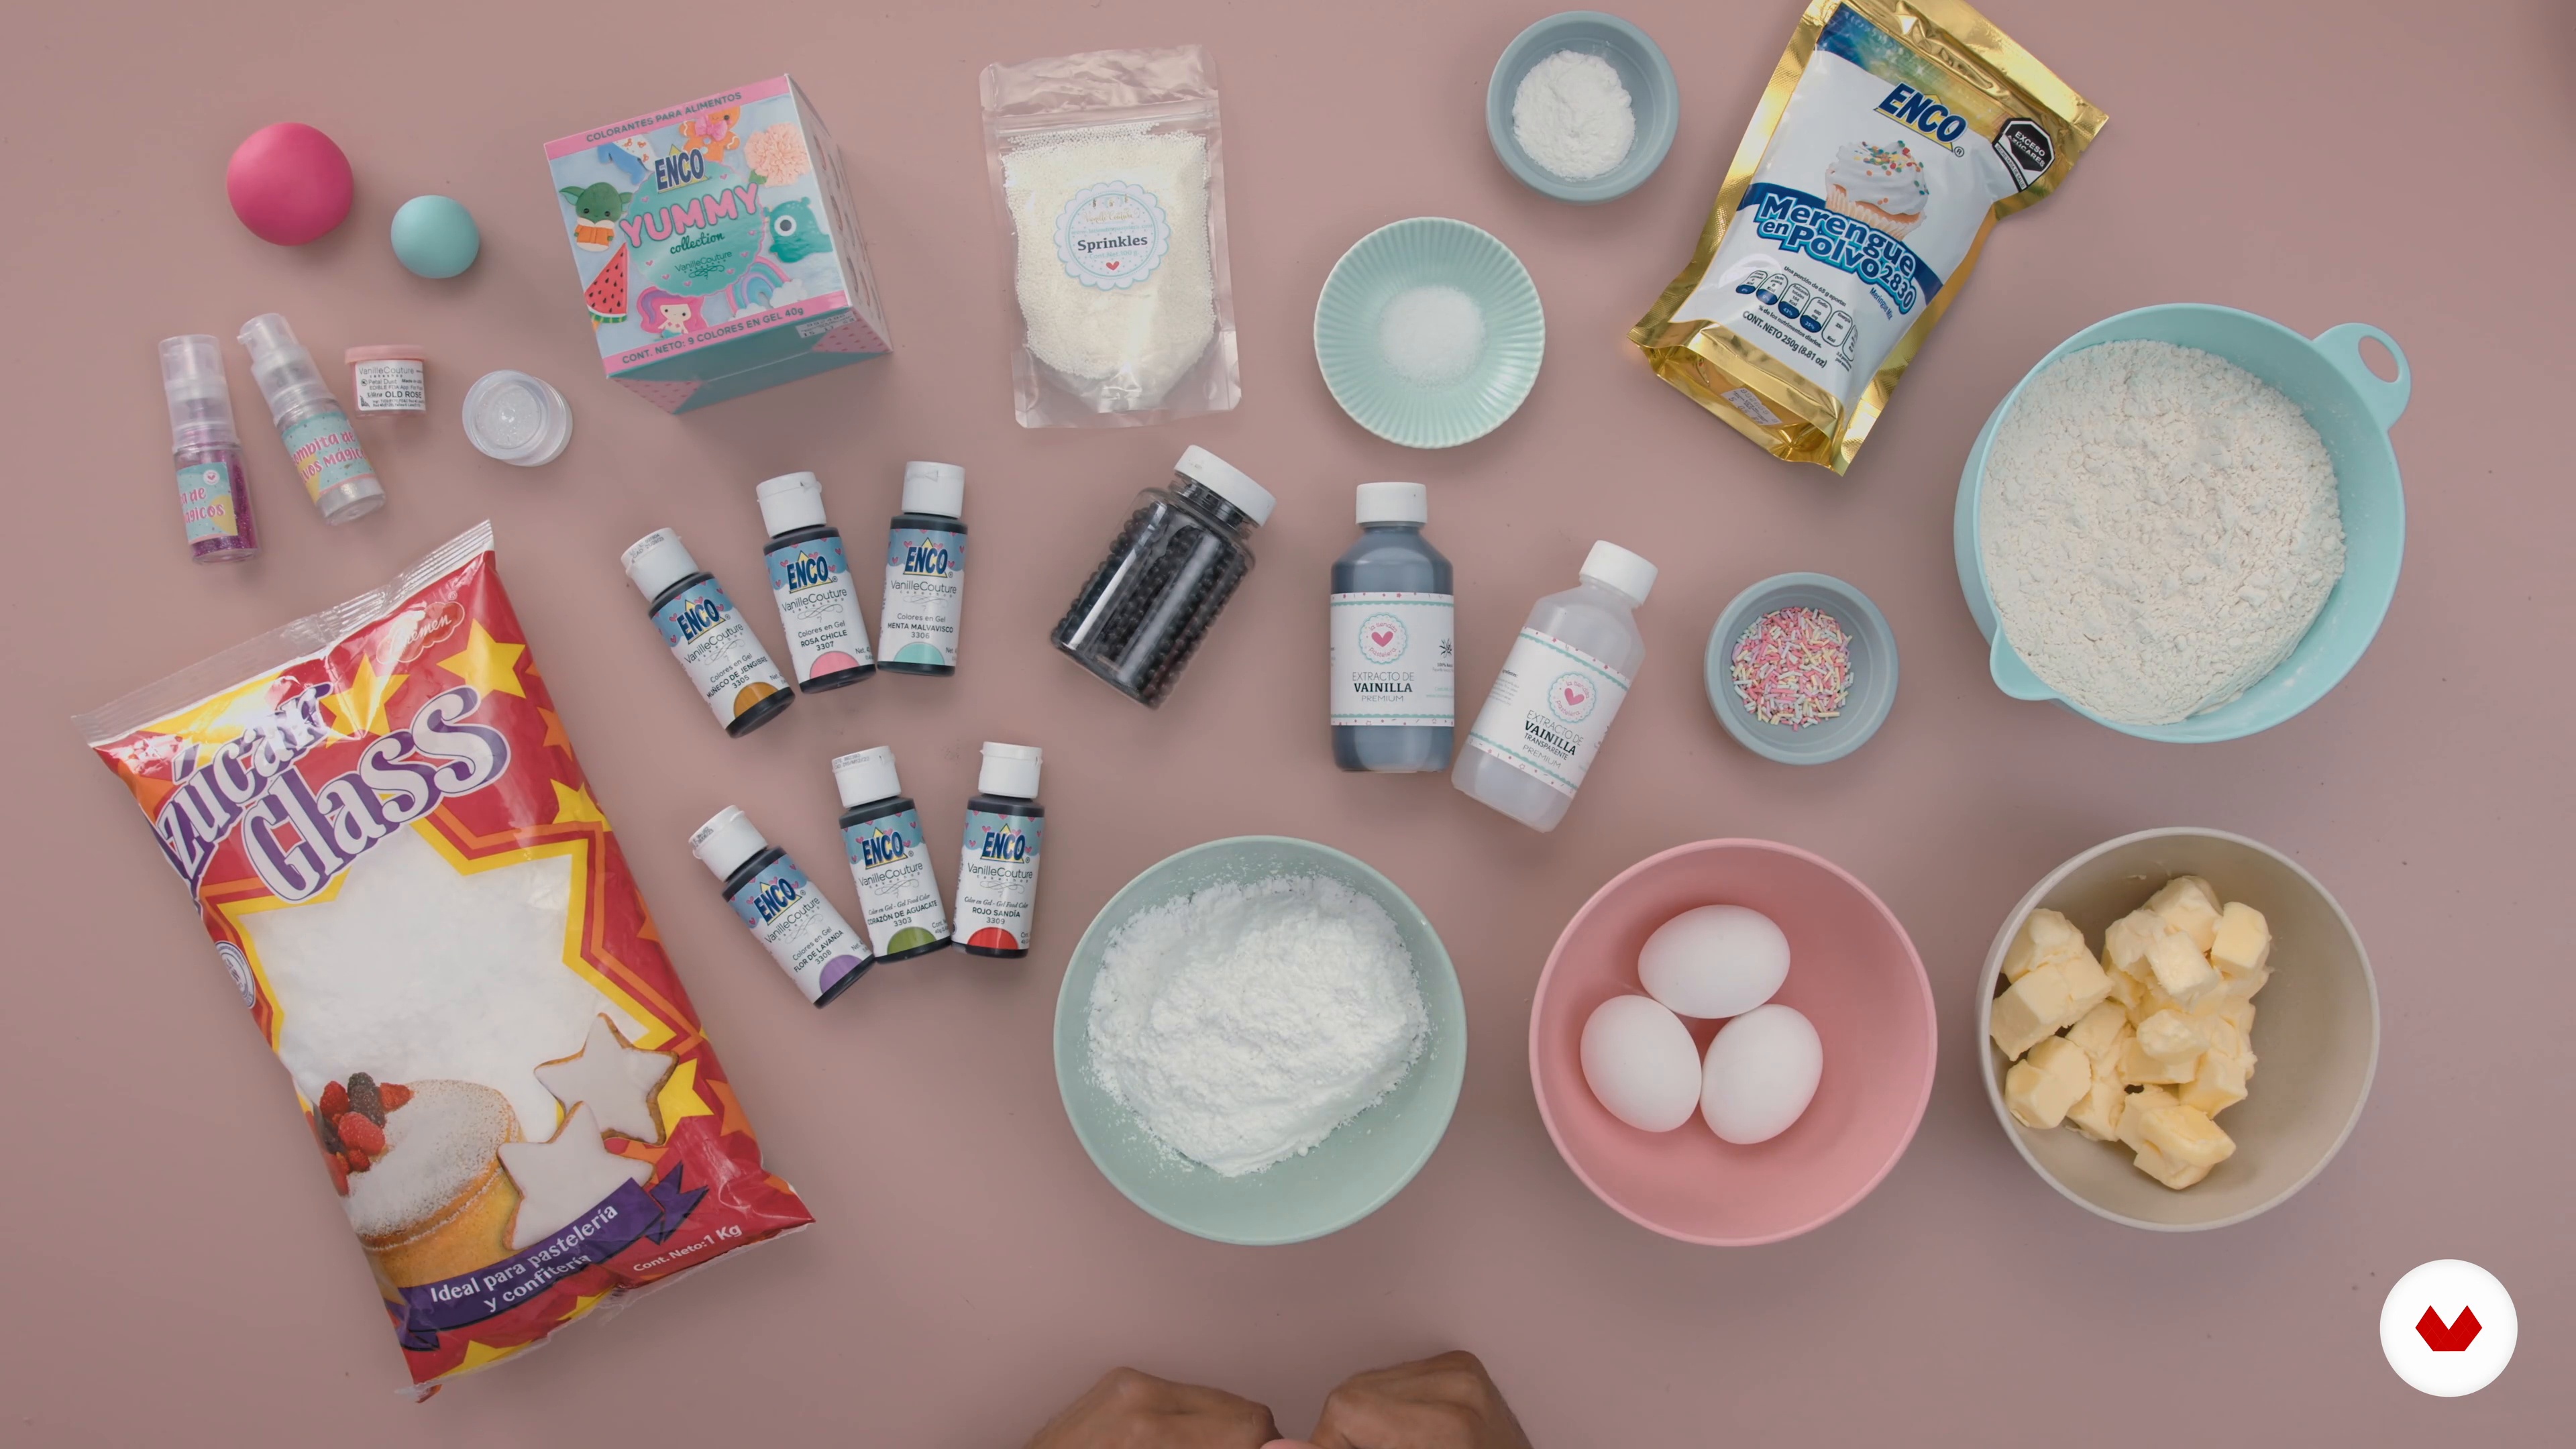
Materials
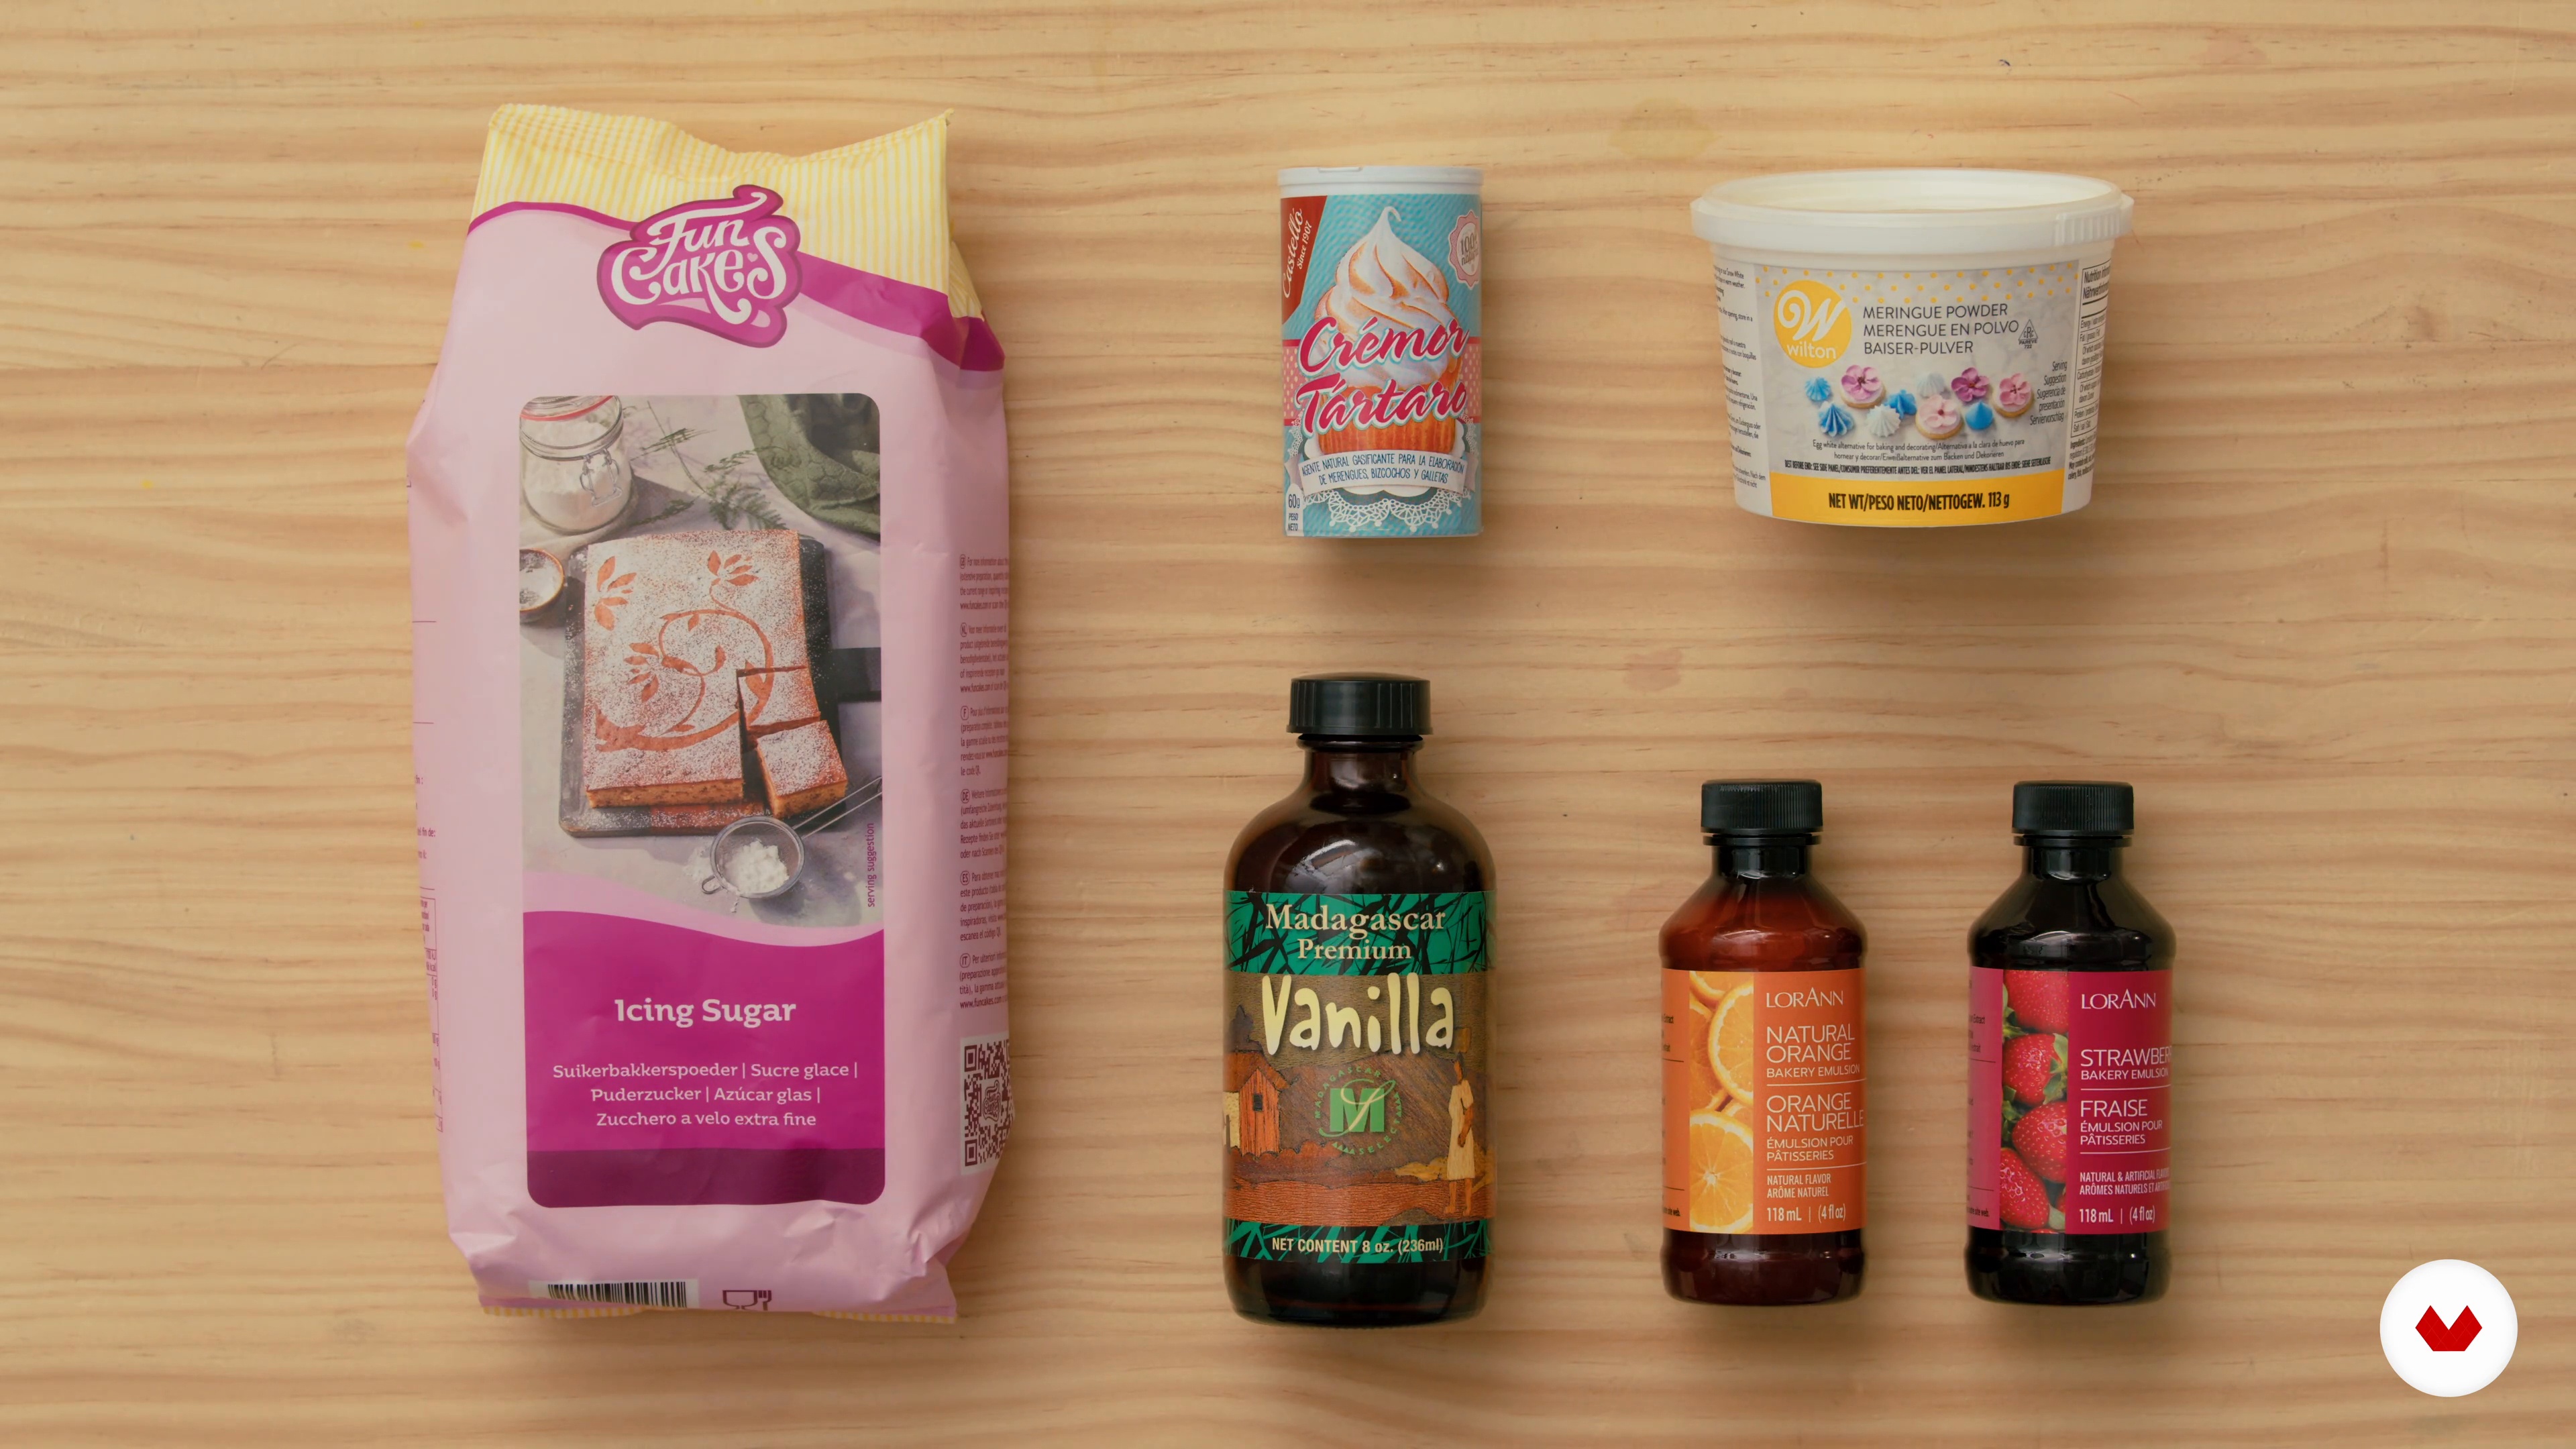
I´m gonna introduce you to essential baking and decorating materials such as ingredients for basic sugar cookie dough, royal icing, and decorating tools.
6m
image
6
Cookie Dough Recipe and Cutting Techniques
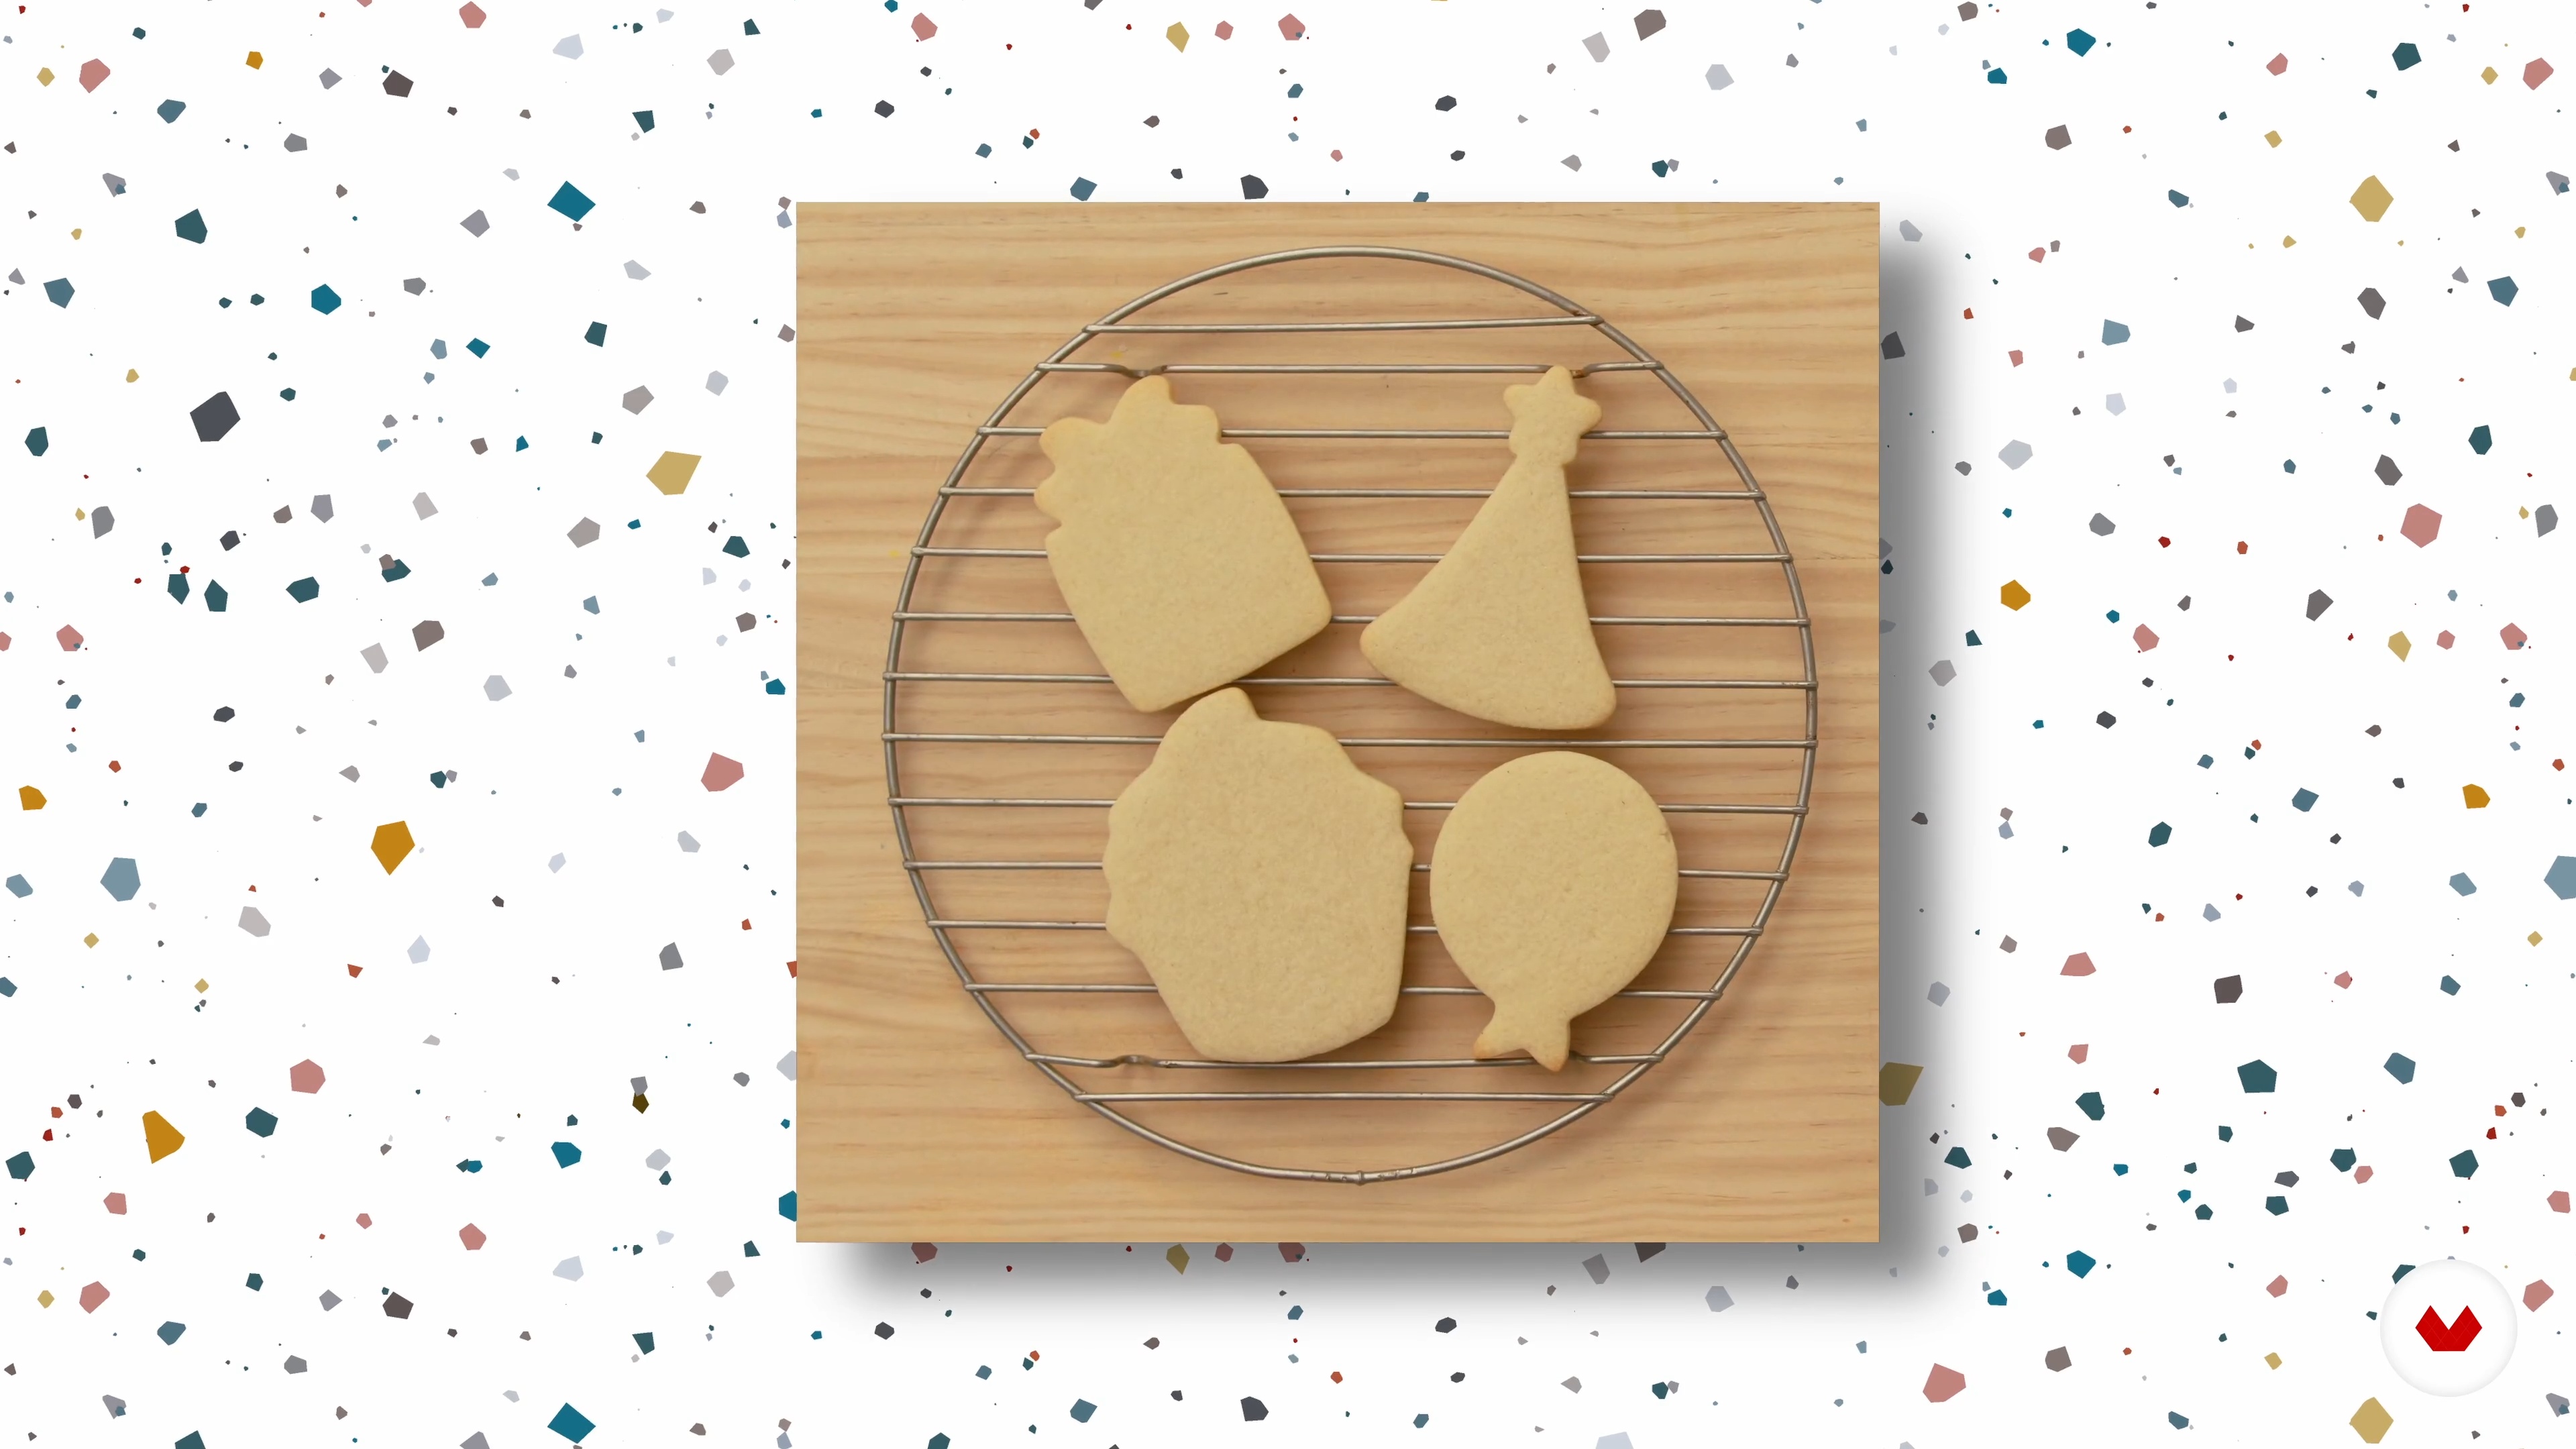
In this lesson, you’ll learn step by step how to create great cookie dough and fundamental techniques in cut-out cookie baking for the perfect cookie decorating base.
15m
image
7
Preparing Royal Icing
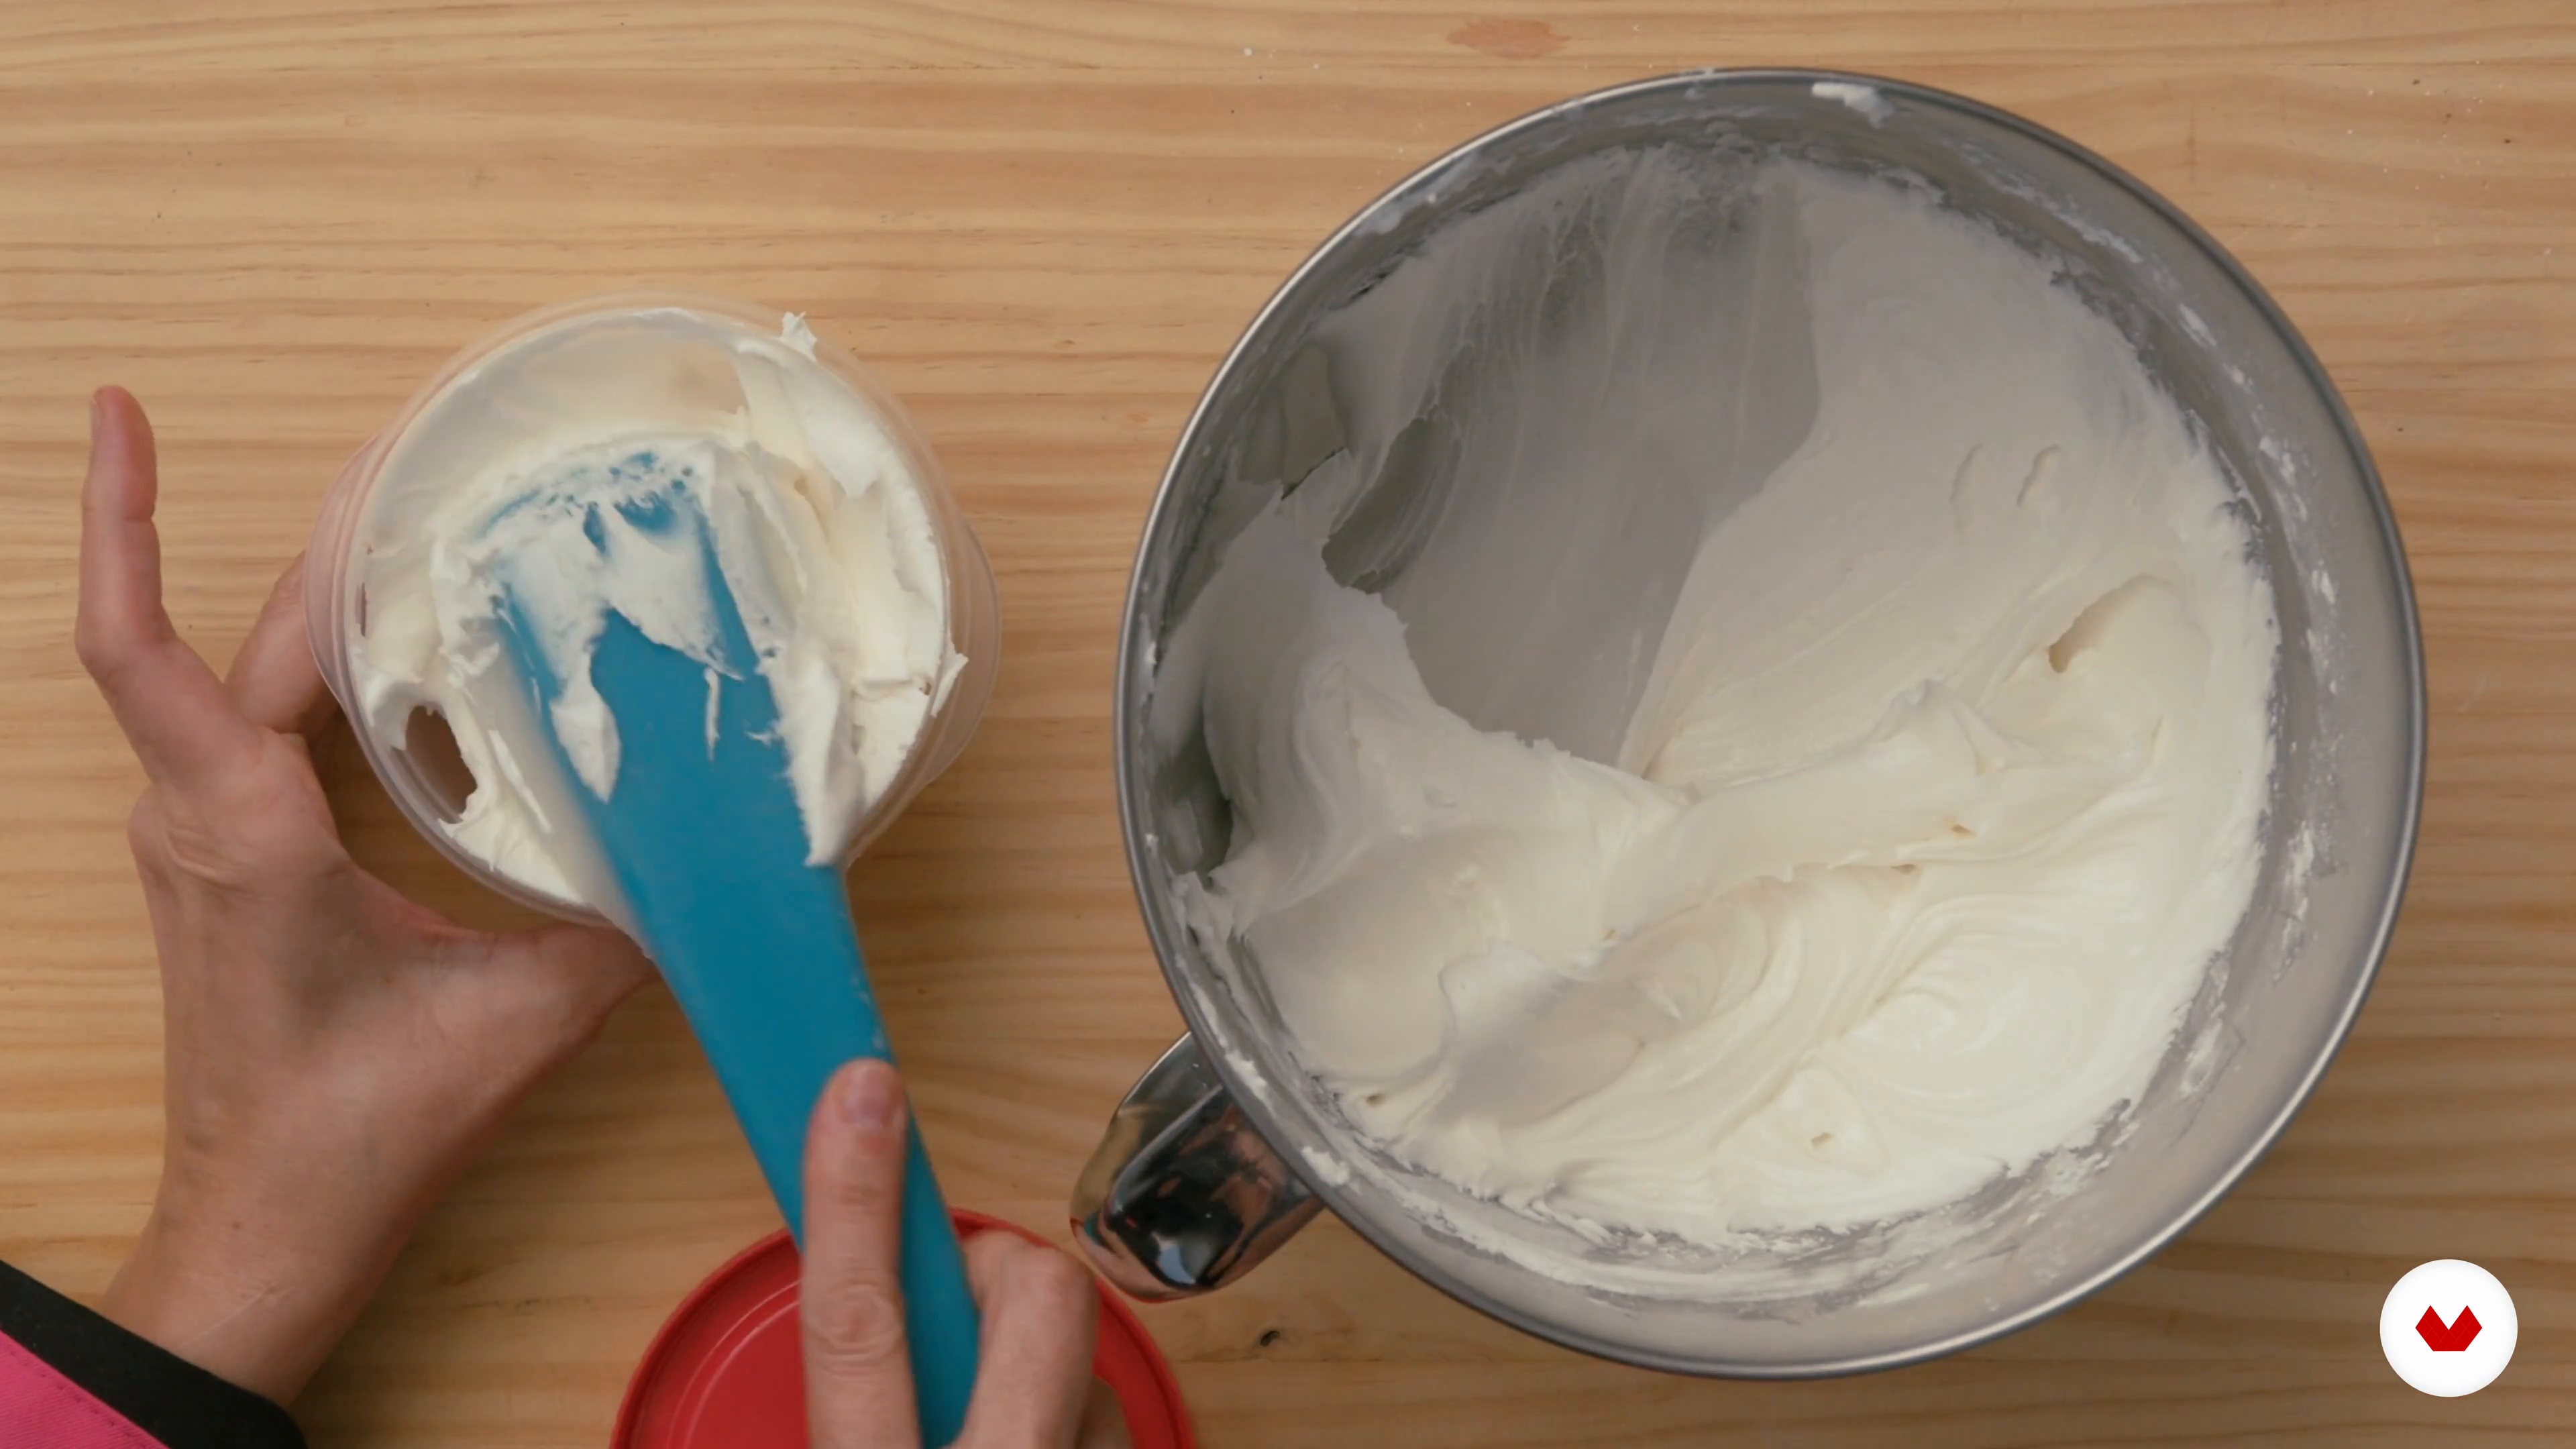
In this lesson, we’ll talk about royal icing. What is royal icing and how do you make it? I will share with you how to prepare royal icing from scratch, how to store it, and more.
13m
image
8
Royal Icing Consistencies and Coloring
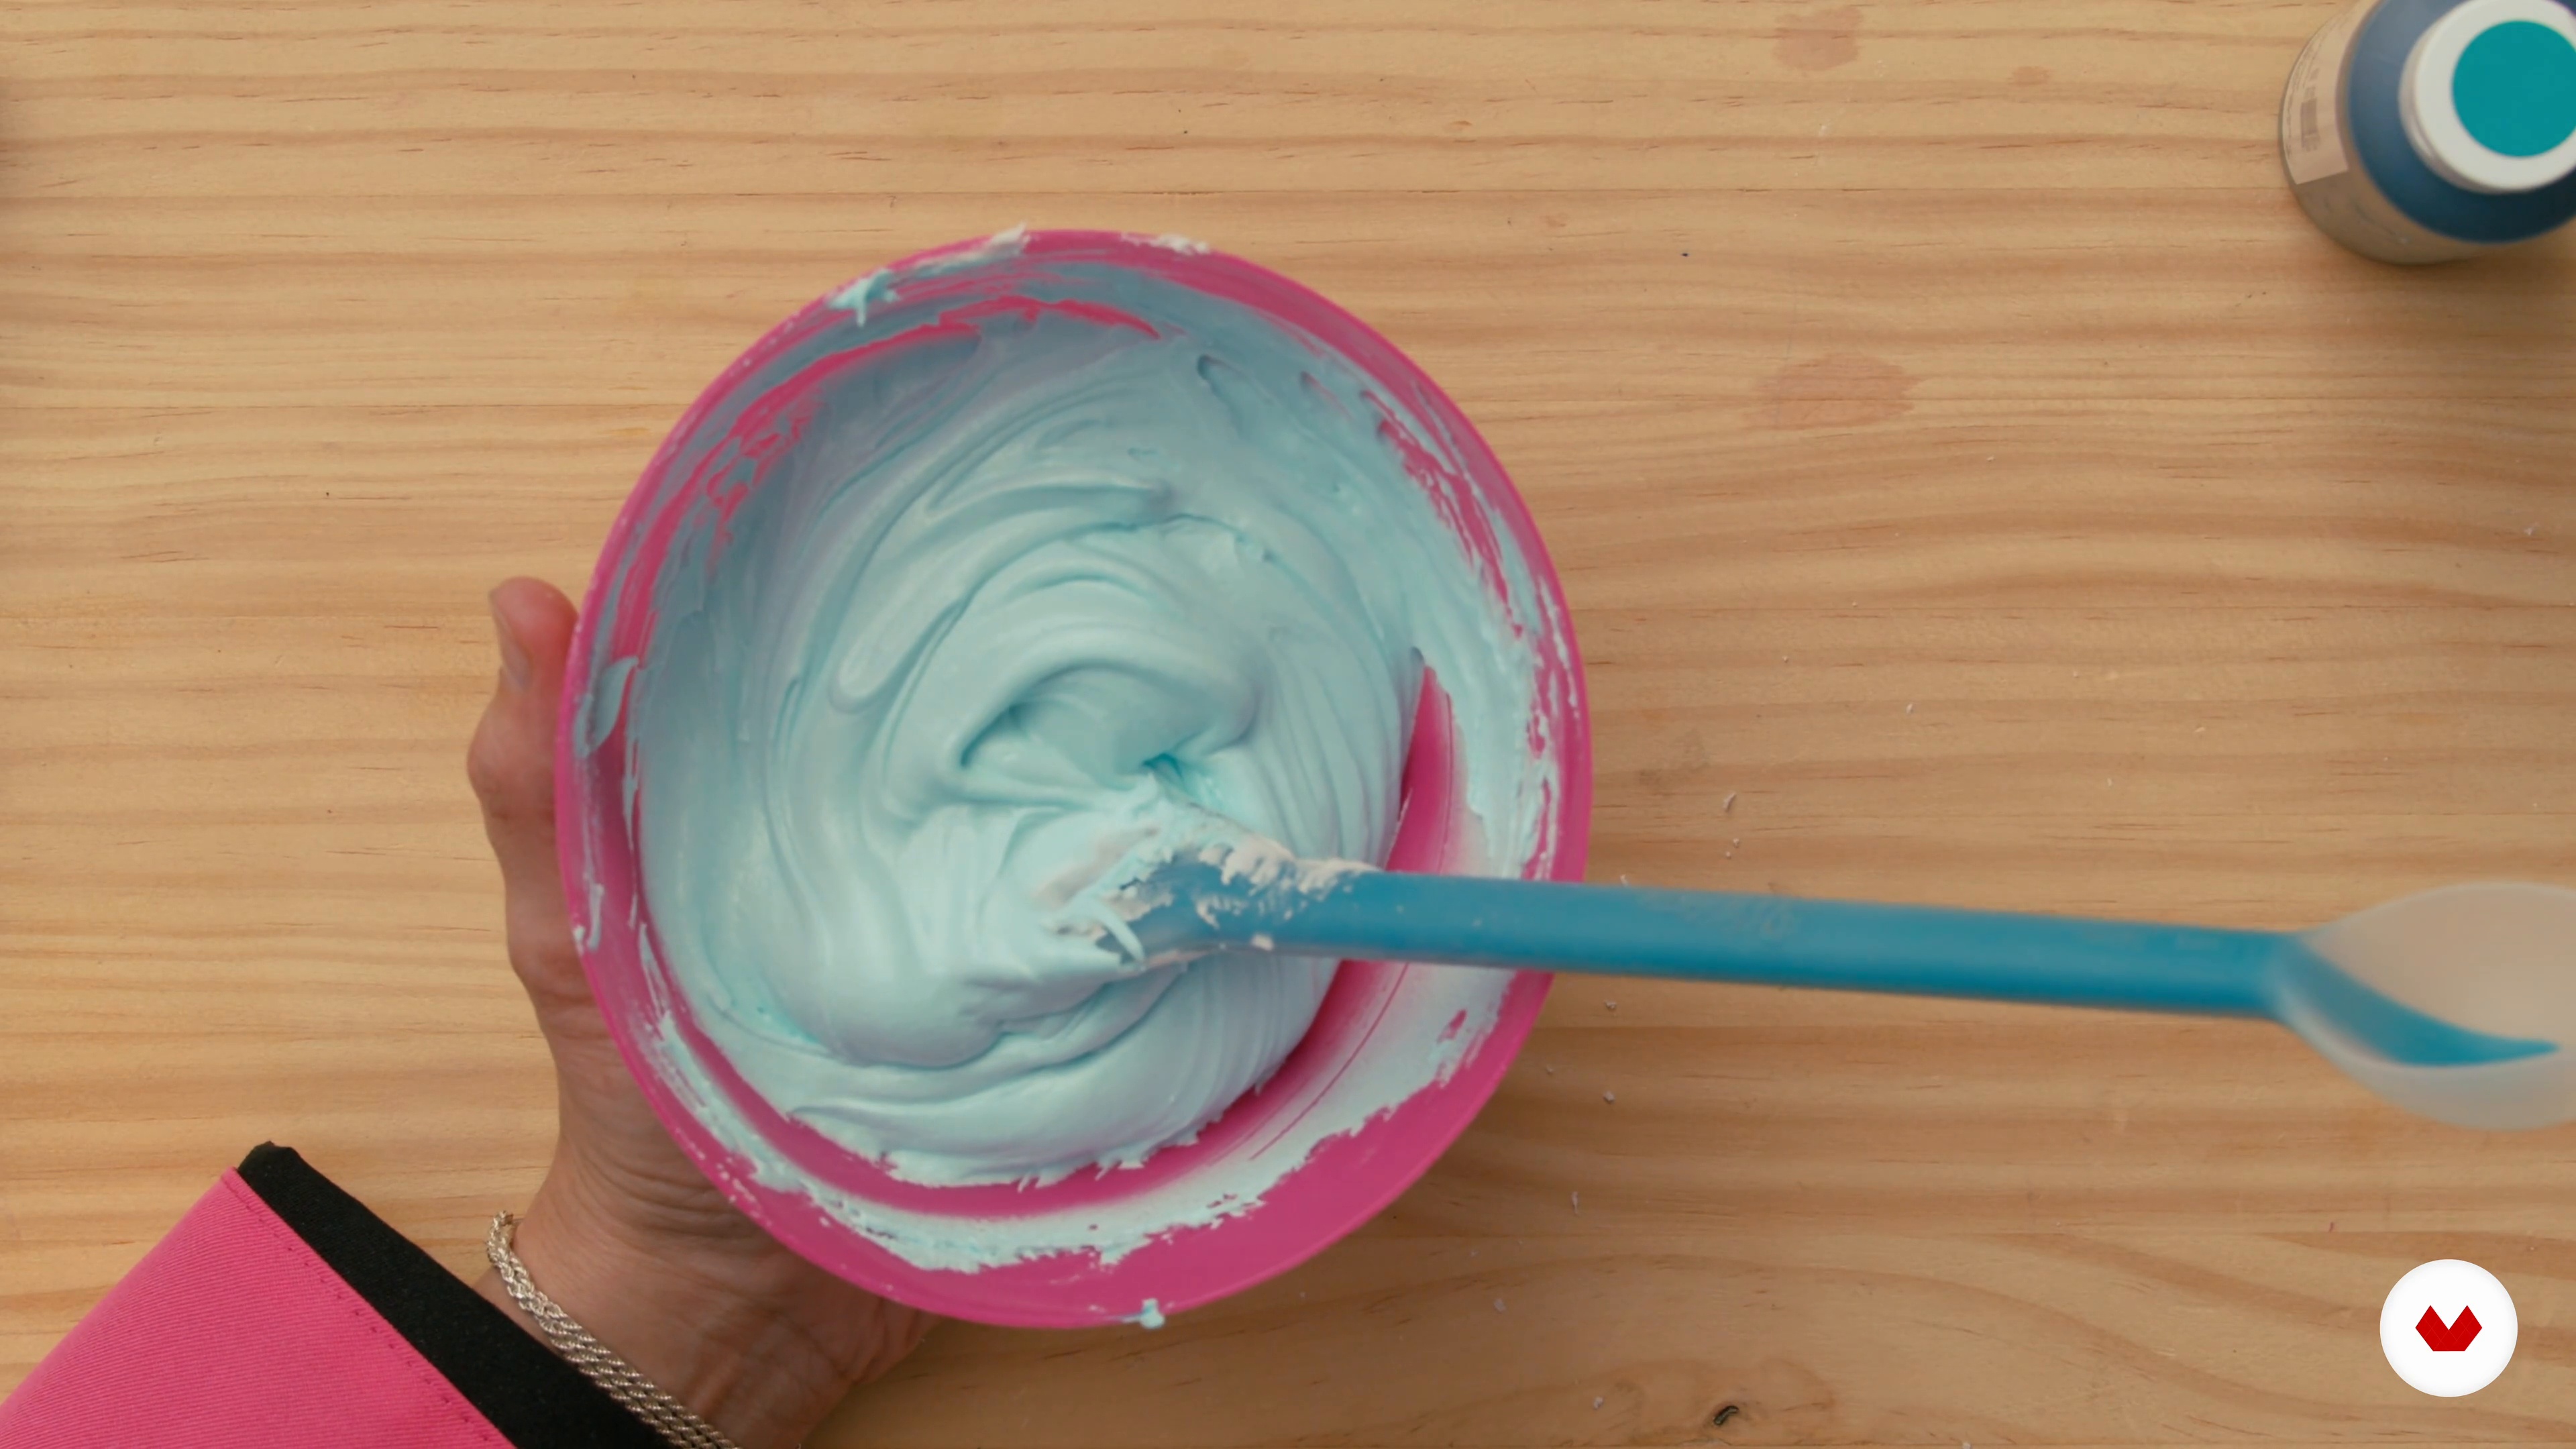
In this lesson, I’ll teach you how to prepare different icing consistencies for different decorating techniques, and how to color icing with food colorings.
20m
image
9
Piping Techniques
Now, I’ll show you the basics of piping with royal icing.
12m
image
10
Advanced Decorating Techniques
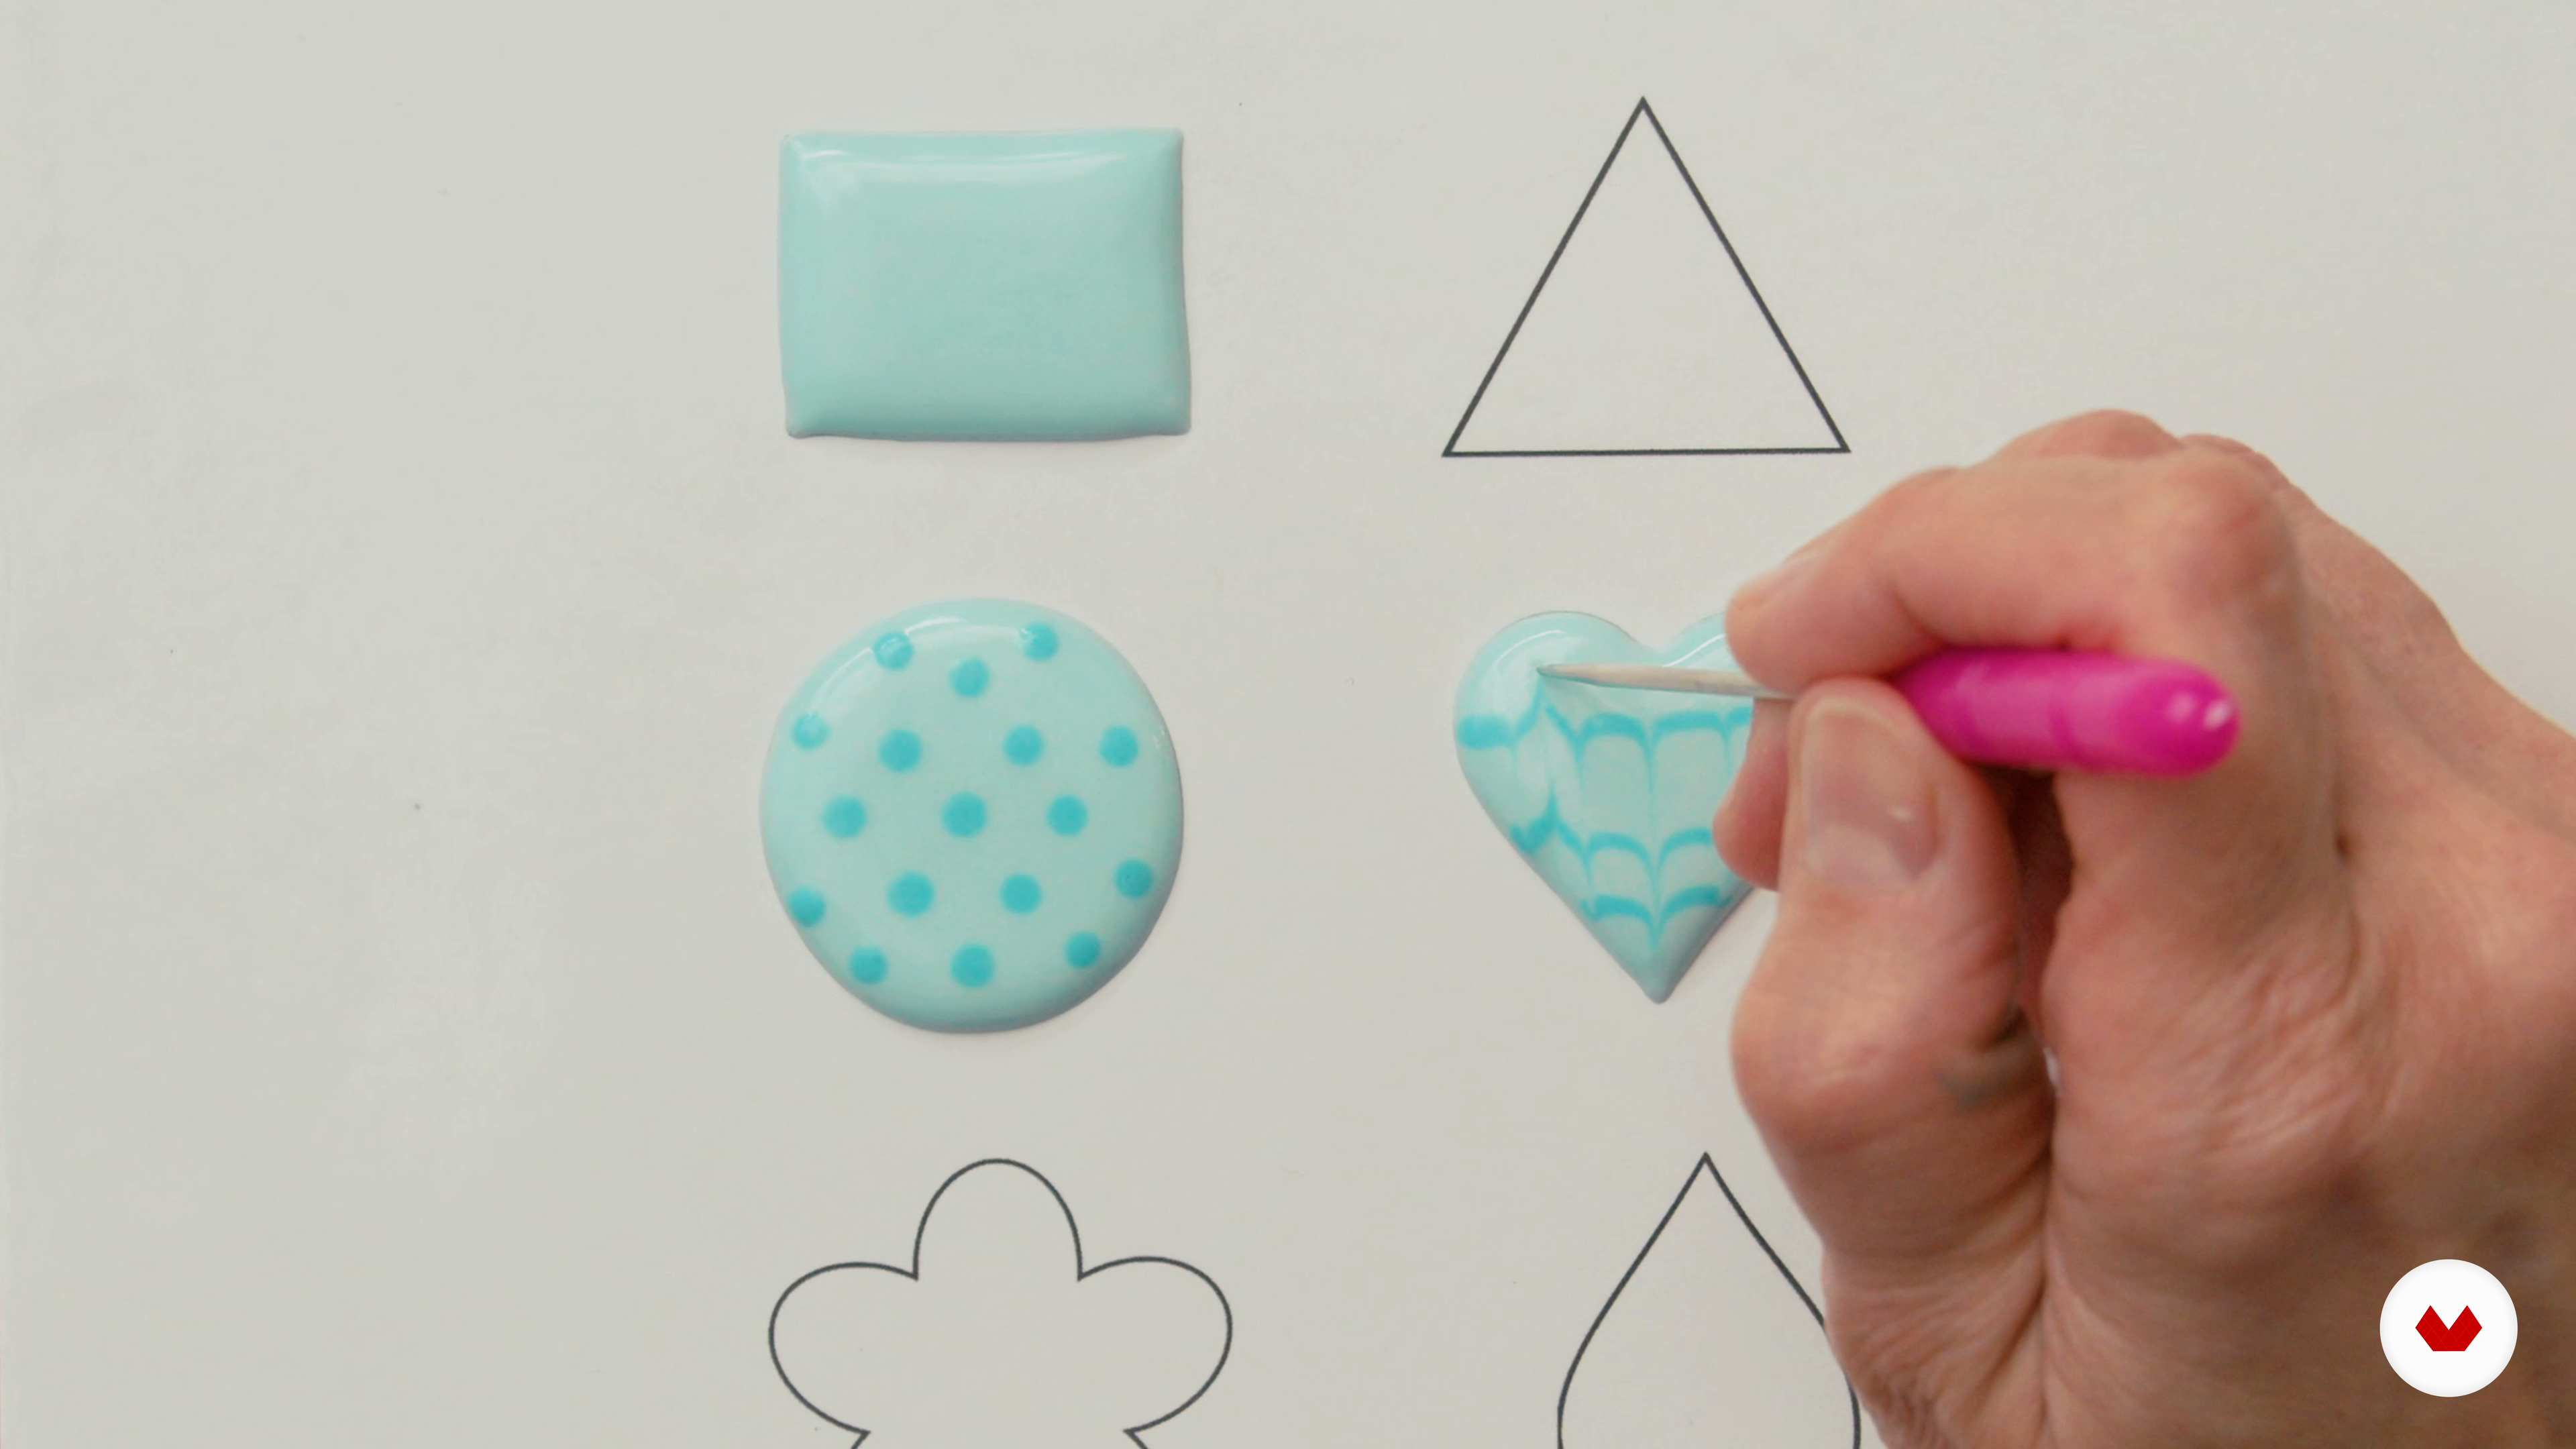
In this lesson, we’ll explore more complex decorating techniques like flooding, wet-on-wet designs, marbling, and decorative borders
9m
image
11
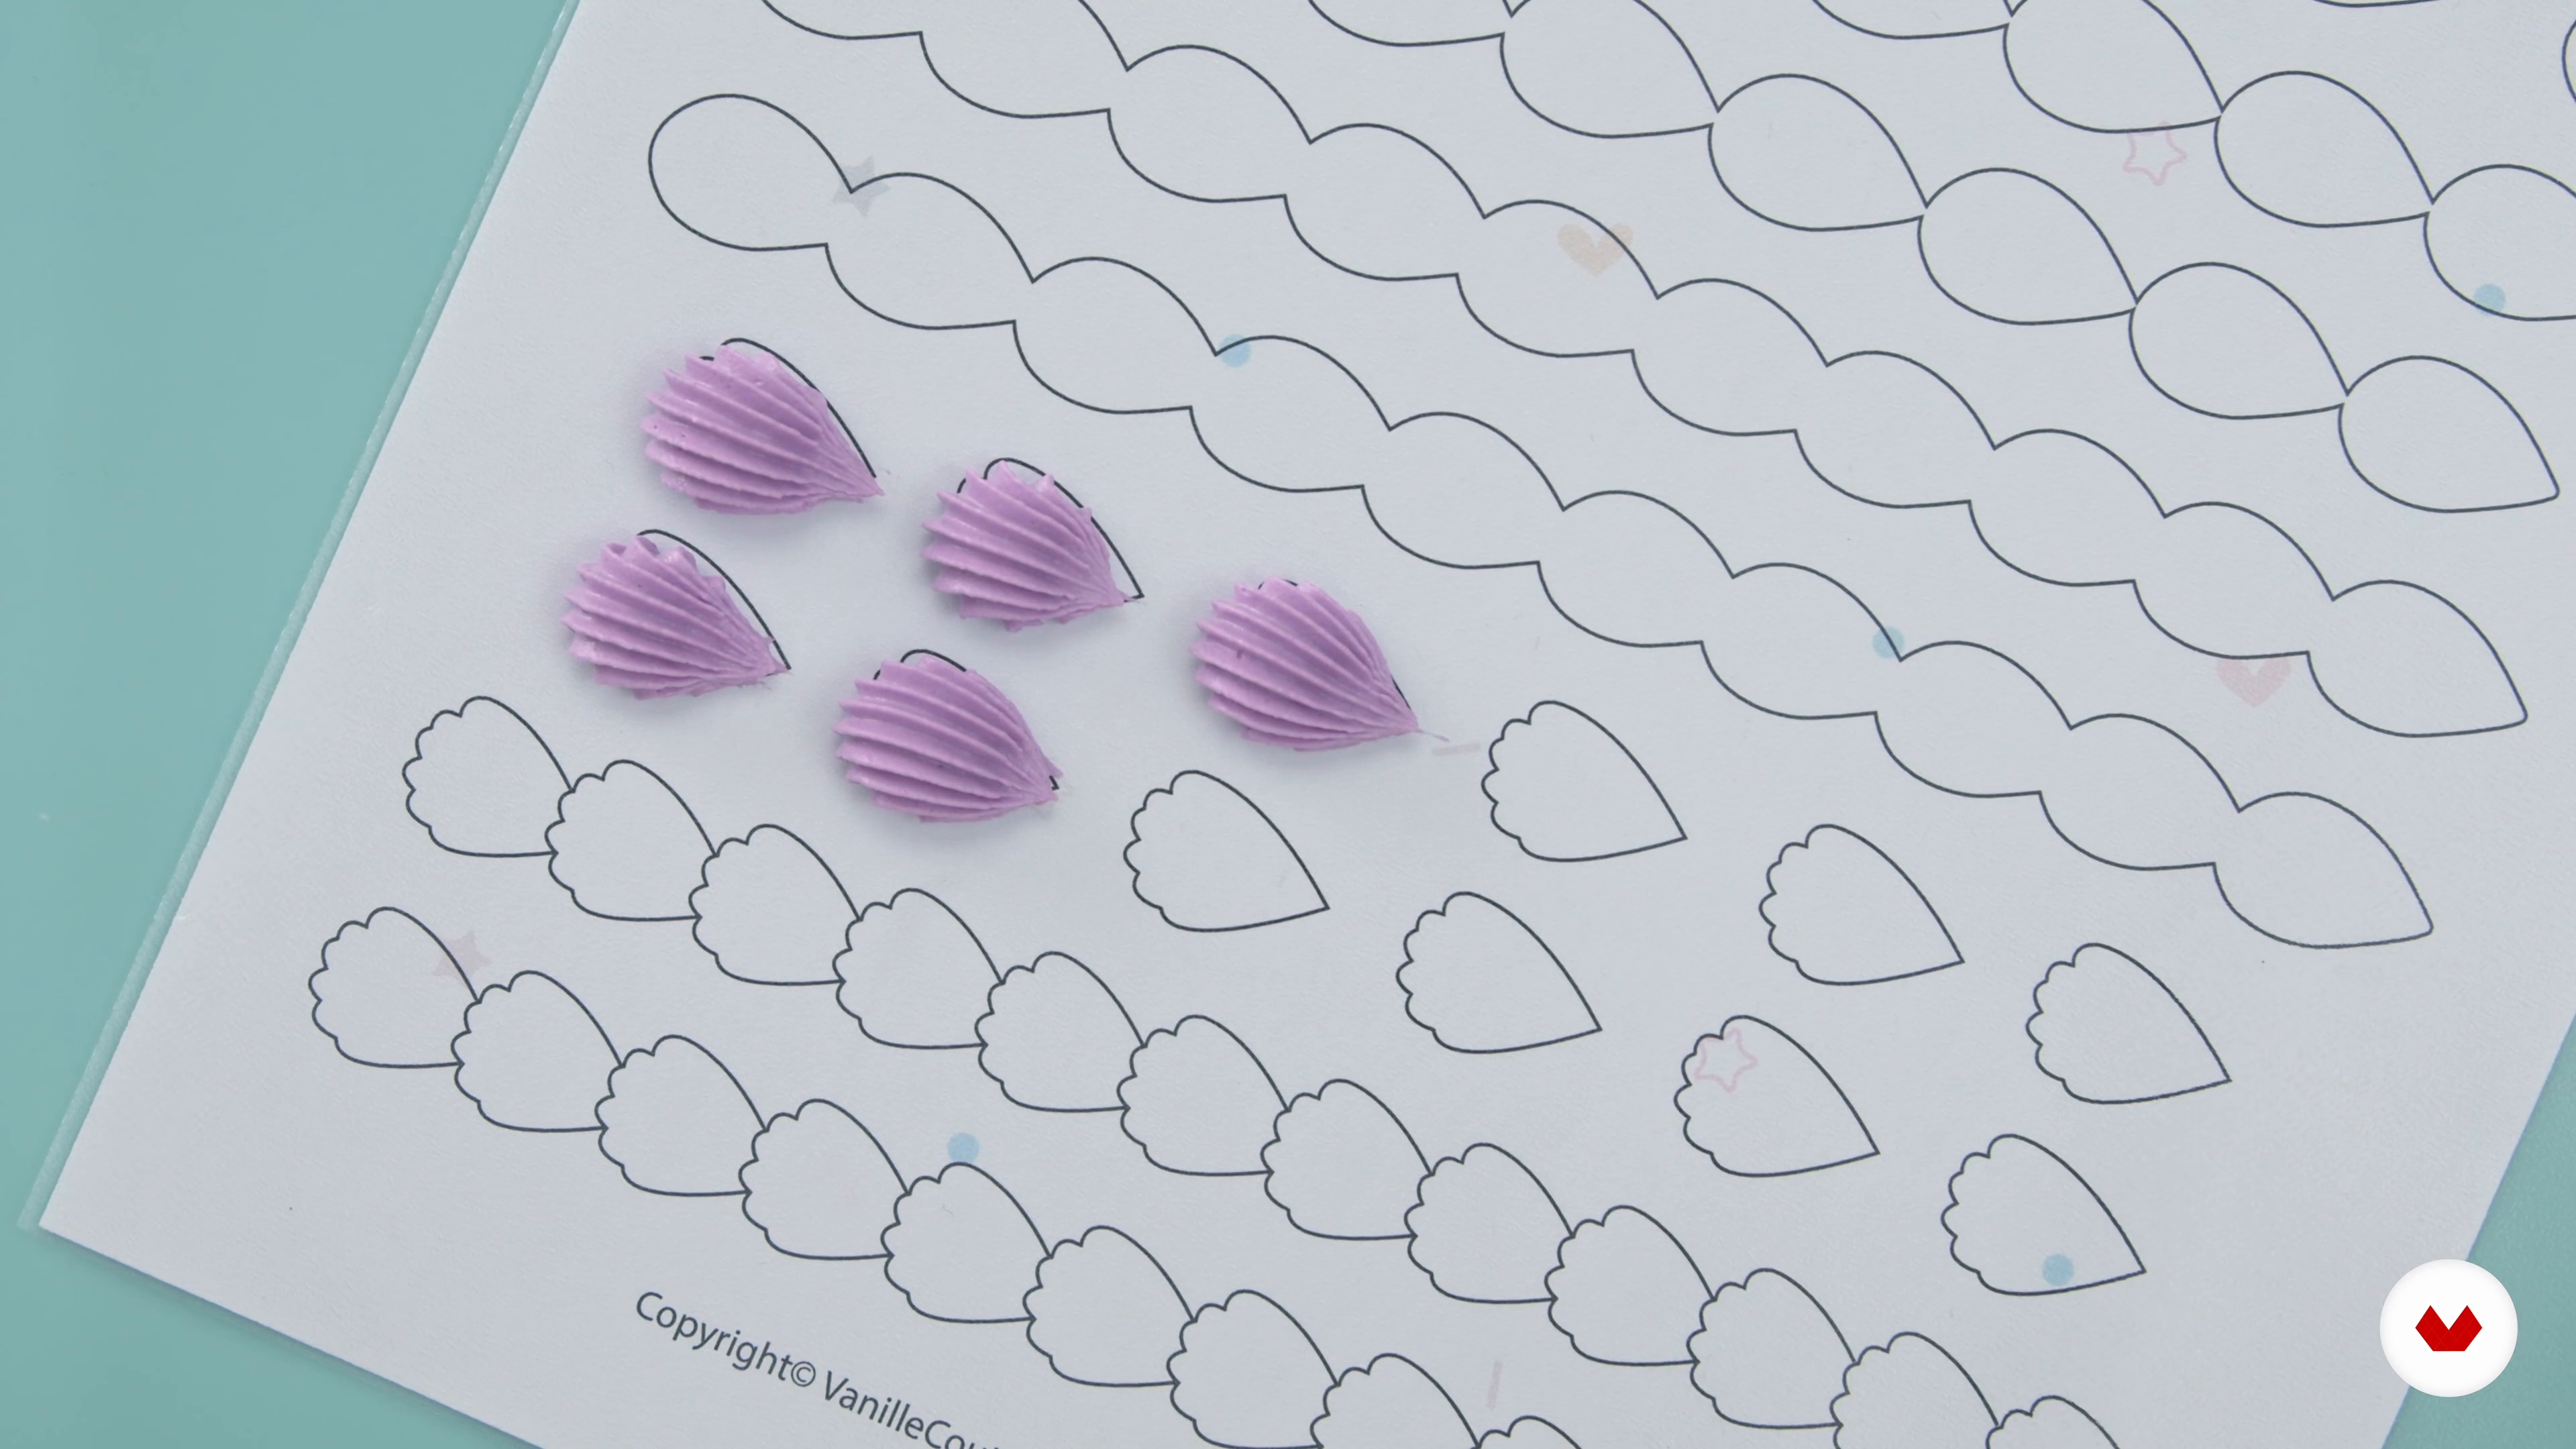
Royal Icing Transfers
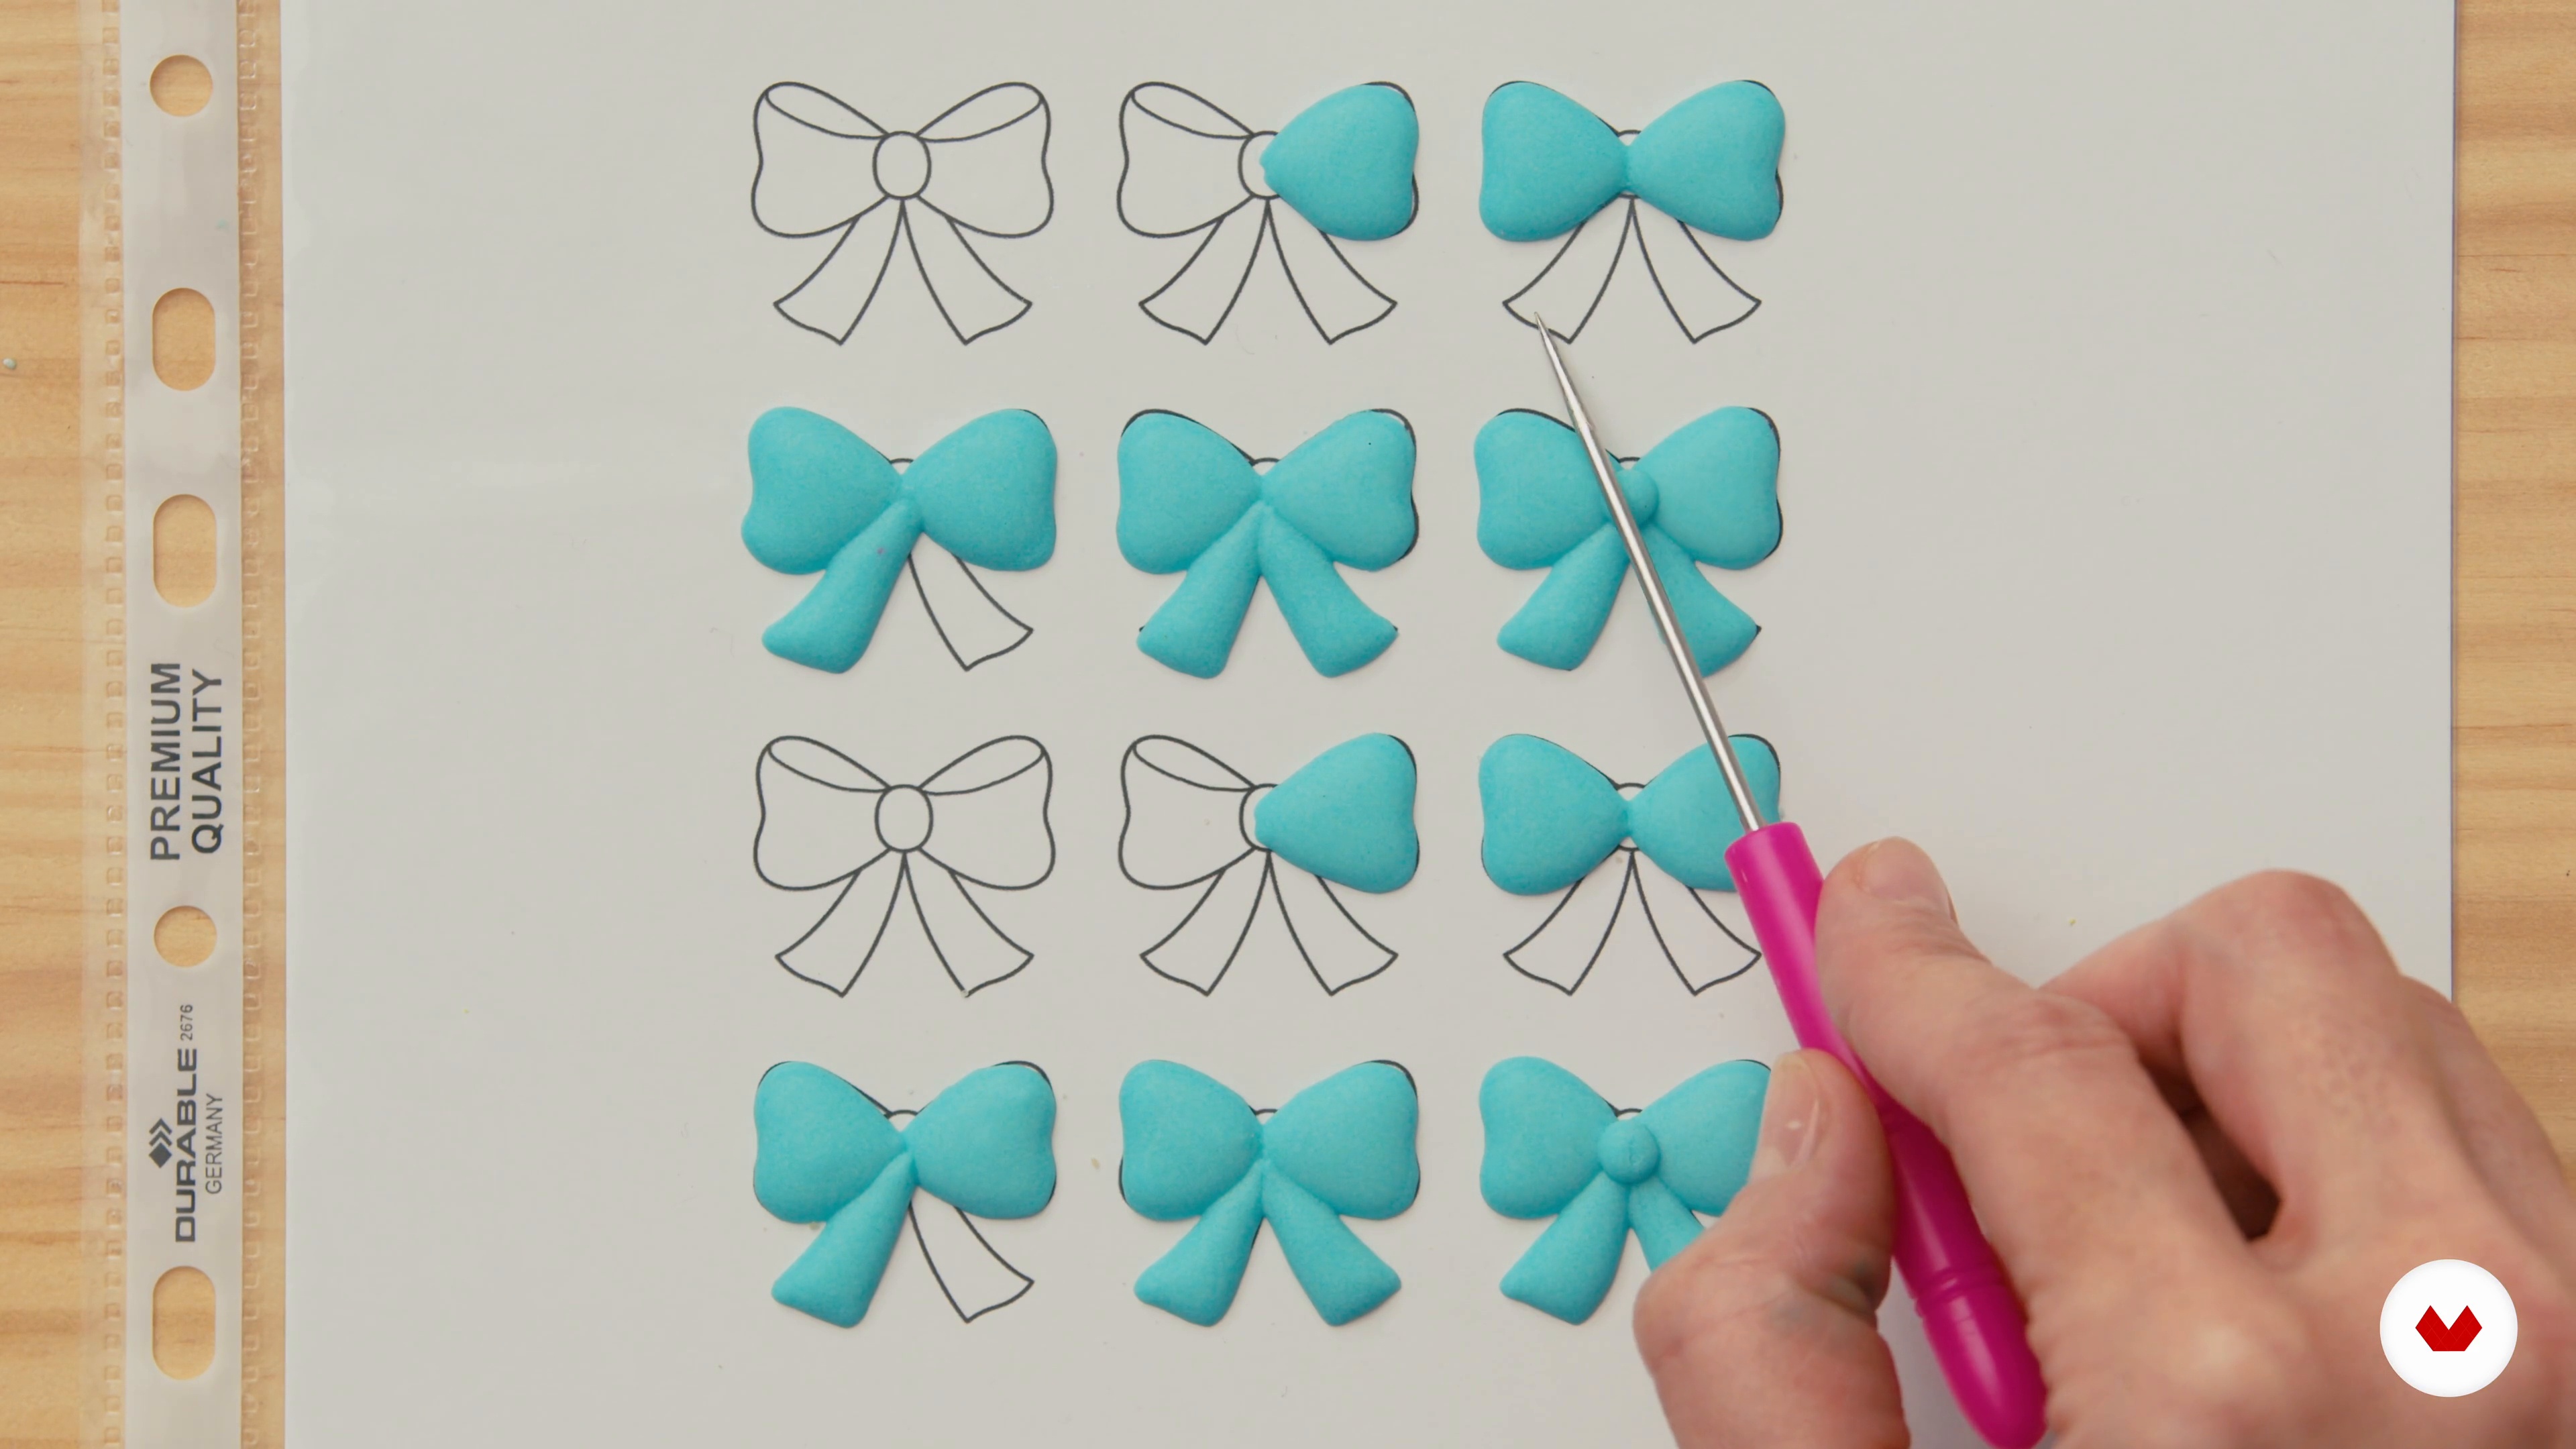
Here we will see the Royal Icing Transfers - edible Decorations made from royal icing that can be used to embellish cookies.
11m
image
12
Decorating Baloon Cookies
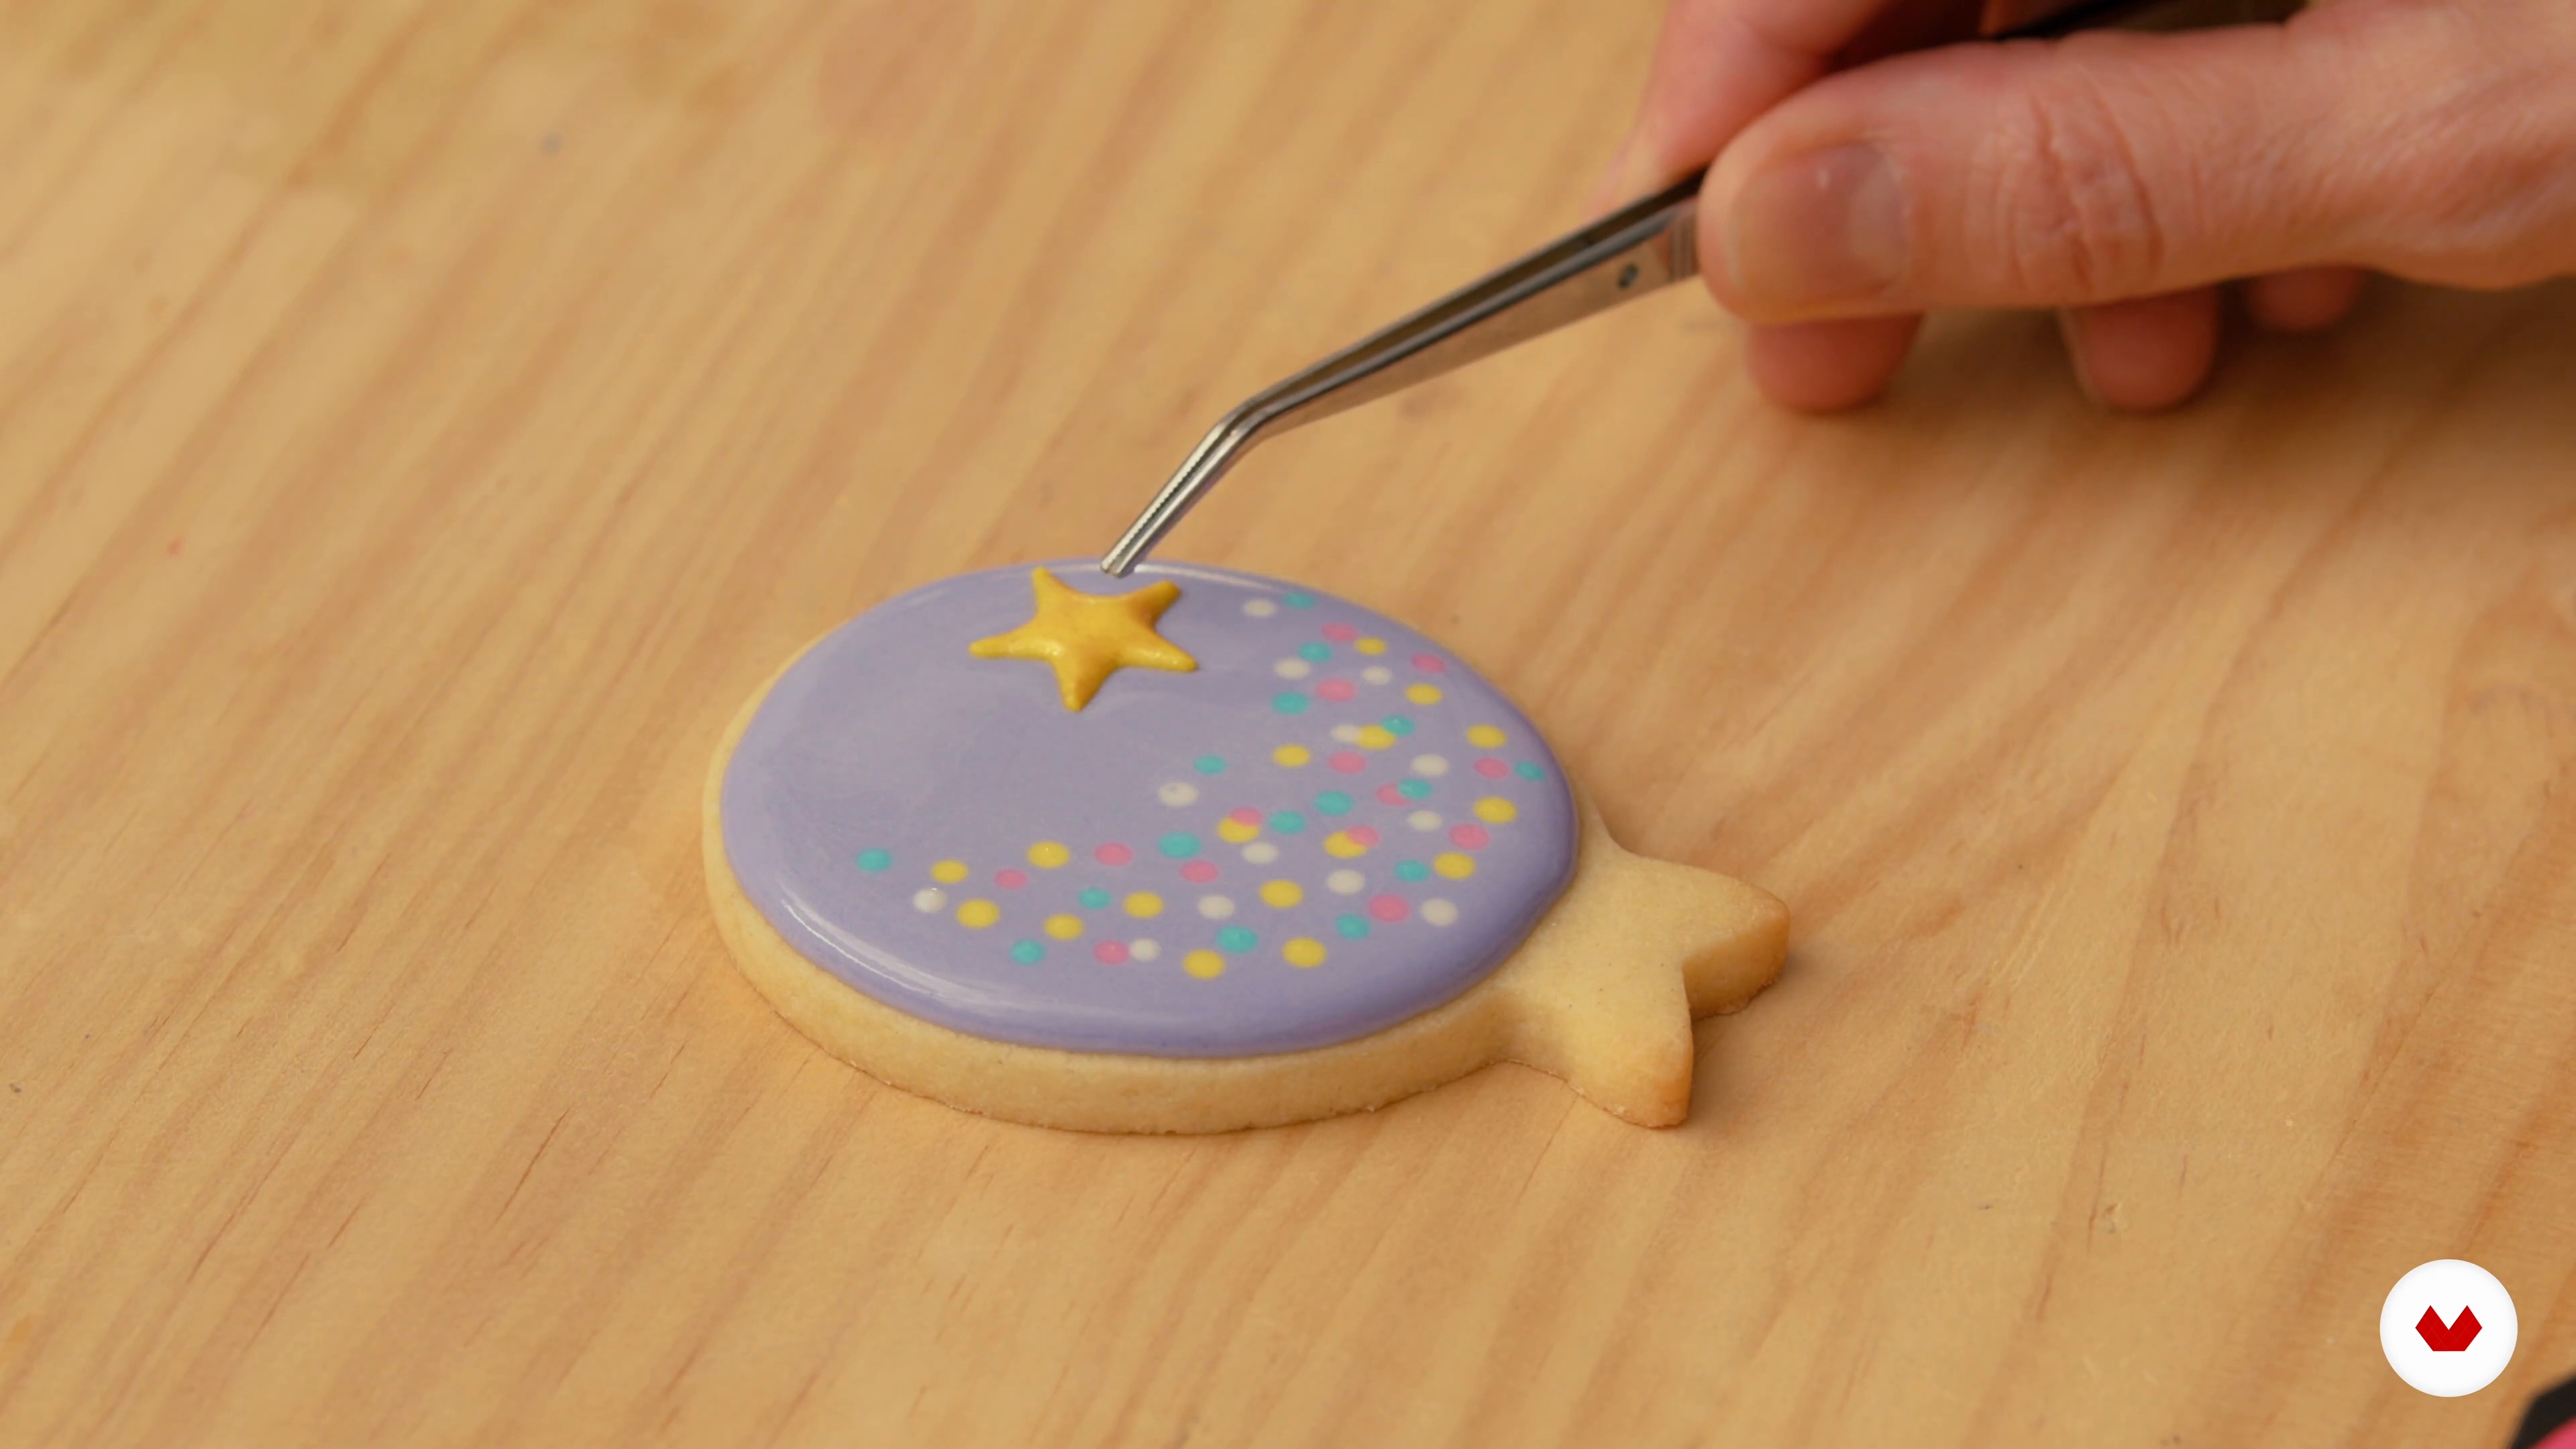
Here I’ll give you a step-by-step guide to decorating the first of the four birthday cookie designs.
5m
image
13
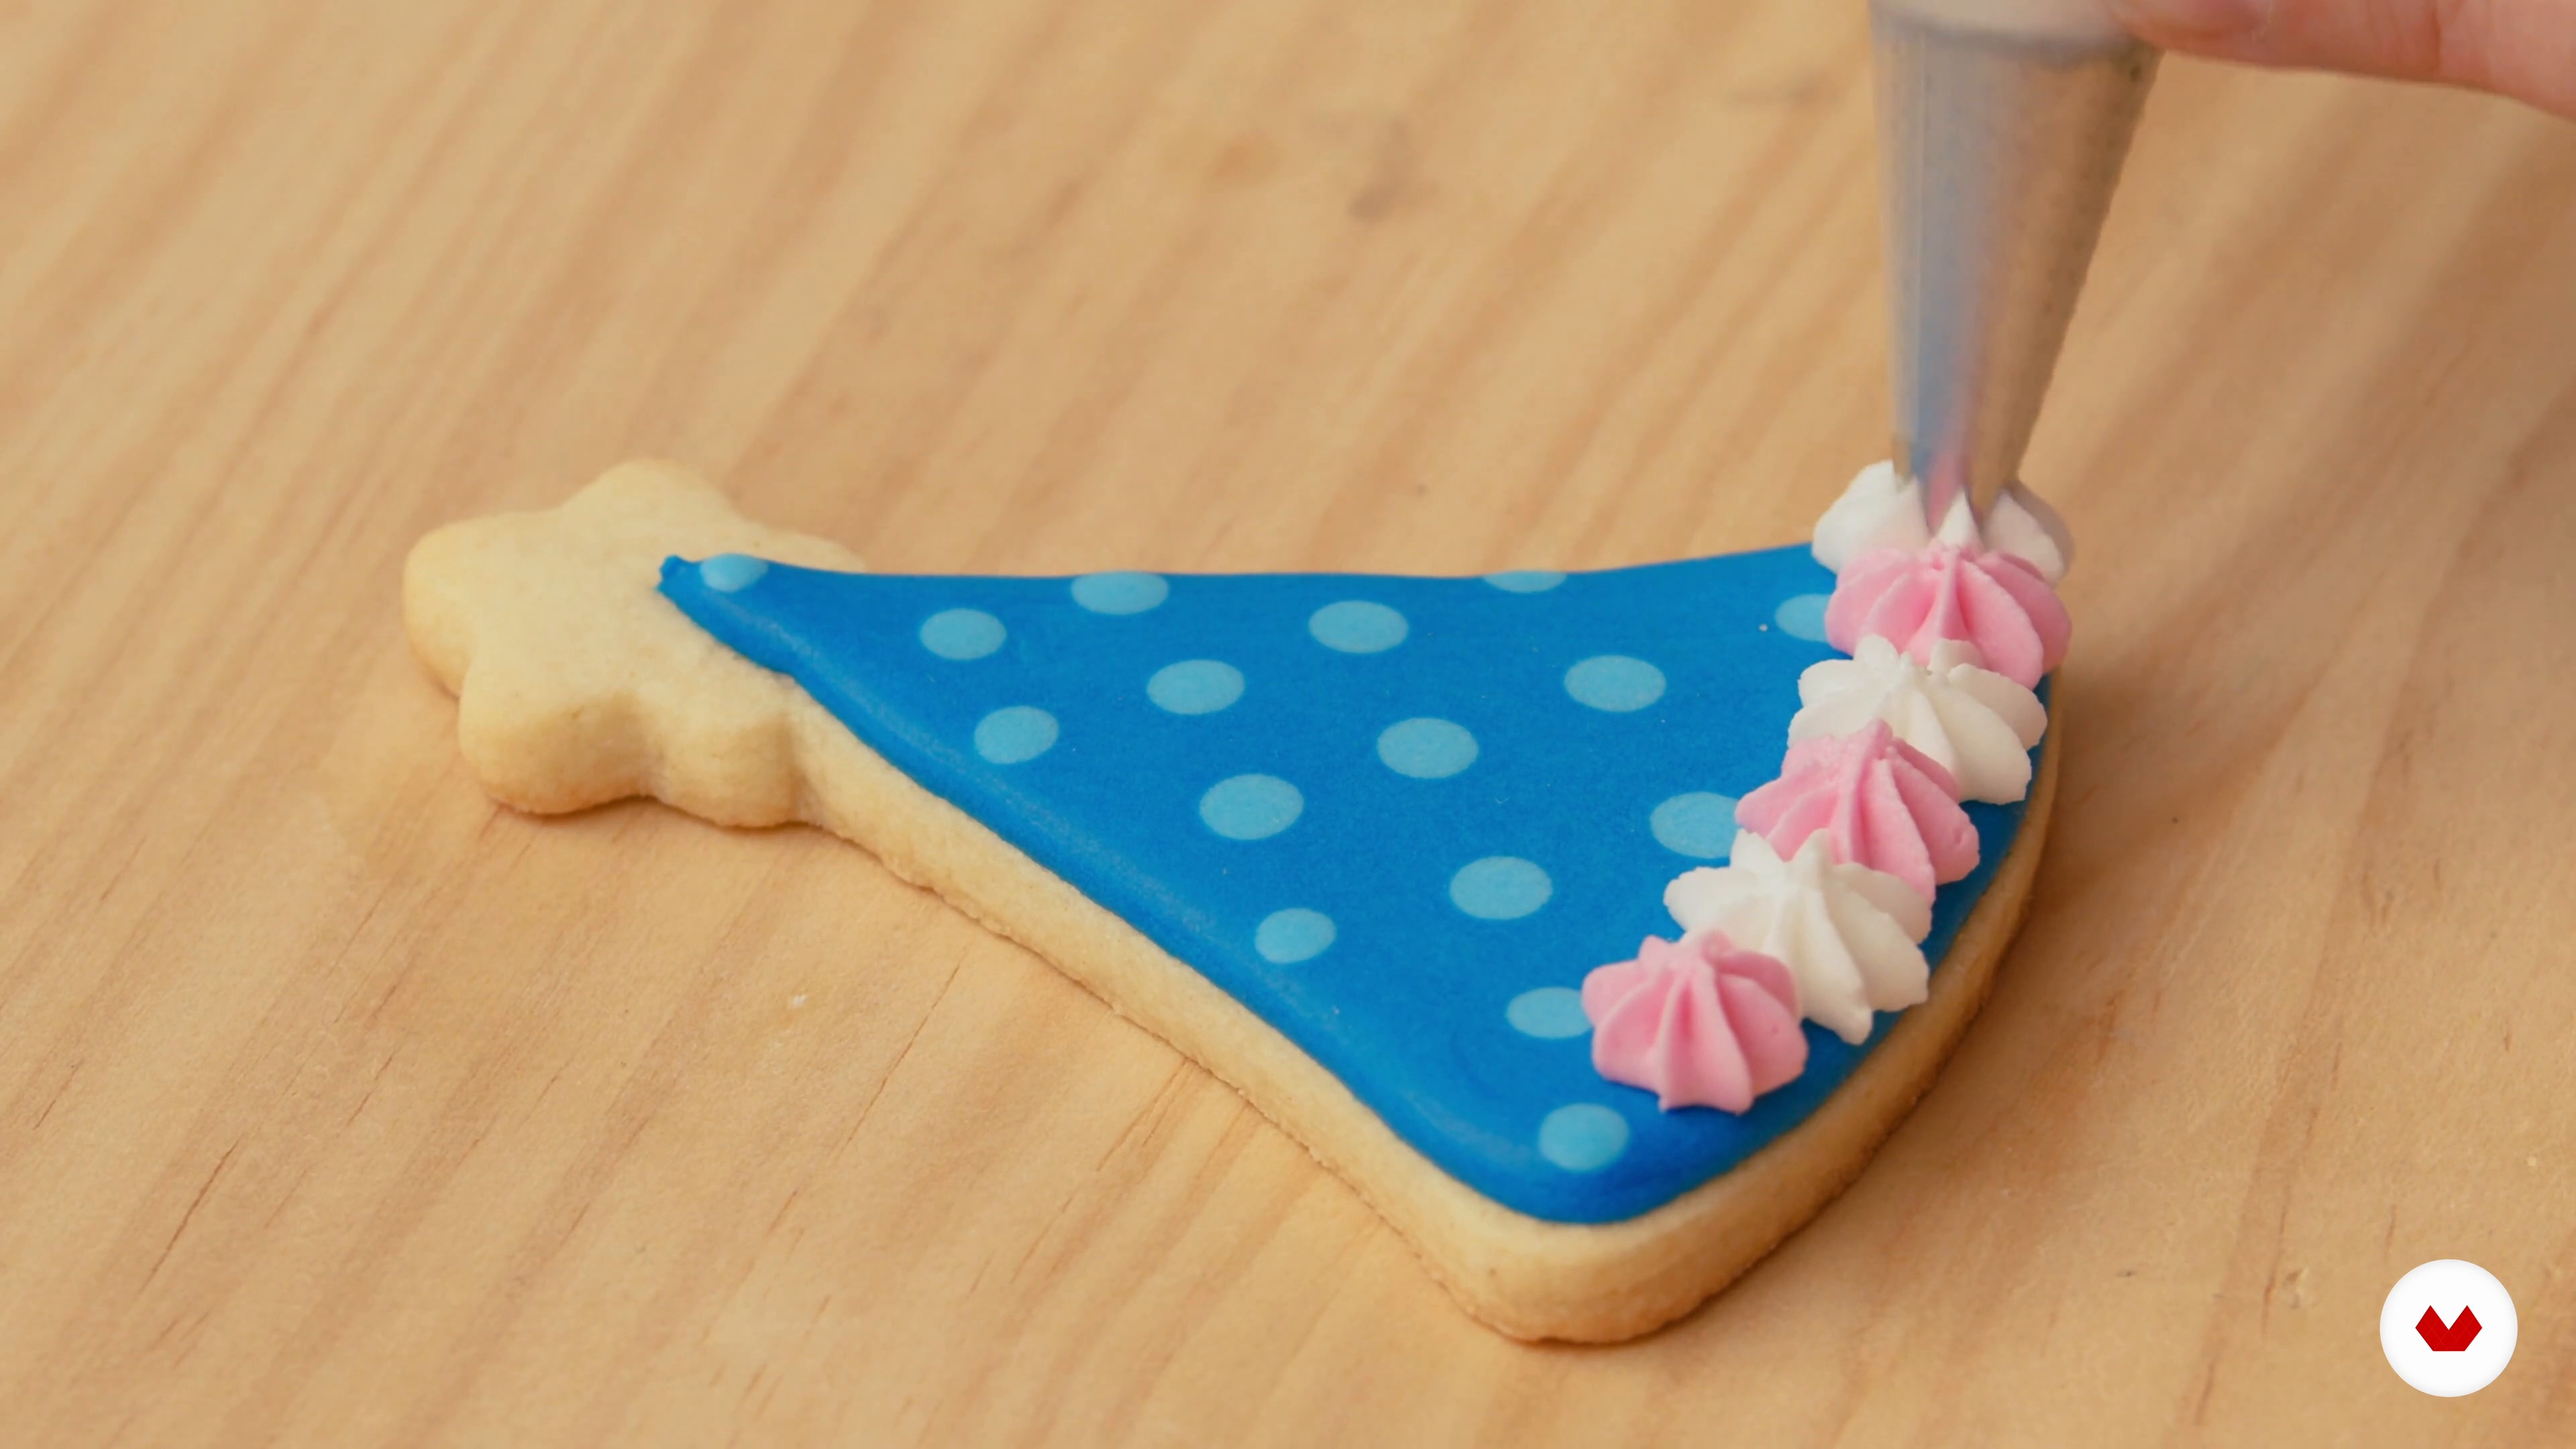
Decorating Party Hat Cookies
Are you ready? Let’s decorate party hat cookies!
7m
image
14
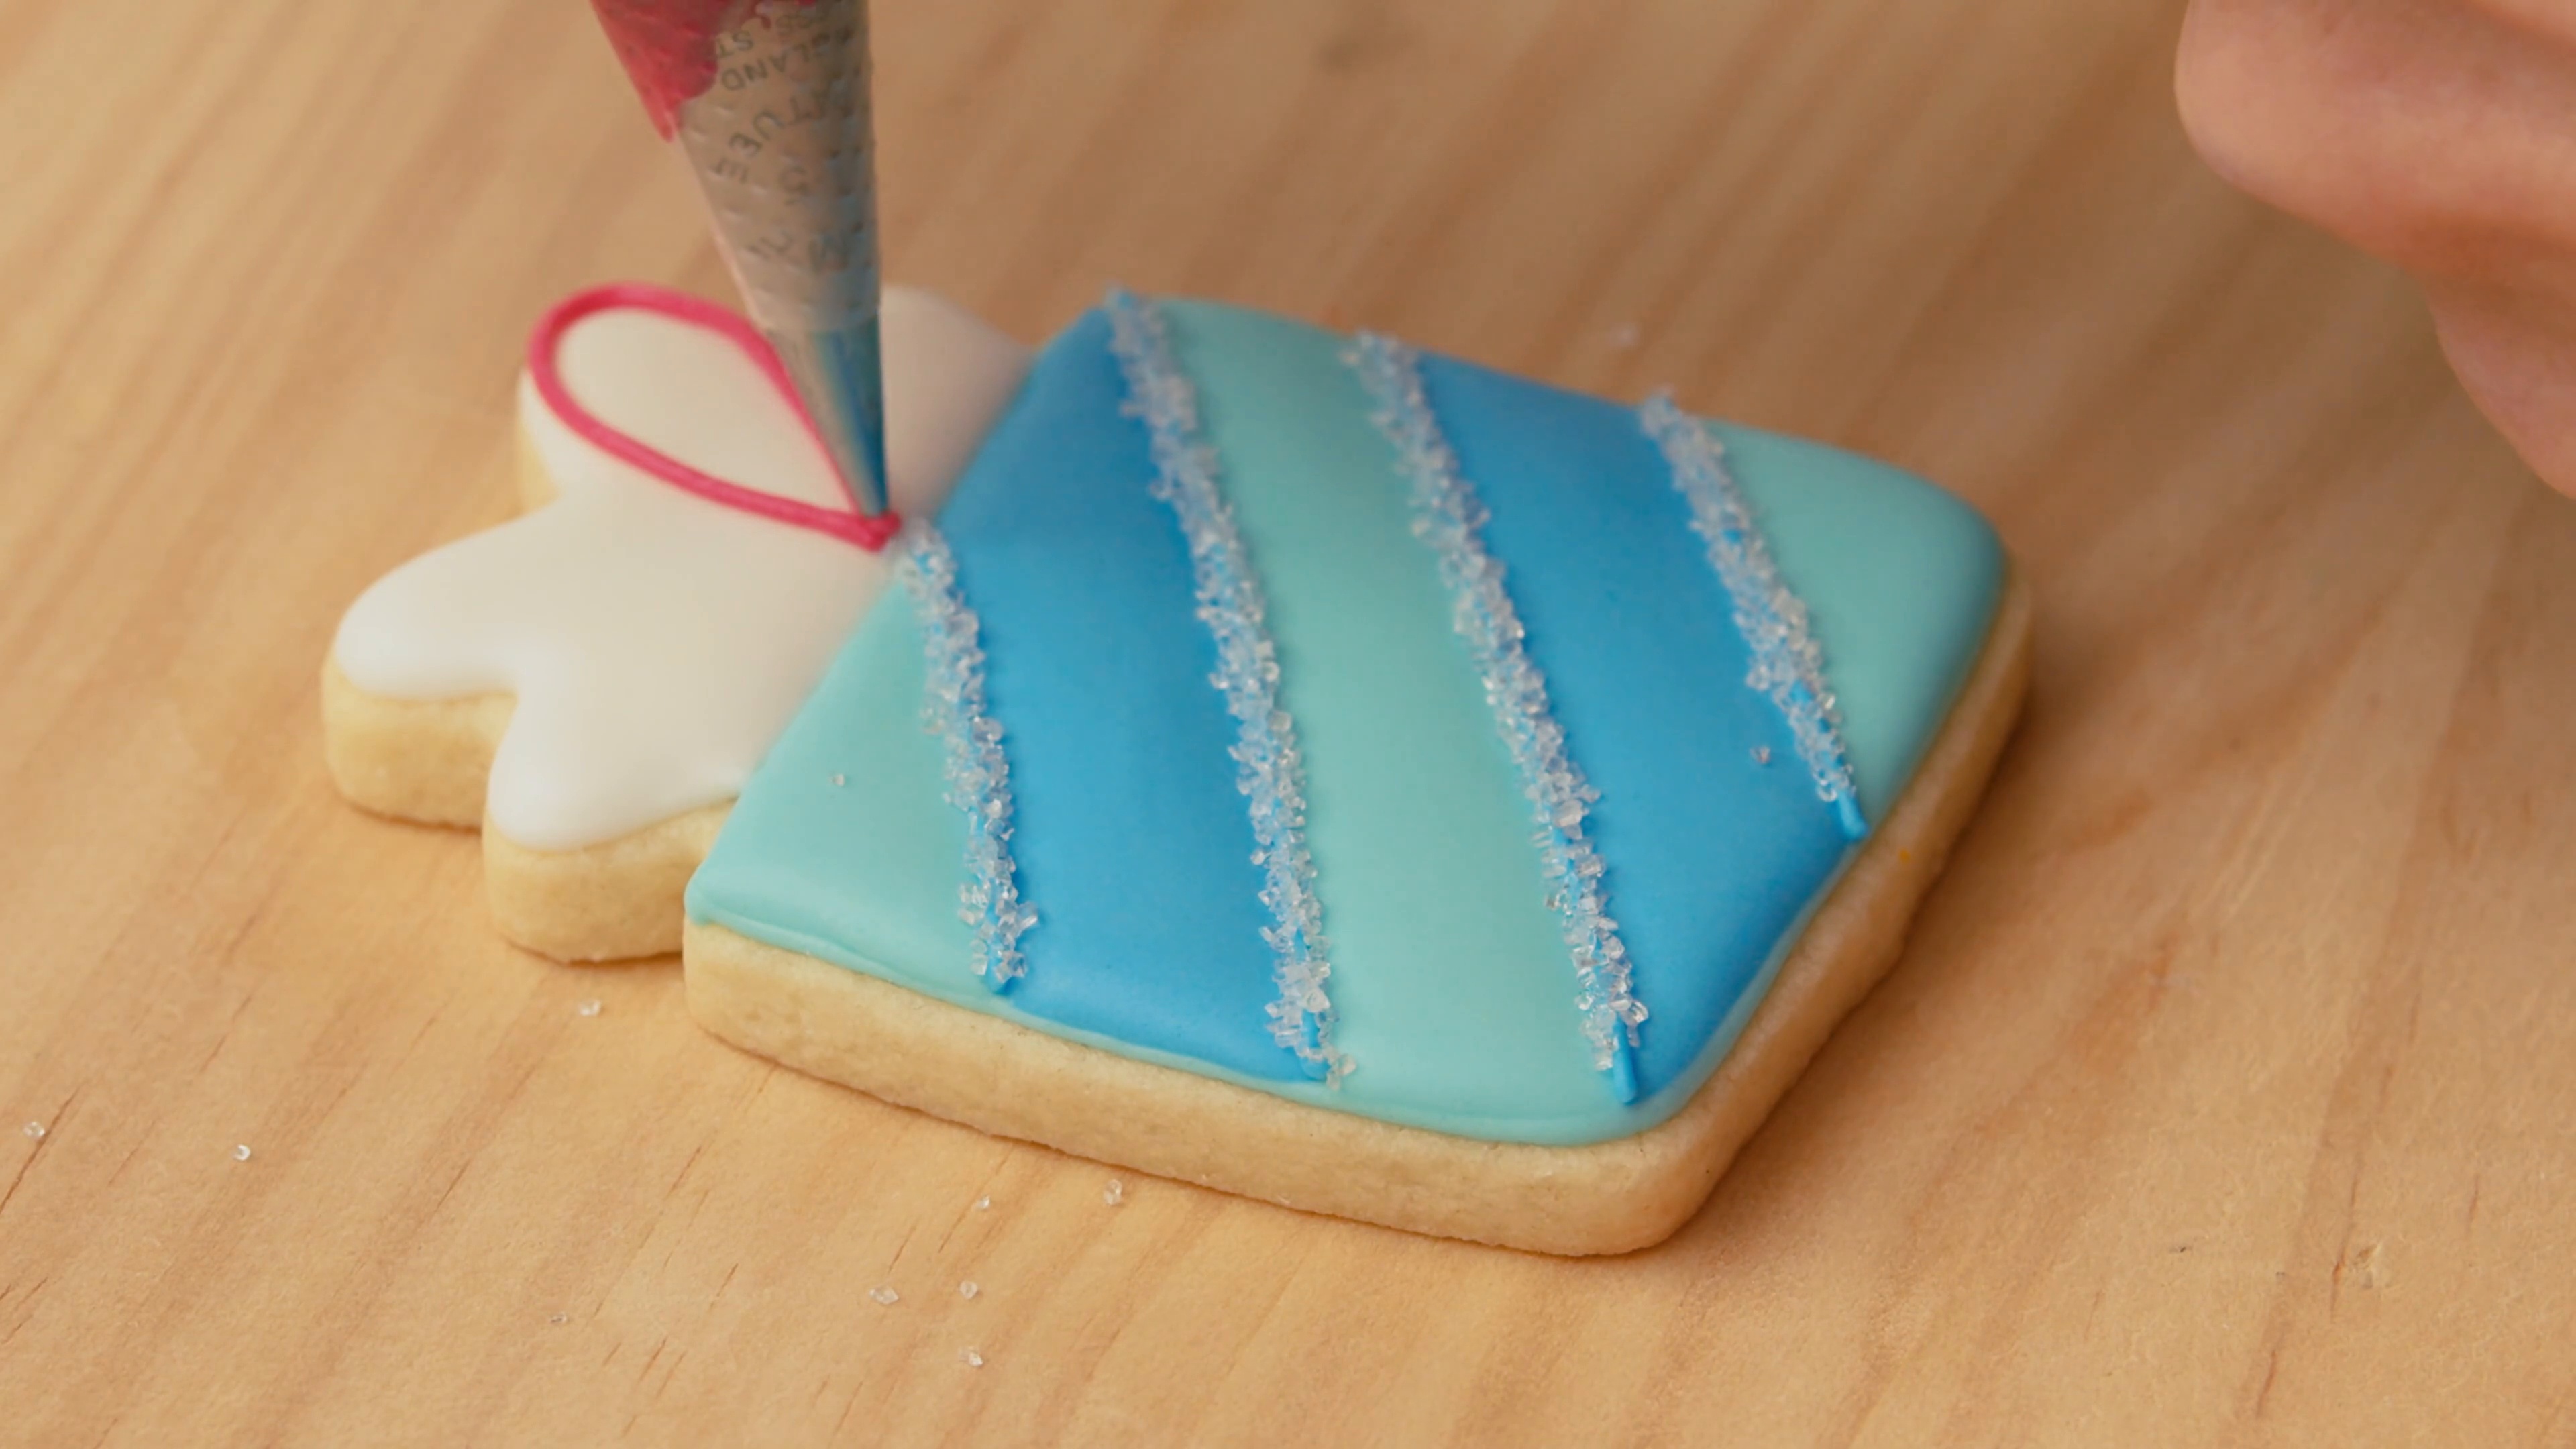
Decorating Present Cookies
In this lesson, you’ll learn how to make pretty decorated present or gift cookies.
9m
image
15
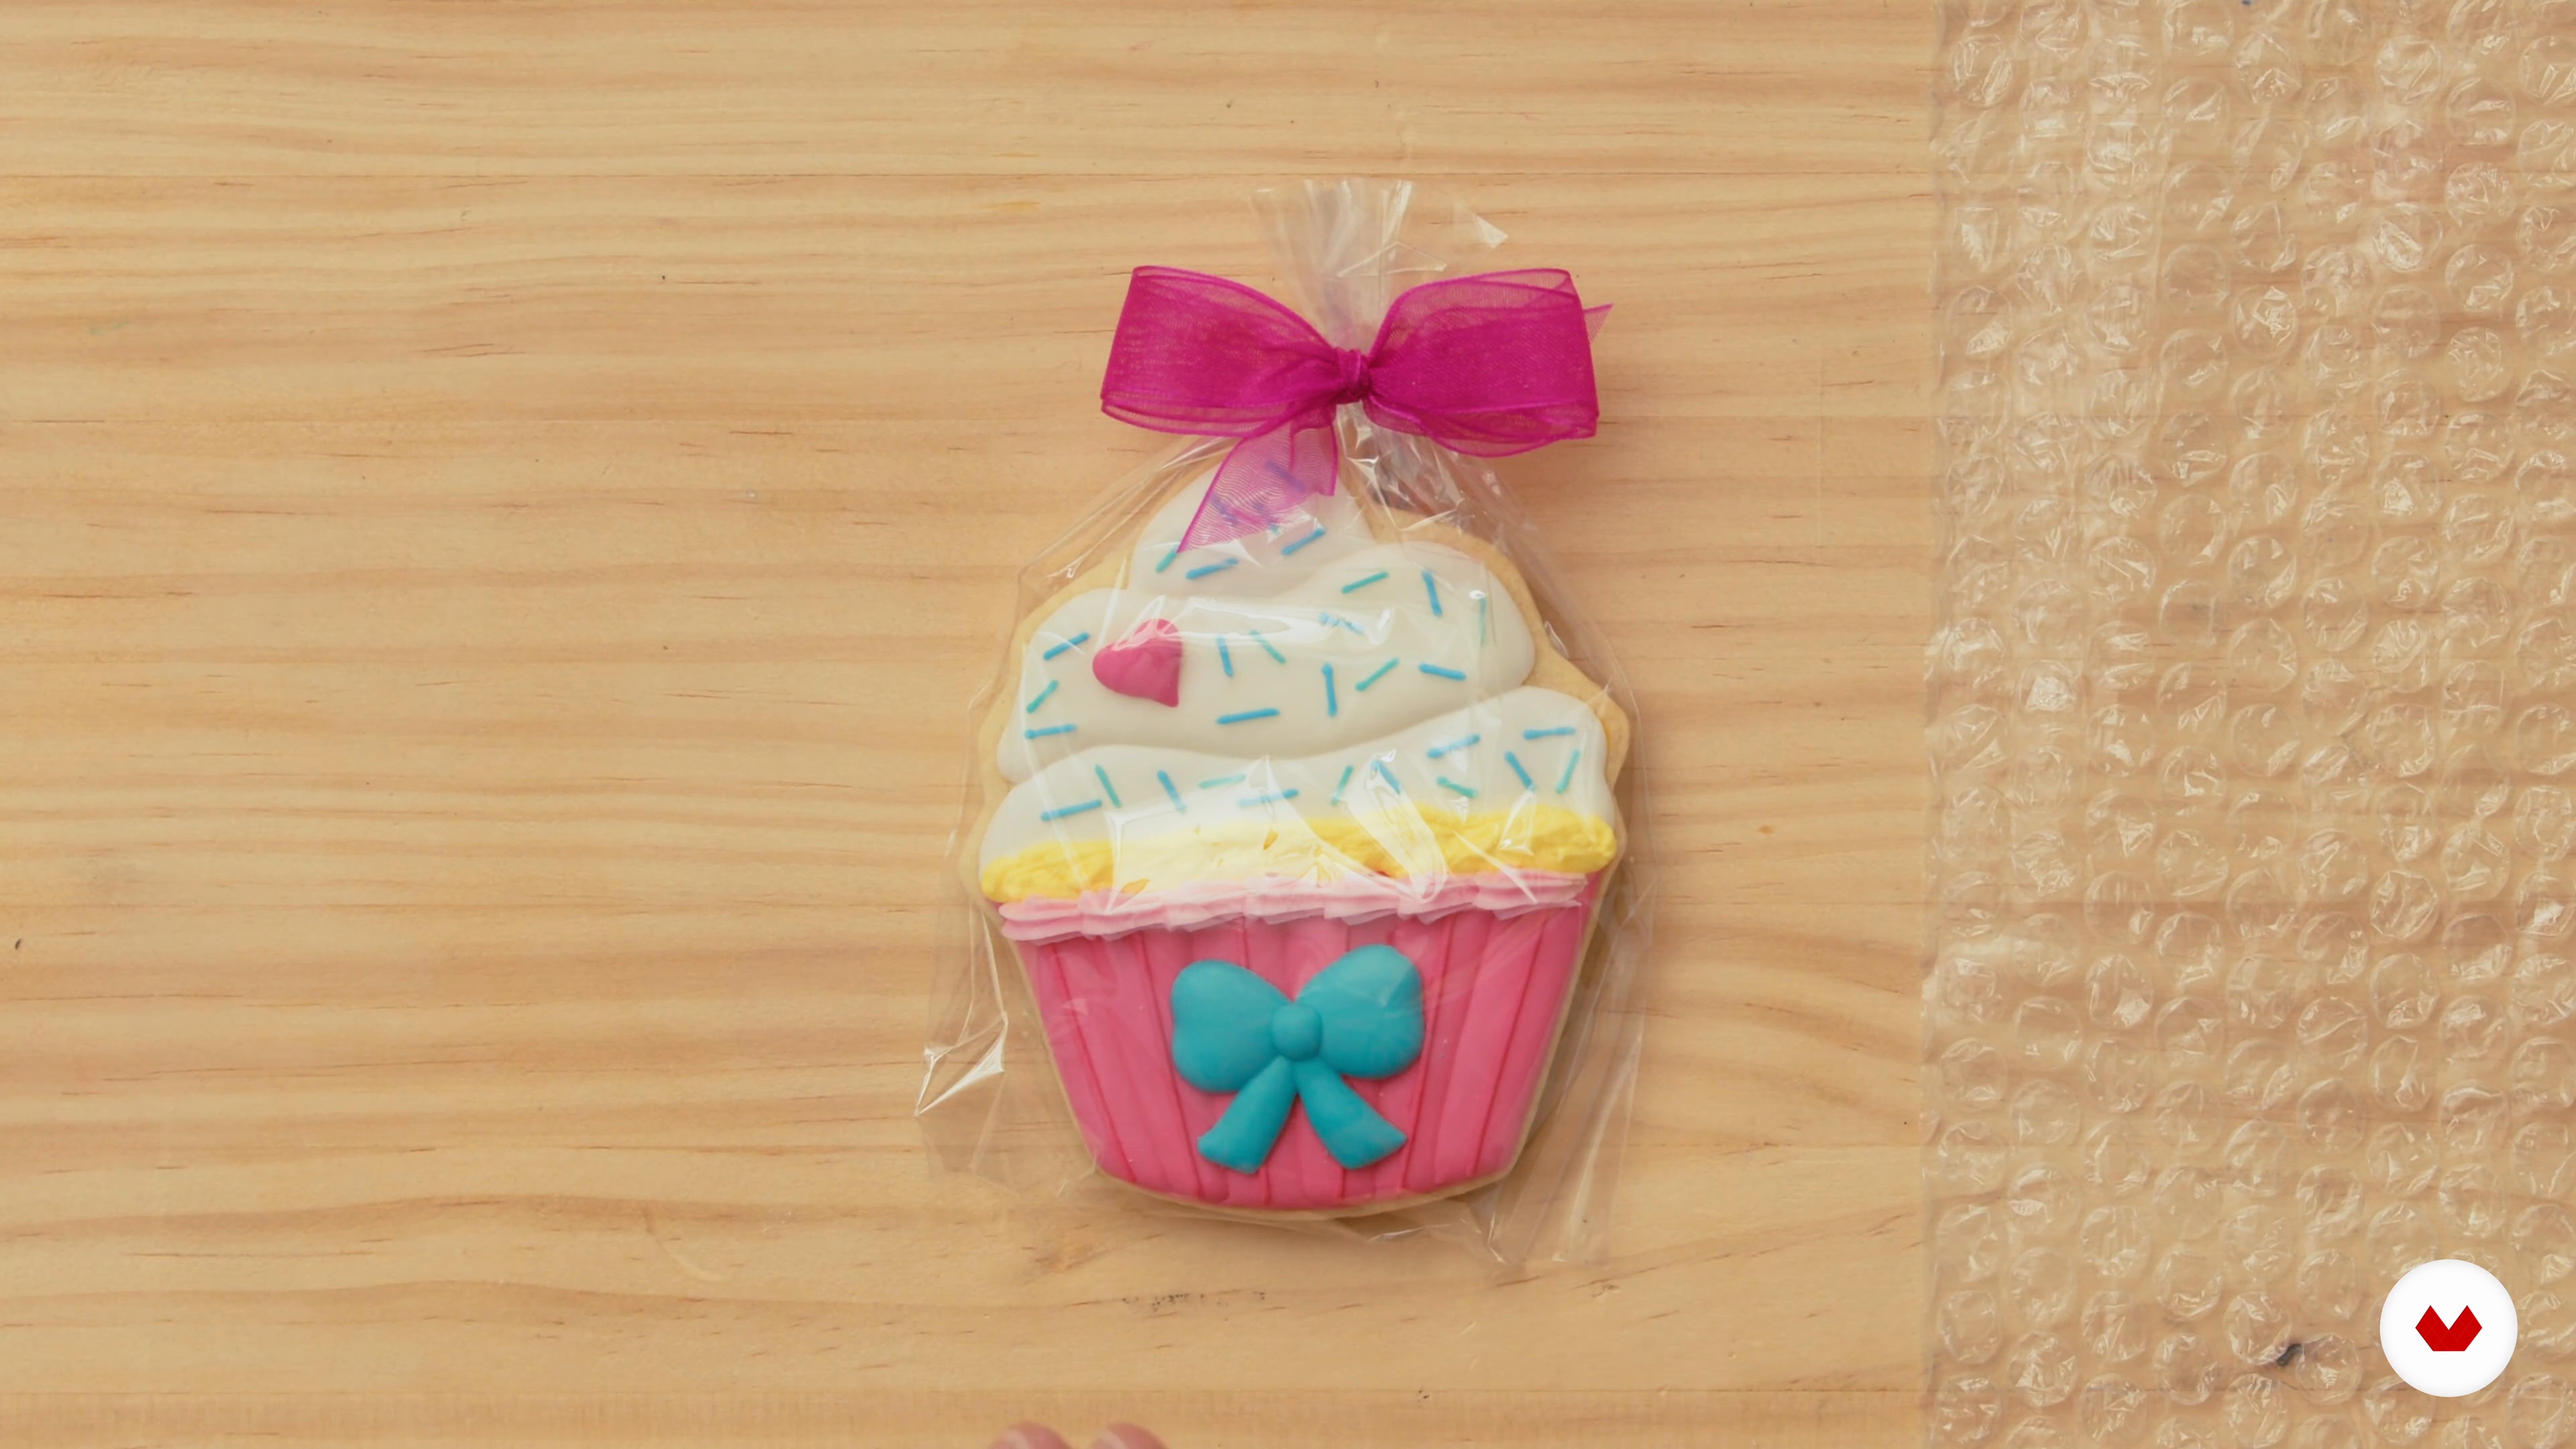
Decorating Cupcake Cookies
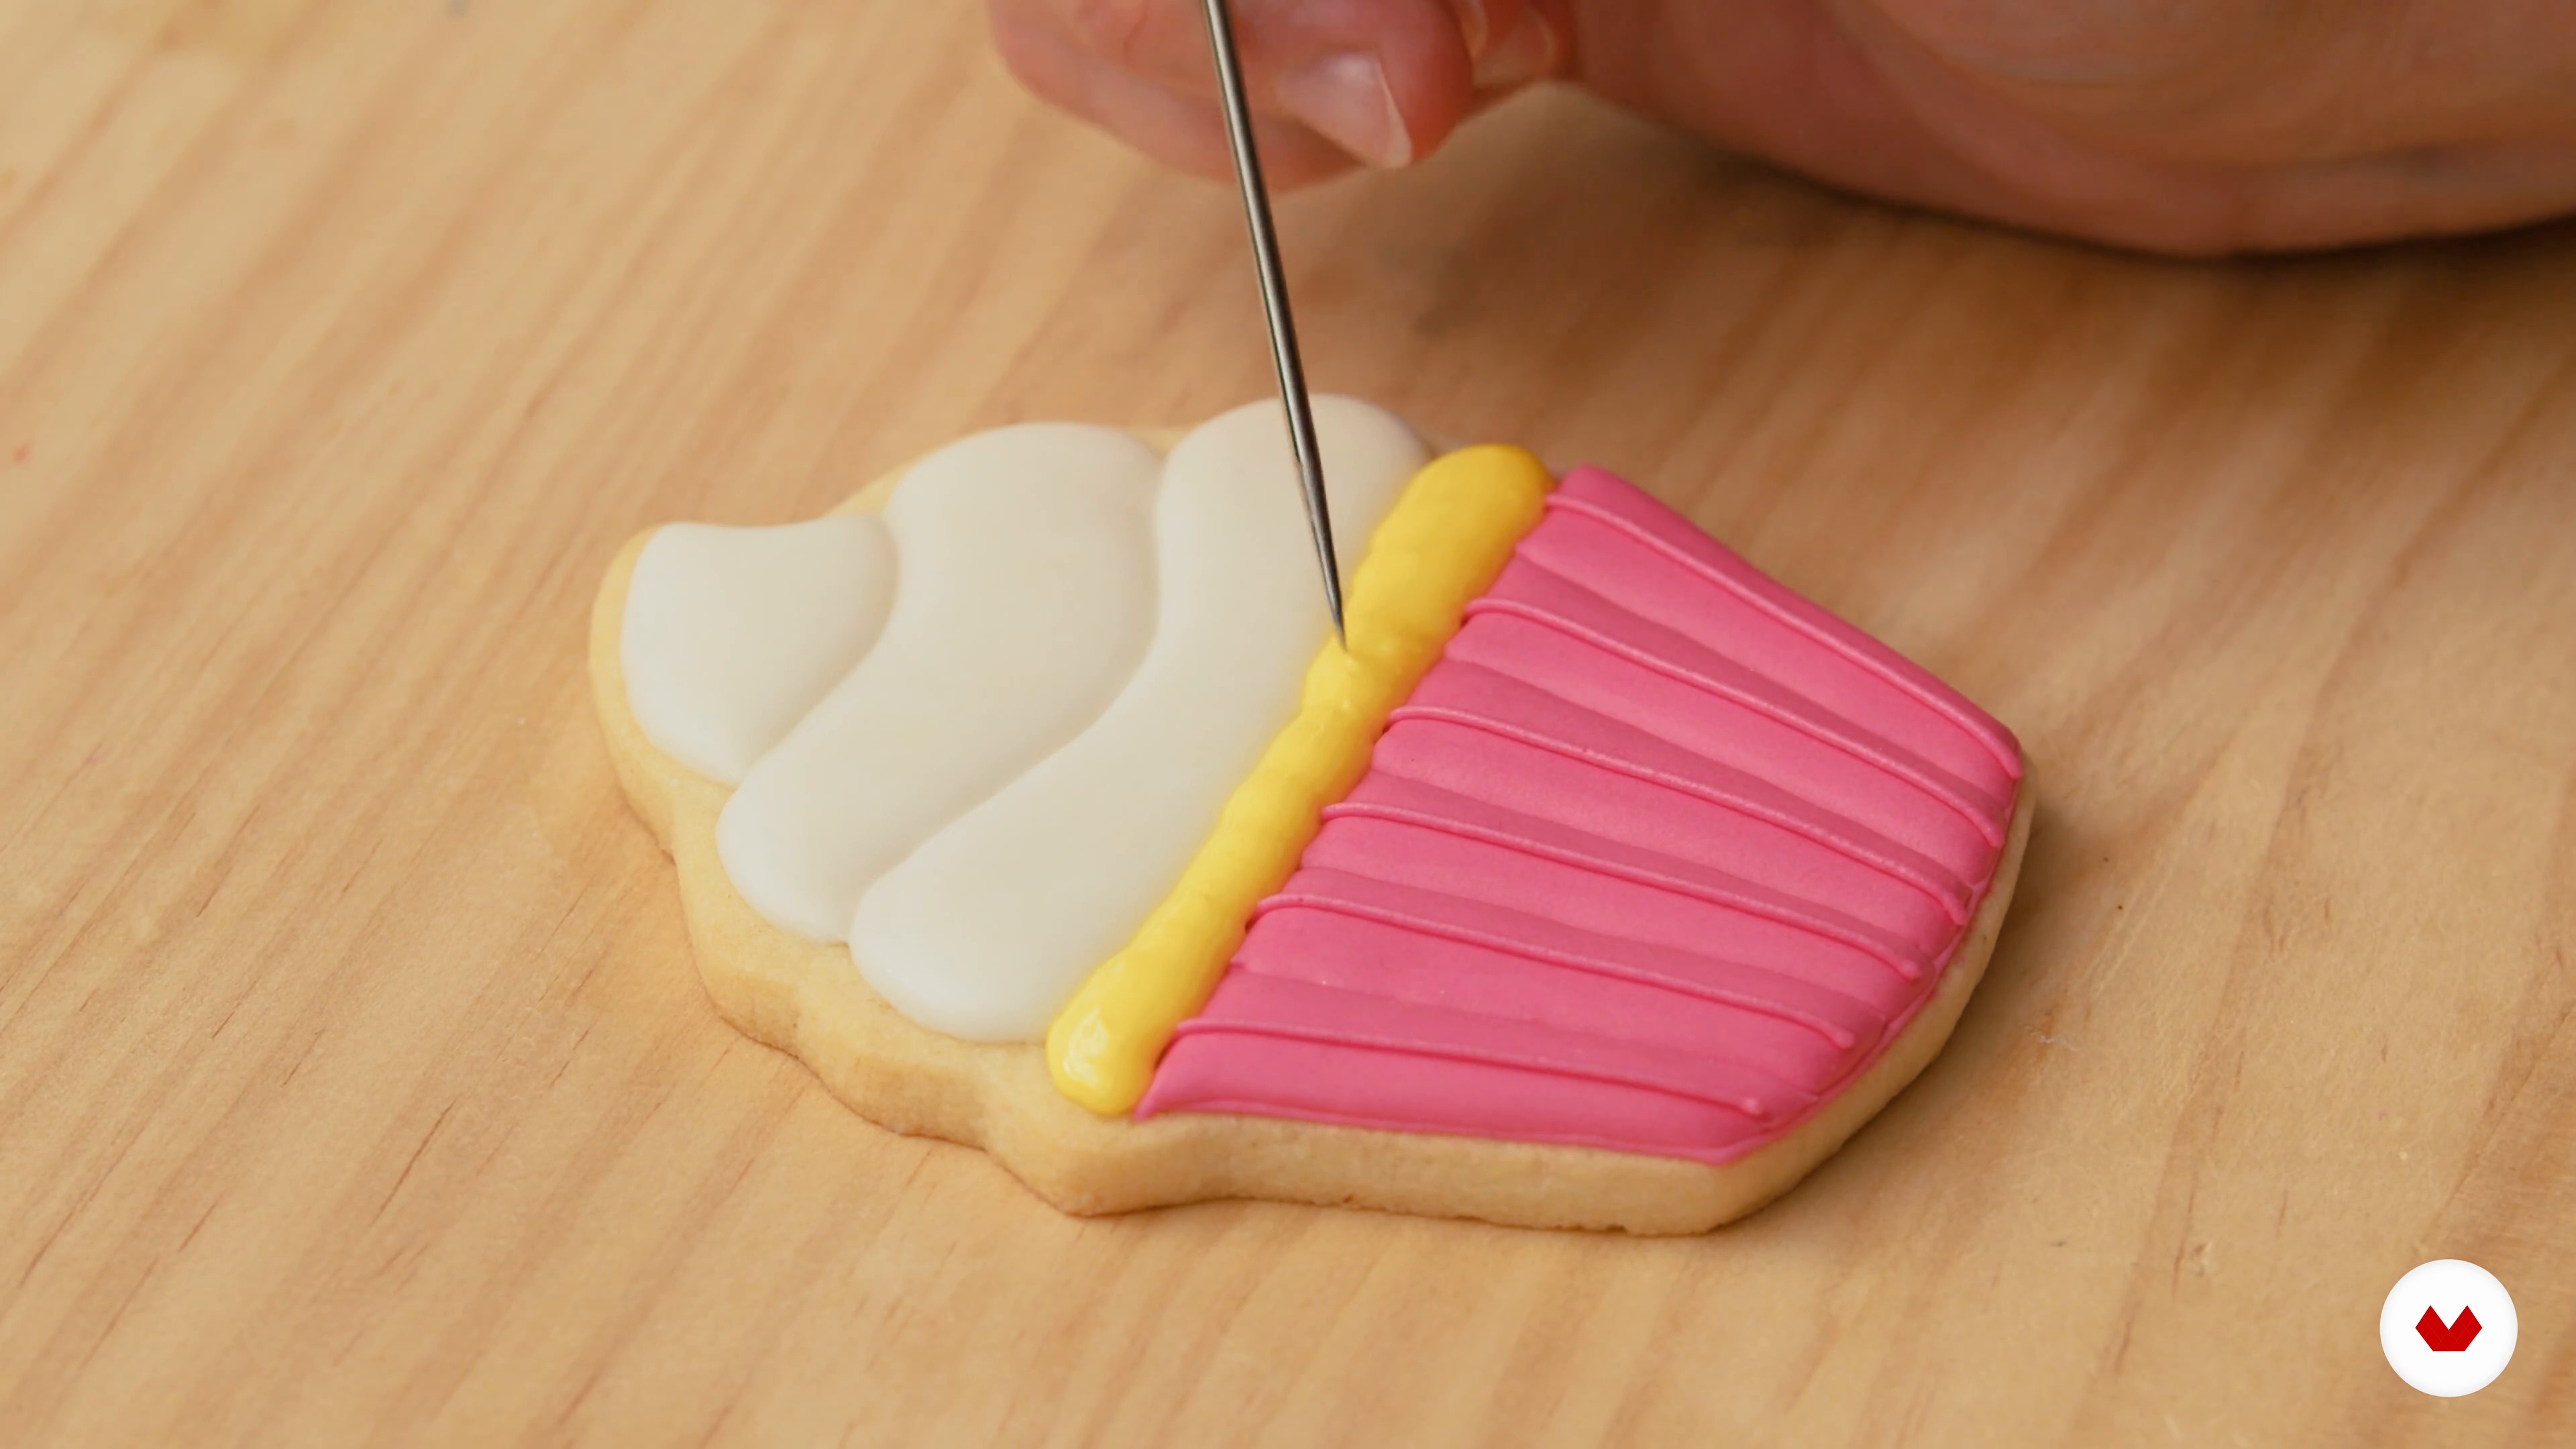
Celebrate your special occasion with decorated cupcake cookies! In this lesson, I’ll show you how to make cupcake cookies.
17m
image
16
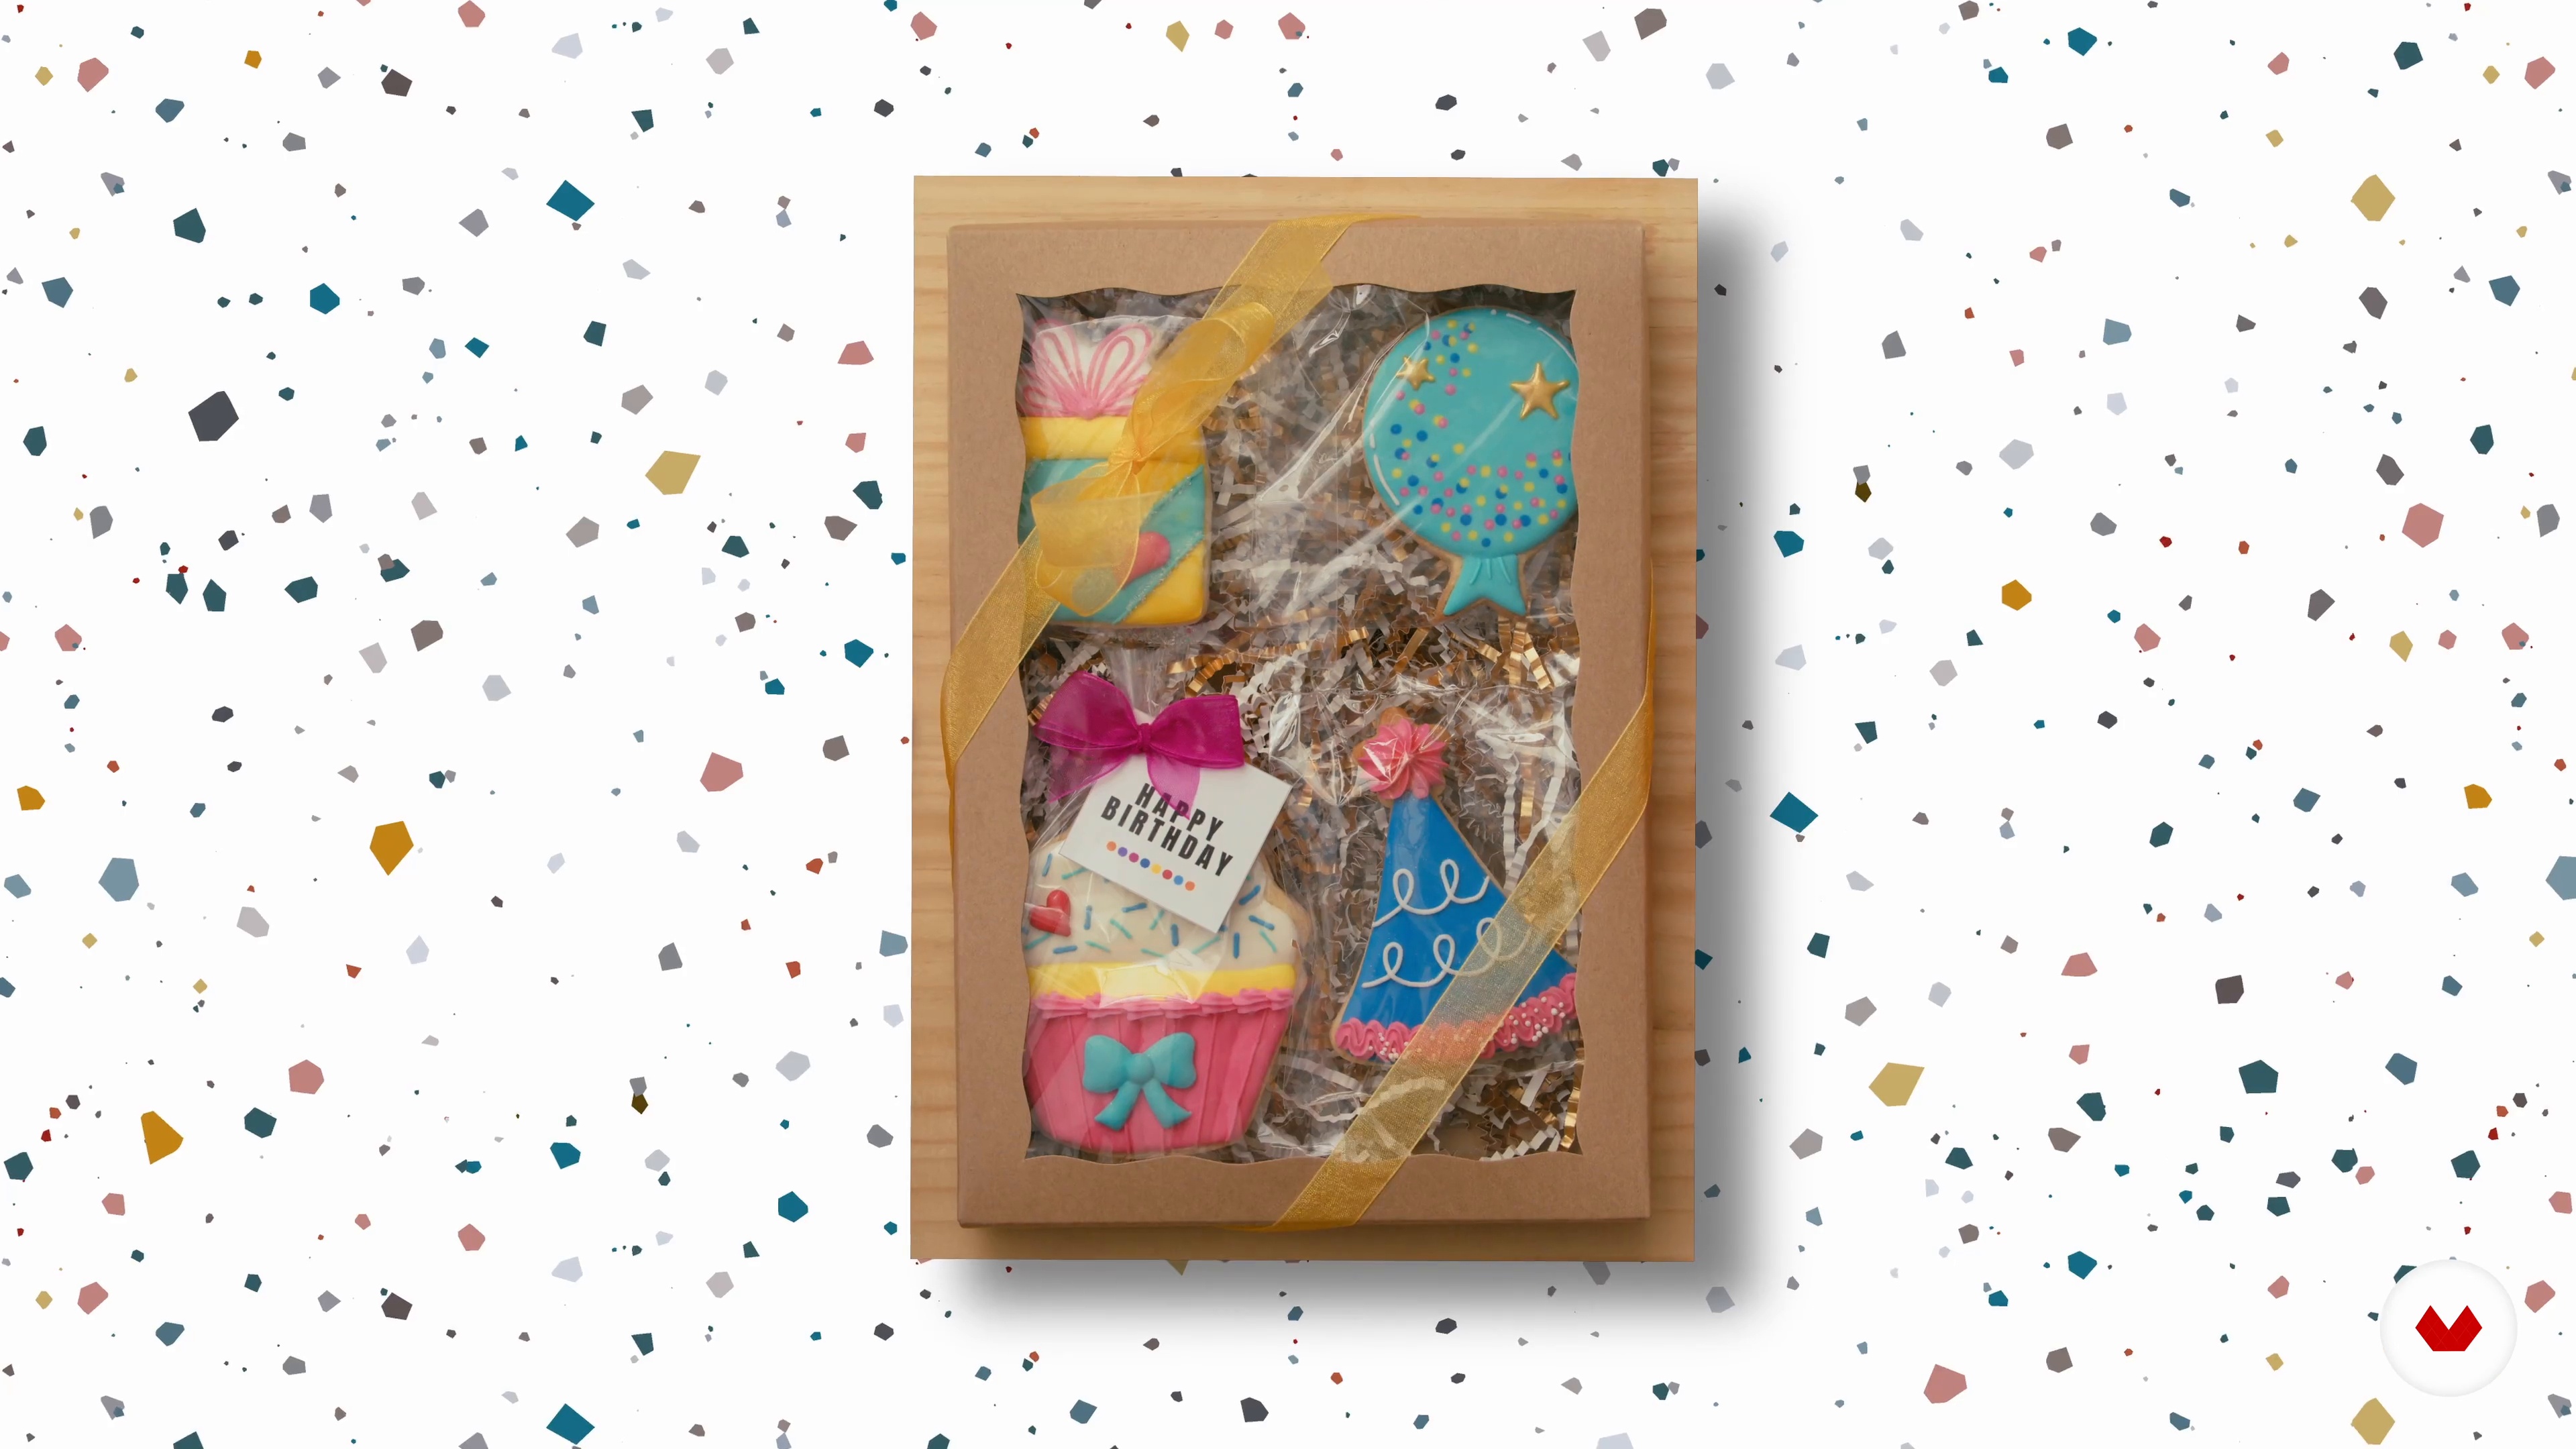
How to Store and Package Cookies
In this lesson, I’ll share with you how I store cookies. And we’ll explore fun and creative ways to package your cookie masterpieces.
6m
image
17
Shipping Tips
Follow these steps on how to ship decorated cookies and surprise your friends or family members with a thoughtful, delicious gift of homemade decorated cookies.
2m
image
3
The materials
Some materials may sound familiar to you, but here we also present some that will help you on this new journey between sugar and butter.
6m
image
4
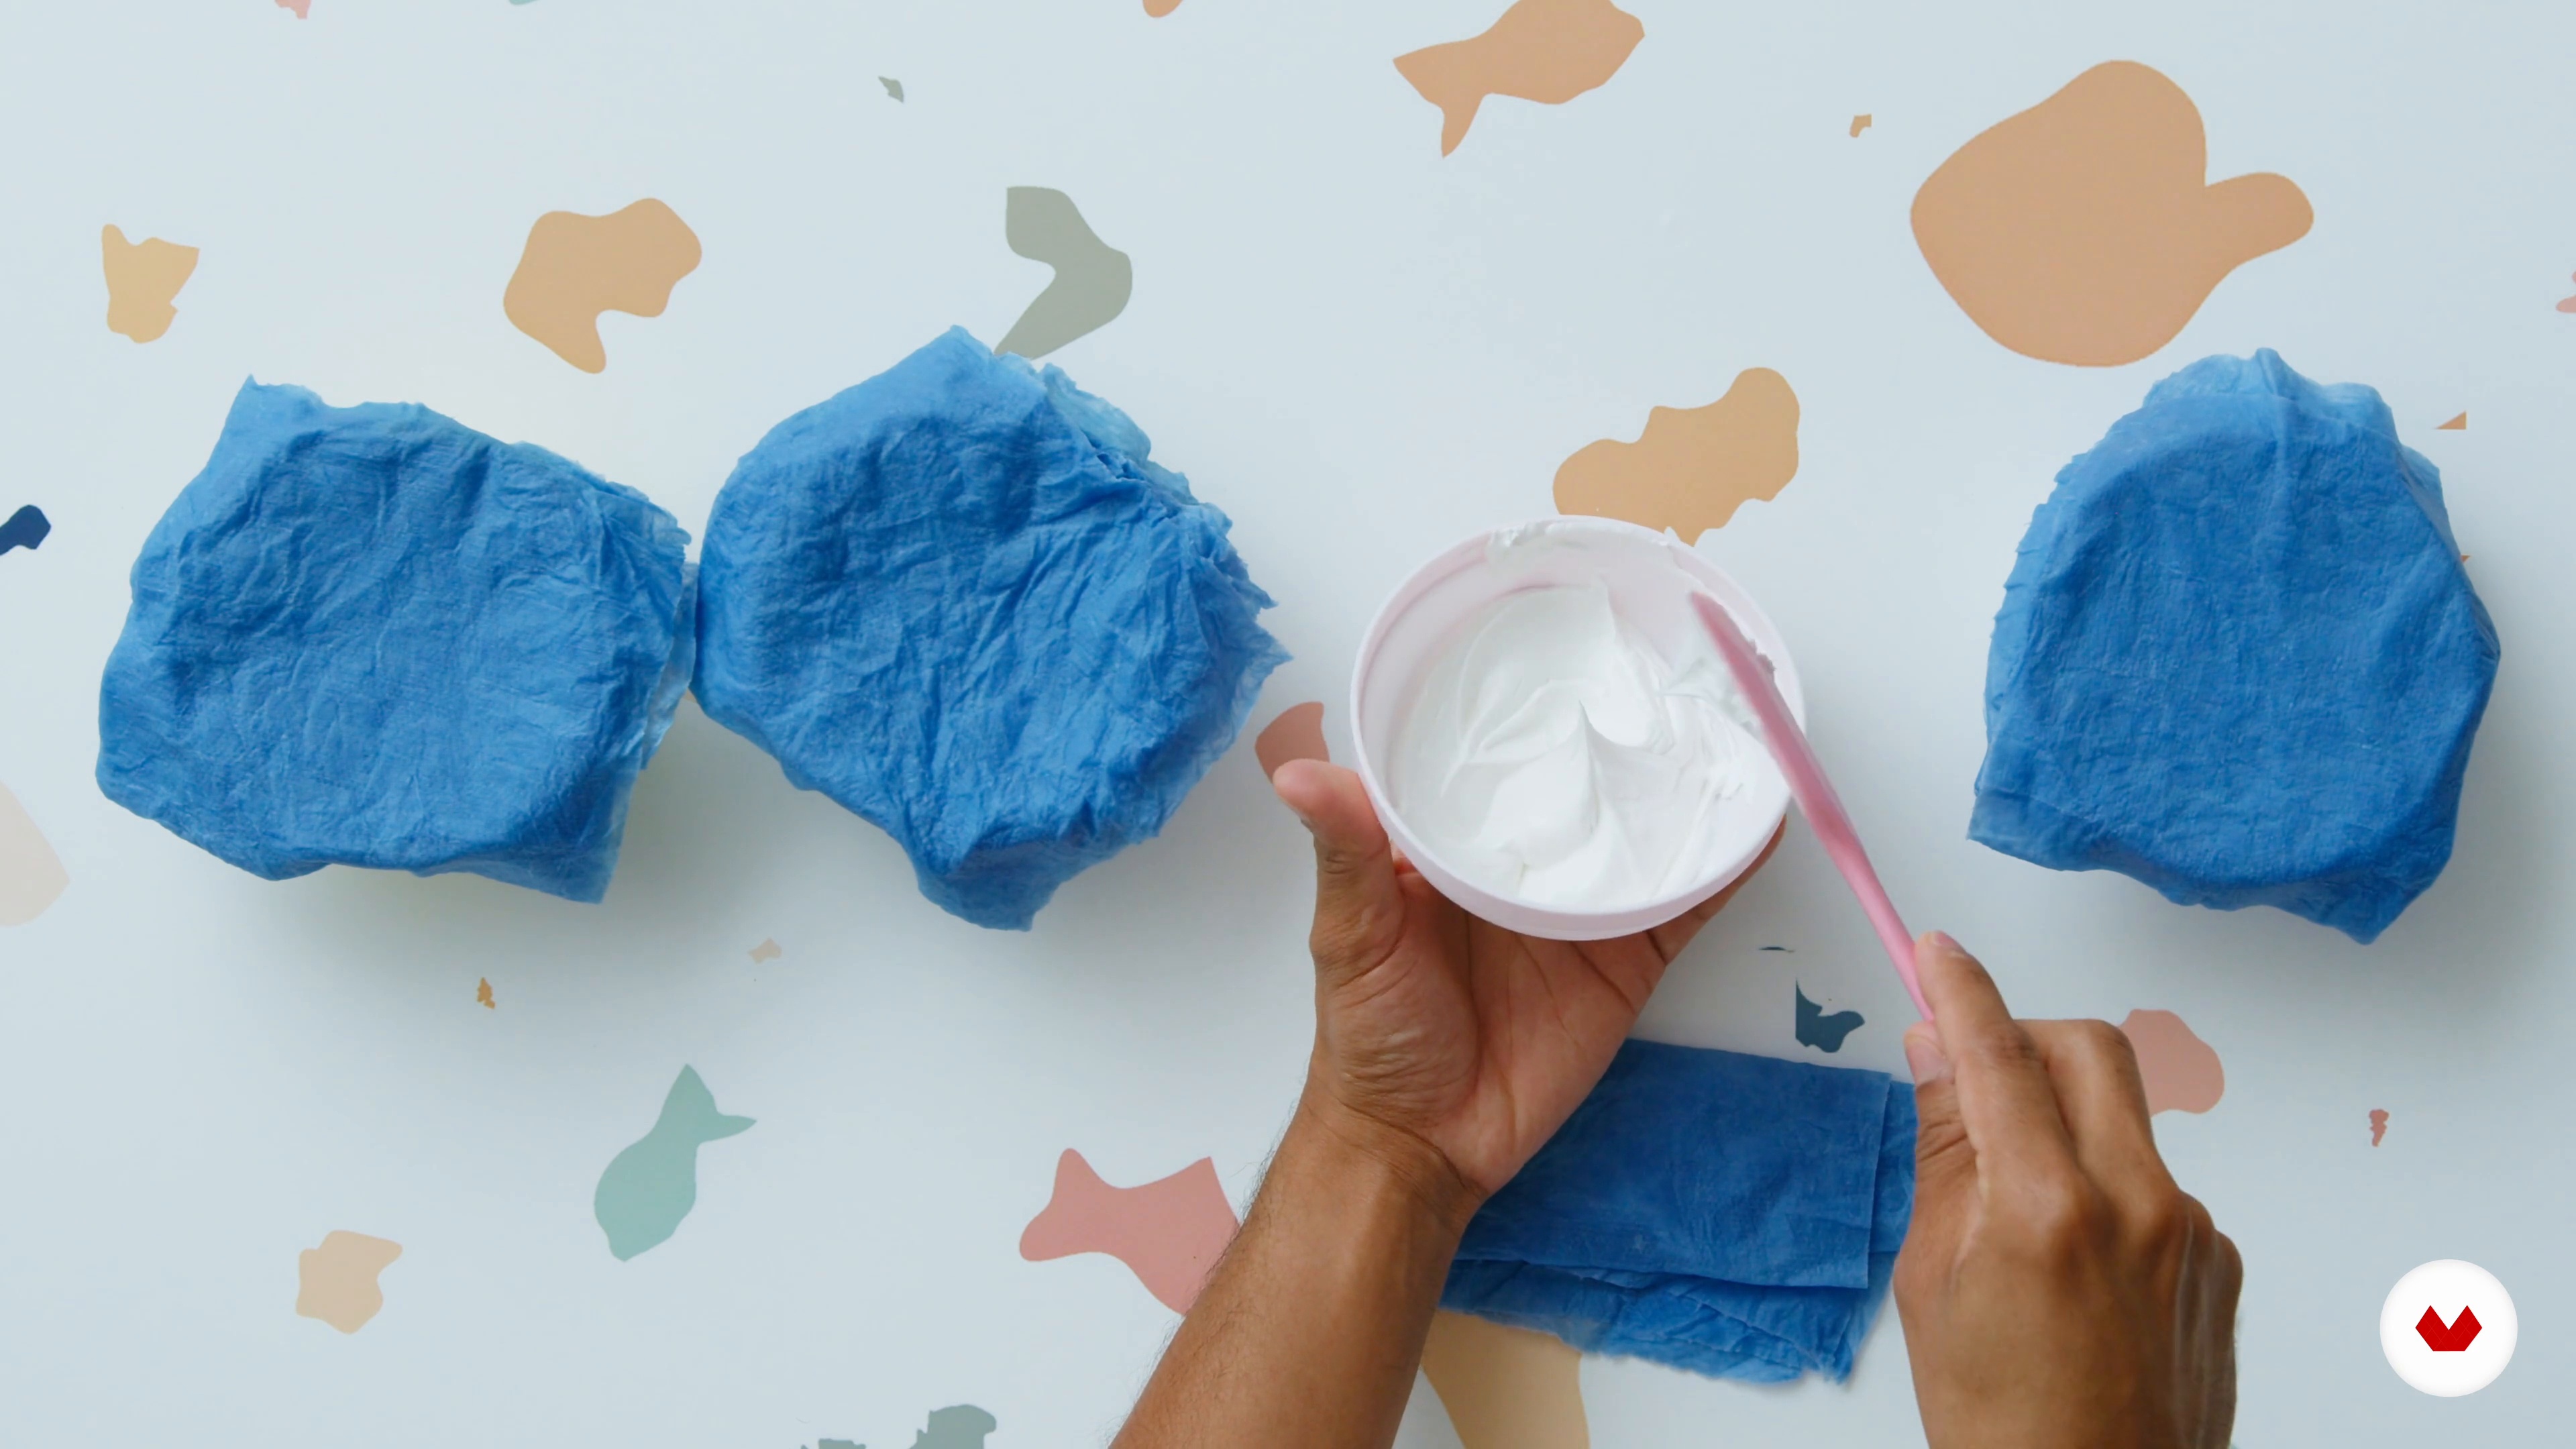
Types of consistency: frosting
Let's do a quick review of the consistencies that you are going to use during this course. Ready with your spatulas and spray bottle?
3m
image
5
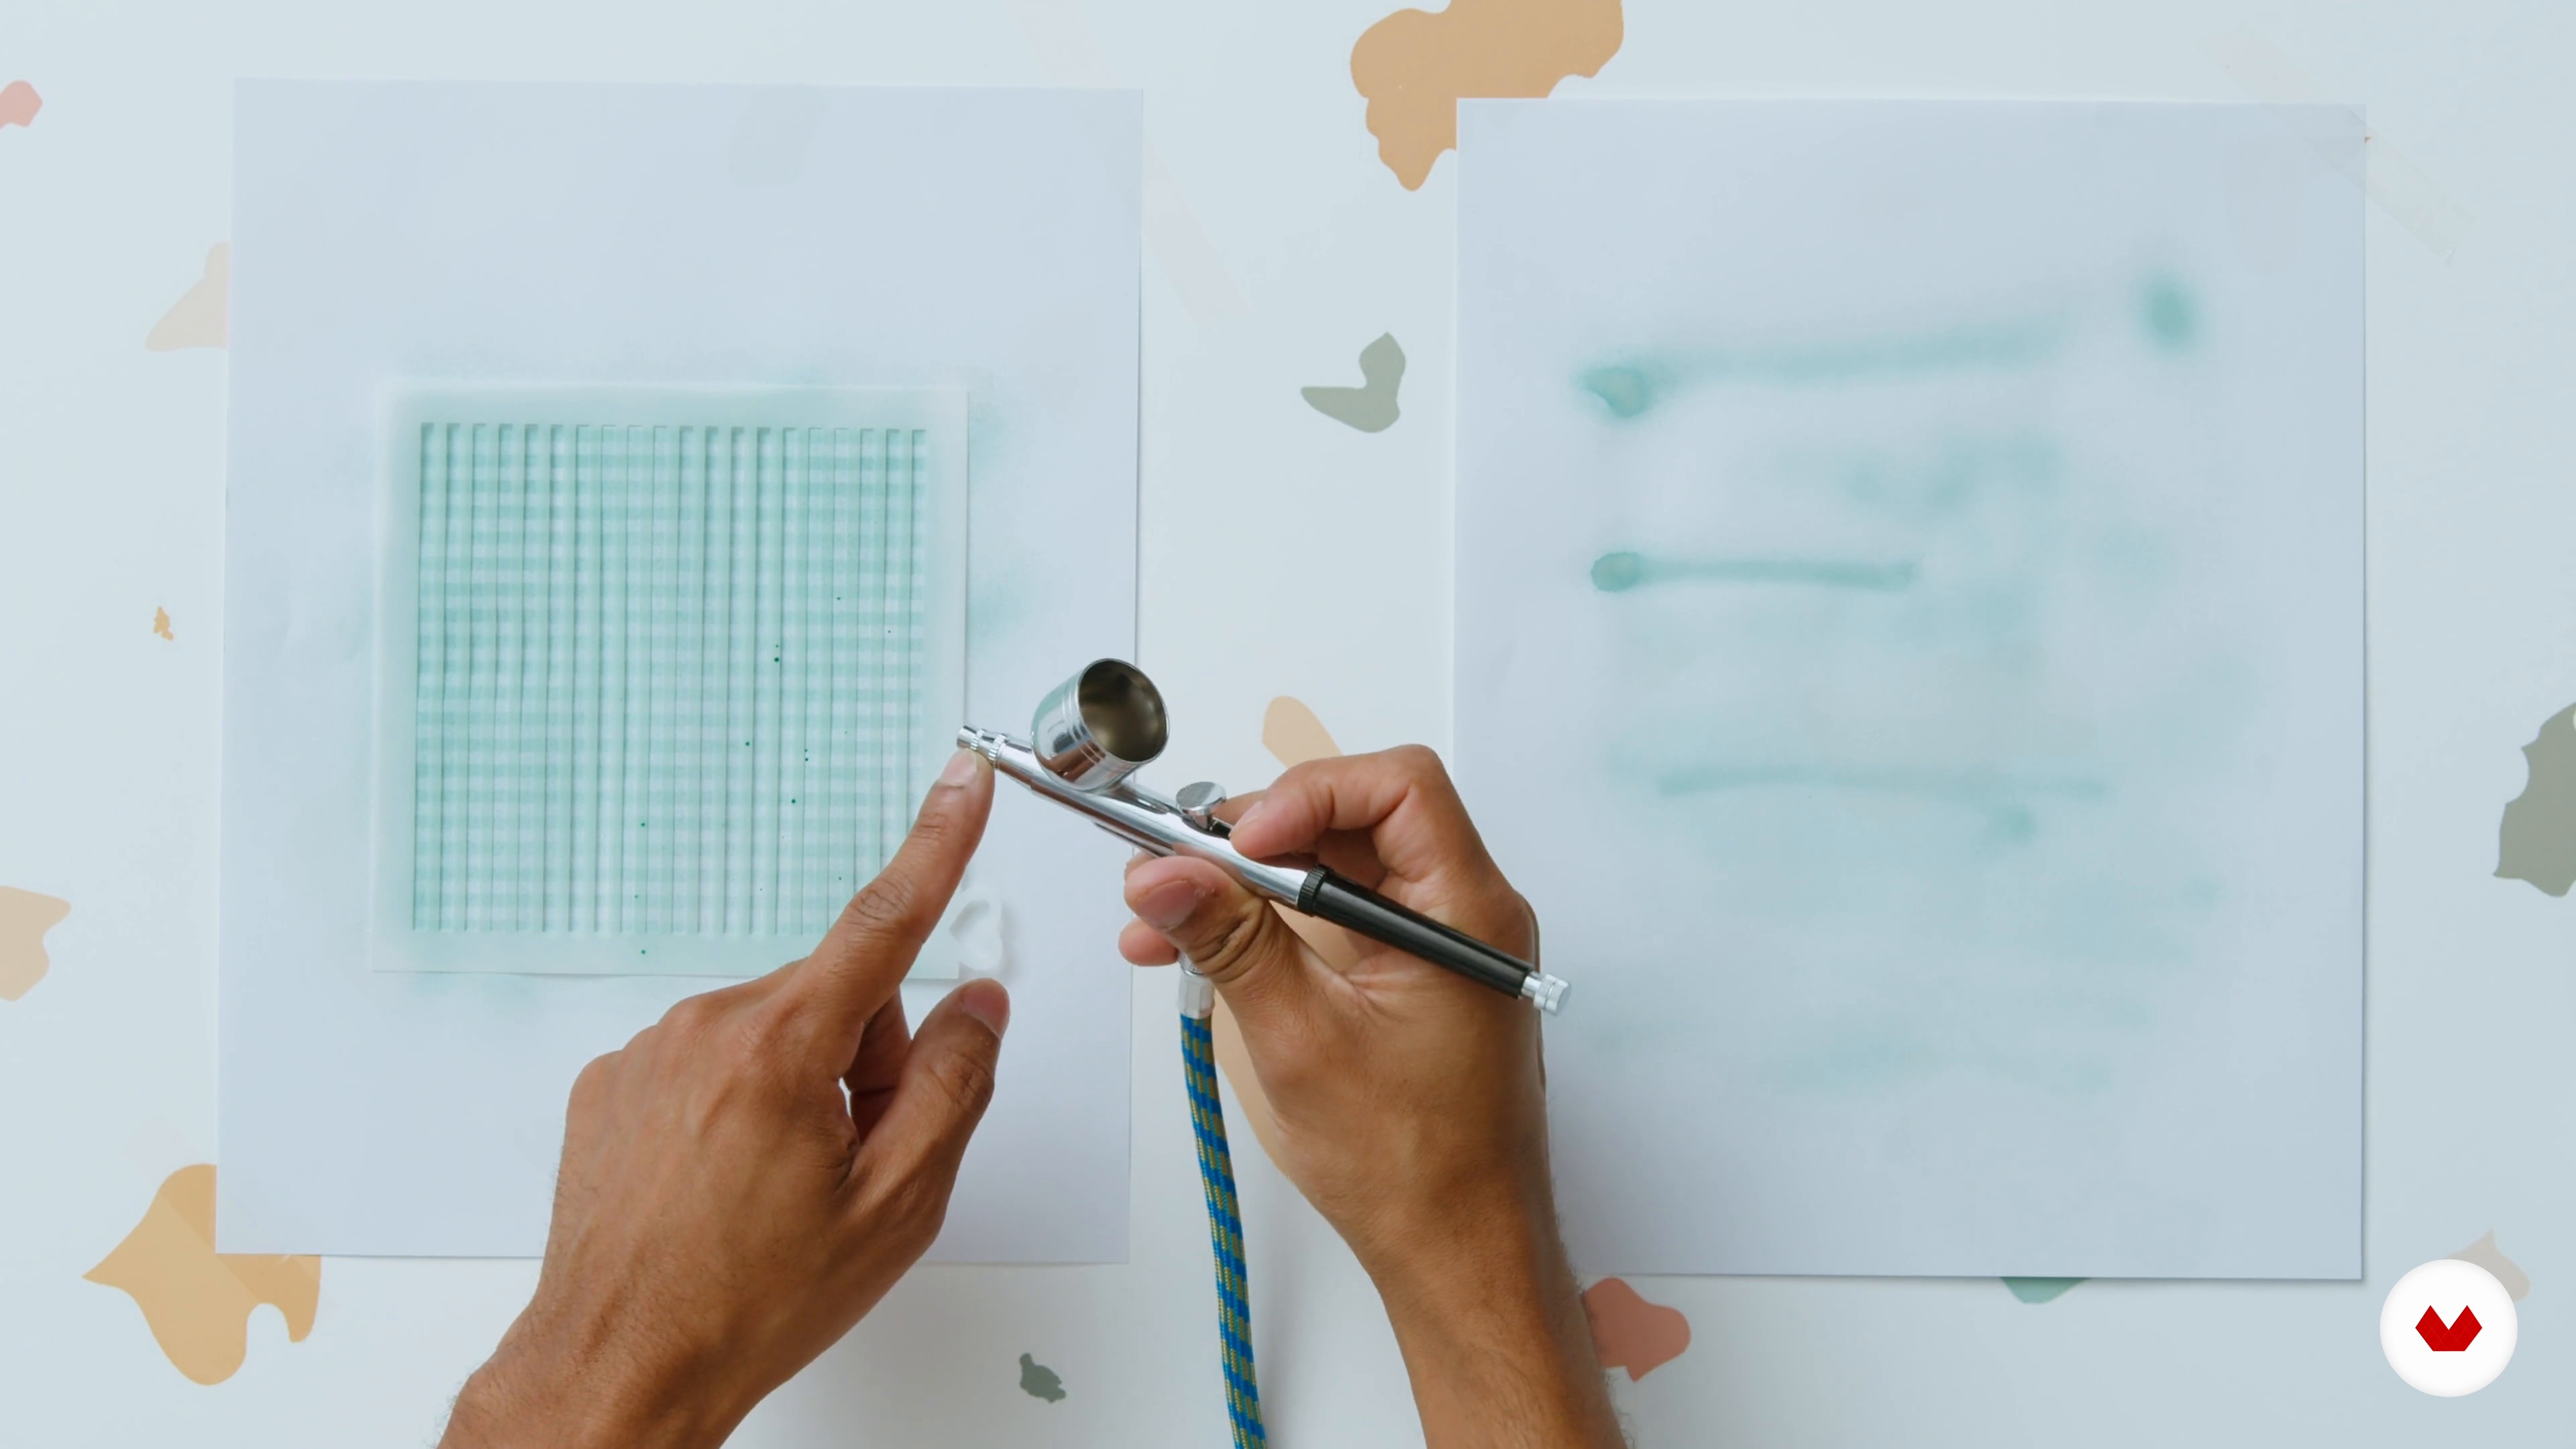
First steps with the airbrush
Airbrush art is as extensive as oil painting. Although we are not going to teach you to be an expert in this vast world, we are going to share the basic tips for using this useful tool in your cookies. If you already had it and were afraid to use it, it's time to dust it off and dare!
8m
image
6
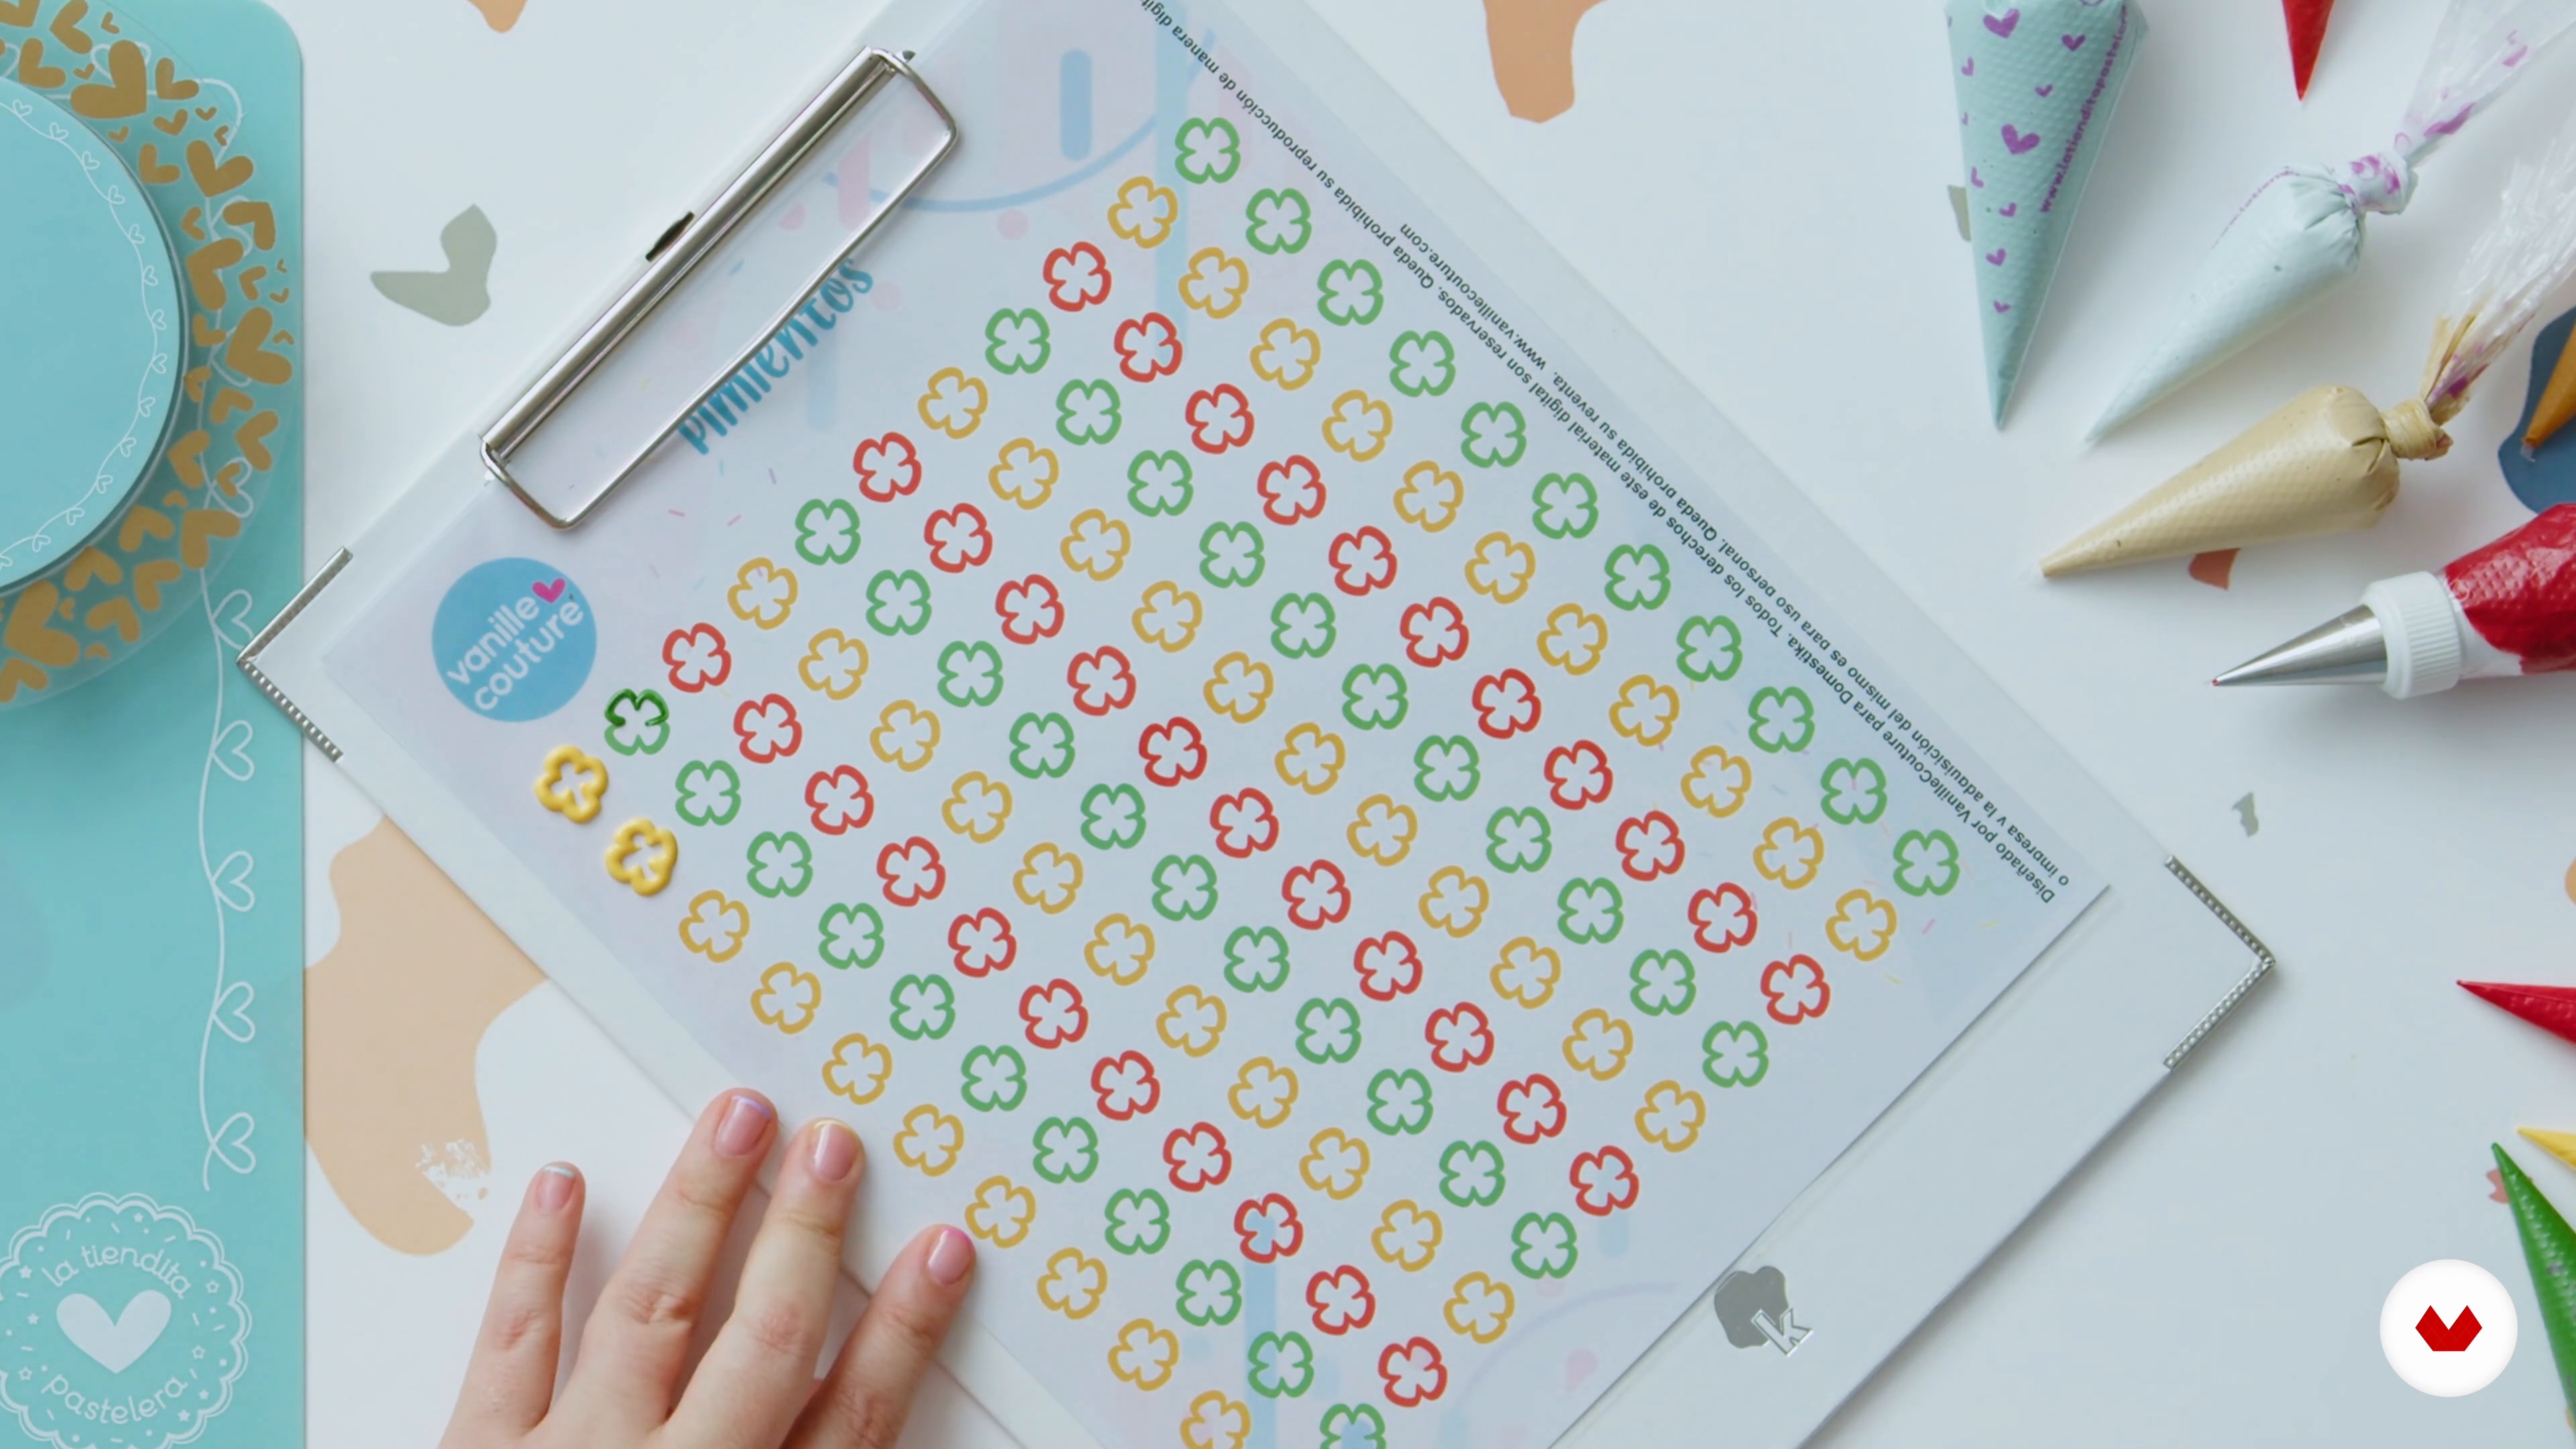
Transfer preparation with templates
For some creations with an intermediate level you will use small sprinkles or transfers with the help of the templates that we created for you and here we will teach you how to make them and how to use those templates.
18m
image
7
Cookie design and size
Graphic design has never been our strong suit and we always do what we can with the tools available. In this lesson, we are going to teach you how to scale your images easily (and a little rudimentarily) in Word. We will also share with you what we look at to be able to define the volumes of the cookies.
3m
image
8
wedding cookie 1
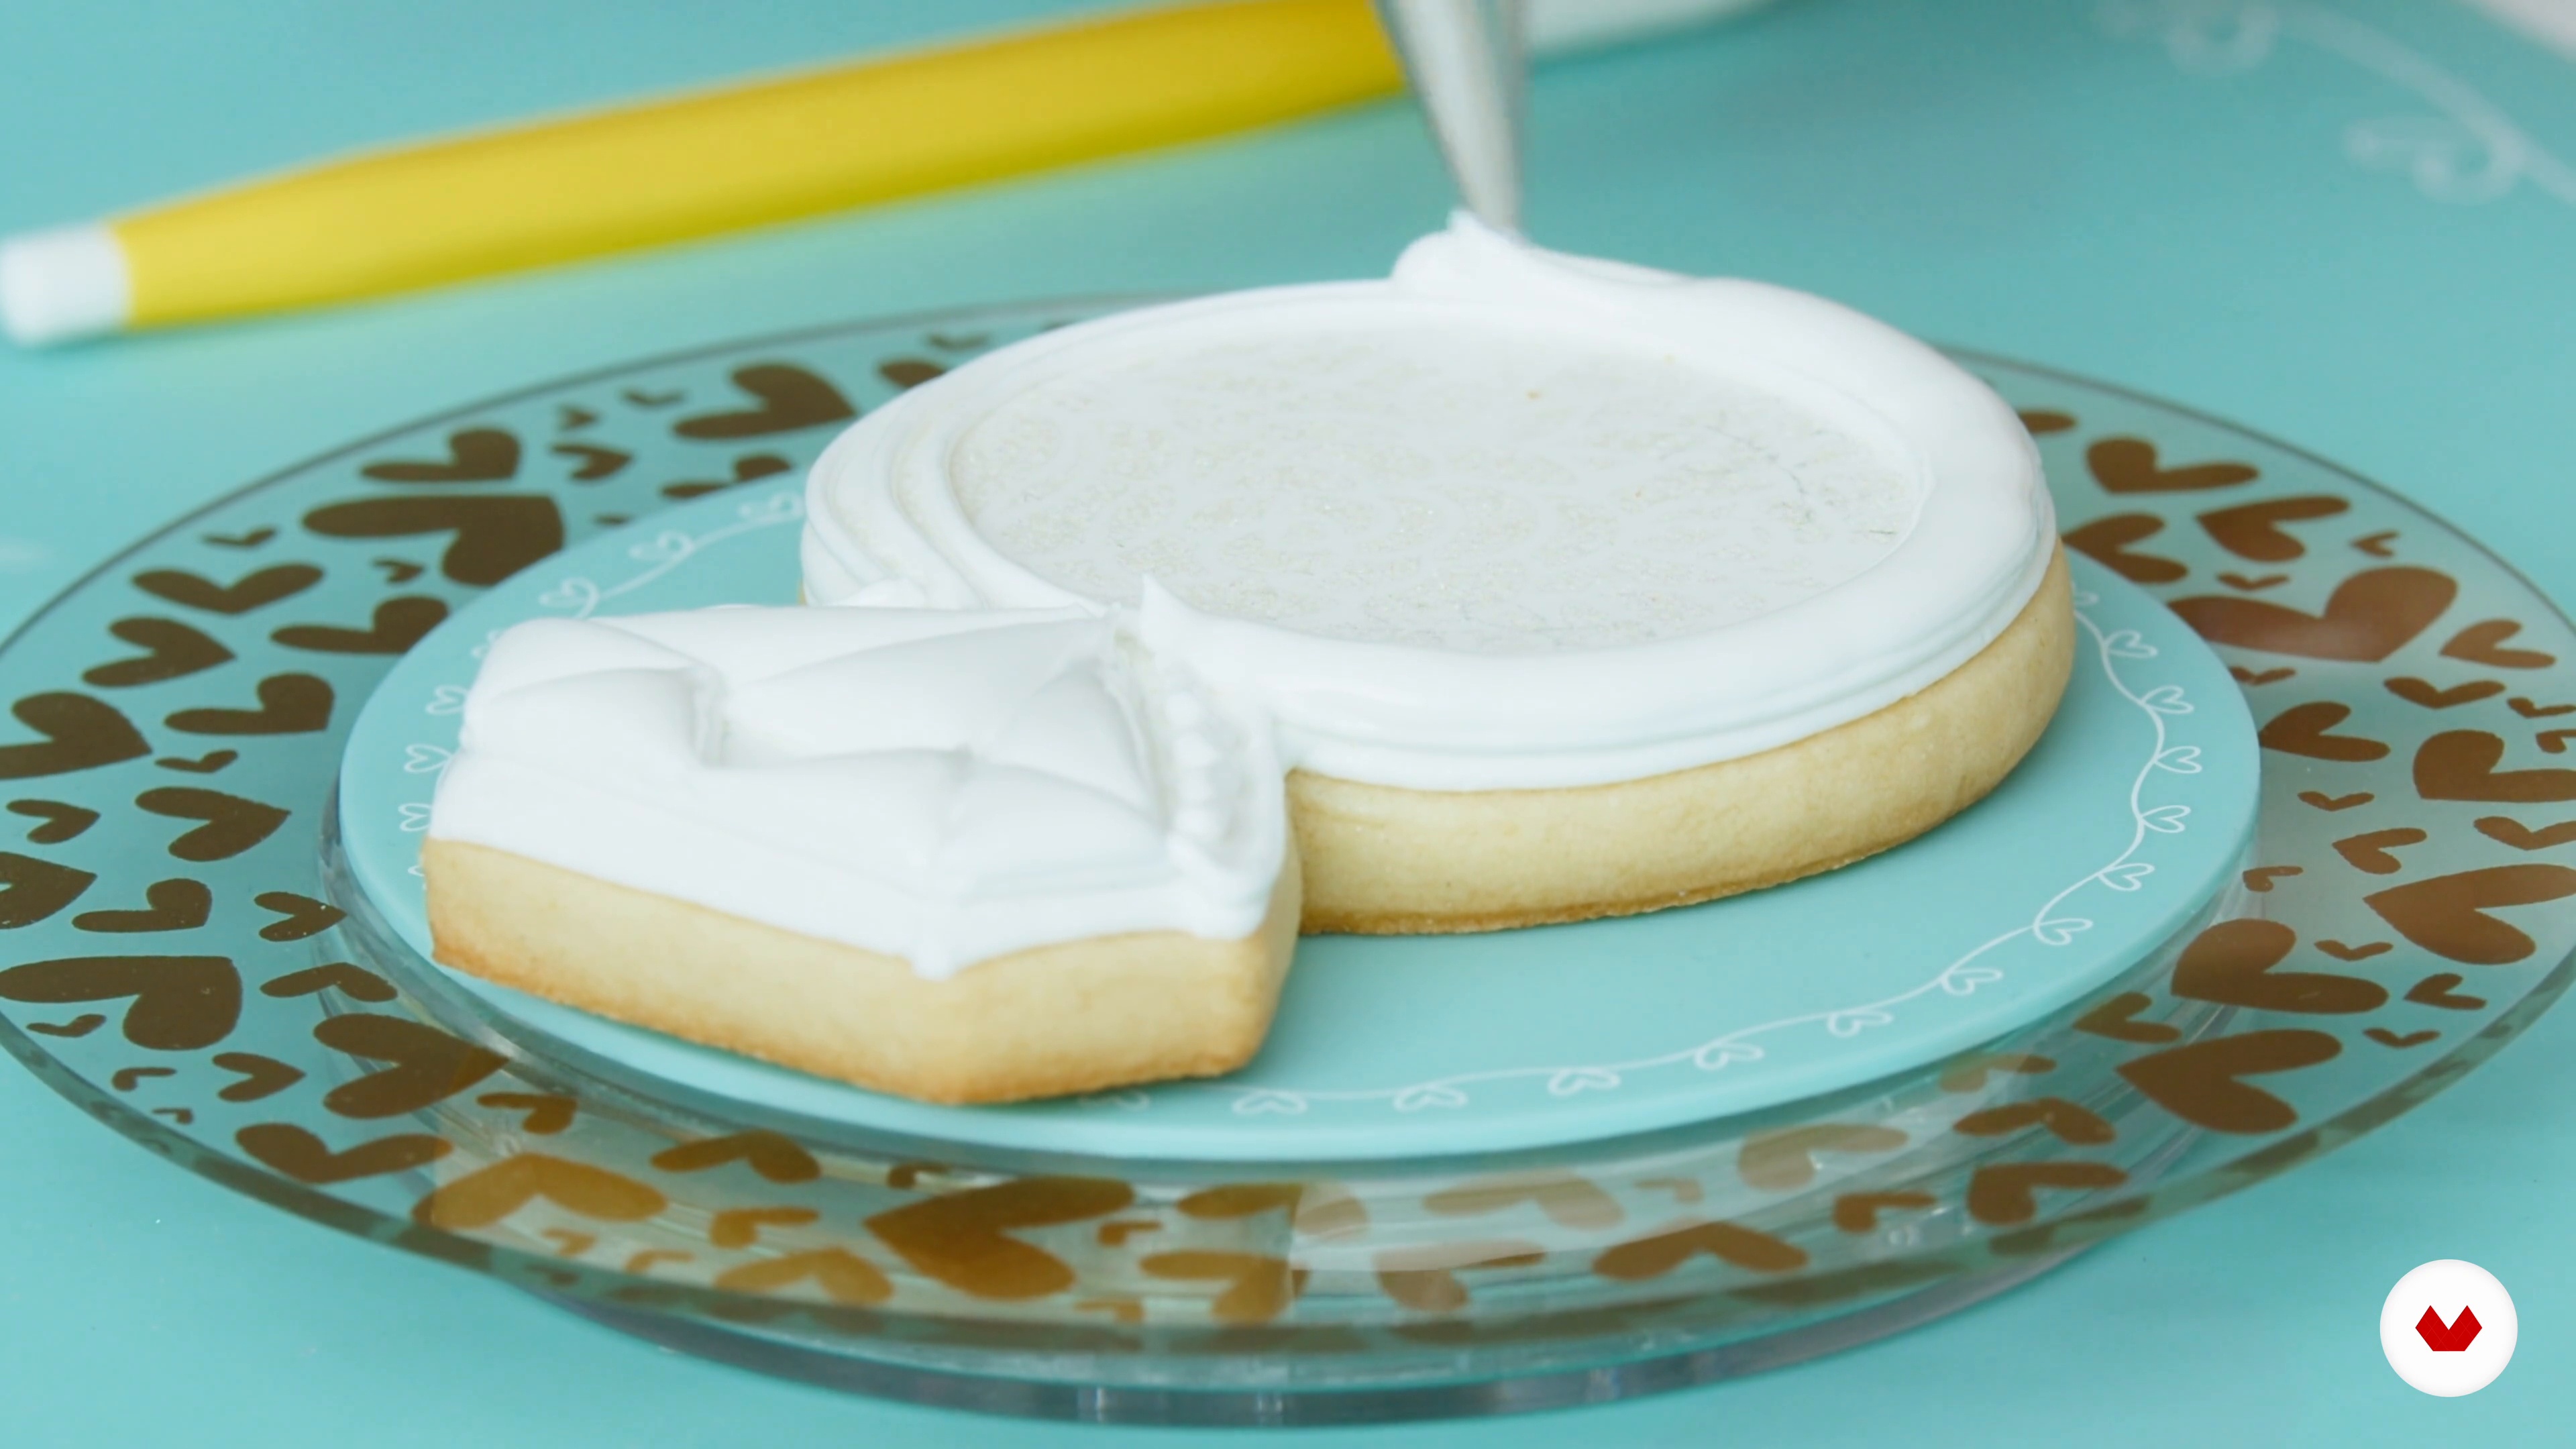
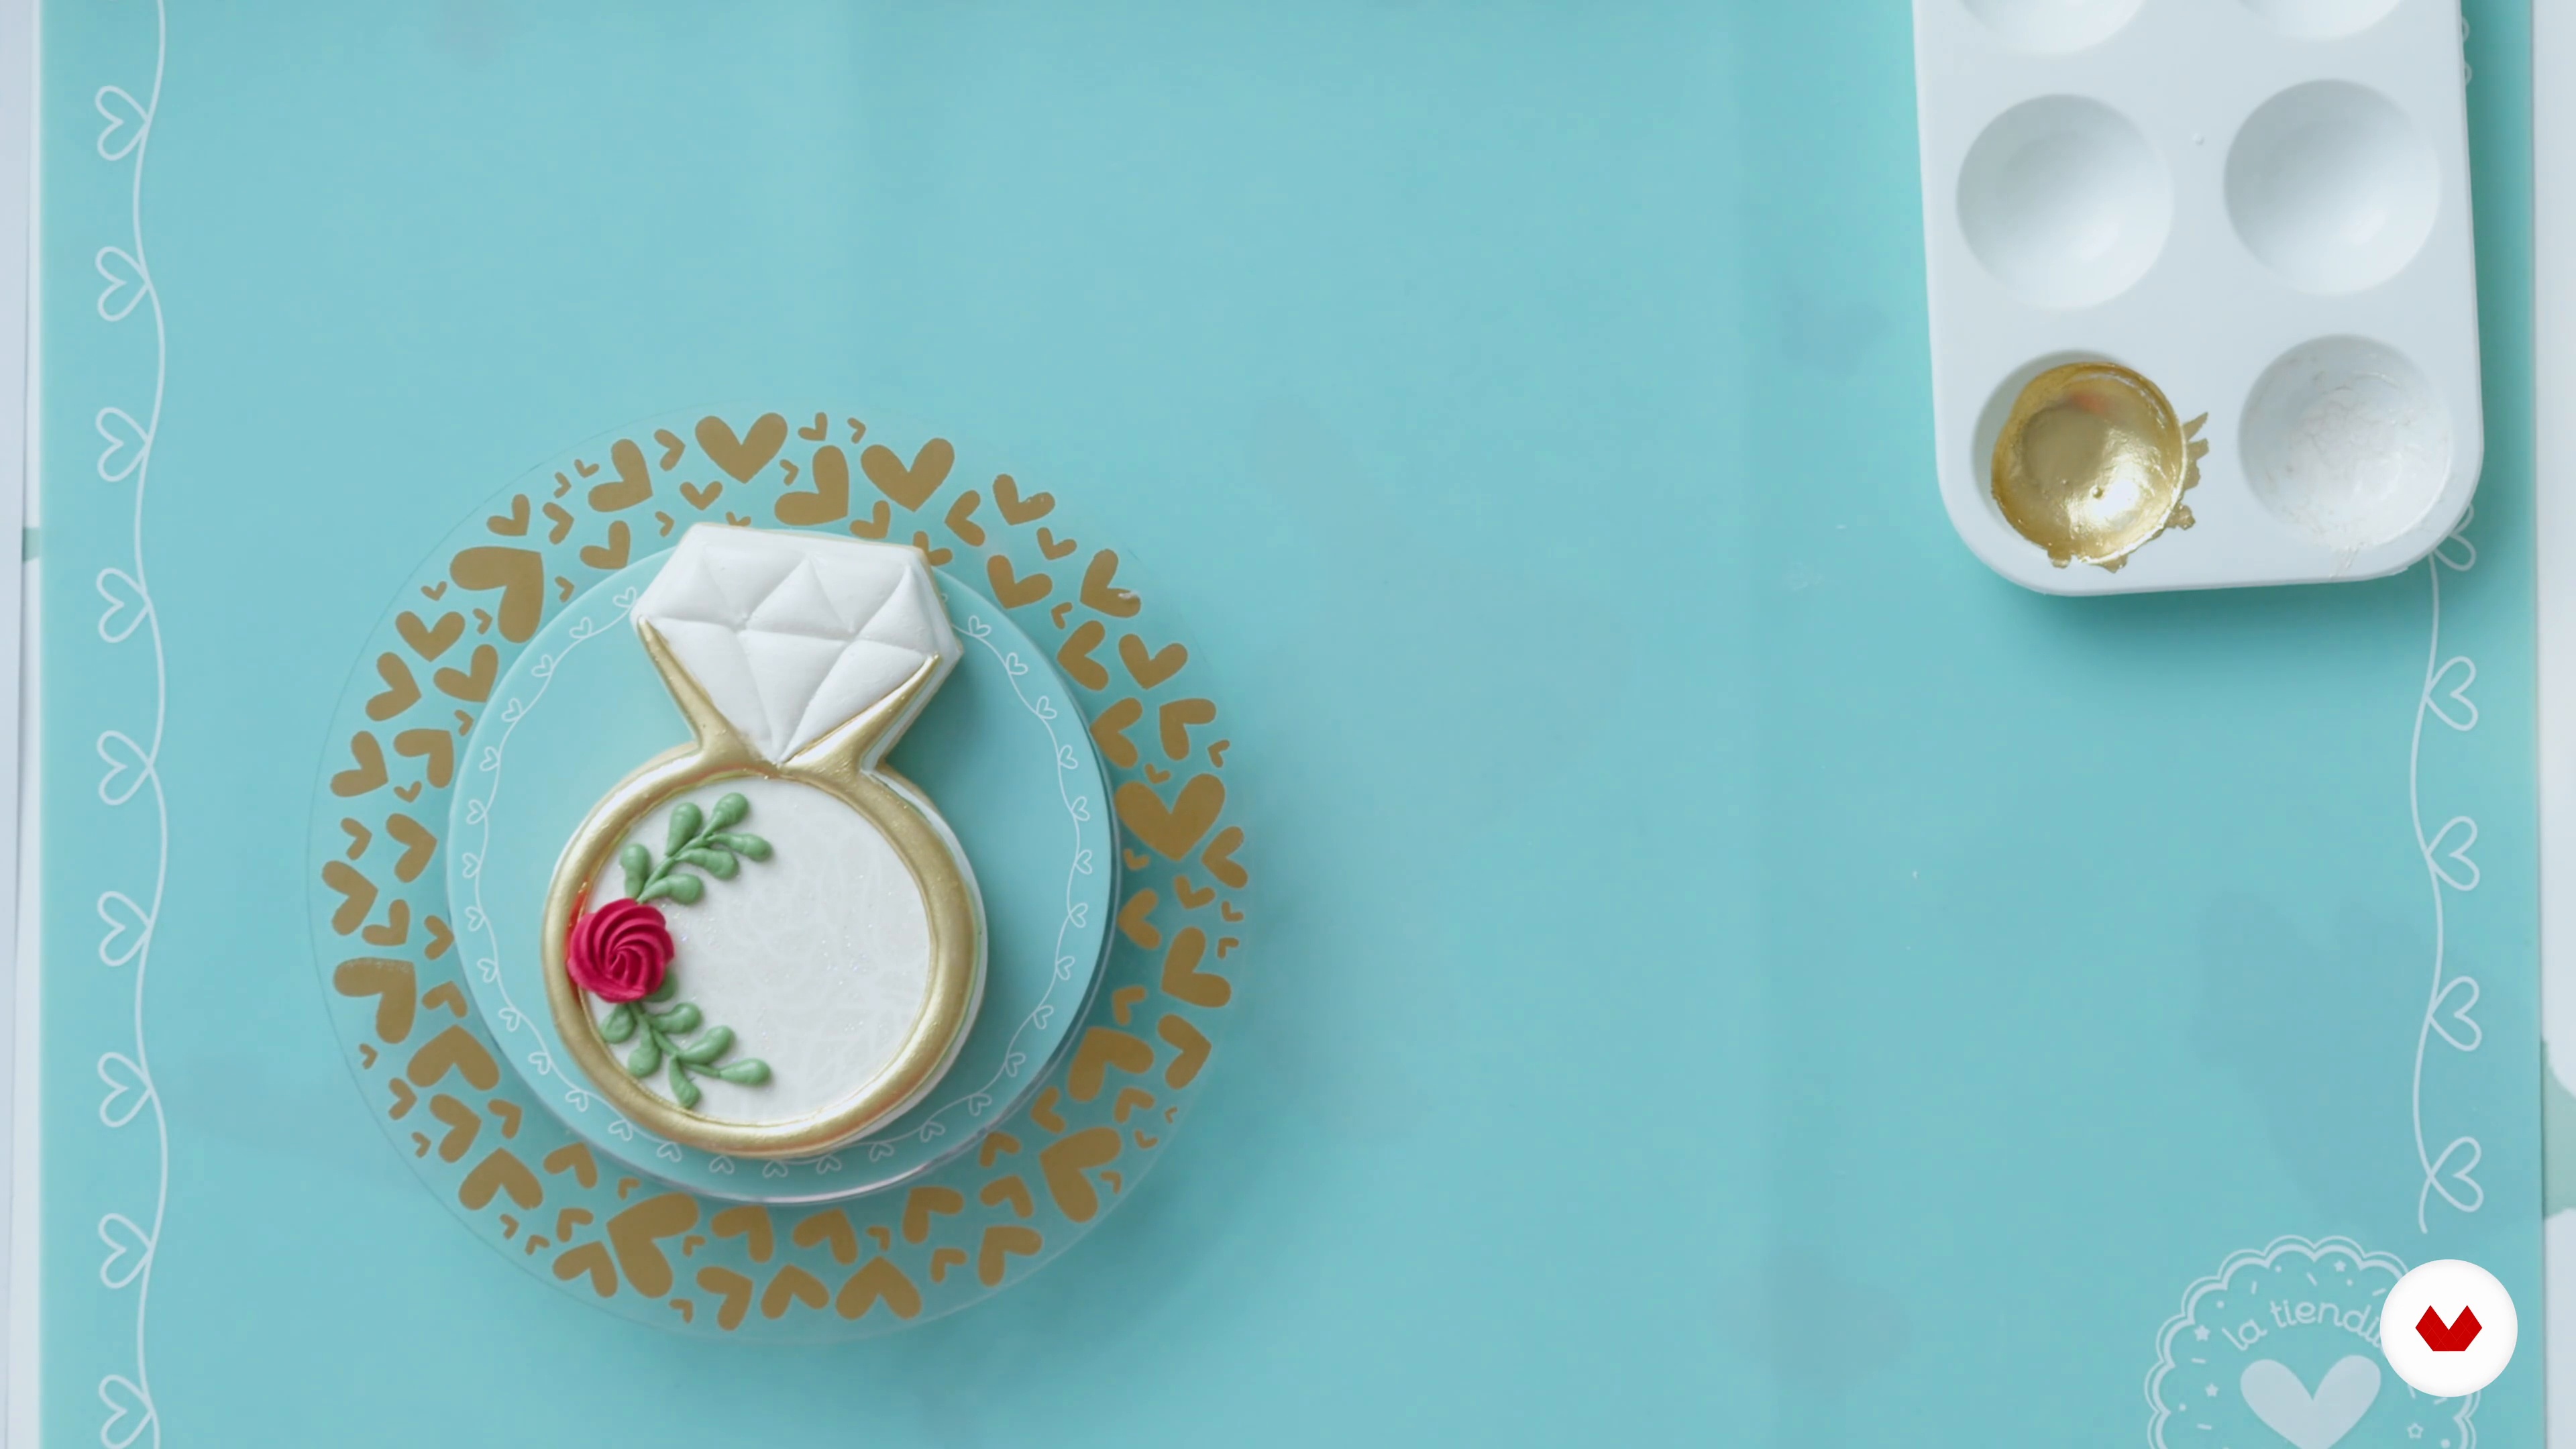
The first theme that we are going to use as a means to create new techniques will be wedding cookies, without a doubt a great and very useful theme to start offering your services.
16m
image
9
wedding cookie 2
We will continue to show you how to carry out the details of the wedding cookie. Remember that this is just an idea, you can add different details and make your design unique.
8m
image
10
Father's Day Cookies
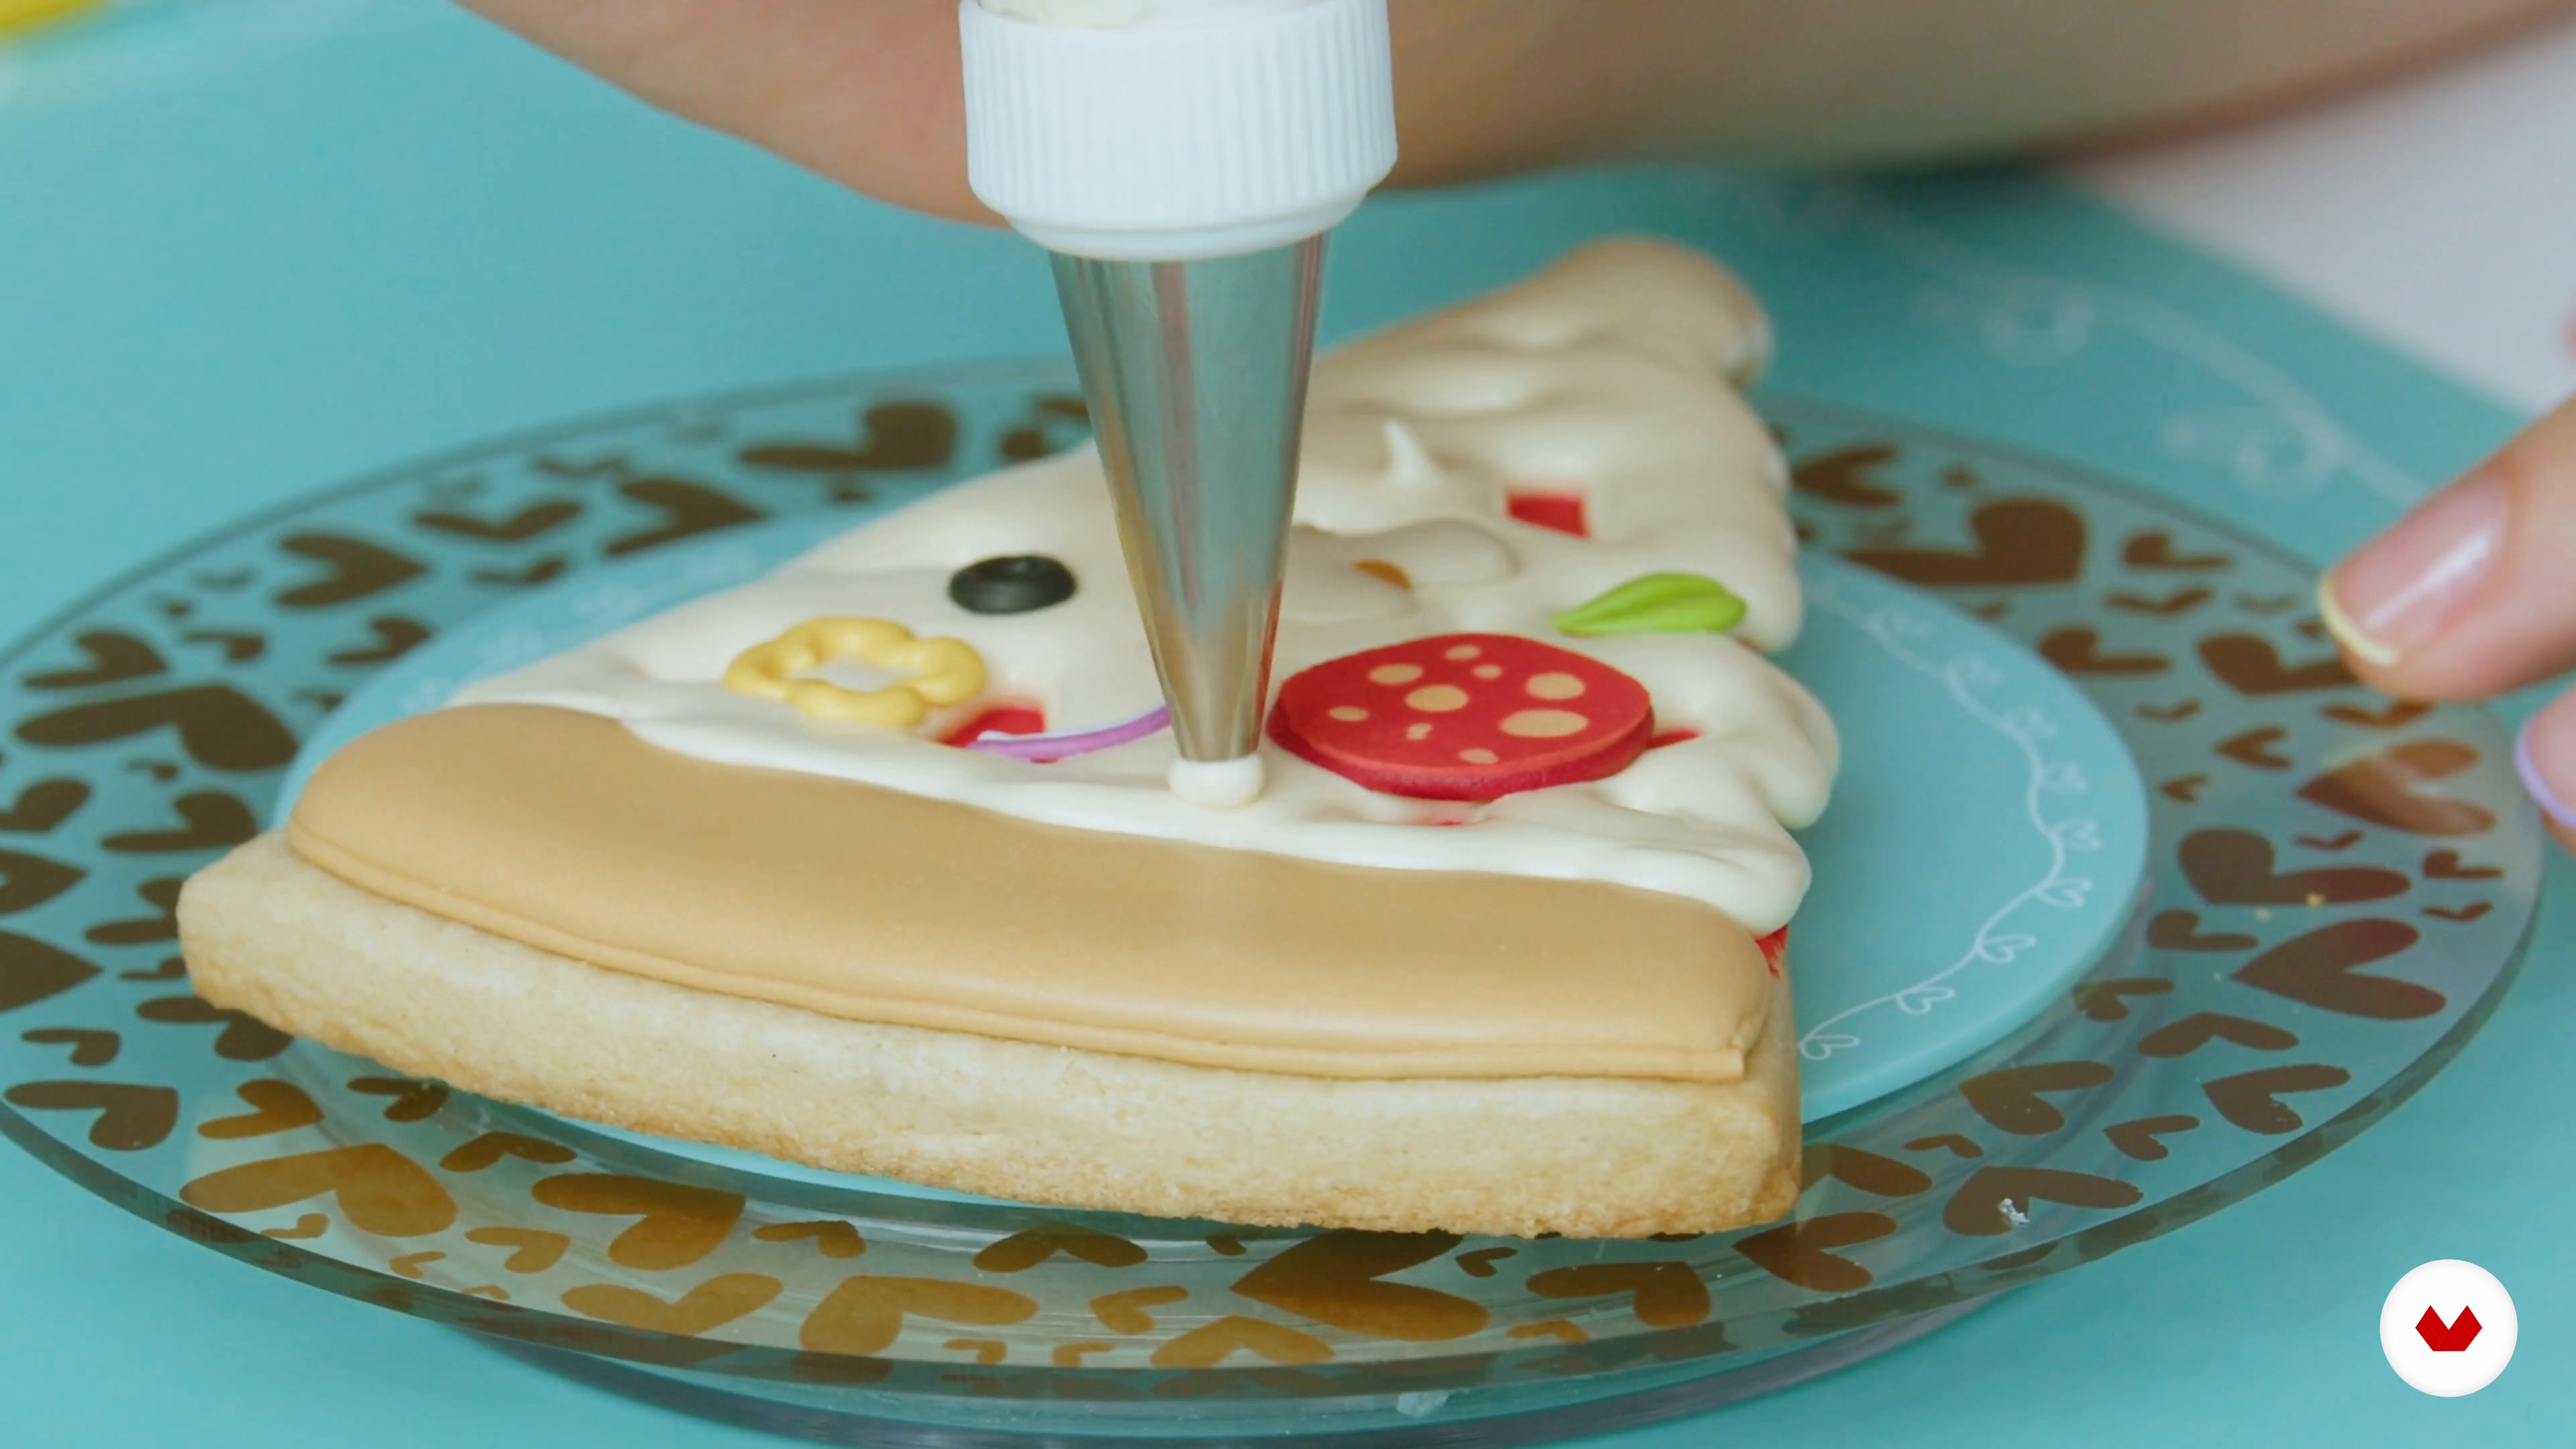
Now let's move on to other types of applications and textures on the cookies, and for this you will use a pizza cookie as a canvas that can be given as a gift on Father's Day or on a birthday.
10m
image
11
baby shower cookies 1
Cookies are an excellent gift to celebrate the birth of a new member of the family. Therefore, the following theme is highly requested in our business: baby shower cookies.
19m
image
12
baby shower cookies 2
During this second part of the lesson you will learn how to finish a stroller-shaped cookie. Additionally, you will see how to make the base for the design of the next cookie on this theme.
17m
image
13
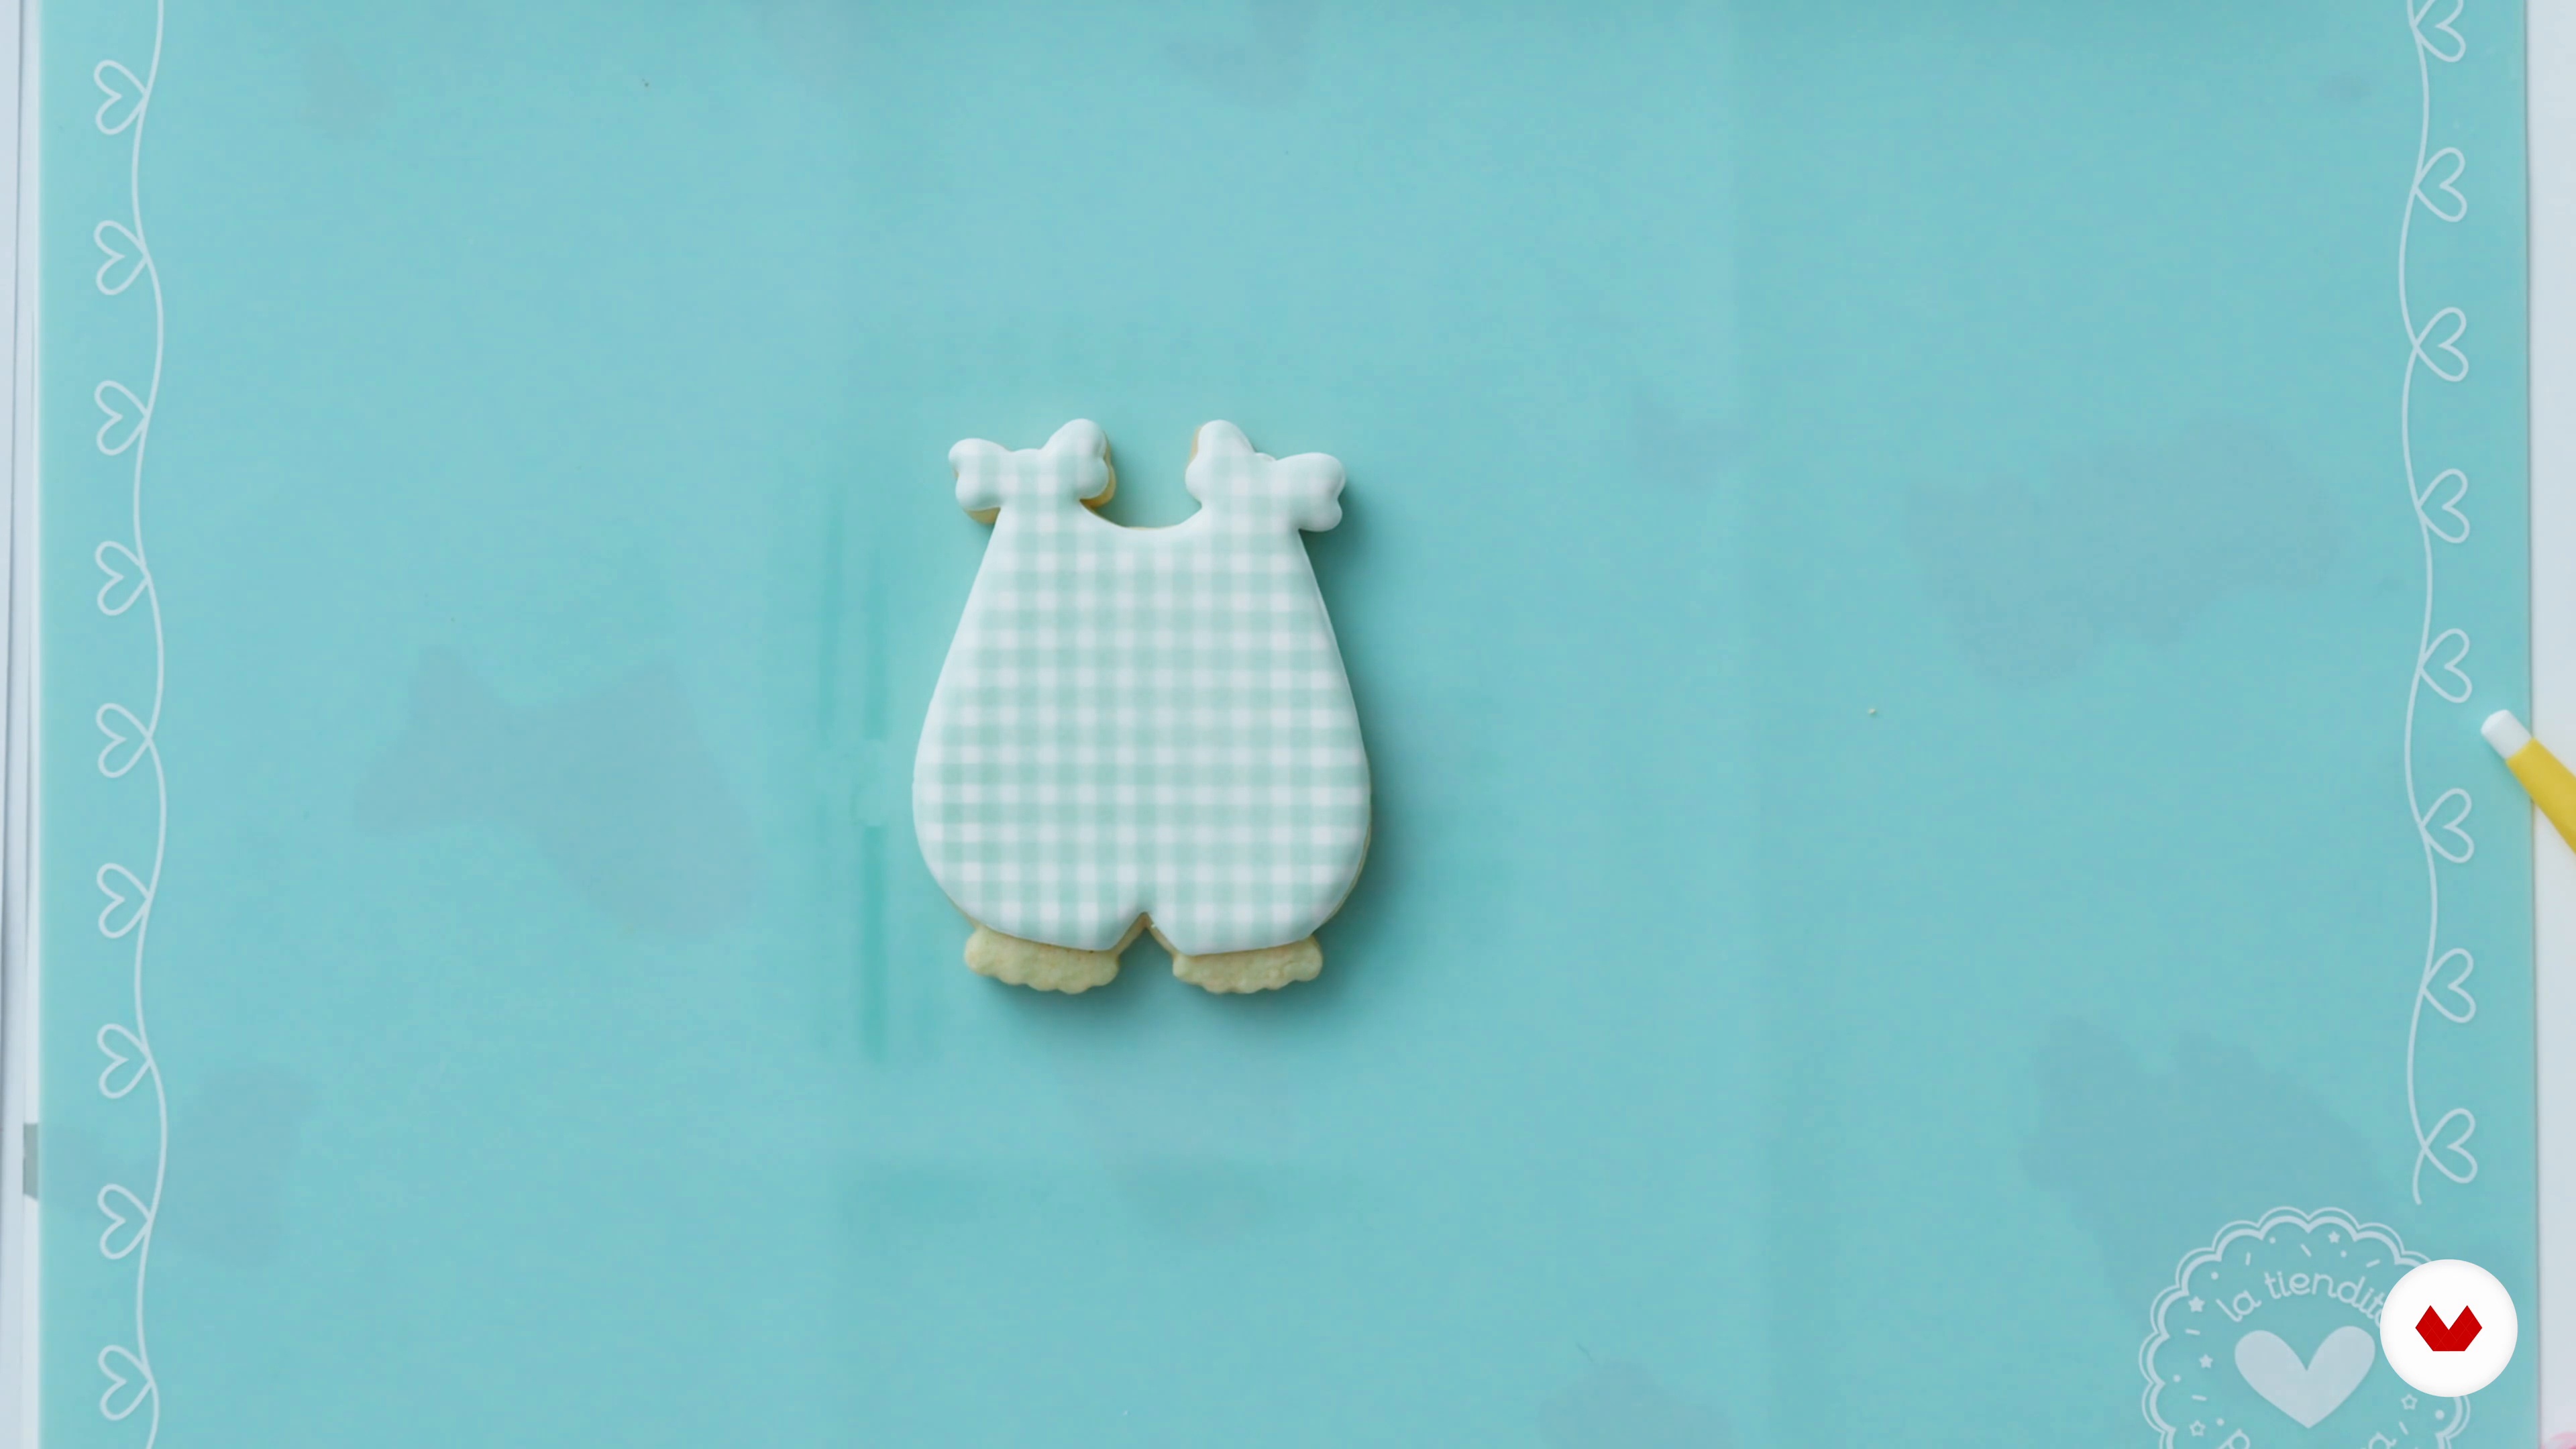
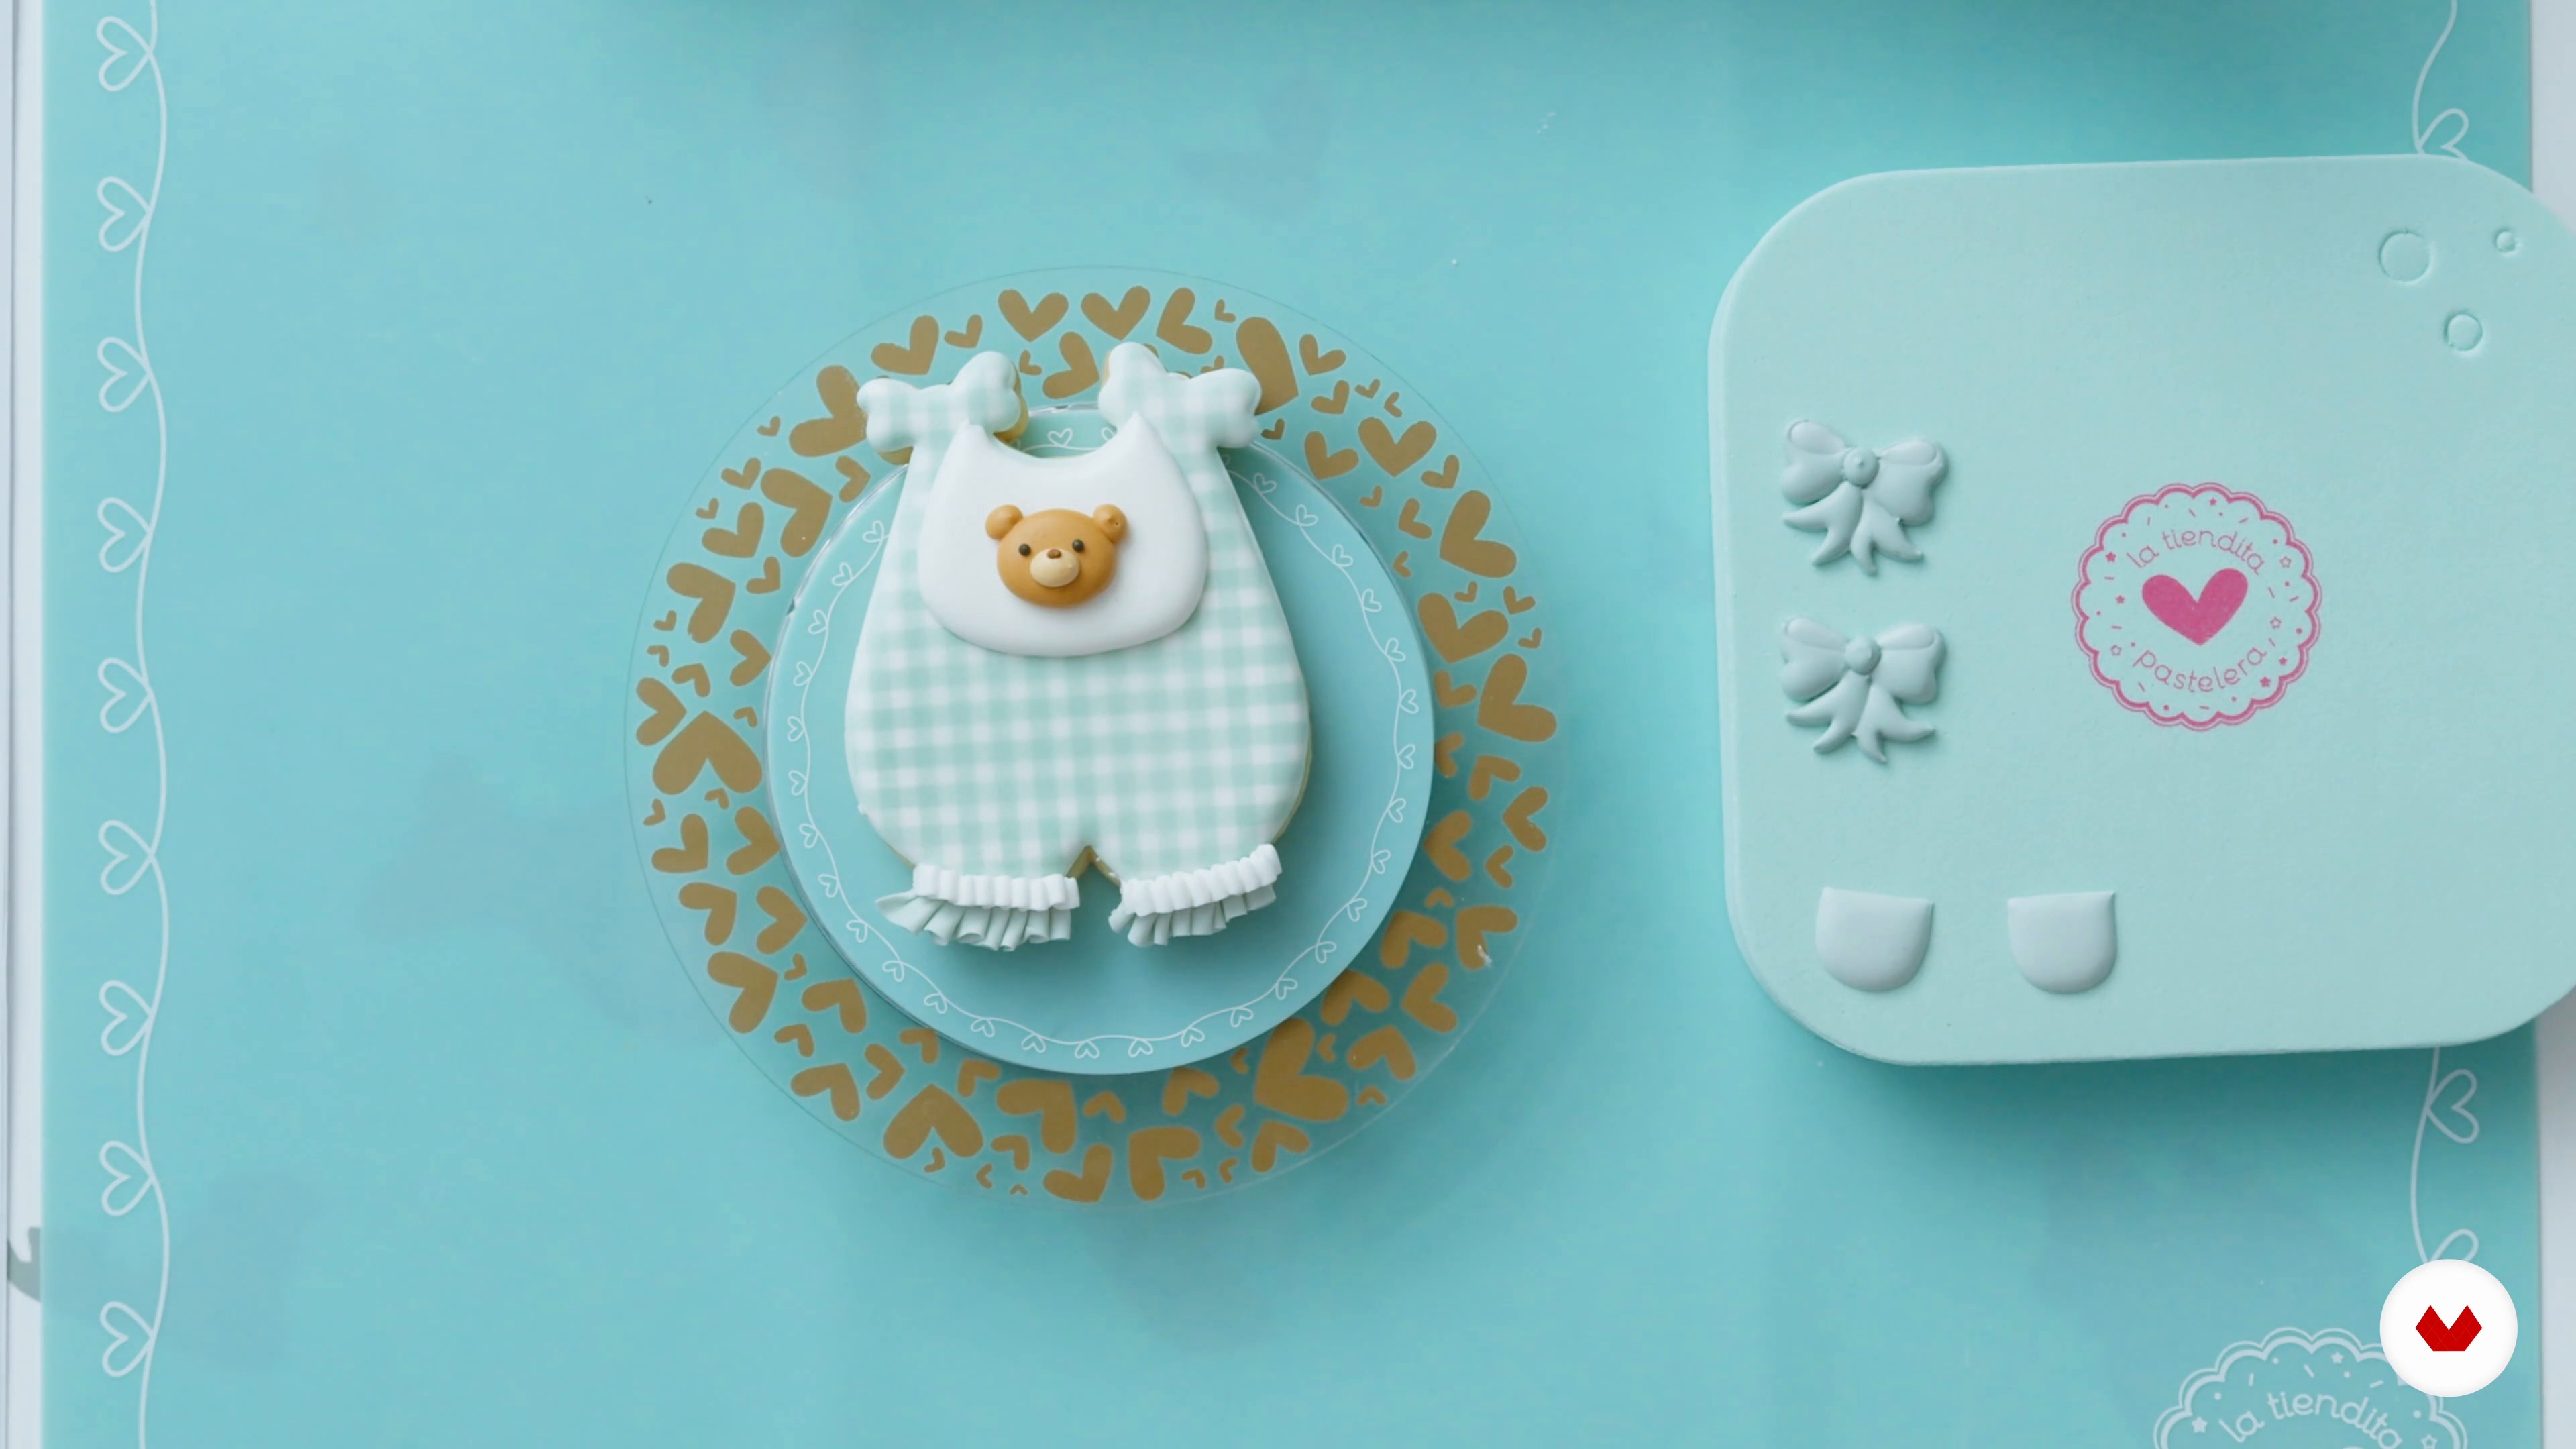
Baby shower cookies 3
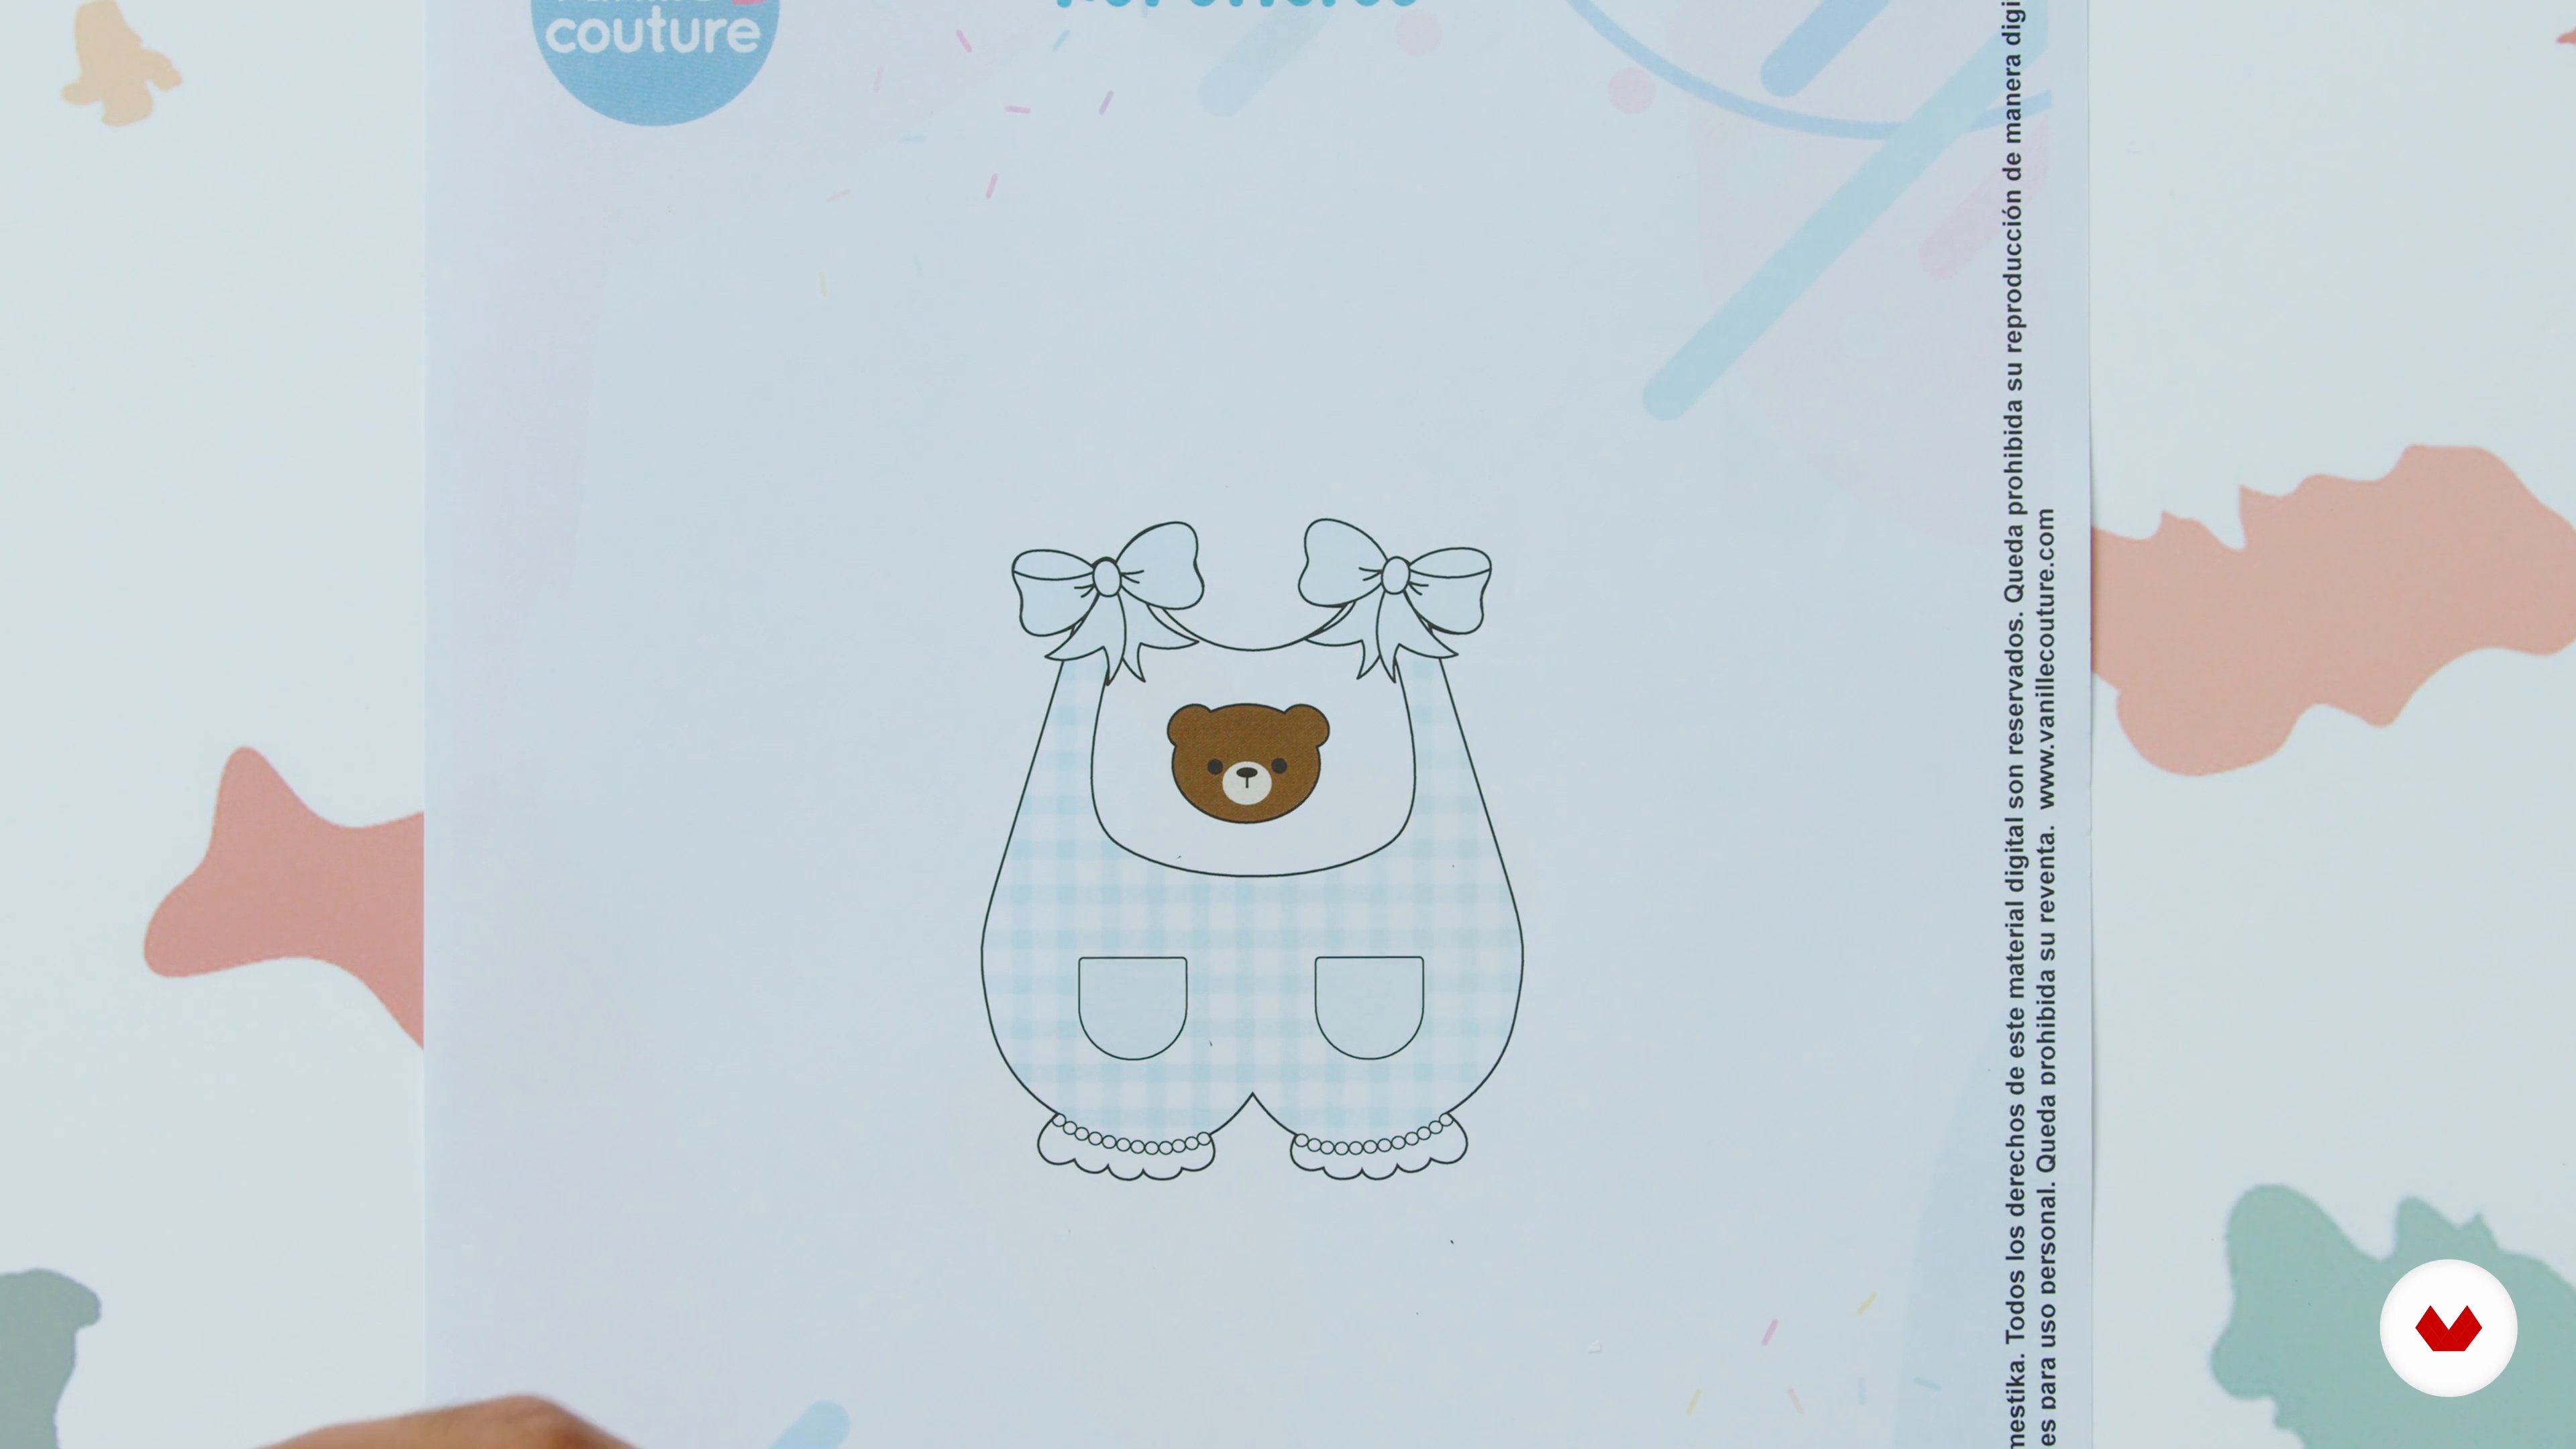
To finish with these cookies, you will see in detail how to make a baby clothes cookie. We will share our best tricks to create unique and fun designs.
13m
image
14
Mother's Day Cookies 1
Mother's Day is the best season to launch cookies for sale, because everyone is looking for an original and beautiful gift for mom. So here we leave you a couple of incredible ideas to get you started selling on this date.
16m
image
15
Mother's Day Cookies 2
We will continue showing you some ideas that you can carry out for Mother's Day.
4m
image
16
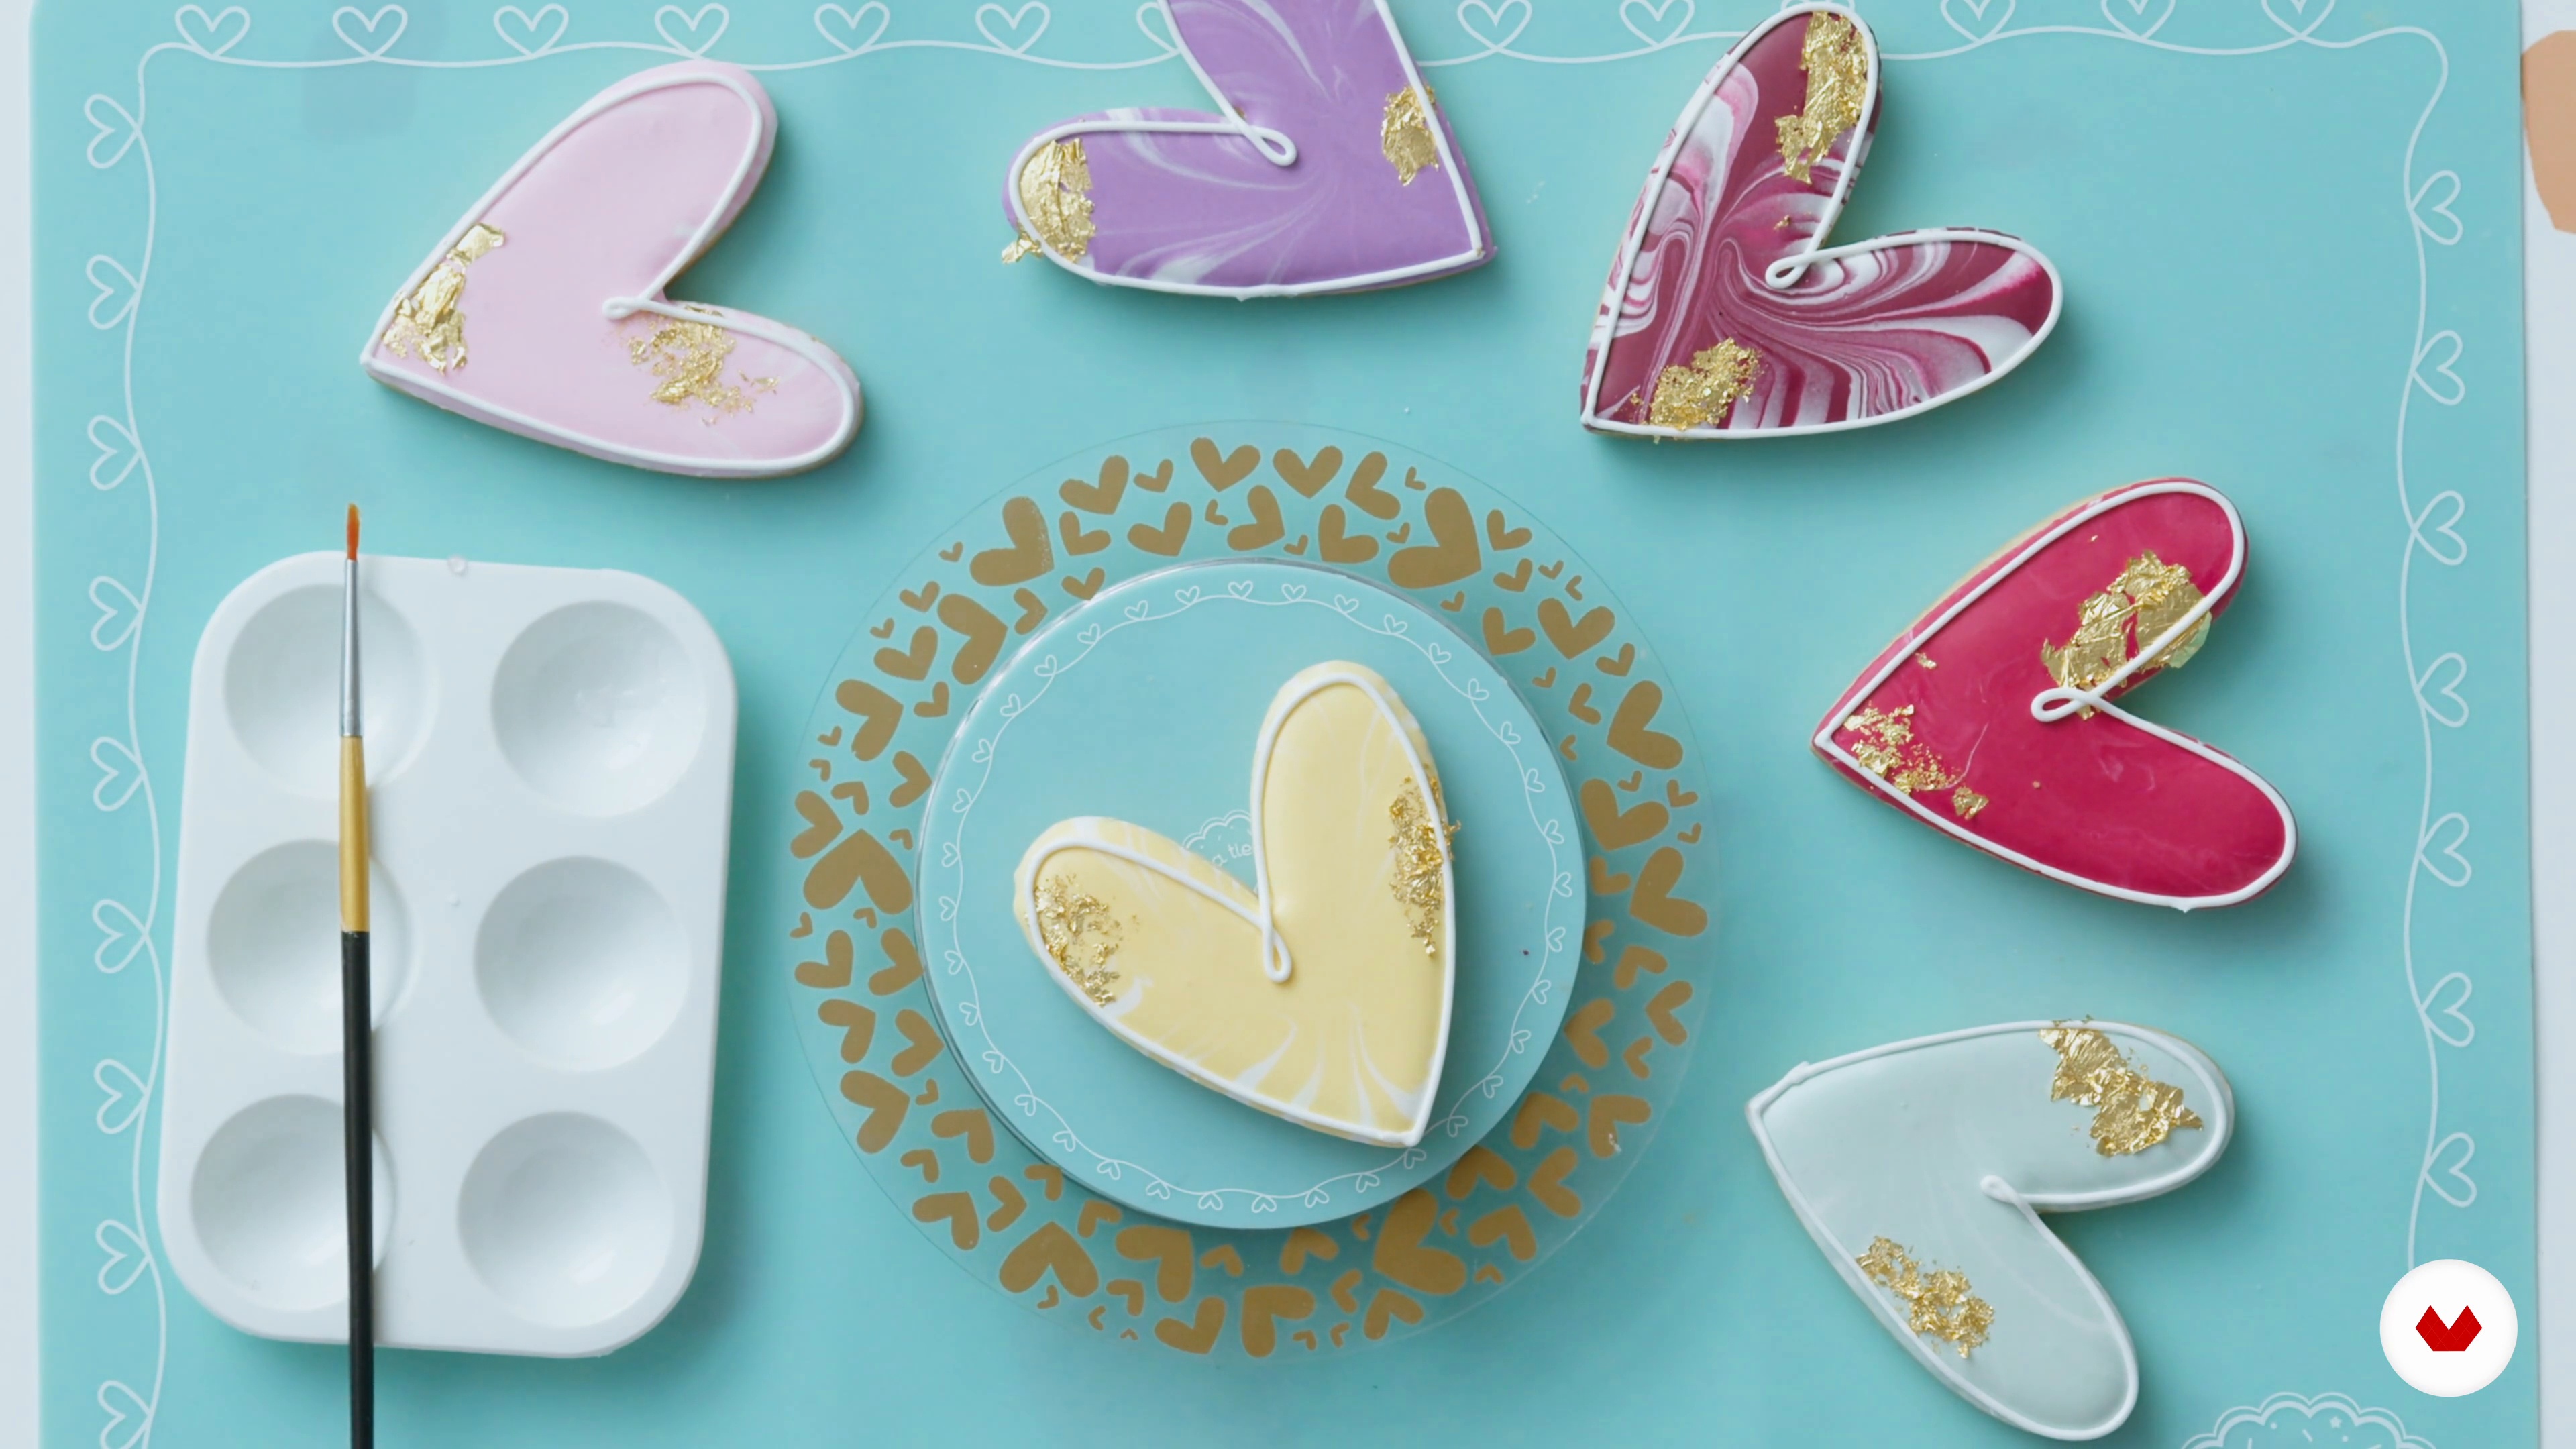
Valentine's Day Cookies
Lastly, you will make some Valentine's Day cookies, the theme where one can be as cheesy as they want. We always suggest offering this theme in small packages ready to give to that loved one.
7m
image
17
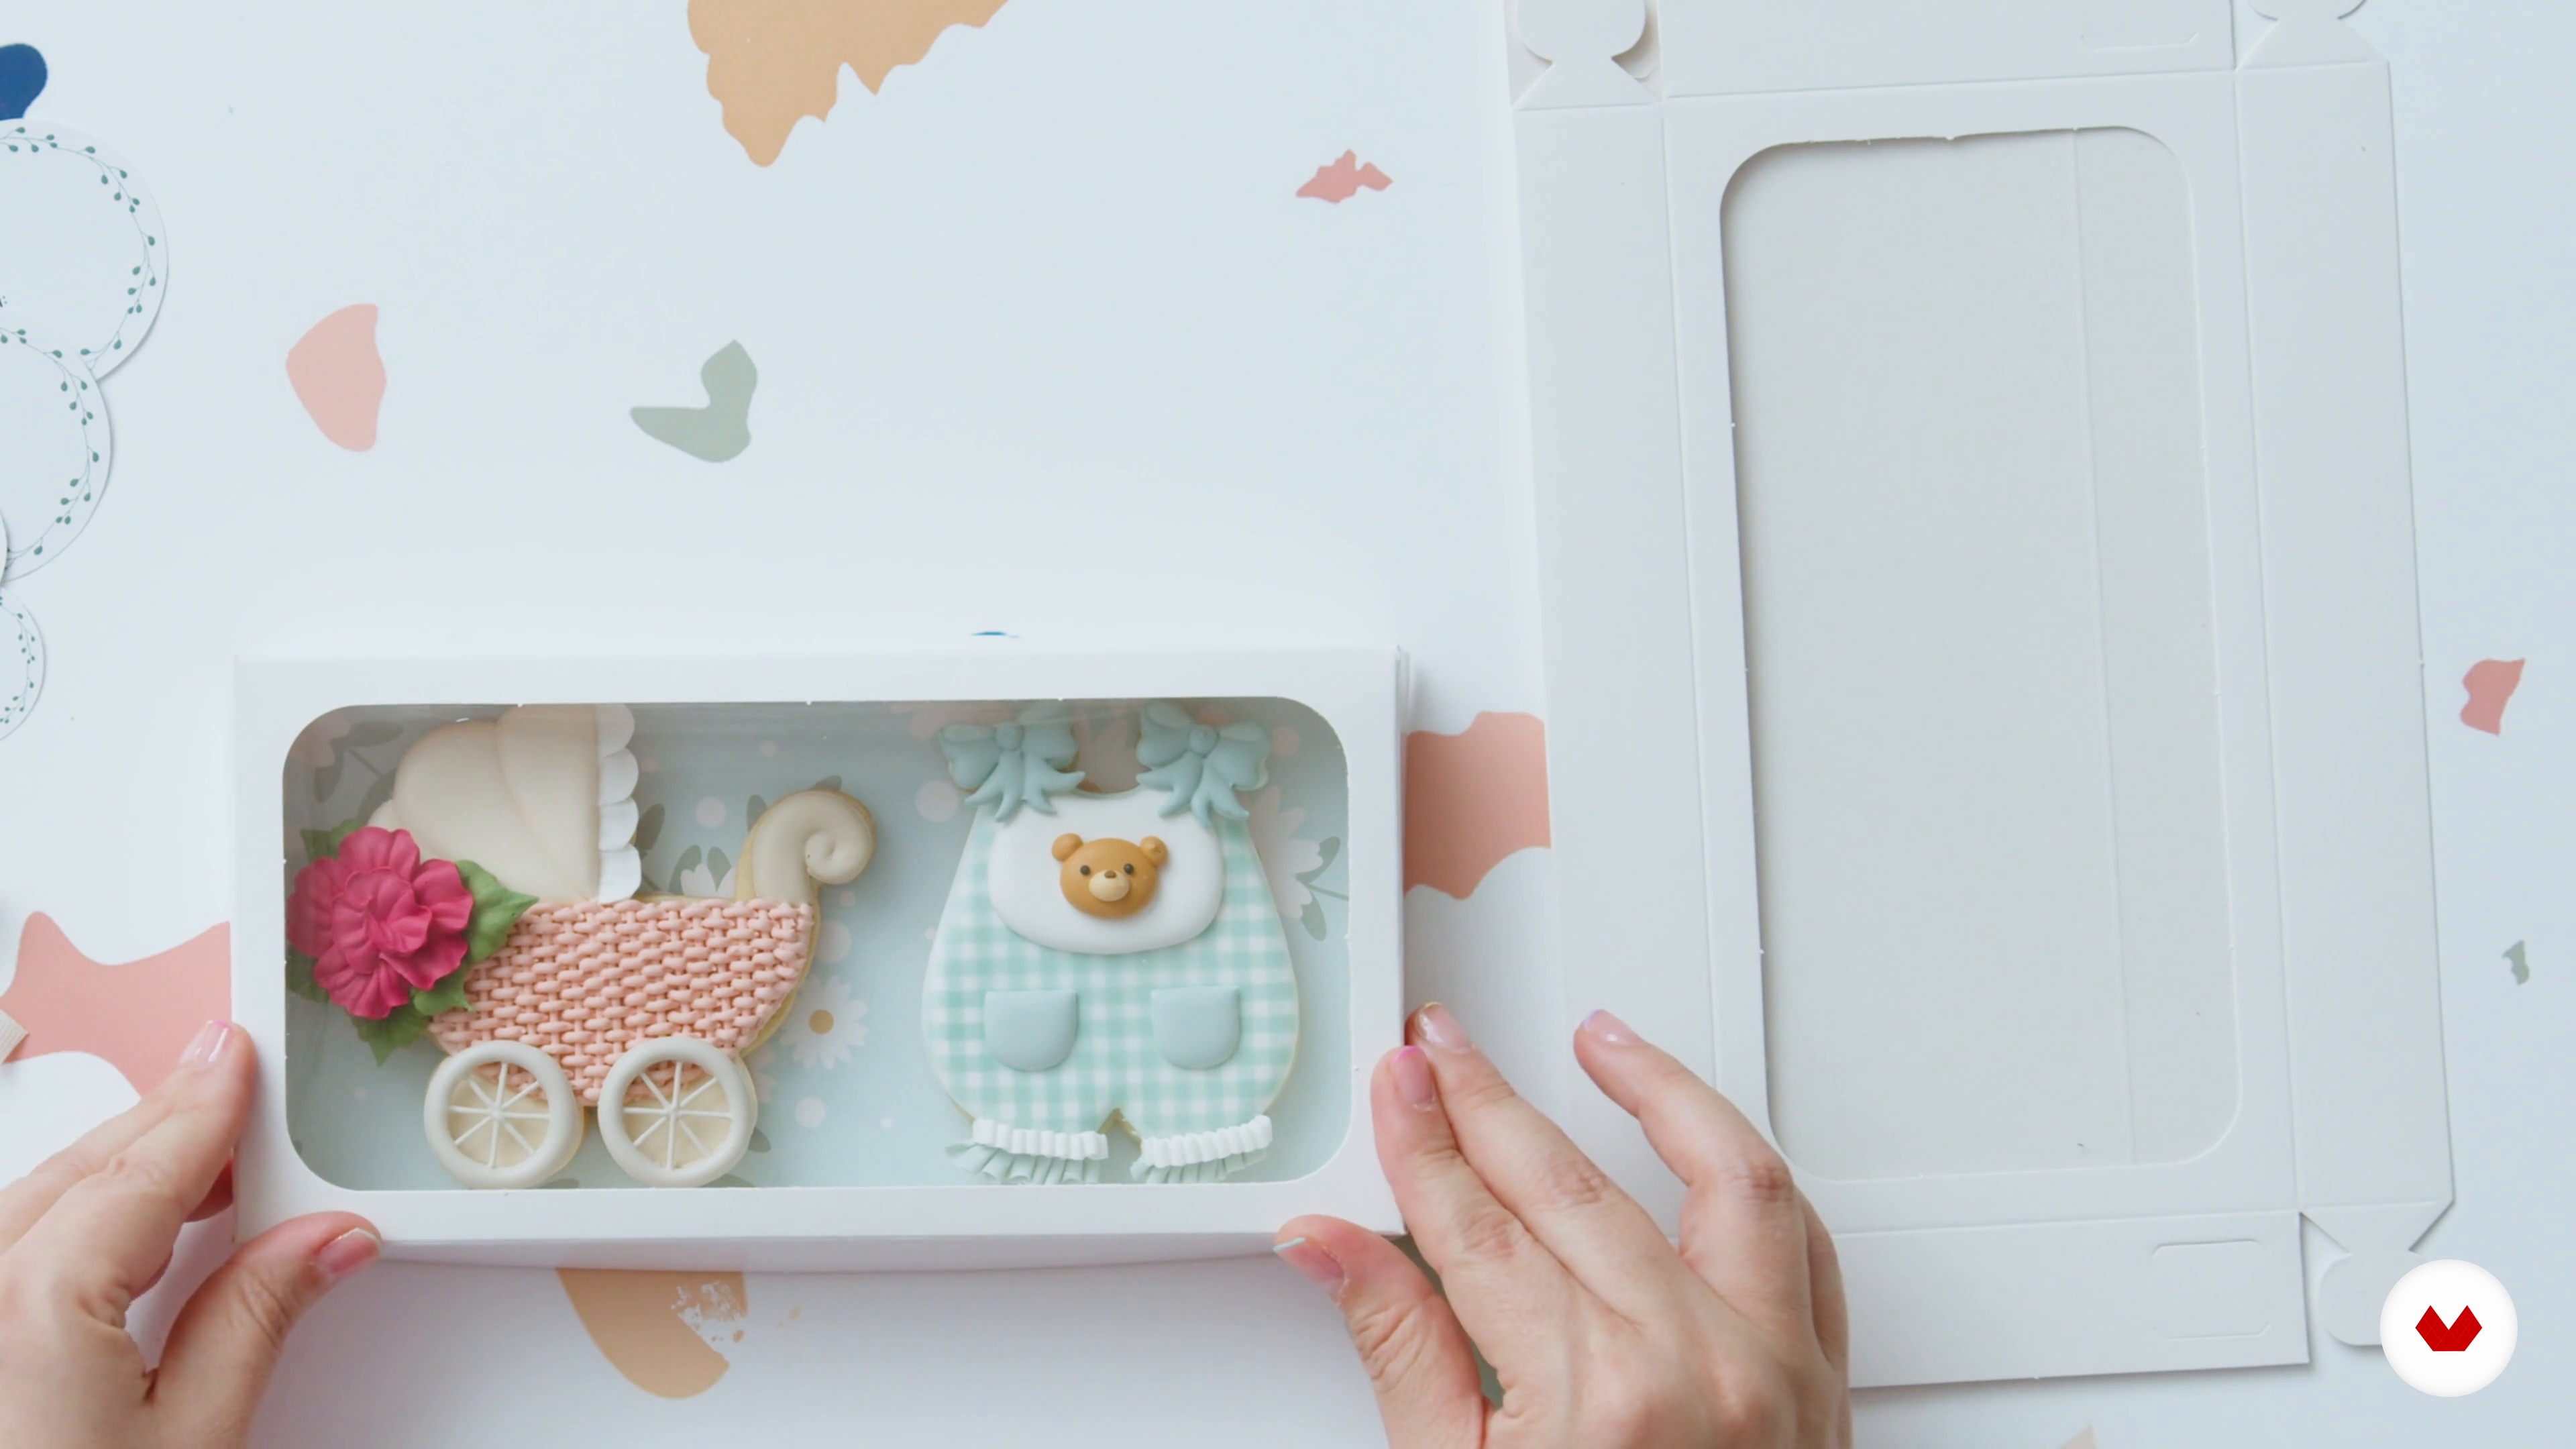
Presentation of the cookies
The presentation of your cookies can define whether you sell “simple cookies” or “gifts ready to give.” Believe us: the second can be sold much easier. In this lesson we leave you a couple of ideas to sell edible gifts.
10m
image
18
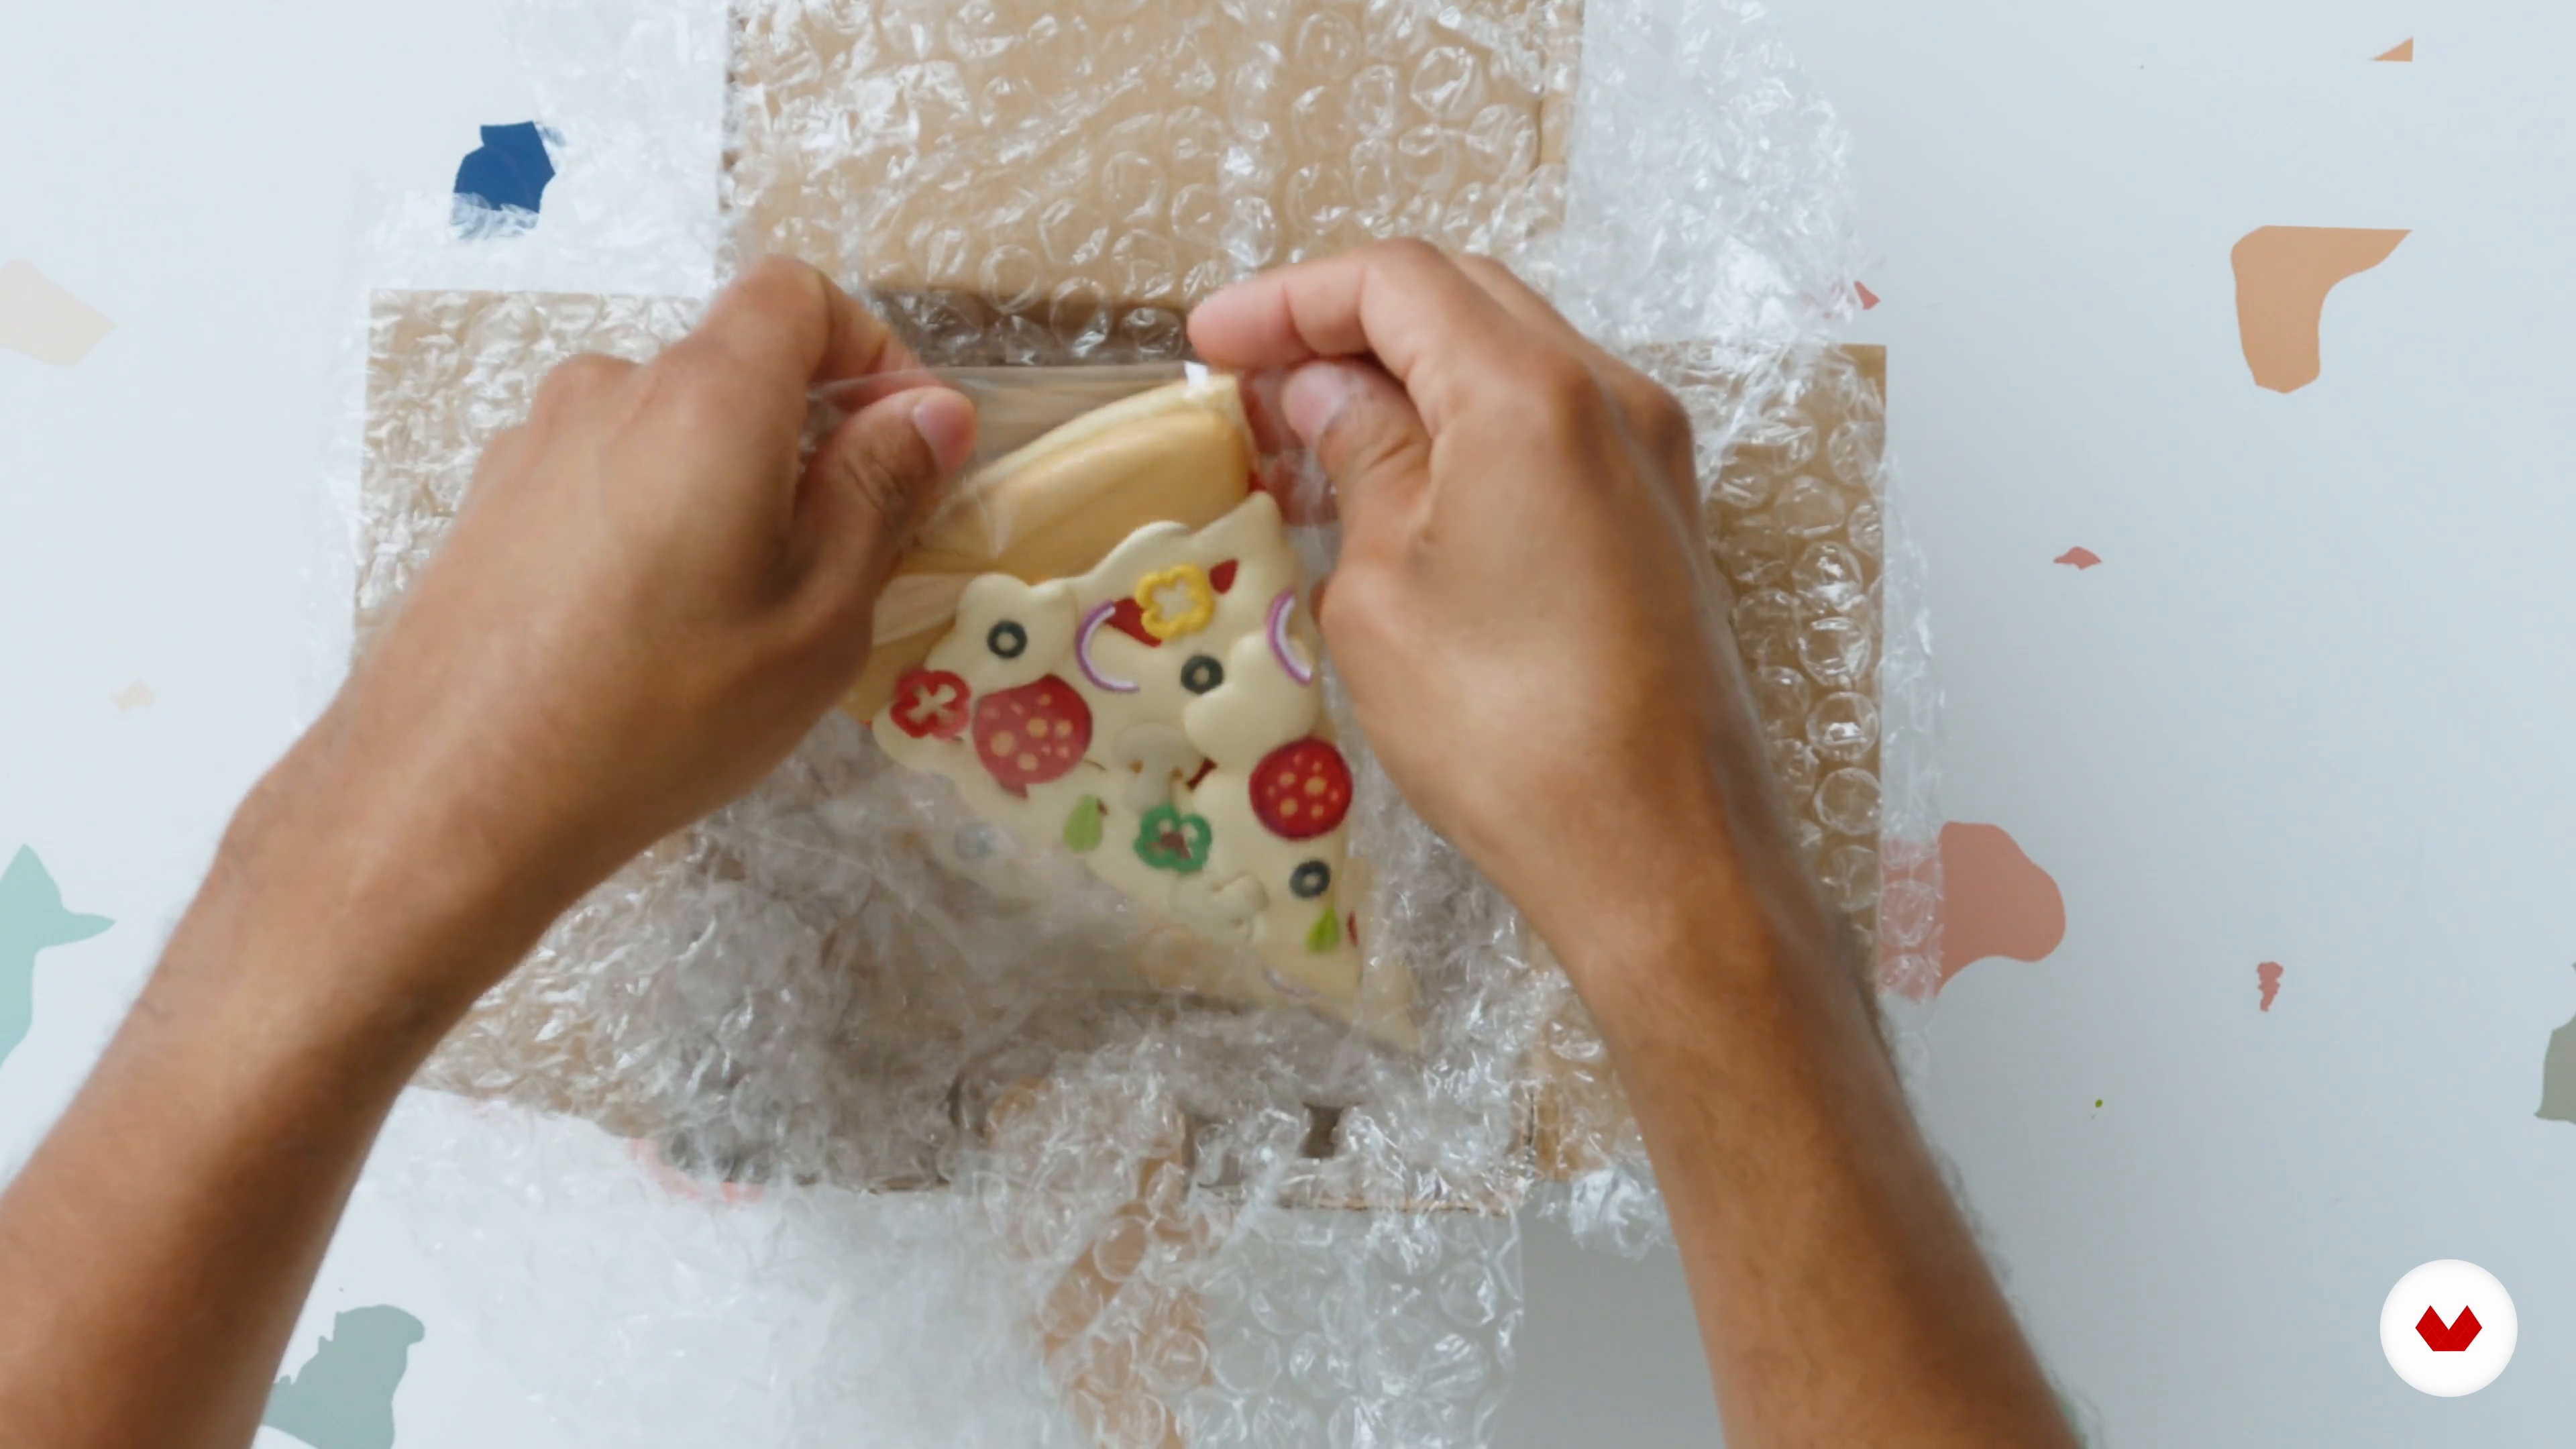
Tips for sending cookies by parcel
To finish this great course, we will show you a series of tips so that you can start selling your cookies in other states or even ship to other countries.
7m
image
3
Material and Tools
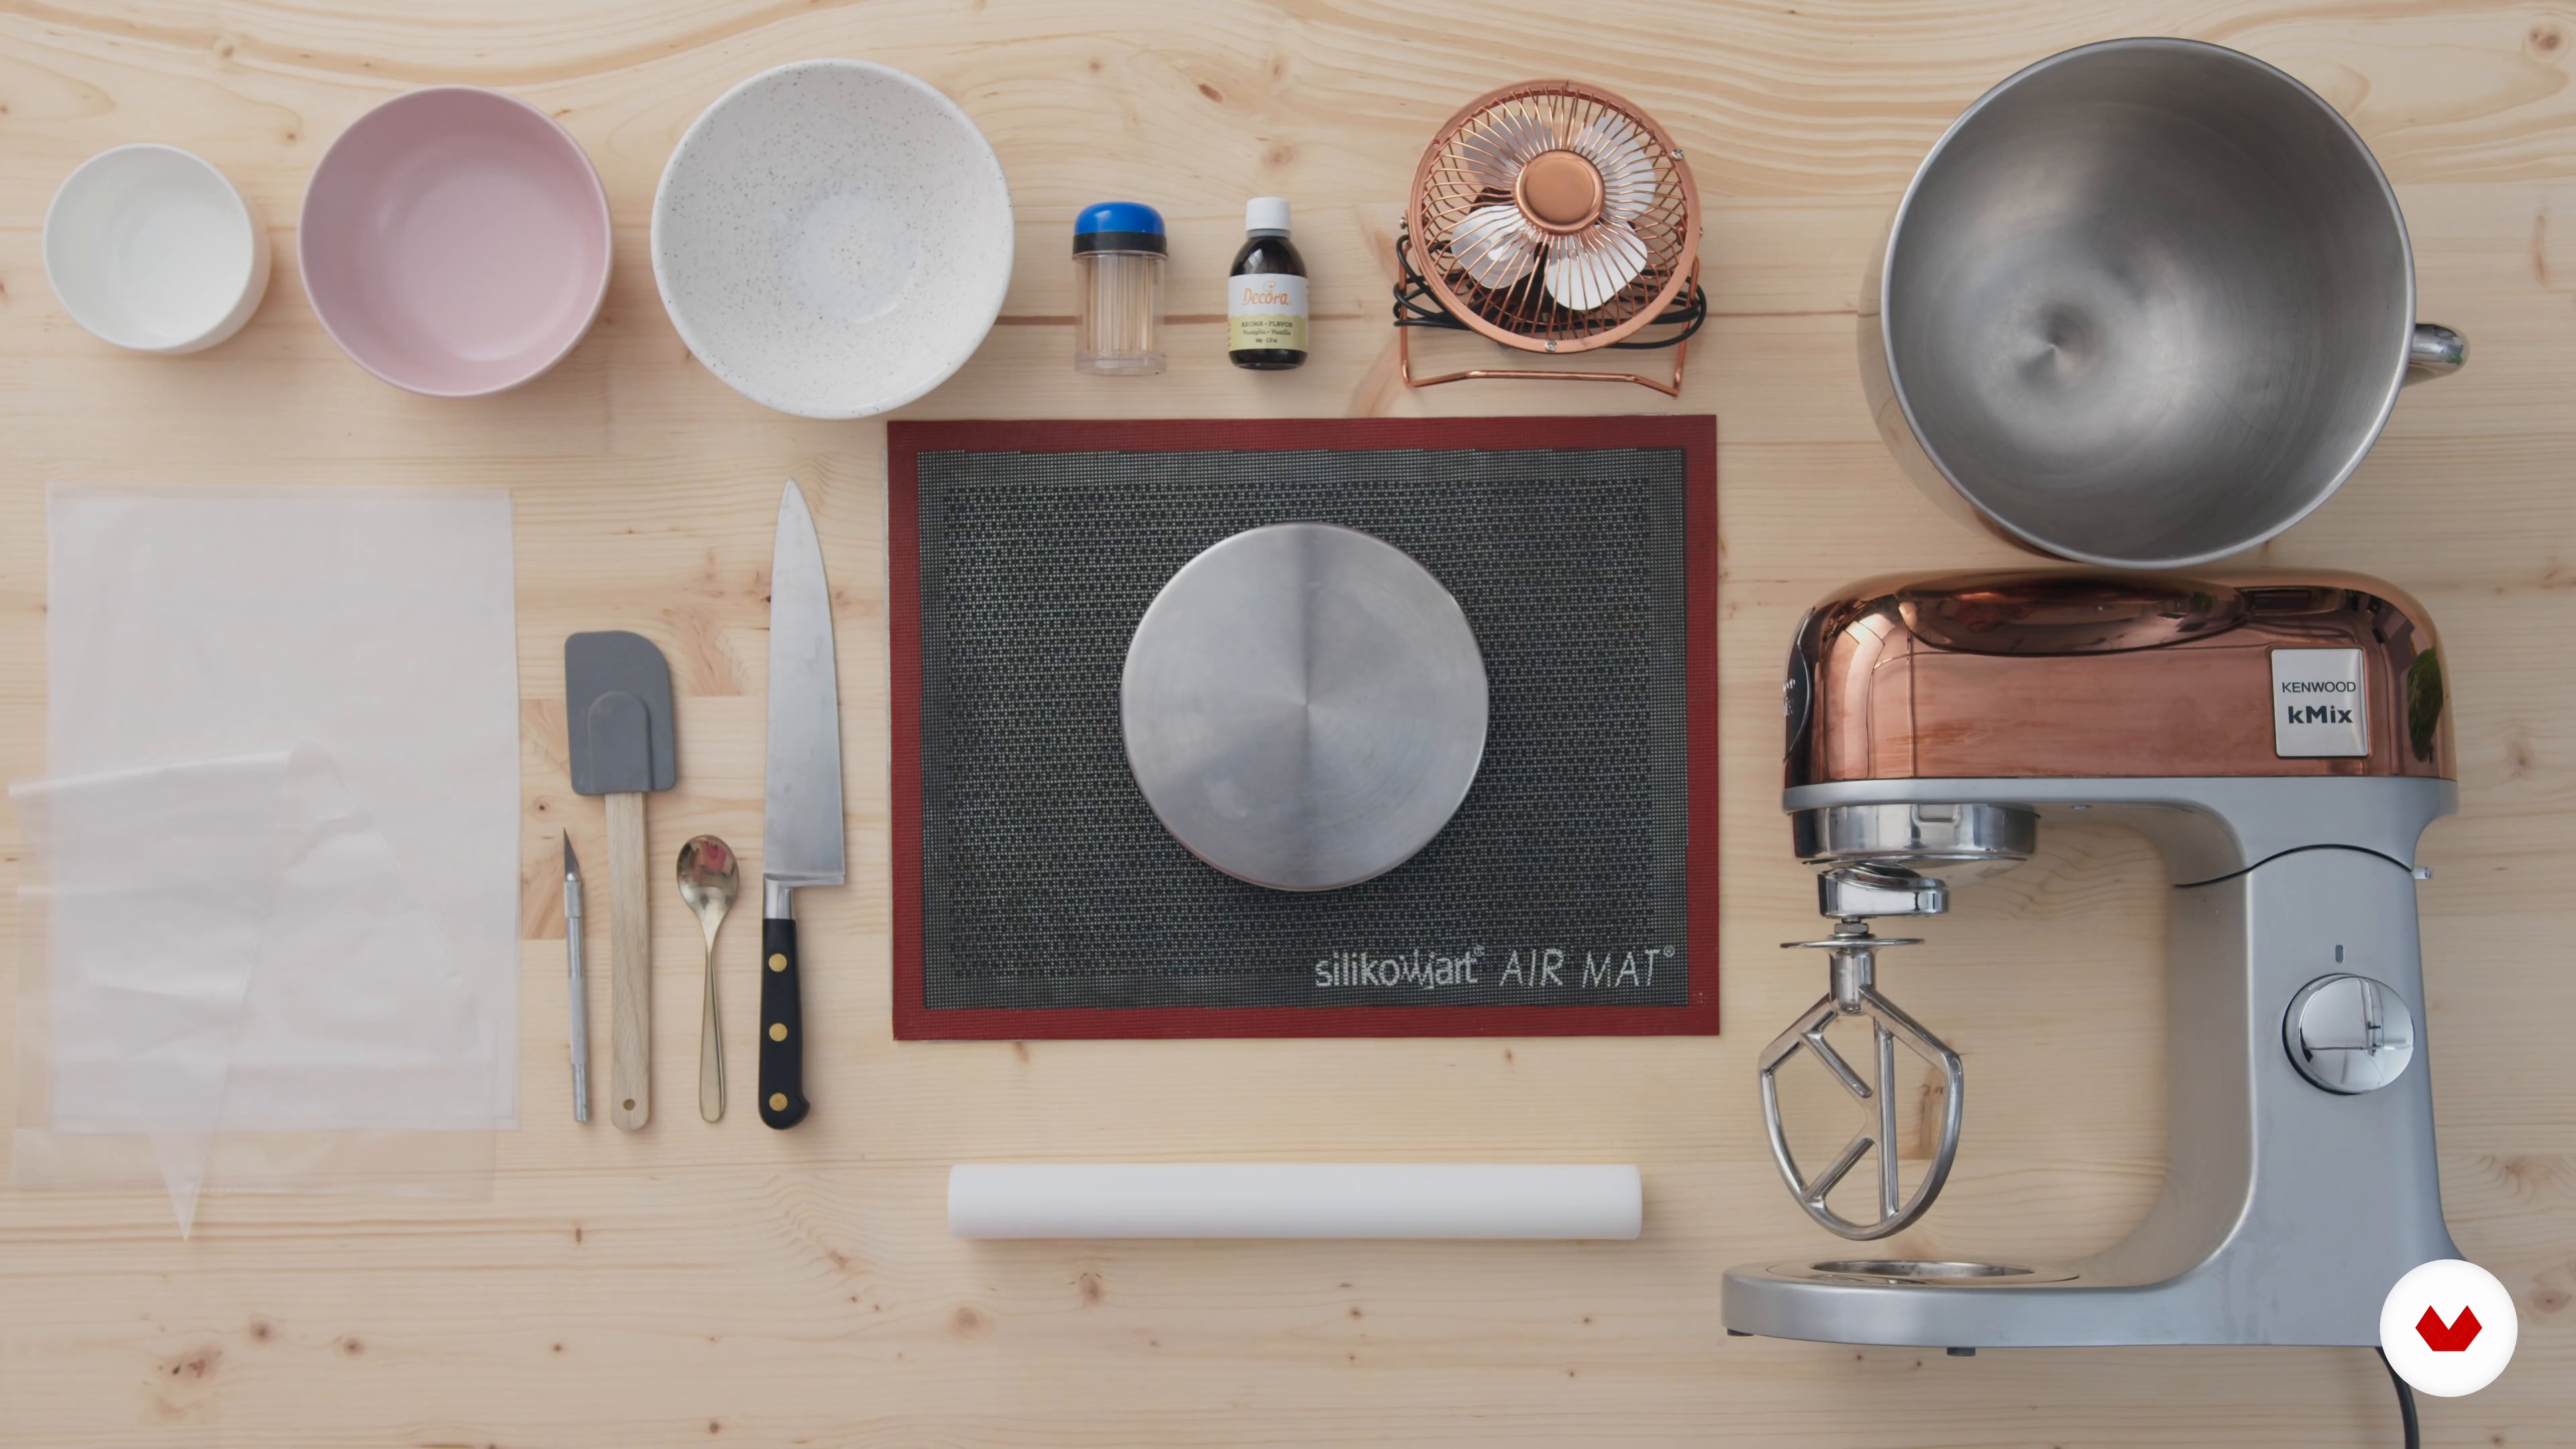
To get started, we'll go over all the materials you'll need to make beautiful hand-painted cookies. It is a mixture of pastry and painter's equipment, it is important to follow the advice carefully!
8m
image
4
Practice Drawing on Paper 1
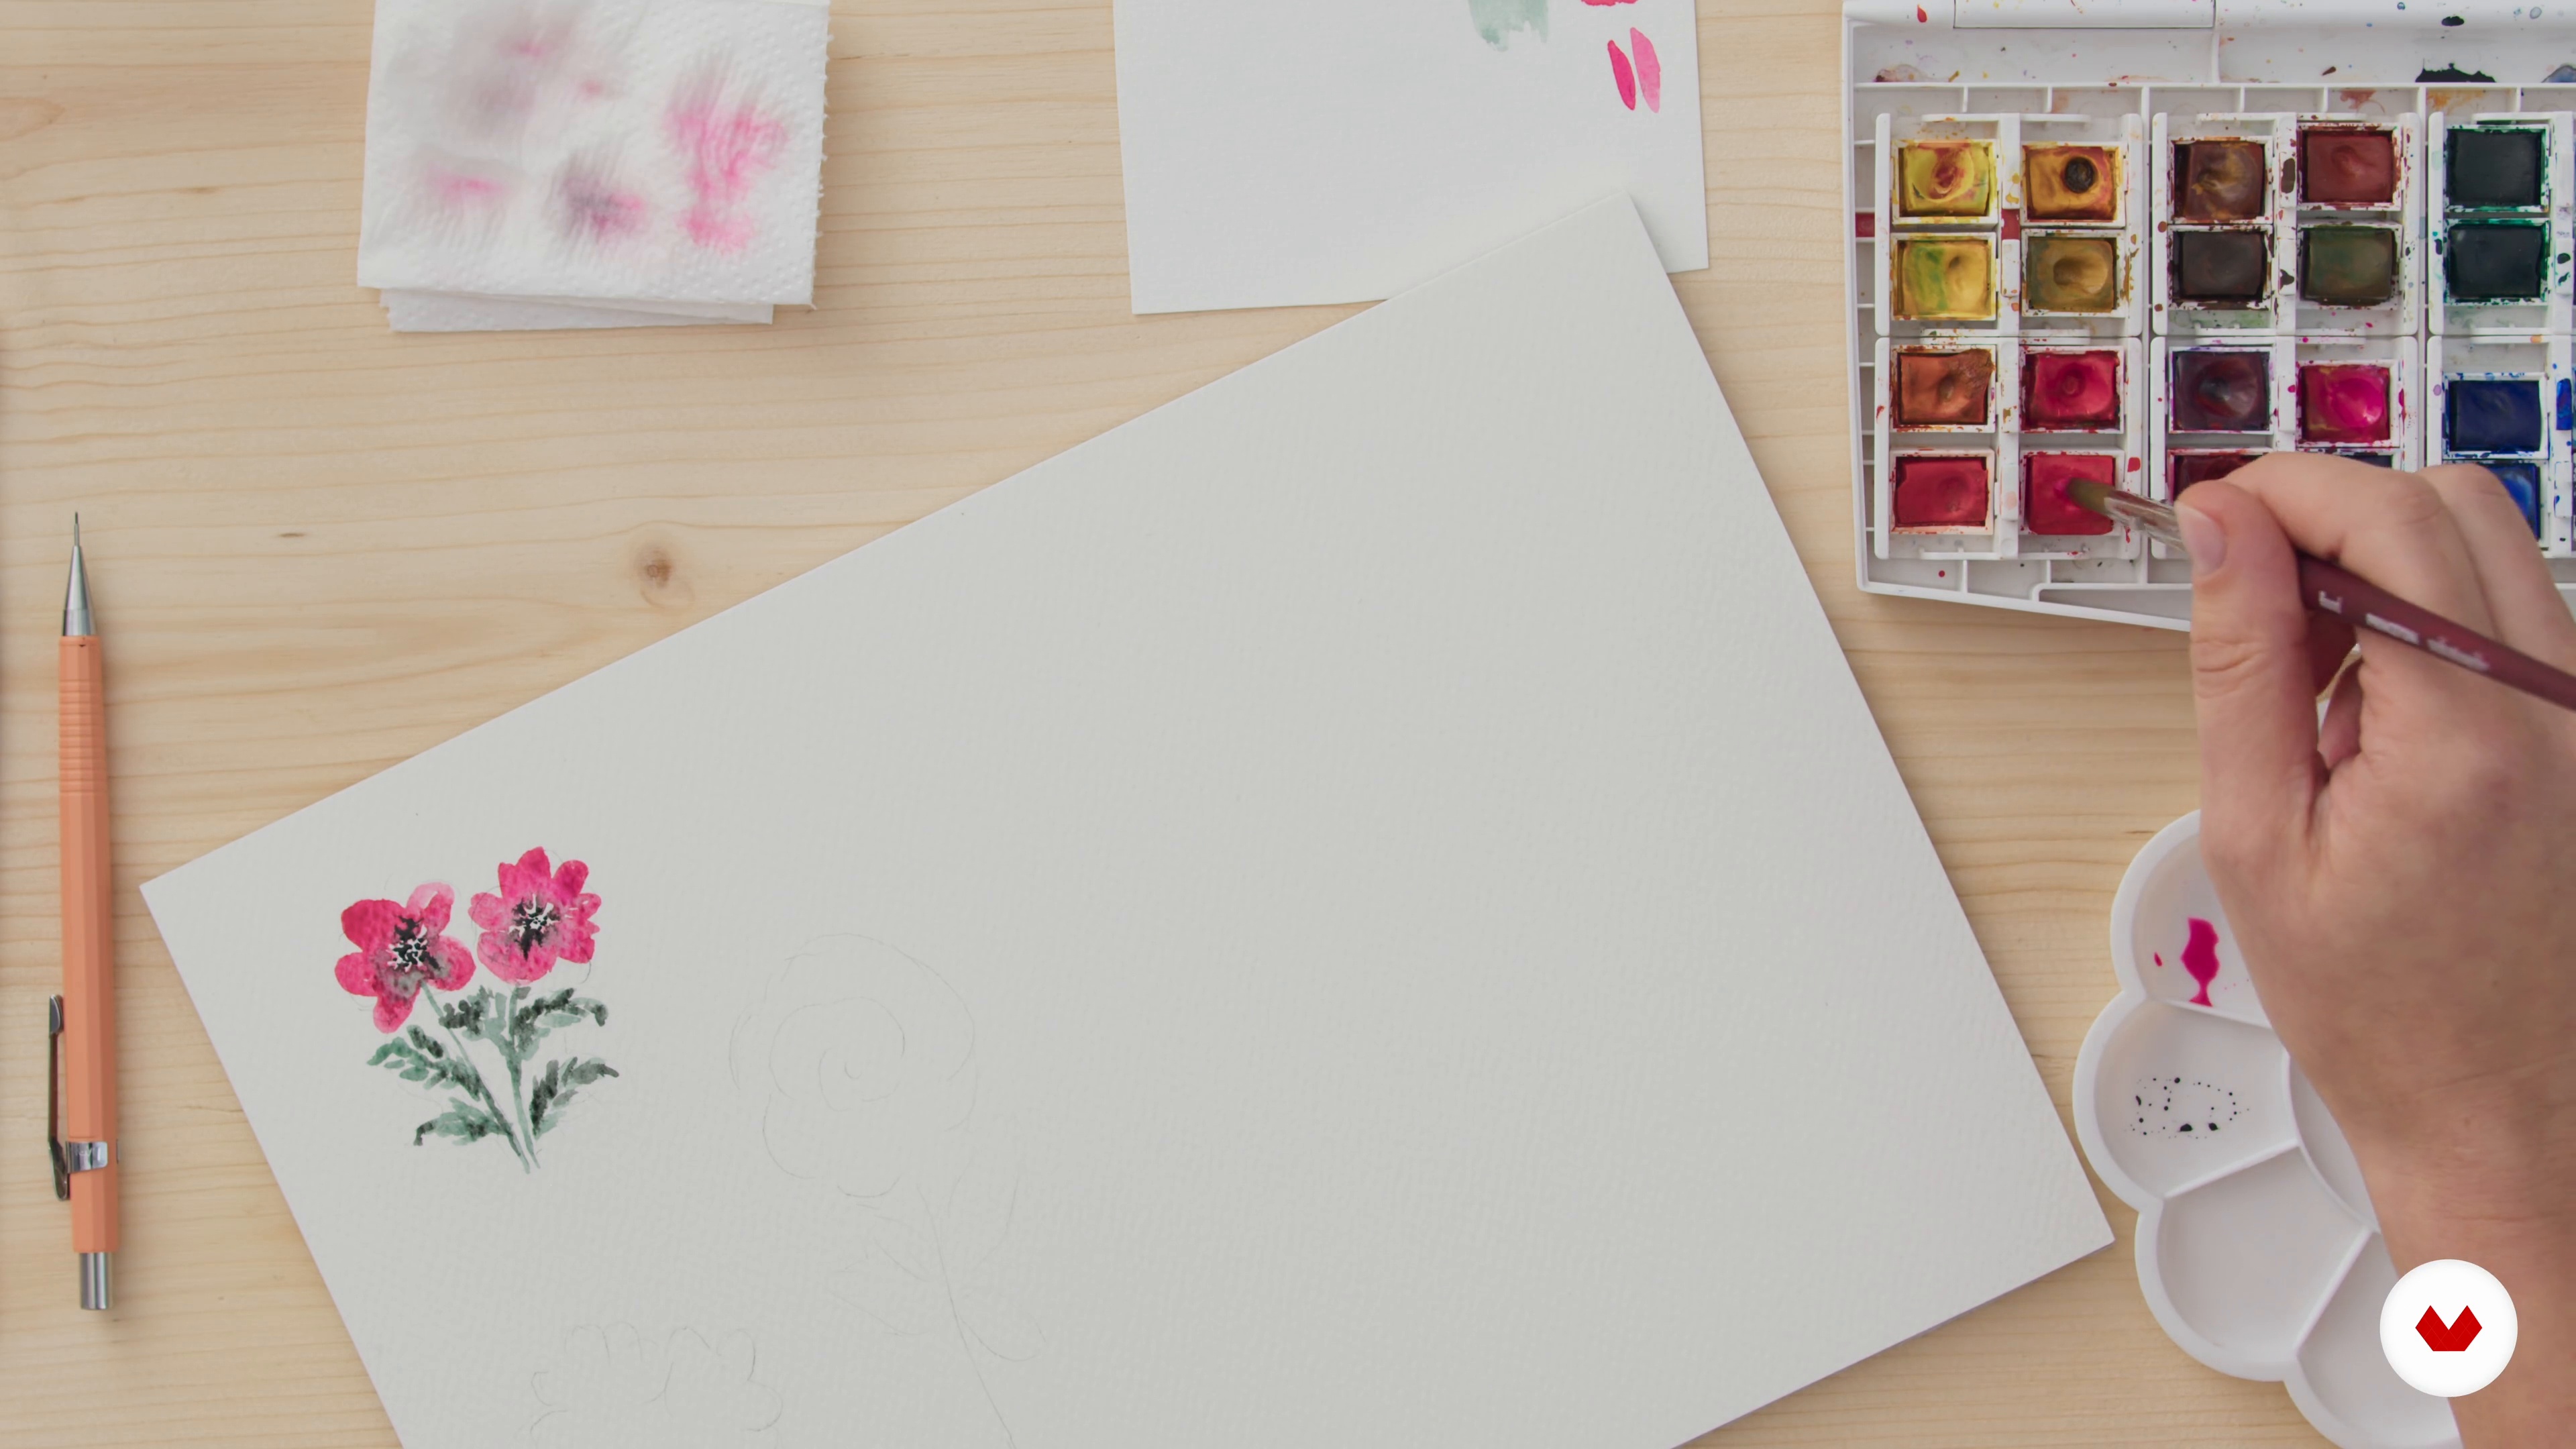
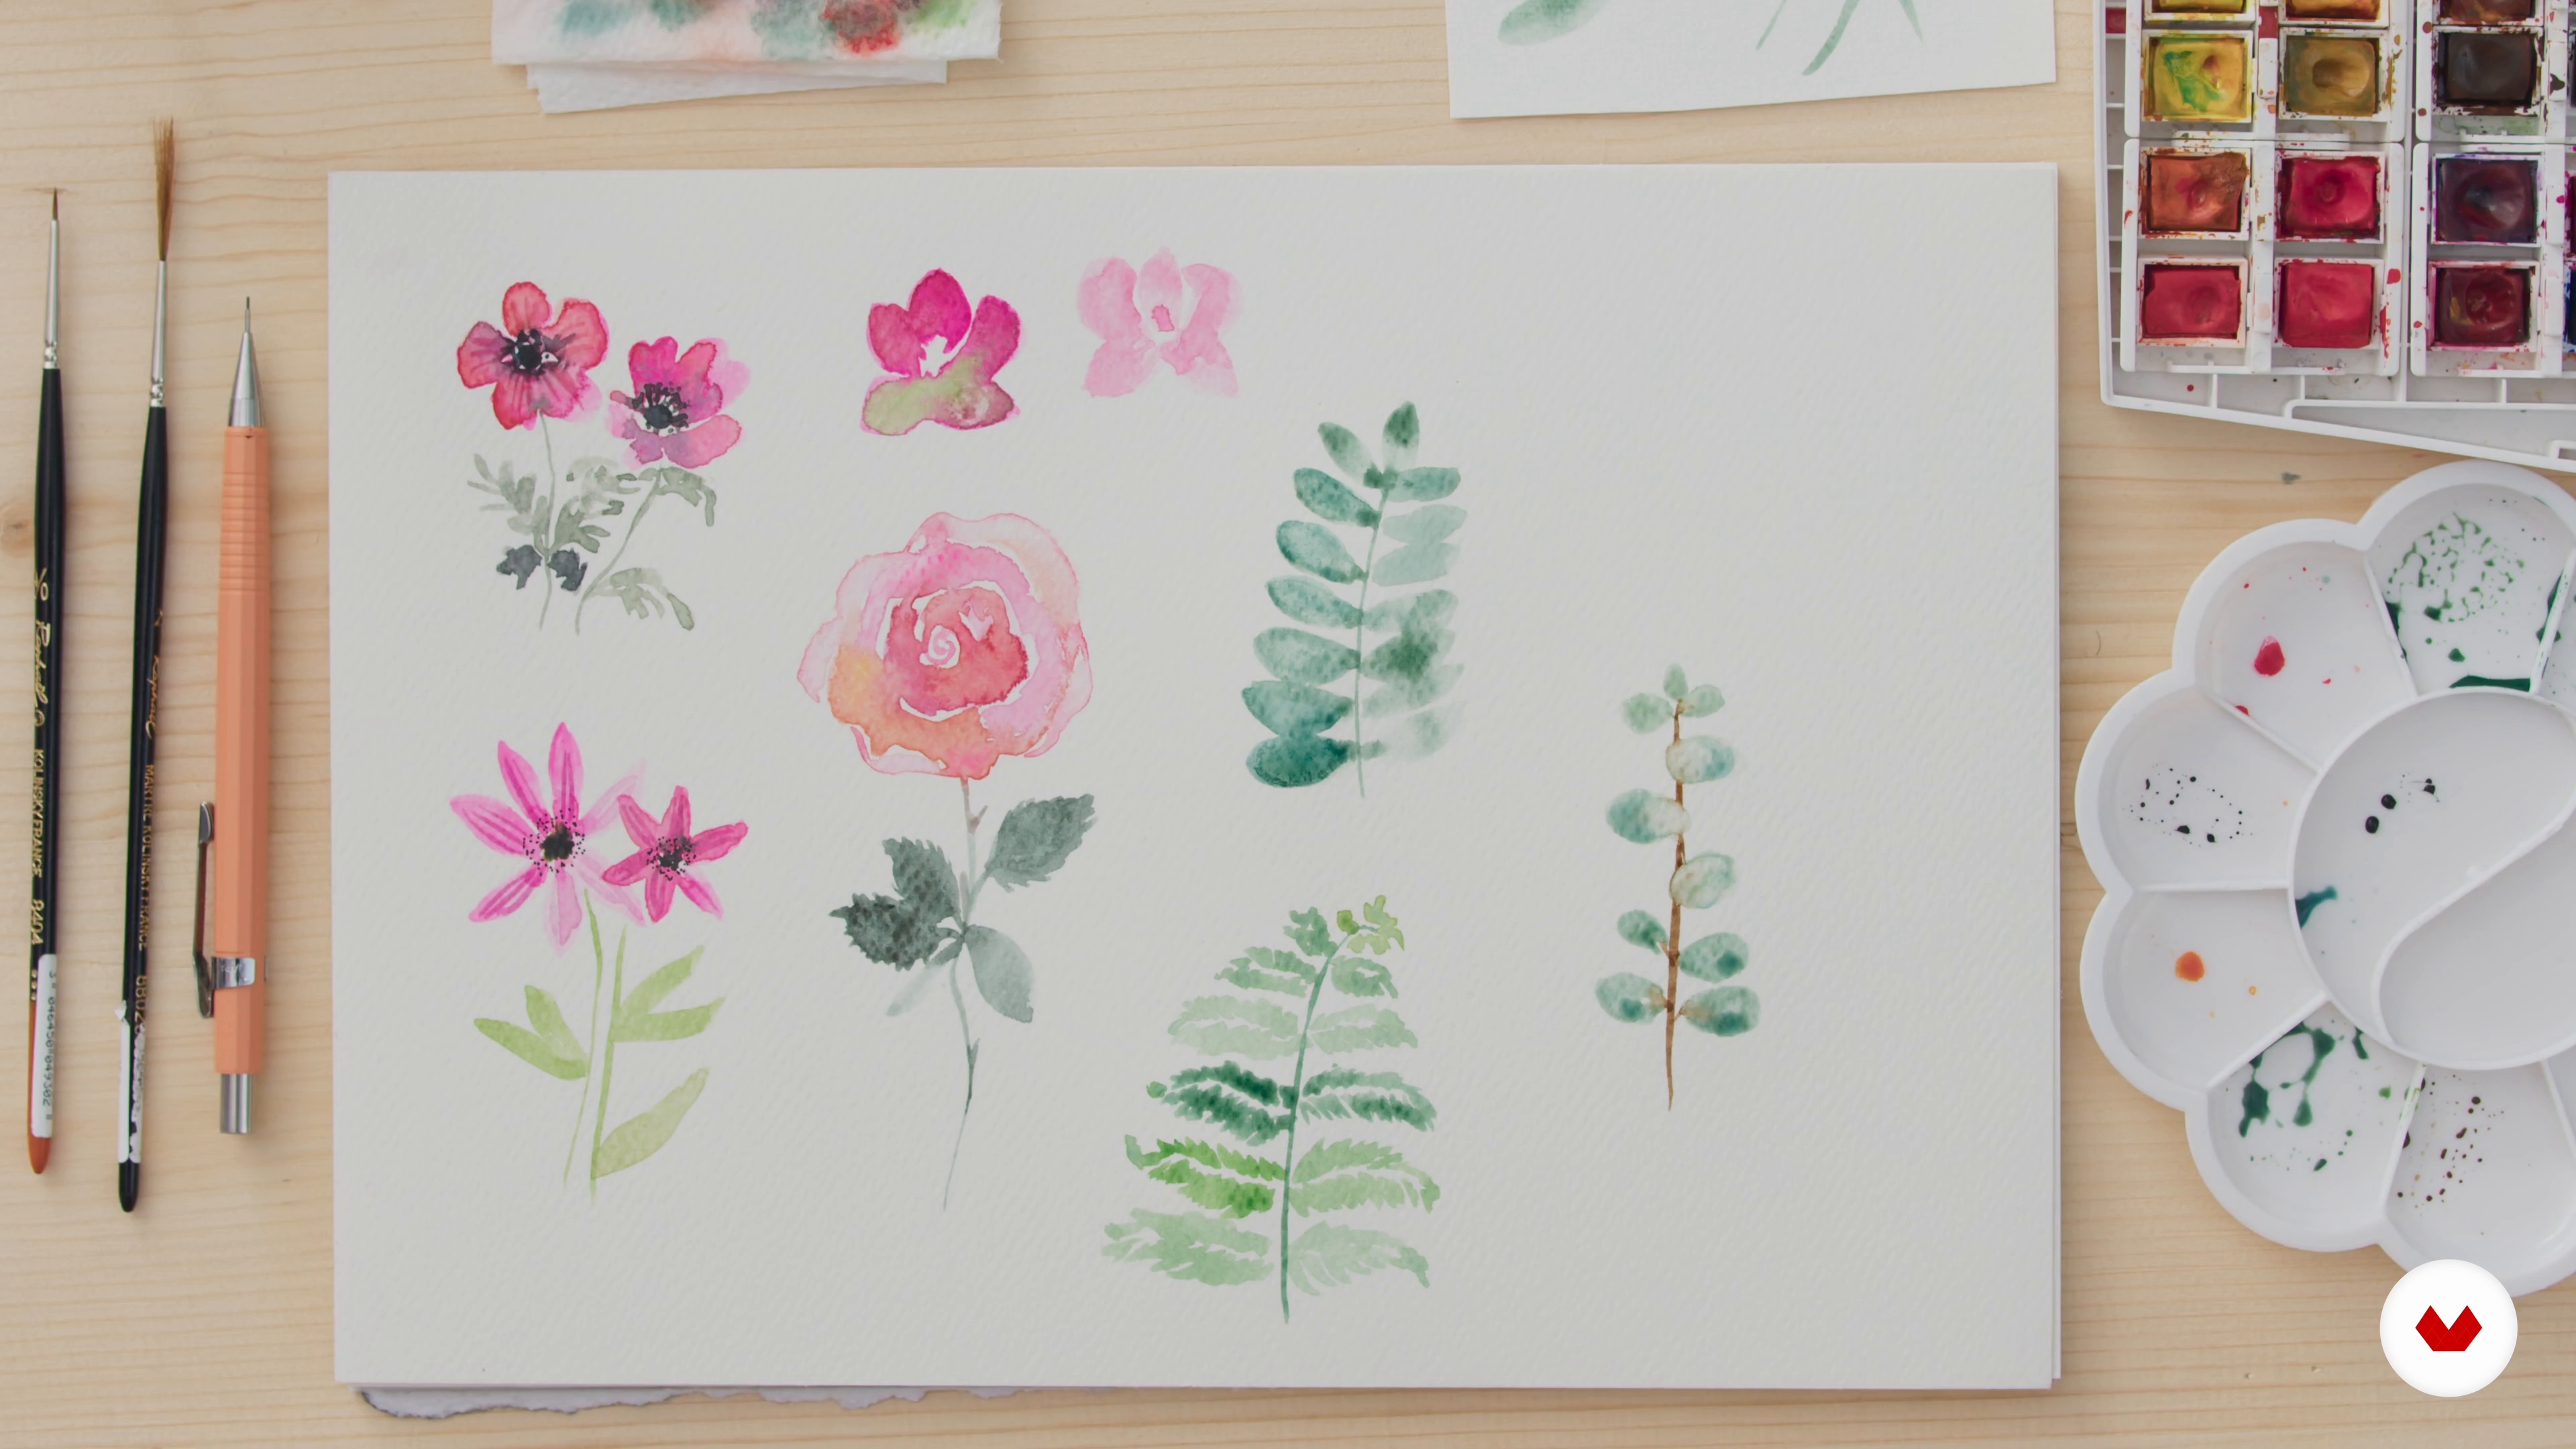
In this lesson I will show you how to paint basic flowers and foliage. You will first practice on paper, to fully understand your brushes, the colors, and the gestures to be made.
16m
image
5
Practice Drawing on Paper 2
During this second part of the lesson, I will continue to show you how to paint flowers and foliage. I am going to share with you tips to comb them more easily.
12m
image
6
Prepare the Cookies
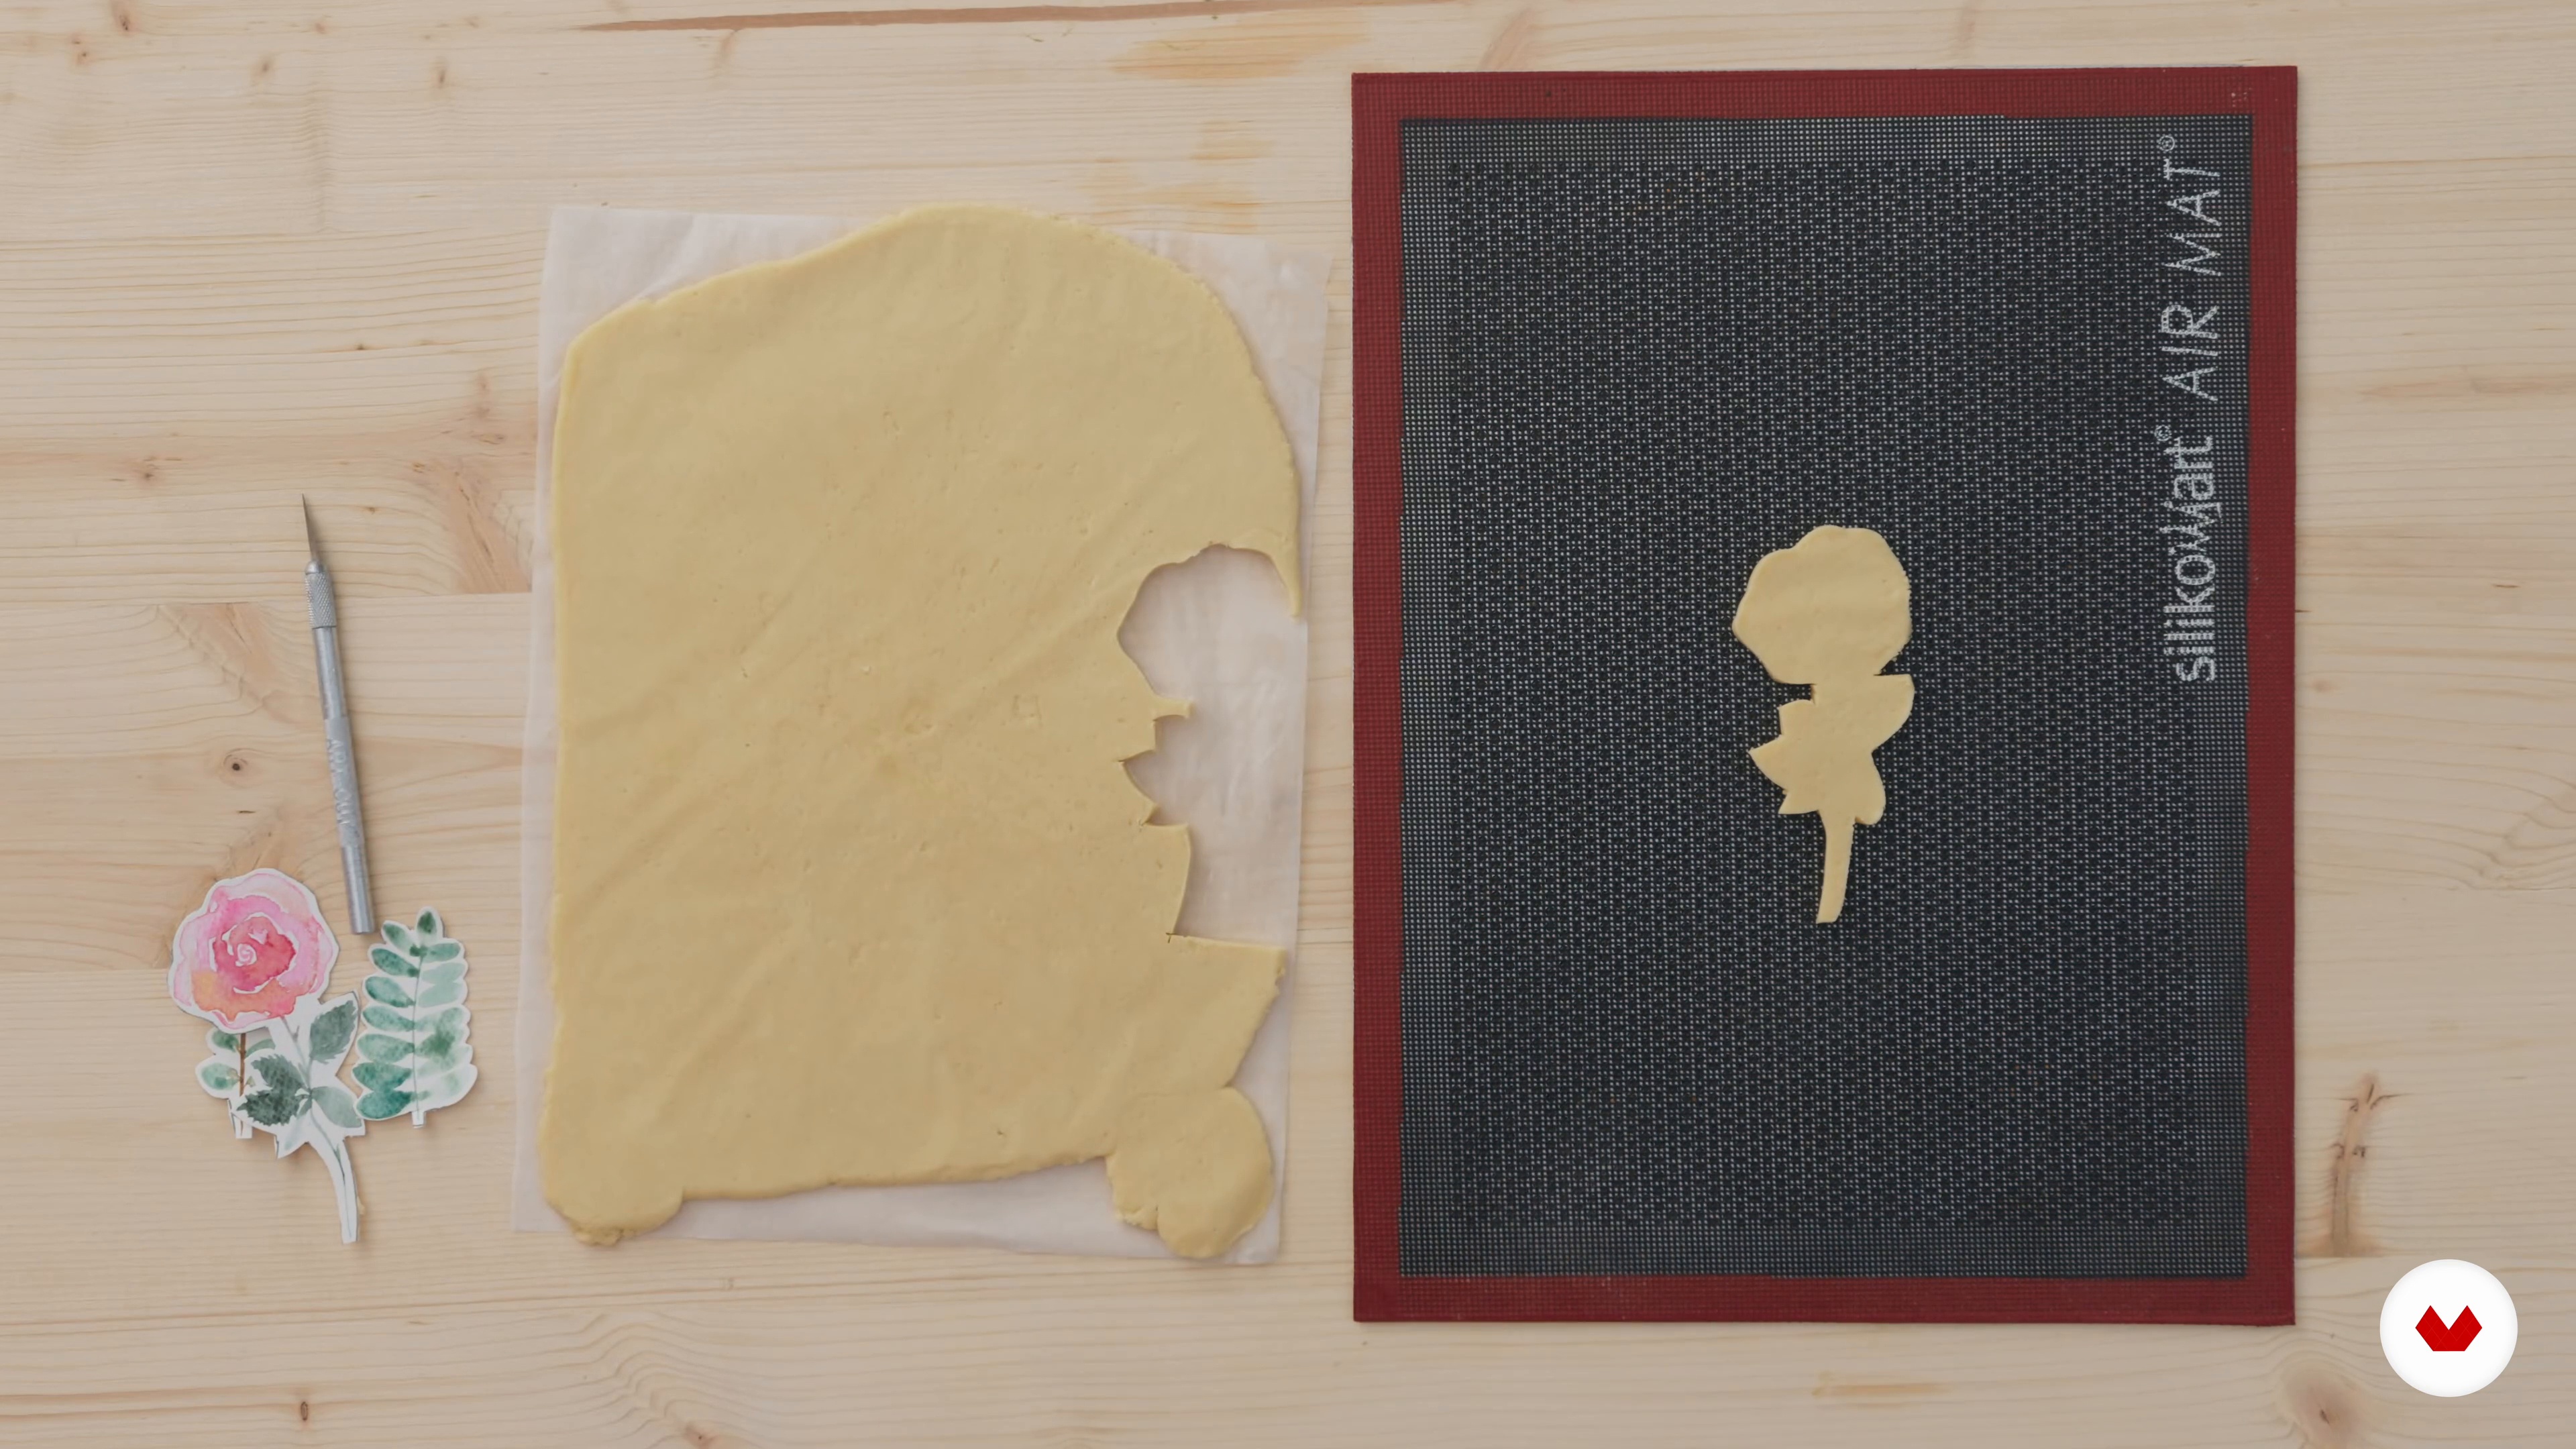
Now we are going to prepare together a delicious cookie dough, the recipe of which I will leave you in the additional resources. Then we will cut out our templates together to give the shape of our cakes.
16m
image
7
Make the Royal Icing
First of all we will learn how to make a perfect royal icing and I will give you all my secrets for an ideal texture and result!
12m
image
8
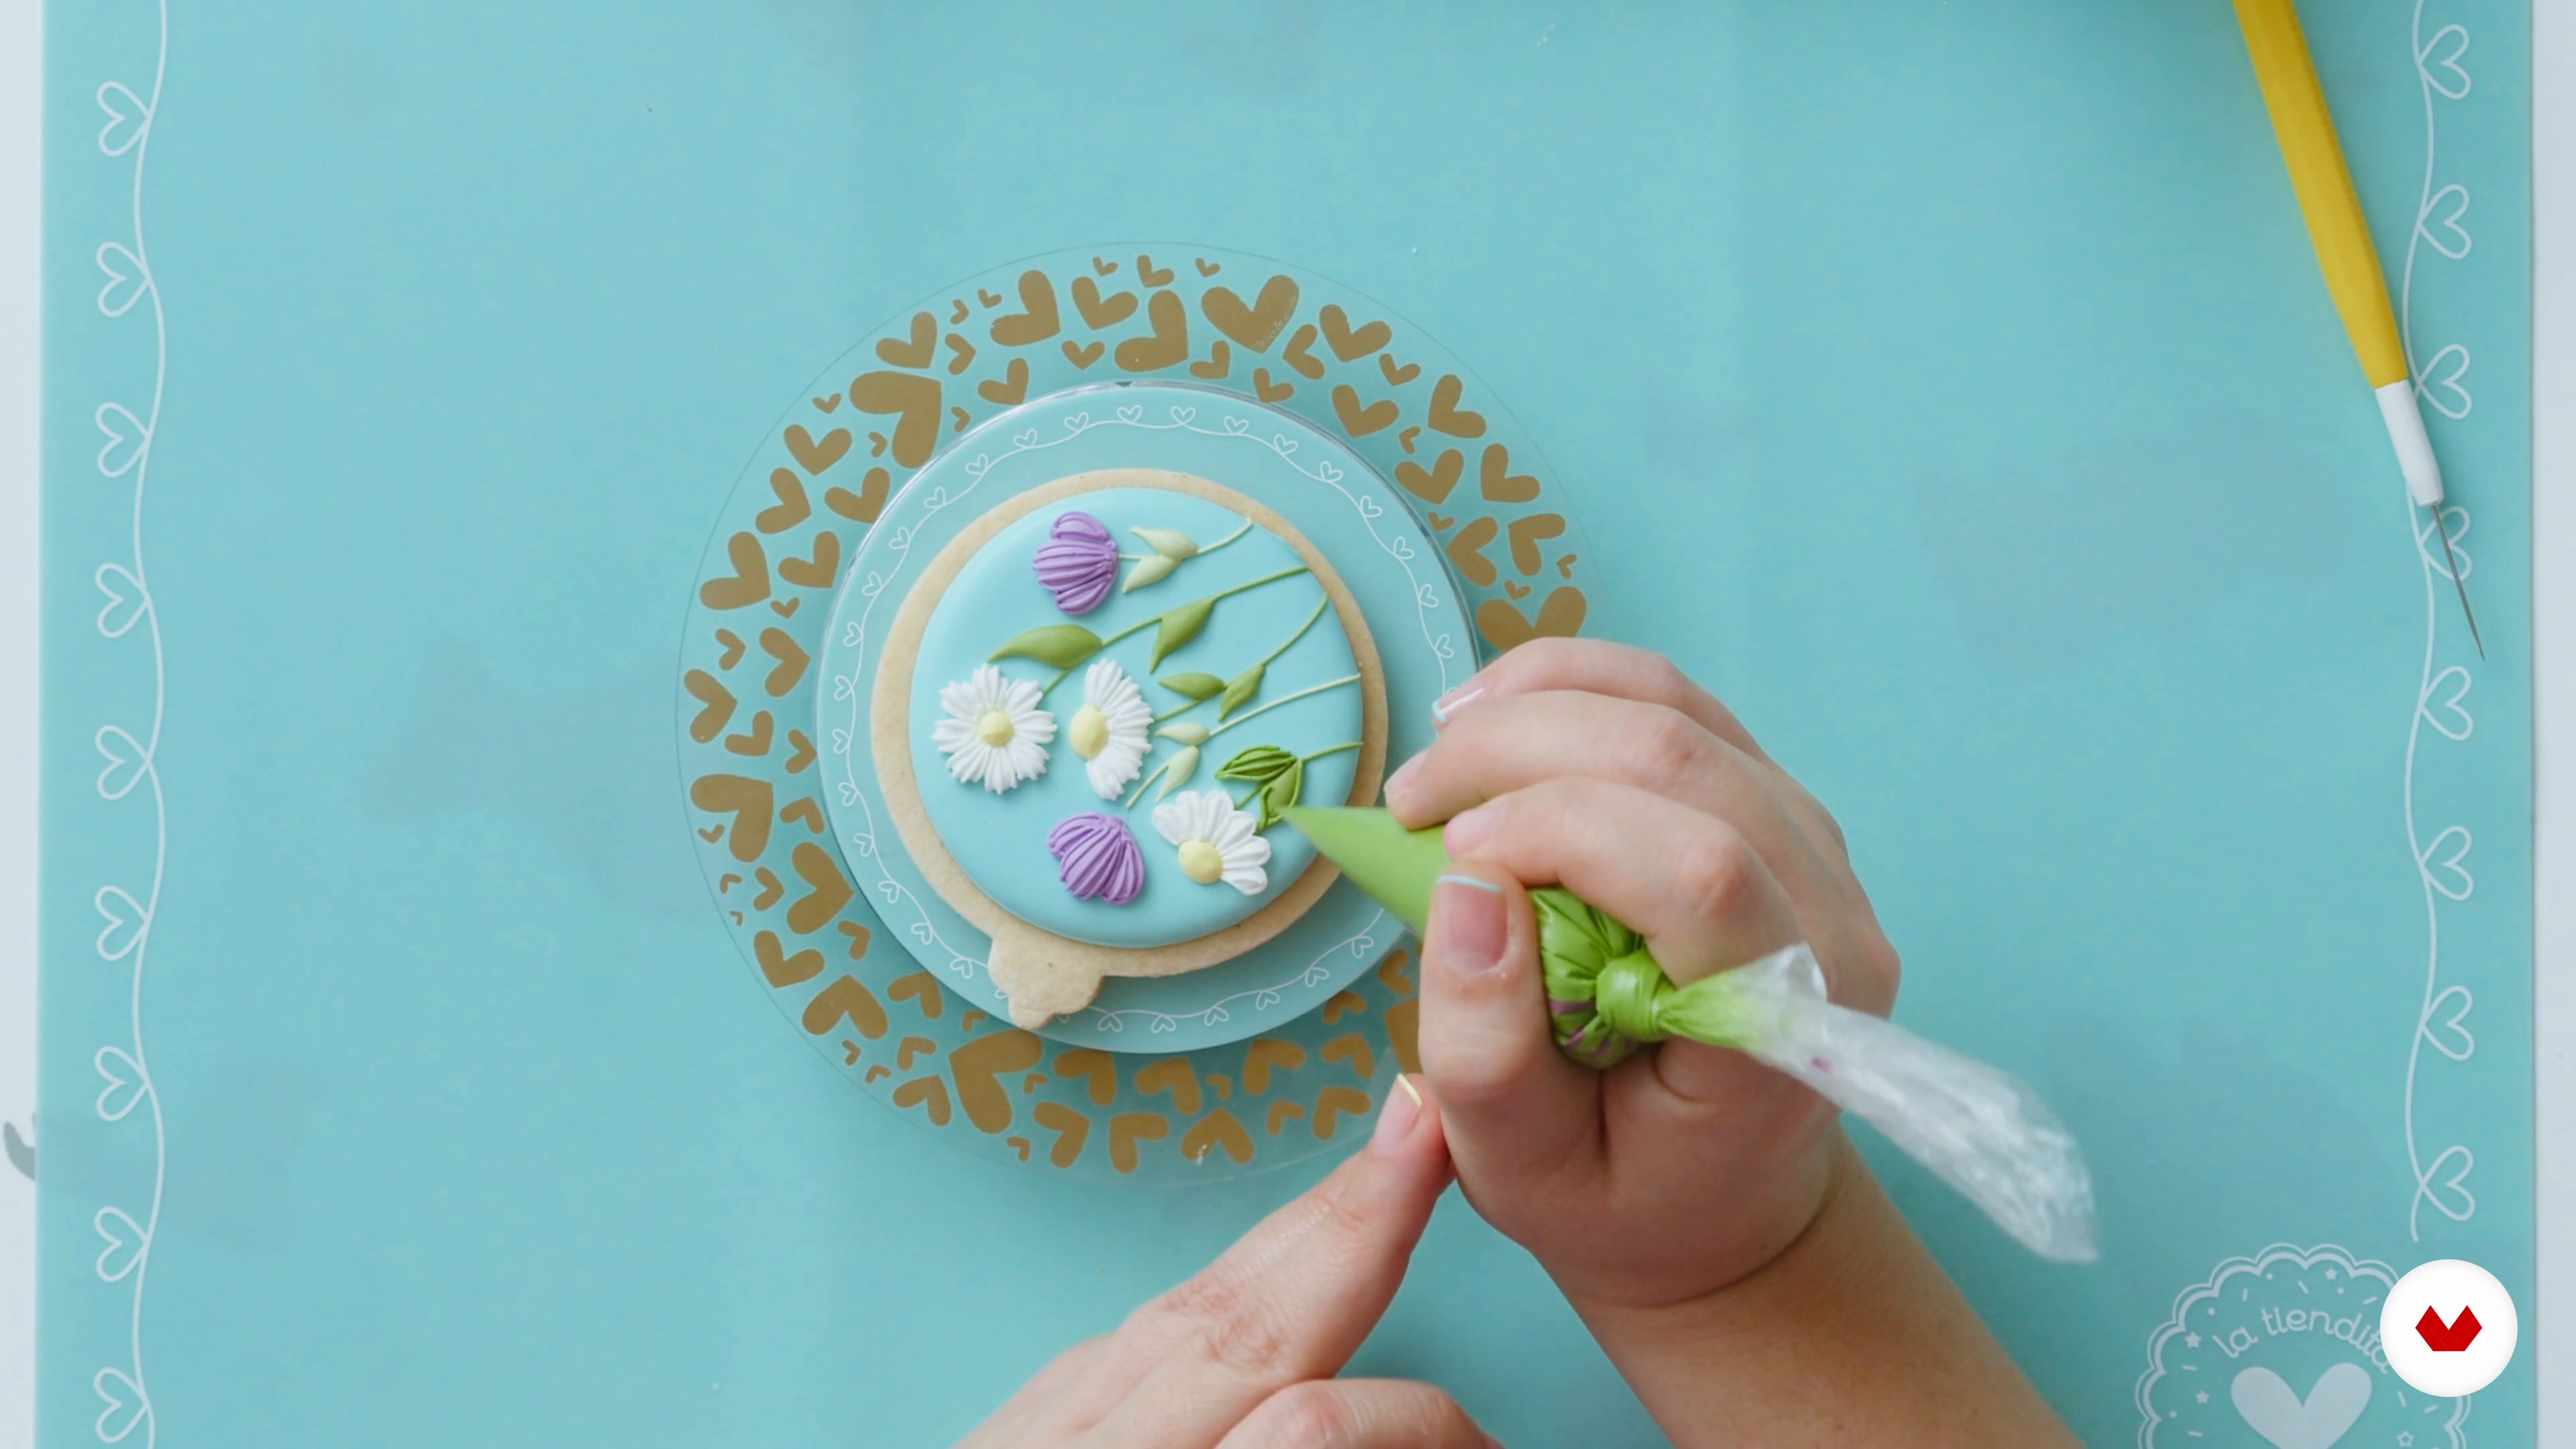
Flowers and Foliage on Cookies
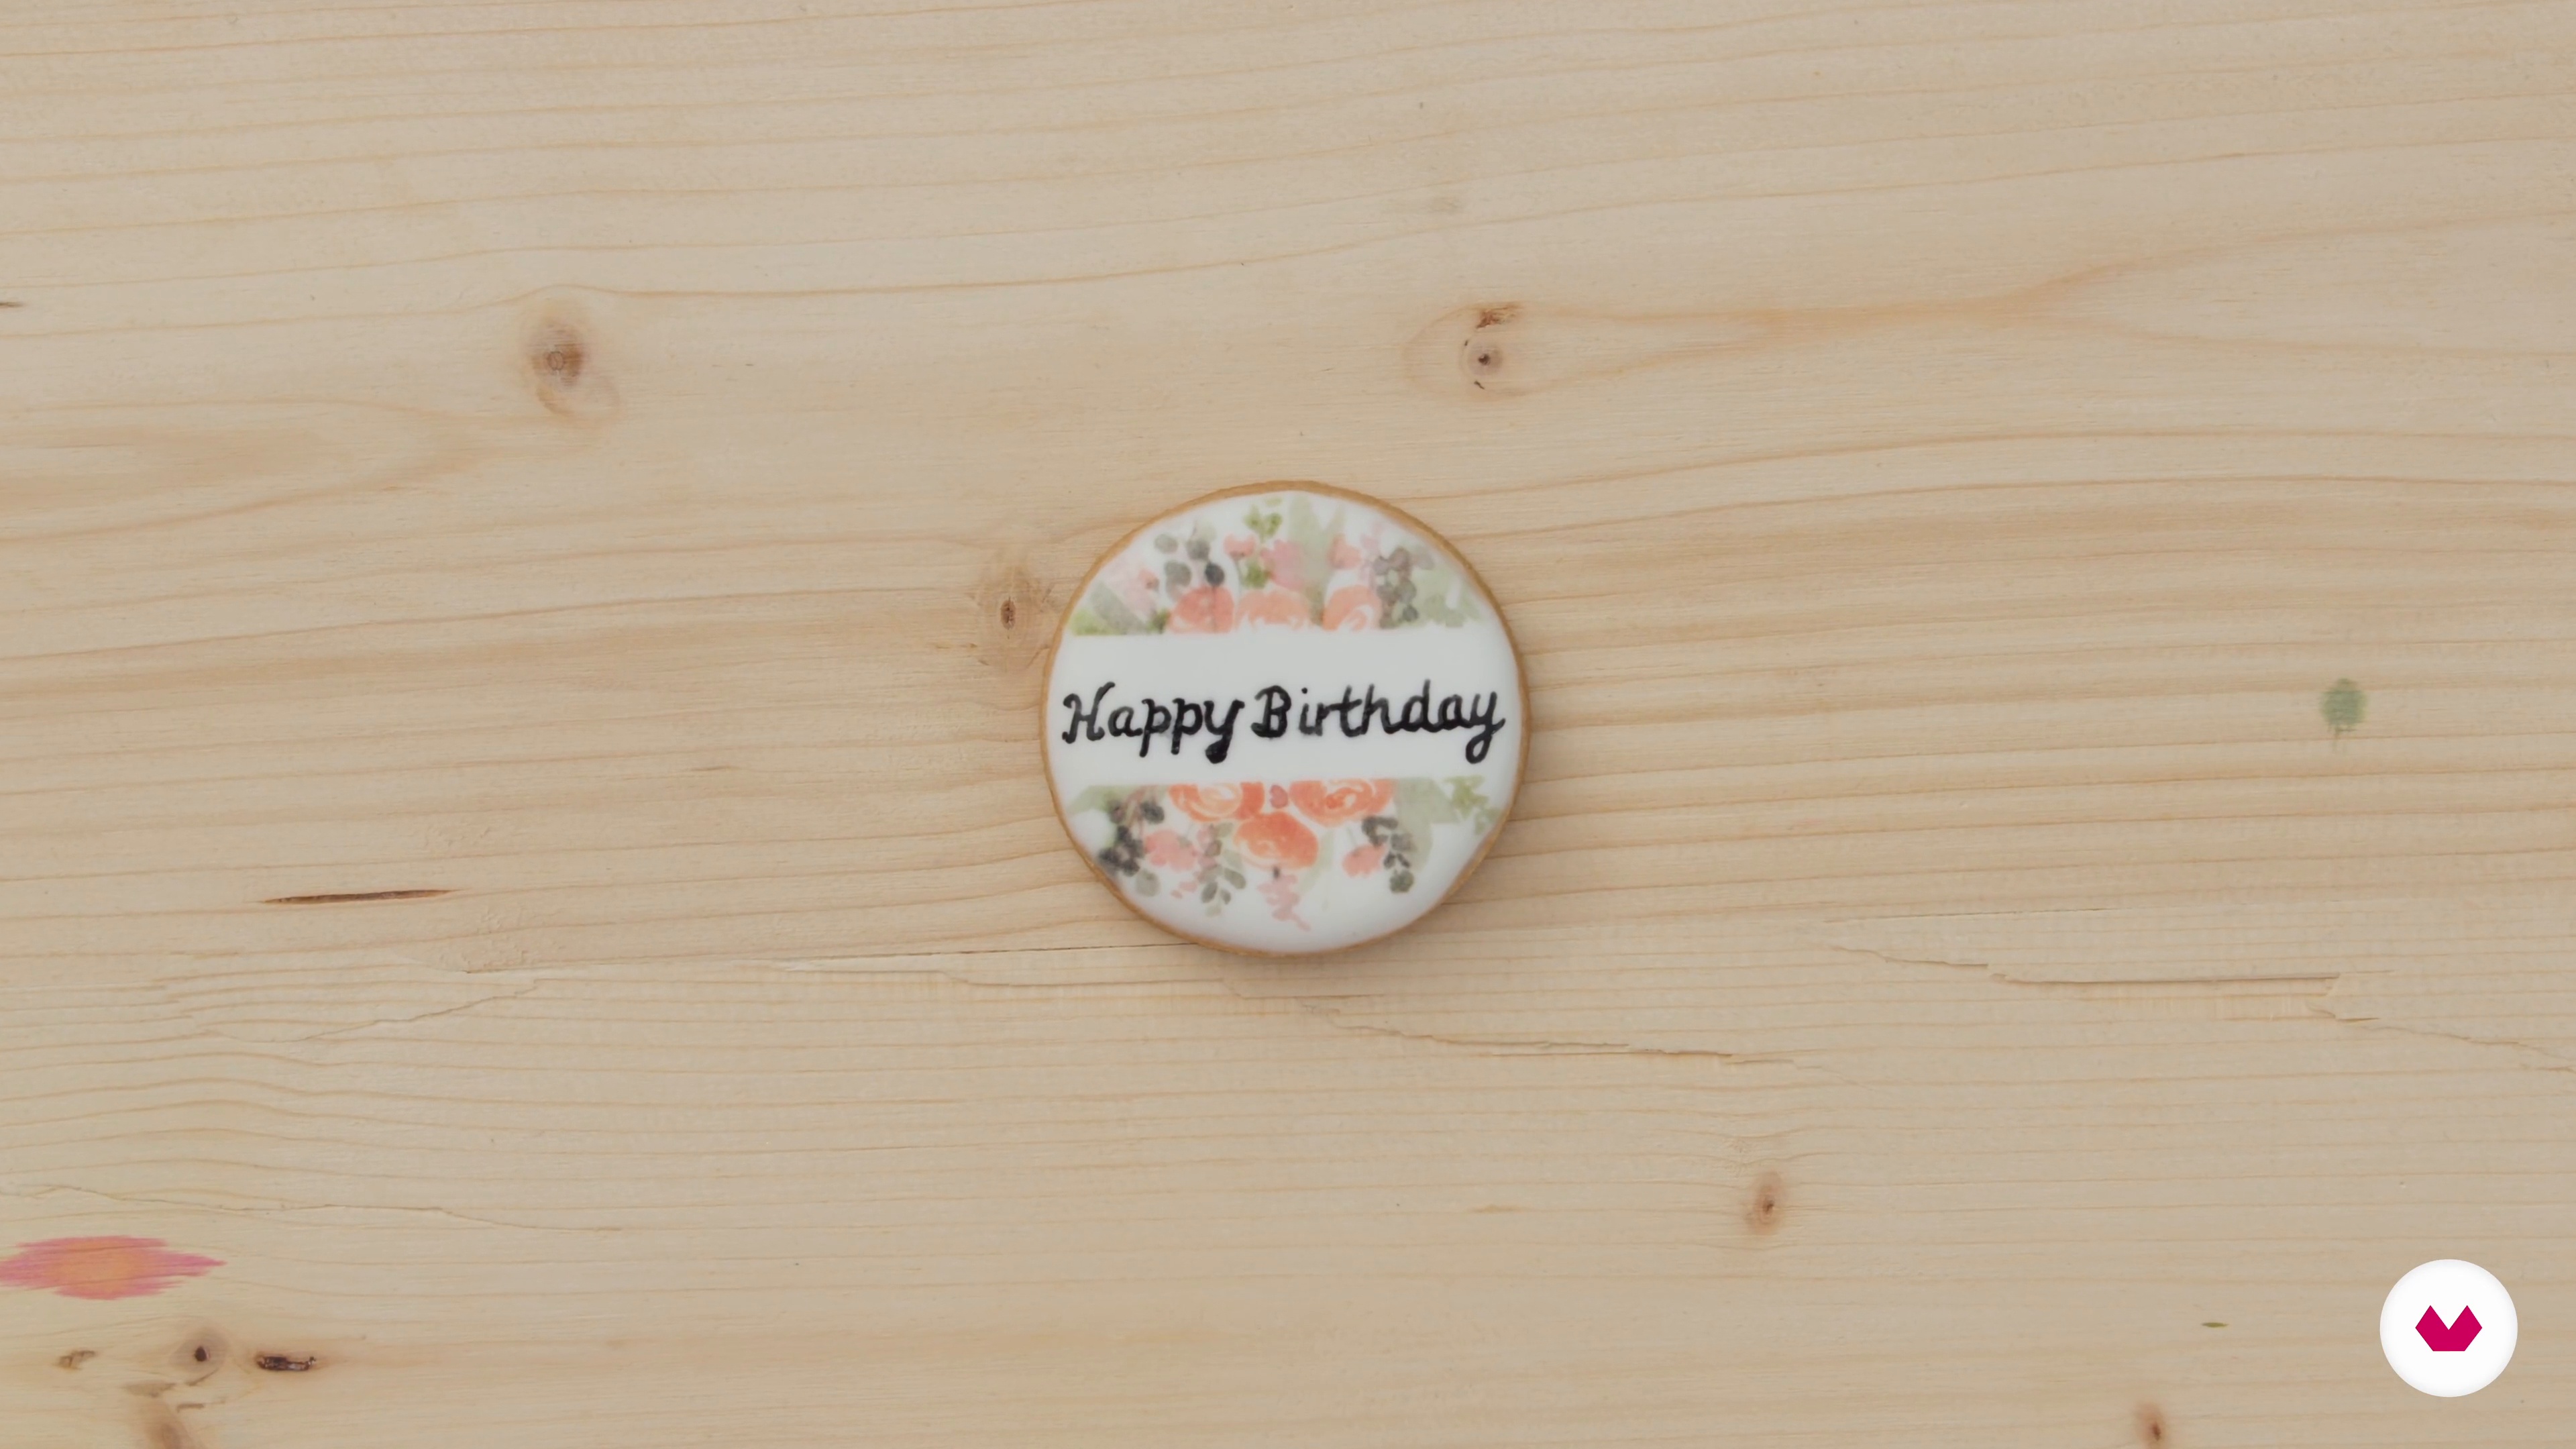
To finalize this unit, we will finally apply our technique of painting flowers and foliage on our cookies.
15m
image
9
Finding Inspiration
I'm going to share with you all my secrets for finding inspiration, and succeeding in reproducing what you've seen on your cookies, which gives you emotion.
9m
image
10
The Preliminary Design of the Bouquets
In this lesson, we get down to business! I will guide you to compose bouquets of flowers, based on the flowers you learned to make in previous lessons. I will also show you many composition tricks.
19m
image
11
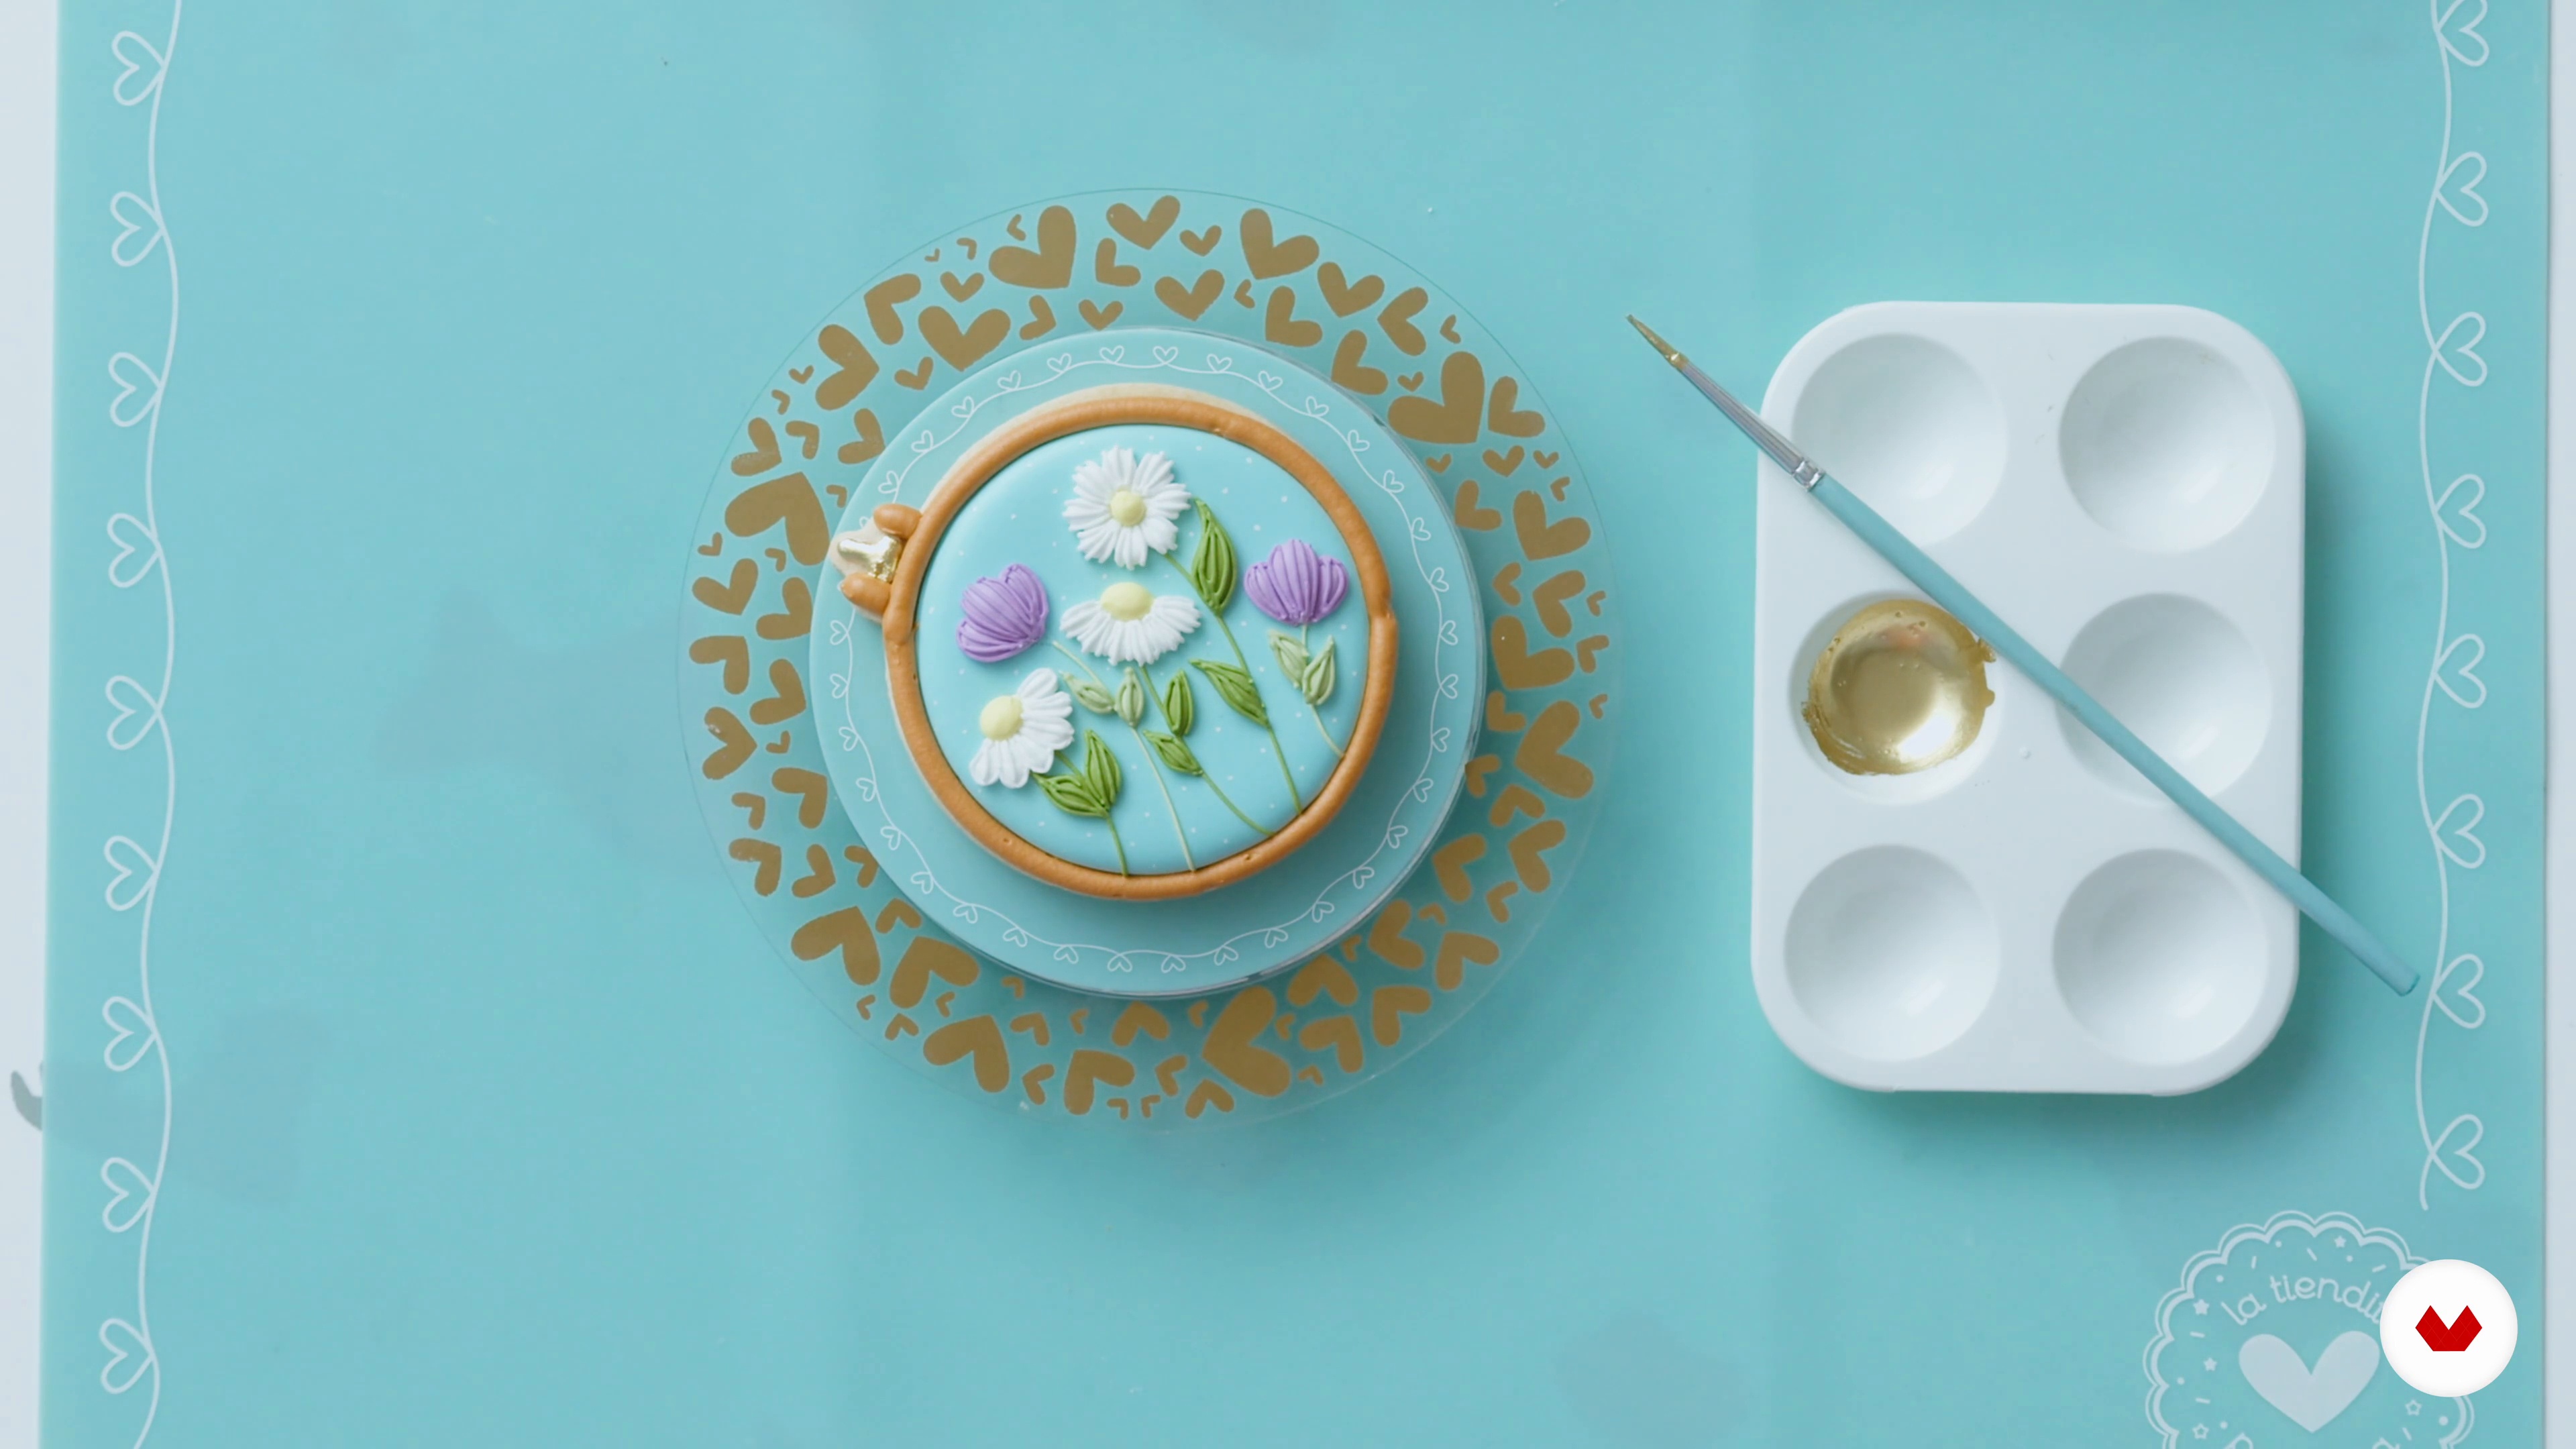
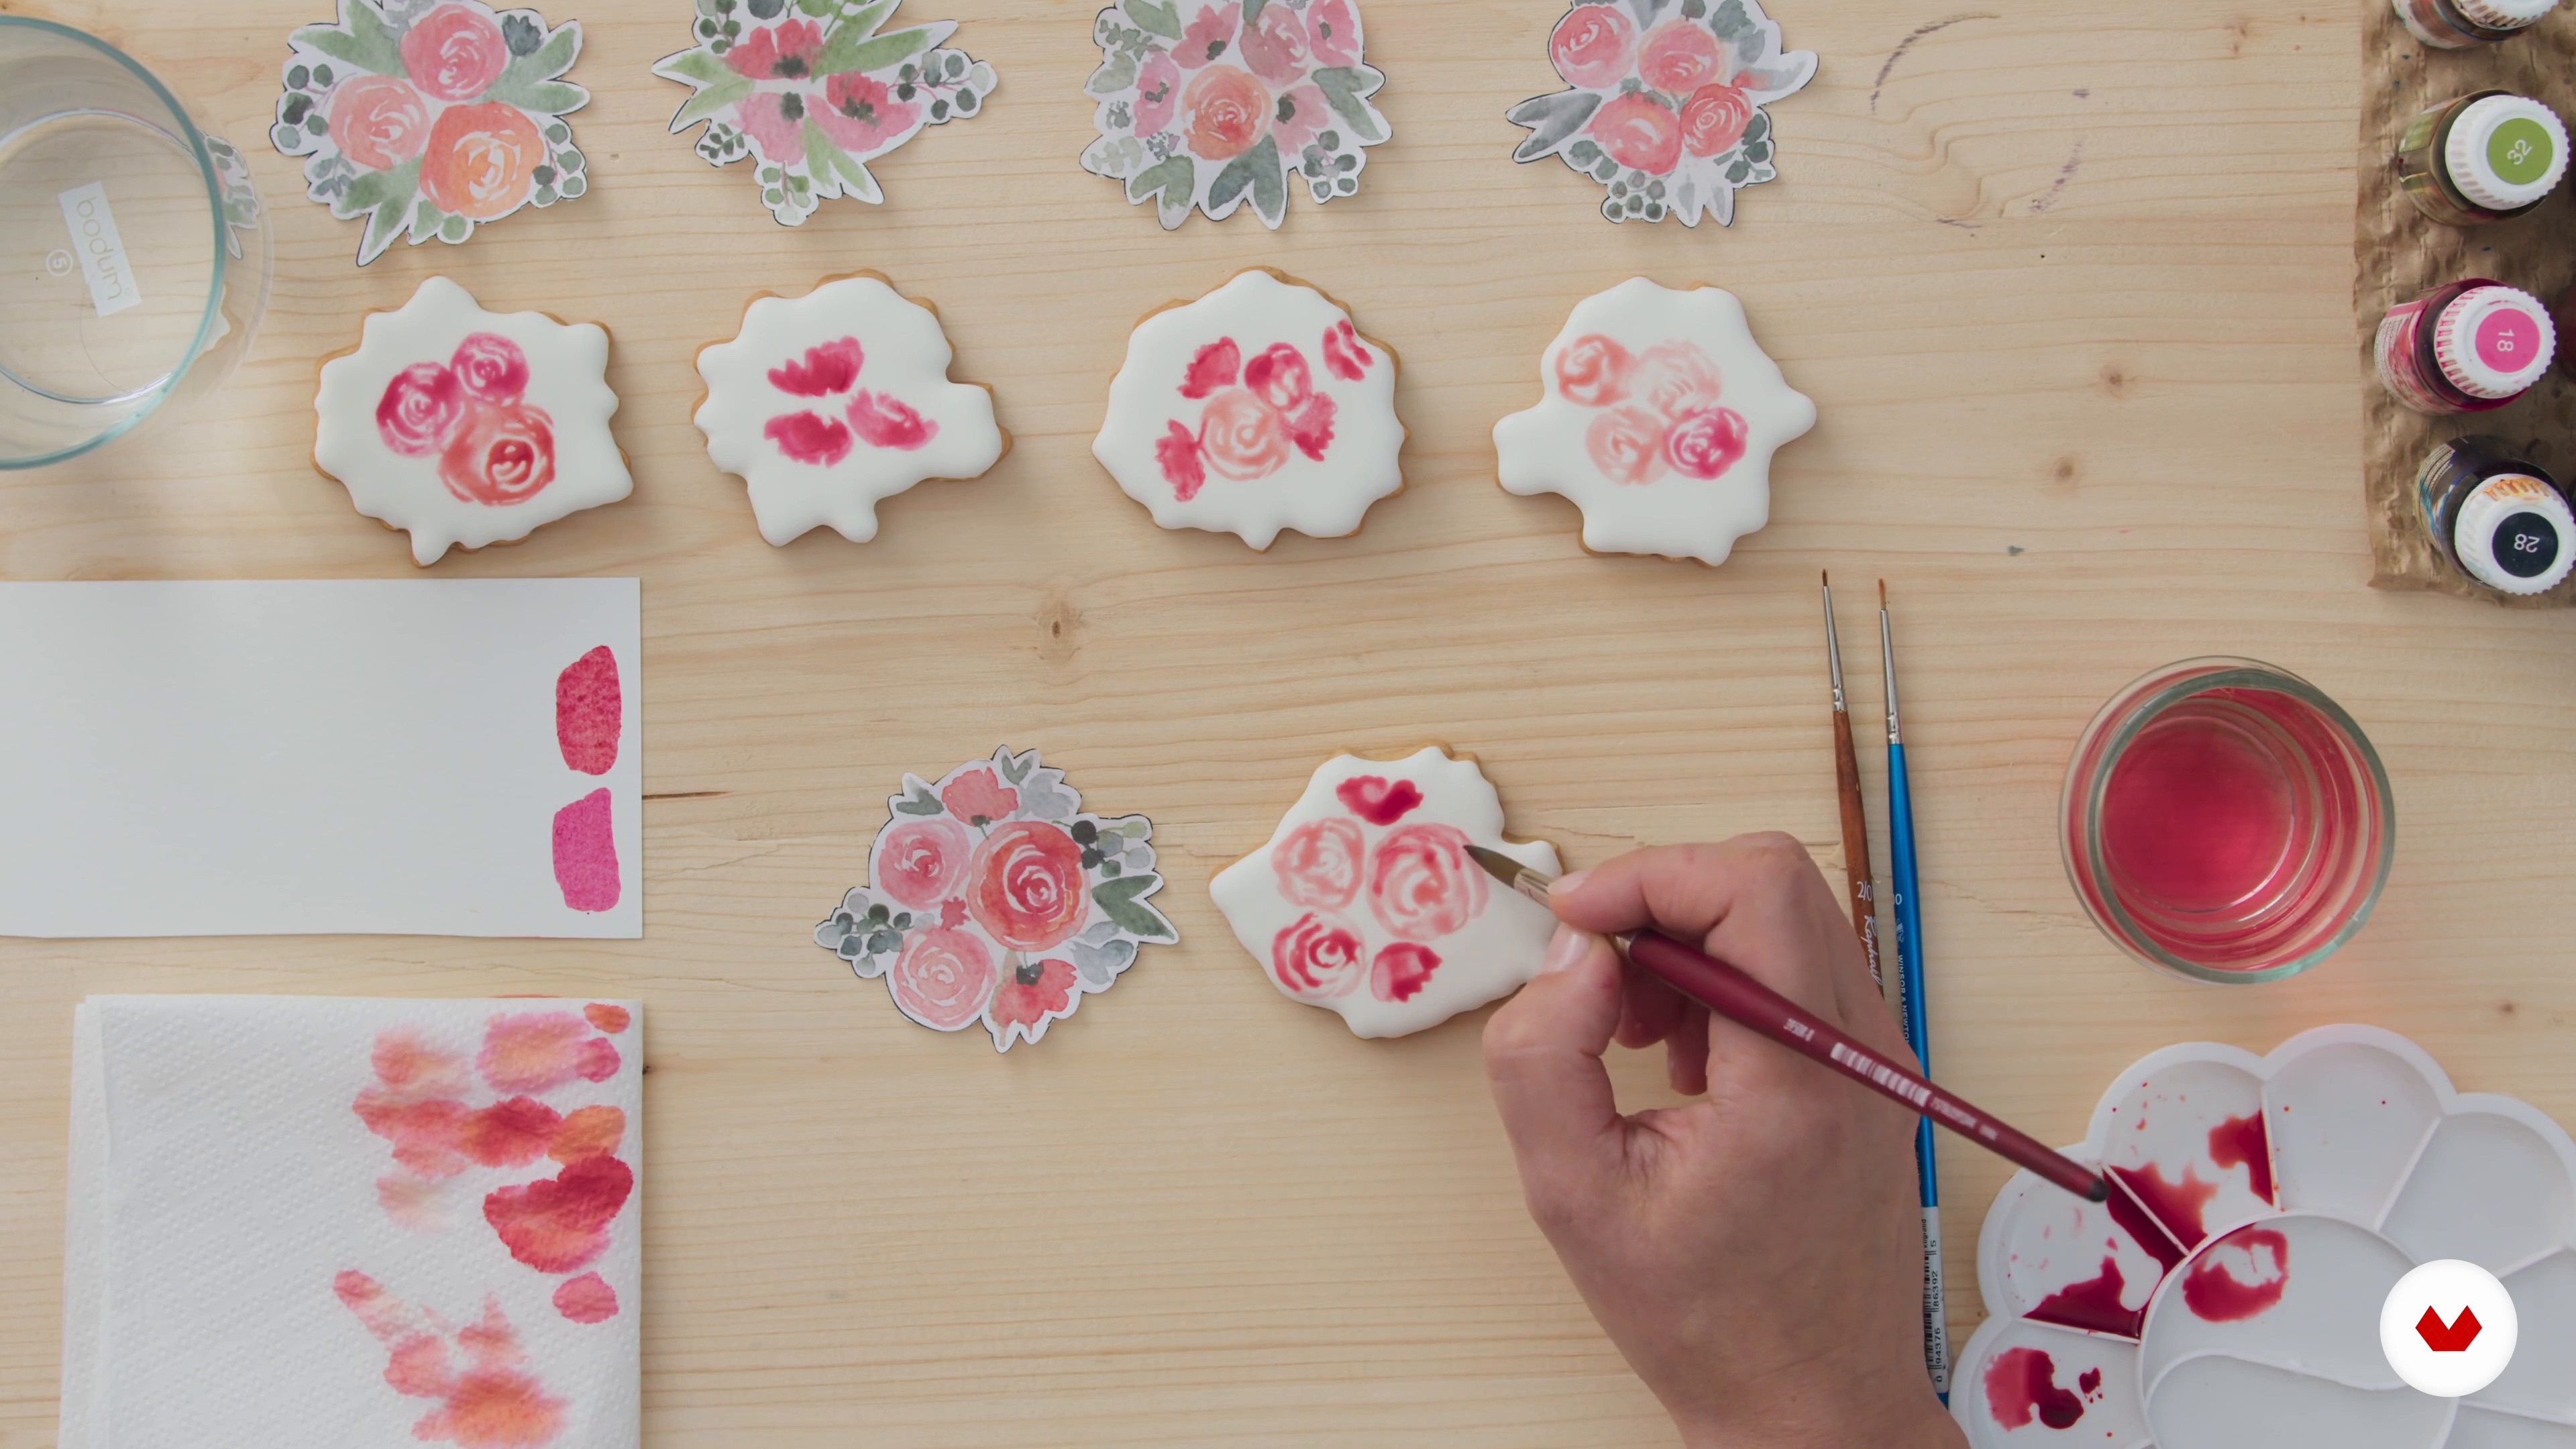
Watercolor Cookie Flowers
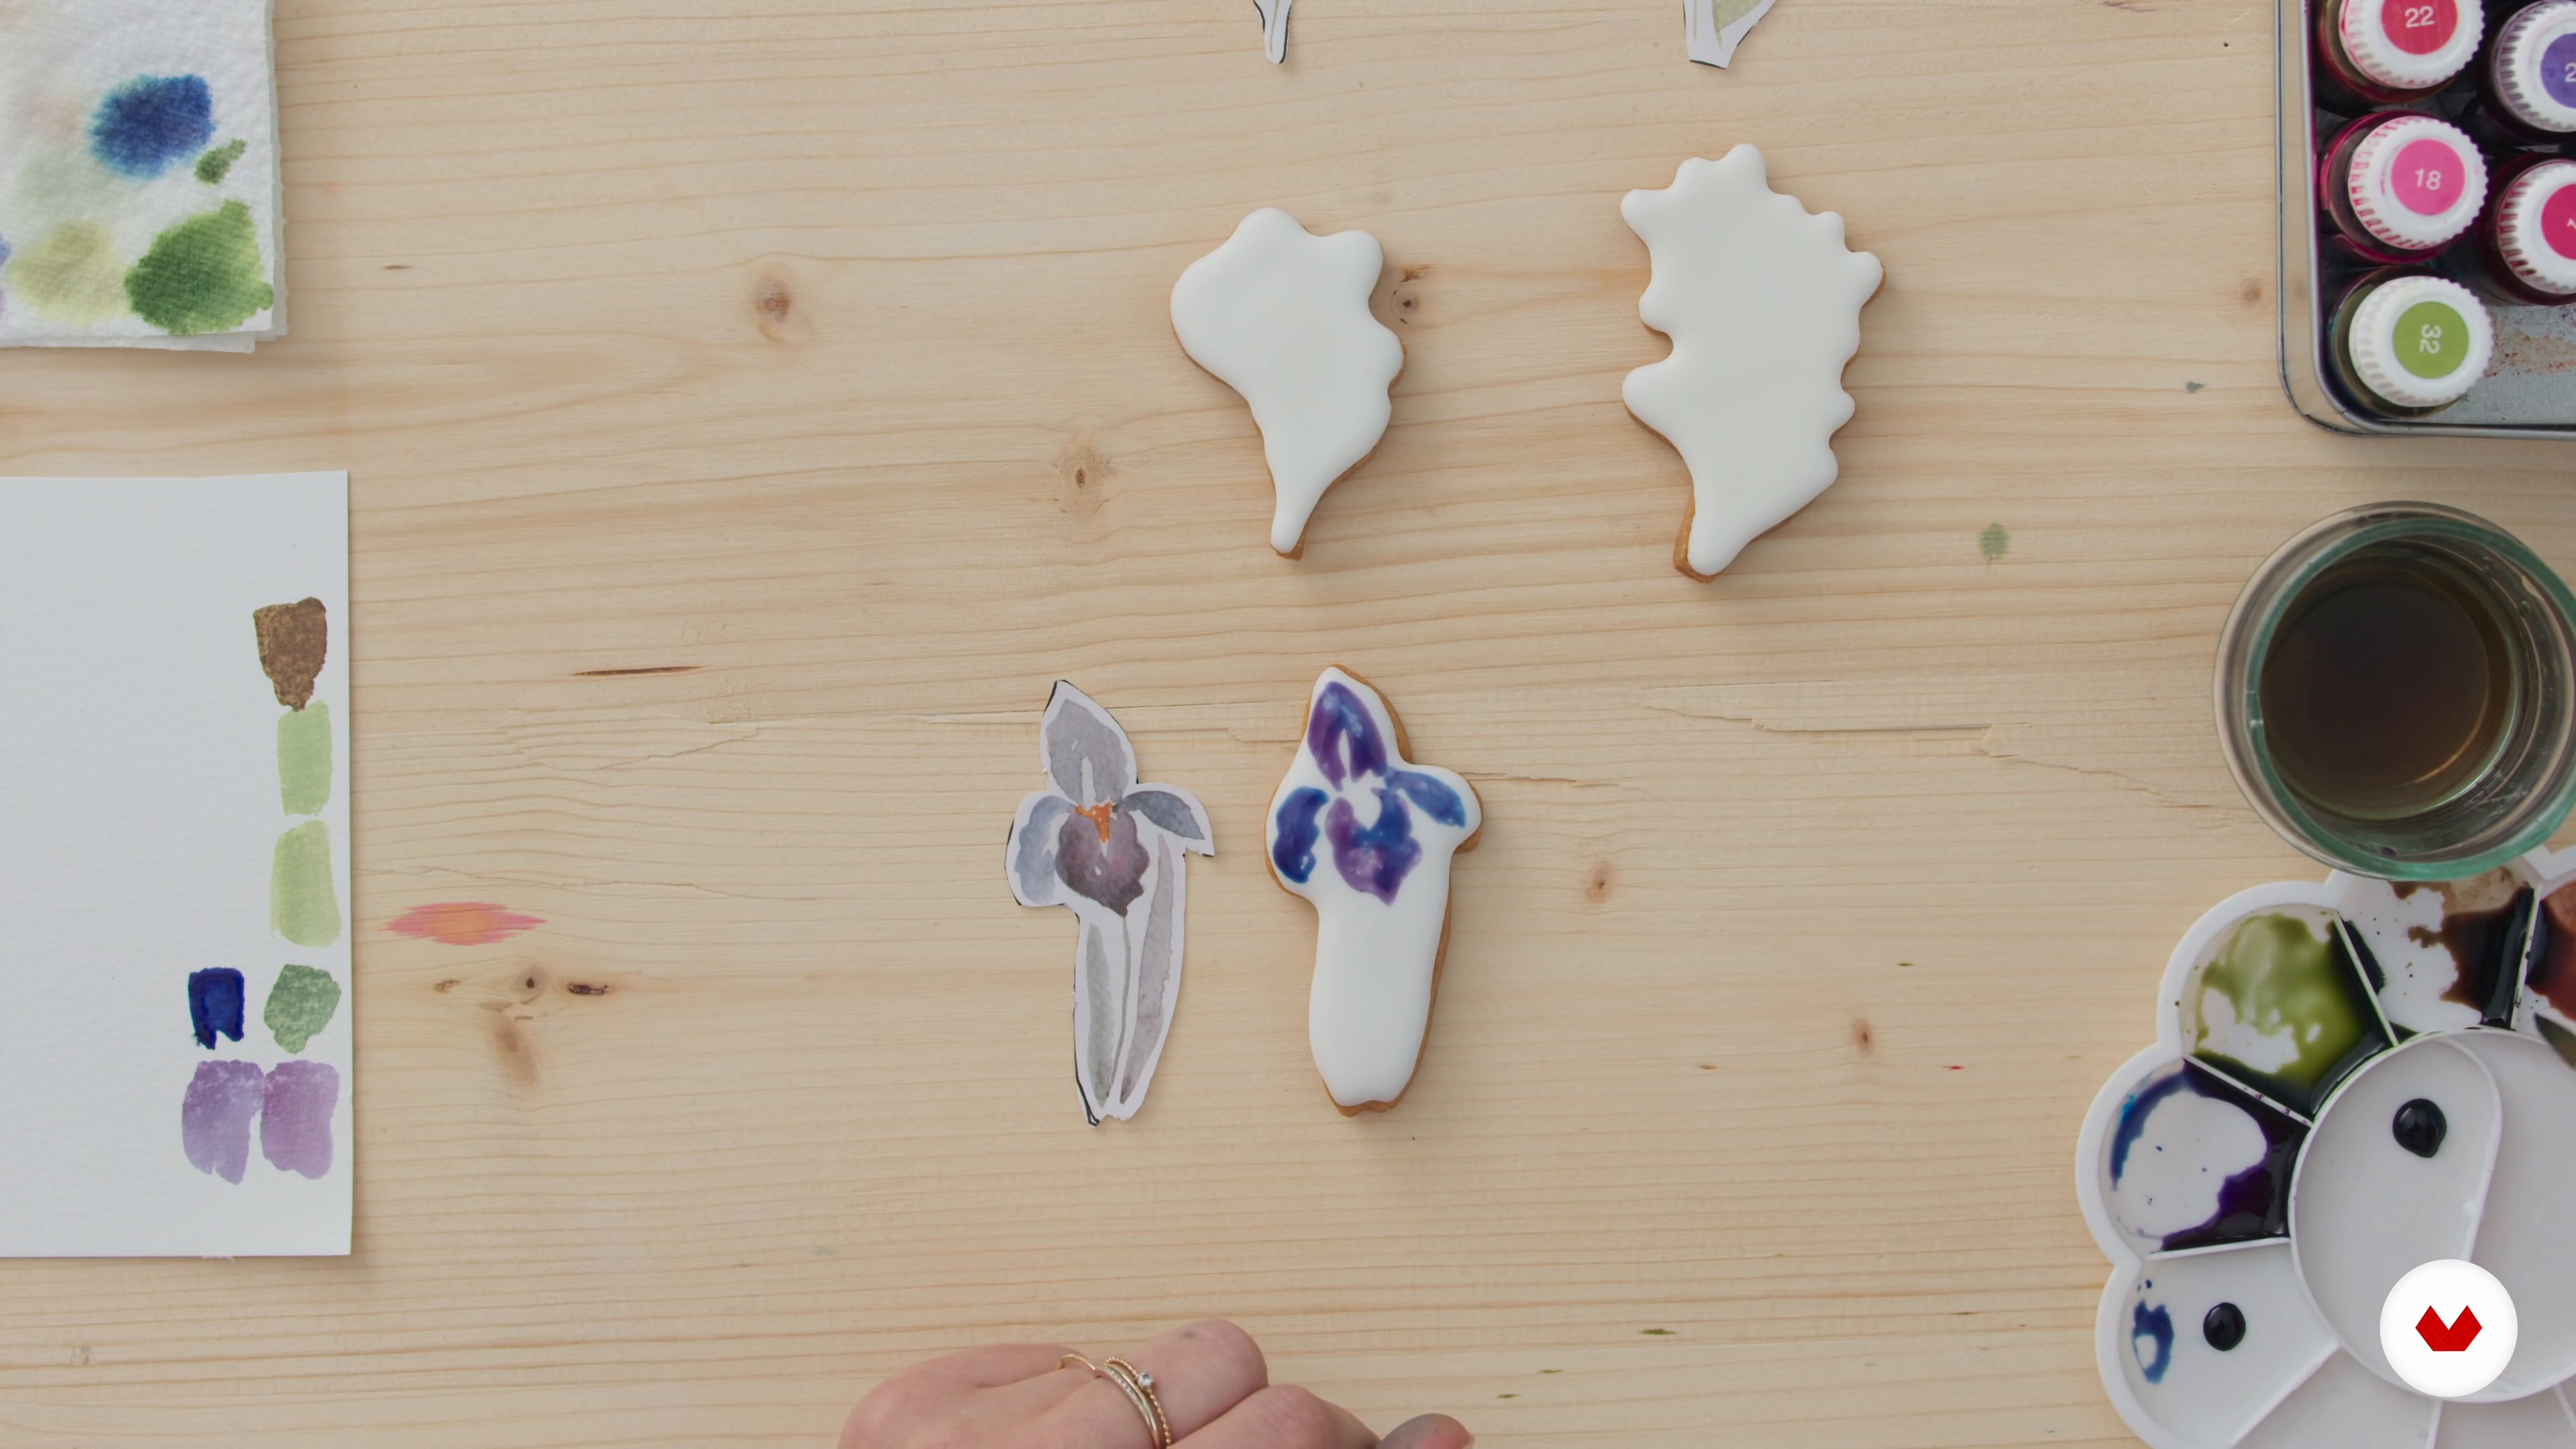
We're going to get to the fun part, painting directly on cookies! With everything I've taught you before, you should be able to paint beautiful bouquets! We will focus first on the main flowers, because they are the ones that will guide the composition of the bouquet.
9m
image
12
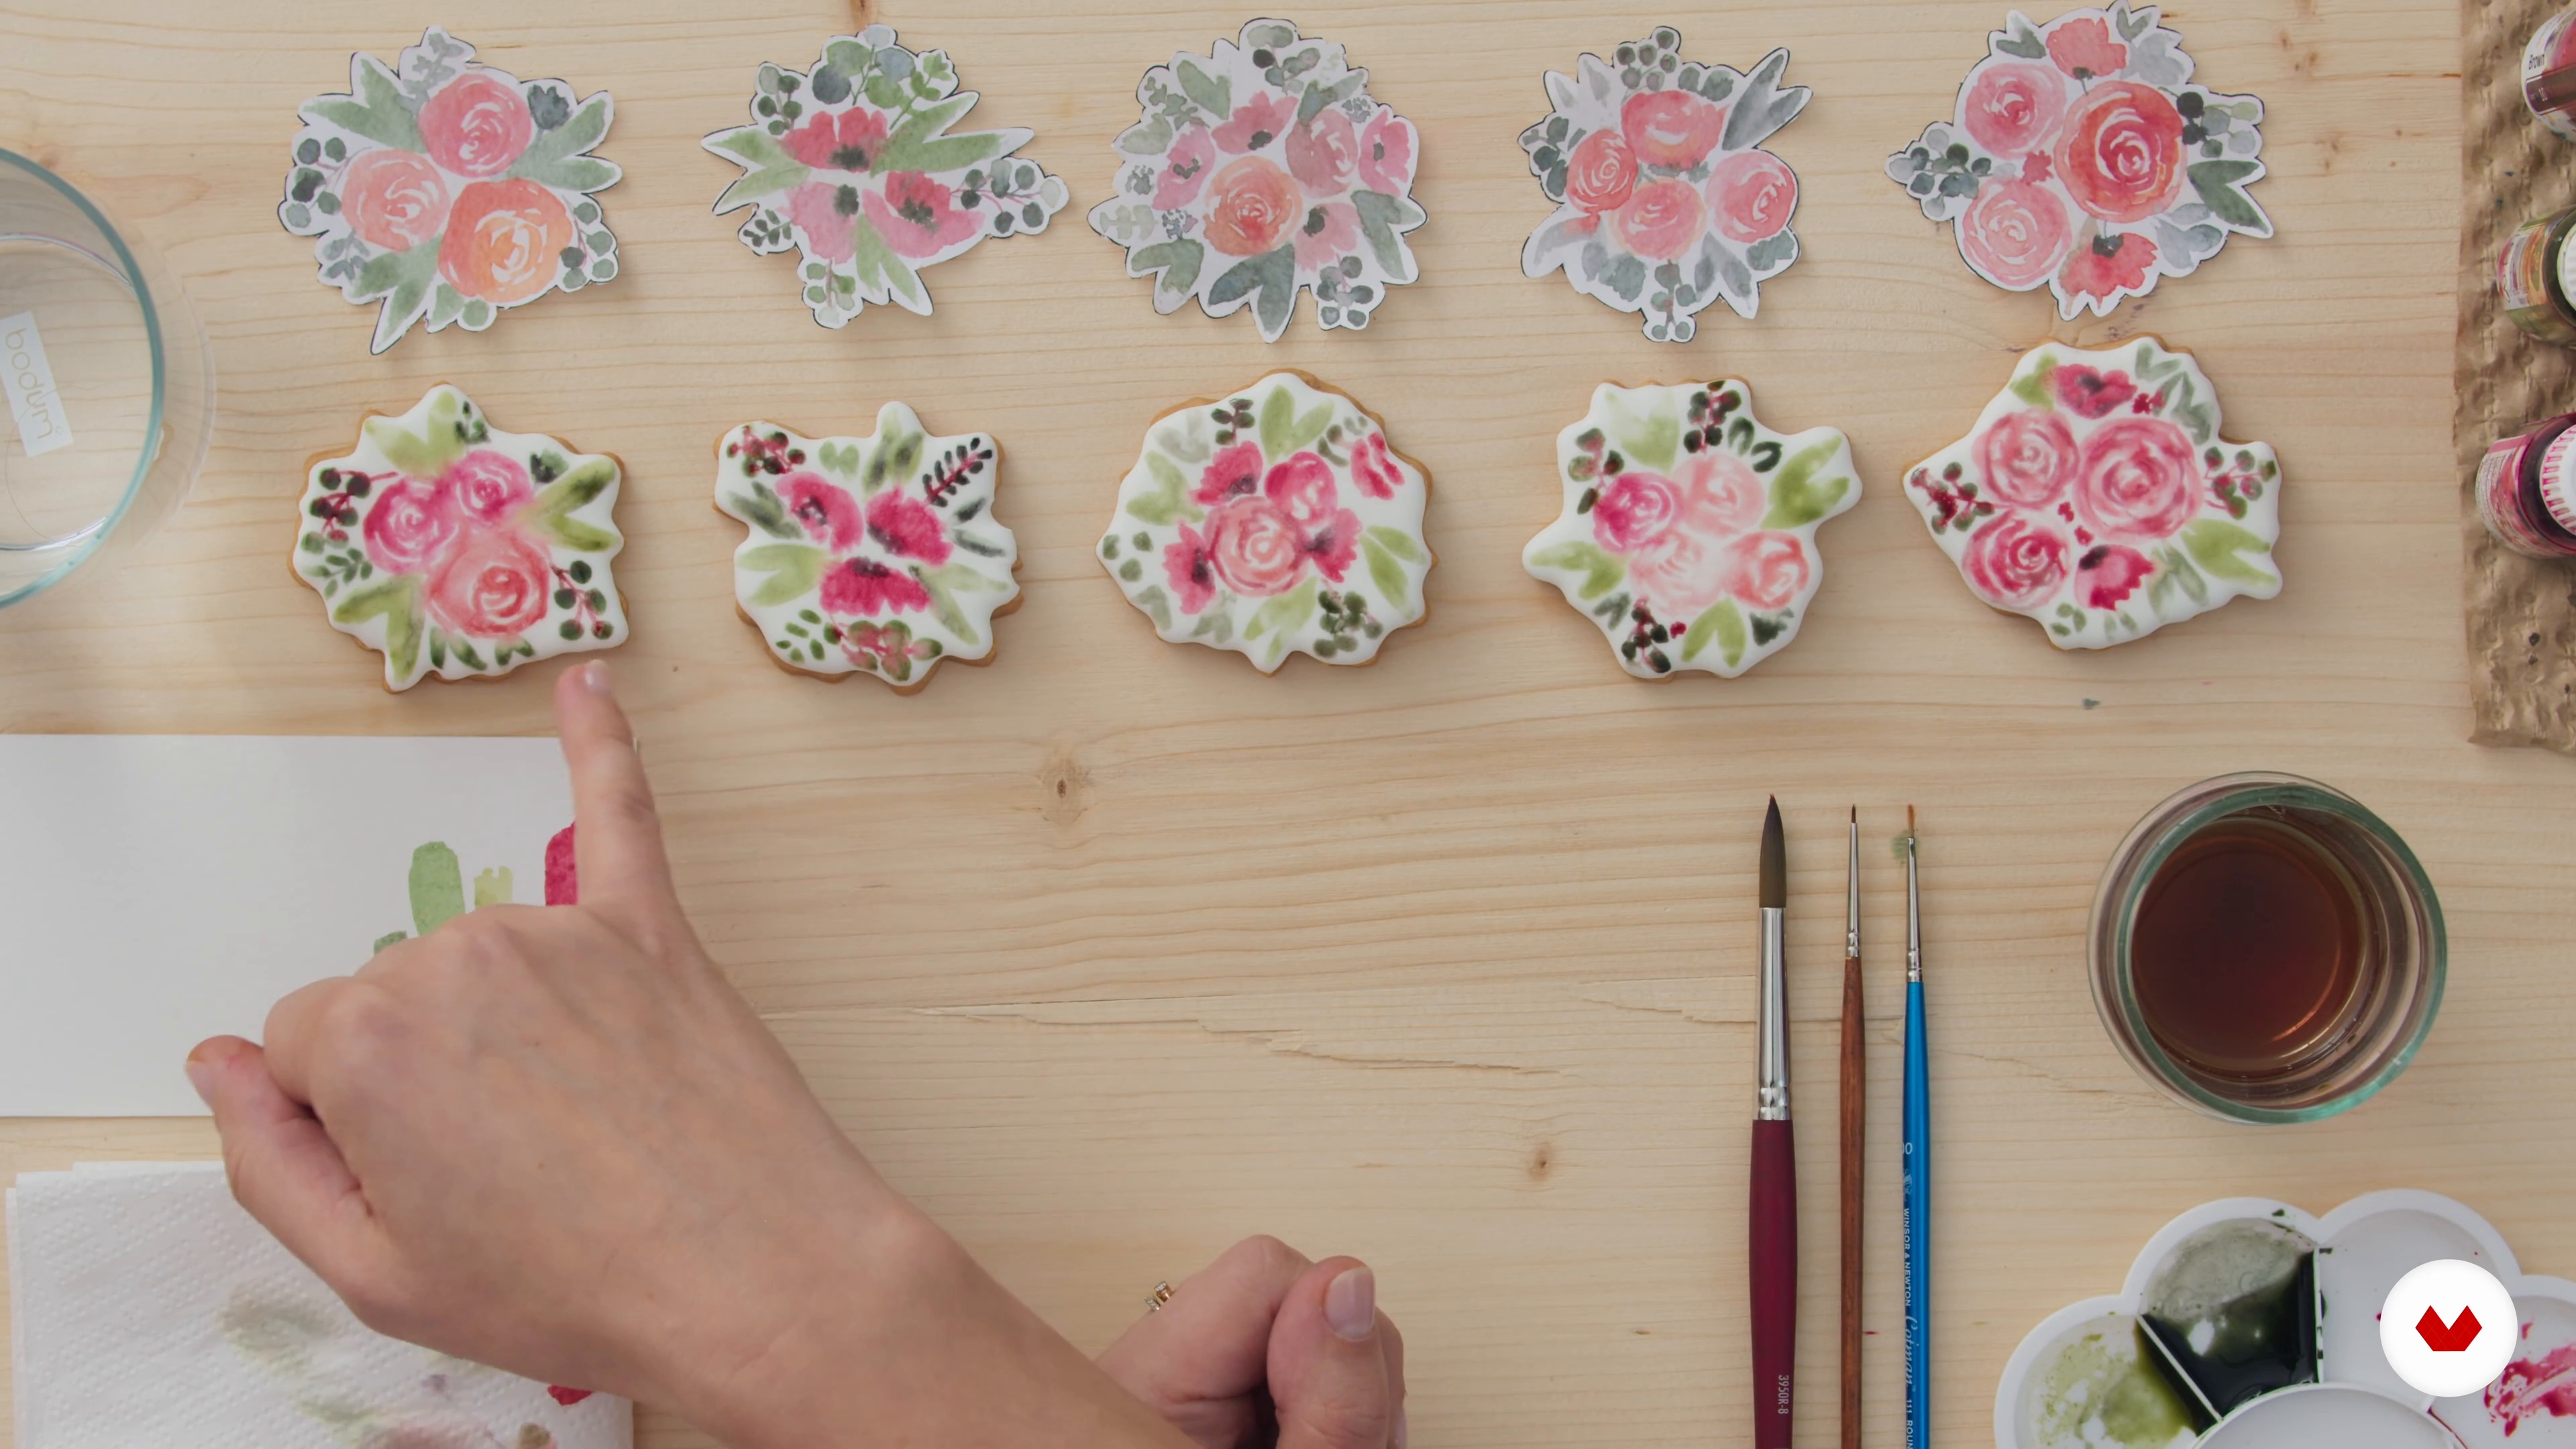
Watercolor Leaves and Foliage
You will be able to garnish your bouquet with beautiful foliage in subtle shades of green. Foliage is very important in bringing life to your cookie bouquet.
7m
image
13
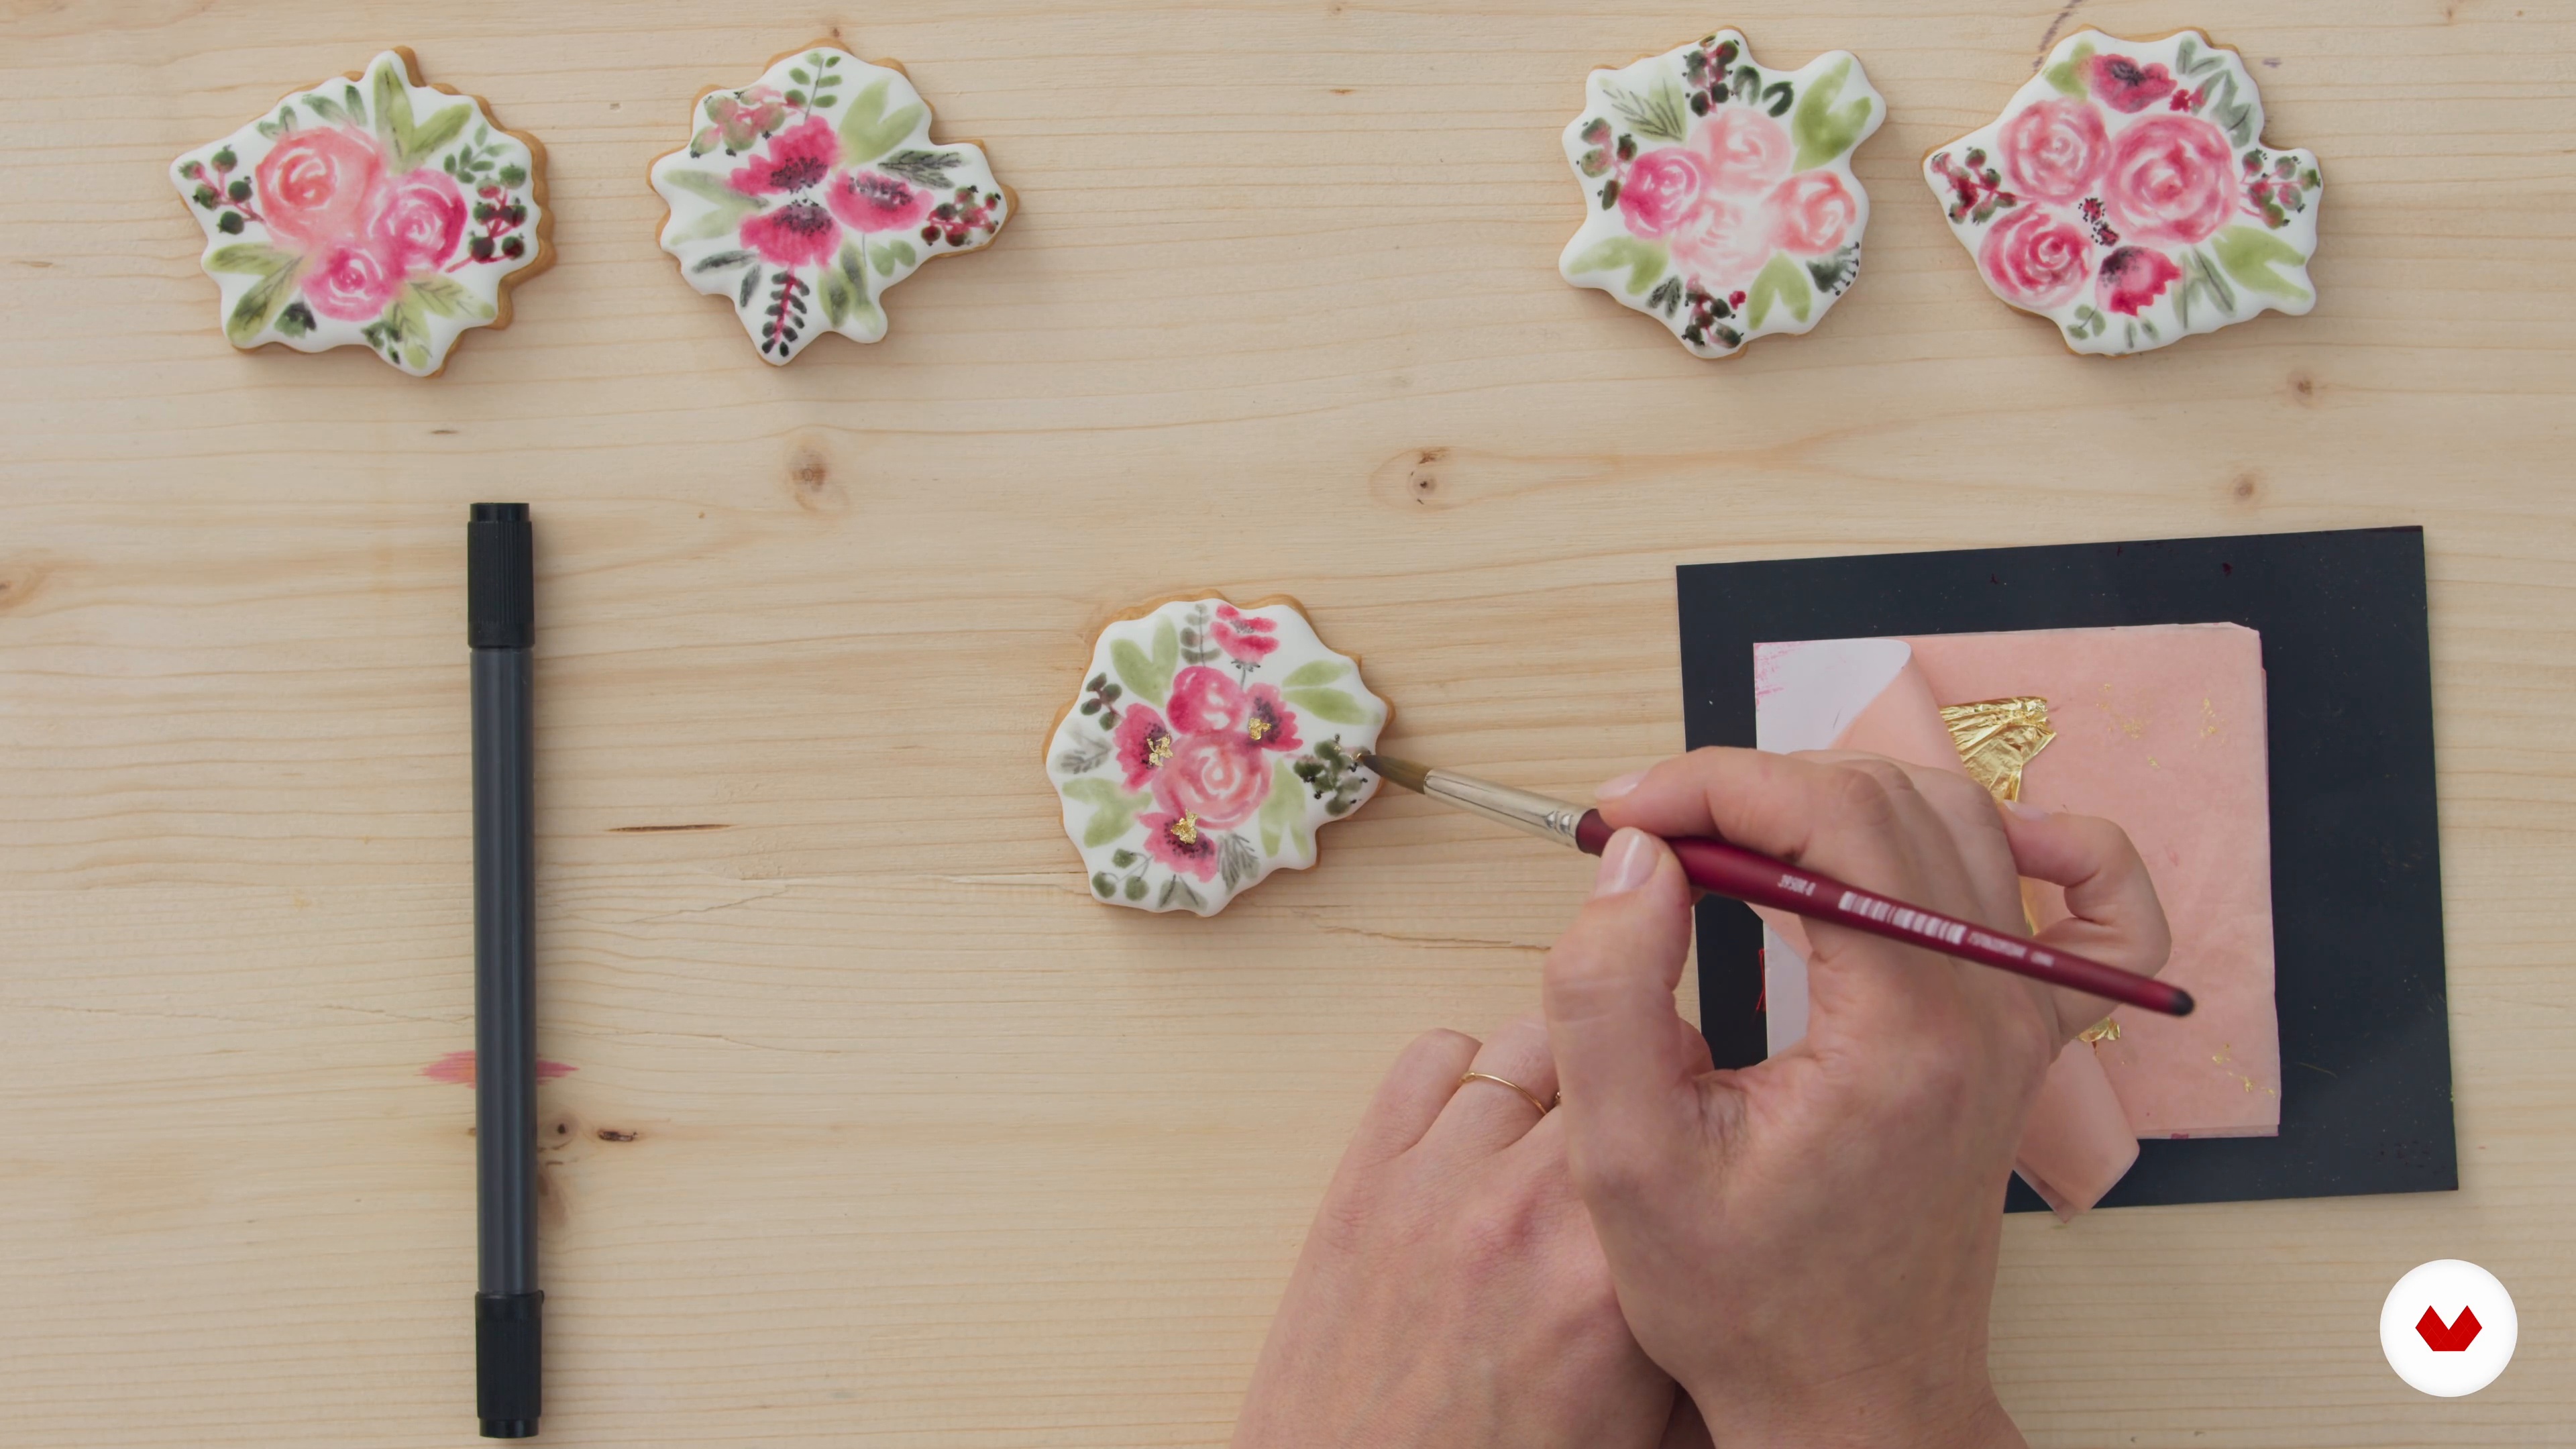
Adding Details
Now you will see that the details are not, and to make hand-painted cookies really exceptional I give you all my tips to sublimate them.
5m
image
14
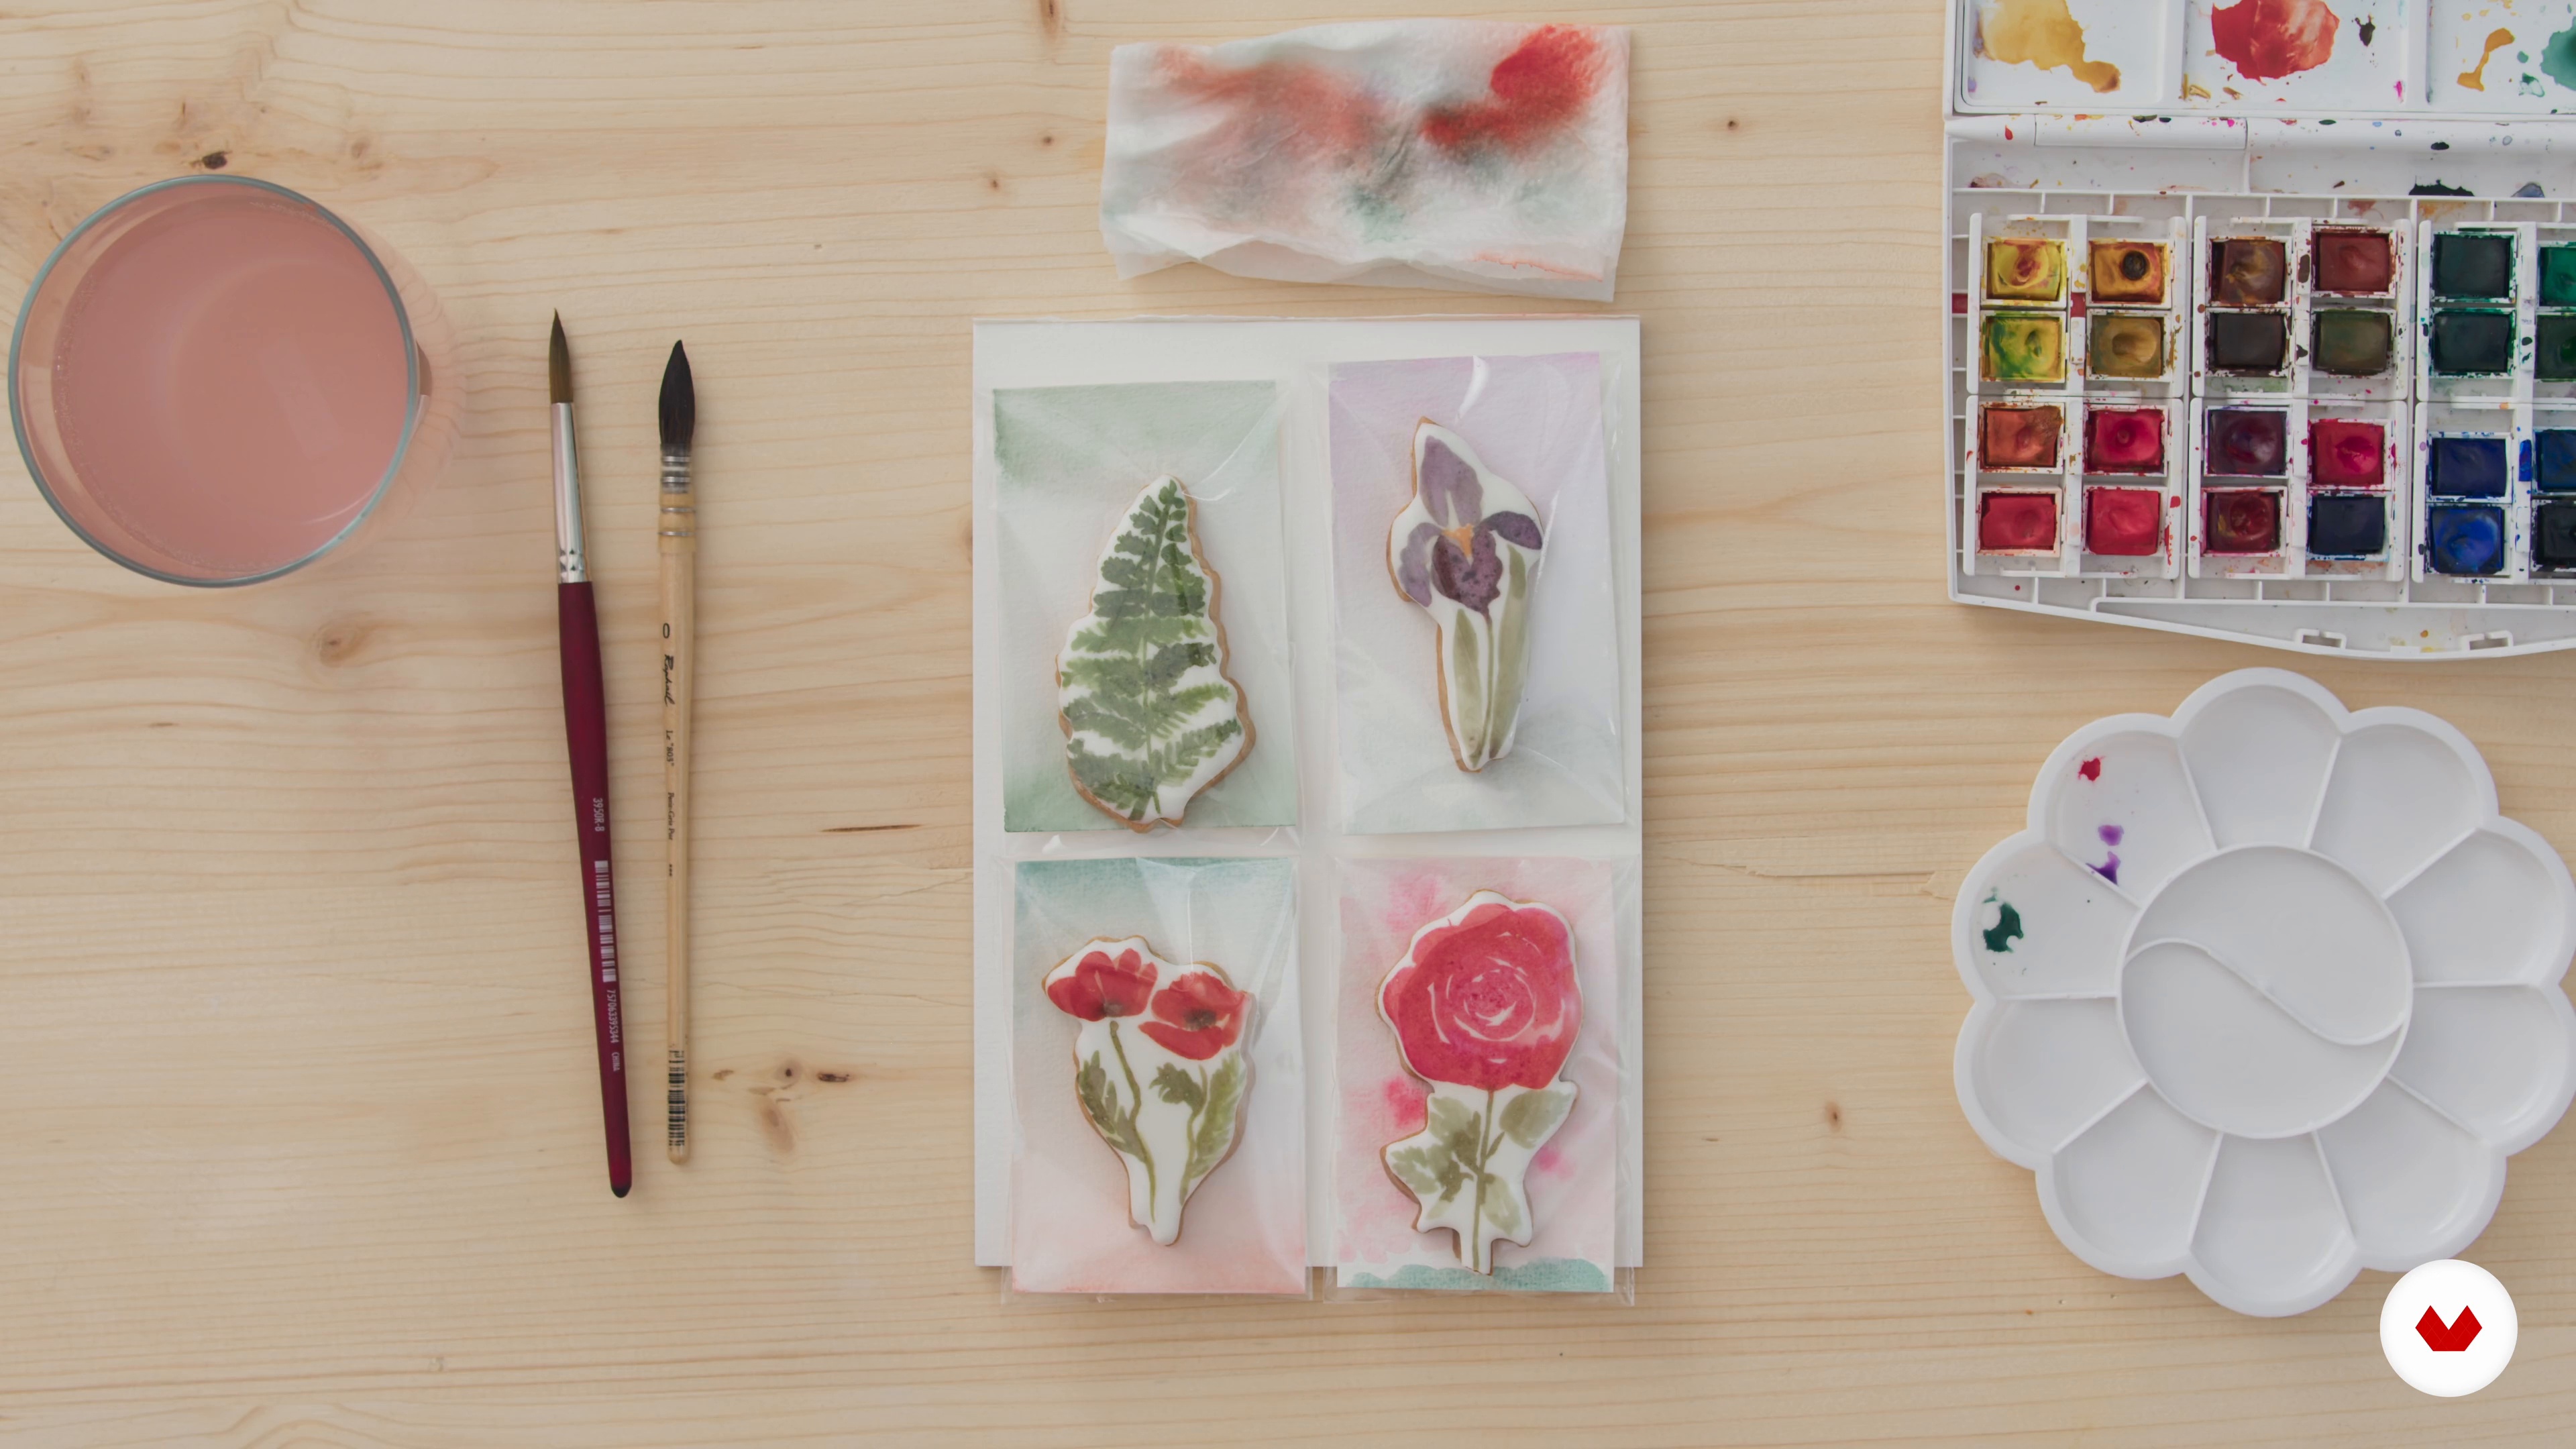
Enhance Cookies with Luxurious Packaging
We are going to use our brushes and watercolors to make small patterned cards to slip behind the cookies. The mixture of patterns and colors give relief to your cookies!
8m
image
15
Easily Making a Series
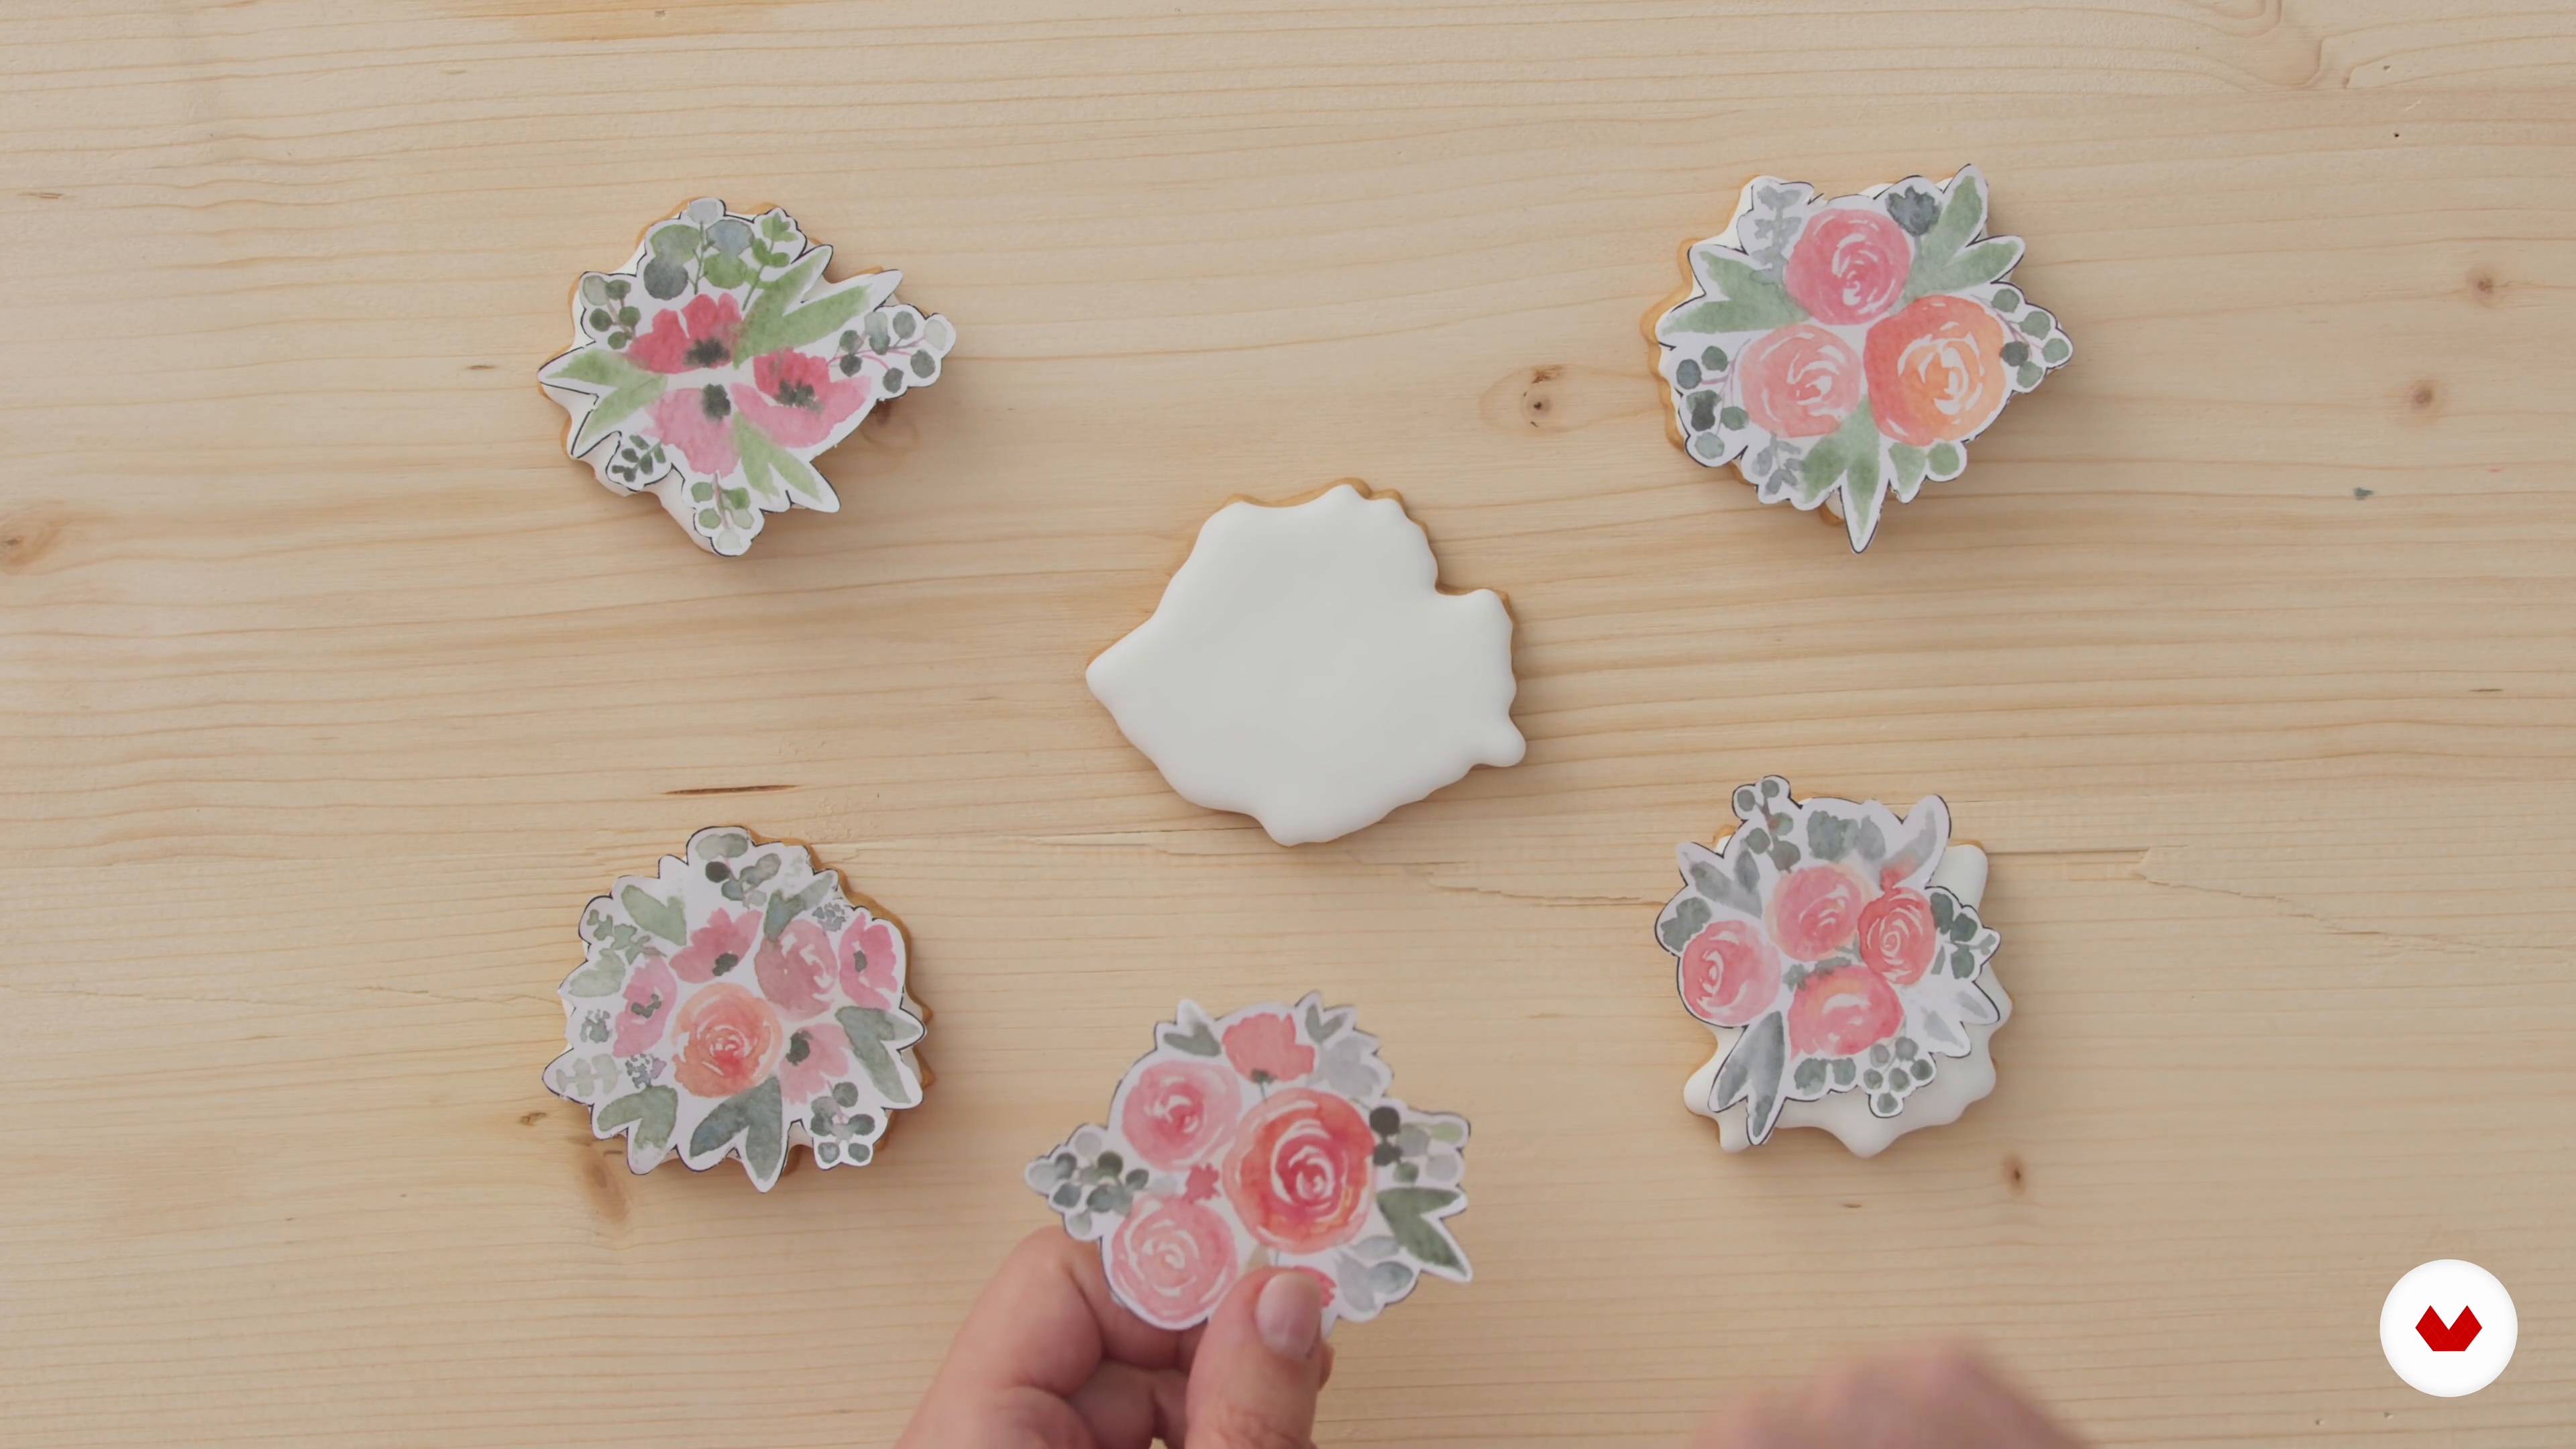
You will quickly see it around you, hand-painted cookies are very popular! You may have orders, where you will have to make cookies in series. Here is my best tip for having identical cookies!
3m
image
16
Digital Drawing
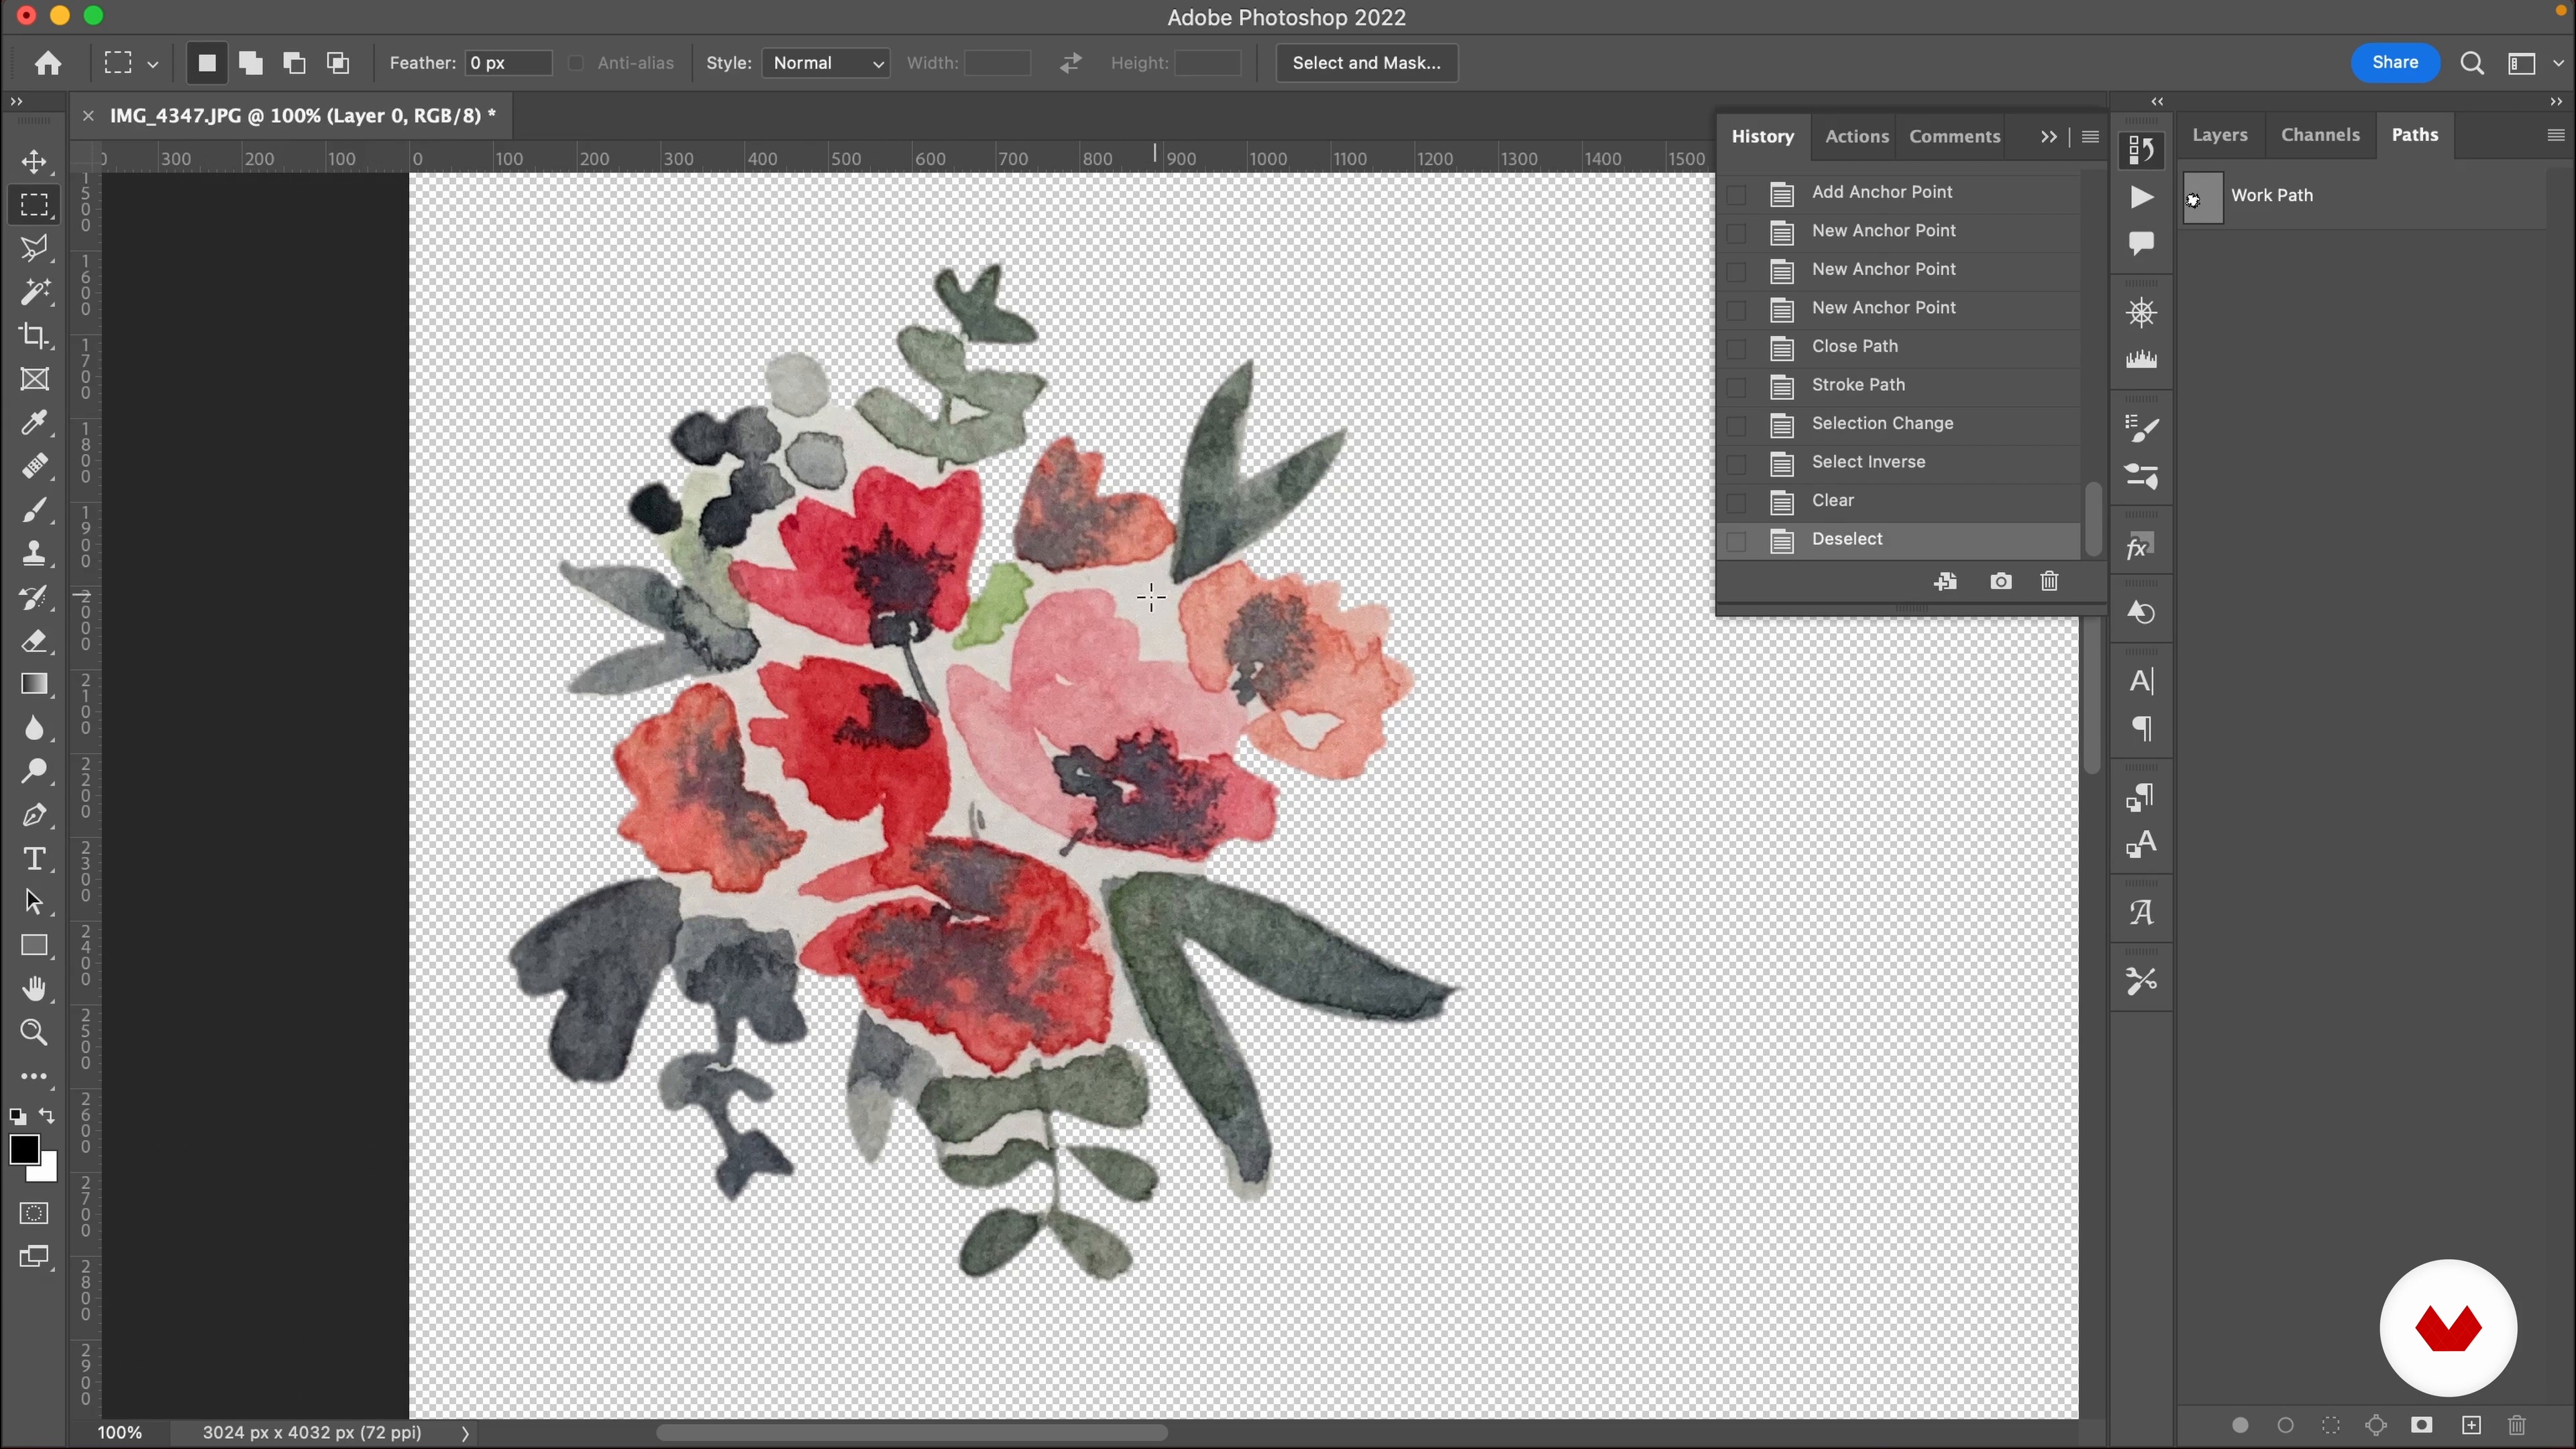
The technique I developed is quite simple, but requires some know-how! In this lesson, I will teach you how to digitize your illustrations, and explain how to replicate them on edible paper!
15m
image
3
The Design Process
First, I will show you how I establish the concept for my designs. From gathering inspiration to organizing them into a mood board, you’ll see each step I take to plan out my projects.
3m
image
4
Sketching the Cupcakes
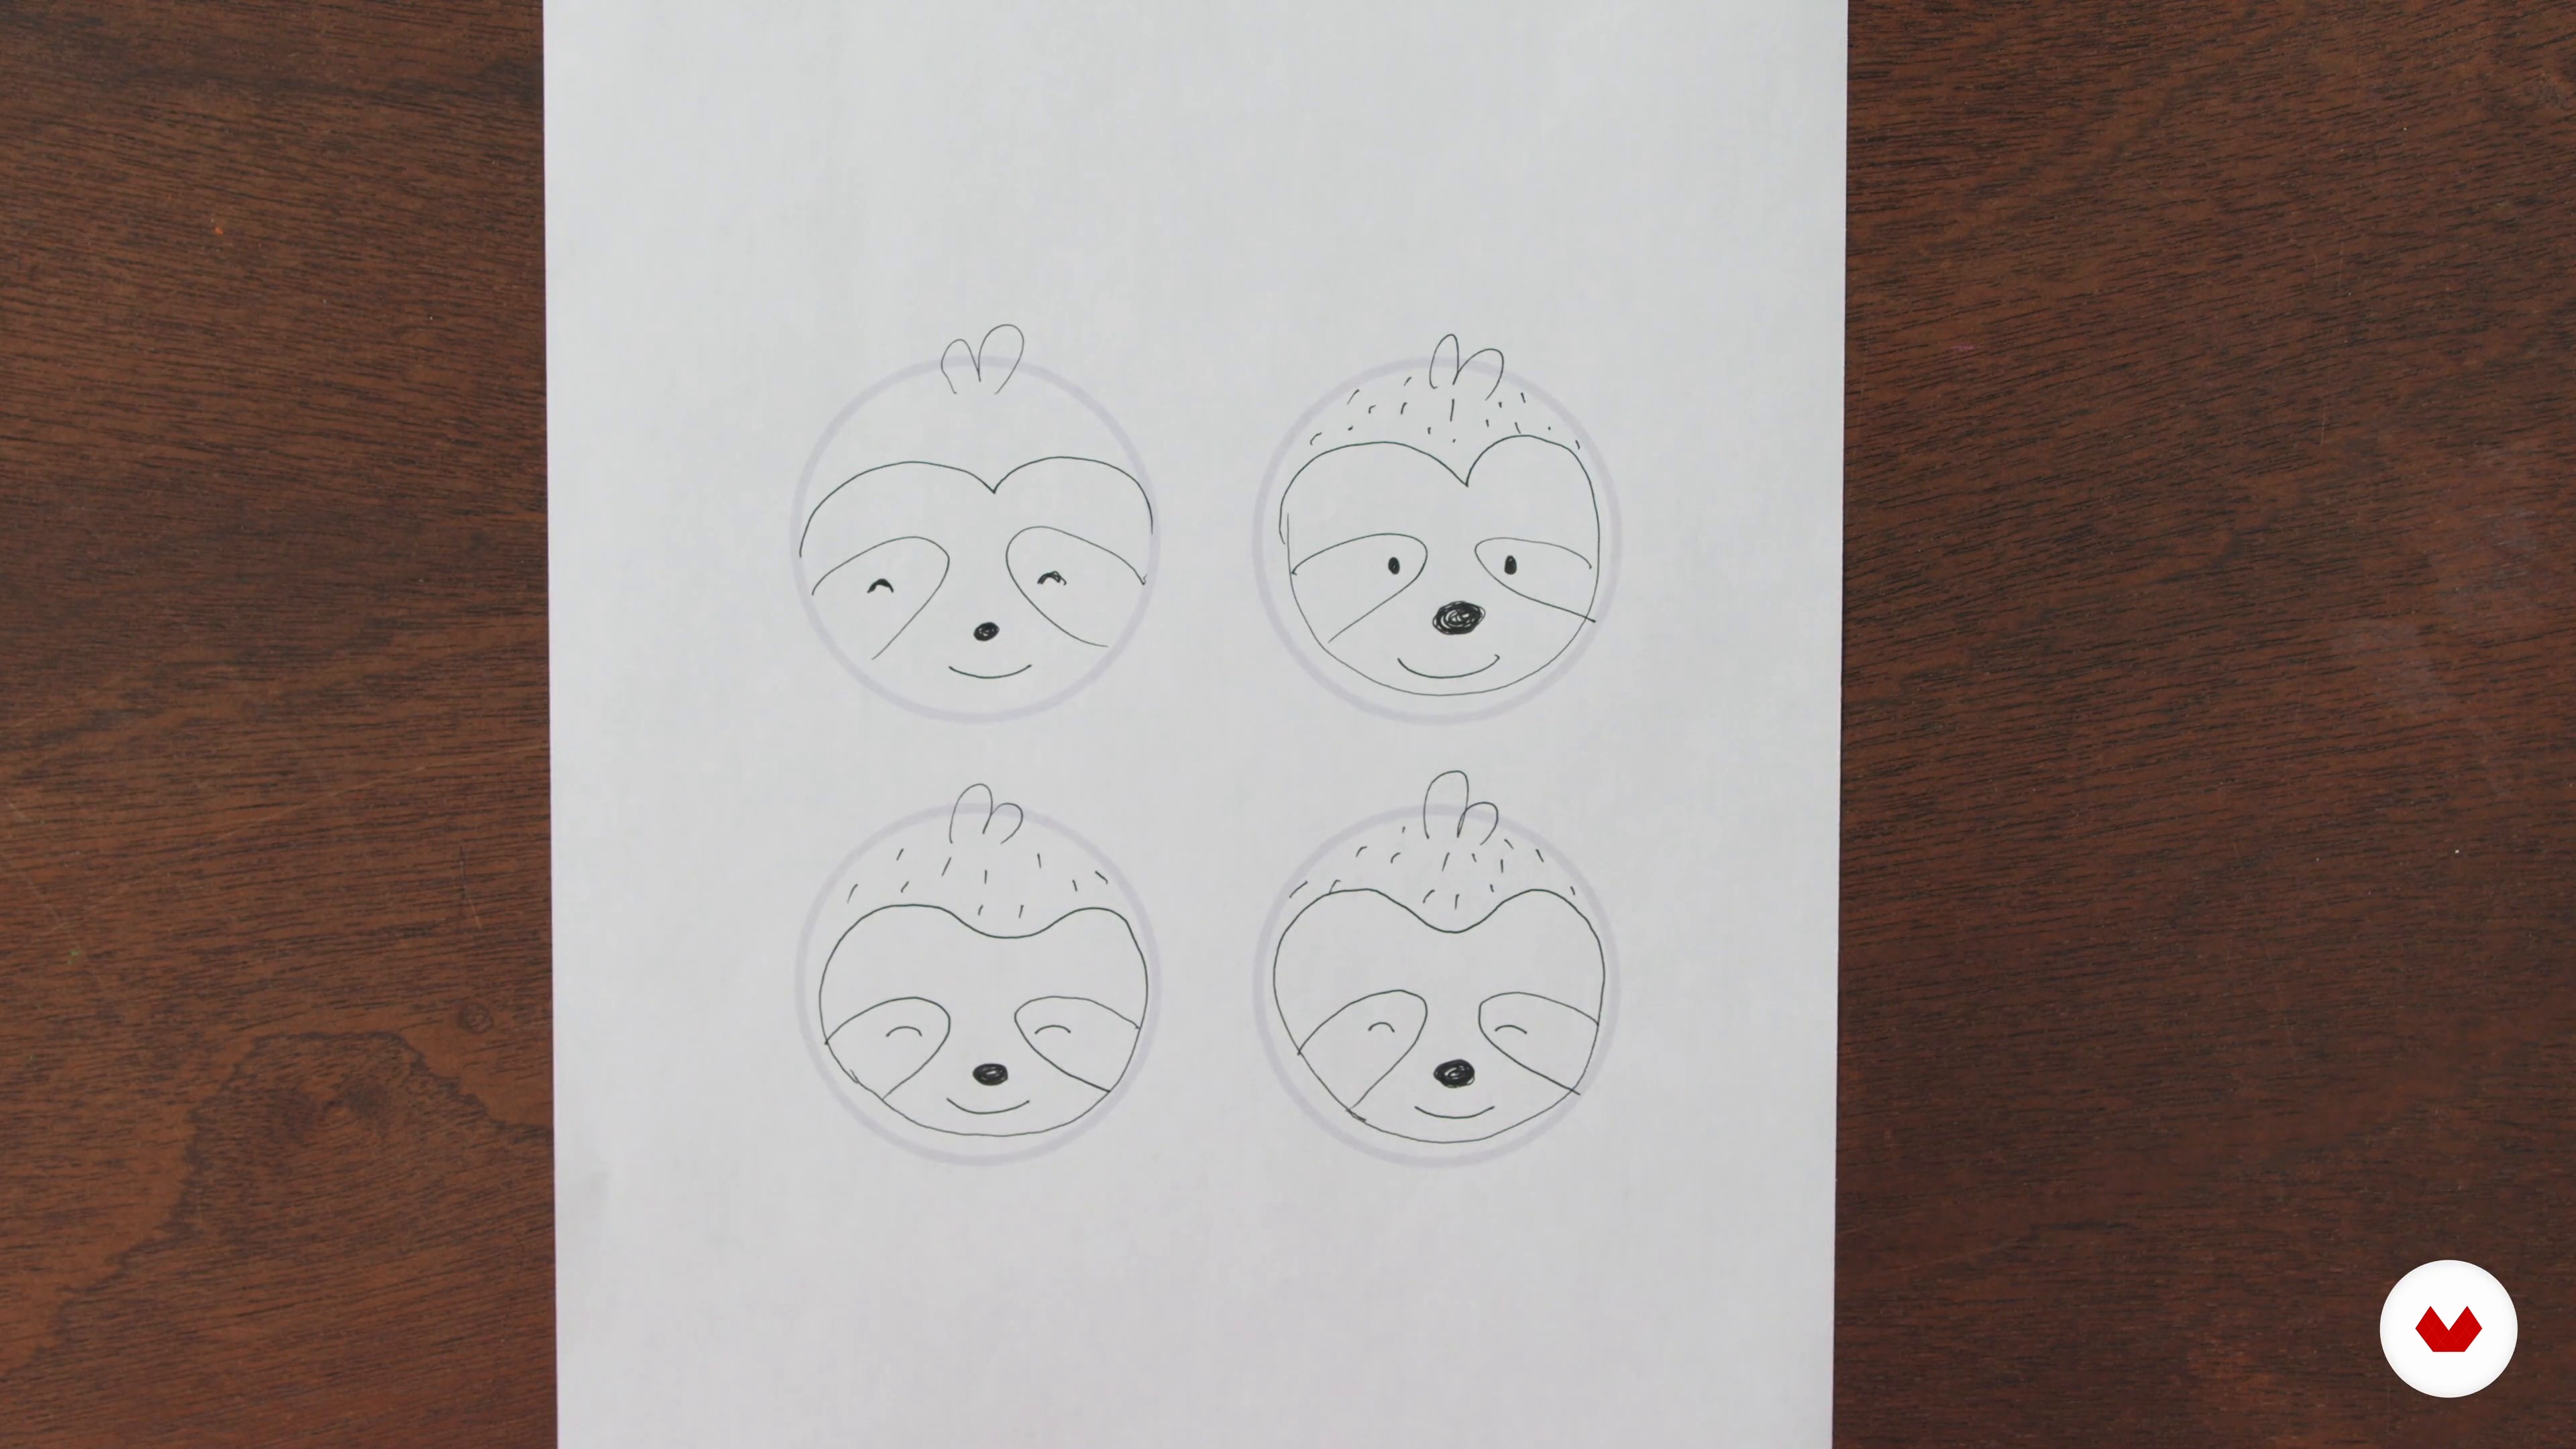
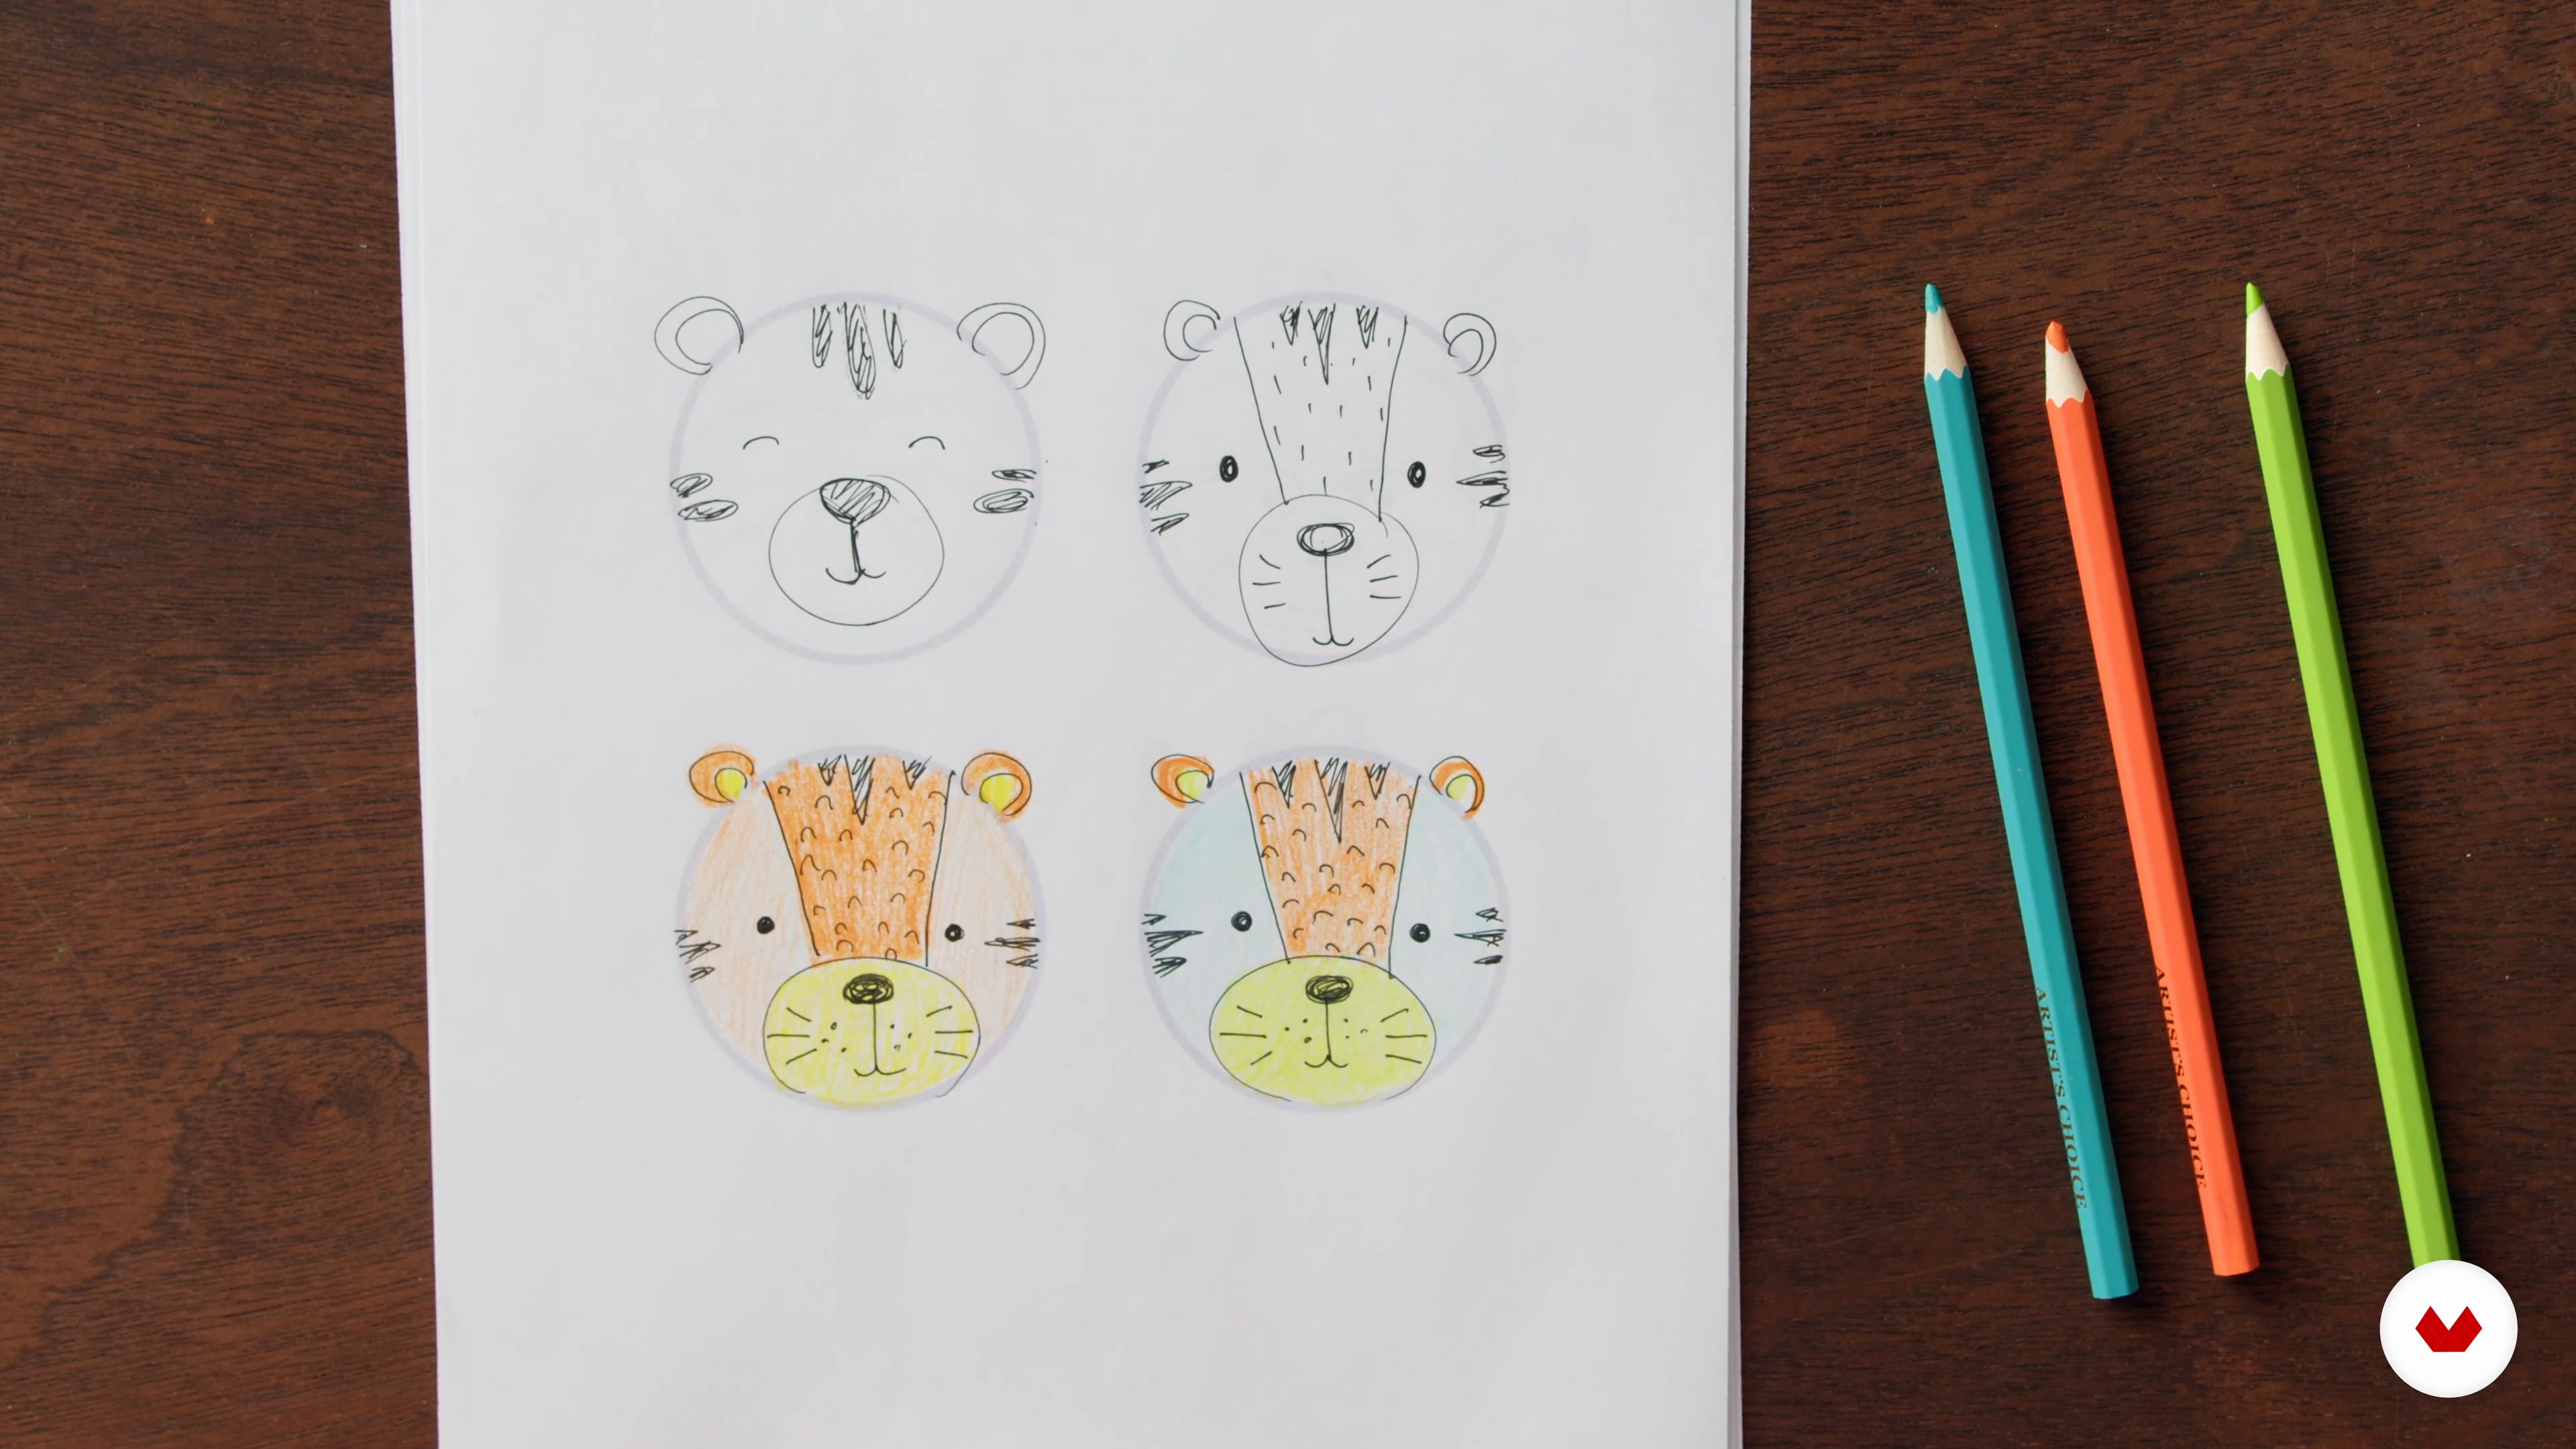
In this lesson, I will walk you through the steps for simplifying your ideas and sketching them into cupcake-friendly designs.
12m
image
5
Assigning Colors
Now I will guide you through how to assign colors to your designs. Whether you want the color palette to be realistic or more whimsical, I will show you how to put together a cohesive combination.
7m
image
6
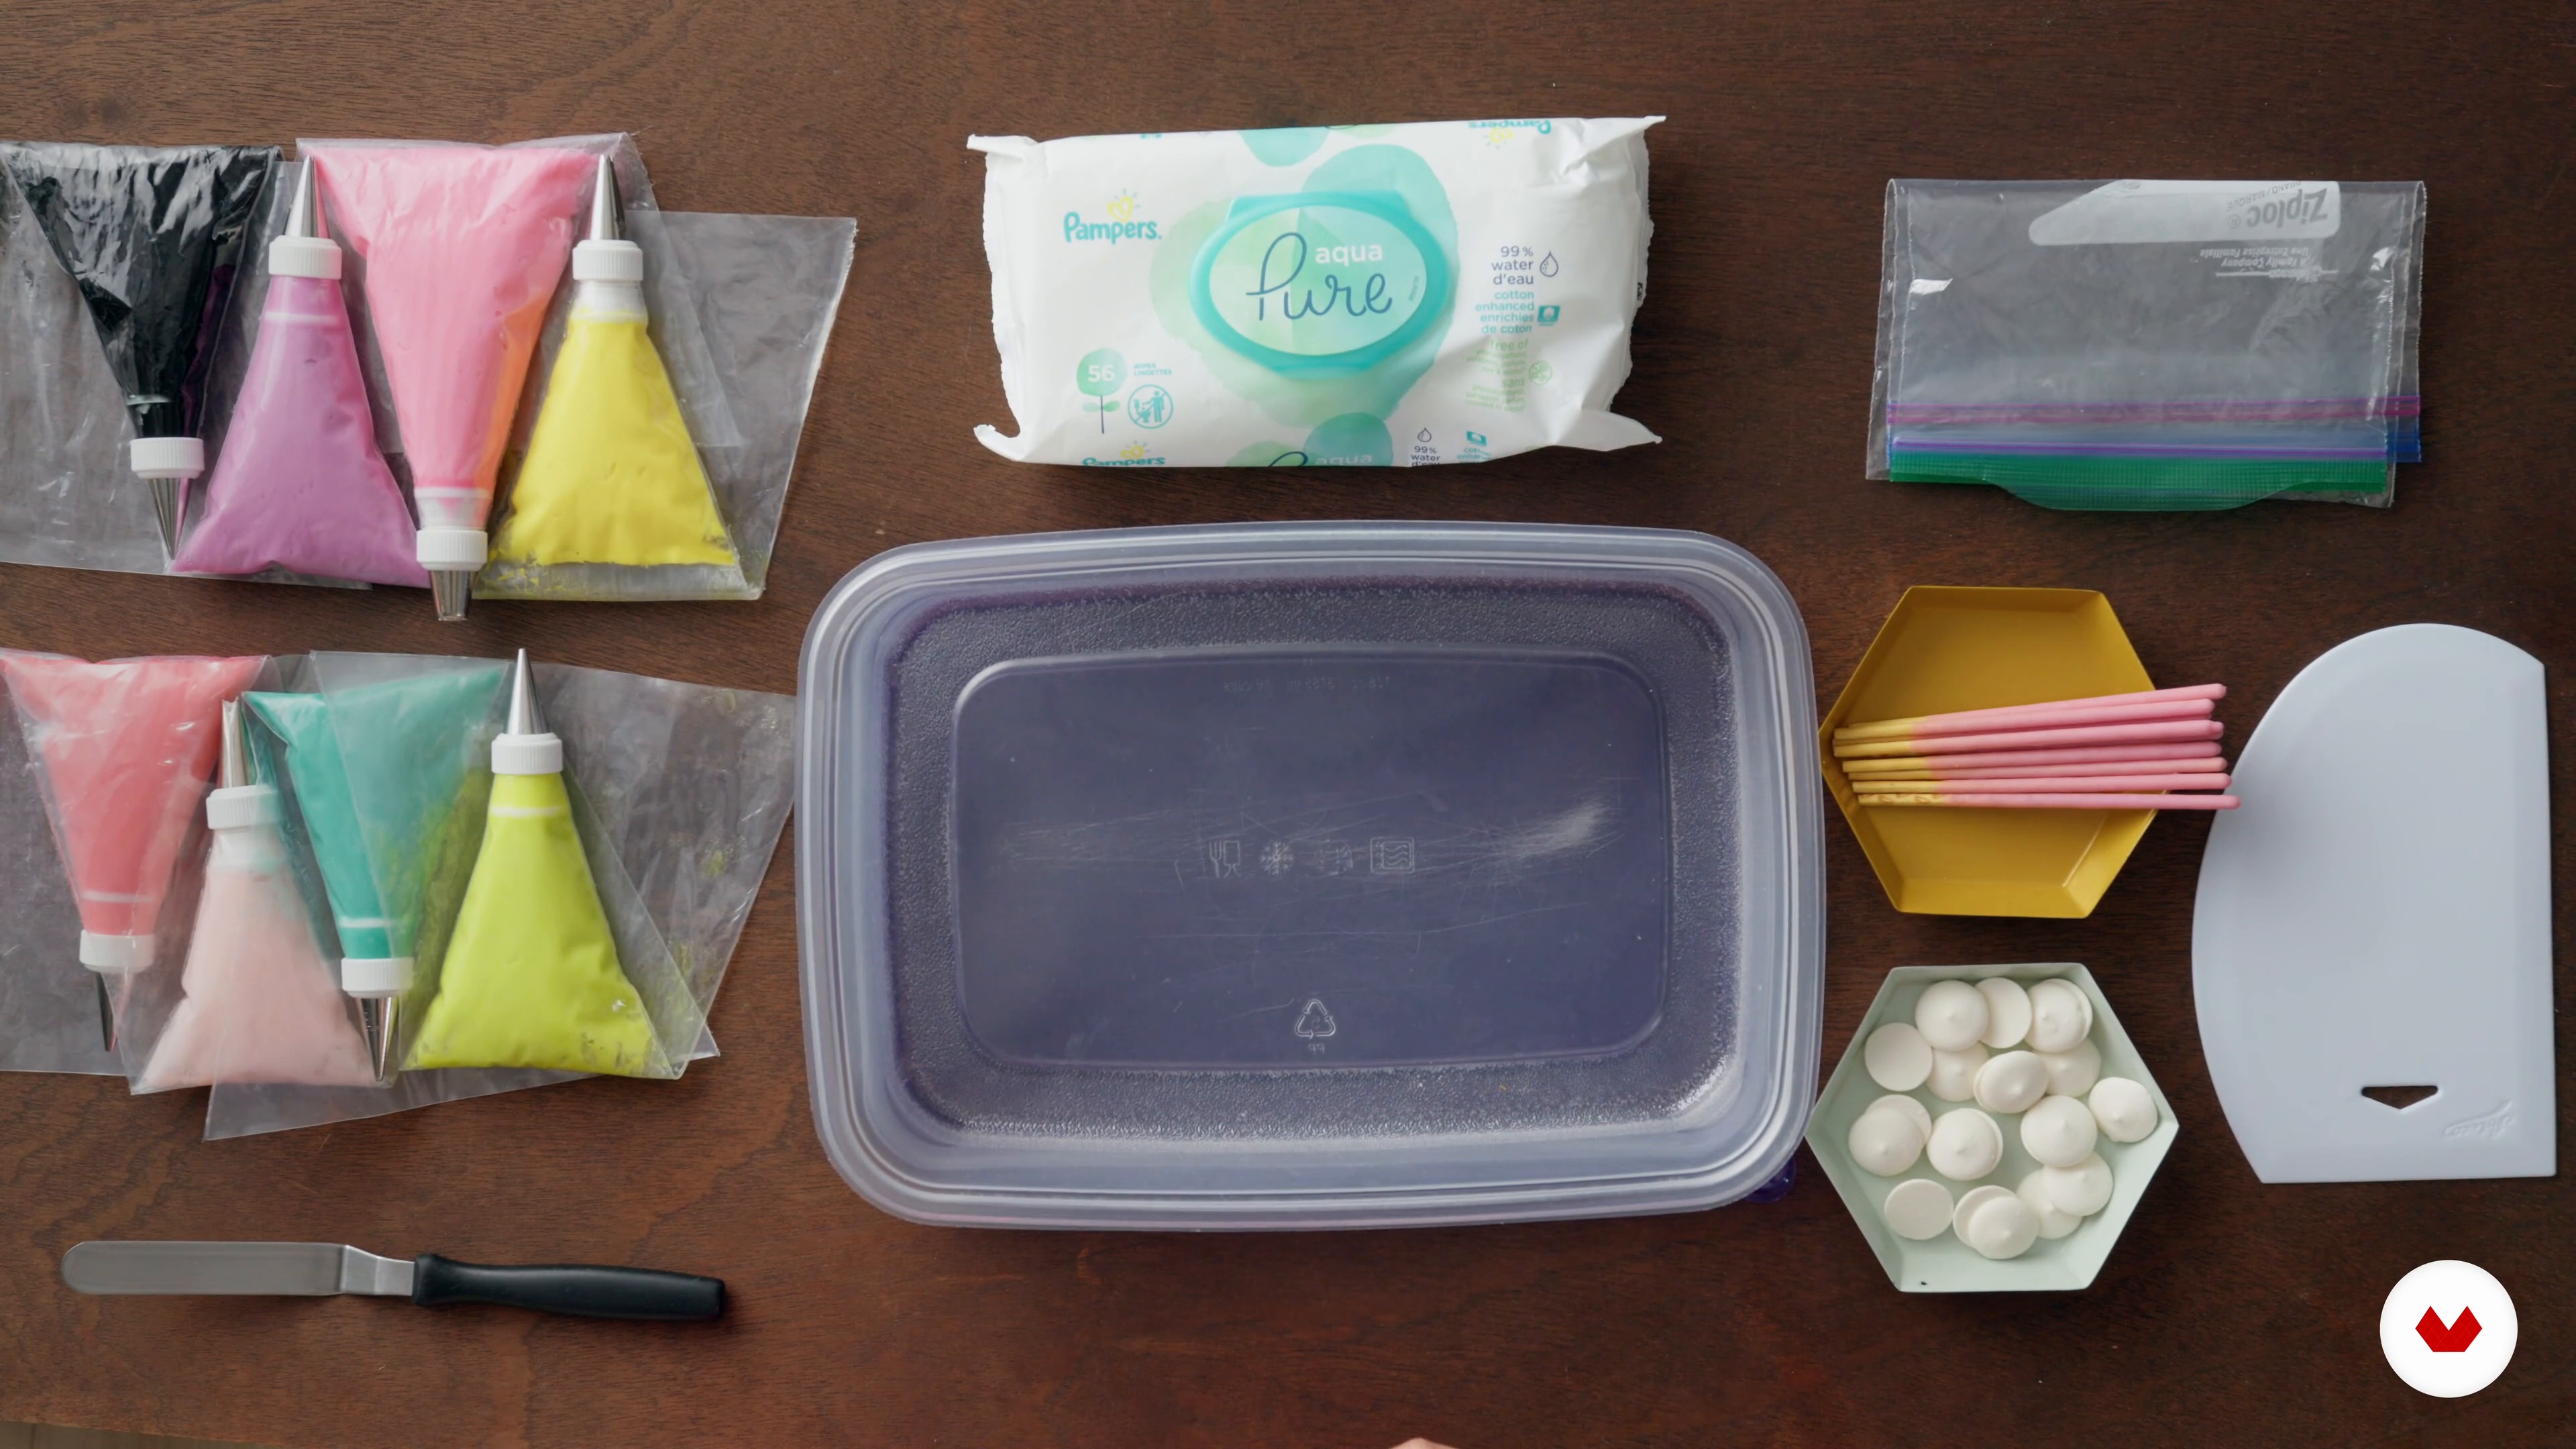
The Tools and Ingredients
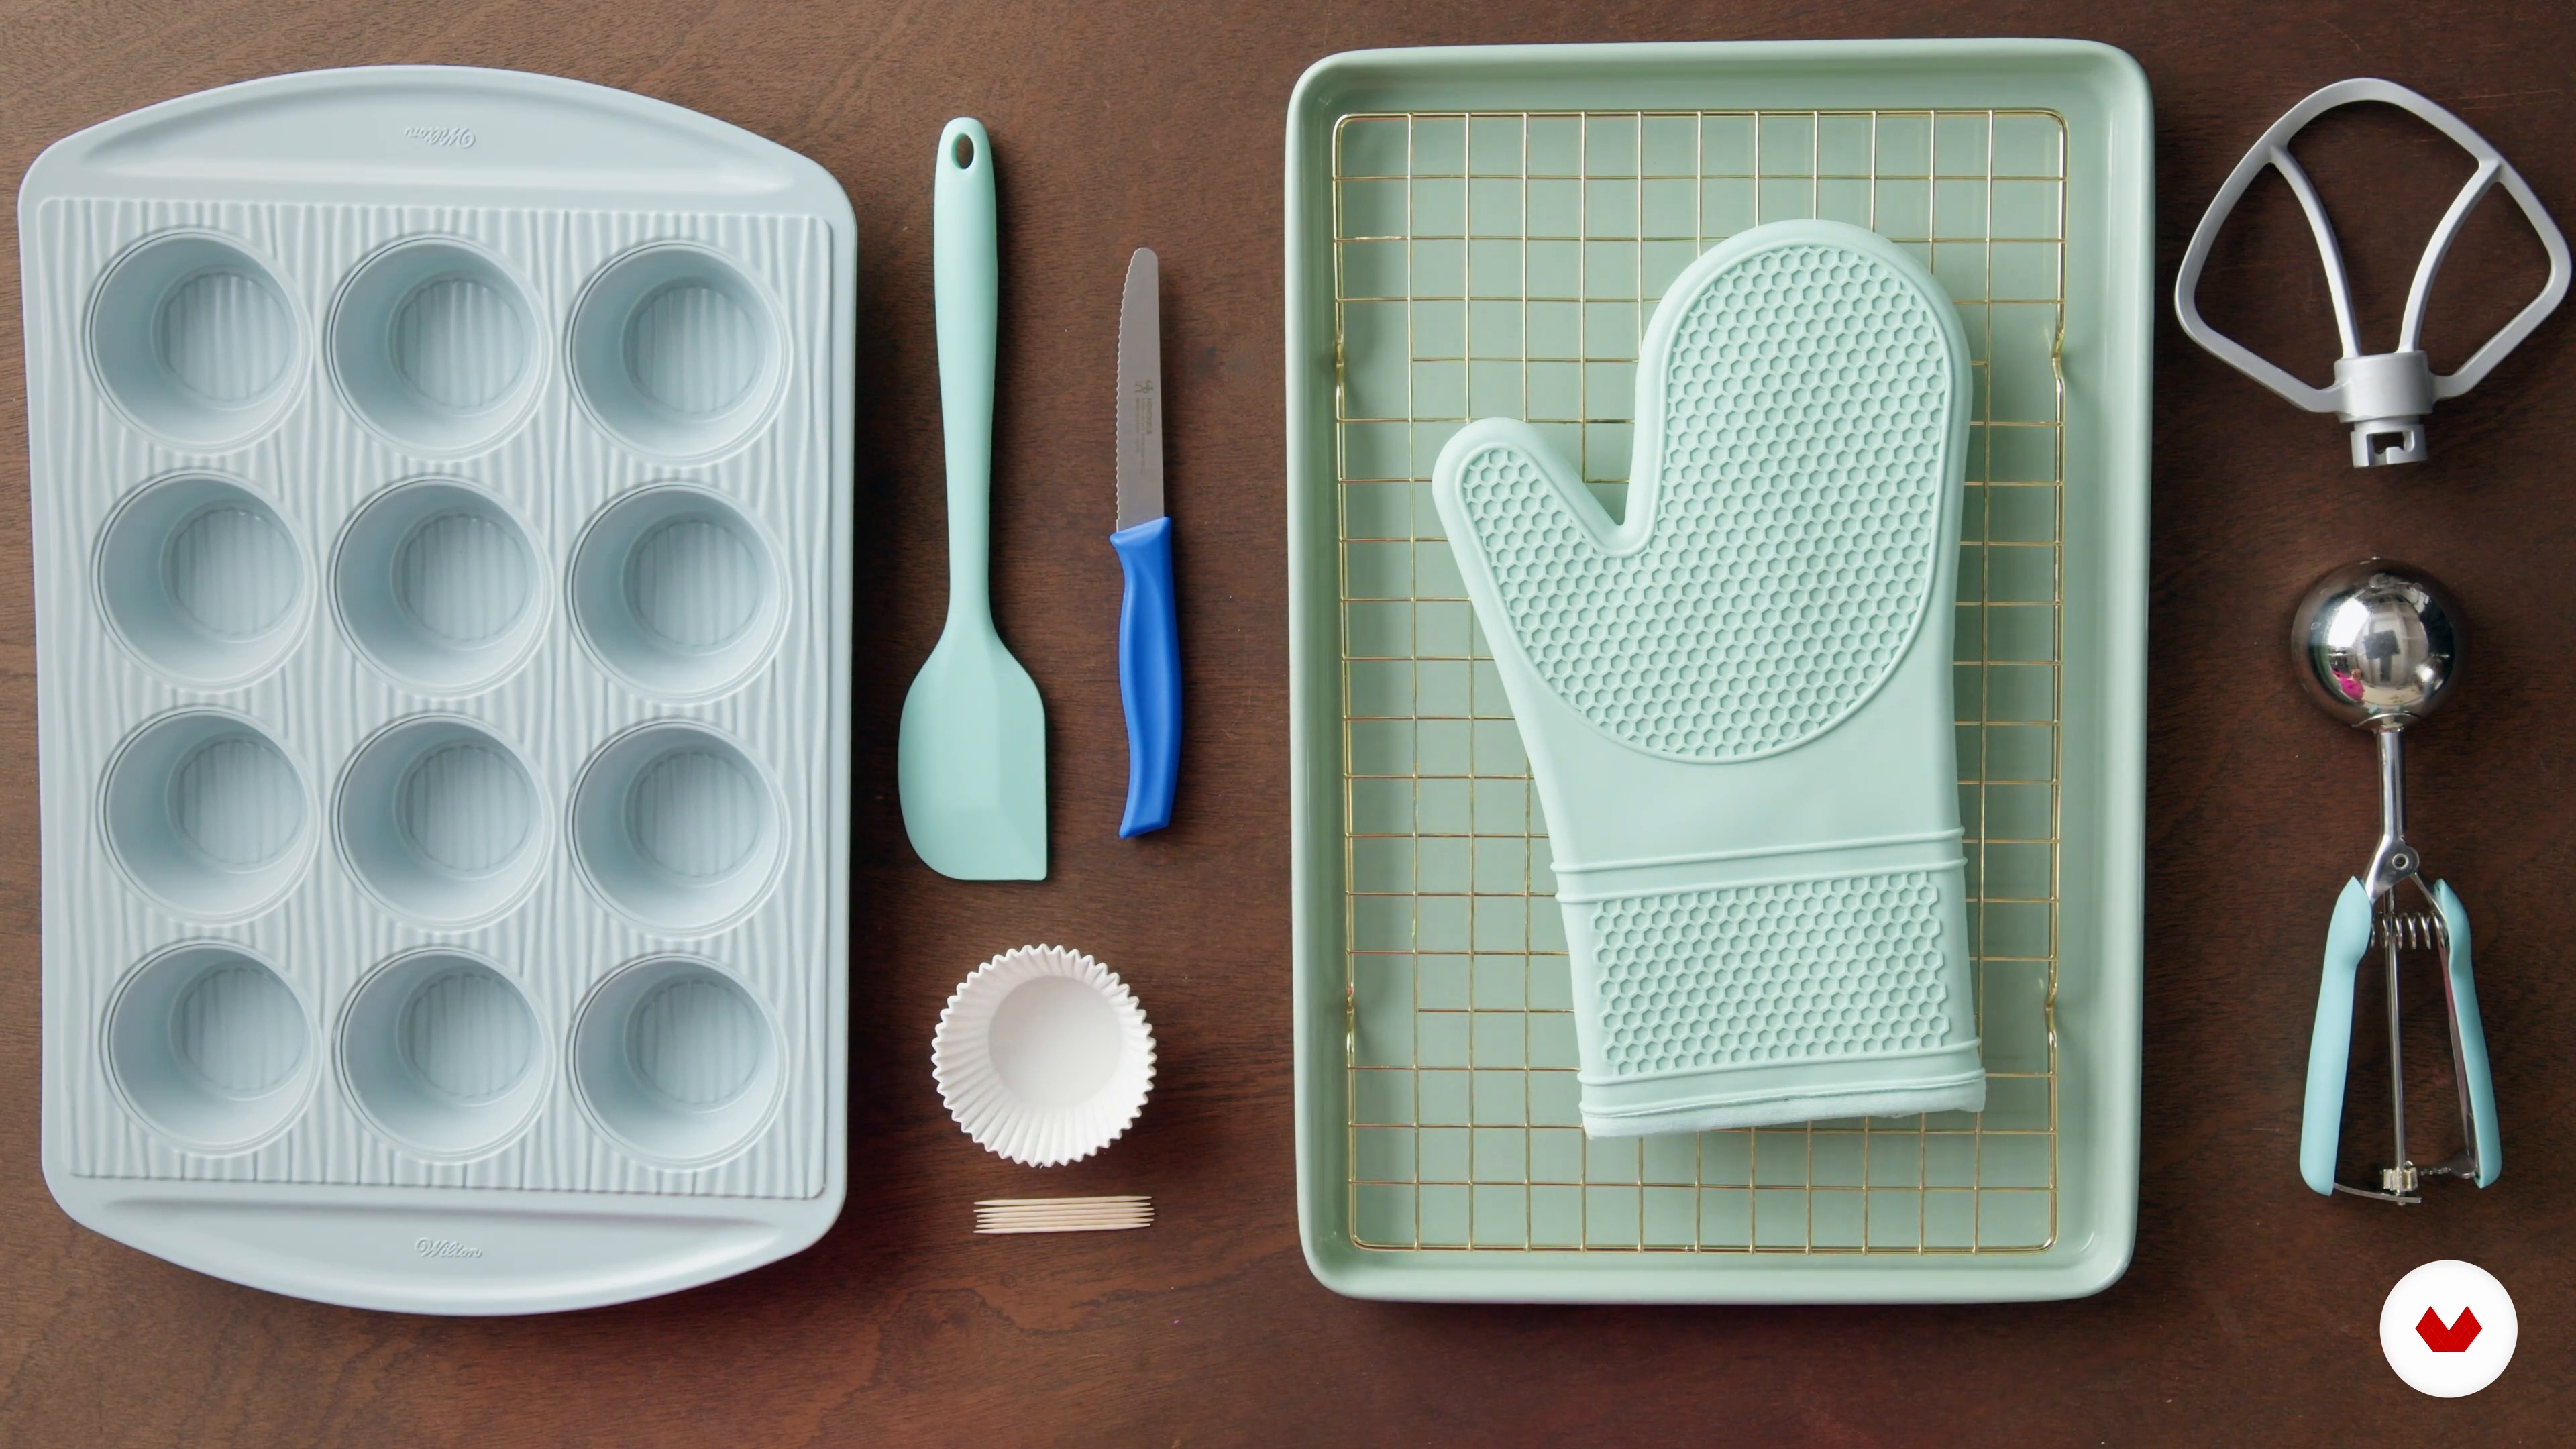
Now that you have established what you want to make, let’s look at the tools that can help you achieve those designs.
4m
image
7
Tips on Baking Cupcakes
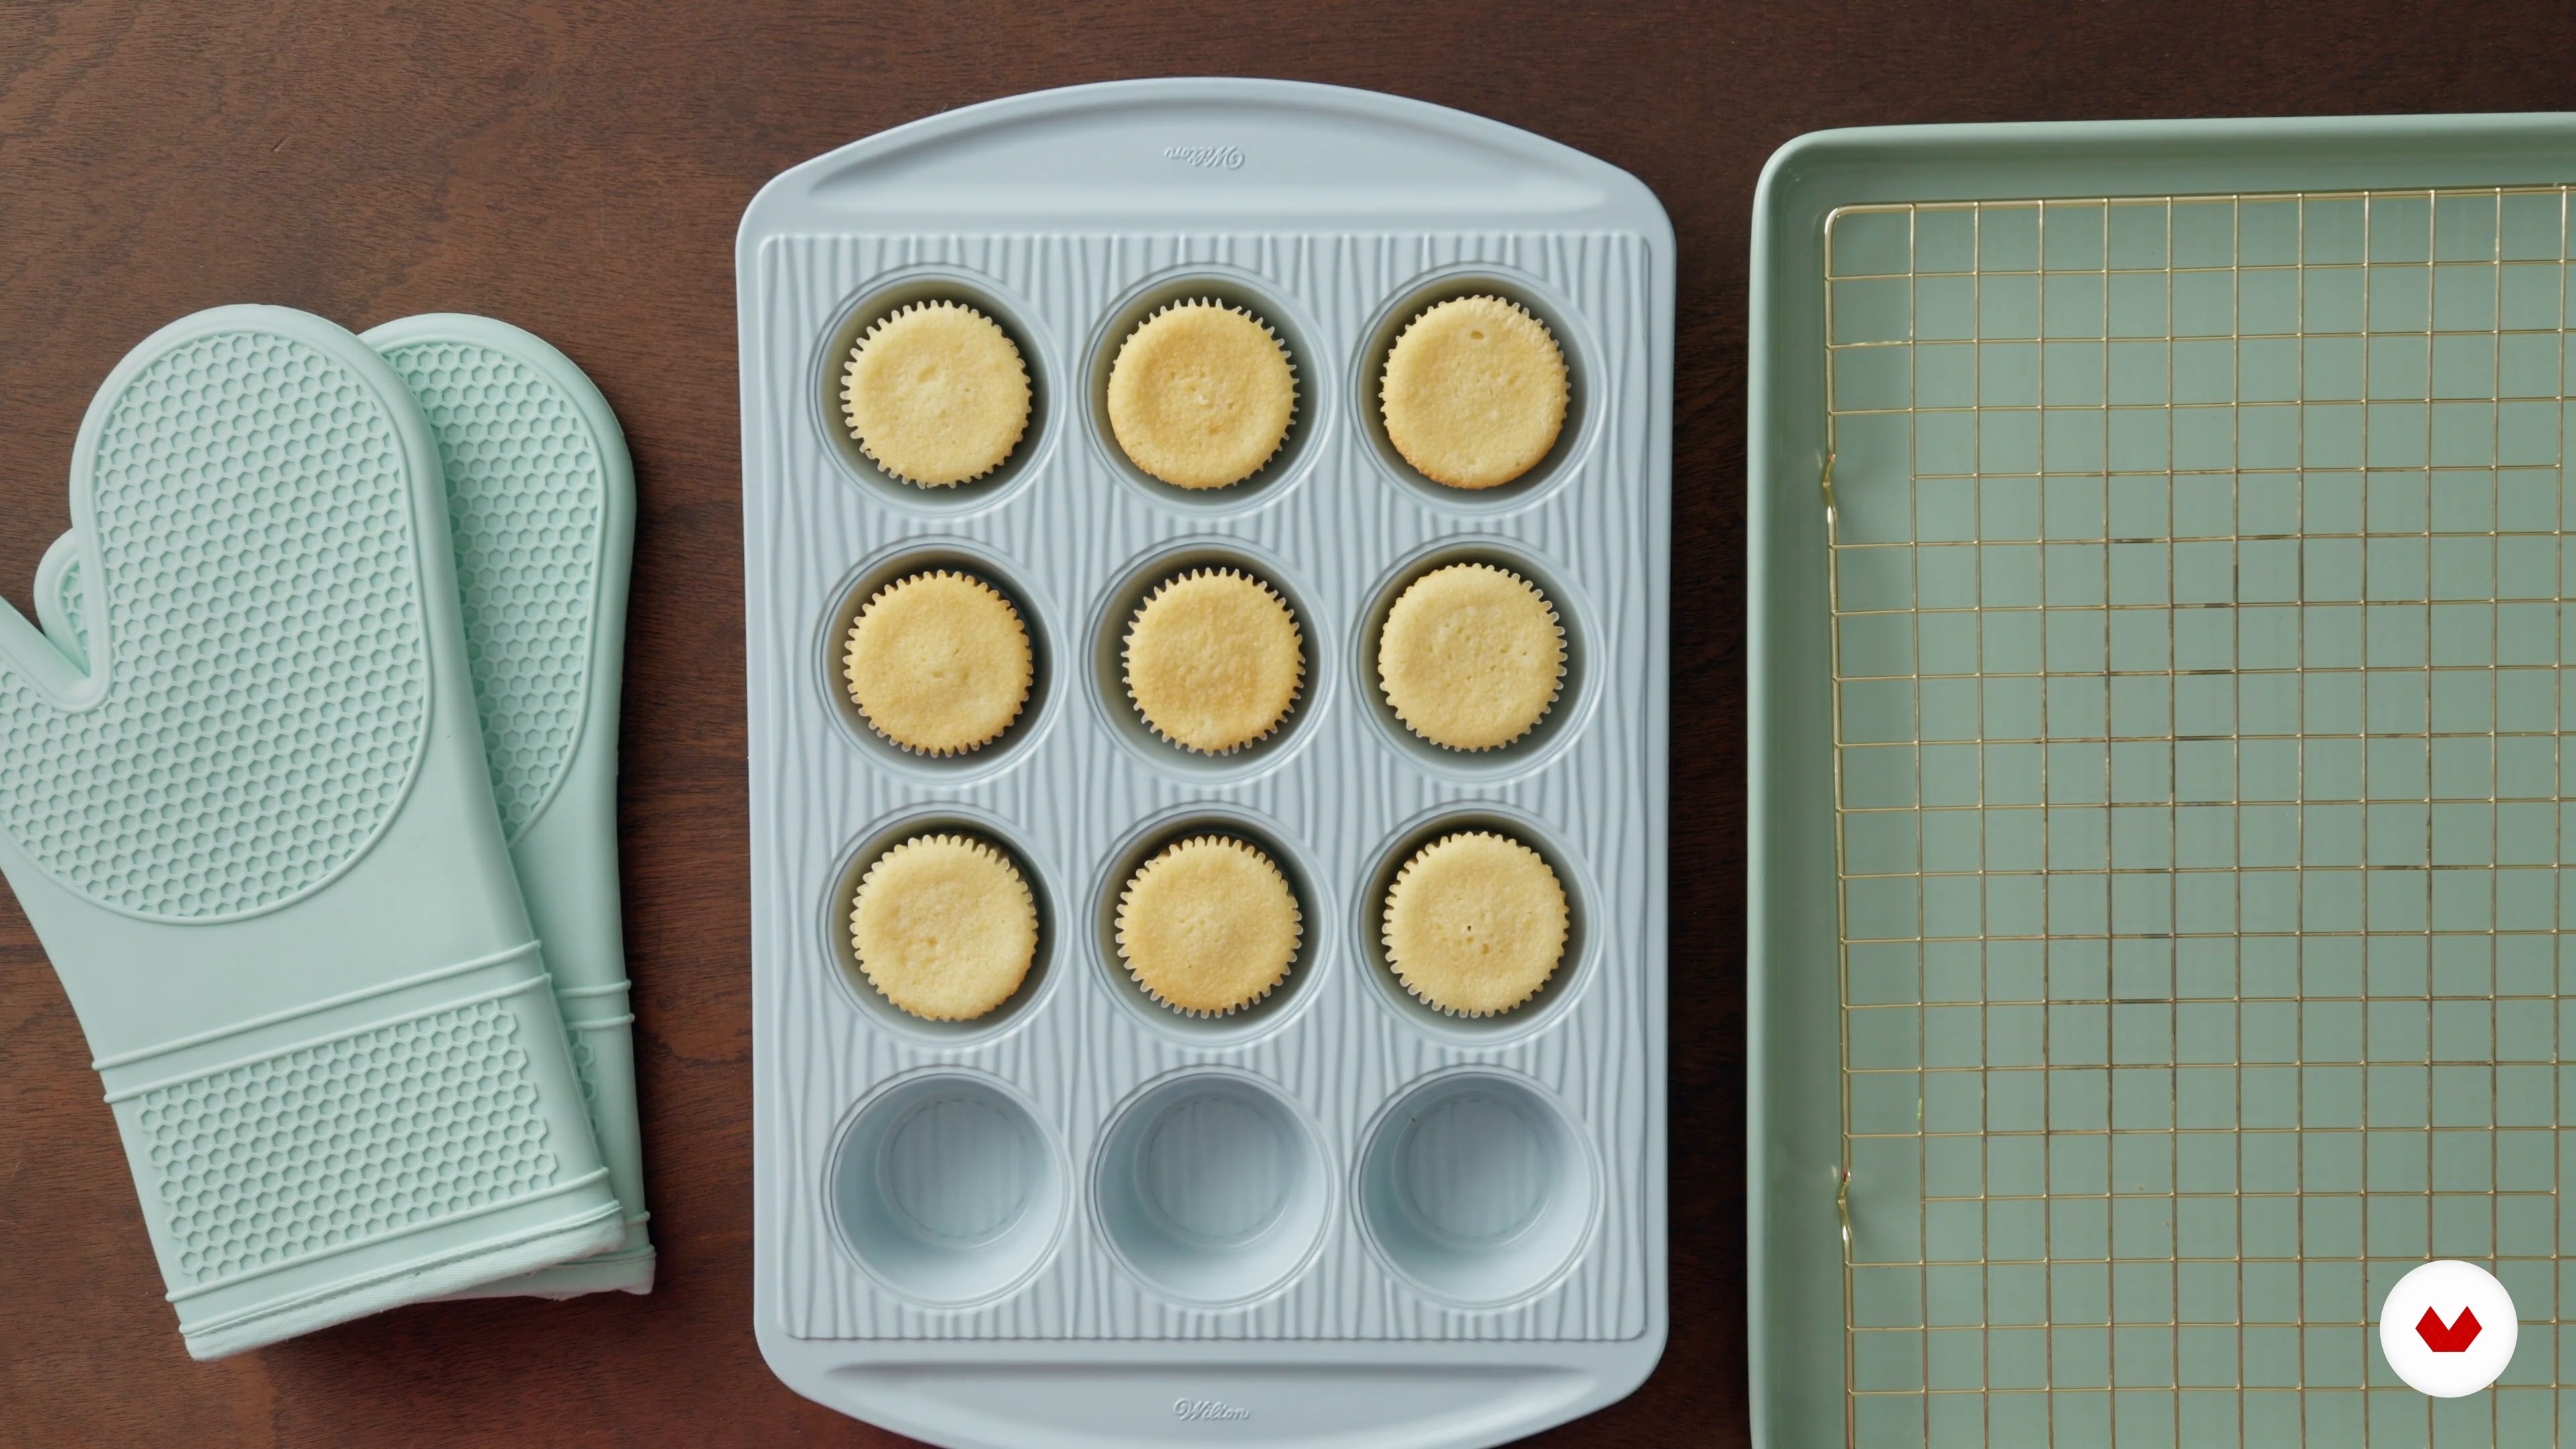
Cupcakes are the base of our treats, so we will dive in and see how to best prepare them in this lesson.
4m
image
8
Making the Buttercream
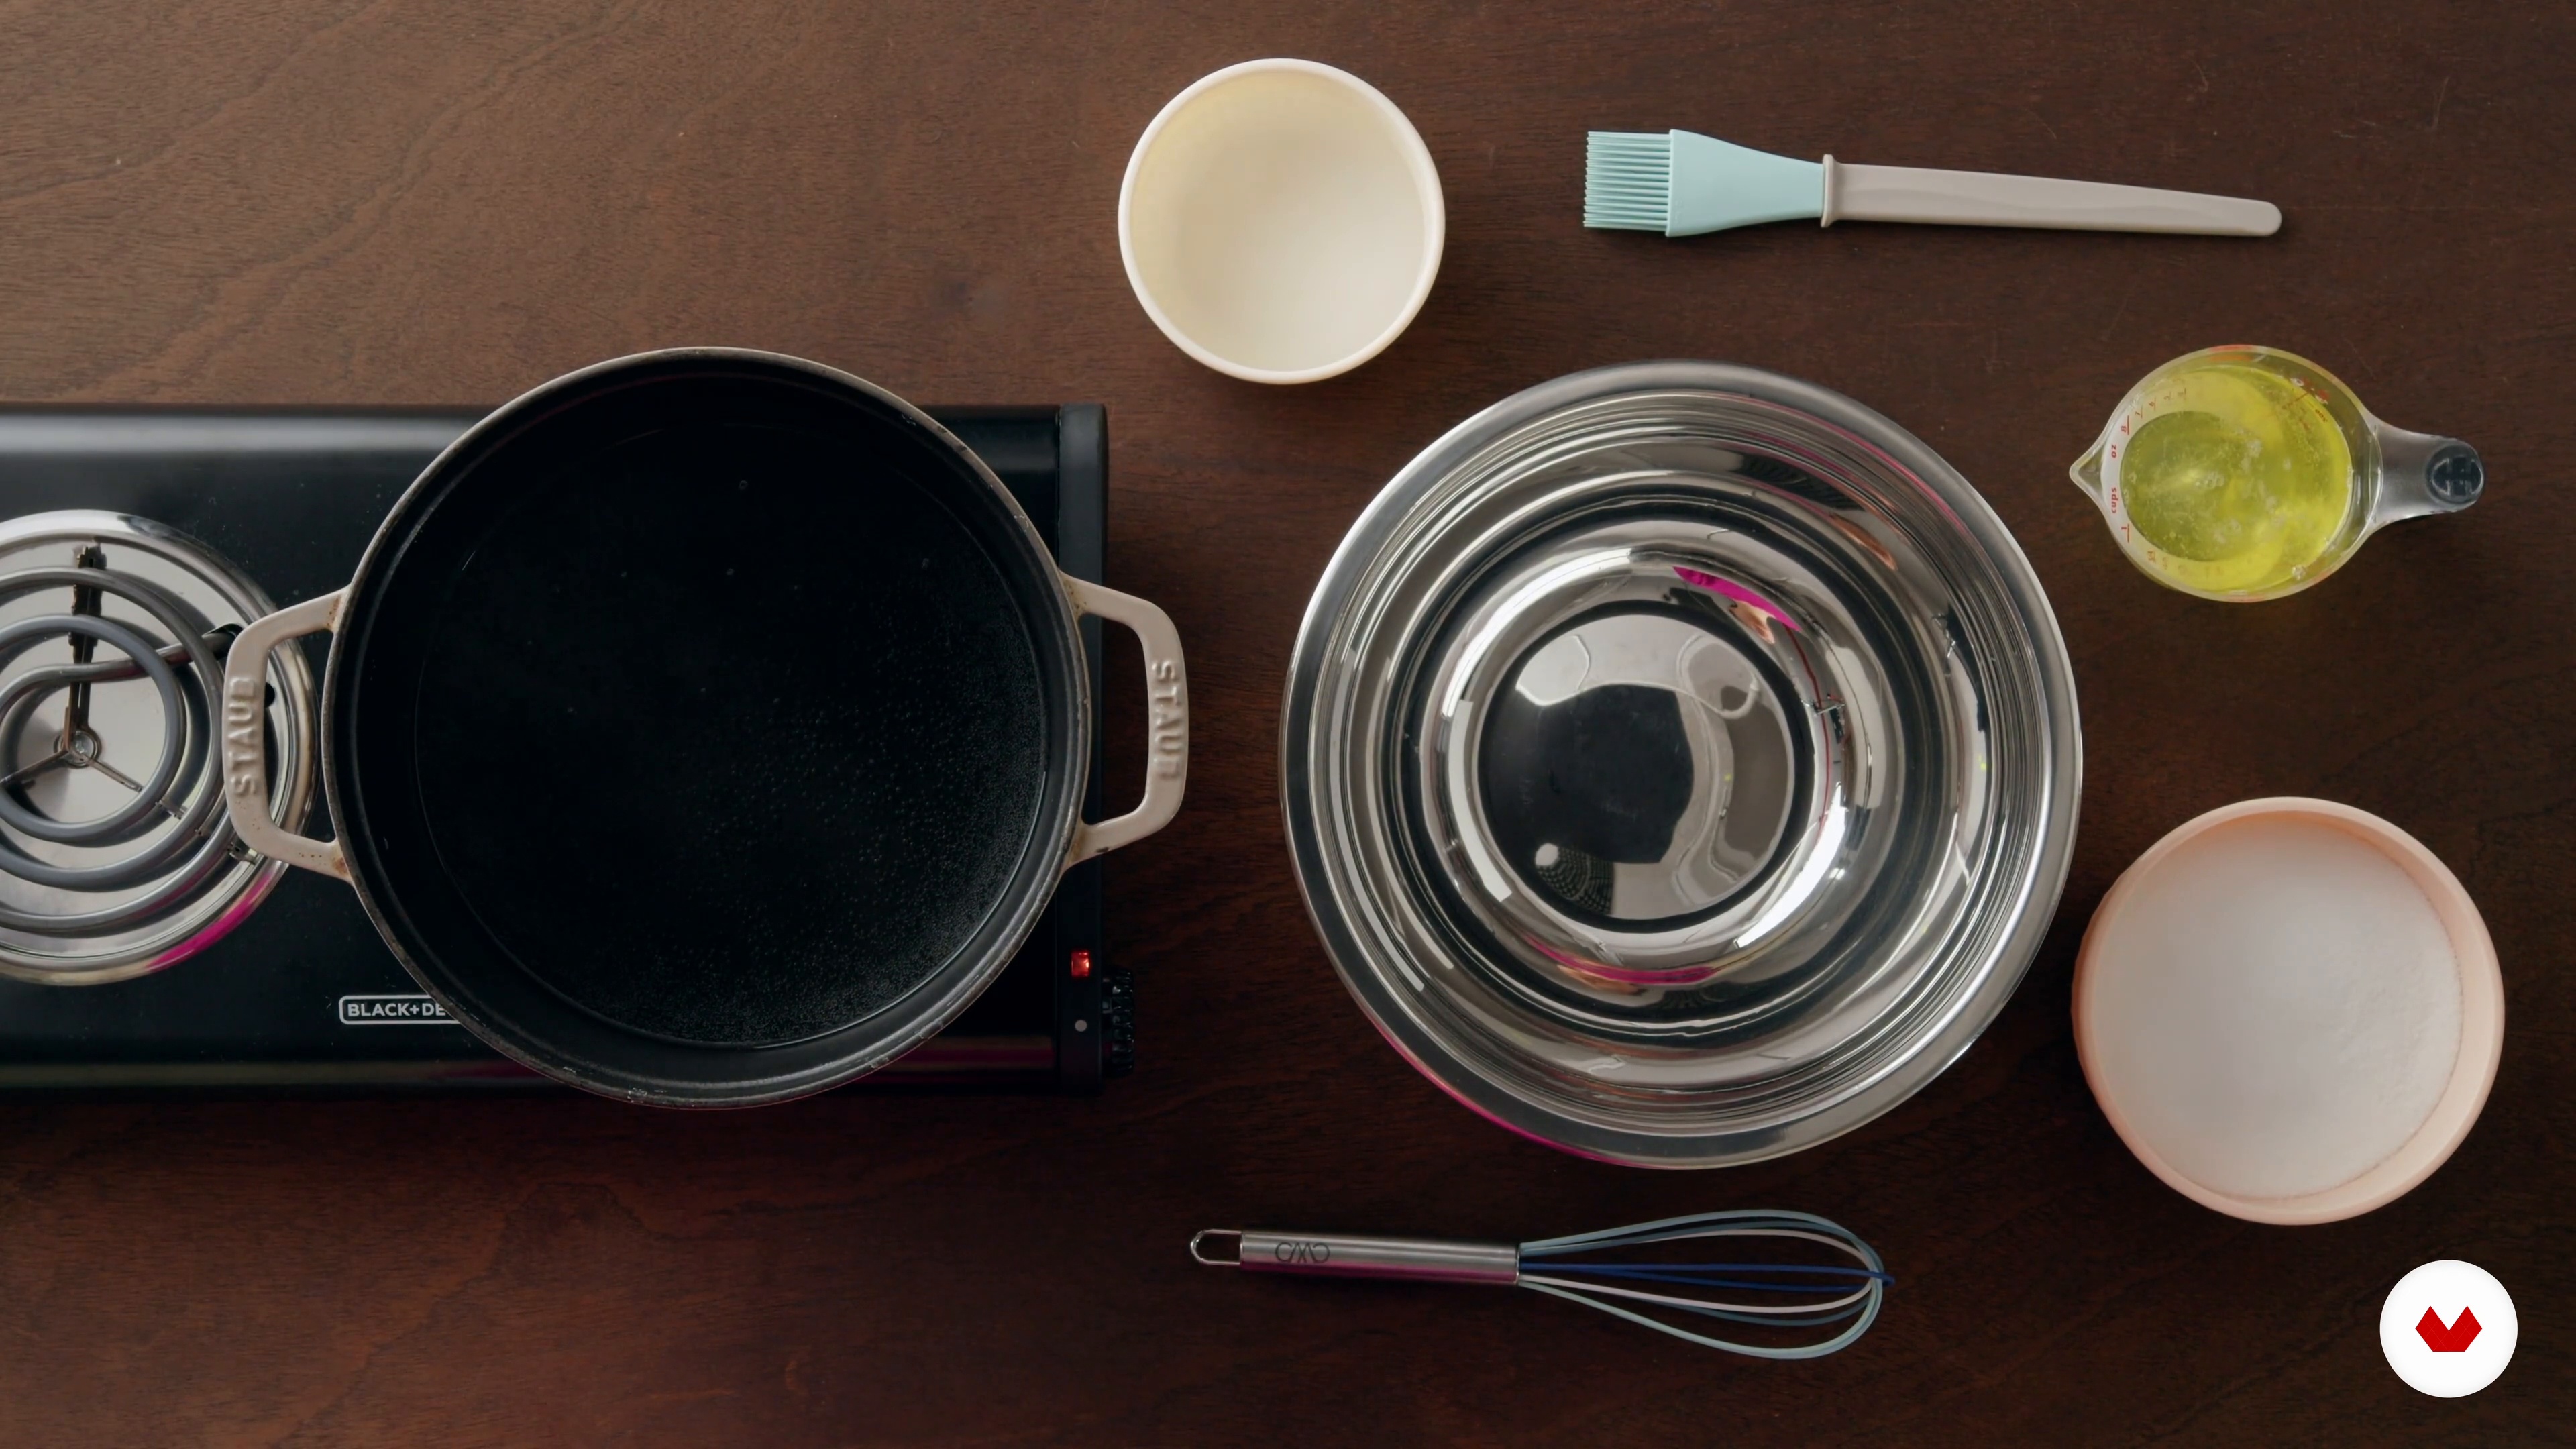
The buttercream will be our main decorating medium. For this reason, now I will walk you through the entire process of making a silky, stable, and delicious buttercream.
16m
image
9
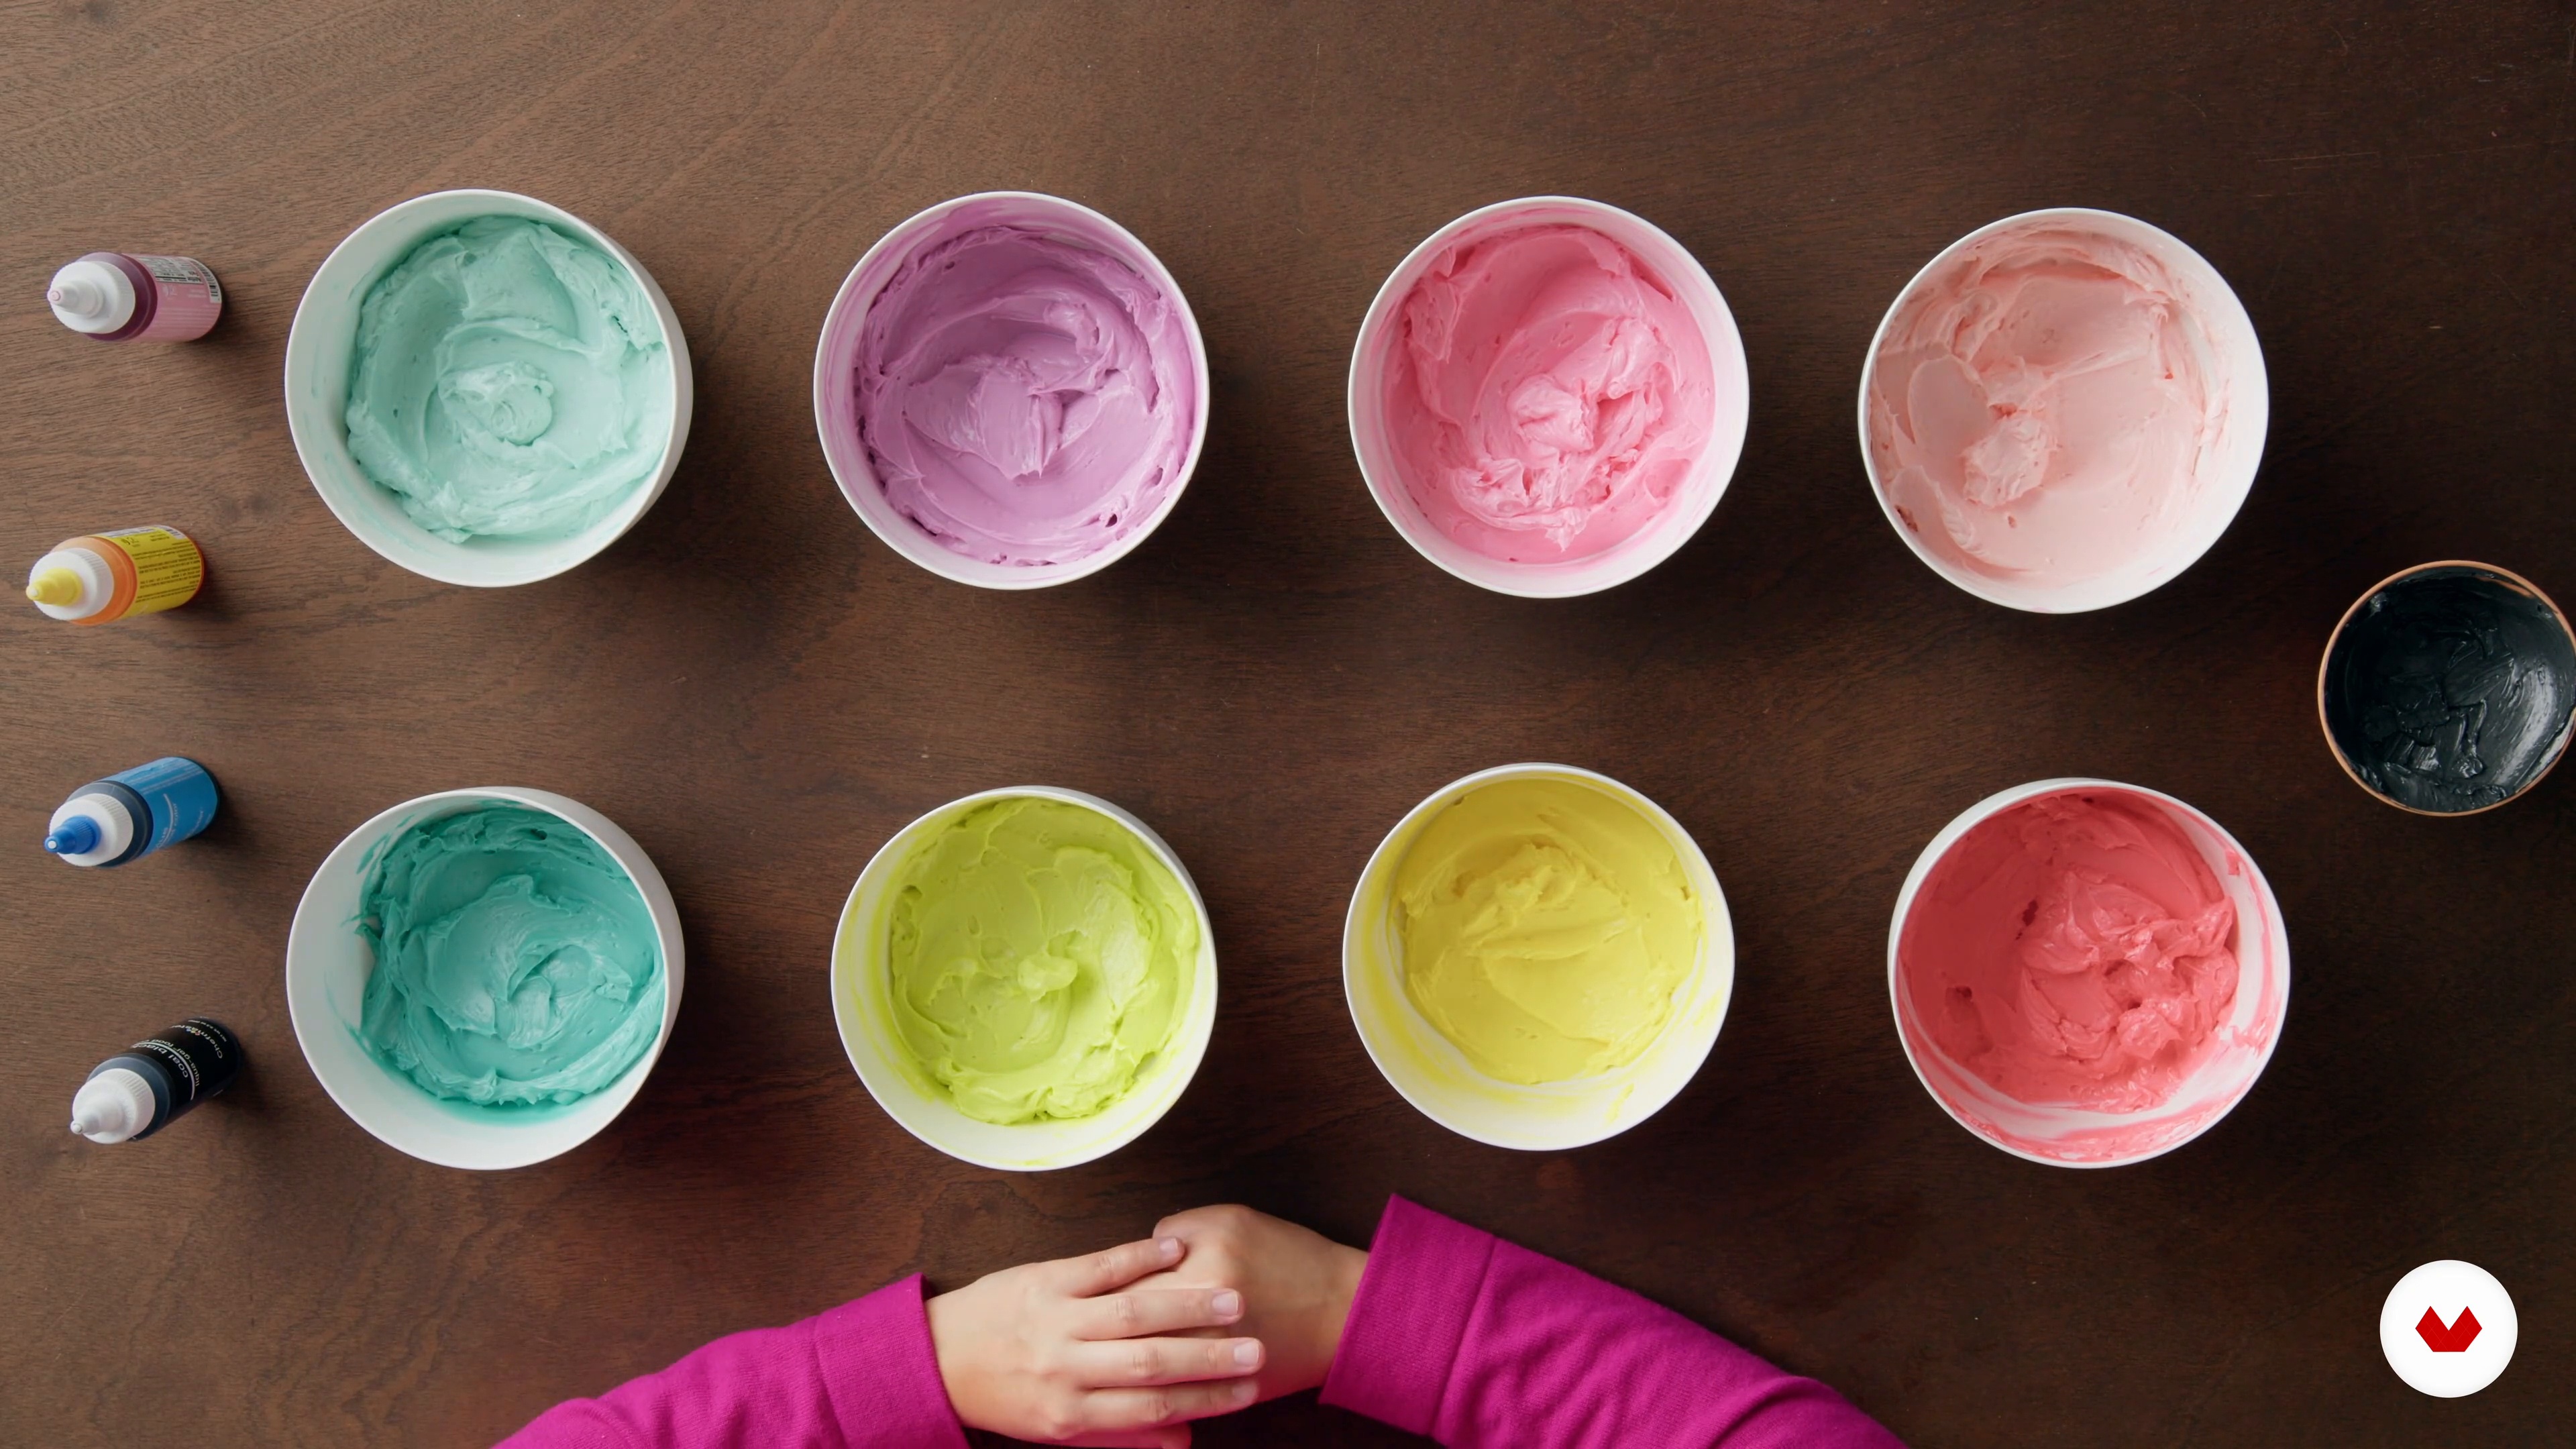
Coloring the Buttercream
In this lesson, I will show you the best coloring agent for buttercream and how to mix up your desired shades.
12m
image
10
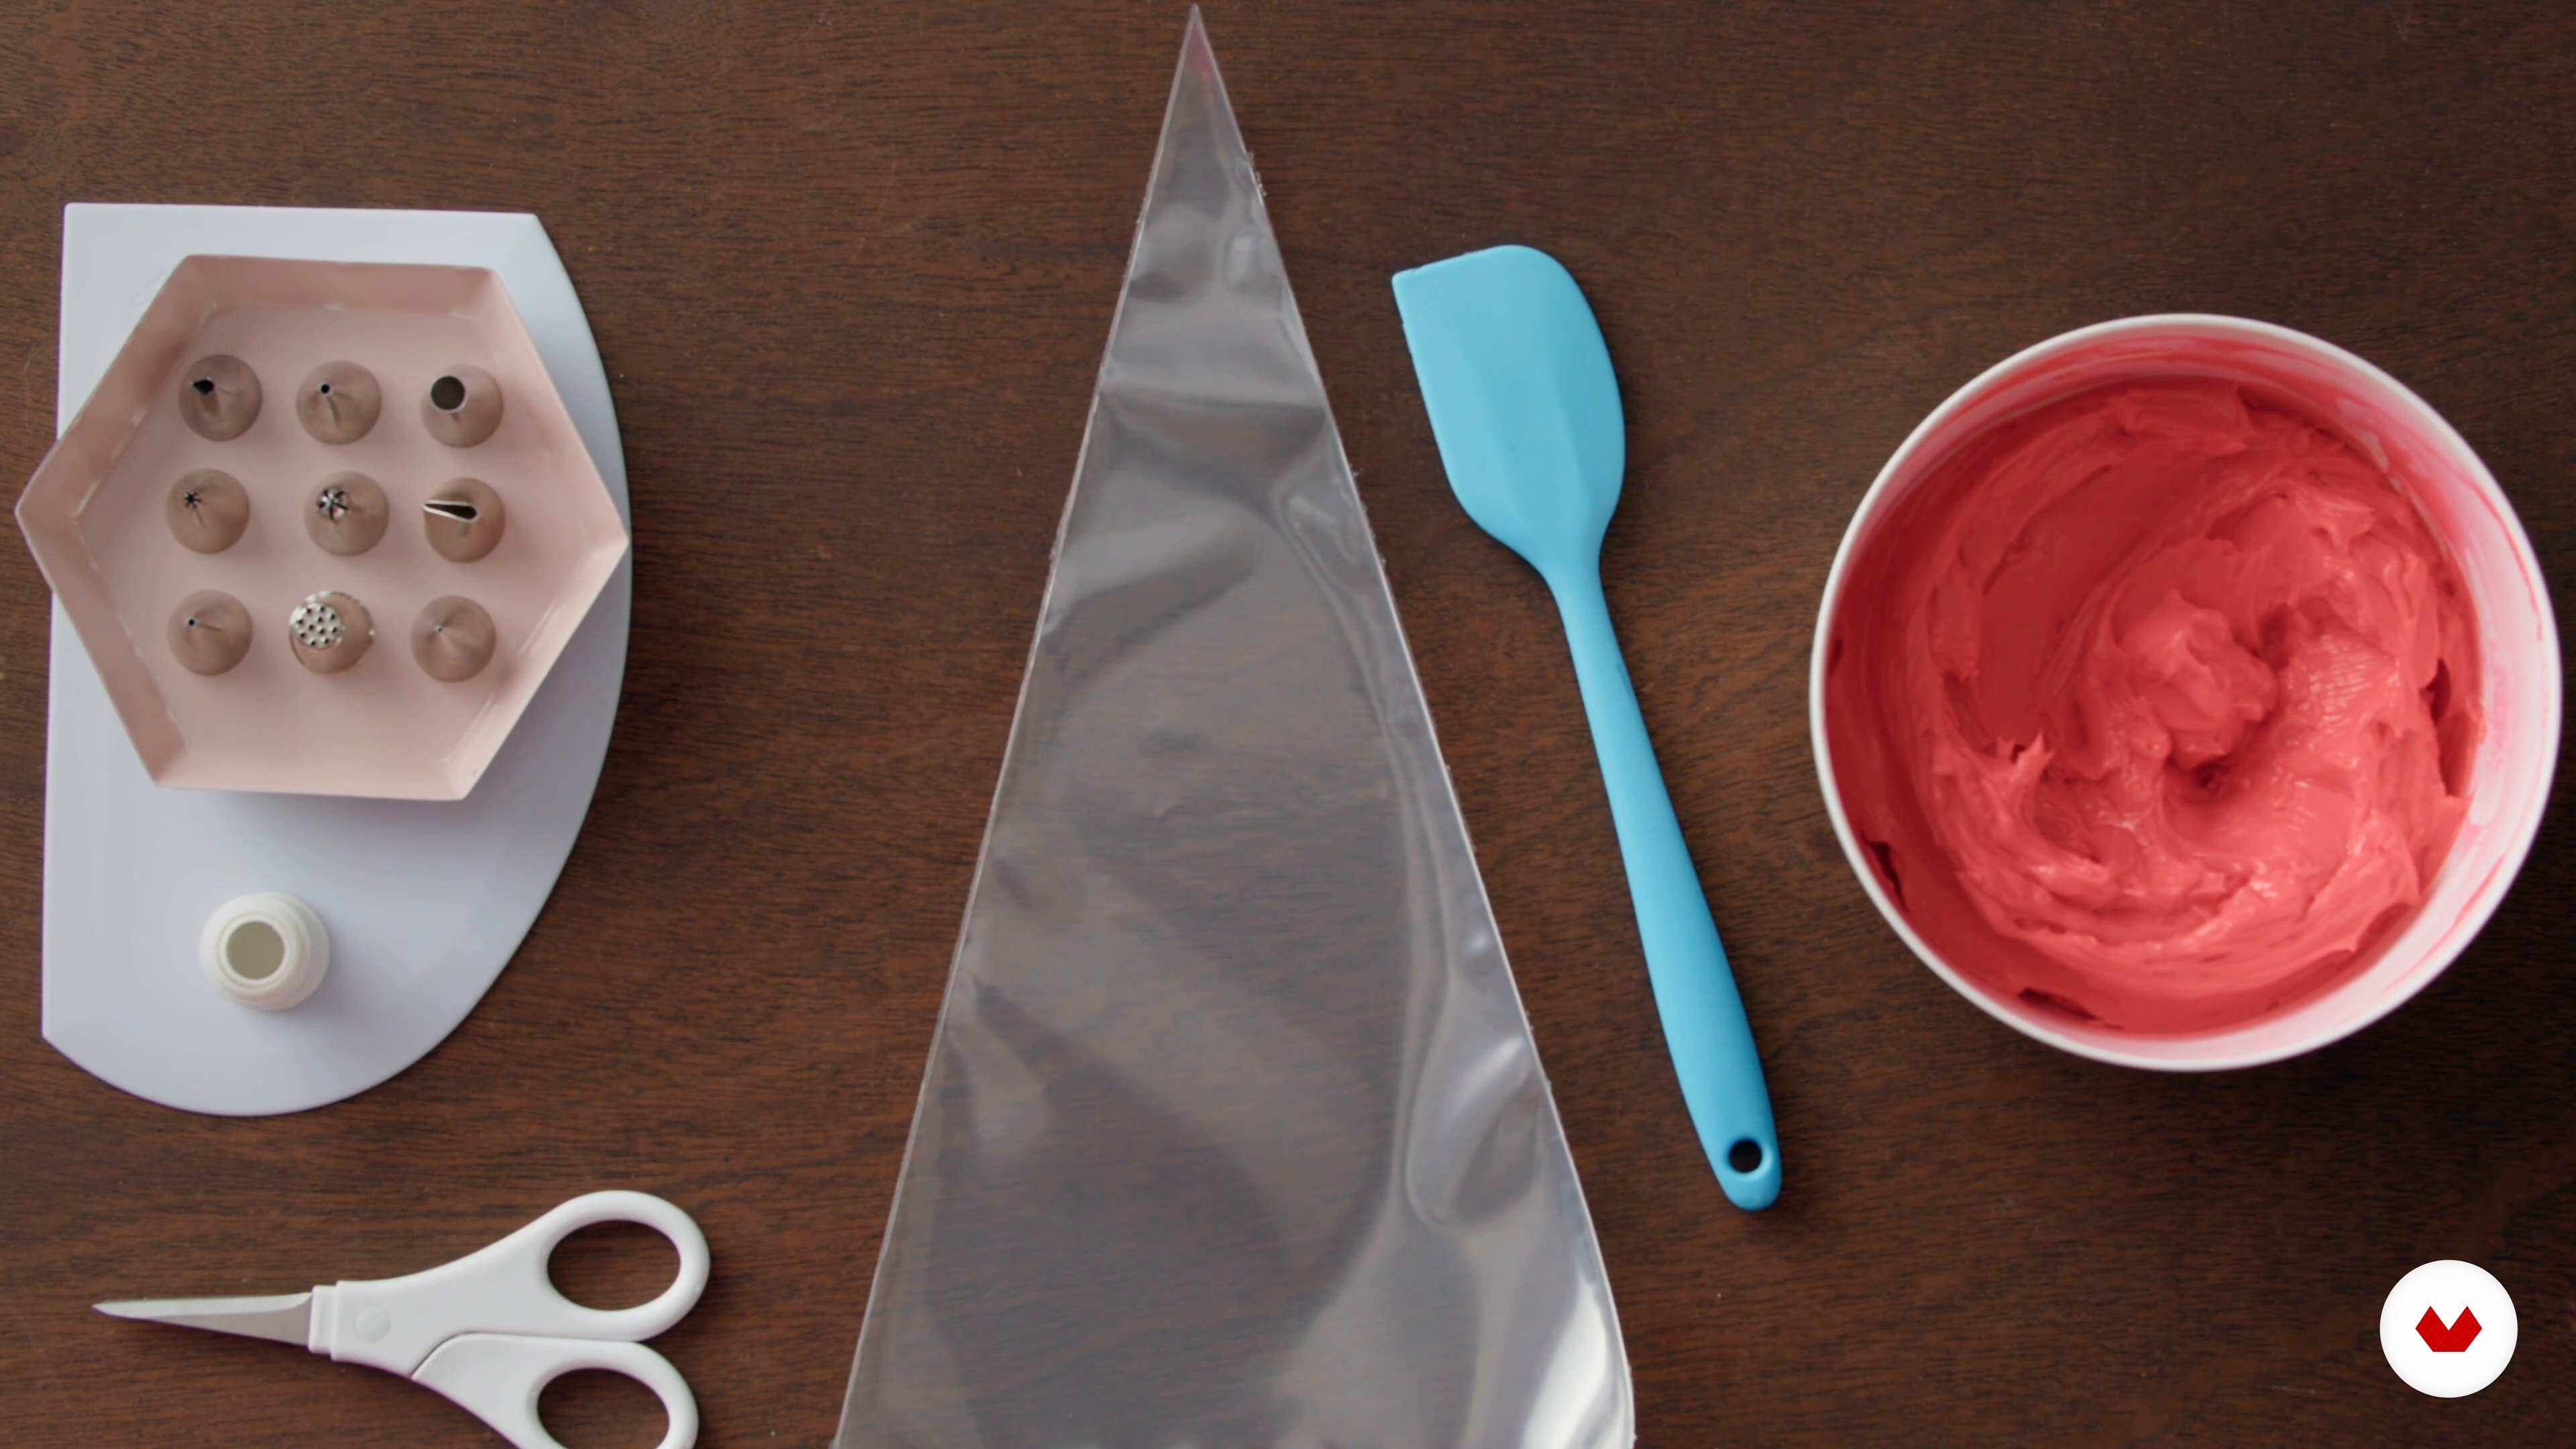
How to Use a Piping Bag 1
In this lesson, I will teach you how to prepare, fill, and handle a piping bag. The first step will be to cut the bag according to whether you're using a coupler or an individual tip. Next, I will show you how to attach and switch piping tips. Then, I will teach you how to fill the piping bag. I will introduce a helpful plastic bench scraper tool and show you some tips on how to handle it.
10m
image
11
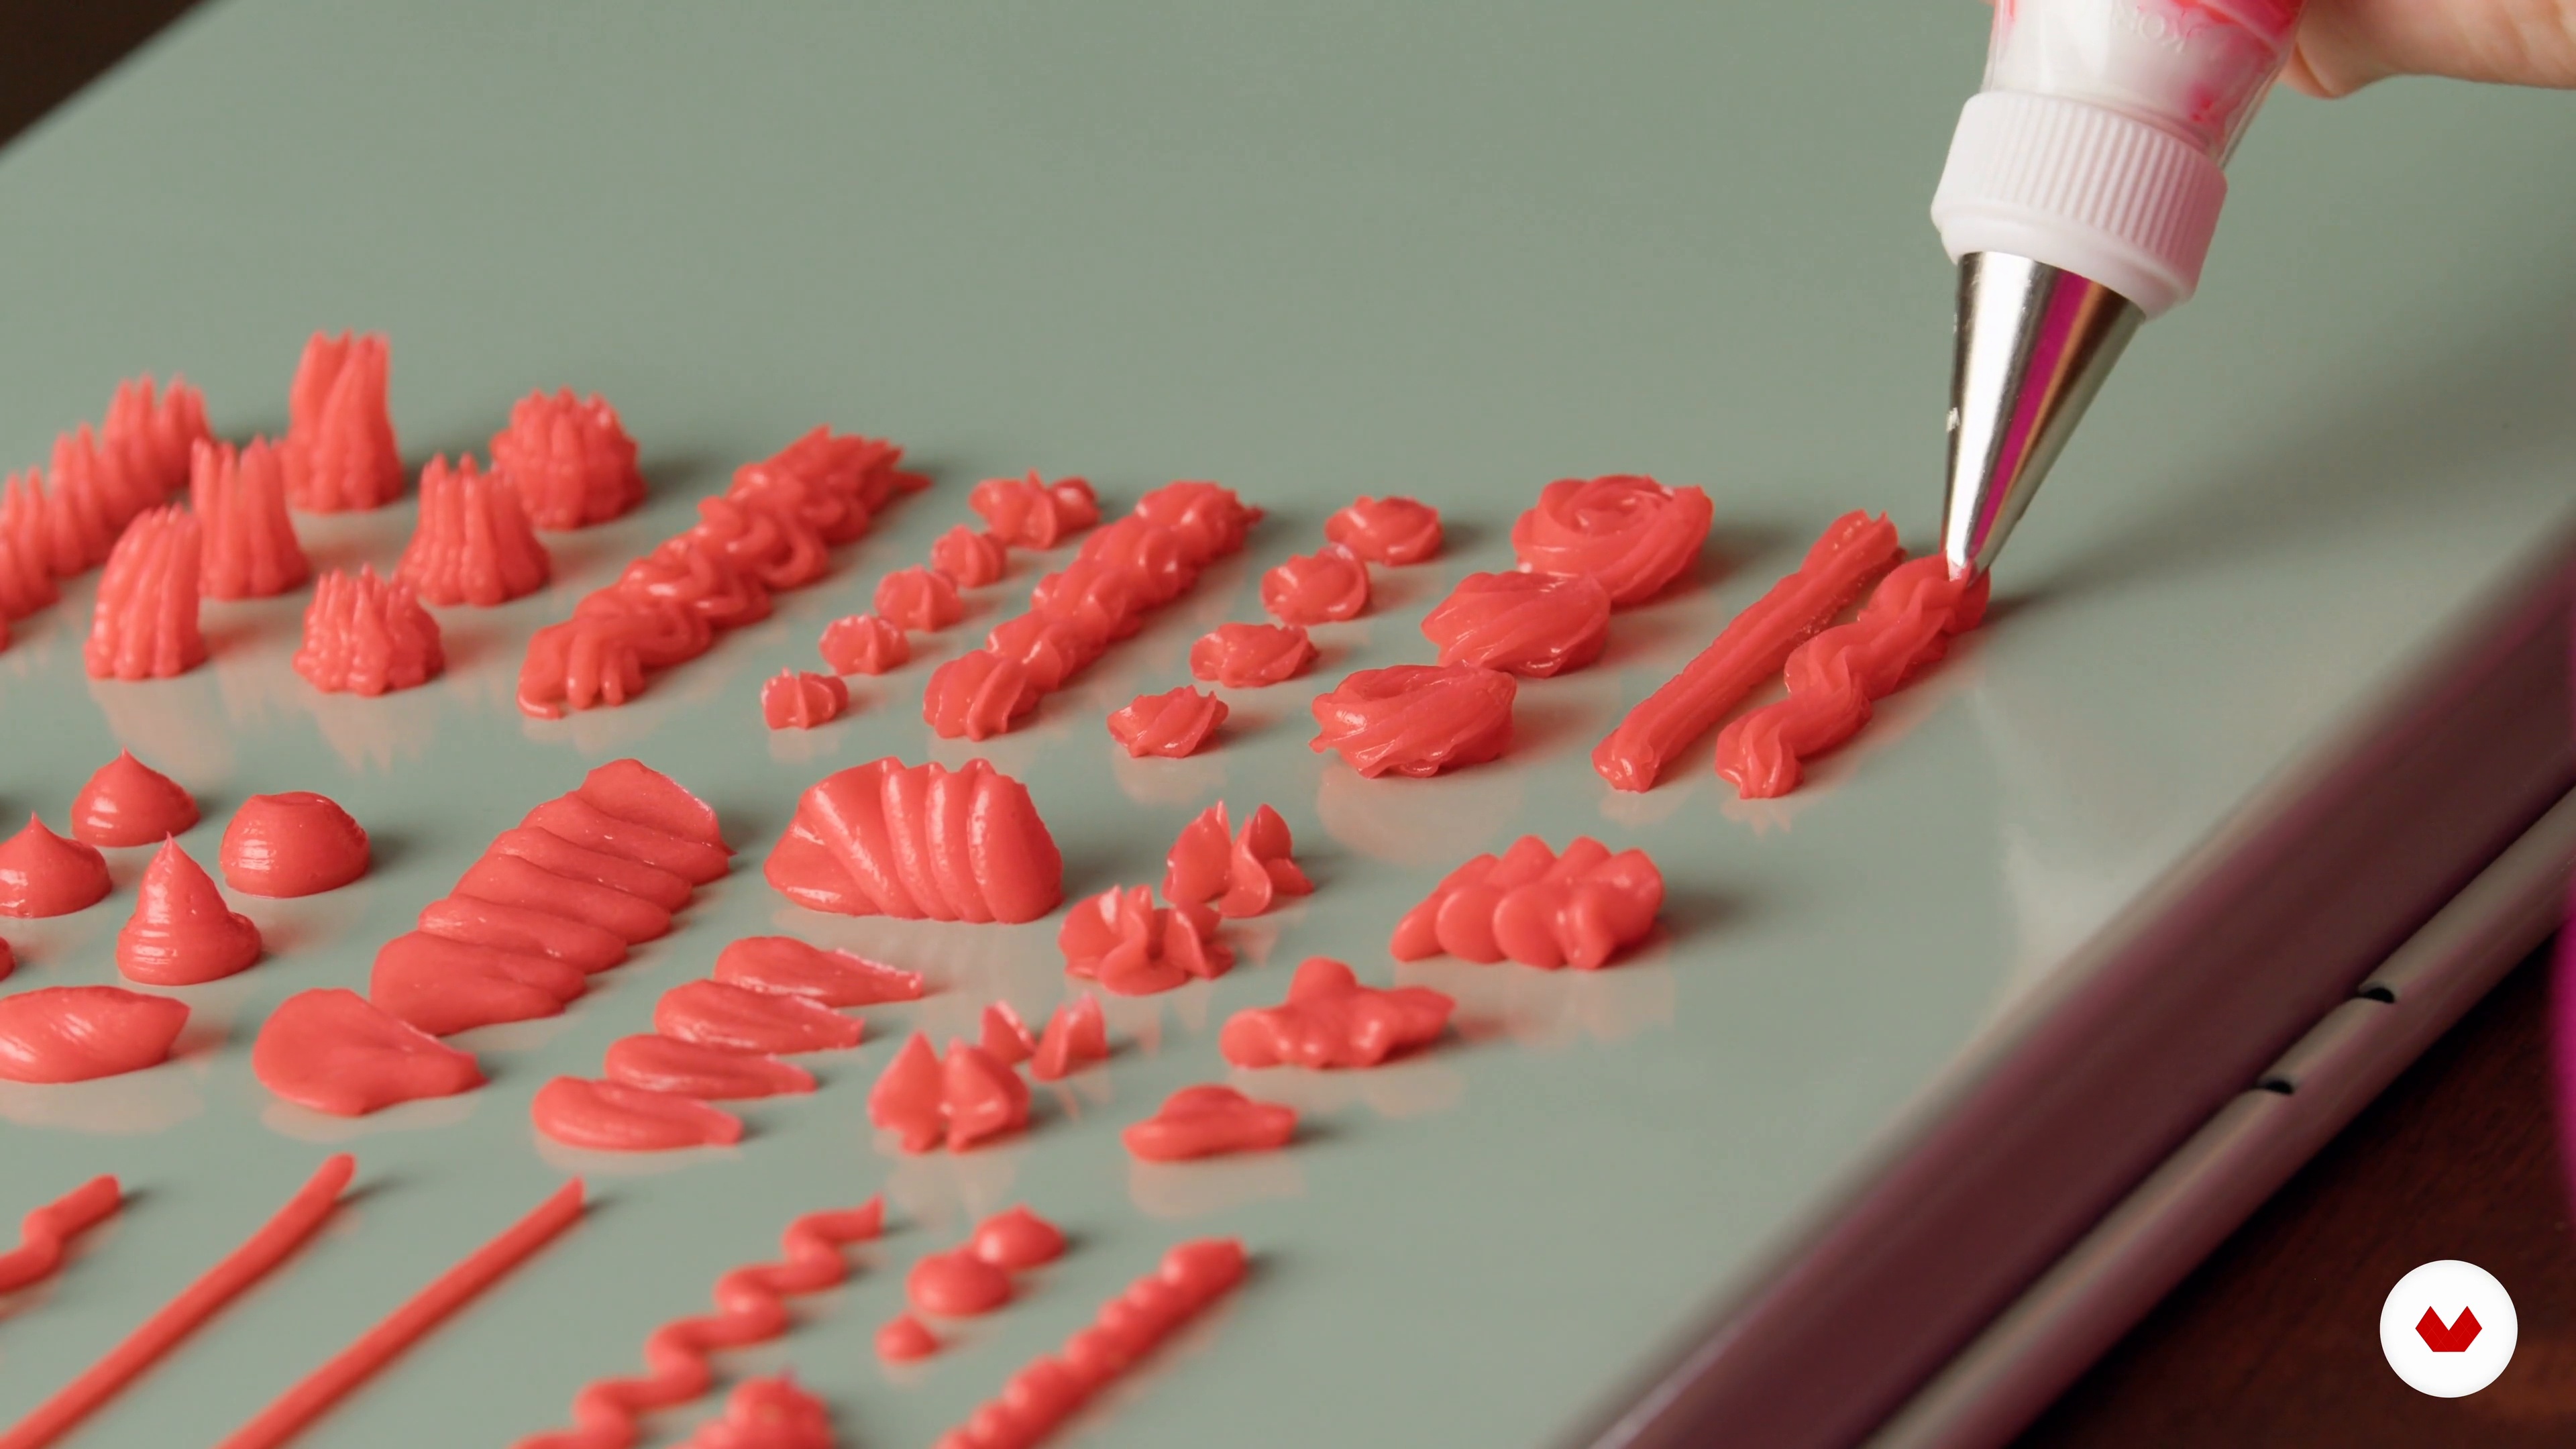
How to Use a Piping Bag 2
Now that I've discussed how to control the pressure and speed when piping, let's see how to create different textures. After, I will show you how to apply all the techniques and piping tips I've covered to create the sketches.
16m
image
12
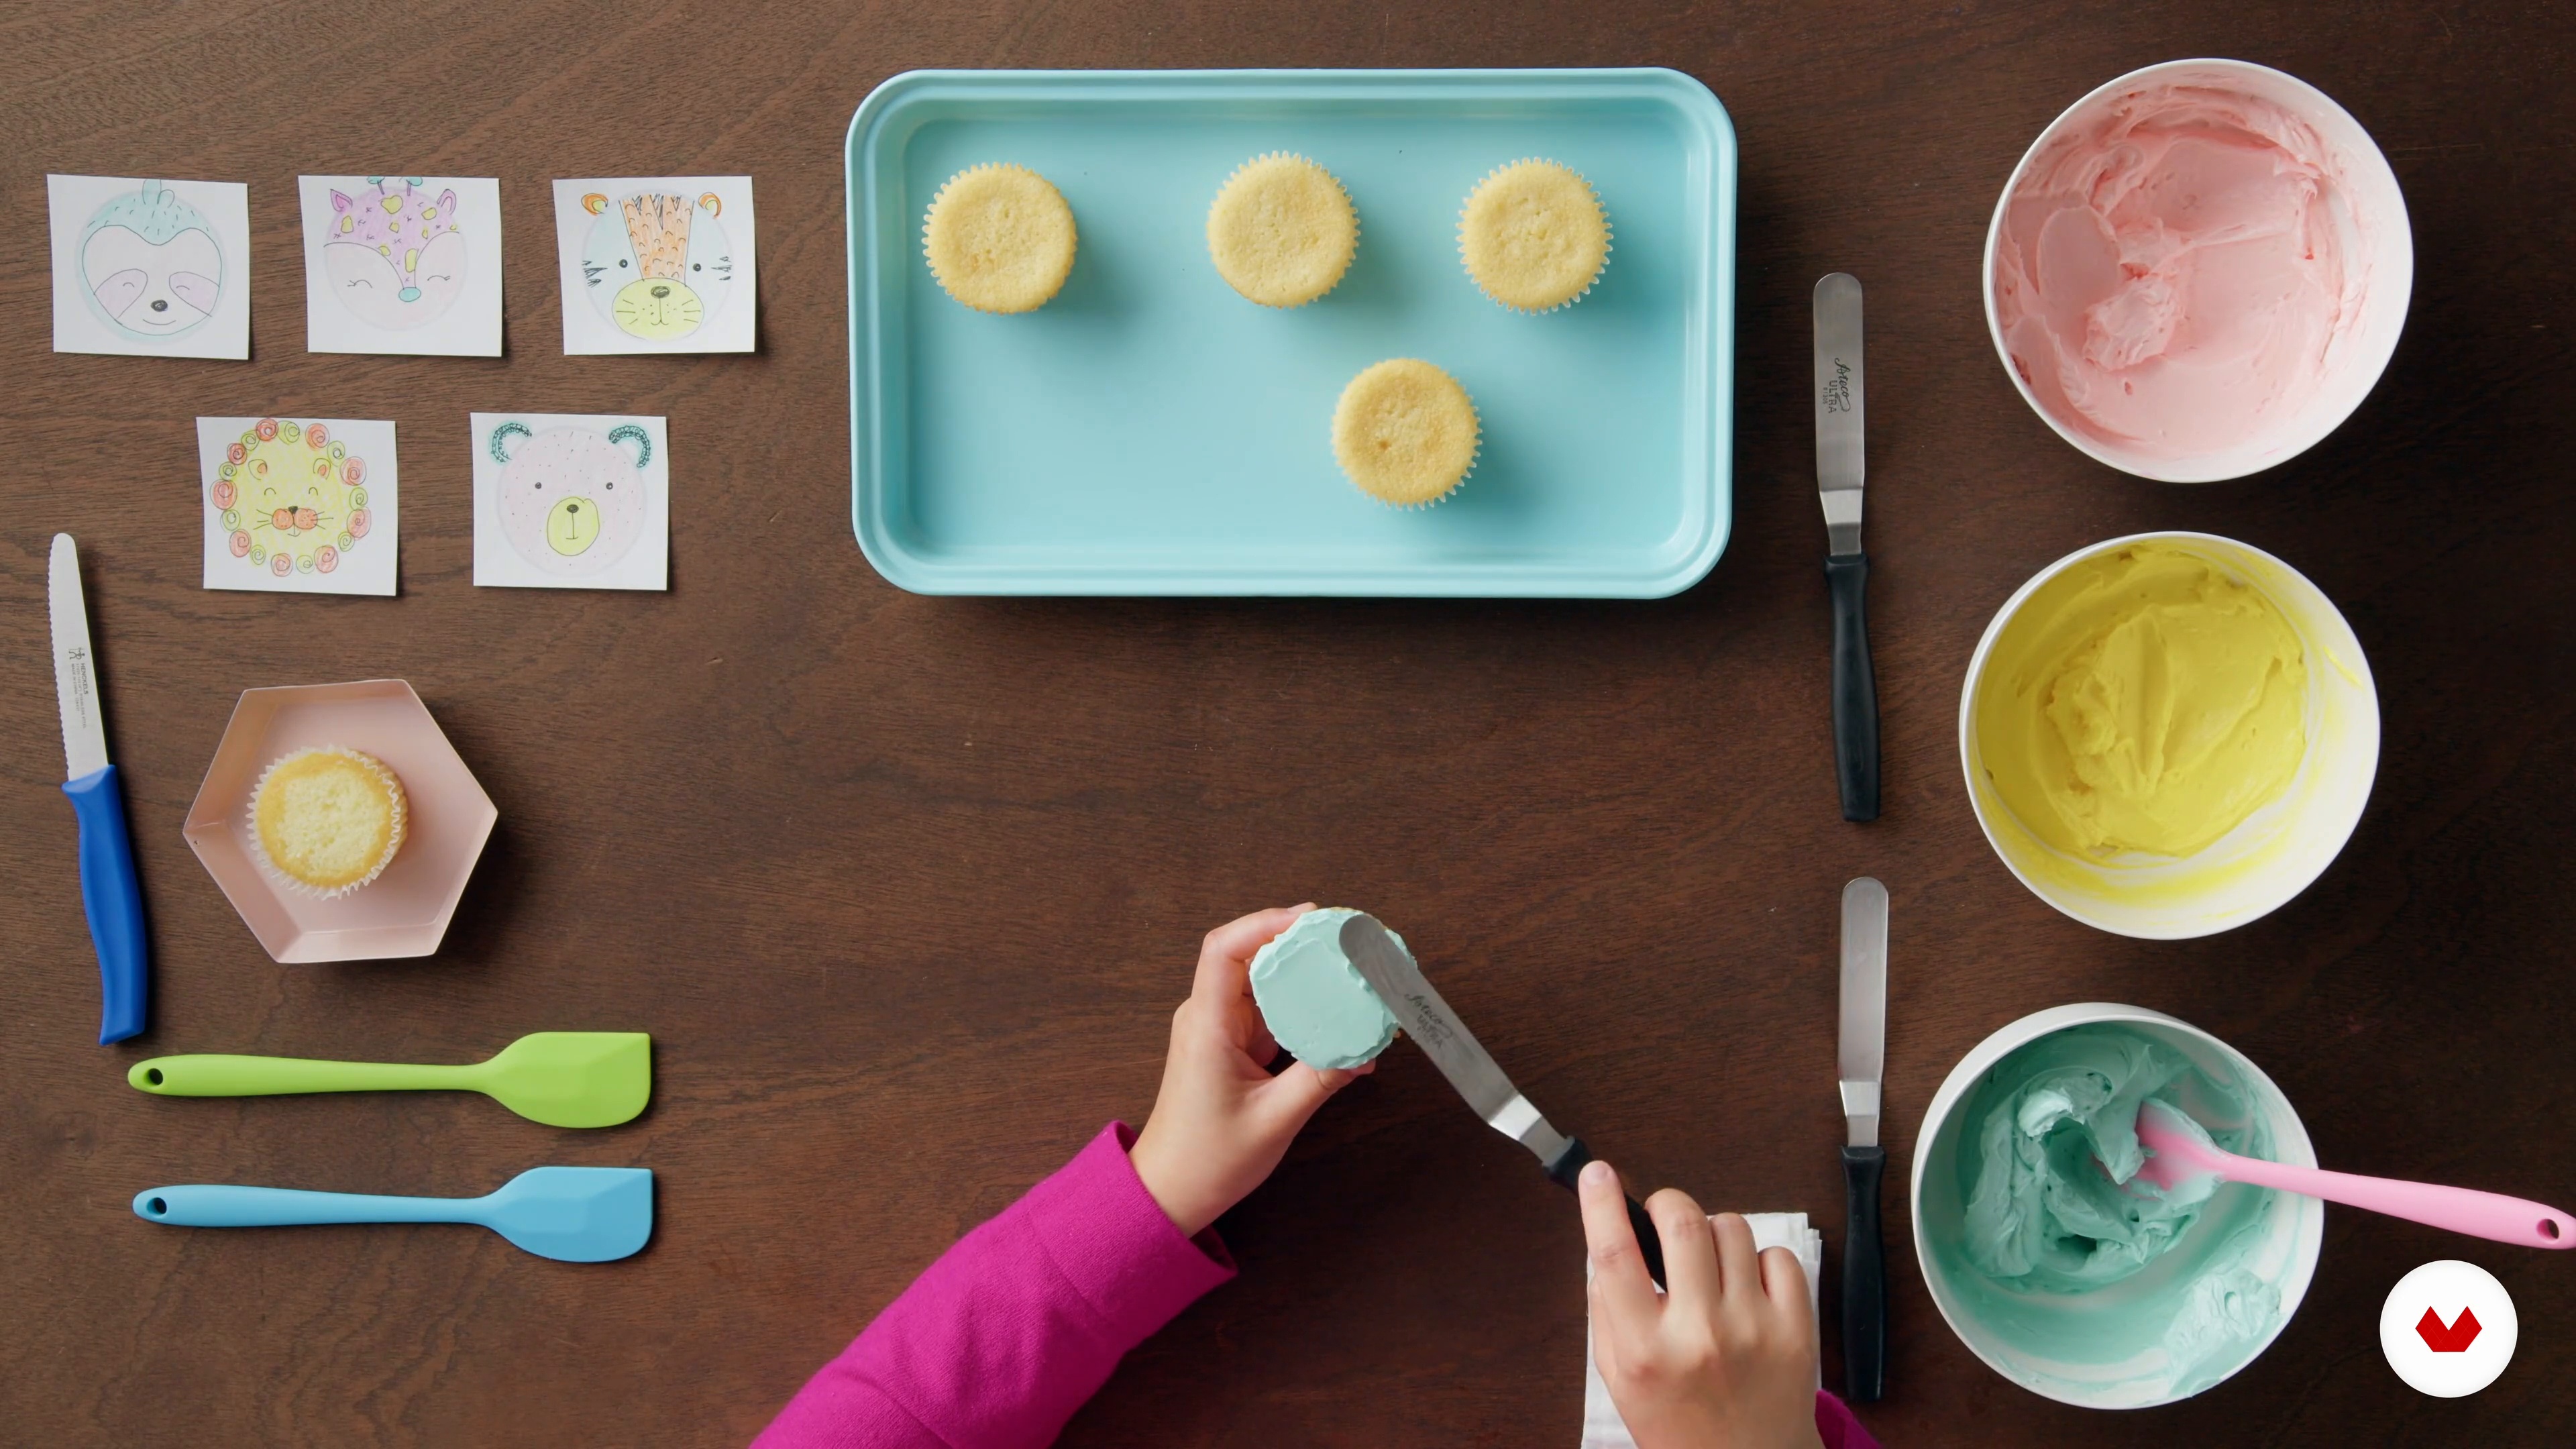
Preparing the Cupcake Surface
Before we begin to pipe our animals, let me show you how to prepare a smooth, flat surface on the cupcakes.
9m
image
13
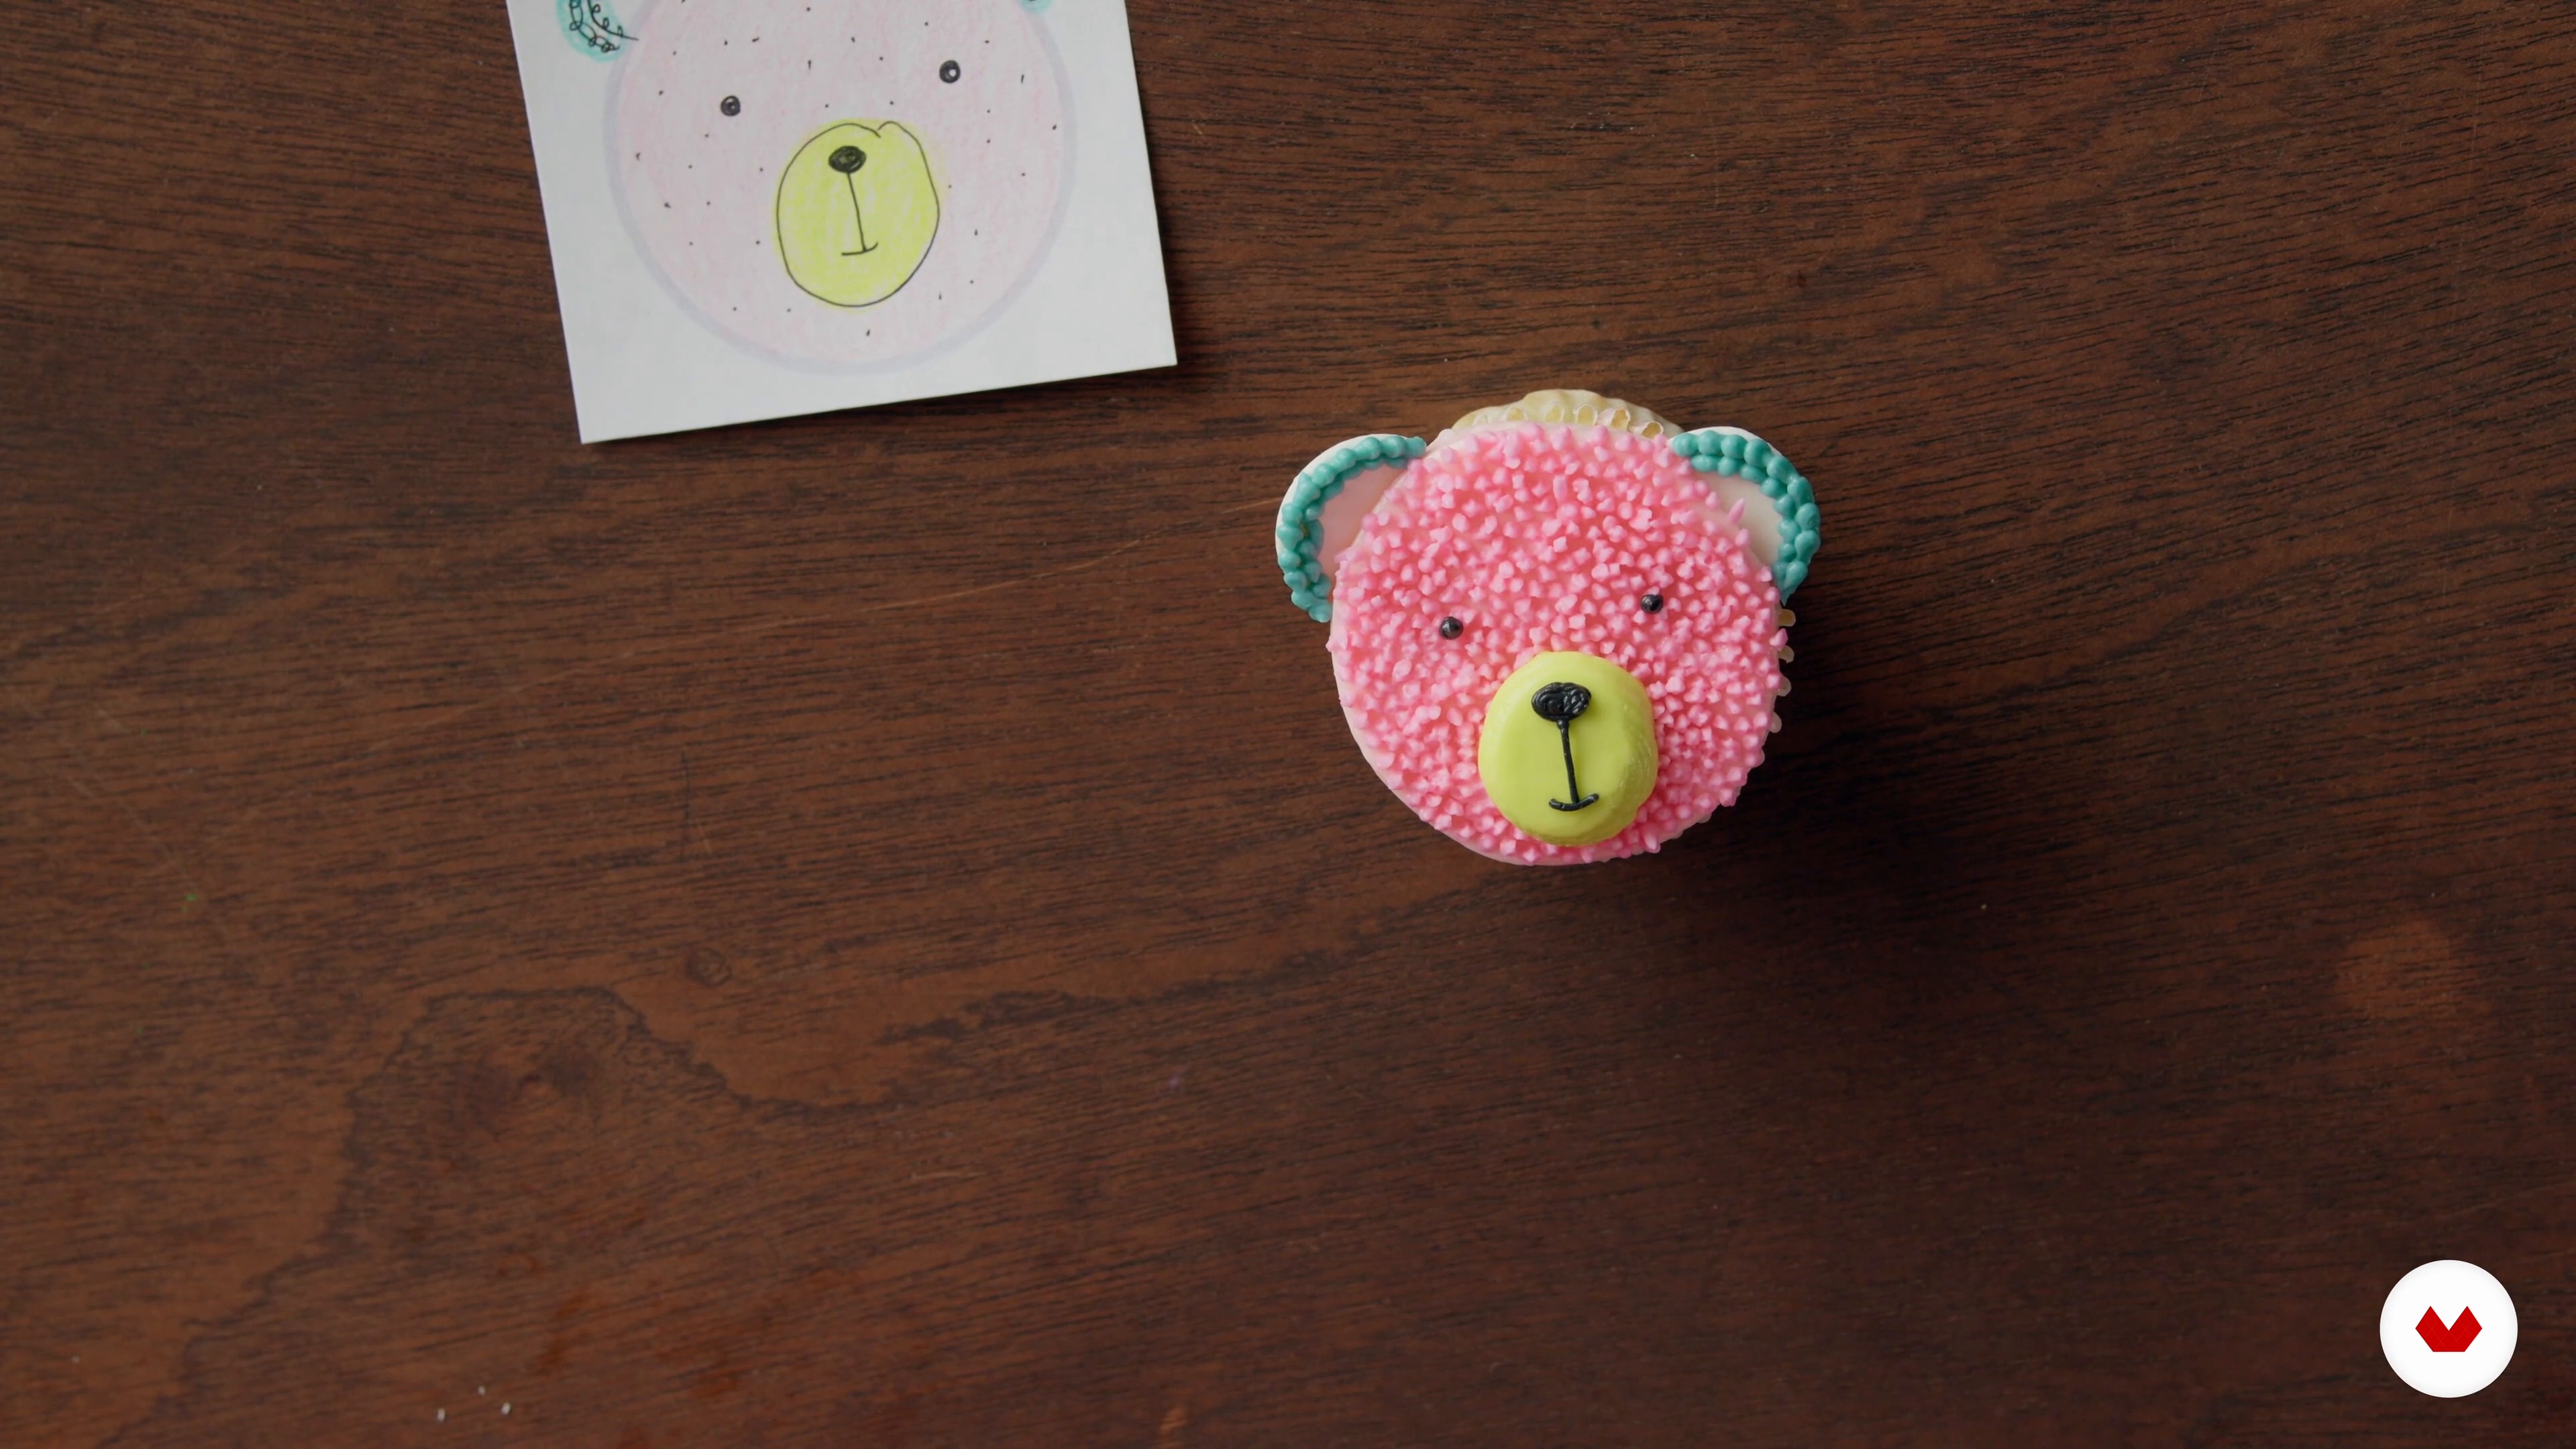
The Bear
Now that you have the cupcakes prepared, let’s begin piping! We will start with making a cute bear cupcake.
10m
image
14
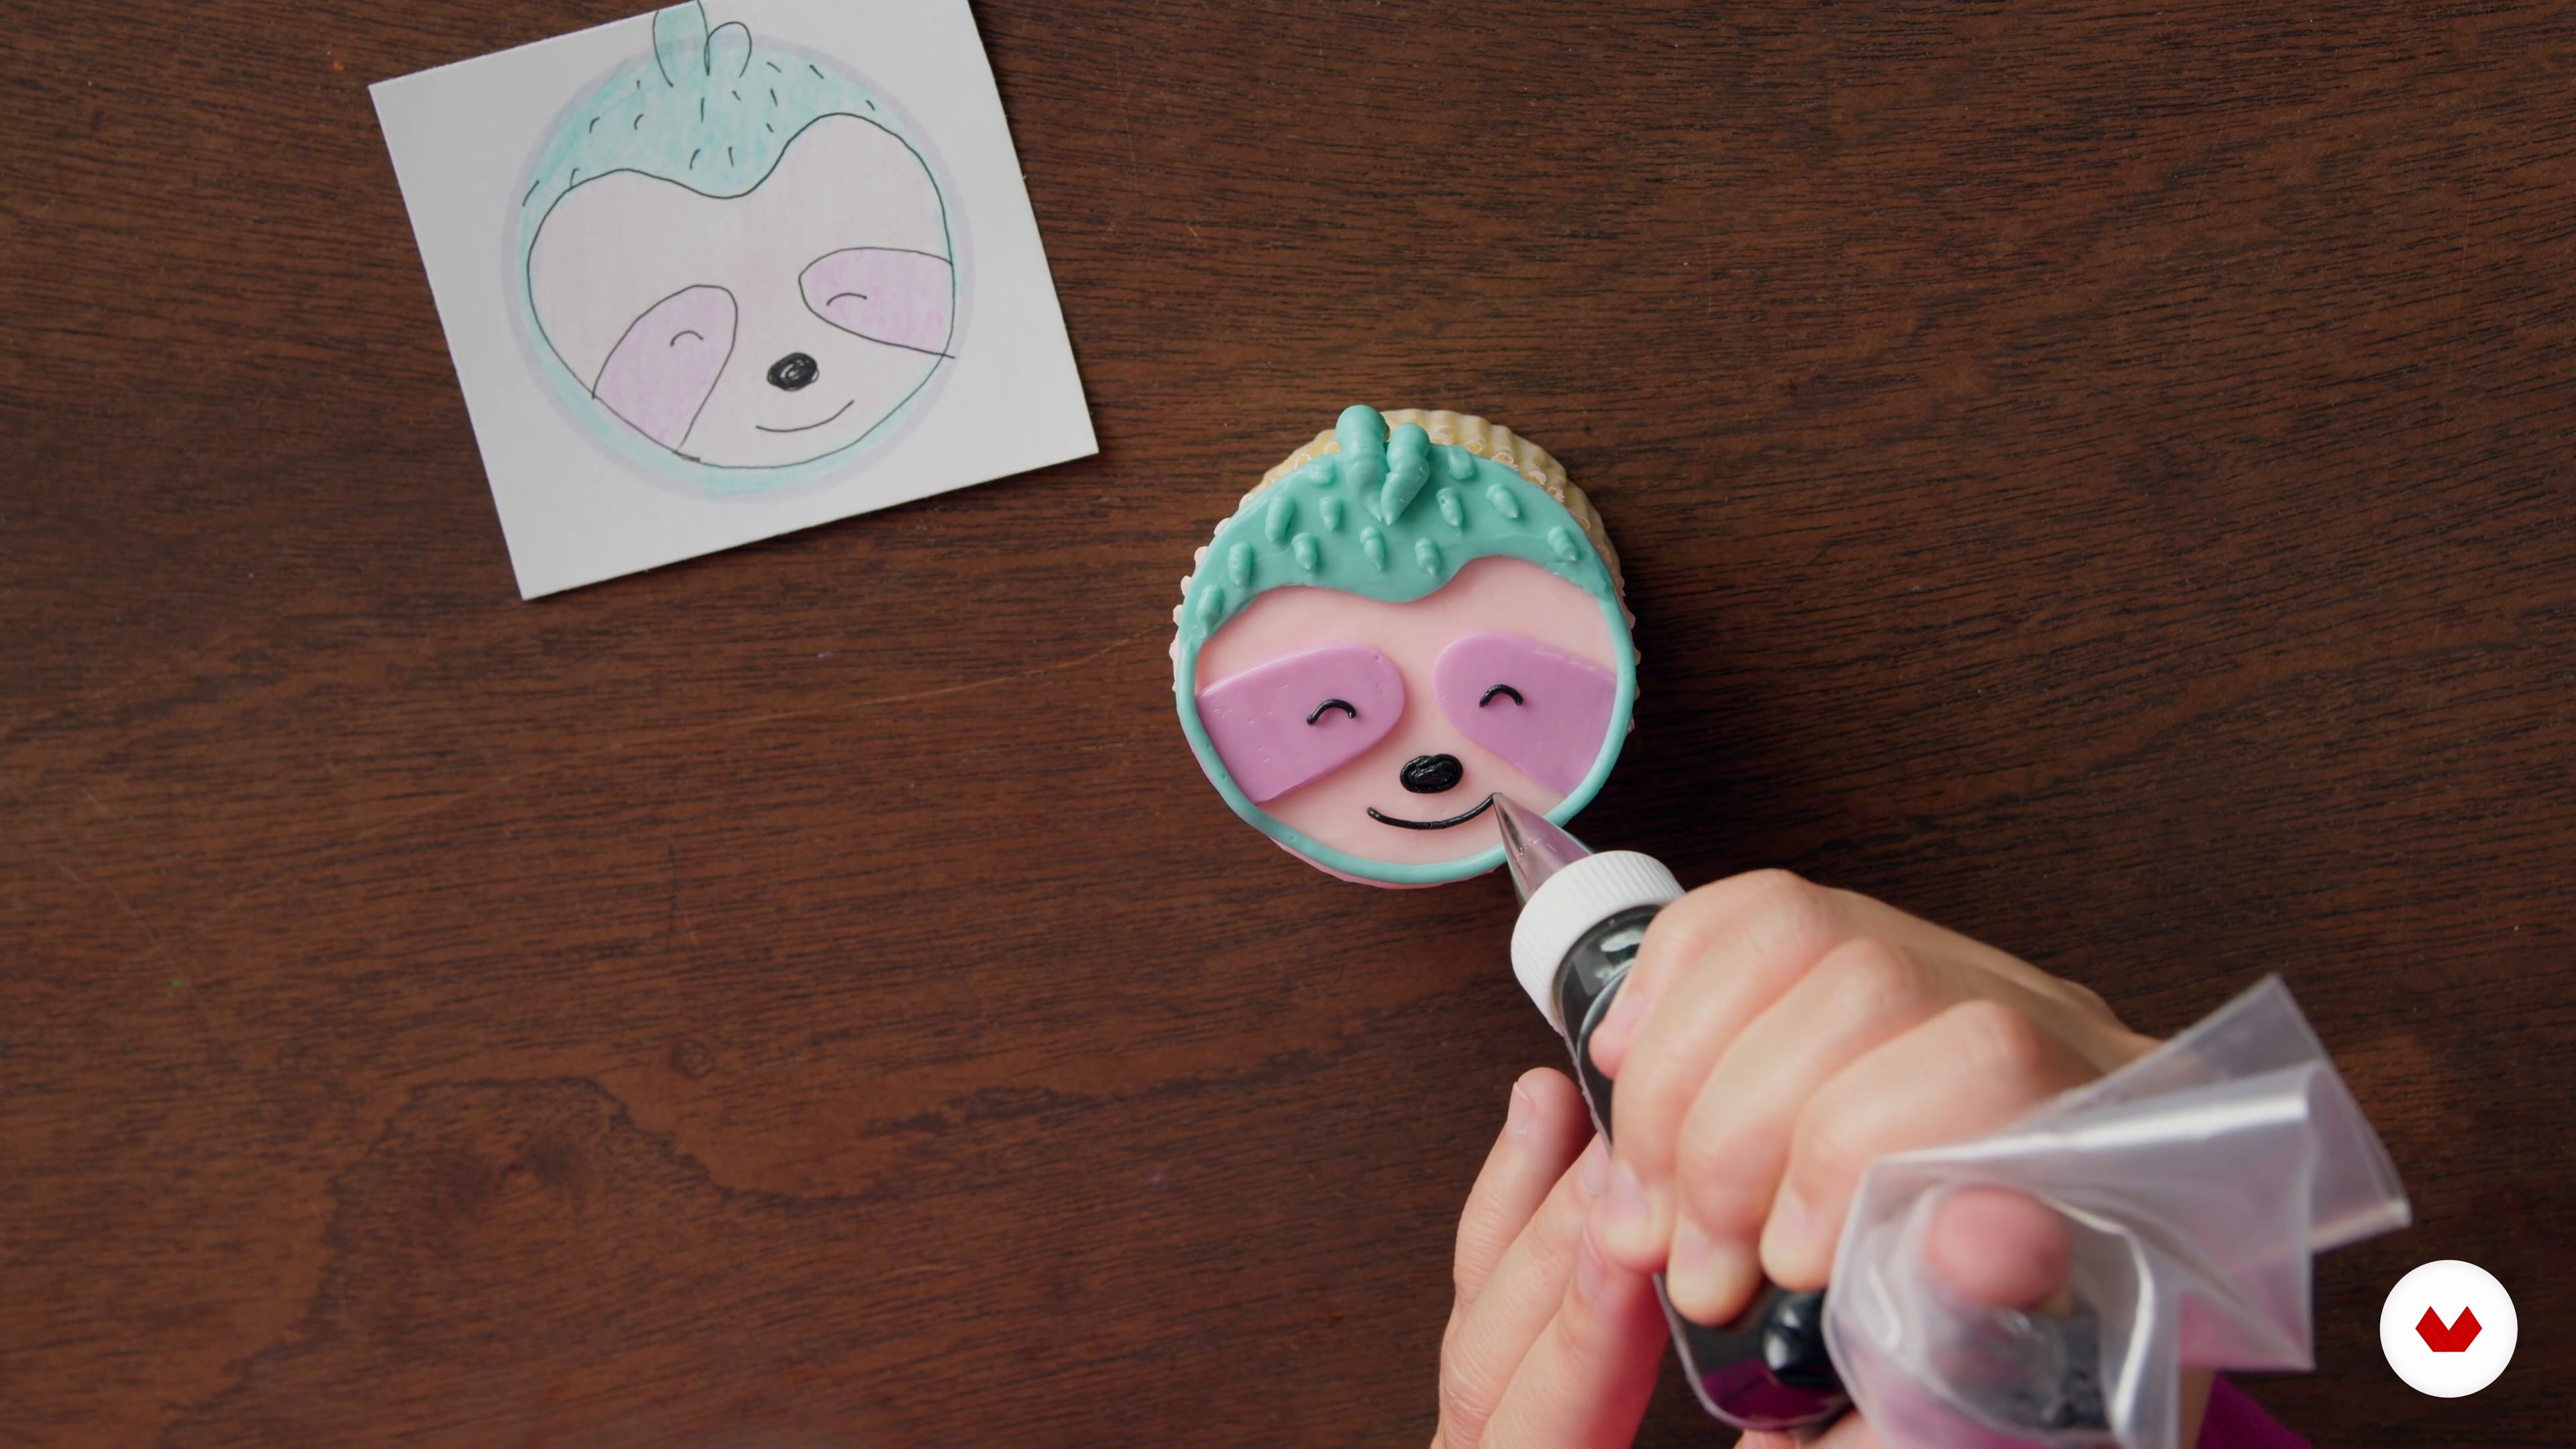
The Sloth
In this lesson, you will learn how to pipe an adorable sloth cupcake.
11m
image
15
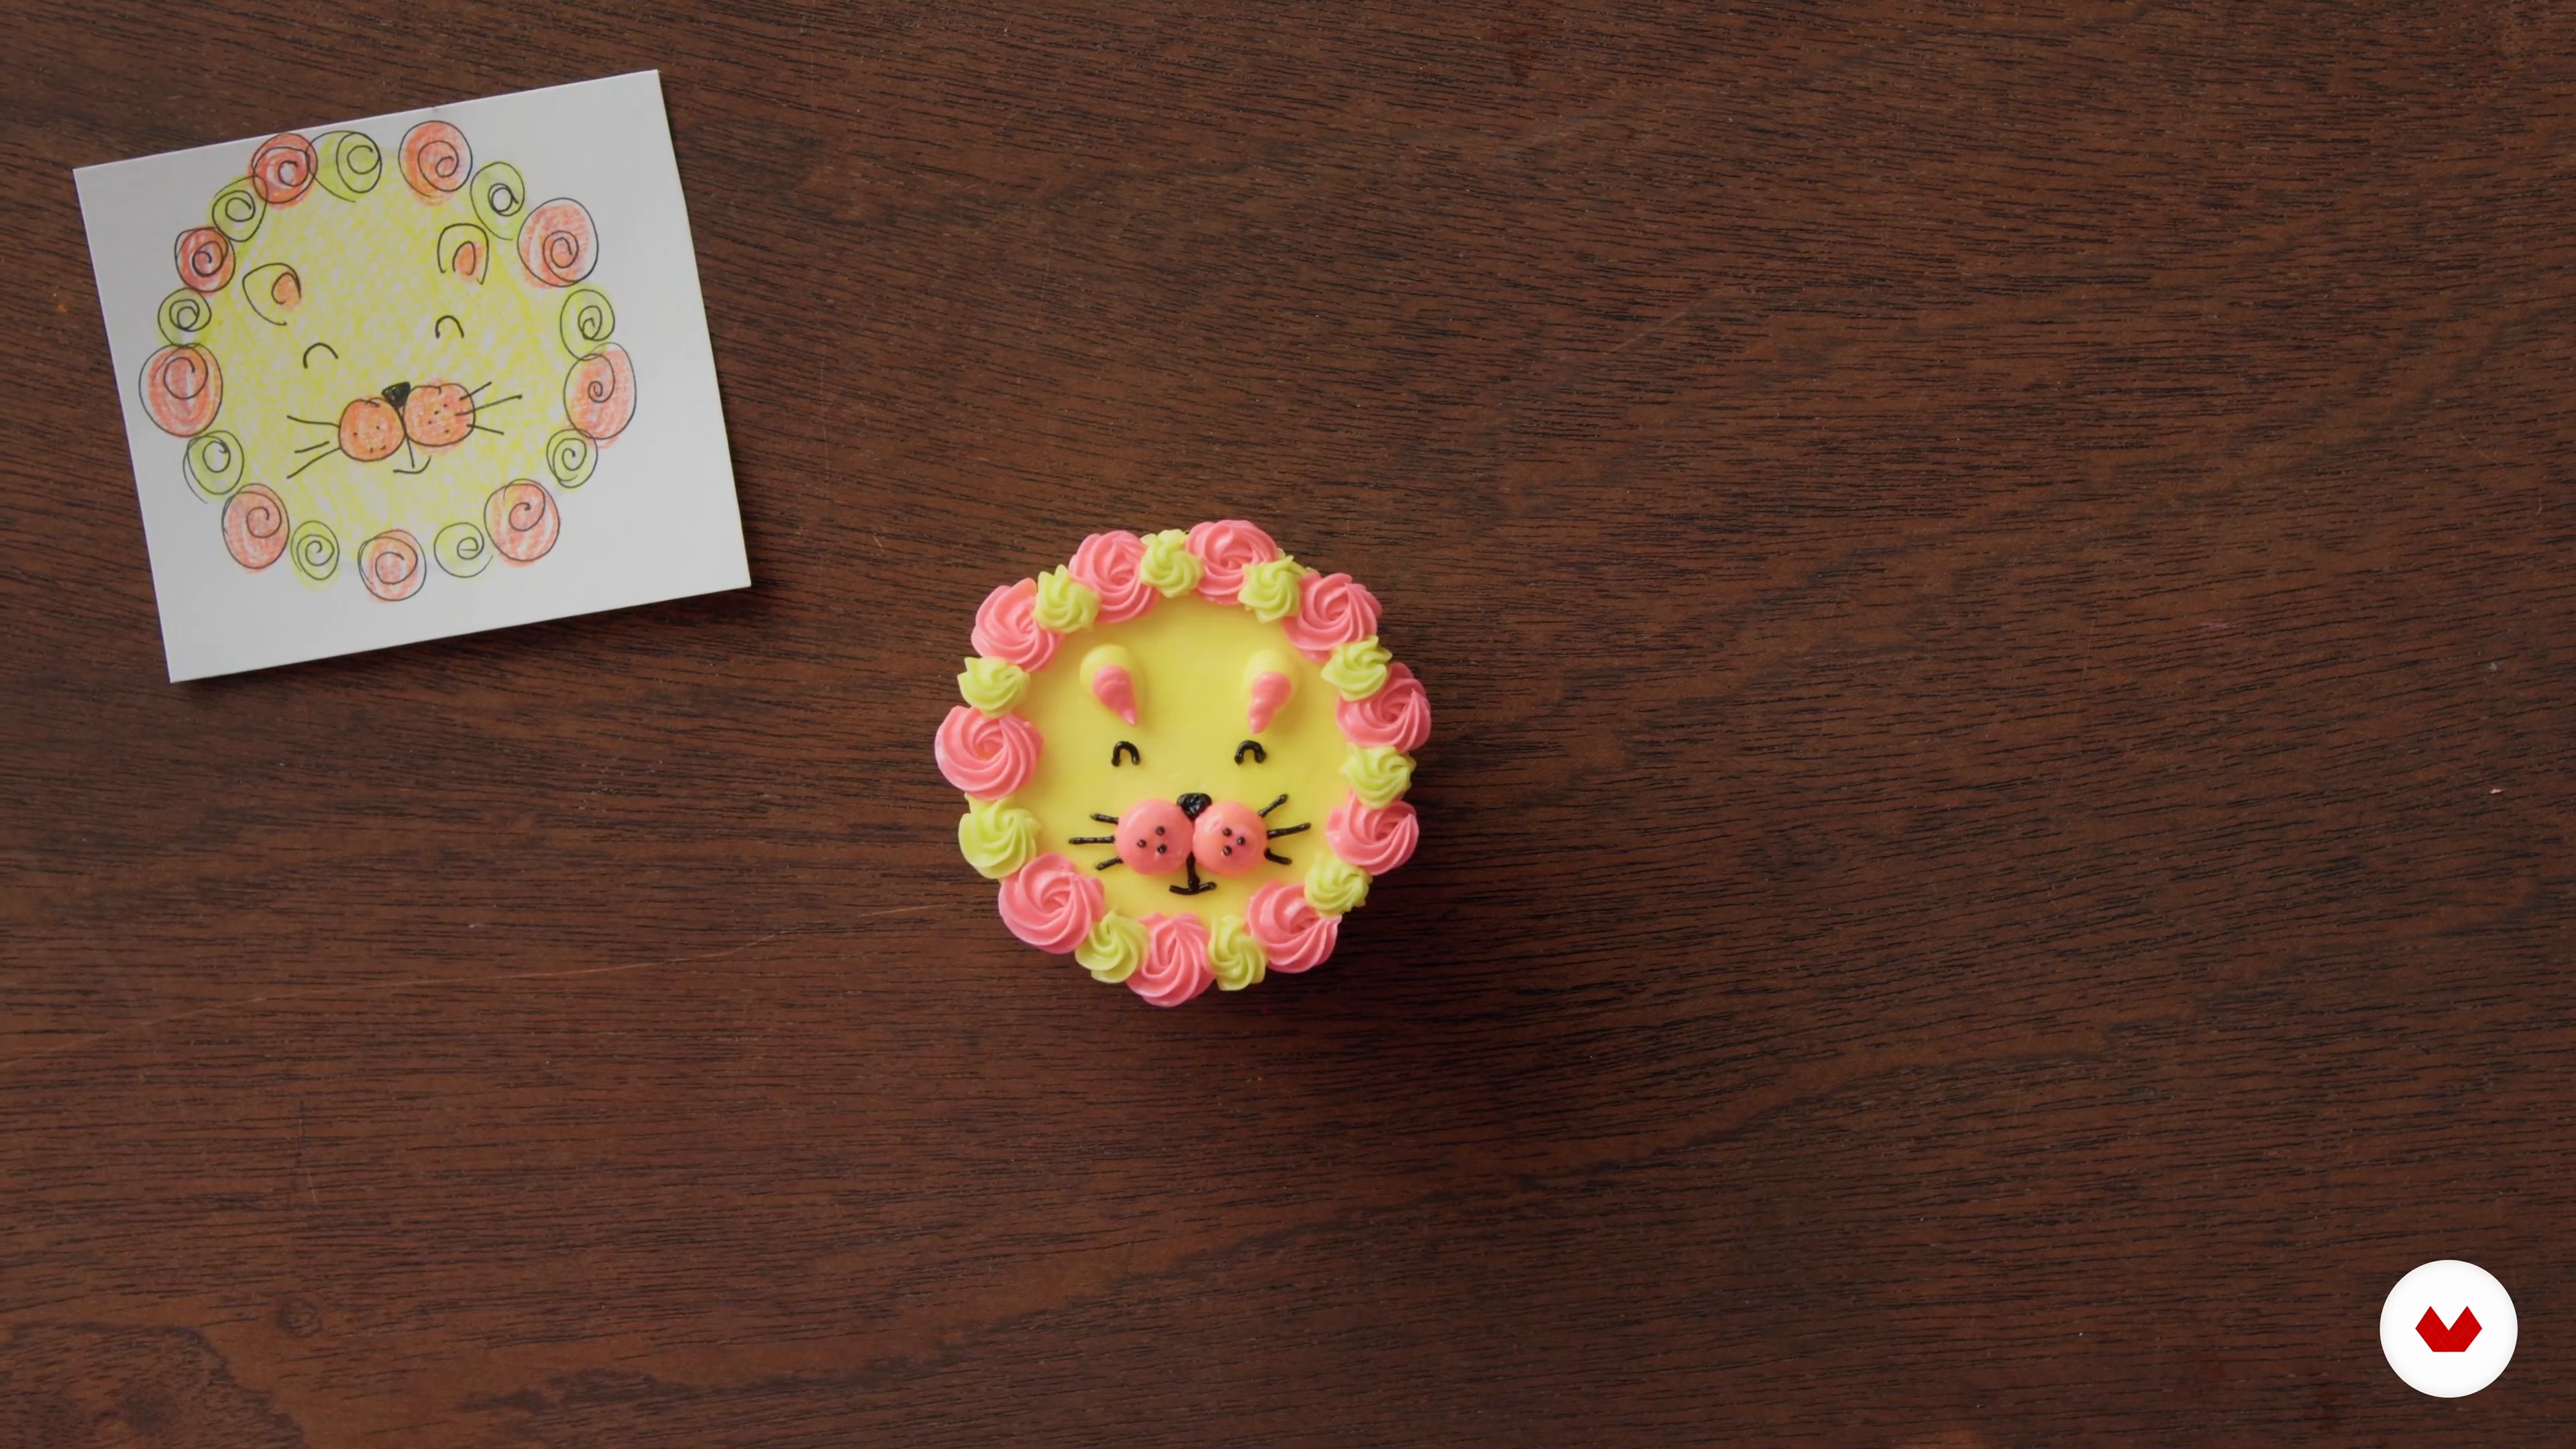
The Lion
Now we will move on to learning how to pipe a lion cupcake.
9m
image
16
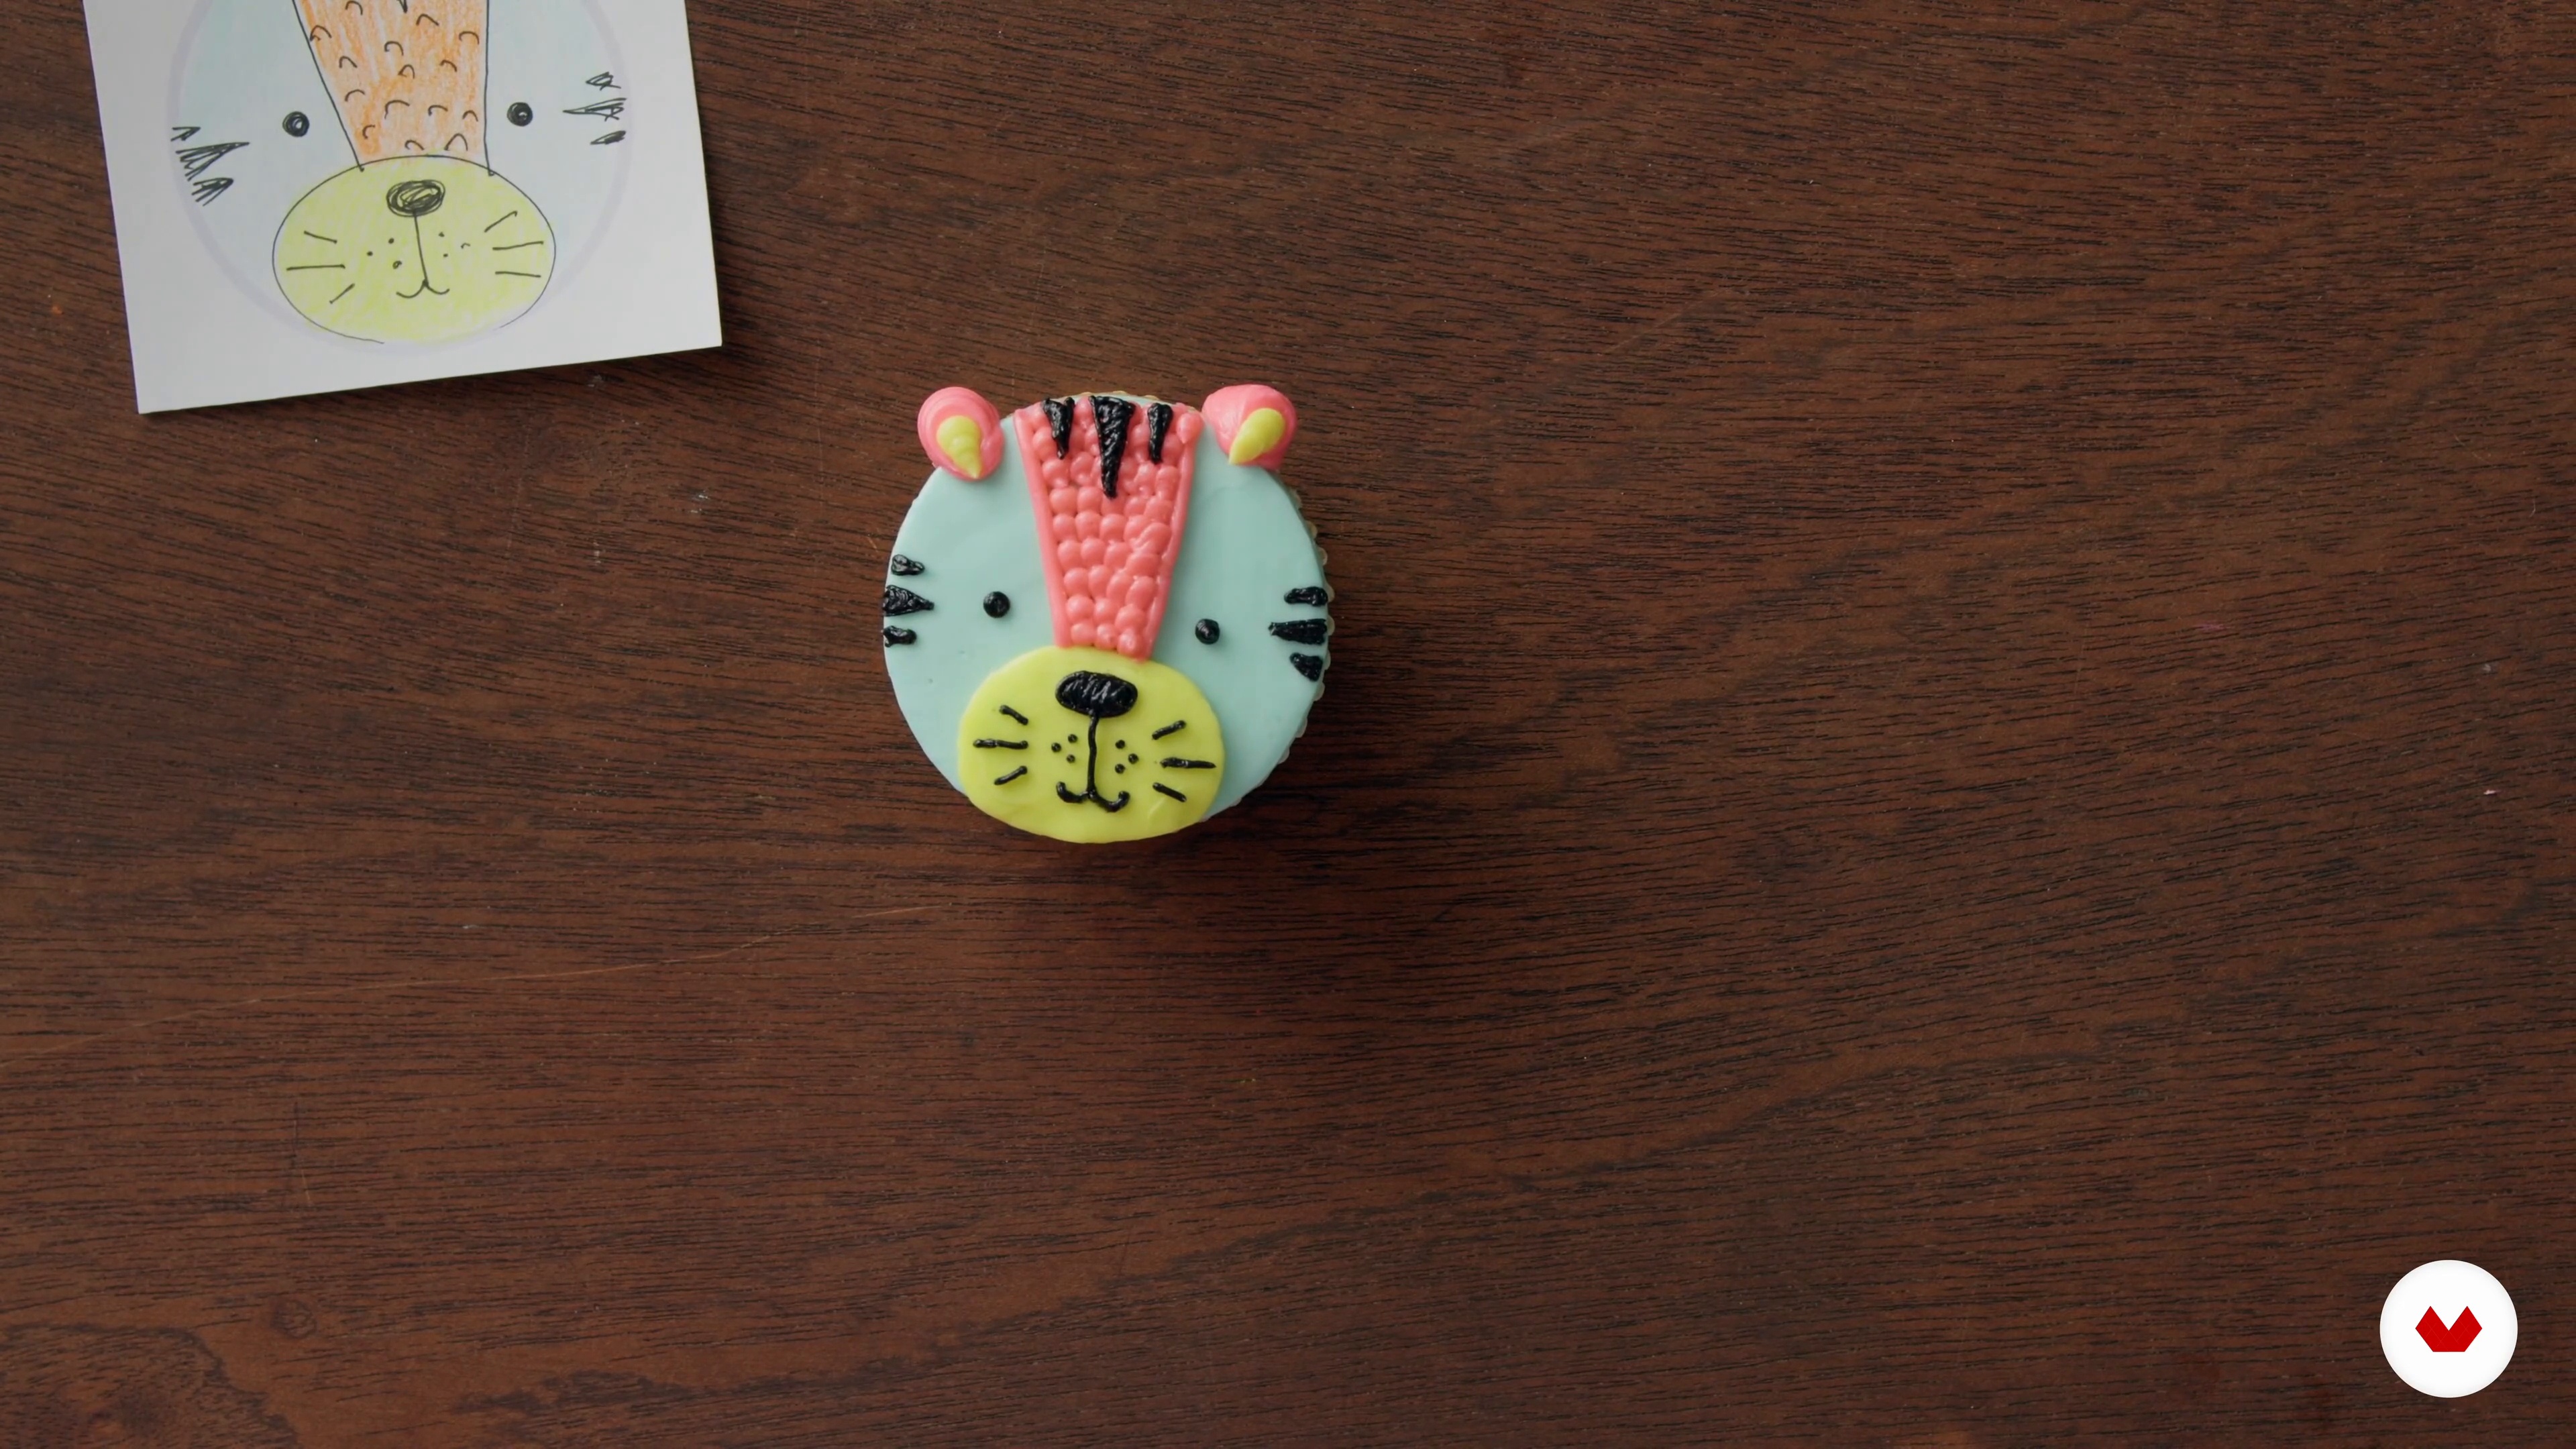
The Tiger
In this lesson, you will learn how to pipe a tiger cupcake.
12m
image
17
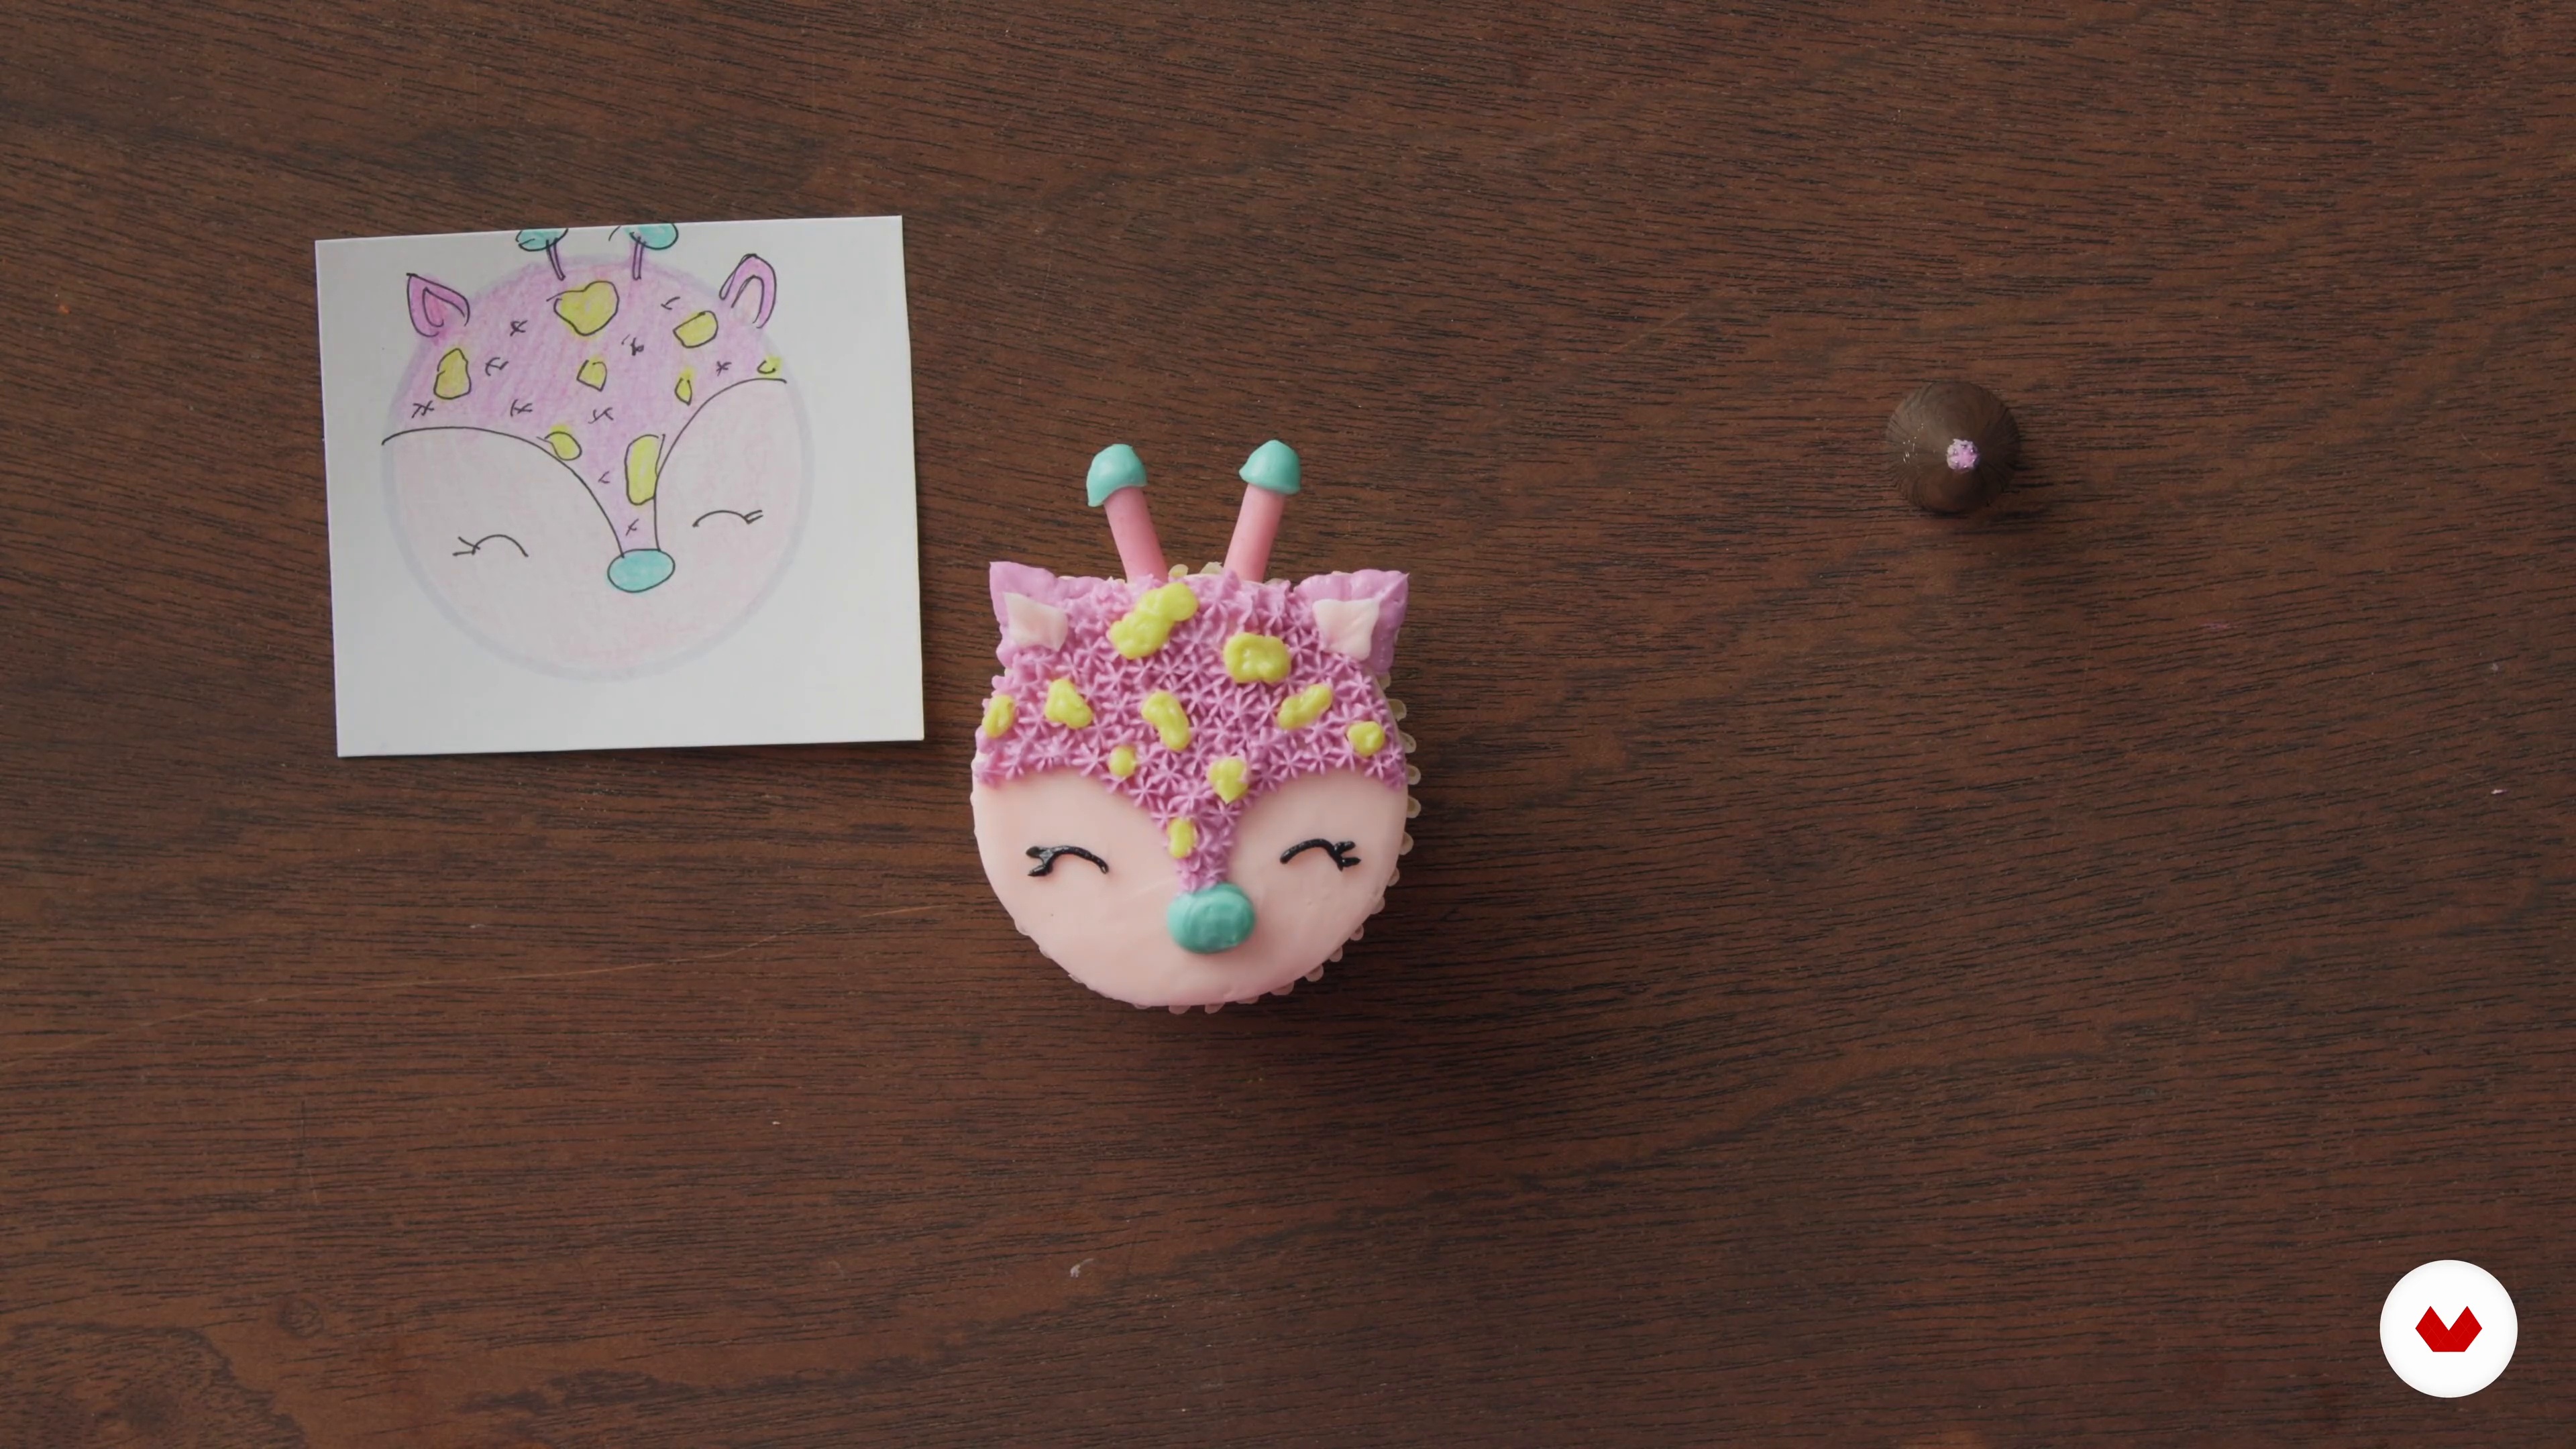
The Giraffe
Finally, let’s take a look at how to pipe a giraffe cupcake.
12m
image
18
Caring and Repairing
Properly storing and transporting your decorated cupcakes is so essential. Let me share with you some tips for success. Also, accidents happen, but there are always ways to fix them. I’ll show you how to troubleshoot when issues arise.
10m
image
19
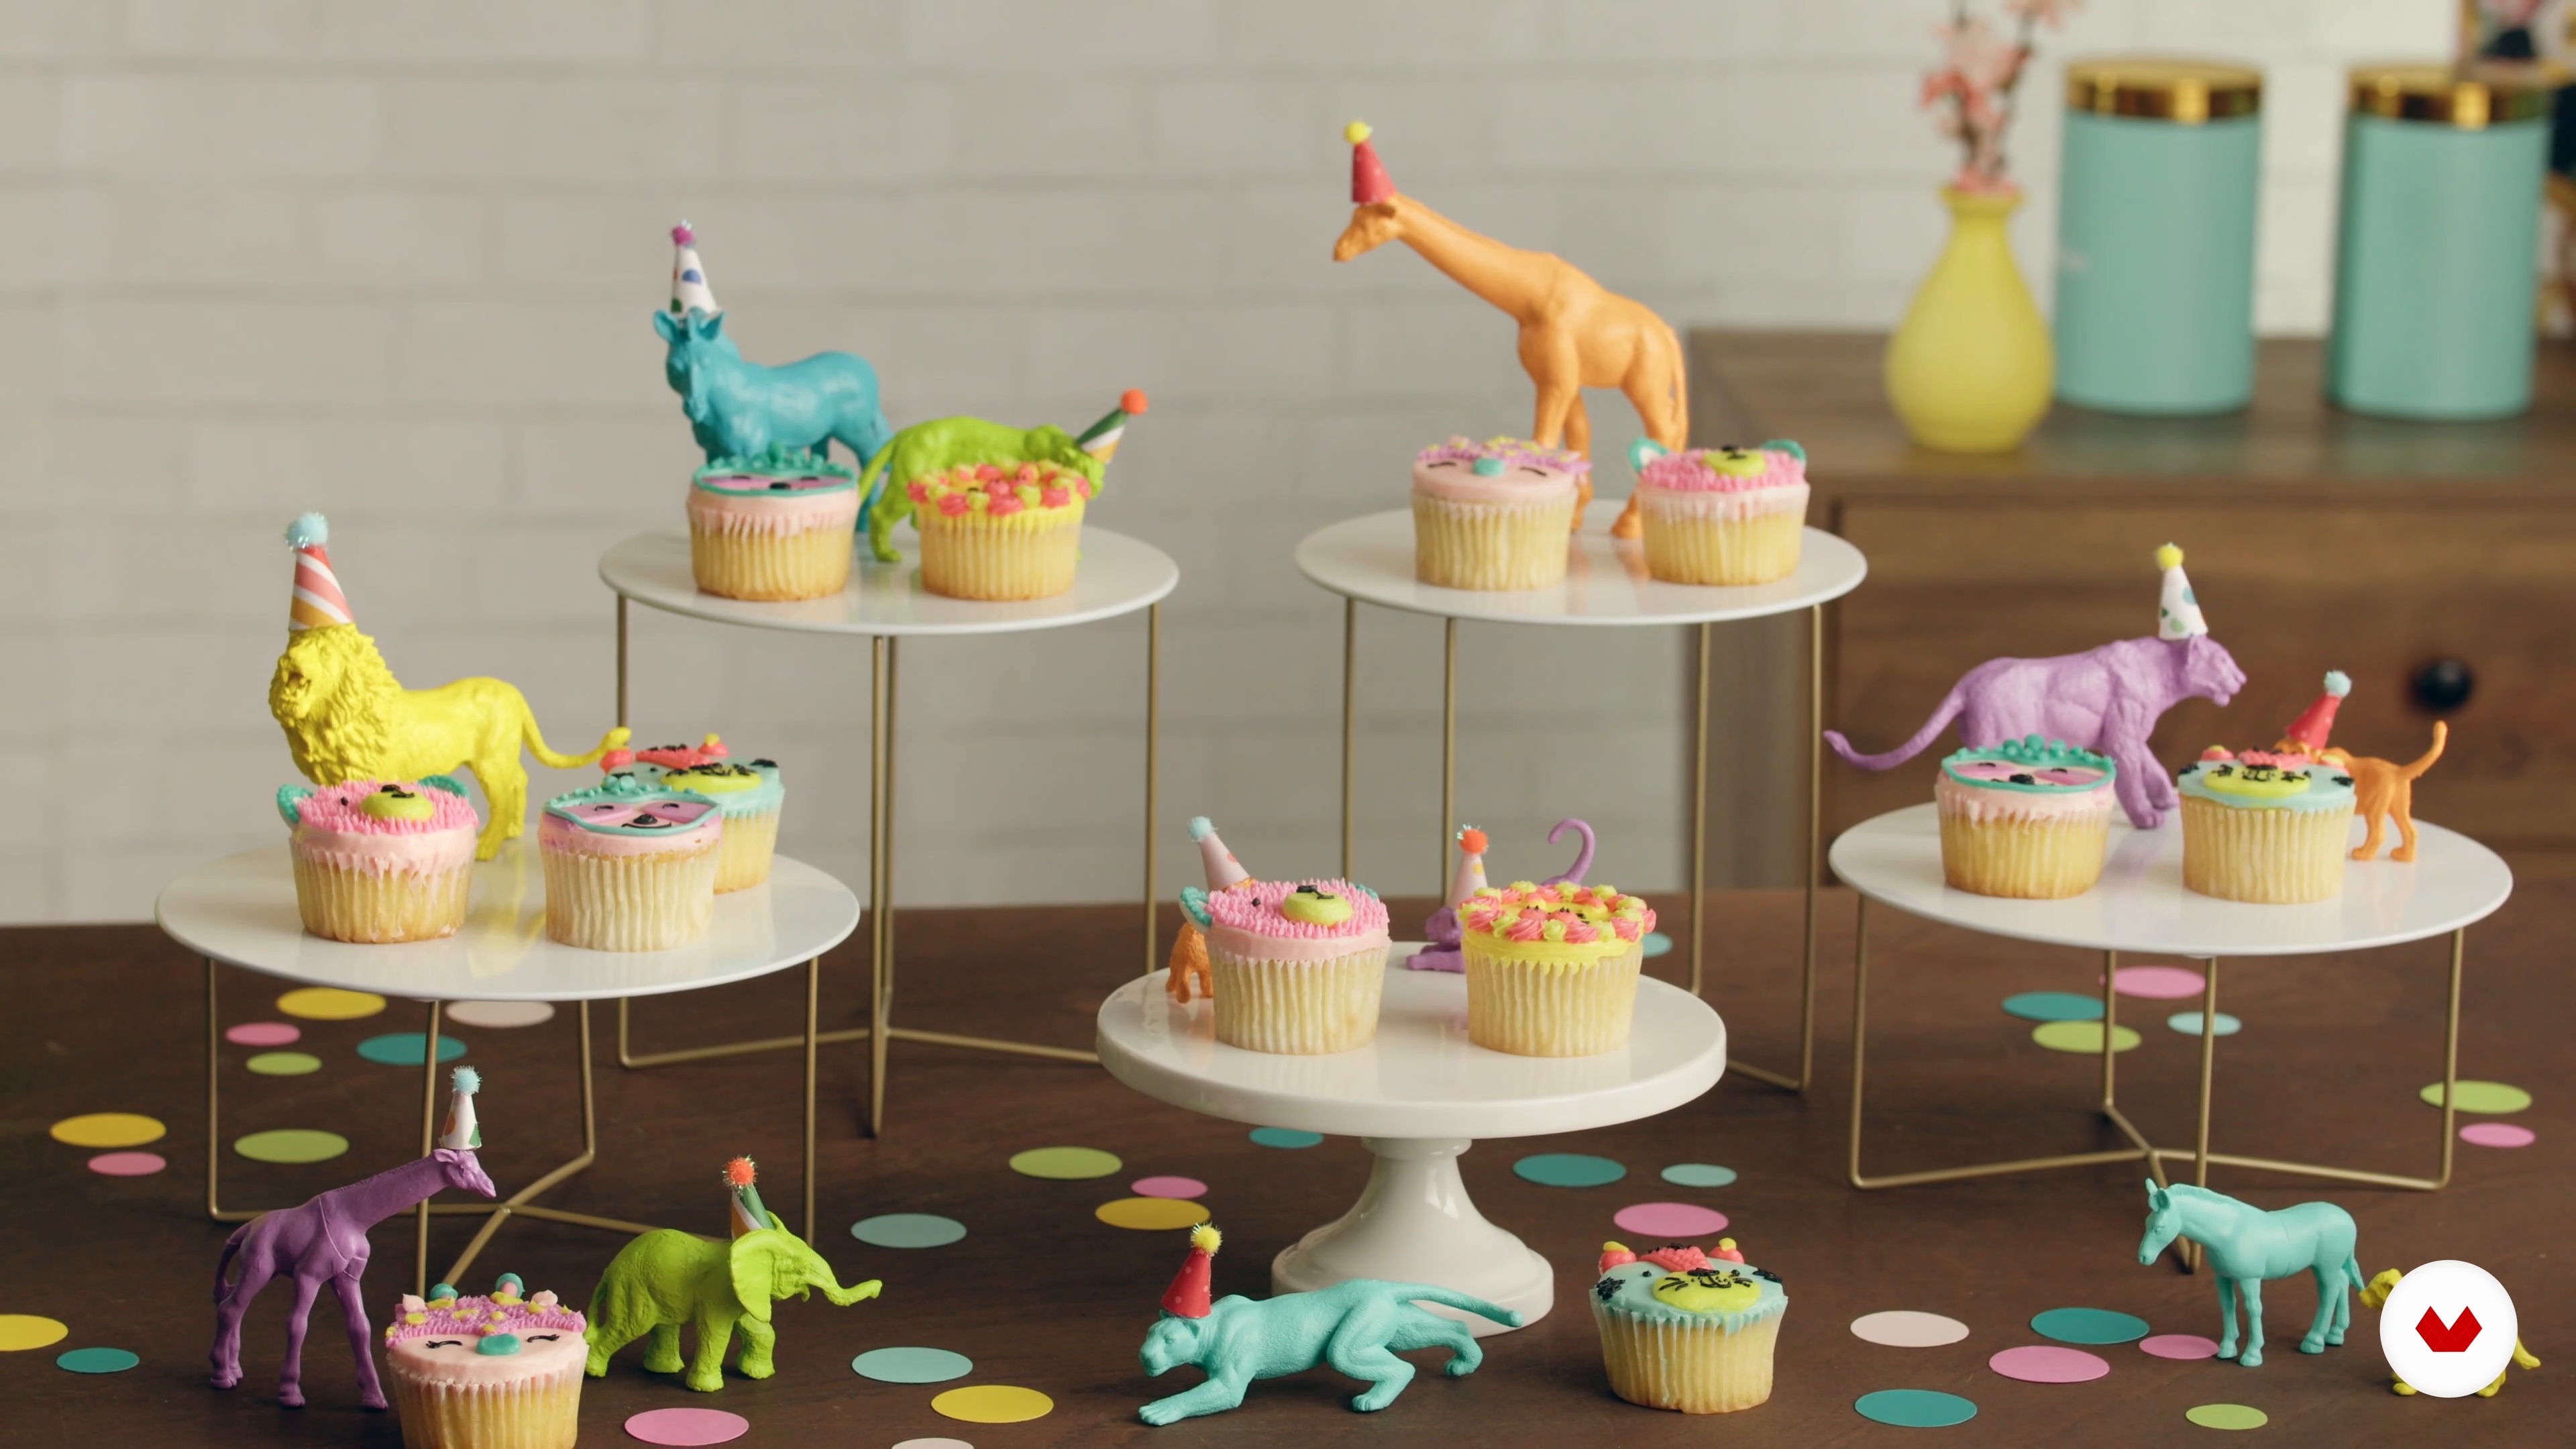
Styling Tips
In this lesson, I will show you how to create an eye-catching display for your cupcakes to shine on.
5m
  • 29 students
  • 85 lessons (14h 7m)
  • 126 additional resources (46 files)
  • Online and at your own pace
  • Audio: English, German, Spanish, Spanish (Latam), French, Indonesian, Italian, Dutch, Polish, Portuguese, Romanian, Turkish
  • Spanish · English · Portuguese · German · French · Italian · Polish · Dutch · Turkish · Romanian · Indonesian
  • Level: Beginner
  • Unlimited access forever

What is this course's project?

Students will create a comprehensive portfolio demonstrating their evolution from beginner to professional cookie artist, combining royal icing, watercolor, and buttercream techniques into unique edible art pieces that showcase personal style and technical mastery.

Who is this specialization for?

Budding bakers and creative hobbyists eager to elevate their cookie decoration skills will find this course ideal. Whether you're a beginner or looking to refine advanced techniques, it guides you in transforming simple cookies into edible art masterpieces.

Requirements and materials

Dive into cookie decoration with a creative spirit and basic baking tools. No extensive prior knowledge is needed. Gather royal icing, food coloring, brushes, and a set of piping tips. A passion for art and patience will enhance your experience.

Select to get to know your teachers in this specialization course
Read more ↓

What to expect from this specialization course

  • Learn at your own pace

    Enjoy learning from home without a set schedule and with an easy-to-follow method. You set your own pace.

  • Learn from the best professionals

    Learn valuable methods and techniques explained by top experts in the creative sector.

  • Meet expert teachers

    Each expert teaches what they do best, with clear guidelines, true passion, and professional insight in every lesson.

  • Certificates
    Plus

    If you're a Plus member, get a custom certificate for every specialization course. Share it on your portfolio, social media, or wherever you like.

  • Get front-row seats

    Videos of the highest quality, so you don't miss a single detail. With unlimited access, you can watch them as many times as you need to perfect your technique.

  • Share knowledge and ideas

    Ask questions, request feedback, or offer solutions. Share your learning experience with other students in the community who are as passionate about creativity as you are.

  • Connect with a global creative community

    The community is home to millions of people from around the world who are curious and passionate about exploring and expressing their creativity.

  • Watch professionally produced courses

    Domestika curates its teacher roster and produces every course in-house to ensure a high-quality online learning experience.


FAQs

Domestika courses are online classes that allow you to learn new skills and create incredible projects. All our courses include the opportunity to share your work with other students and/or teachers, creating an active learning community. We offer different formats:
Original Courses: Complete classes that combine videos, texts, and educational materials to complete a specific project from start to finish.
Basics Courses: Specialized training where you master specific software tools step by step.
Specialization Courses: Learning paths with various expert teachers on the same topic, perfect for becoming a specialist by learning from different approaches.
Guided Courses: Practical experiences ideal for directly acquiring specific skills.
Intensive Courses (Deep Dives): New creative processes based on artificial intelligence tools in an accessible format for in-depth and dynamic understanding.

All specialization courses are 100% online, so once they're published, specialization courses start and finish whenever you want. You set the pace of the class. You can go back to review what interests you most and skip what you already know, ask questions, answer questions, share your projects, and more.

The specialization courses are divided into different modules. Each one includes lessons, informational text, tasks, and practice exercises to help you carry out your project step by step, with additional complementary resources and downloads. You'll also have access to an exclusive forum where you can interact with other students, as well as share your work and your final project, creating a community around the specialization courses.

You can redeem the specialization courses you received by accessing the redeeming page and entering your gift code.

If you're a Plus member, when you complete a course you've purchased, you'll instantly get your personalized certificate. You can see all your certificates in the Certificates section of your profile. You can download your certificates as PDFs and share the link online. Learn more about certificates.
Specialization in Cookie Decoration with Royal Icing Techniques. Design, Craft, and Culinary course by Domestika

Specialization in Cookie Decoration with Royal Icing Techniques

A specialization by multiple teachers
Berkeley, United States.
Joined April 2002
  • 29 students