
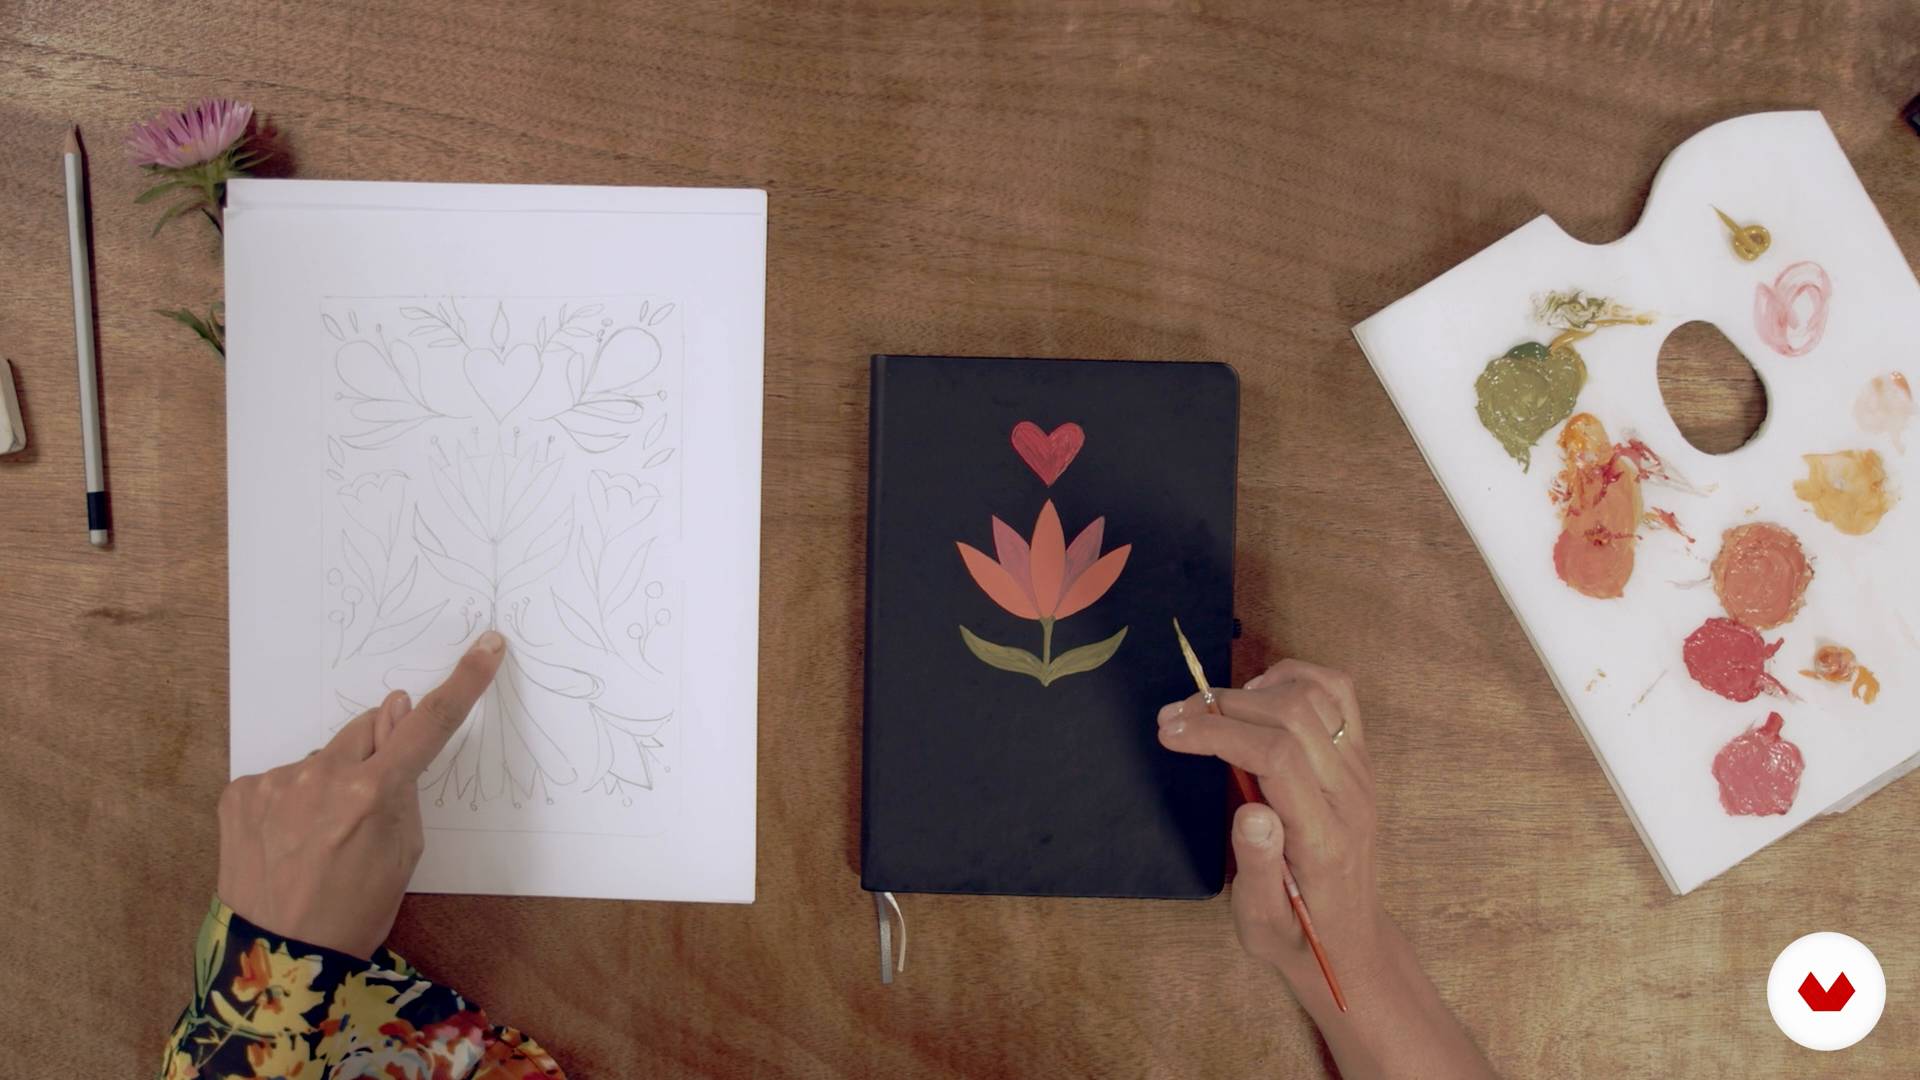
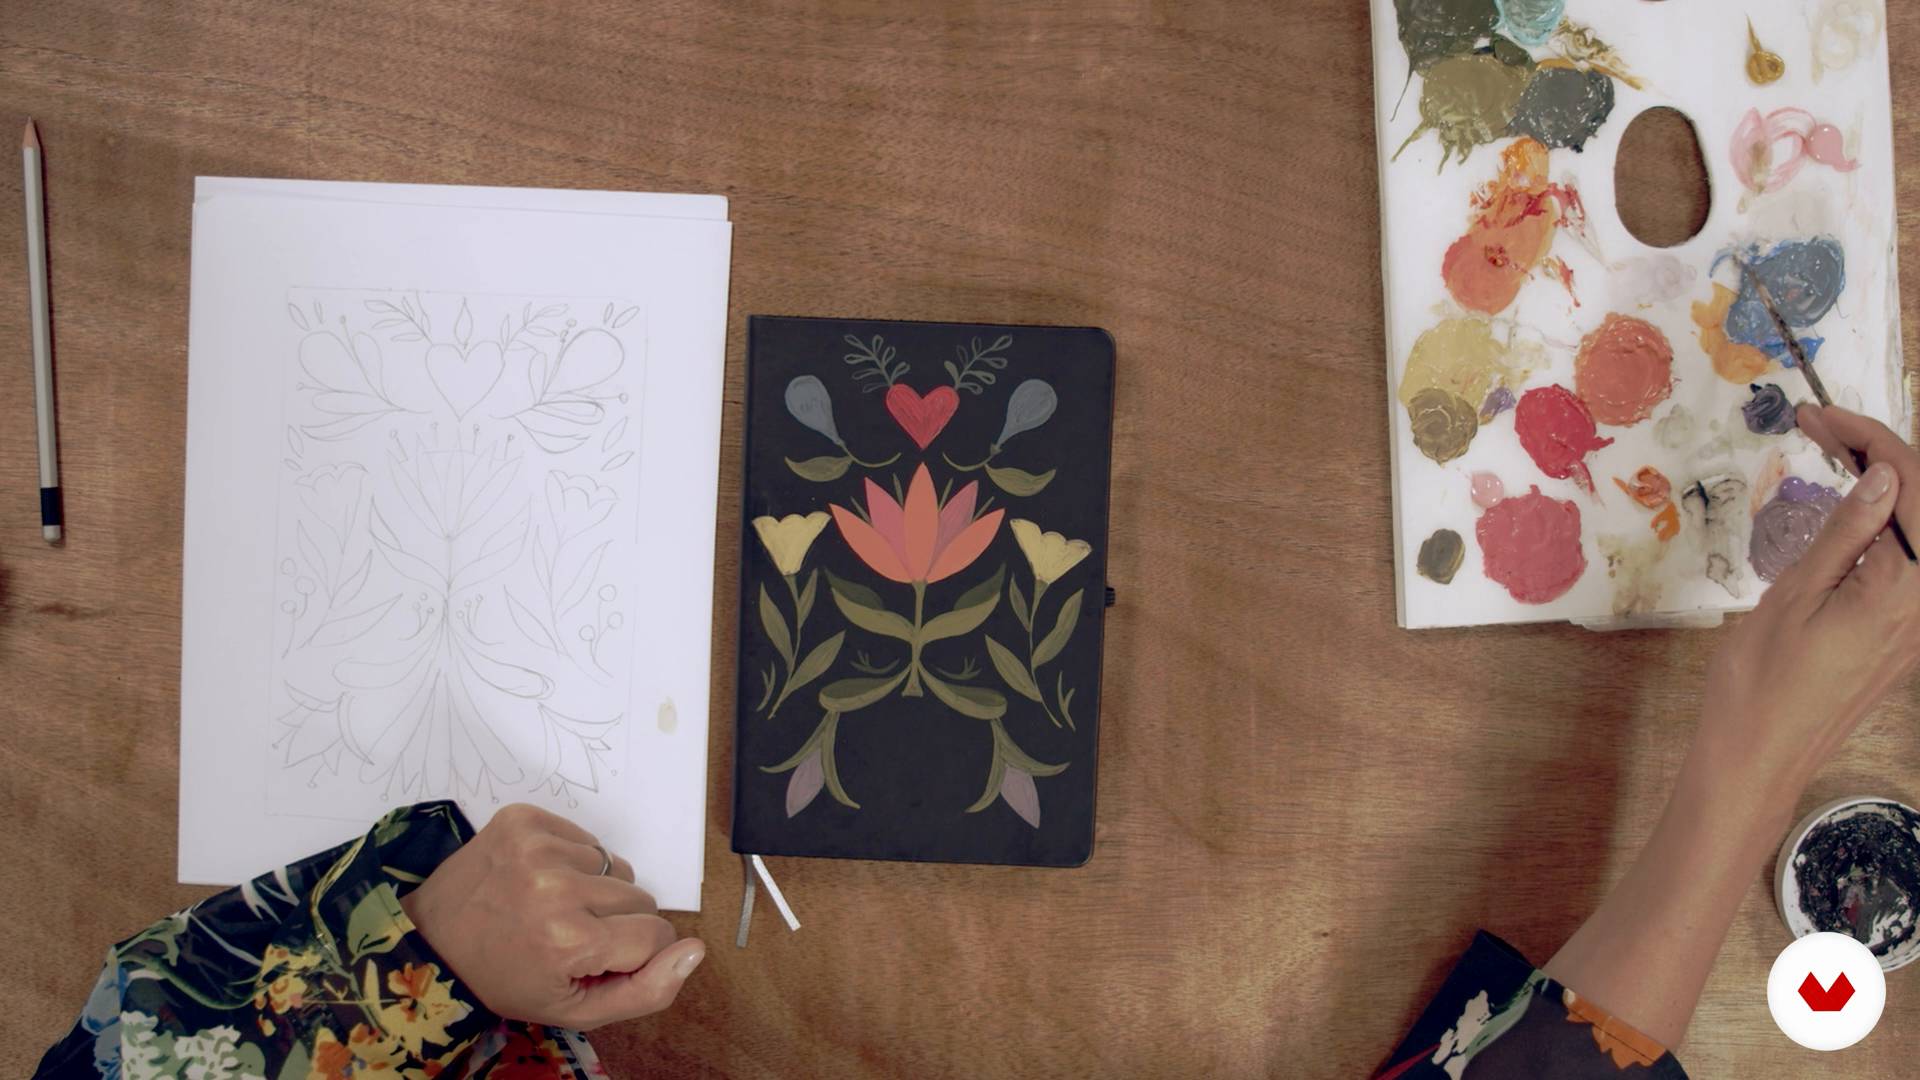
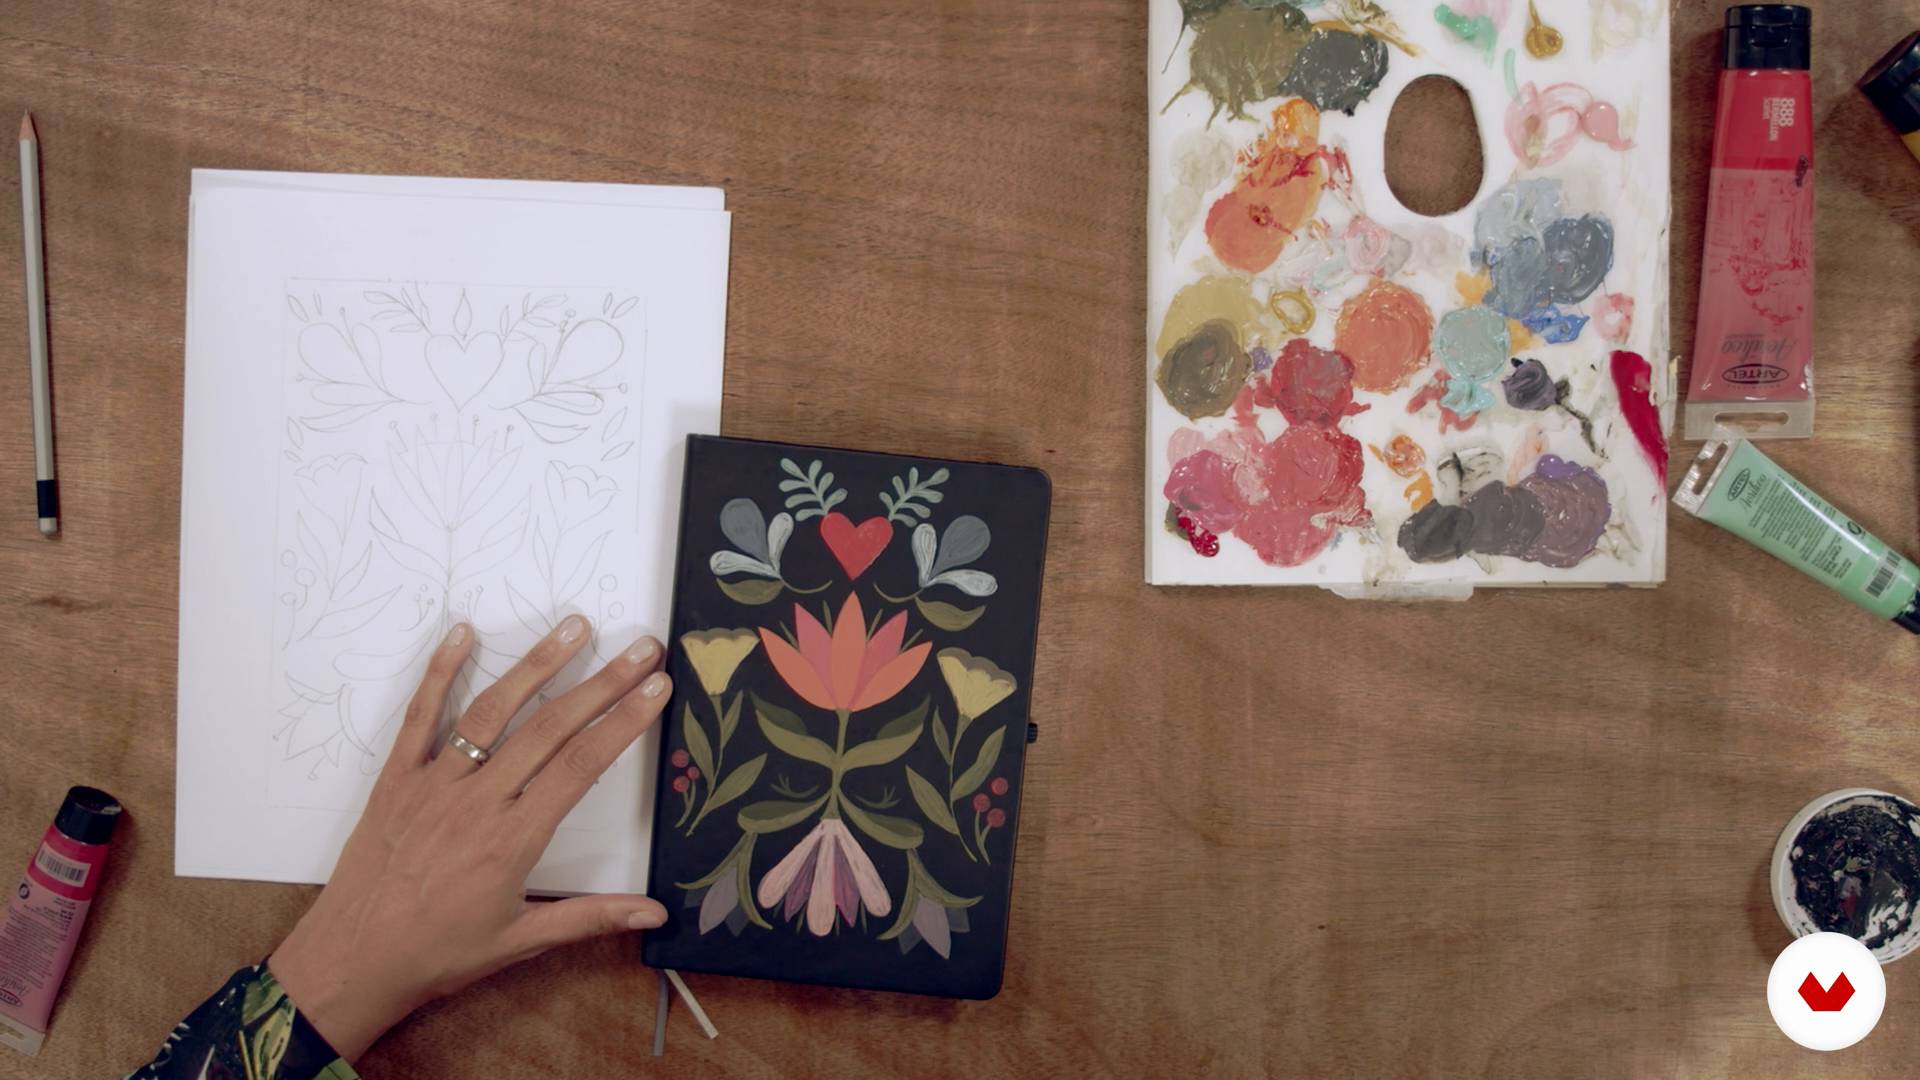
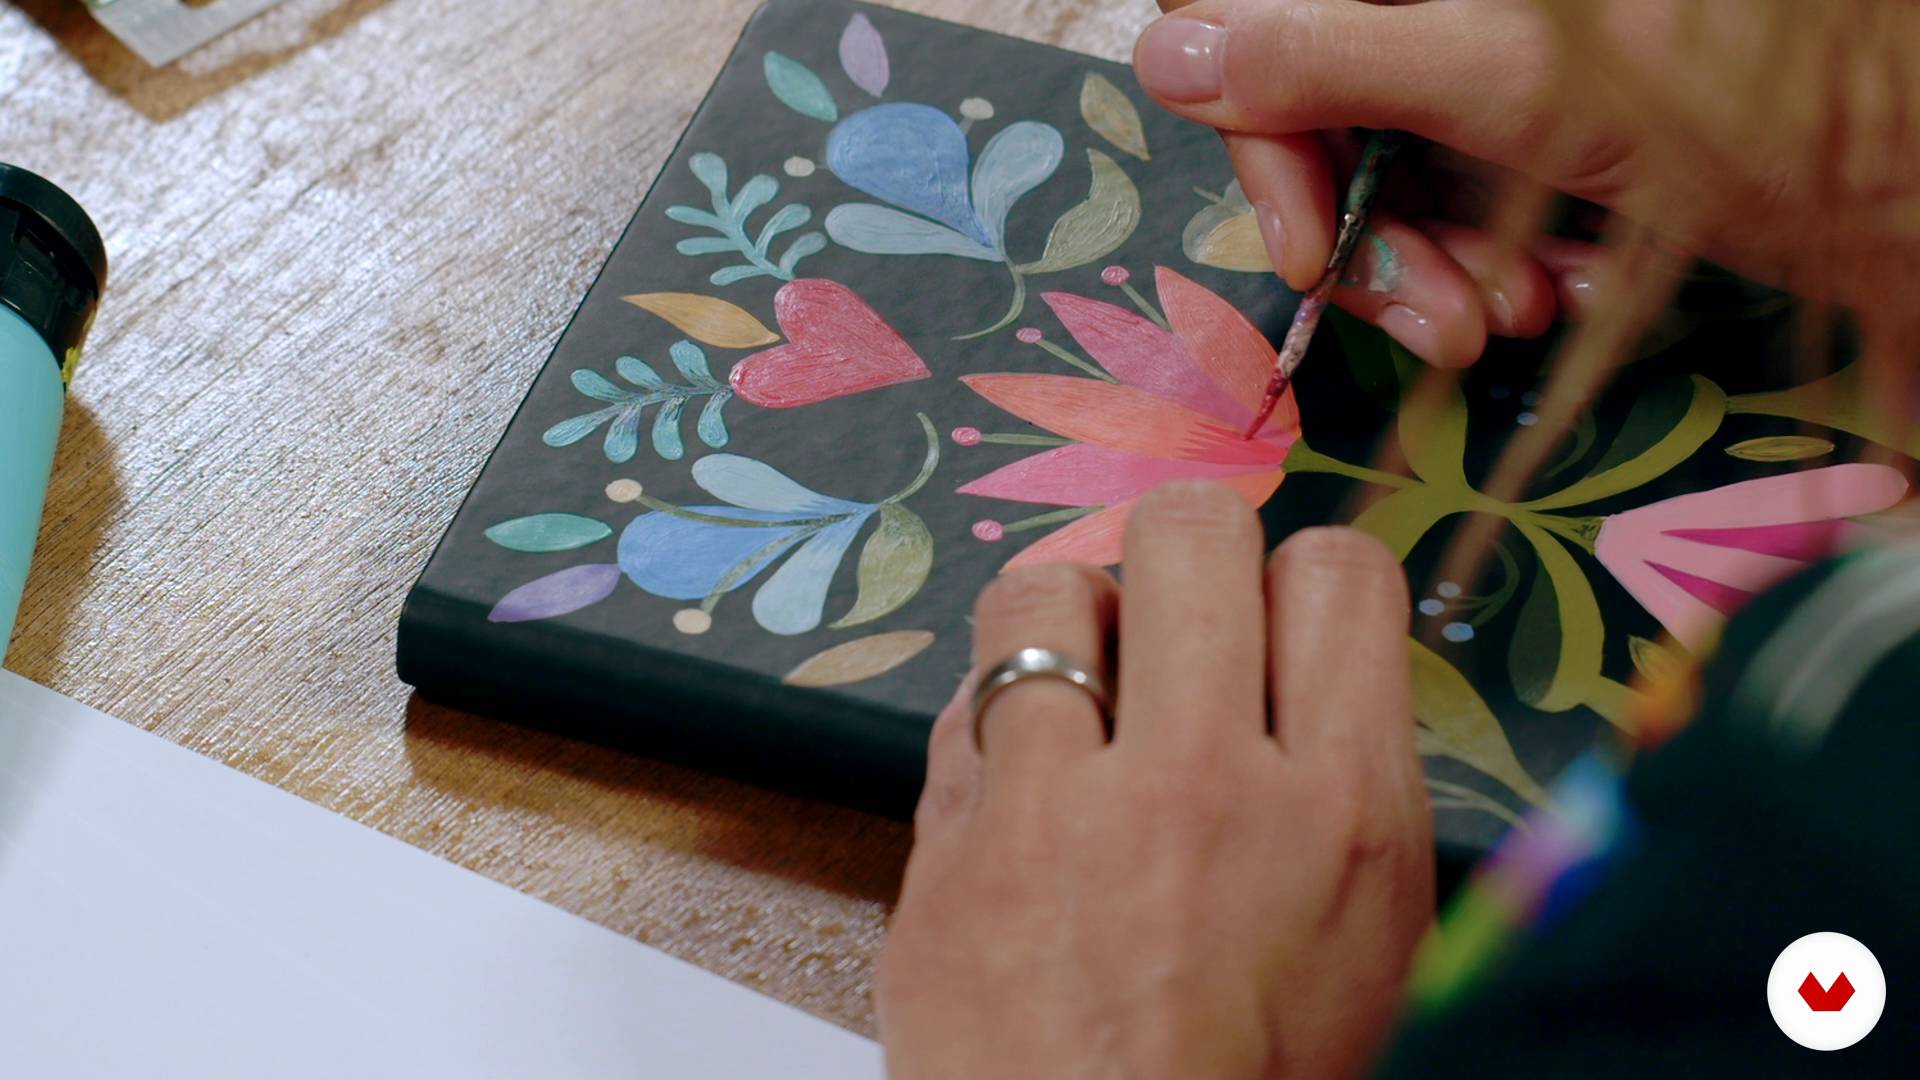
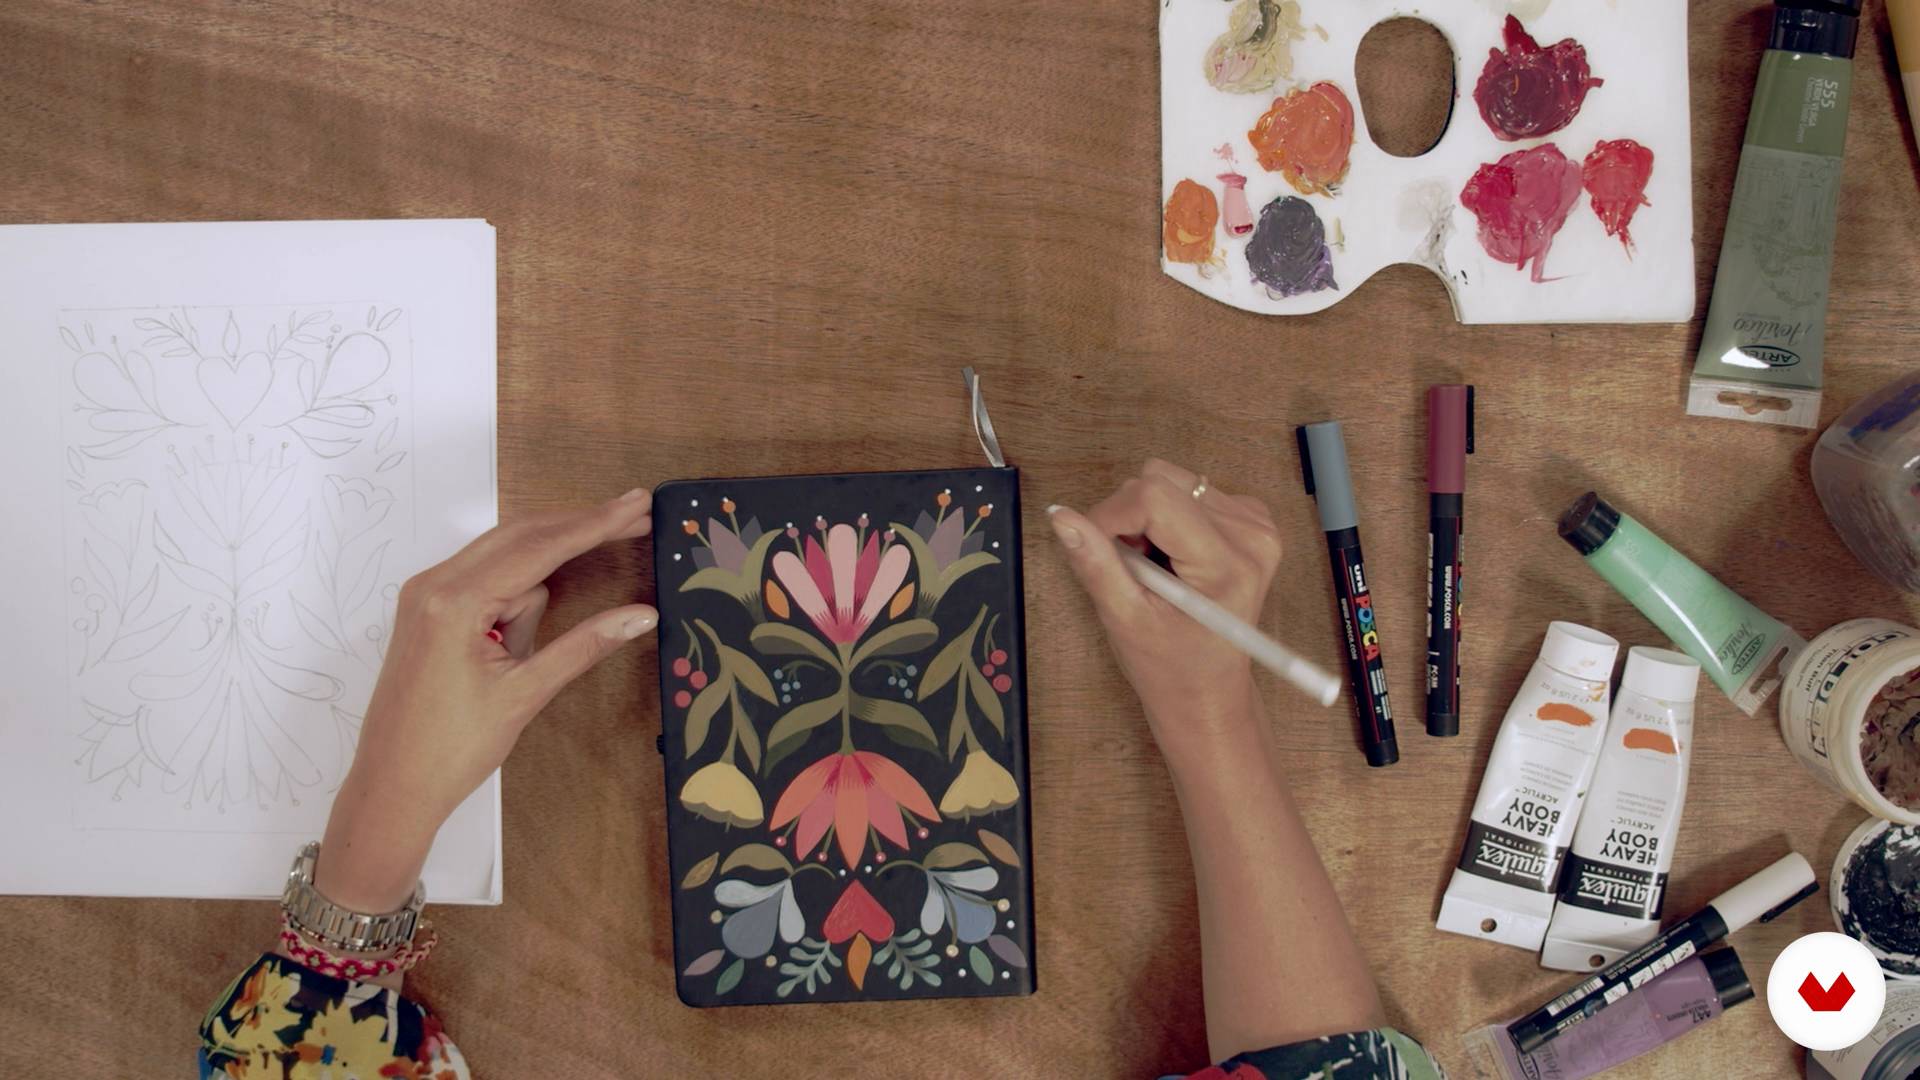
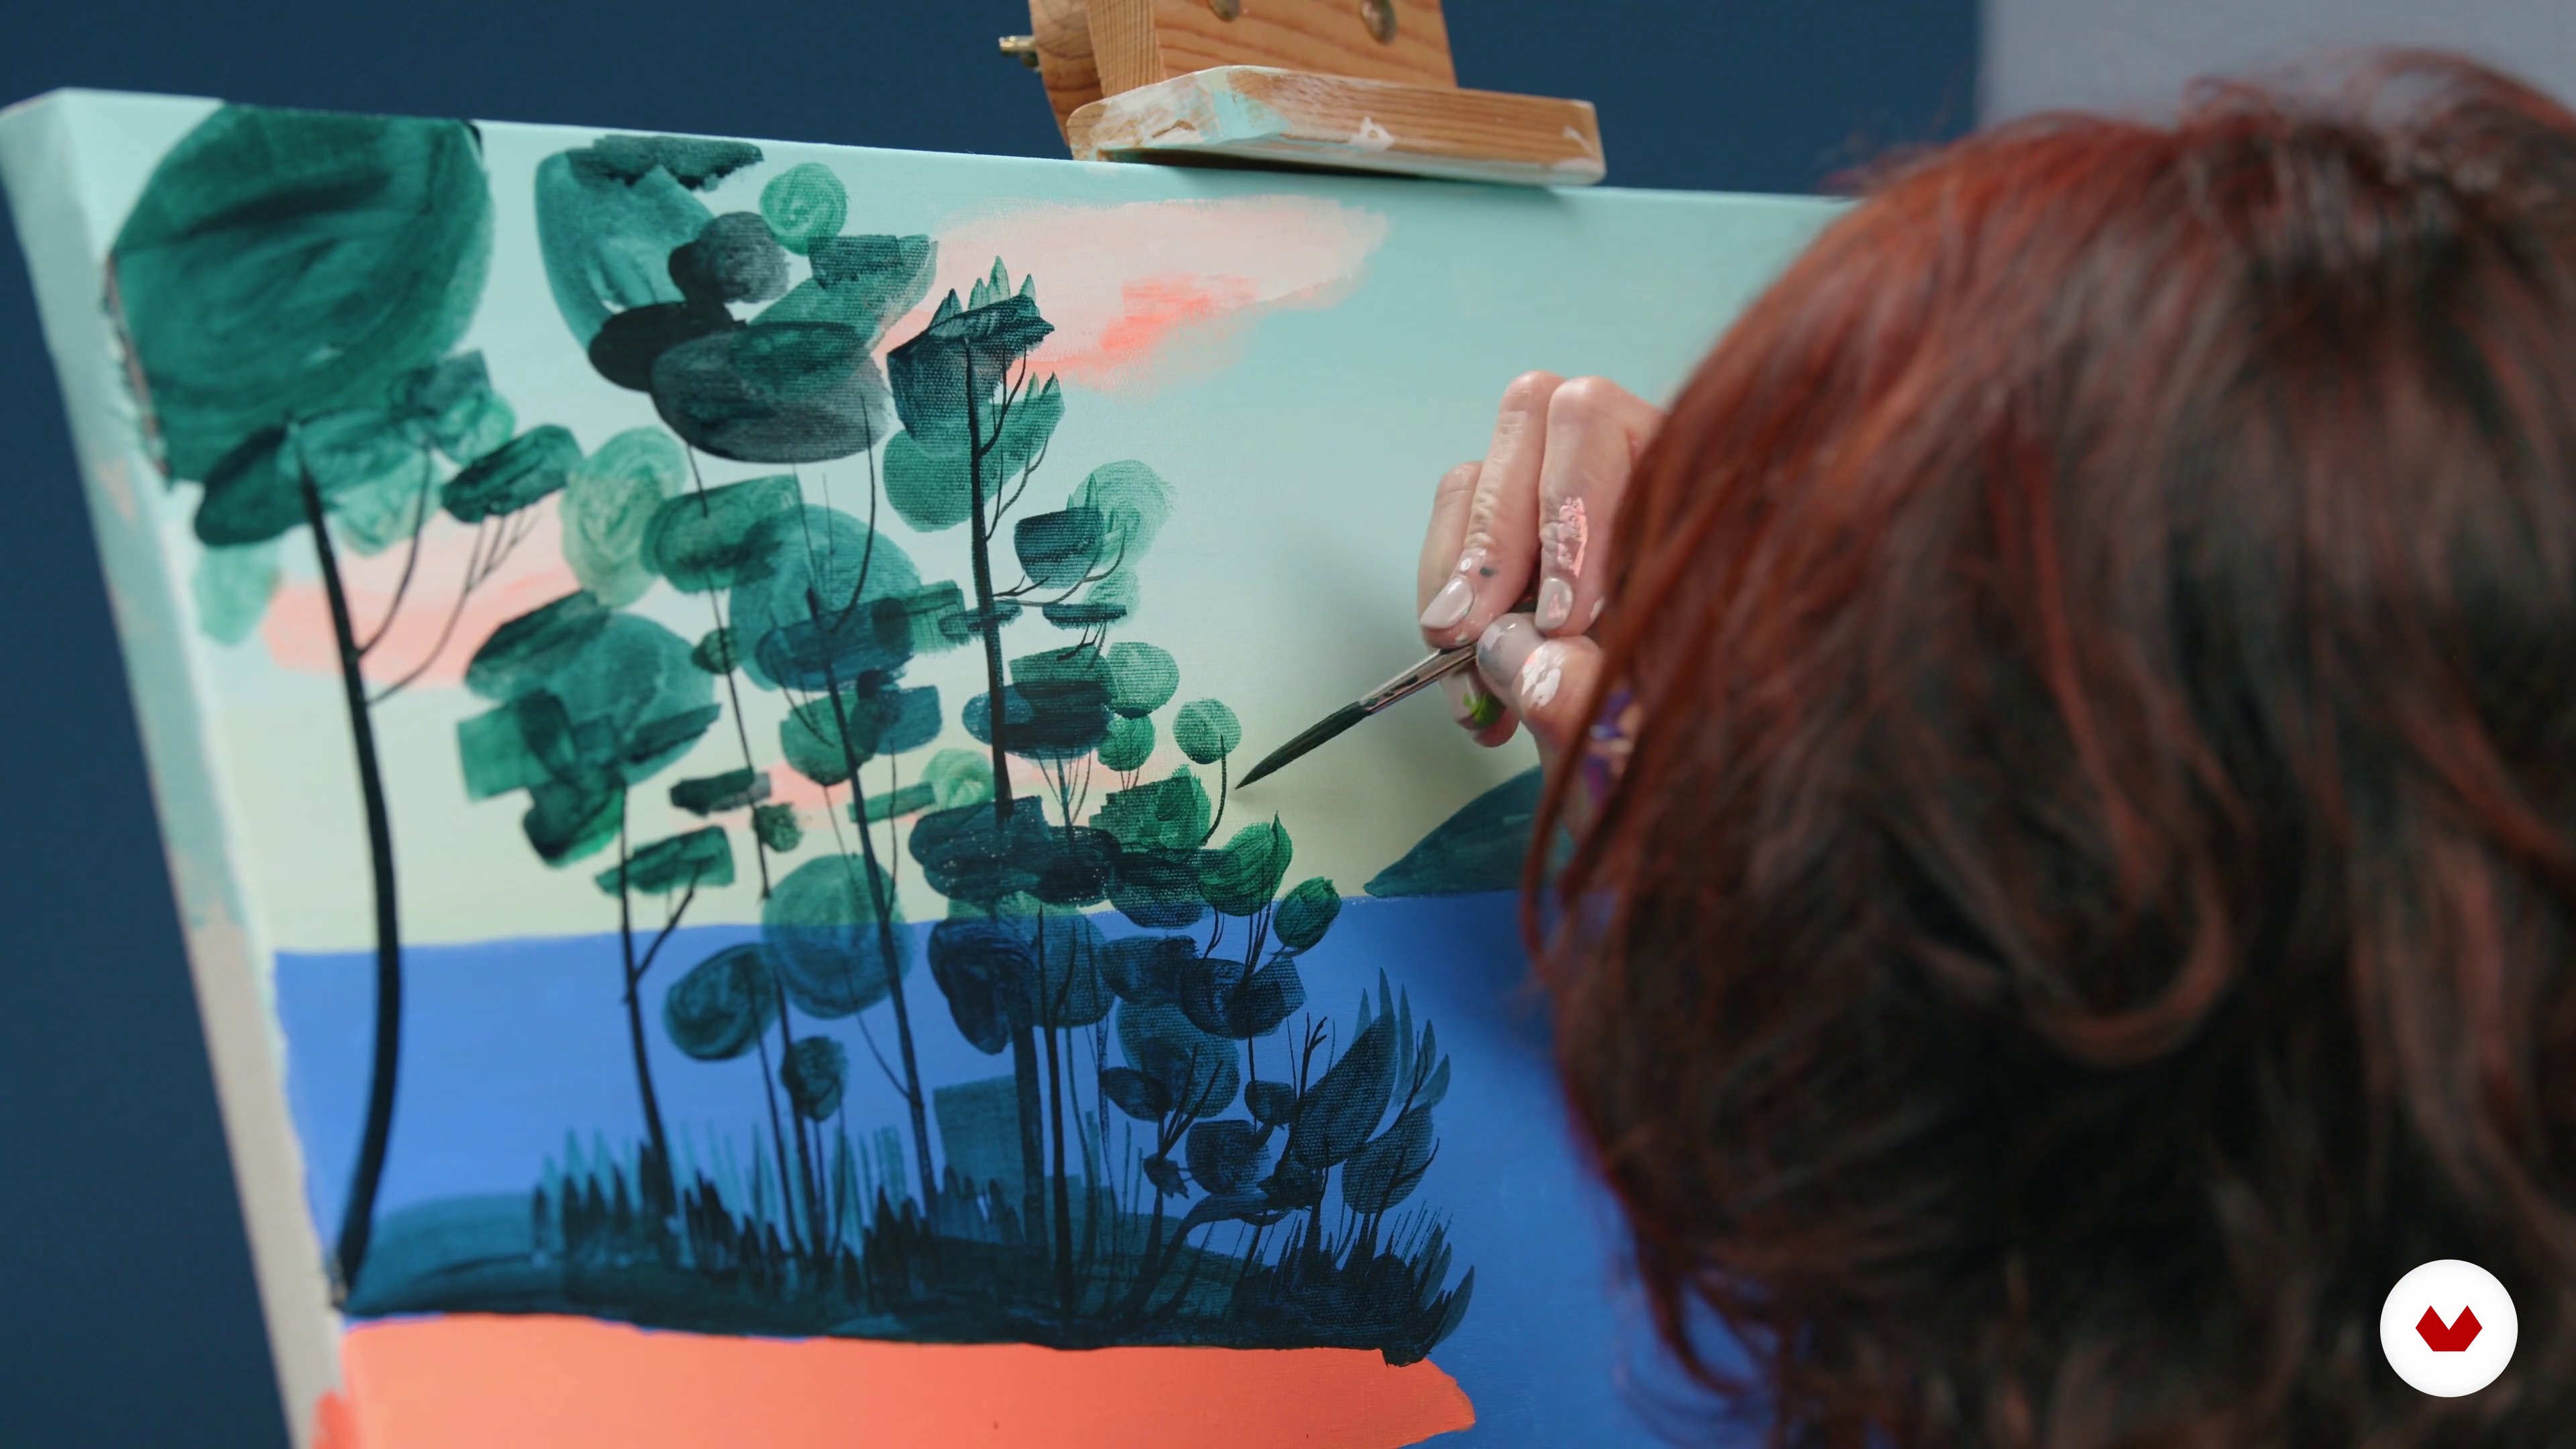
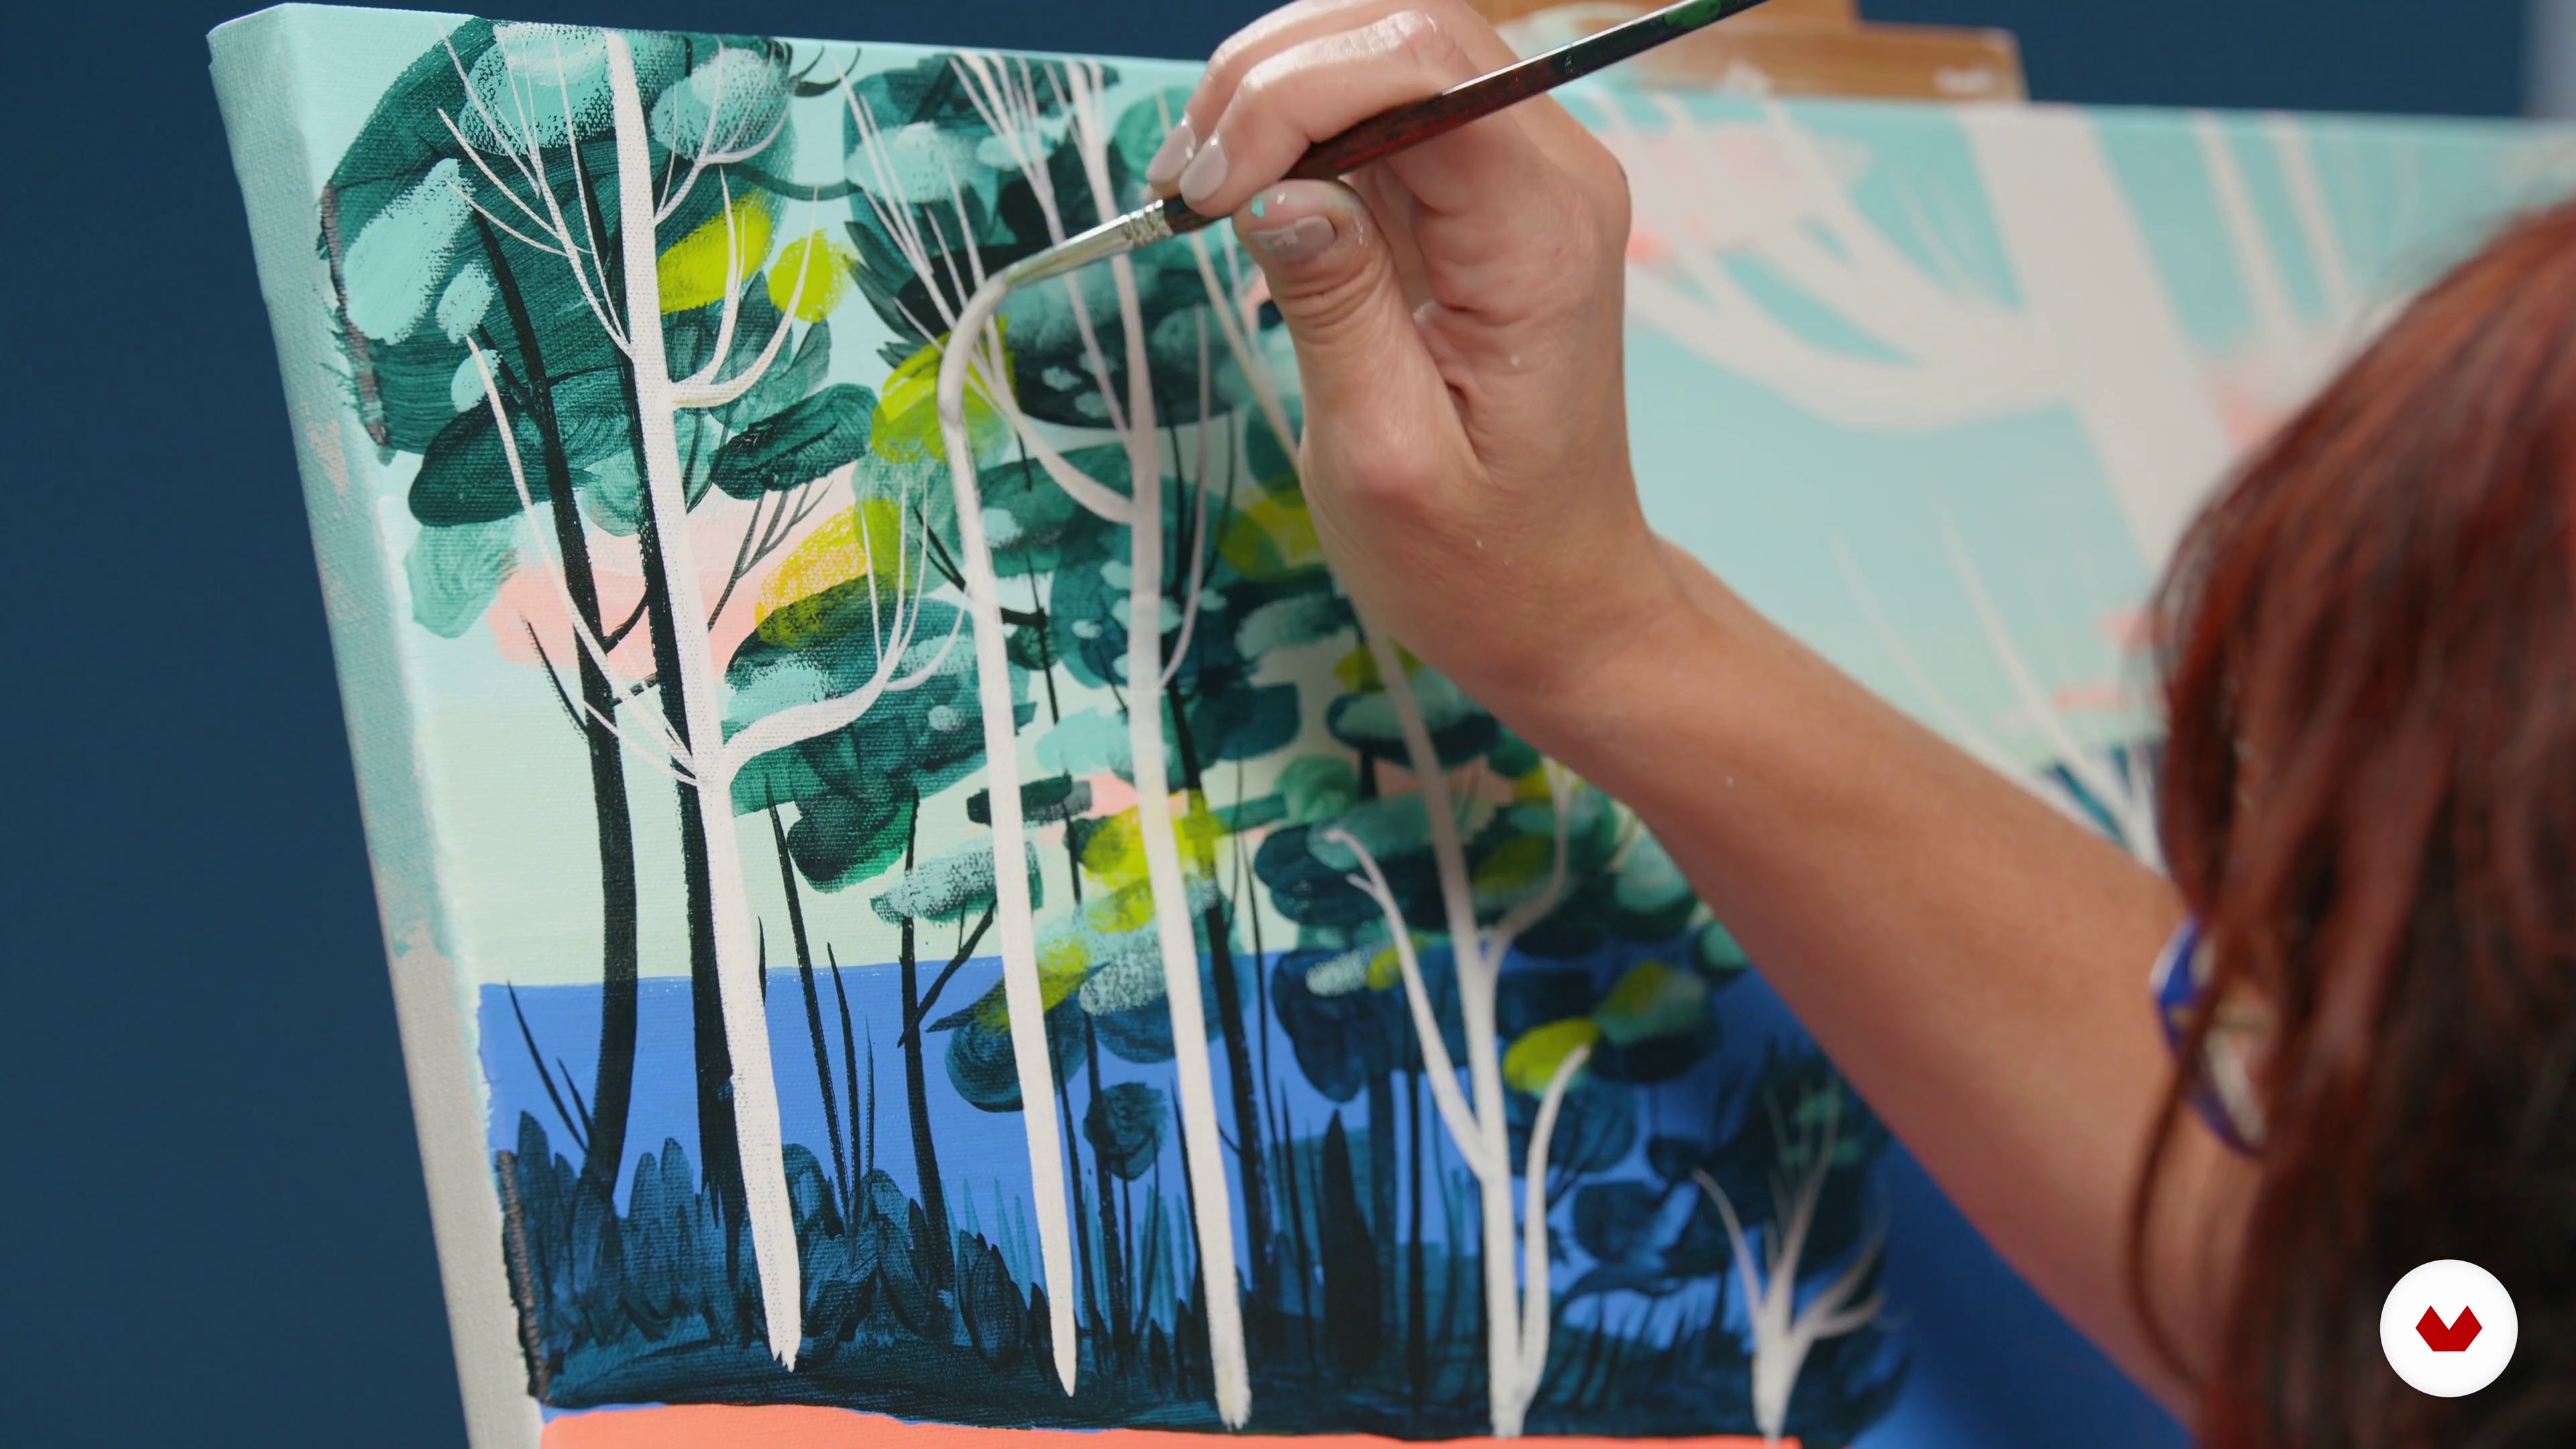
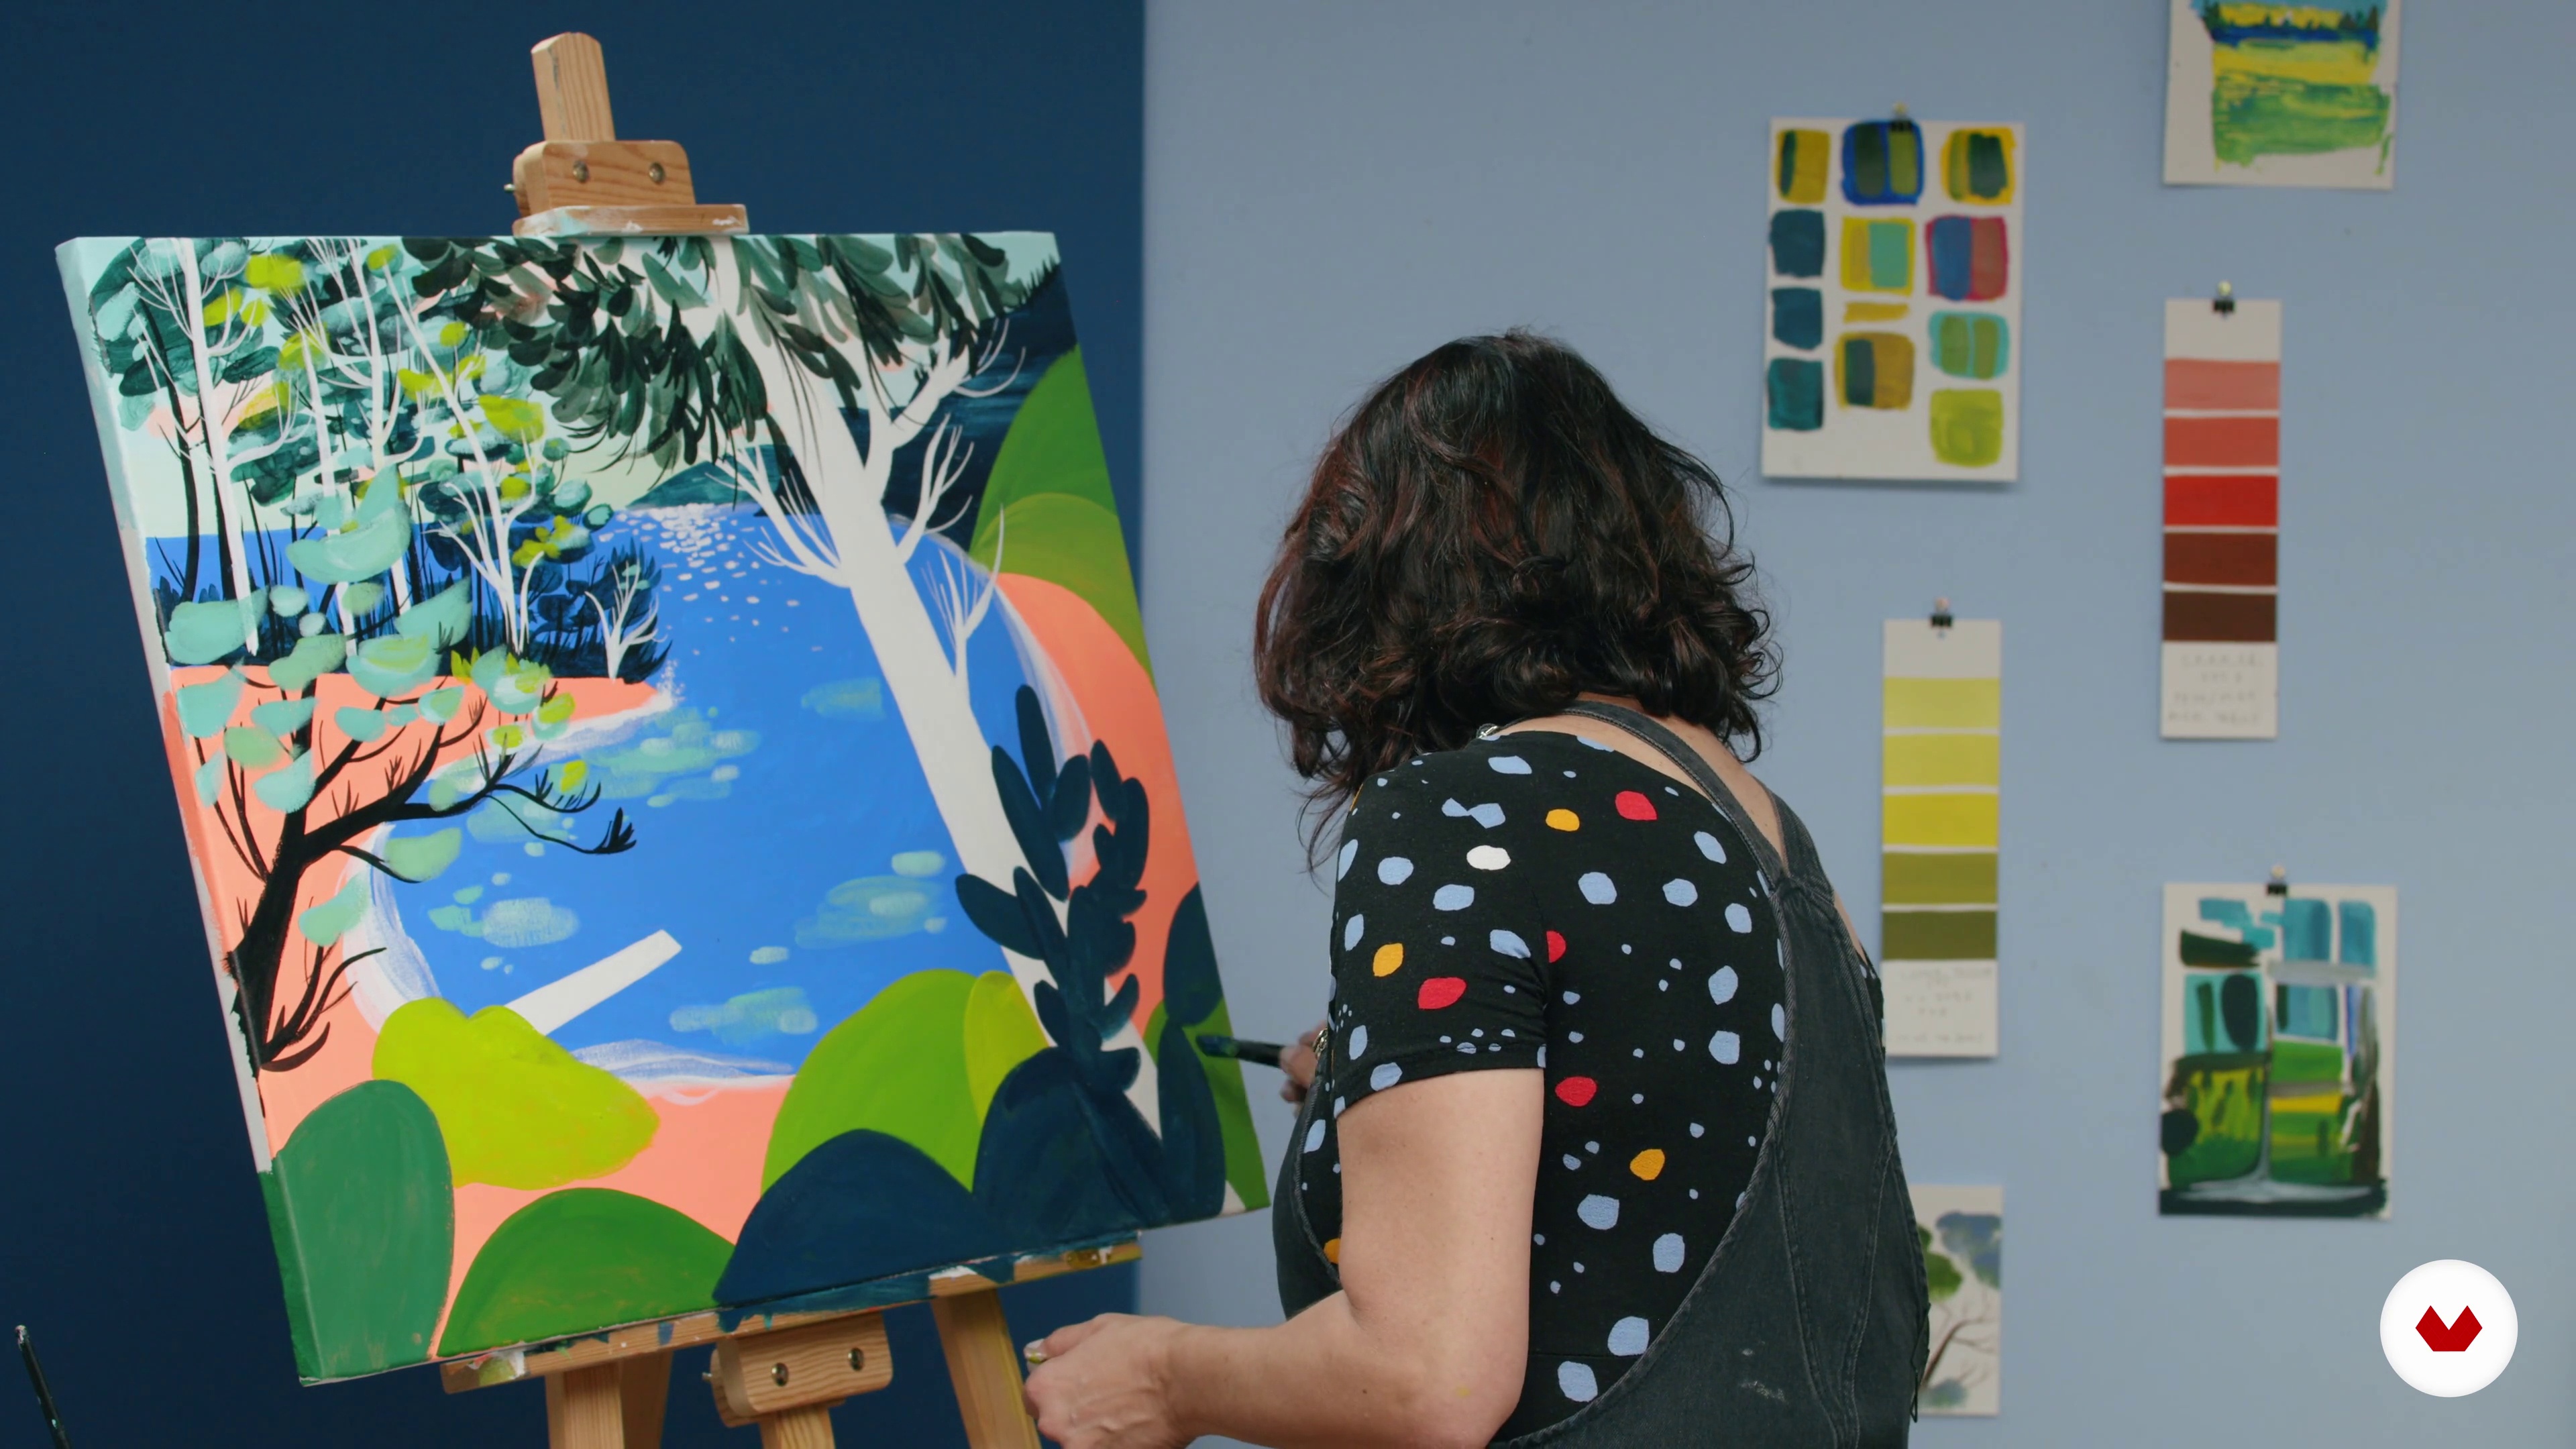
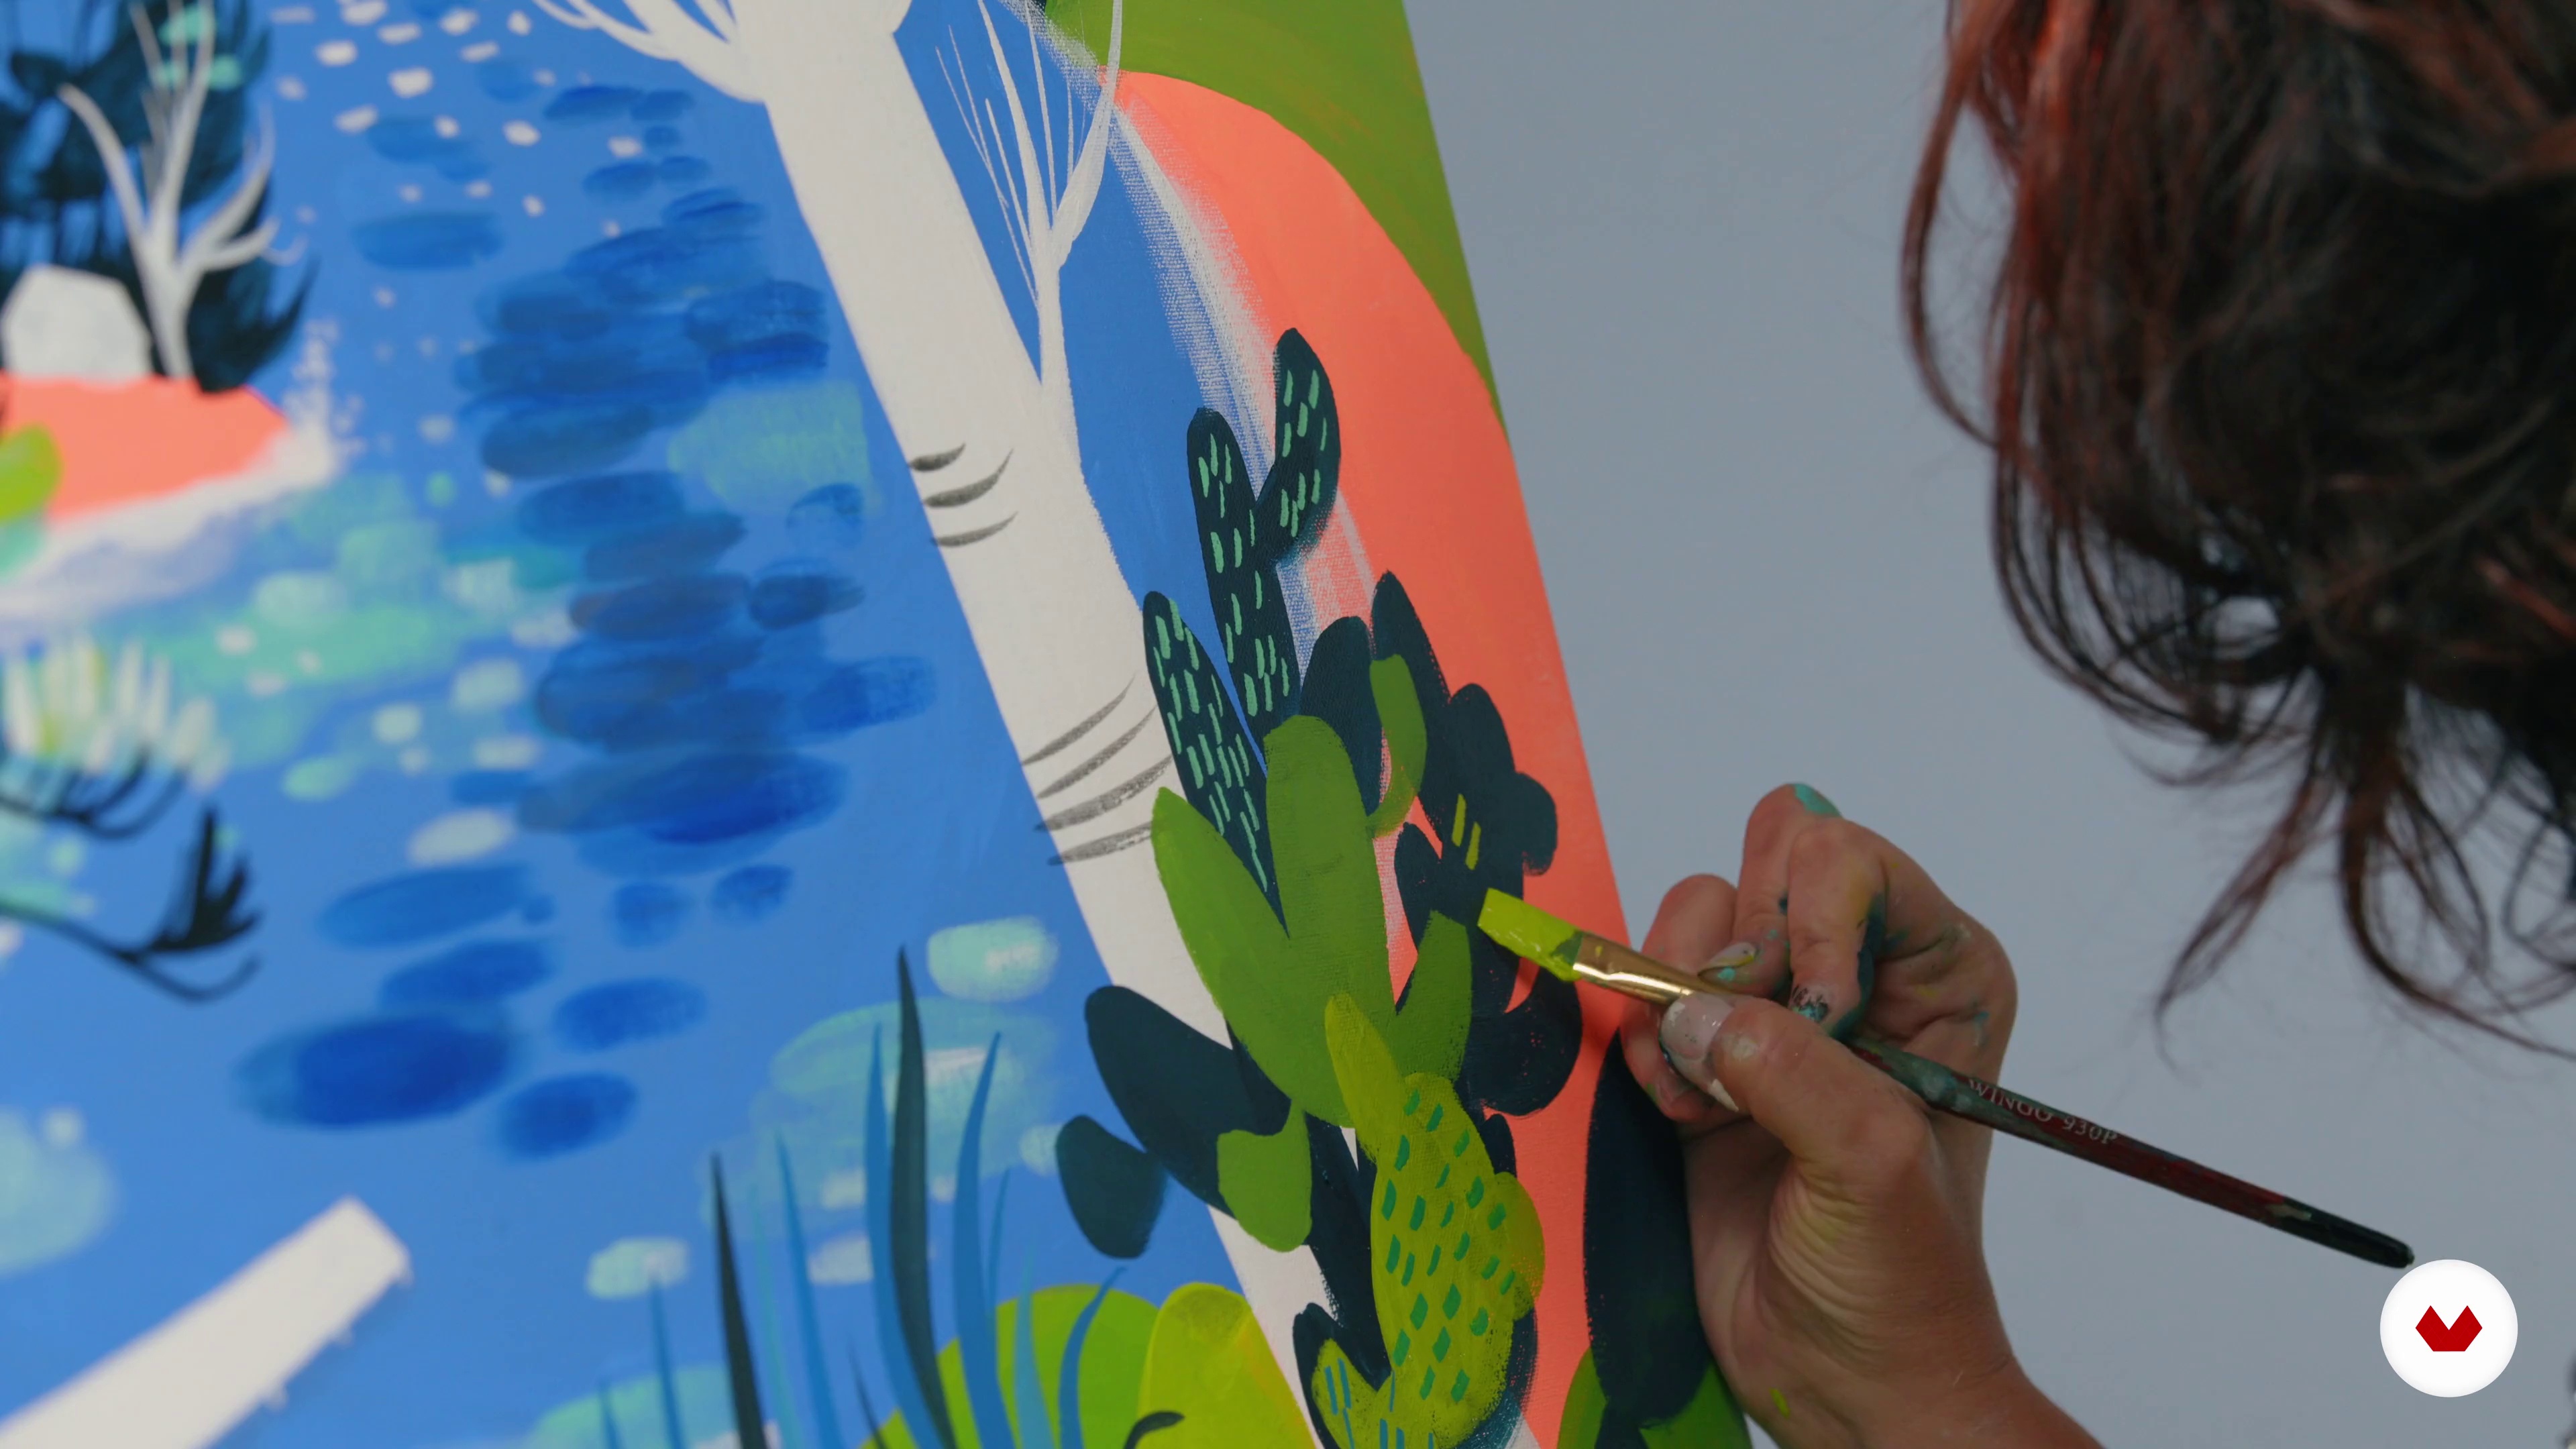
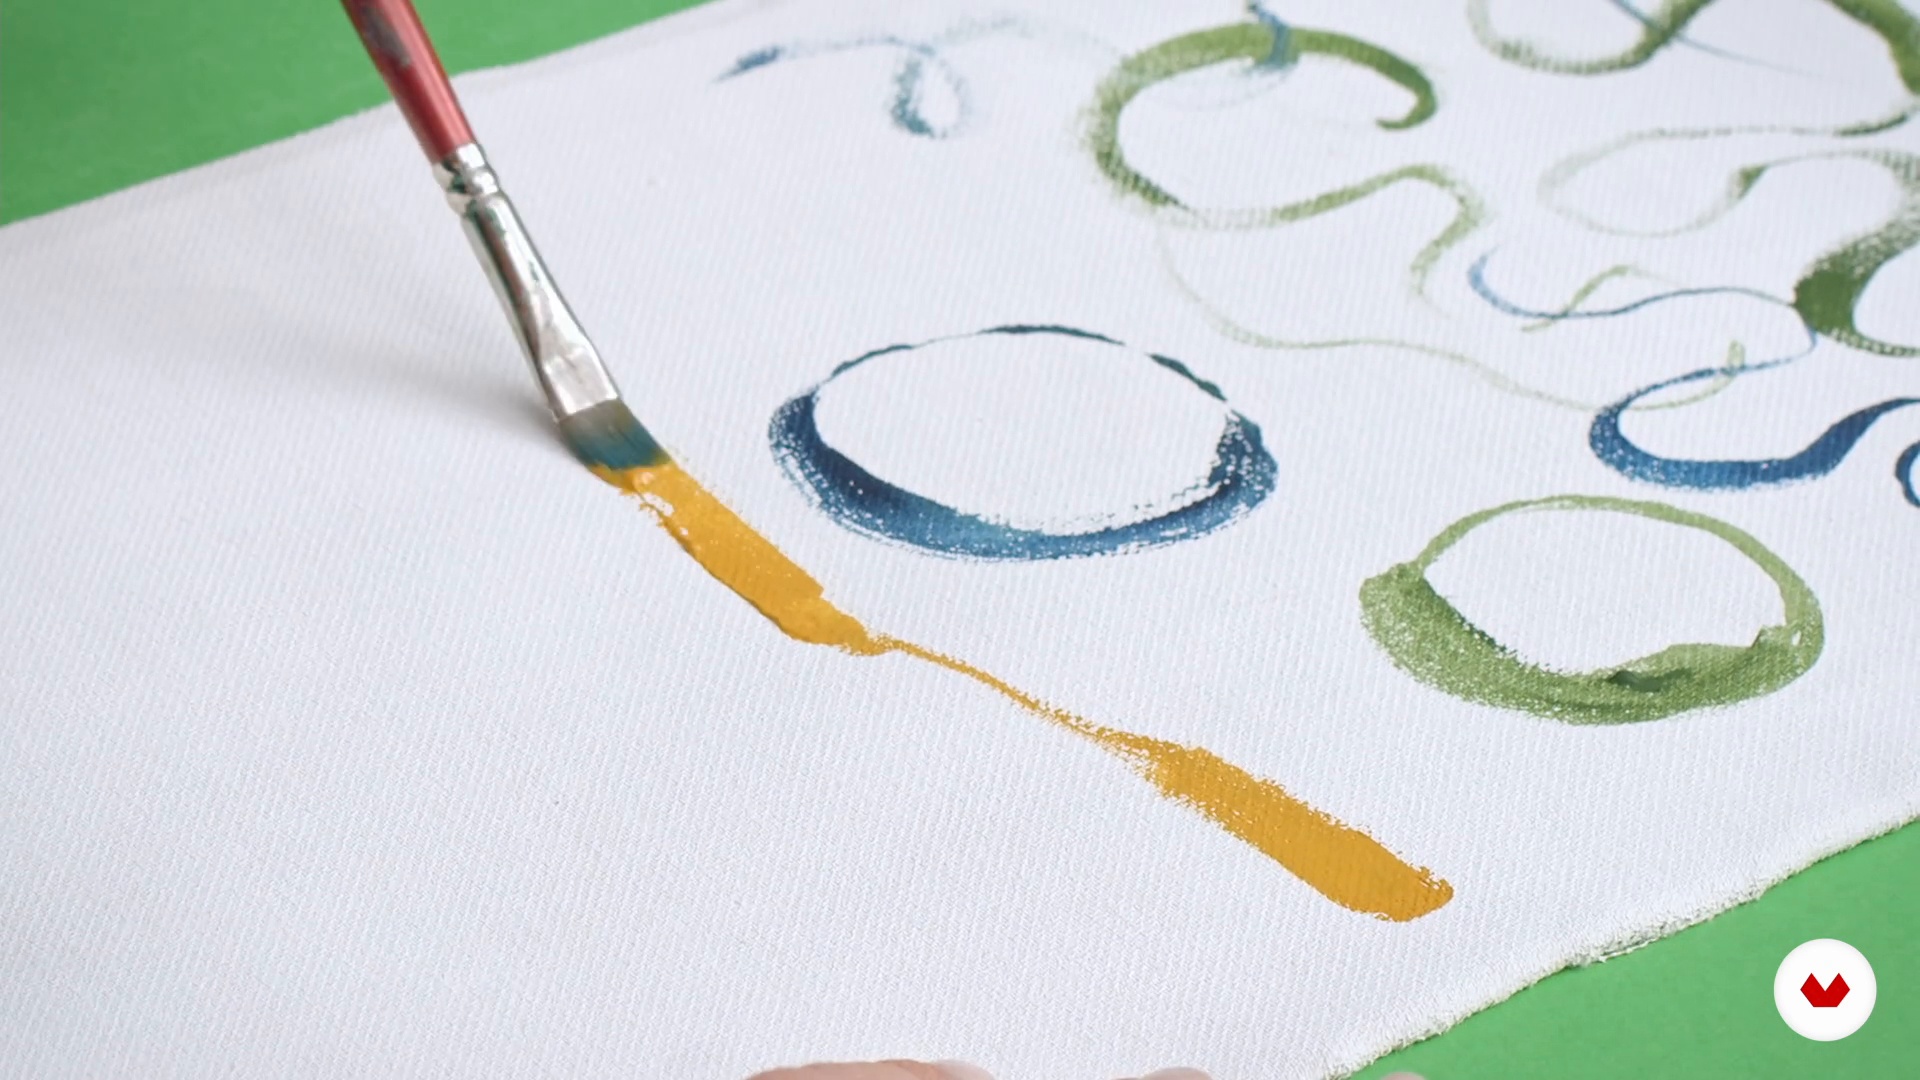
Explore floral illustration techniques with acrylics, mastering organic shapes, textures, and vibrant and expressive patterns.
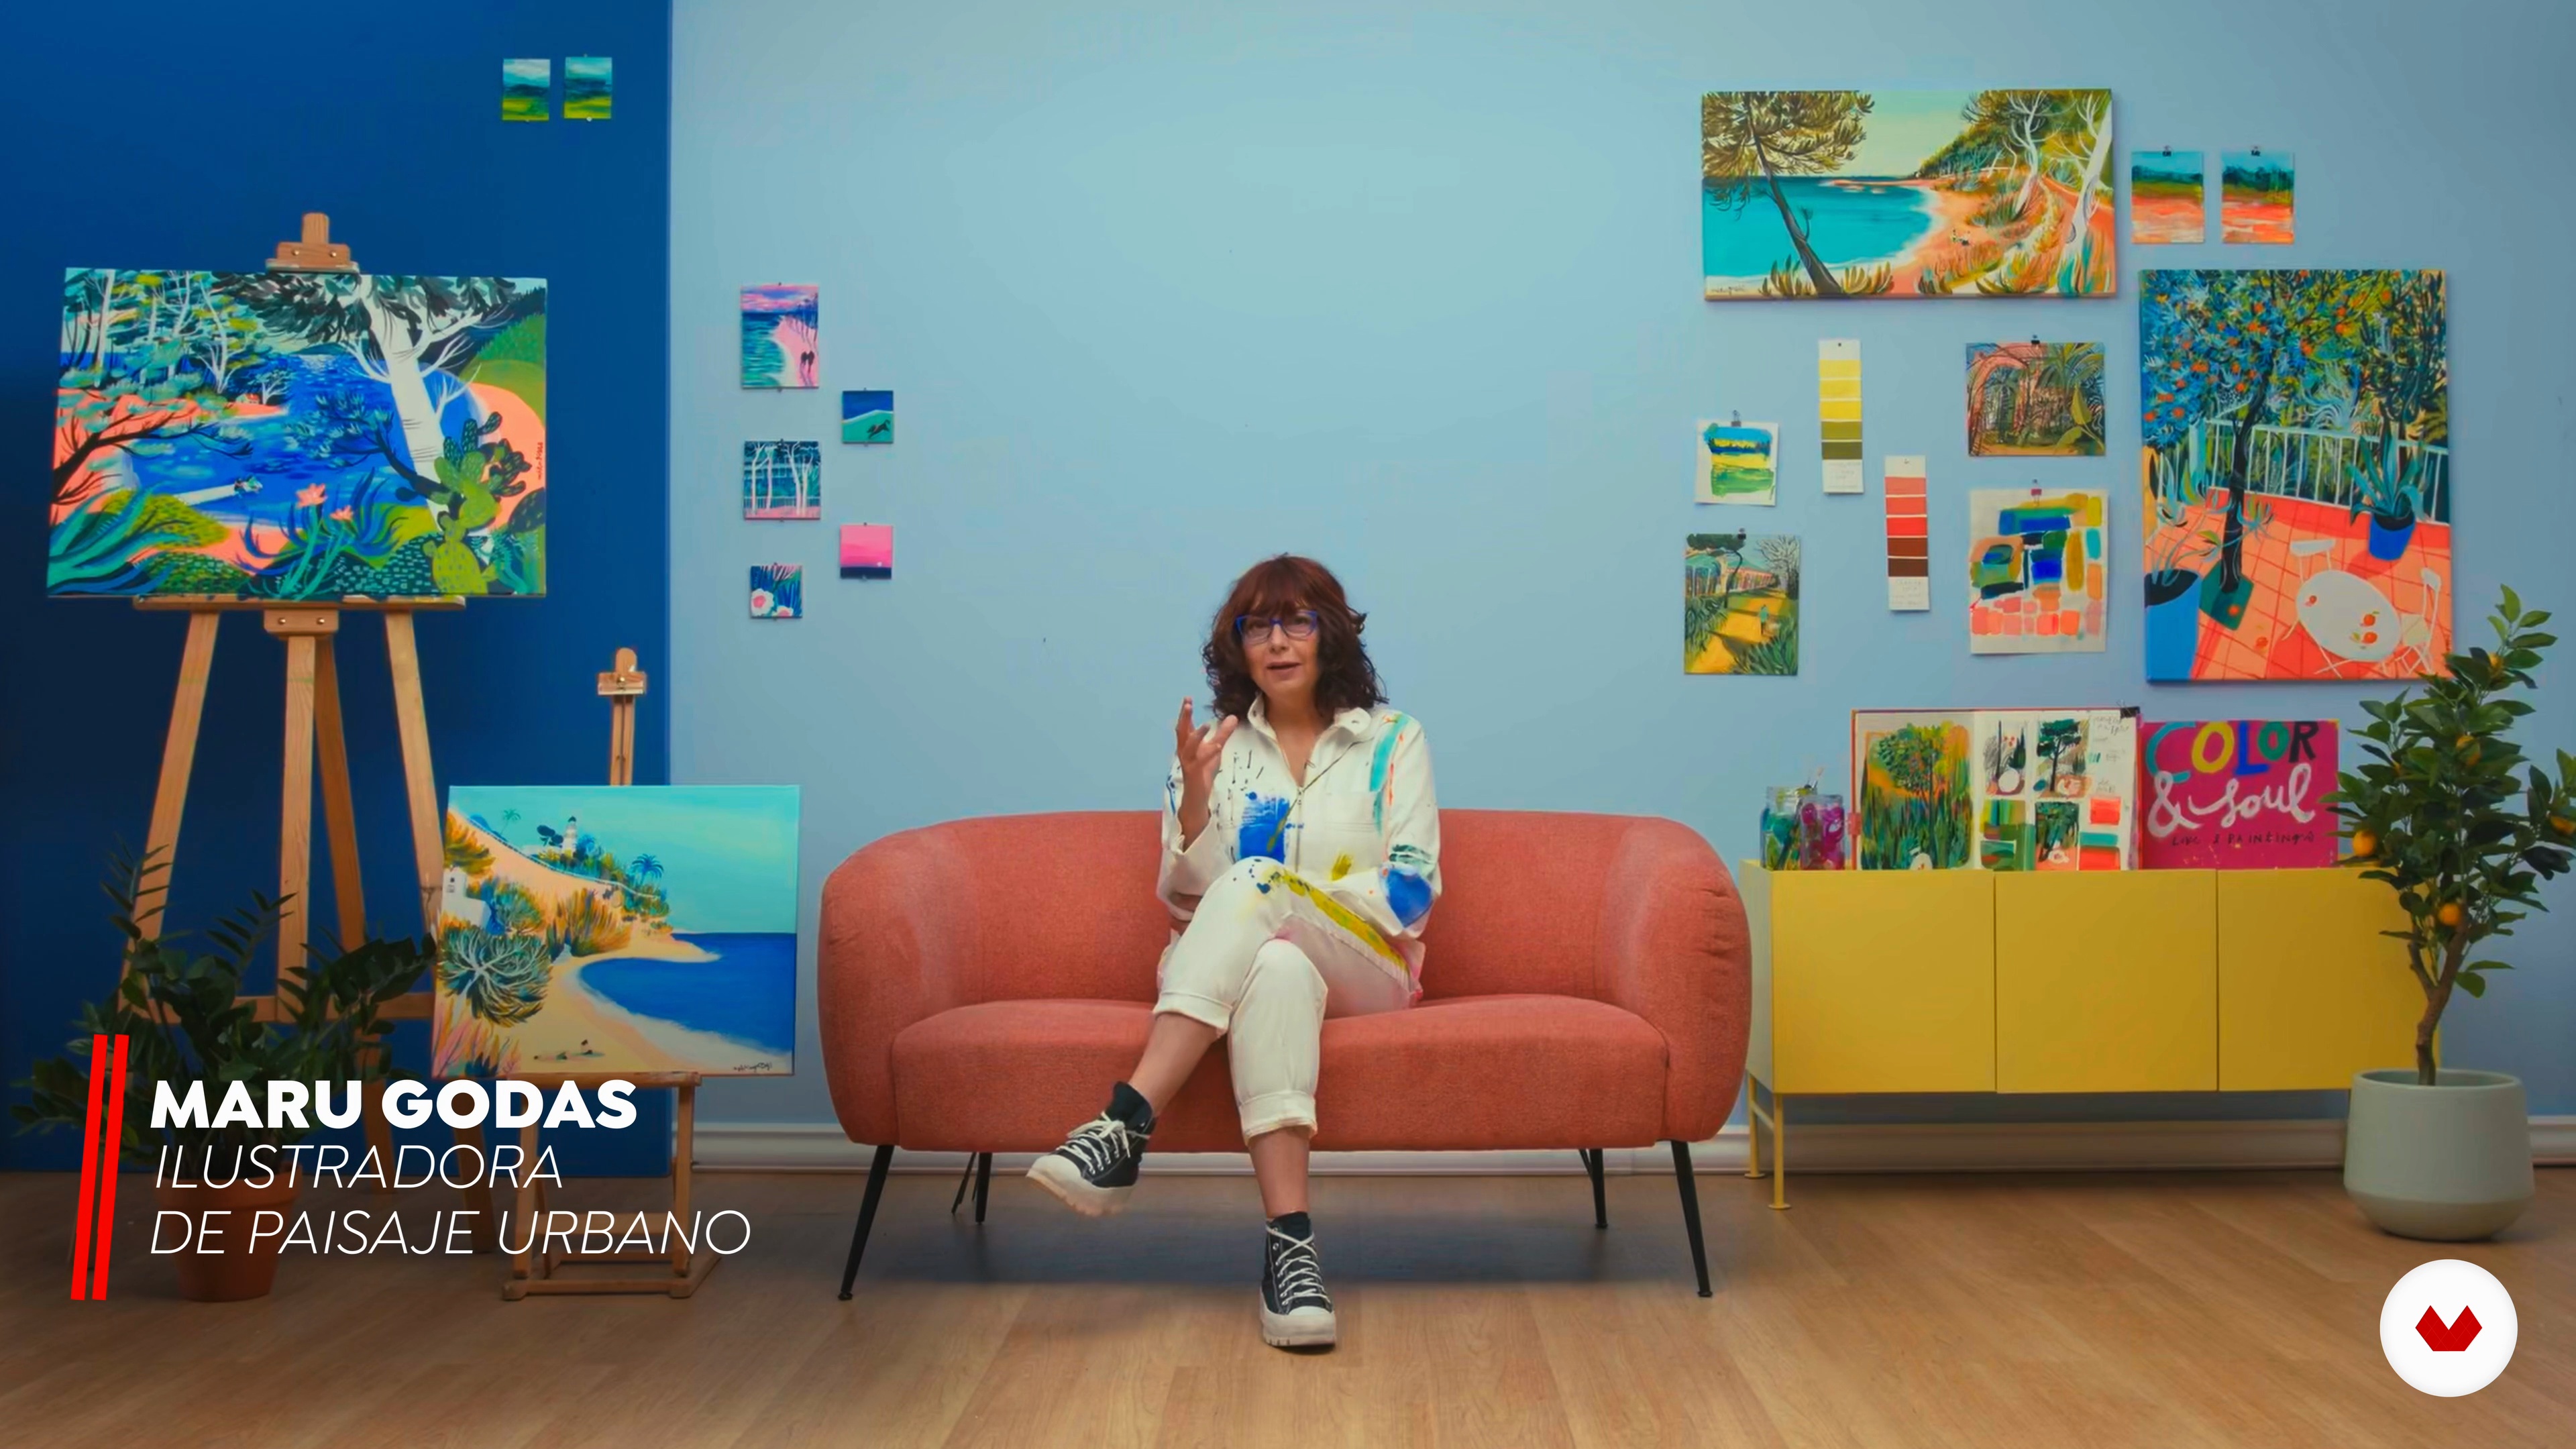
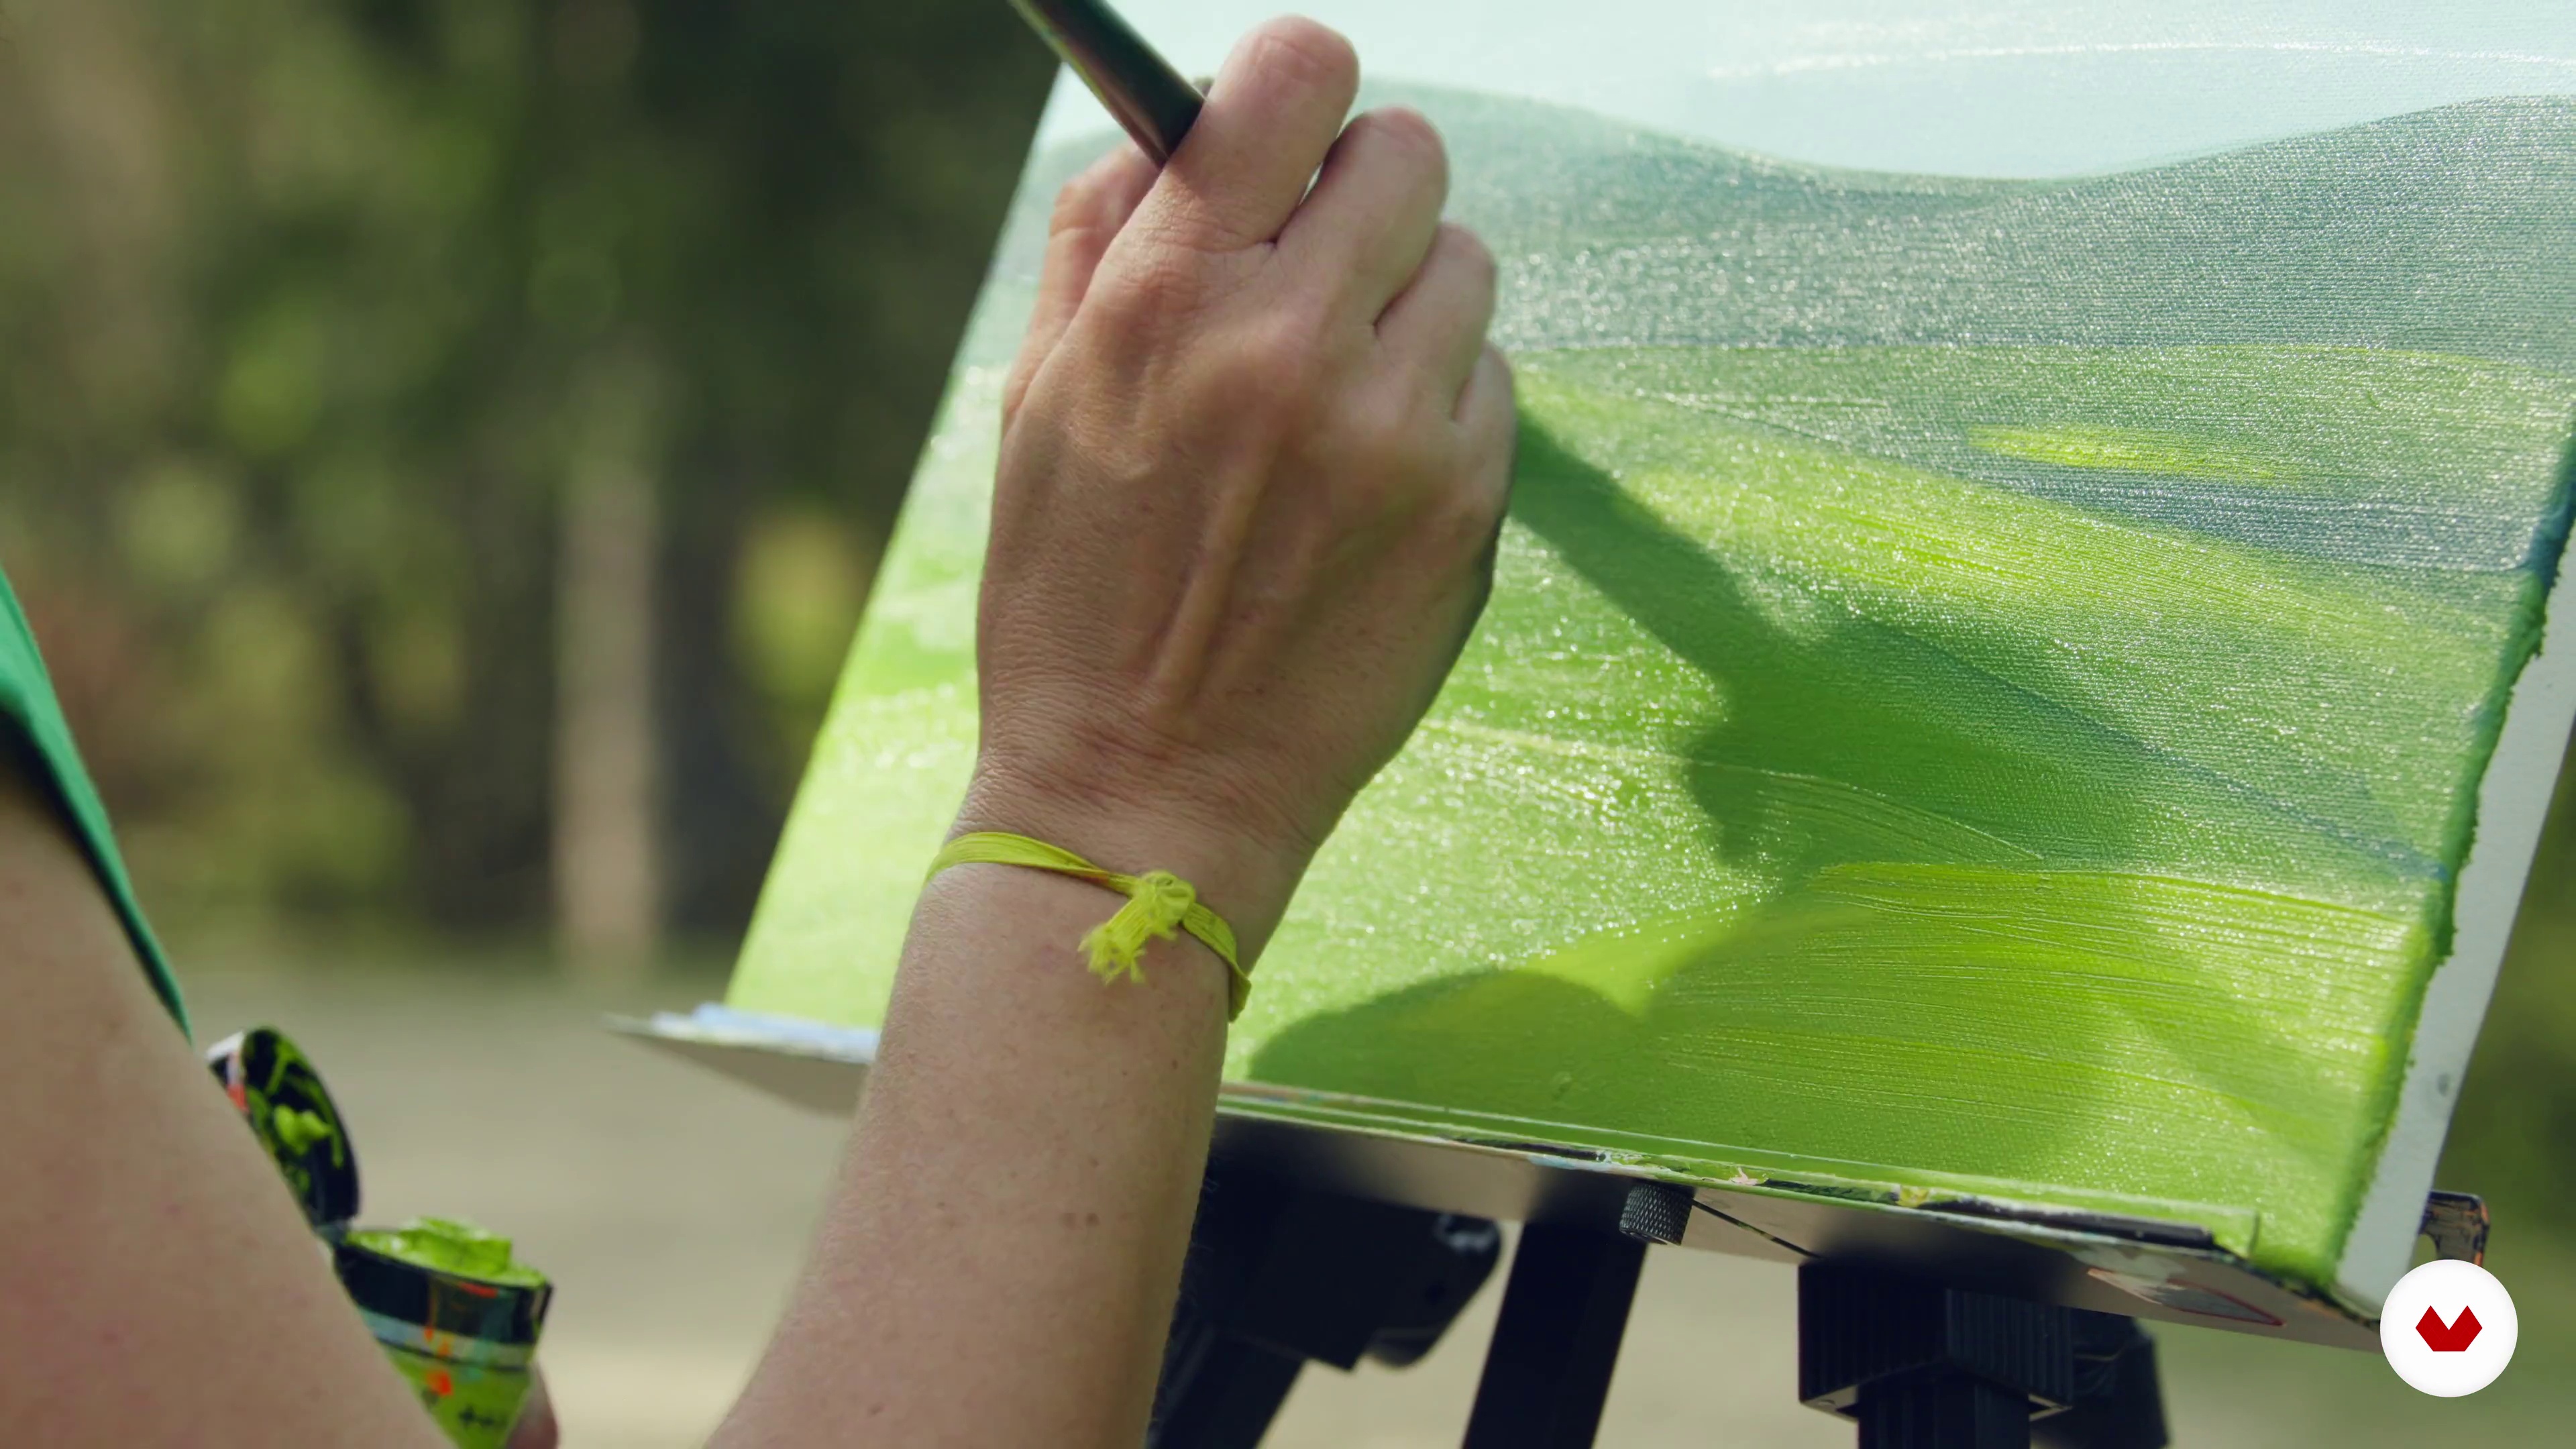
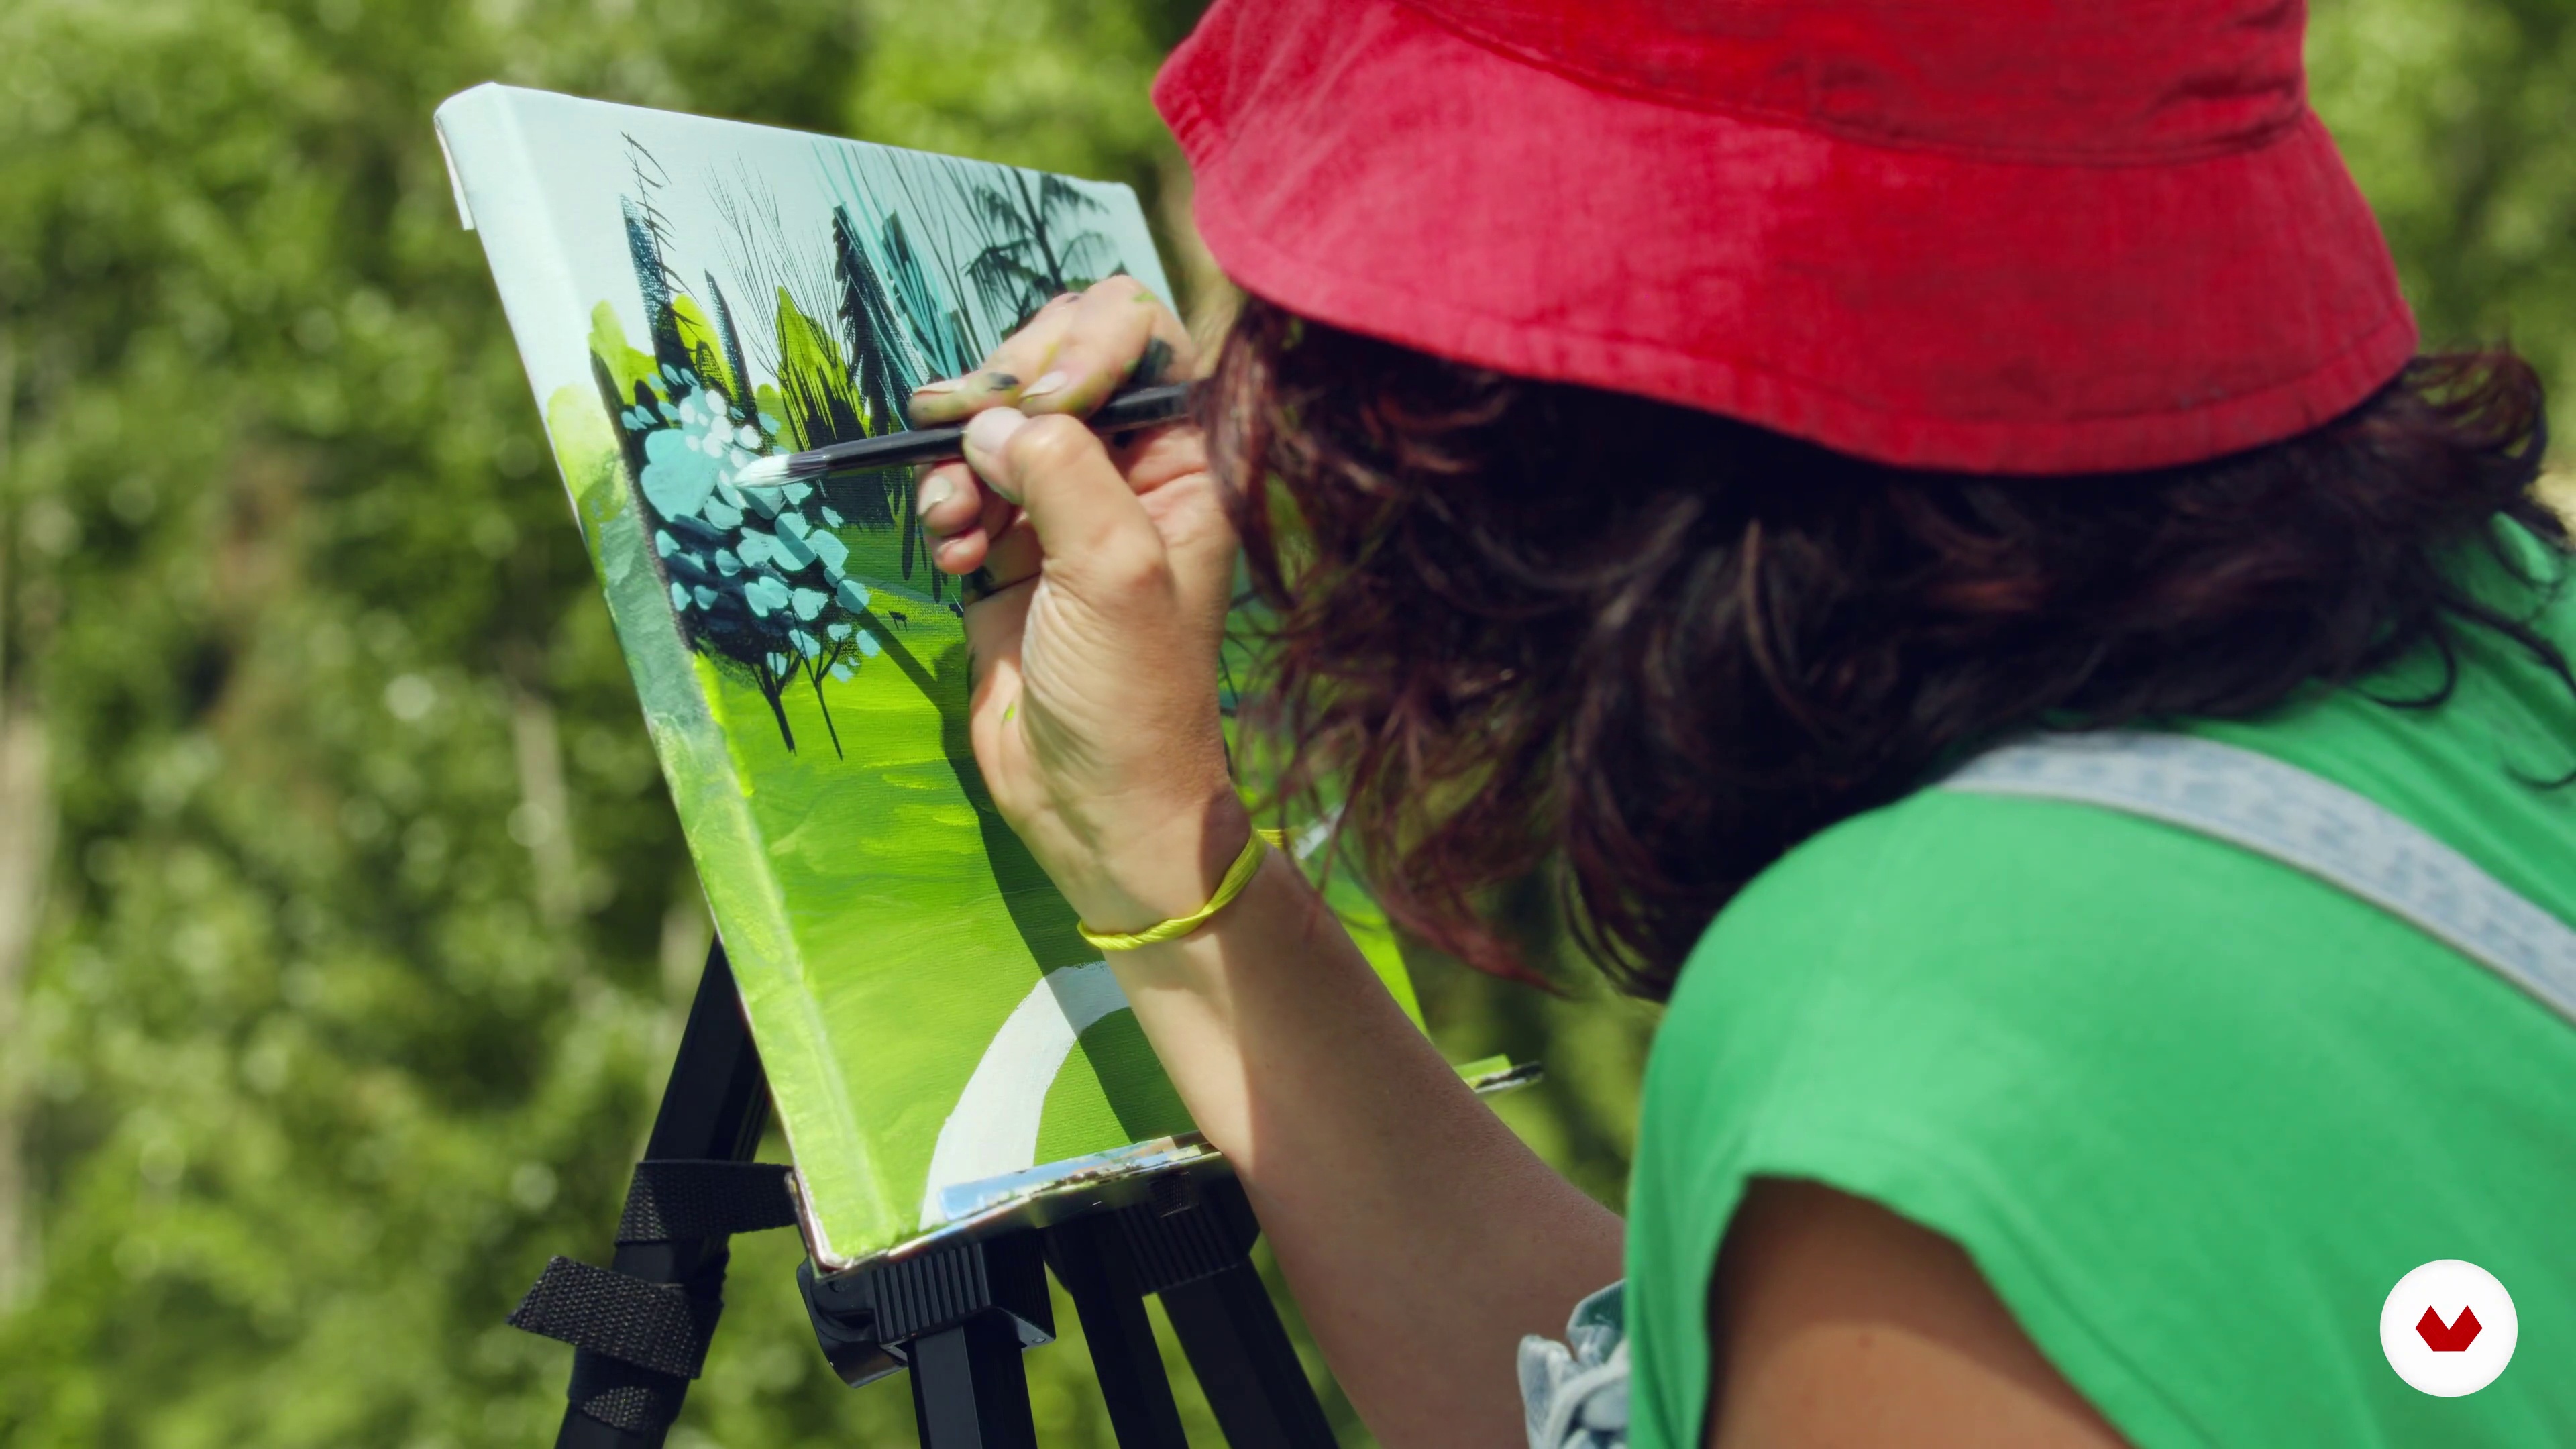
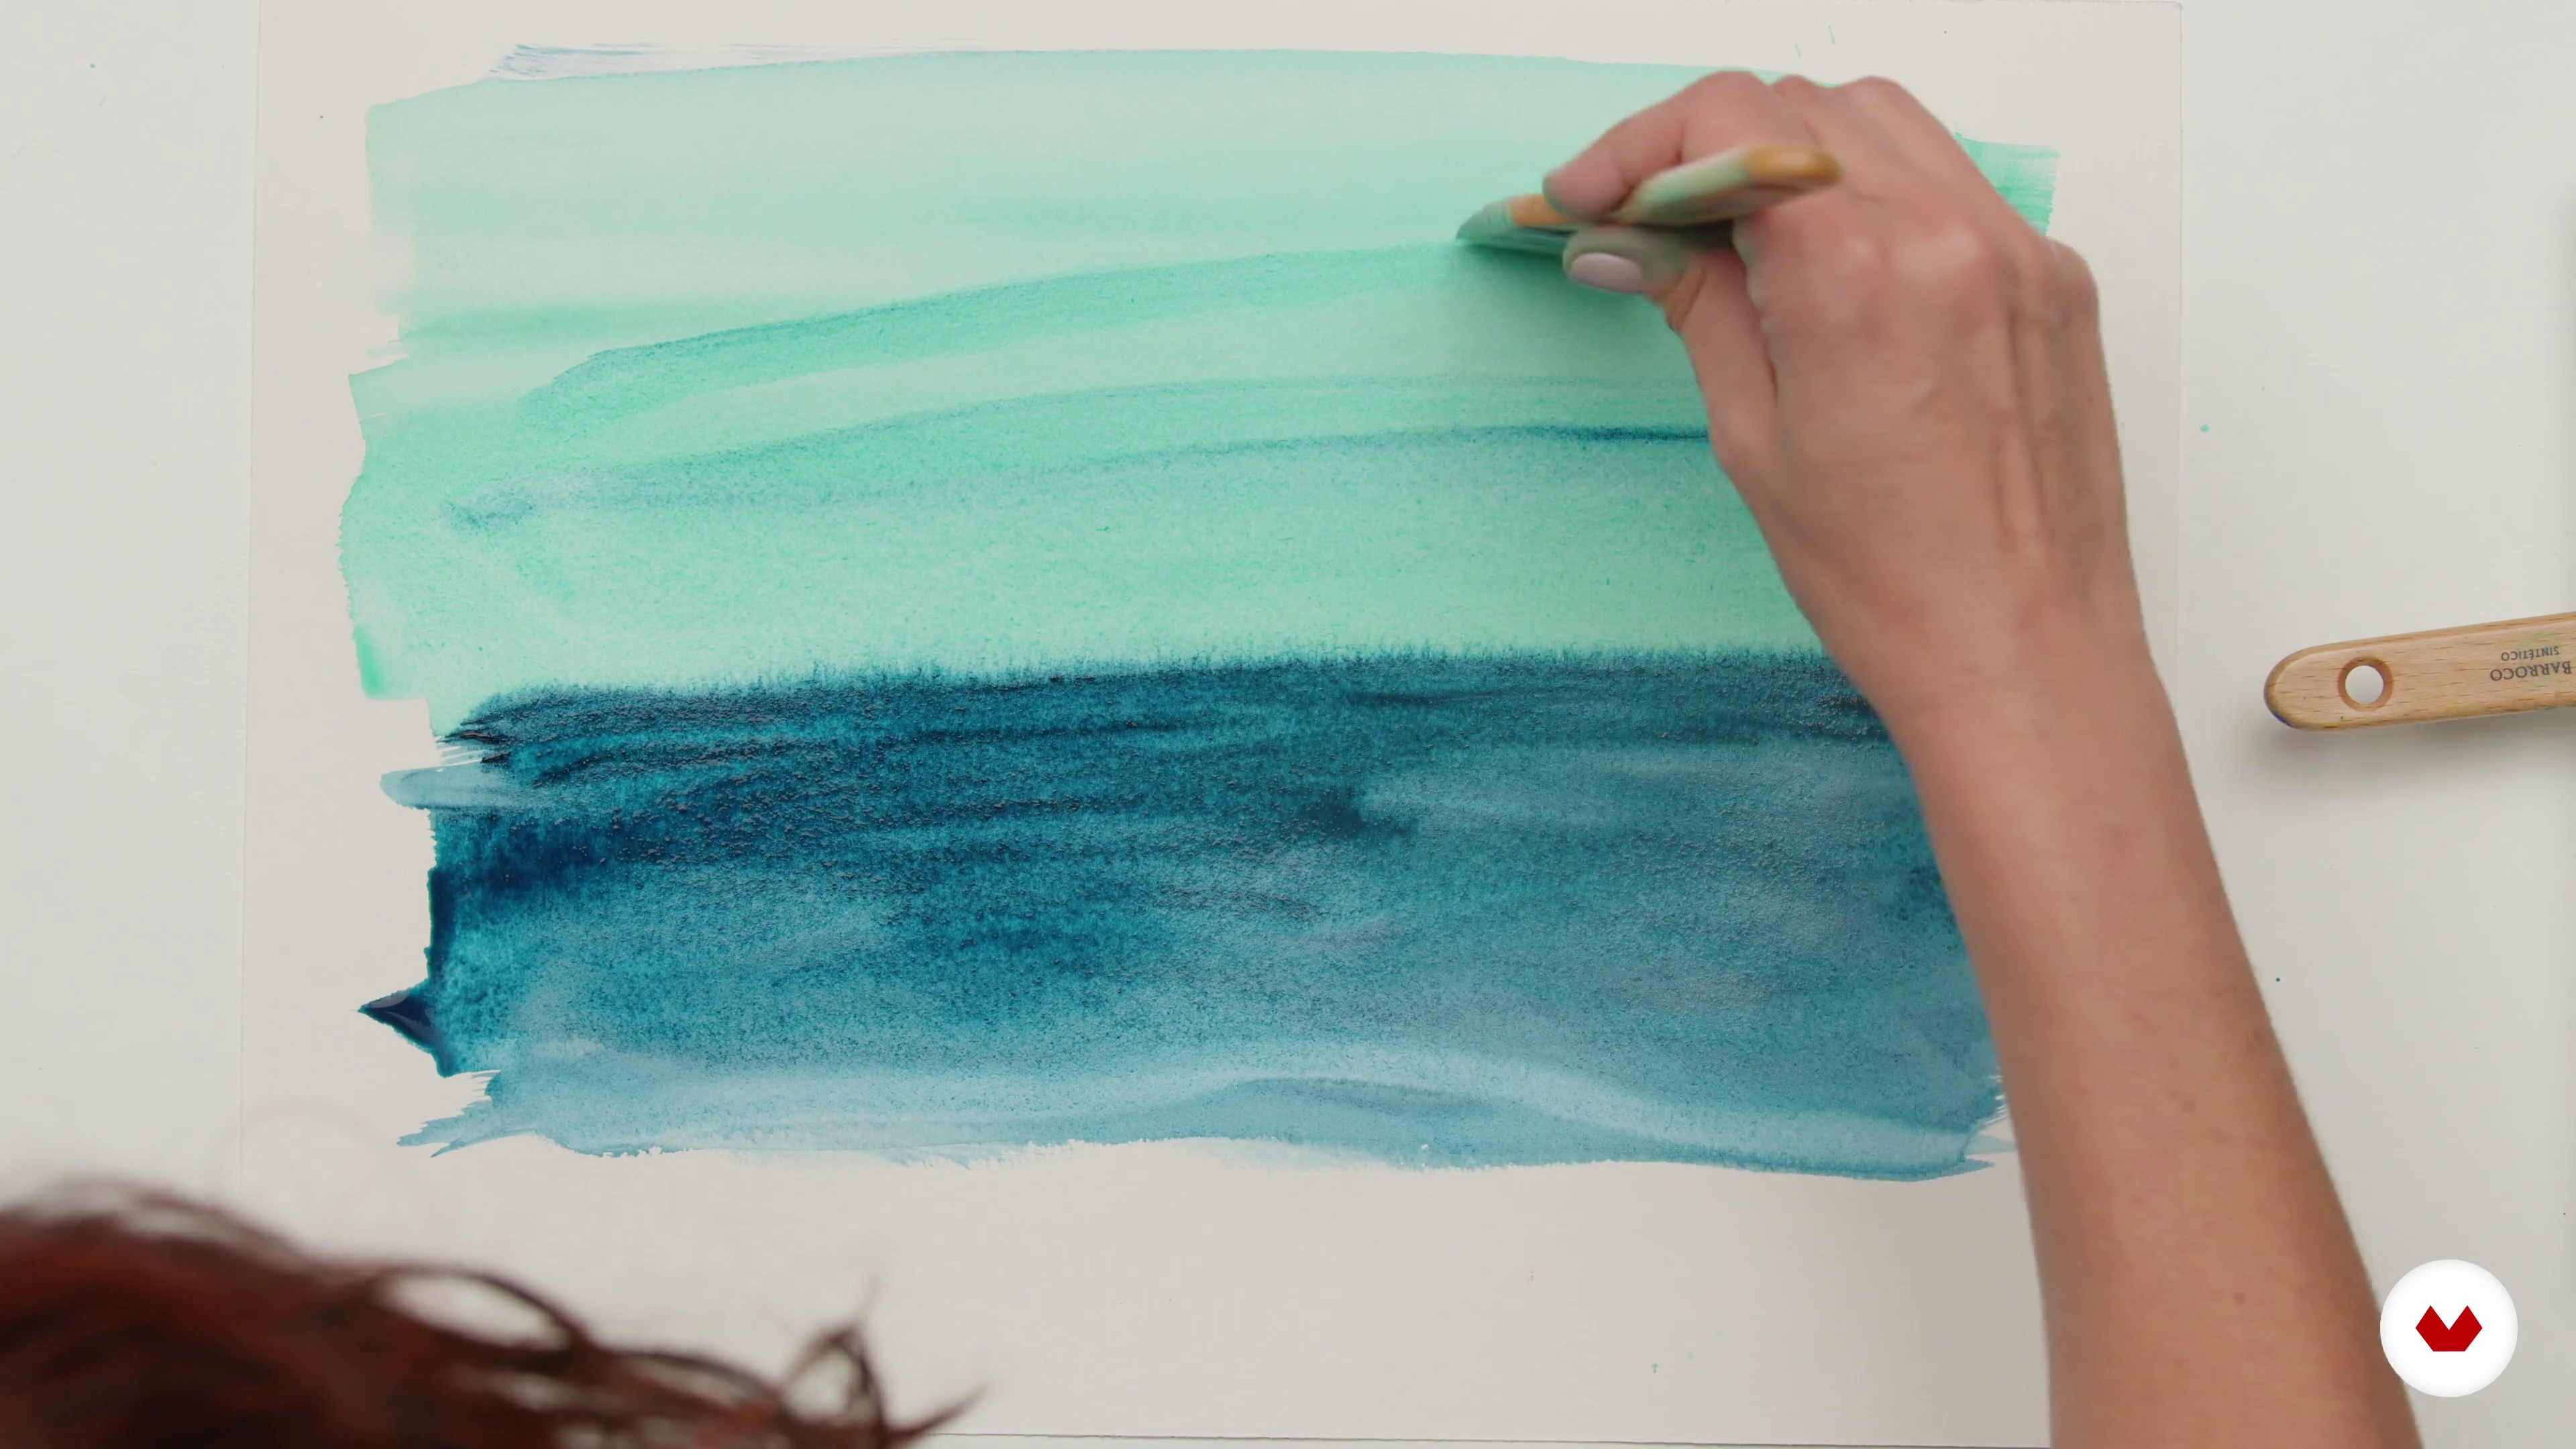
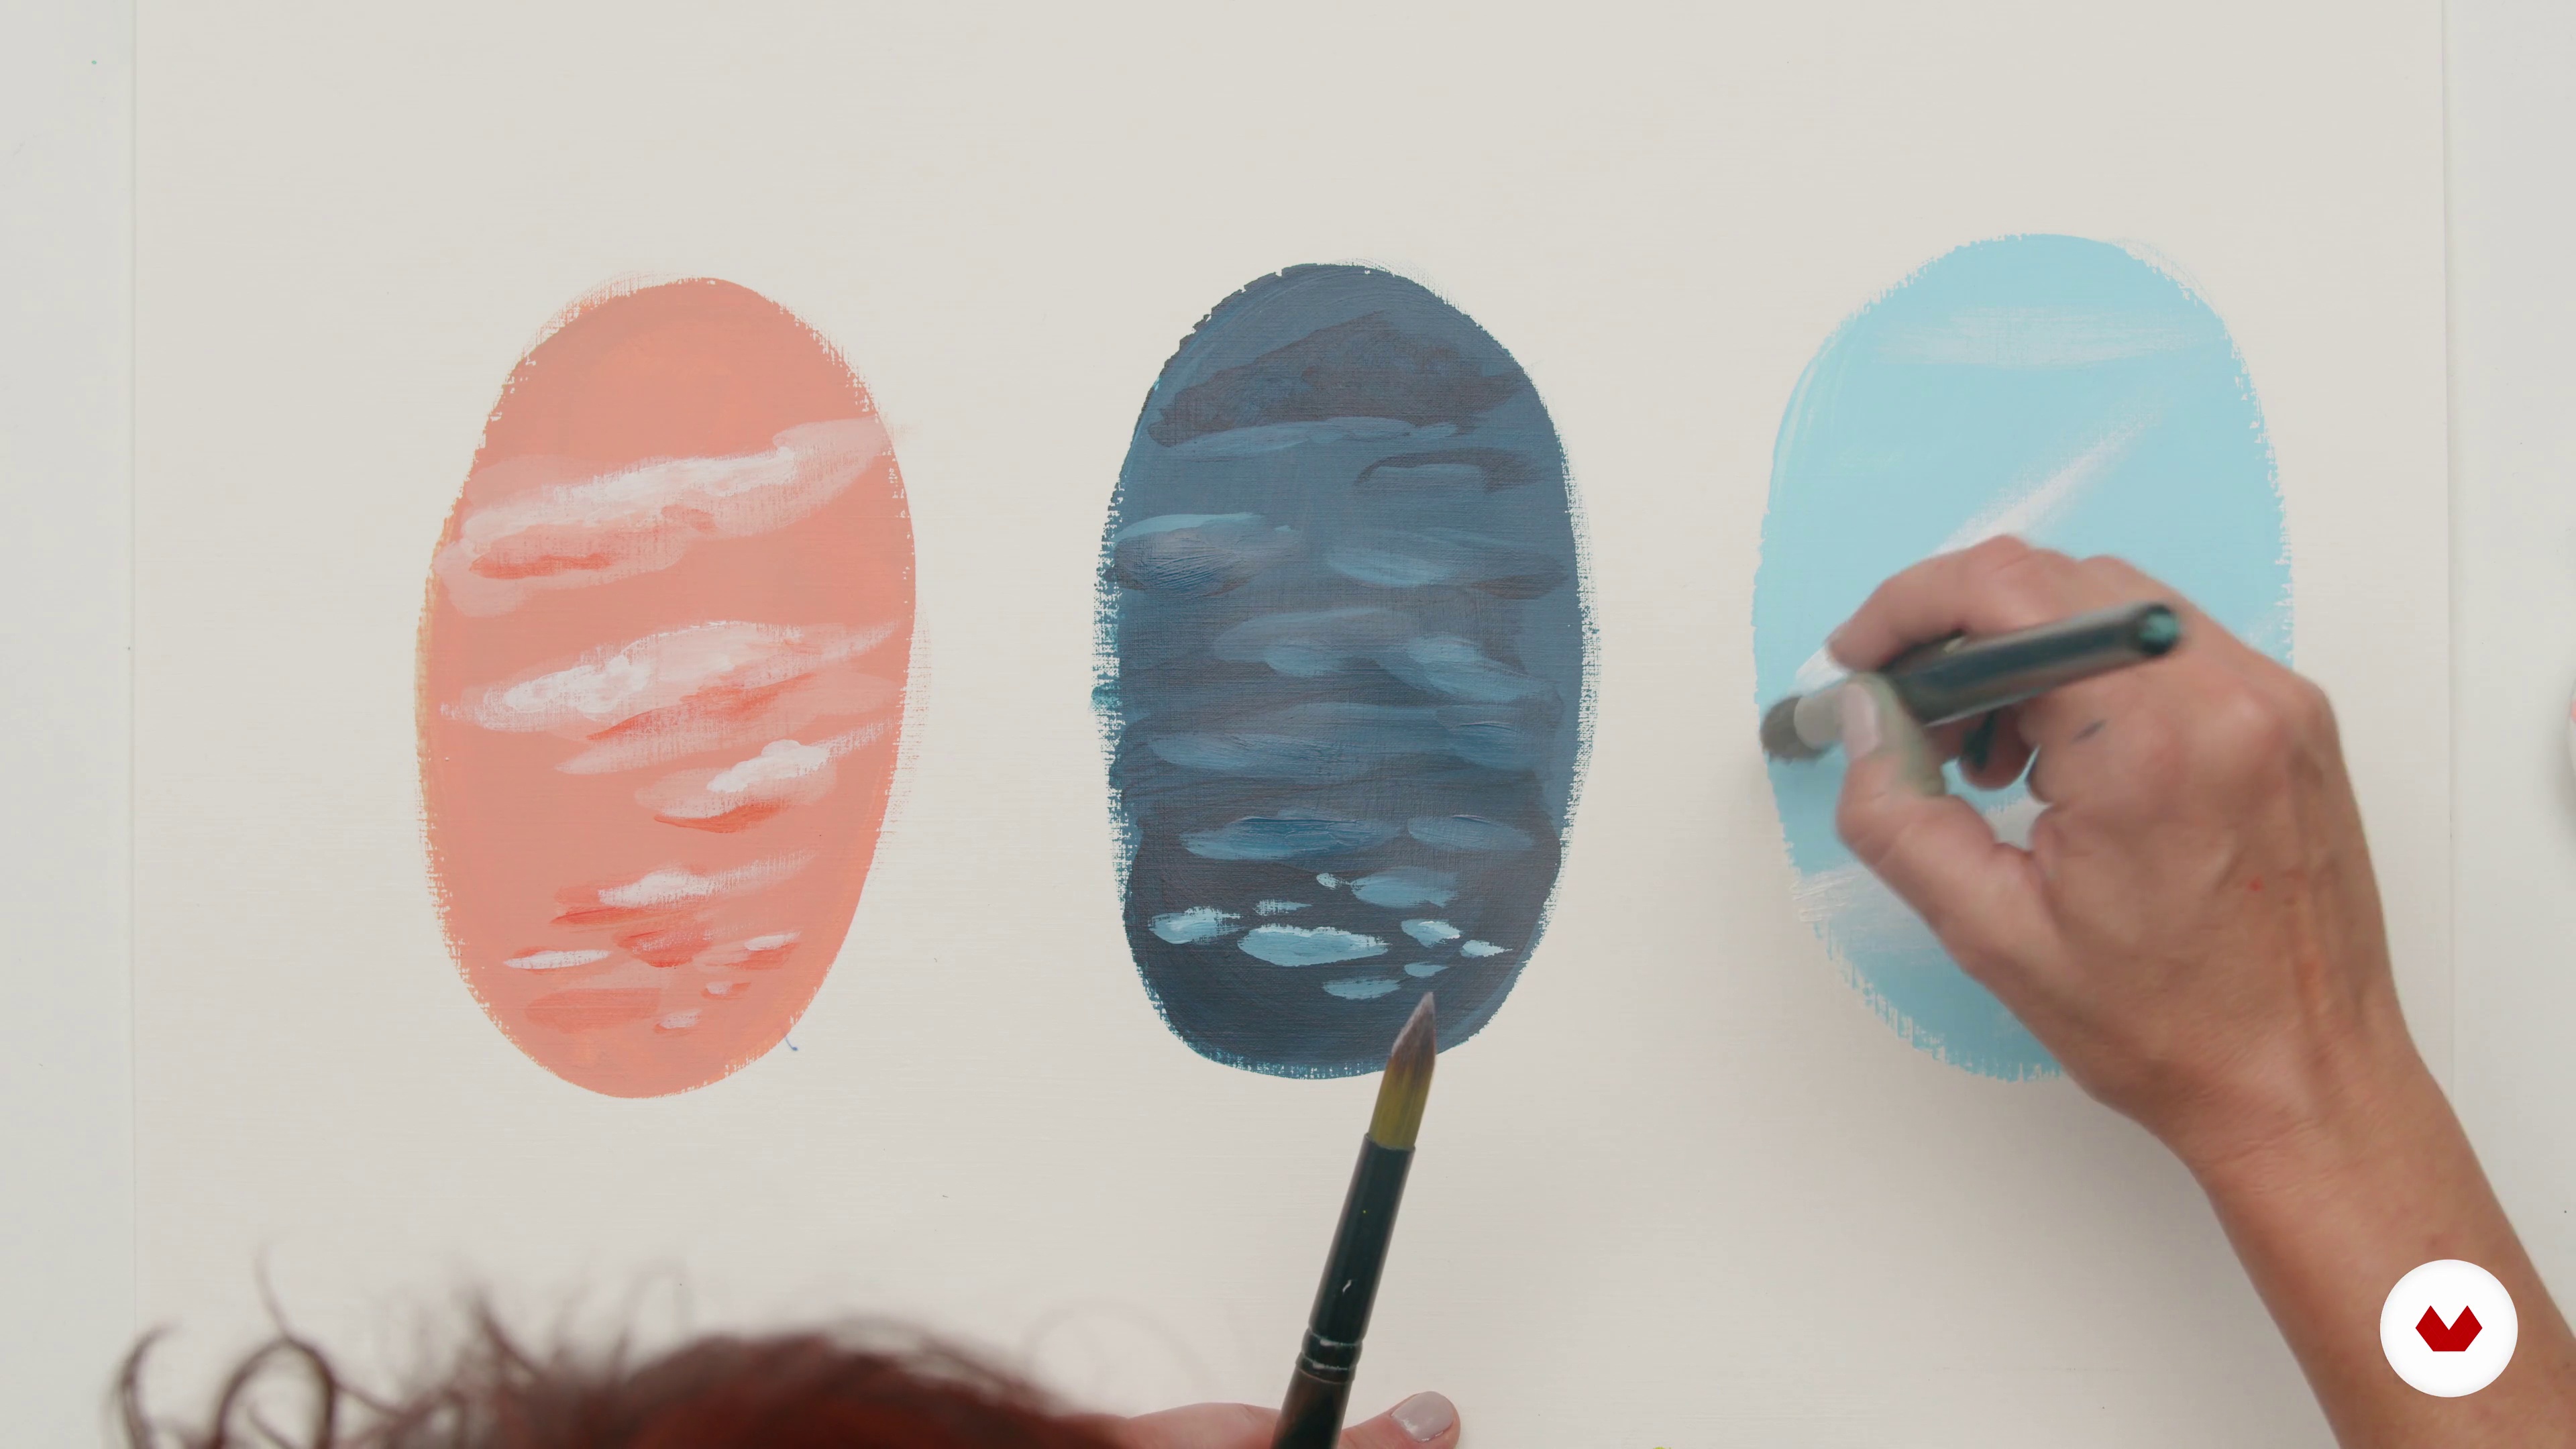
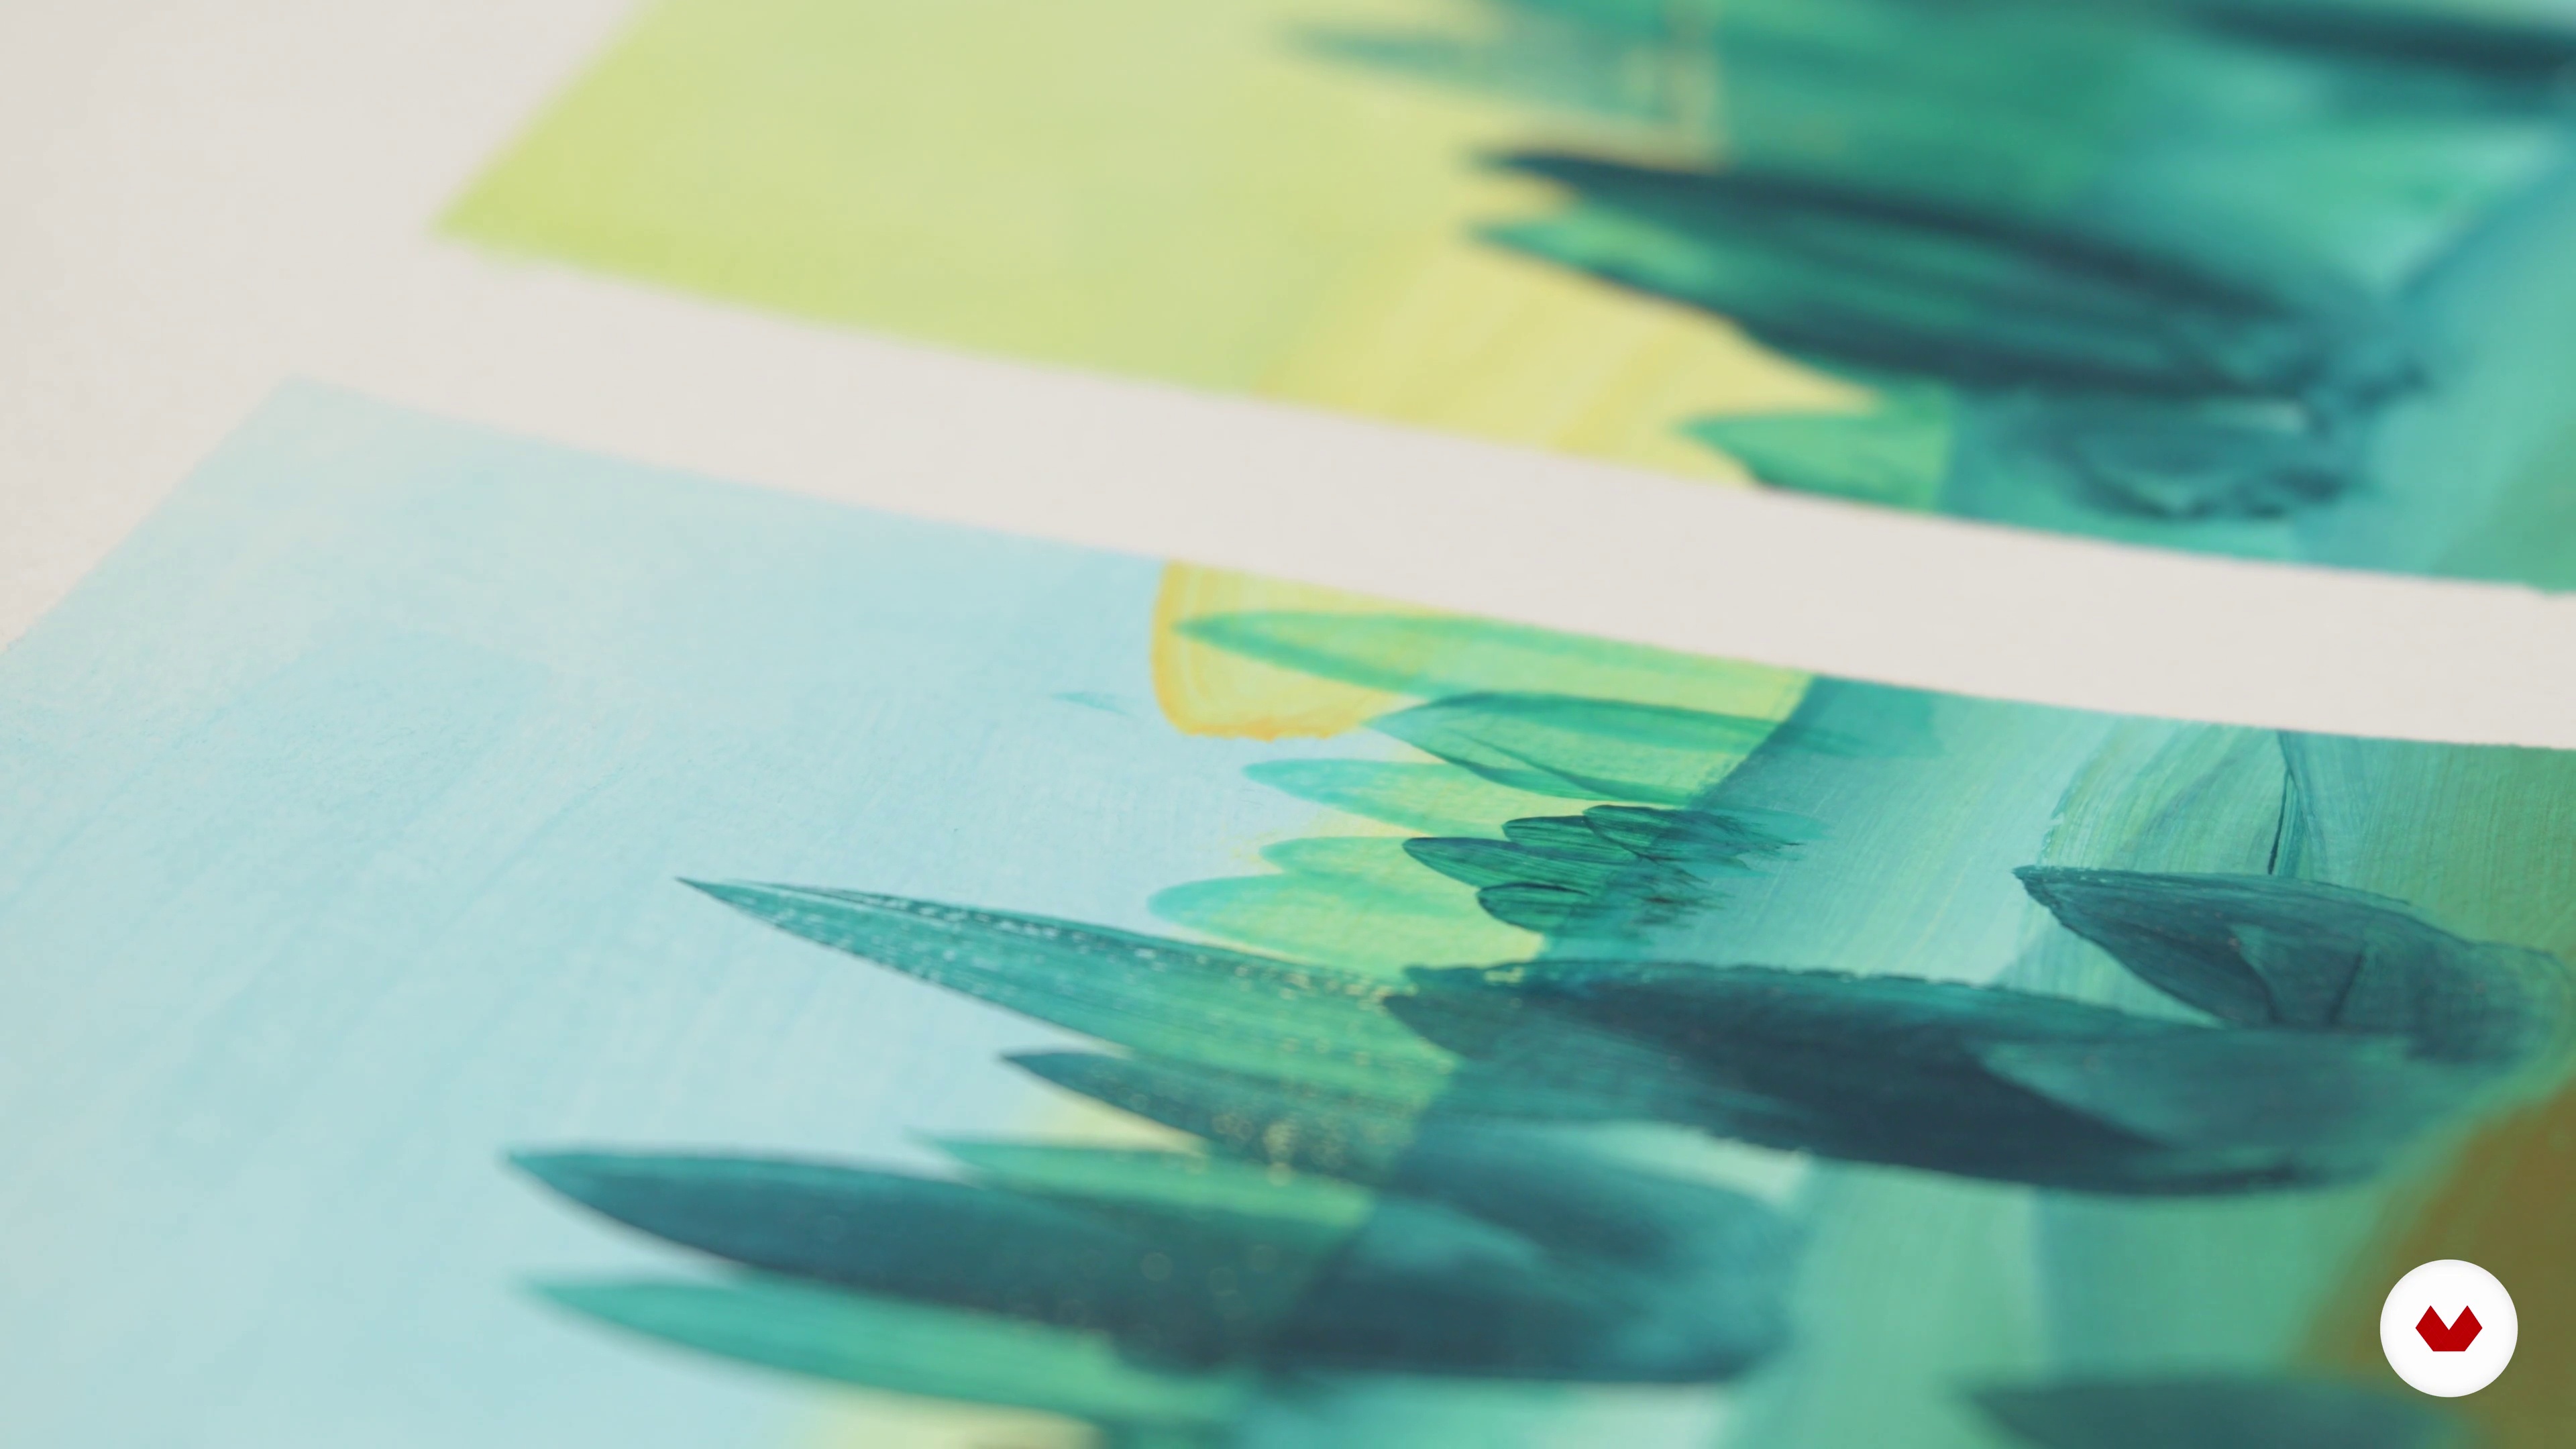
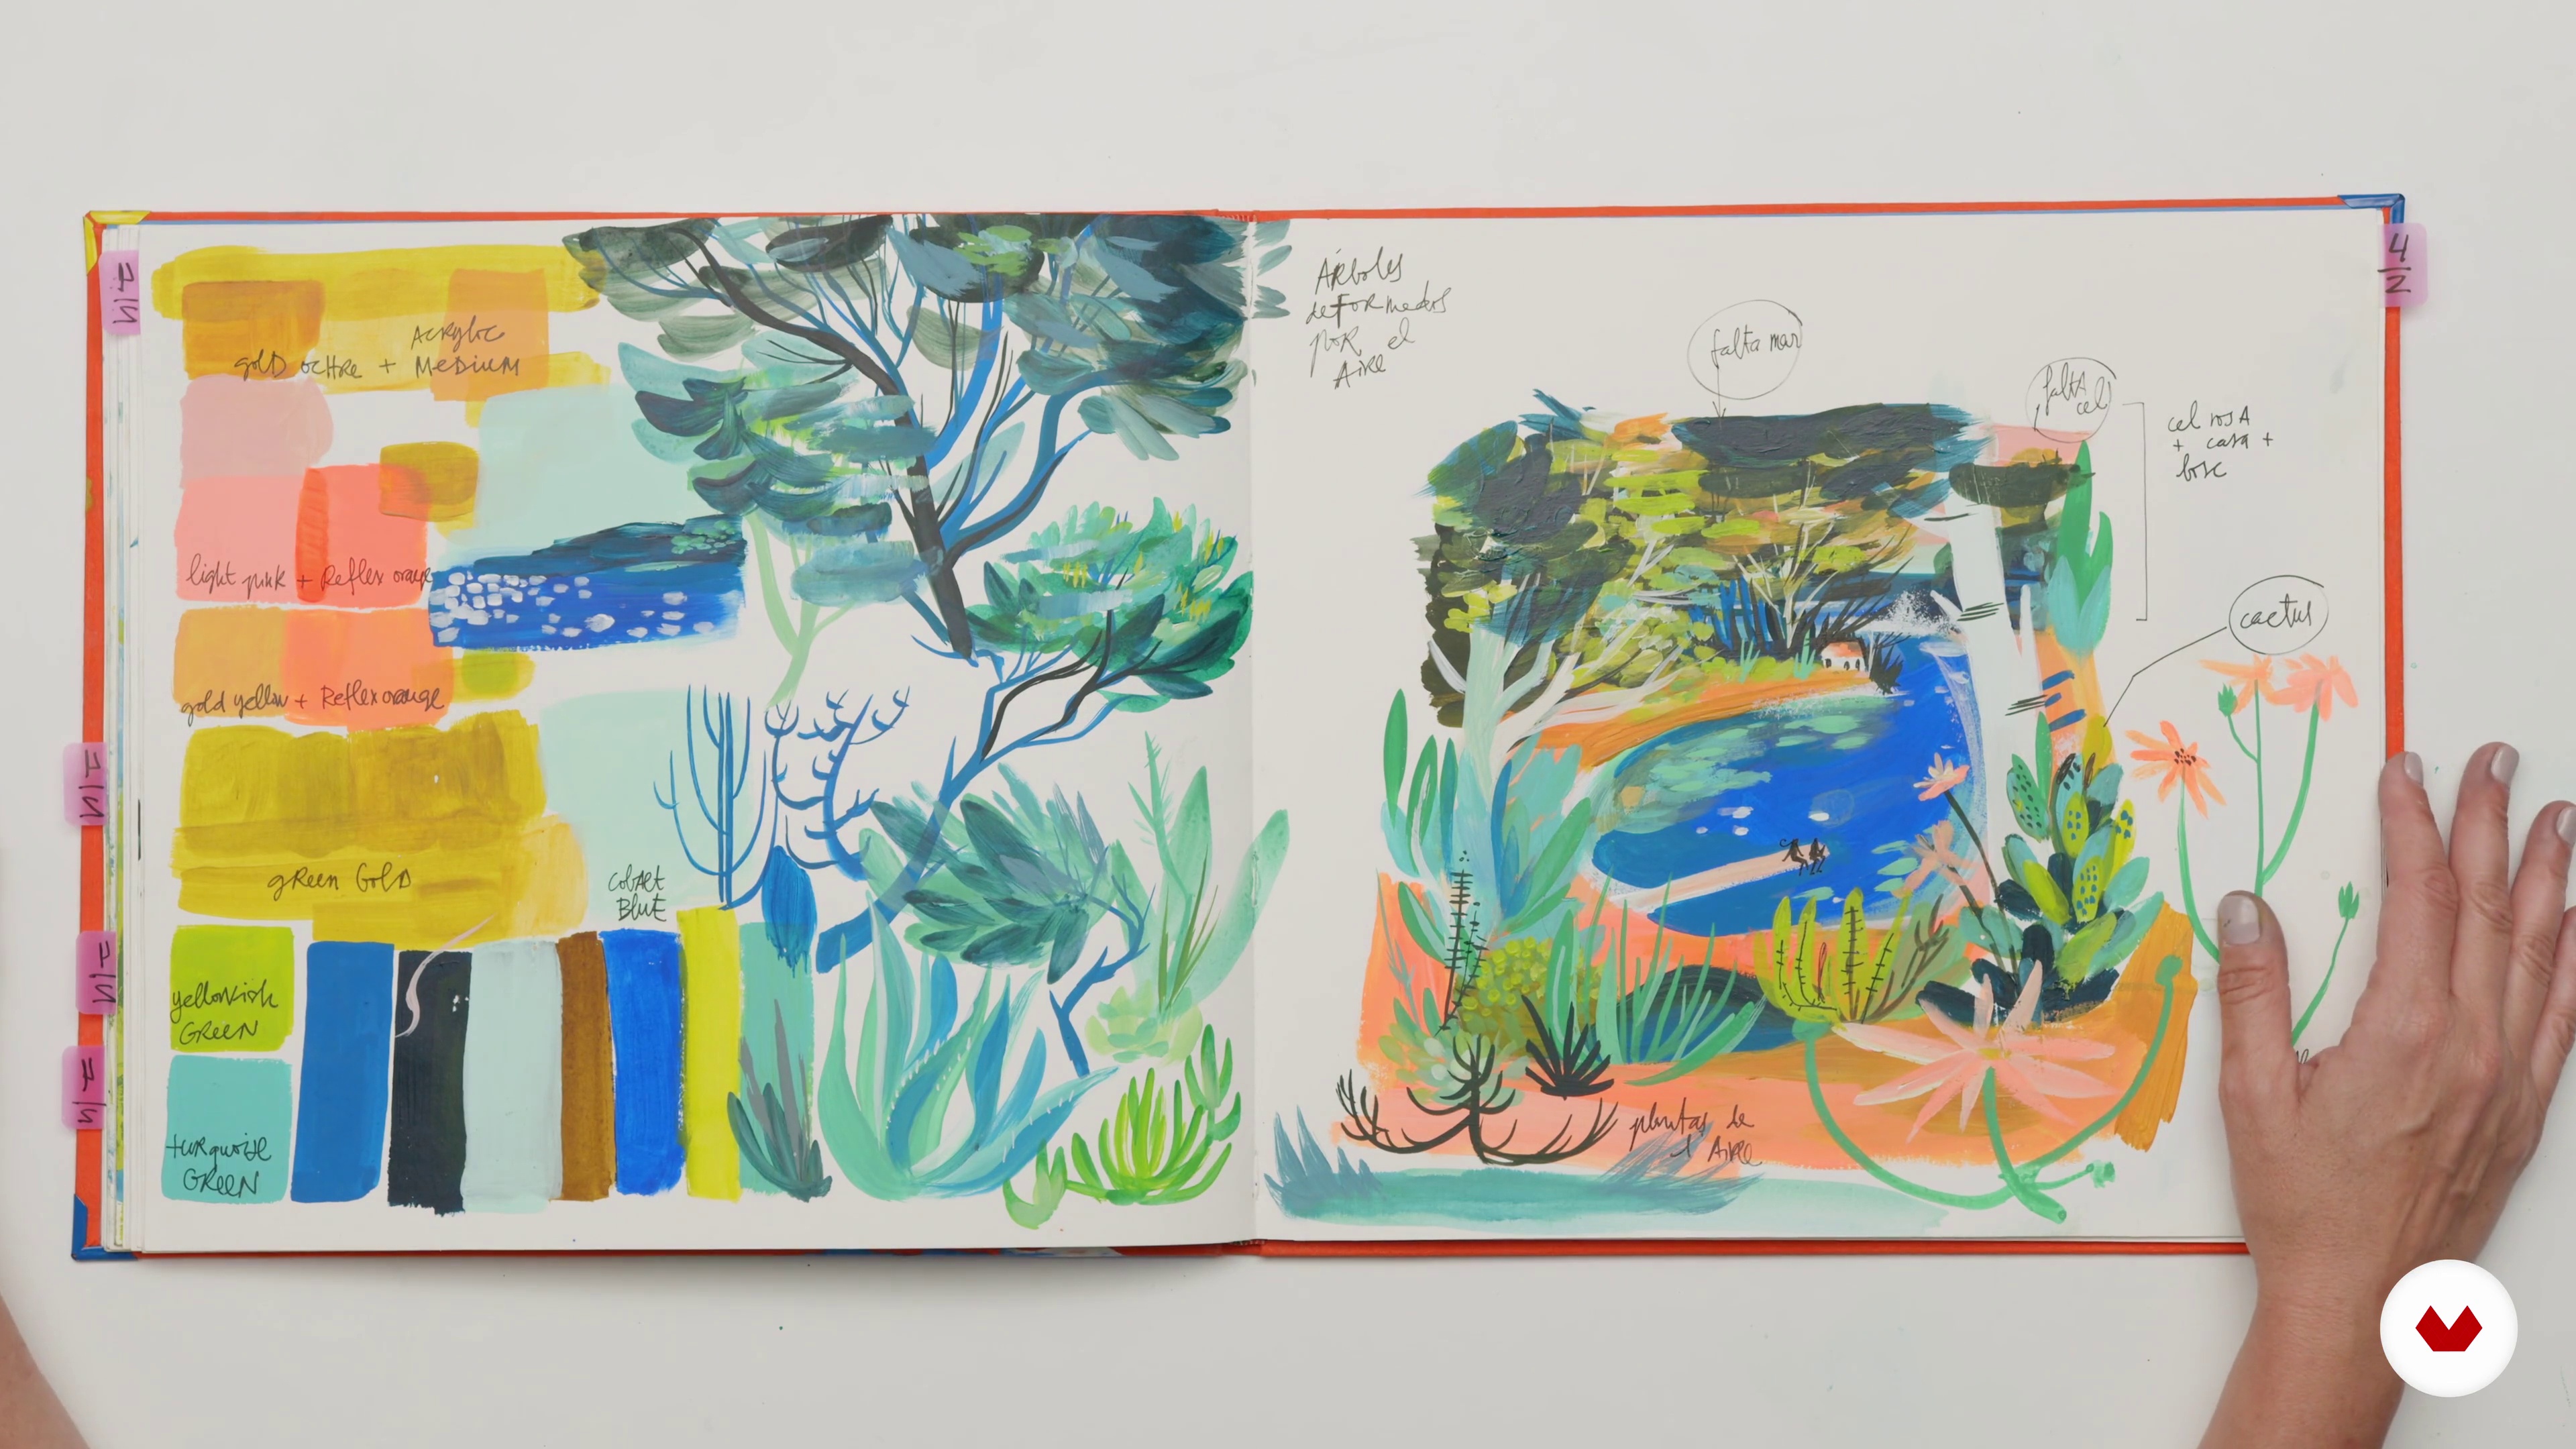
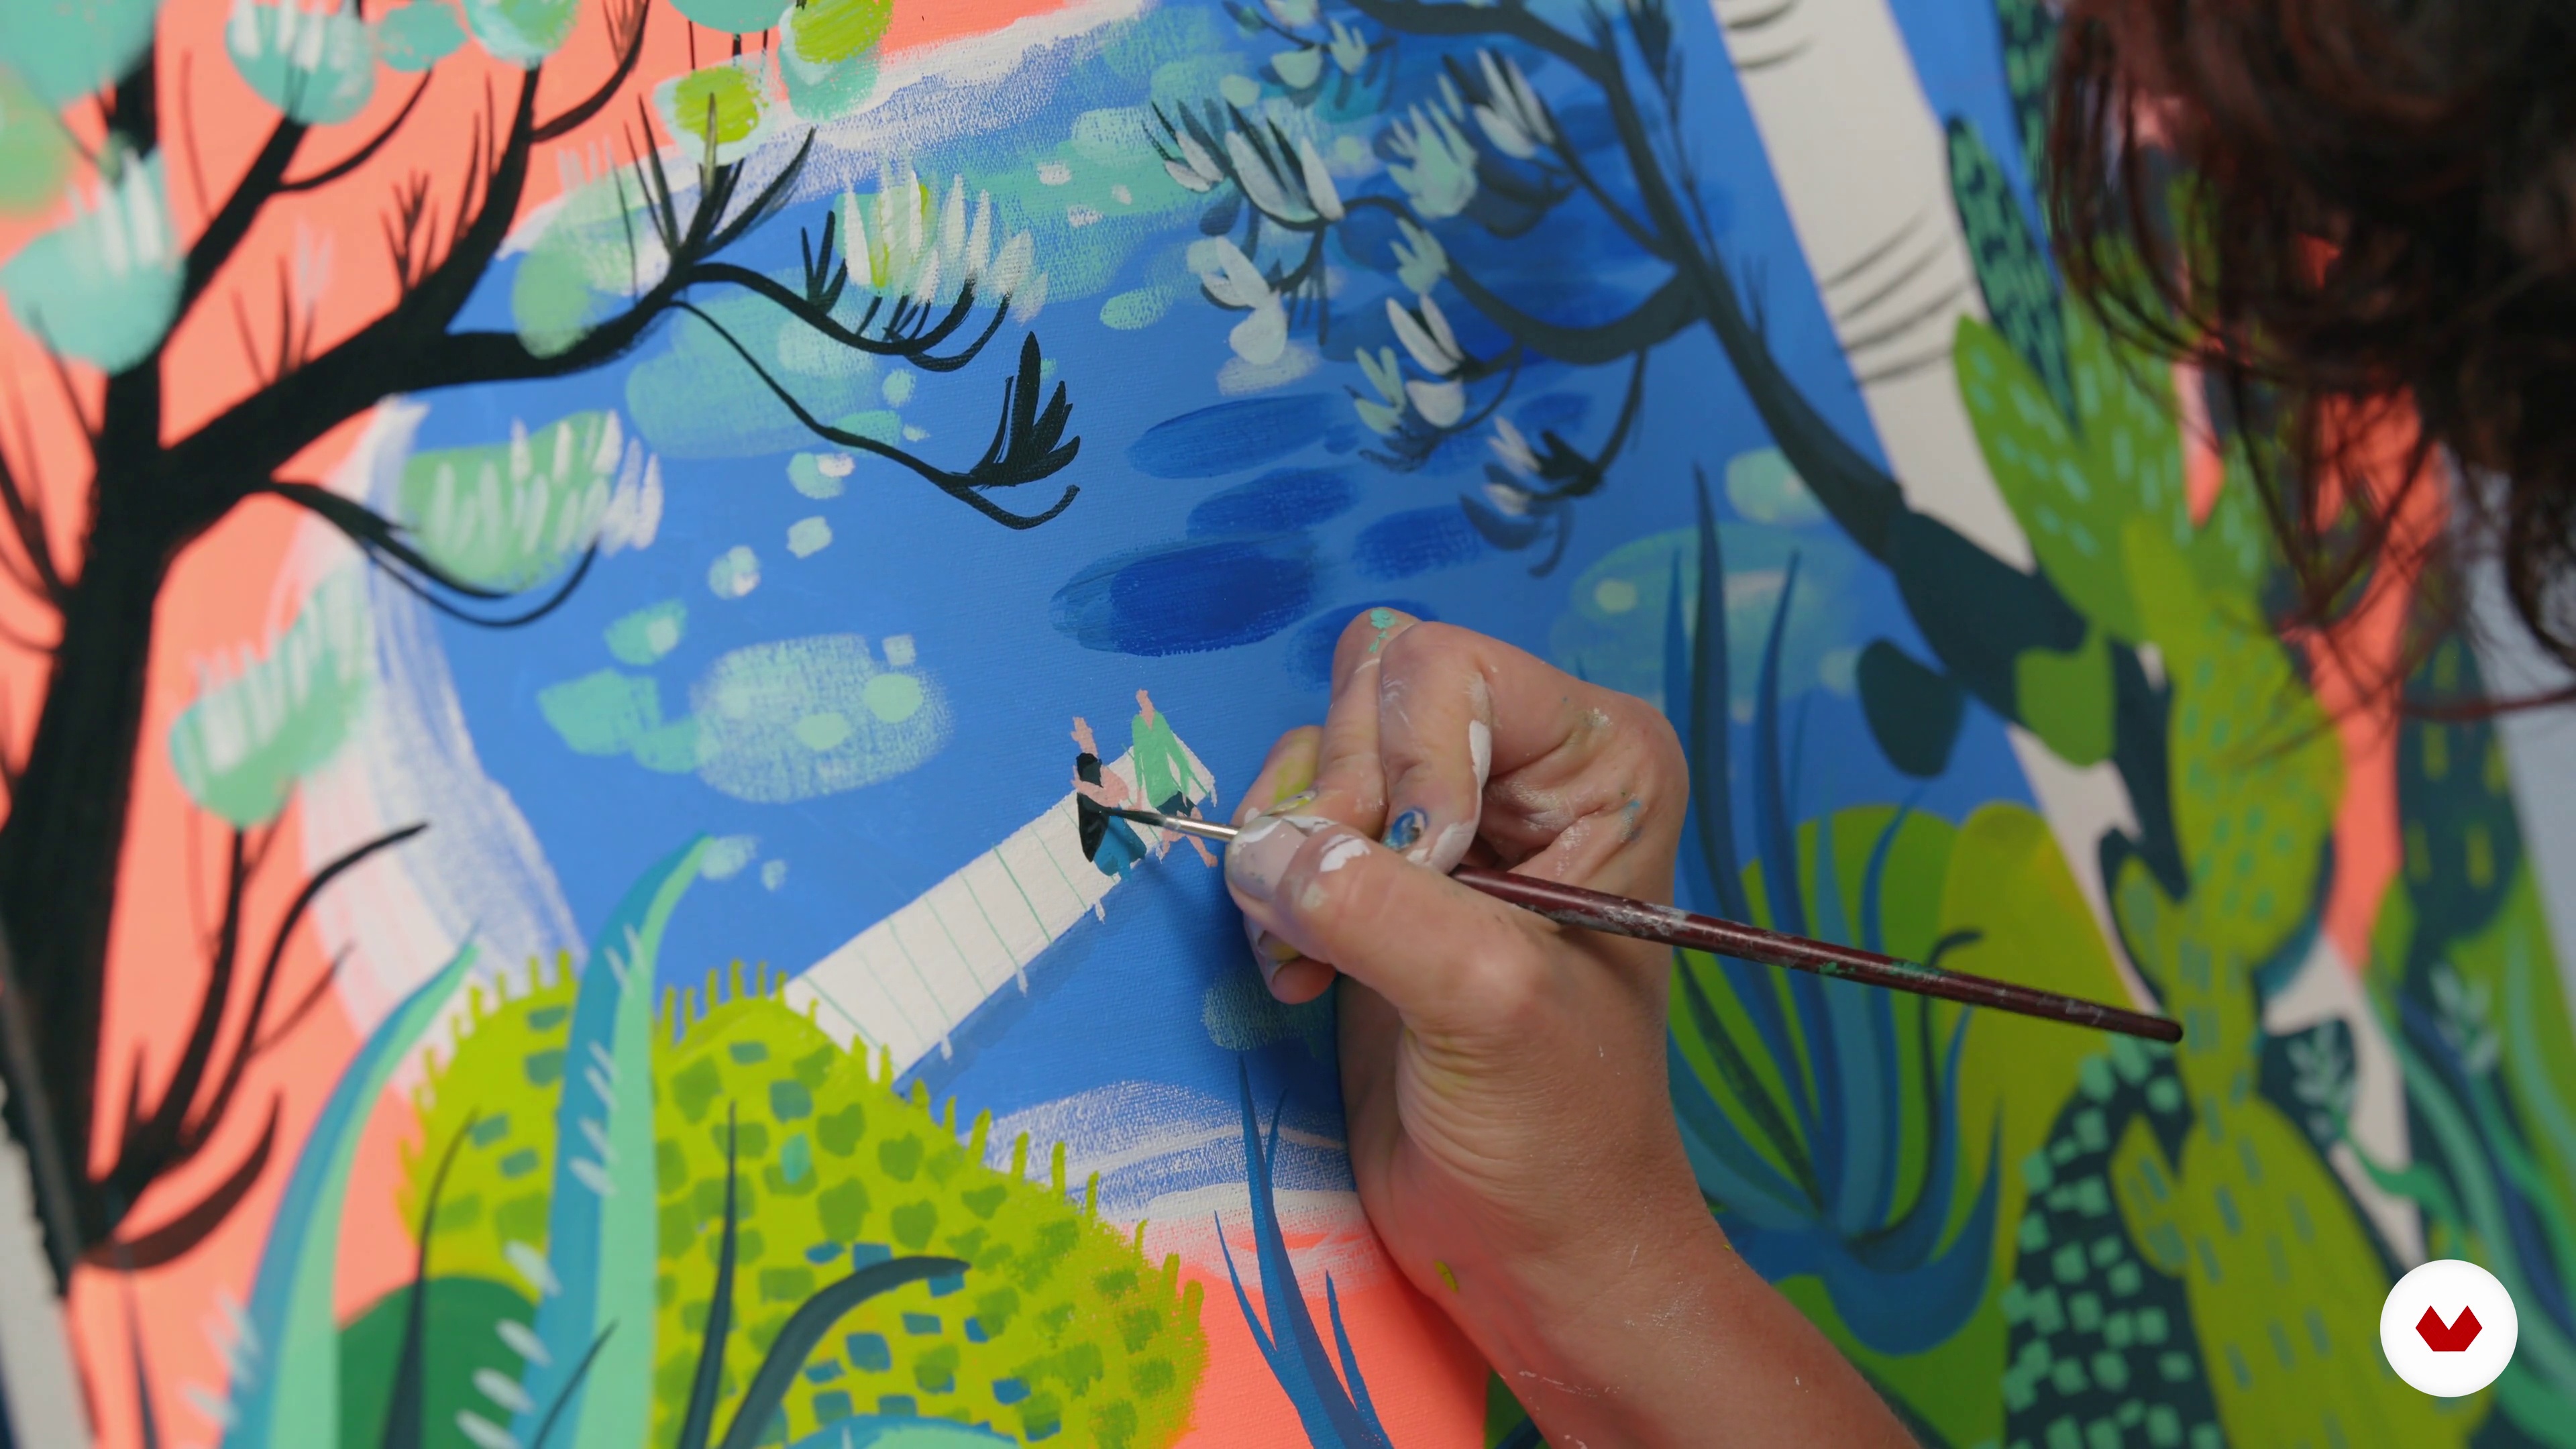
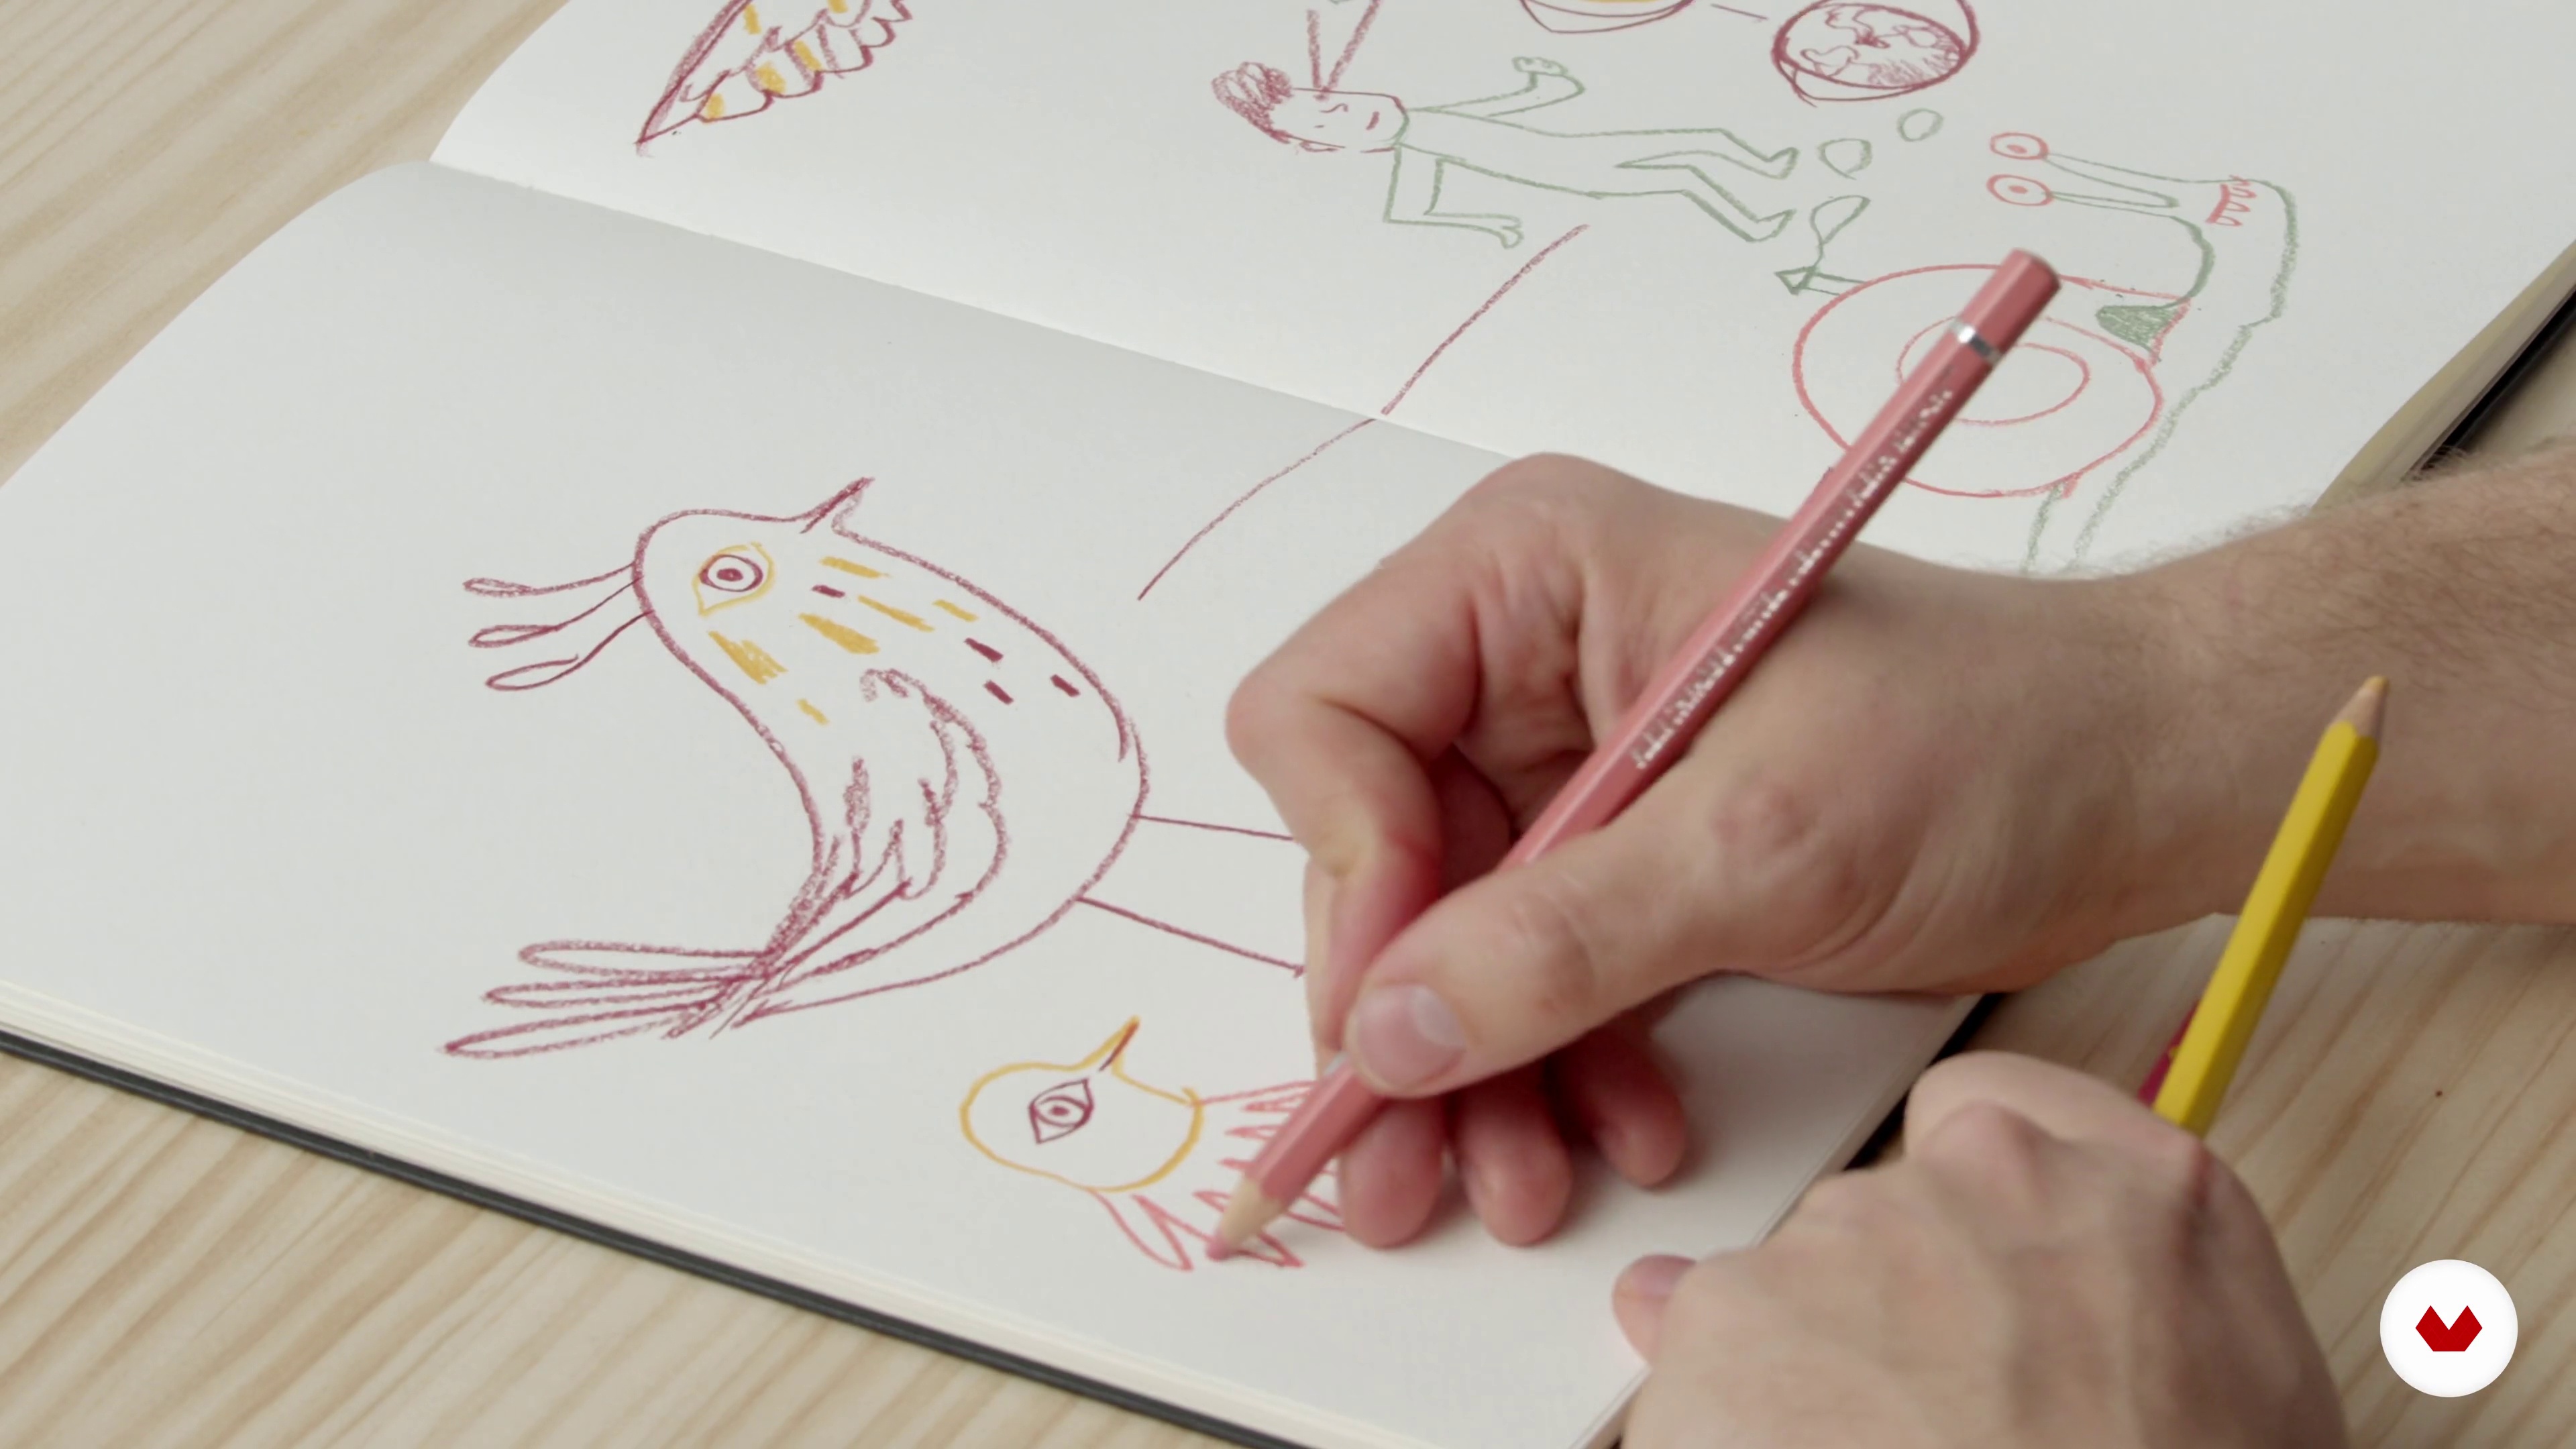
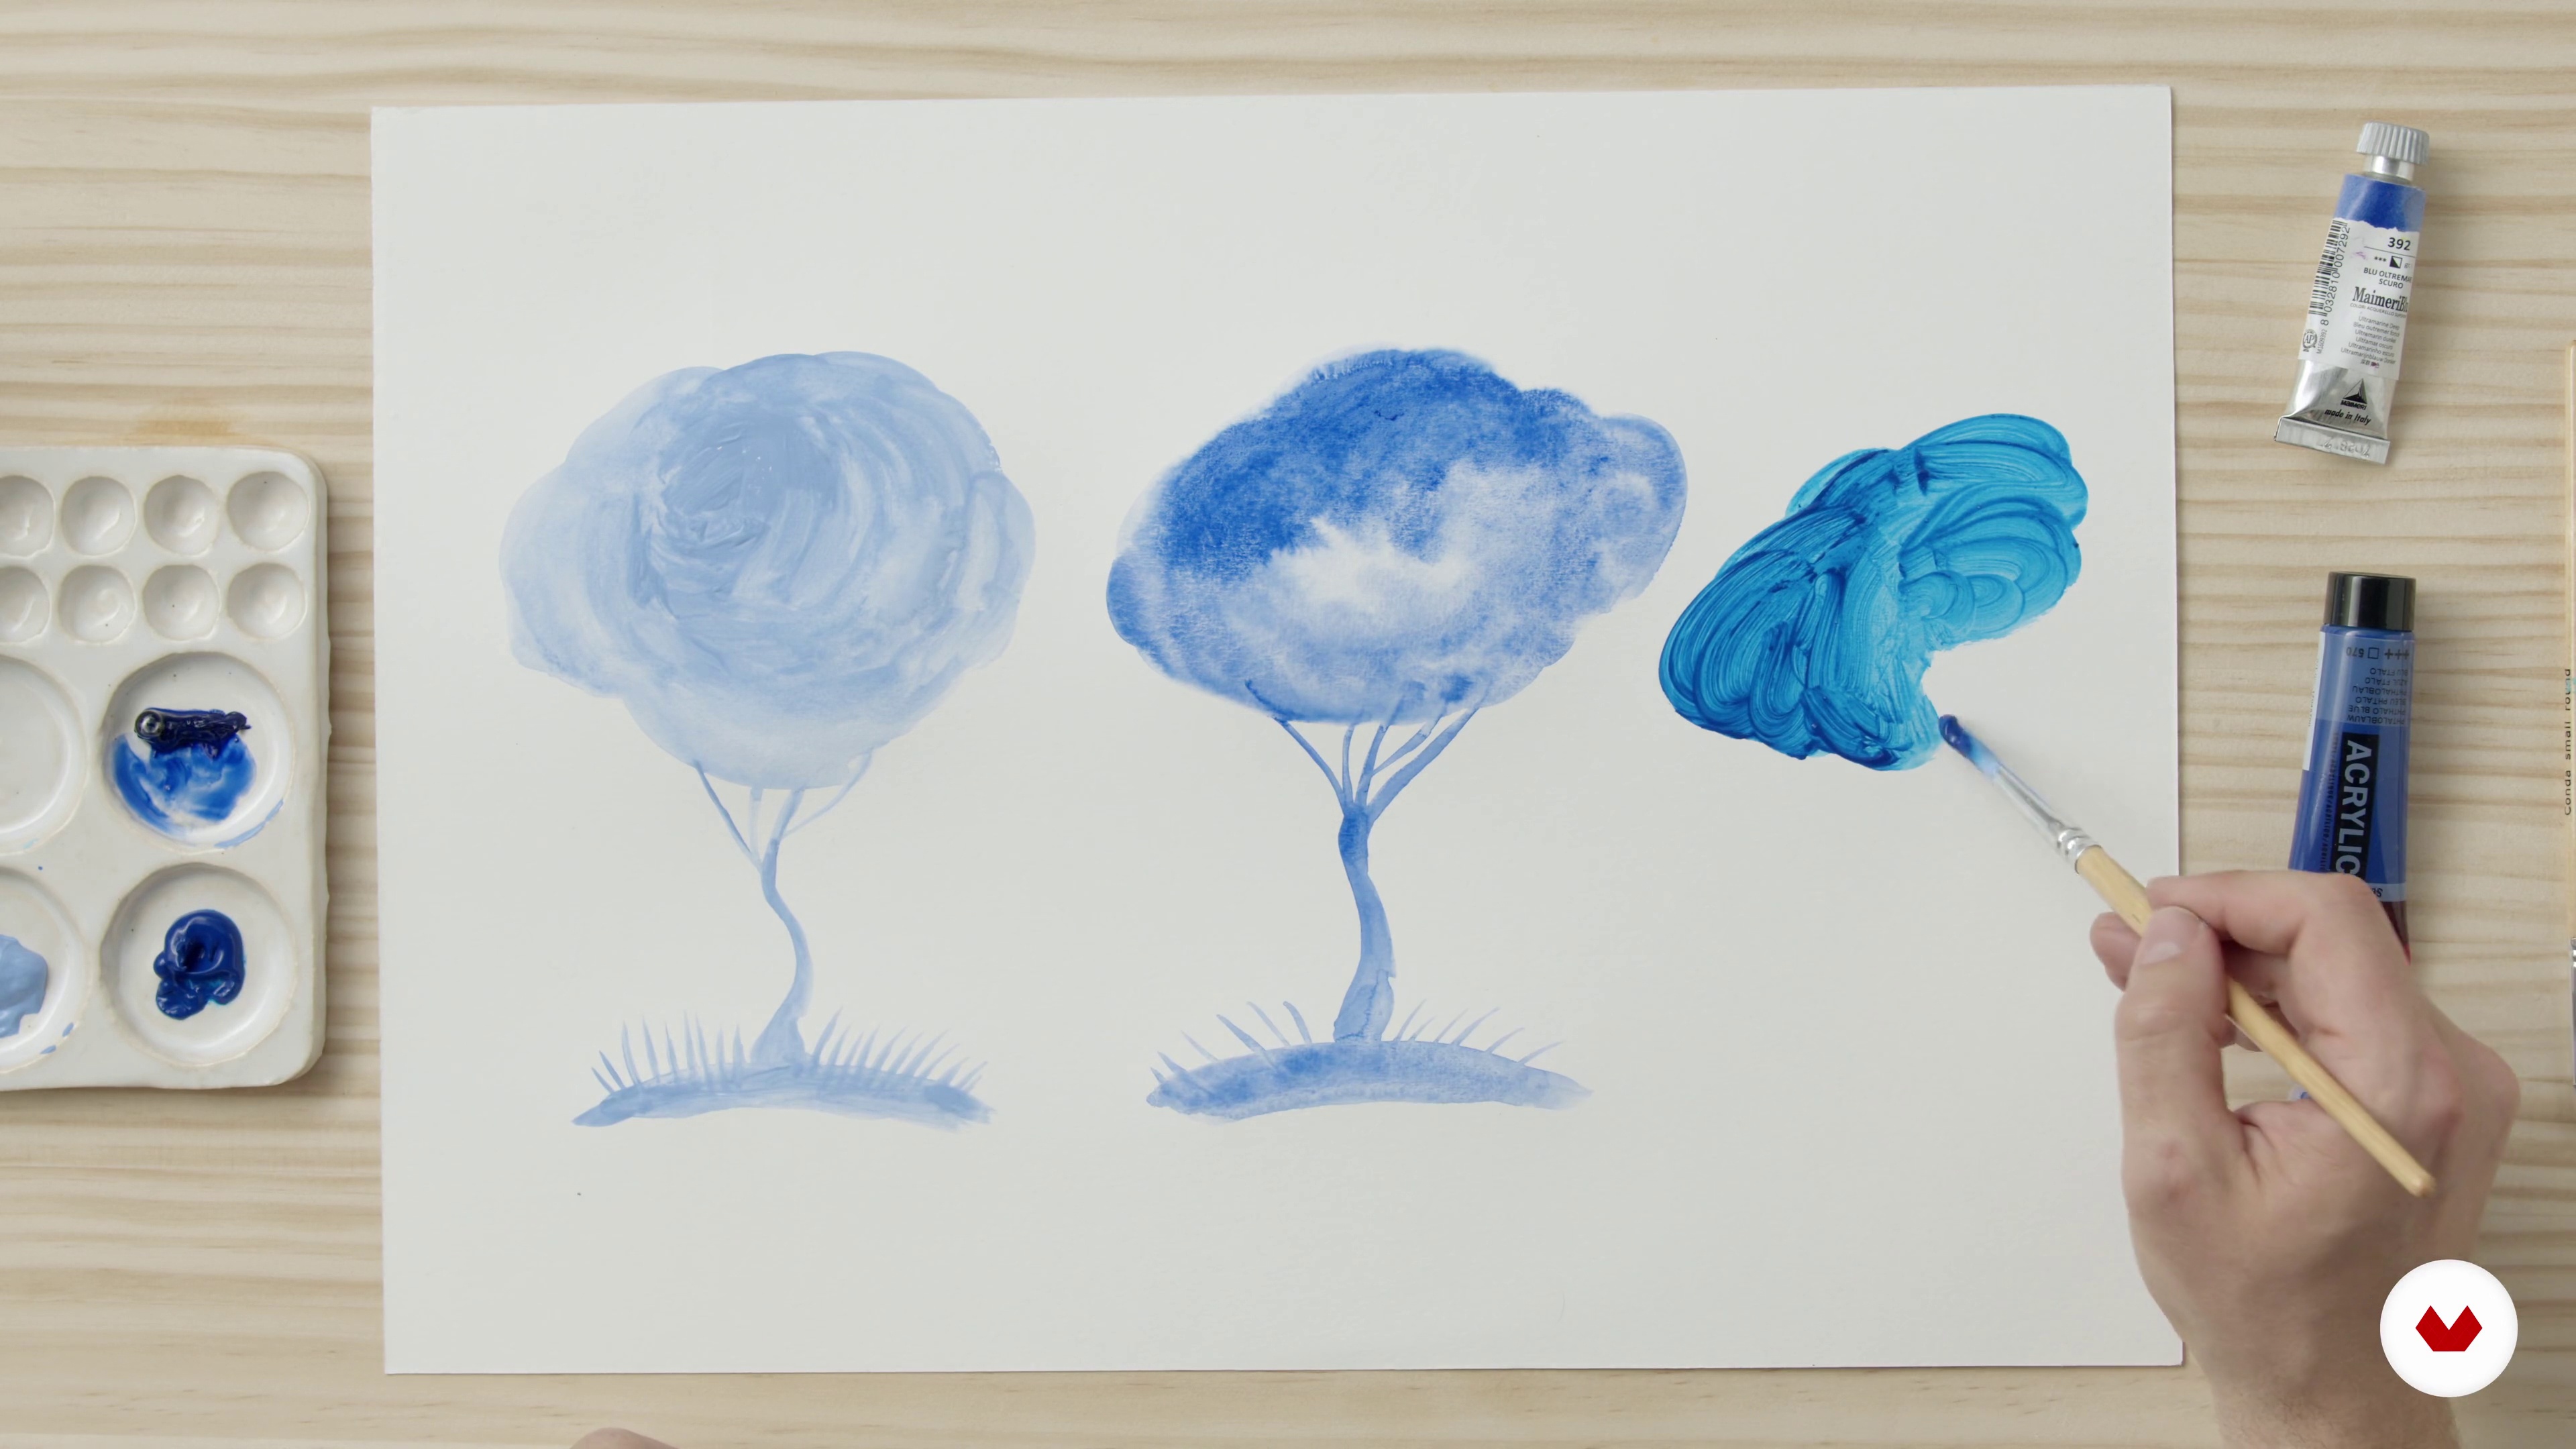
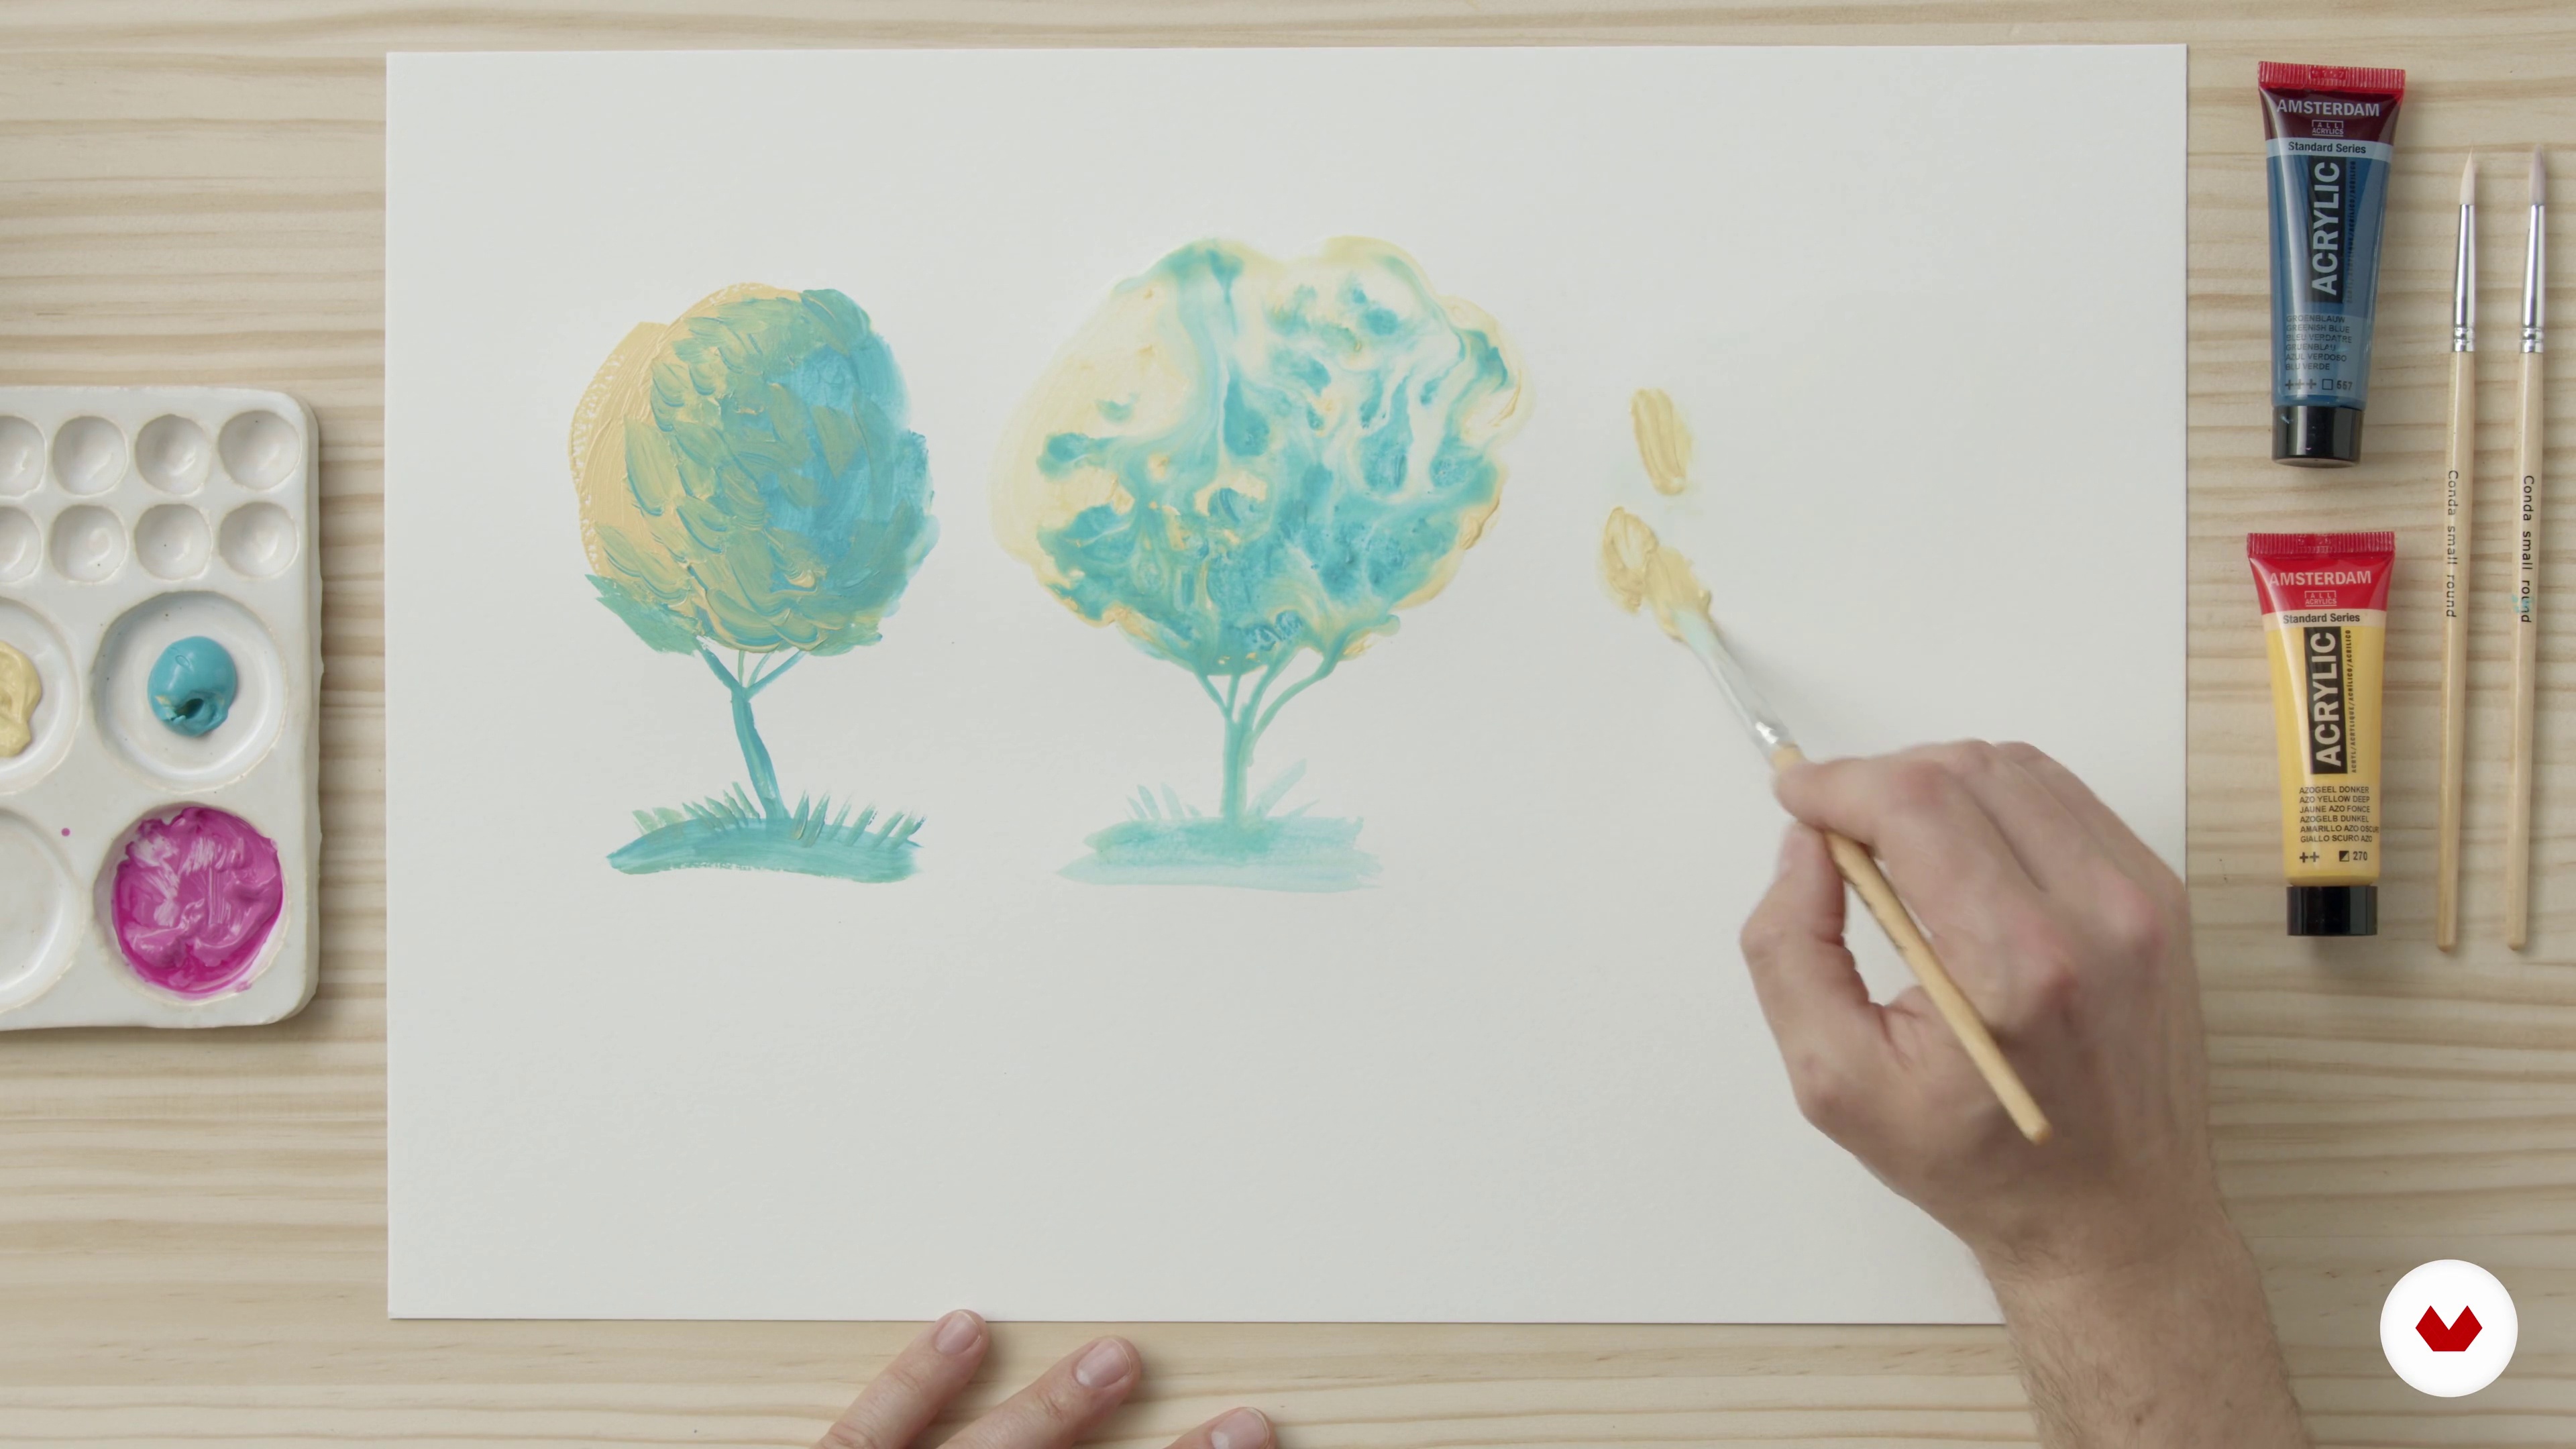
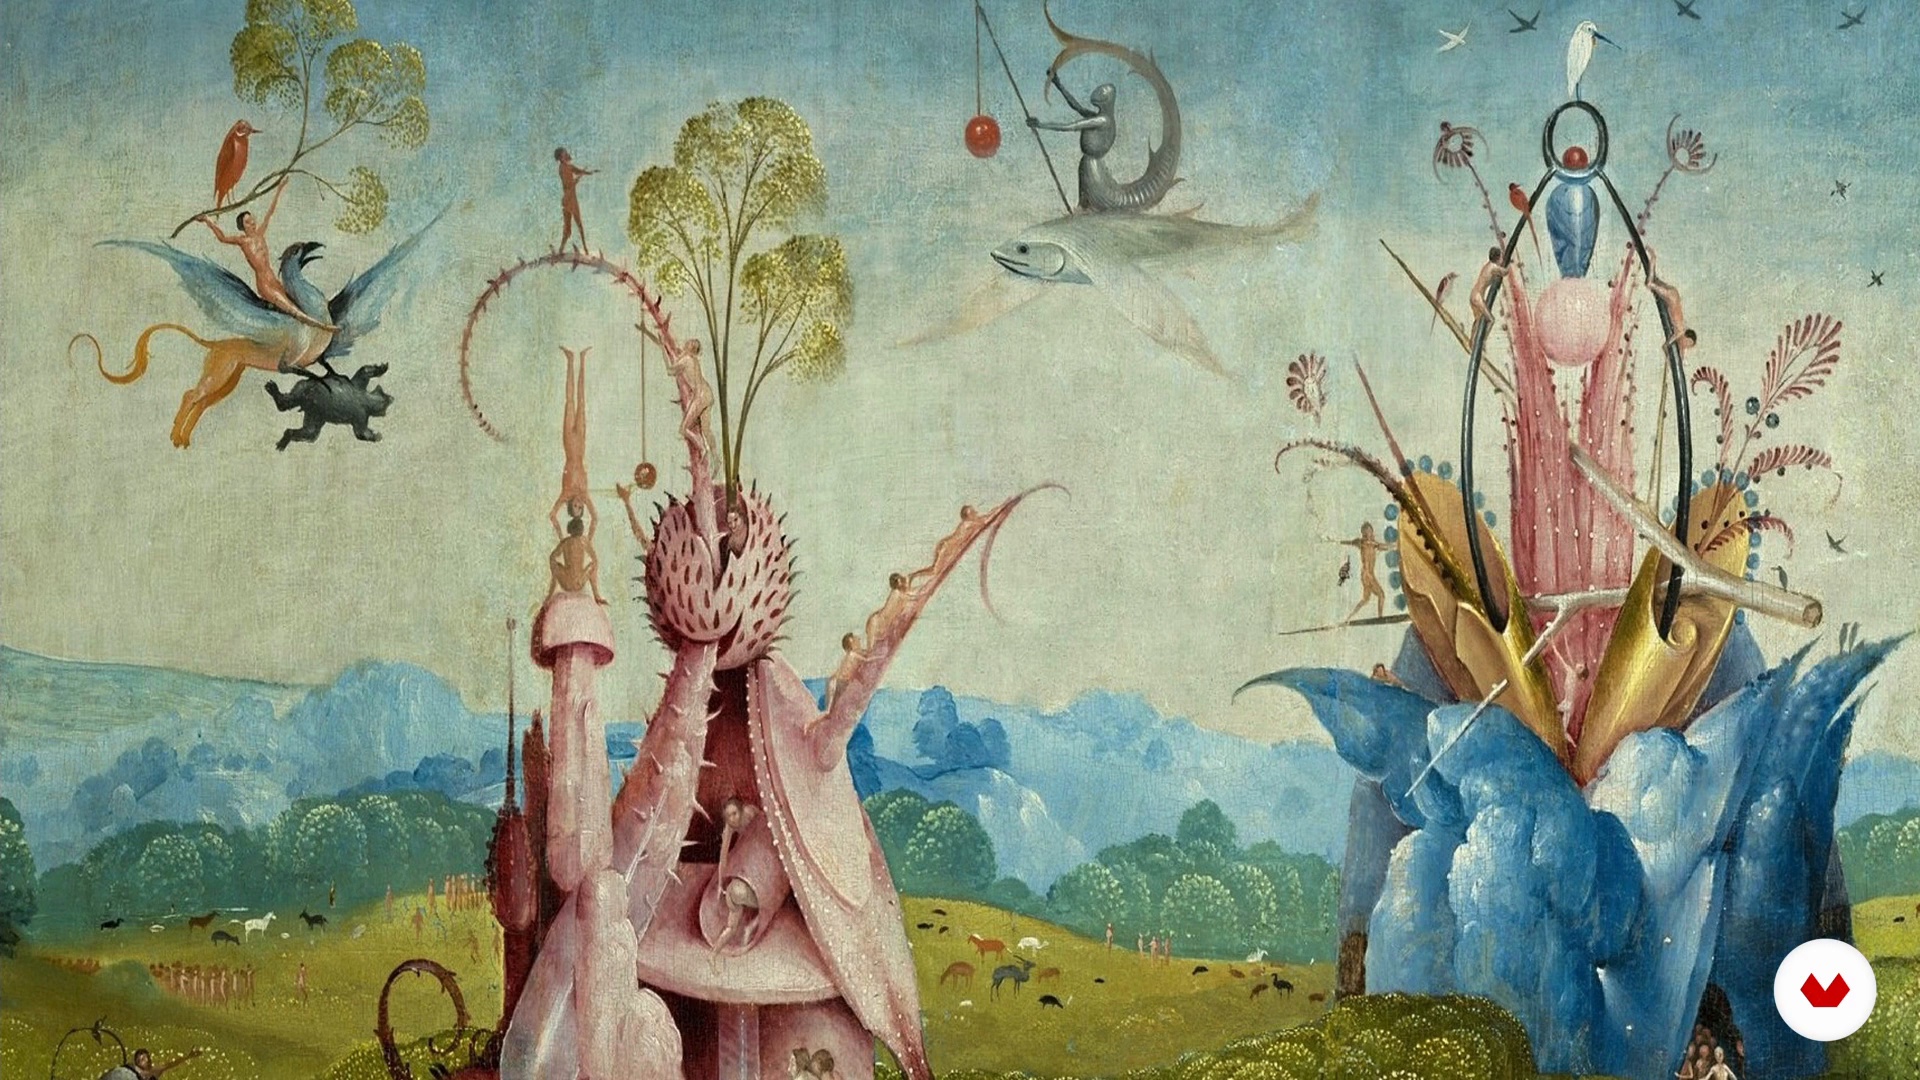
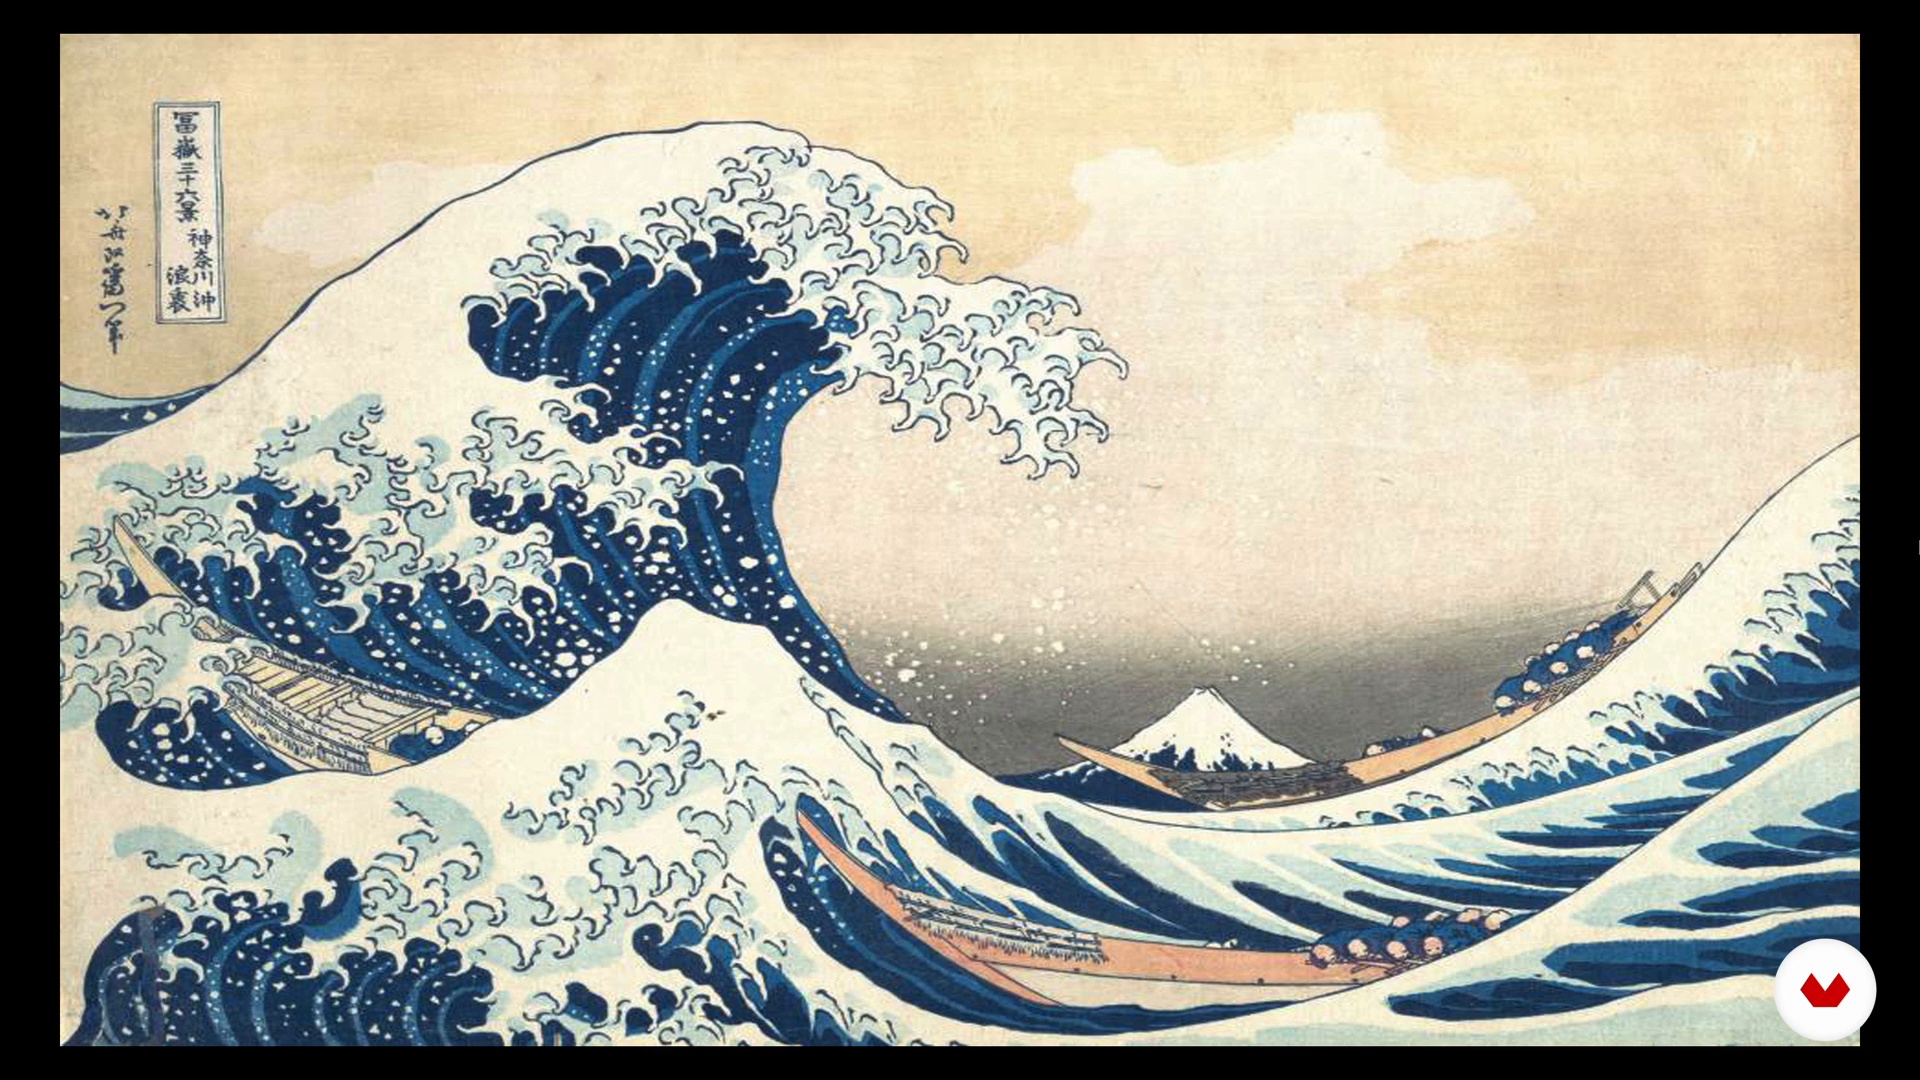
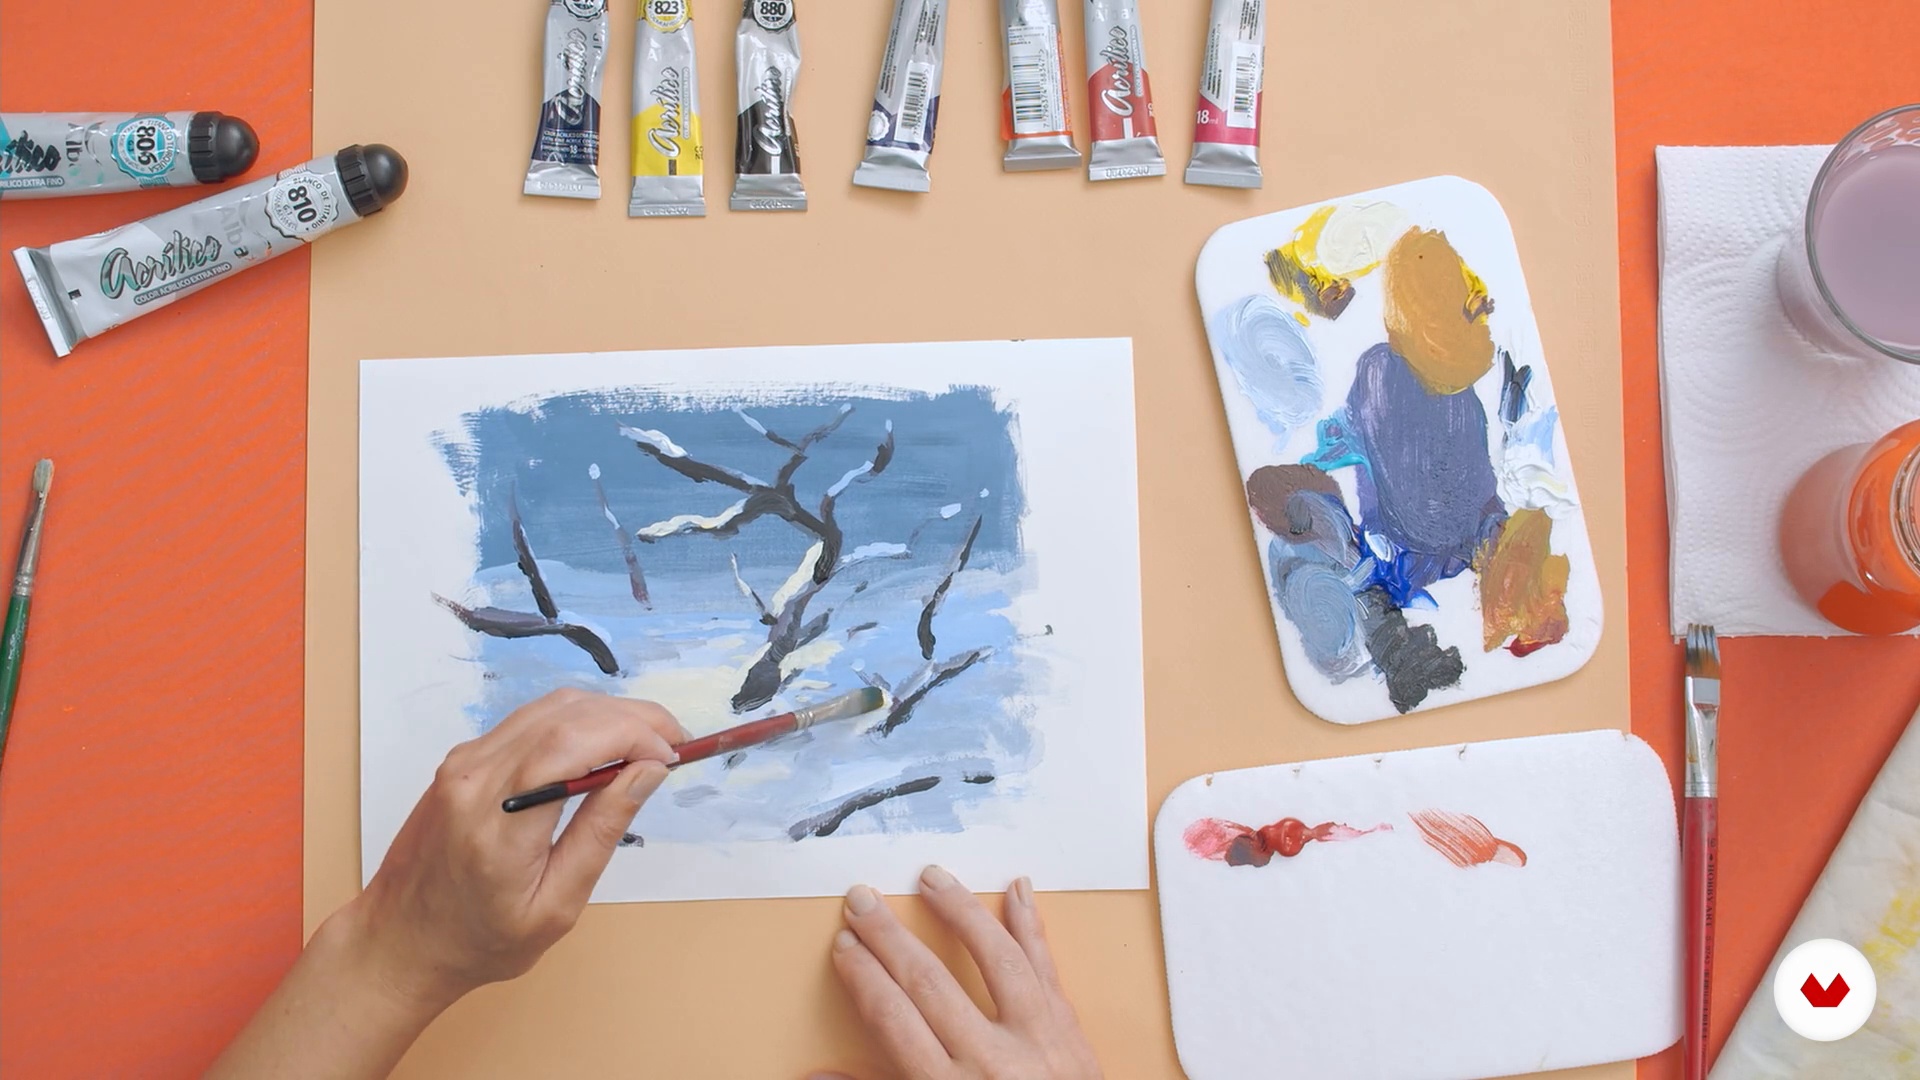
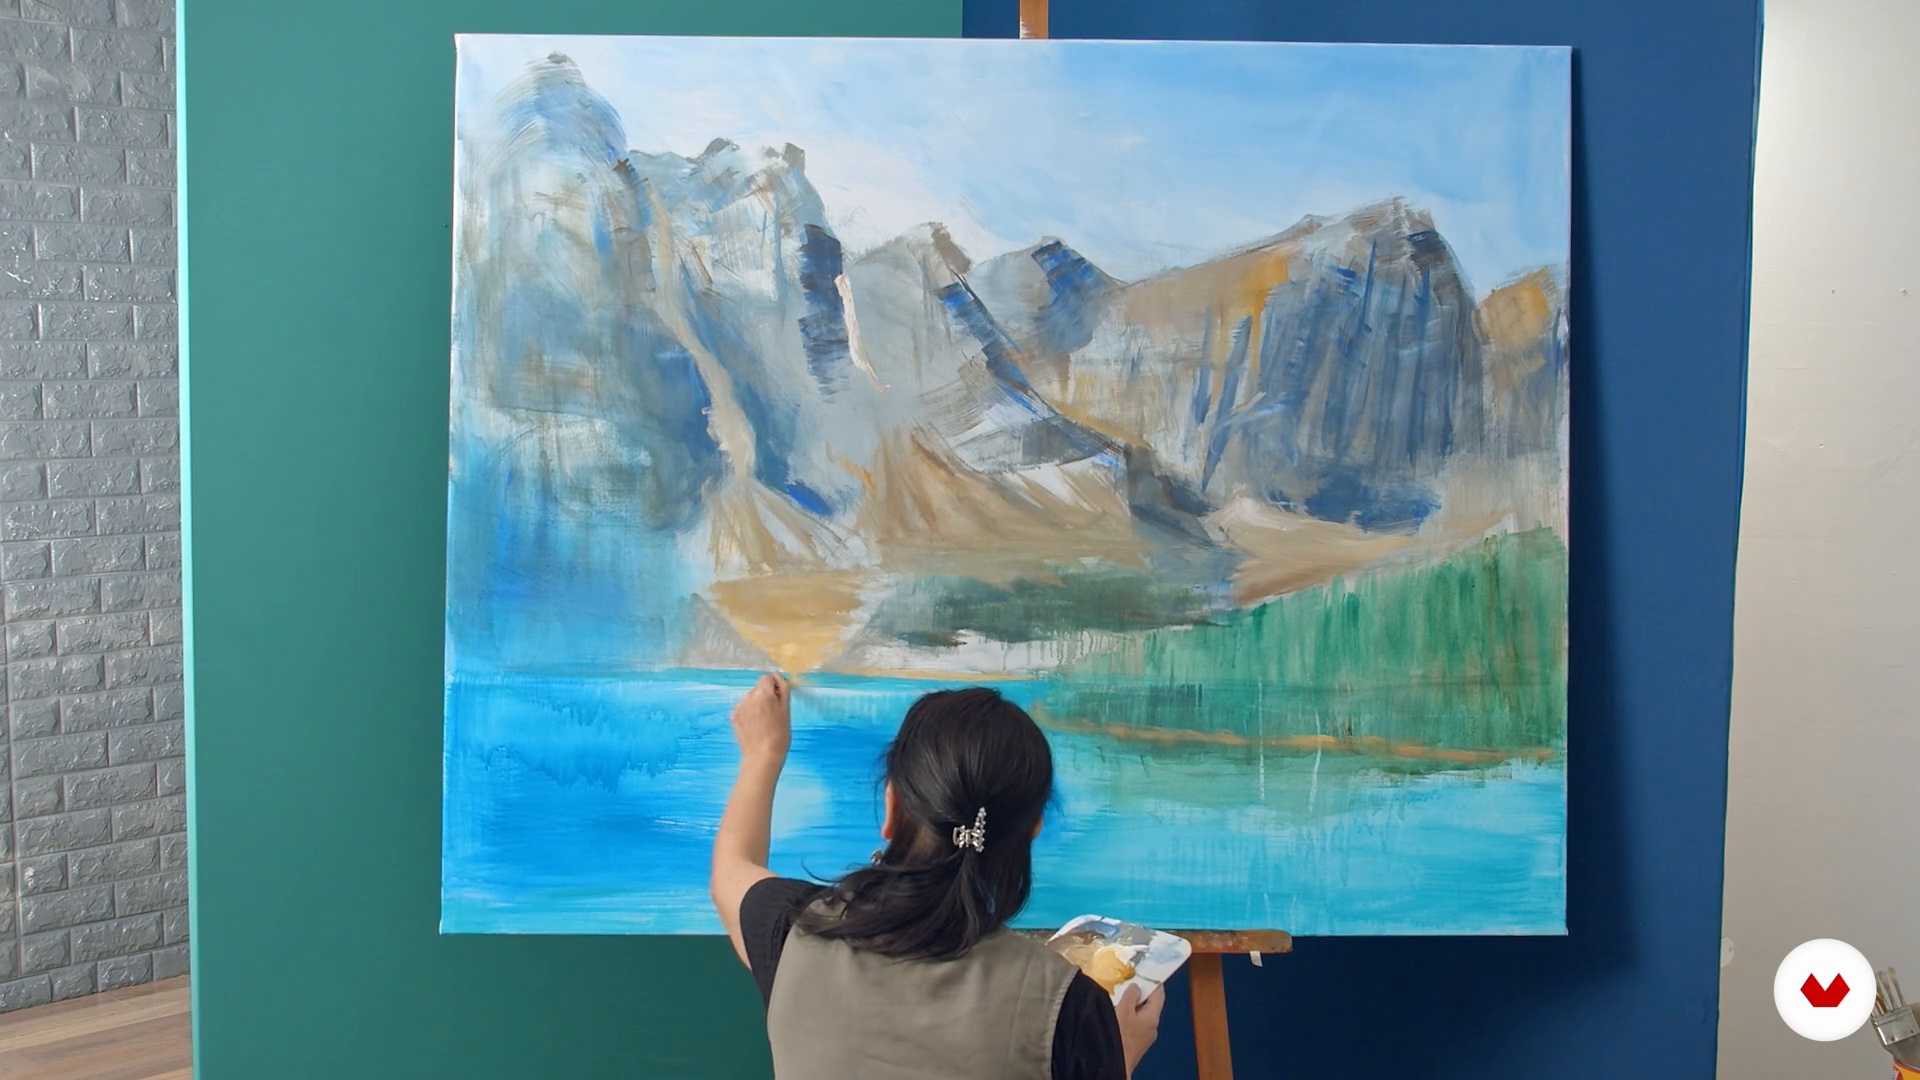
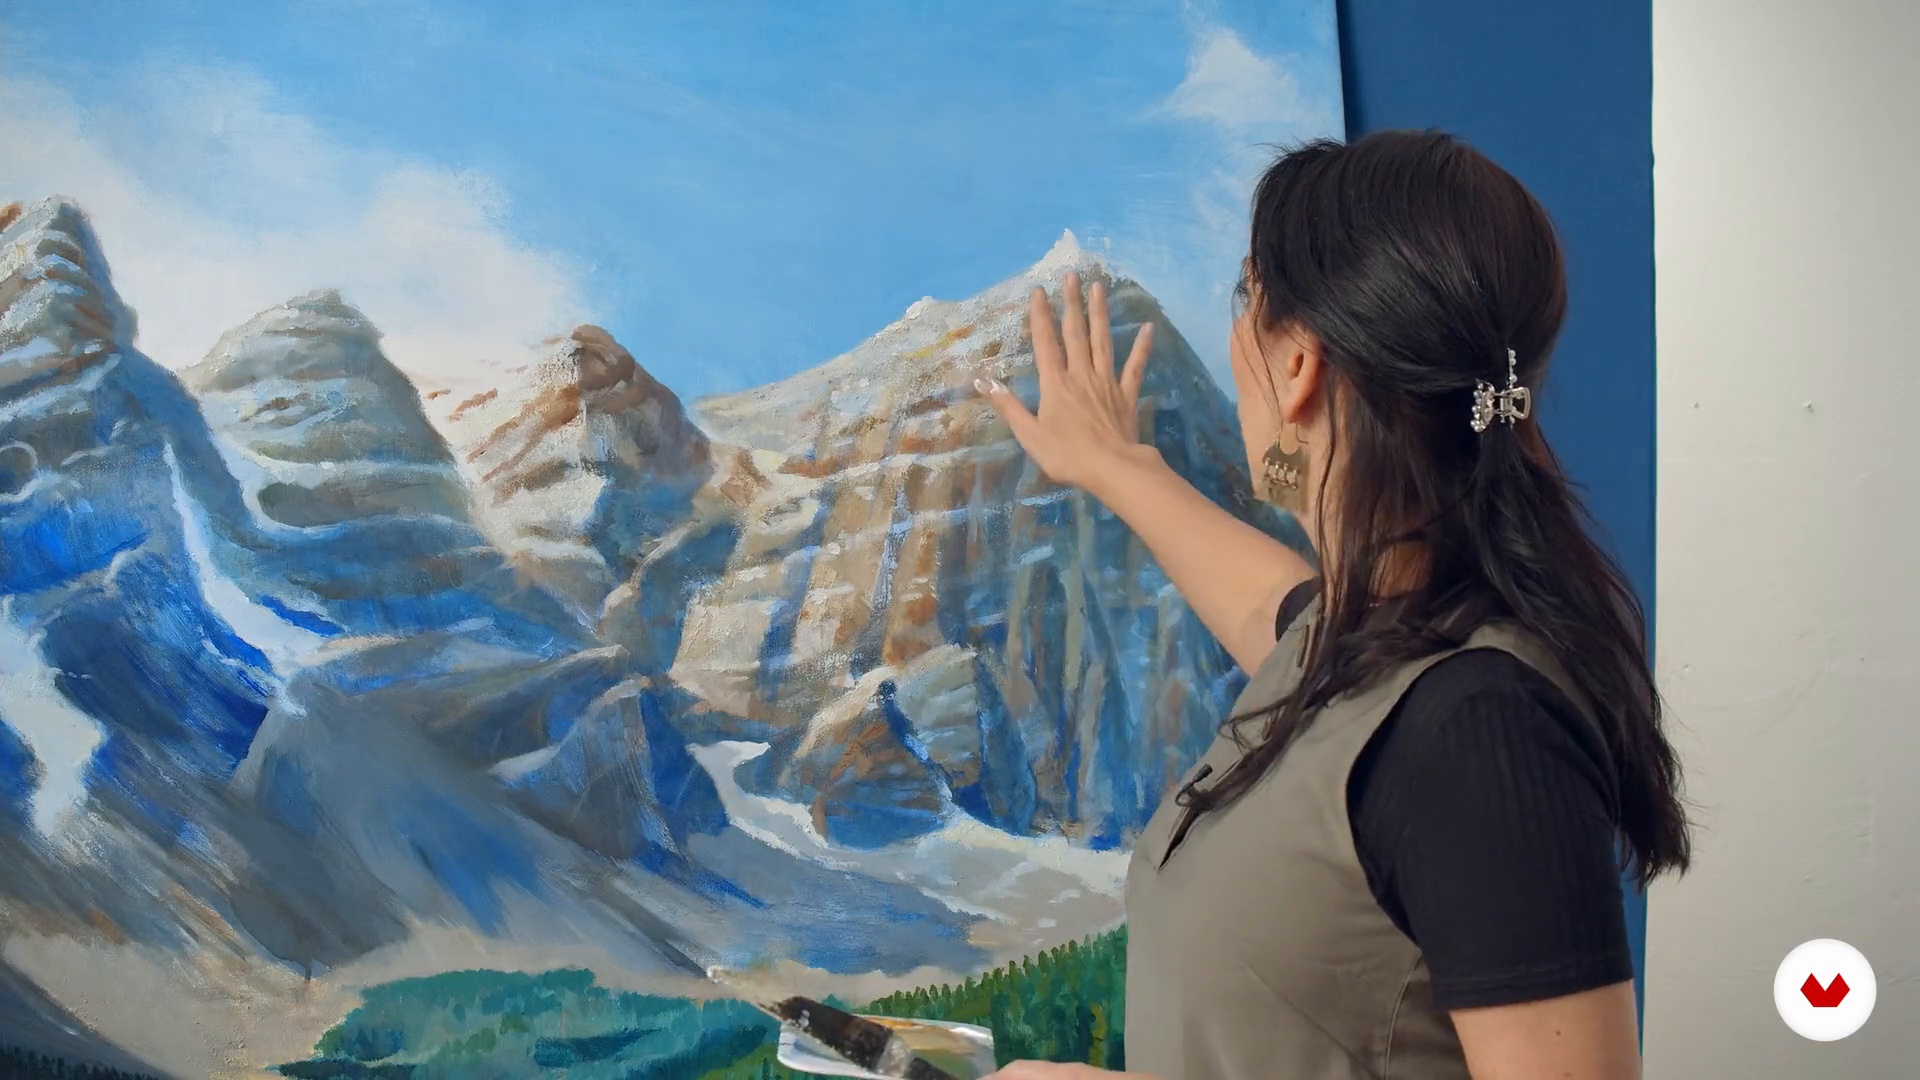
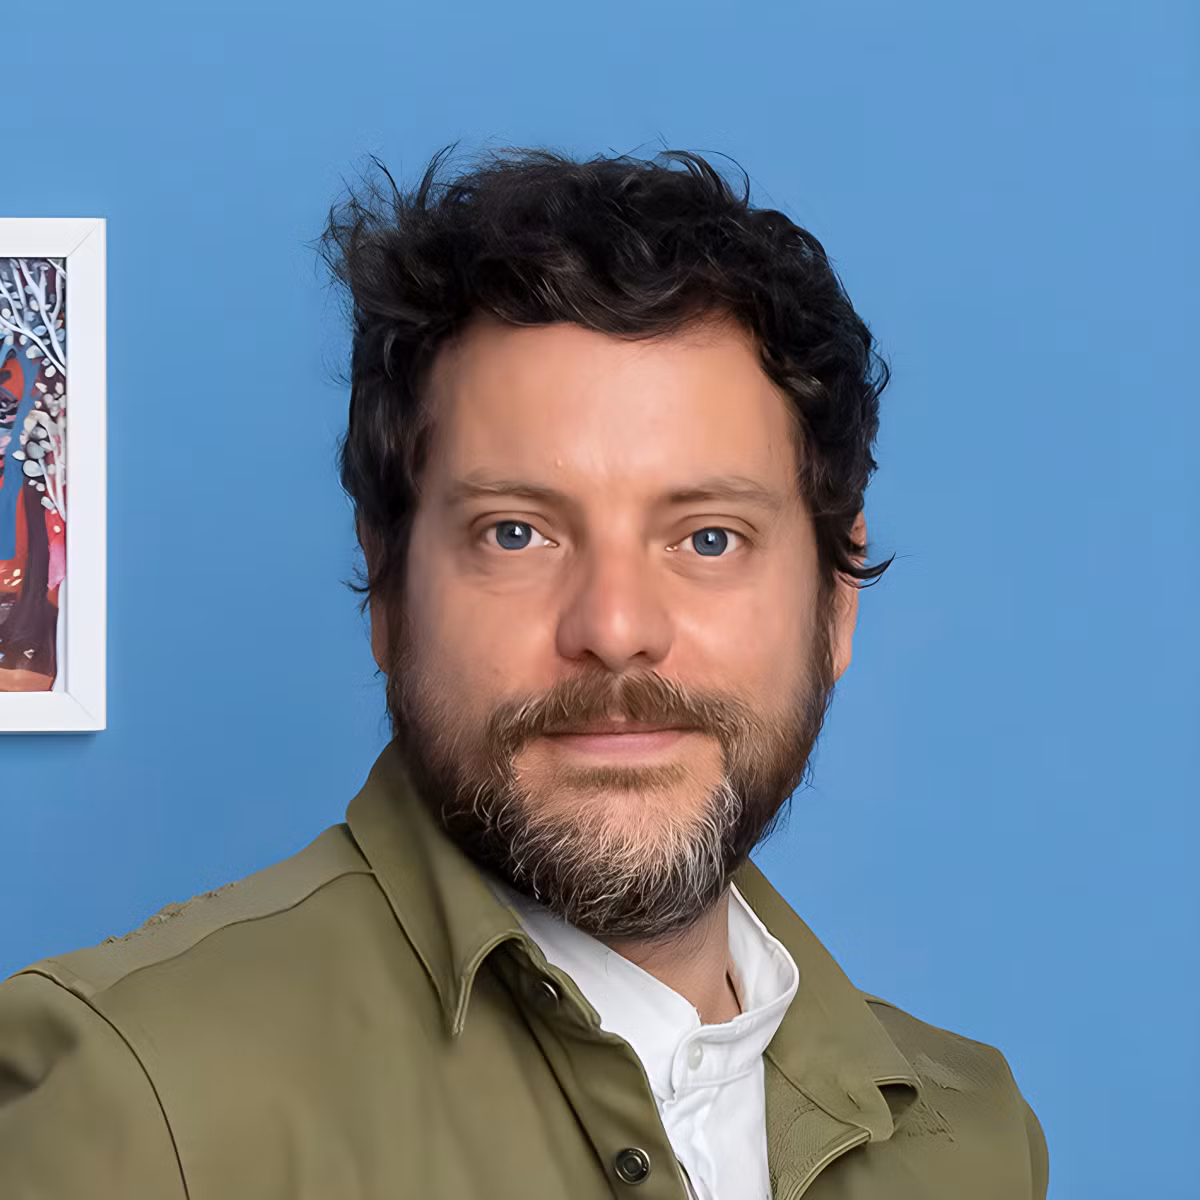
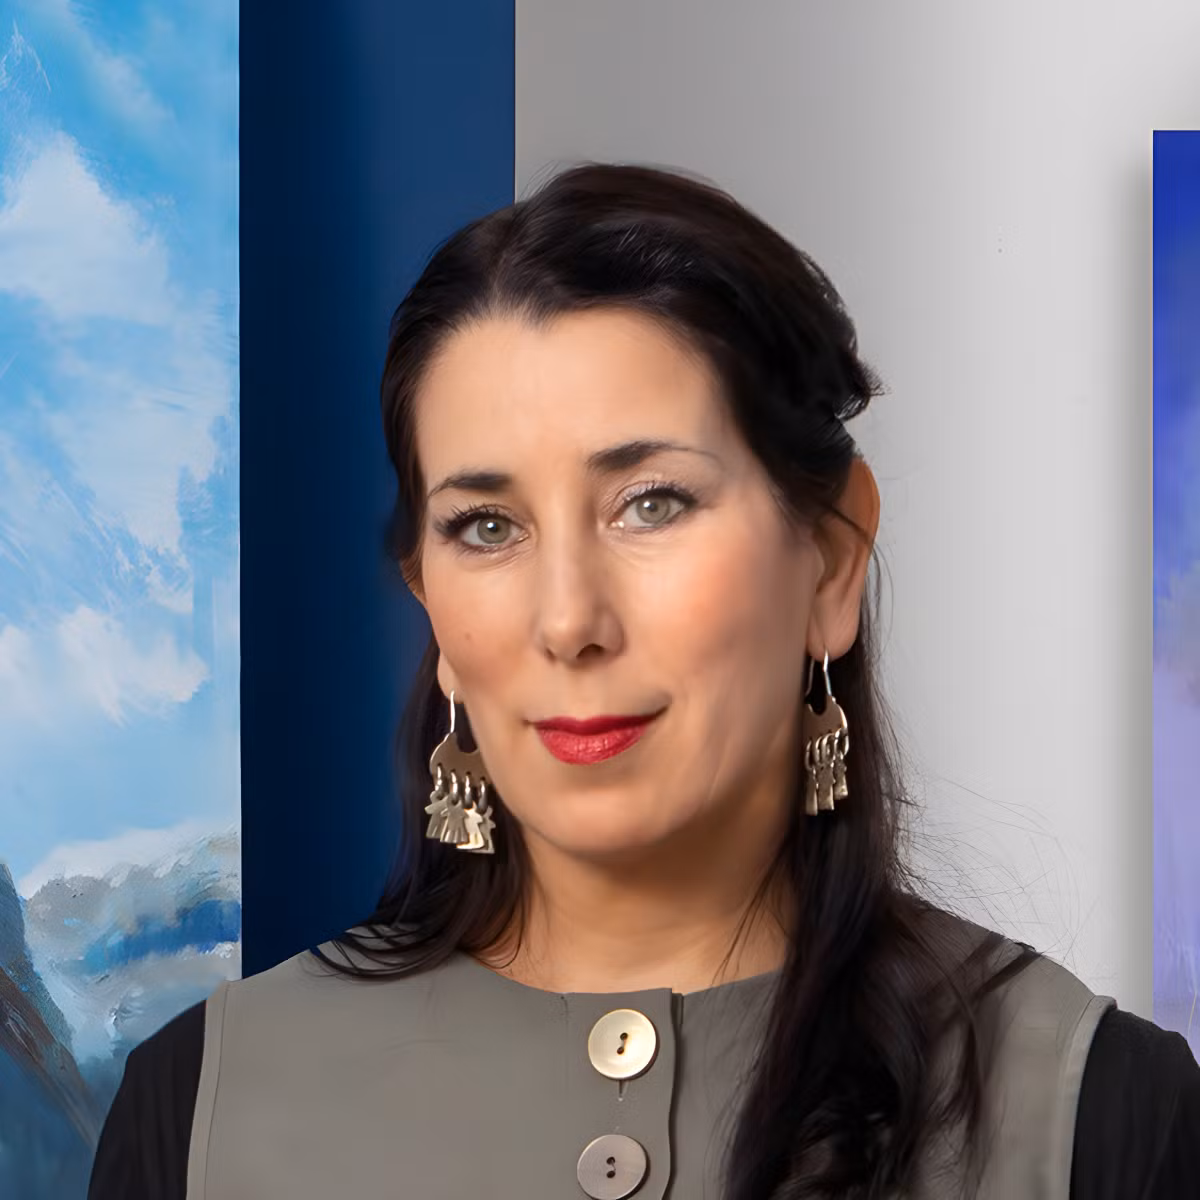
Immerse yourself in the world of acrylic painting and discover how this versatile medium can transform your illustrations. Learn to capture the beauty of cityscapes with Maru Godas, who will guide you in using layers and textures to create unique atmospheres. Explore visual storytelling with Adolfo Serra, who will teach you how to create magical universes full of color and emotion. Floral illustration comes to life with Maya Hanisch, who will show you how to use acrylics to bring organic shapes and vibrant patterns to life.
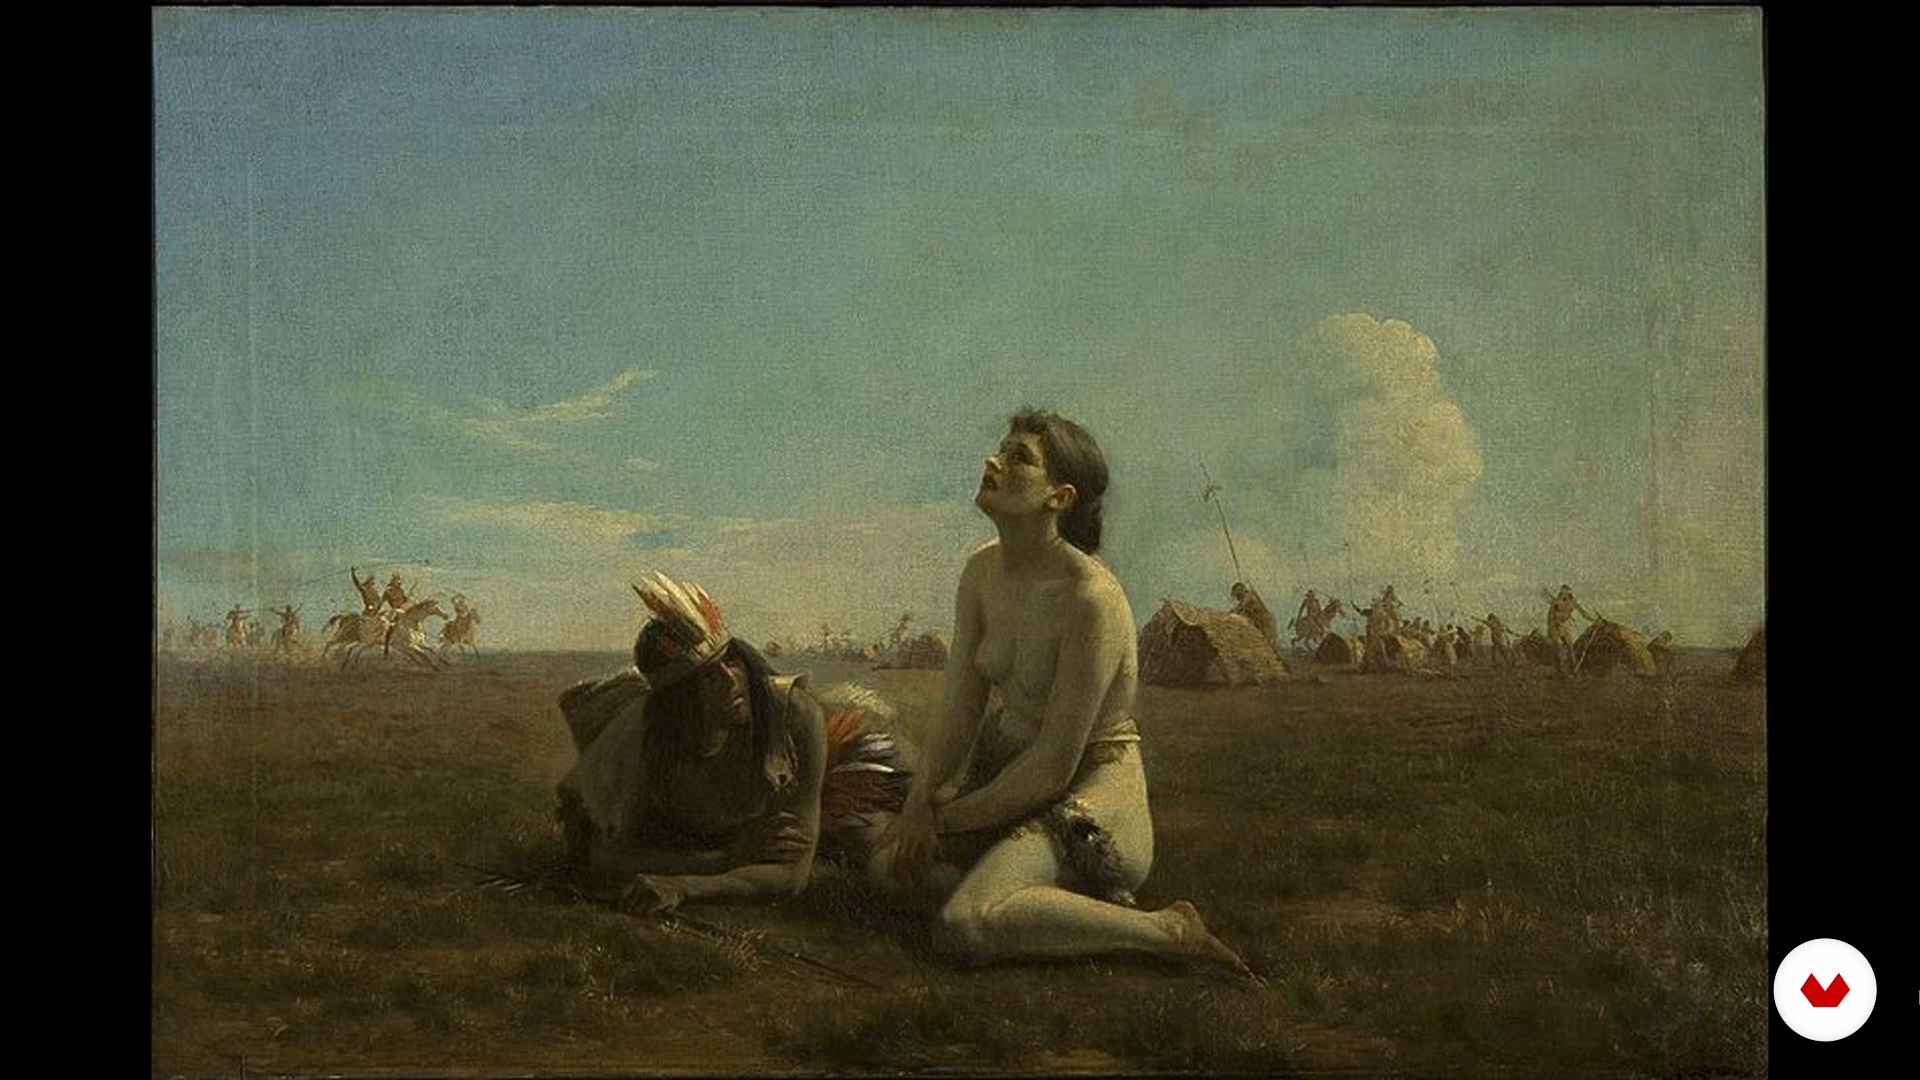
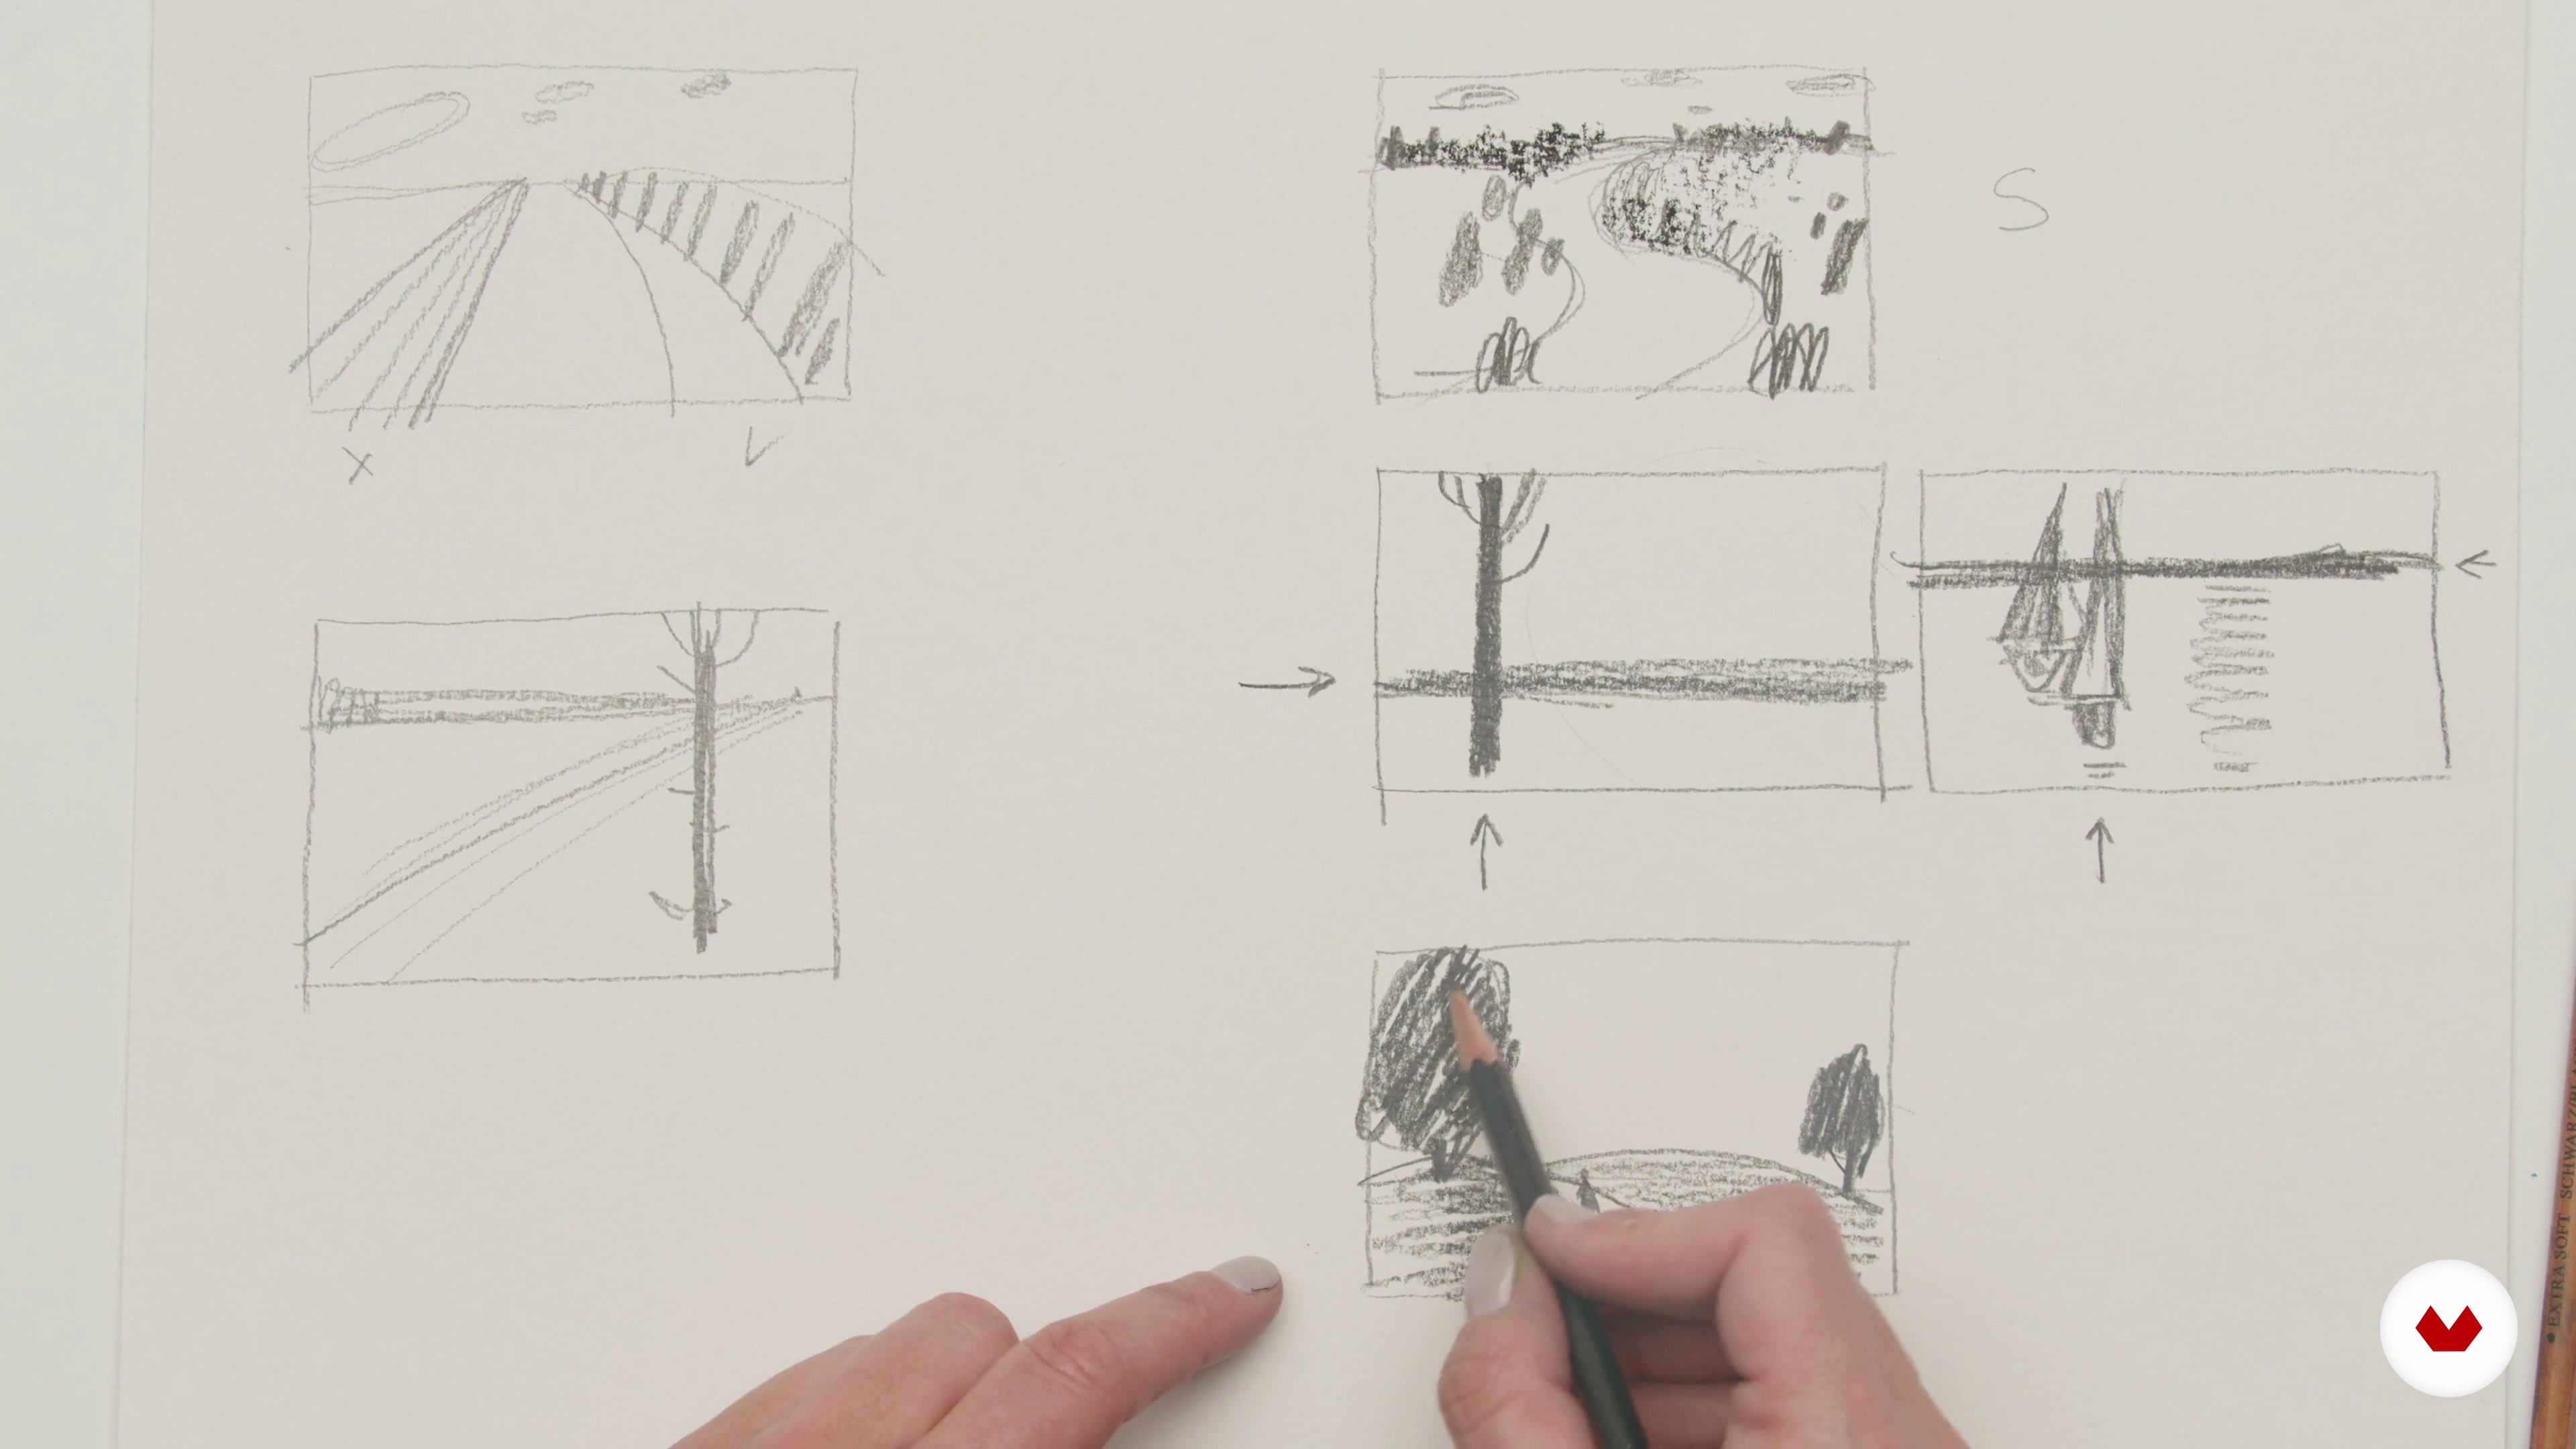
Discover the poetry in the art of creating dreamlike landscapes with Florencia Fraschina, as you learn to communicate emotions through color and light. Ariel Olivetti will guide you on a journey where character design becomes a creative experience, using professional techniques to bring your illustrations to life. Each instructor brings their unique perspective, providing you with tools and techniques that will enrich your artistic journey. This specialization brings together these five experts to offer you a comprehensive experience in the art of acrylic illustration.
What will you learn in this specialization?

- 100% positive reviews (6)
- 765 students
- 73 lessons (14h 4m)
- 95 additional resources (26 files)
- Online and at your own pace
- Audio: Spanish, German, English, Spanish (Latam), French, Indonesian, Italian, Dutch, Polish, Portuguese, Romanian, Turkish
- Spanish · Italian · Portuguese · English · French · Turkish · German · Polish · Dutch · Indonesian · Romanian
- Level: Beginner
- Unlimited access forever
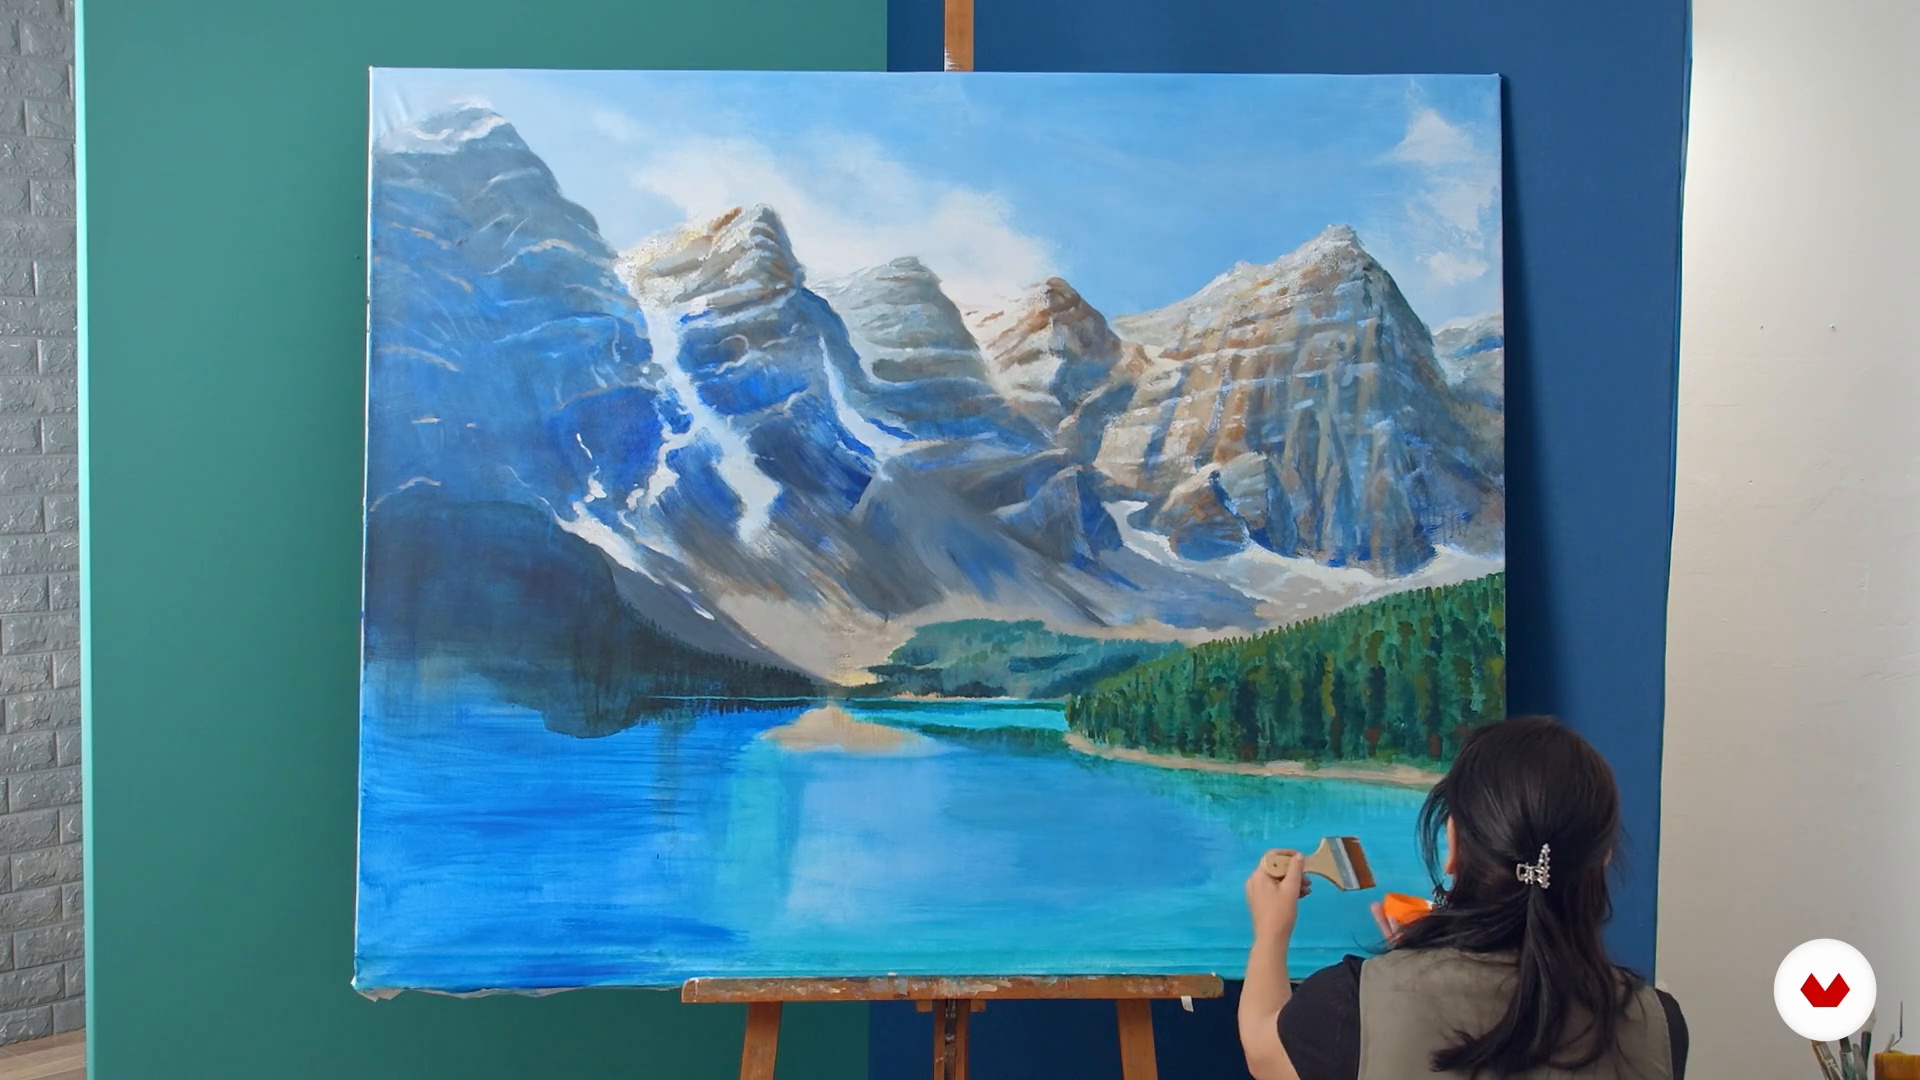
What is this course's project?
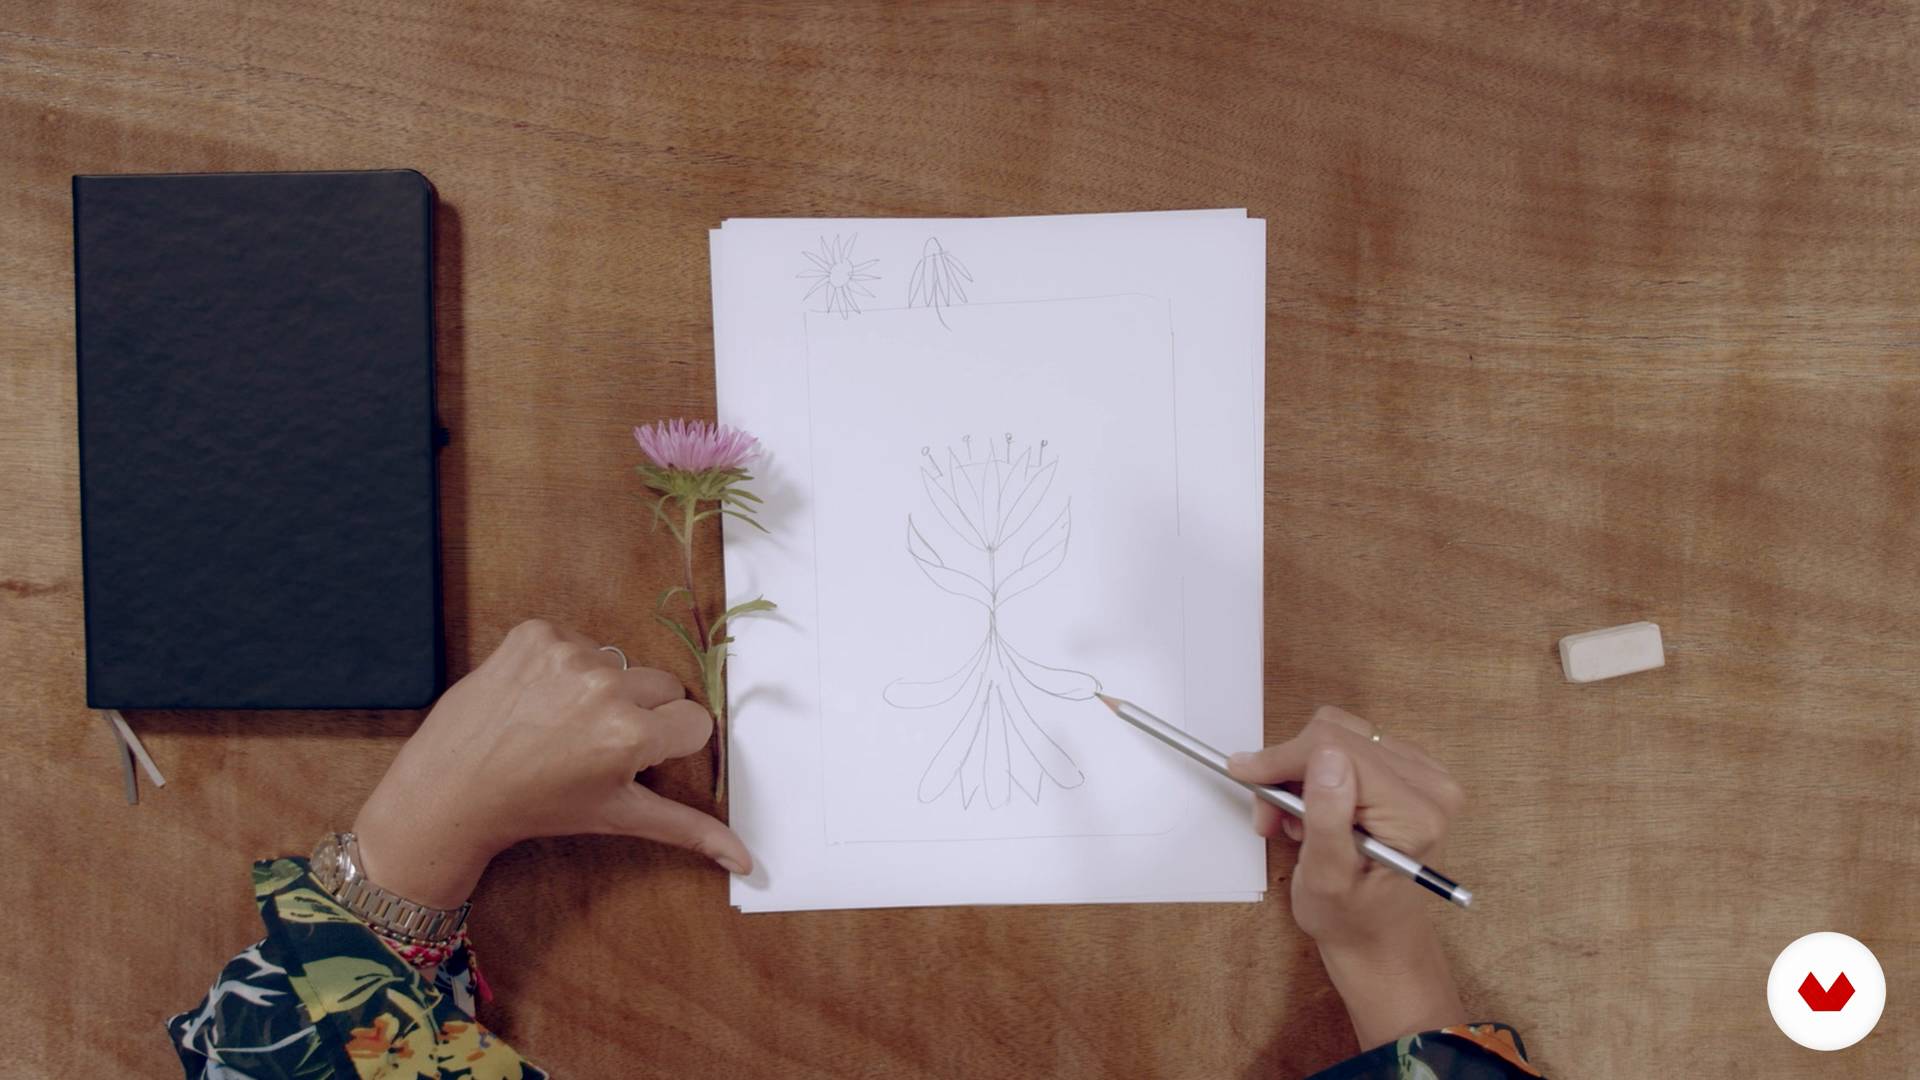
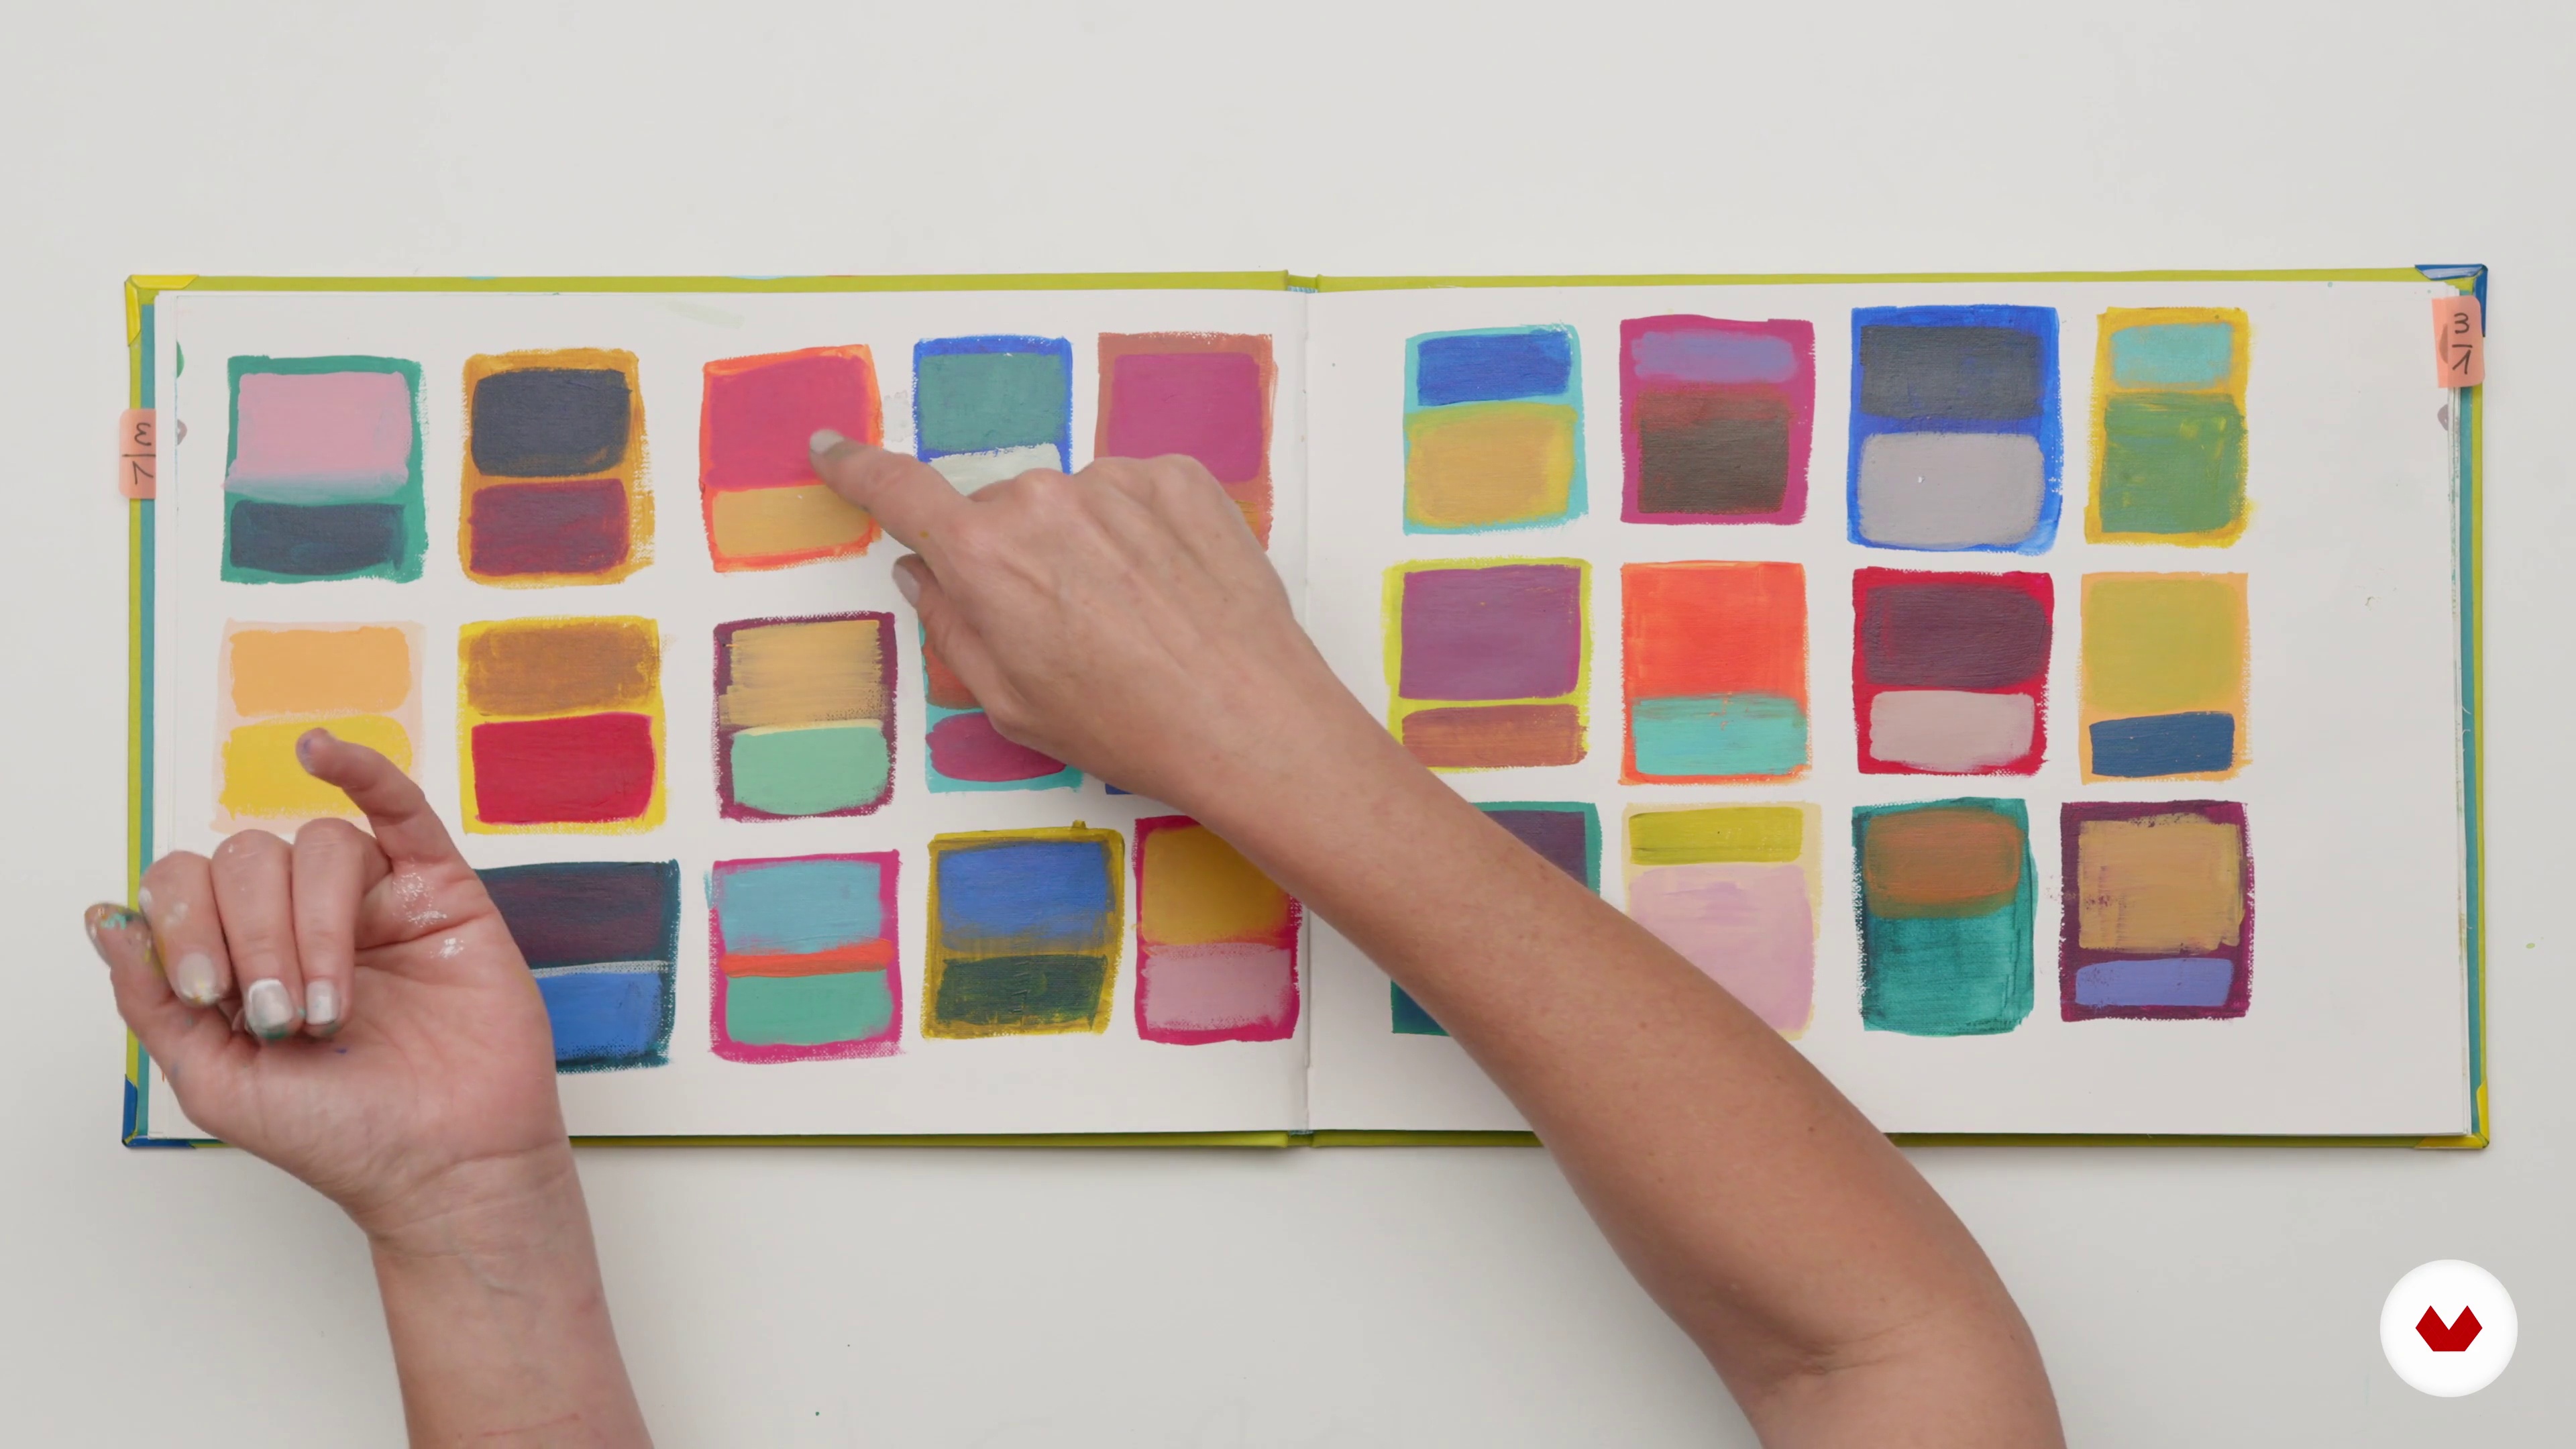
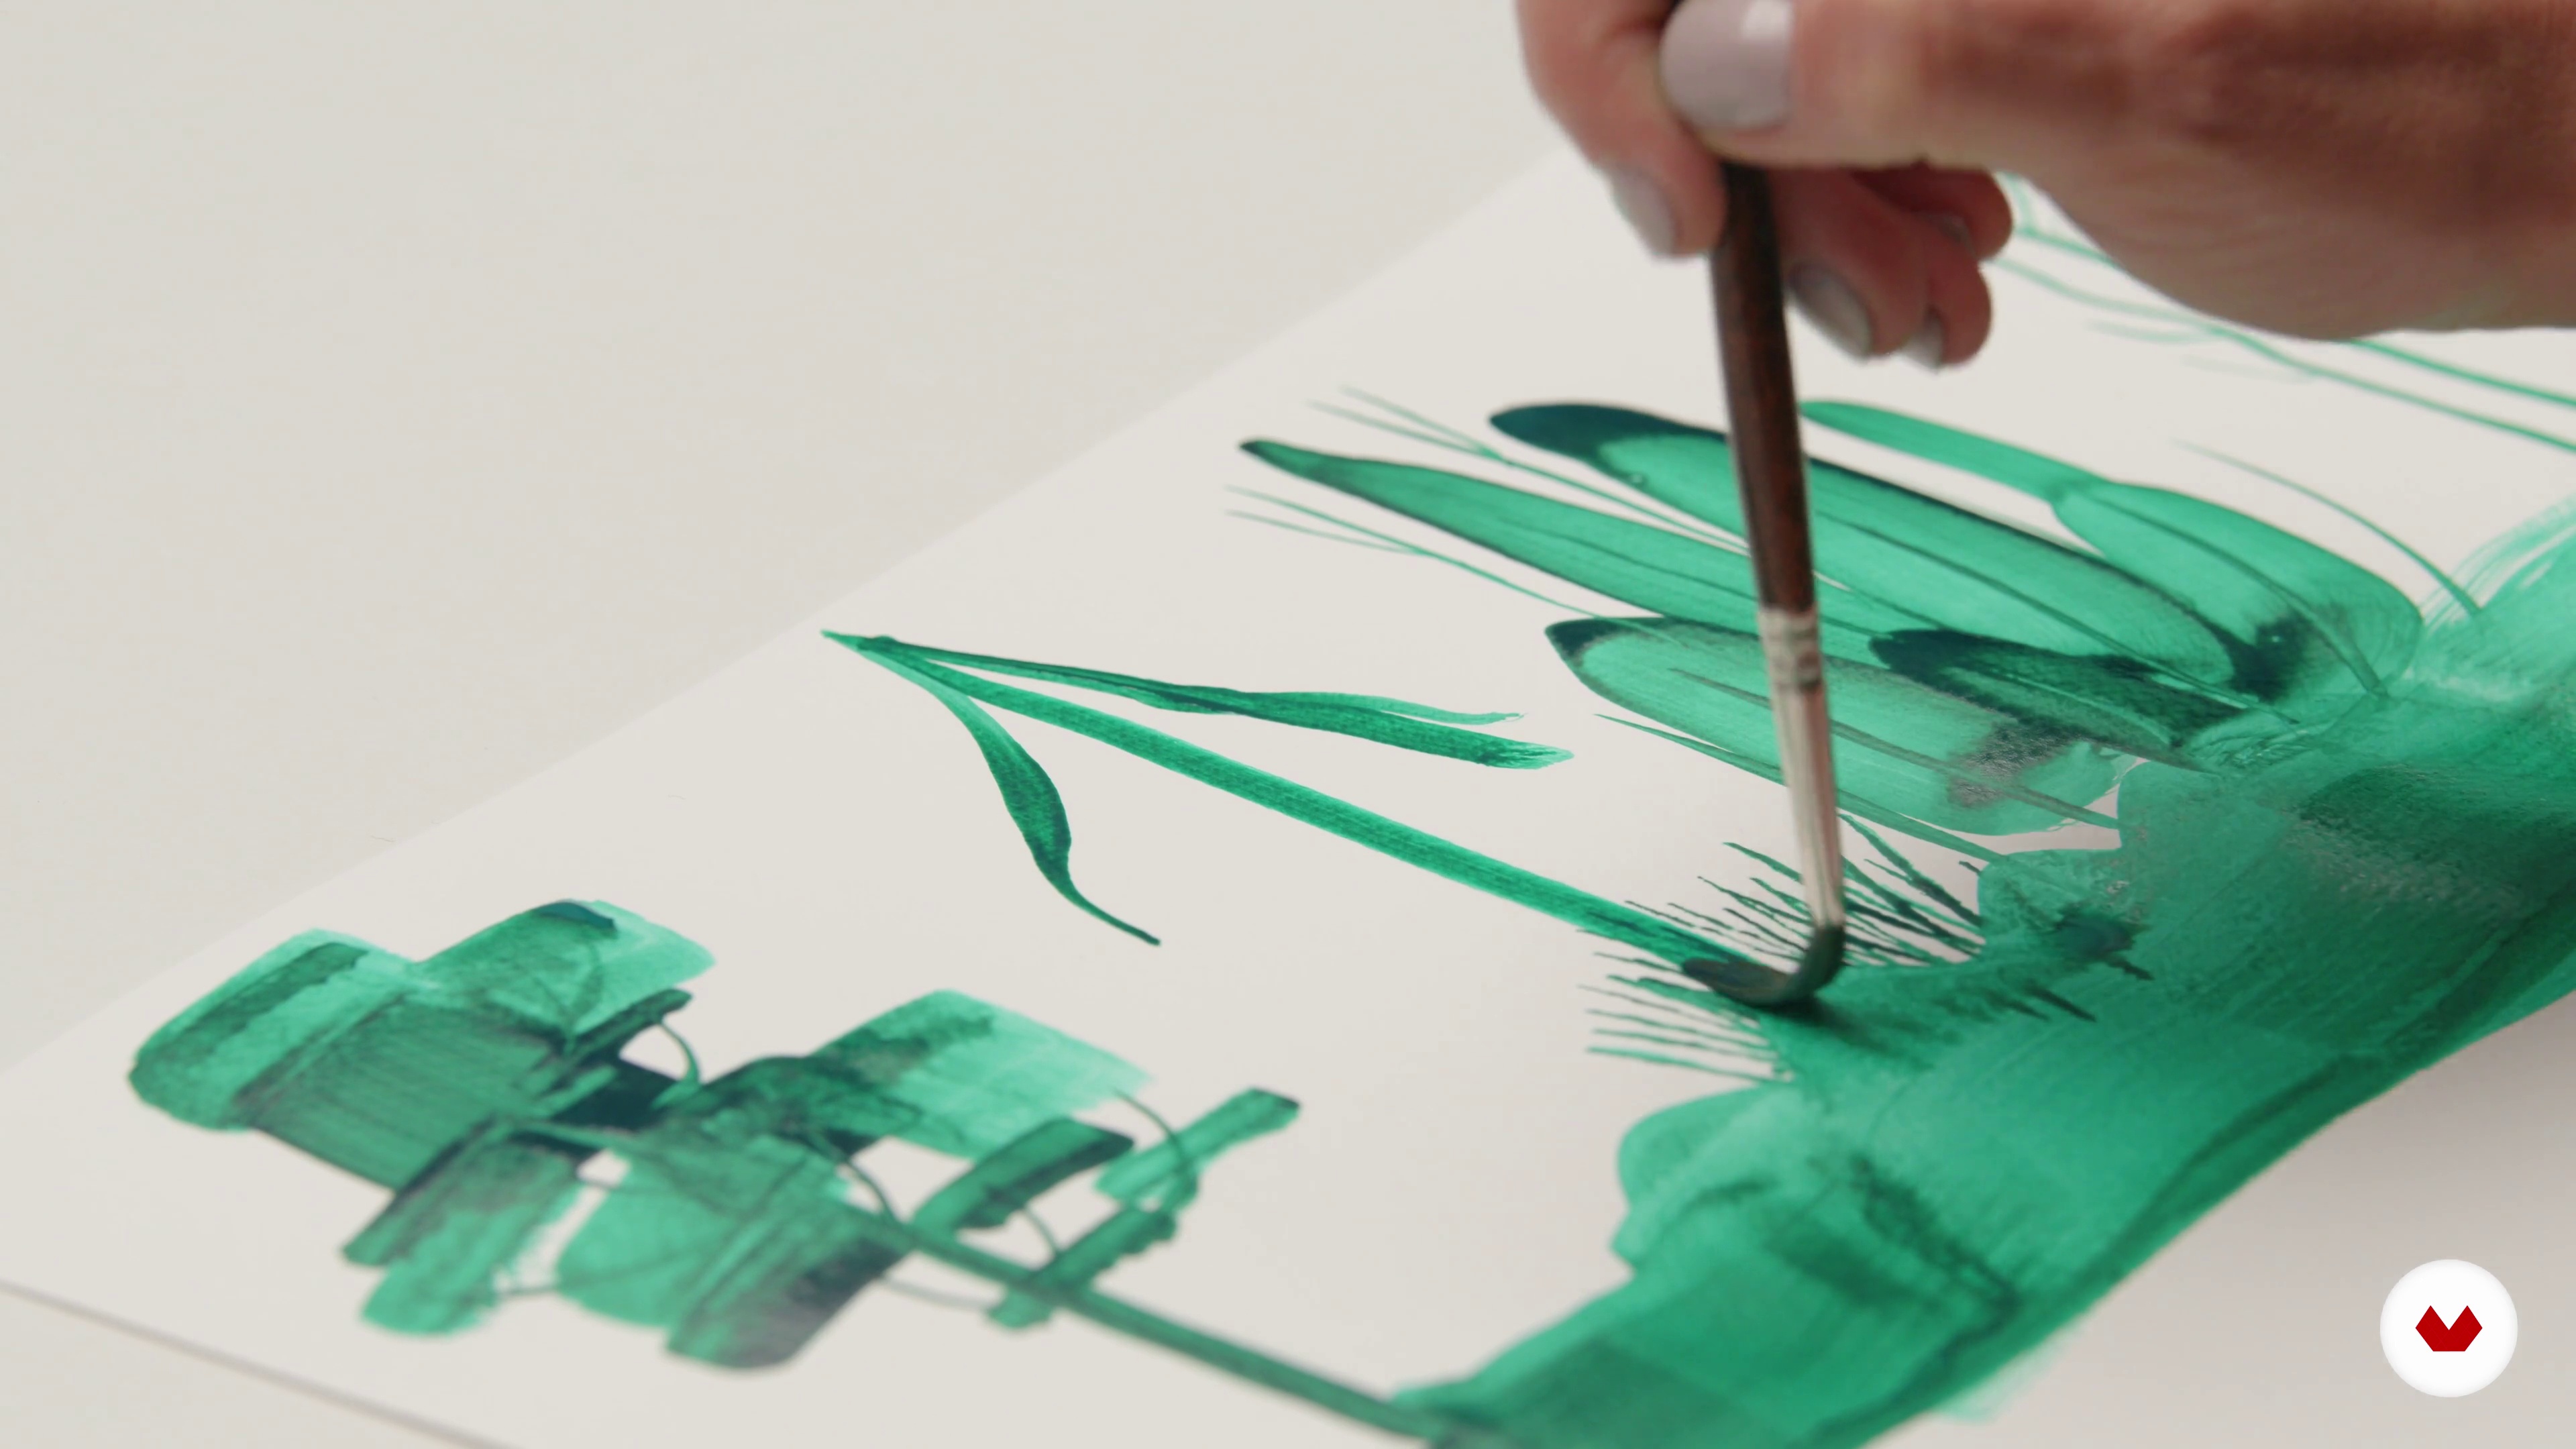
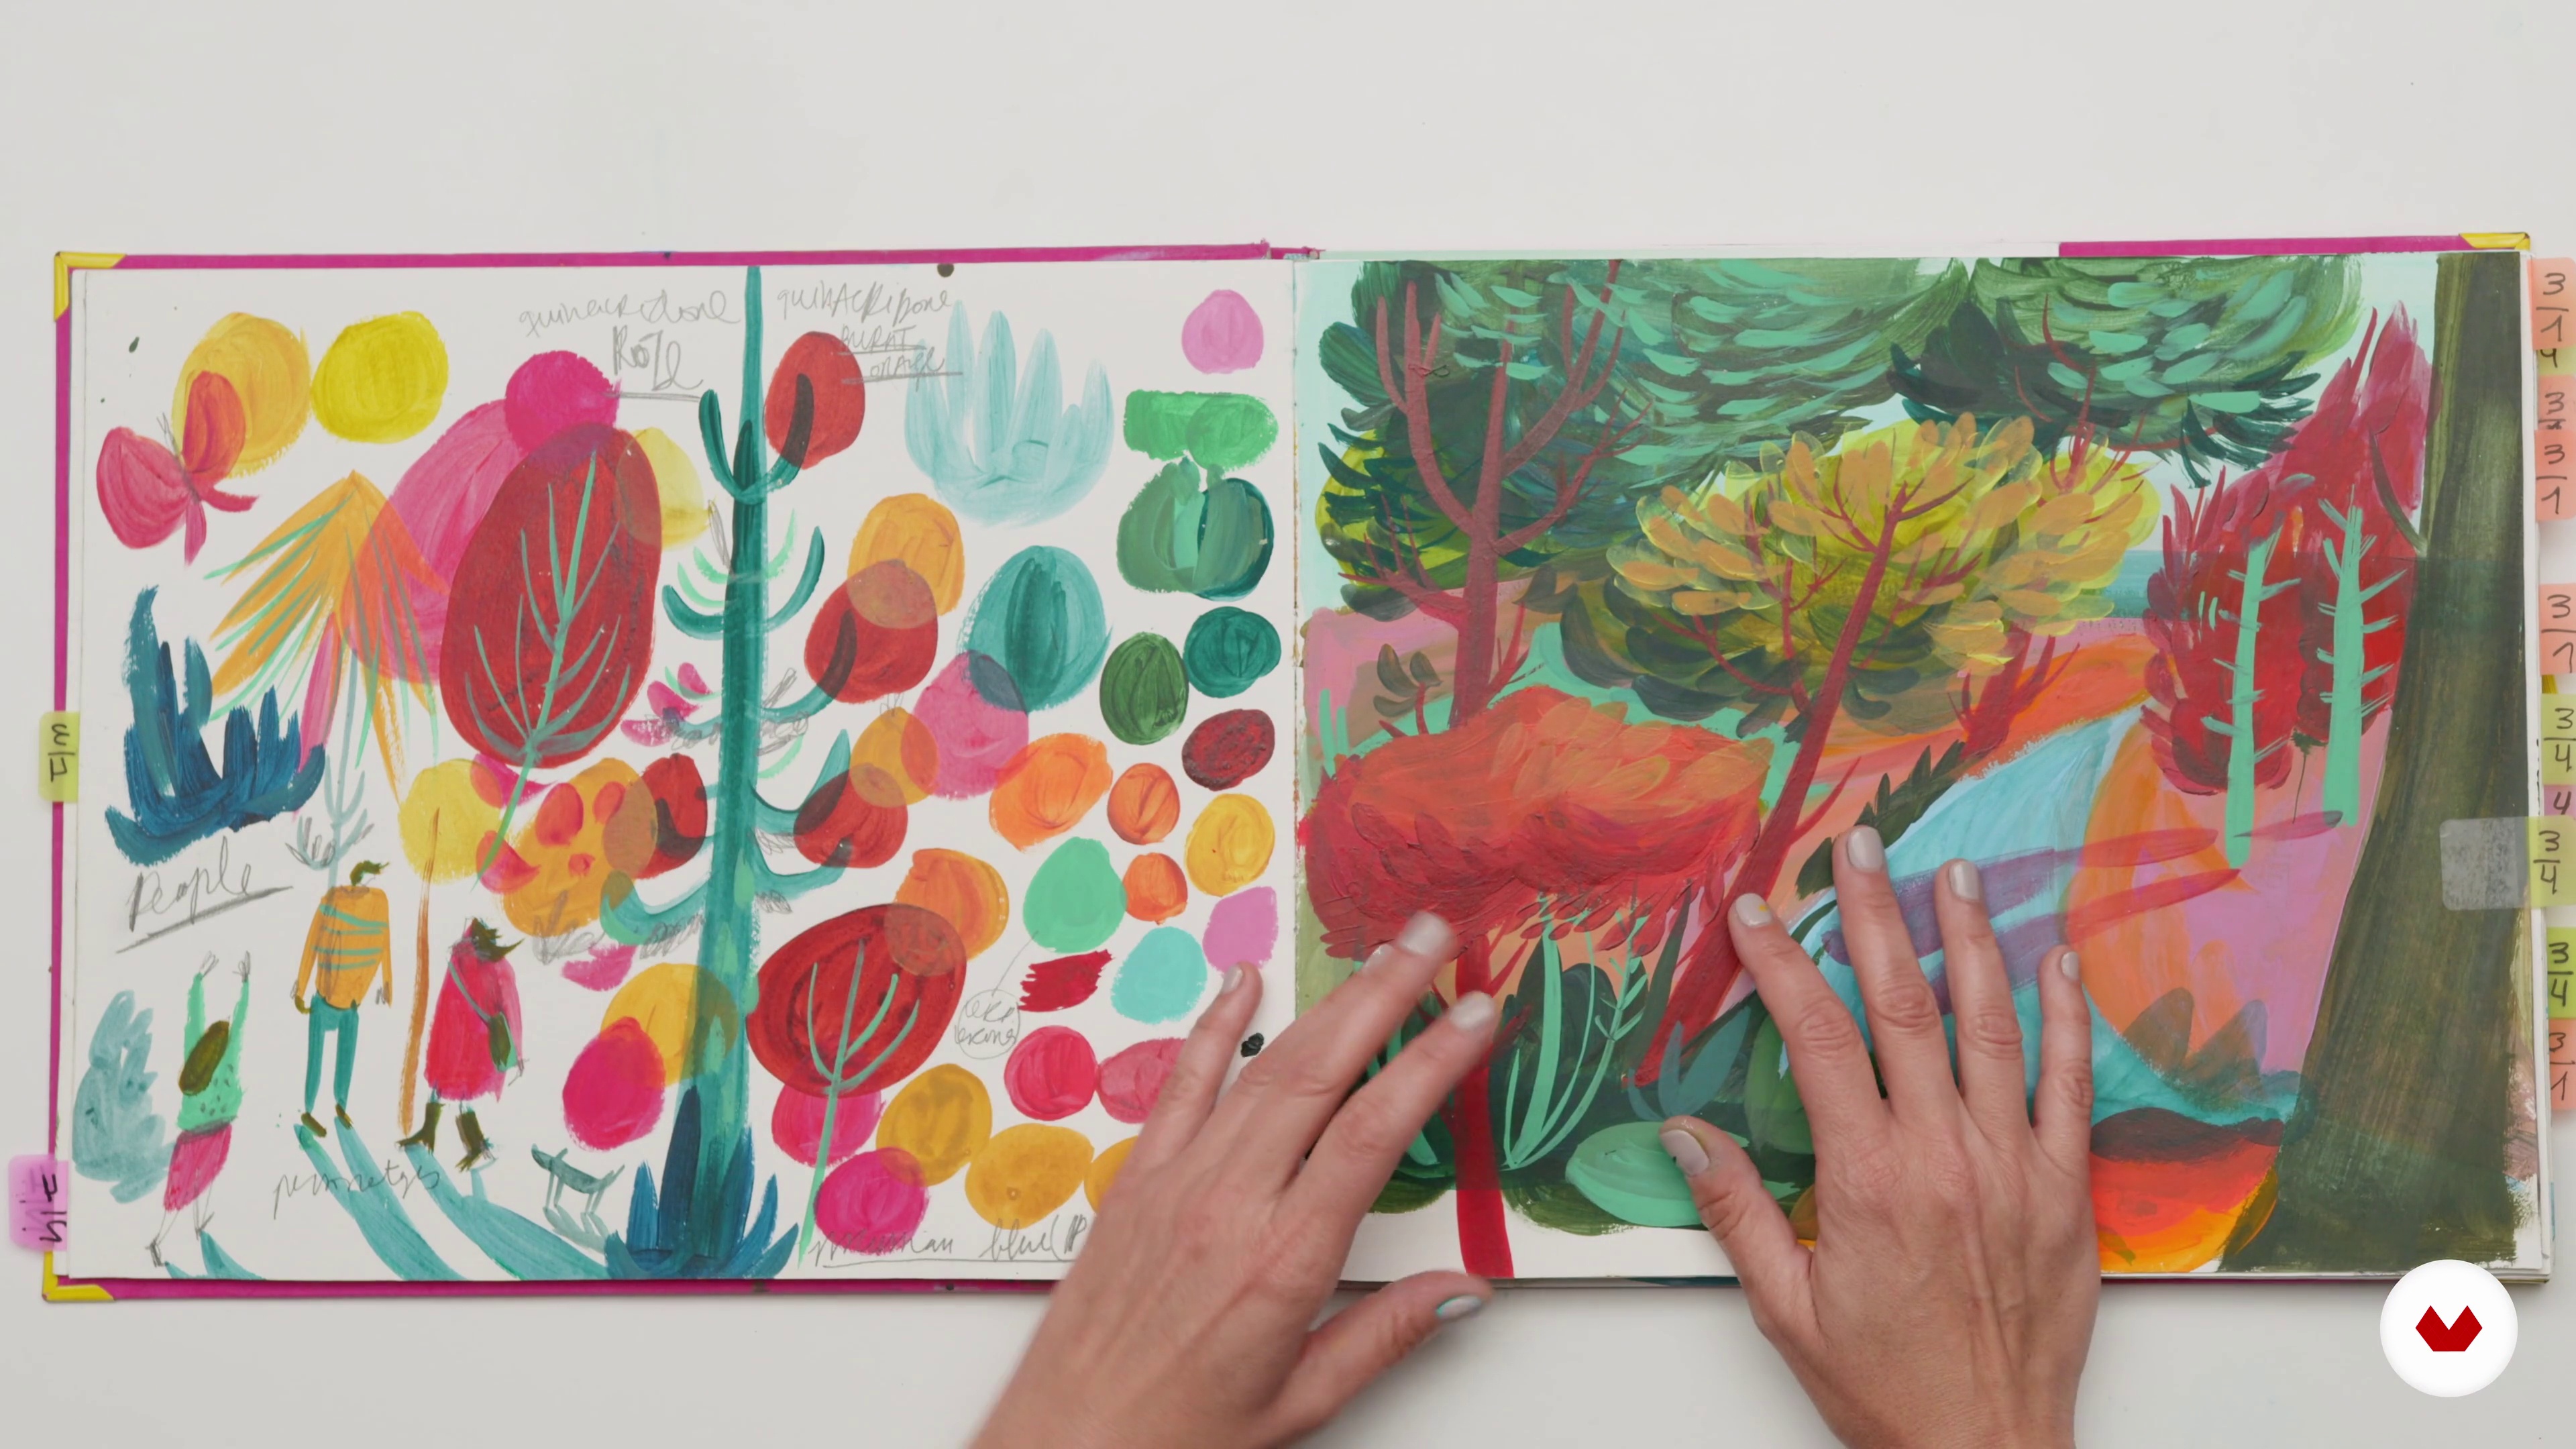
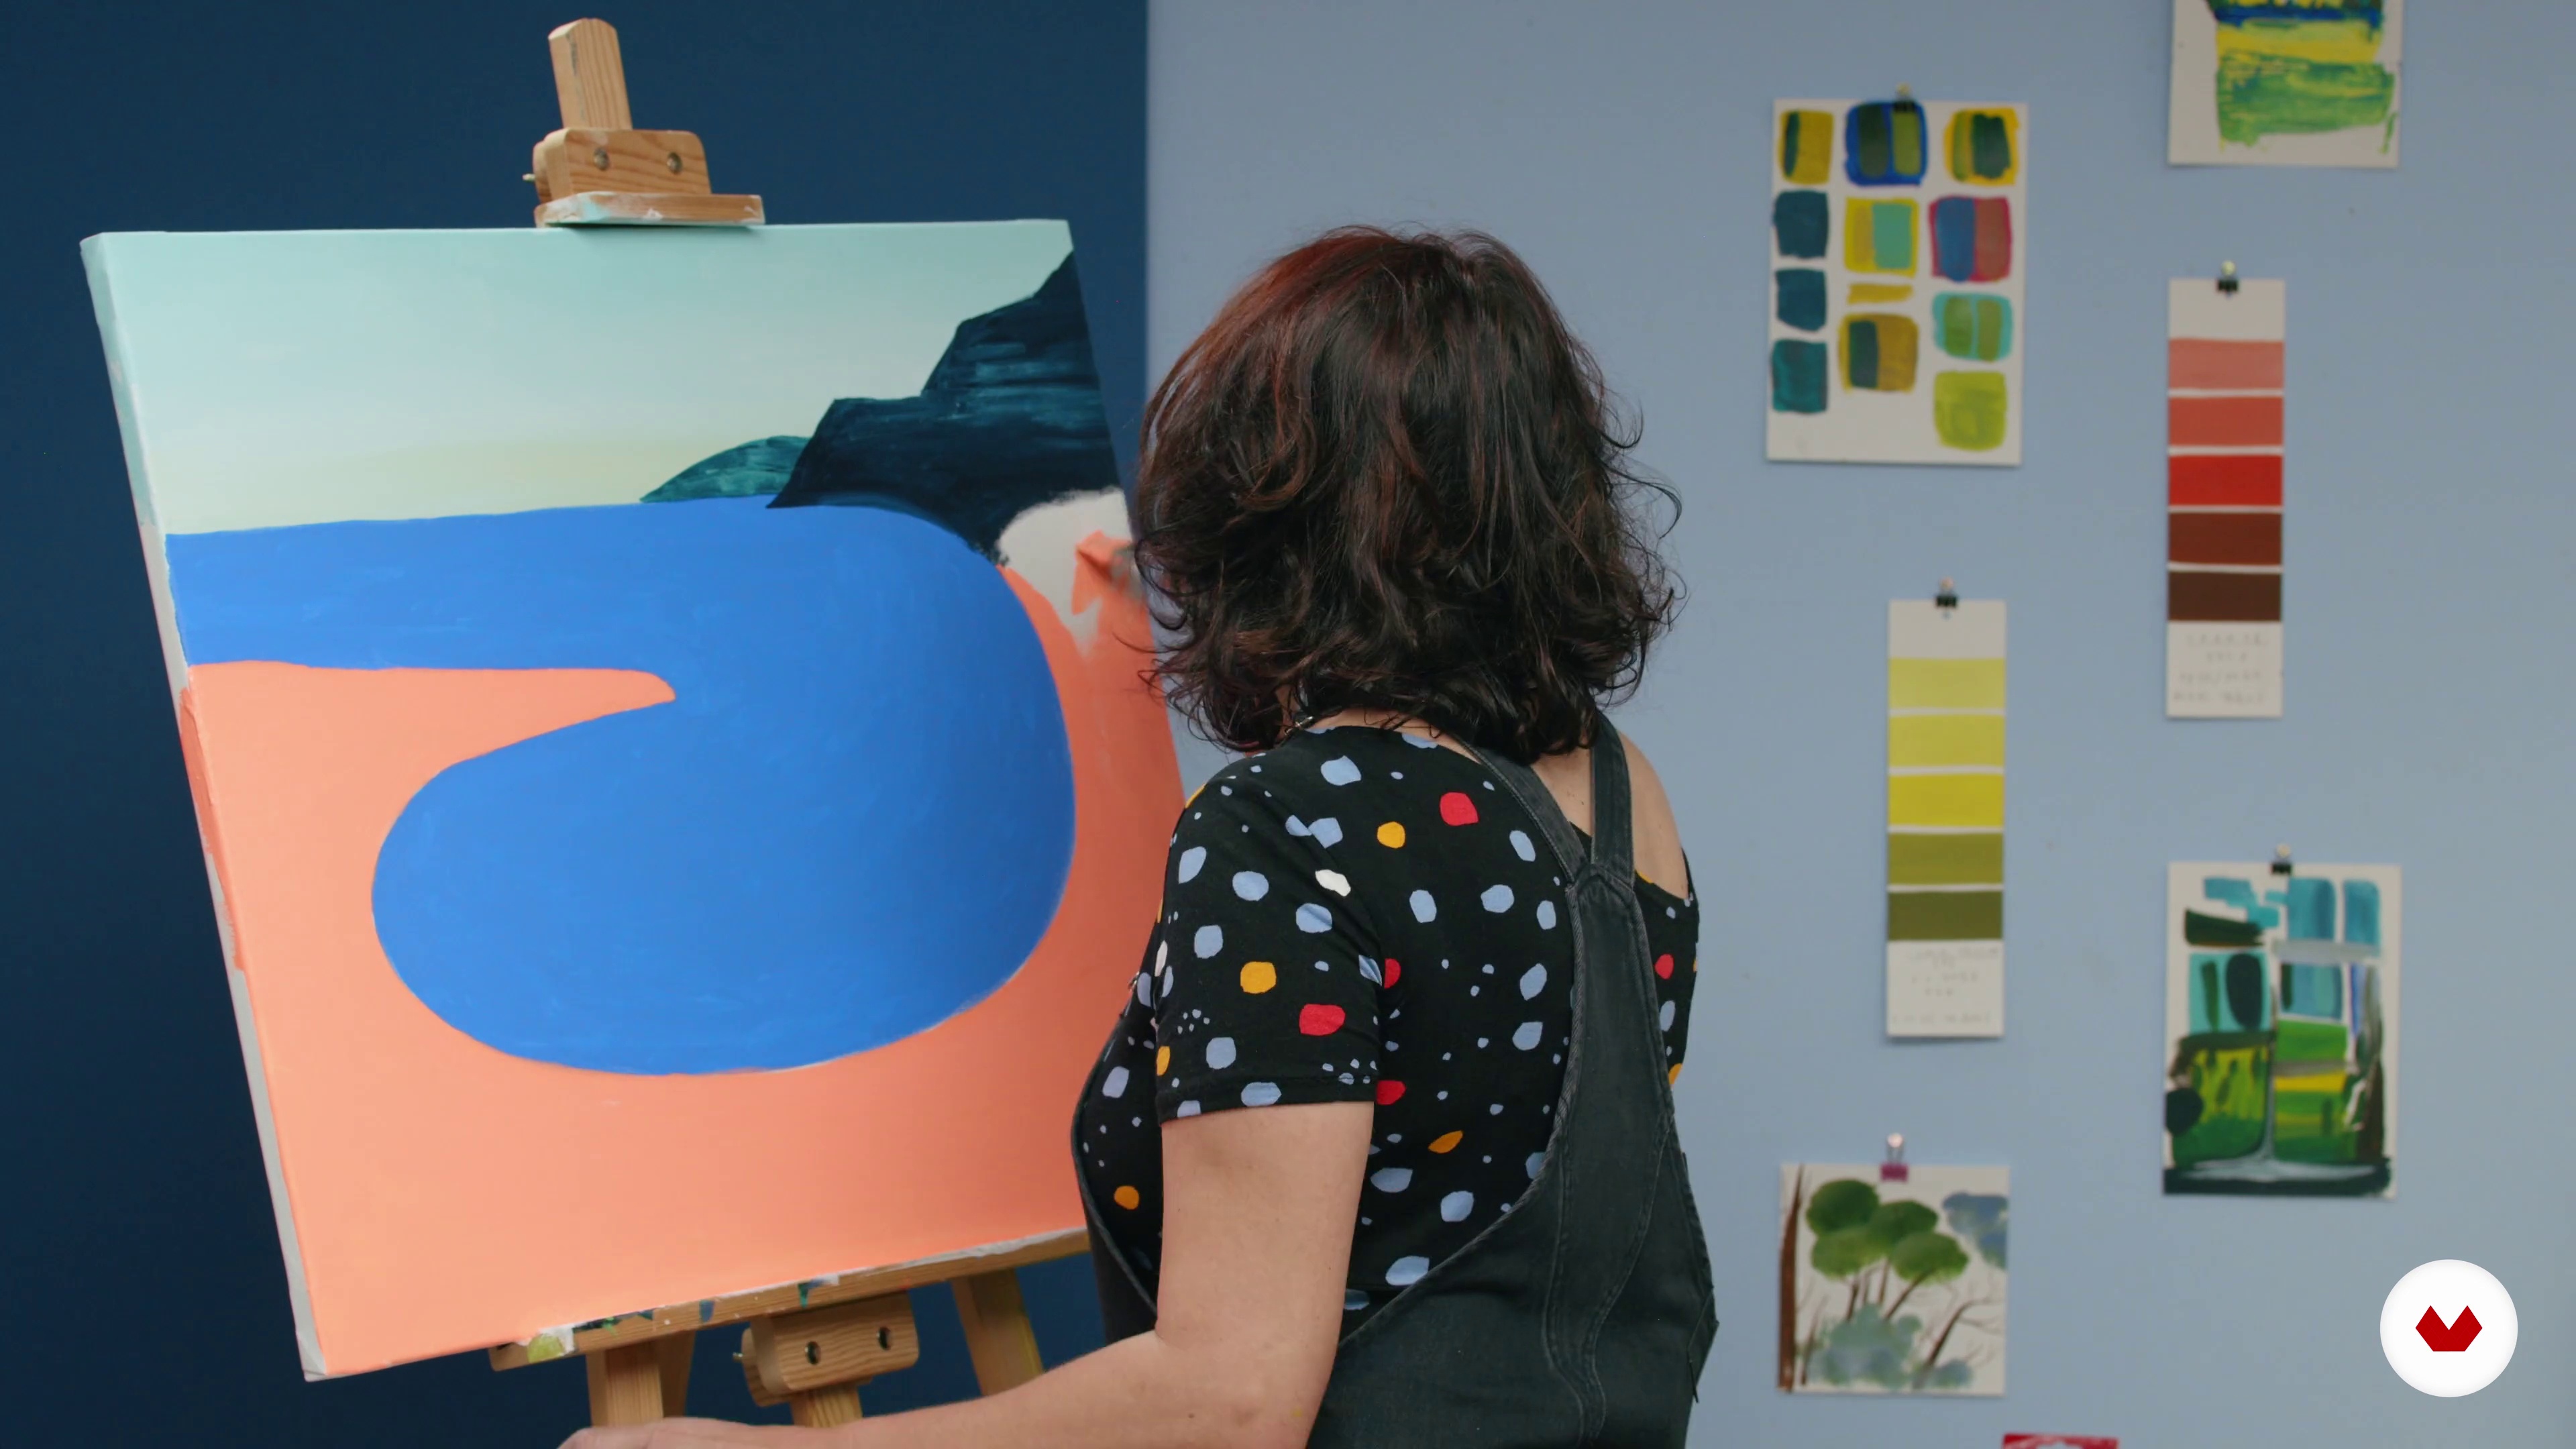
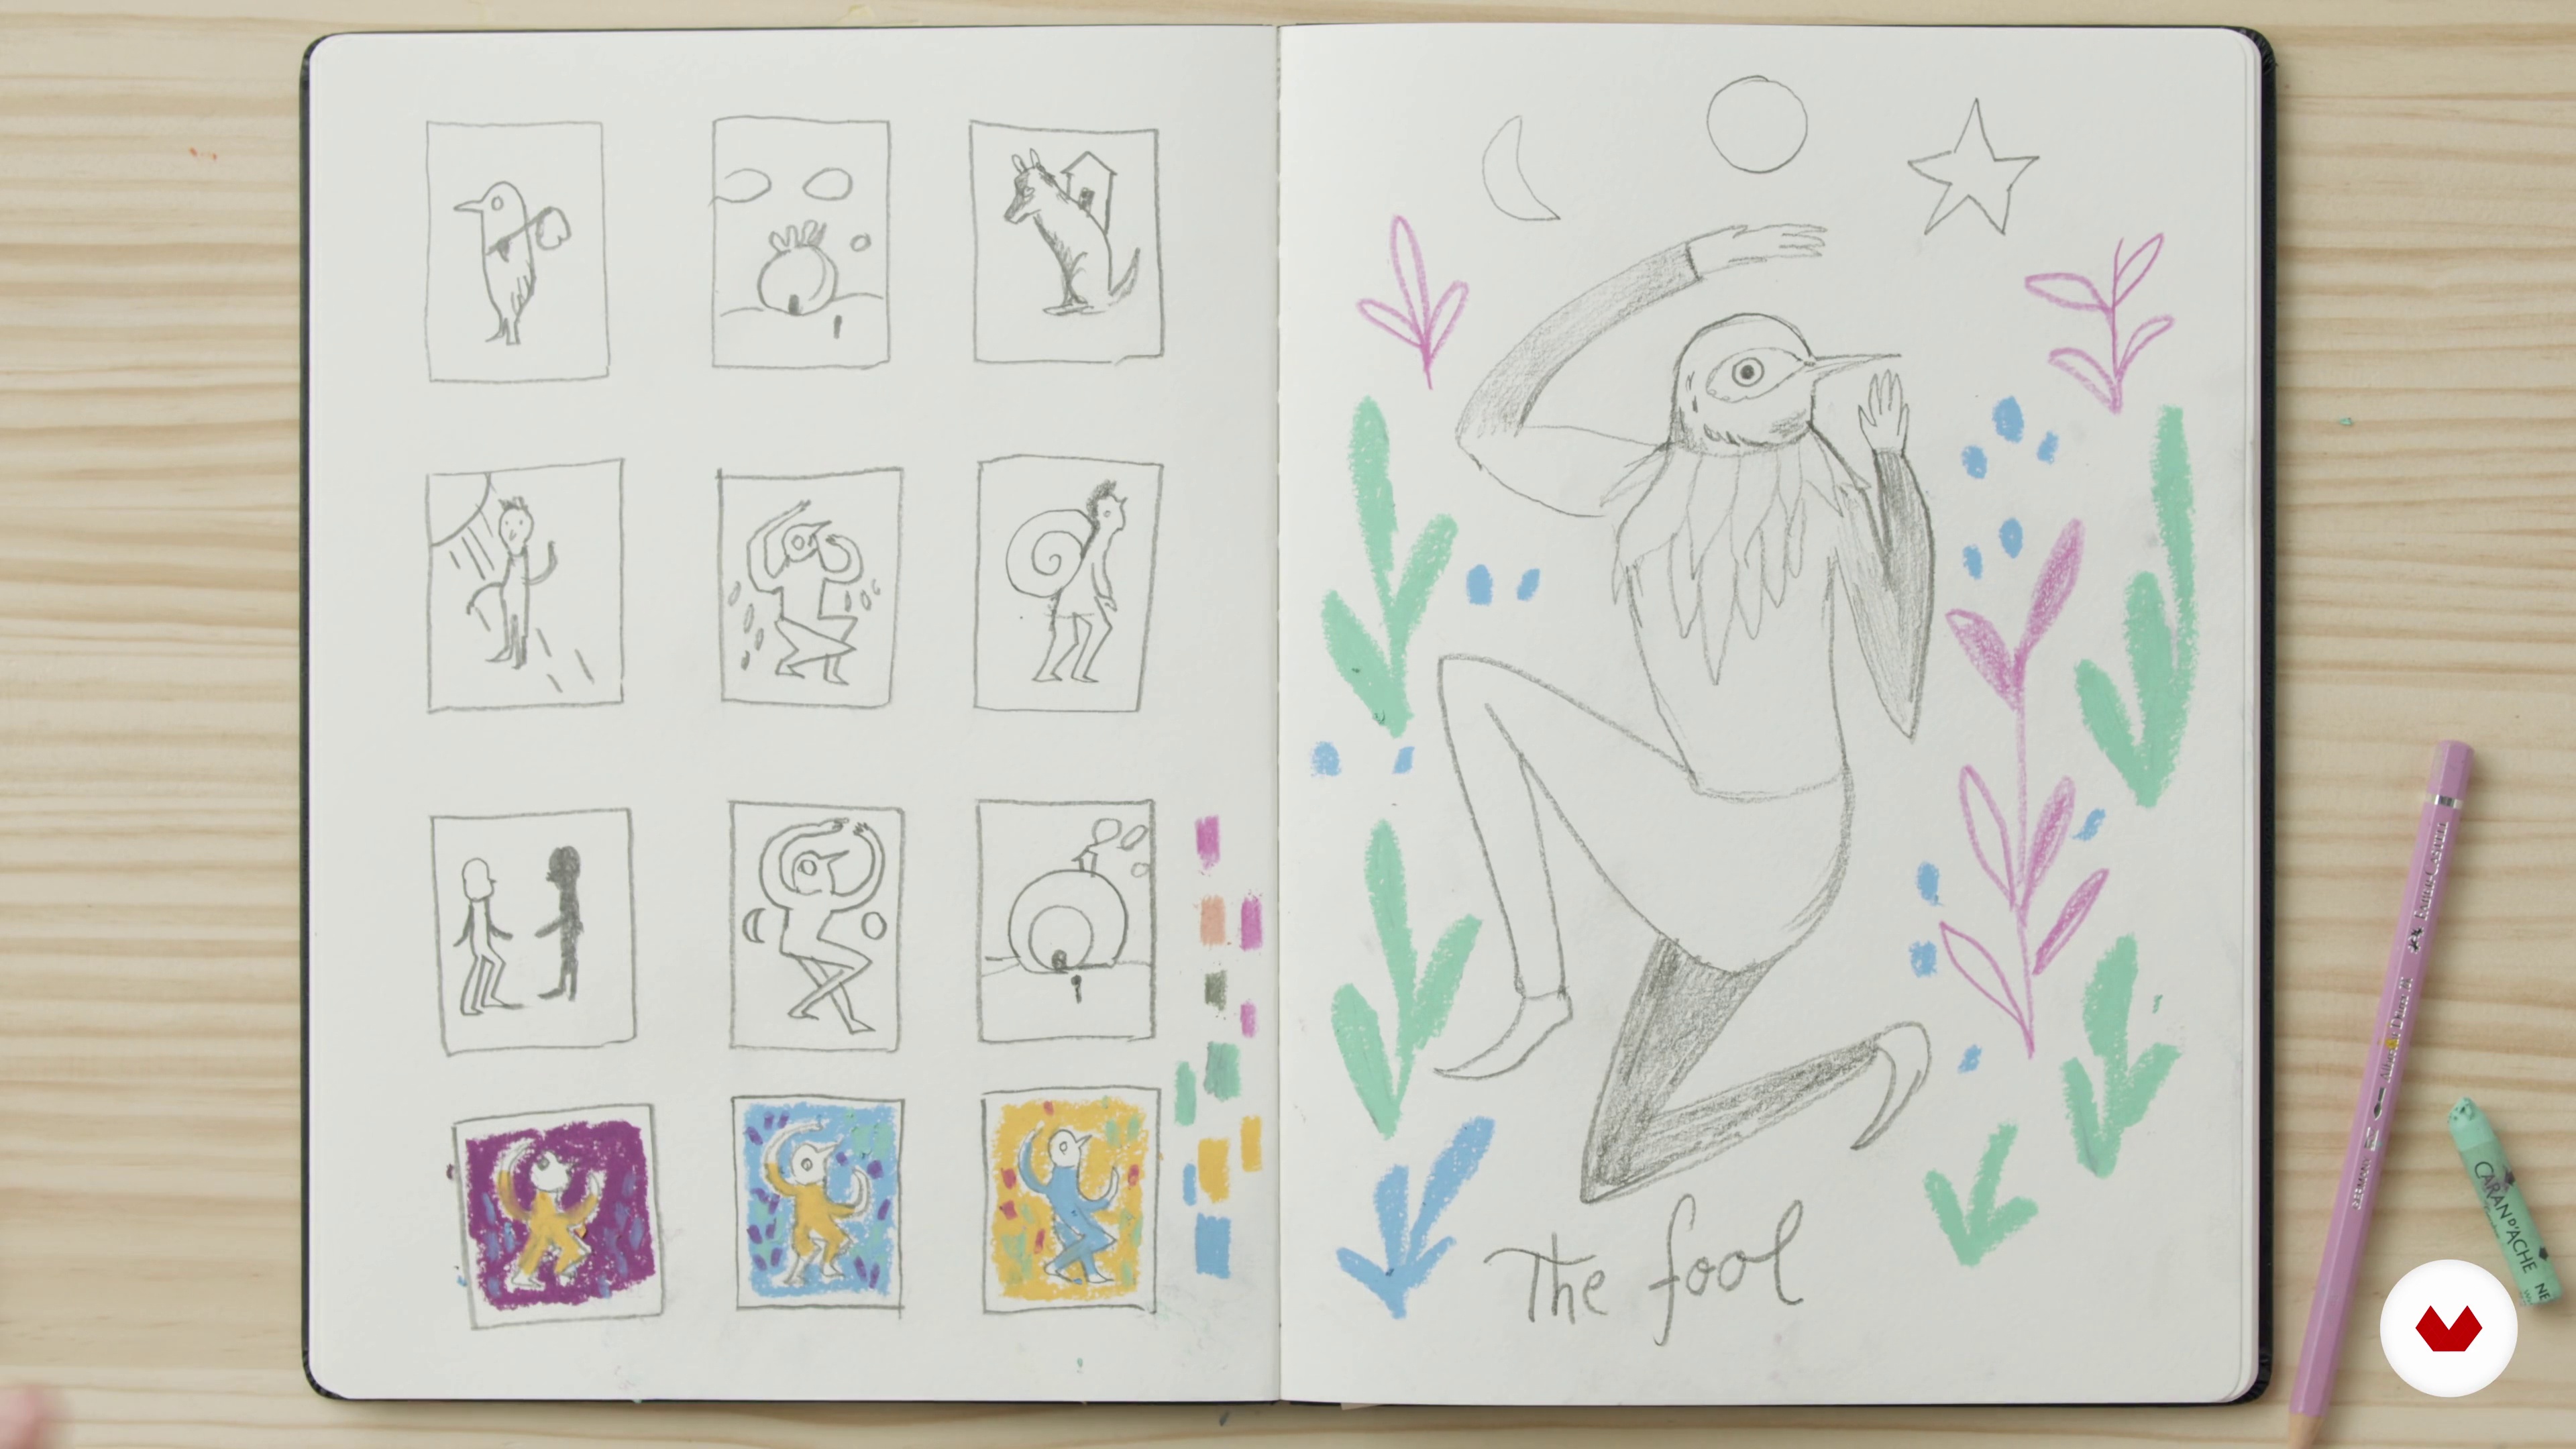
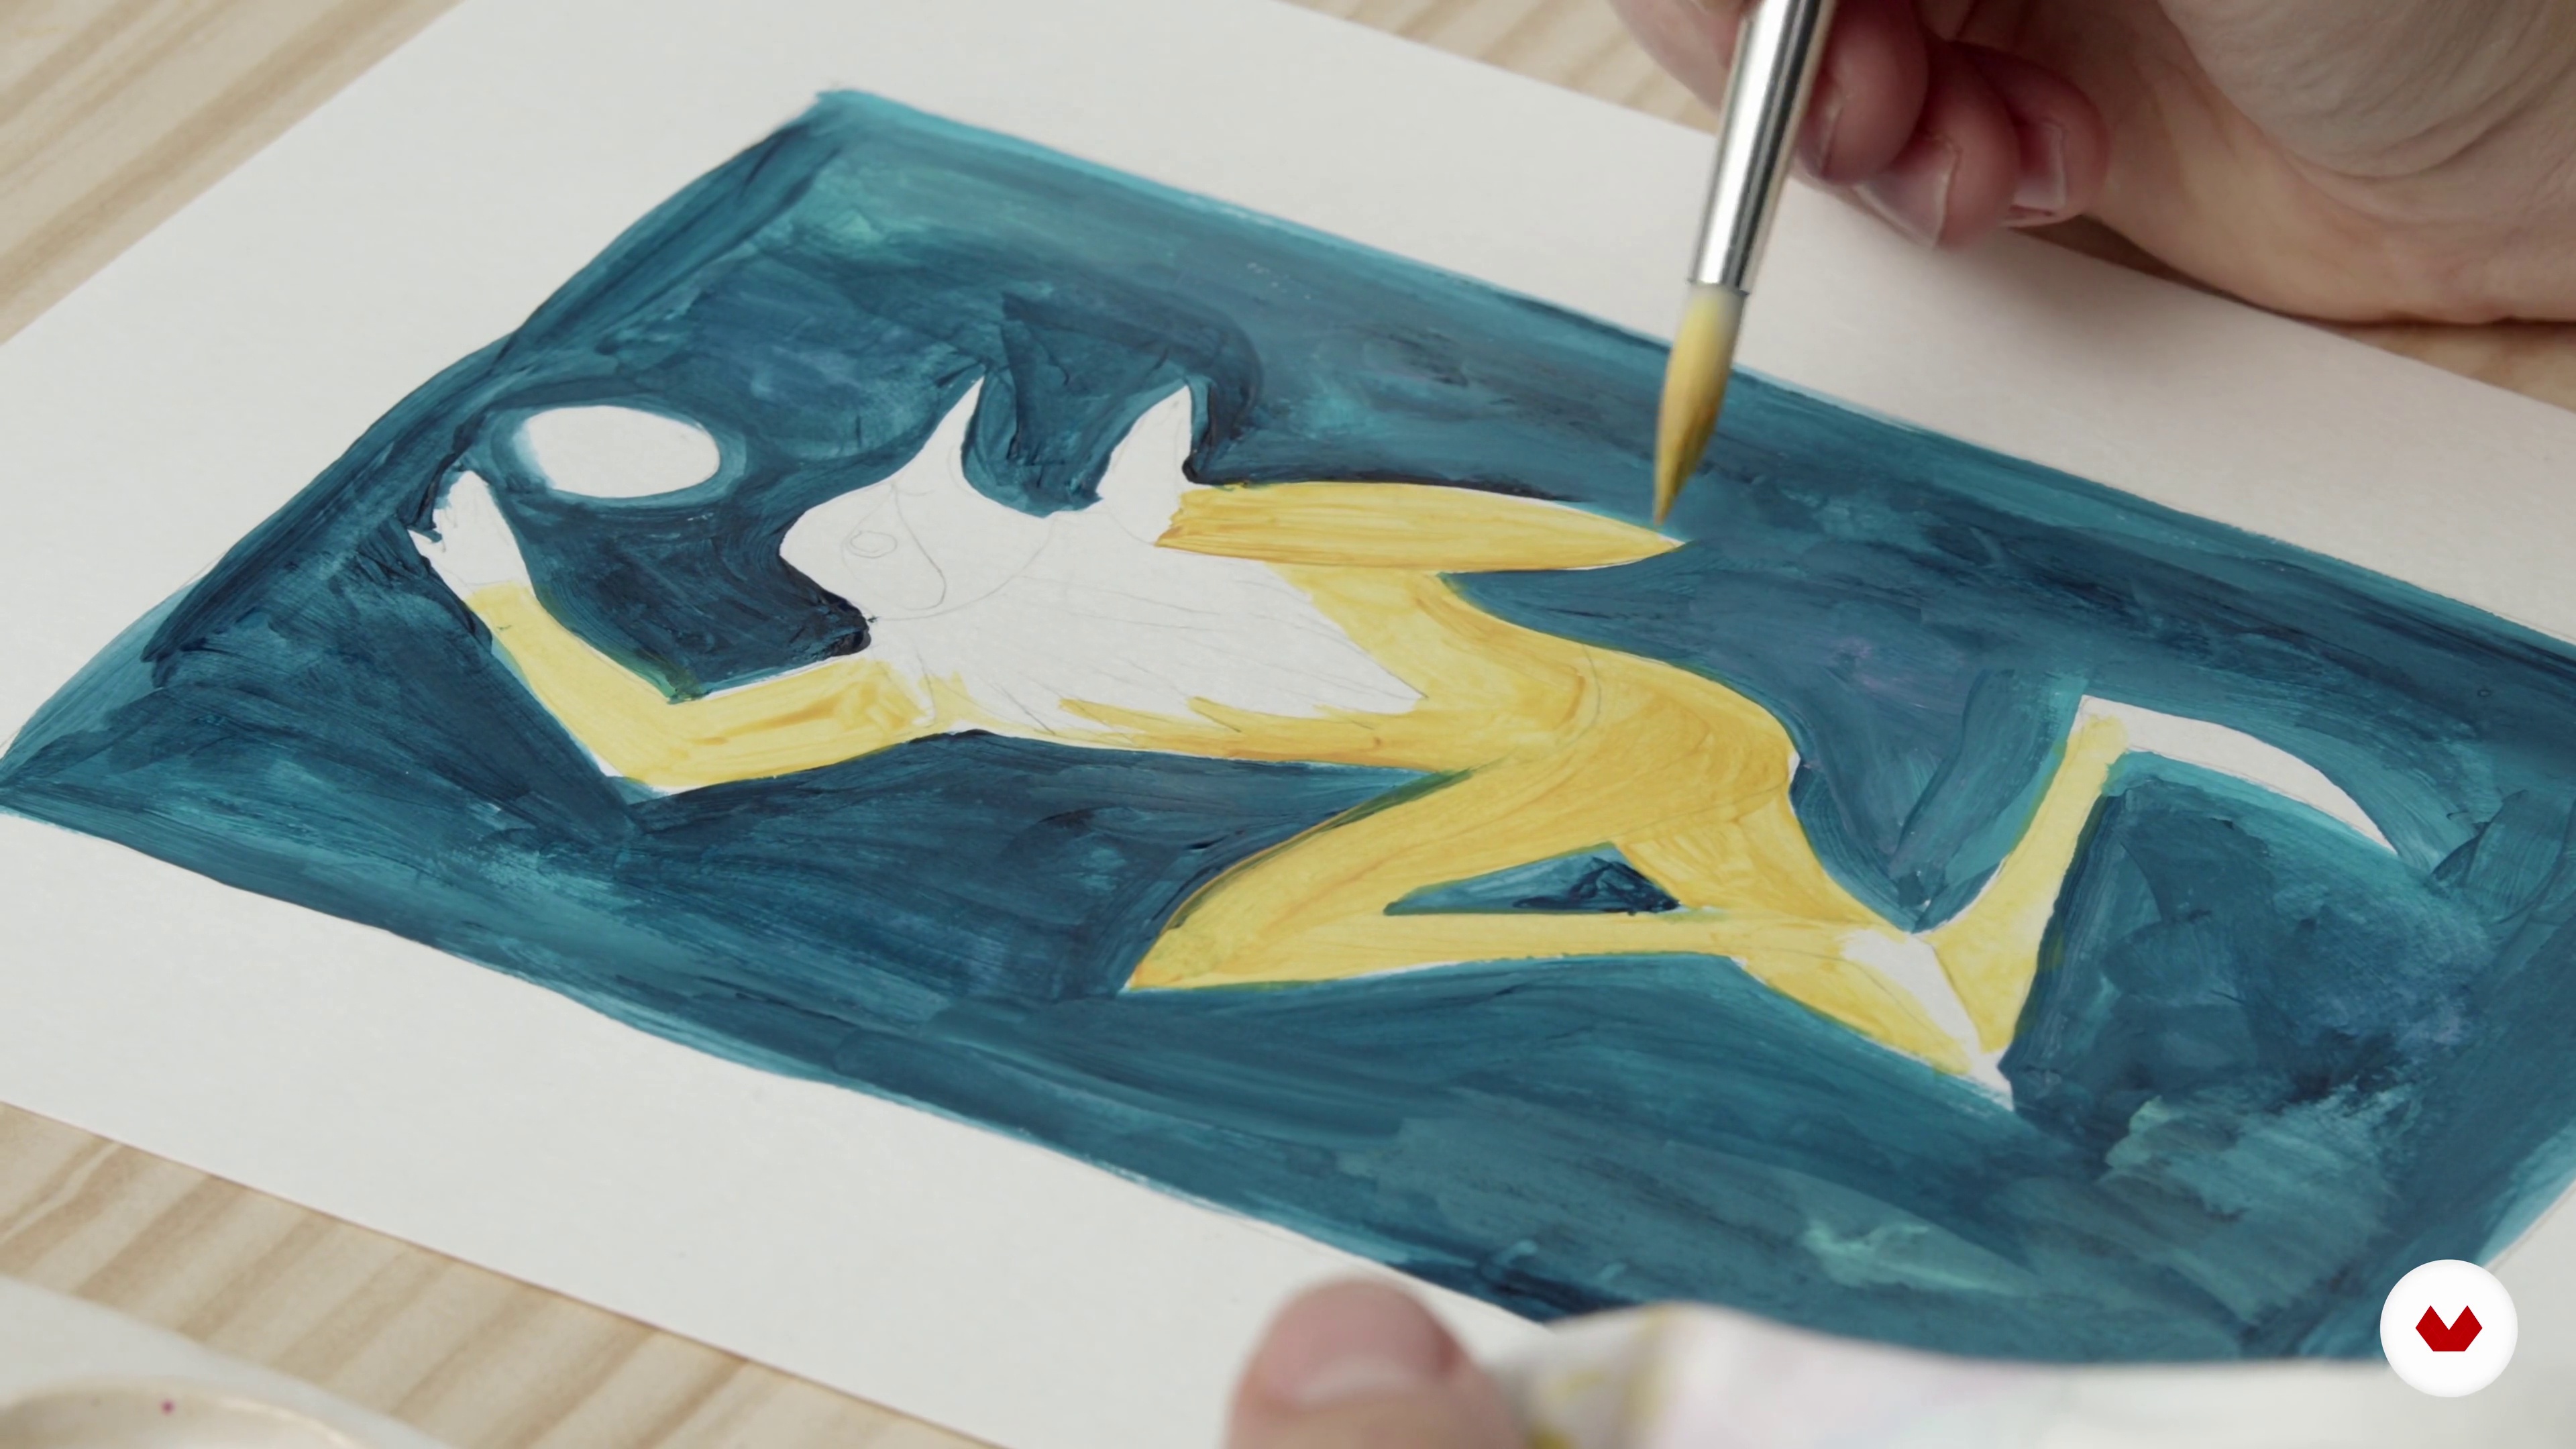
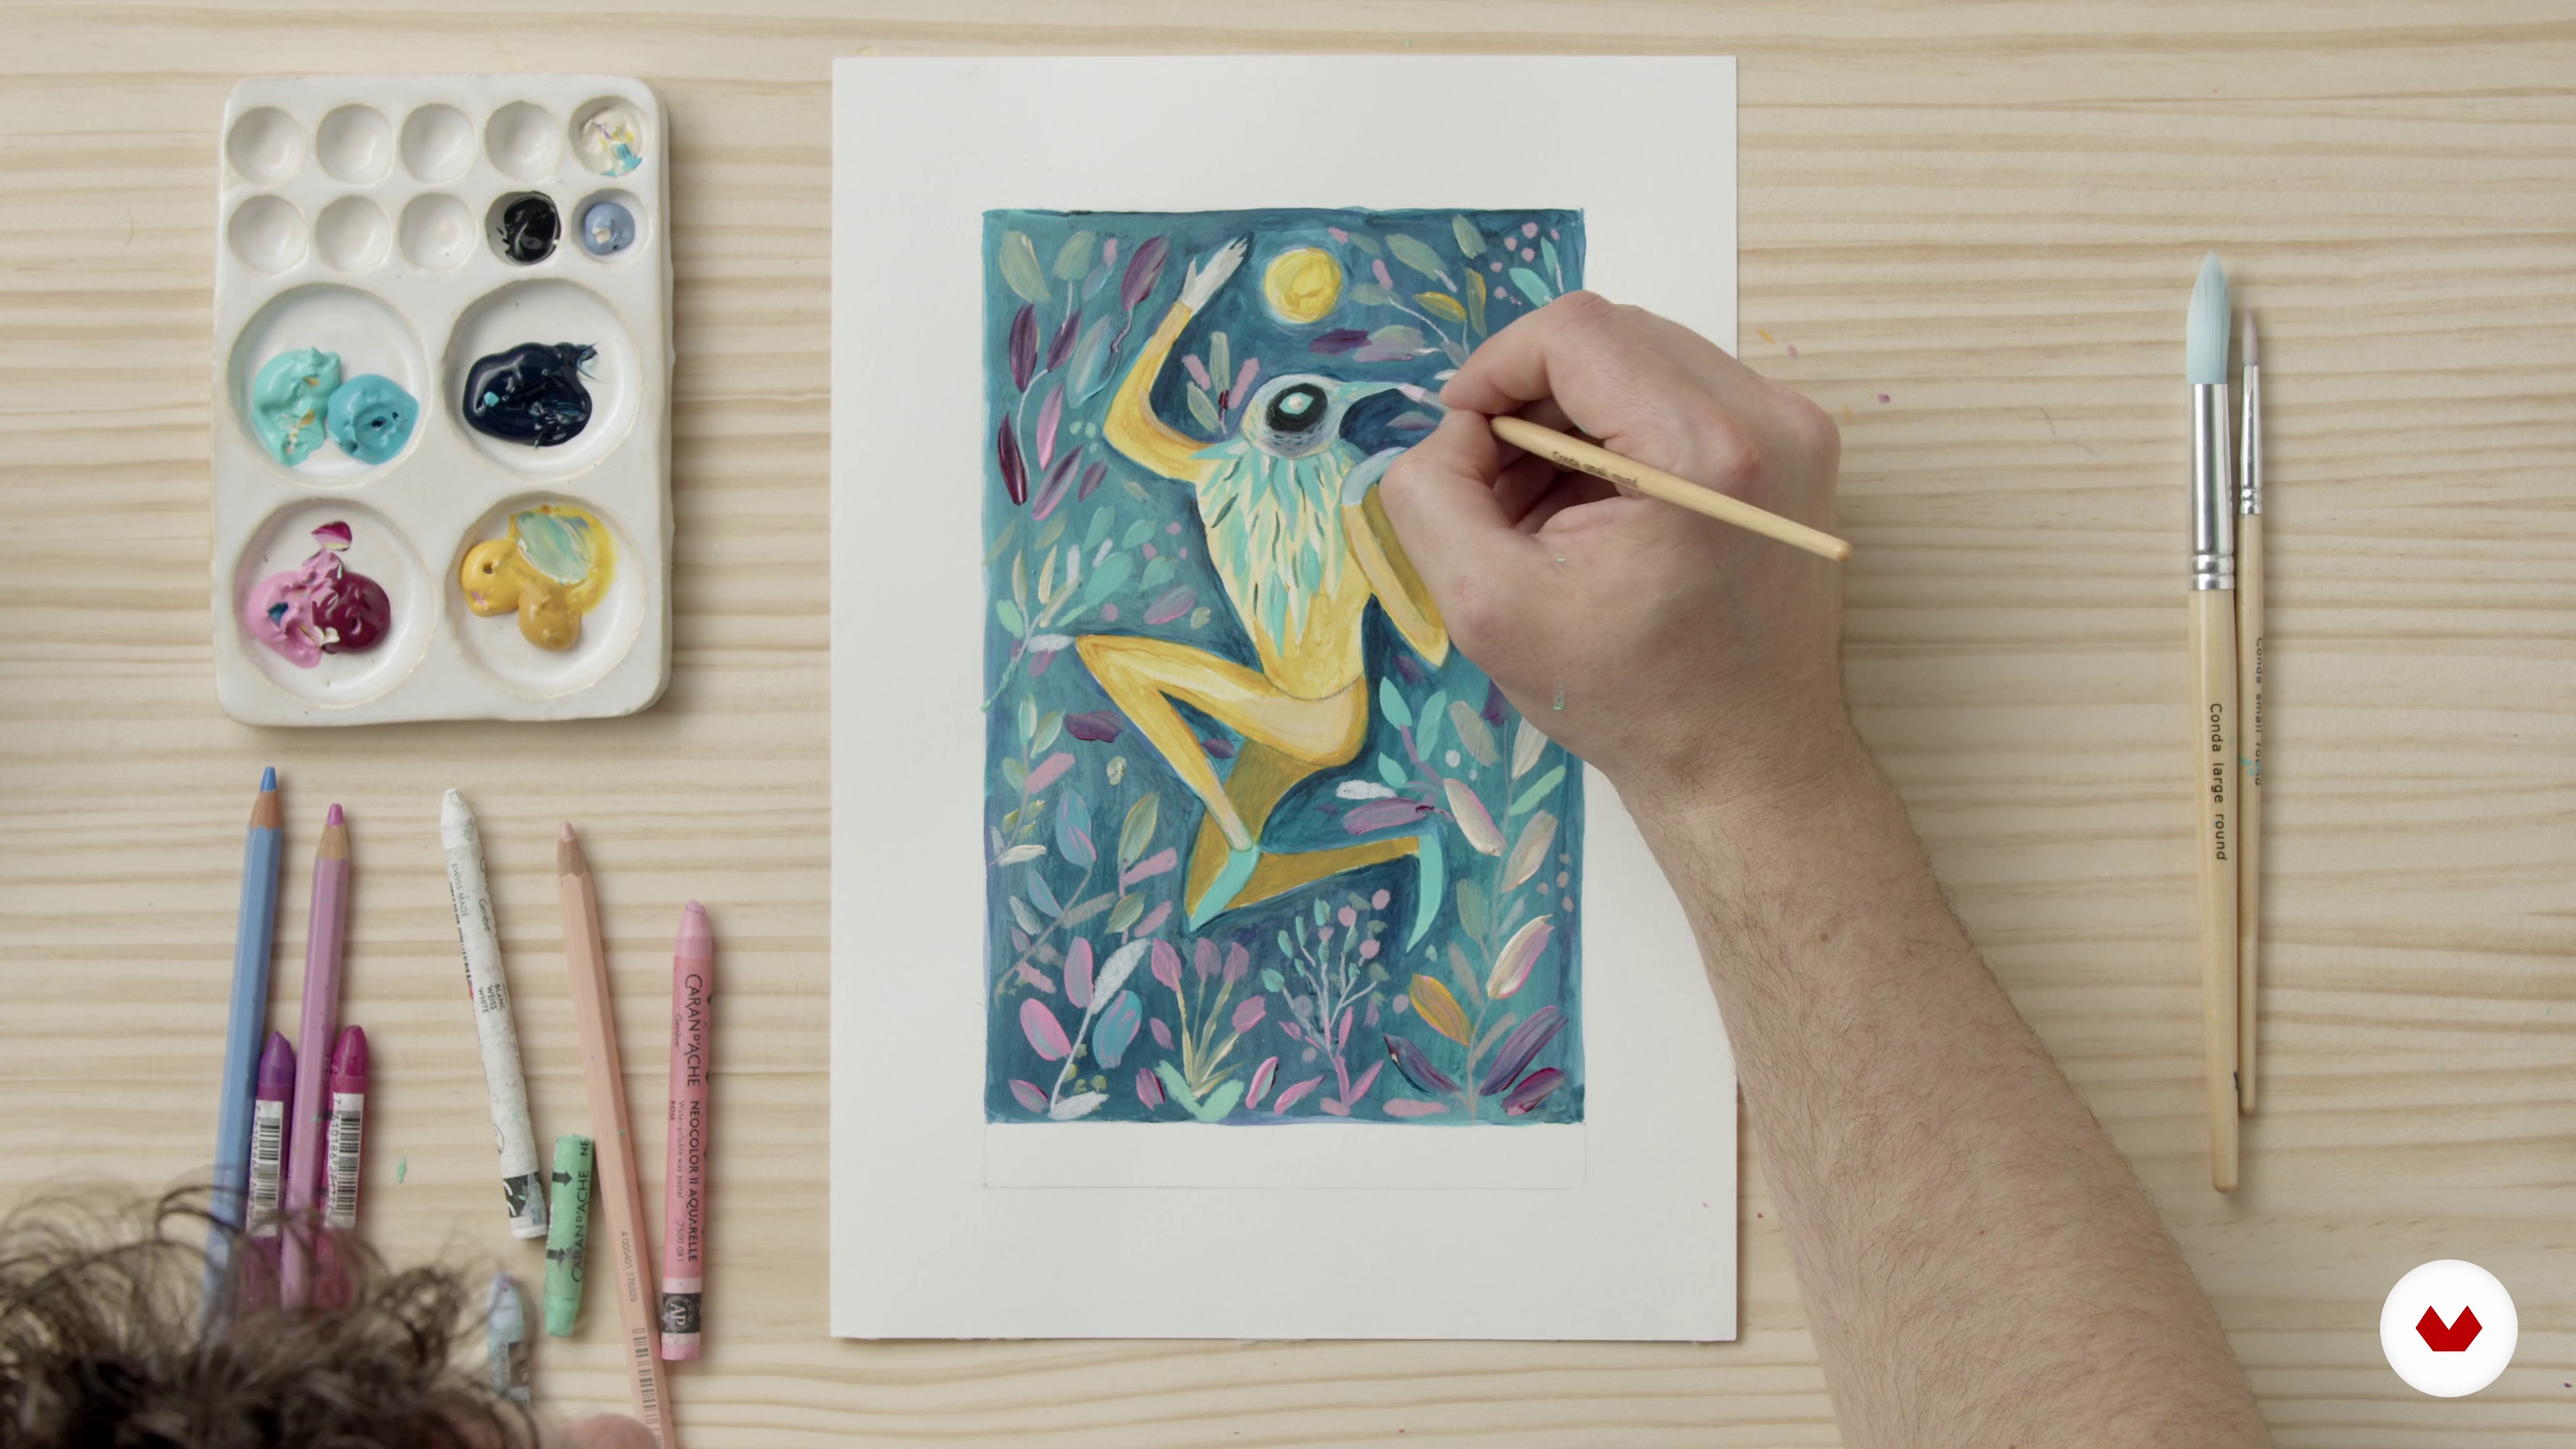
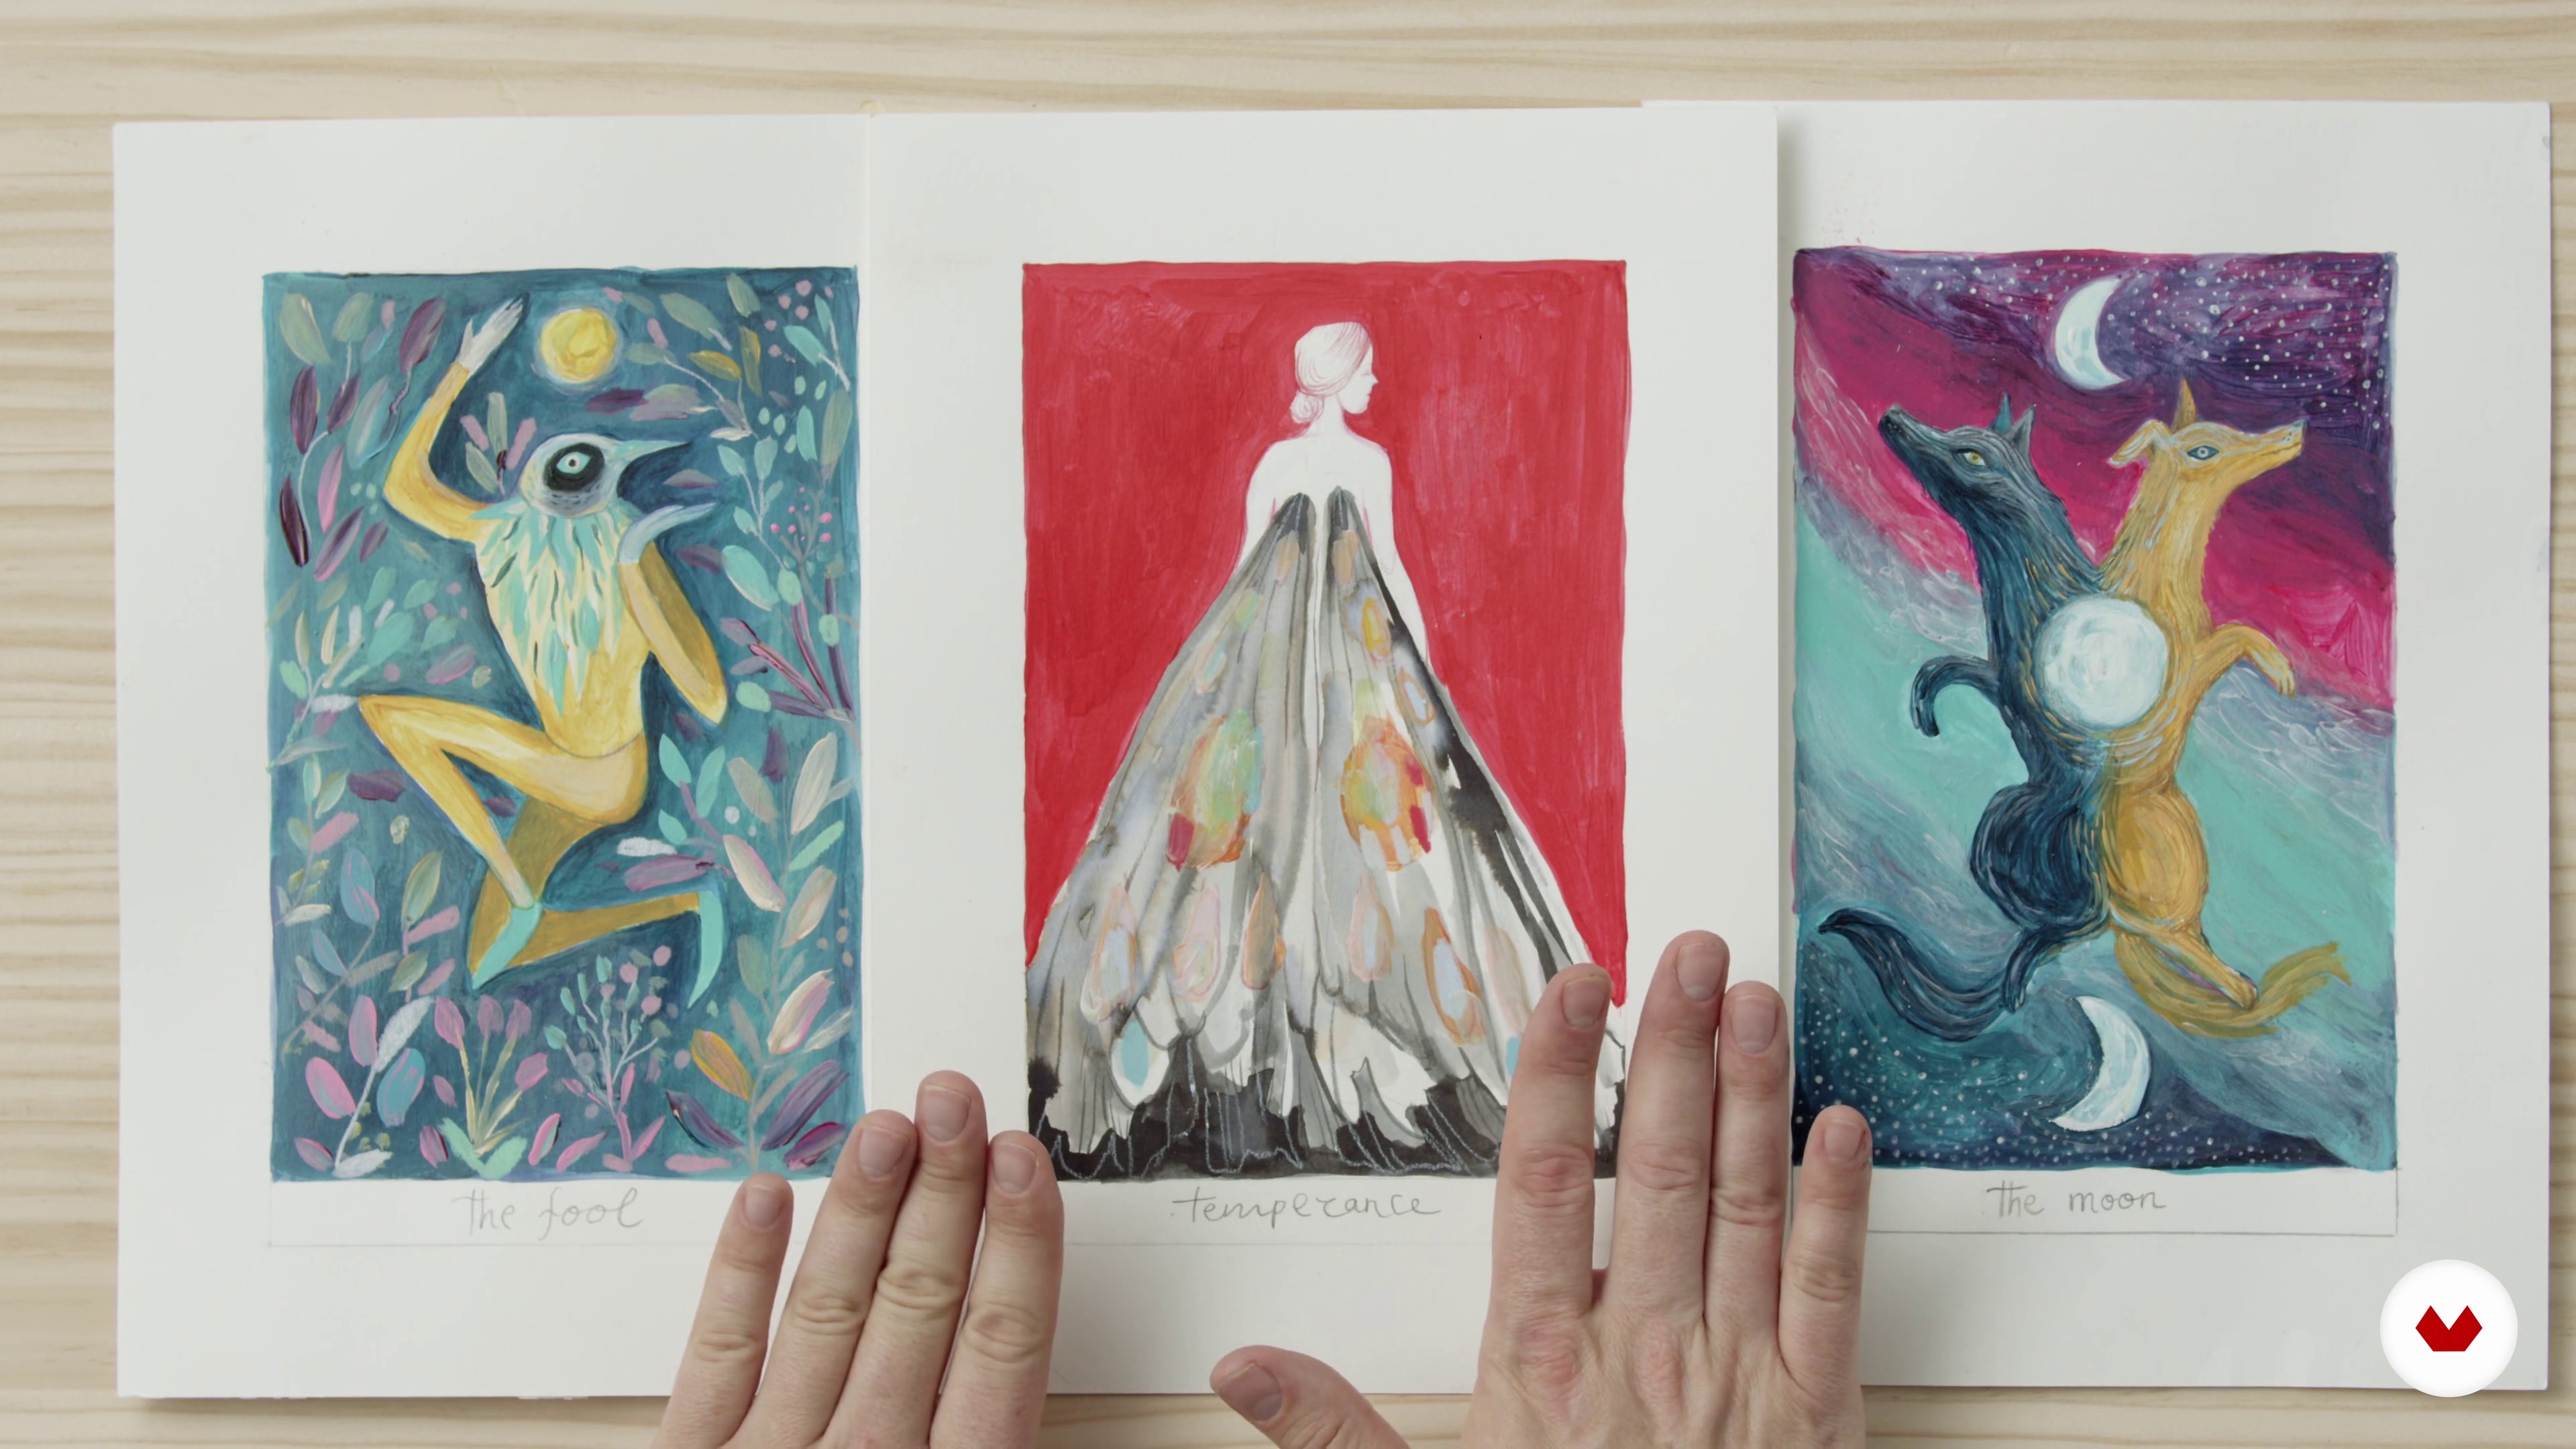
You will create a cohesive series of acrylic illustrations, integrating landscapes, natural elements, and characters into your own narrative universe. You will develop sketches, detailed compositions, and apply advanced painting techniques, culminating in a standout piece for your portfolio.
Who is this specialization for?
Illustrators, visual artists, and designers who wish to master acrylic painting as an expressive medium will find this specialization a unique opportunity to develop their creativity. Ideal for those seeking to expand their skills in contemporary acrylic illustration techniques.
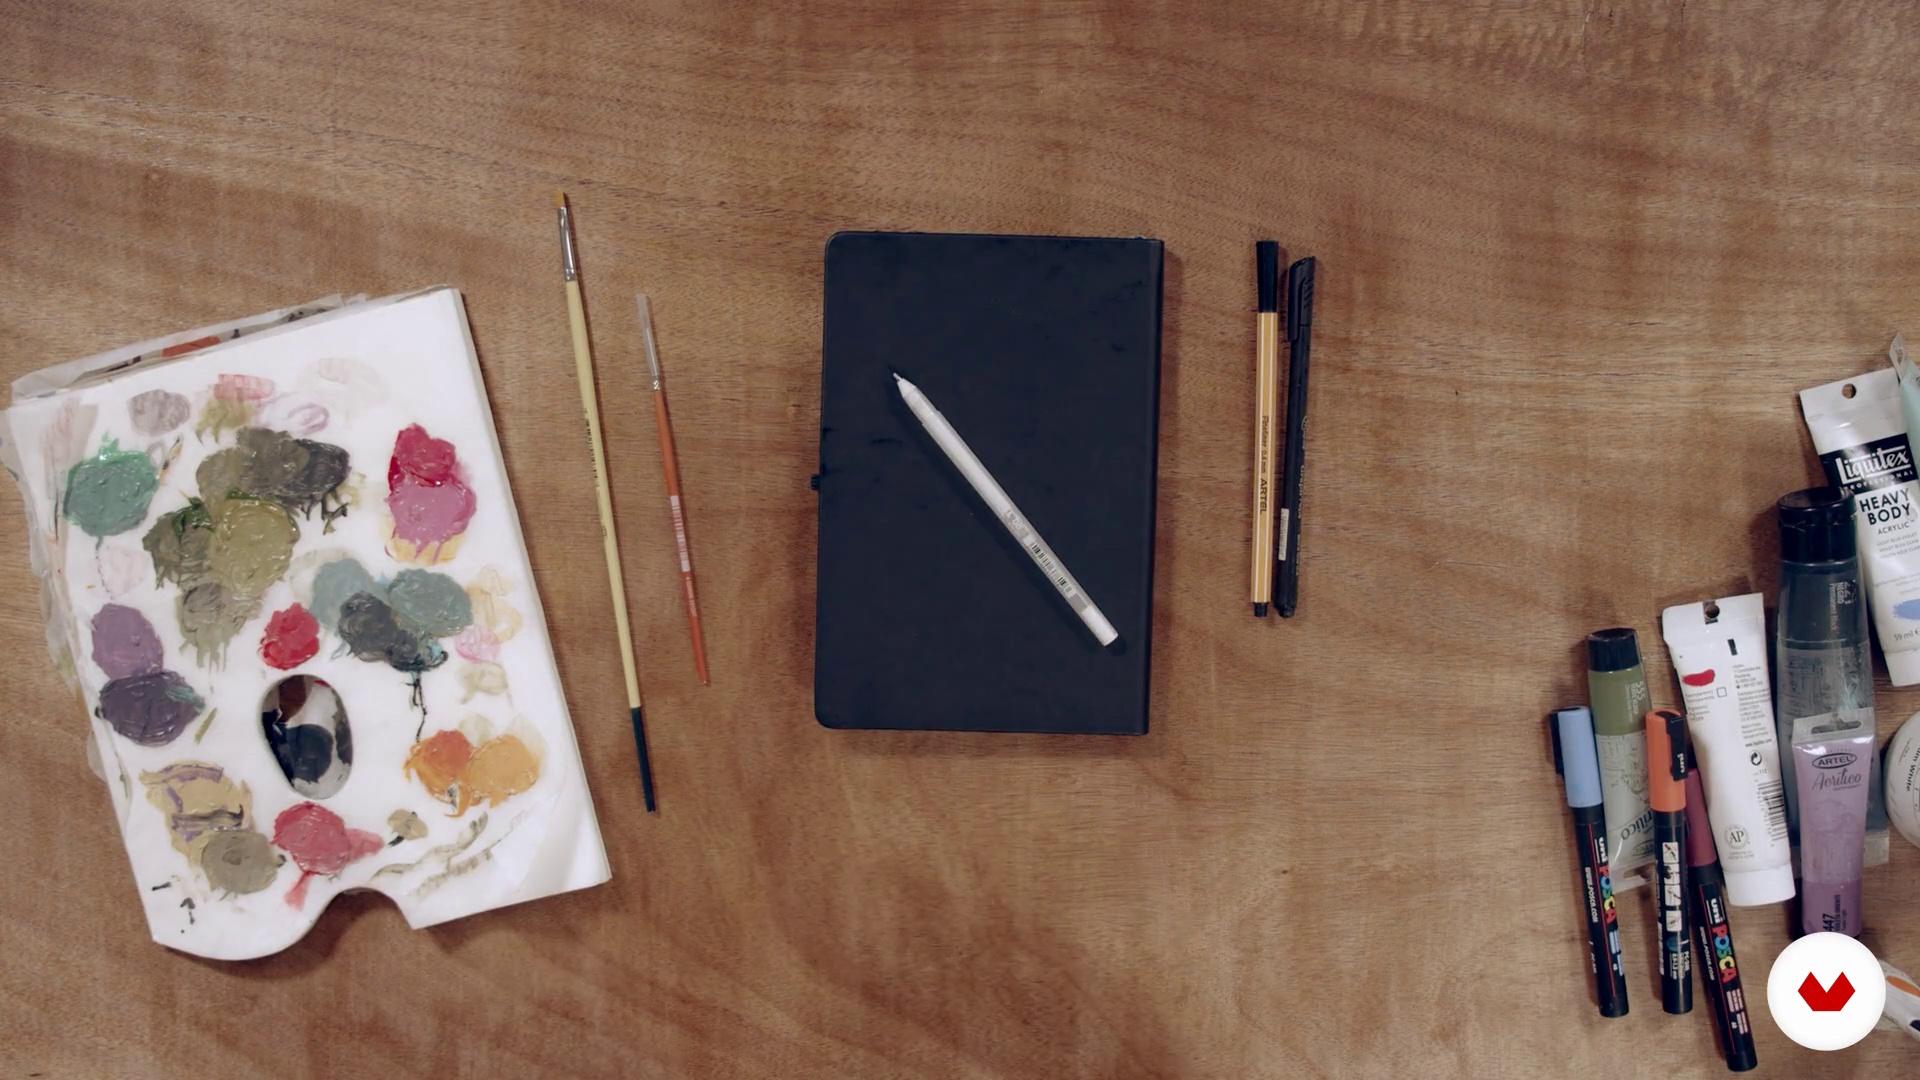
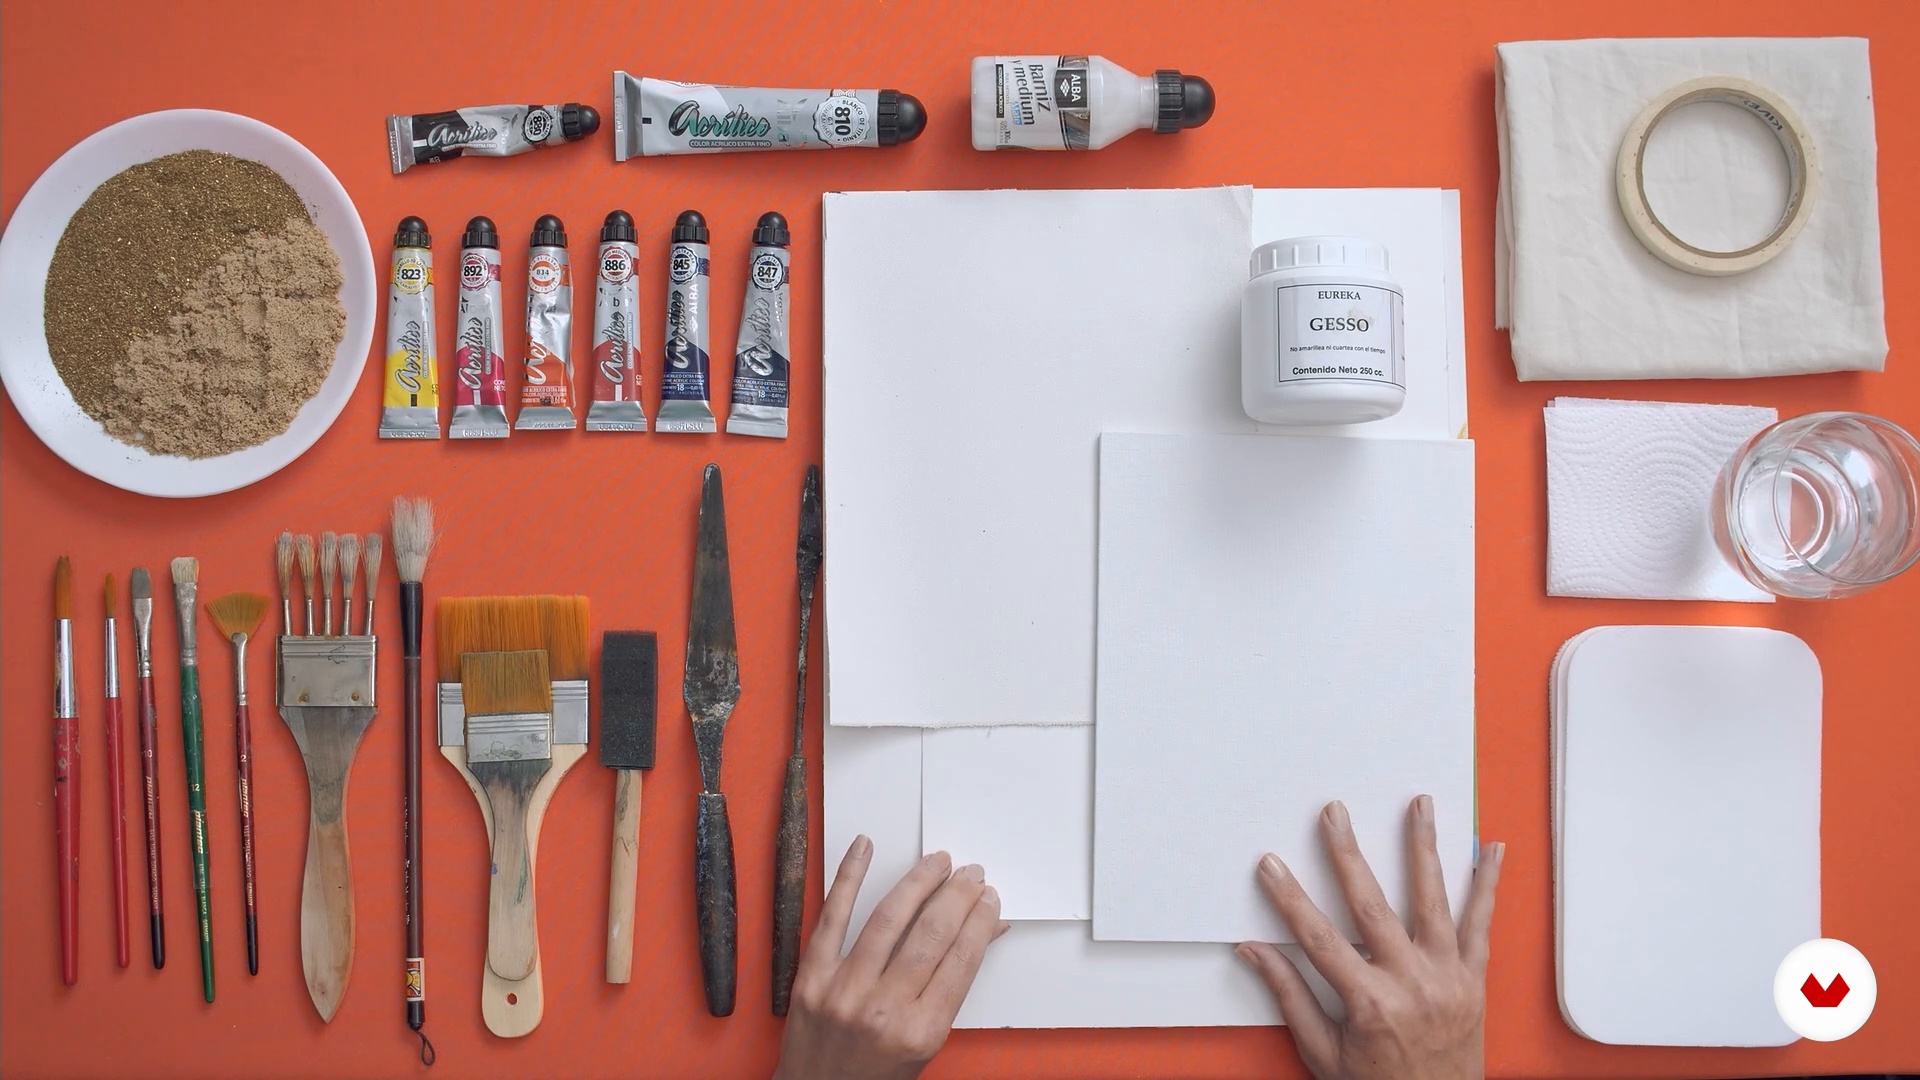
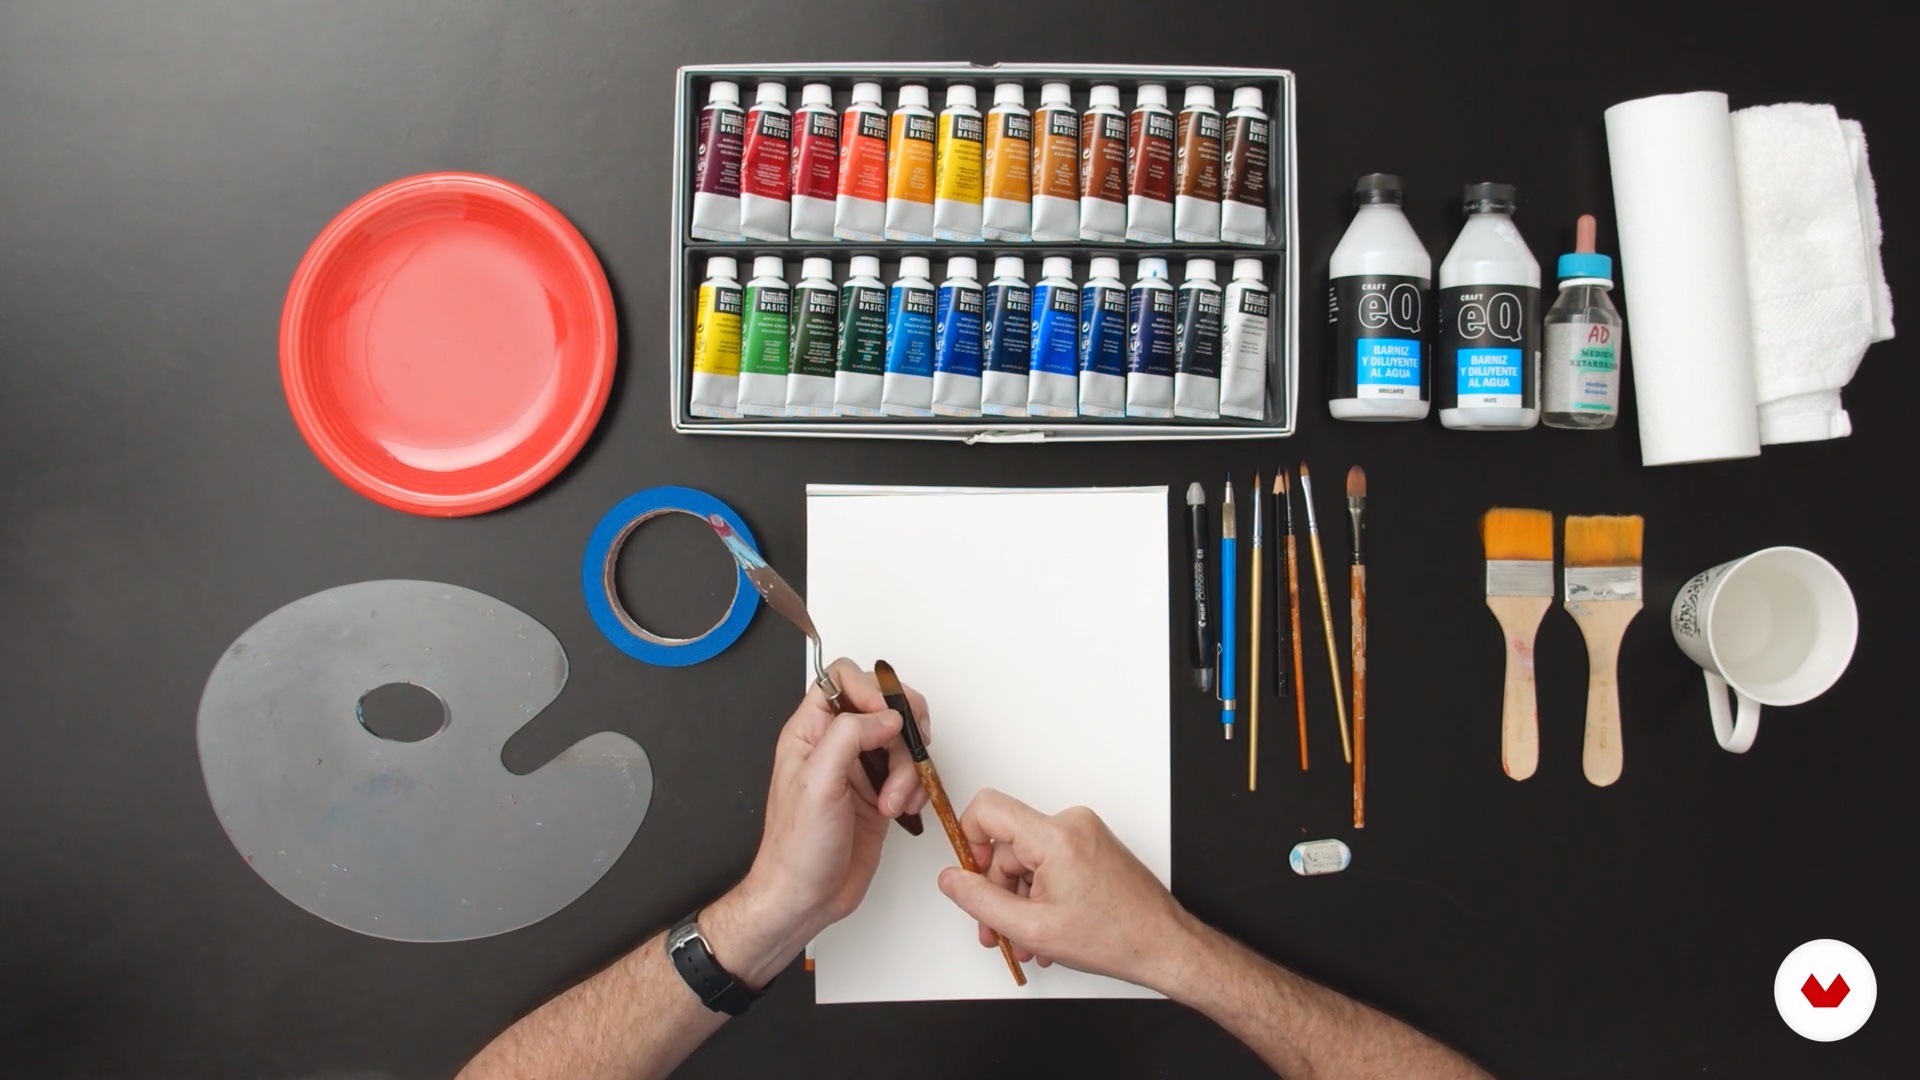
Requirements and materials
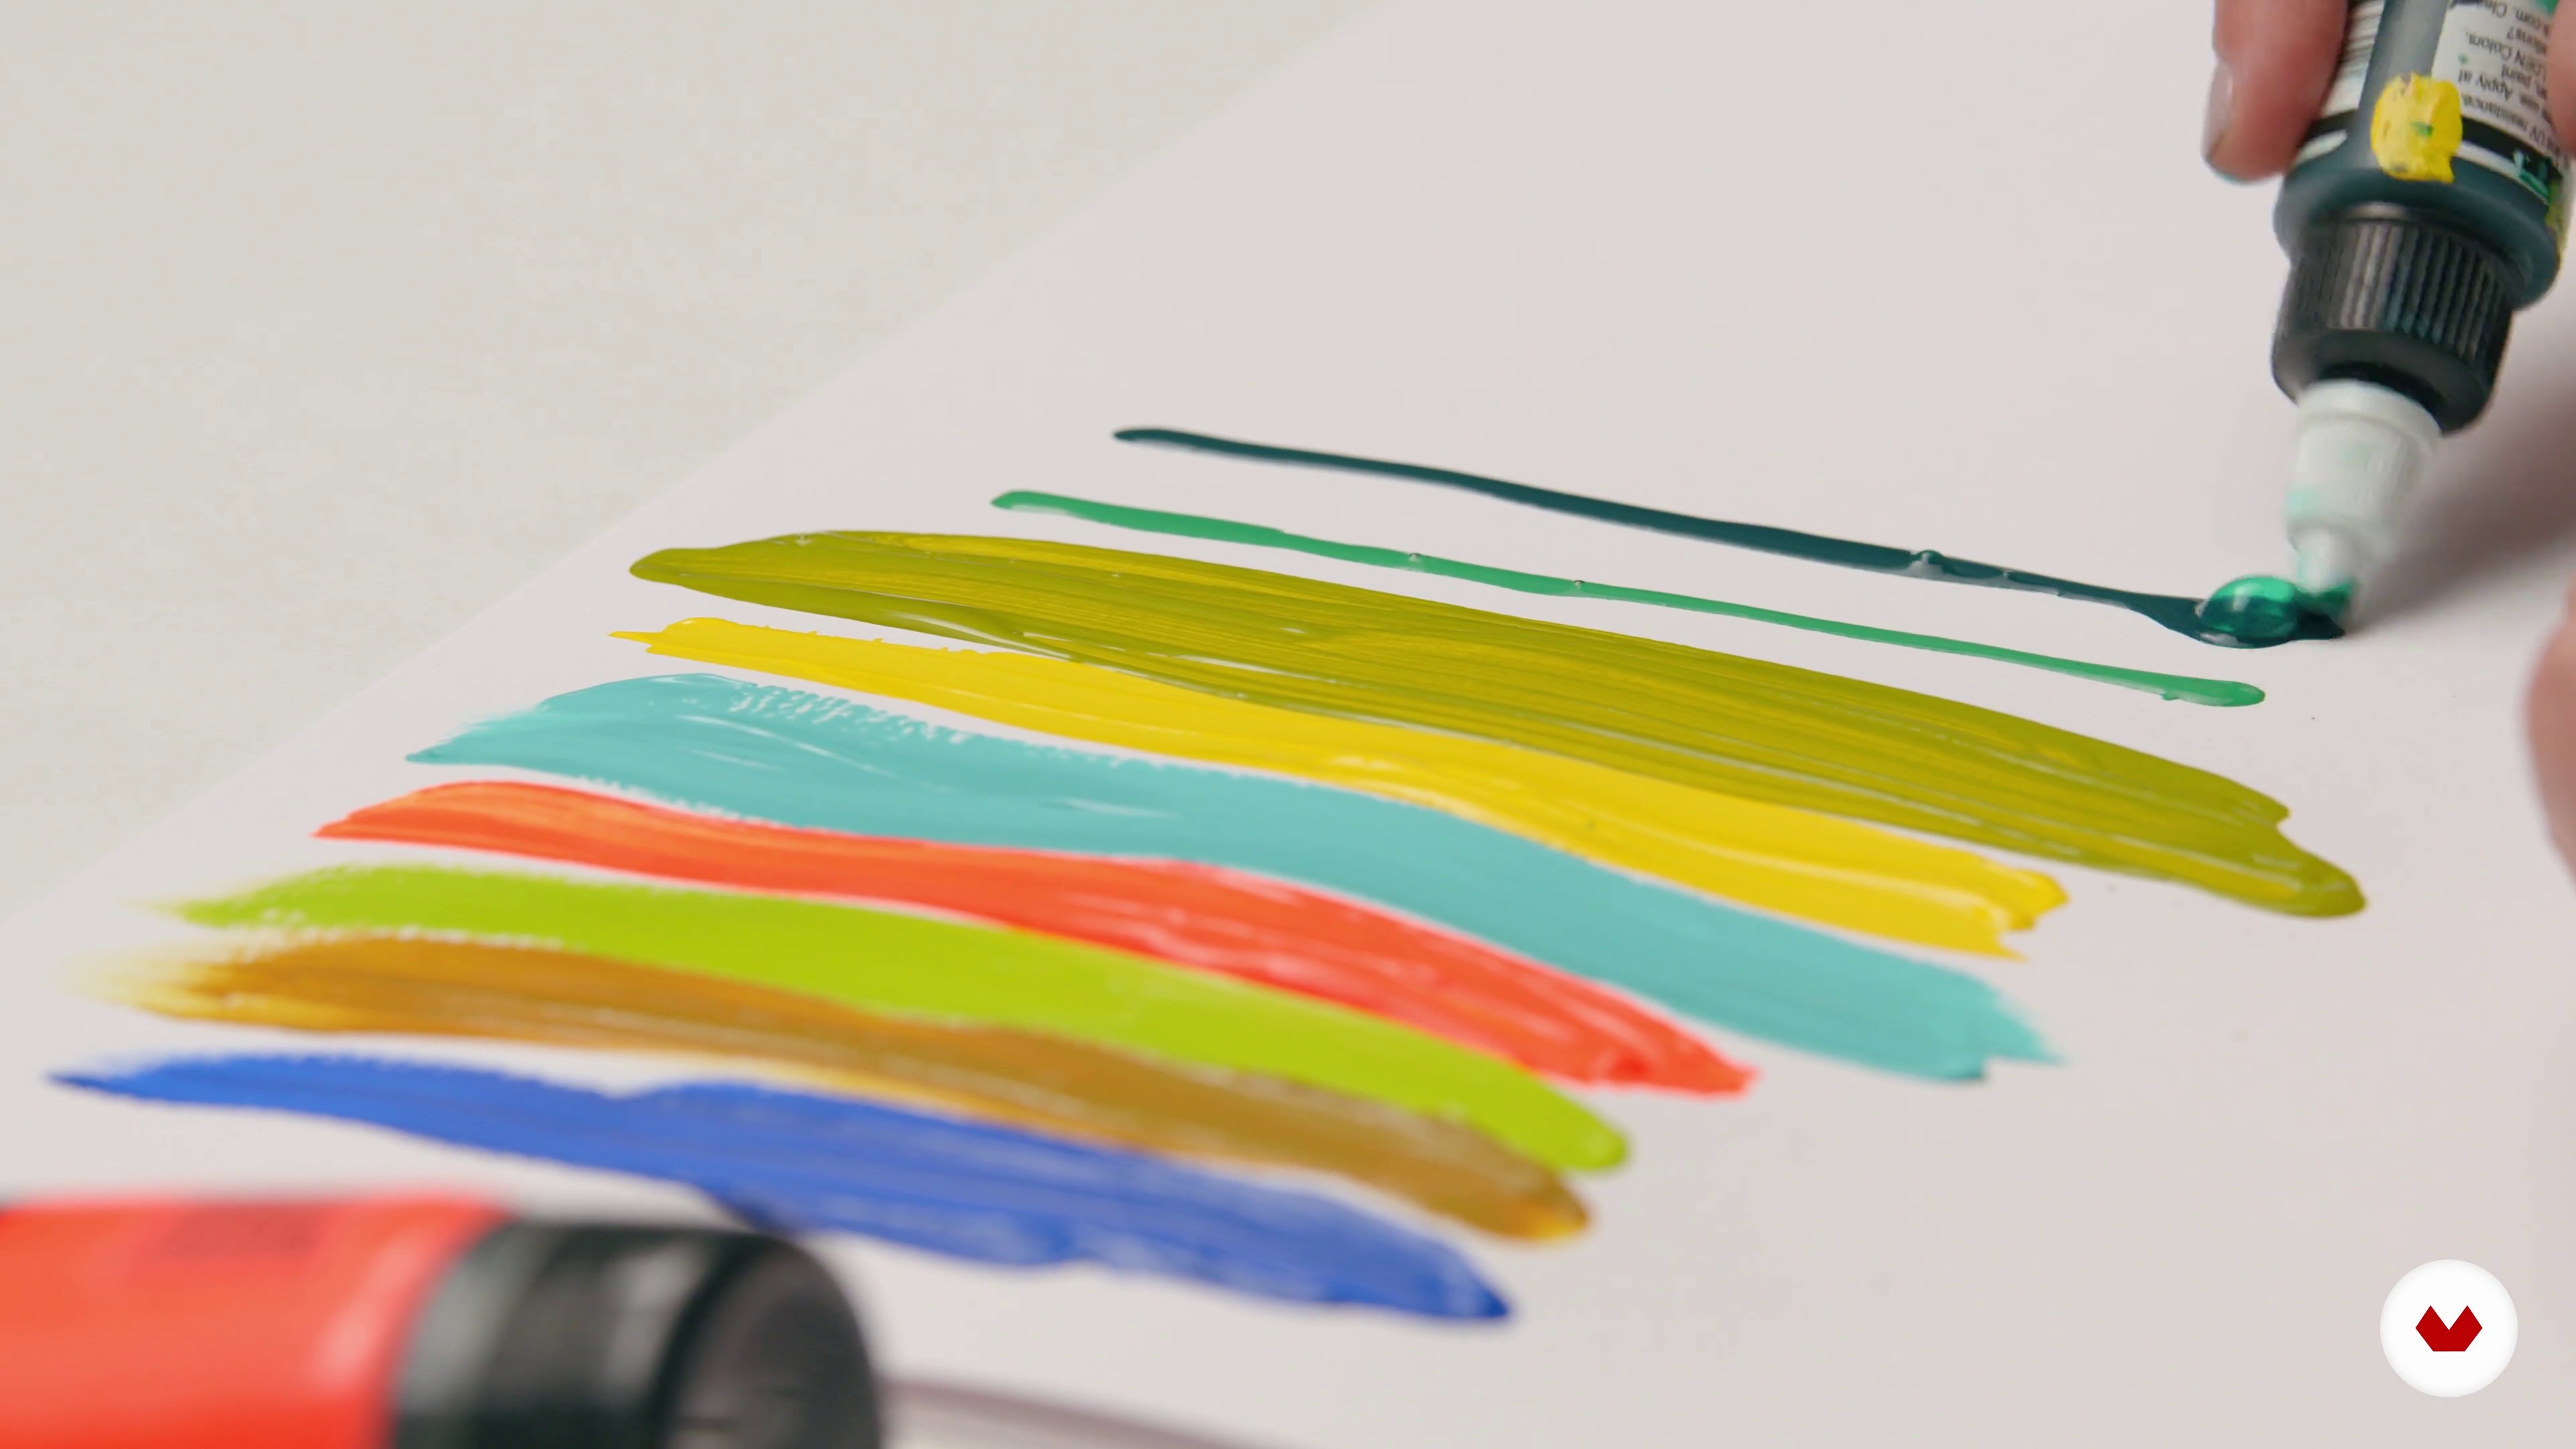
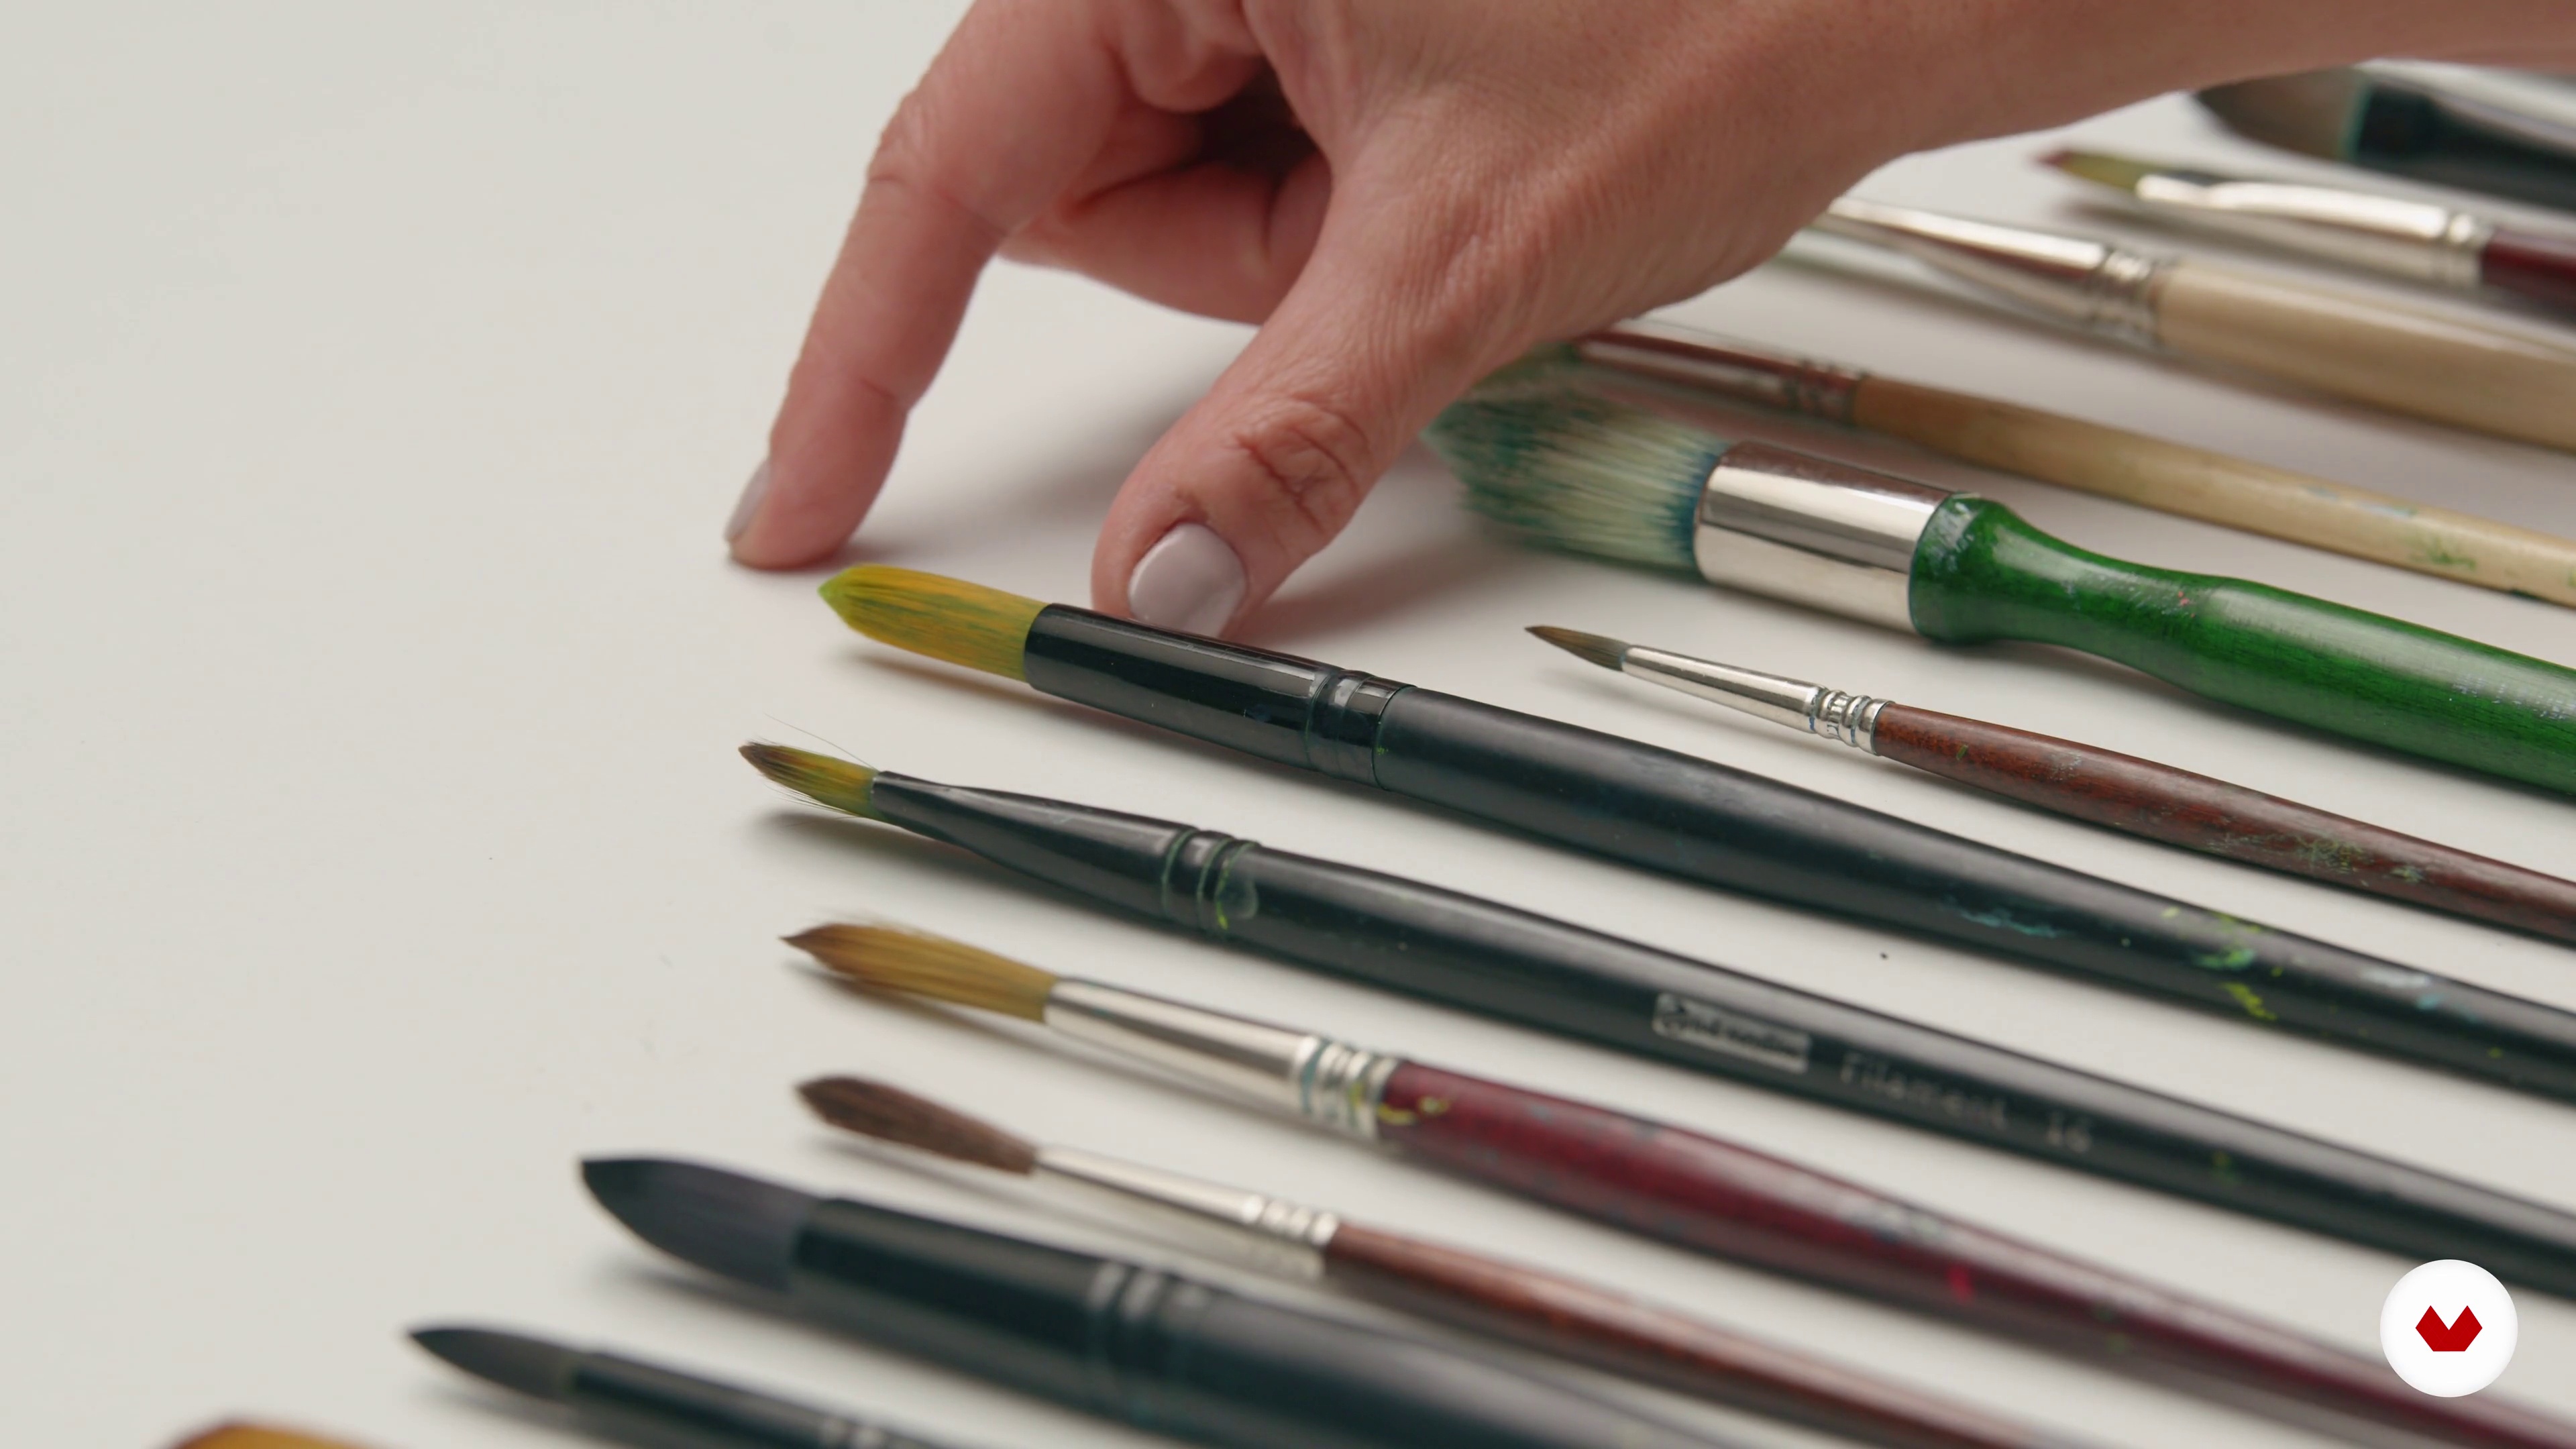
An interest in acrylic painting and basic drawing skills are required. A variety of brushes, a canvas, quality acrylics, and a palette for mixing colors are recommended. Extensive experience is not necessary, just a willingness to experiment and learn new techniques.


Reviews
What to expect from this specialization course
-
Learn at your own pace
Enjoy learning from home without a set schedule and with an easy-to-follow method. You set your own pace.
-
Learn from the best professionals
Learn valuable methods and techniques explained by top experts in the creative sector.
-
Meet expert teachers
Each expert teaches what they do best, with clear guidelines, true passion, and professional insight in every lesson.
-
Certificates
PlusIf you're a Plus member, get a custom certificate for every specialization course. Share it on your portfolio, social media, or wherever you like.
-
Get front-row seats
Videos of the highest quality, so you don't miss a single detail. With unlimited access, you can watch them as many times as you need to perfect your technique.
-
Share knowledge and ideas
Ask questions, request feedback, or offer solutions. Share your learning experience with other students in the community who are as passionate about creativity as you are.
-
Connect with a global creative community
The community is home to millions of people from around the world who are curious and passionate about exploring and expressing their creativity.
-
Watch professionally produced courses
Domestika curates its teacher roster and produces every course in-house to ensure a high-quality online learning experience.
FAQs
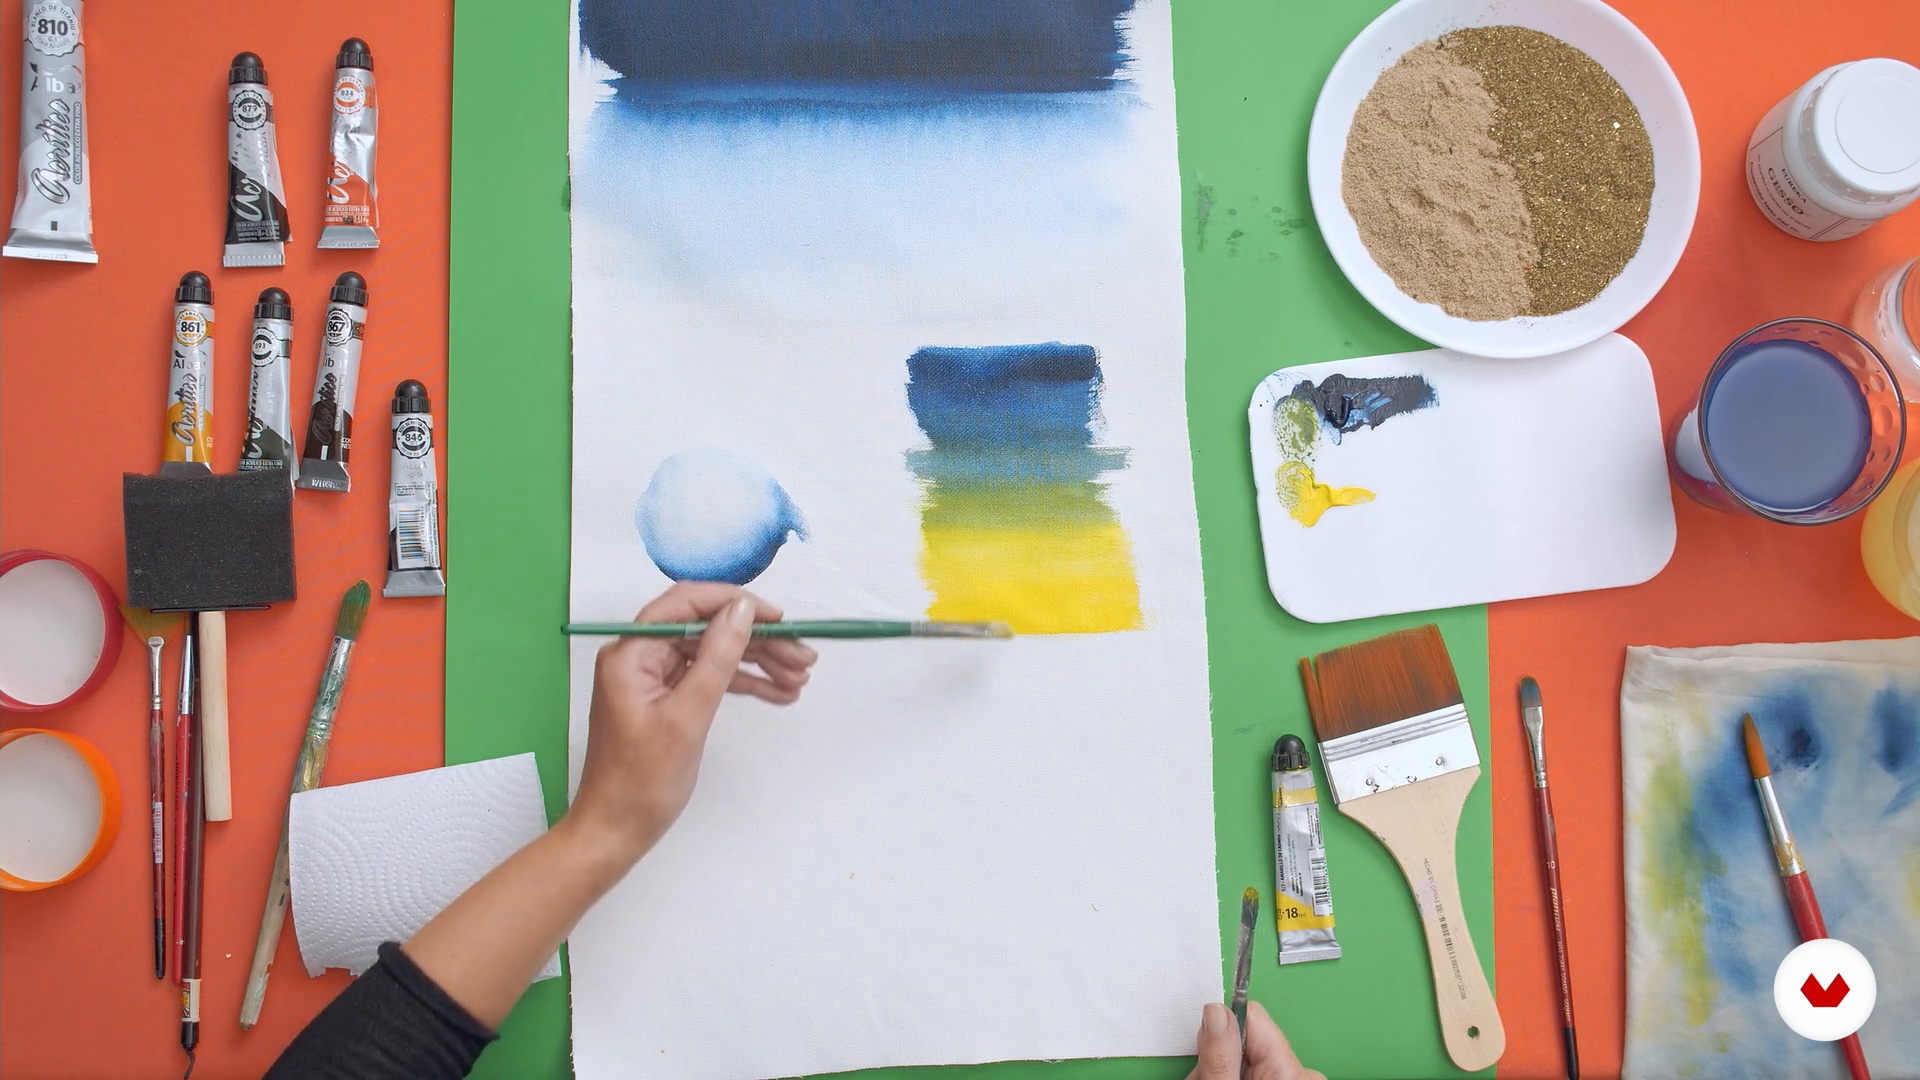
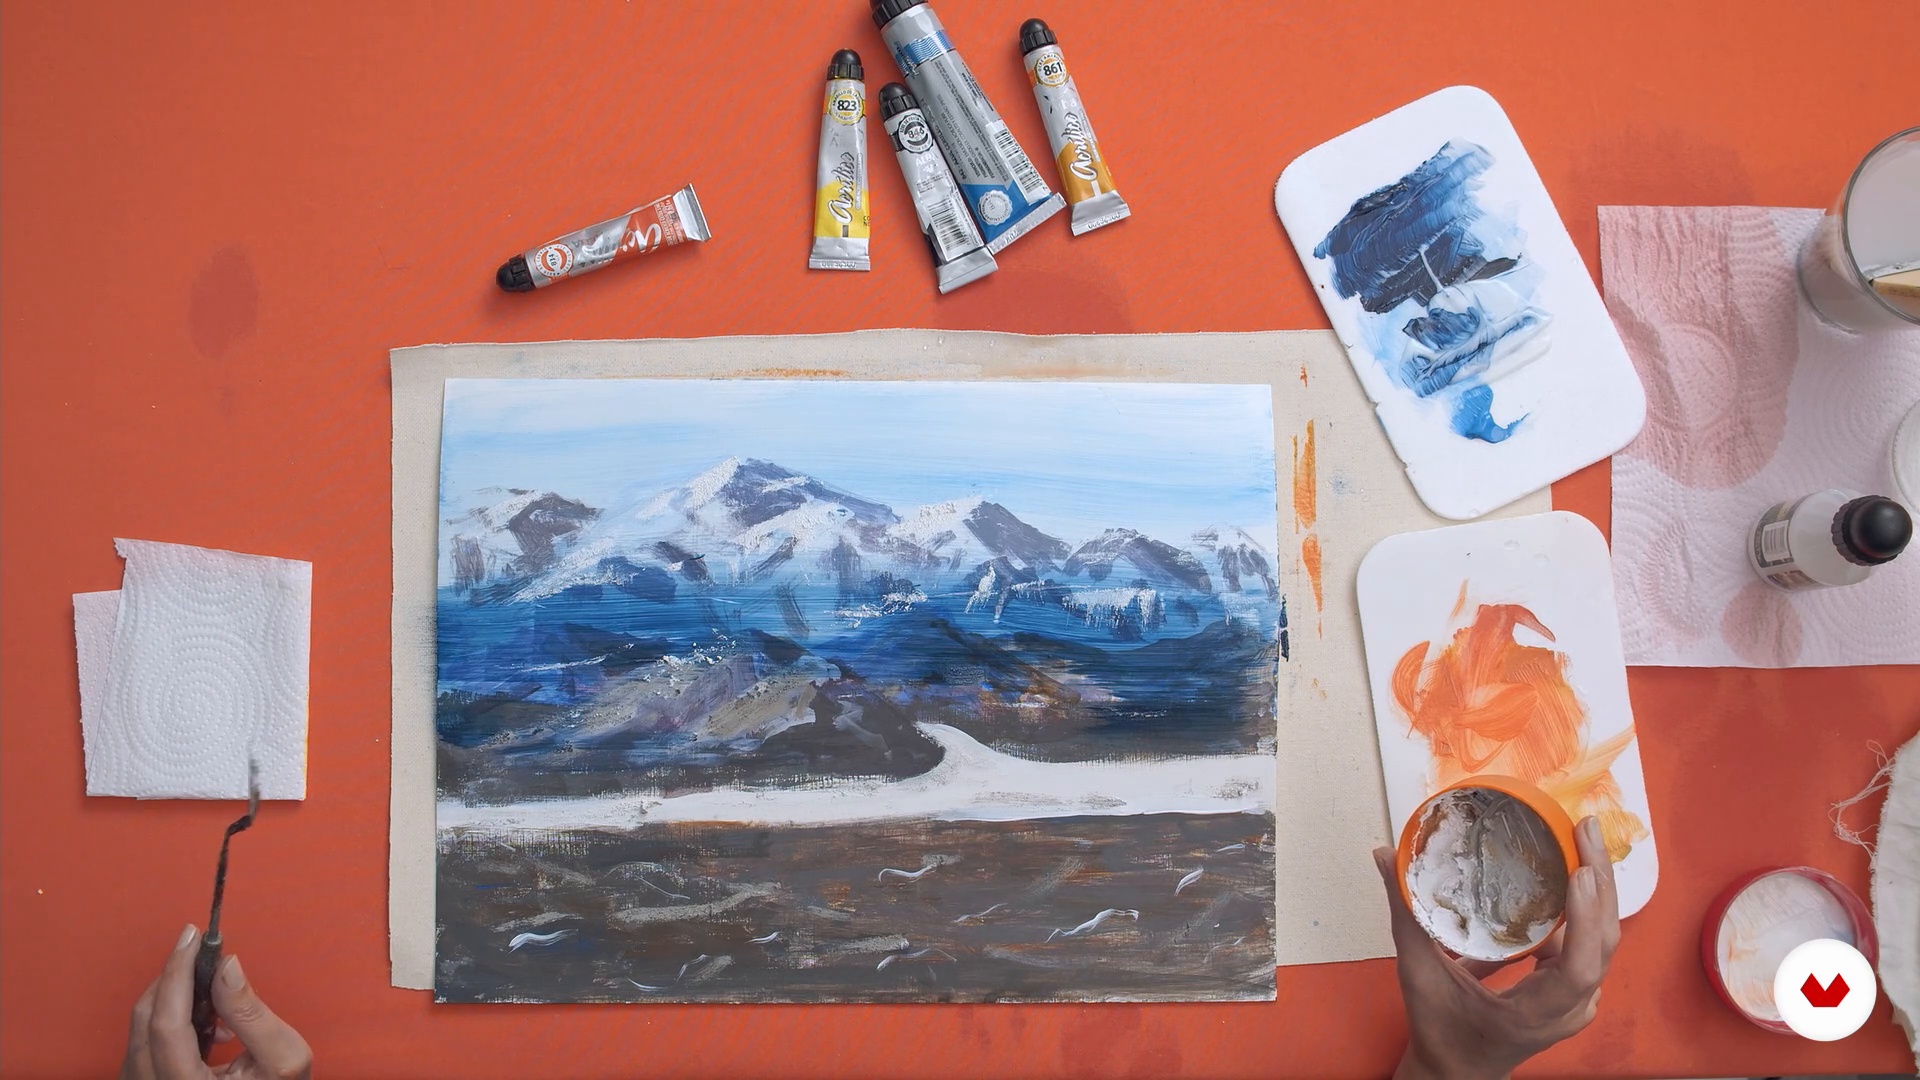
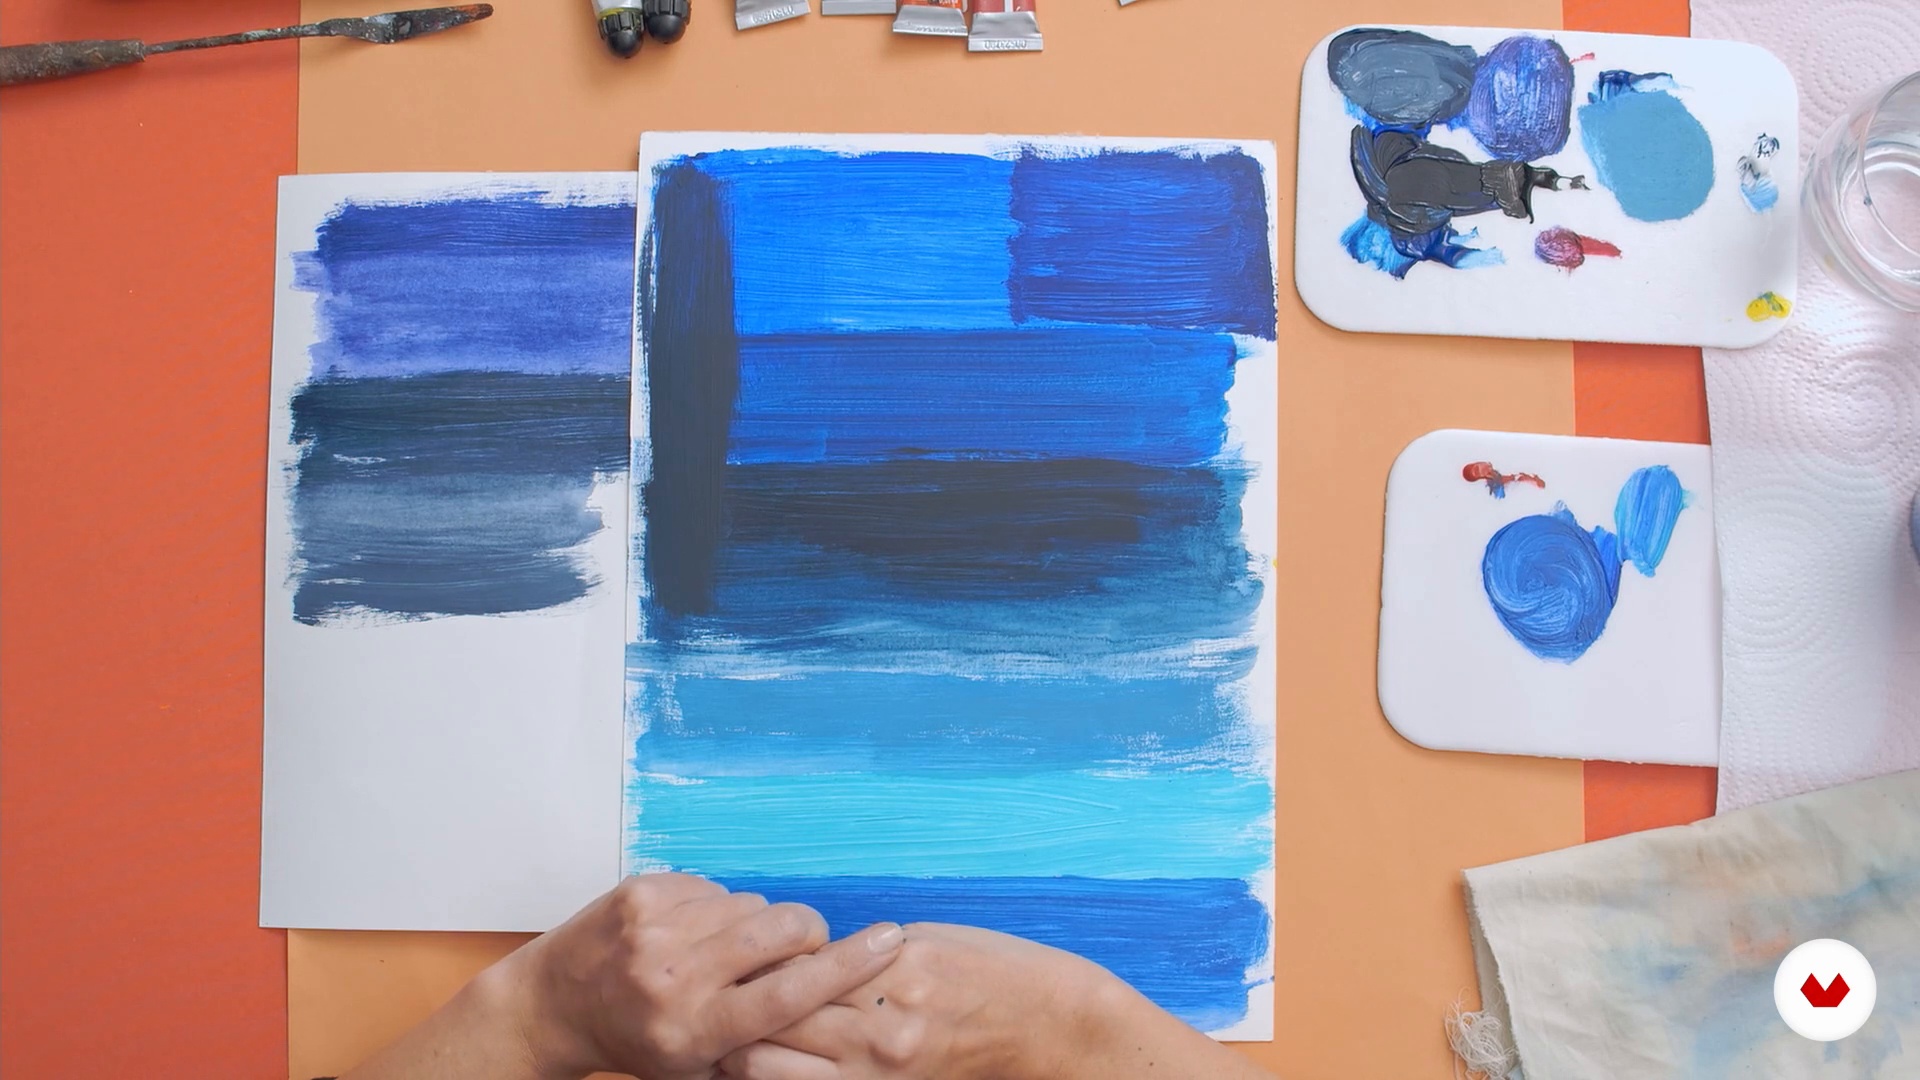
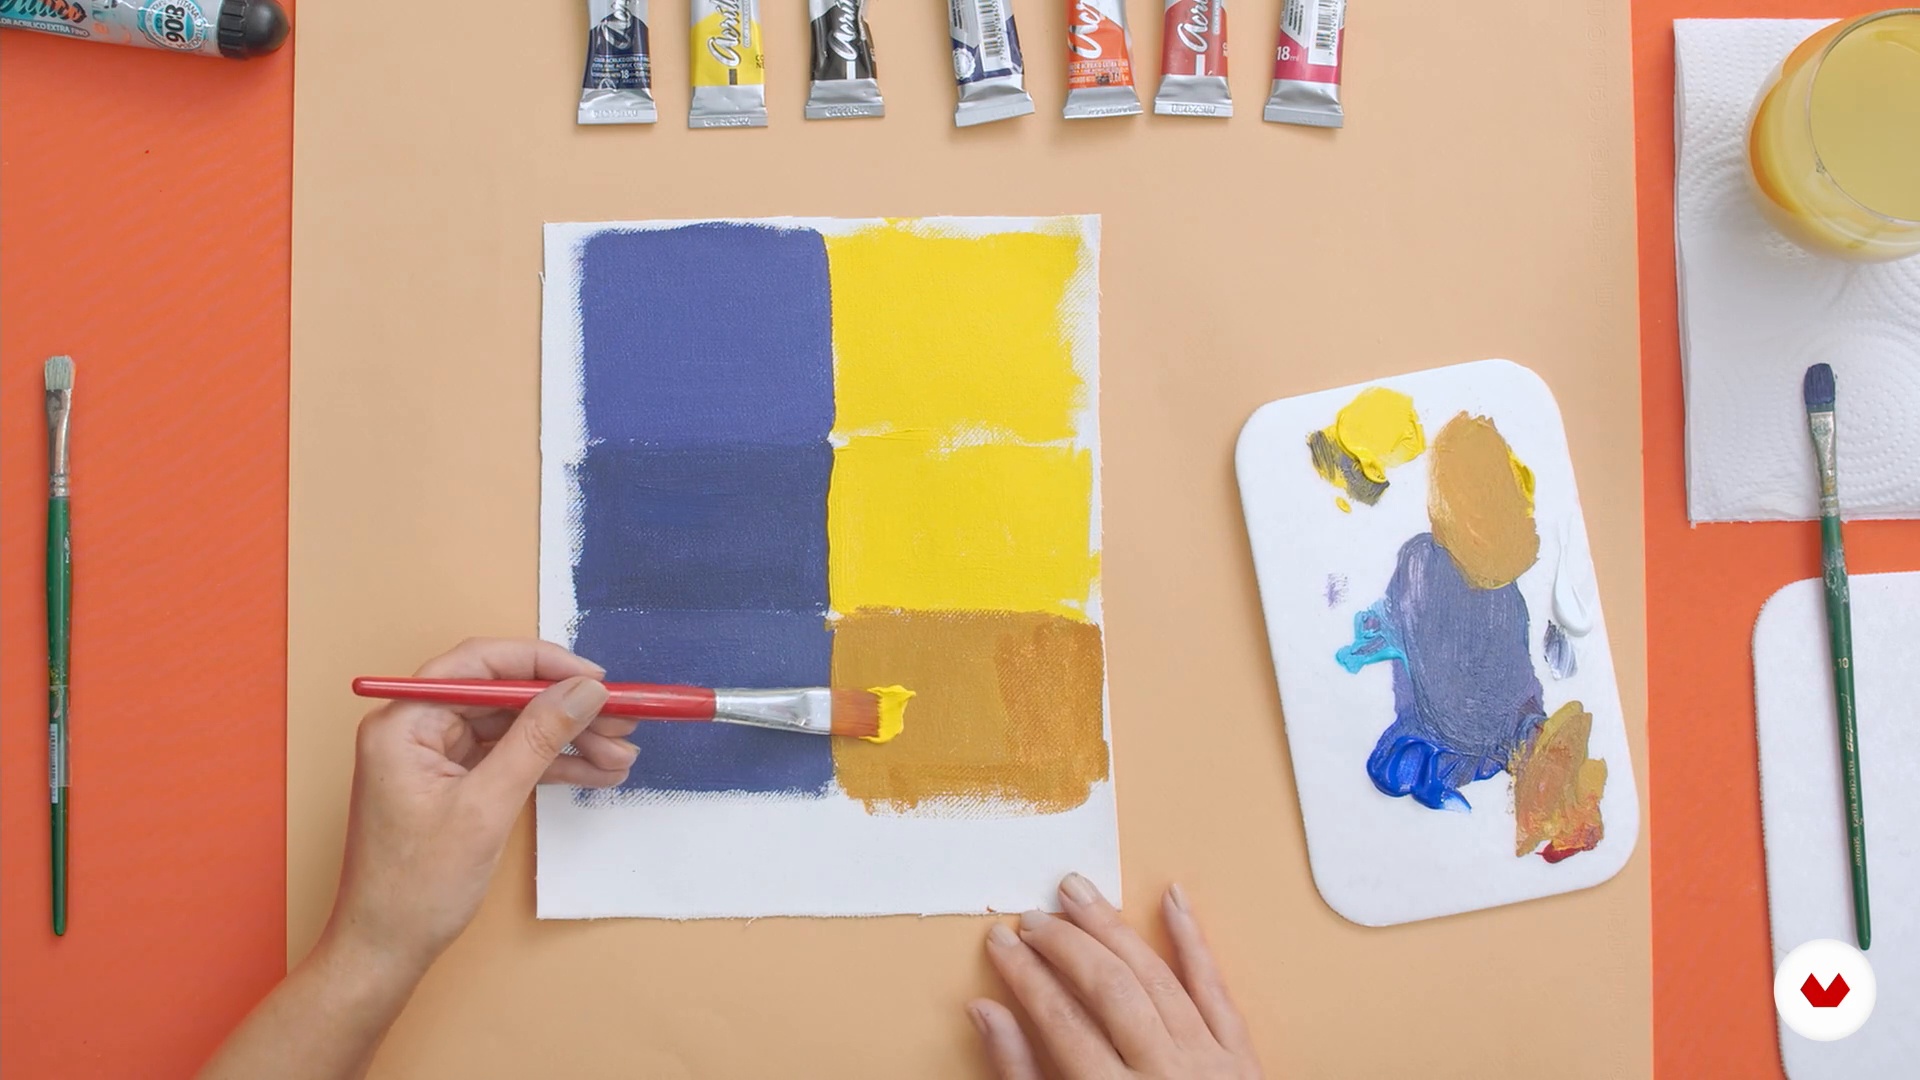
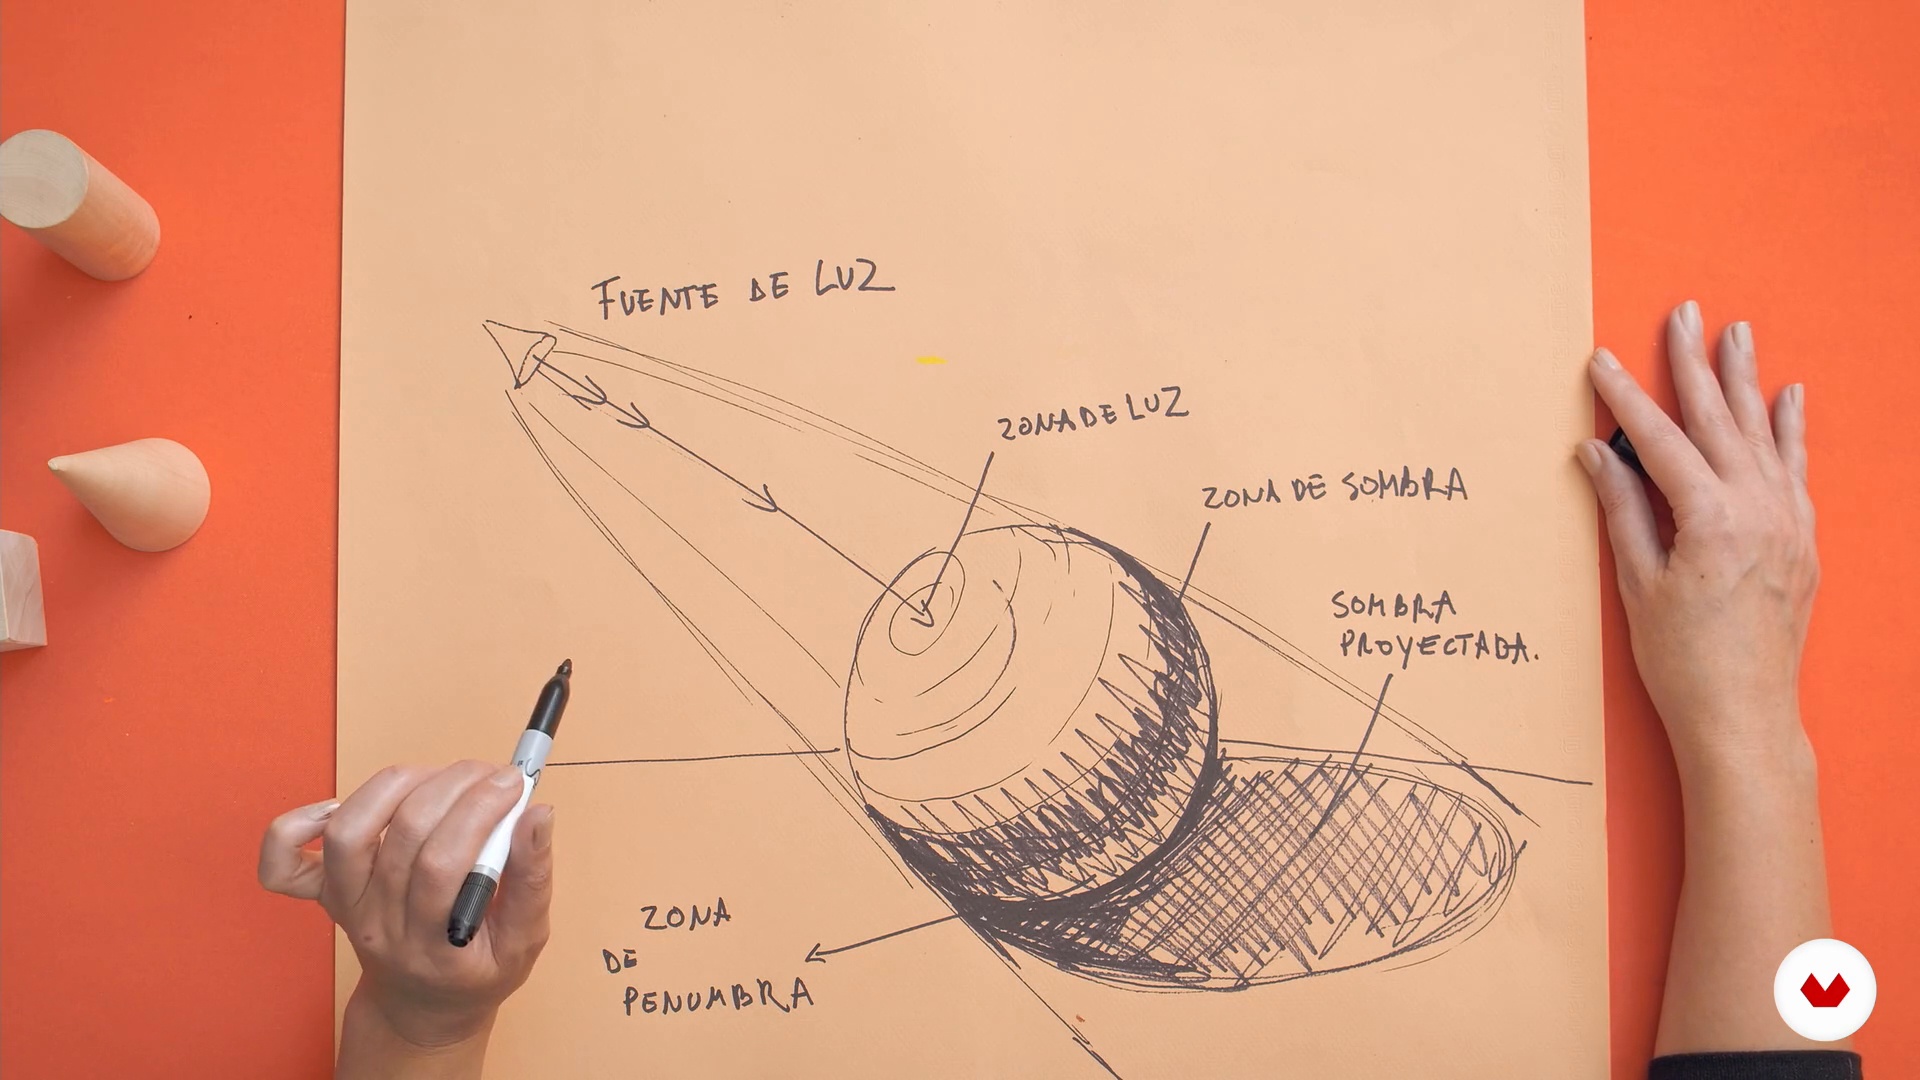
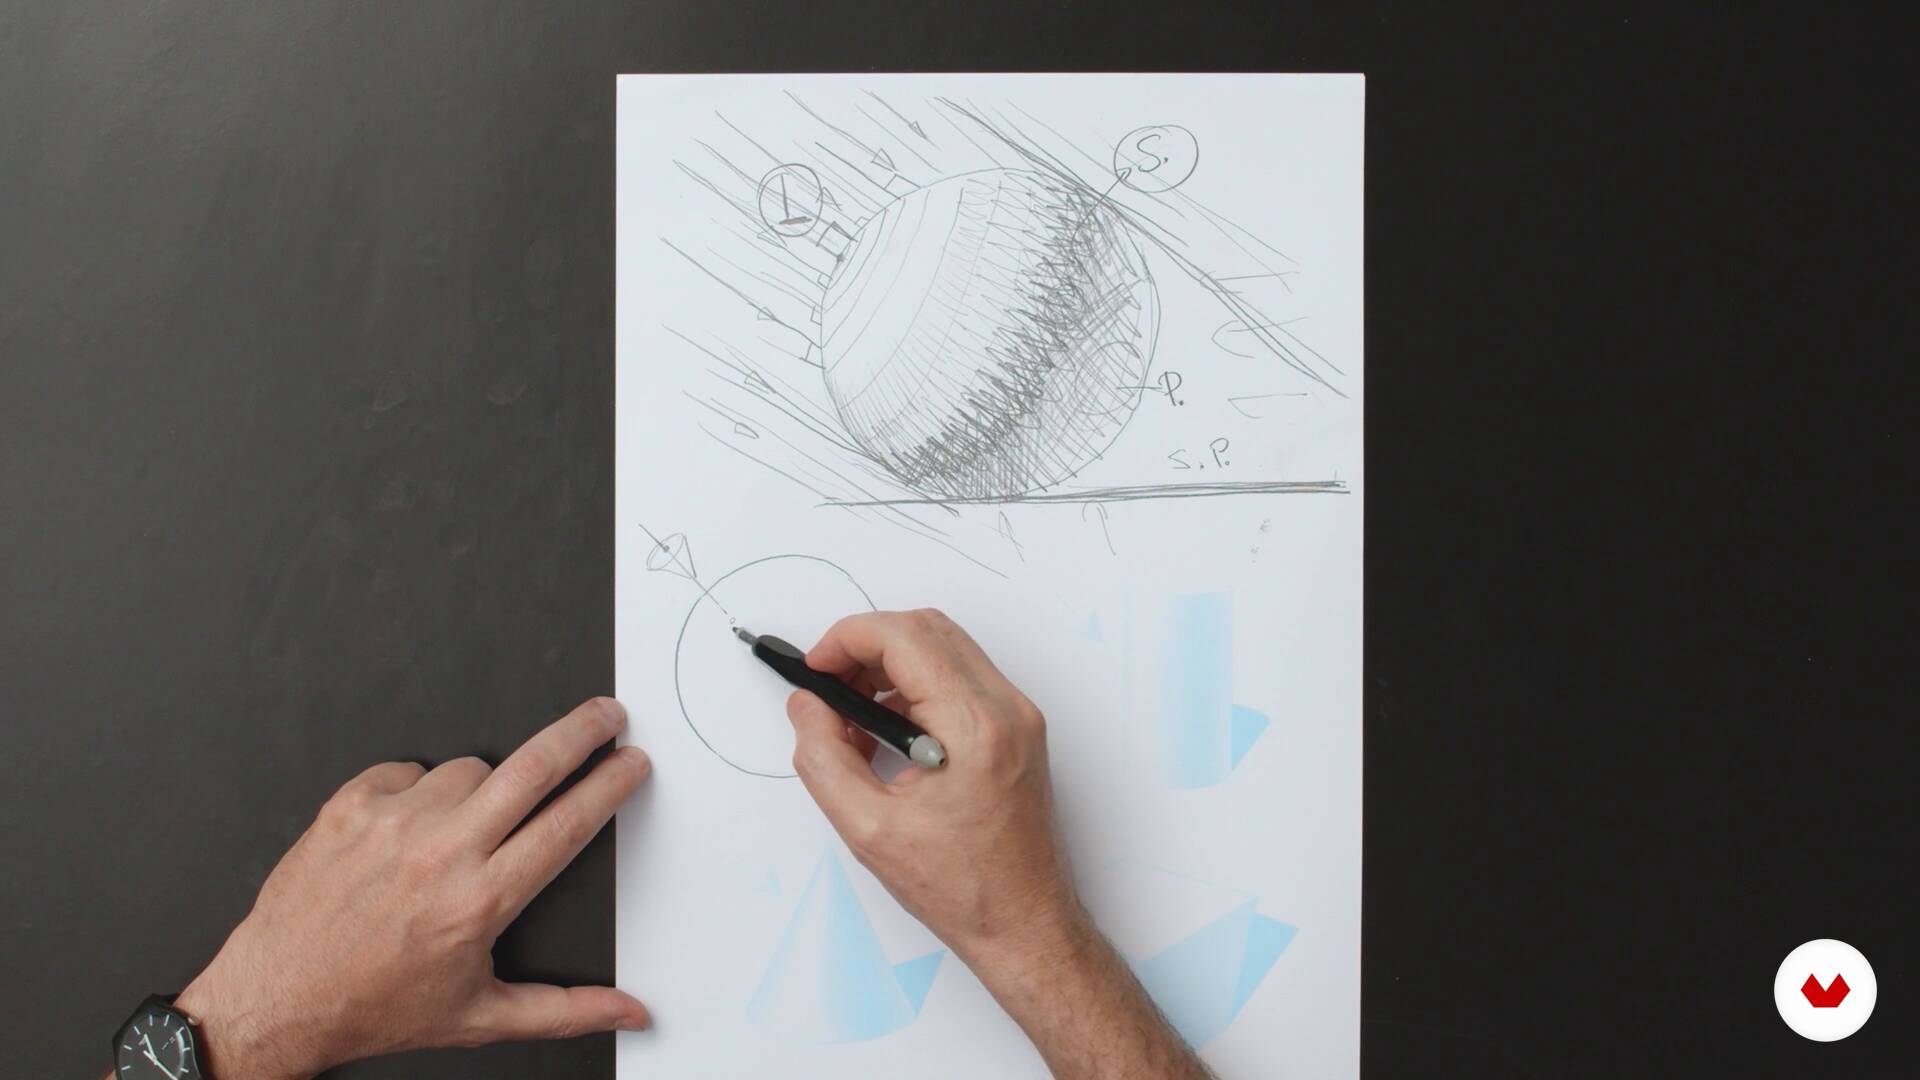
You’ll learn how to prepare surfaces, mix colors, apply light and shadow, create textures, experiment with mixed techniques, and get your work ready for professional printing—combining classic foundations with modern methods.
This is an intermediate-level course, perfect for those who already have basic drawing or painting skills and want to deepen their knowledge of traditional and mixed techniques applied to illustration.
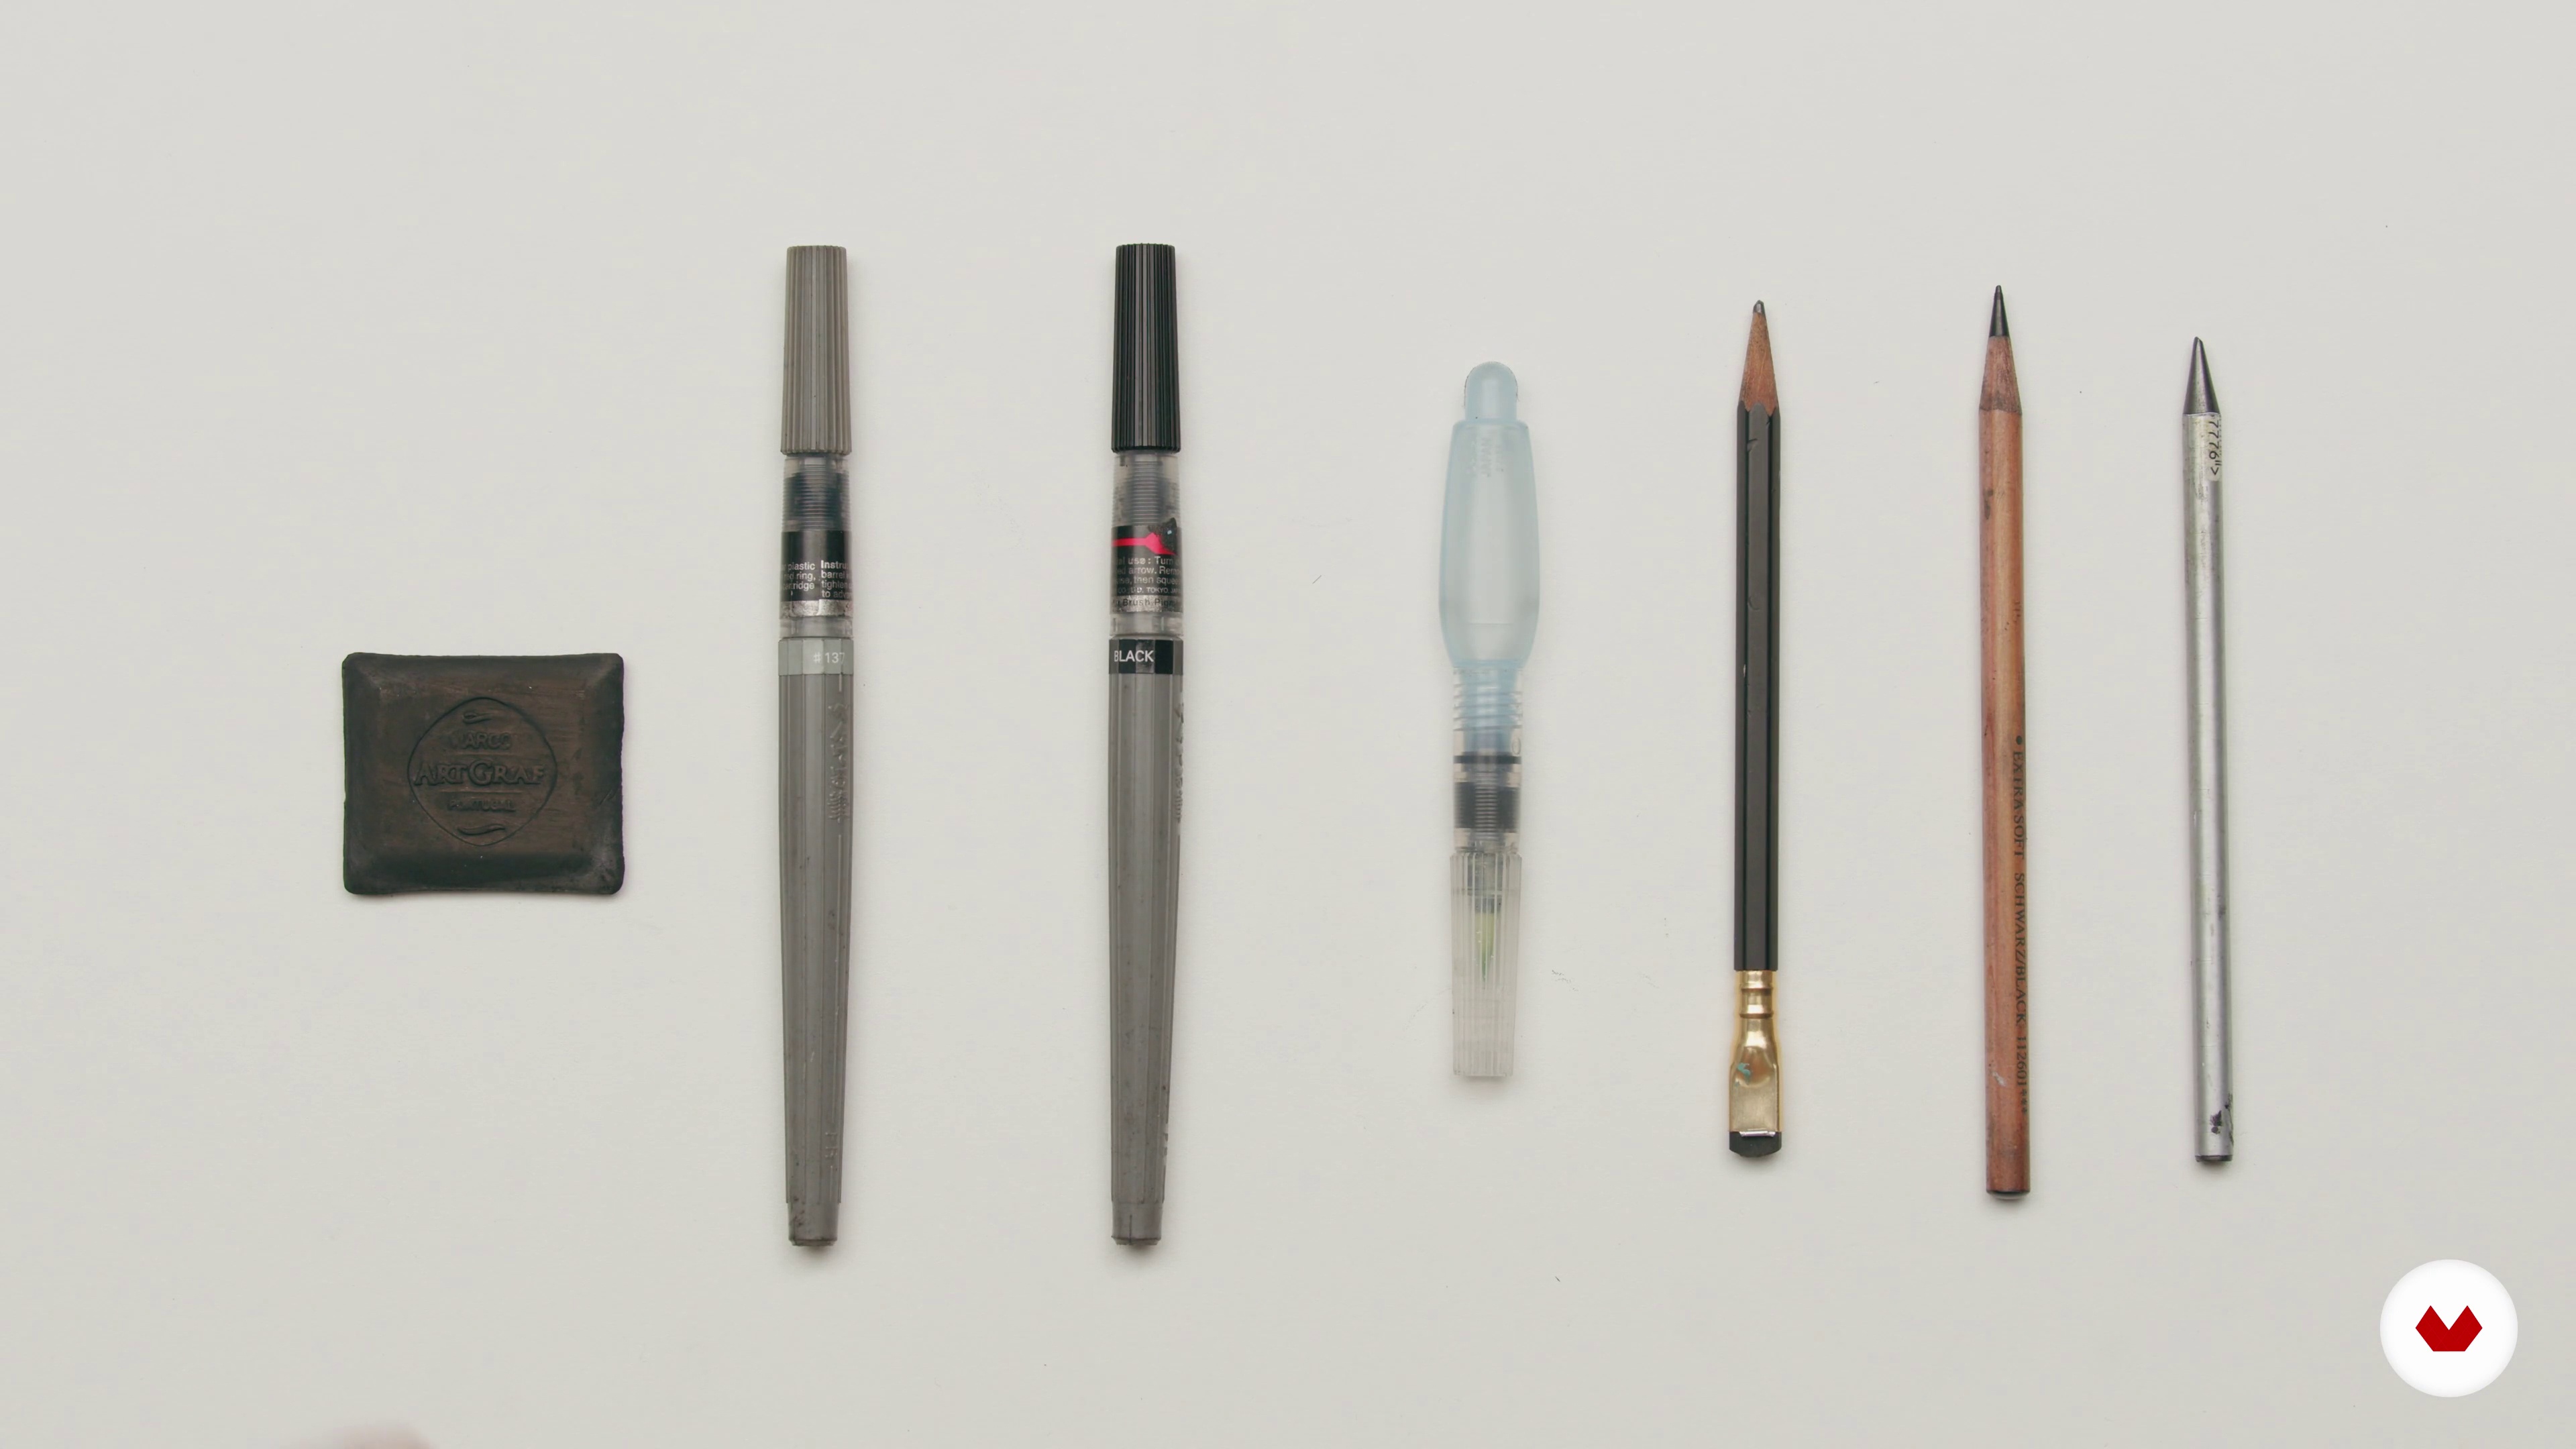
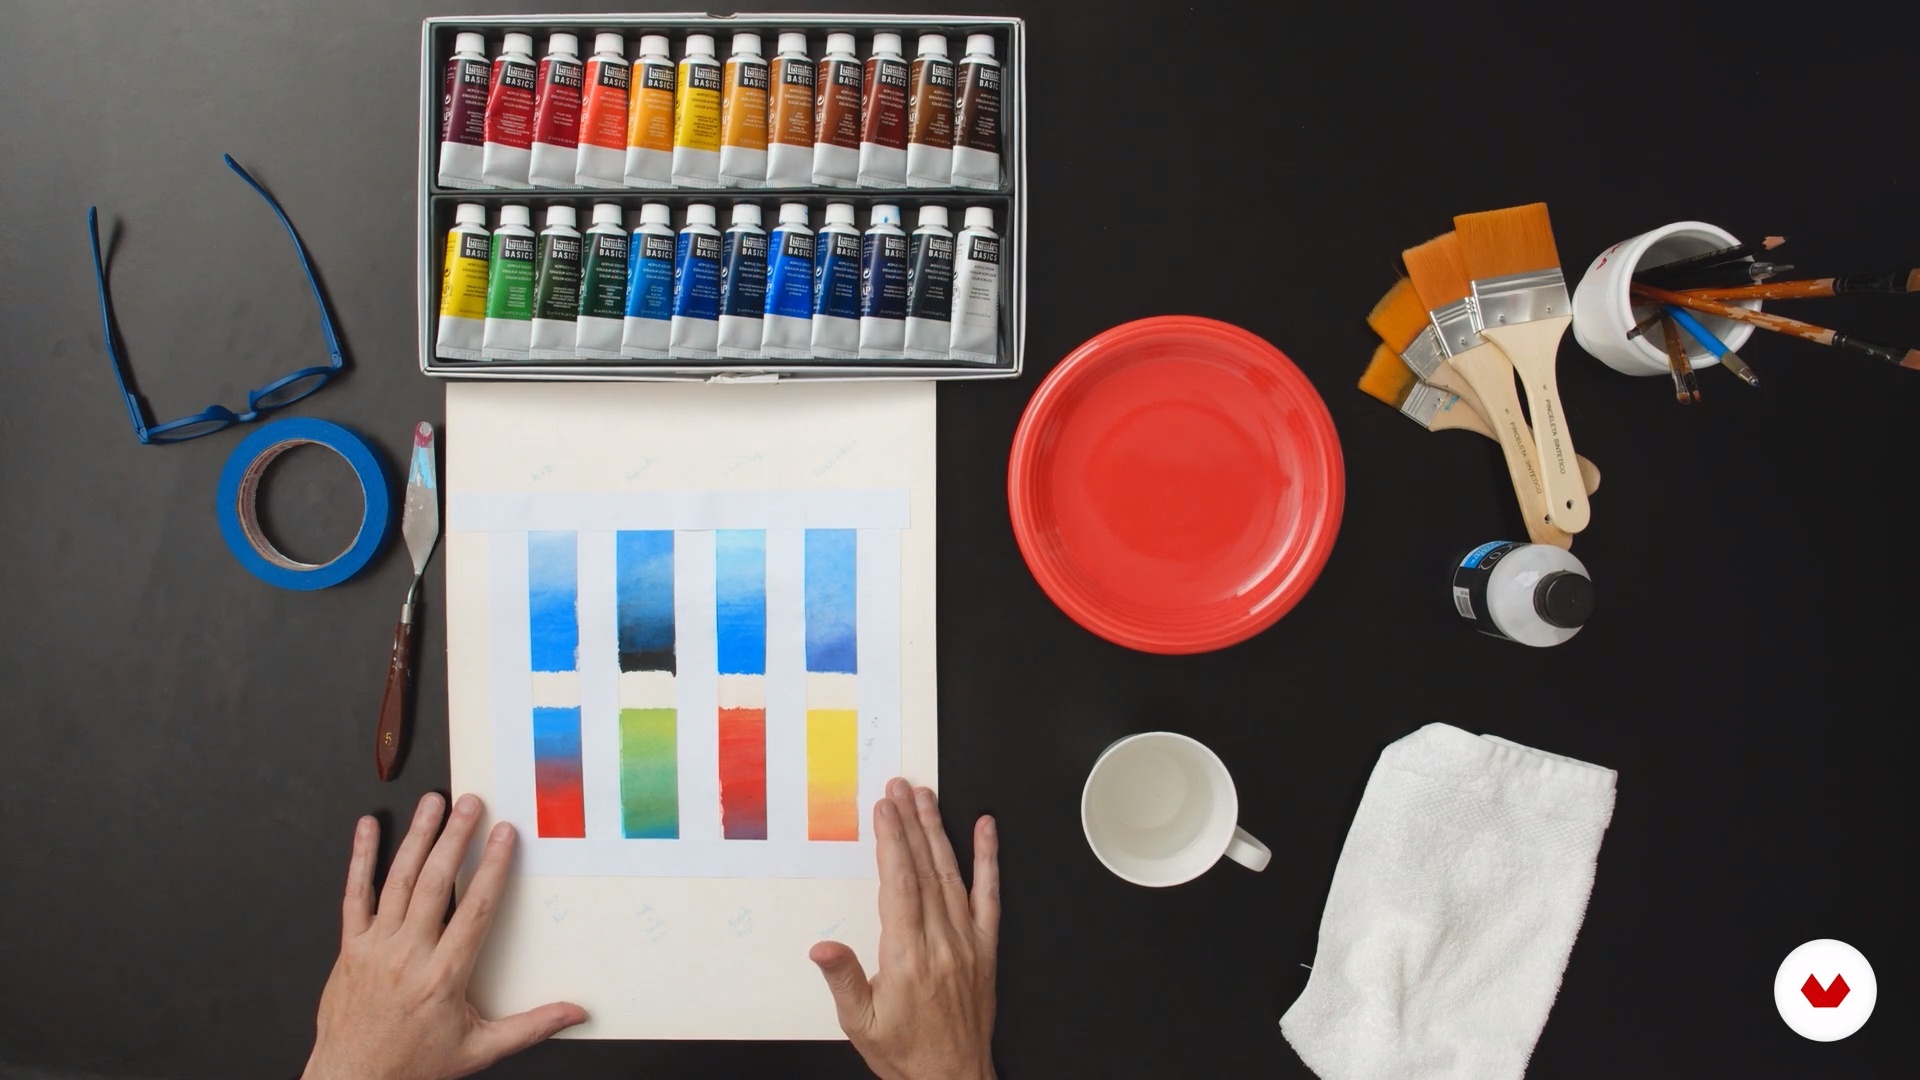
You’ll need heavyweight papers, acrylics, watercolors, oils, various brushes, palette knives, masking tape, thinners, varnishes, and auxiliary materials like black pencils and acrylic markers.
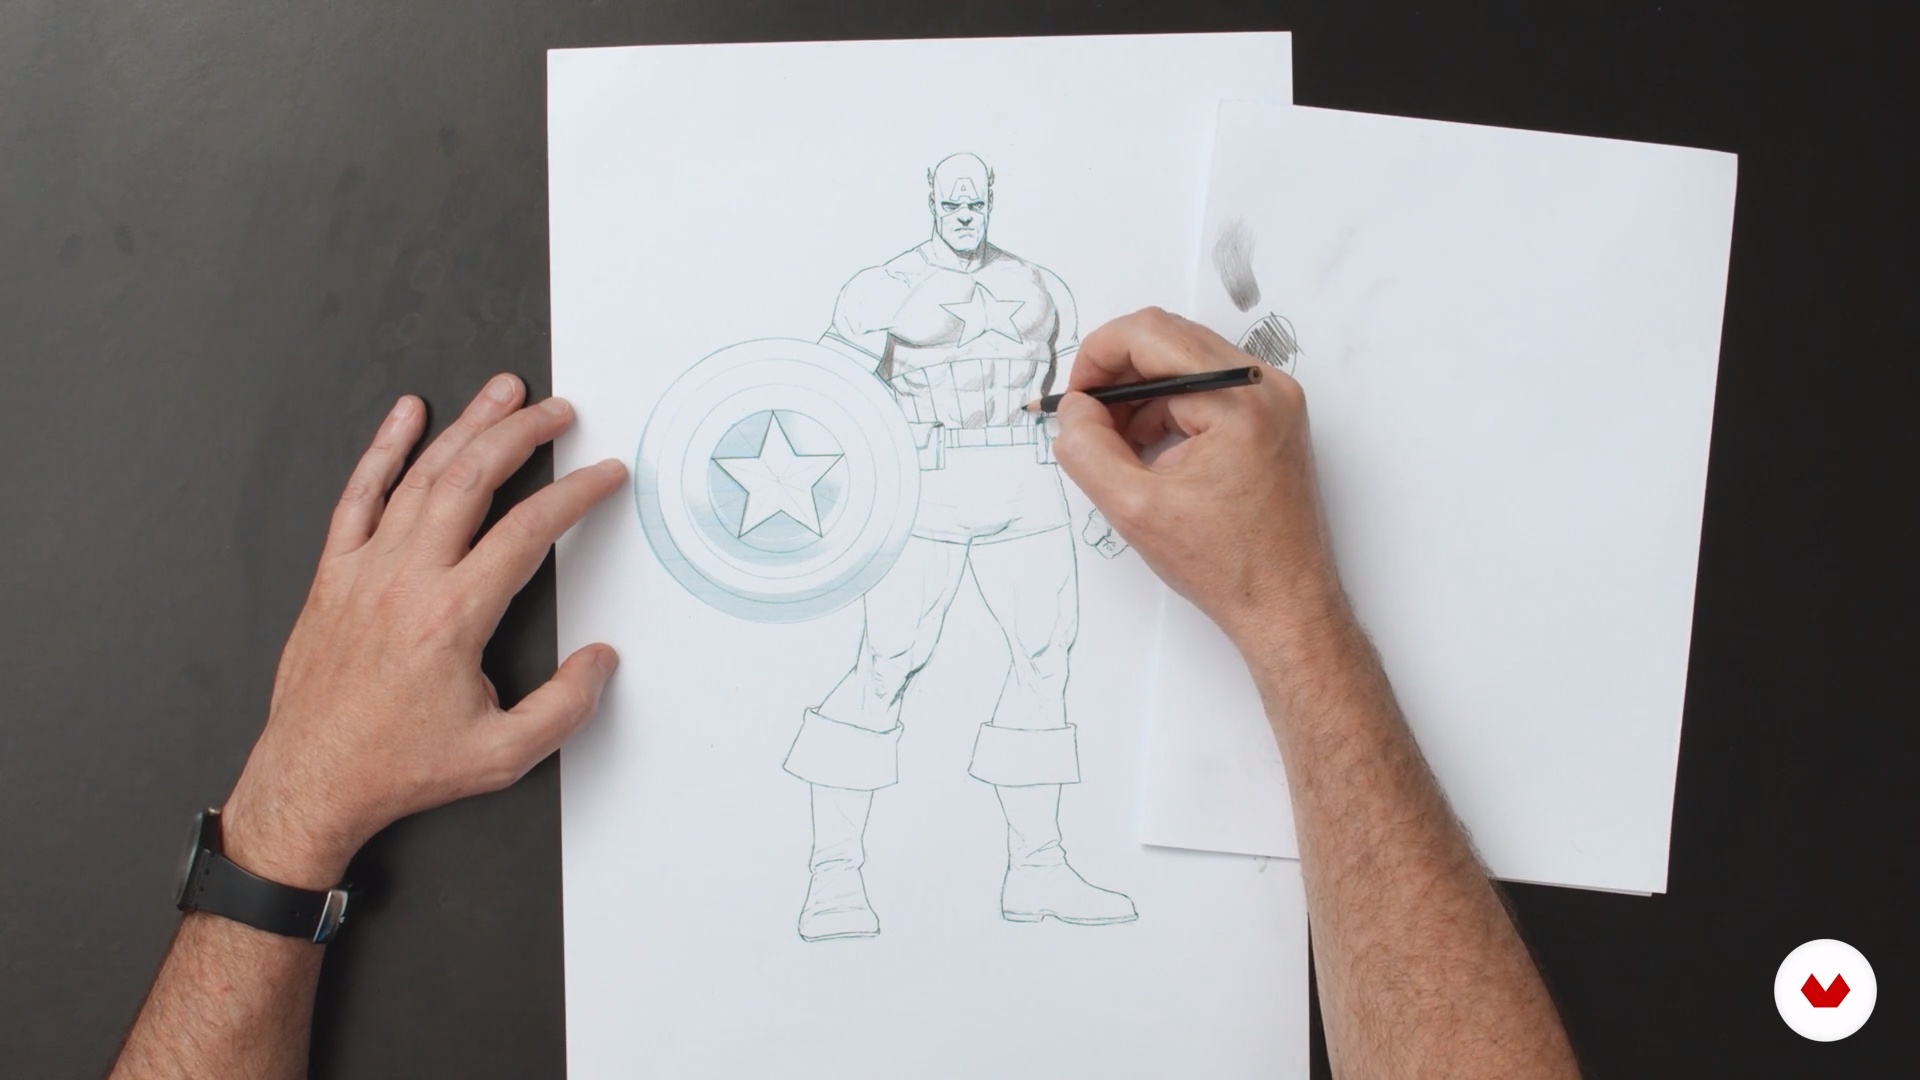
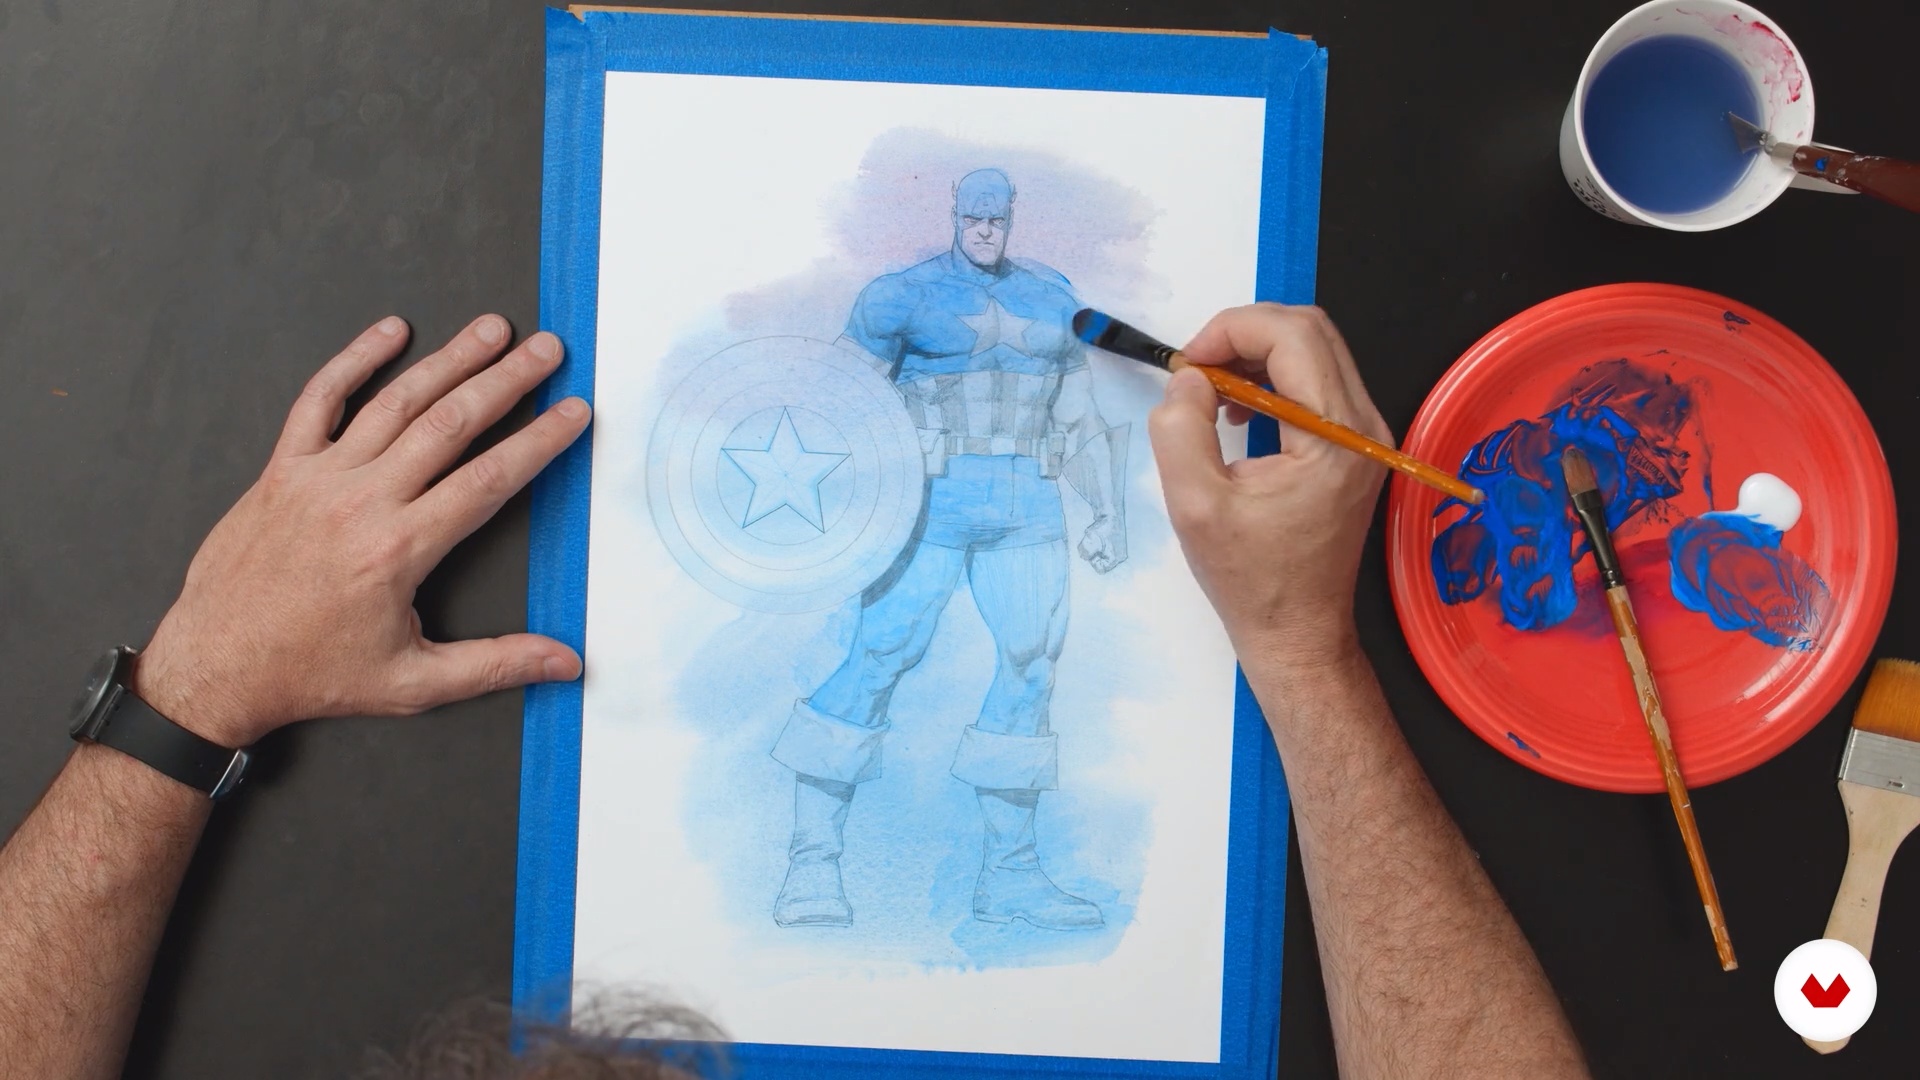
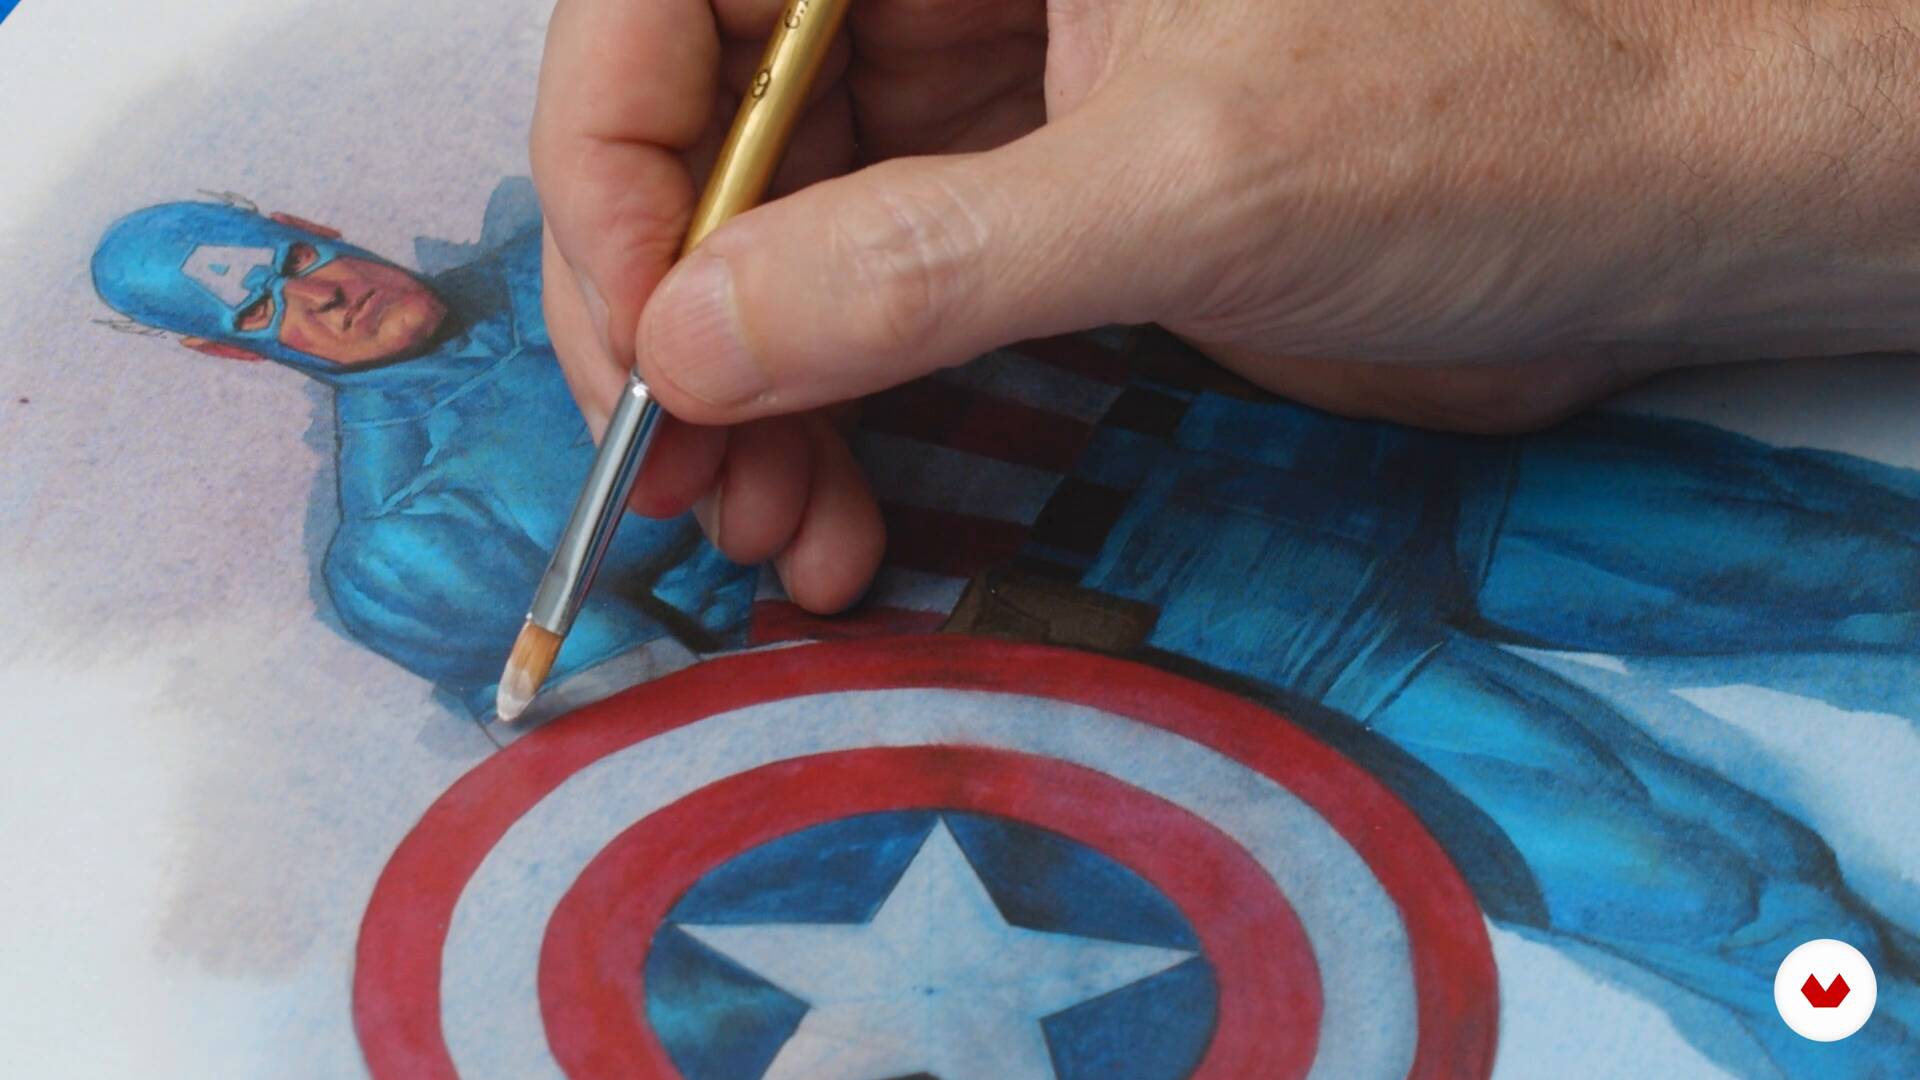
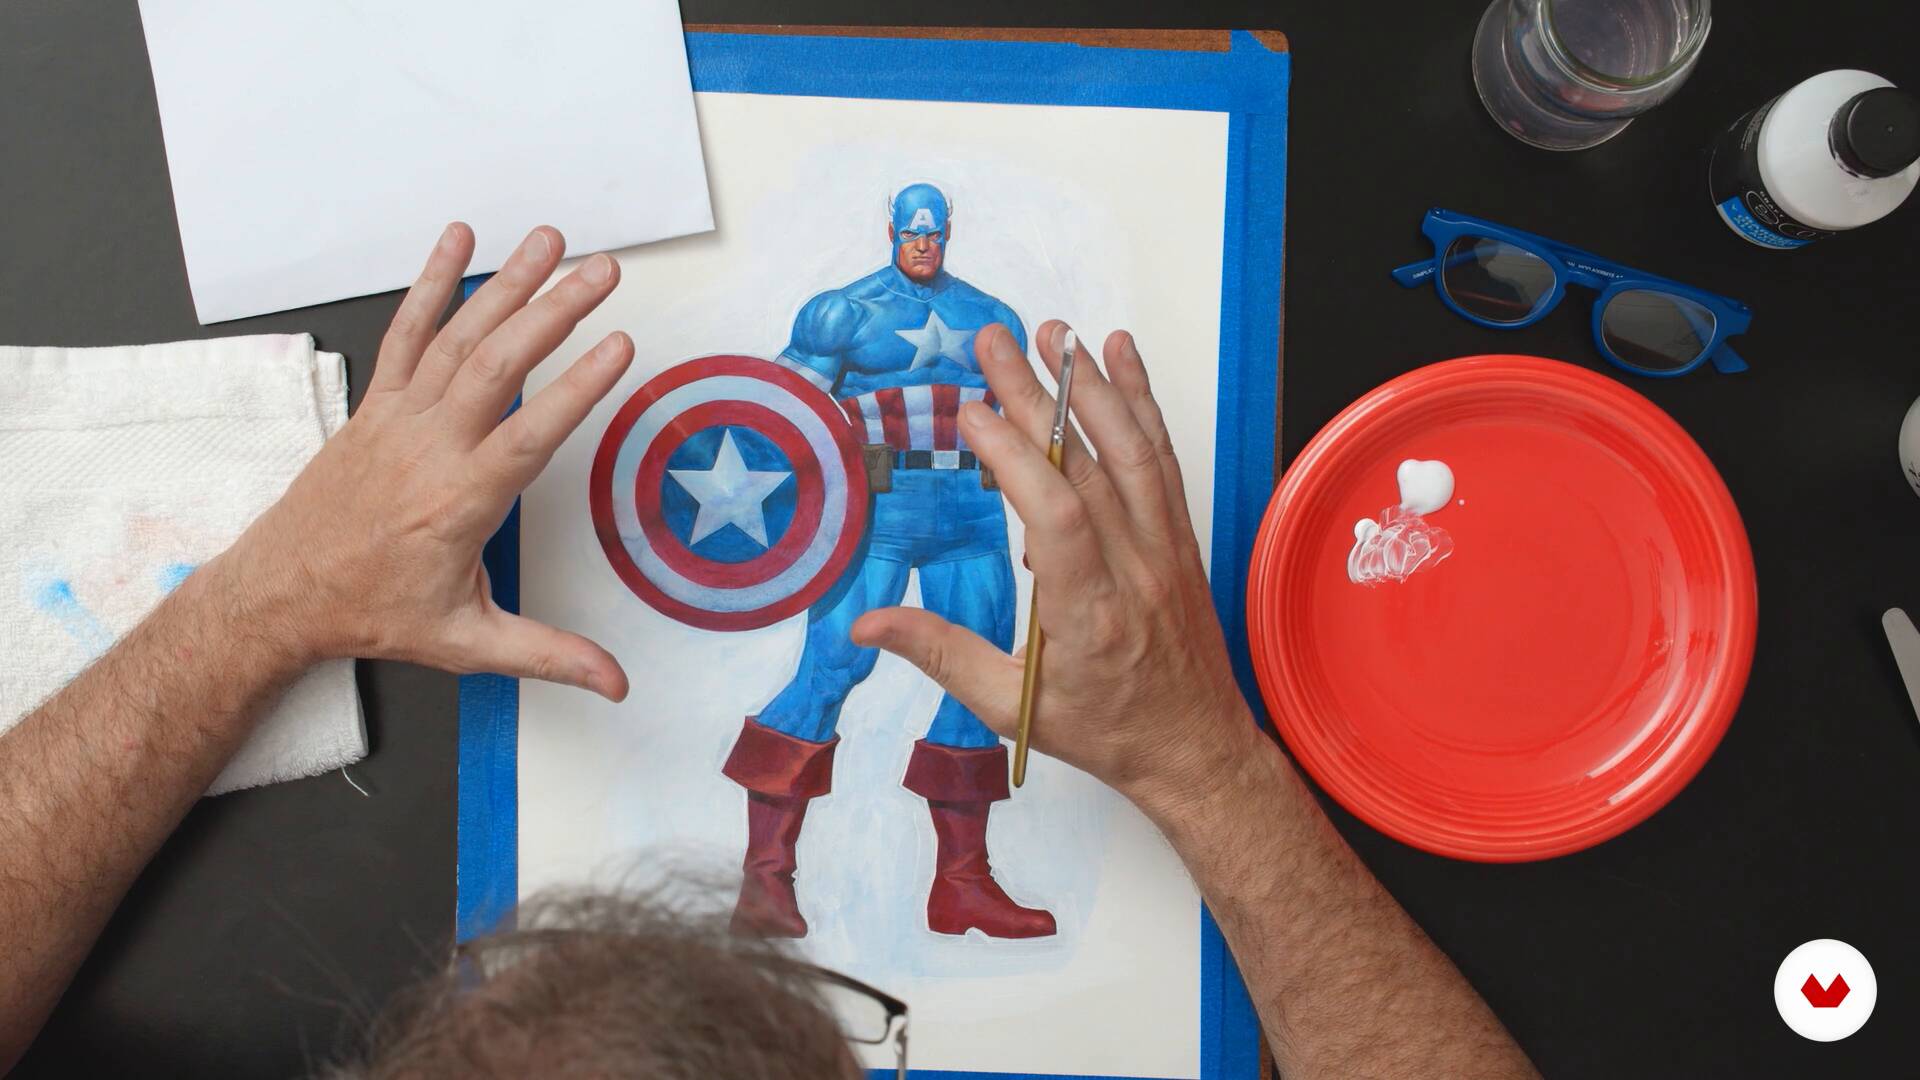
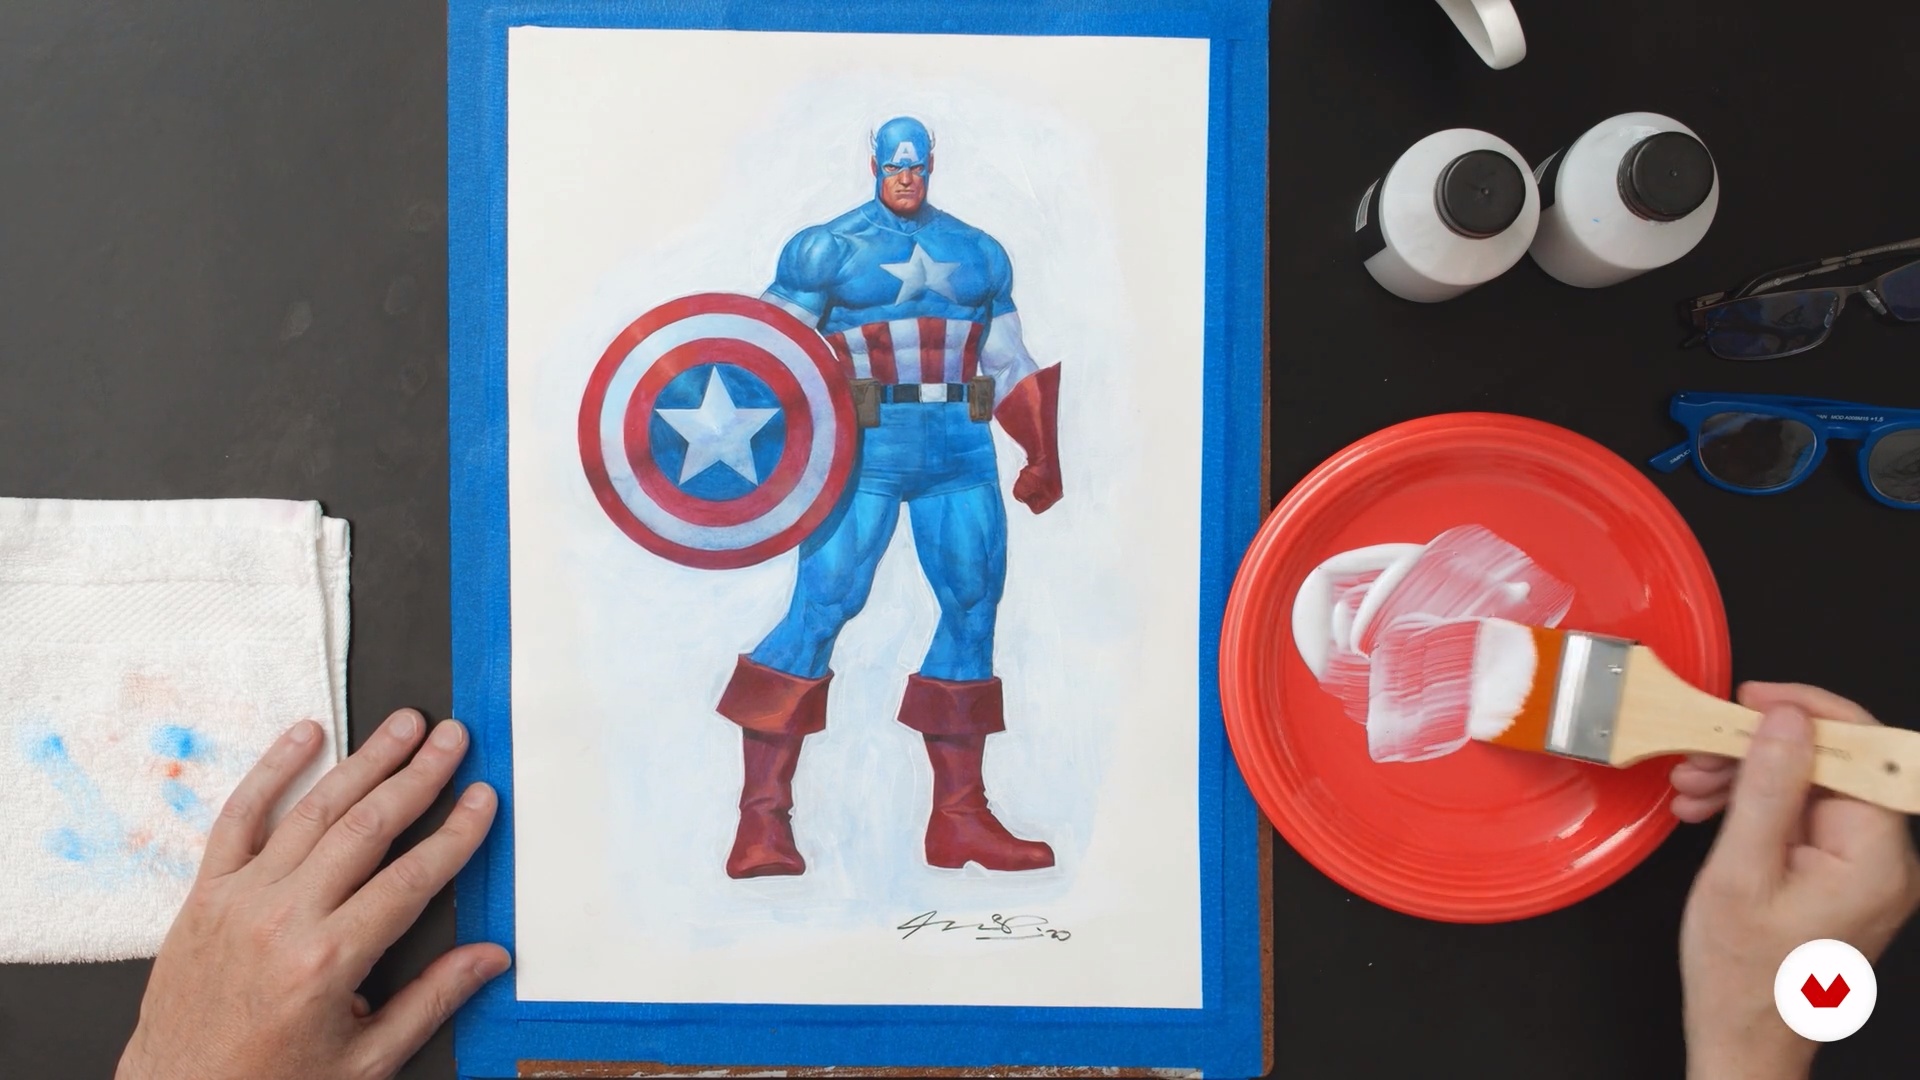
You’ll learn how to create textures, mix colors with a palette knife, apply layers and glazes, generate light and shadow effects, and use acrylics to build contrast and depth in comic illustrations.
The course teaches you to select thick, acid-free papers and prepare them with the right primer to ensure proper adhesion and durability of acrylics.
Thinning with water reduces the opacity and body of acrylic paint, while varnish preserves texture, enhances transparency, and protects the paint. The course covers both methods depending on the desired effect.
Yes, the course includes how to prepare originals for digitization, choose the right format and resolution, and key tips for professionally printing your illustrations.

Excelente curso introductorio.
Excellent course. I learned a lot.
Me encanta!
Inspirador!!!
Good