Specialization

Specialization in Visual Storytelling through Culinary Photography

Master culinary photography and storytelling, creating visually impactful food narratives with techniques in lighting, composition, and style

Specialization · 7 modules

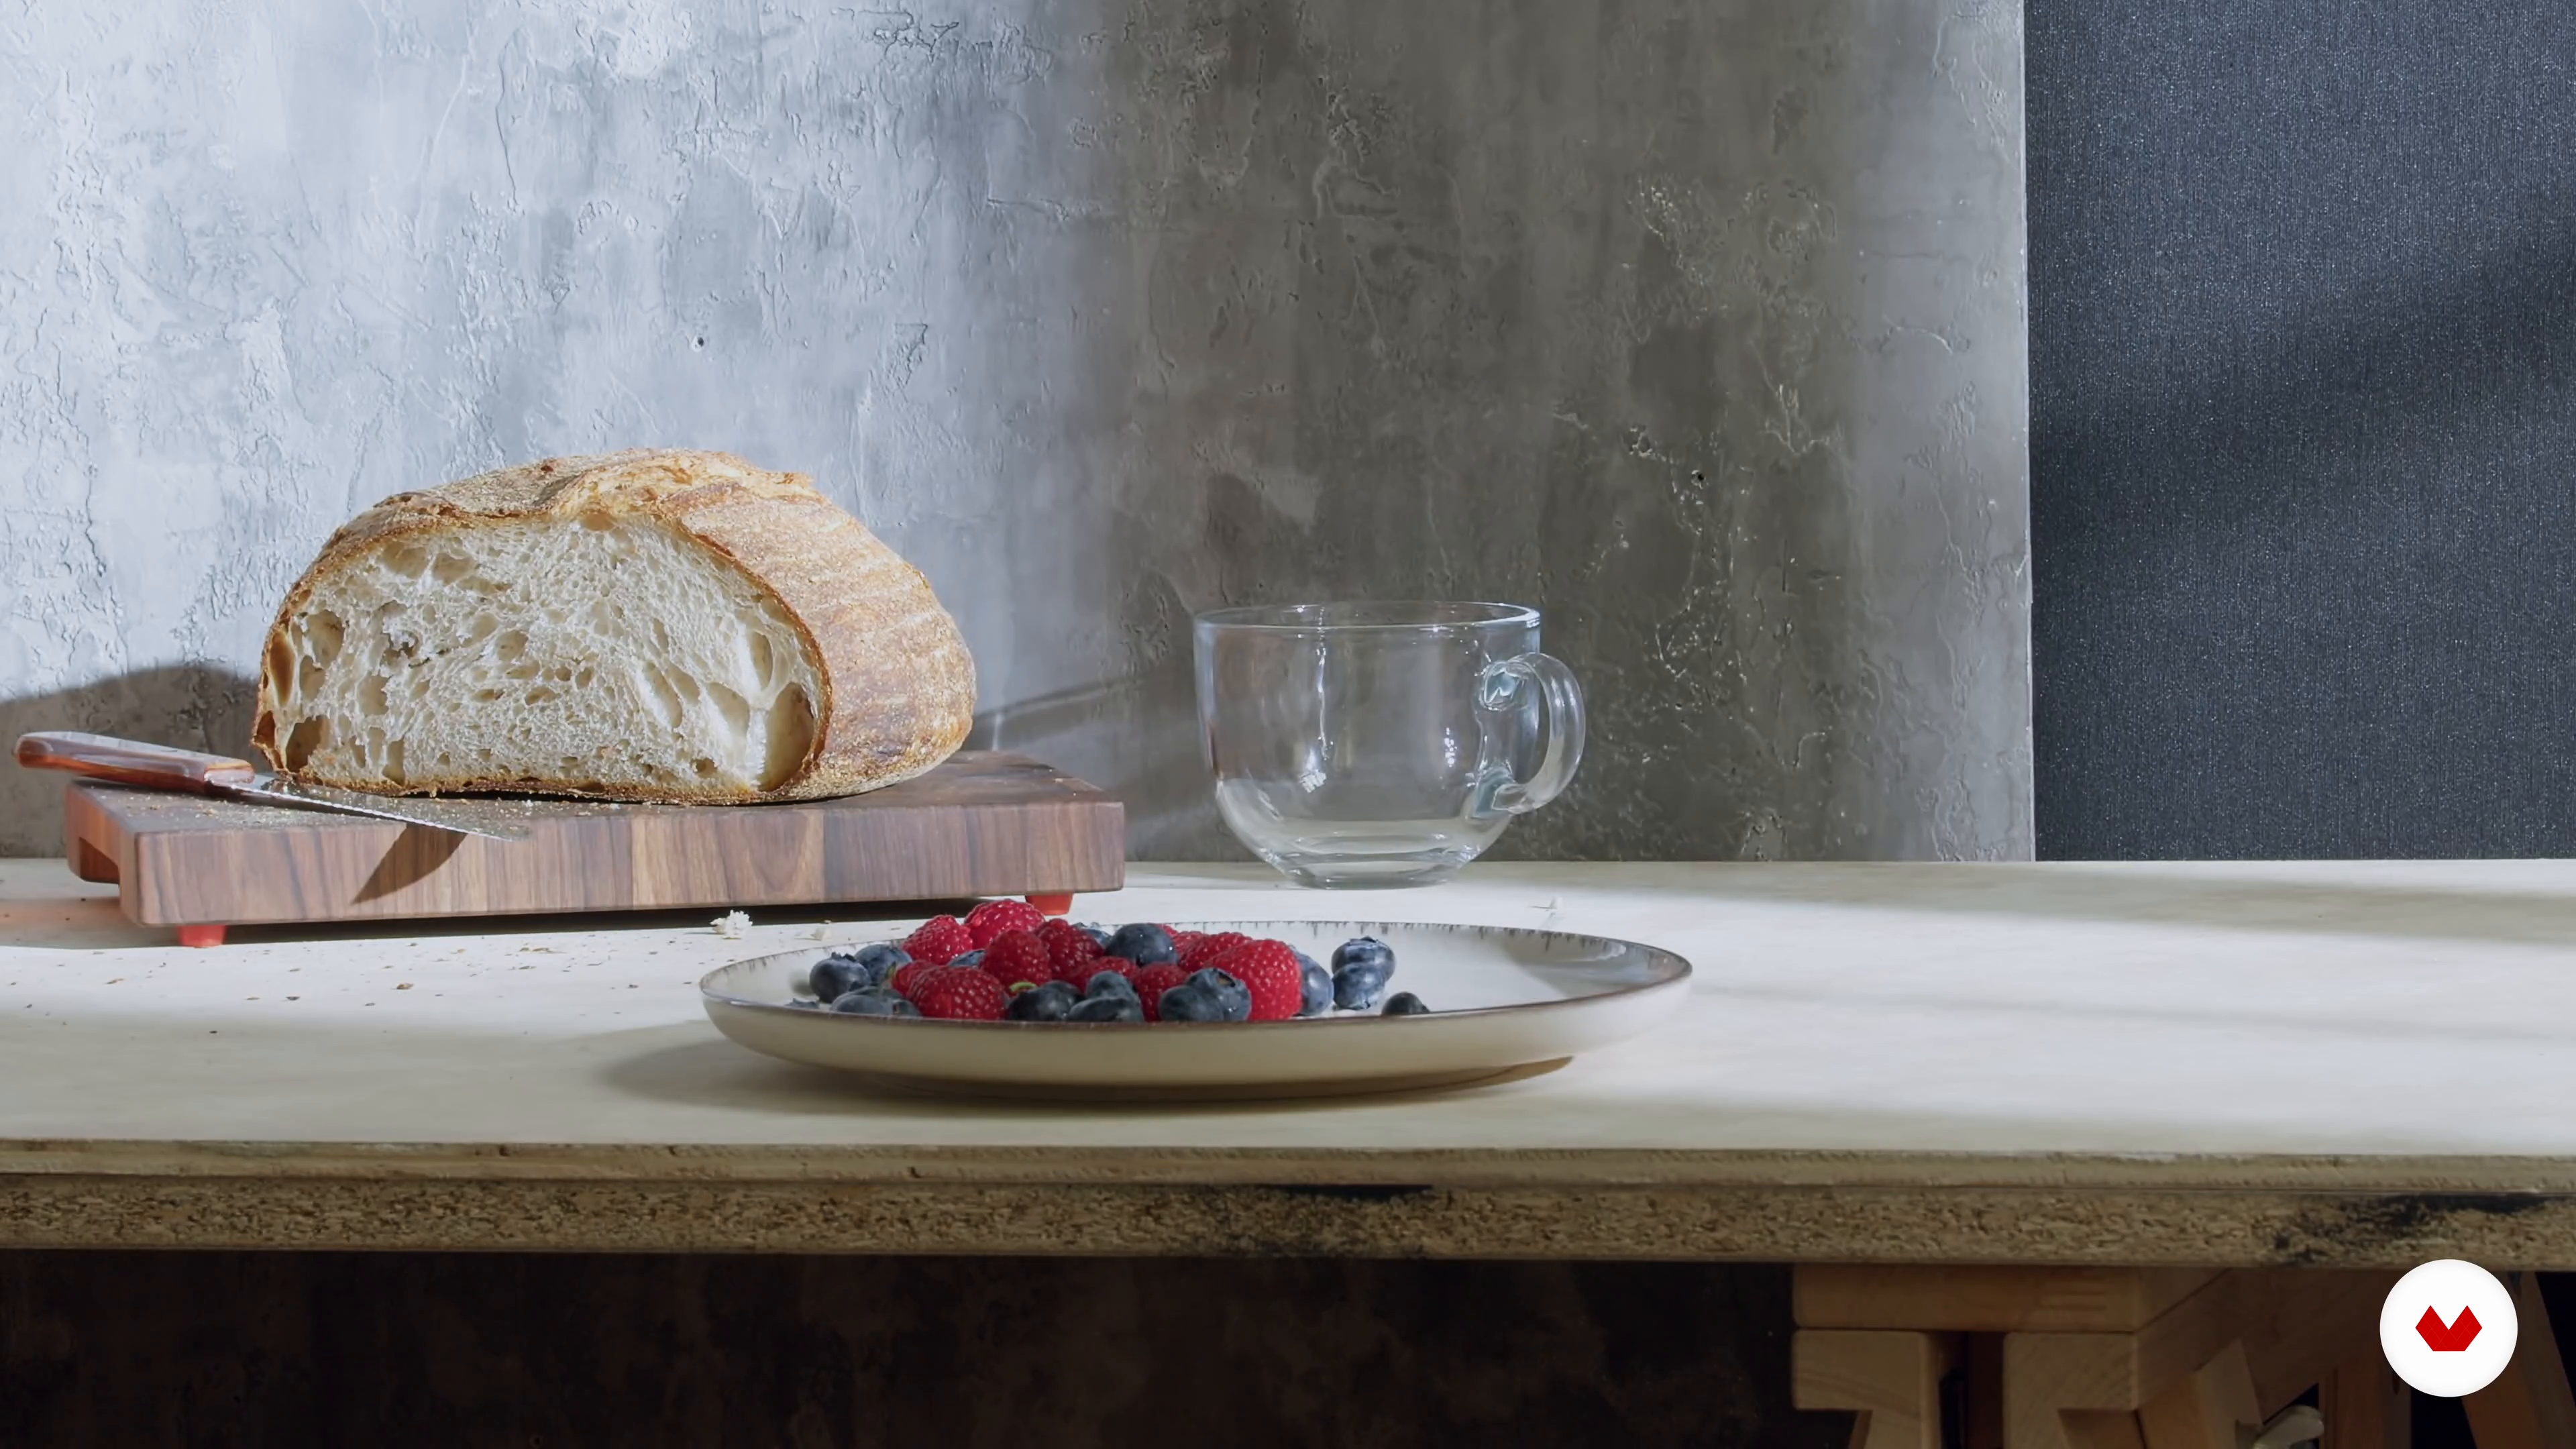
Discover the art of visual storytelling through culinary photography with this comprehensive specialization. Designed for photographers and content creators, this program guides you through mastering food photography, from basic lighting to complex conceptual compositions. Transform simple dishes into impactful visual narratives by learning essential techniques that evoke emotion and authenticity. Whether it's for artistic expression or commercial purposes, you'll develop a personal style that captivates audiences across various platforms.

Led by a diverse group of industry experts, including Adrian Mueller, Kimberly Espinel, Nia and Kyle, Gerard + Belevender, Colors Collective, and Victoria Granof, this specialization offers a unique blend of technical skill and creative exploration. Delve into natural light photography, Instagram-ready food styling, dynamic floating effects, and more. Each instructor brings their expertise, providing you with the tools to craft compelling food stories that resonate deeply with viewers. Embark on this creative journey to elevate your photography skills and discover new perspectives in the world of culinary art.

Read more ↓

What will you learn in this specialization?

A total of 7 modules and 86 lessons
A total of 13h 4m of vídeo lessons
Taught by 6 selected expert teachers
image
1
Introduction
Visual storytelling through food photography merges light, texture, and memory to evoke emotion and cultural depth. You'll explore its rich history, experiment with mood and composition, and embrace creative risk to turn ordinary meals into extraordinary visual narratives.
2m
image
2
Influences | Adrian Mueller
Here I'll share a brief description of my philosophies, and I will present the people who have shaped my creative process and influenced the way I take pictures.
3m
image
3
Influences | Kimberly Espinel
There are many bold and inspiring food photographers that helped me develop my style. I’d like to share them with you and hopefully inspire your creativity too!
9m
image
4
Influences | Nia and Kyle
The following are aspects of the notable works in this lesson that have inspired me and my work. These works remain a part of inspiration for me. At the end of the lesson, I also reveal my biggest takeaway.
2m
image
5
Influences | Gerard + Belevender
Our influences come from so many places! Here, we'll go beyond our favorite photographers into our favorite films, TV shows, references, and artists, and we'll talk about how experience shapes our work more than a visual reference.
5m
image
6
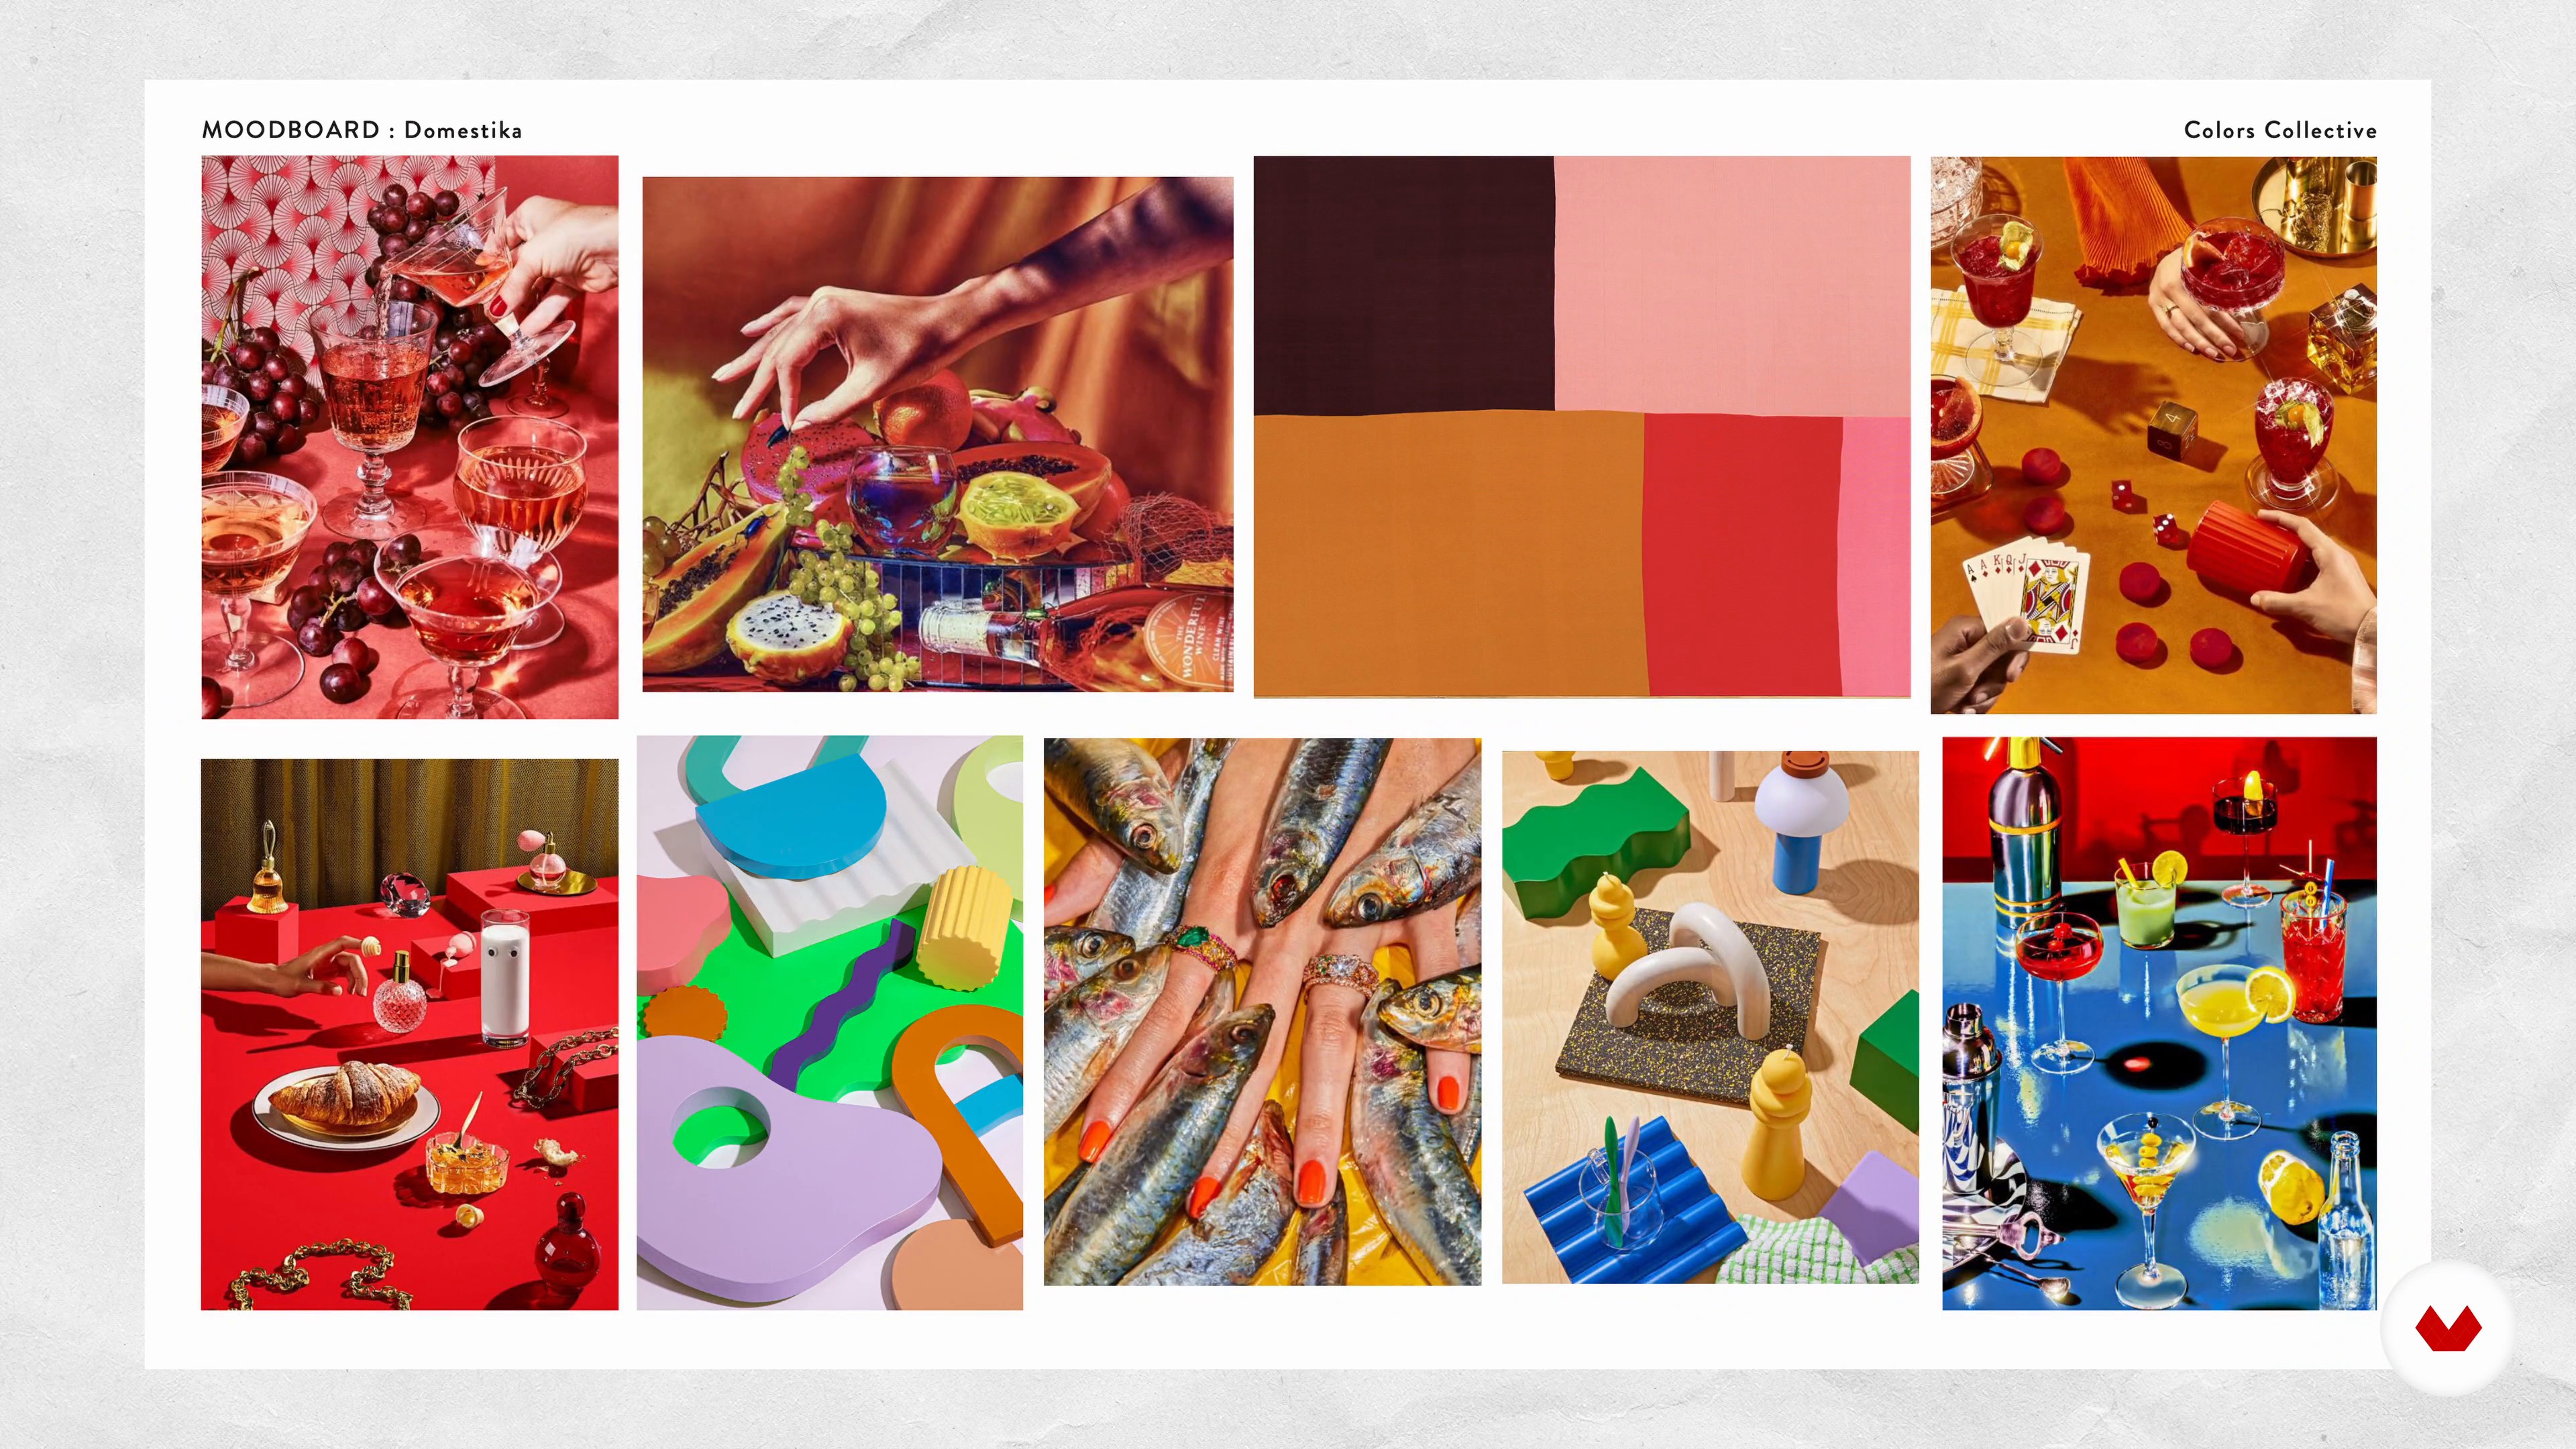
Influences | Colors Collective
In this lesson, we will talk about four artists from different mediums that inspire us. You will learn how they have influenced our work.
2m
image
7
Influences | Victoria Granof
From collaborations to great artists, here are some of the people and their work who have influenced my vision and inspired my own work.
14m
image
3
Camera Fundamentals for Food Photography
The first step is to review important camera functions. Here I'll tell you about your lens choice for food photography and the difference between working handheld and with a tripod. I'll also explain the different effects of the aperture for depth of field and how this applies to the project.
13m
image
4
The Composition
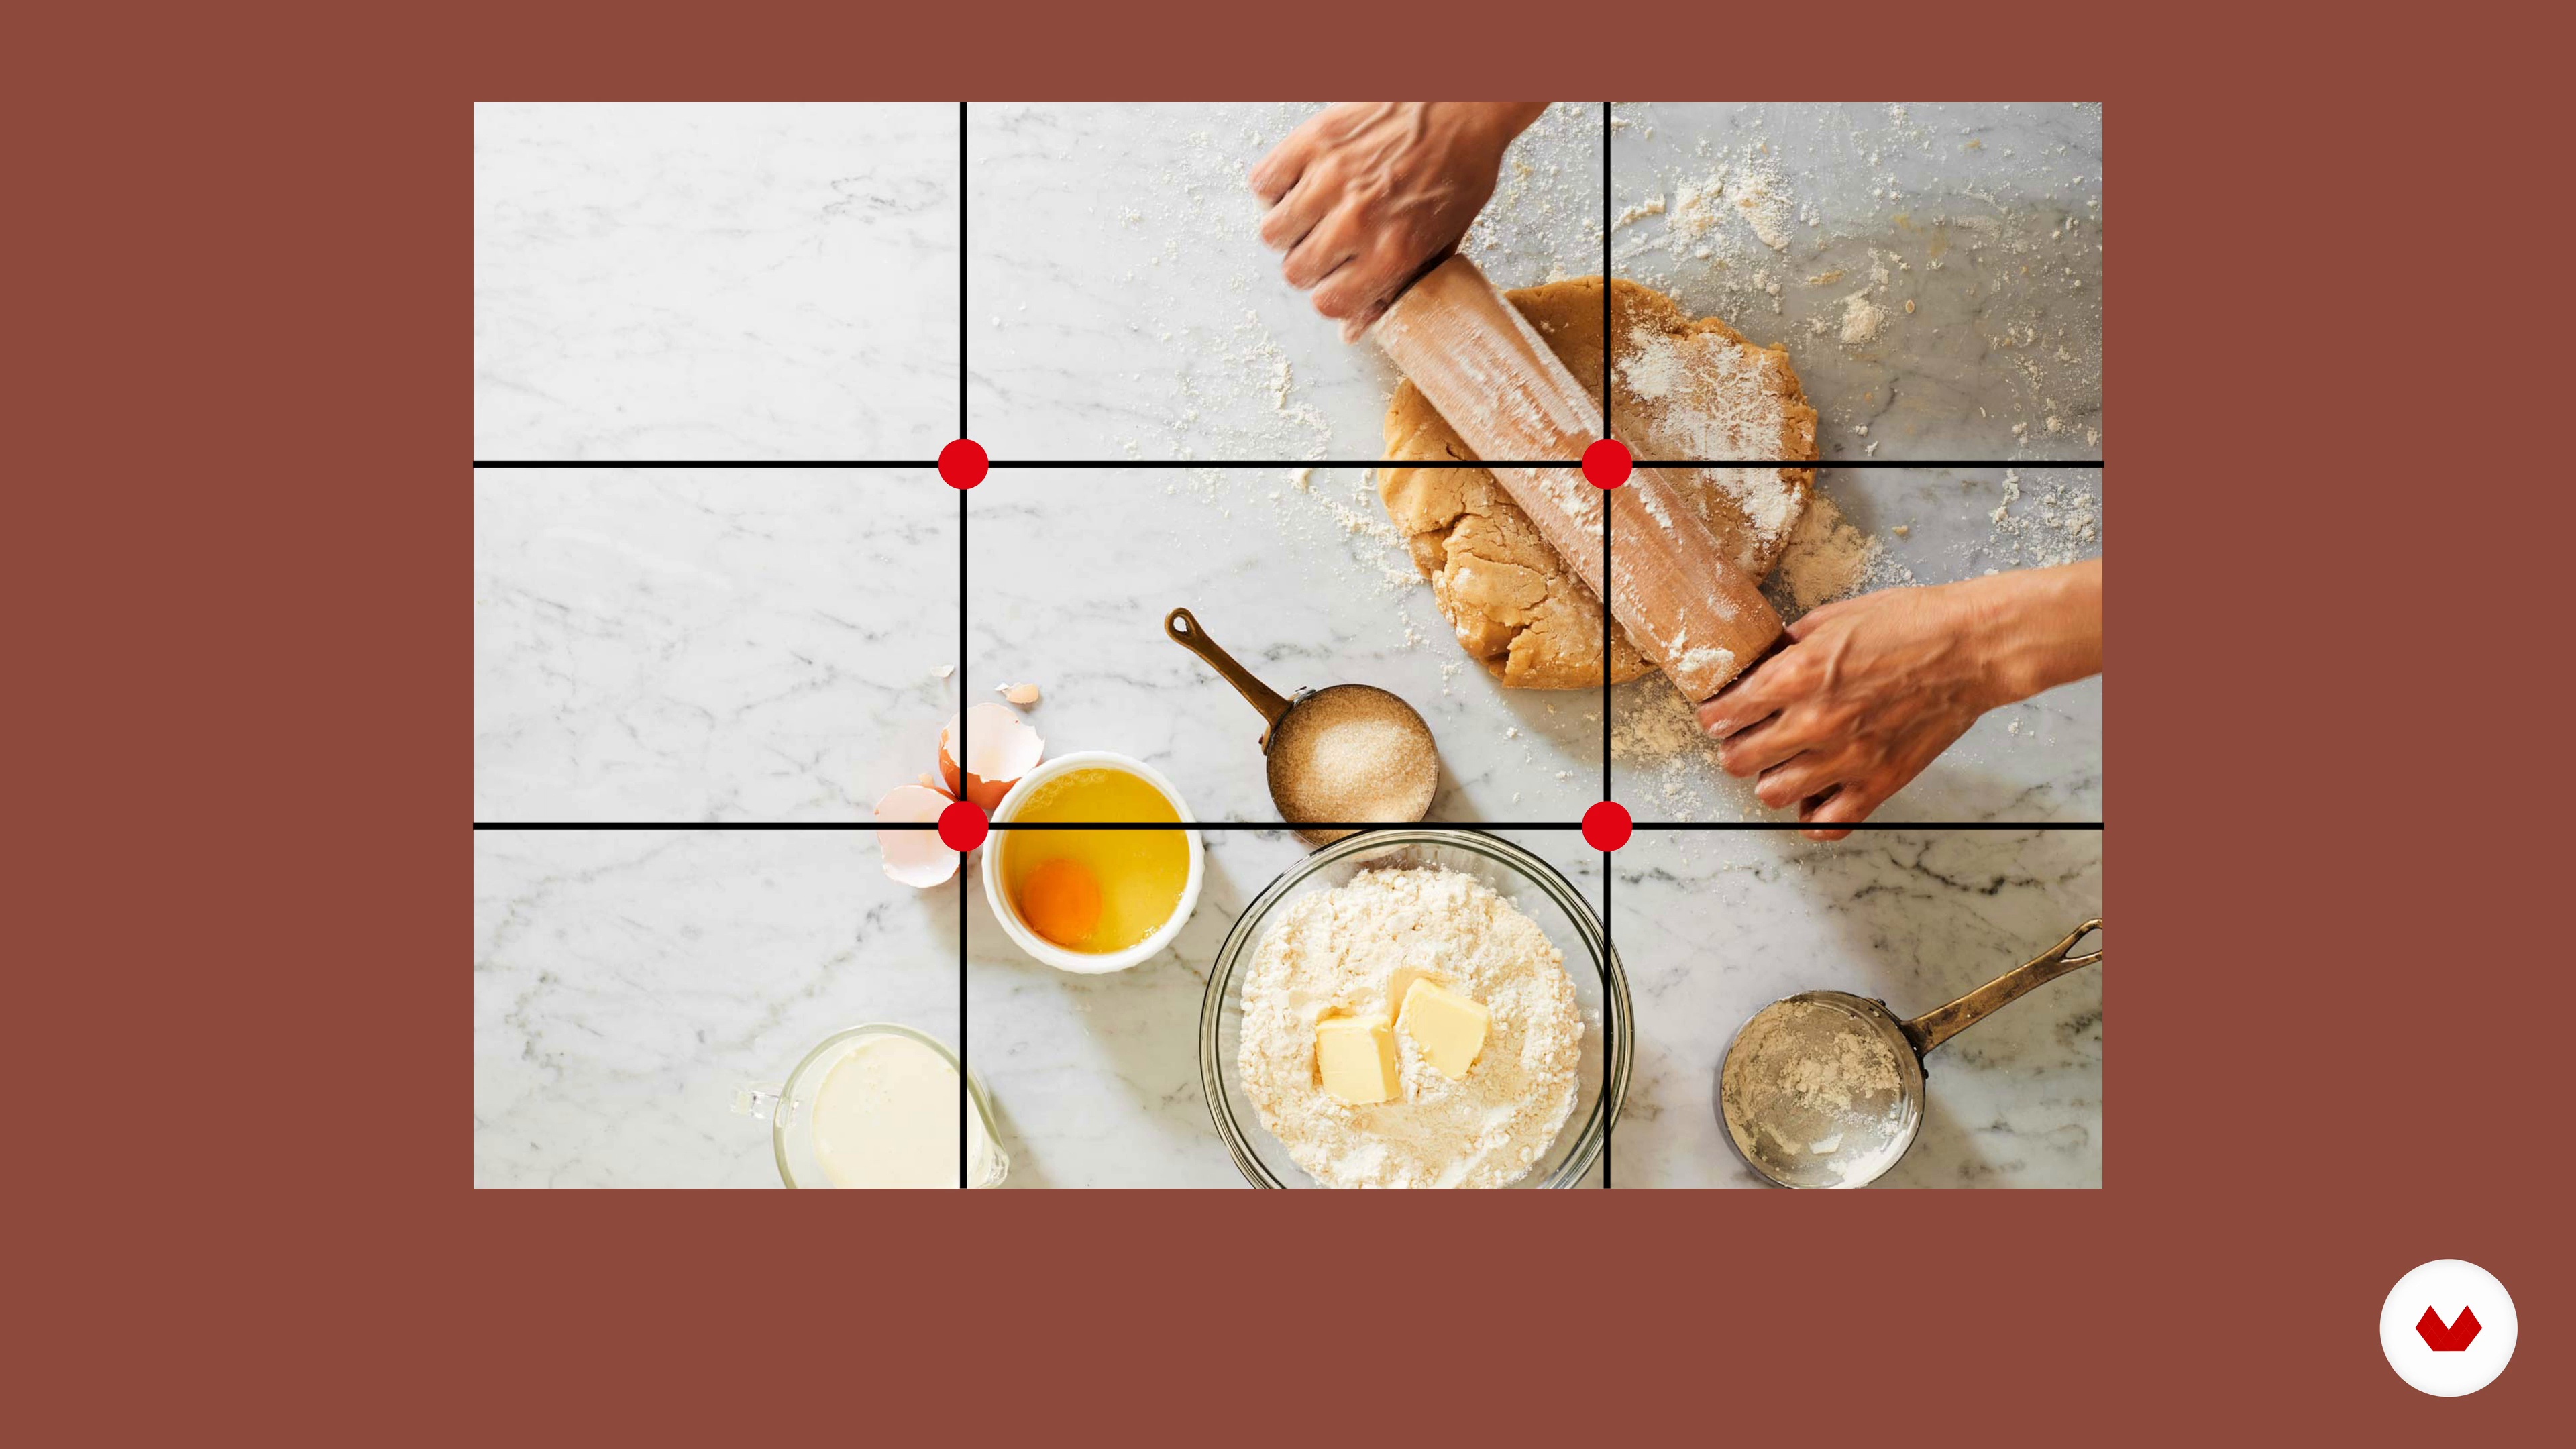
Now I'll explain essential concepts regarding composition, including the rule of thirds, negative space, image orientation, and how to deal with objects along the edge of your frame.
8m
image
5
Understanding Natural Light
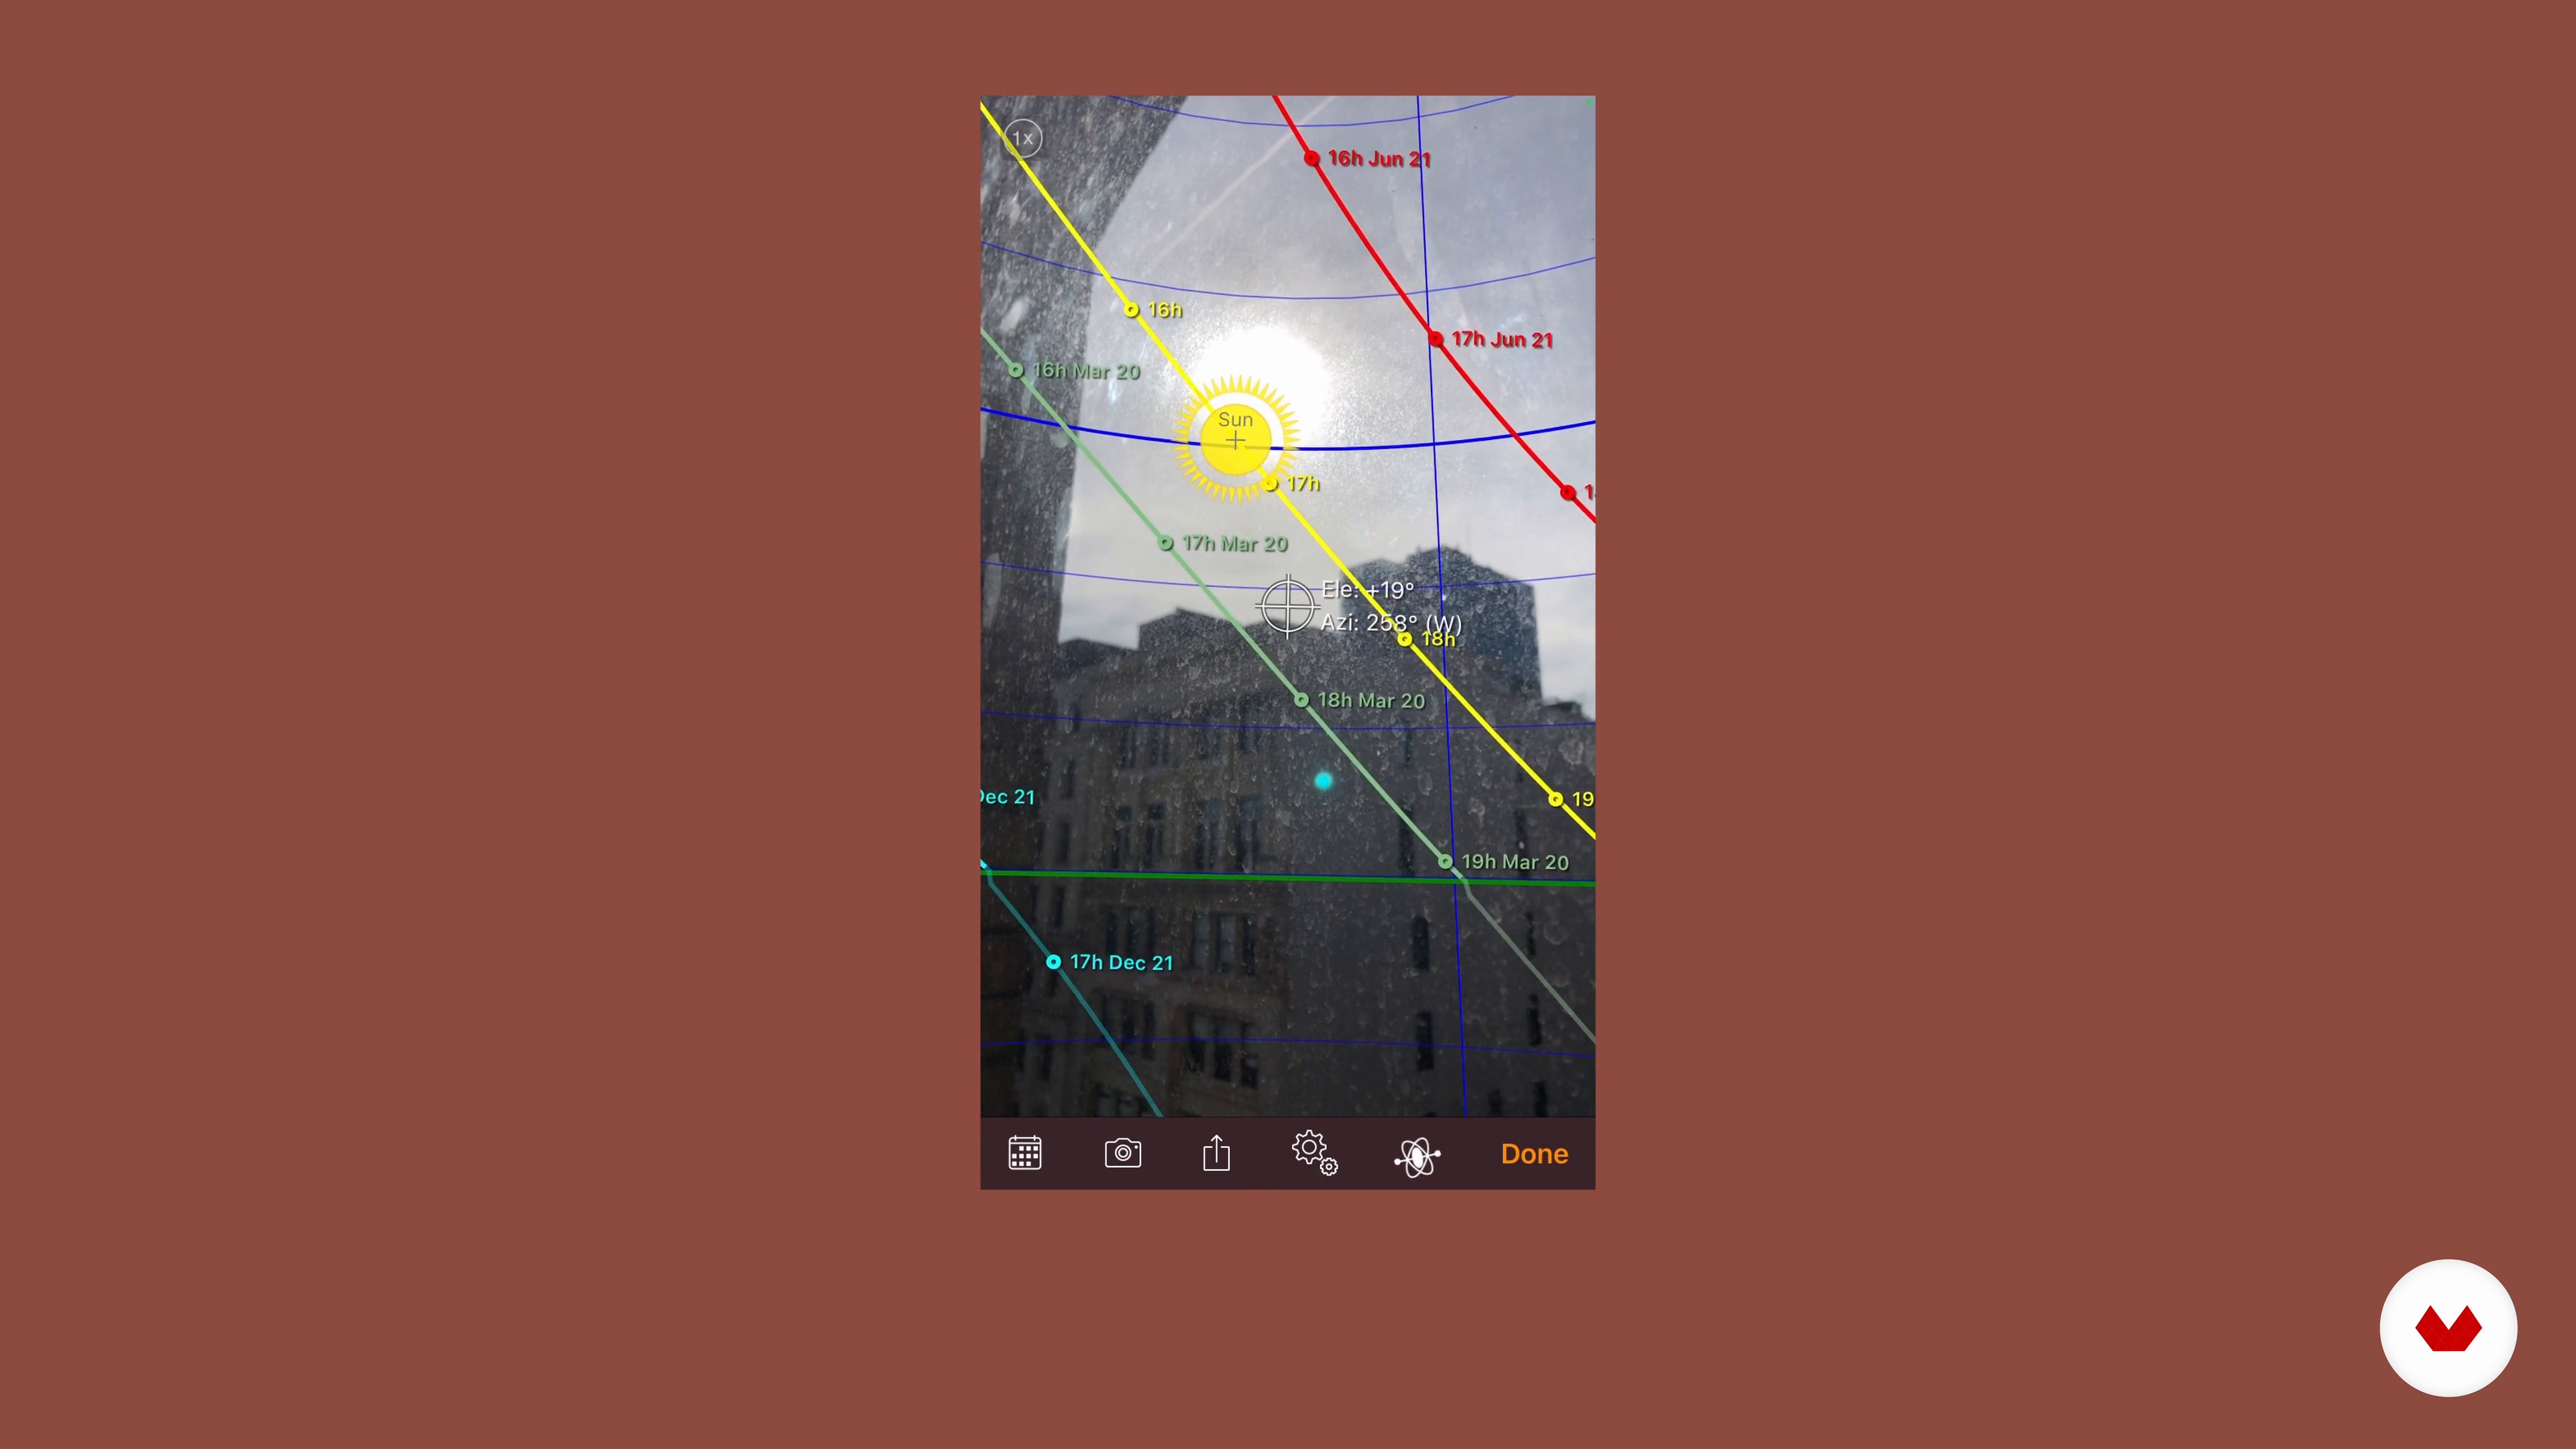
To work effectively with natural light, you need to understand the different qualities and colors light can have depending on the time of day. Here you'll see how best to deal with low and high contrast situations.
20m
image
6
Mood Board and Sketches
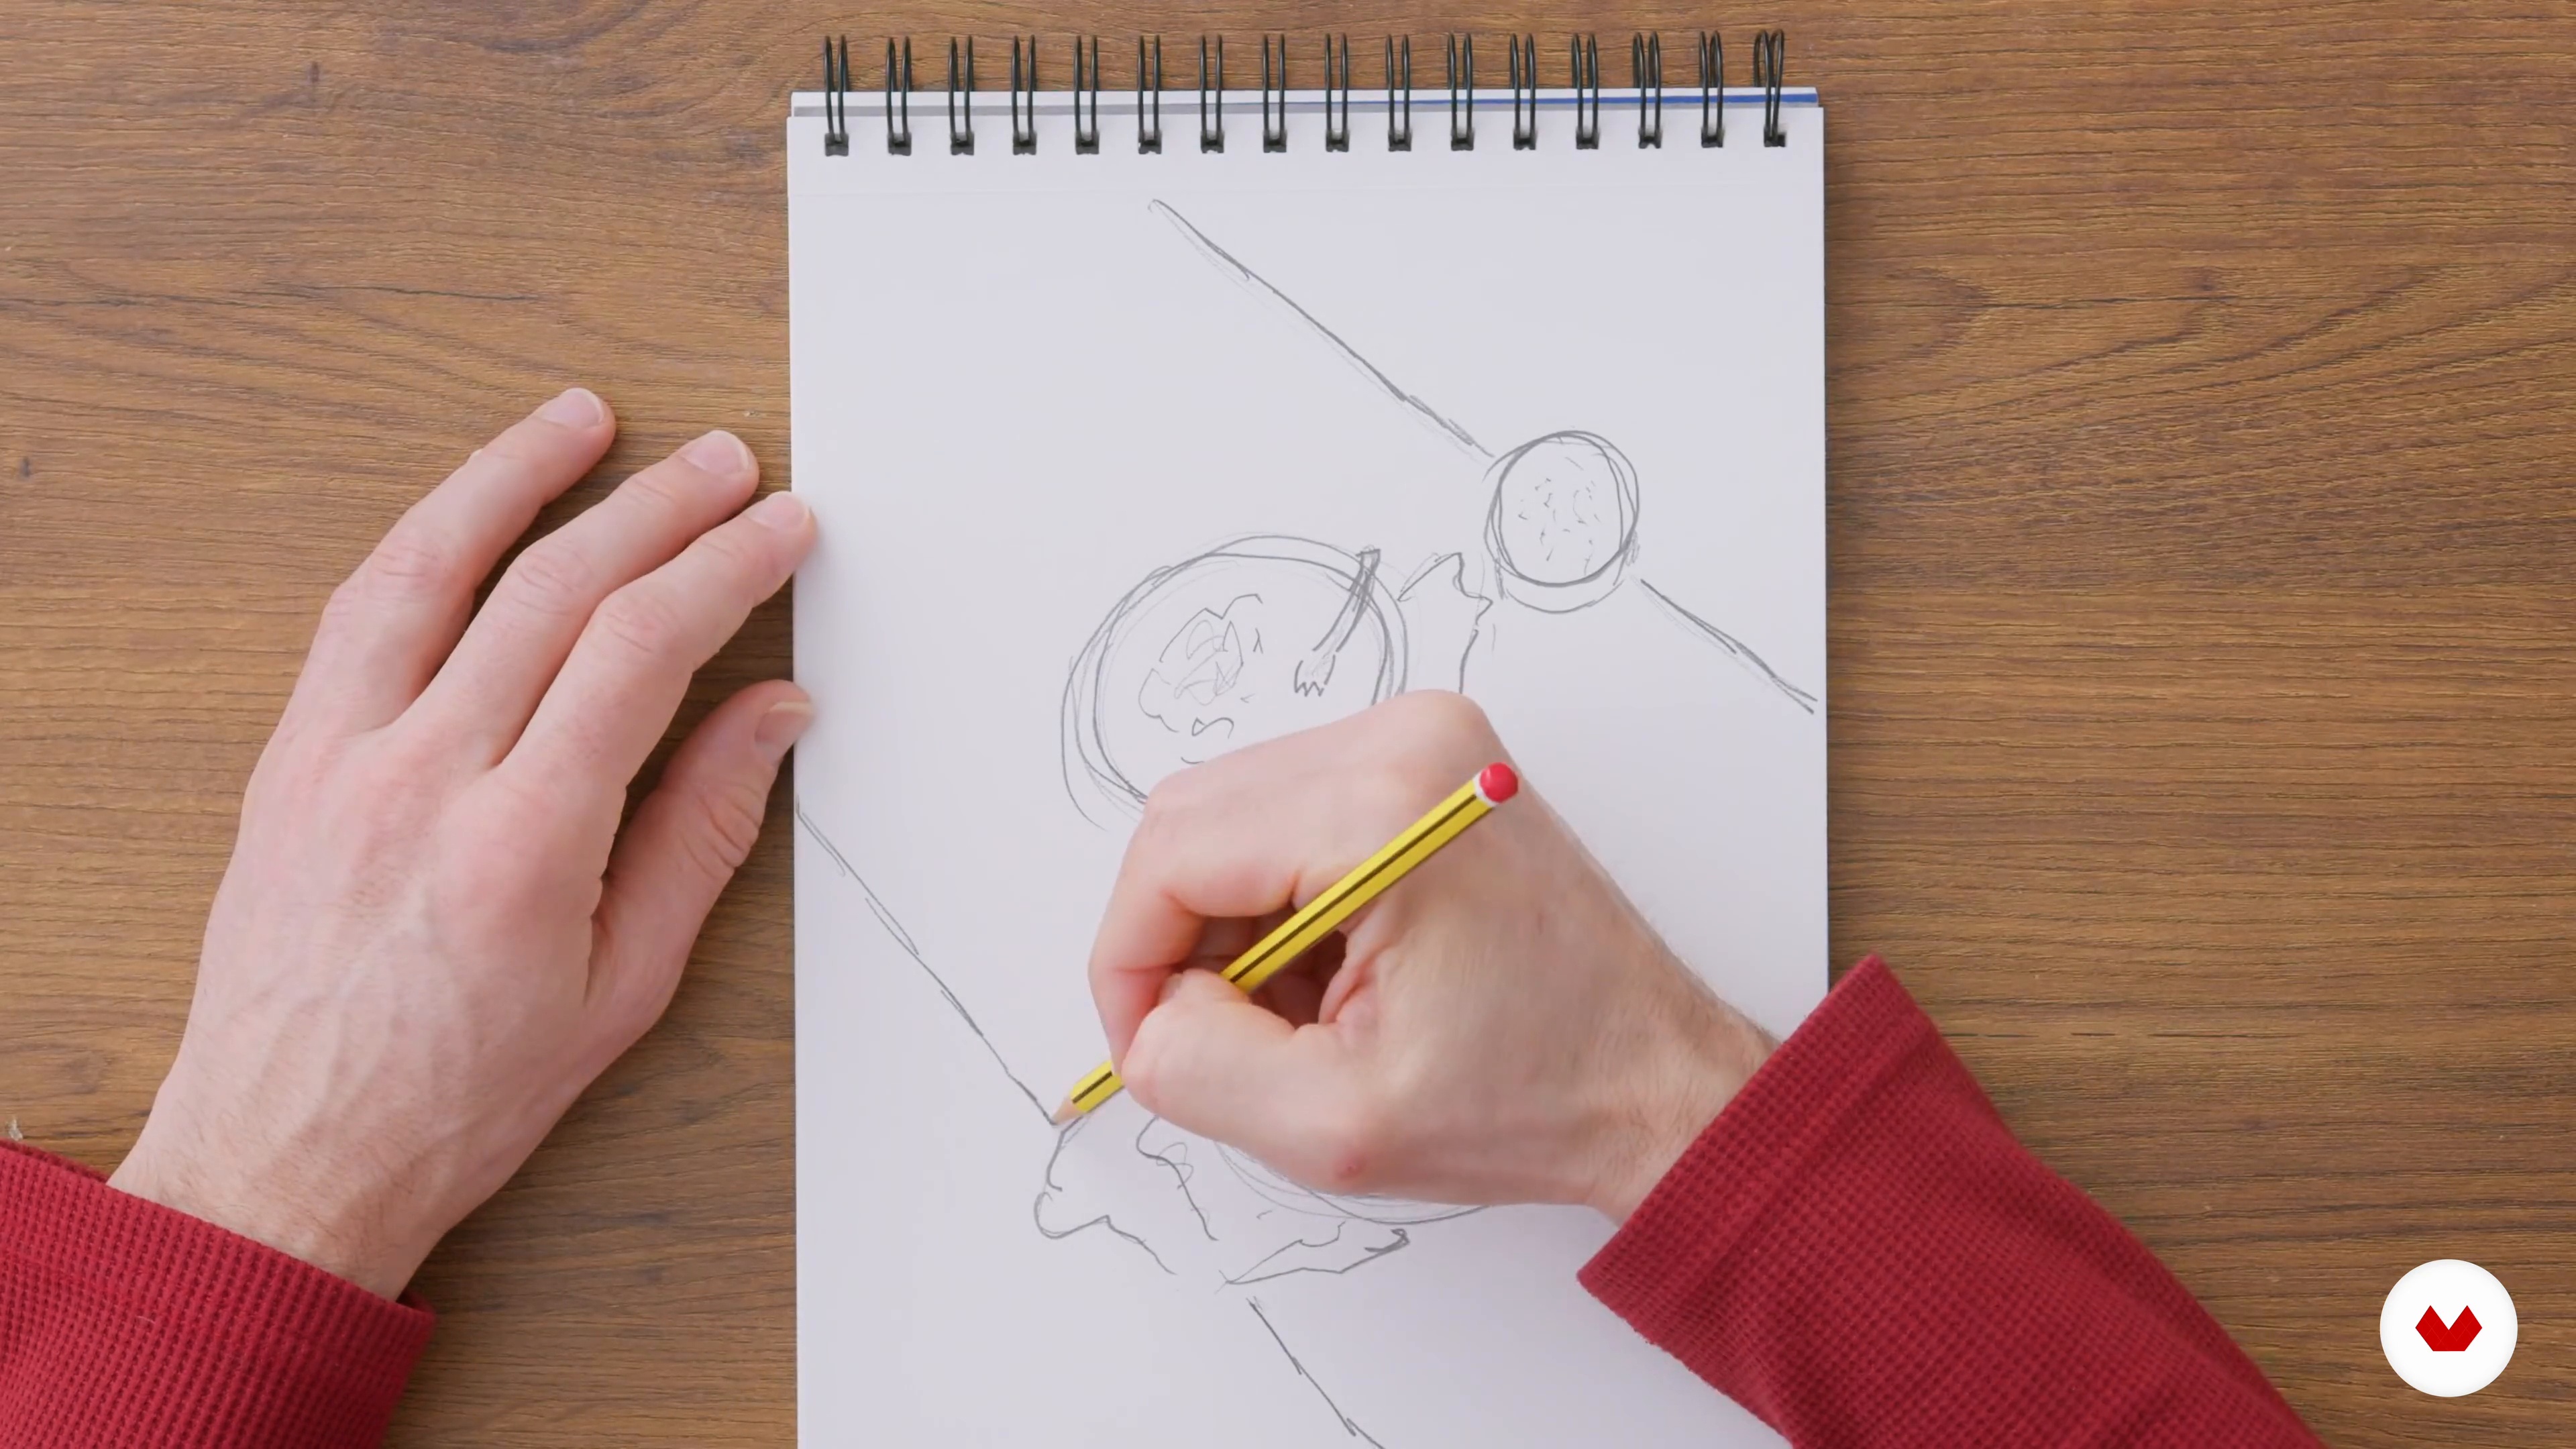
To start planning the project for this course, I'll show you how you can fuel your inspiration, excitement, and motivation by making mood boards and sketches.
18m
image
7
Equipment and Materials
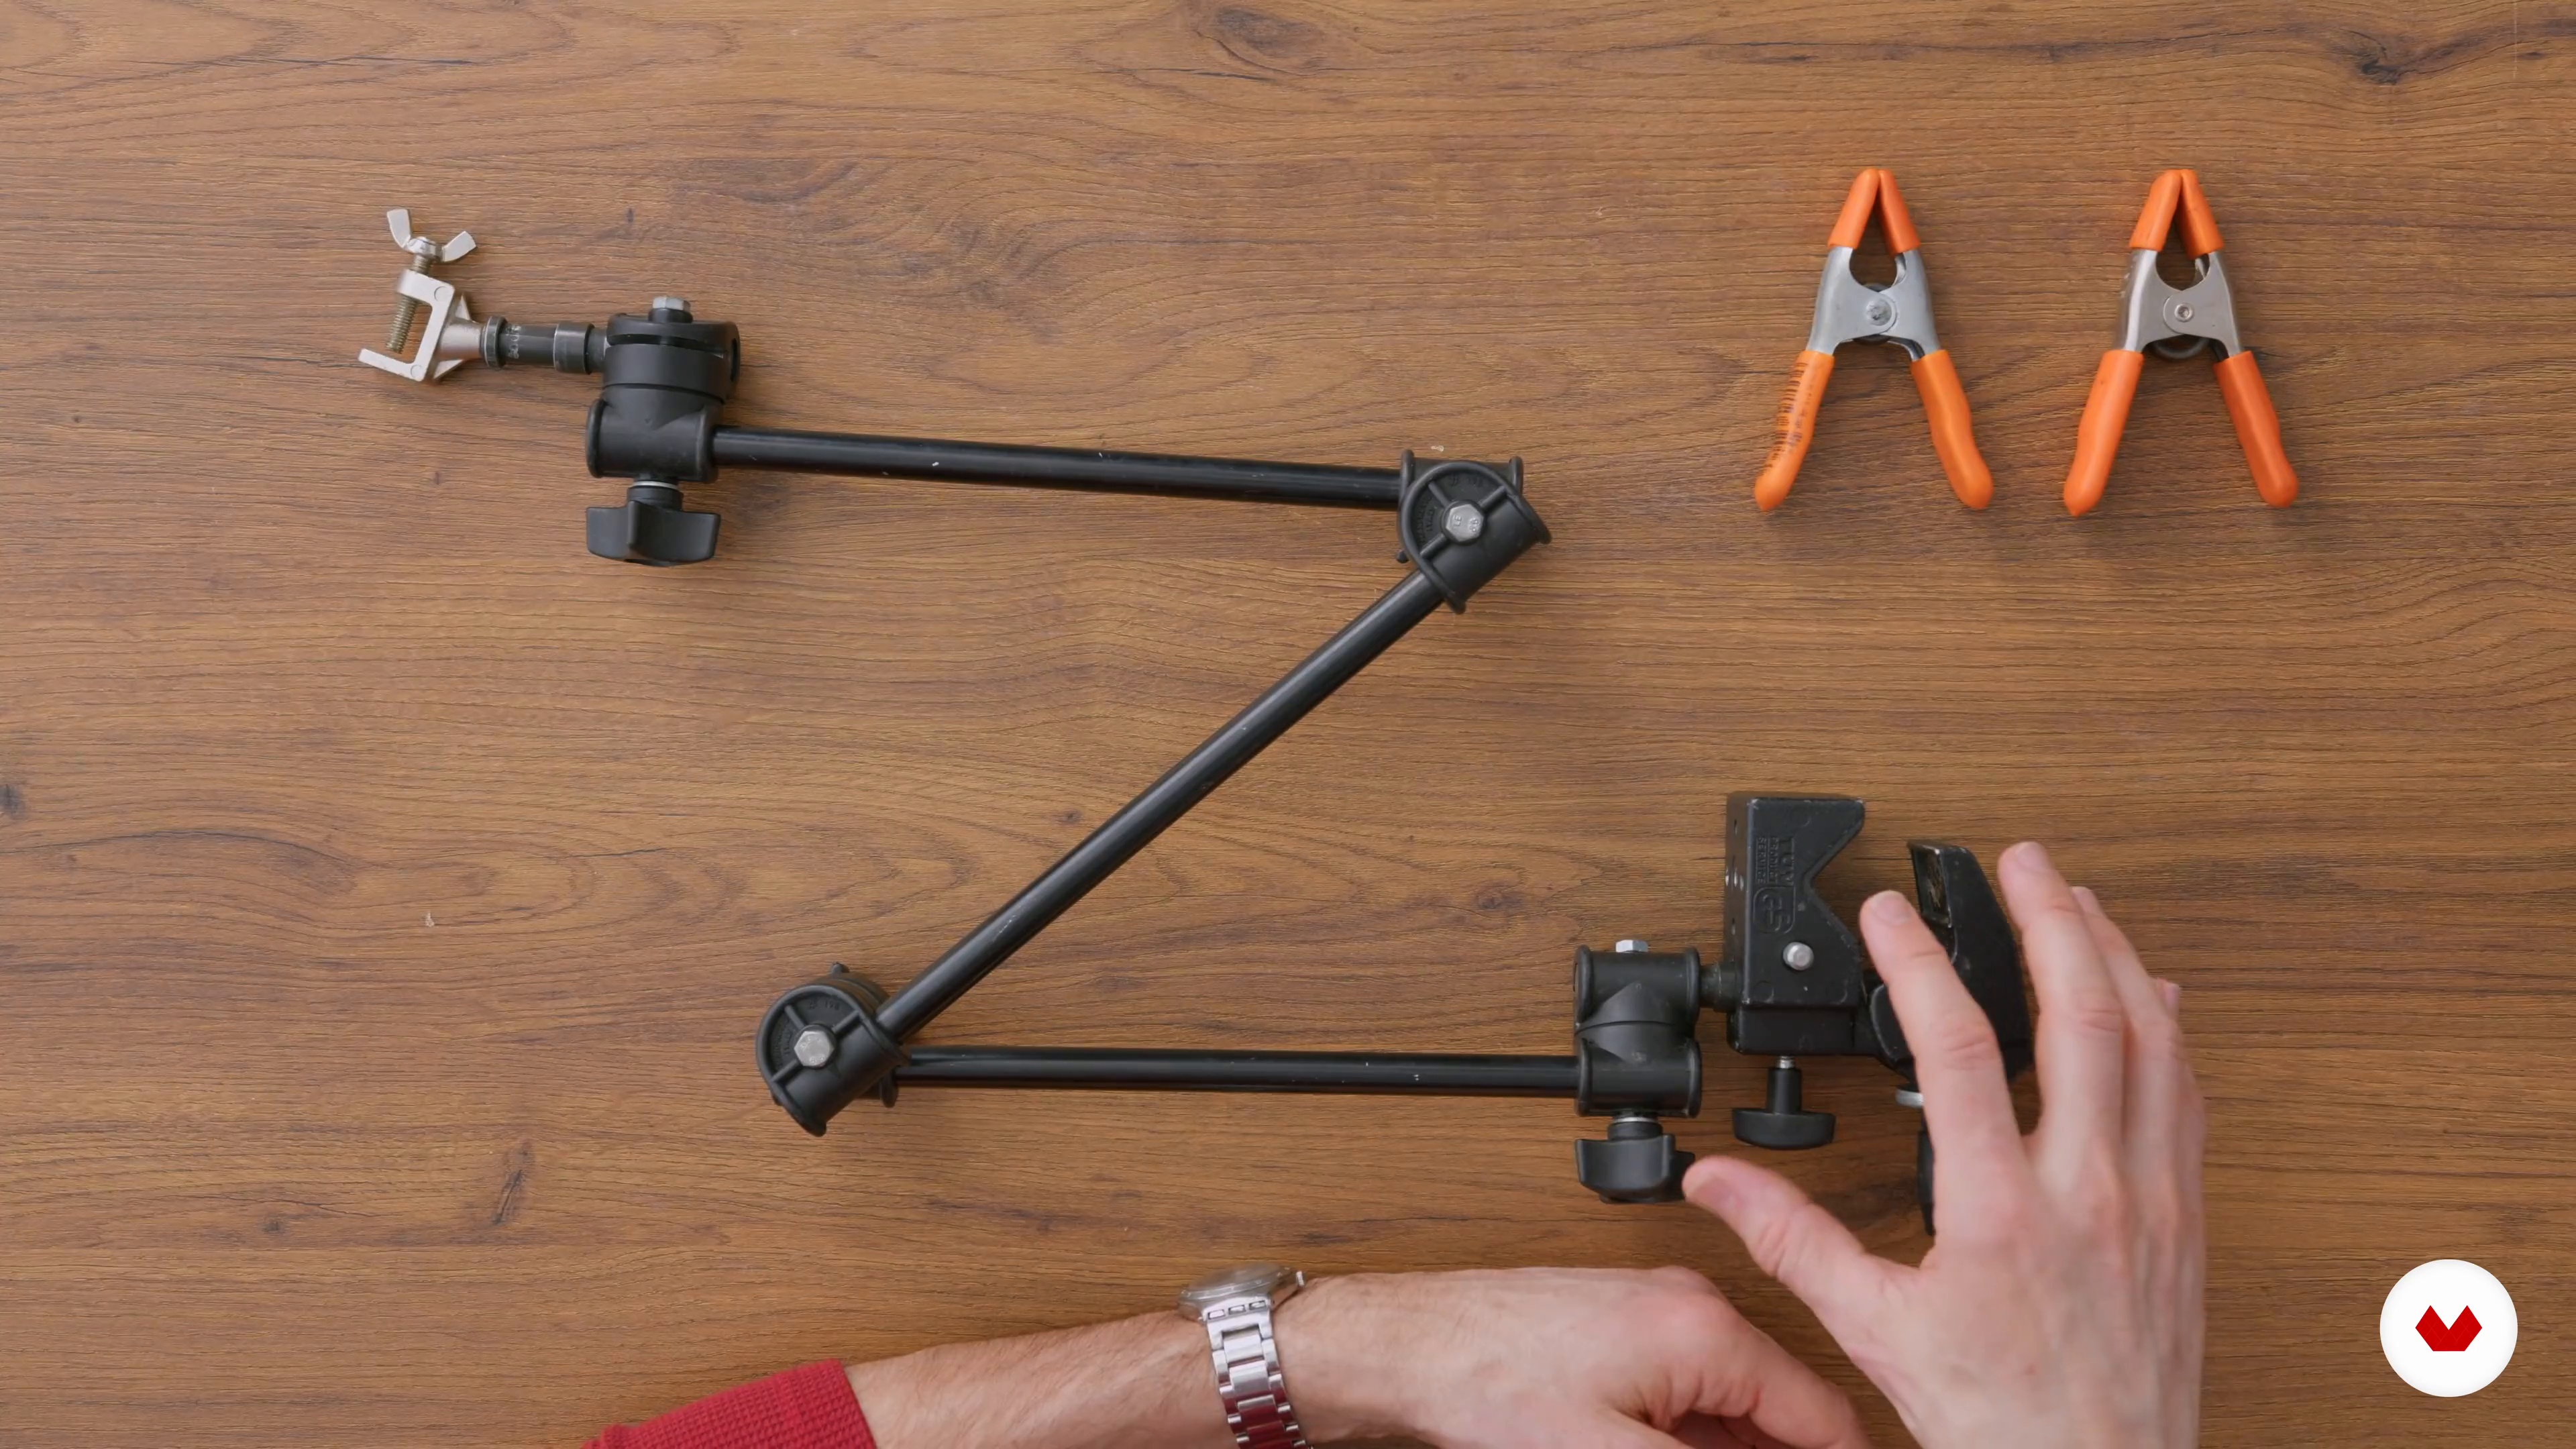
Next, I'll review the equipment, light shaping tools, and materials that you will need to complete the project. You'll understand how the surfaces, props, and ingredients you choose will depend on the mood board and the sketches you've made.
12m
image
8
Food Styling Tips
Here are the most important, simple, but effective food styling tips you need to know to work on your project and any other future endeavors.
10m
image
9
Lighting: Knowledge in Action
Here I will quickly review everything needed before setting up the set for the photoshoot.
image
10
Taking the Photo: Indirect Daylight 1
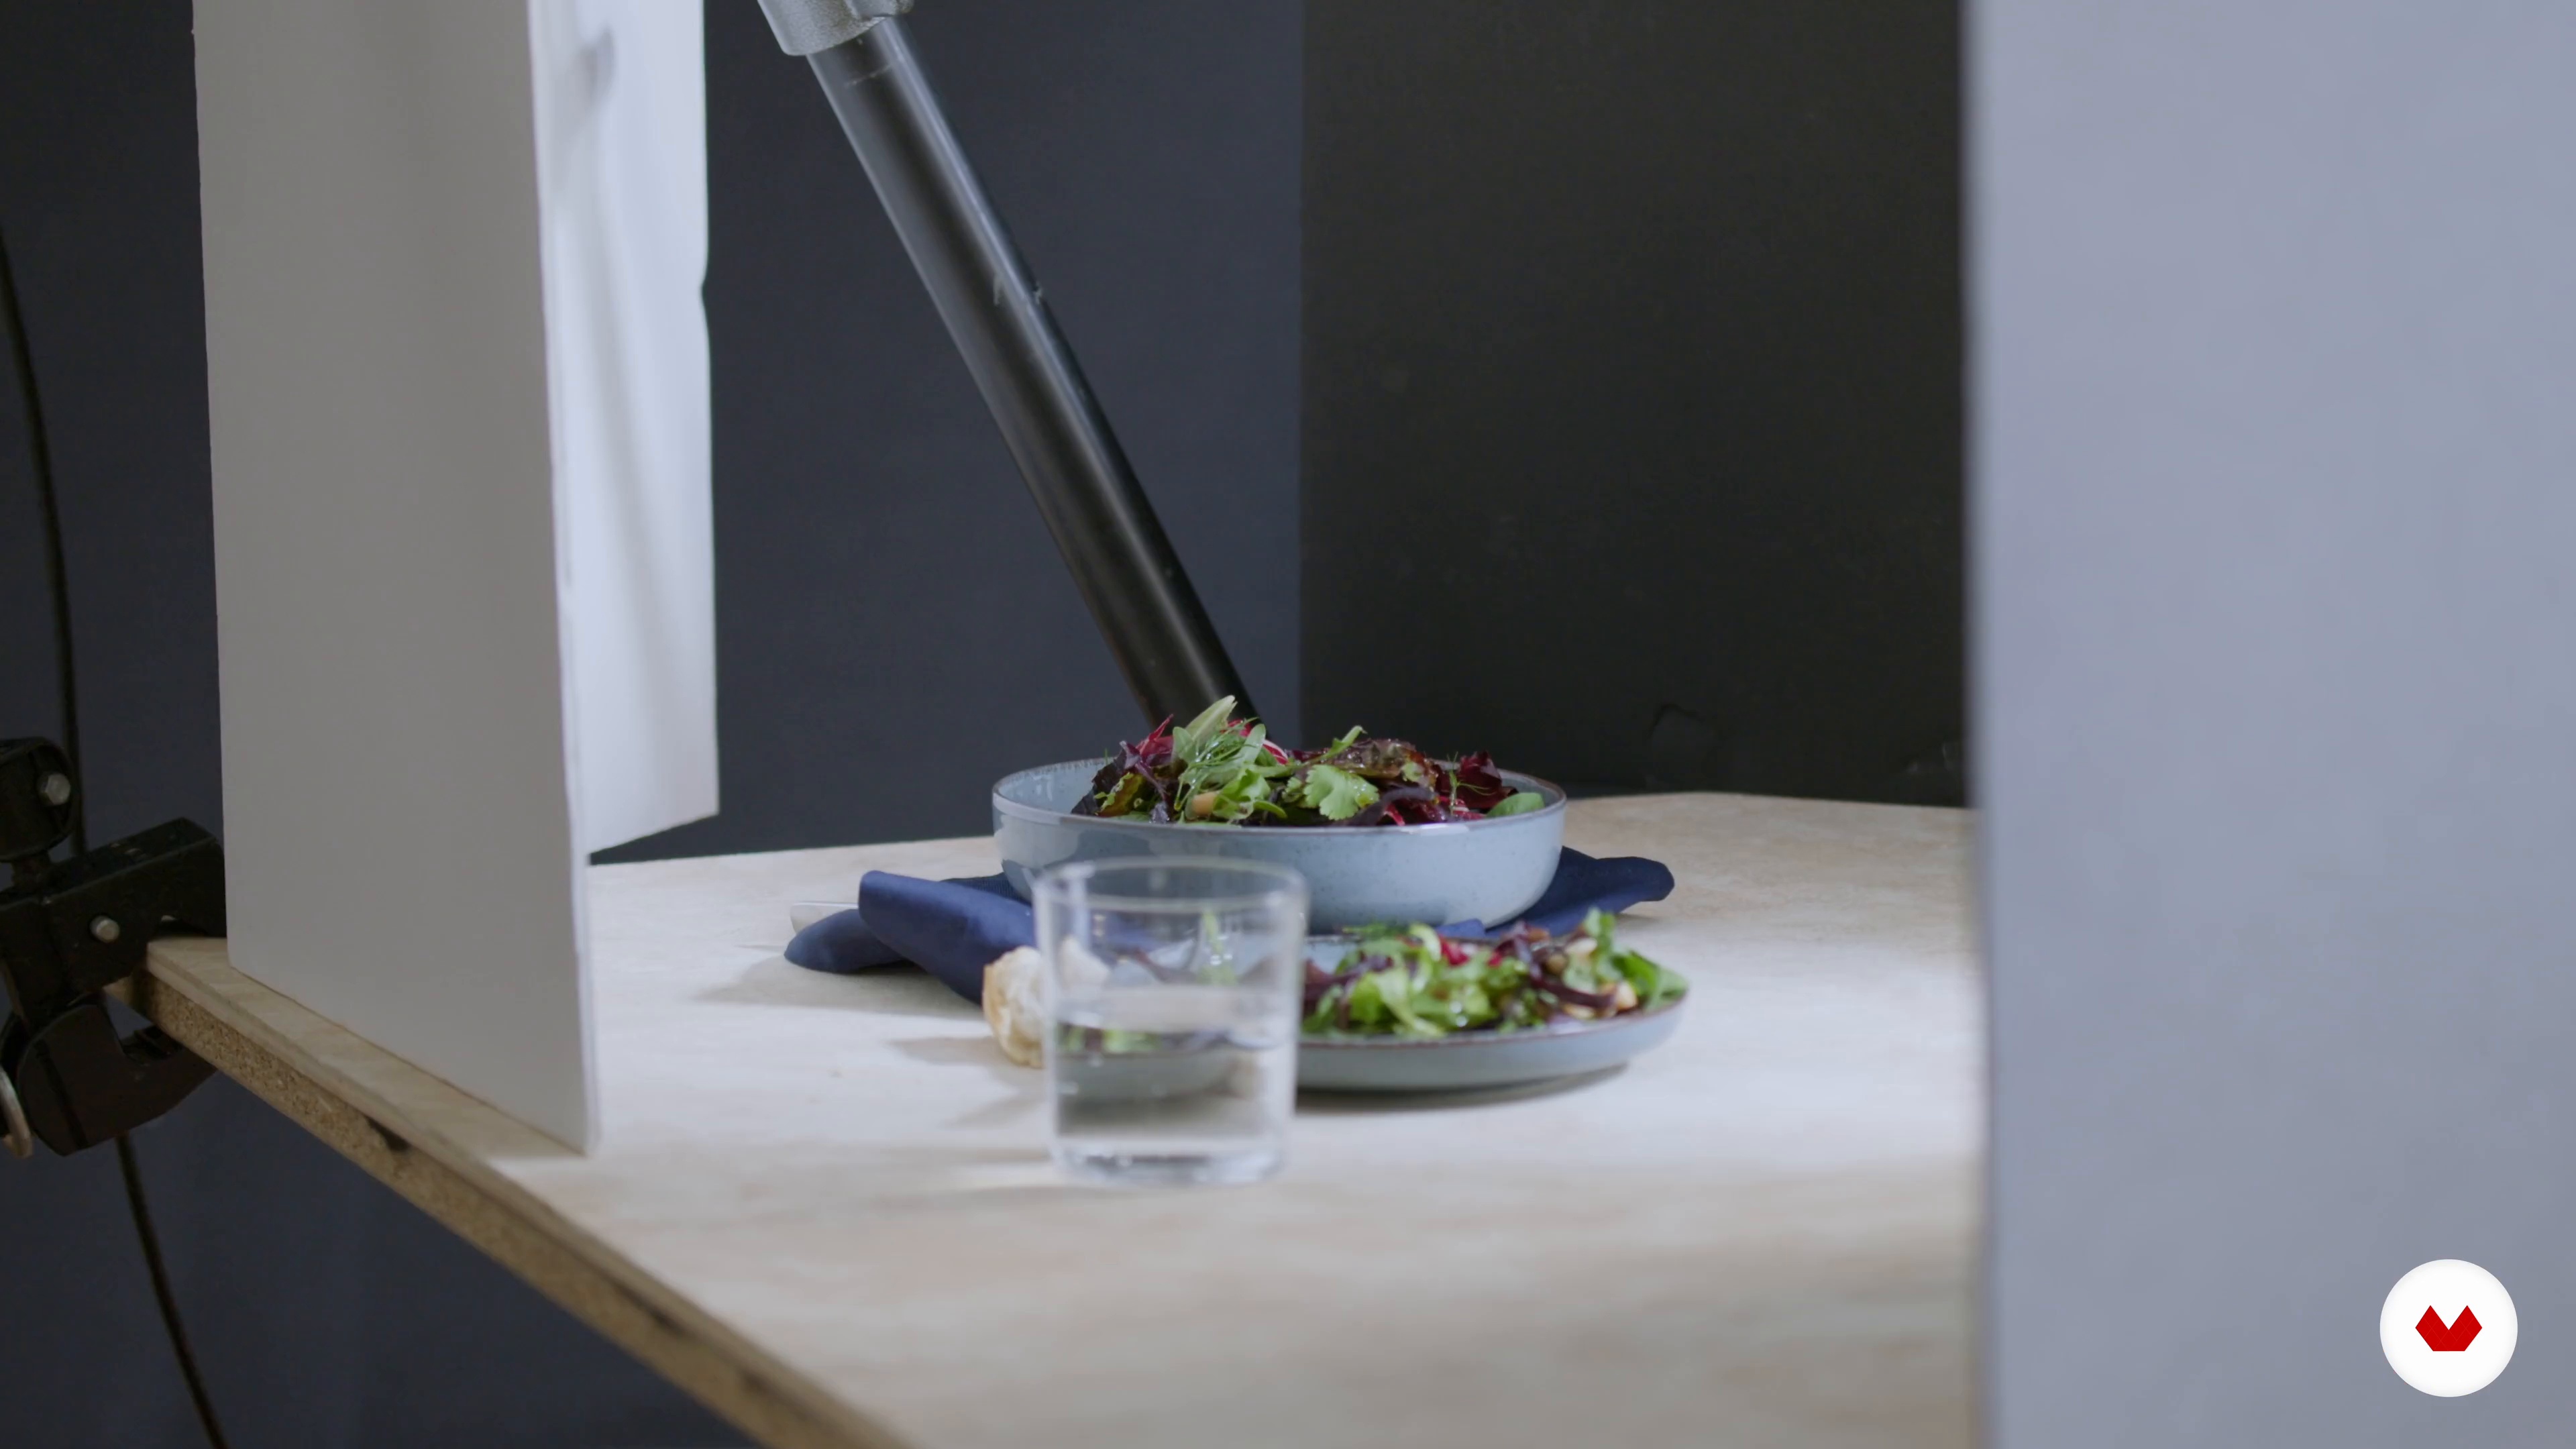
This is your step-by-step guide on how to build, frame, light and capture your shot, including which light shaping tools to use and how. For the first part of this photoshoot, I will be working with indirect daylight.
14m
image
11
Taking the Photo: Indirect Daylight 2
I will now place the stand-in food to see how it looks and how I can light it before the real food and drink come in and I capture them.
18m
image
12
Taking the Photo: Direct Sunlight
Next, I will be taking the second picture in direct sunlight. I will teach you how to find and set up the perfect spot to shoot with direct sunlight at your studio, apartment, house, or atelier.
20m
image
13
Retouching the Images 1
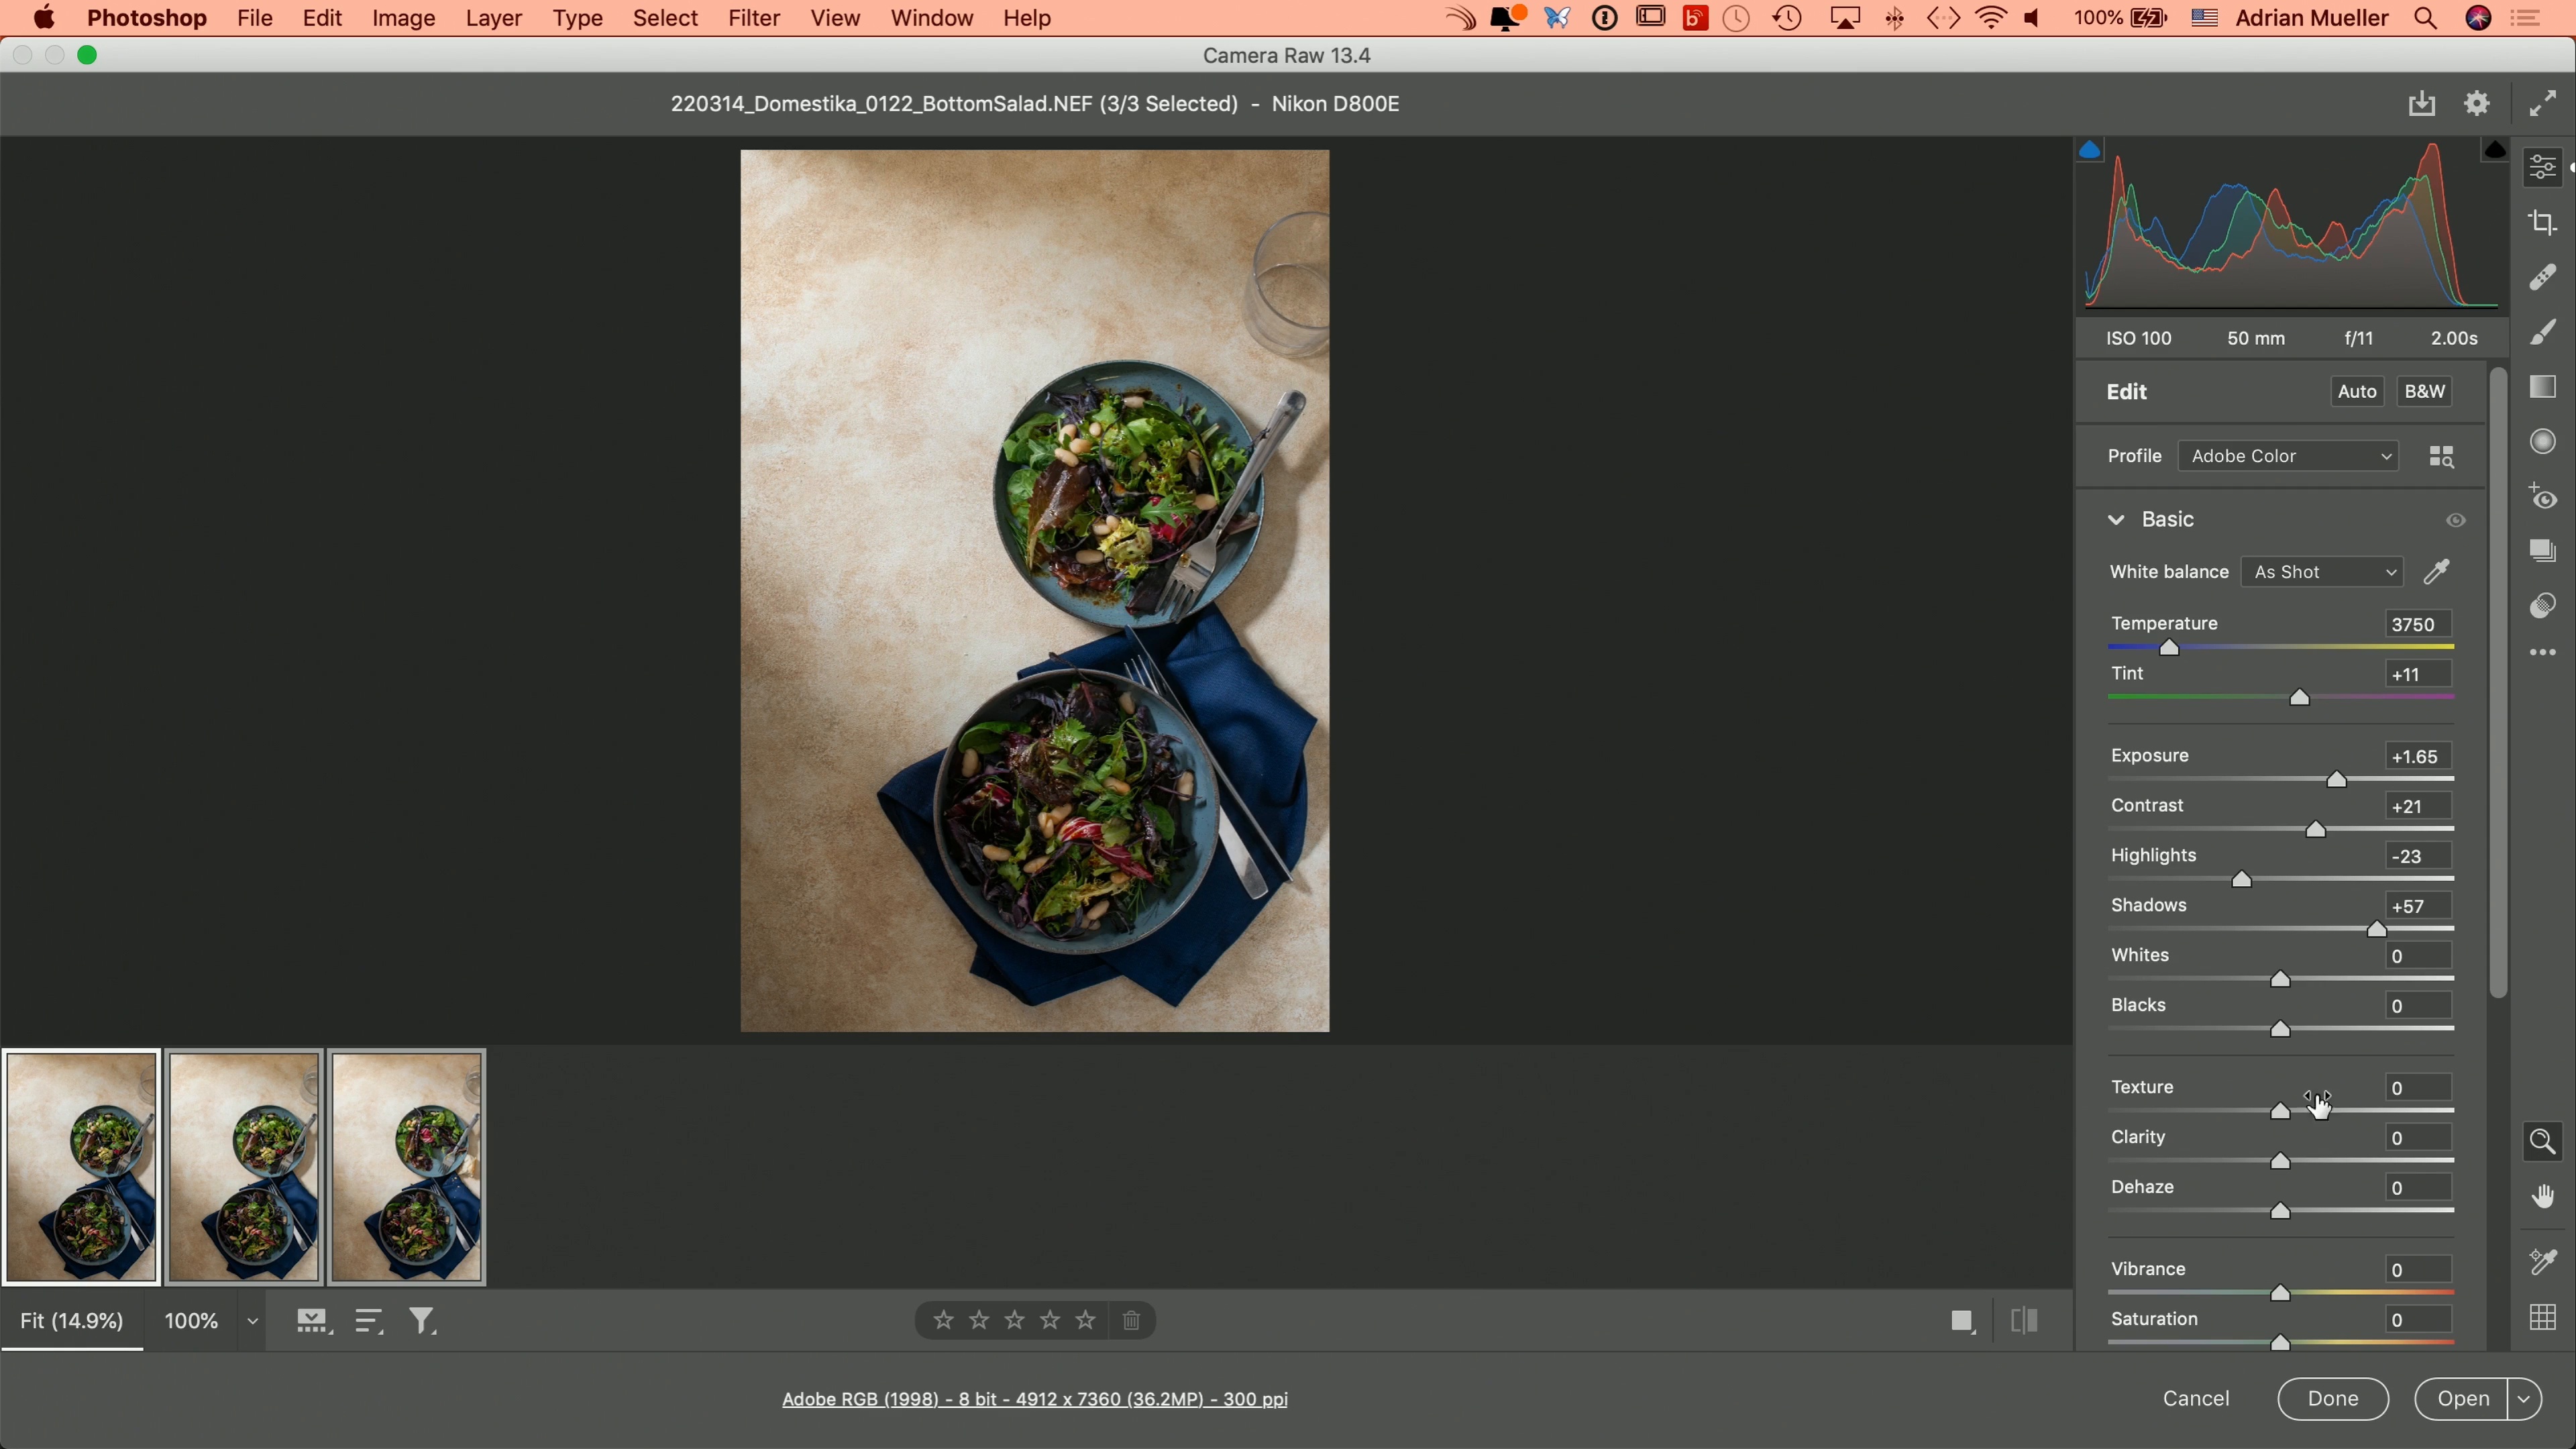
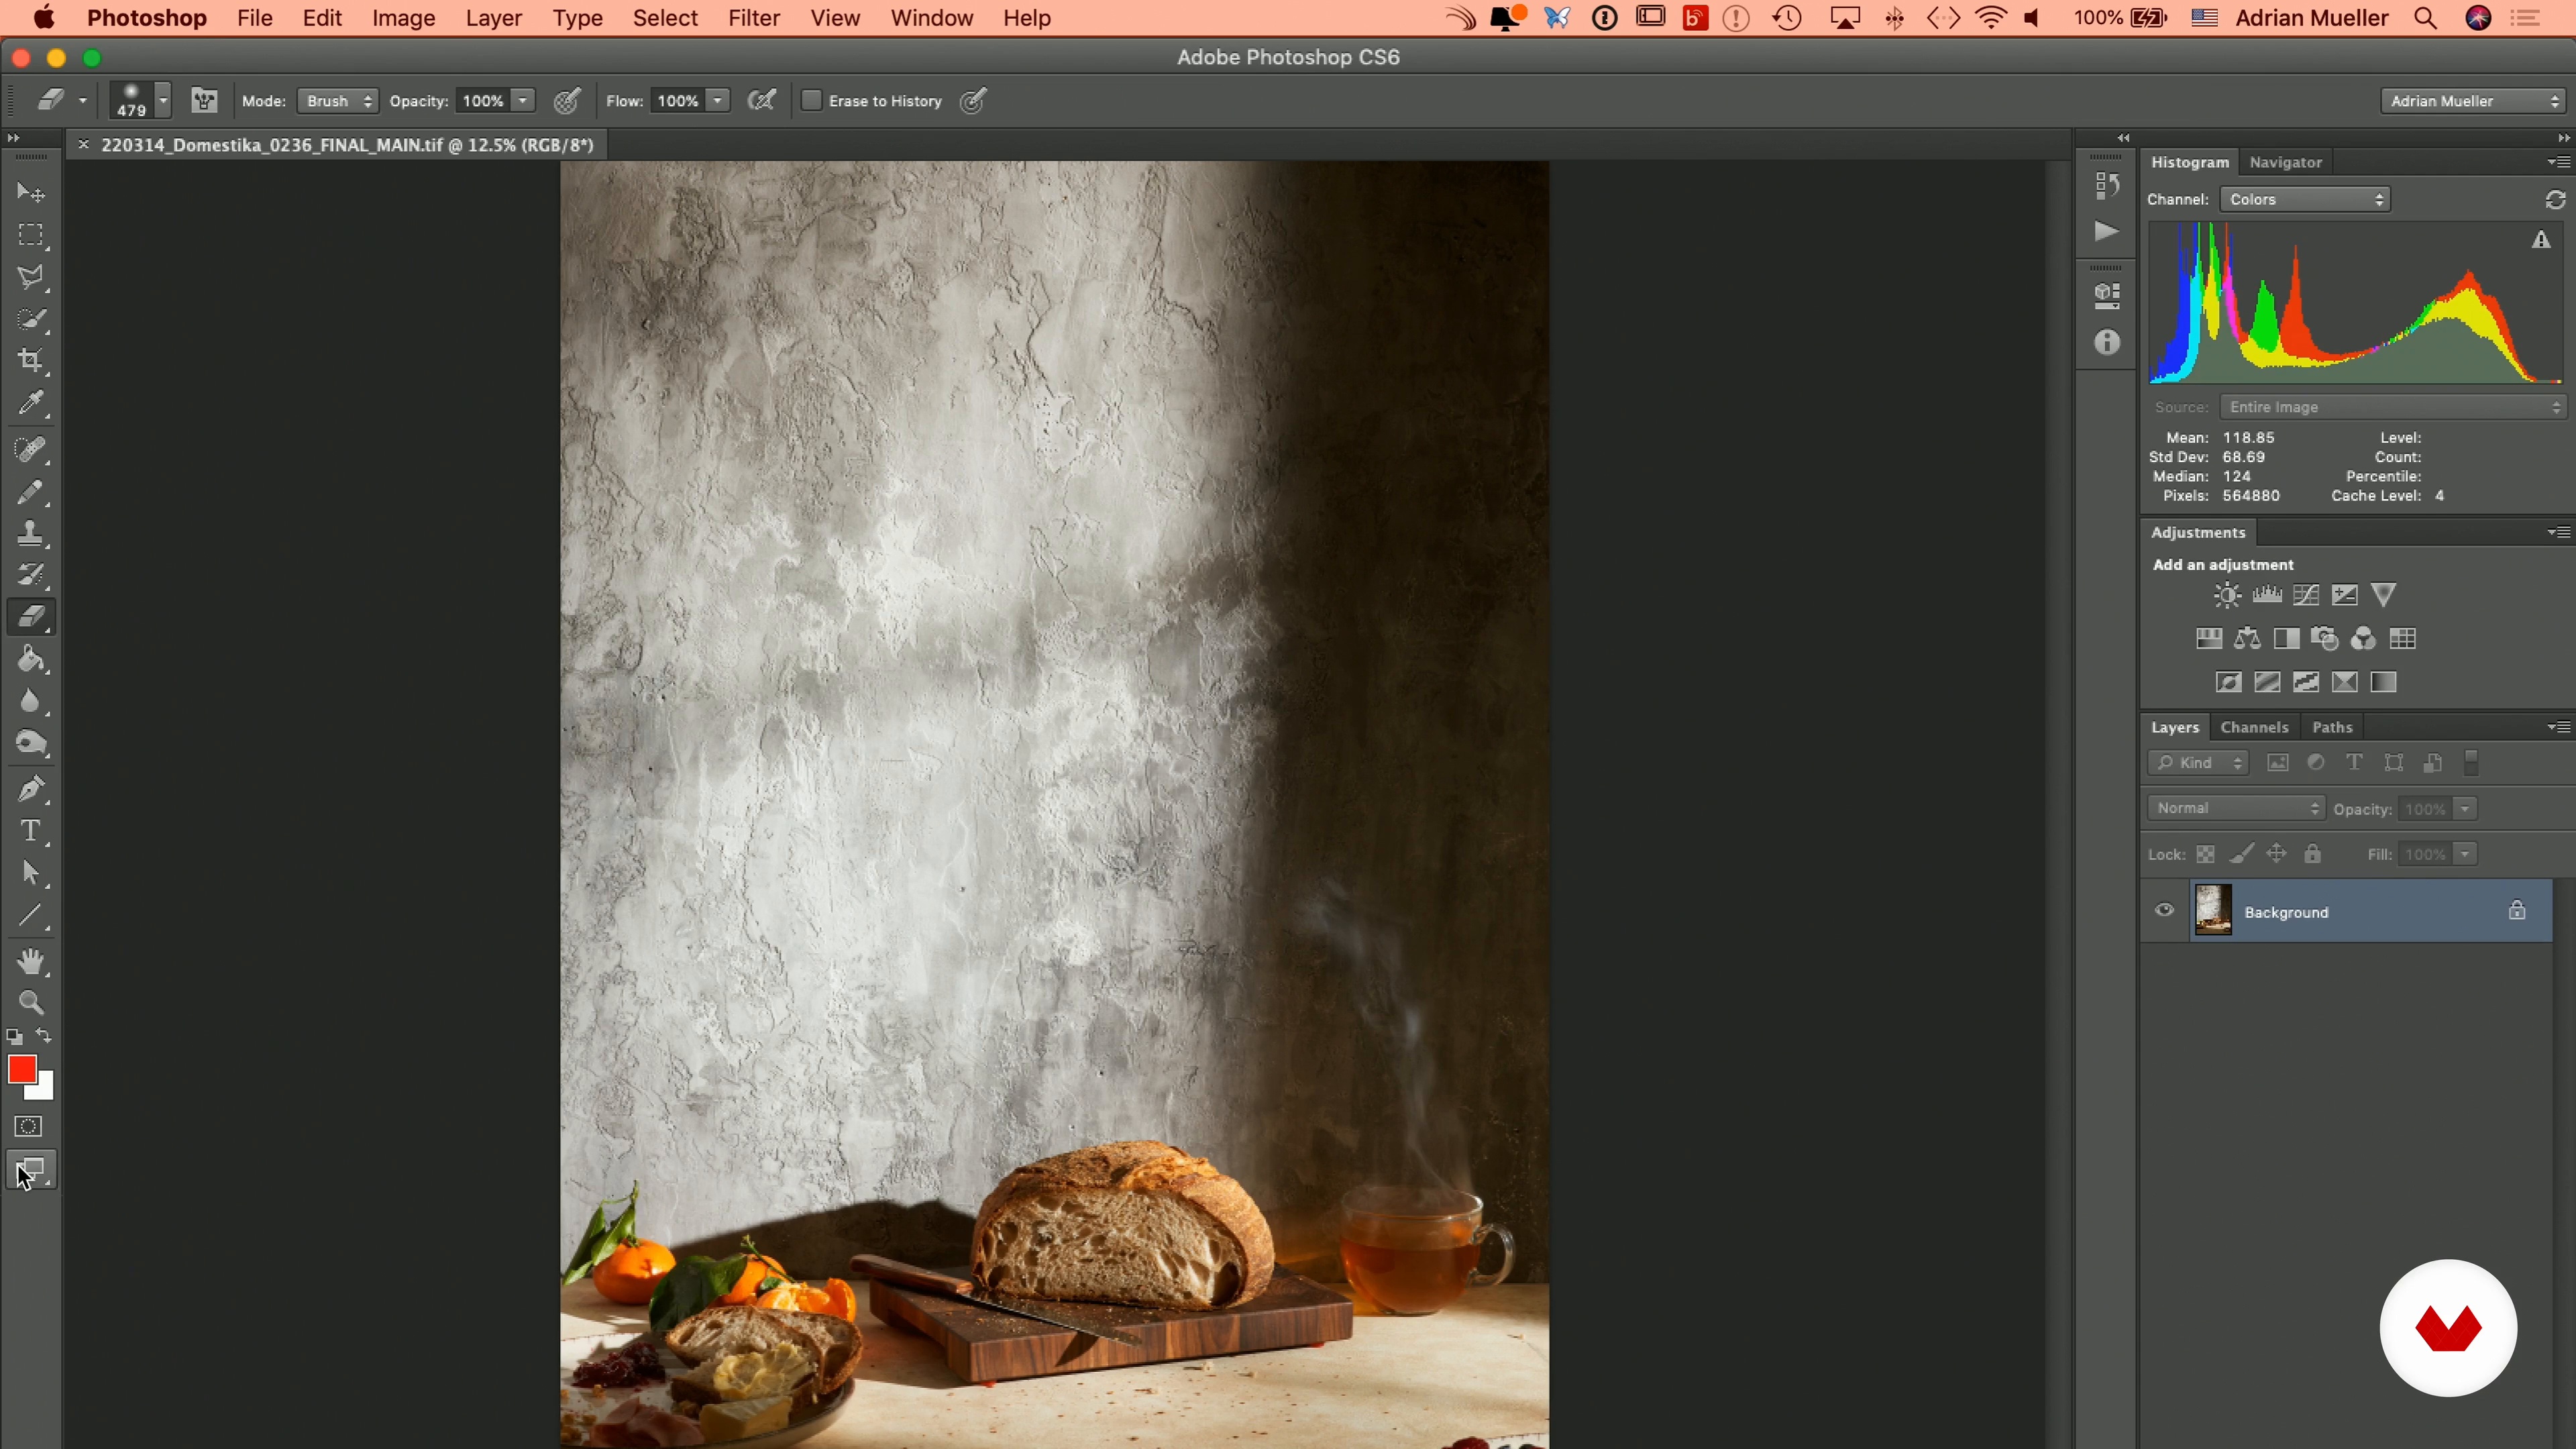
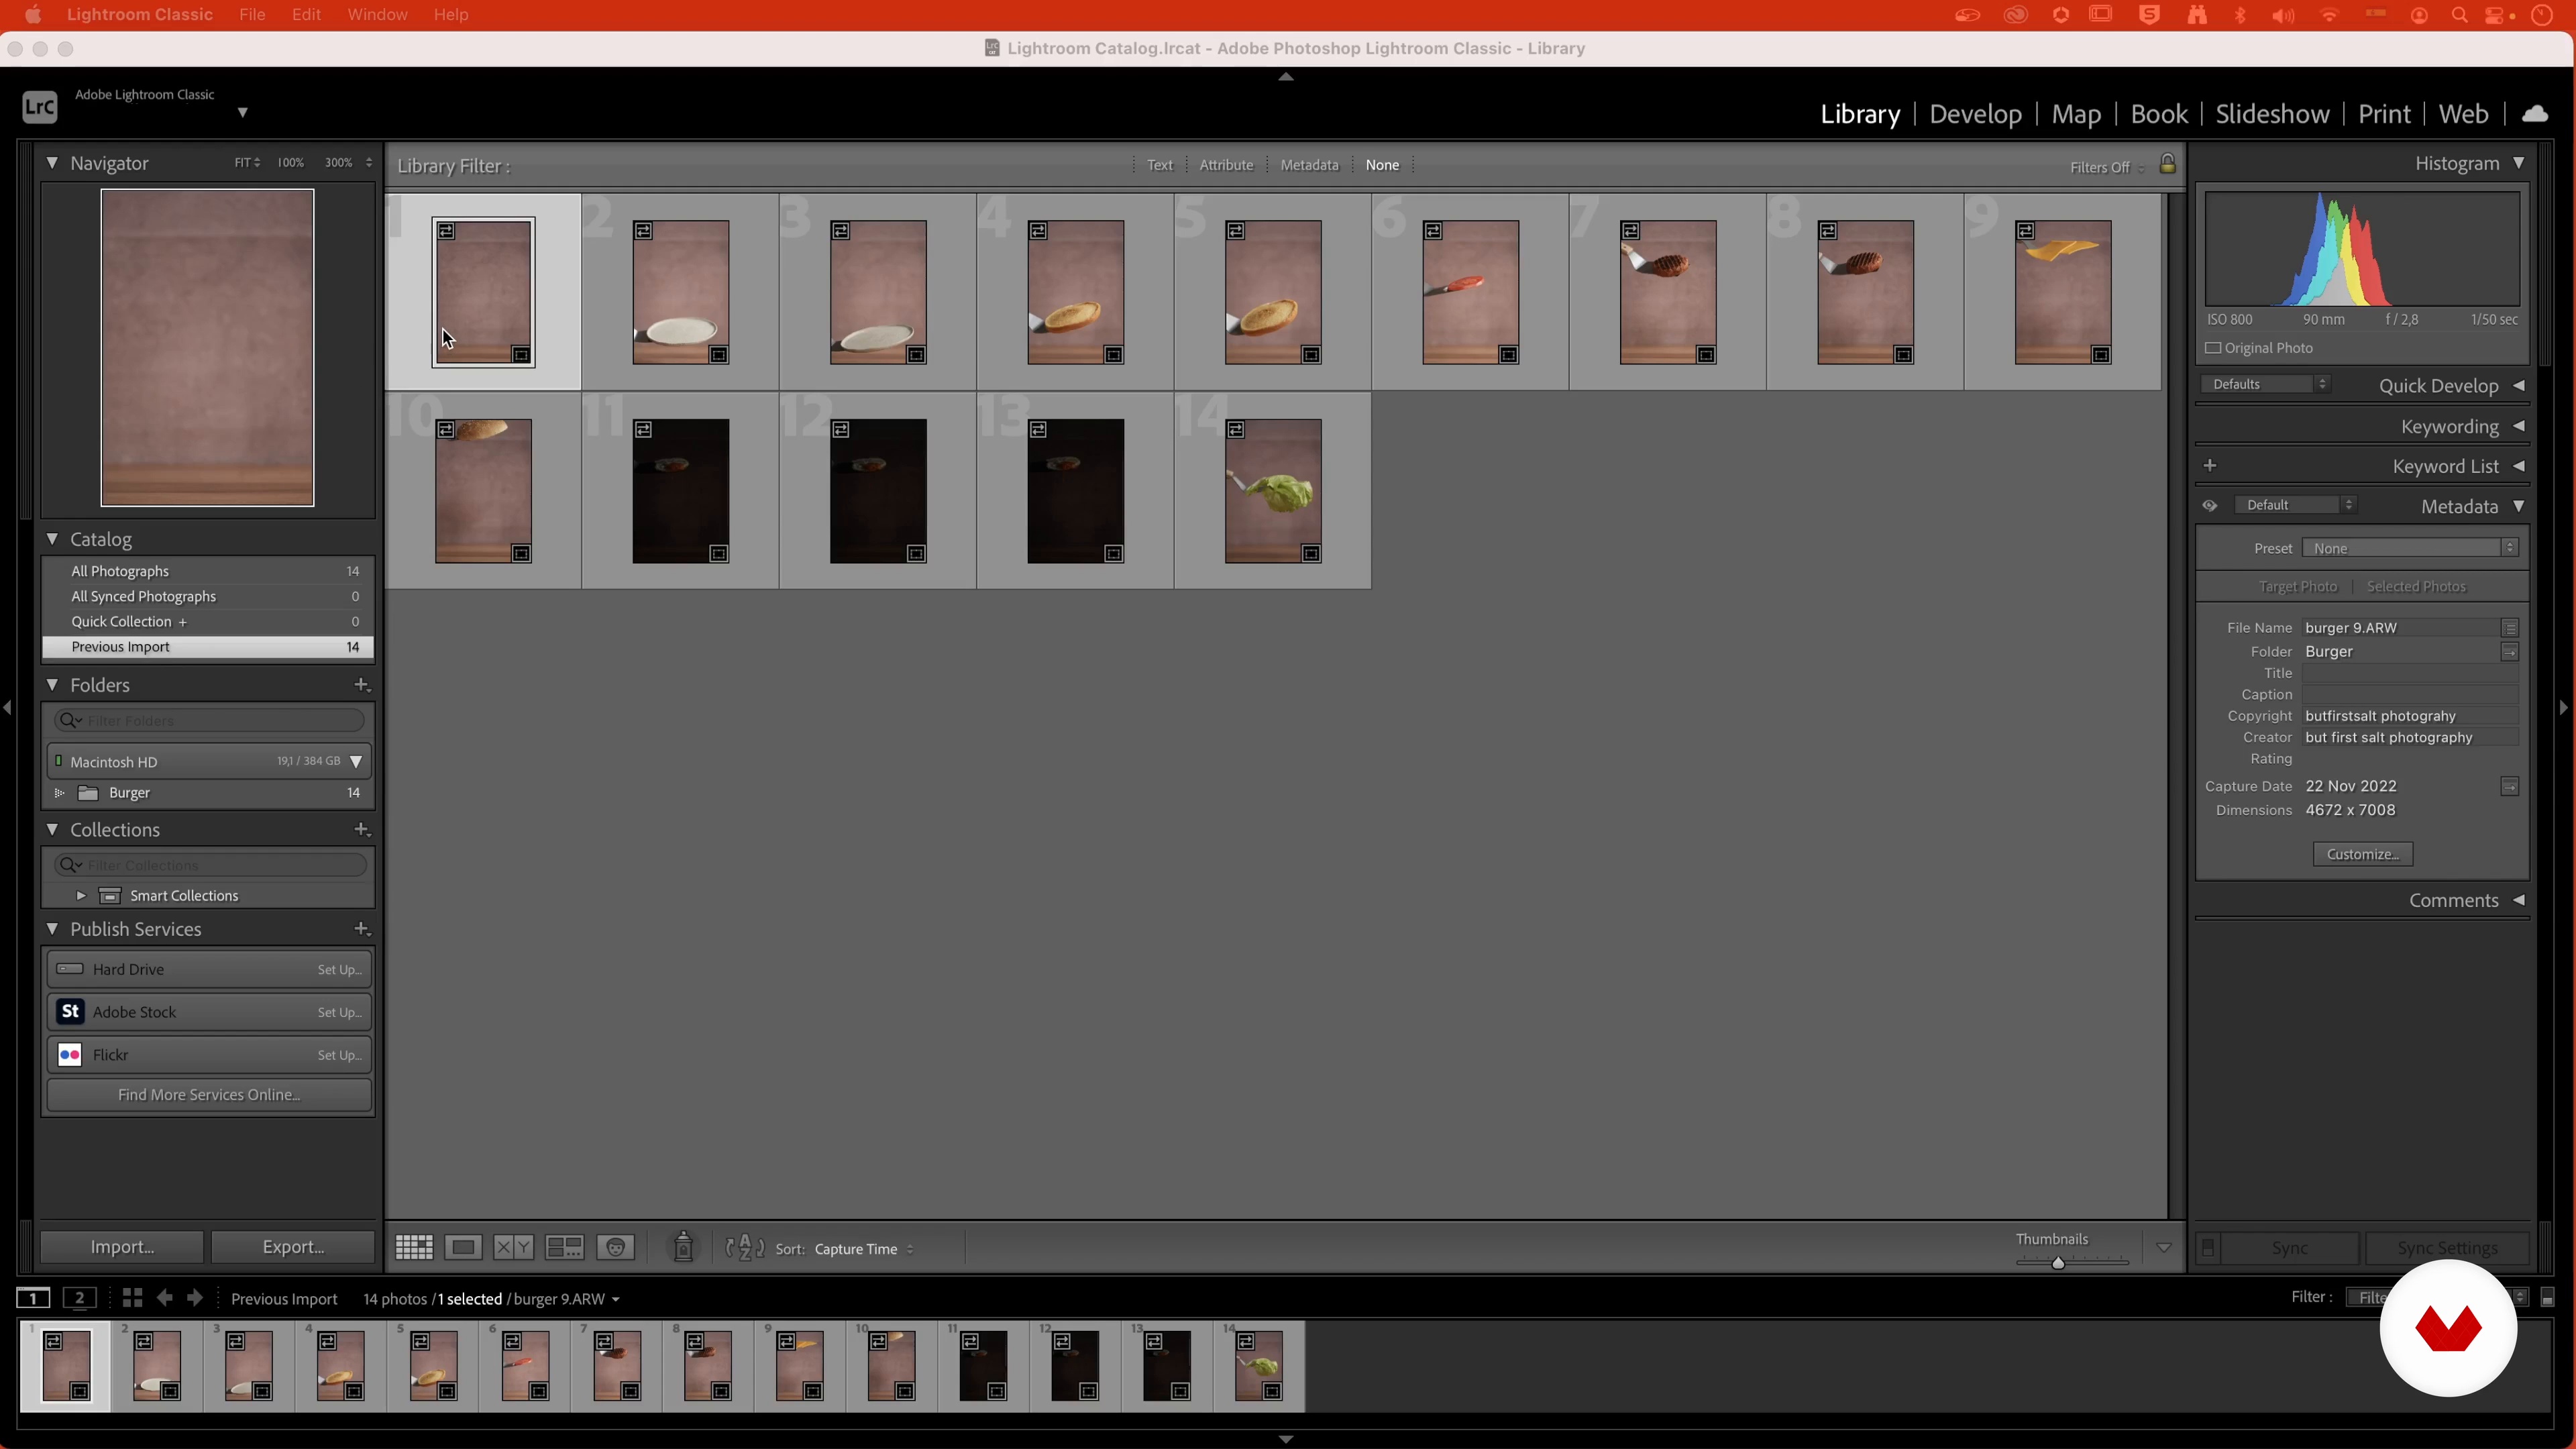
In this lesson, you will see how to edit your images. I will start by teaching you how to use the edit tools on your phone. Then I'll show you my process for editing images in Adobe Photoshop. This includes manipulating shadows, highlights, and contrast and enhancing light to dark transitions. You'll also see how to play with layers.
15m
image
14
Retouching the Images 2
After finishing editing my first image, I will move on to the second one and repeat a similar process.
14m
image
15
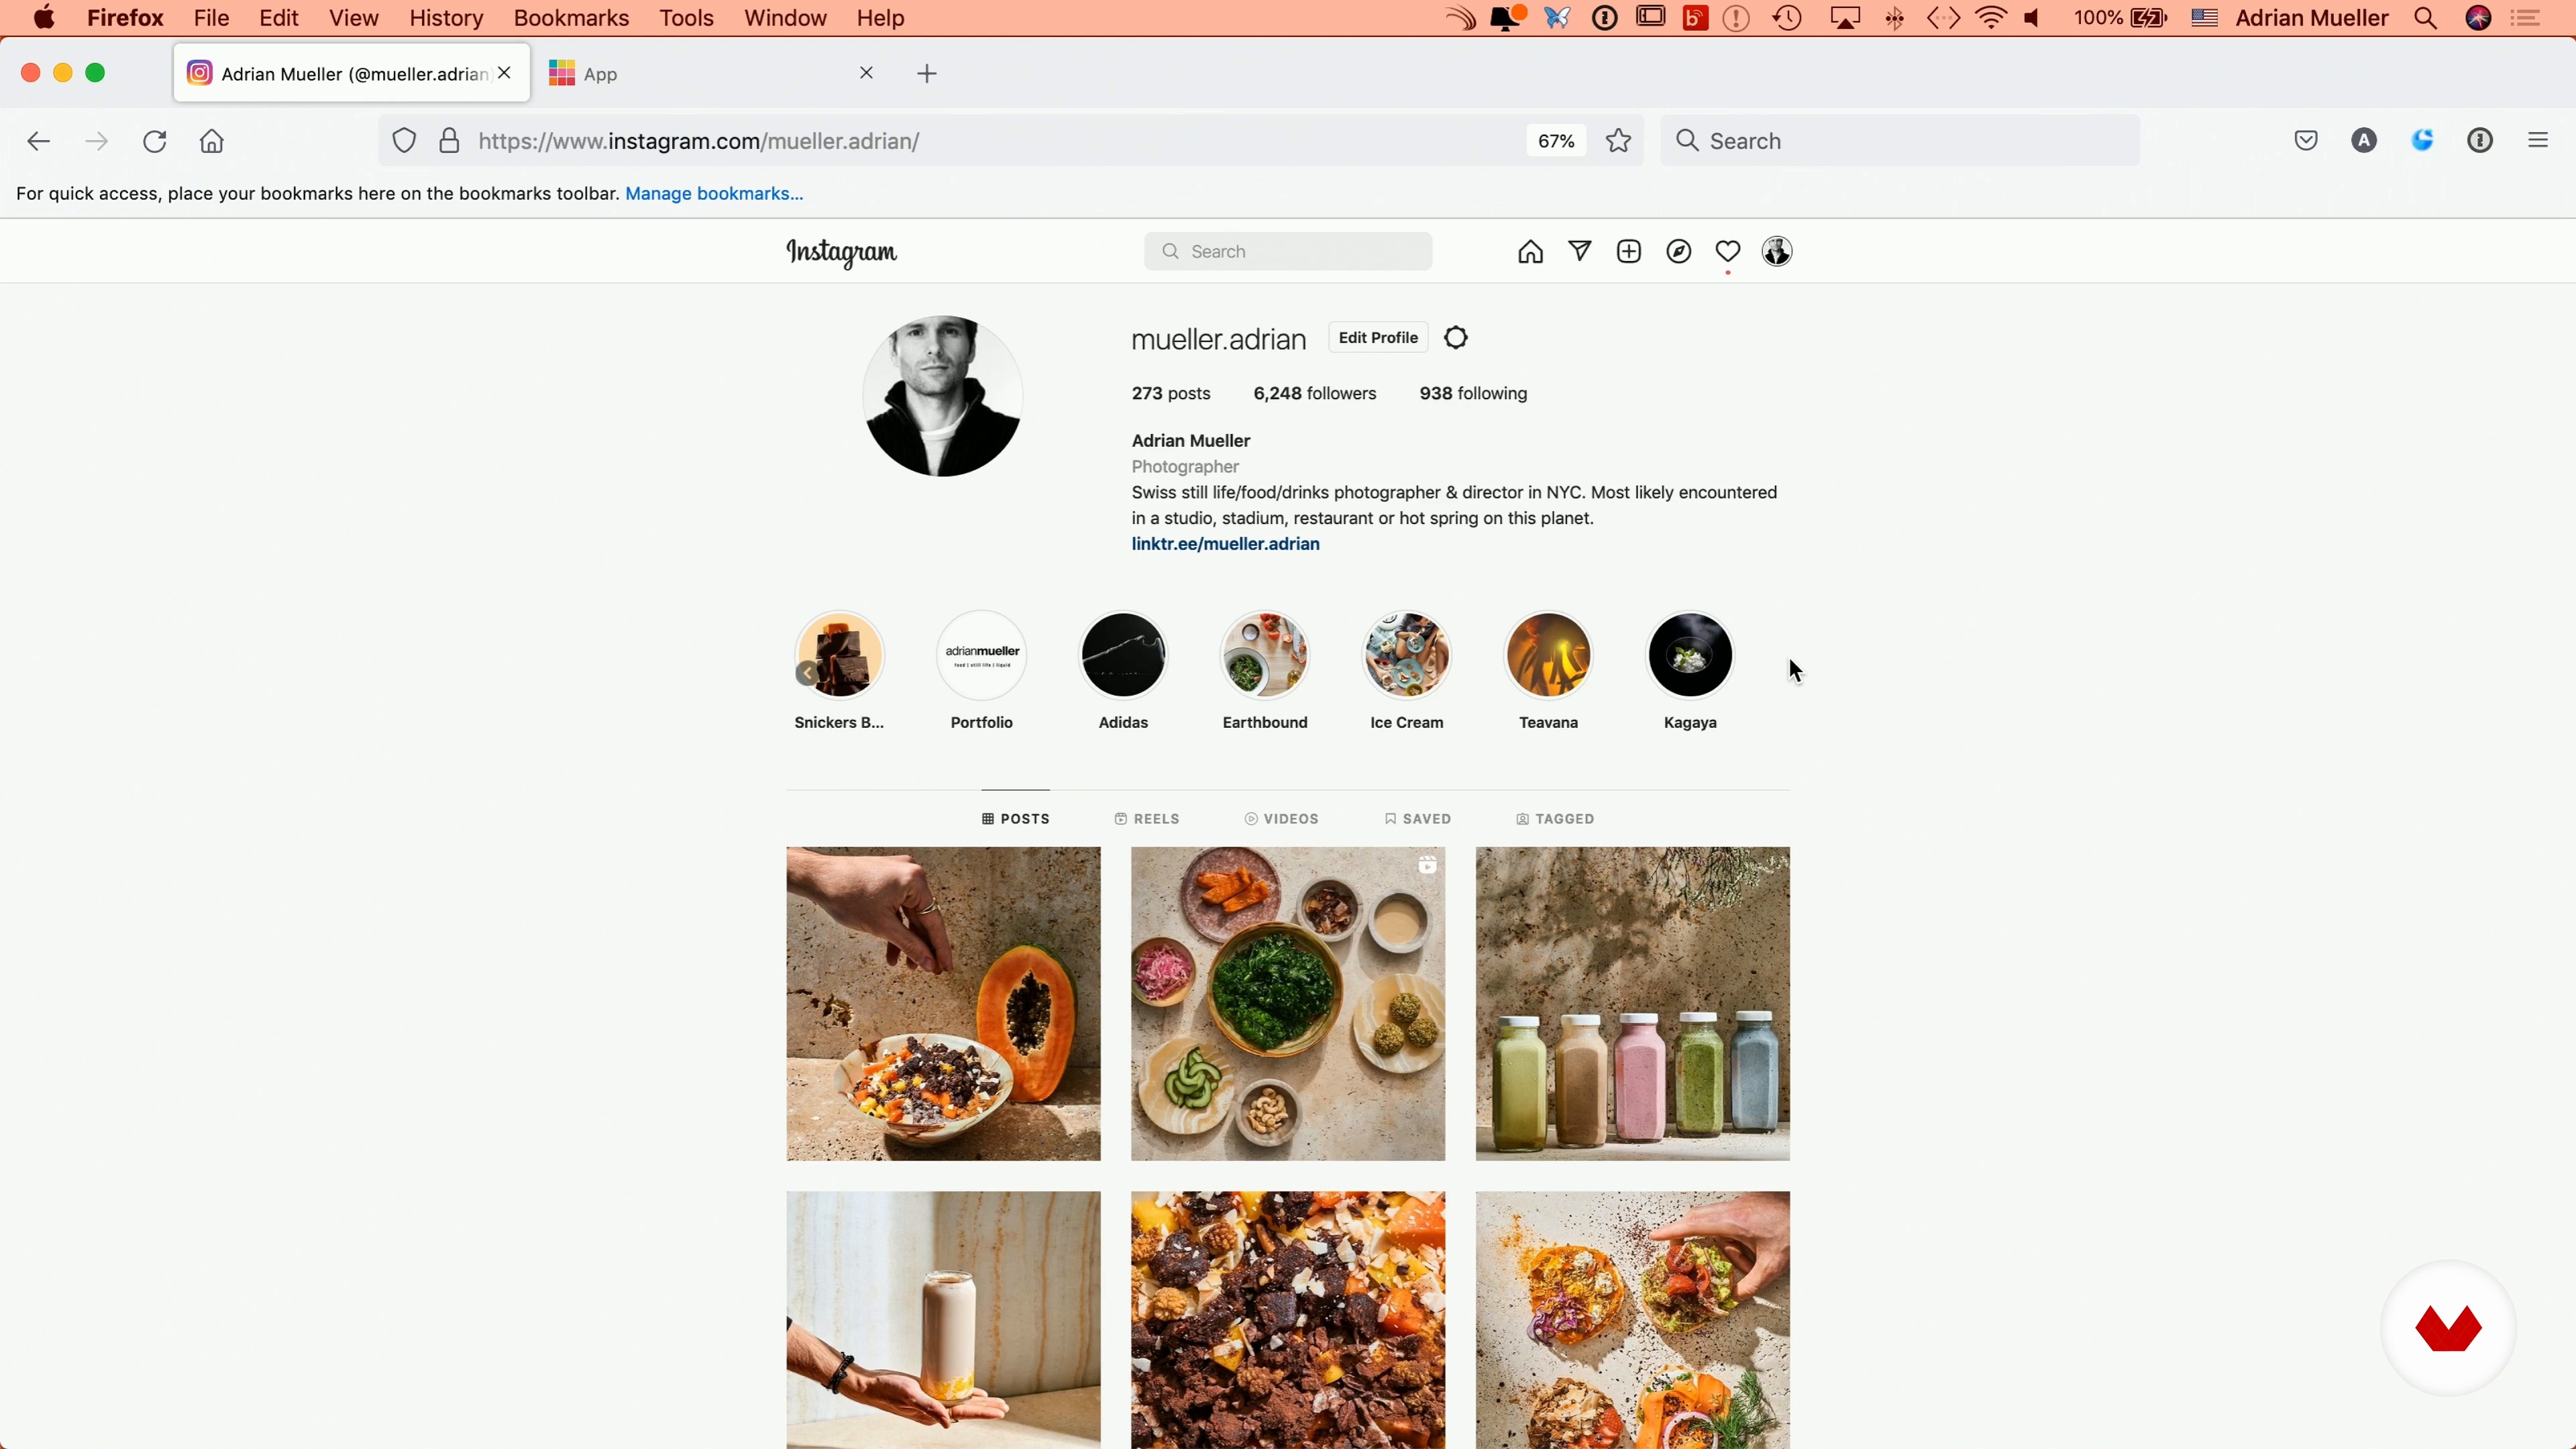
Tips for Sharing Your Work
Here I'll share ideas and tips on how to present your work on social media and how to build an impressive website without knowledge of coding or web design.
18m
image
3
What Is Food Styling?
In this lesson, we’ll learn a little bit about what food styling actually is and the key principles to consider.
16m
image
4
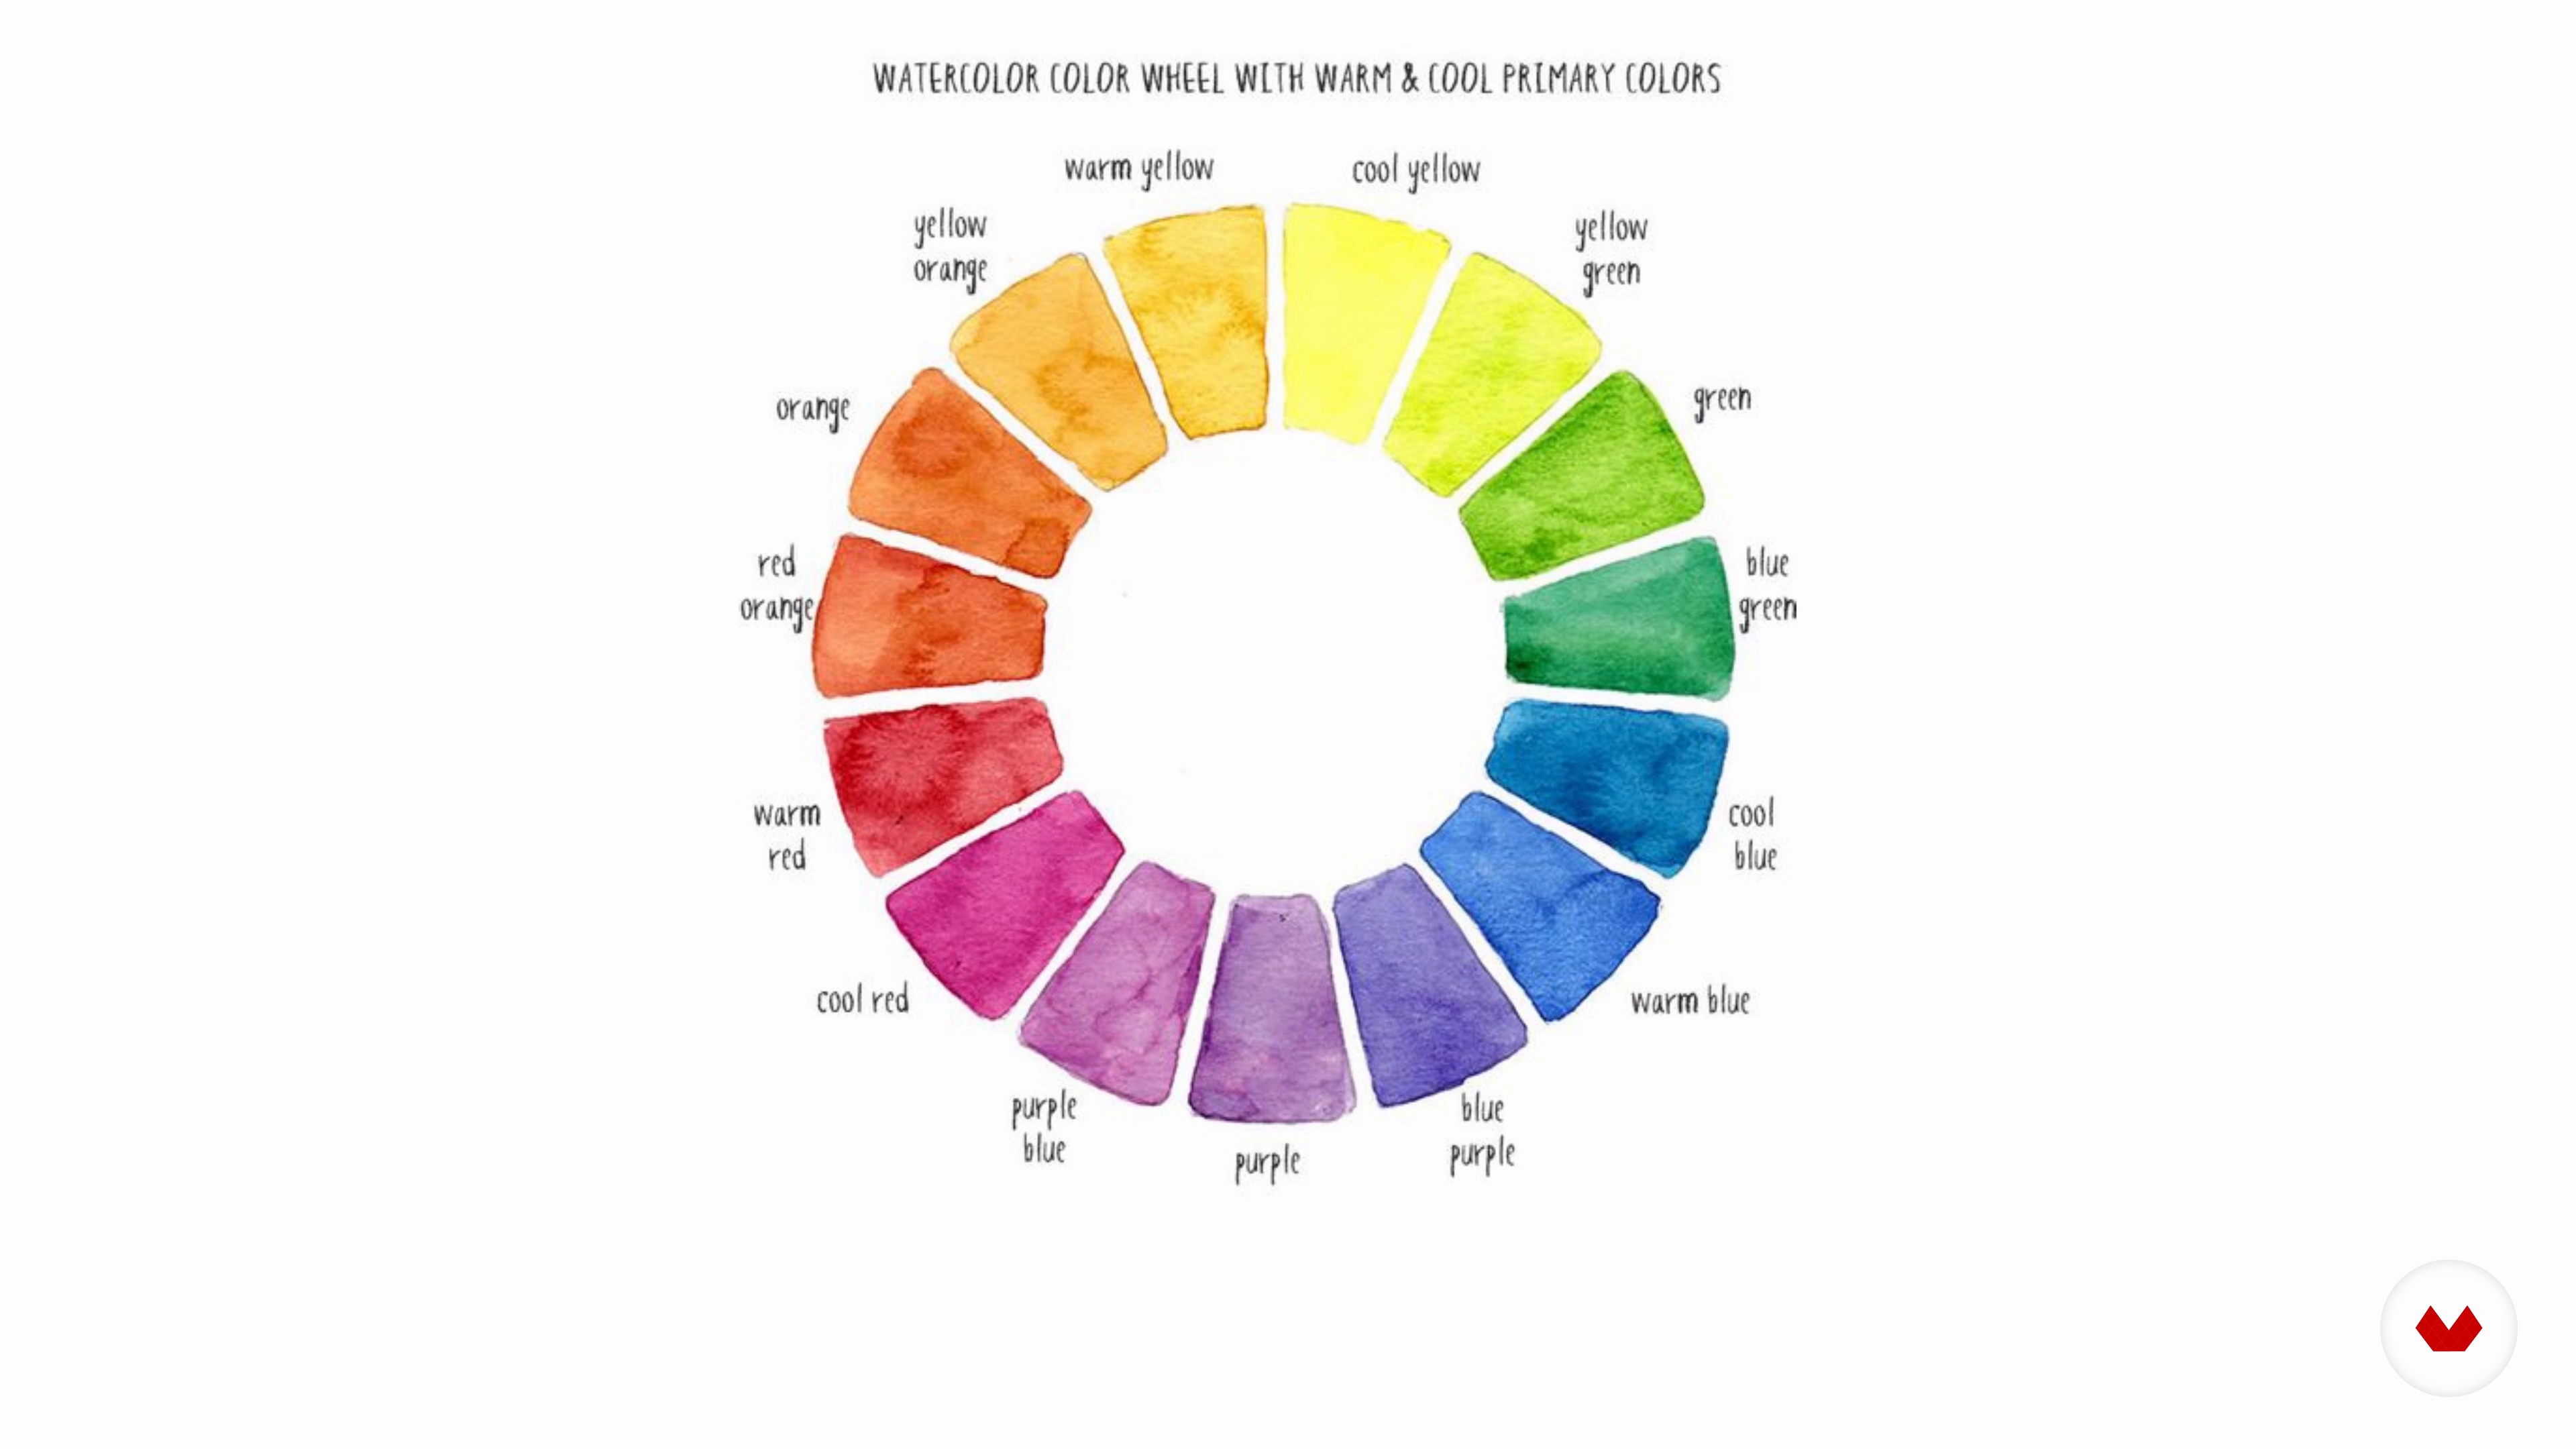
Understanding Colour Theory
Colours are powerful and beautiful and knowing how to use colours to your advantage is key in food styling! It’s especially important if you want to find a level of success on Instagram with your food images, which is why we’re deep into this super fun topic!
10m
image
5
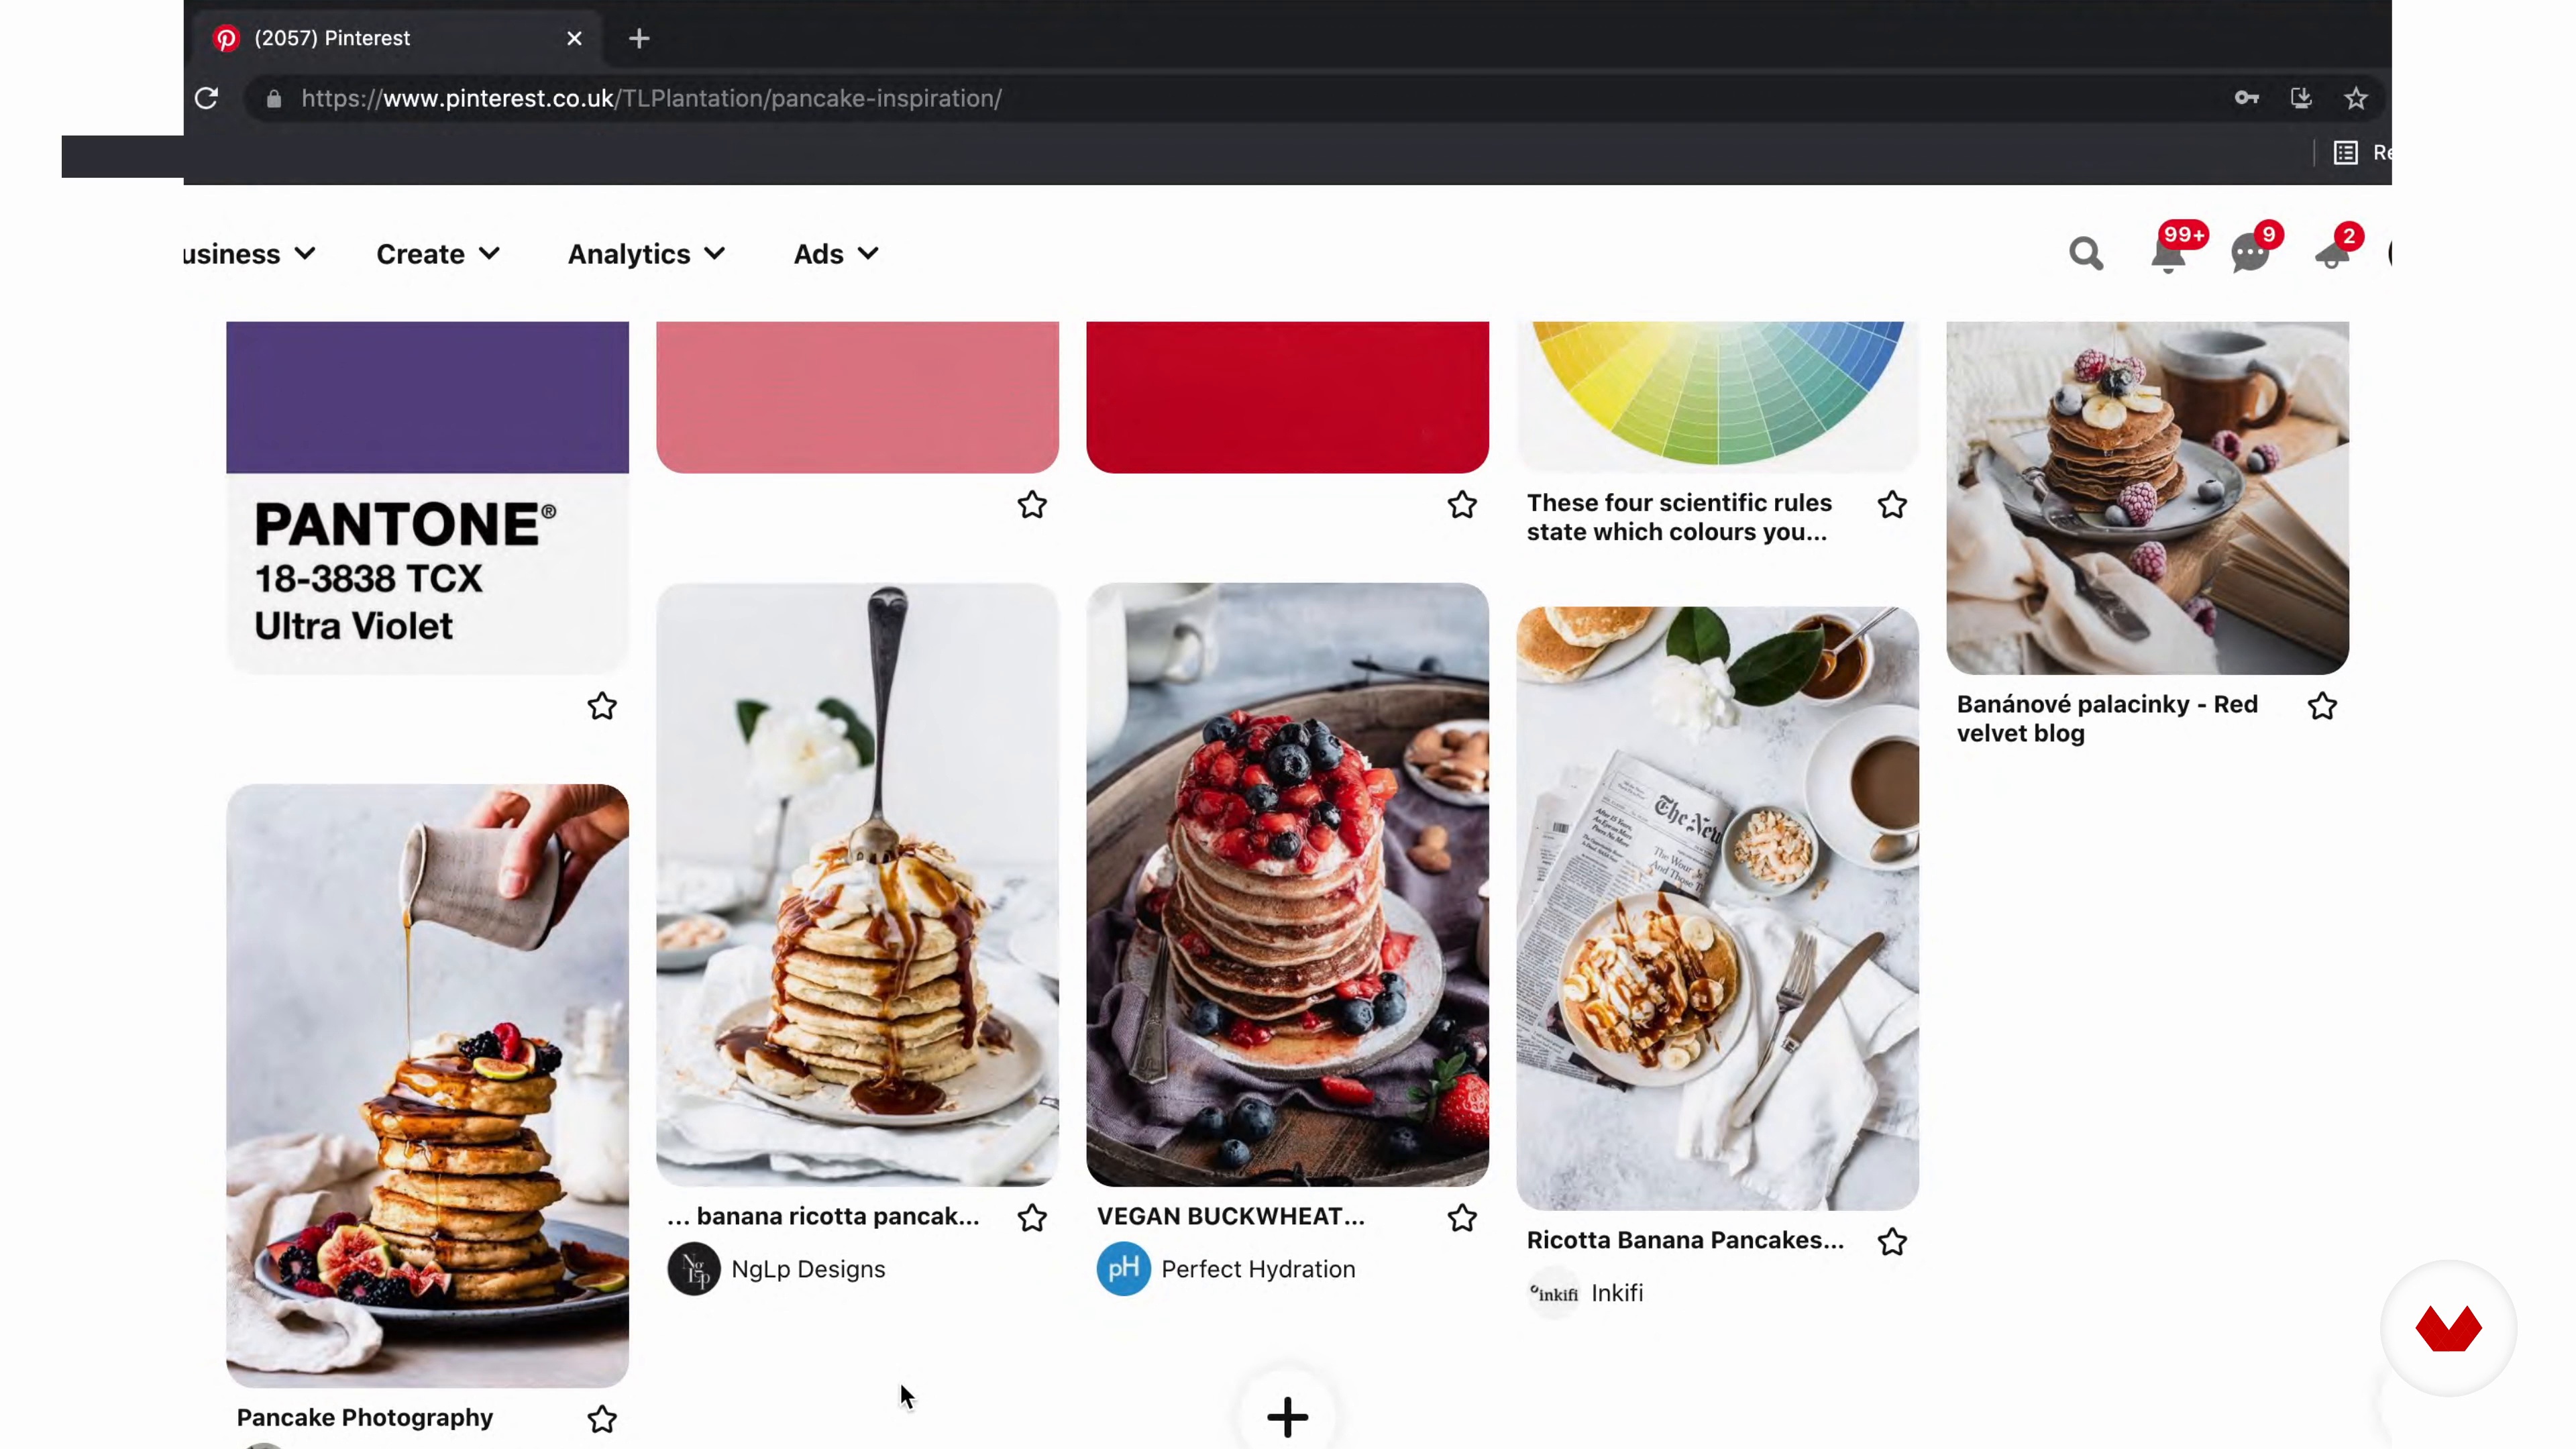
How to Create a Mood Board and Build a Shot List
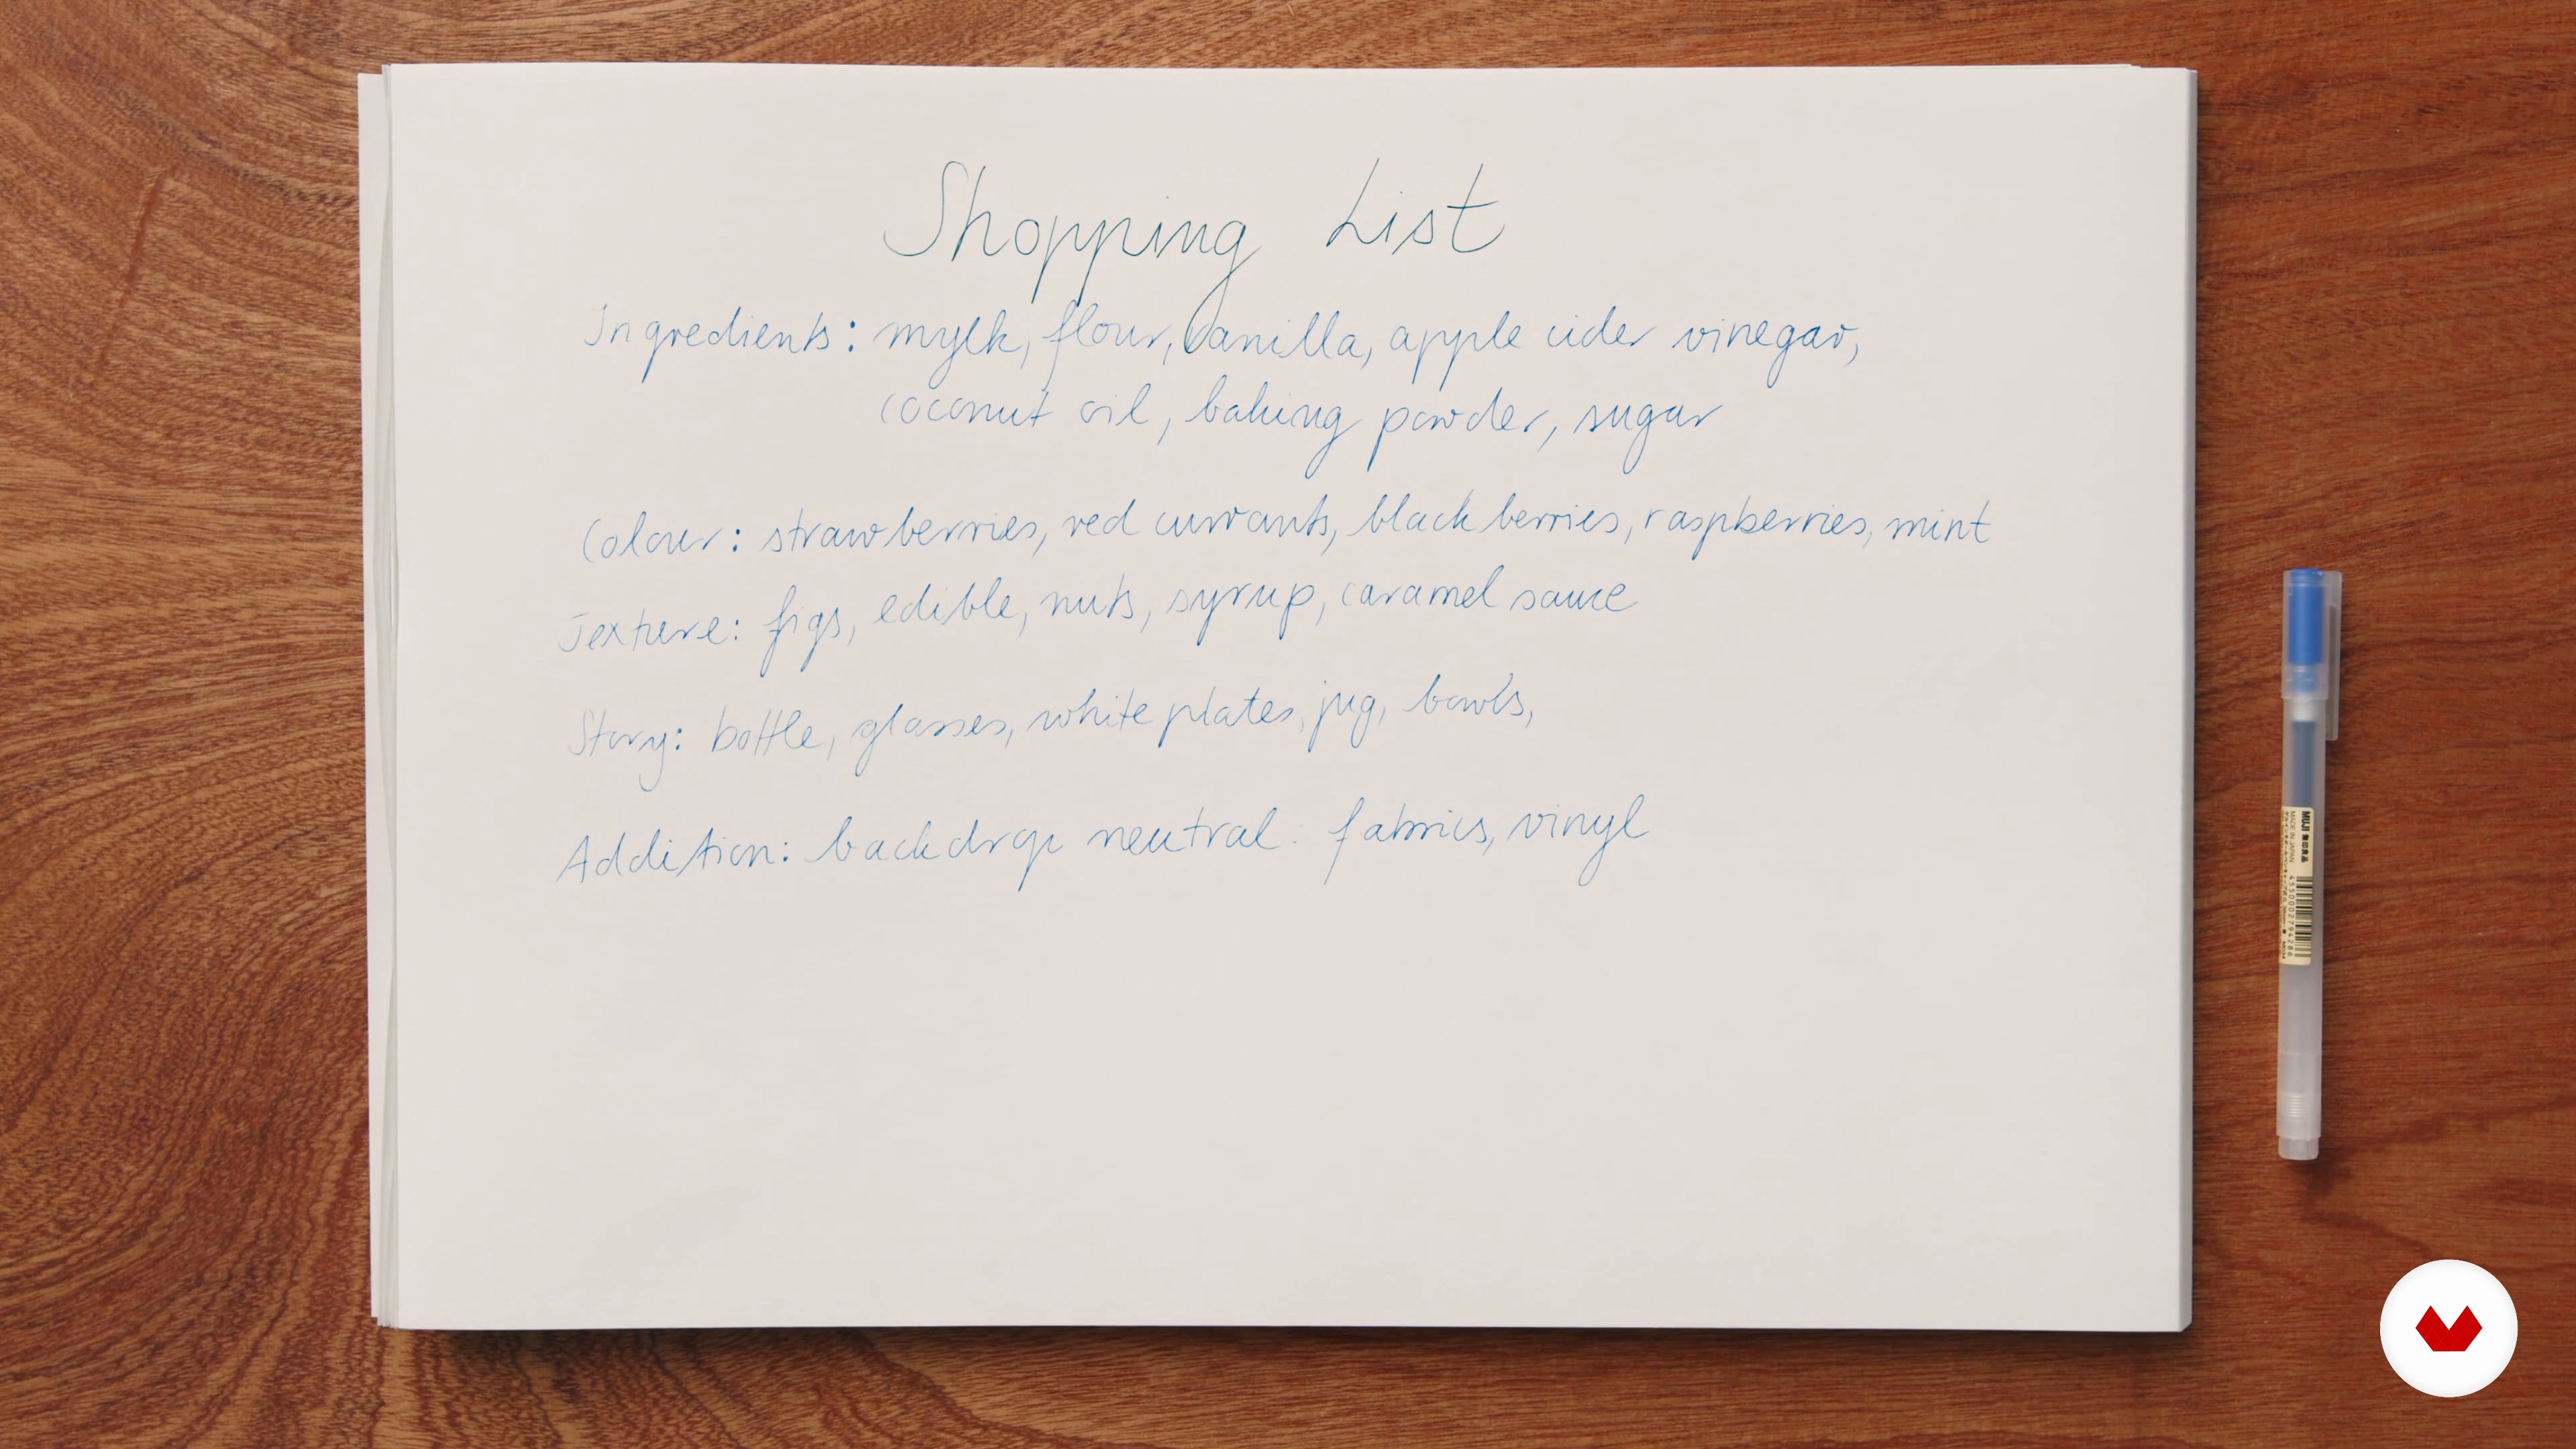
In this lesson, you’ll learn the art of mood board creation and discover how powerful mood boards are in preparing for food photography and food styling session. Discover why creating a shopping list and shoot list are a MUST for nailing your food image and making your photo look professional and delectable.
14m
image
6
Shopping and Ingredient List
Let's see what are the things you need to capture your food in the best way possible.
11m
image
7
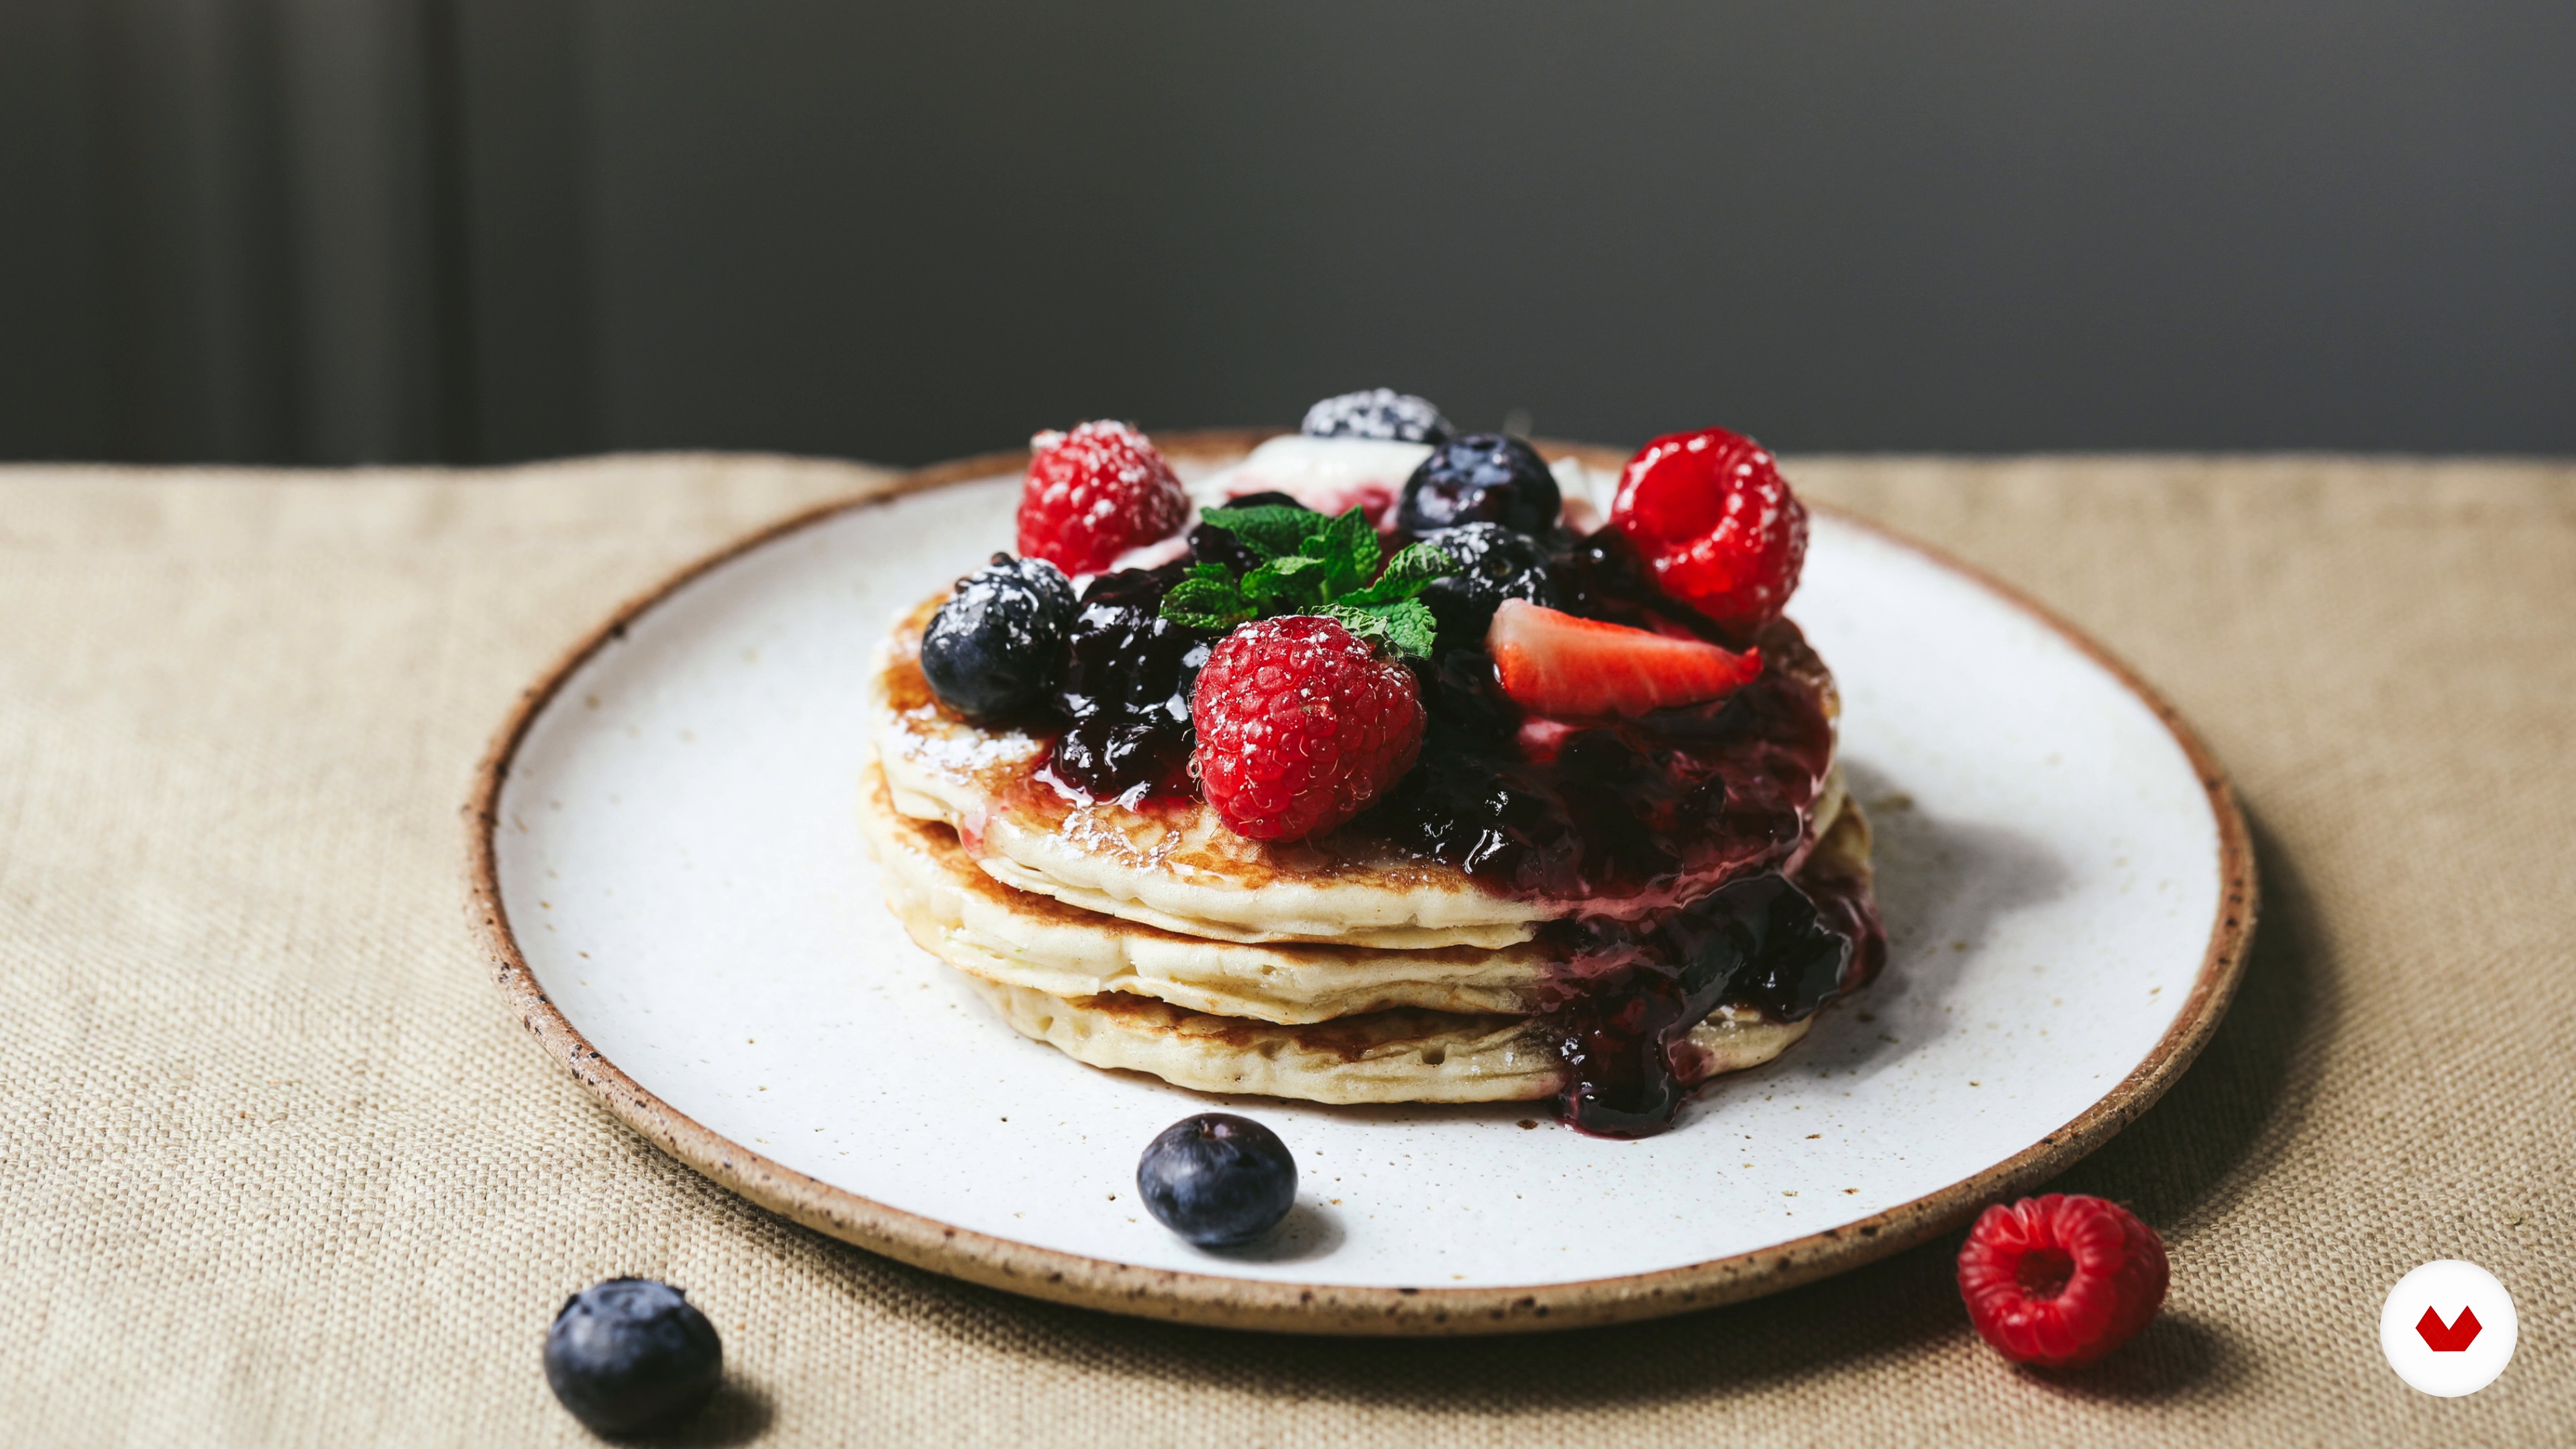
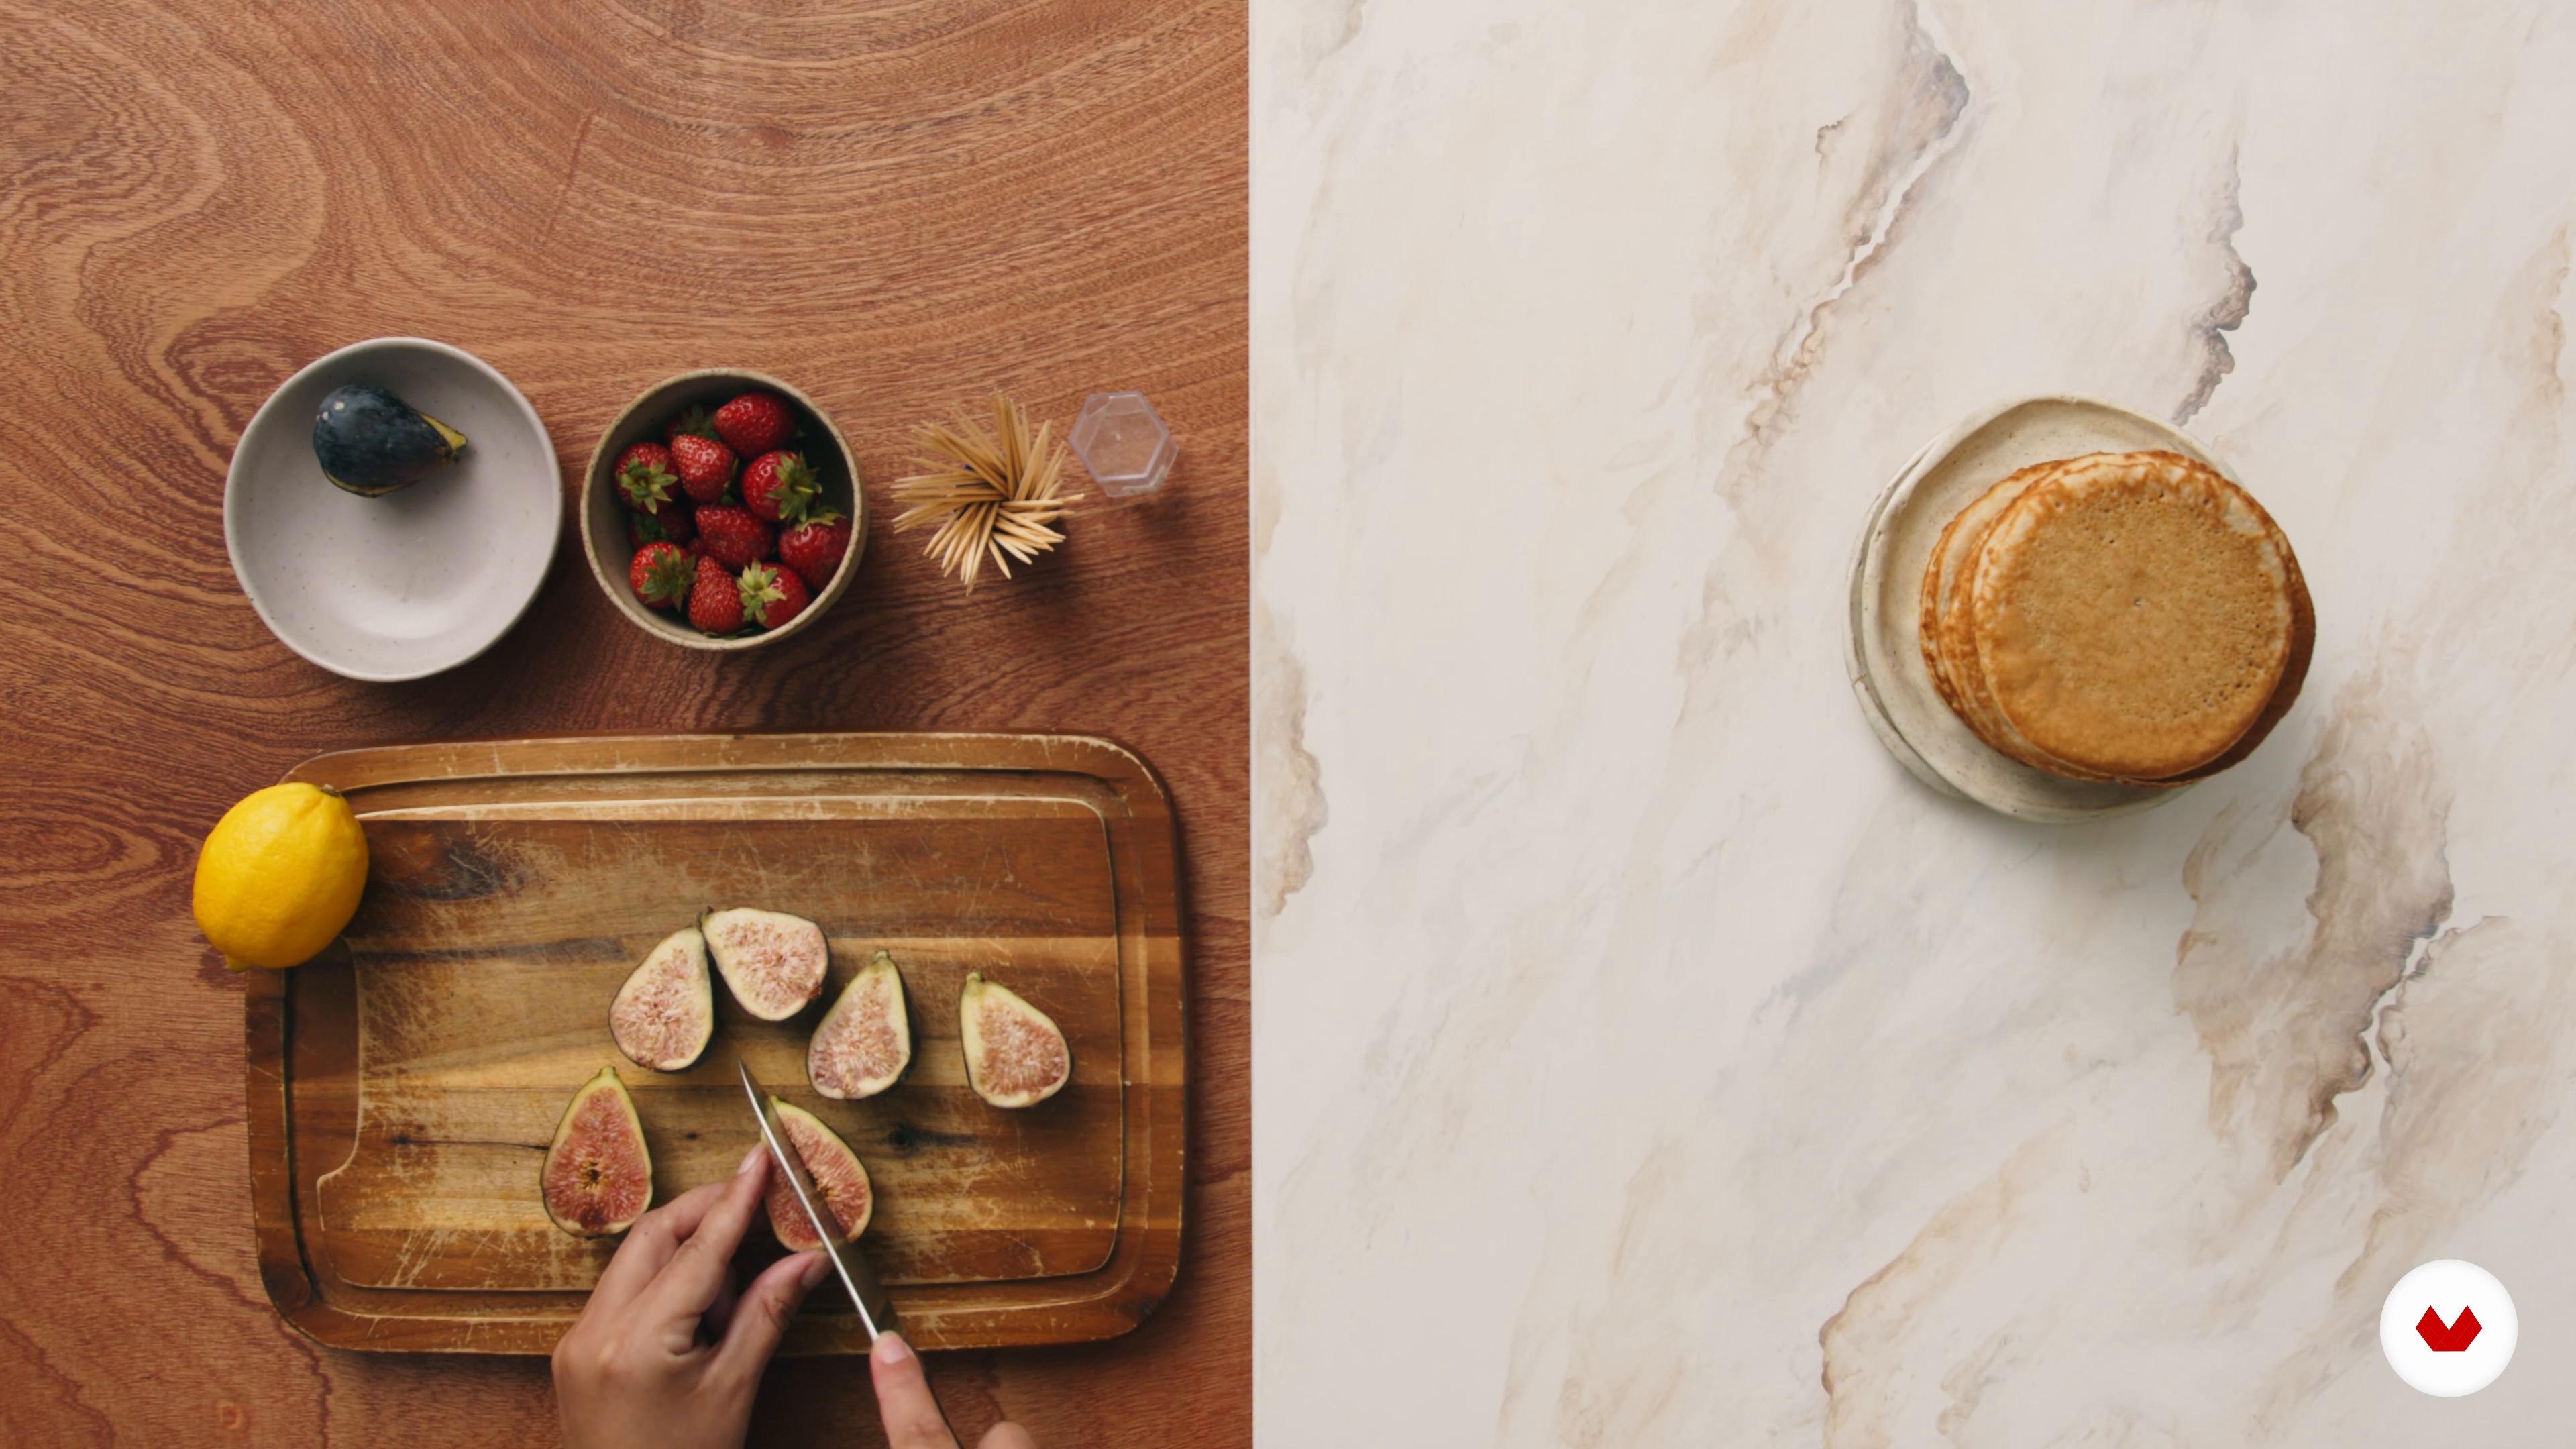
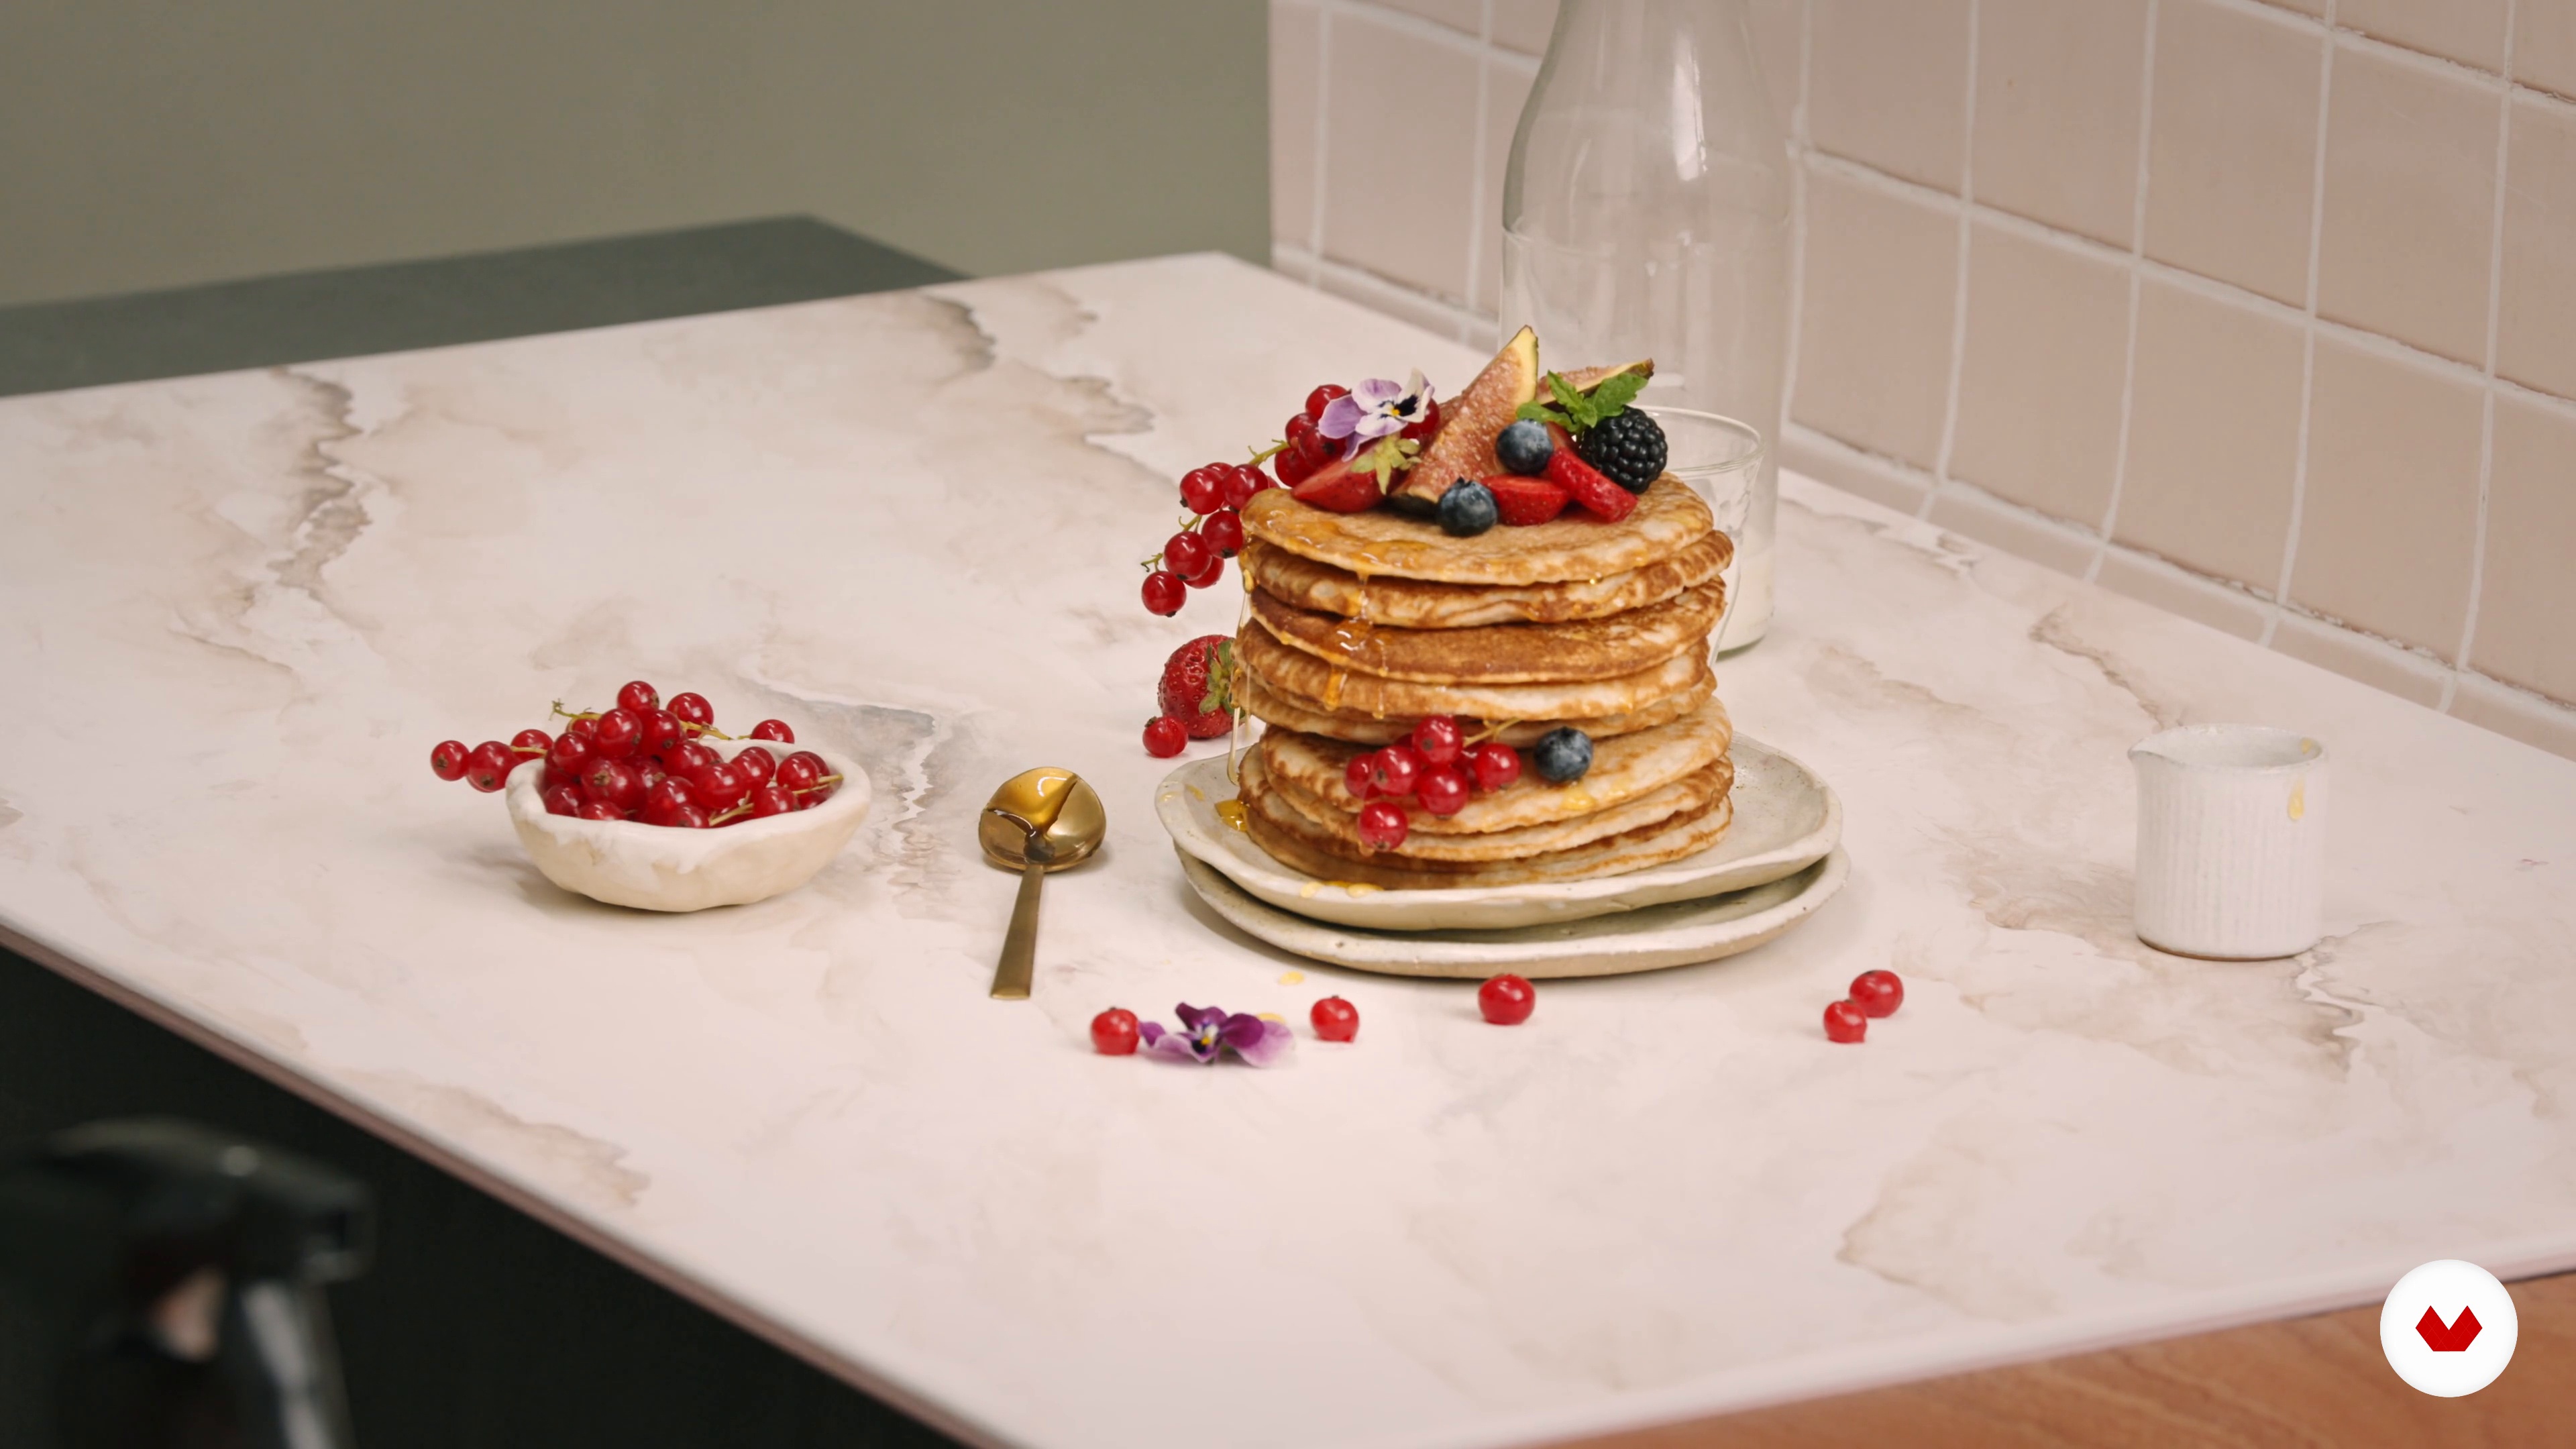
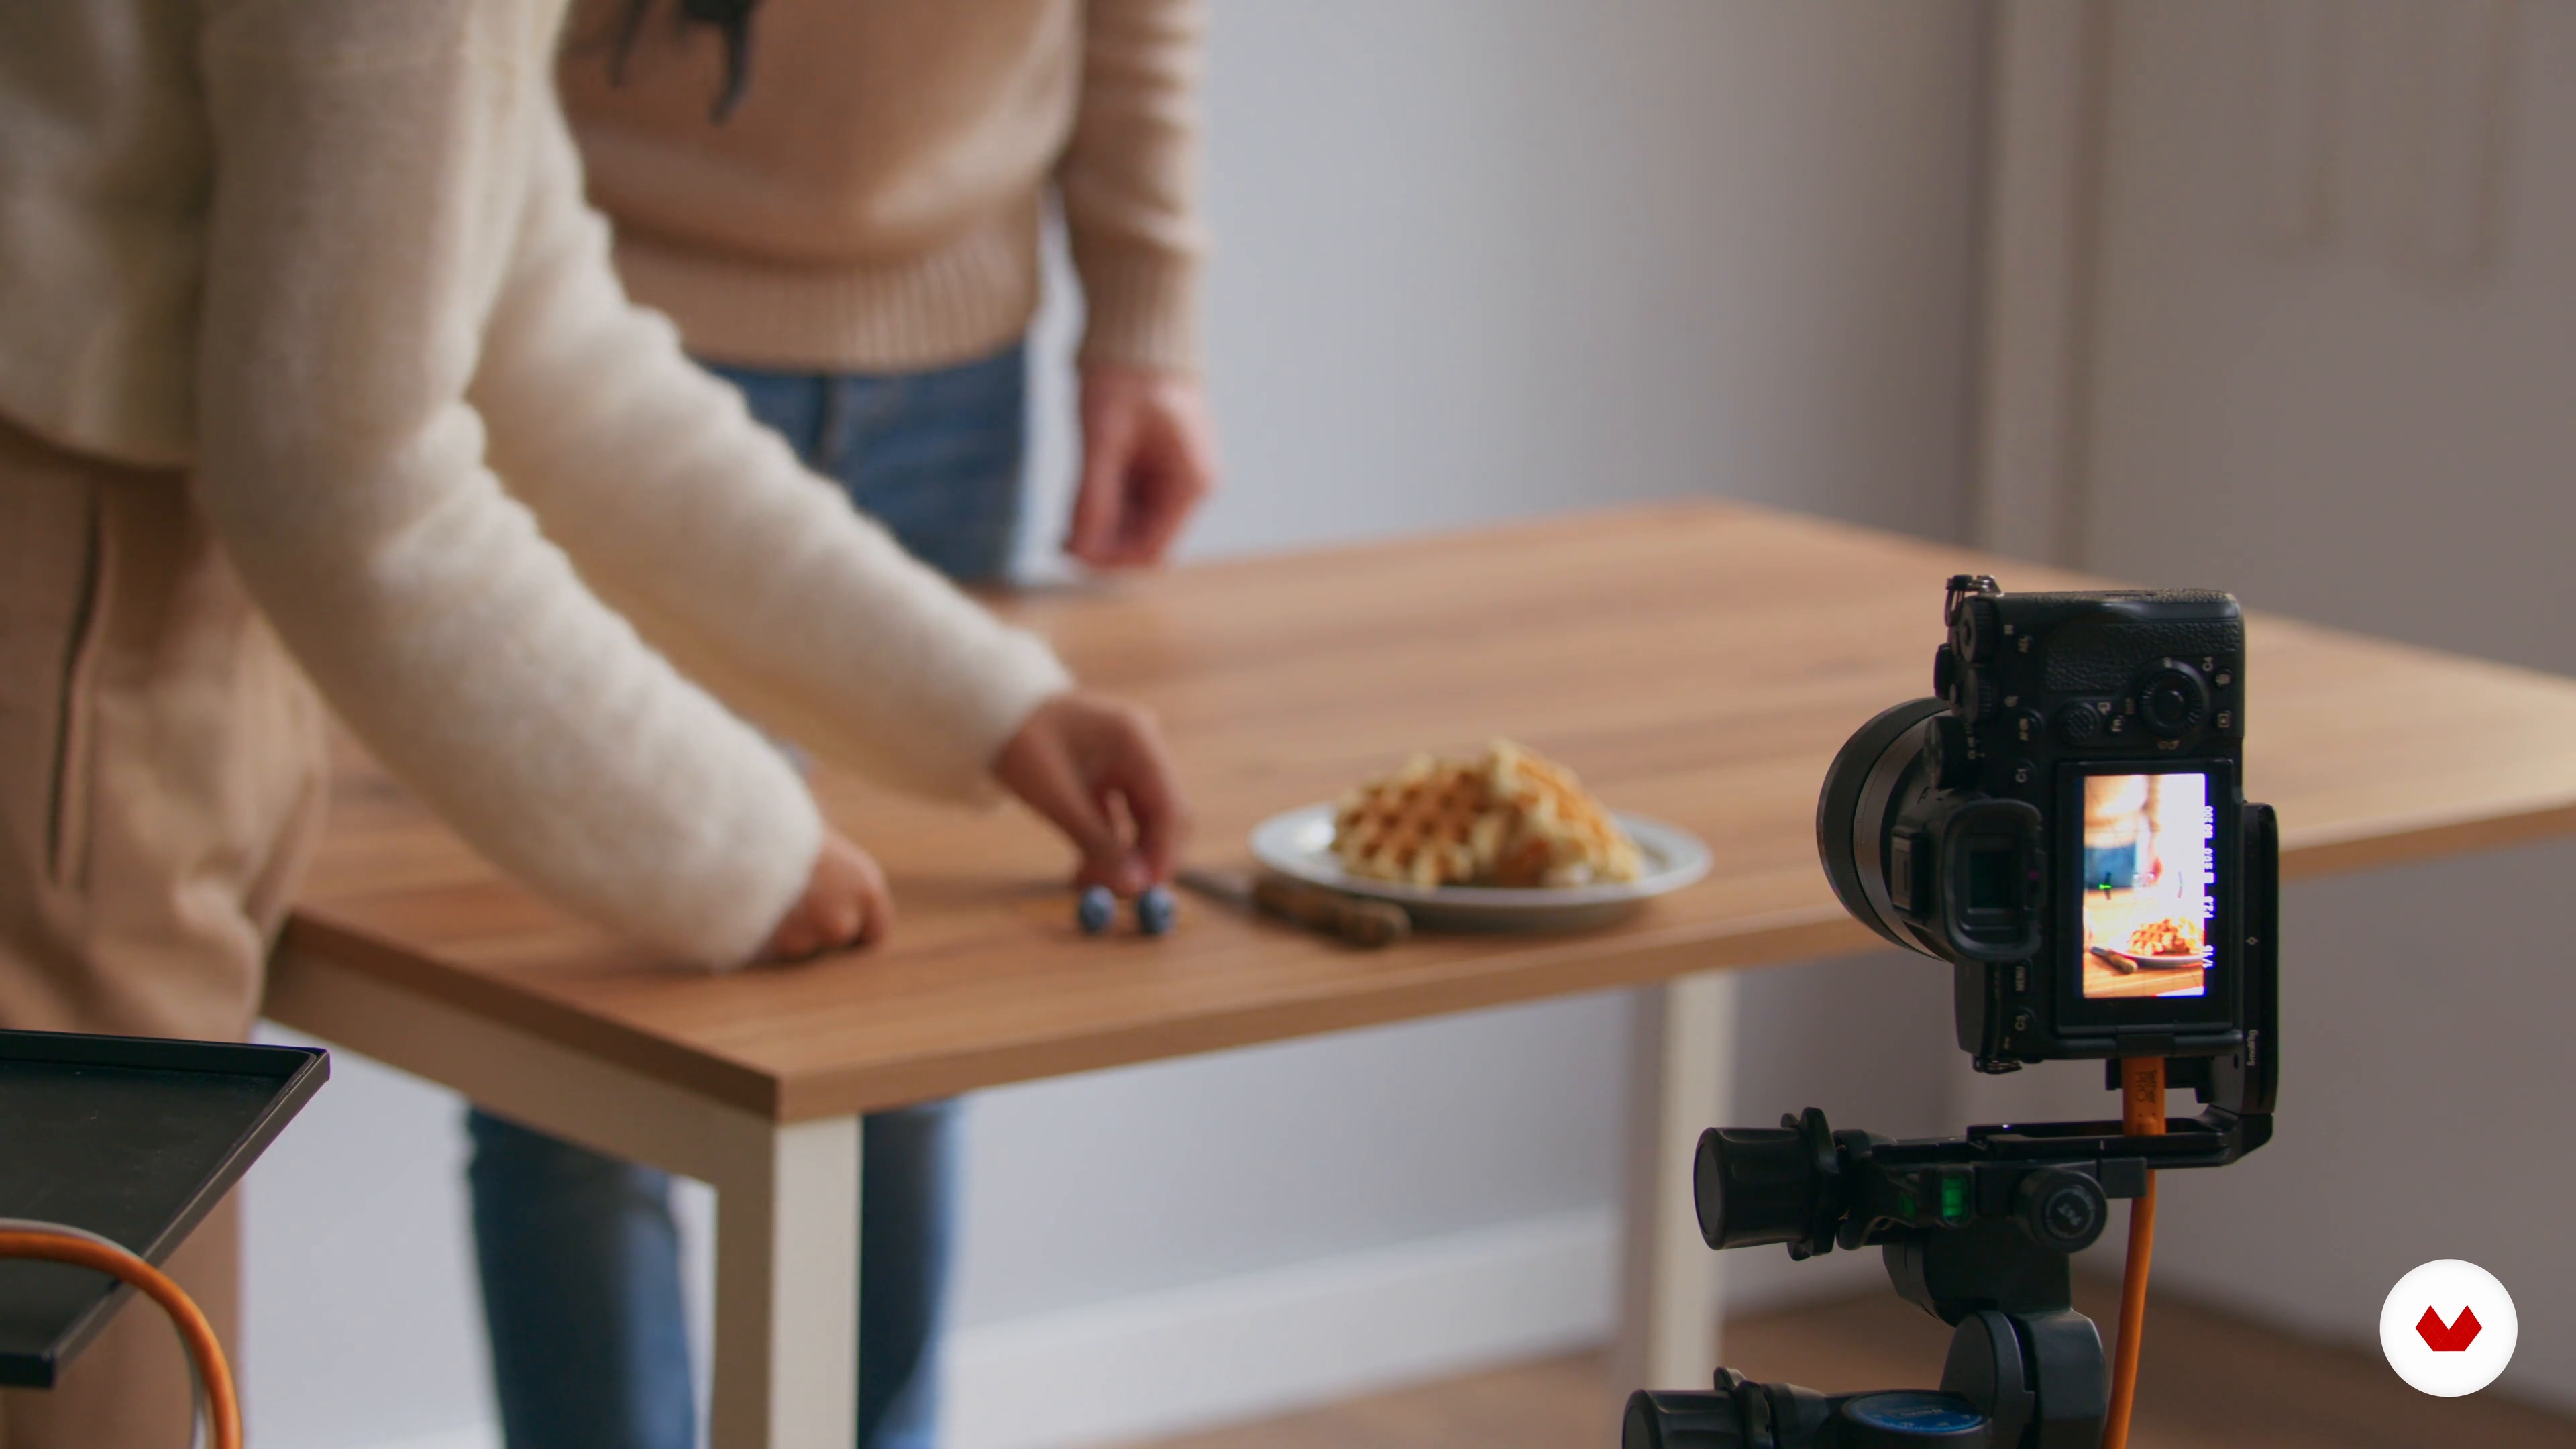
Styling Pancakes 1
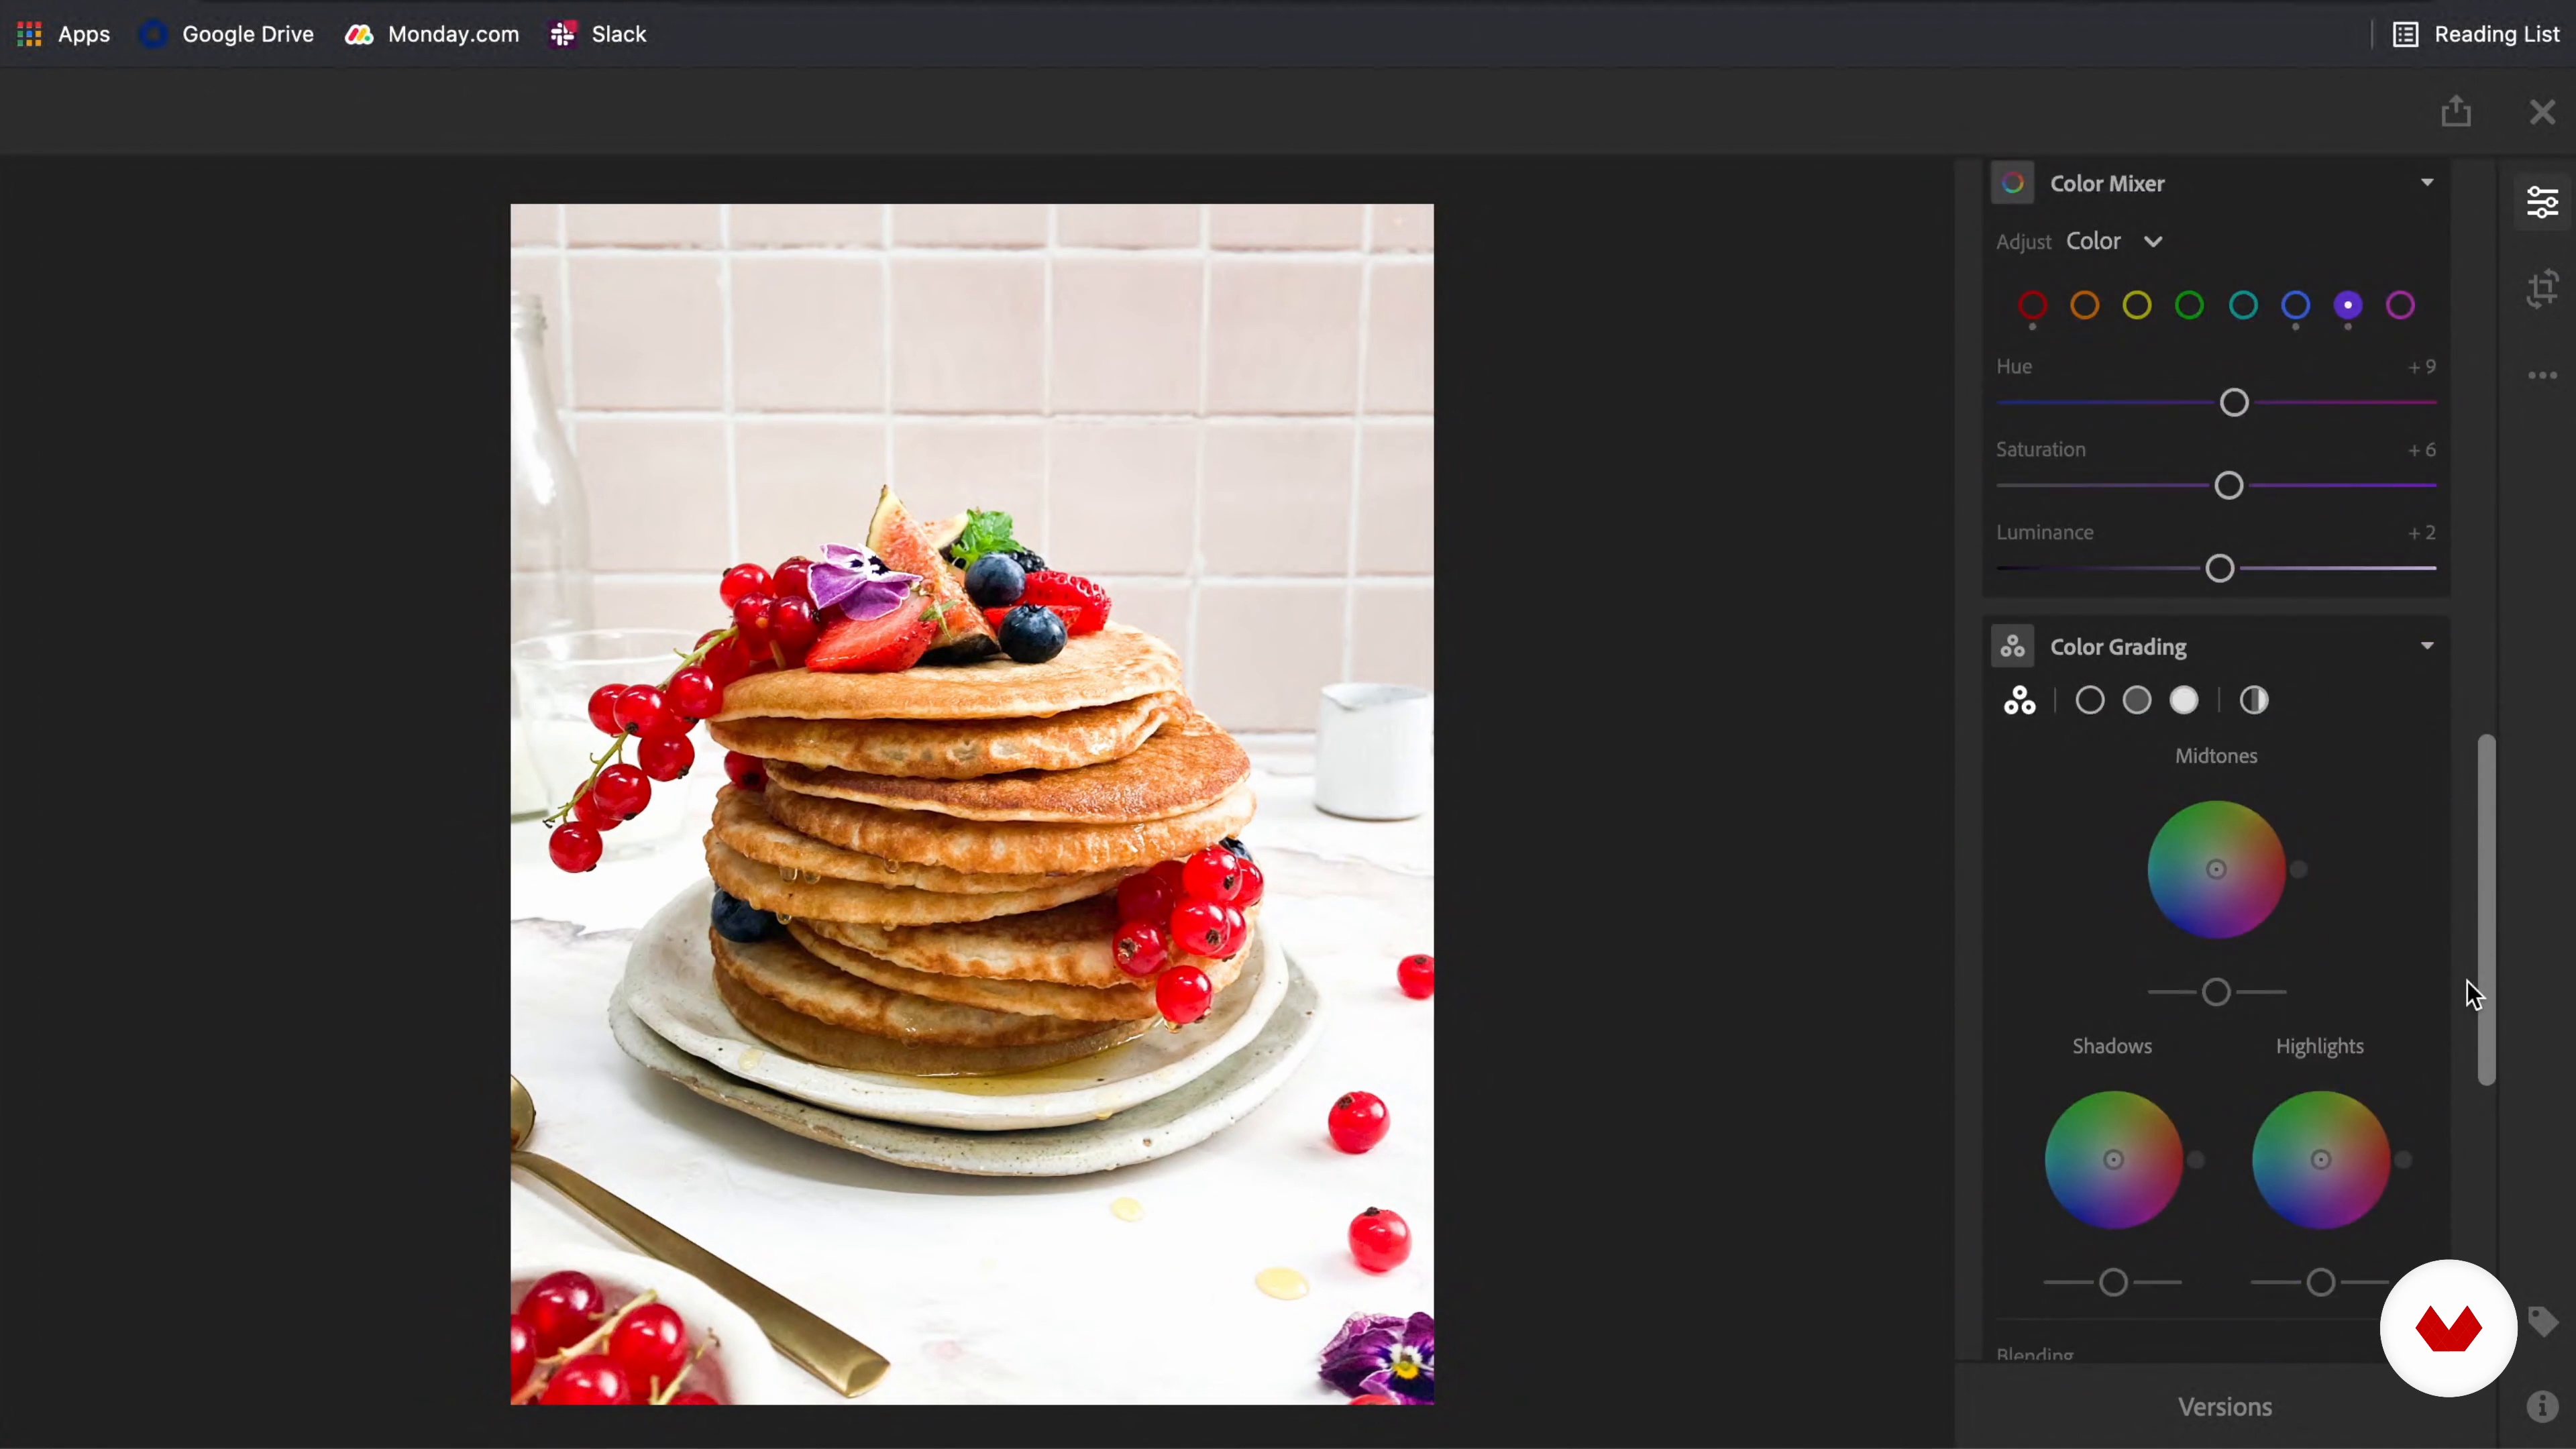
I’ll start my styling with a stack of pancakes. This is a popular dish on Instagram and a good example to showcase all the techniques we’ve talked about so far.
17m
image
8
Styling Pancakes 2
Now, we are going to add even more colour and textures to our pancakes to make them ready for the shooting.
16m
image
9
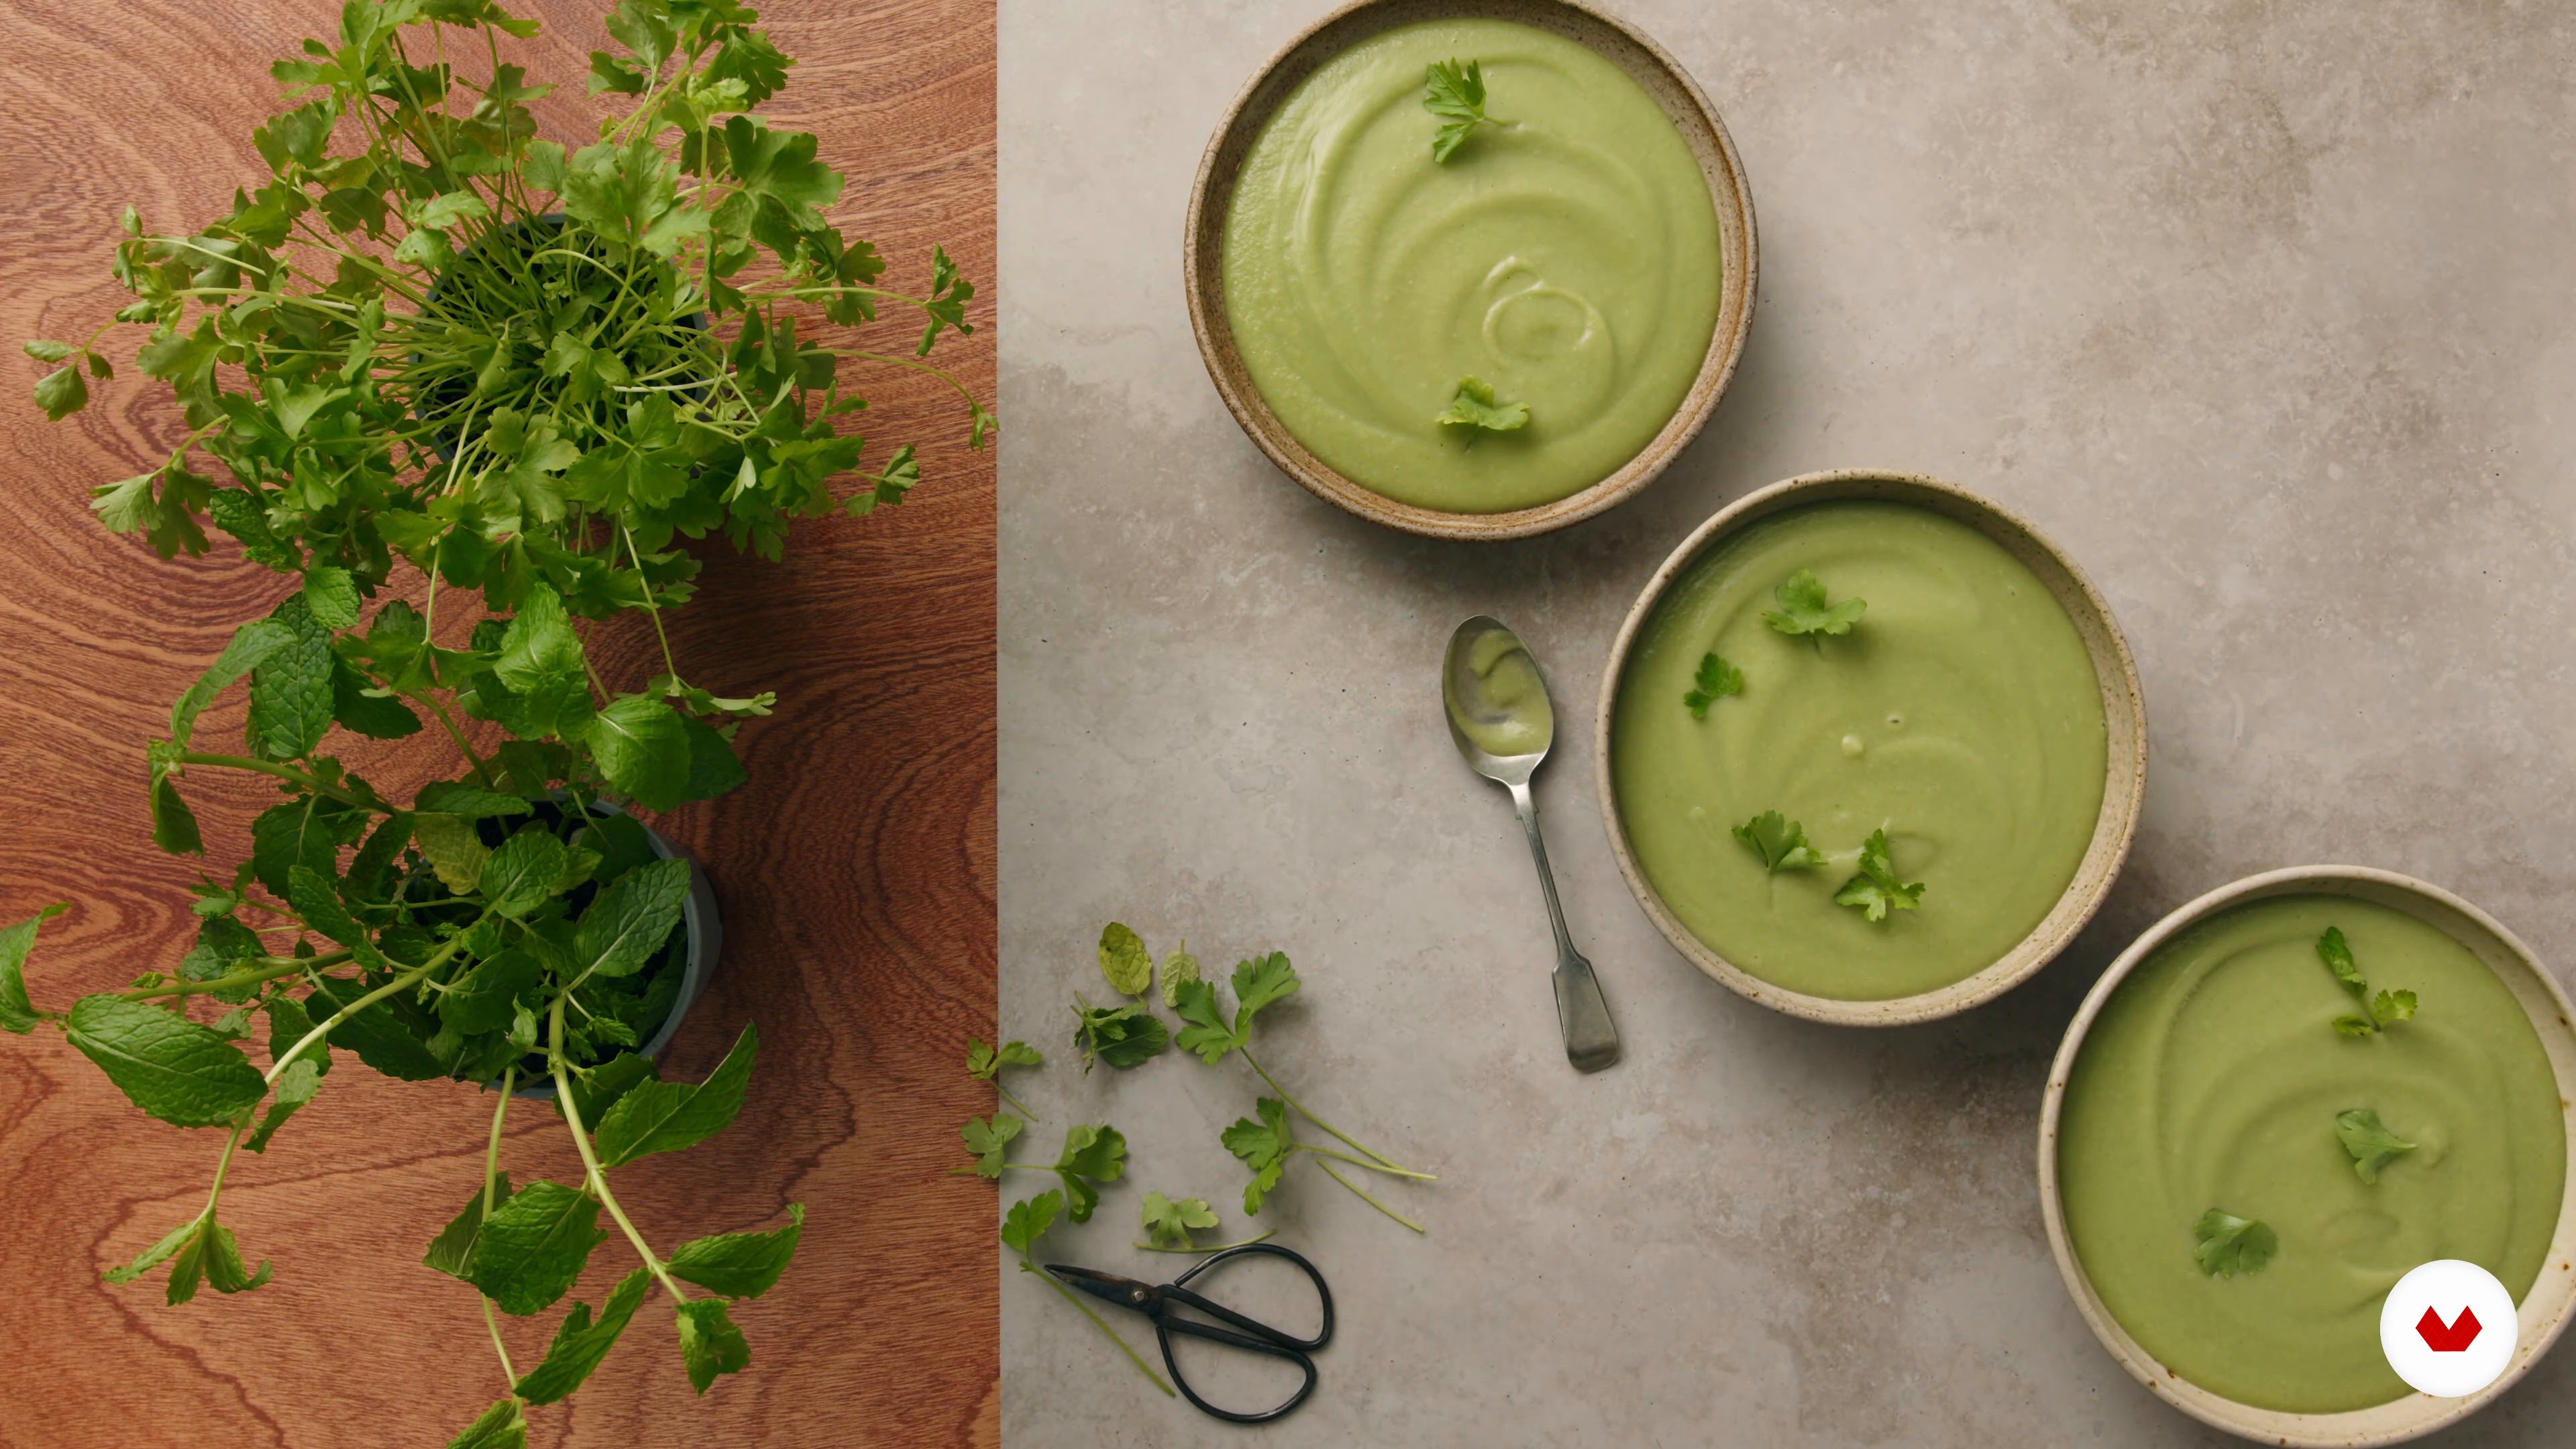
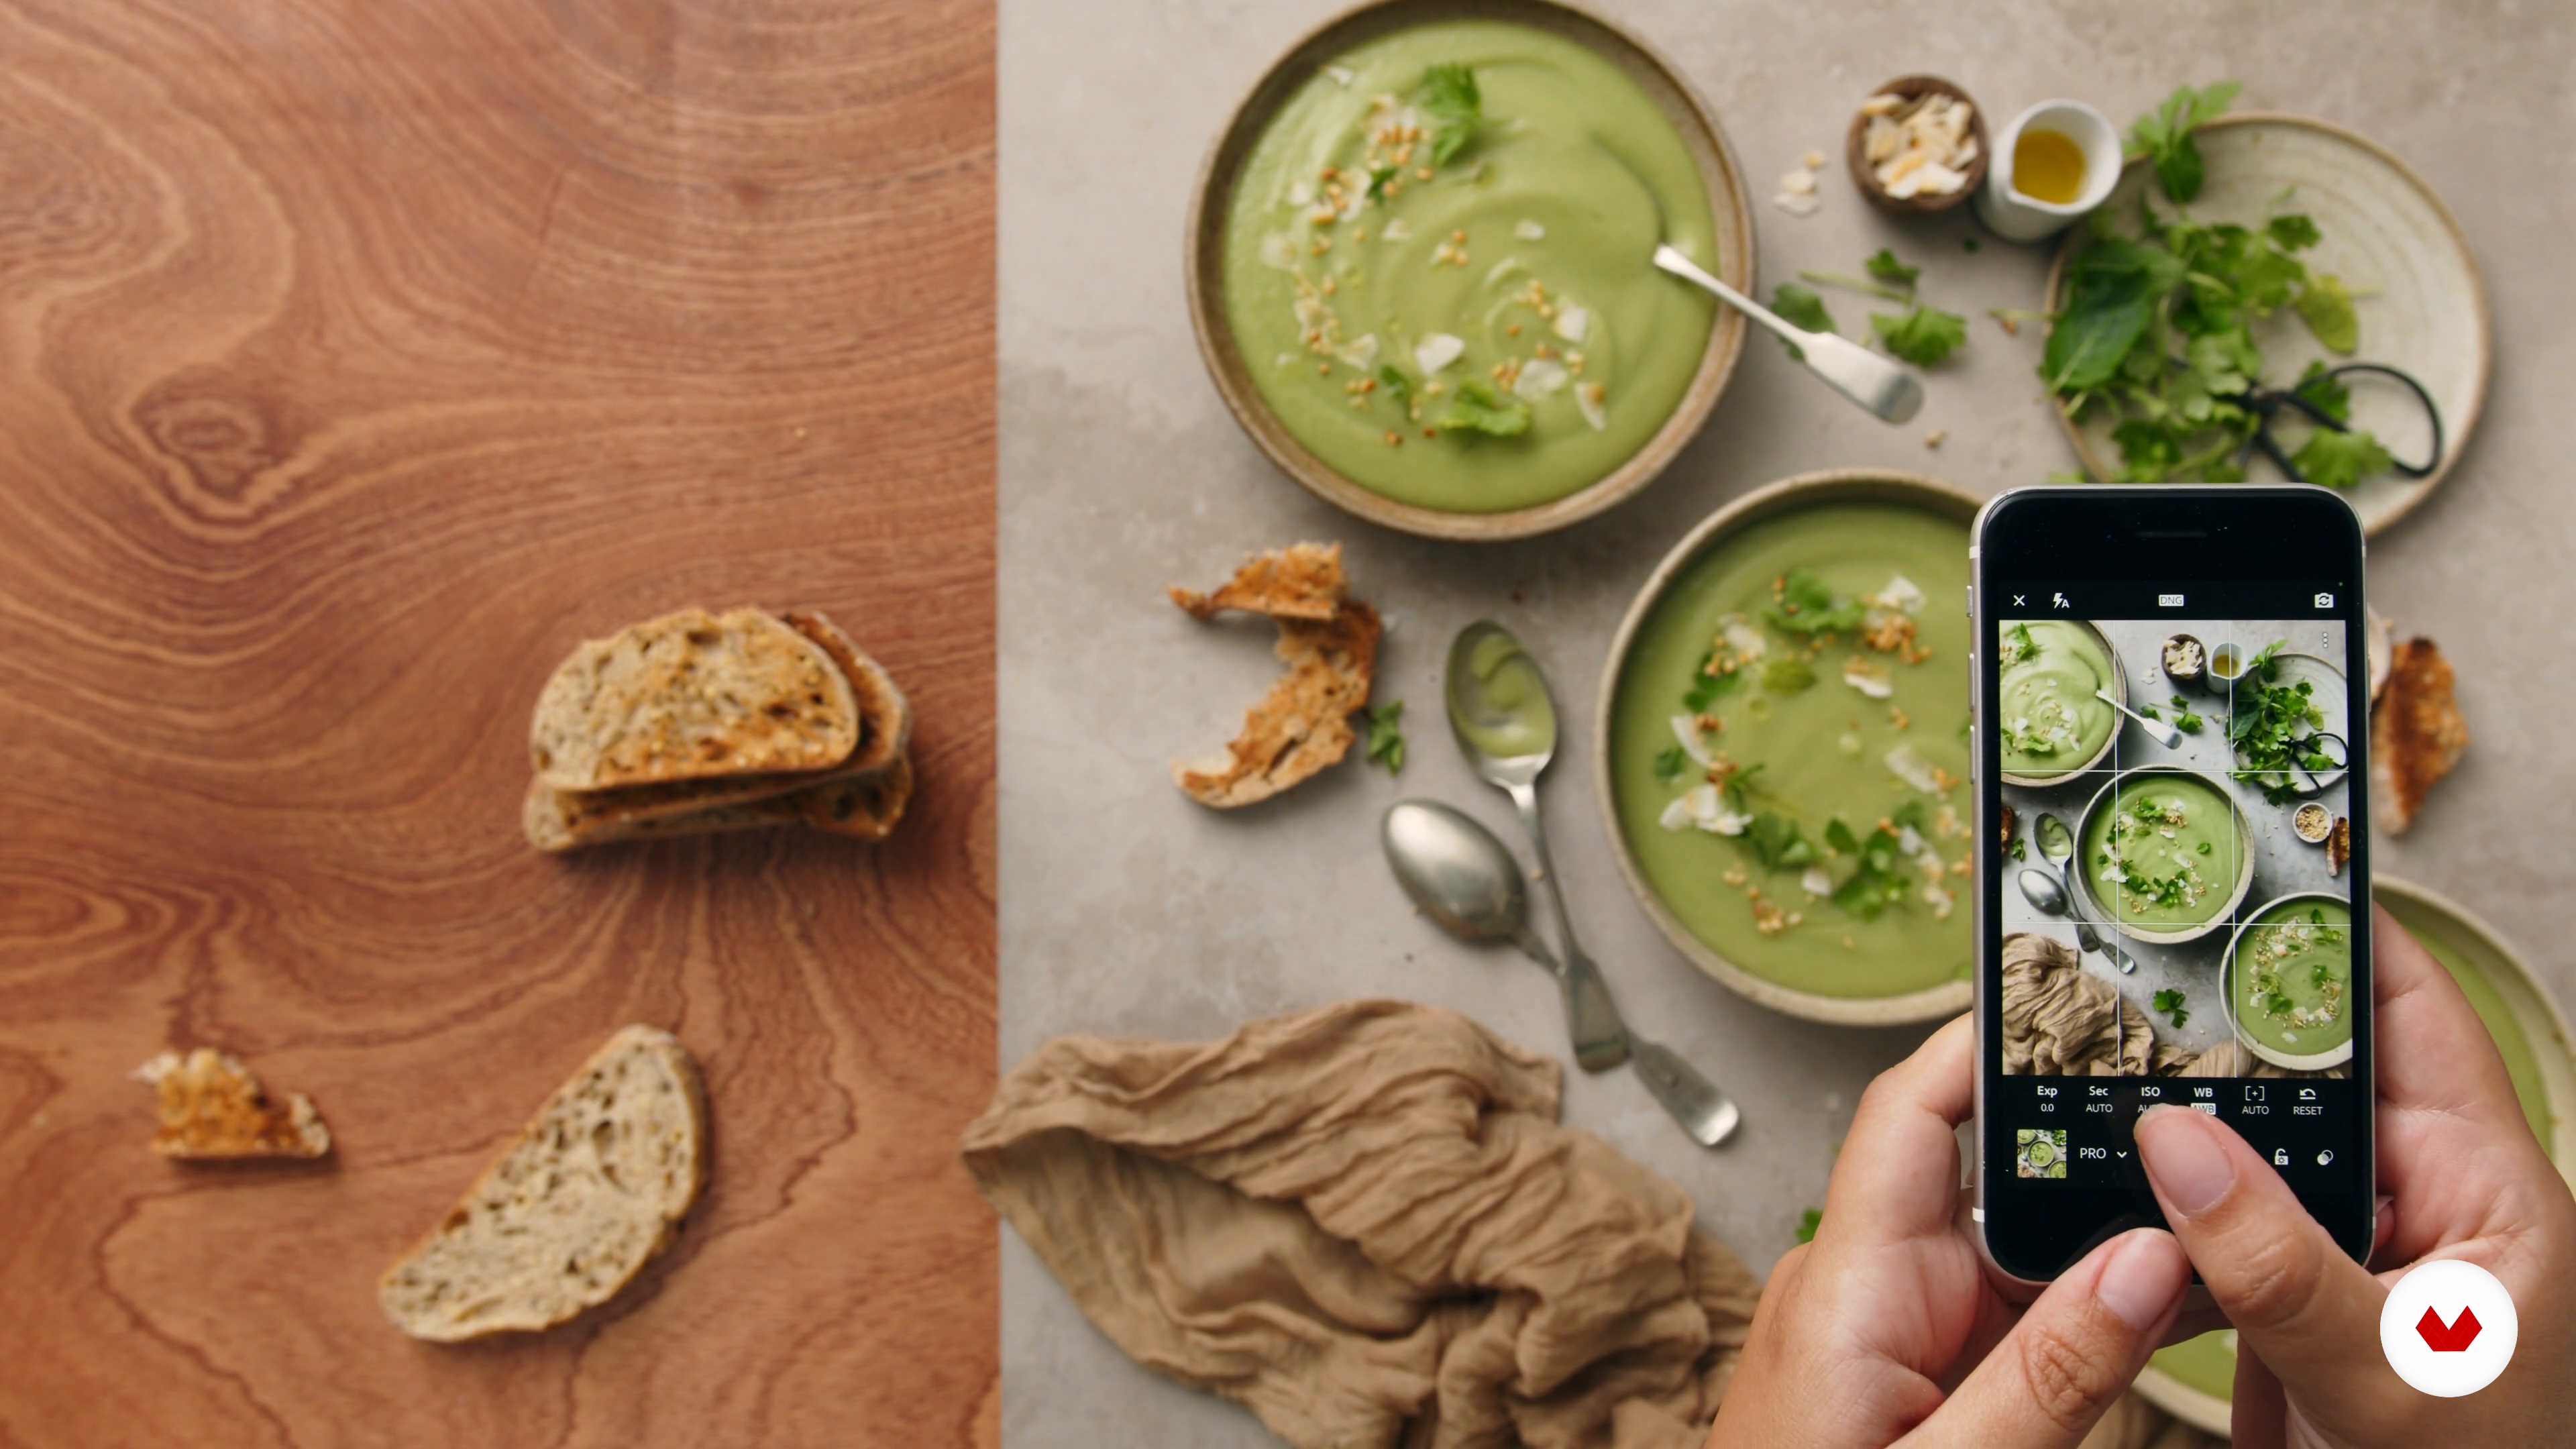
Styling a Soup: Light and Bright 1
In this lesson, we’ll style another scene, but in very different ways. I’ll demonstrate how to create a different look, using a green goddess soup.
10m
image
10
Styling a Soup: Light and Bright 2
It's time to make any adjustments we need to do in order to obtain the effect we want for our shot. Let's see how!
11m
image
11
Styling a Hummus Bowl: Dark and Moody 1
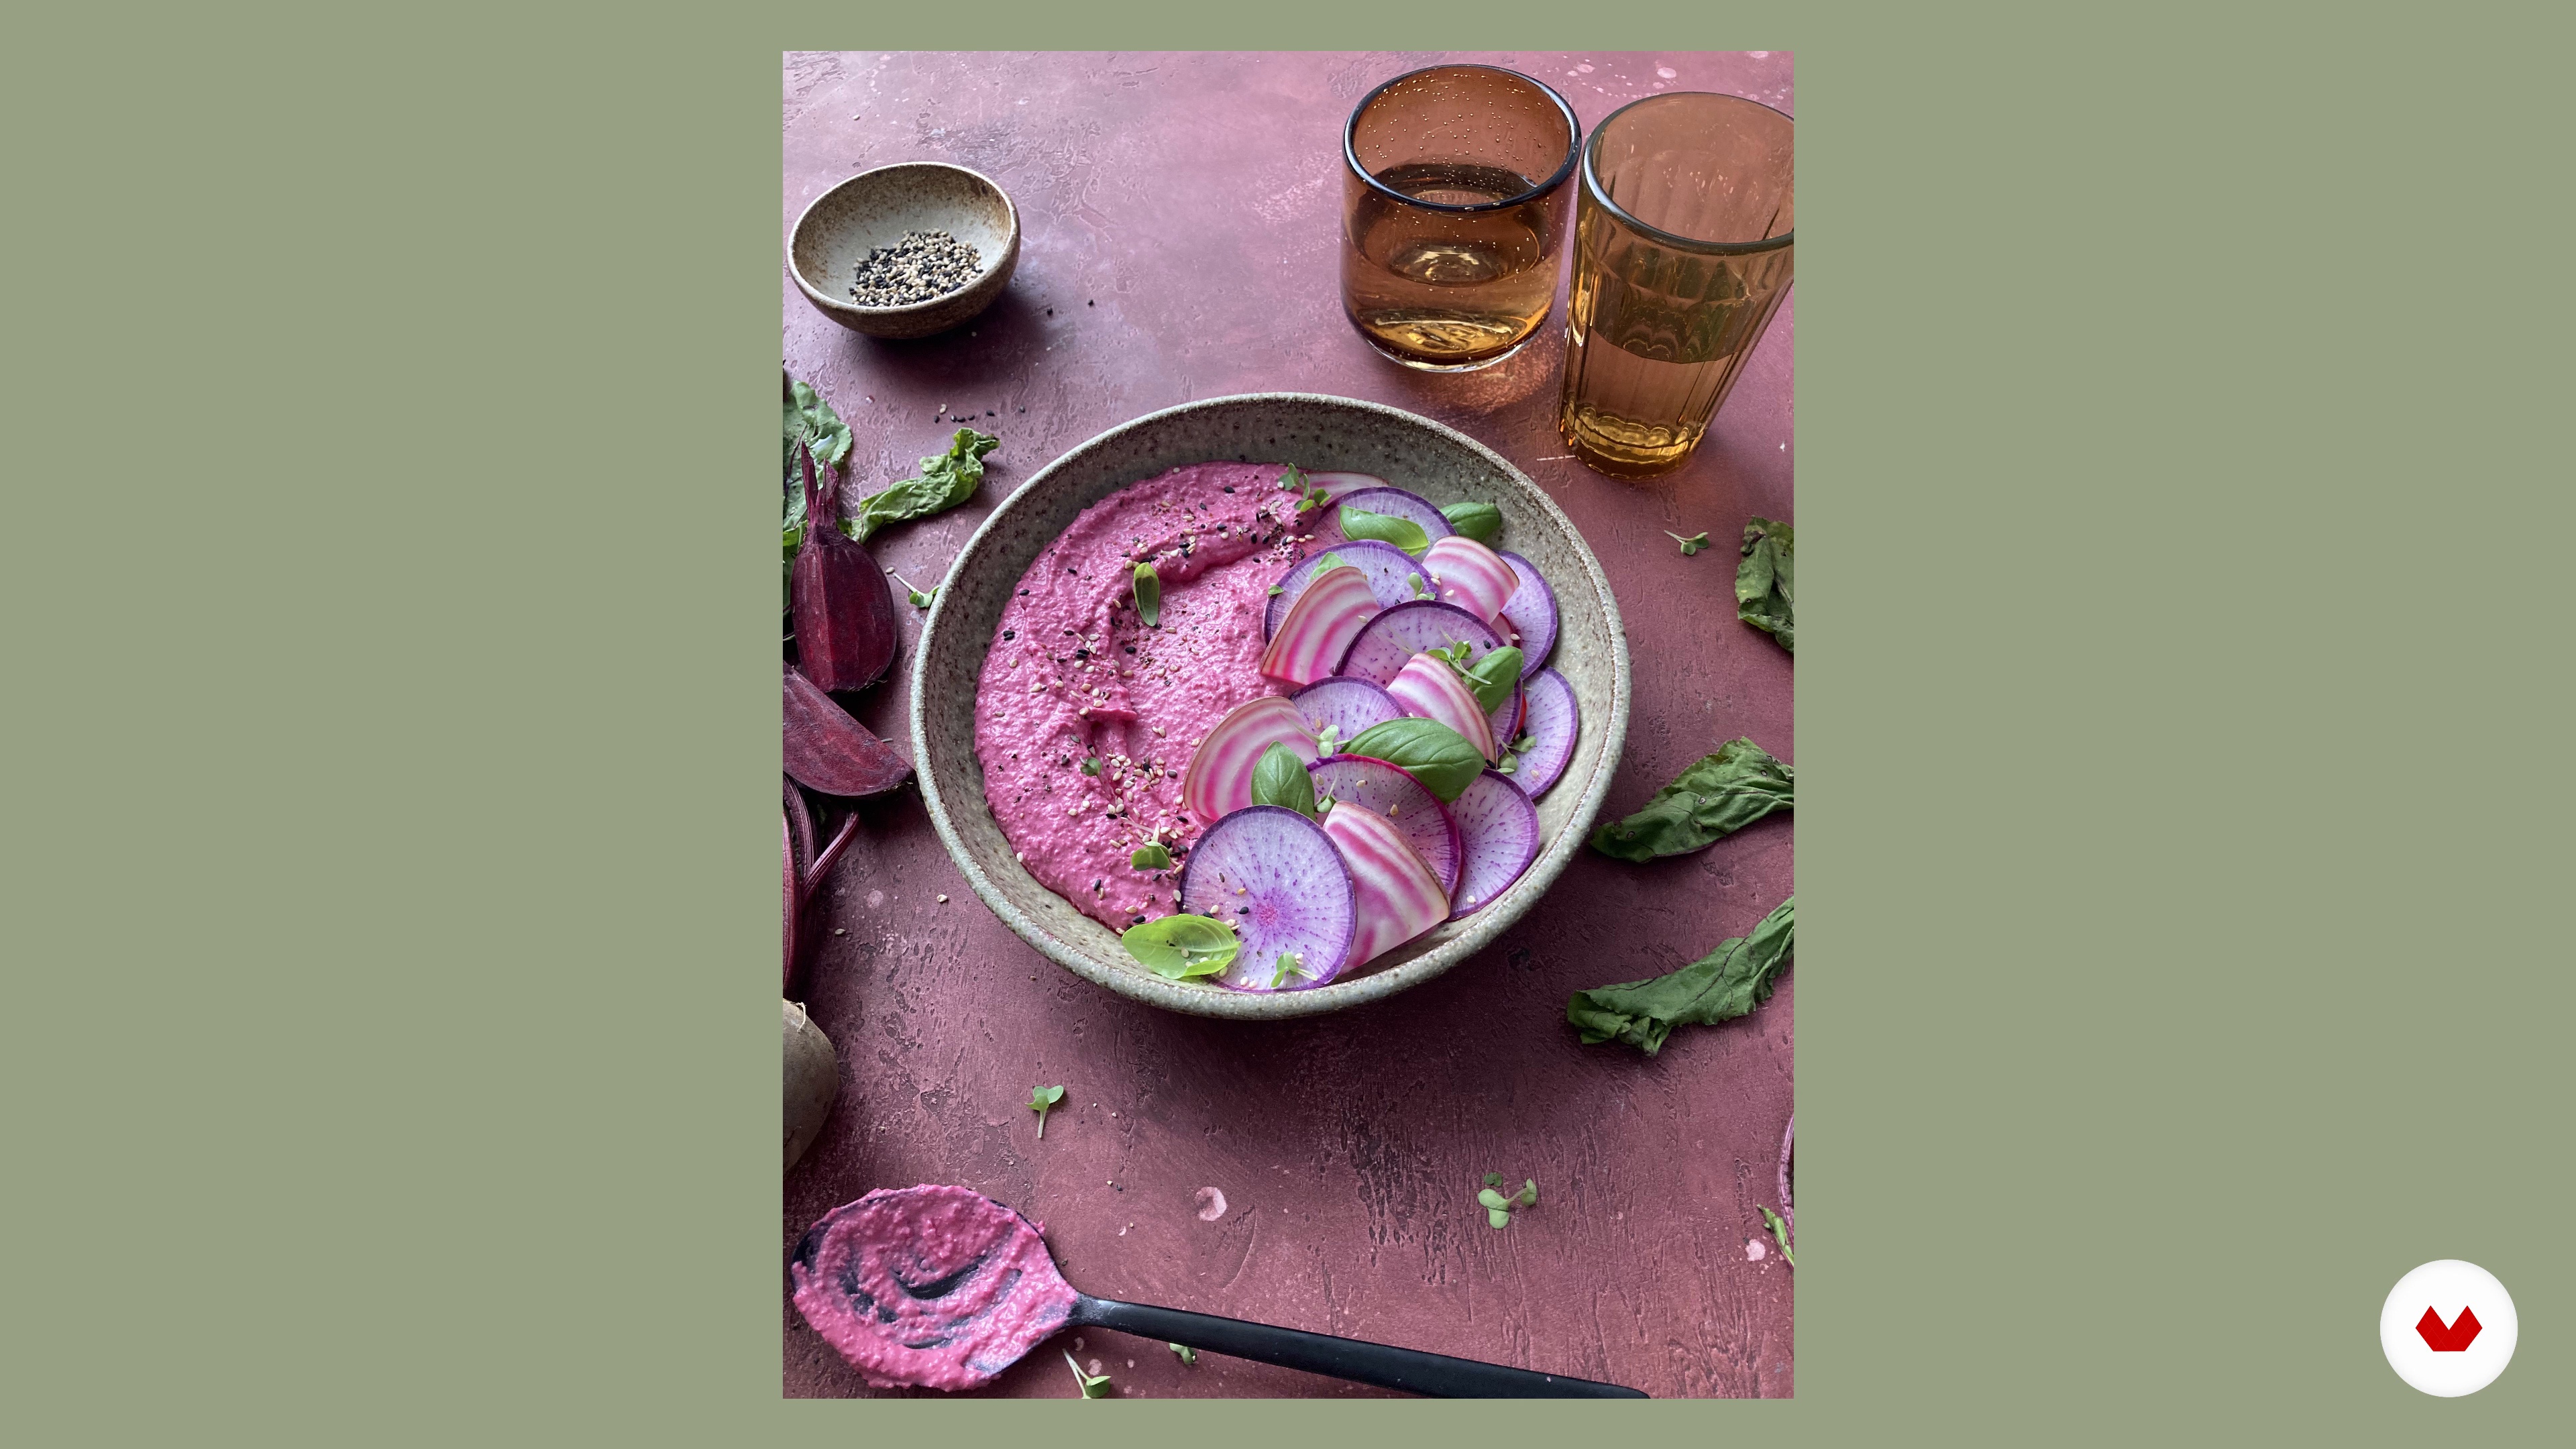
In this lesson, you will learn how to use the mood board we created in Unit 2 and capture a purple beetroot hummus in a moody and cosy set-up using a different angle.
14m
image
12
Styling a Hummus Bowl: Dark and Moody 2
After taking our test shots, we need to make a few changes to enhance the moody atmosphere we are going for and to make the dish pop out.
13m
image
13
Editing in Lightroom 1
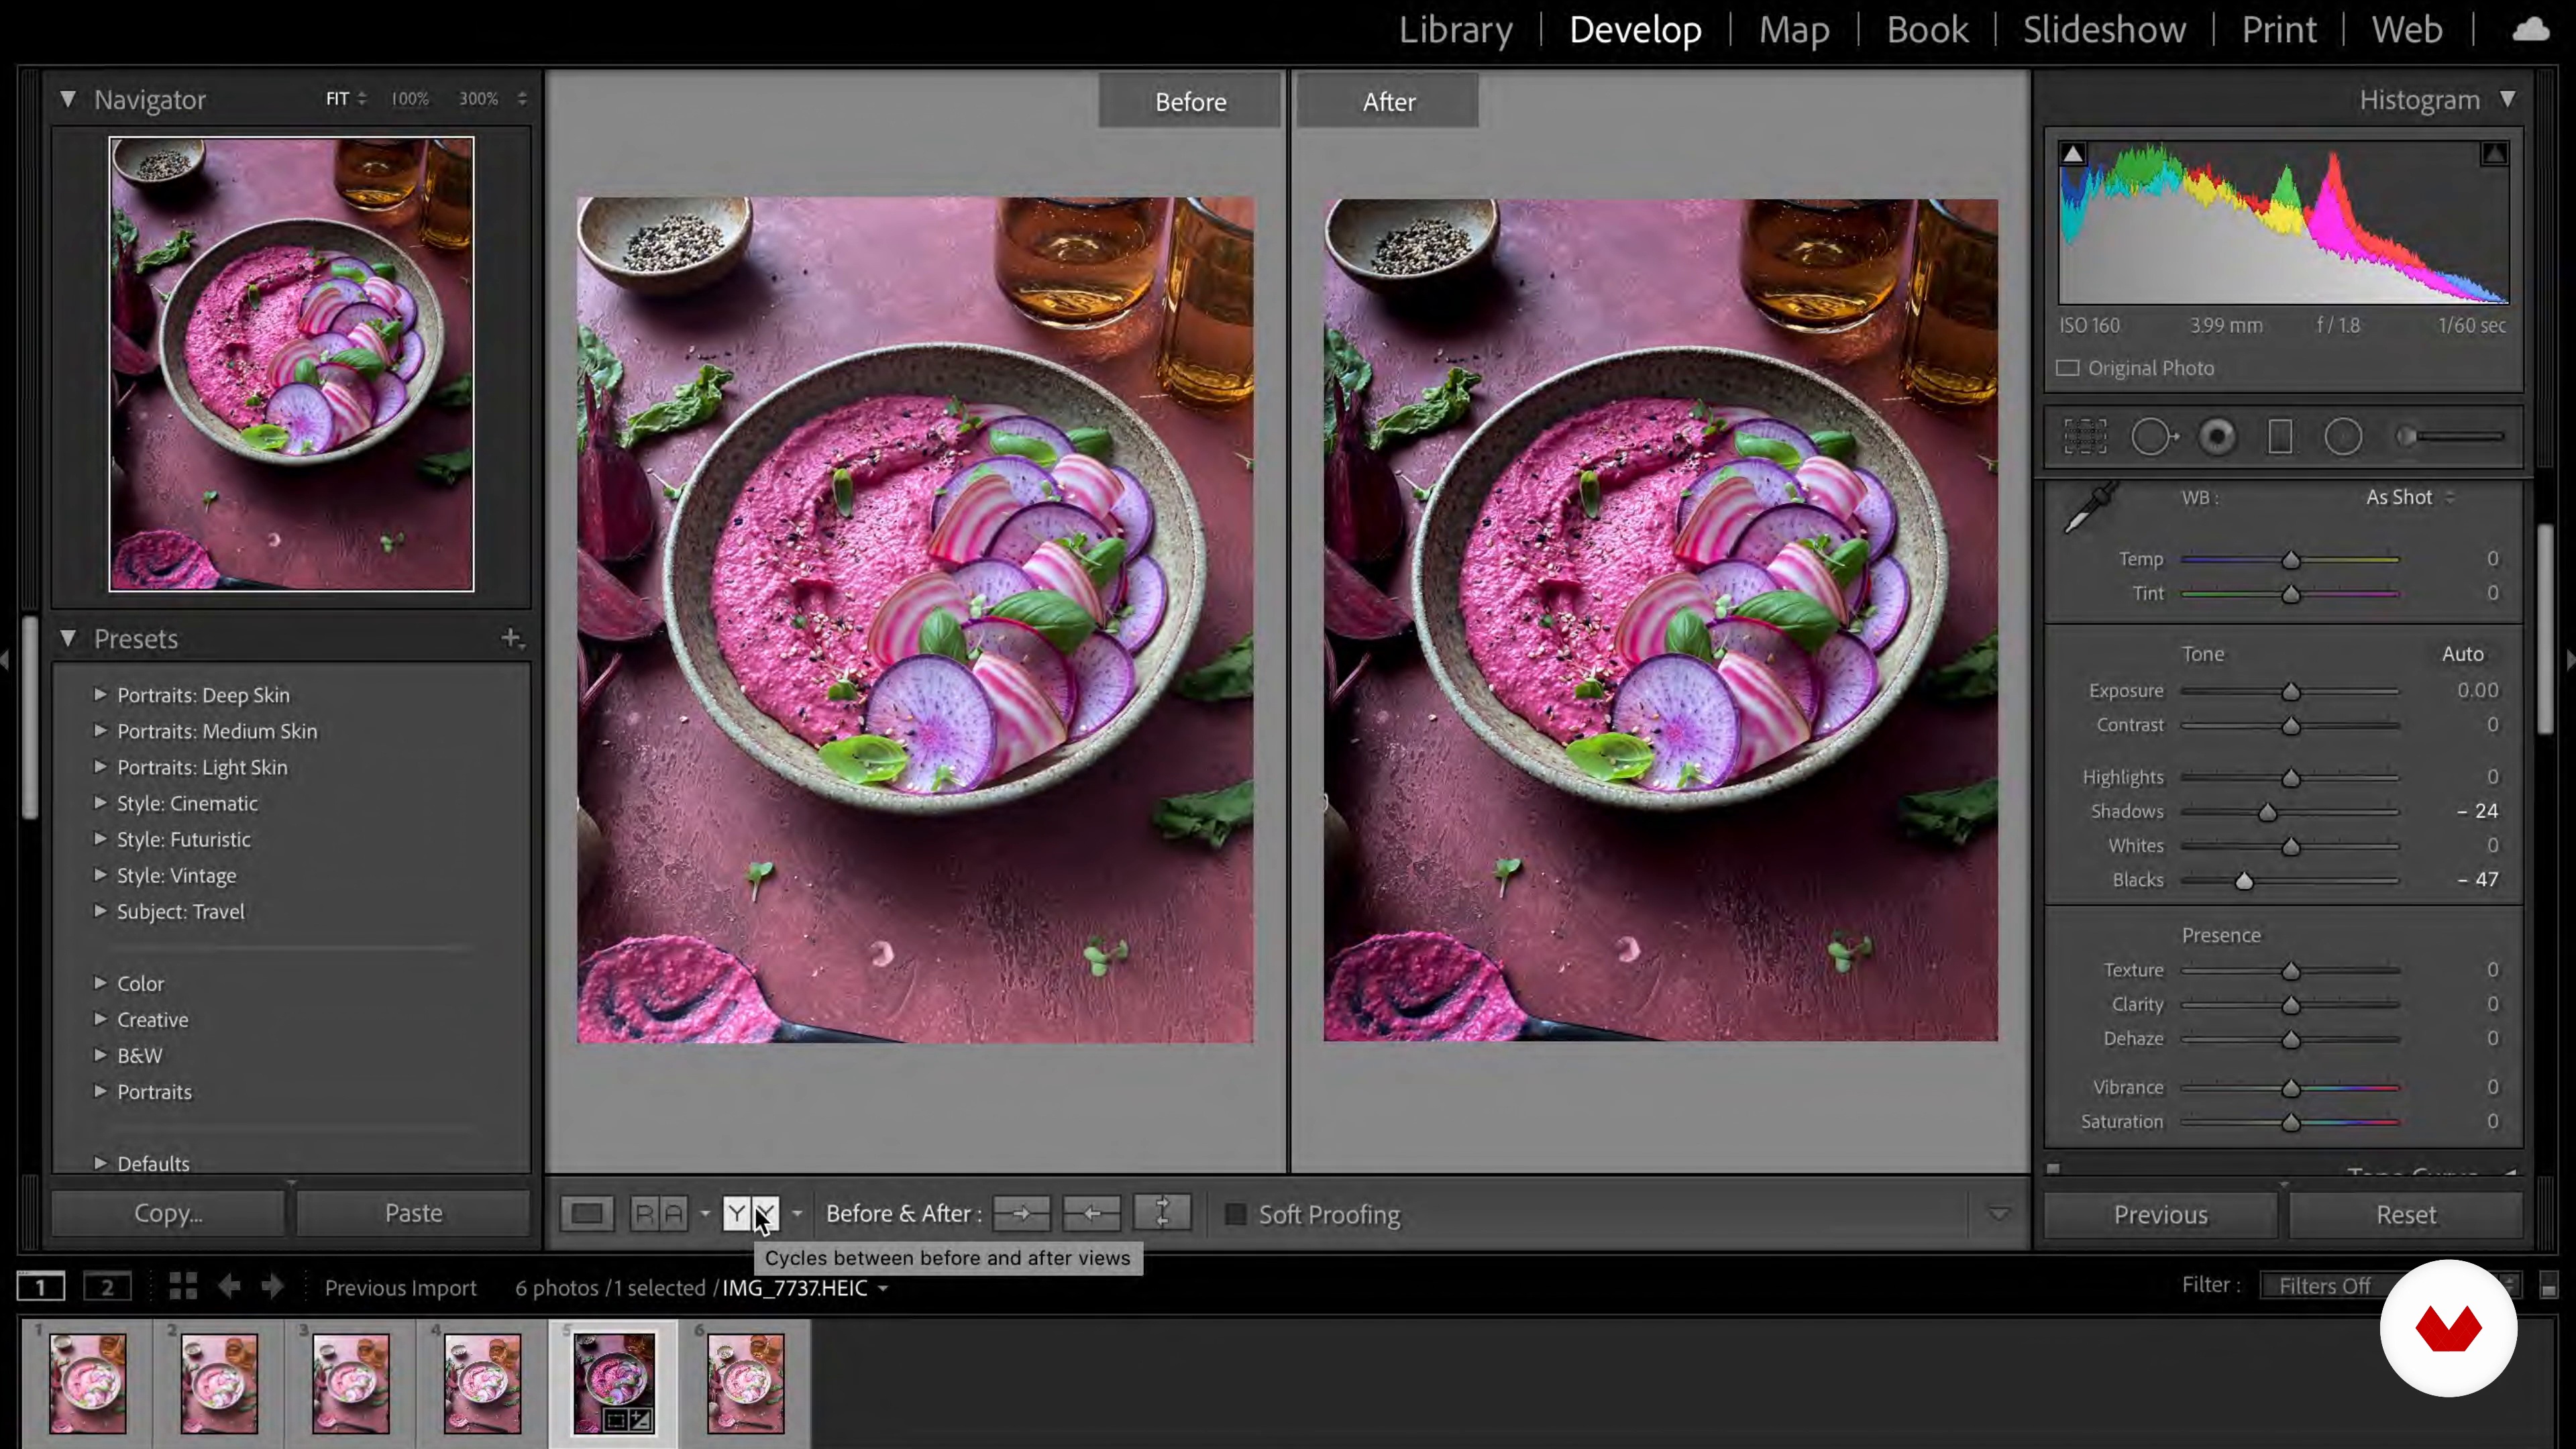
In this lesson, we’ll take our shots and use the editing program Lightroom to edit and finesse them.
17m
image
14
Editing in Lightroom 2
Now that we have edited the first 2 photos, it's time to focus on the third one, export it, and get ready to upload all of them onto Instagram.
10m
image
15
Sharing Your Work on Instagram
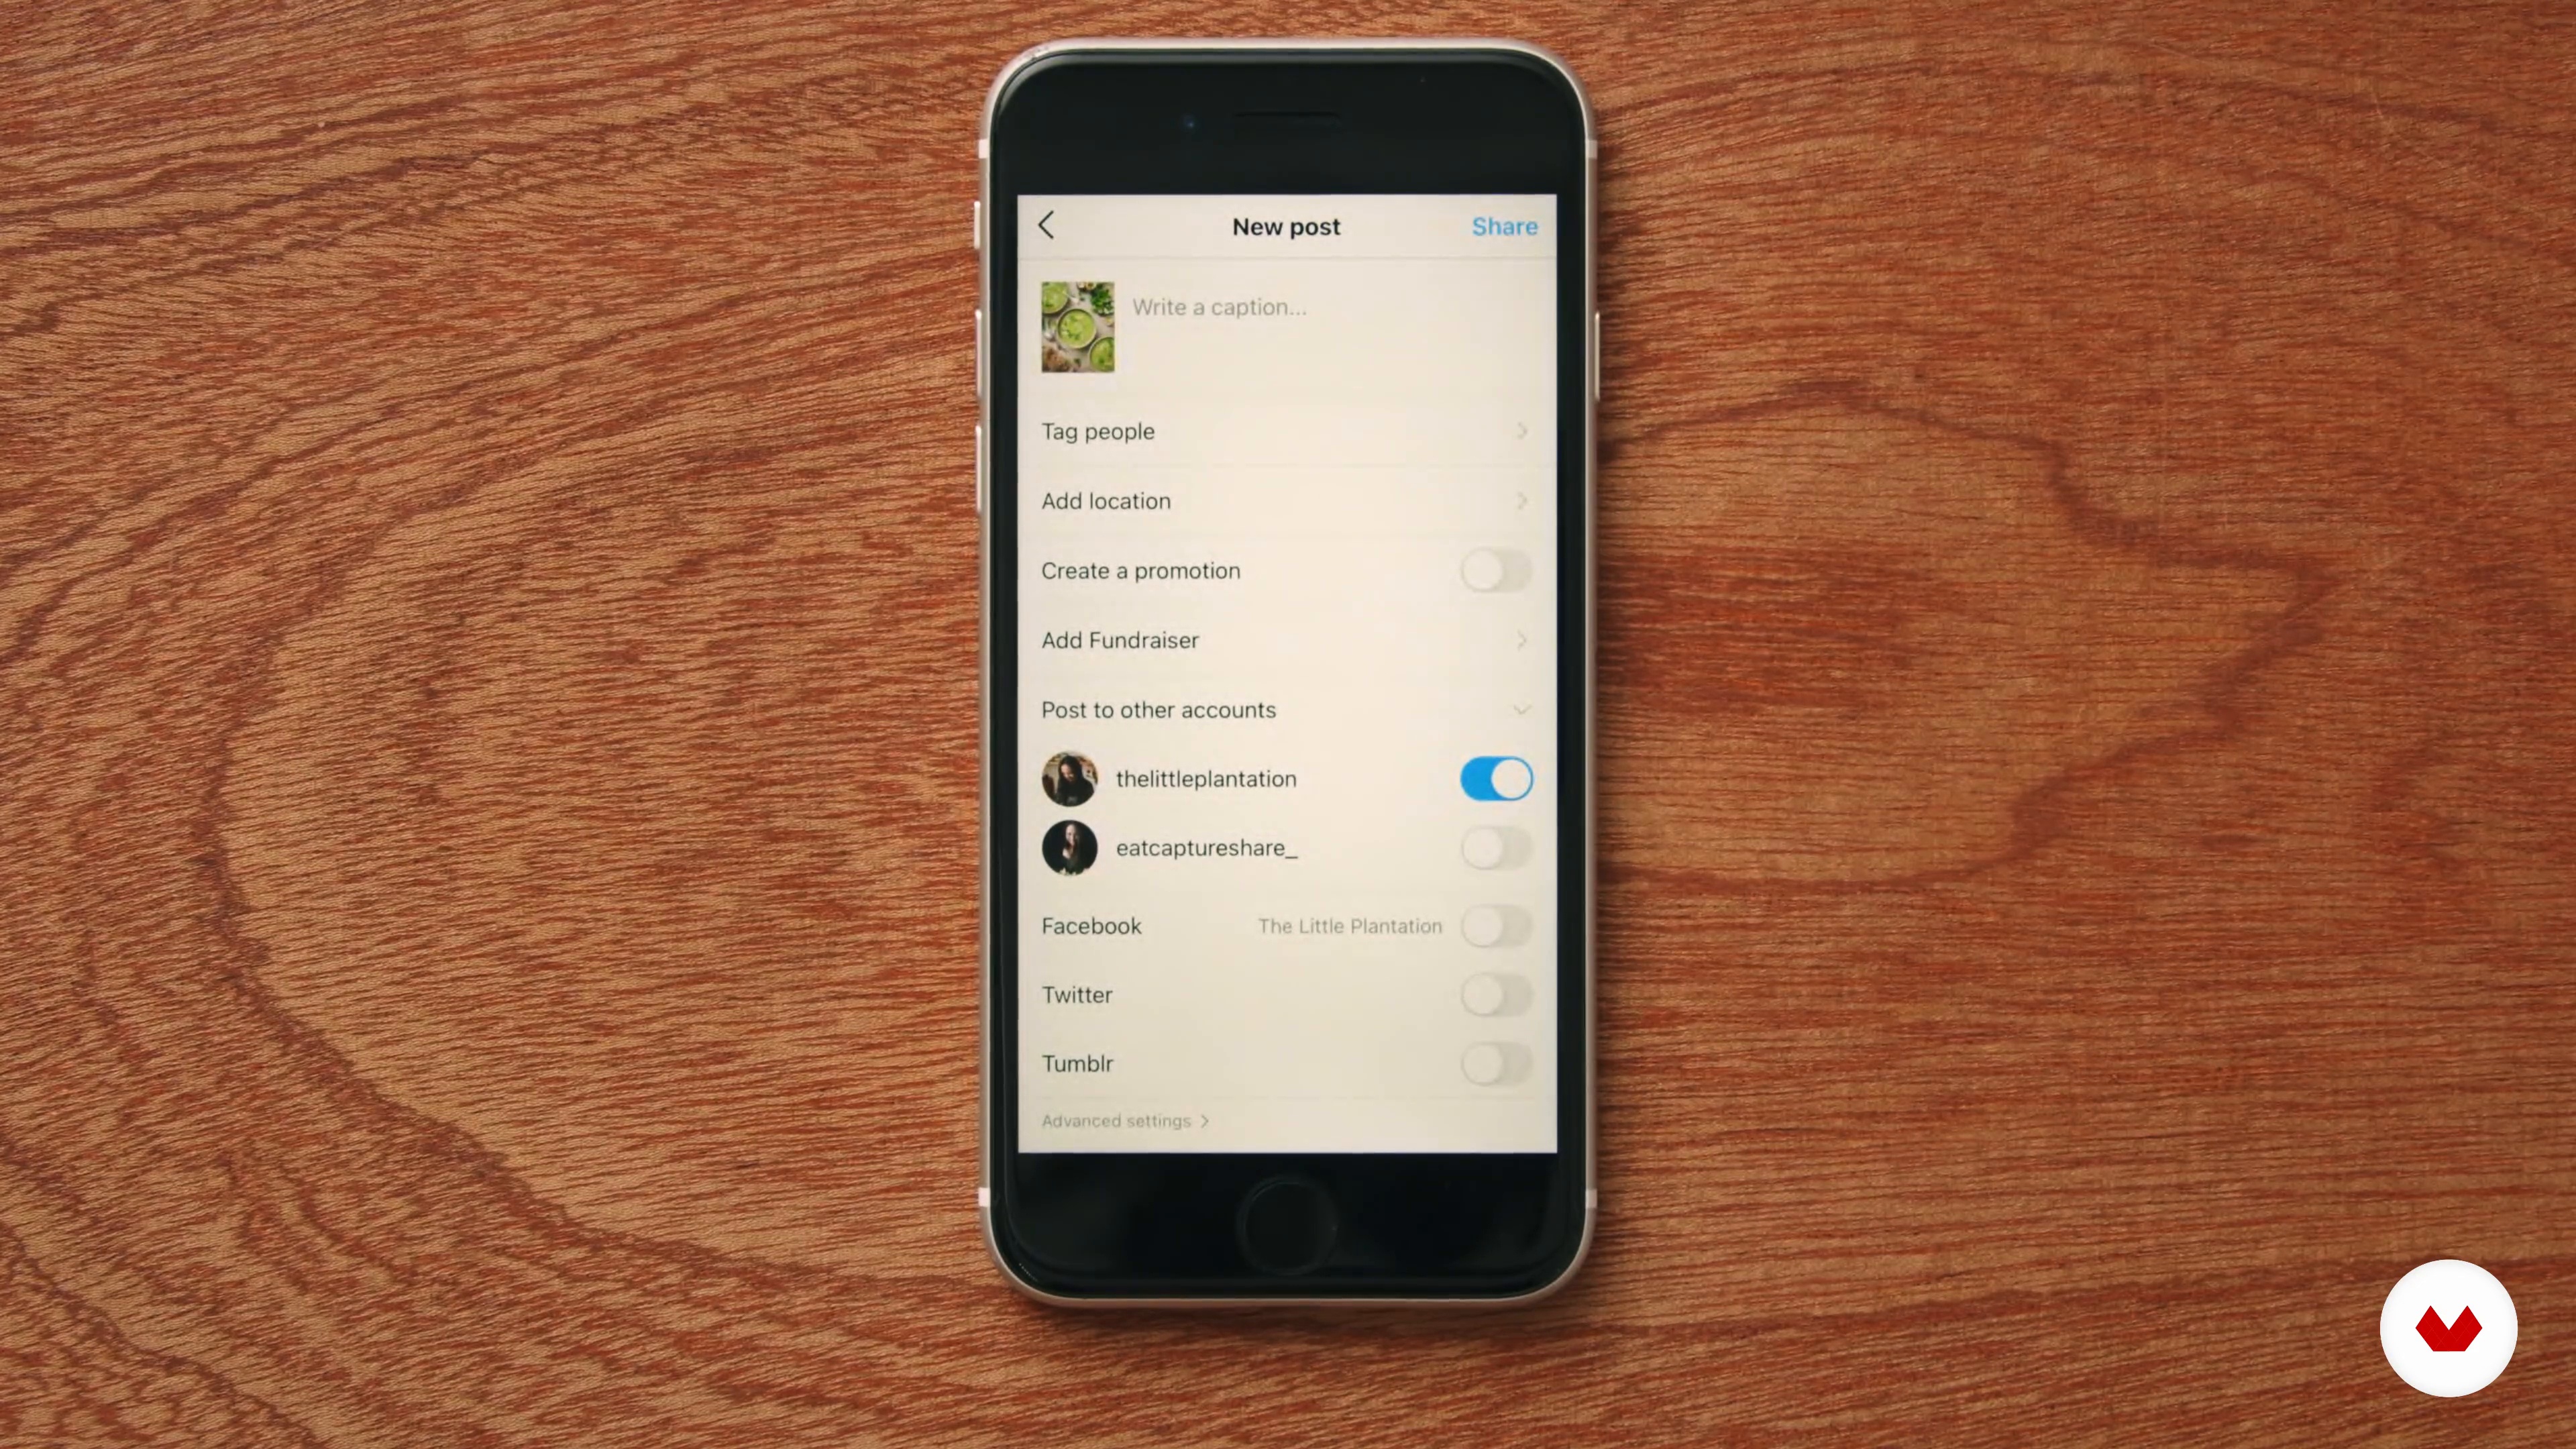
Ready to discover my 5 top Instagram posting tips for maximum engagement and exposure? Let's unveil them.
11m
image
3
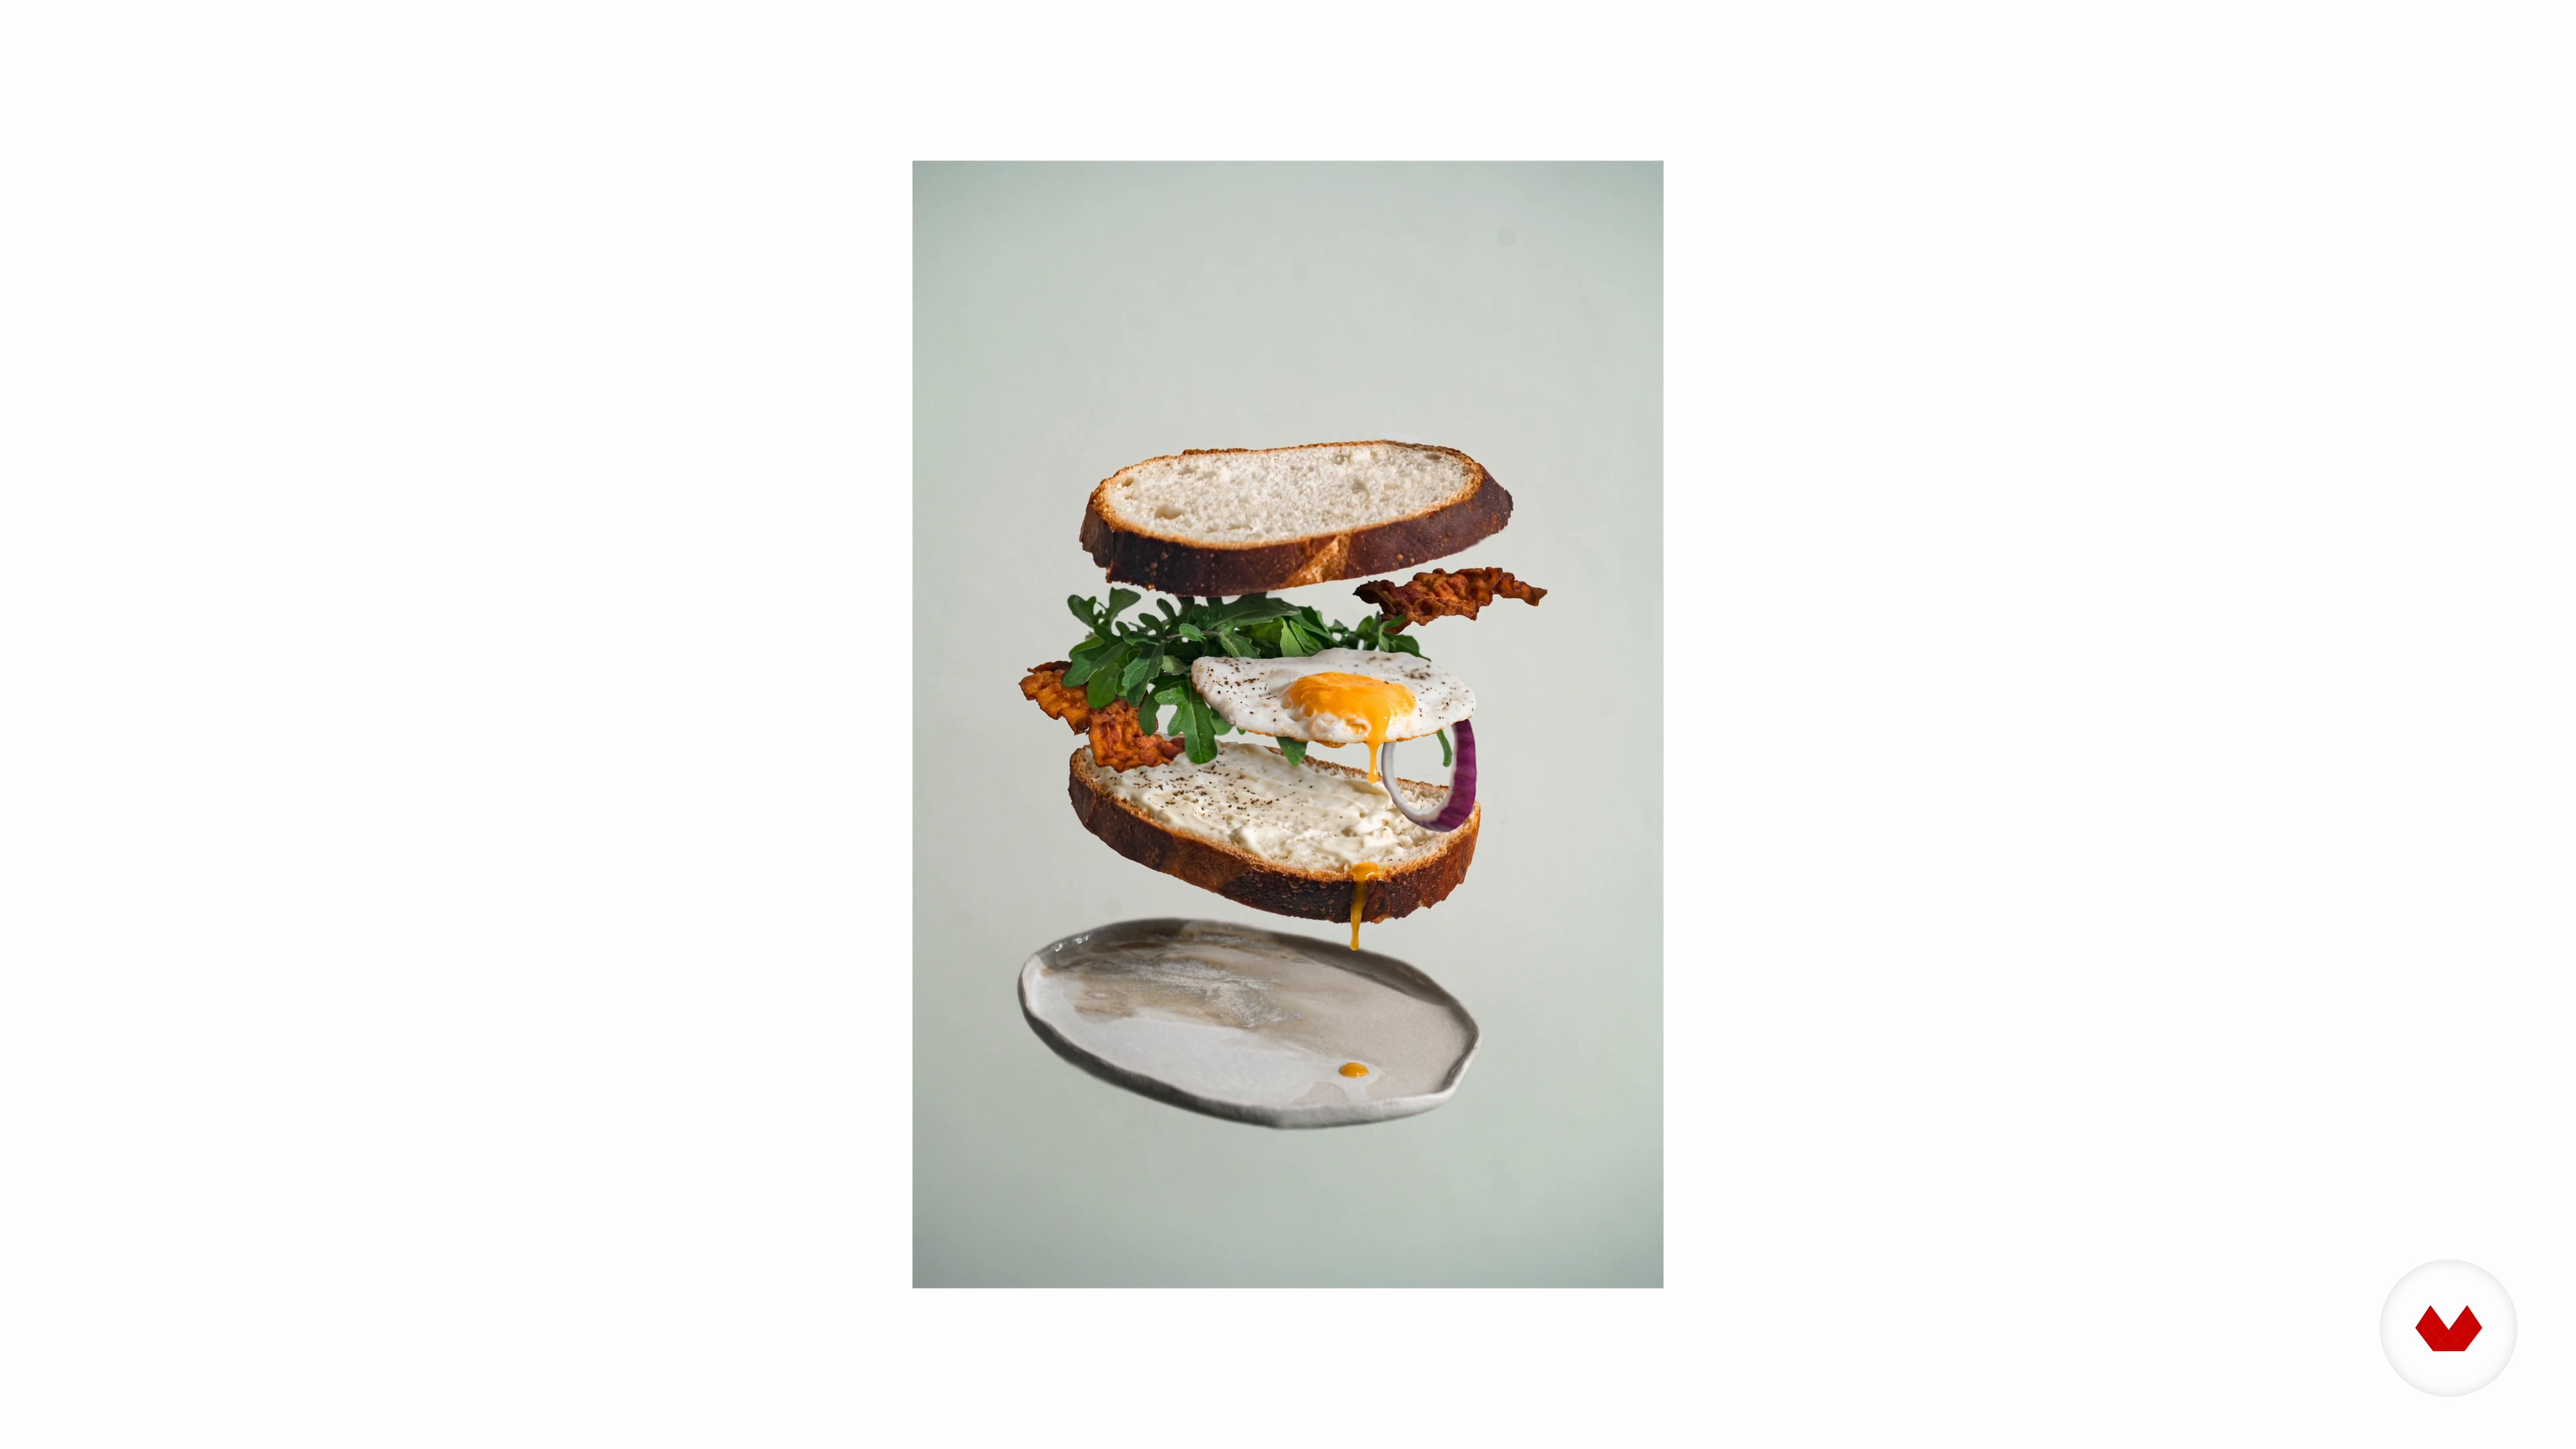
What Is Levitation Photography?
So, what is levitation photography? In this lesson, we will provide an overview of this artform and explain what makes it so magical.
2m
image
4
Materials for the Course
For the levitation photo shoot to be a success, you will require a few items. In this lesson, we will cover all the items you will need to create that perfect levitation shot.
2m
image
5
Camera Basics and Frame Orientation
We will now go over some camera basics and practise framing different types of shots. We'll also discuss the camera settings we most often employ and offer some pointers on how to deal with some issues you might run into.
10m
image
6
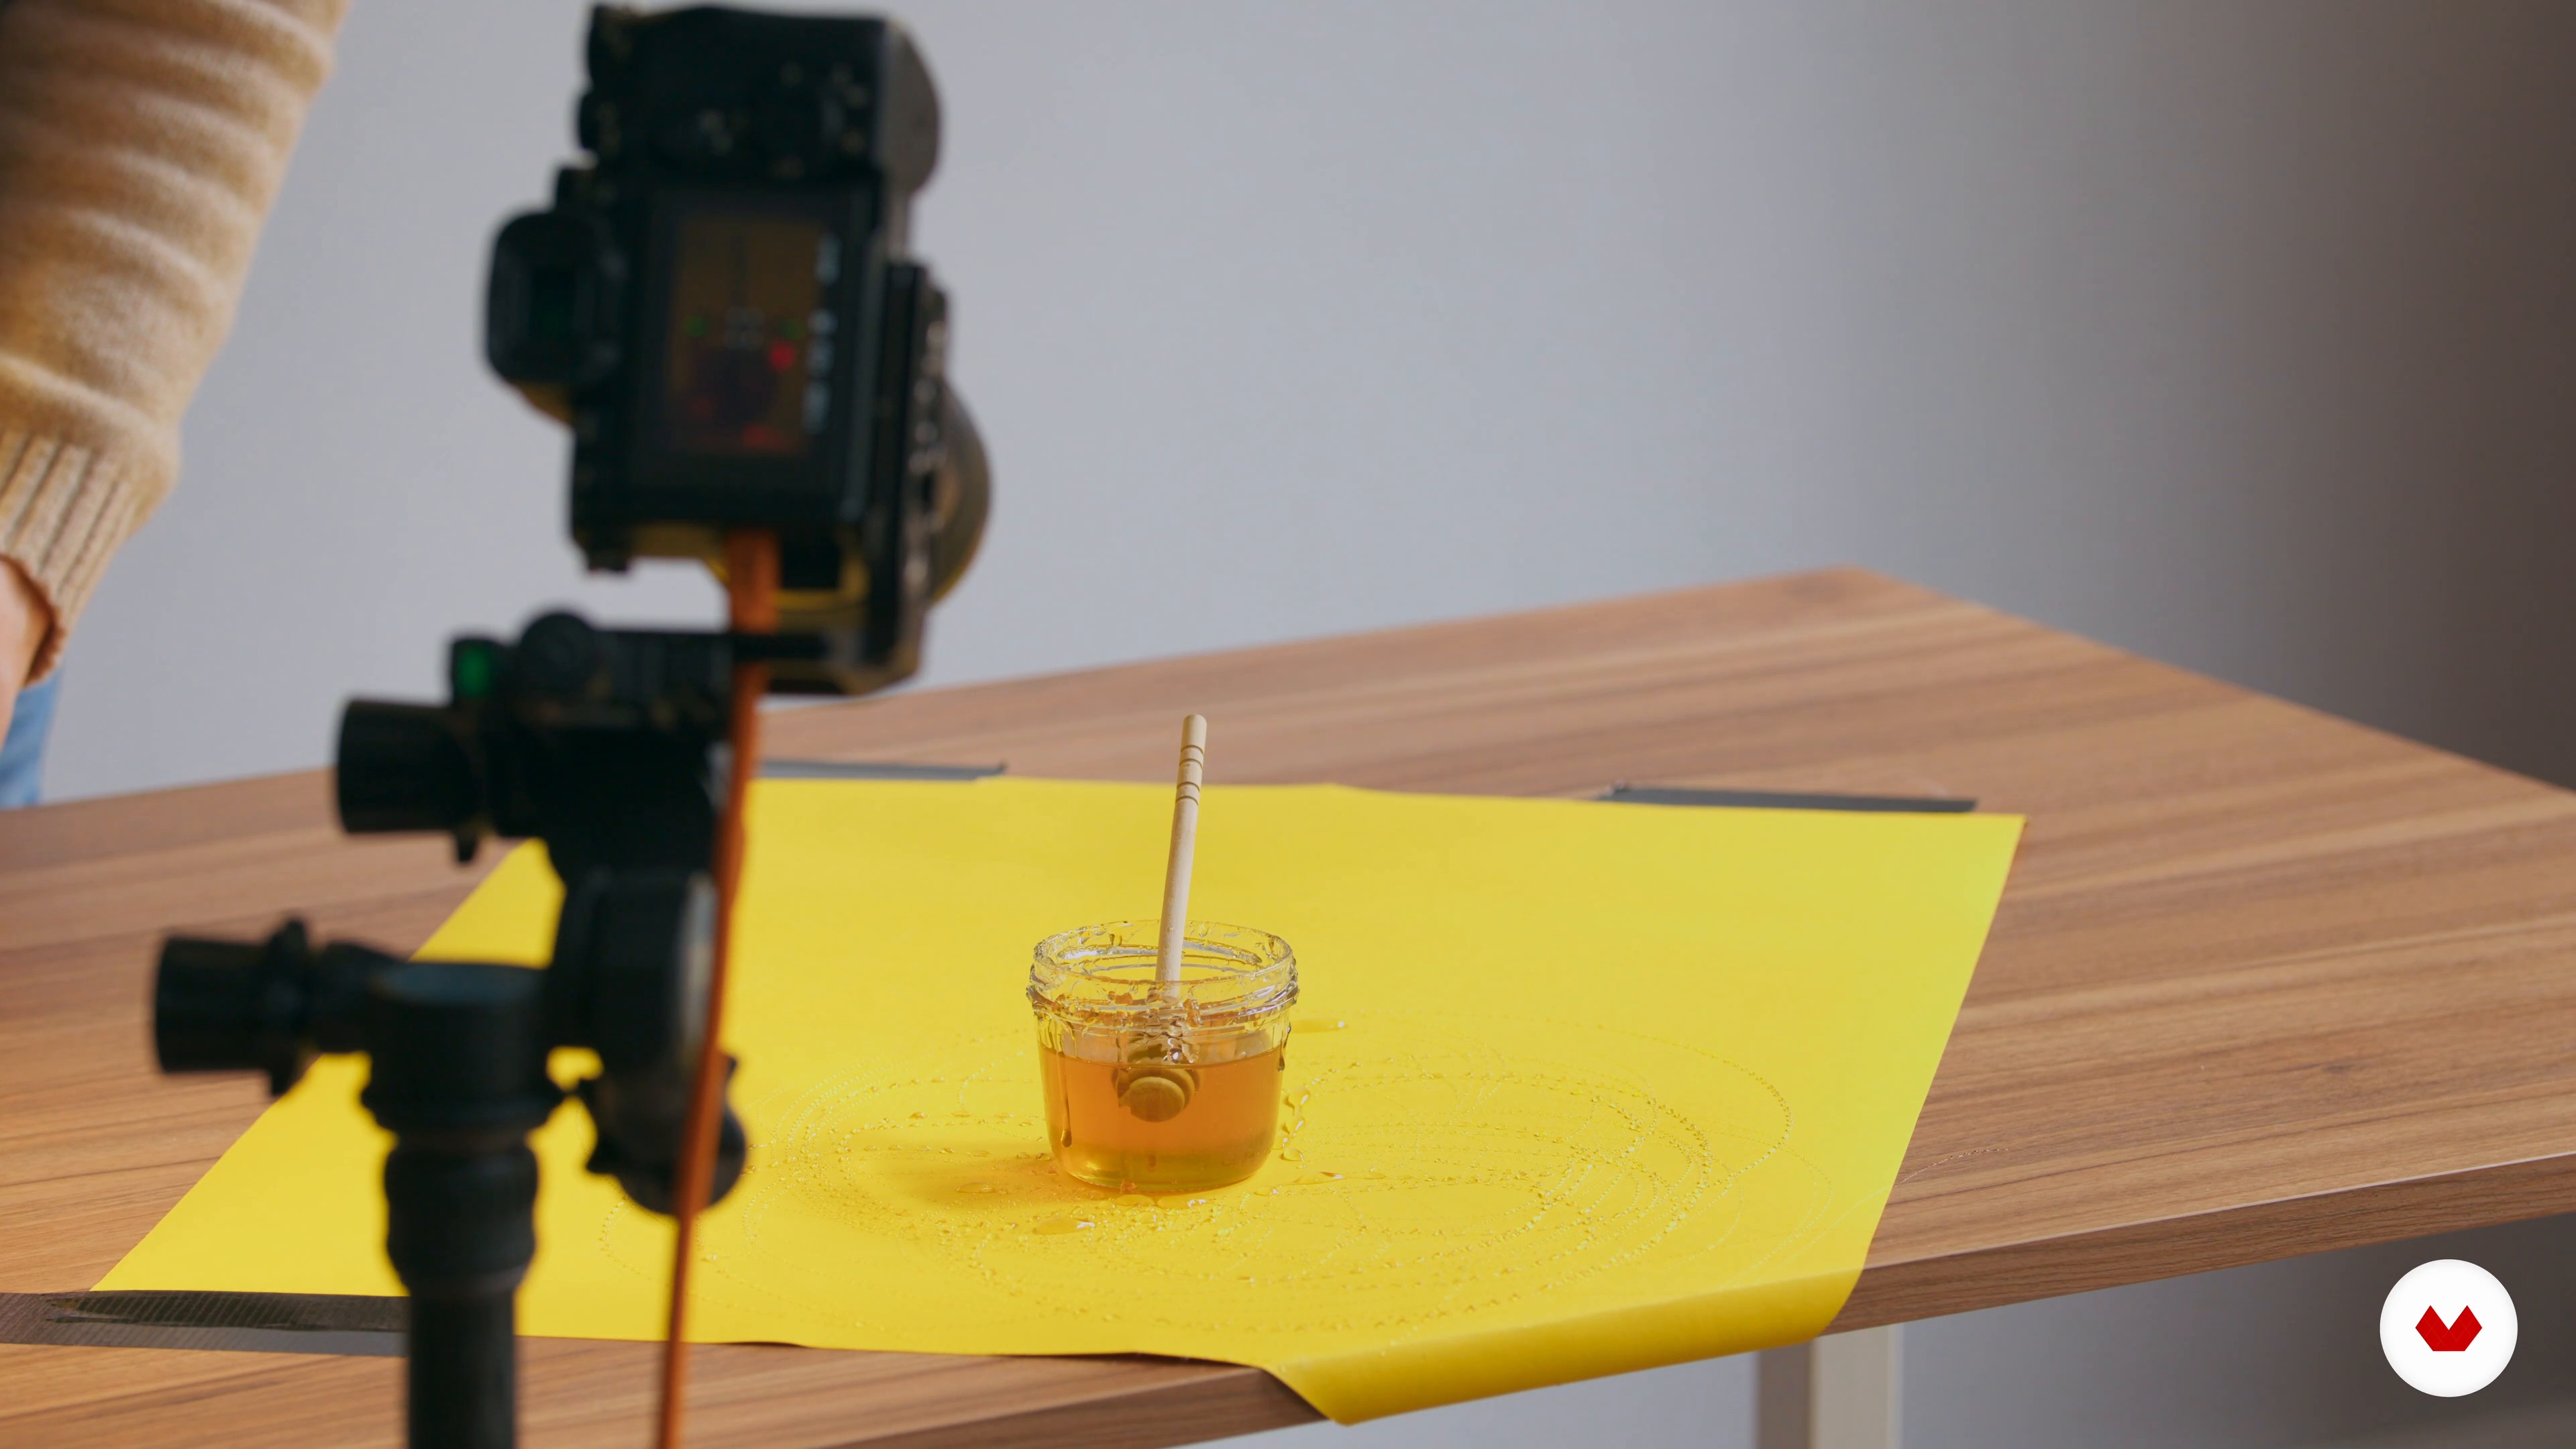
Understanding Light Direction and Light Modifiers
How can you manipulate light so that your pictures look amazing? Because we're big fans of learning by example, we'll show you how to use light to create a crisp, sharp image by taking pictures of some honey.
7m
image
7
Color Theory
As part of this lesson, you'll gain an understanding of color theory and how to tell a story with colors. We will discuss the color wheel and extract the meaning of different schemes.
3m
image
8
Time to Get Inspired
In this lesson, you will learn how to pick out elements for your course project by constructing a mood board of images that can inspire you along the way.
3m
image
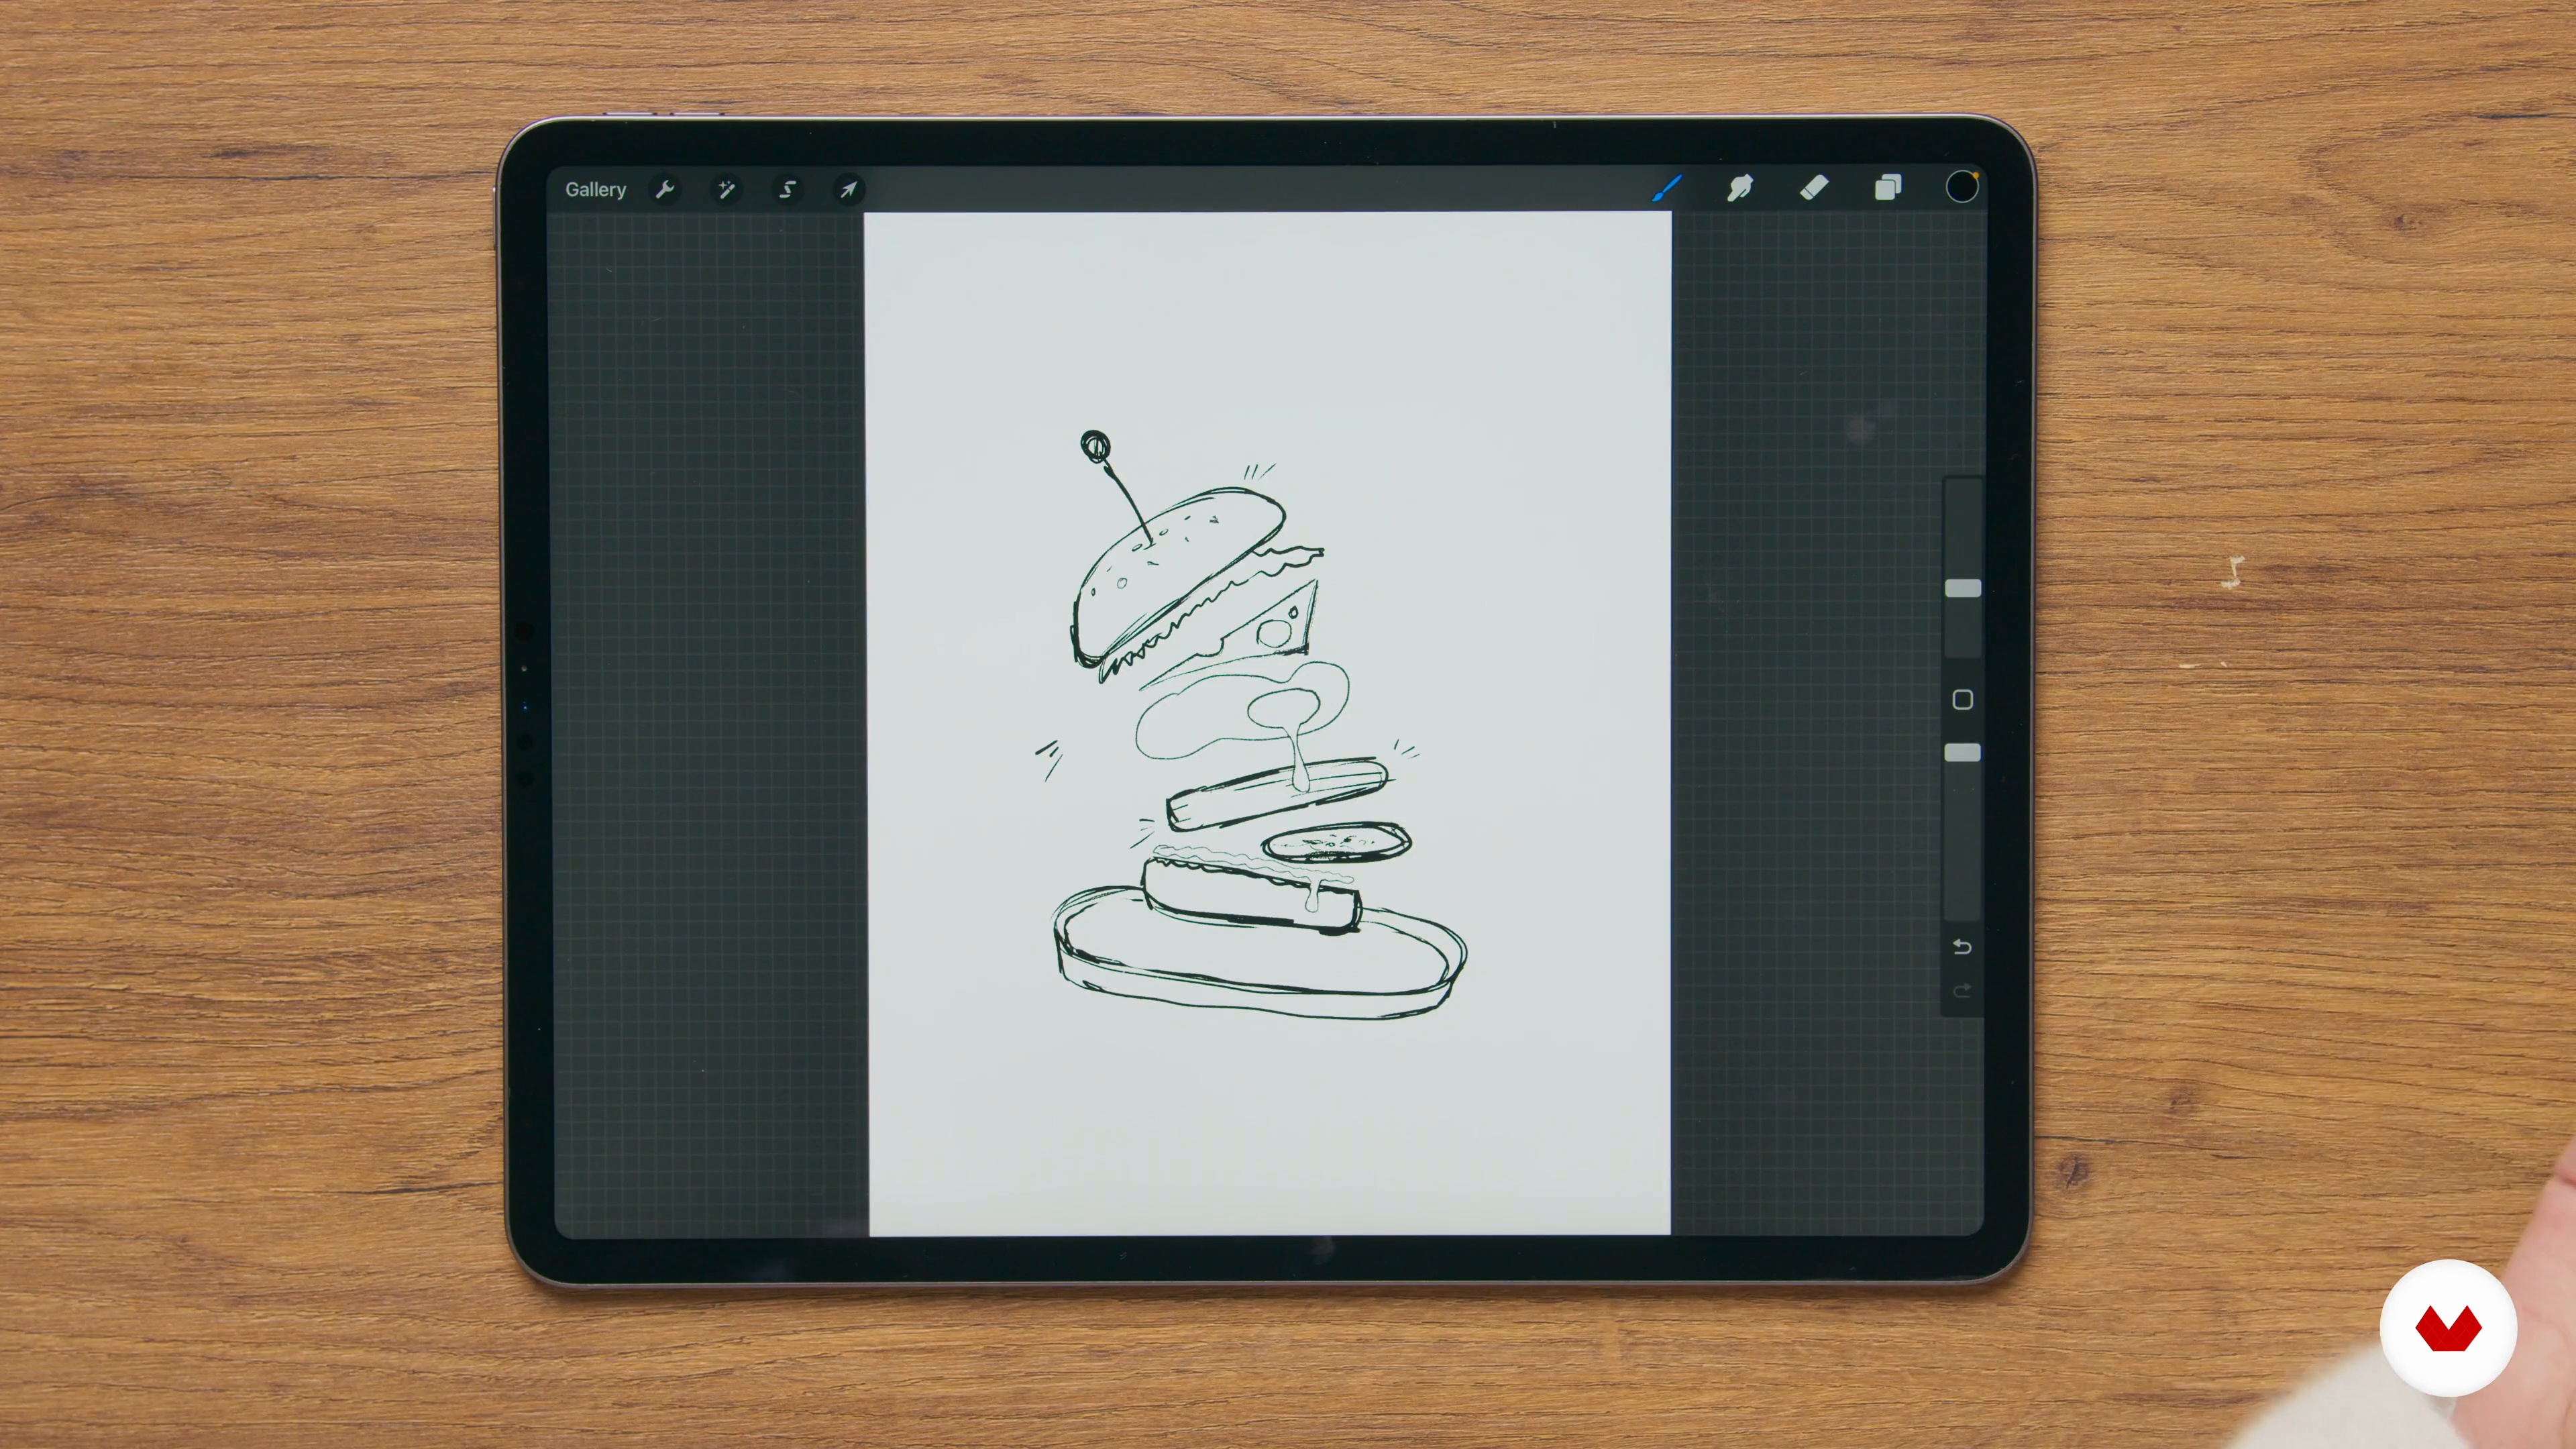
9
Sketching the Process
With the mood board in hand, you can begin to compose the major components of your course project. In this lesson, we will list some things to keep in mind while you're sketching.
4m
image
10
Foraging for the Props and Equipment
It's time to gather all of the props and materials you will need for the photo shoot! We have also provided an edited checklist below to help you make sure you have everything you need.
1m
image
11
Let's Set the Scene!
In this lesson, we will show you how to set up the scene. During this process, we will apply some of the lighting tips you've learned covered in the previous lessons.
2m
image
12
Constructing the Photo Piece by Piece
Next, we will add food and props to the scene. We will show you how to achieve the levitation effect and capture some photos.
8m
image
13
Some Tips to Help You along on Set
In this lesson, I will share some troubleshooting tips as well as things to keep in mind during the photoshoot. Let's dive in!
2m
image
14
Lightroom Editing
In the lesson, we will begin by editing the photos in Lightroom. Here we will make some basic edits like color correction, adjusting the exposure, and so on.
6m
image
15
Photoshop Editing: Combining the Pictures 1
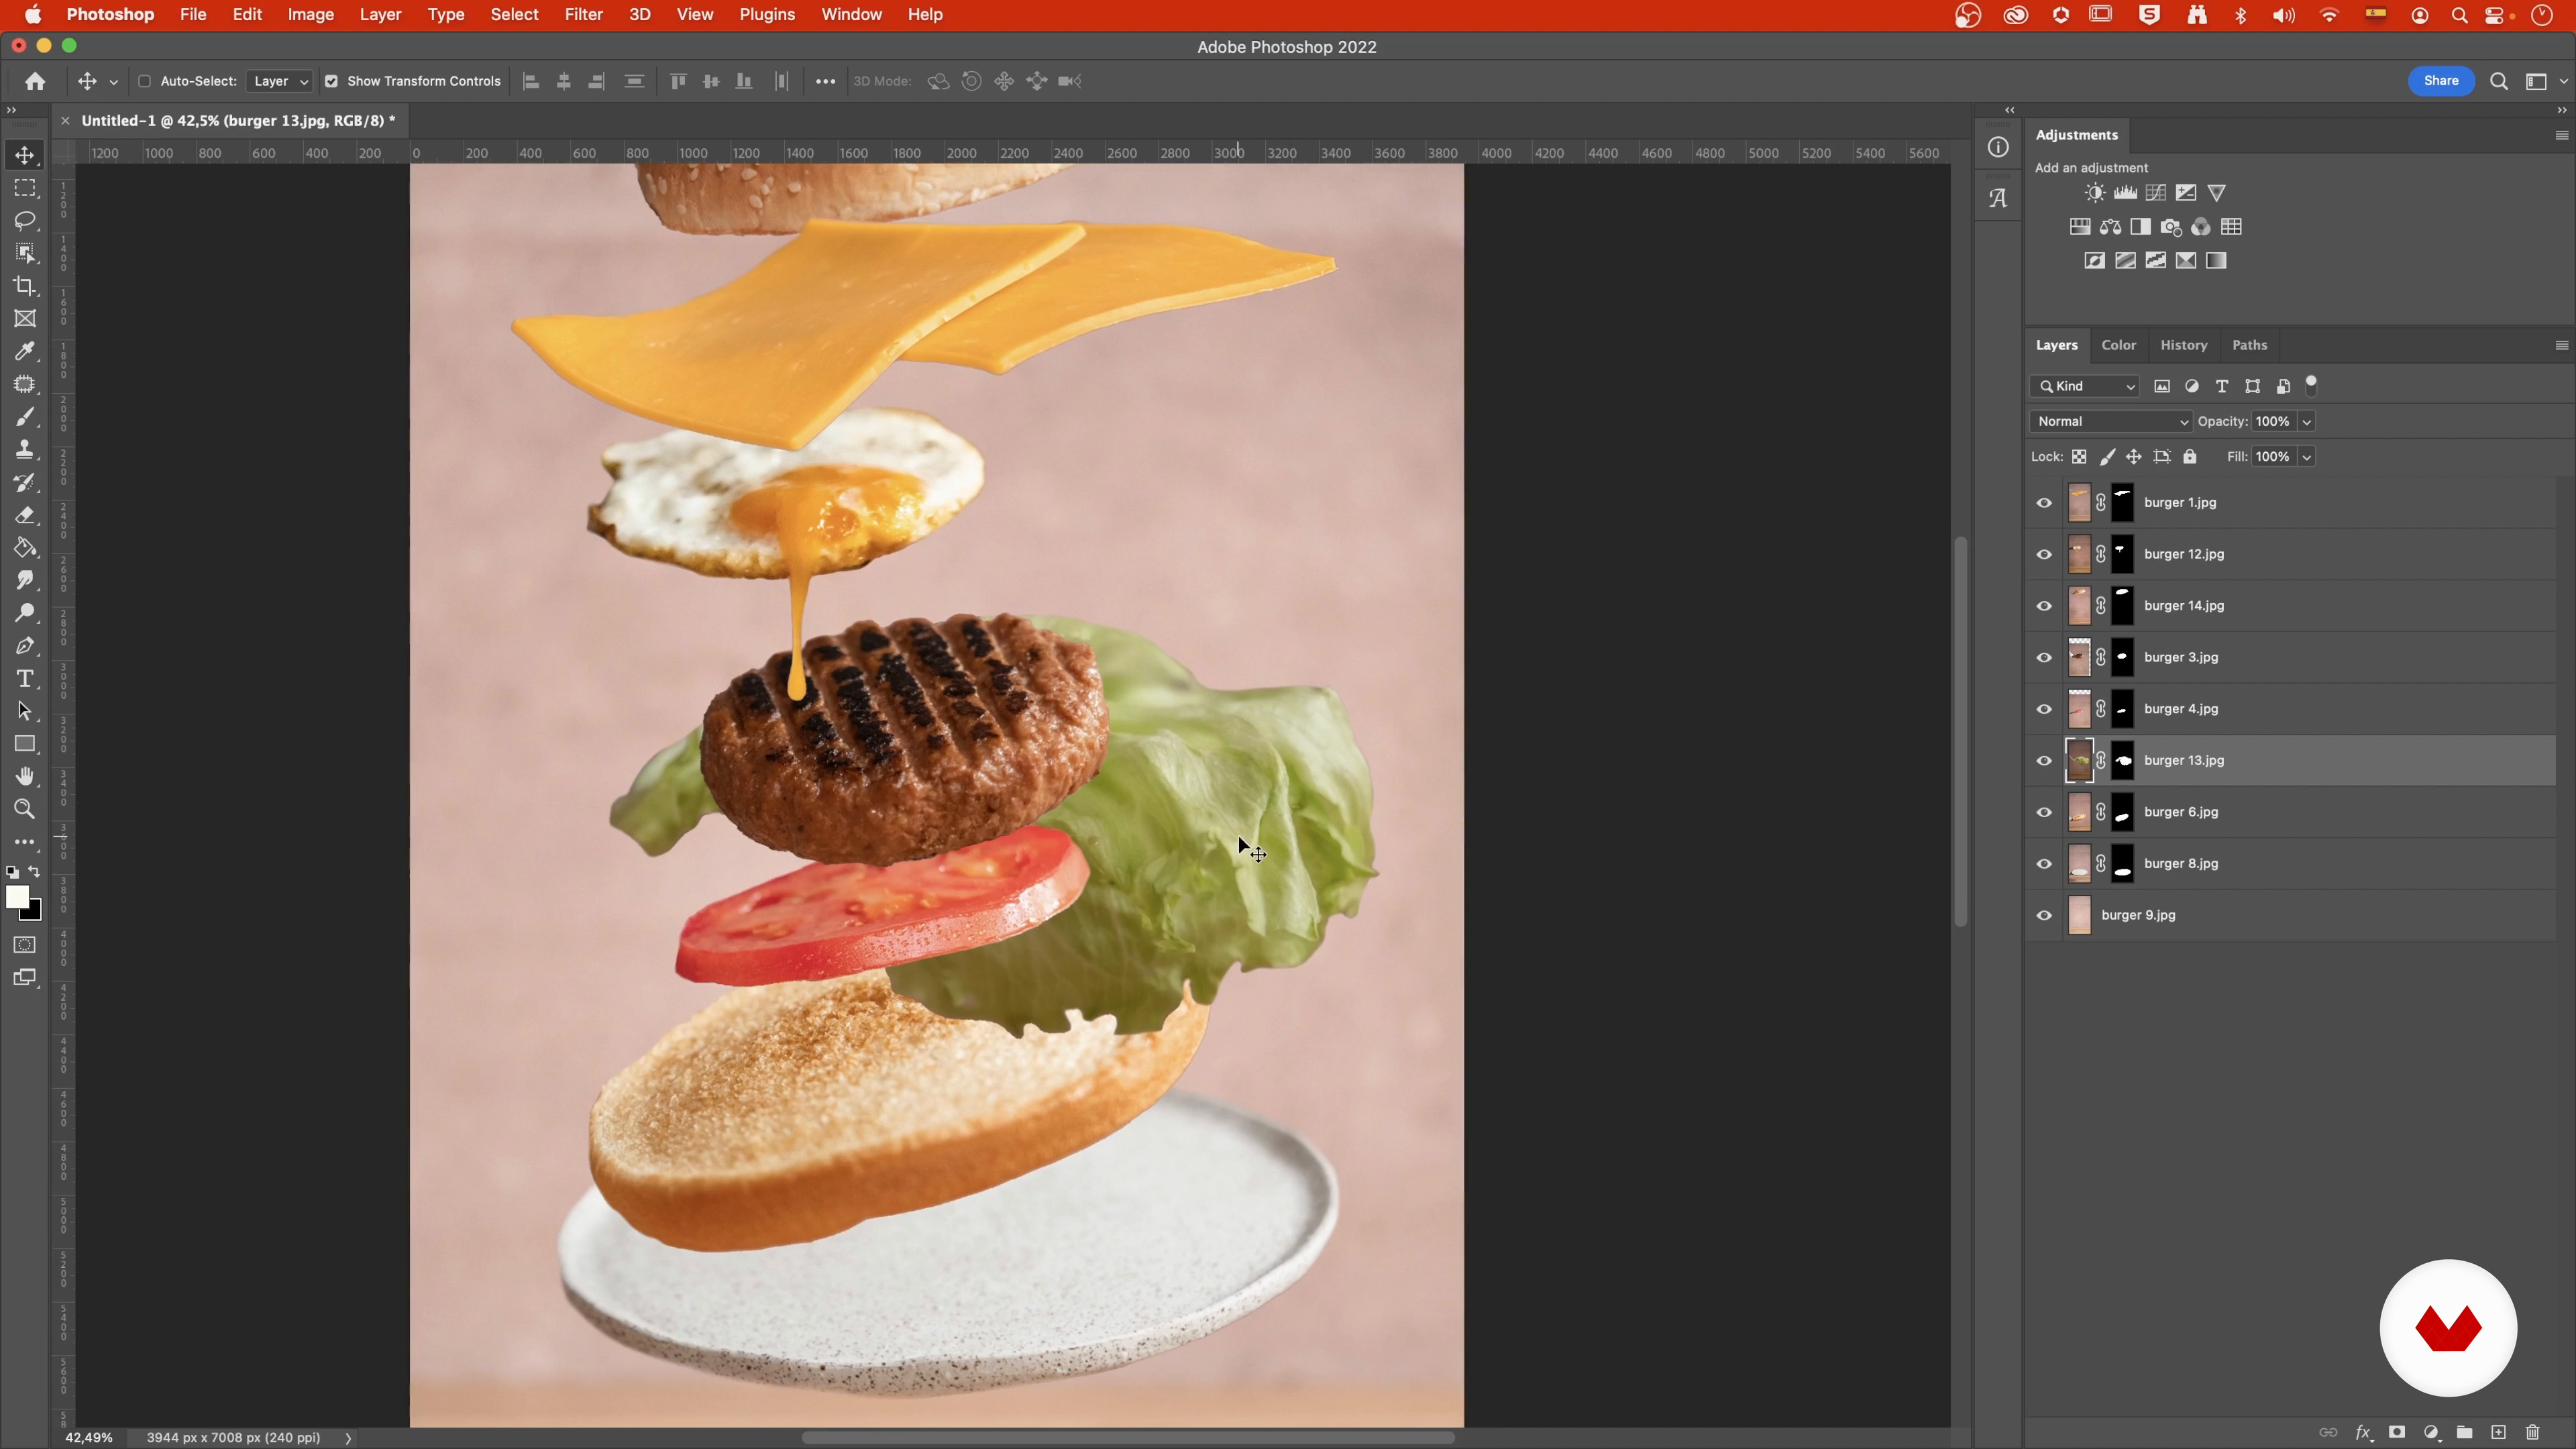
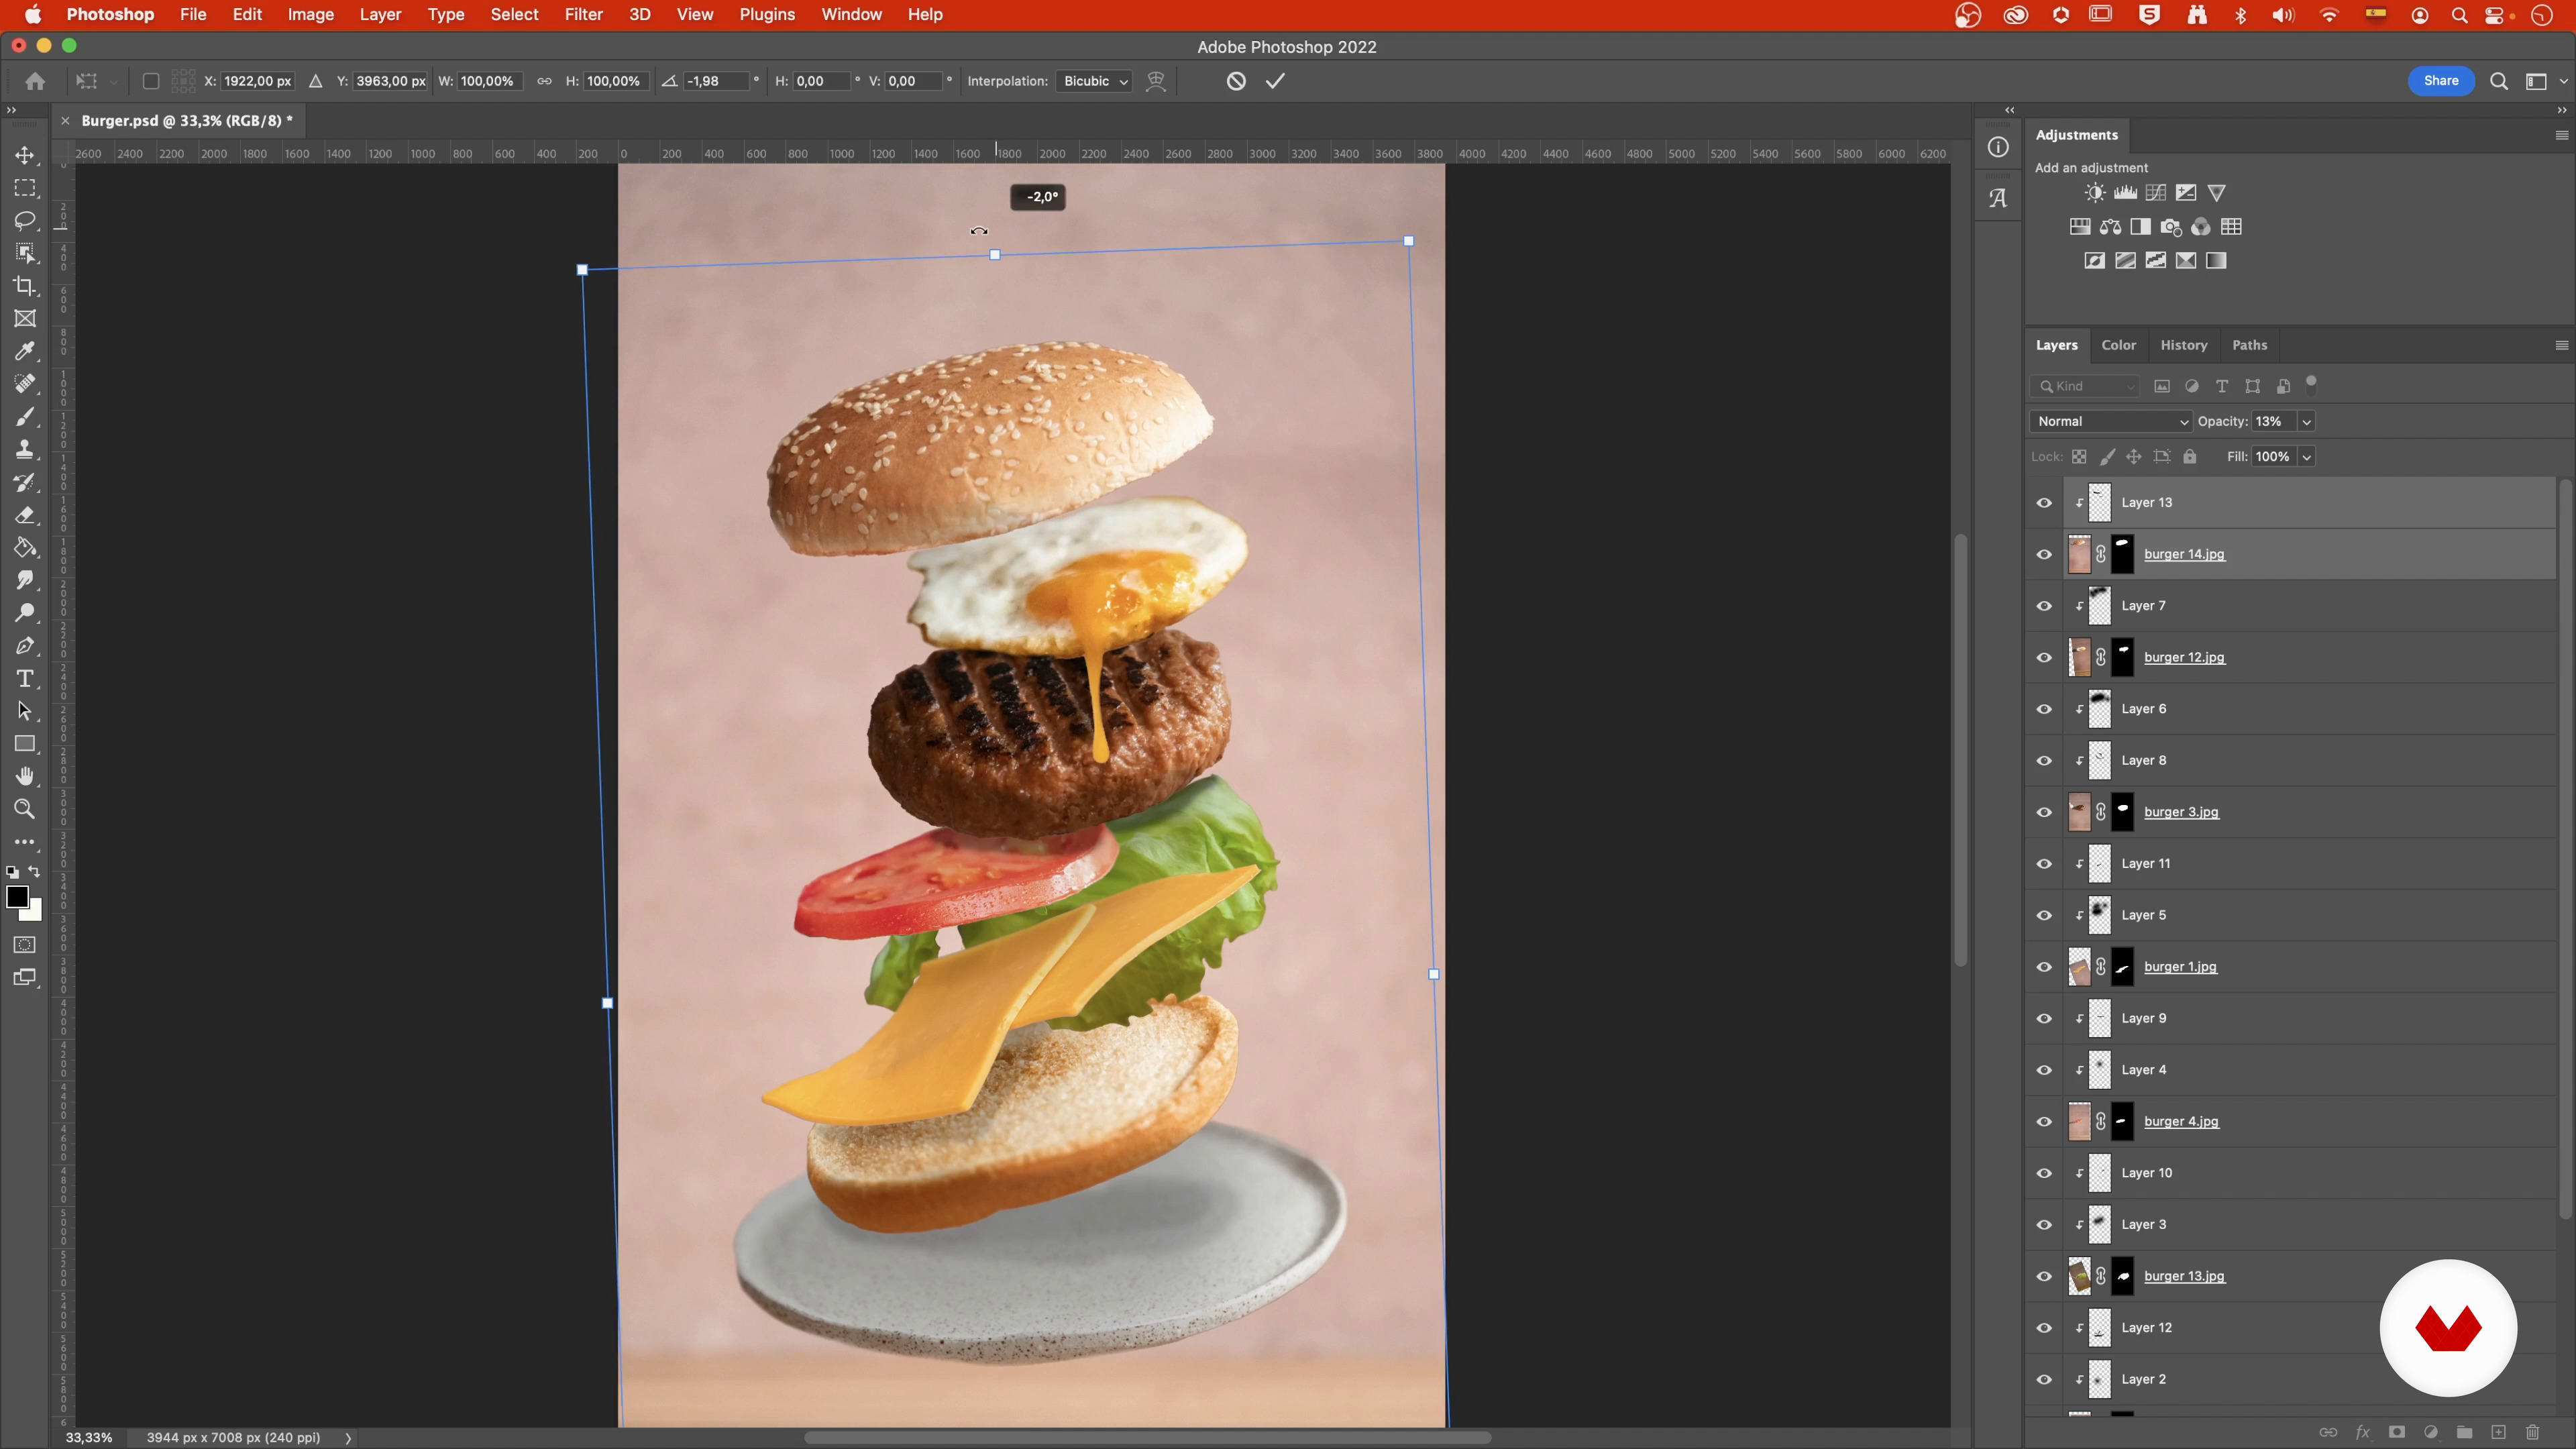
This is where the real magic happens! In this lesson, we will show you how to combine all the different photos into one and edit out the imperfections in Photoshop.
20m
image
16
Photoshop Editing: Combining the Pictures 2
To conclude the creative process, we will make the final touches to bring our image to a strong finish, before showing you how to export it from Photoshop.
8m
image
3
How to Generate Original Ideas
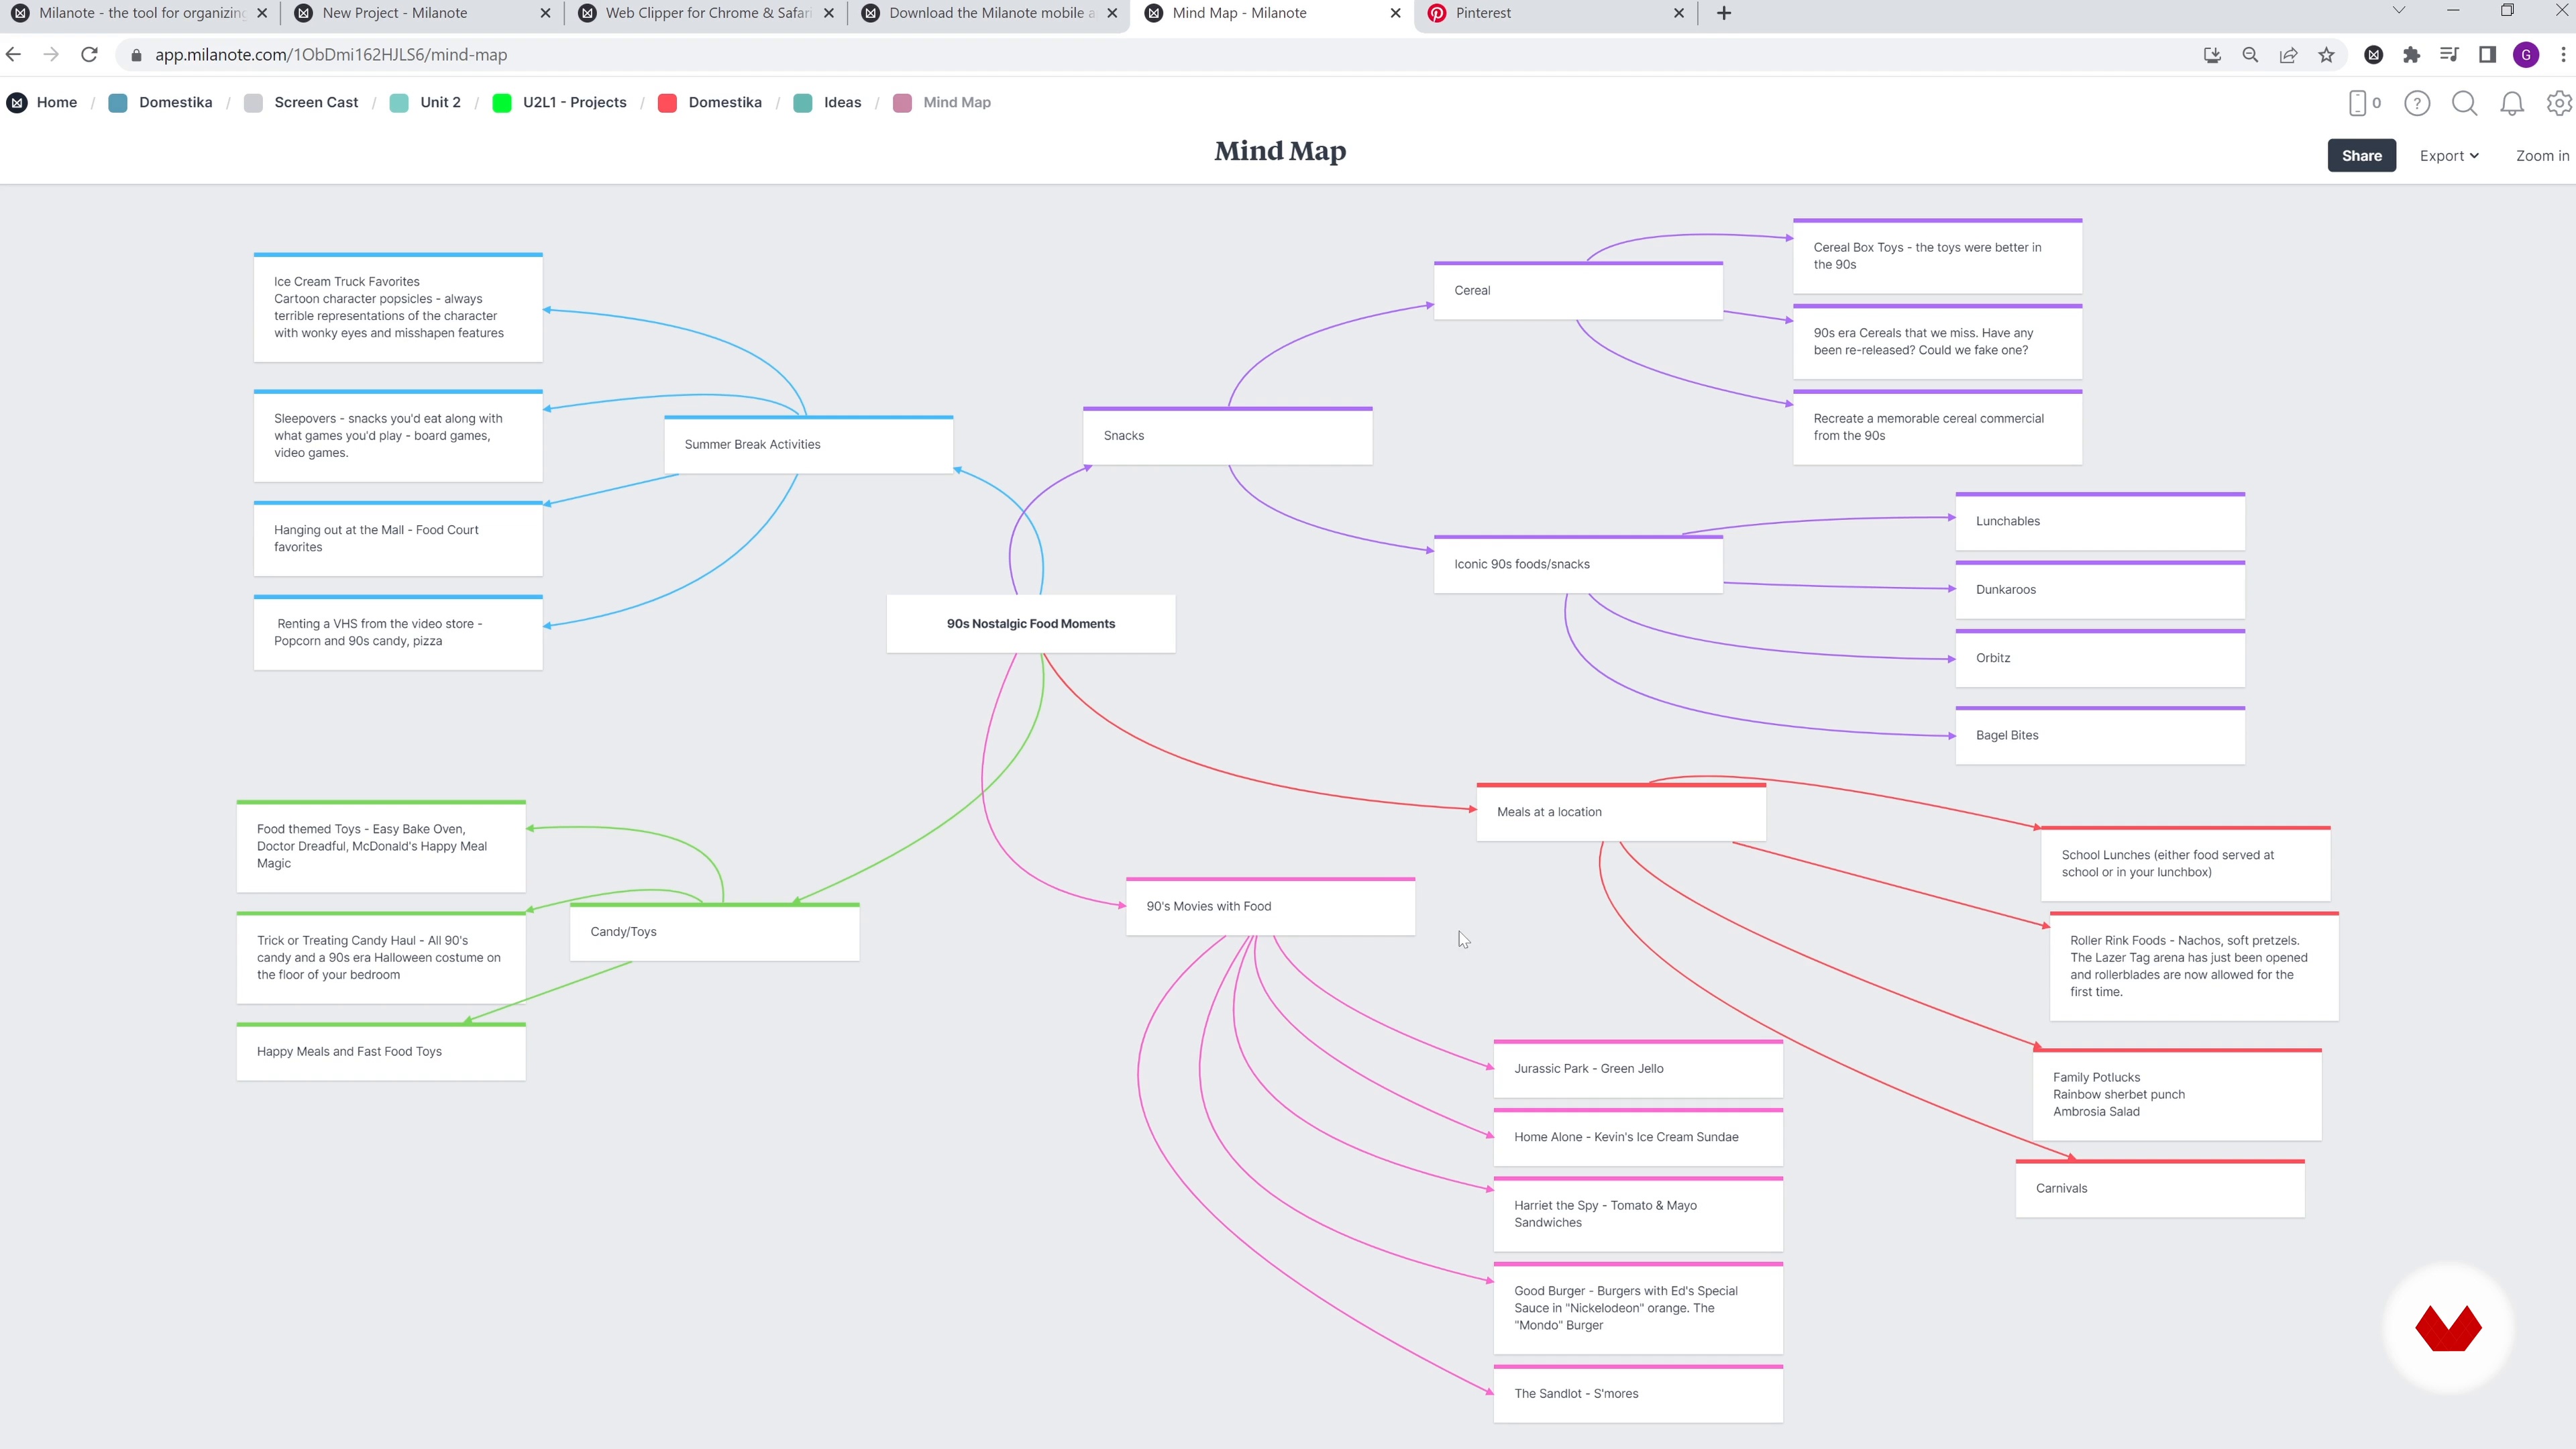
In this lesson, we'll show you how we come up with ideas, and we'll give you some tips for a consistent flow of new ideas. Once you've come up with an idea, it's essential to mind map it further to ensure you're exploring all options.
17m
image
4
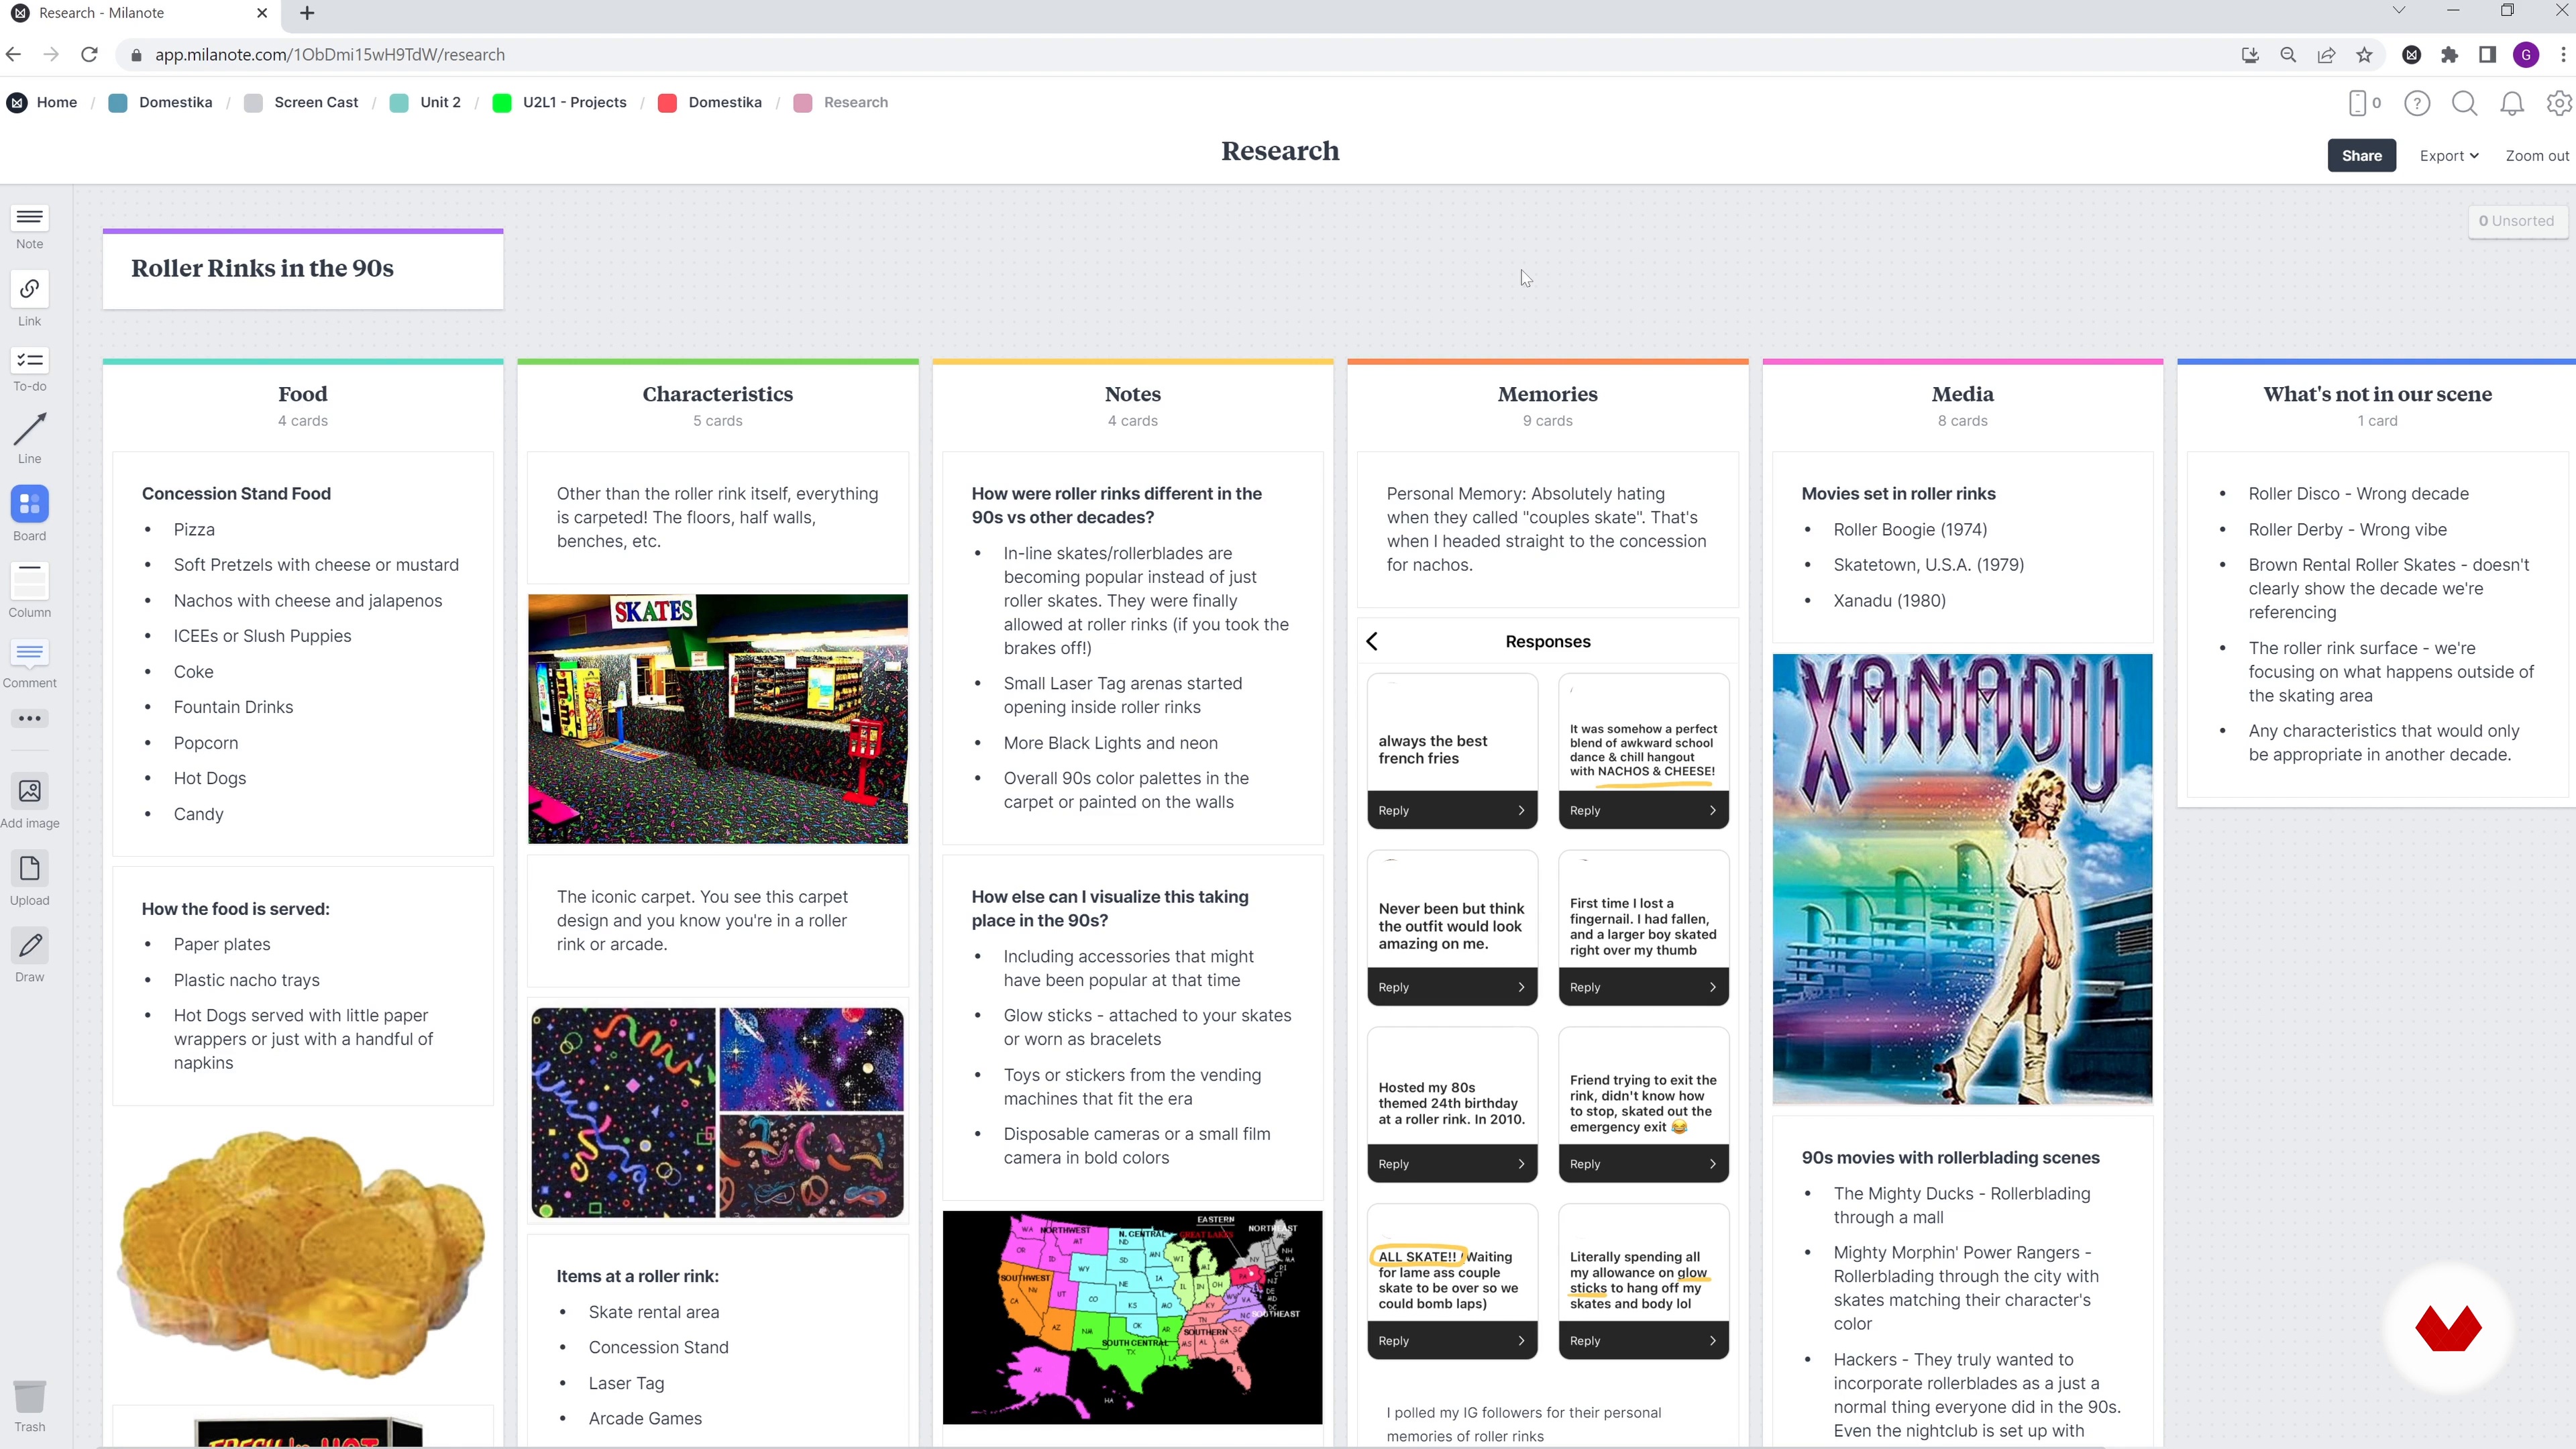
Exploring Ideas through Research
Now that you have your idea, you'll research everything you can about it. You'll look at its history, pop culture influences, personal memories, and anything else related to it.
10m
image
5
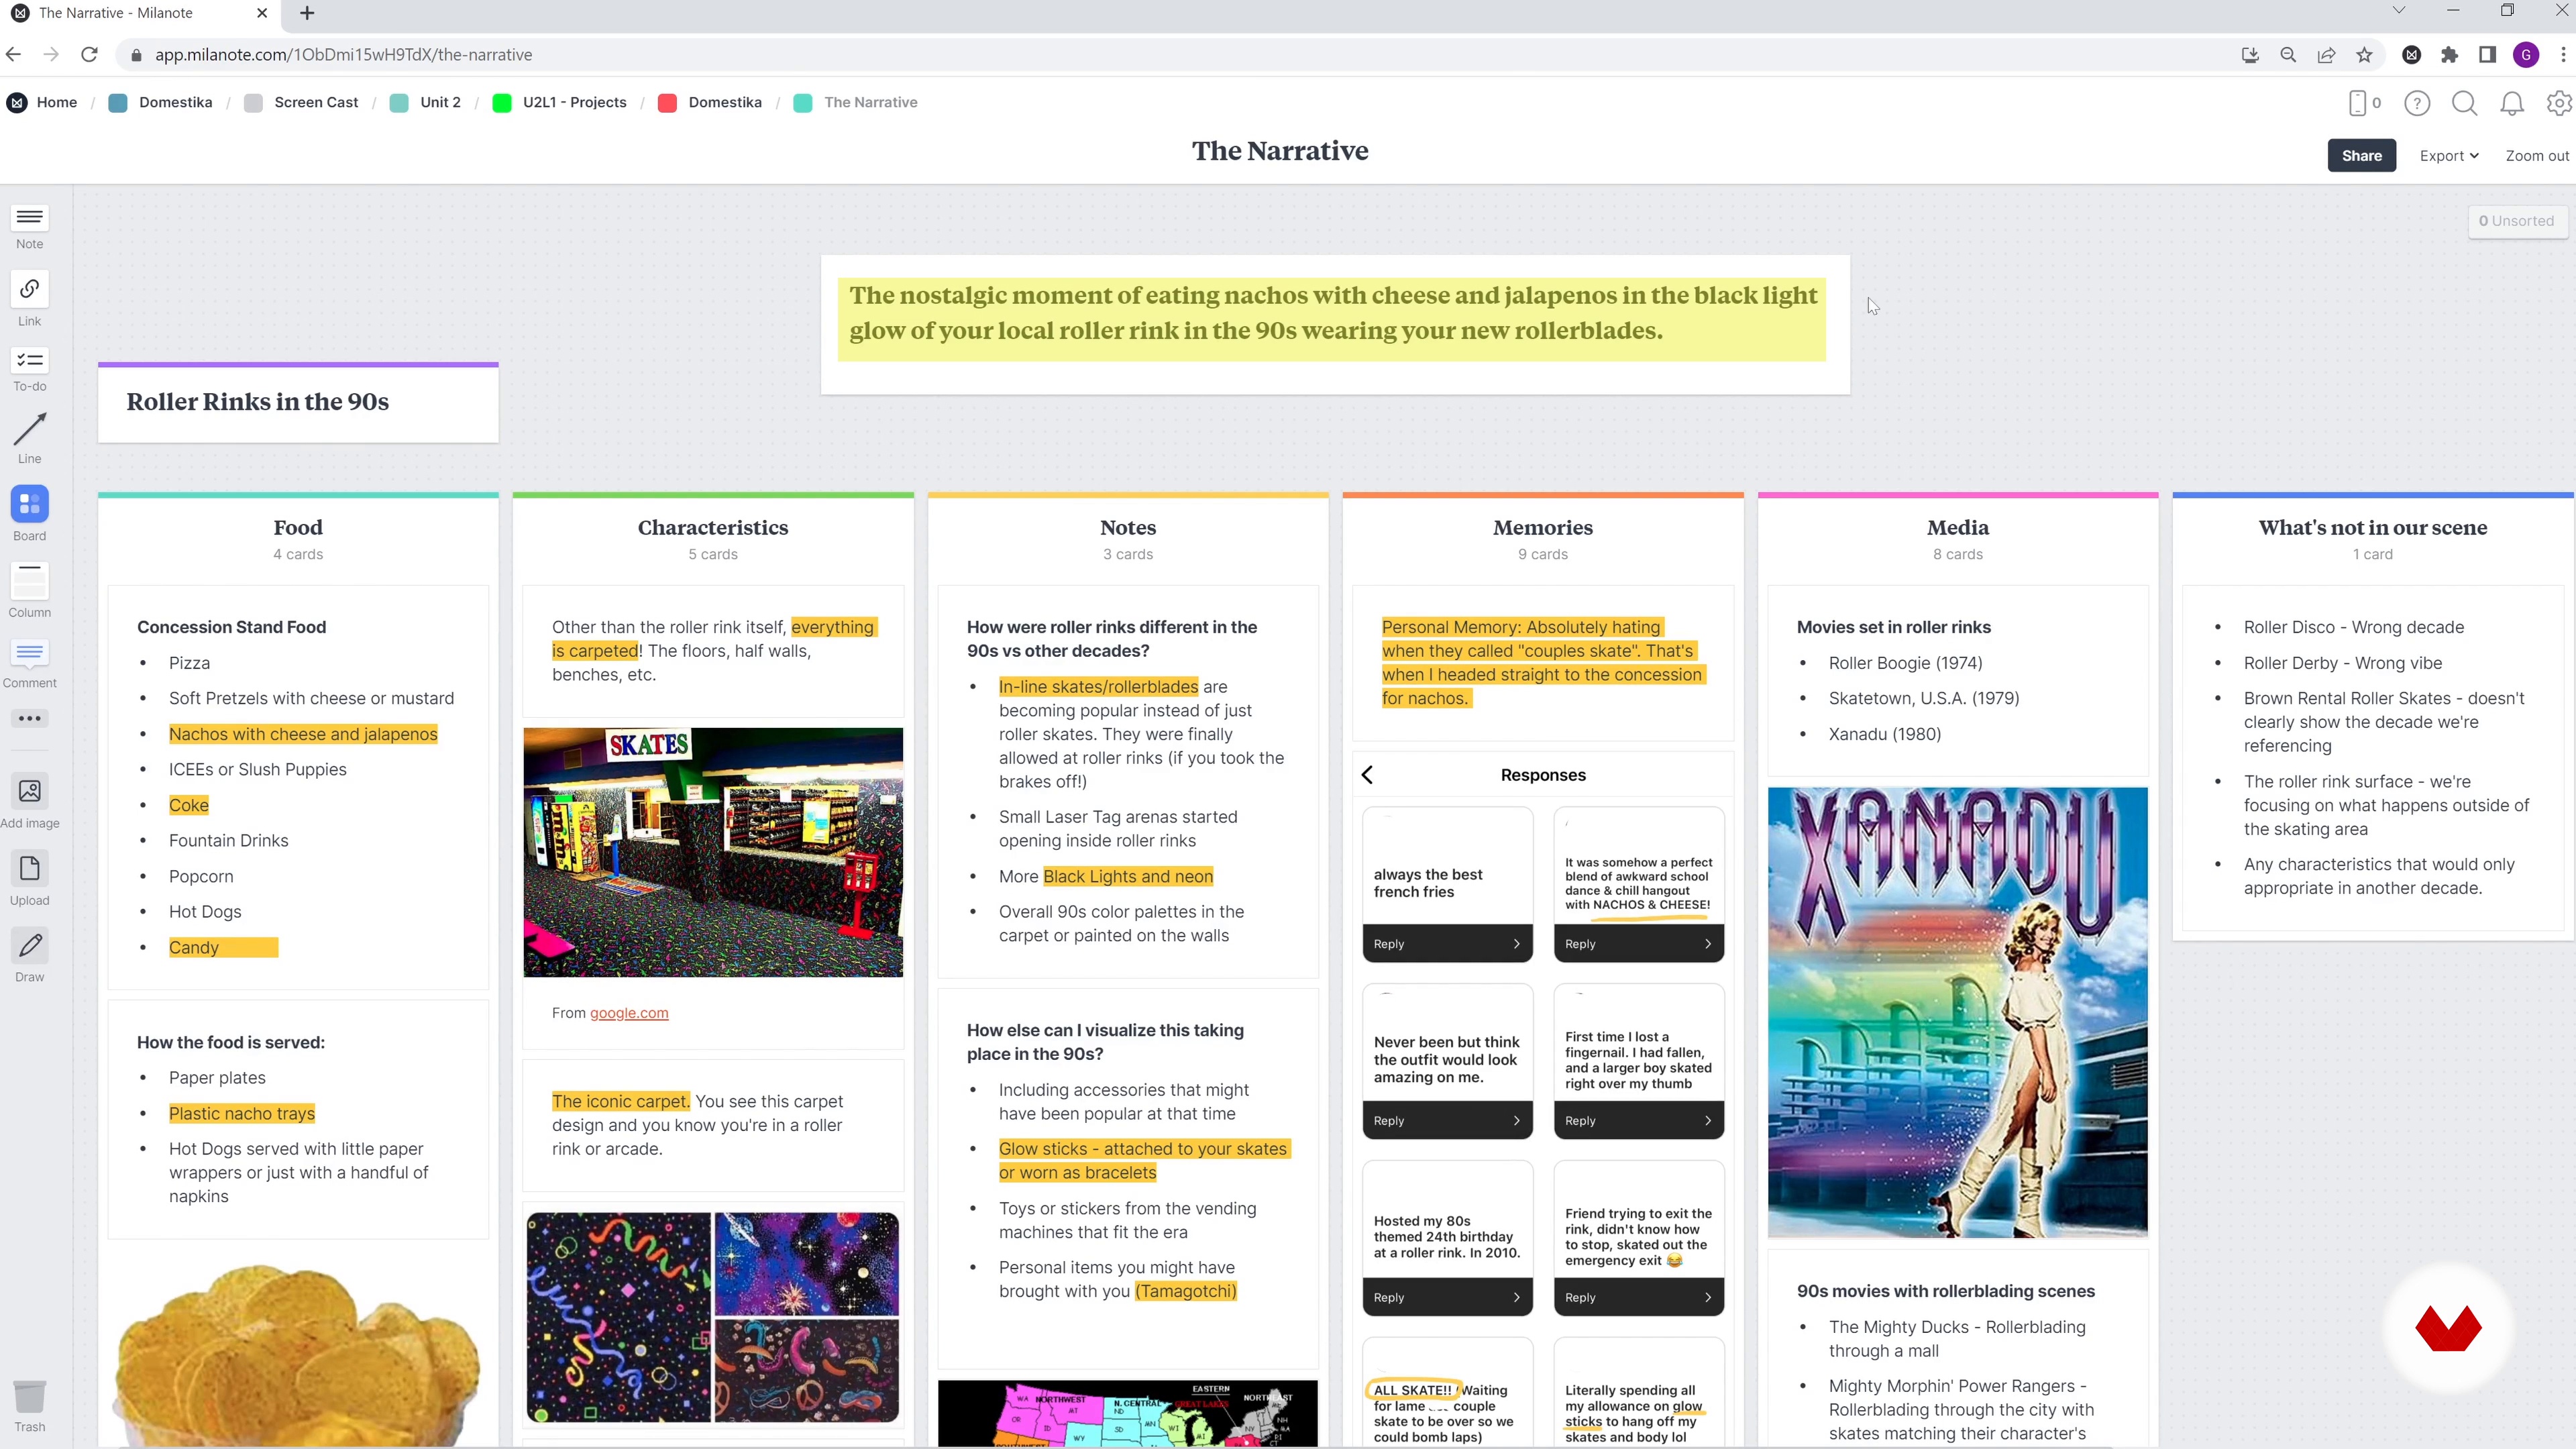
Creating a Narrative
When you're done researching, it's time to write a narrative statement that captures the mood and concept you're trying to emulate. Here, we'll show you how to do this!
3m
image
6
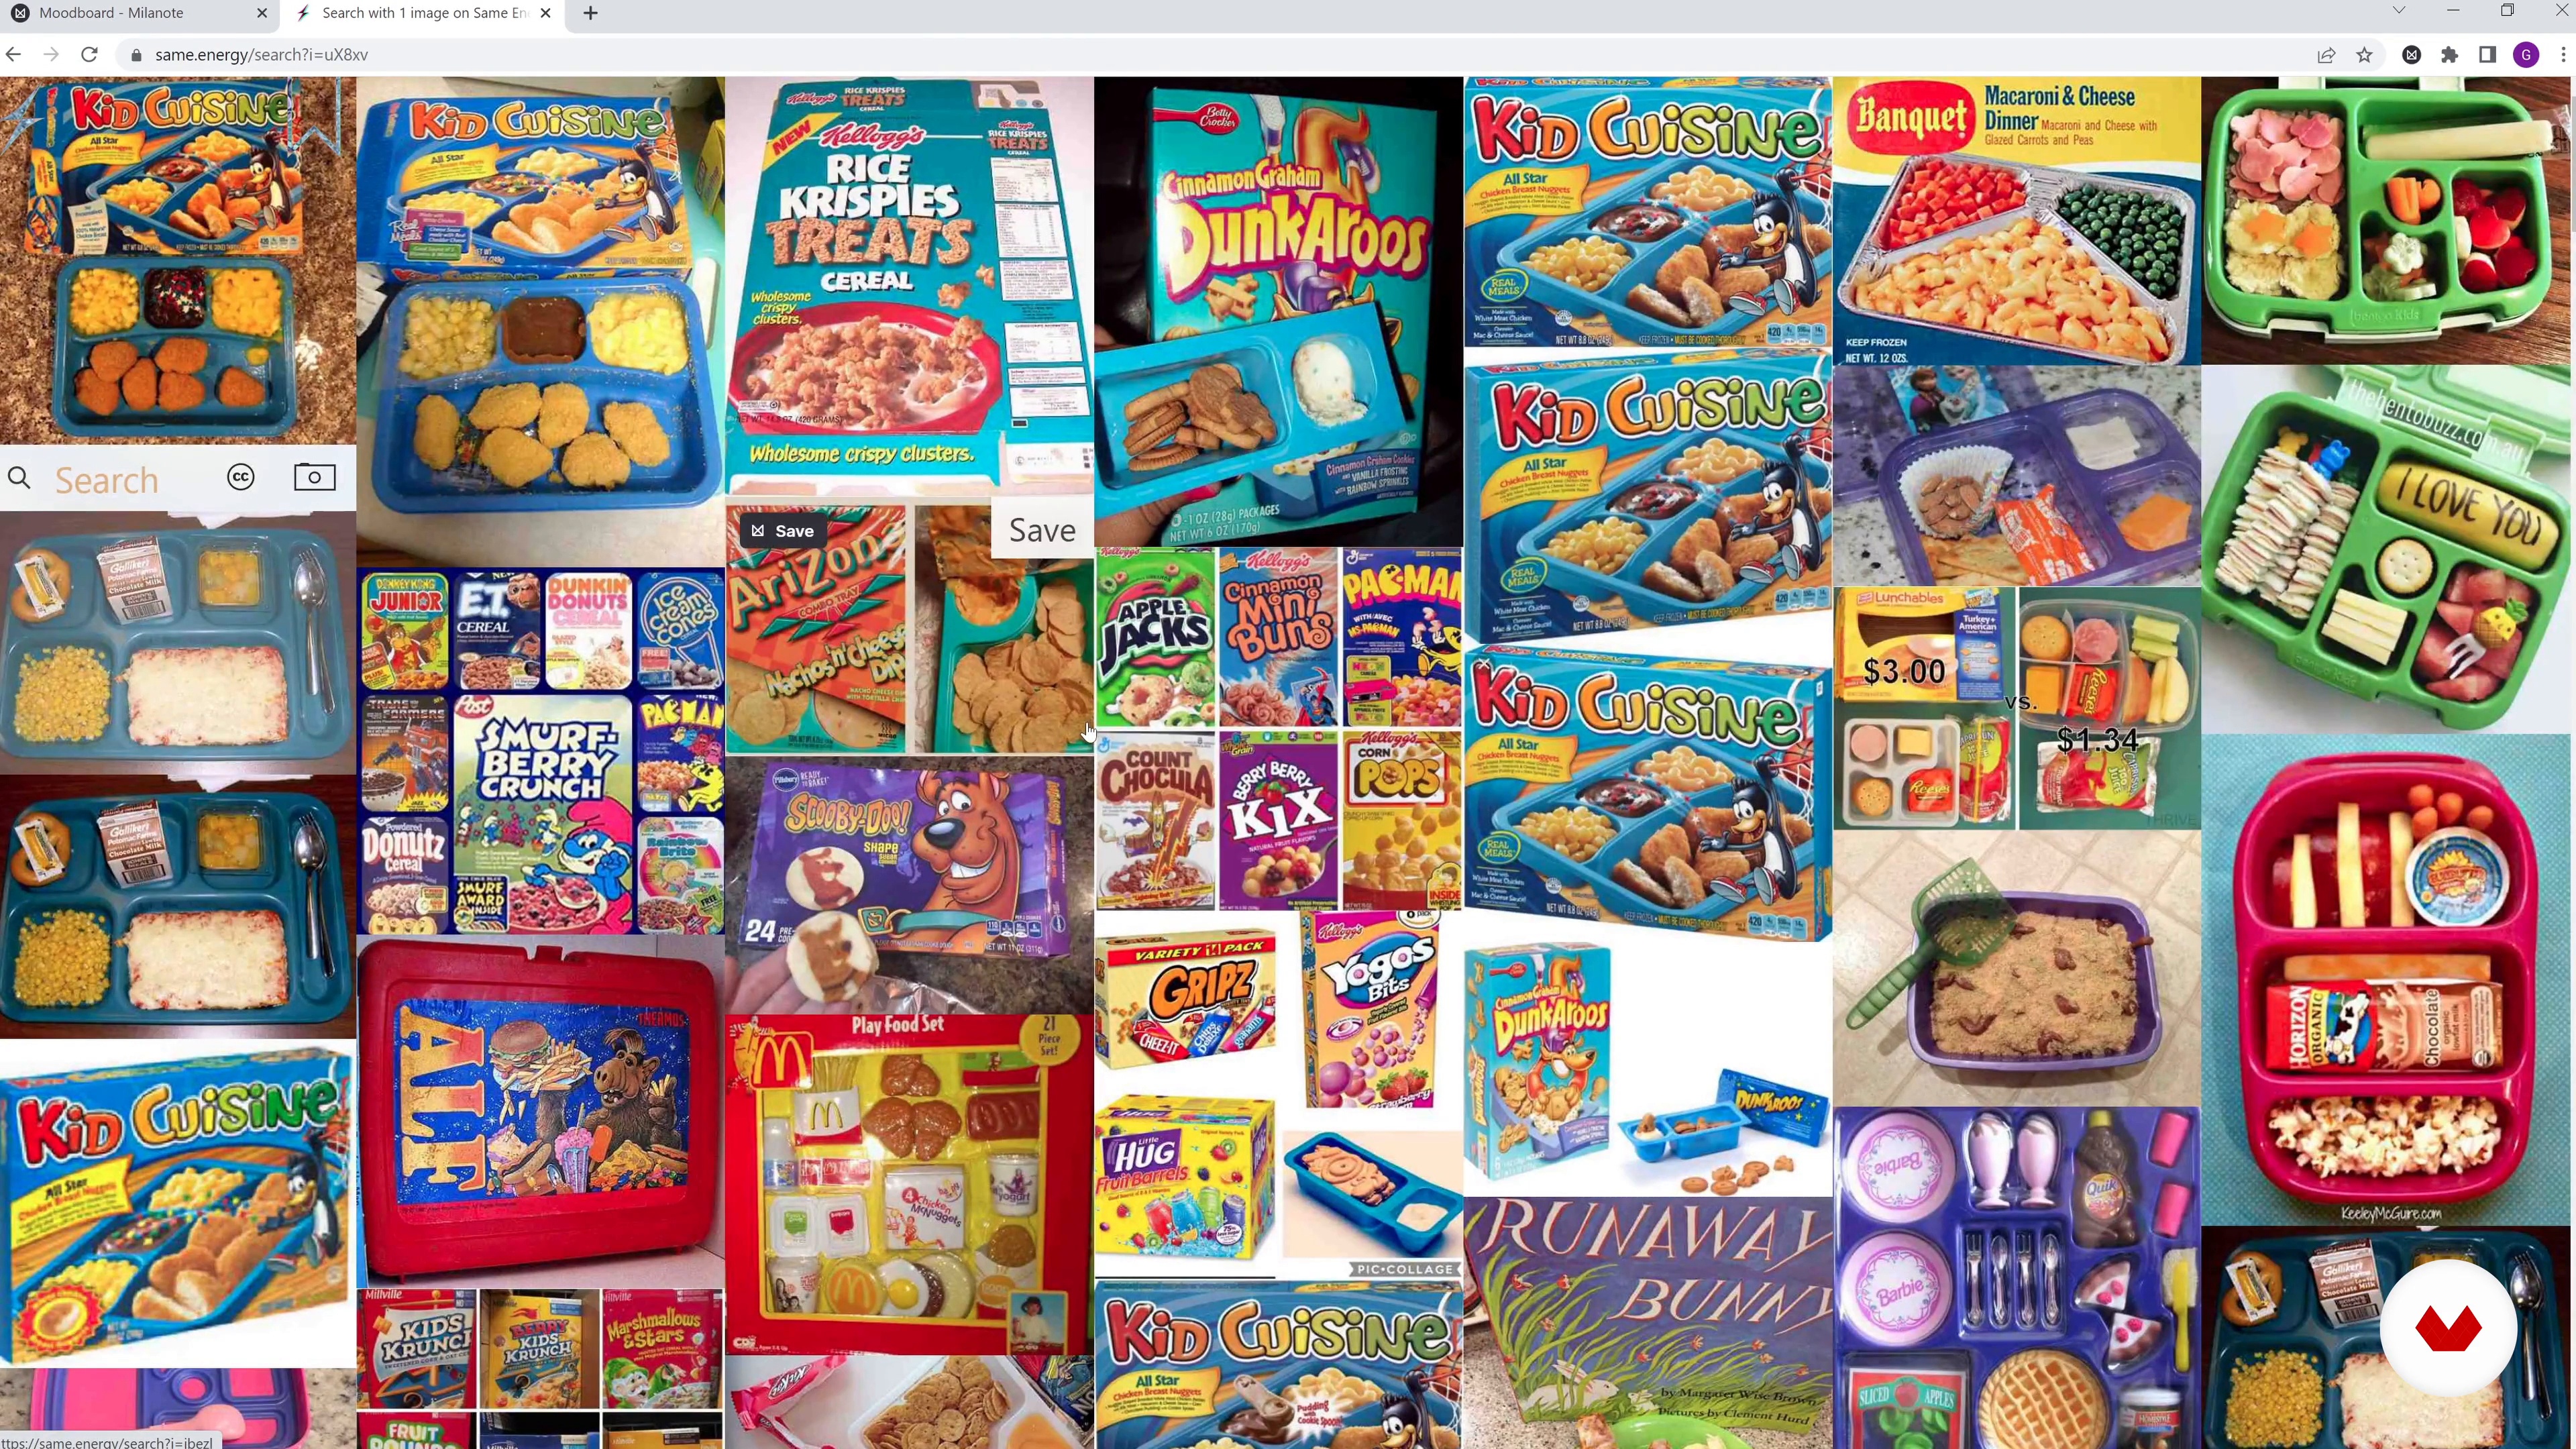
Creating a Mood Board
In this lesson, we'll show you how to set up a mood board with references to the overall aesthetic and any notes you've taken during your research.
6m
image
7
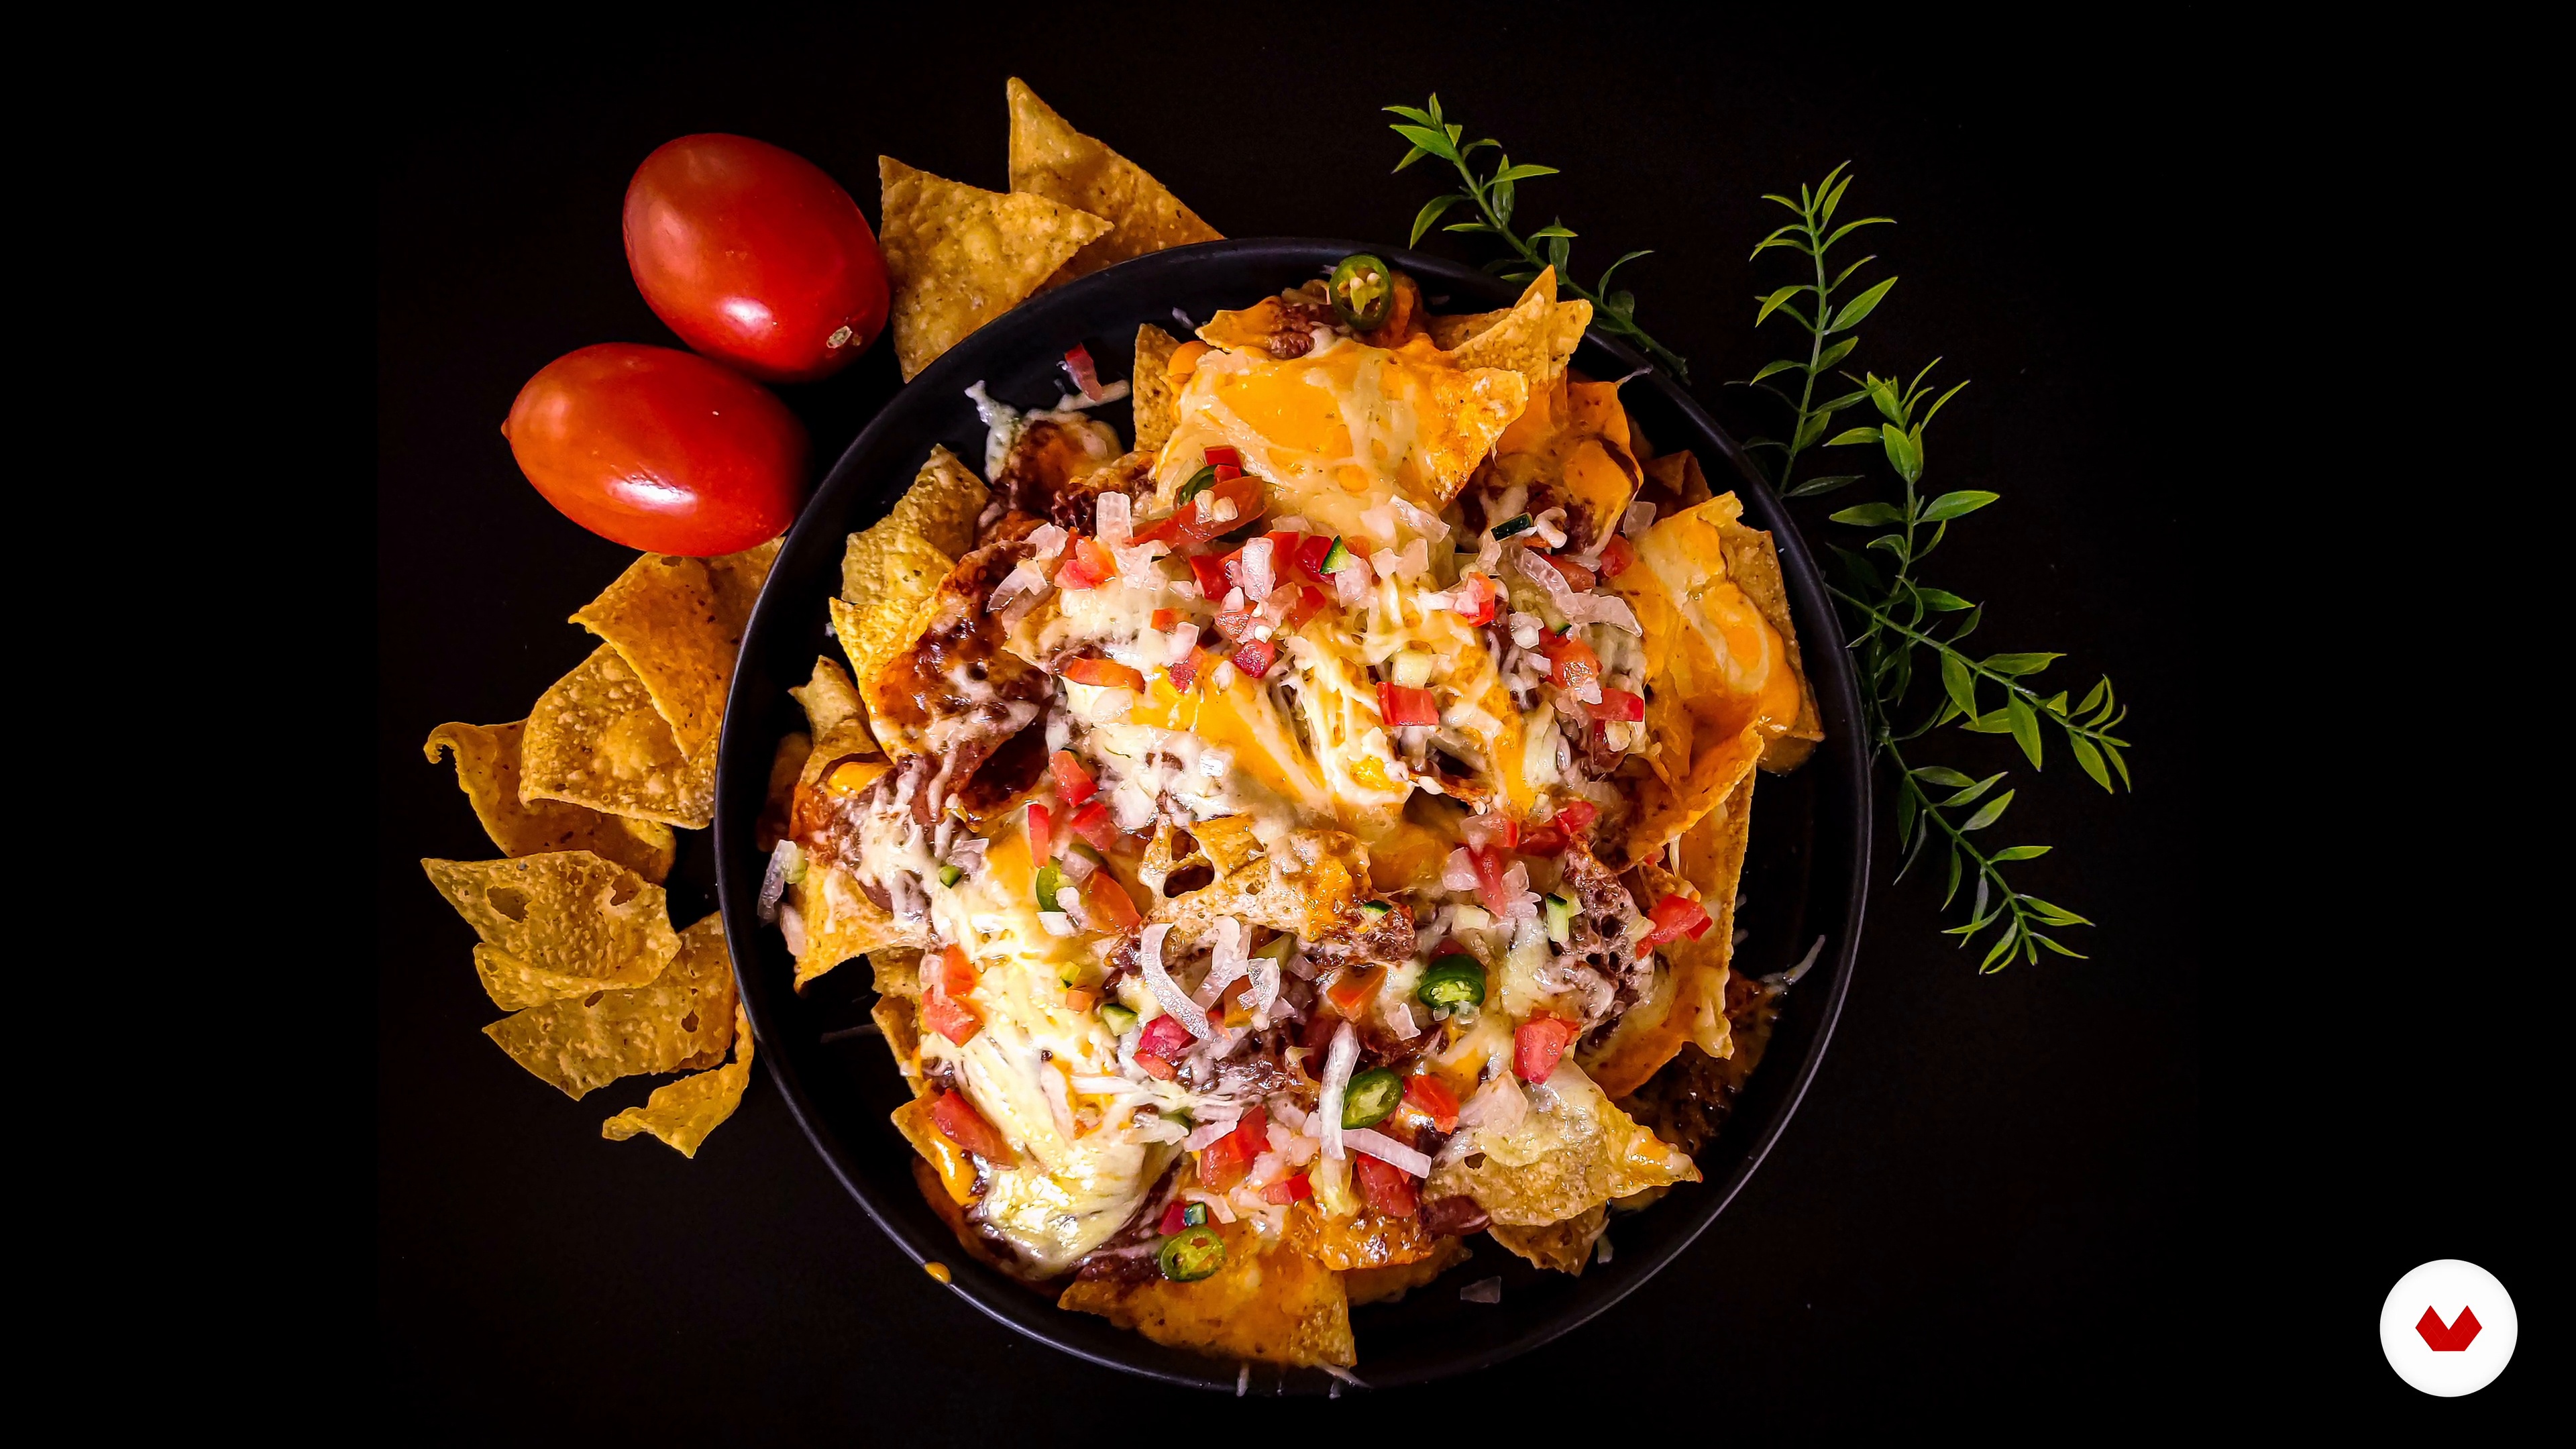
Working with Food
In this lesson, we'll discuss all of the various ways you can work creatively with food. You definitely don't need to be a chef! We'll also talk about the food prep you can do beforehand to help your shoot day go smoother and faster.
6m
image
8
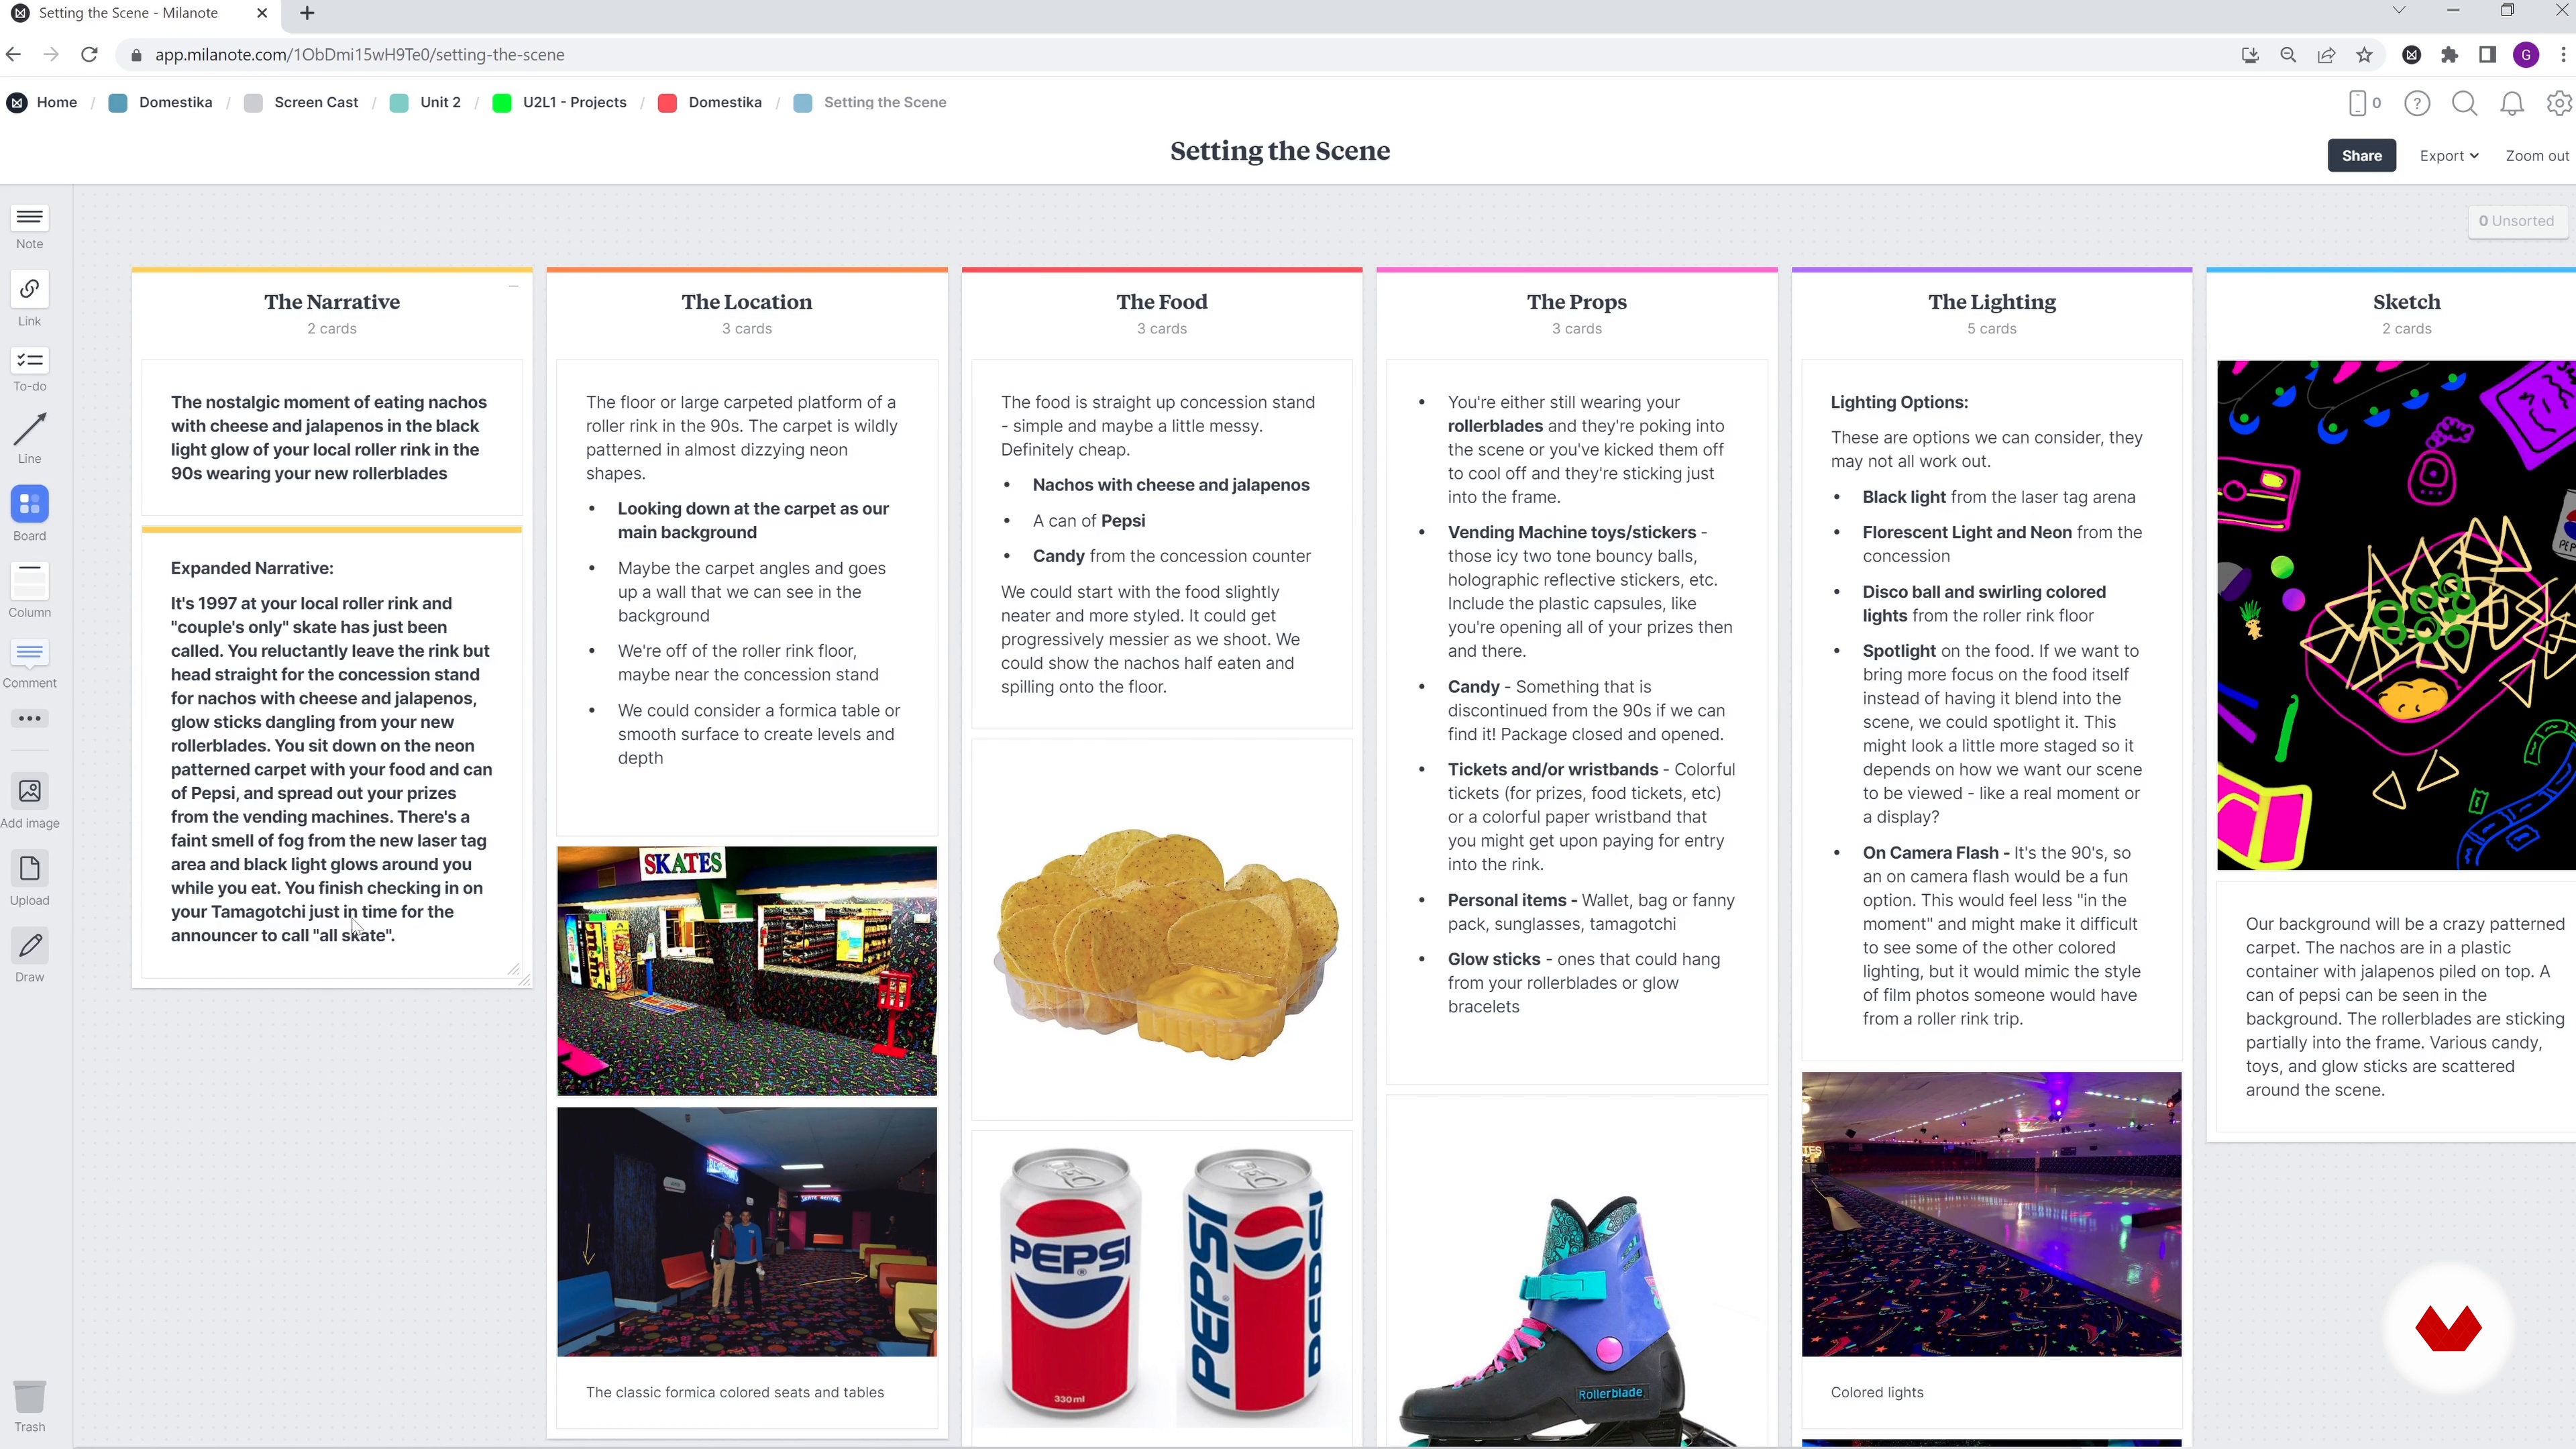
Setting the Scene in Milanote
Using the narrative and mood board as a guide, it's time to start visualizing what a single photo would look like. You'll be asked questions about your scene that will help you design a set that communicates the narrative statement you made.
7m
image
9
Camera Angle, Color Palette, and Lighting
Now we'll teach you how to create a lighting plan and a color palette, and decide on a camera angle for the narrative. These should always be referring back to the narrative statement and mood board.
14m
image
10
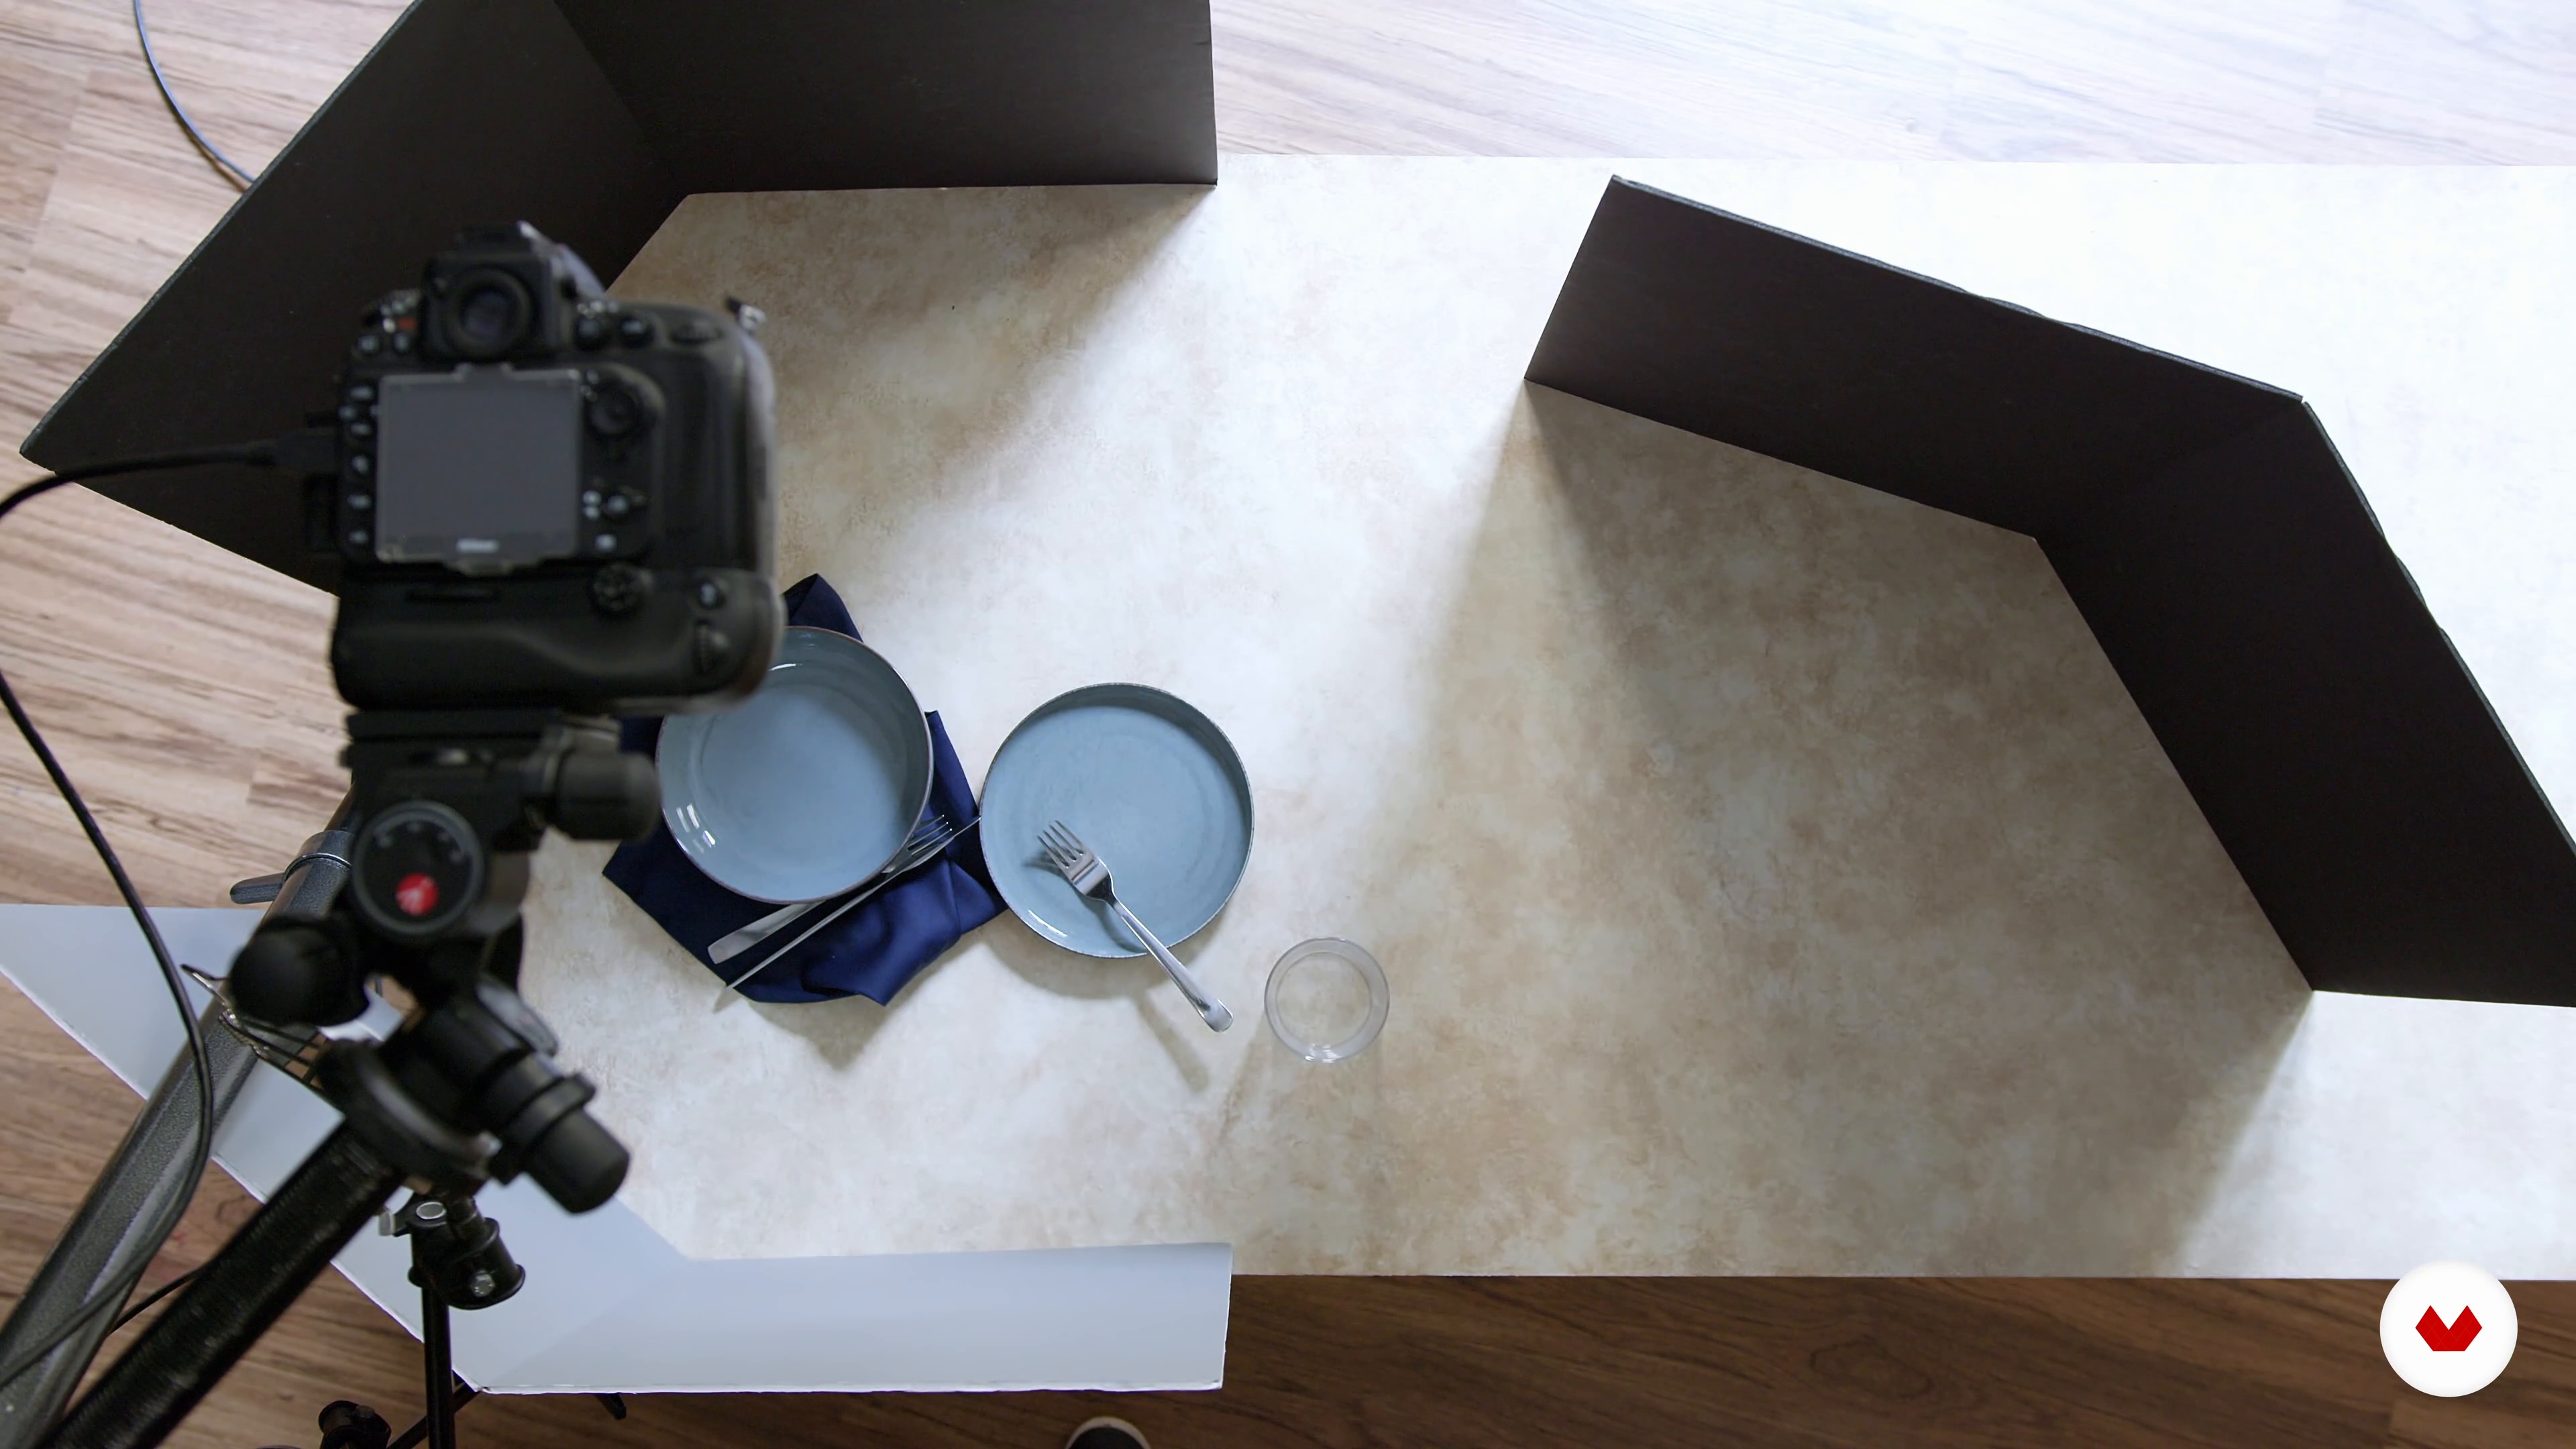
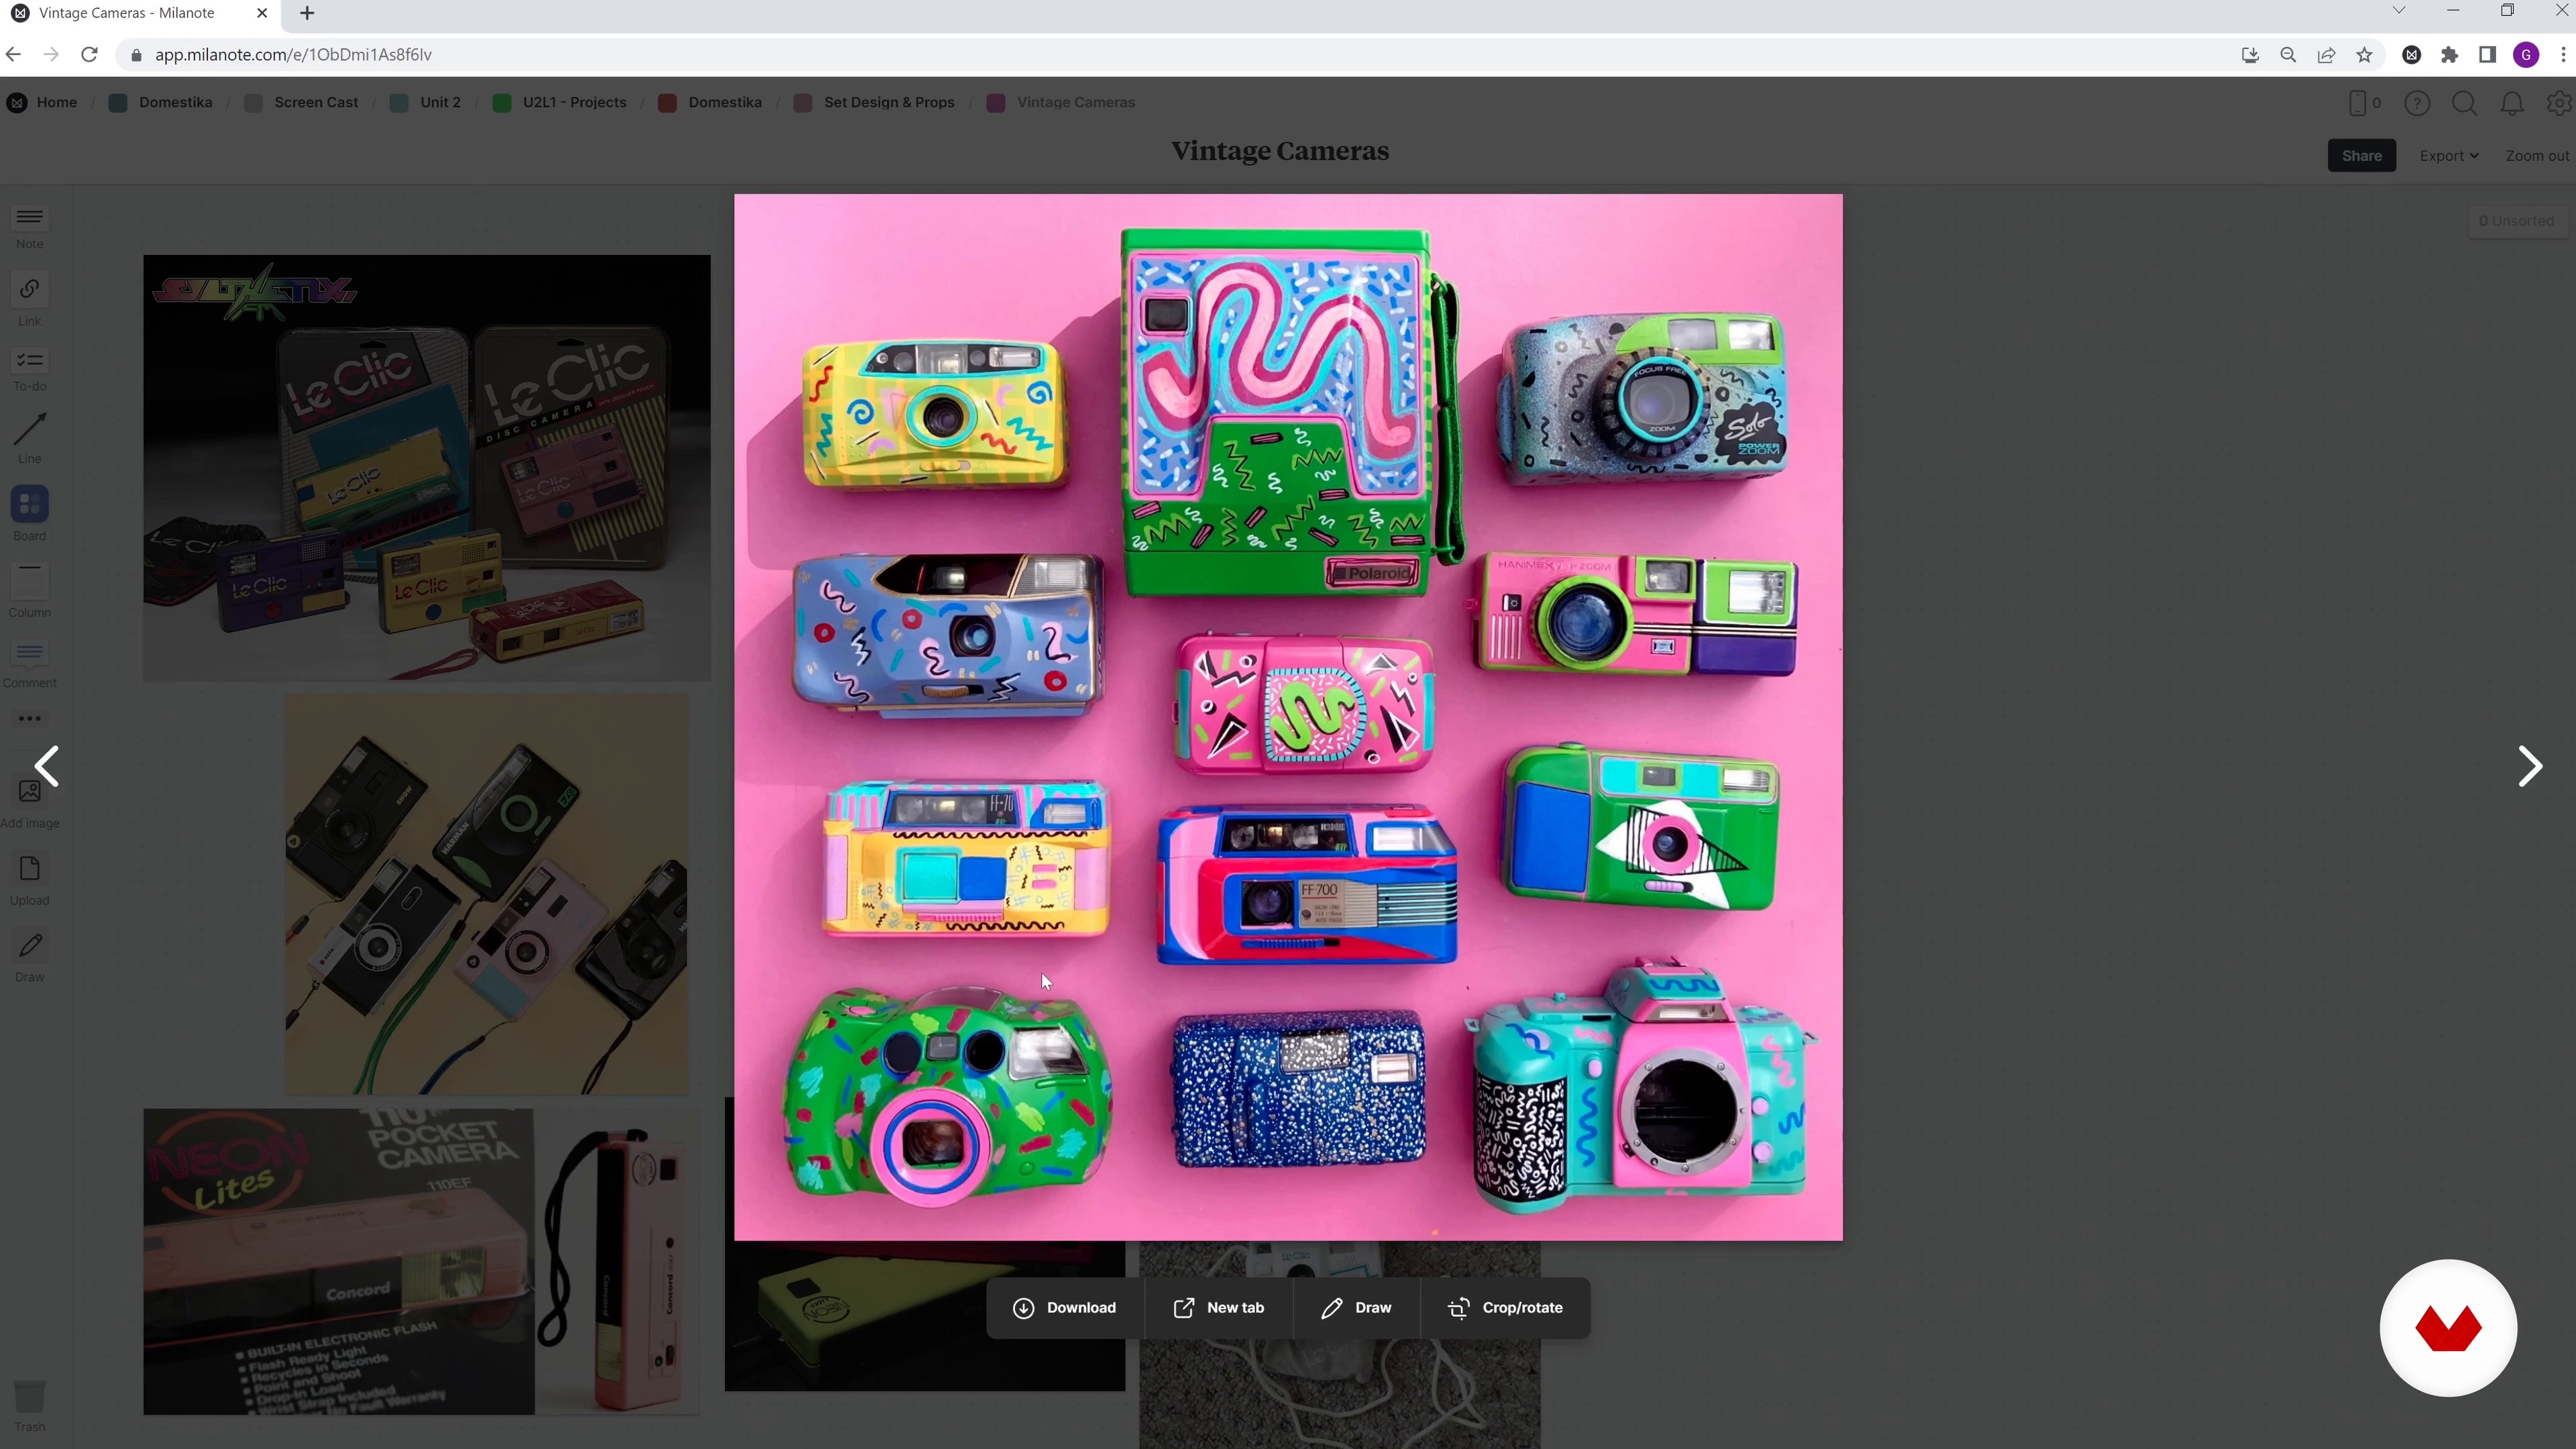
Set Design and Props
Next, you'll learn how to turn your mood board into a real-life set. We'll explore different ways to build sets and teach you some resourceful techniques. In addition, we'll talk about how to find or make props at home.
14m
image
11
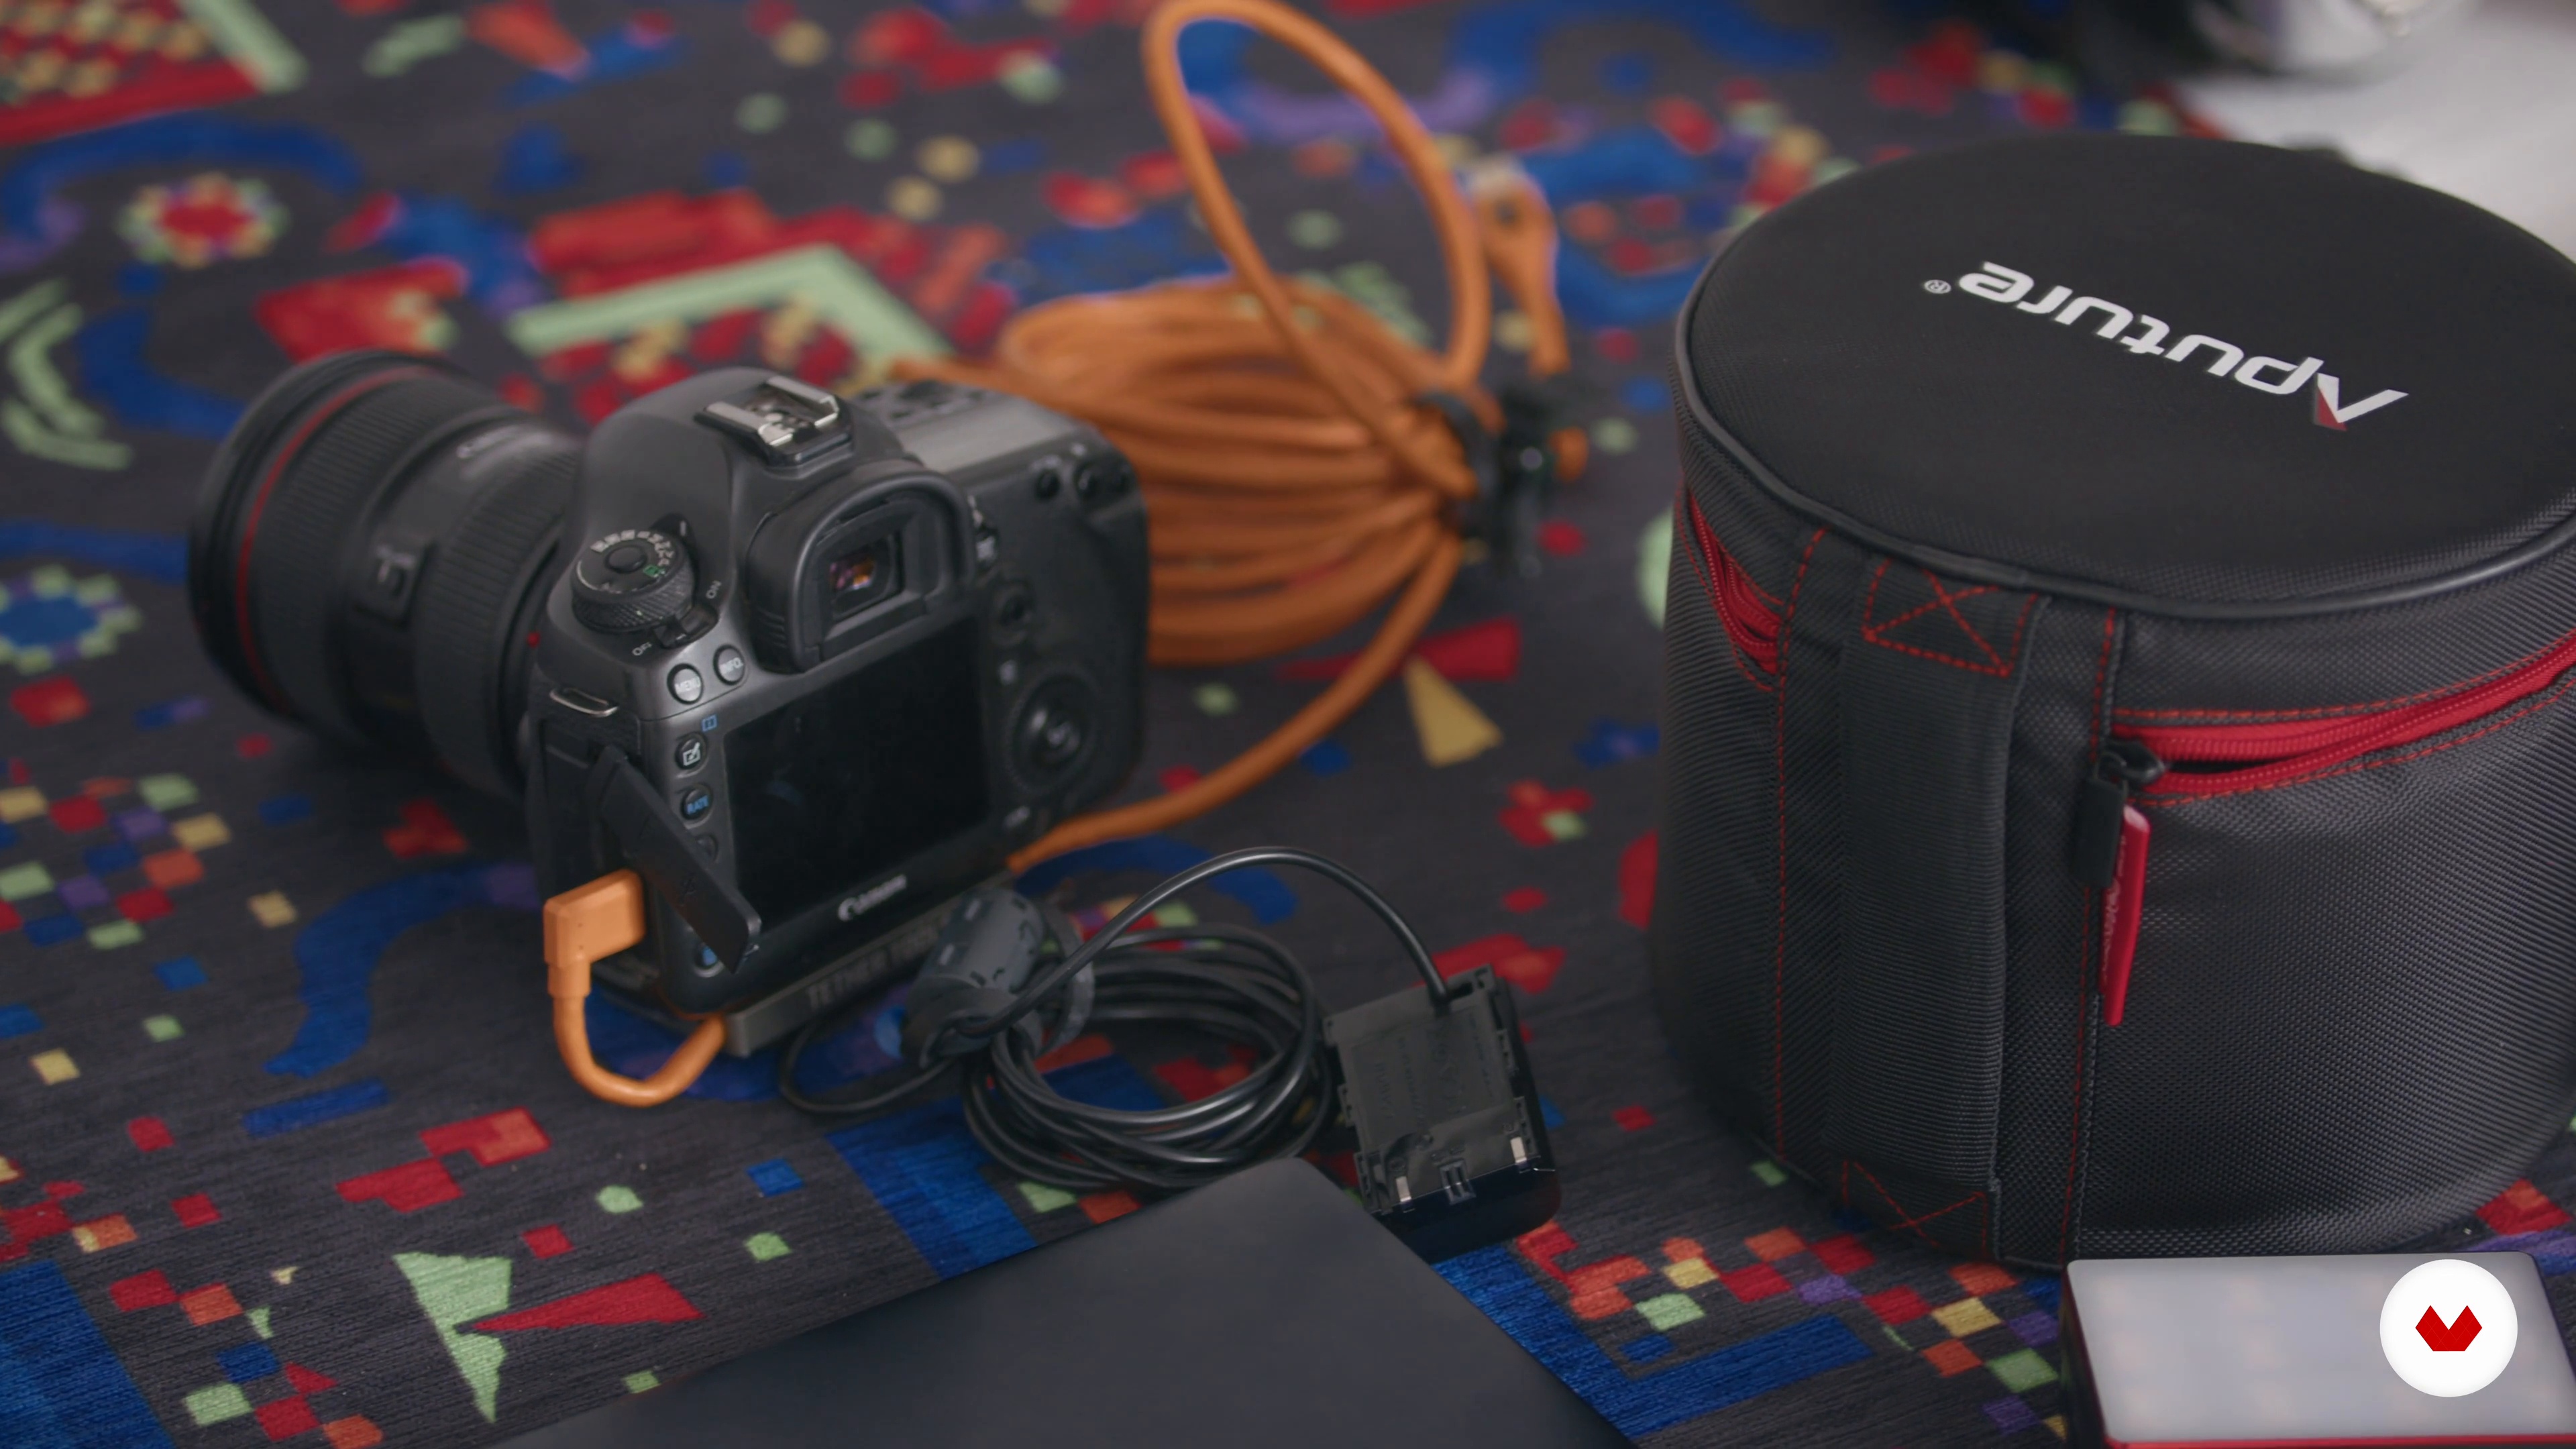
Technical Equipment and Settings
In this lesson, we'll talk about the camera gear and lighting that we'll be using to capture the scene.
4m
image
12
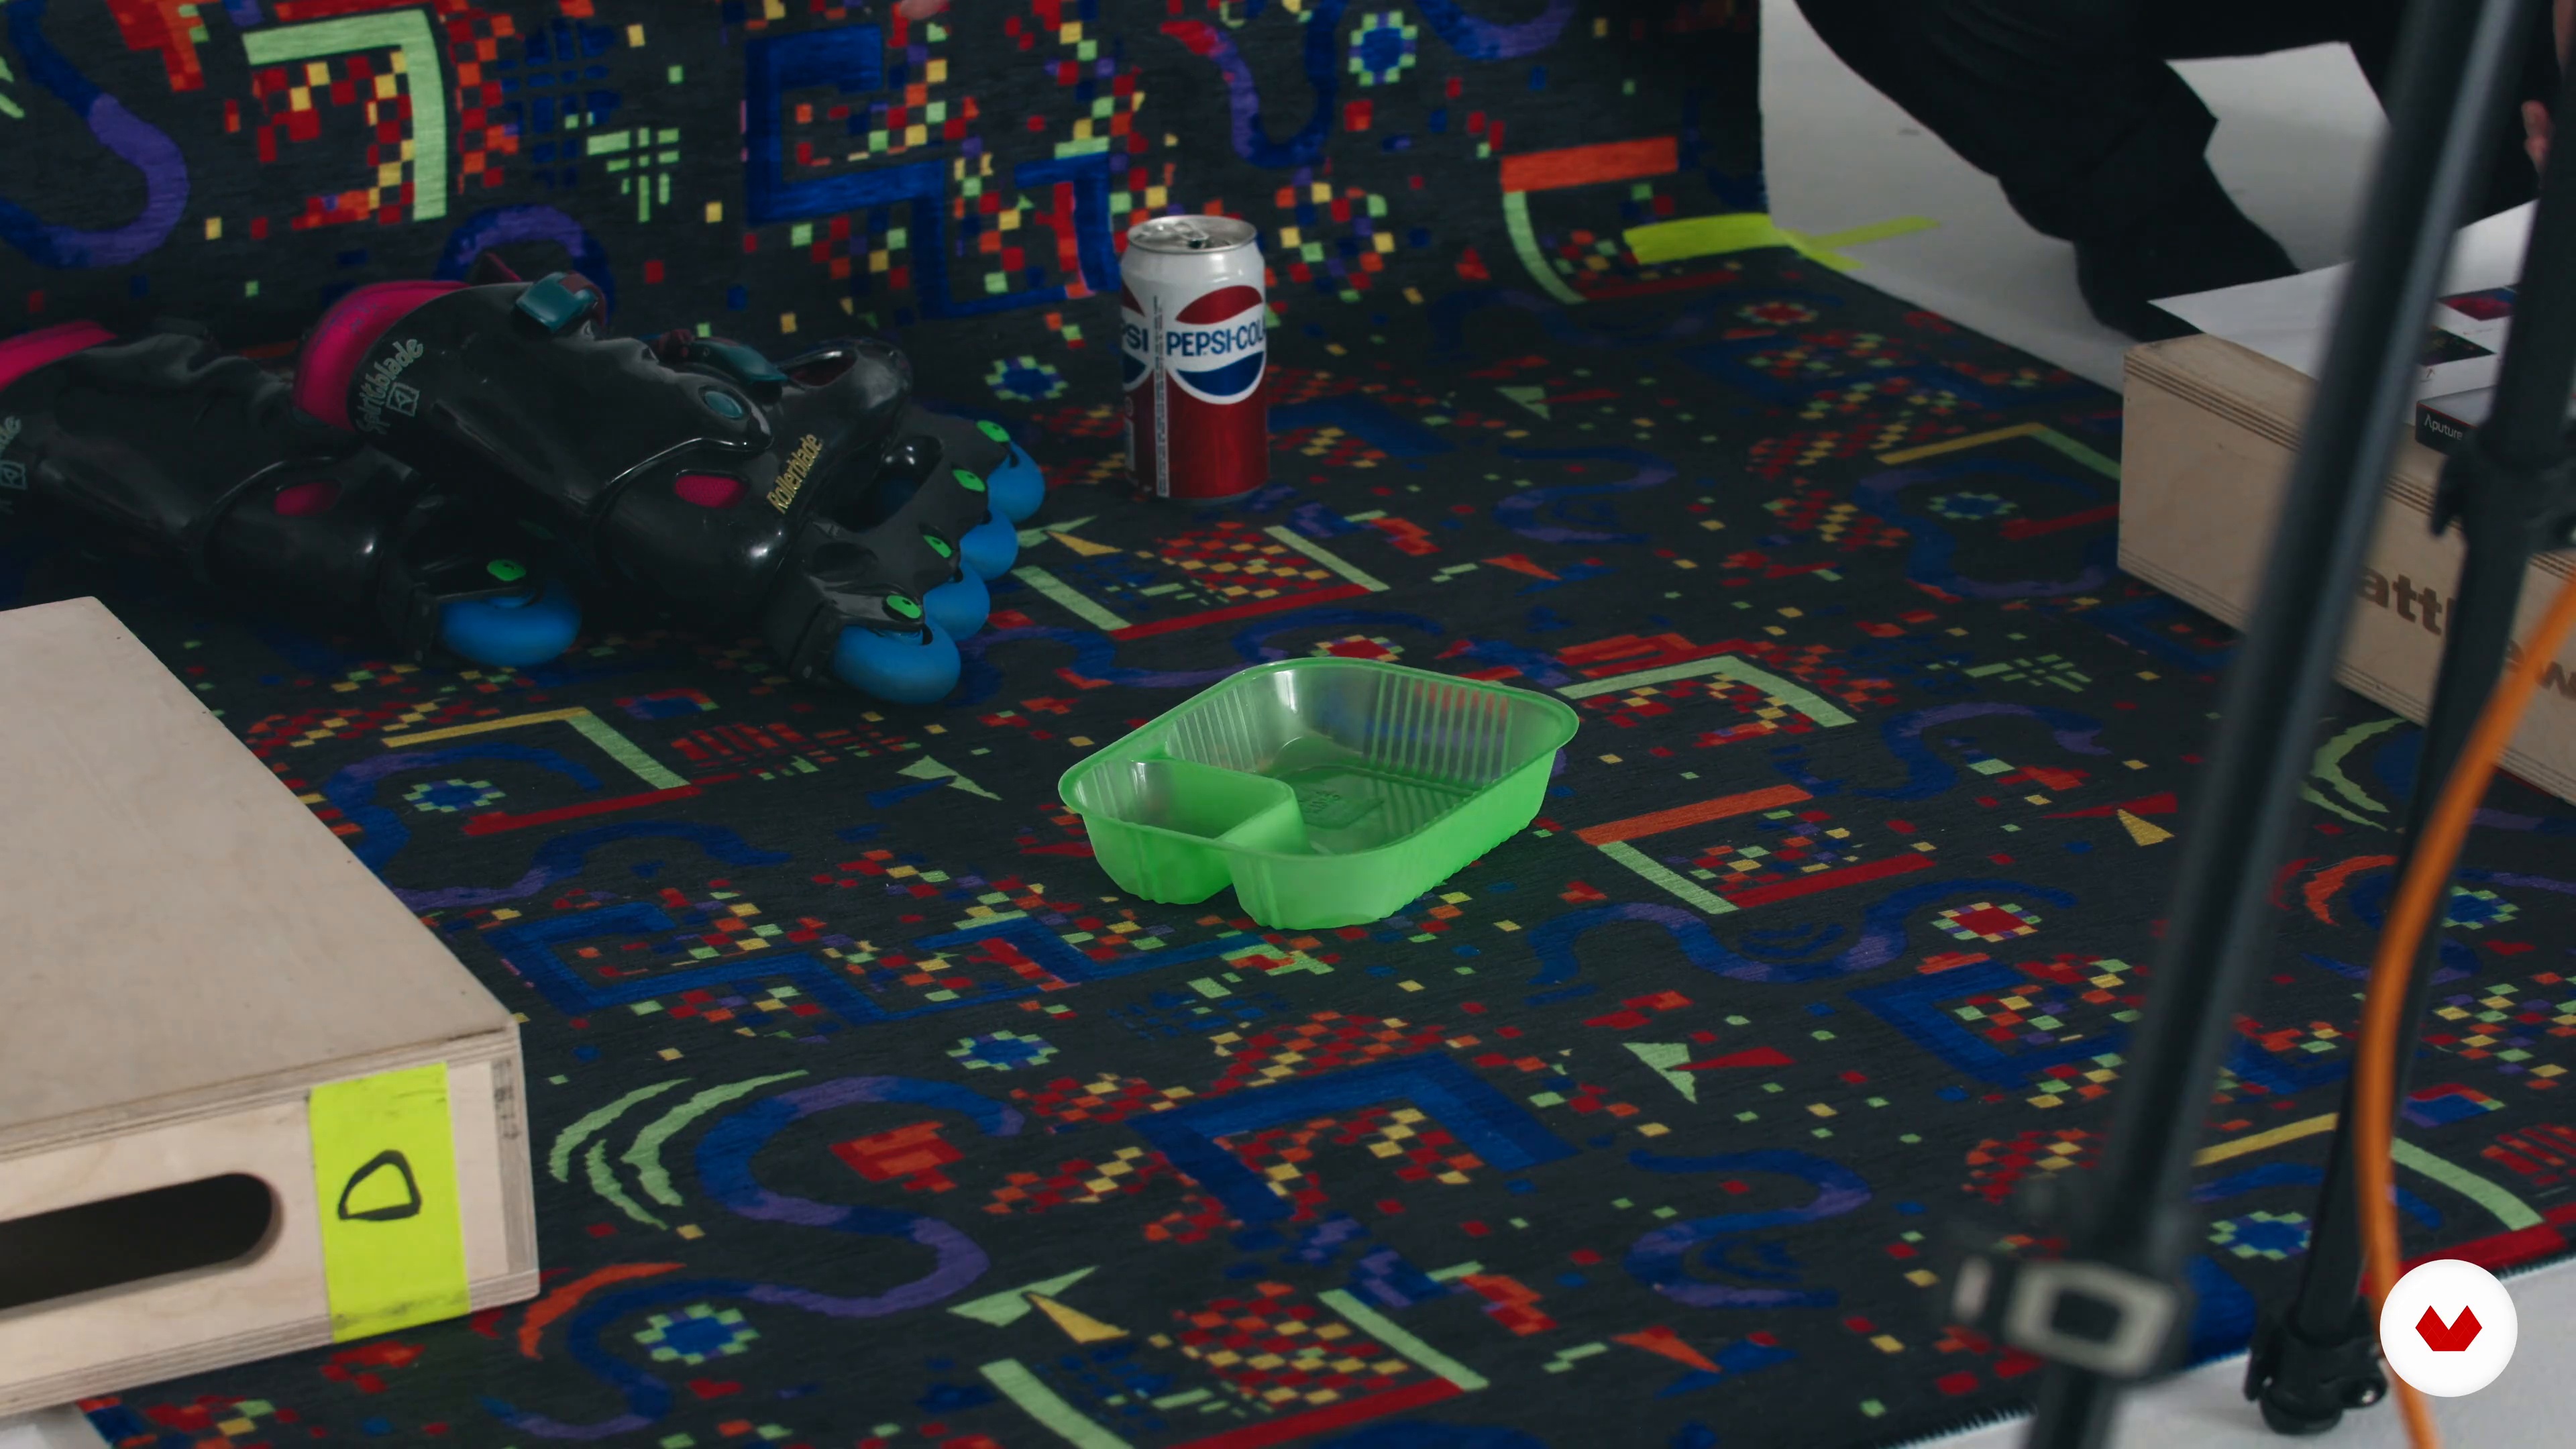
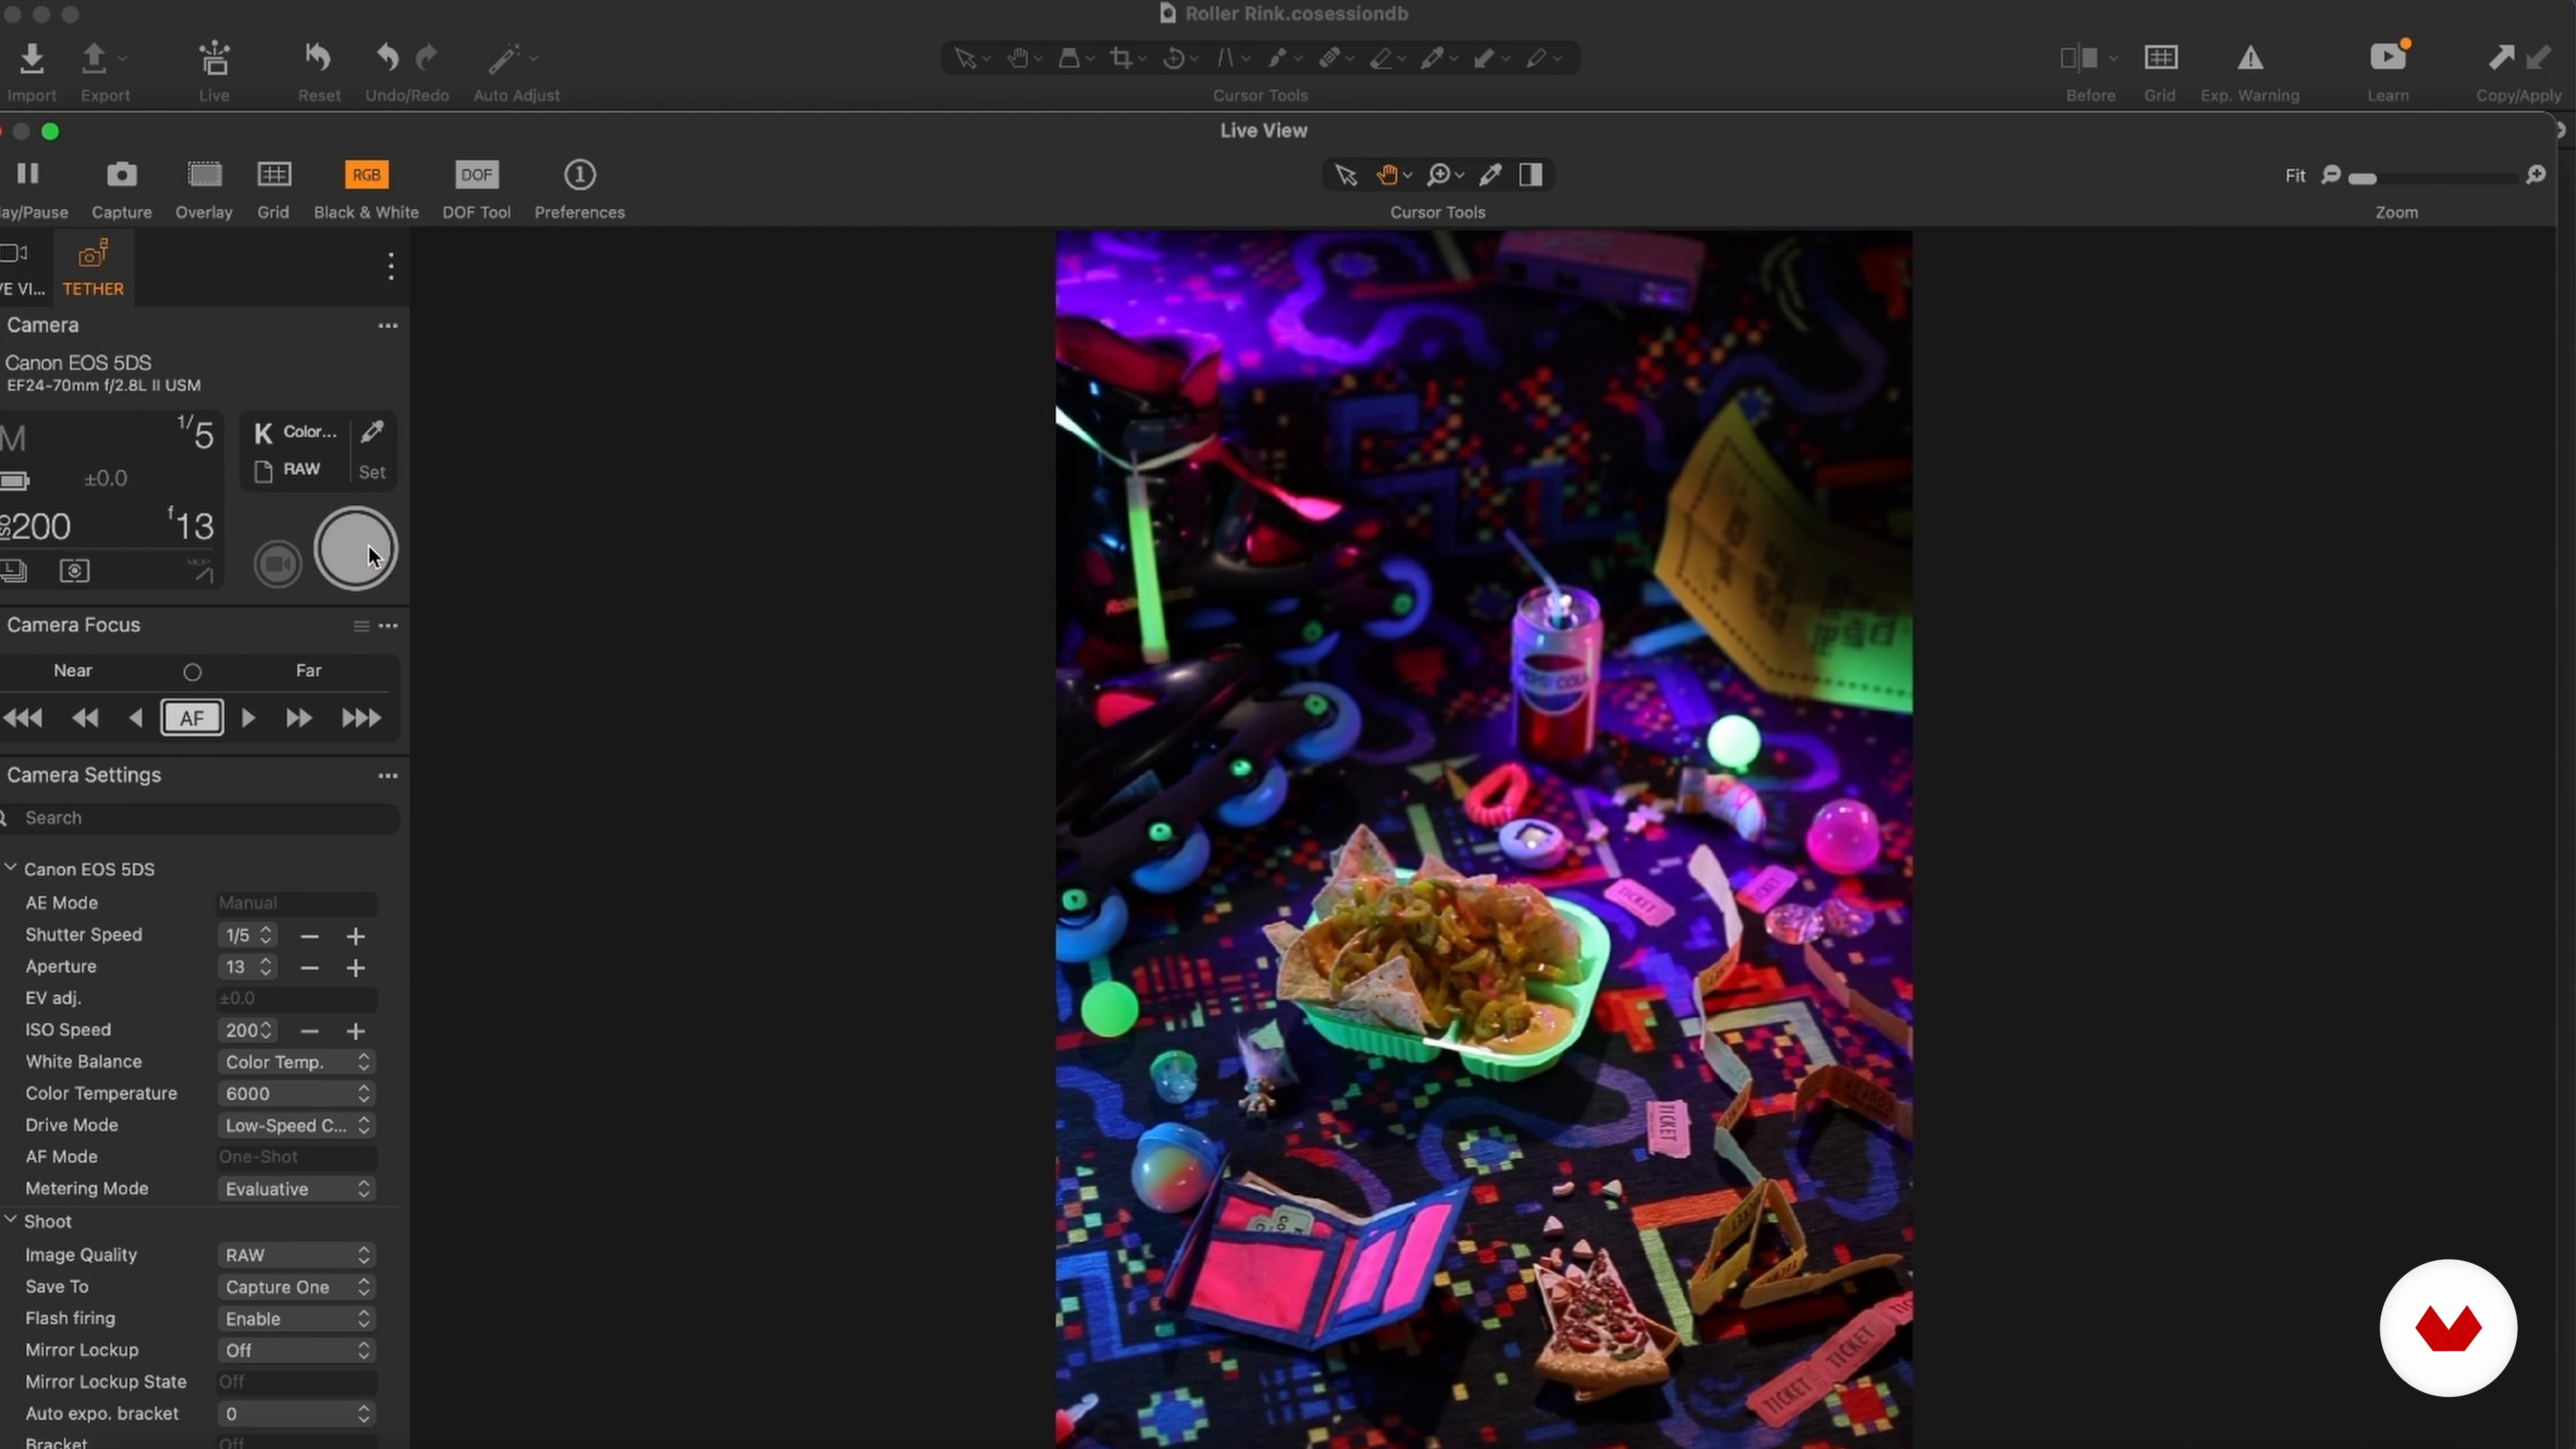
Setting up the Scene with Tethering
Next, we'll start assembling the set using the mood boards as a reference. In addition, we'll discuss how tethering allows you to compose your scene more easily.
2m
image
13
Lighting and Styling
Once the scene has been set, it's time to add in the lighting and style the props to represent the narrative statement.
18m
image
14
Shooting the Final Photo
After a few final touches on the scene, we're ready for the photoshoot! In this lesson, we'll show you how to add the last details and capture the photo.
5m
image
15
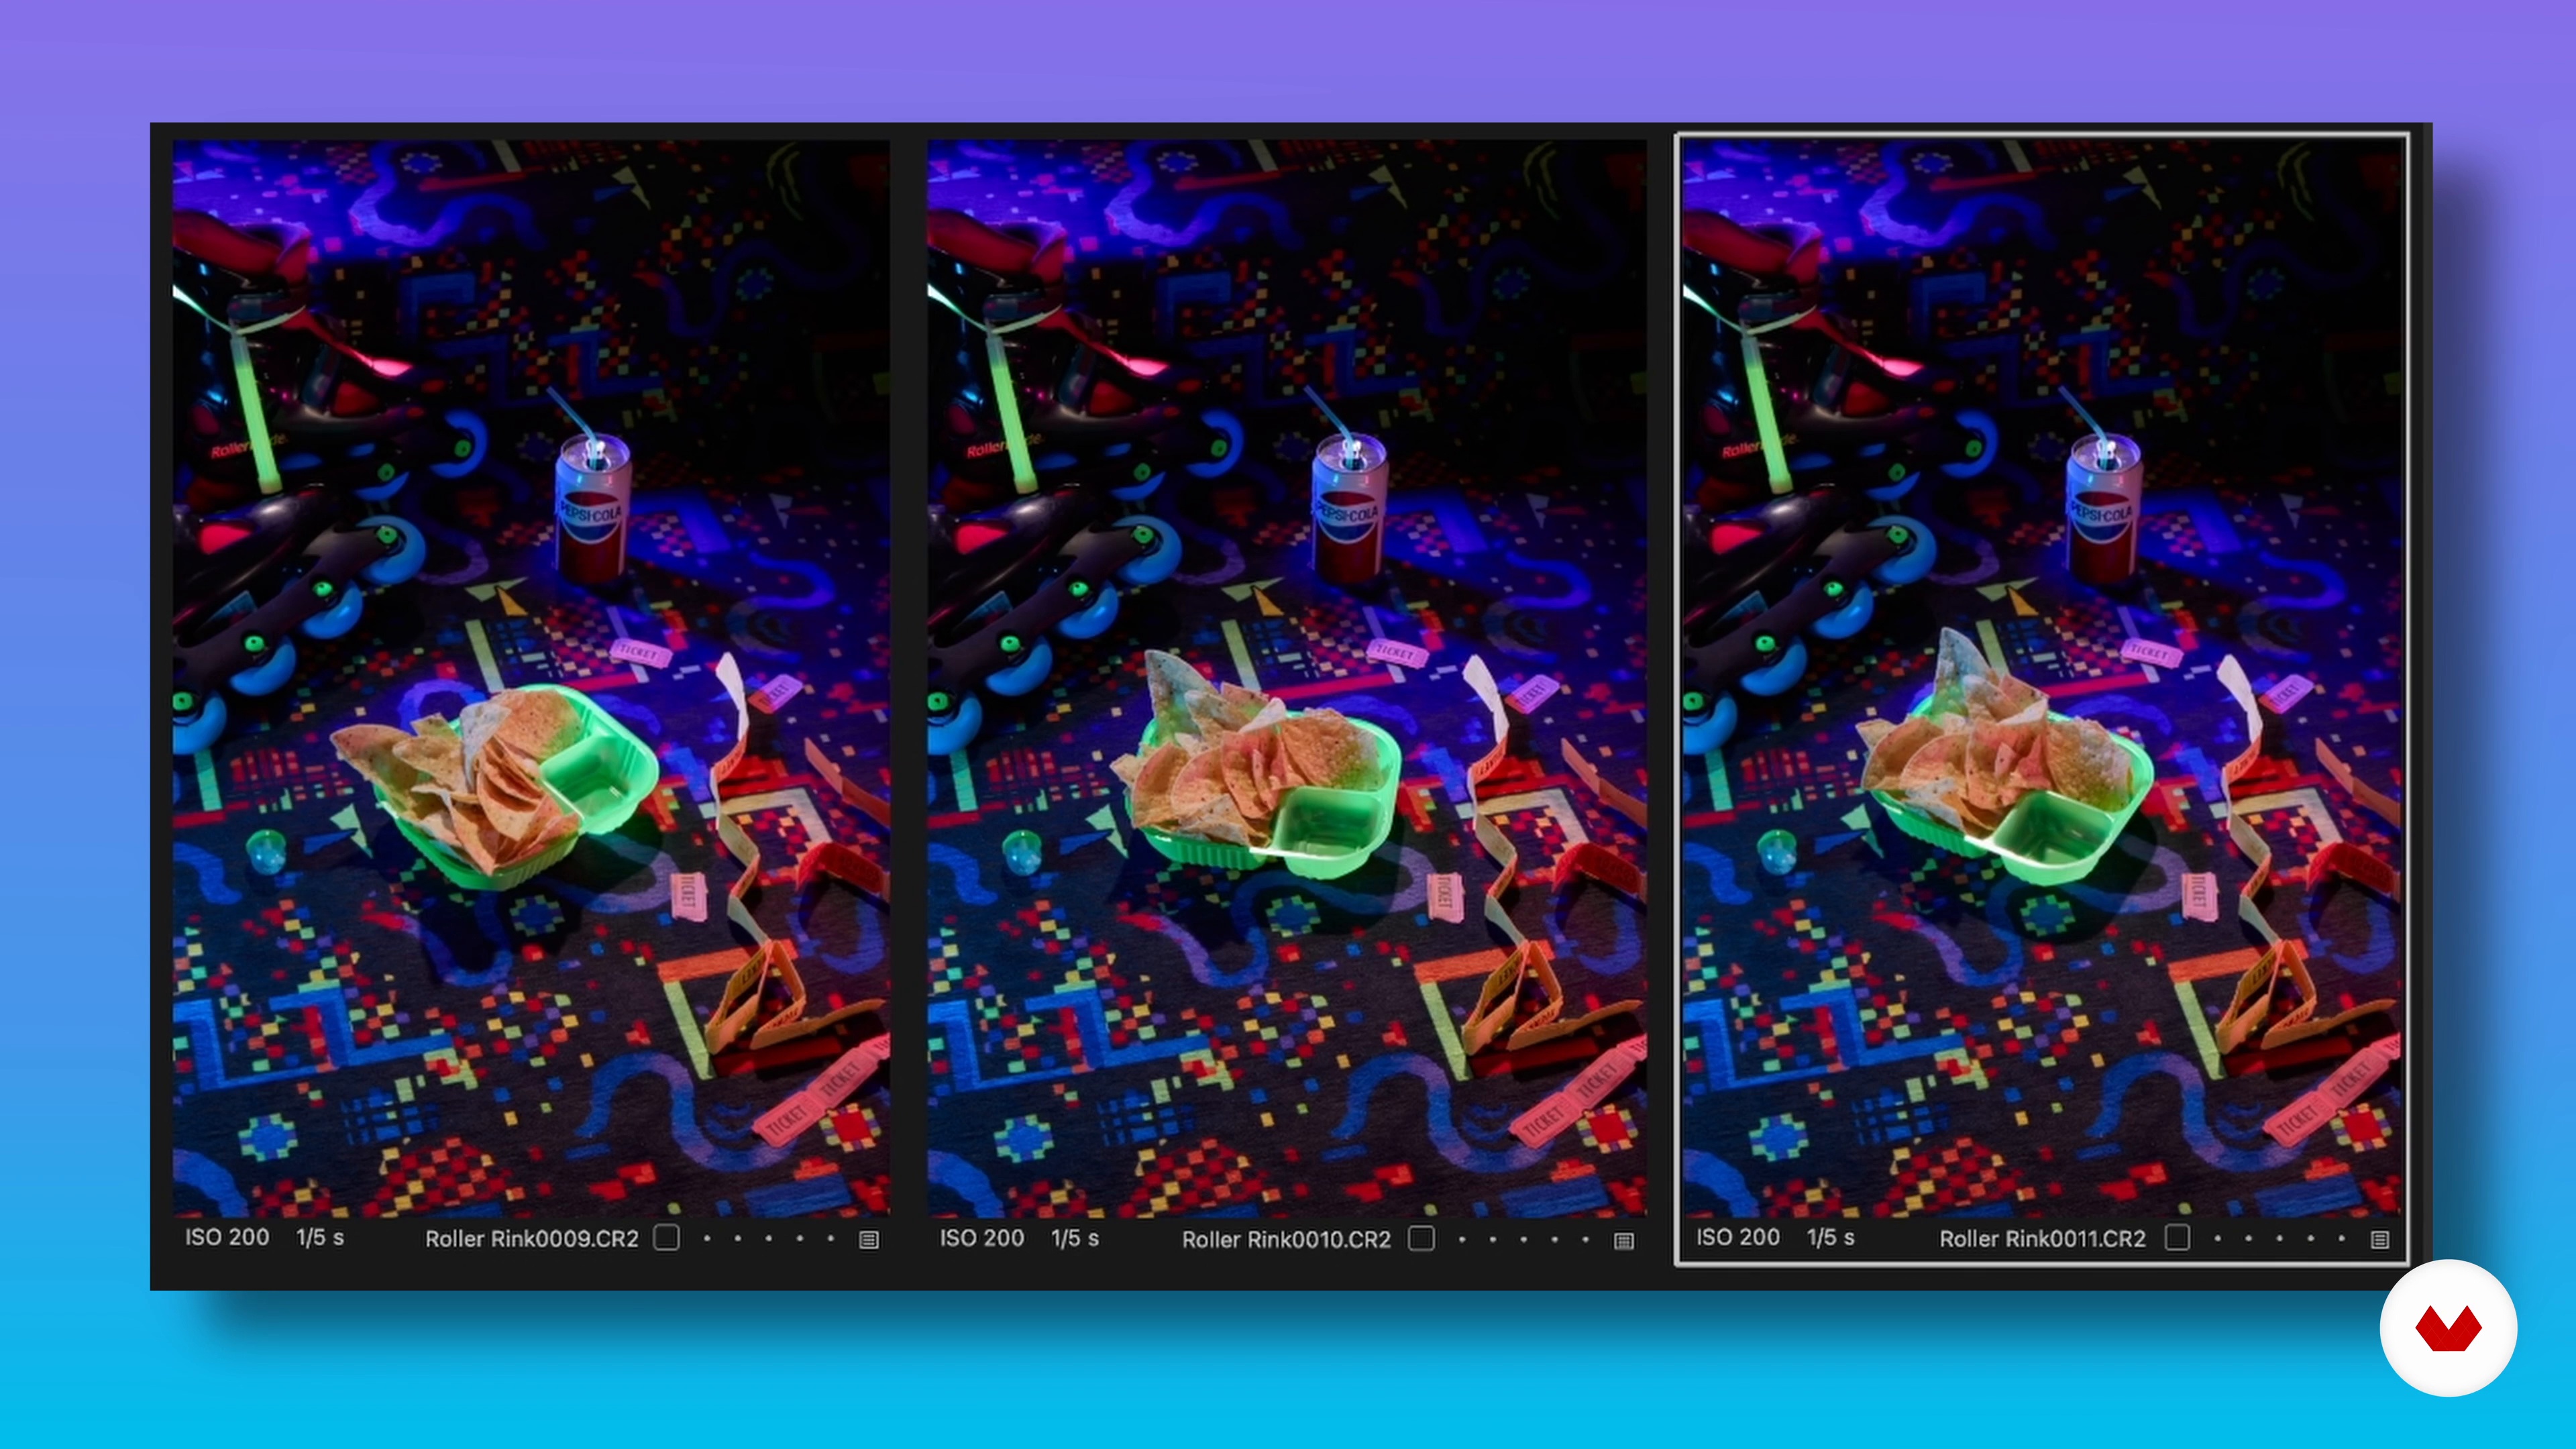
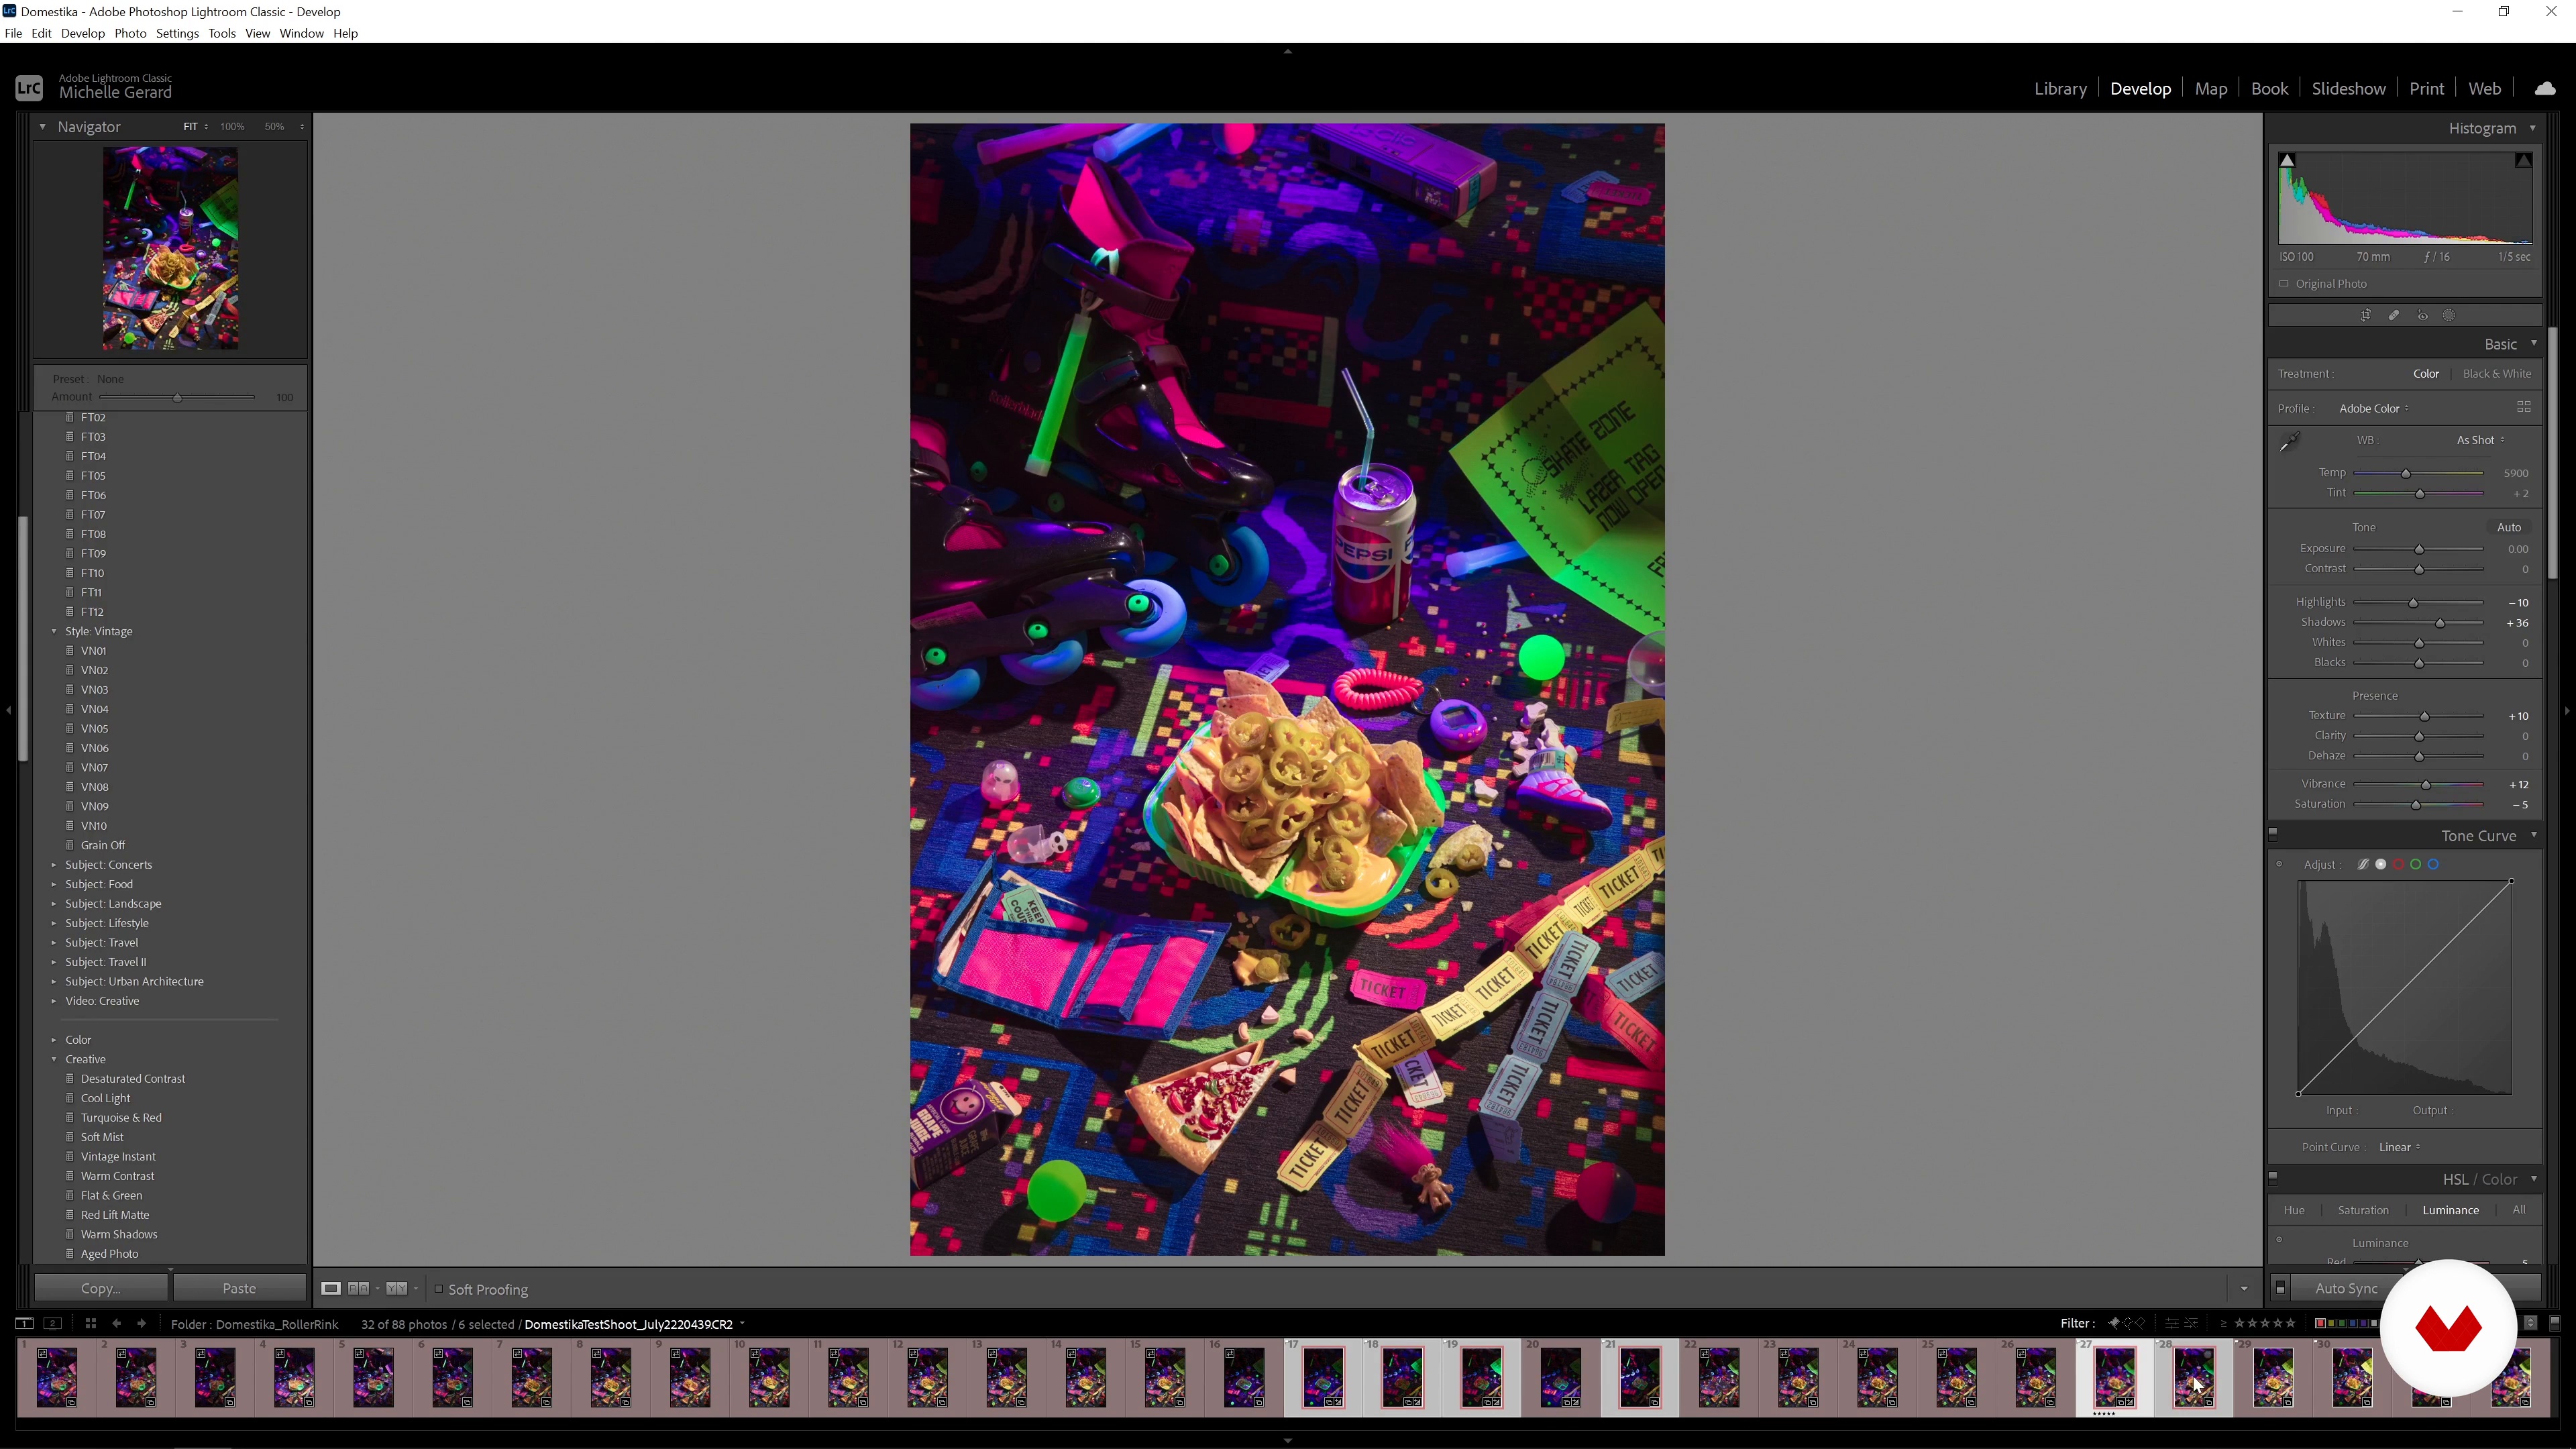
Editing the Final Photo 1
All of our photos will now be loaded into Adobe Lightroom, and we'll review them to choose the best one. Then, we'll discuss how to adjust the basic exposure, color, and sharpness. Next, we'll move to Adobe Photoshop, and open the references to edit the image using color grading, contrast, saturation, and so on.
17m
image
16
Editing the Final Photo 2
Last but not least, we'll teach you how to merge the layers in Photoshop and start working on smaller details in order to clean up and finalize the image.
14m
image
3
Colors
This lesson will focus on the importance of color choices and color combinations. How can you harness the power of color to achieve the desired mood and impact?
4m
image
4
Shapes
We will now talk about the importance of shapes! You will learn how we use shapes in our work and how to create your own.
2m
image
5
Food and Props
Let's turn our attention toward food and props! We will teach you how to best select and source them, as well as styling techniques to consider when deciding on your preferences.
4m
image
6
Research and Mood Board
In this lesson, we will cover where to find inspiration for your course project and guide you through the process of creating a mood board.
2m
image
7
Sketching
Why is it so important to create concept sketches and a plan for your set? Find out in this lesson! We will walk you through this preparation process and explain how it helps.
3m
image
8
Planning the Lighting
Next, we will introduce the topic of lighting! You will learn why it's important, as we guide you in choosing which lighting is best for your image.
1m
image
9
Set Creation
In this lesson, we will show you how to refer to your concept sketches to create and build your set. To do this, we will walk you through how to assemble any necessary studio equipment required for the set-building process.
8m
image
10
Styling
Next, we will show how to organize your props on the day of the shoot, style your scene, and keep your props looking their best.
5m
image
11
Lighting
By now, your scene should be coming together nicely. The final touch to perfect is lighting. In this lesson, we will teach you how to ensure optimal lighting as well as demonstrate the importance of light modifiers.
2m
image
12
Photography and Initial Adjustments
Your set is ready! We will now guide you through the process of capturing your final image, beginning with setting up your camera. From there we will move on to tethering your camera and finally photographing your scene. We will also go over applying initial color and lighting adjustments to your selection in Lightroom in order to begin the editing process. Then, we will teach you how to export the image as a JPEG or into Photoshop.
12m
image
13
Postproduction: Editing in Photoshop 1
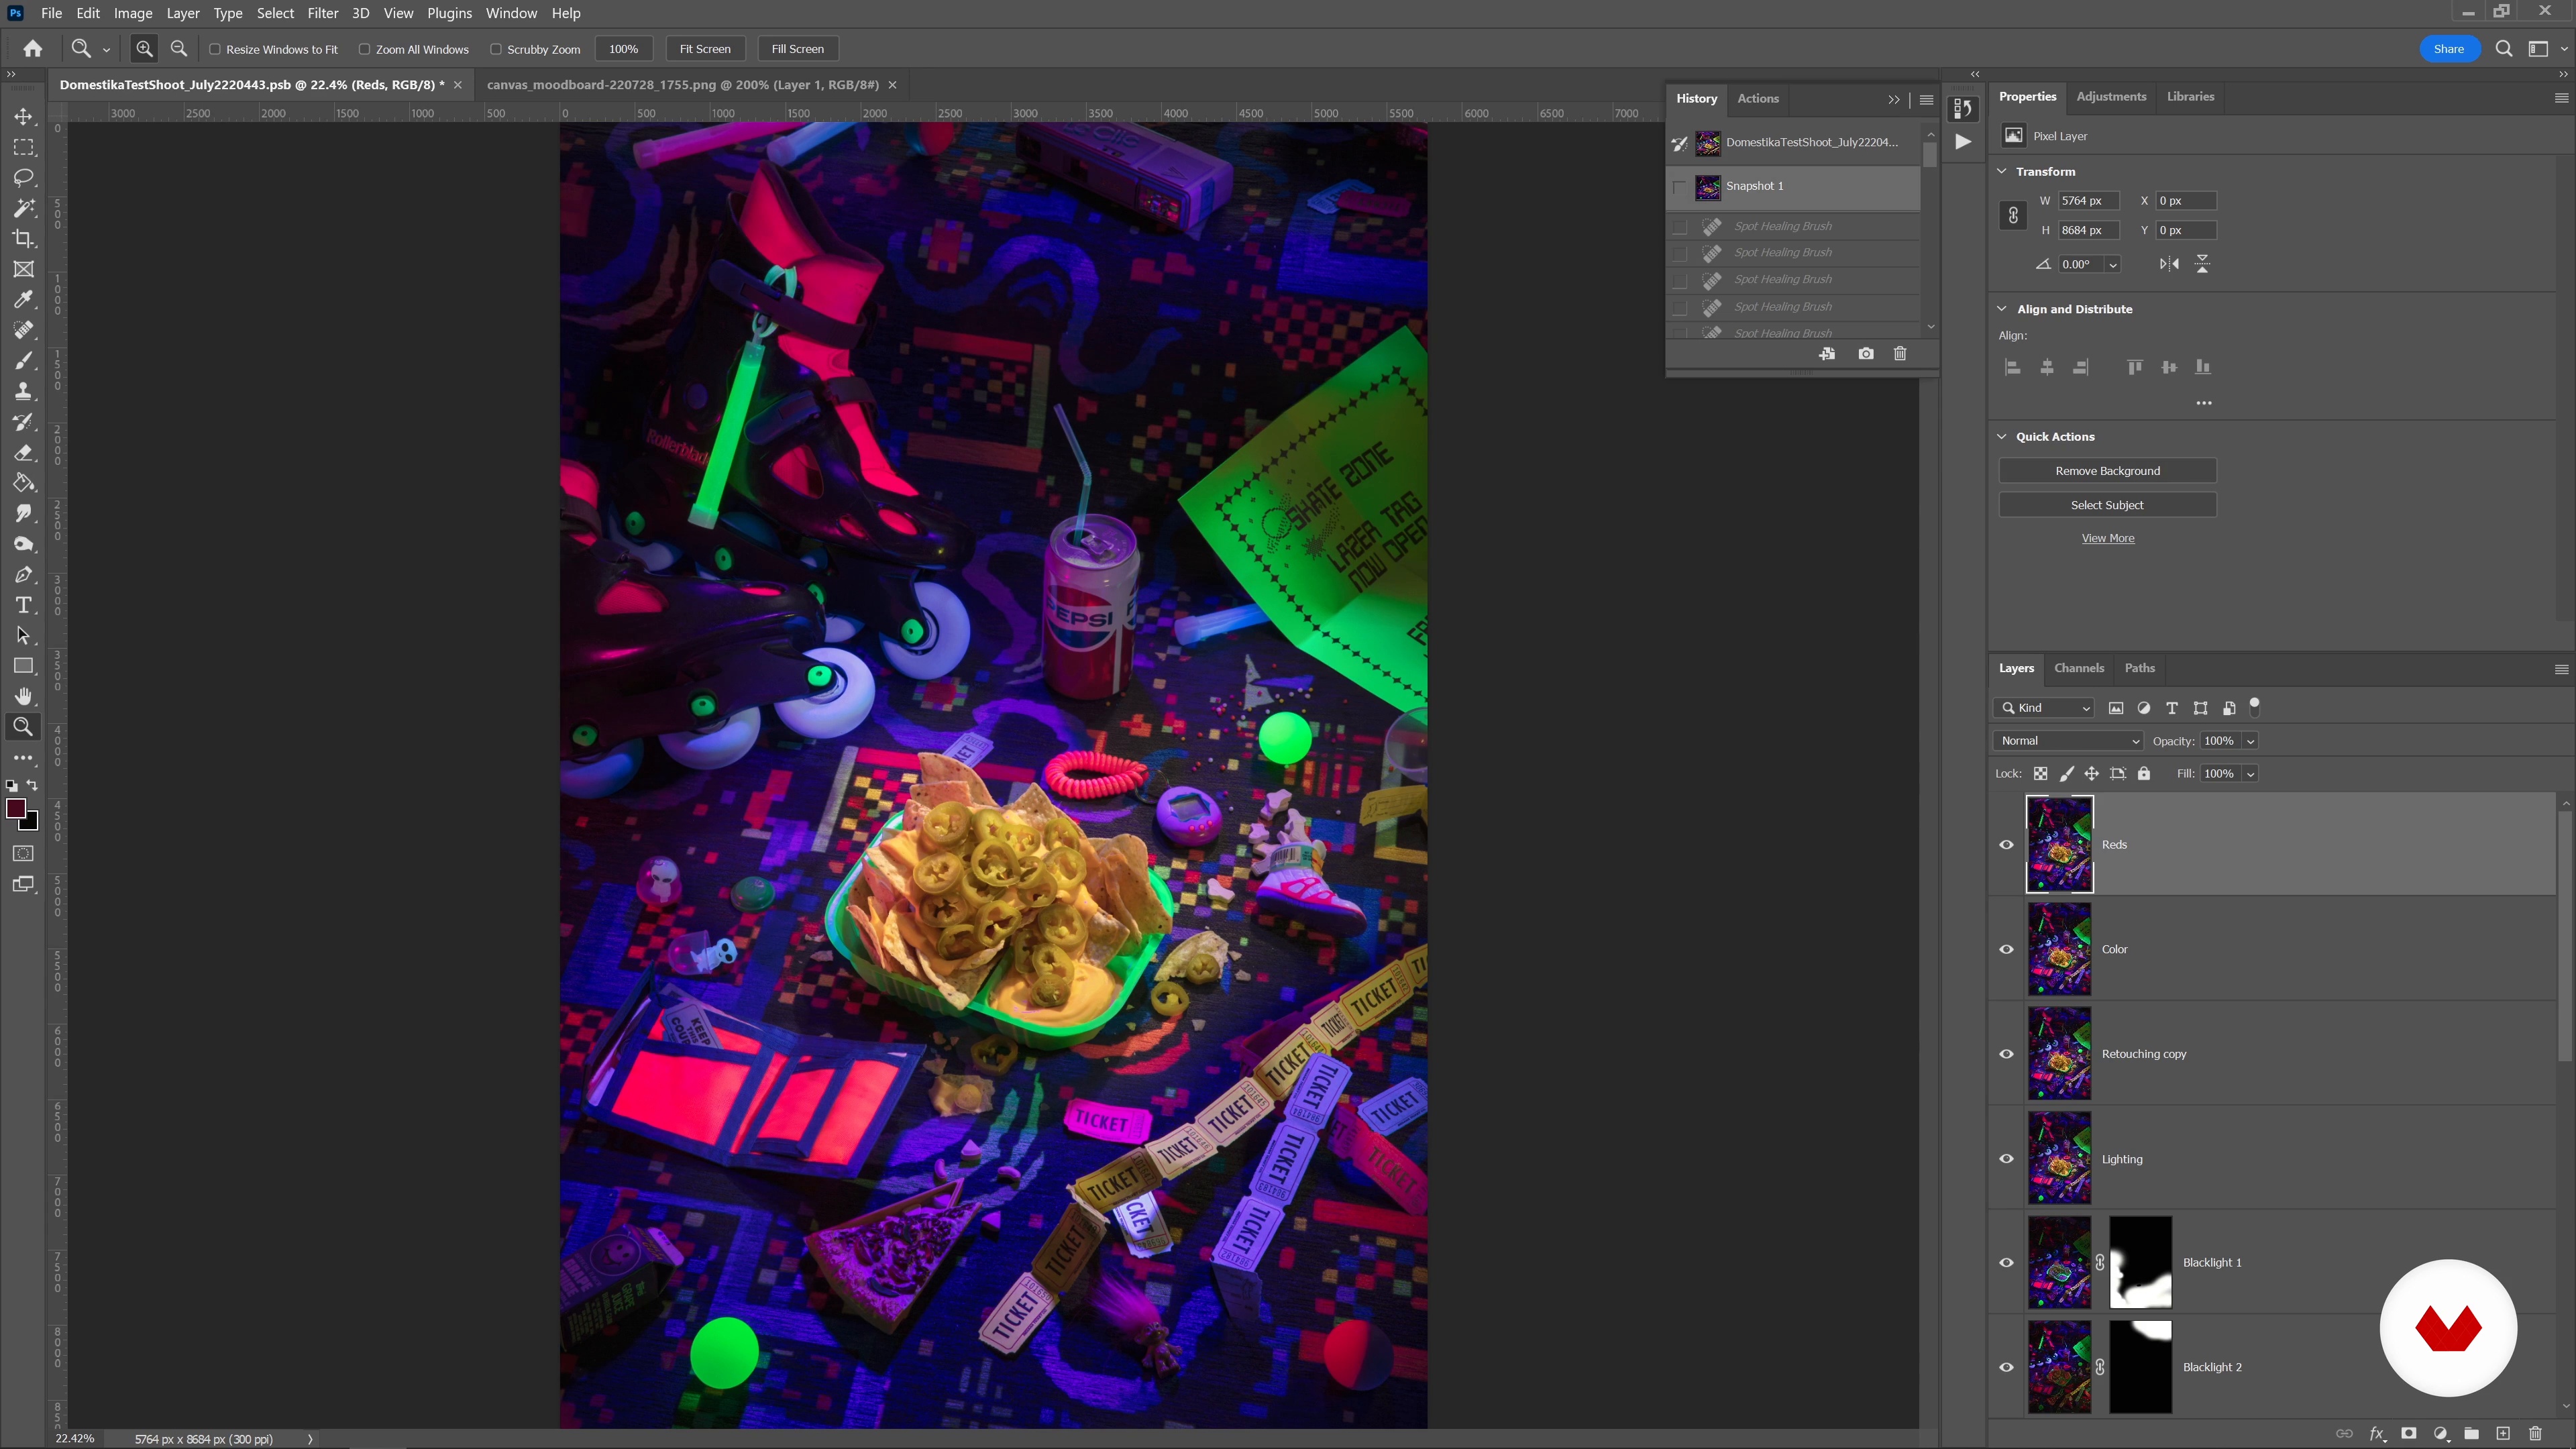
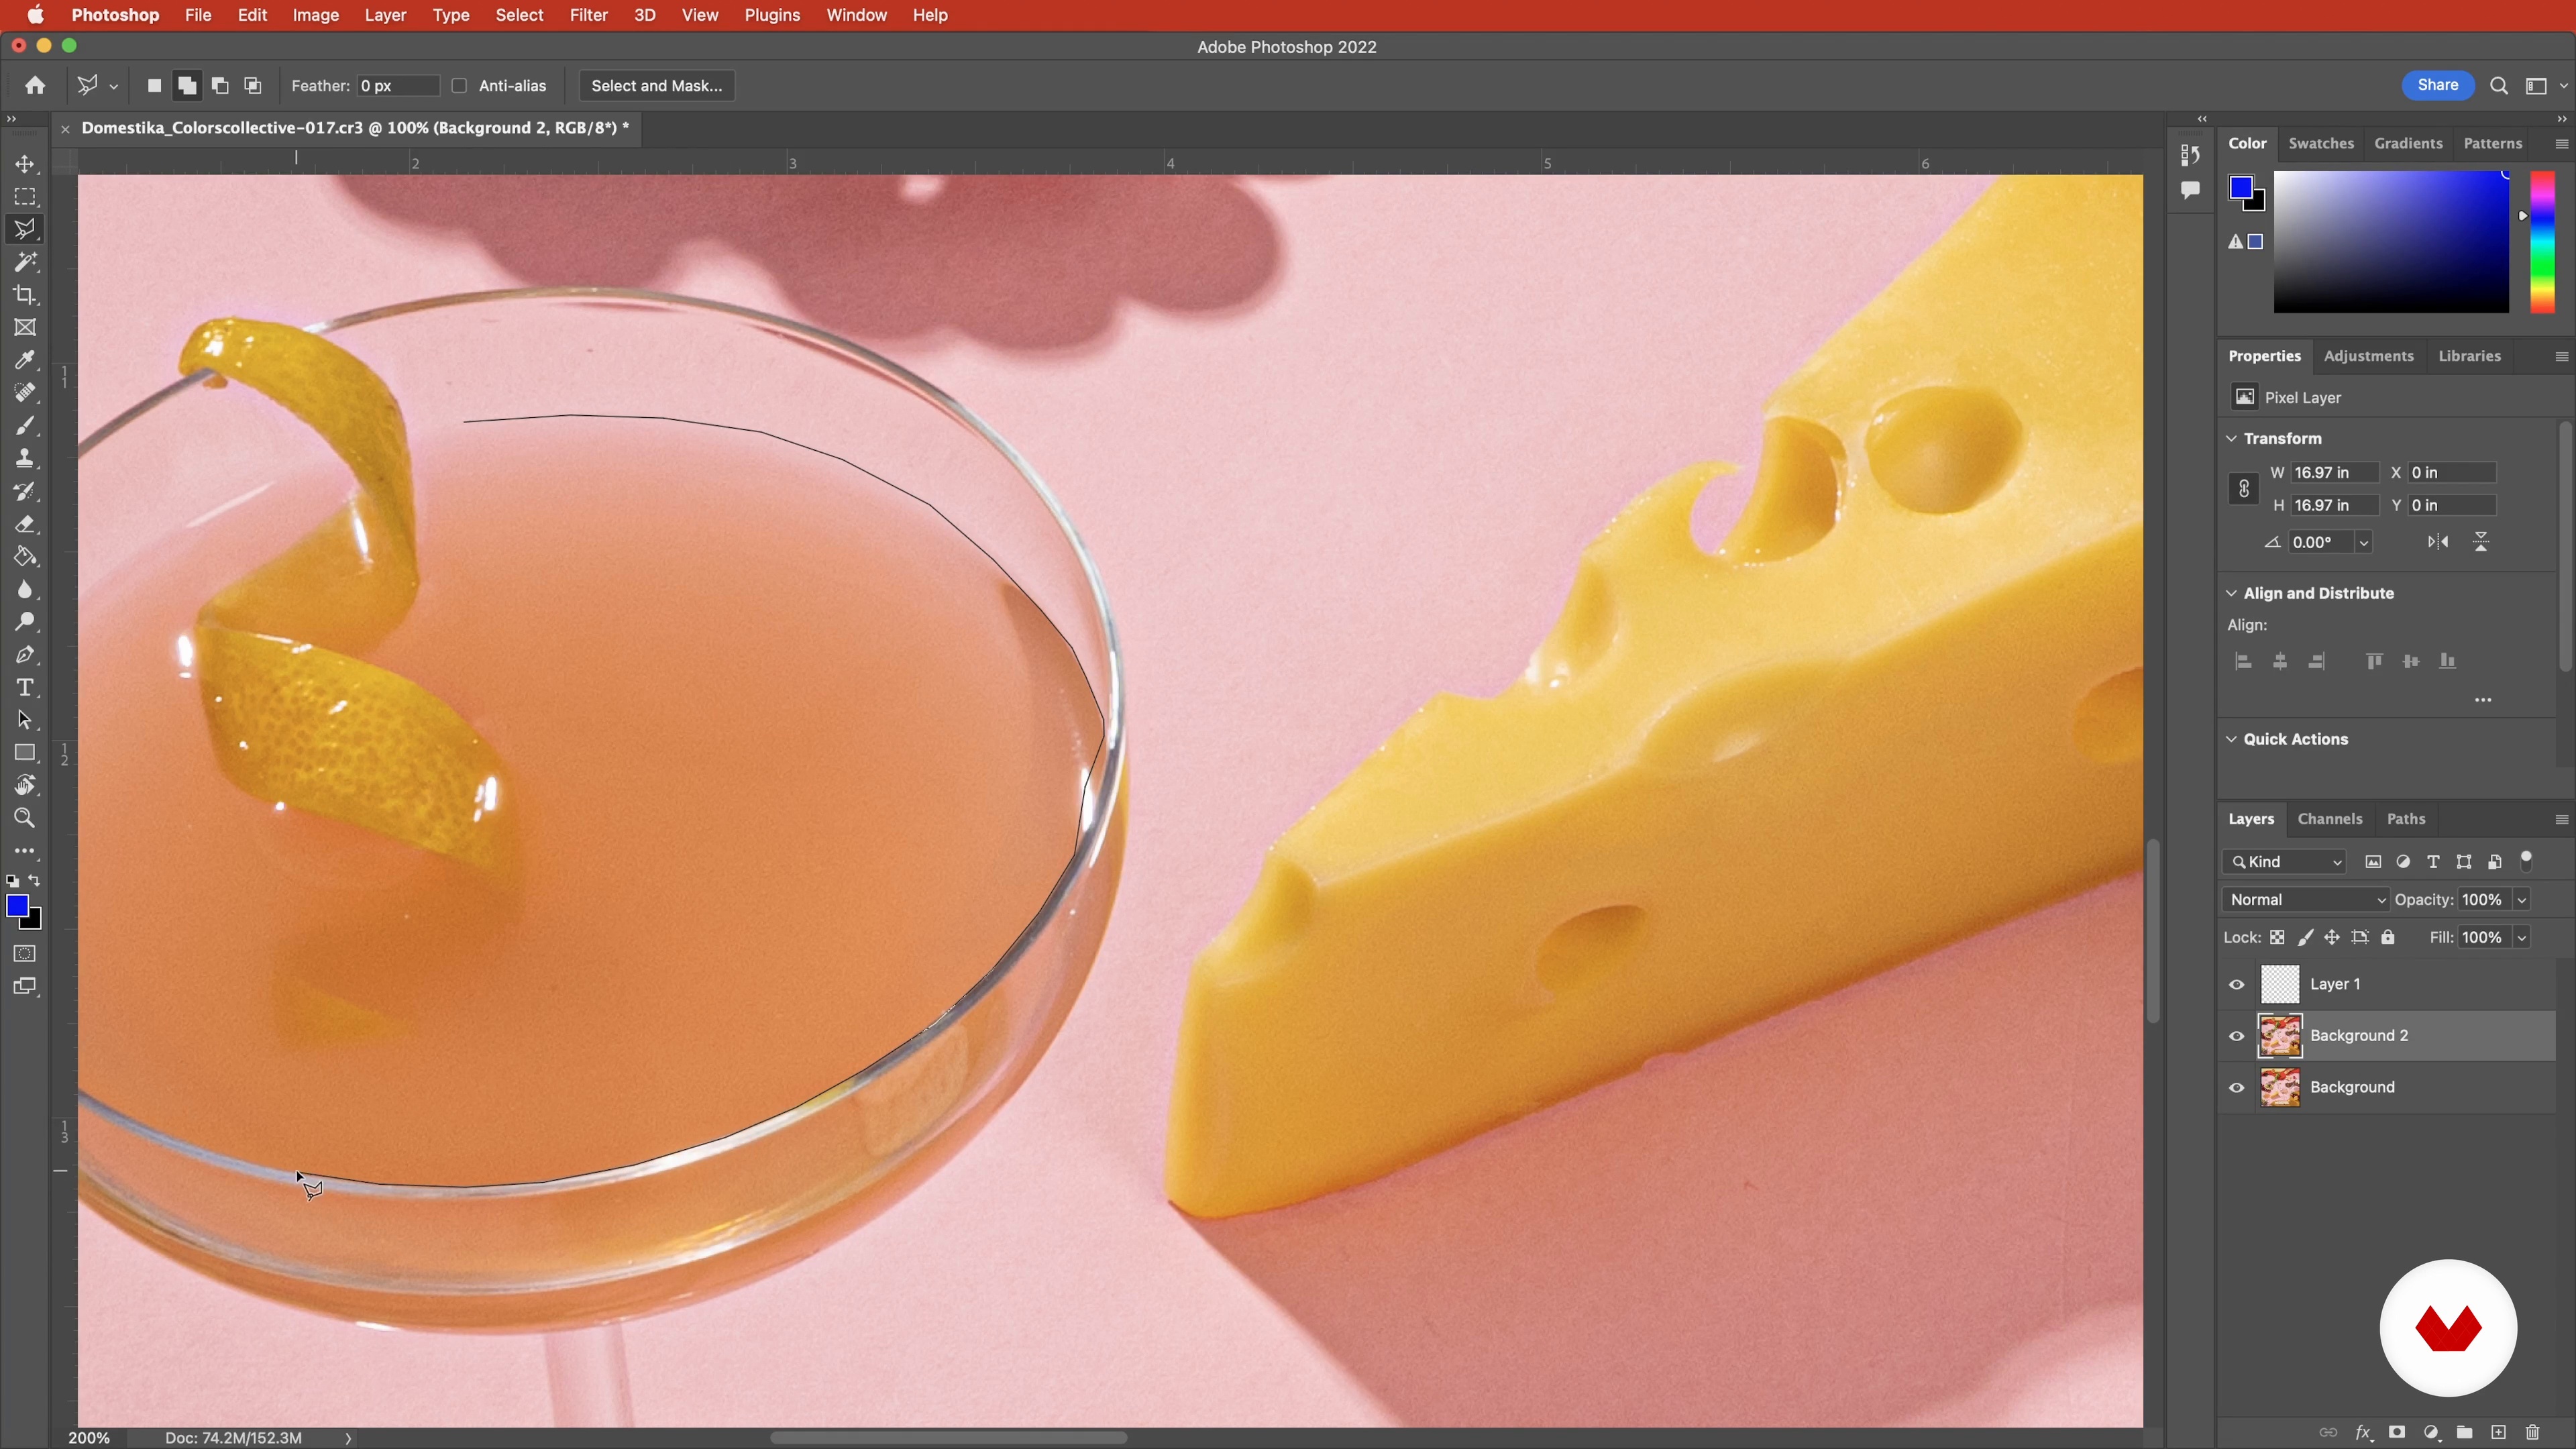
In this lesson, we will go over our retouching process for our selected photo. To start with, you will learn how to use the "Spot Healing Brush" tool to begin the initial clean-up process.
8m
image
14
Postproduction: Editing in Photoshop 2
In the second part of this lesson, we will continue to identify and make minor adjustments to the image to improve its quality, such as adjusting the brightness of the beverages. Let's go!
13m
image
15
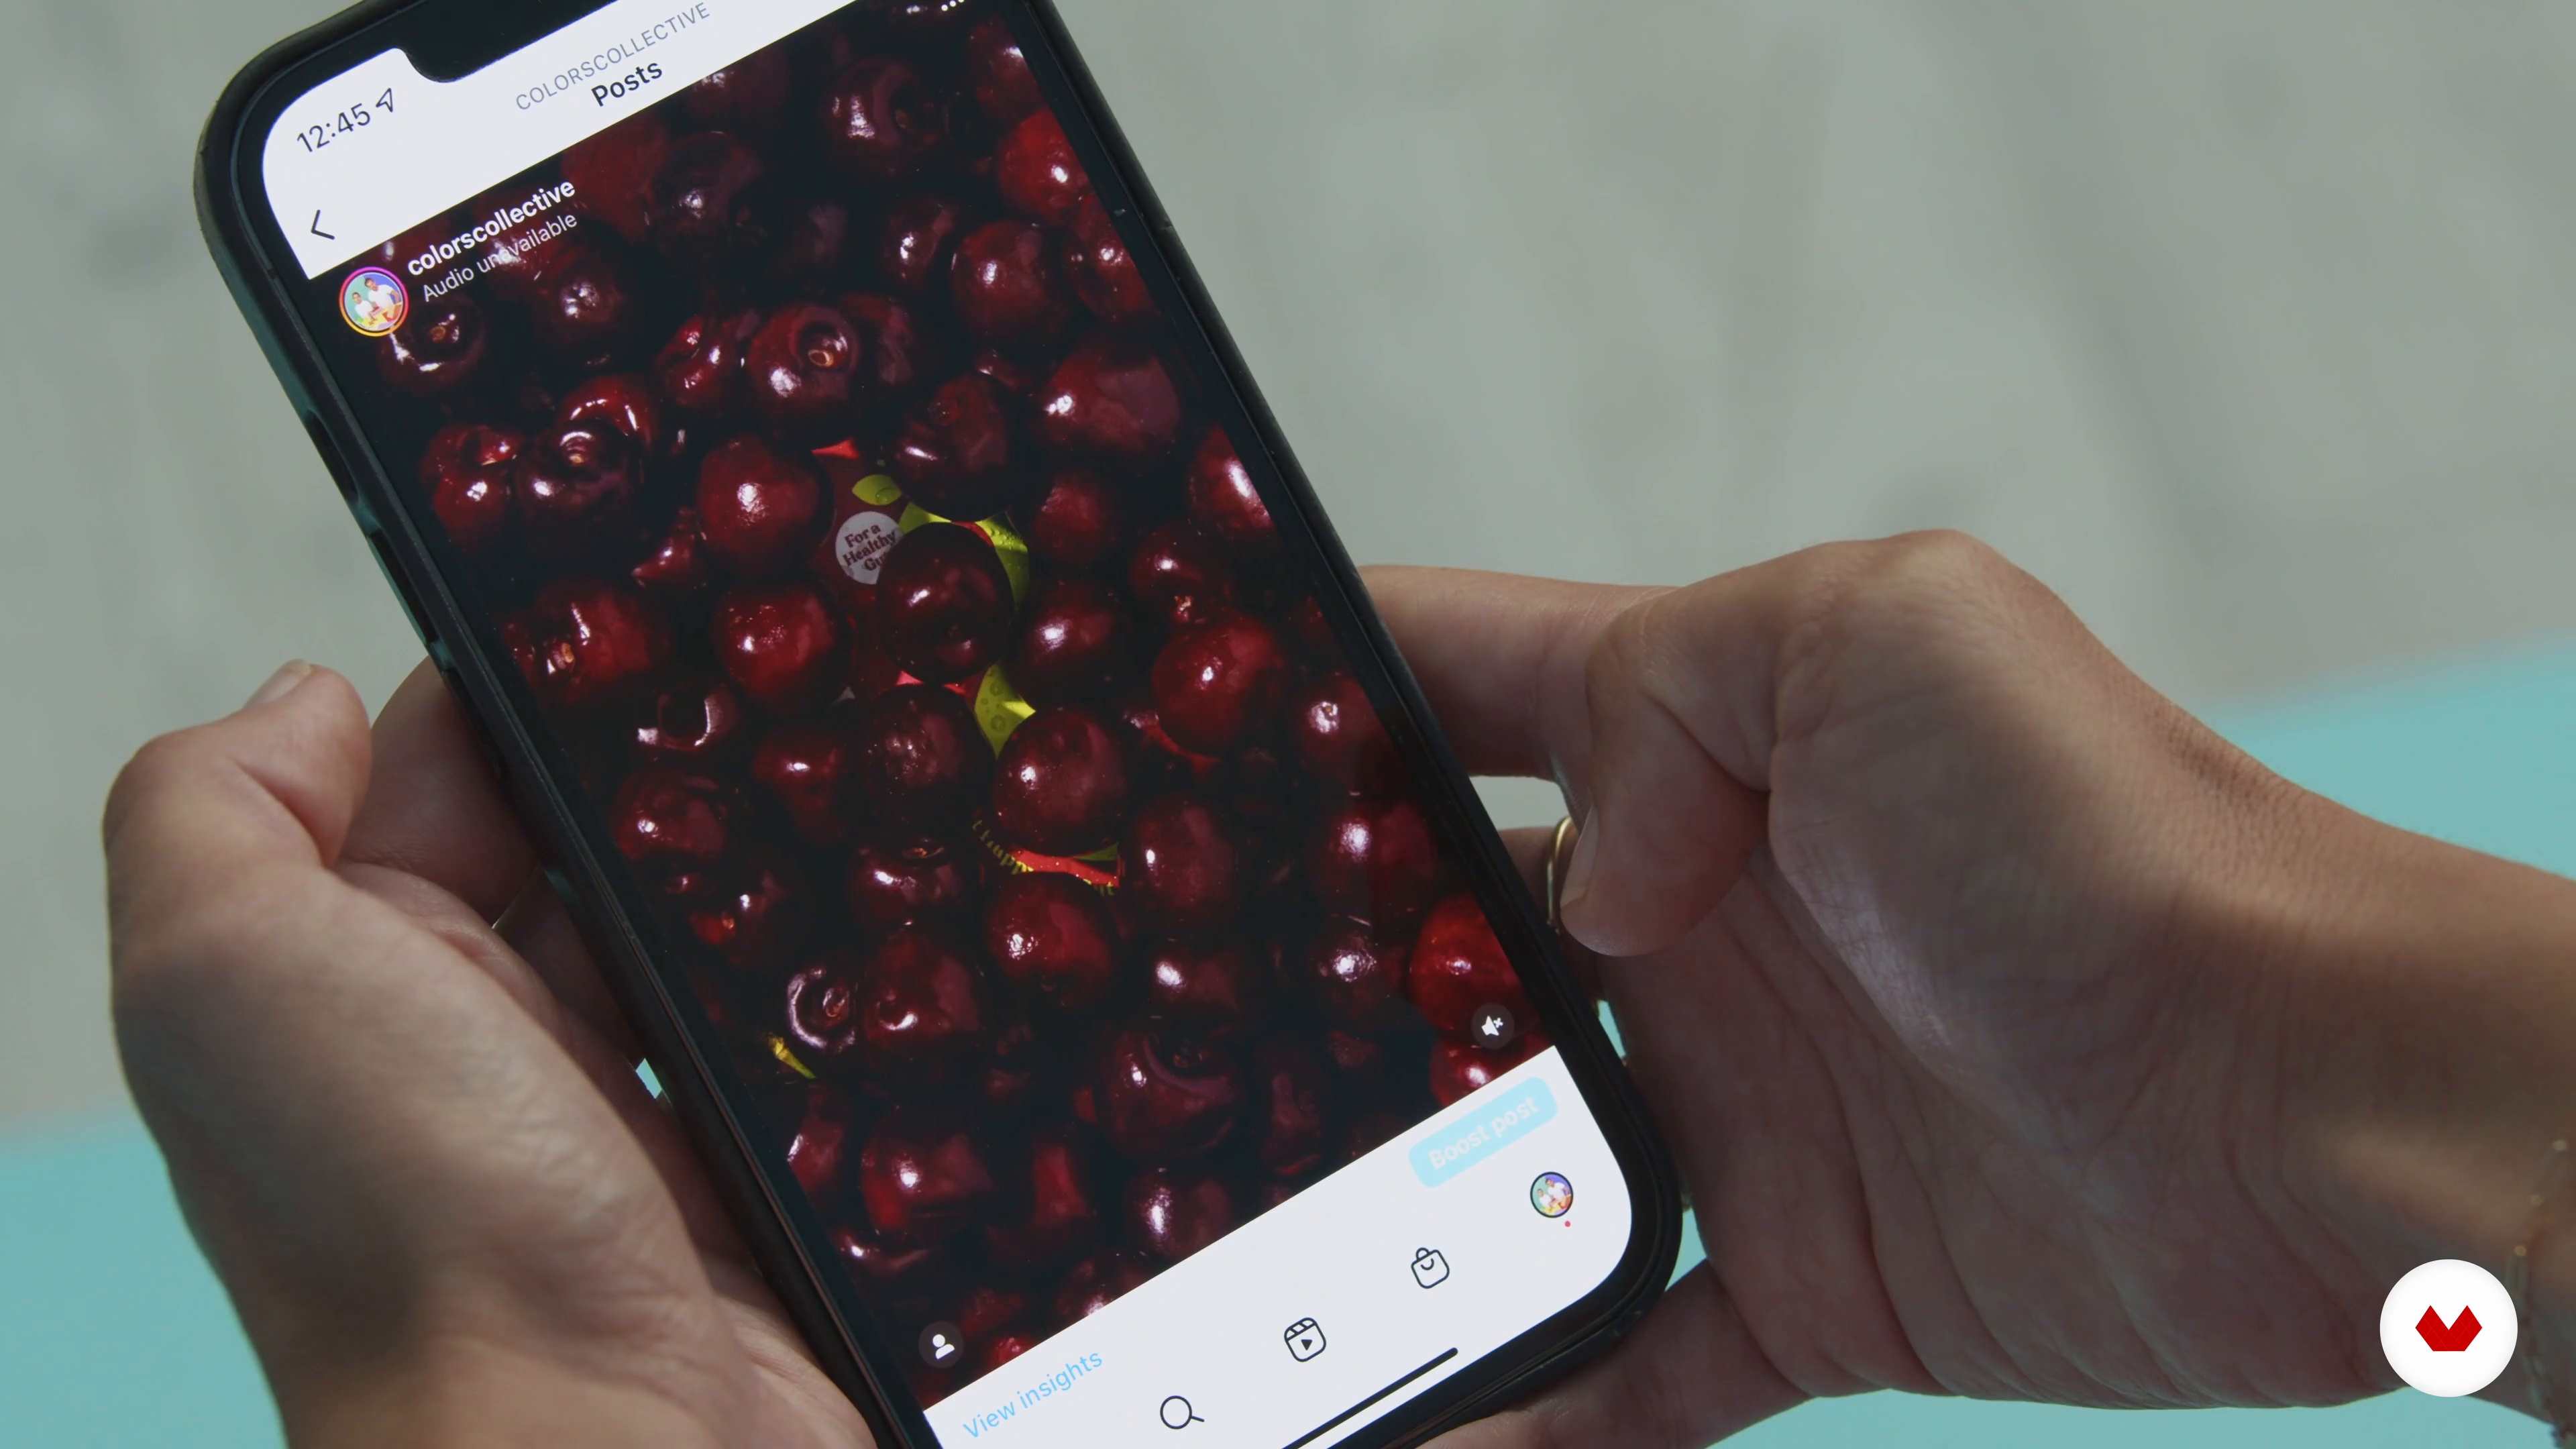
Social Media and Monetizing
Finally, we will talk about how social media has helped us to build our client base and grow our business. You will learn how we use social media to network, as well as why consistency in sharing your work is important. To conclude, we will cover how we use the process taught in this course to make money!
1m
image
3
Elements and Principles of Design
Let's start by learning about the elements and principles of design. Respectively, these are the tools and the rules that will help you create compelling images. They are the foundation of every project I work on.
14m
image
4
Every Picture Tells a Story
This lesson will teach you how to compose your photographs. You'll learn about the six foundational compositions and the styling aesthetics that I regularly use.
9m
image
5
Working with Camera Angles
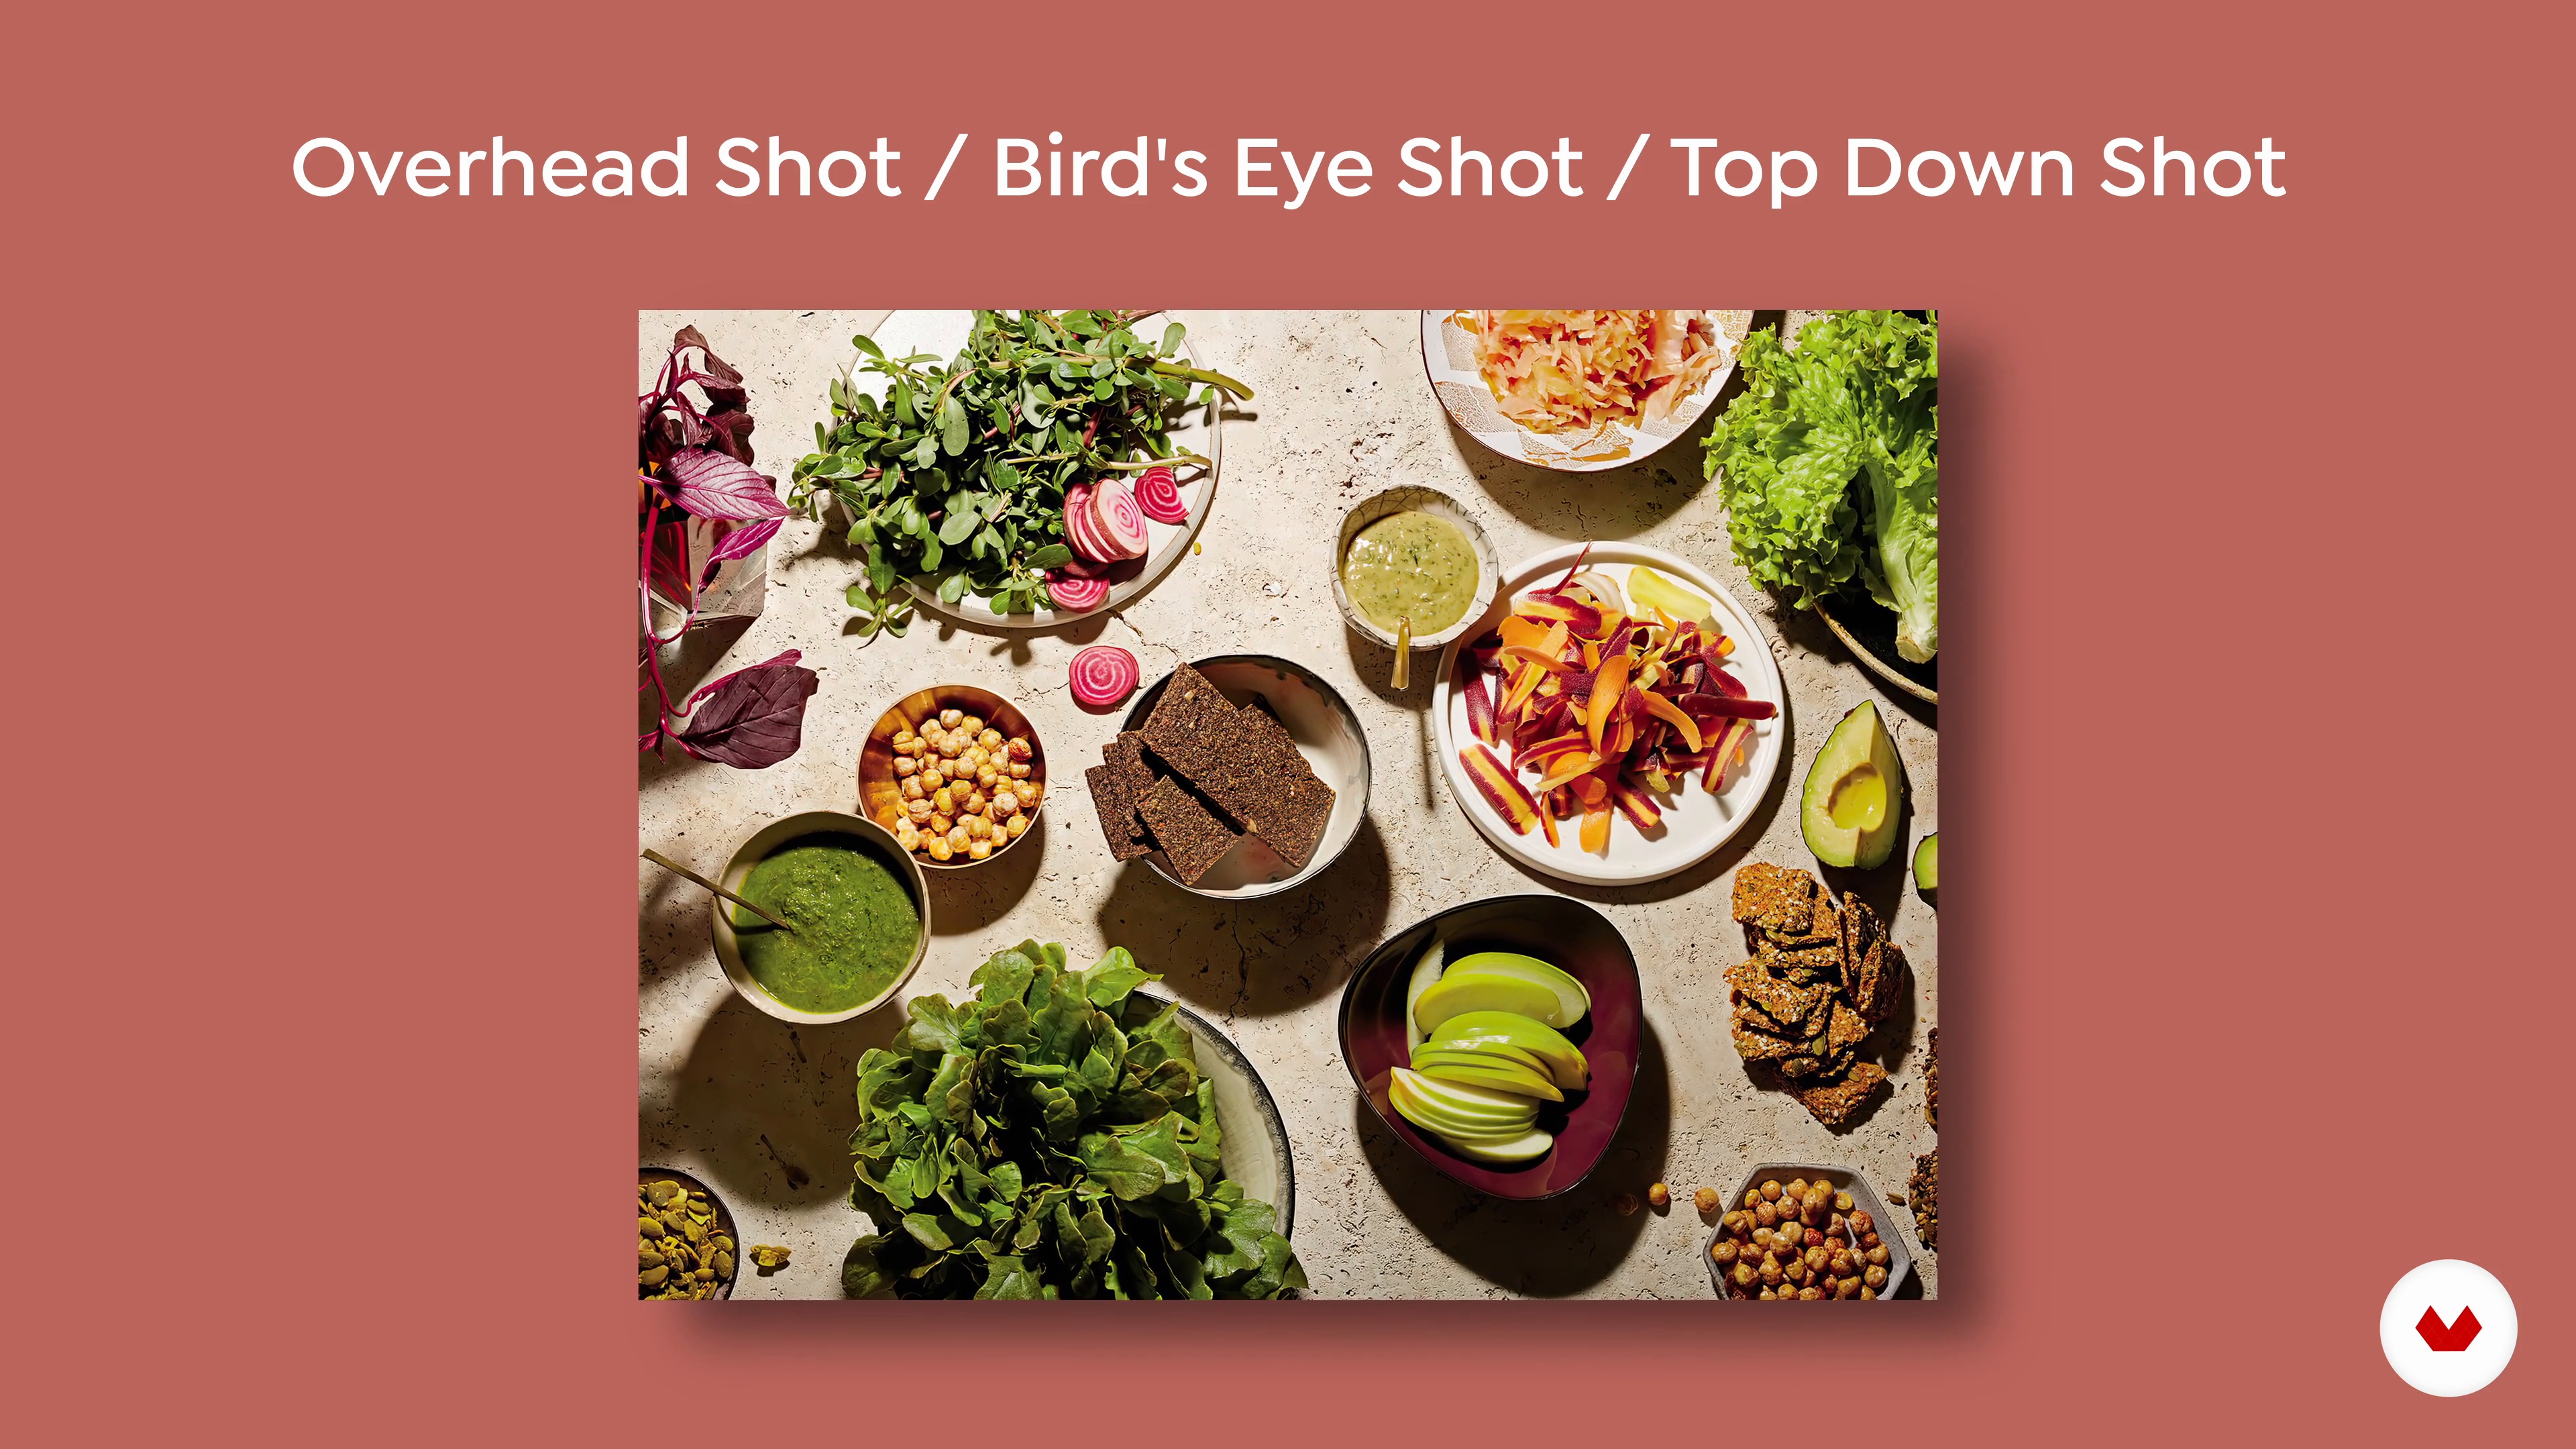
There are four foundational camera angles in food photography. This lesson will teach you how to distinguish them and know when to use them.
3m
image
6
The Power of Light
Light affects the mood of your pictures. It is important that you understand light and how best to position any source of lighting, even if you're not the one who takes the picture. Let me guide you through the basic notions of light and shadows.
4m
image
7
The Narrative
To start with, I will guide you in conceptualizing a story/narrative for your campaign. To do so, you'll have to take into account your target audience and the brand's identity.
6m
image
8
The Visual Identity
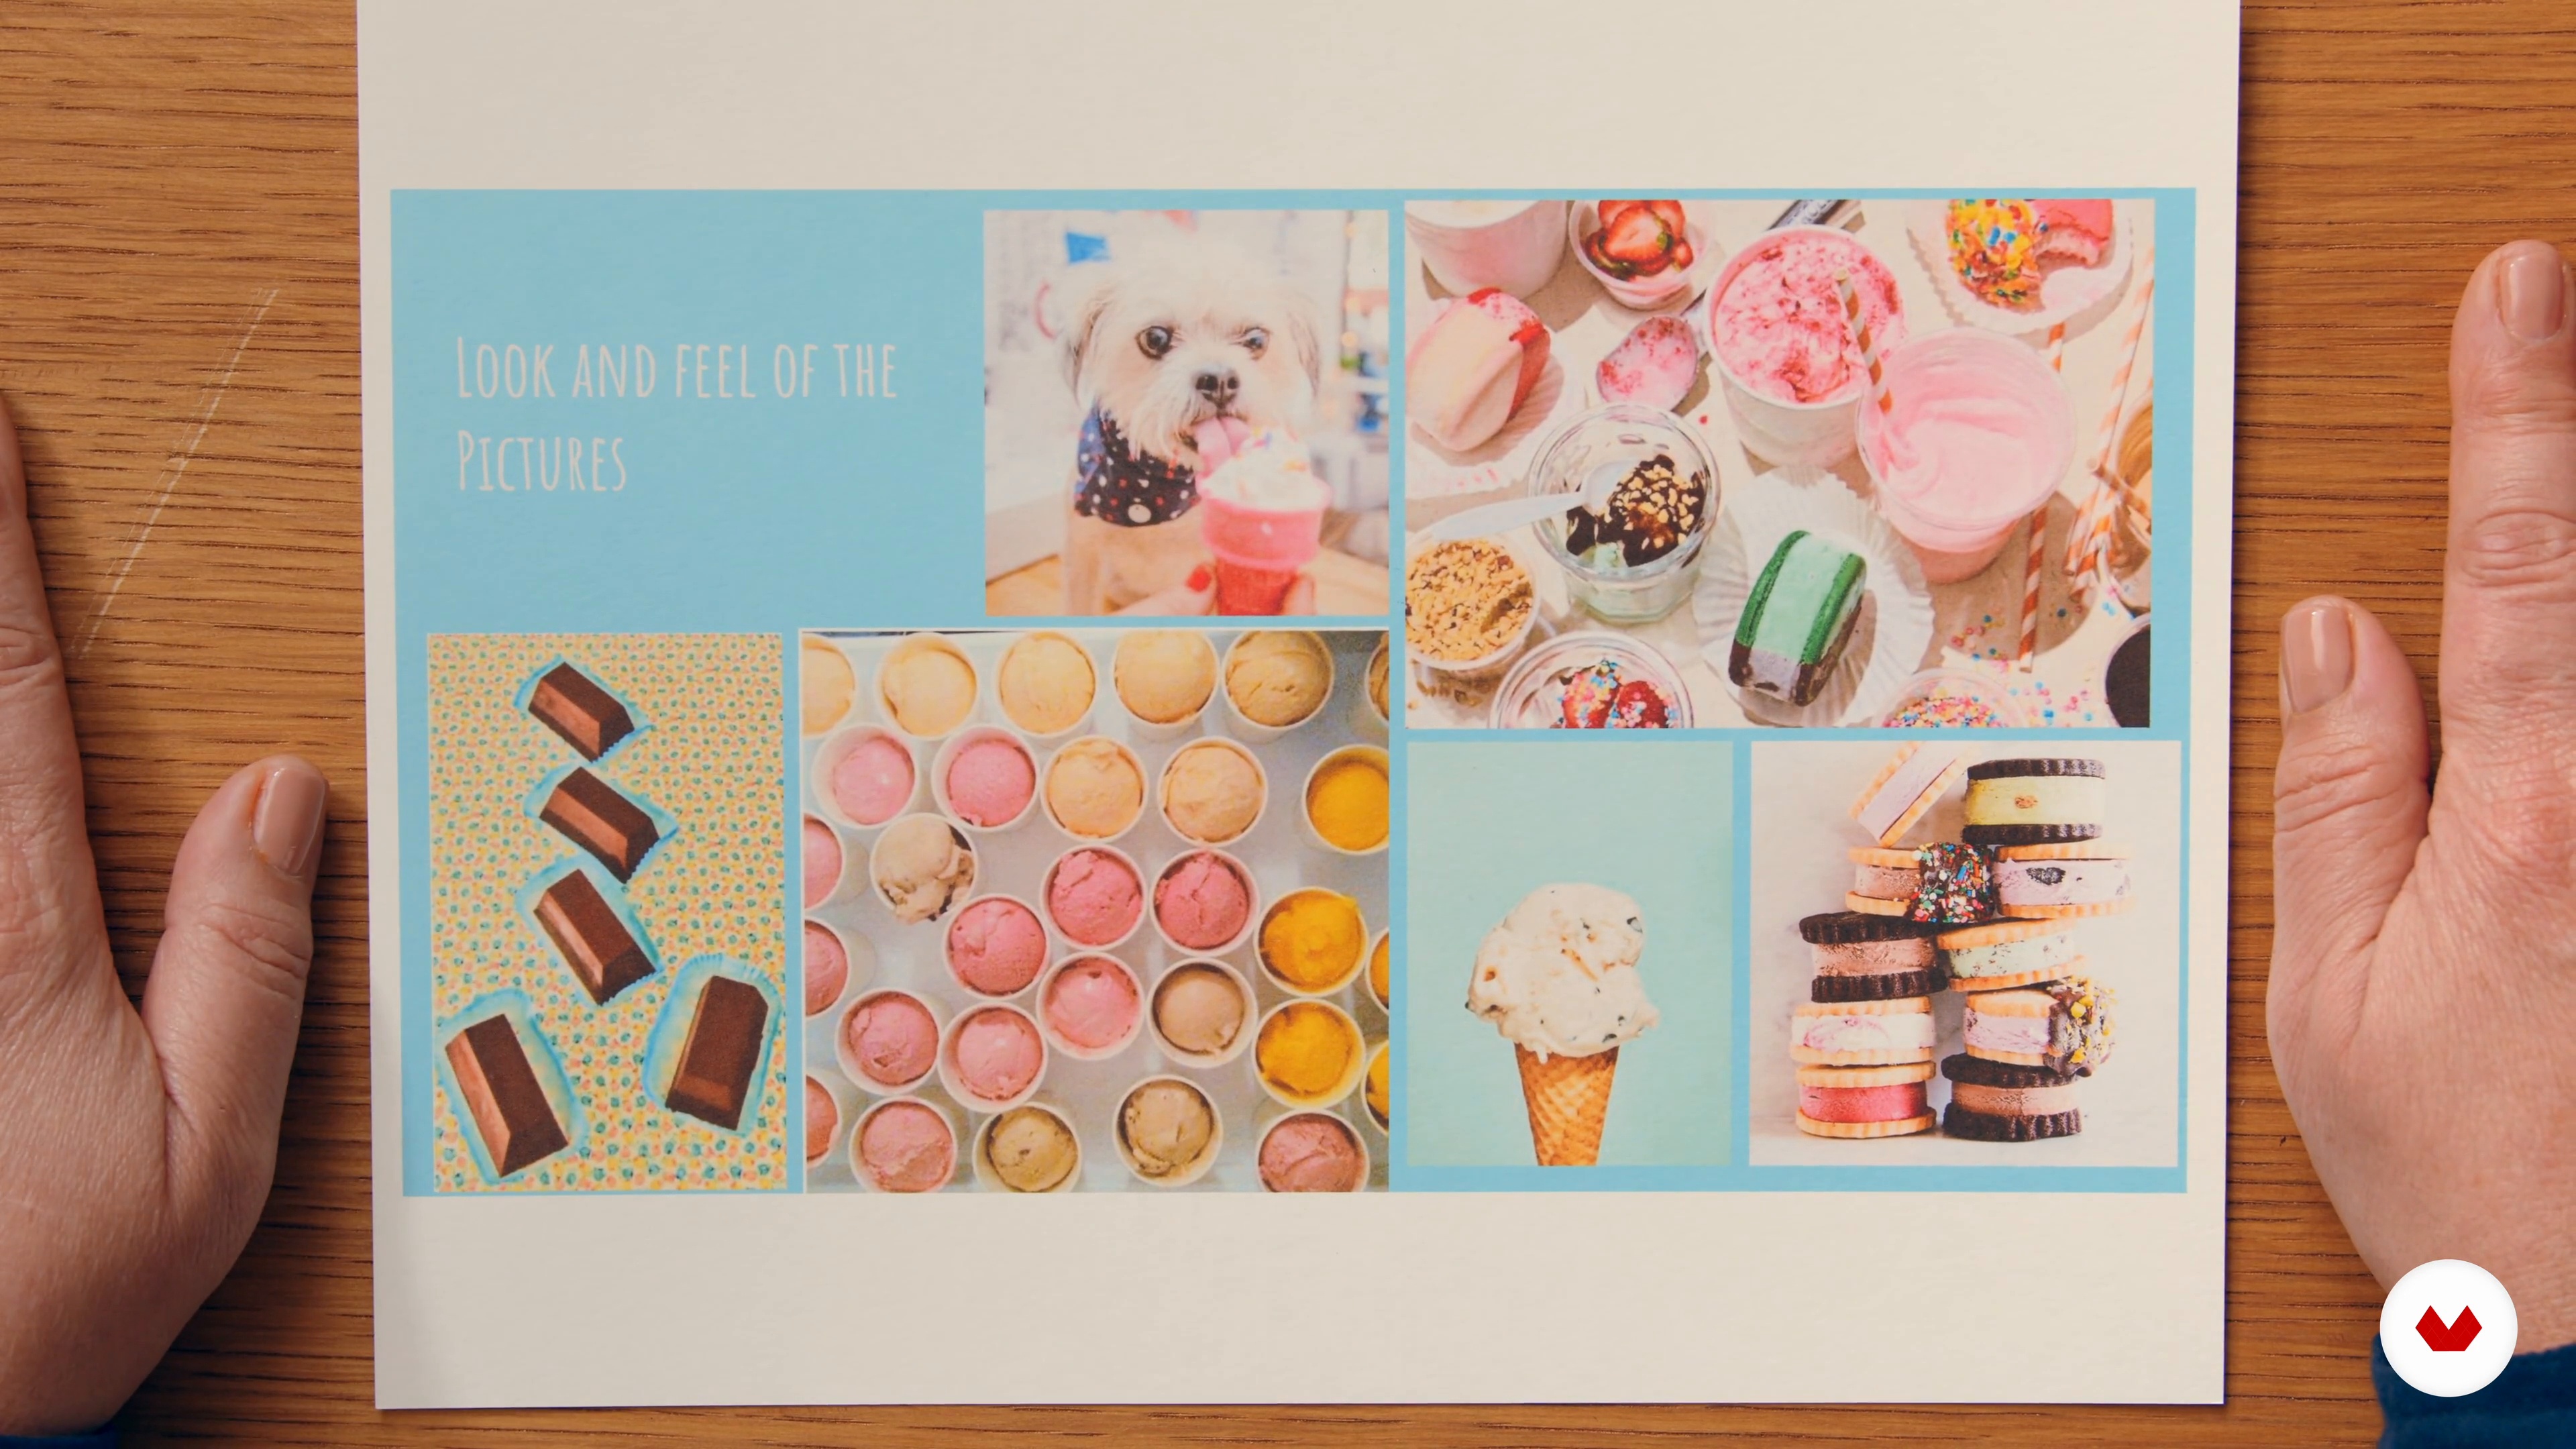
We will now see how you can identify the overall look and feel of your campaign. This will mean defining the mood of your images, deciding on a color palette and a style of photography, and more.
5m
image
9
The Mood Board and Brief
Whether you are presenting your ideas to a client or creating a reference for yourself and your team, making a mood board for your visual references and a written brief describing what you need to accomplish in your photoshoot will help fulfill everyone’s expectations and help the shoot run smoothly.
4m
image
10
The Kit
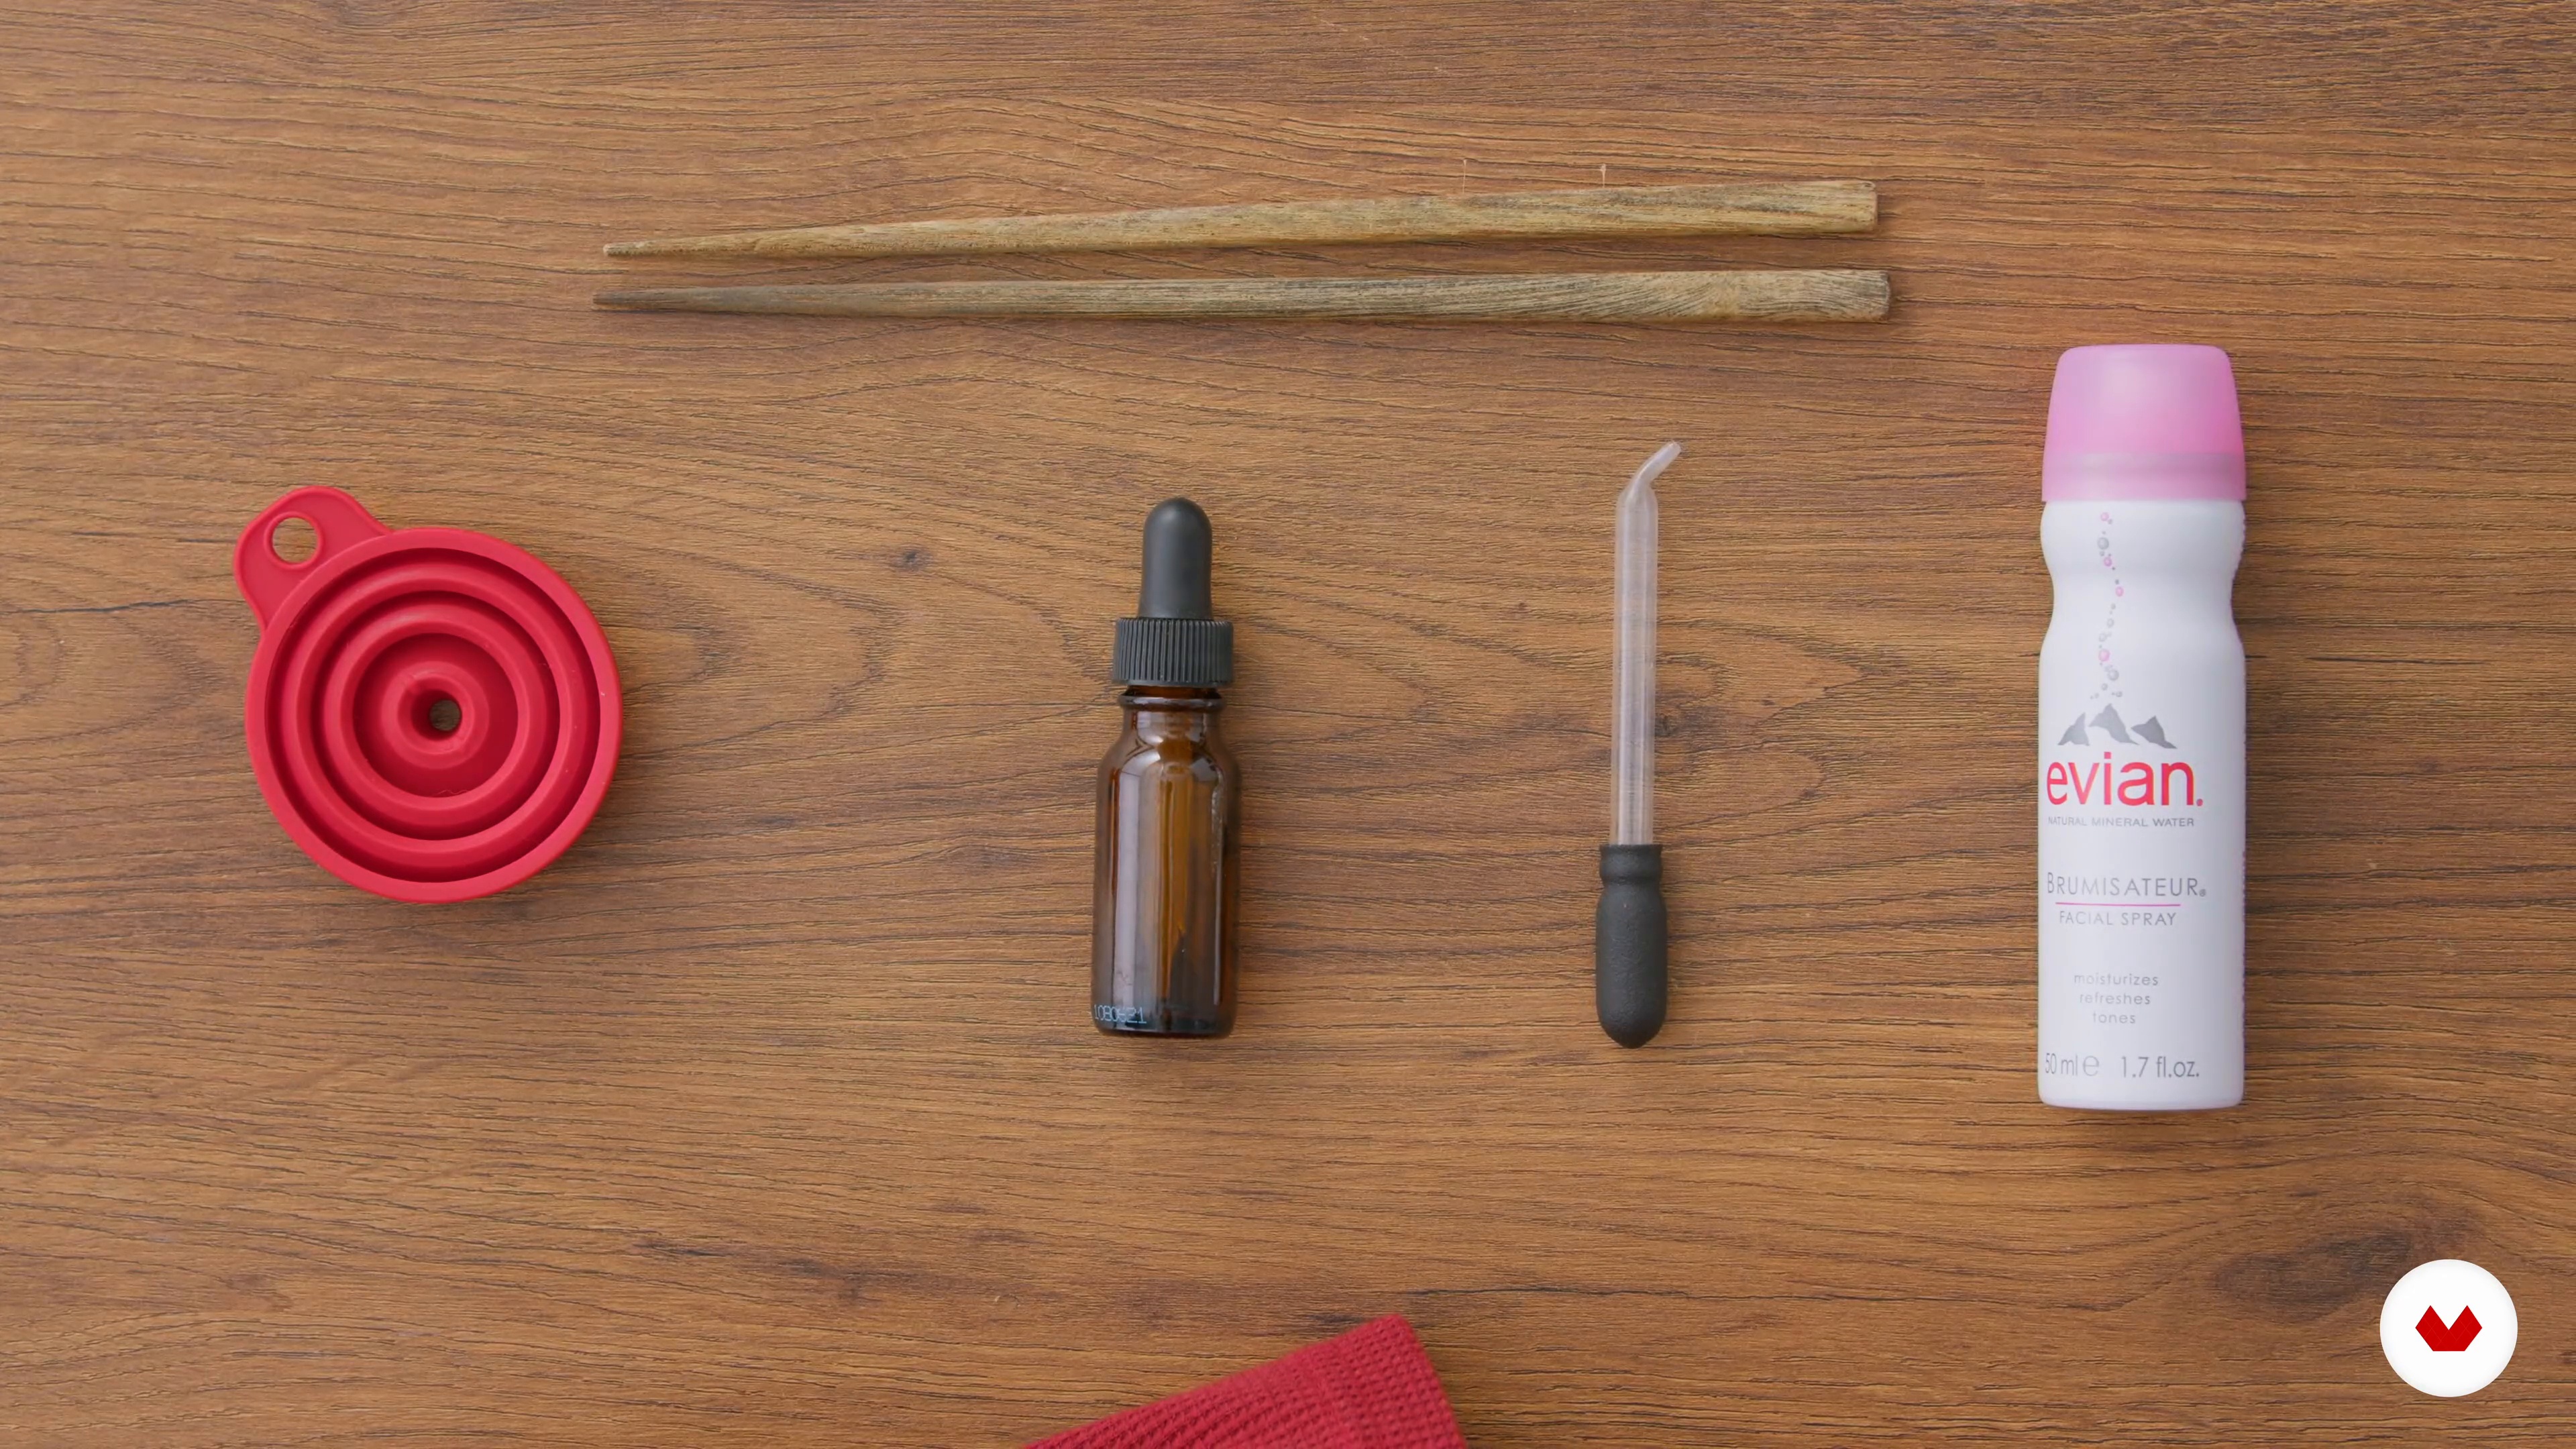
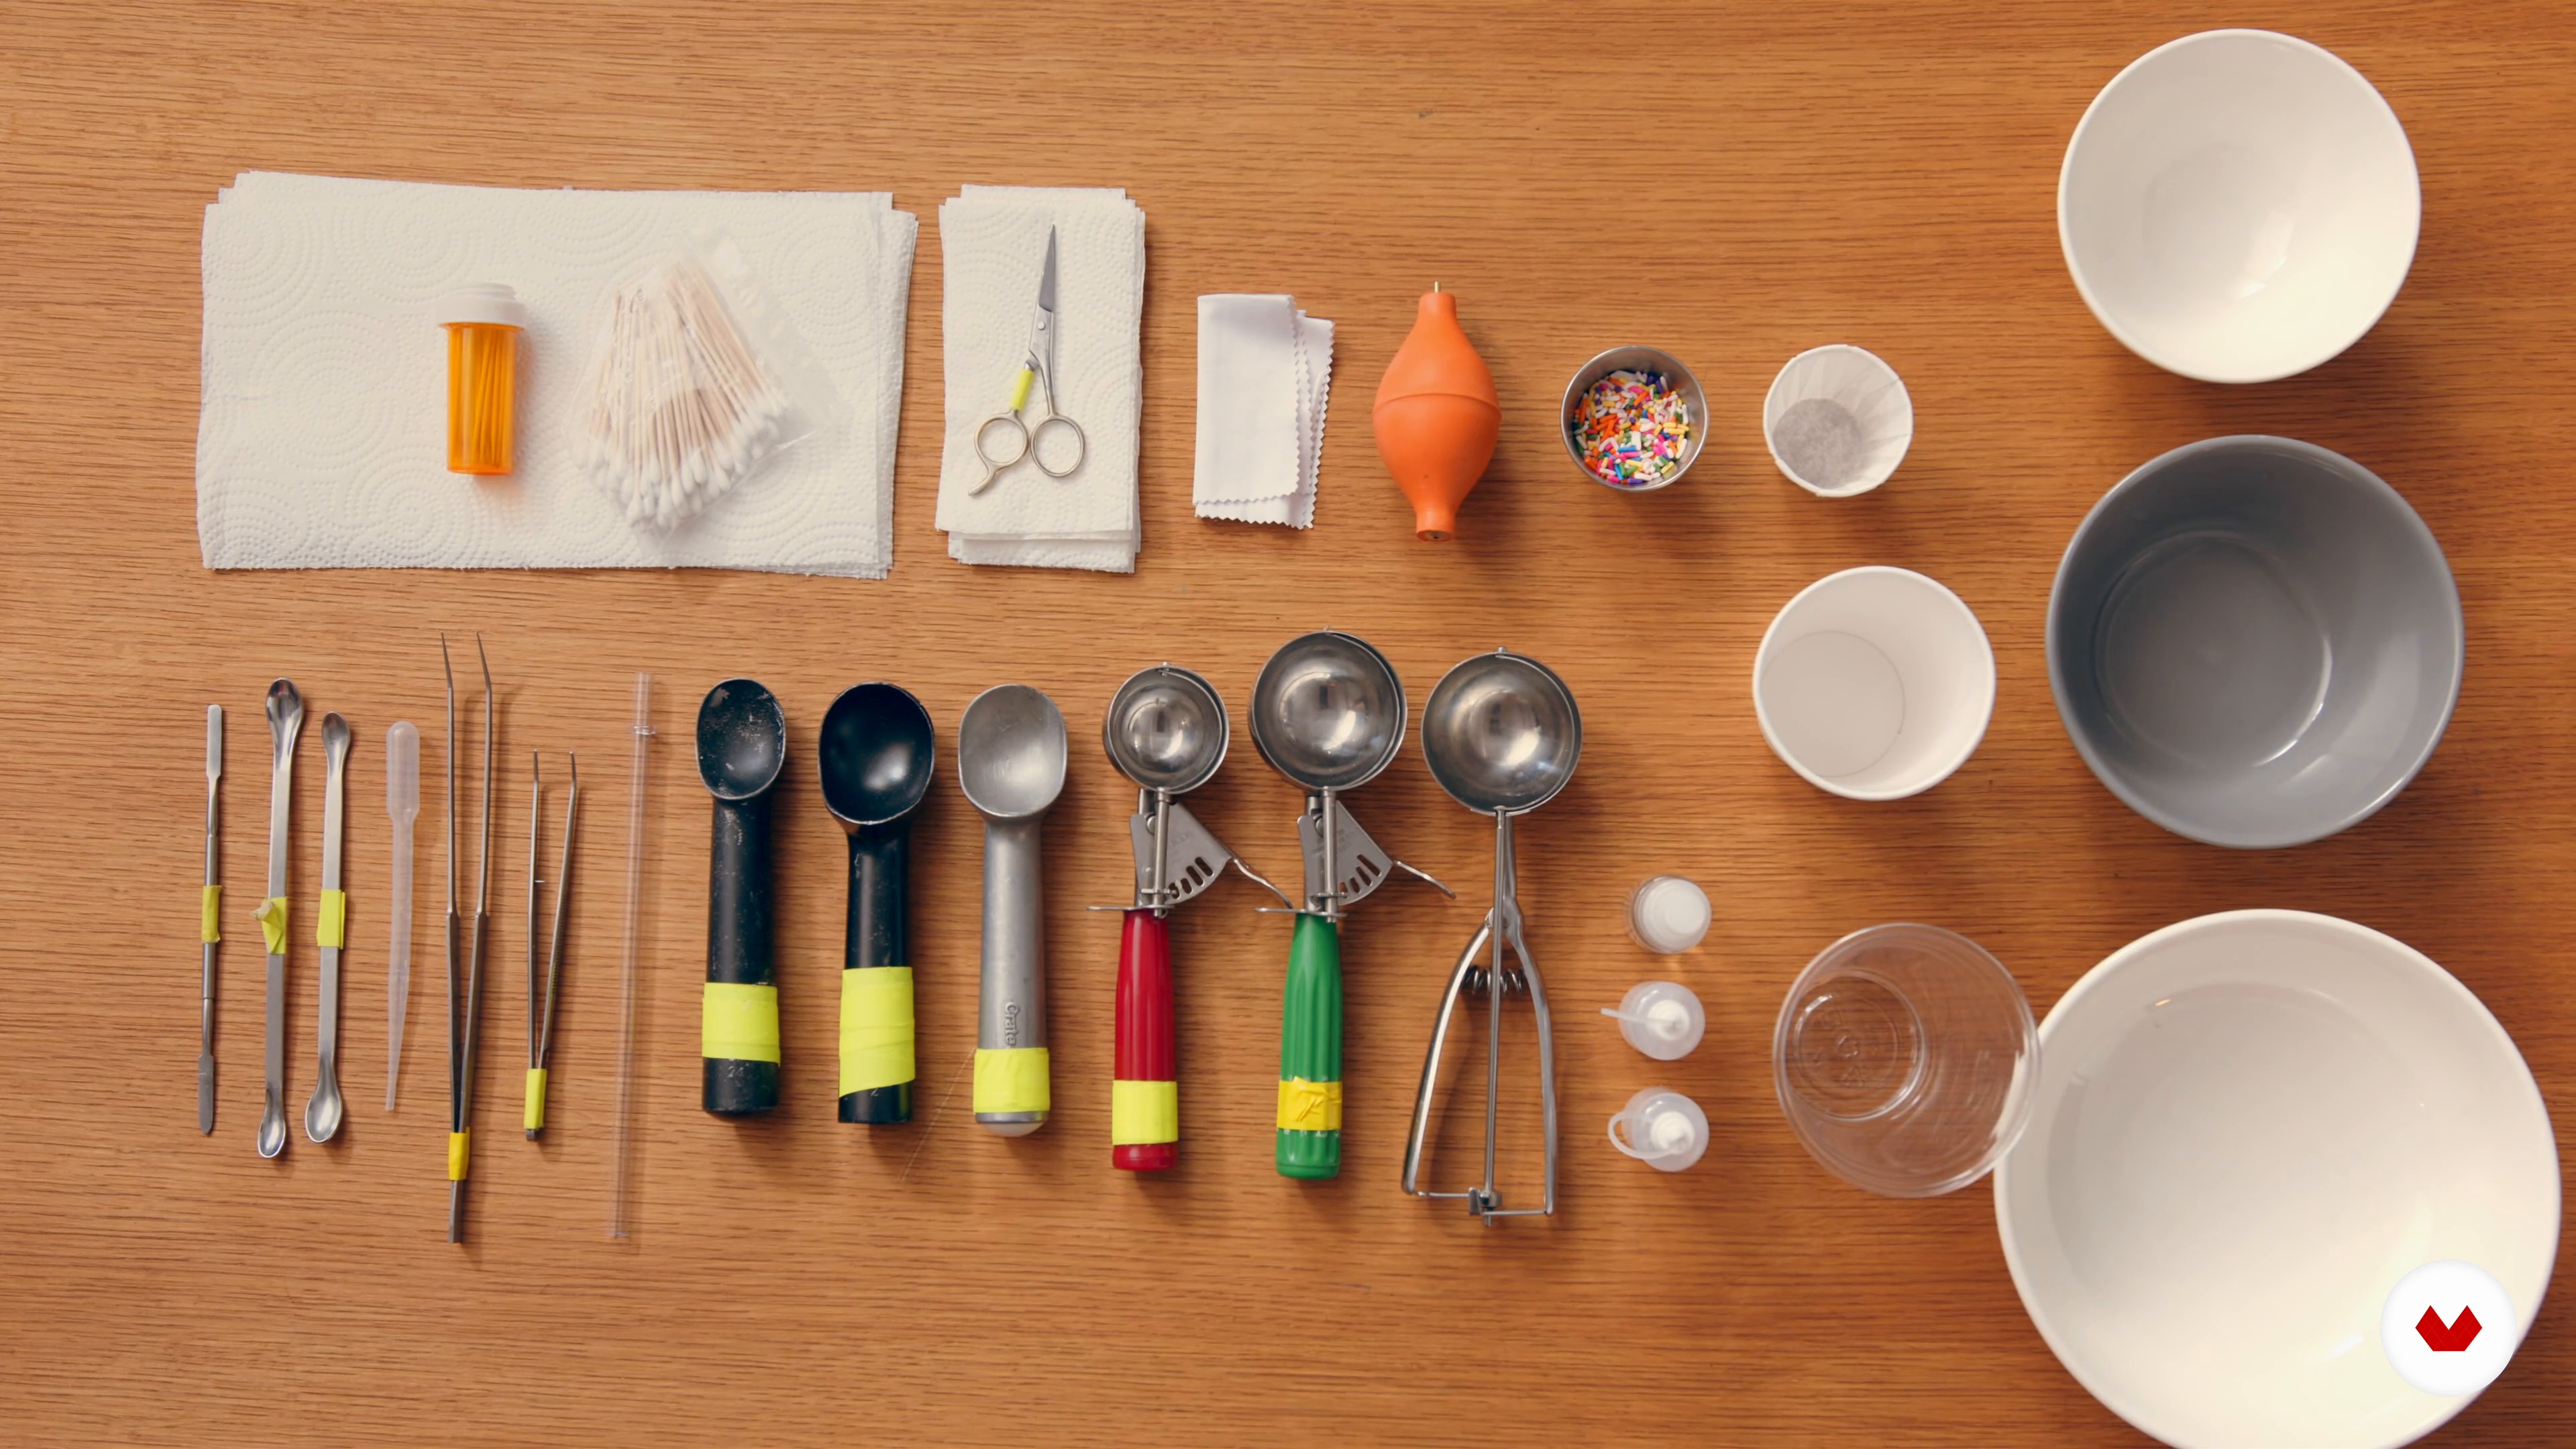
As a food photographer, you'll need to assemble a whole food styling kit for your different projects. In this particular case, I'll show you the tools needed to style ice cream, which will be the main element of my project.
3m
image
11
Working with Ingredients
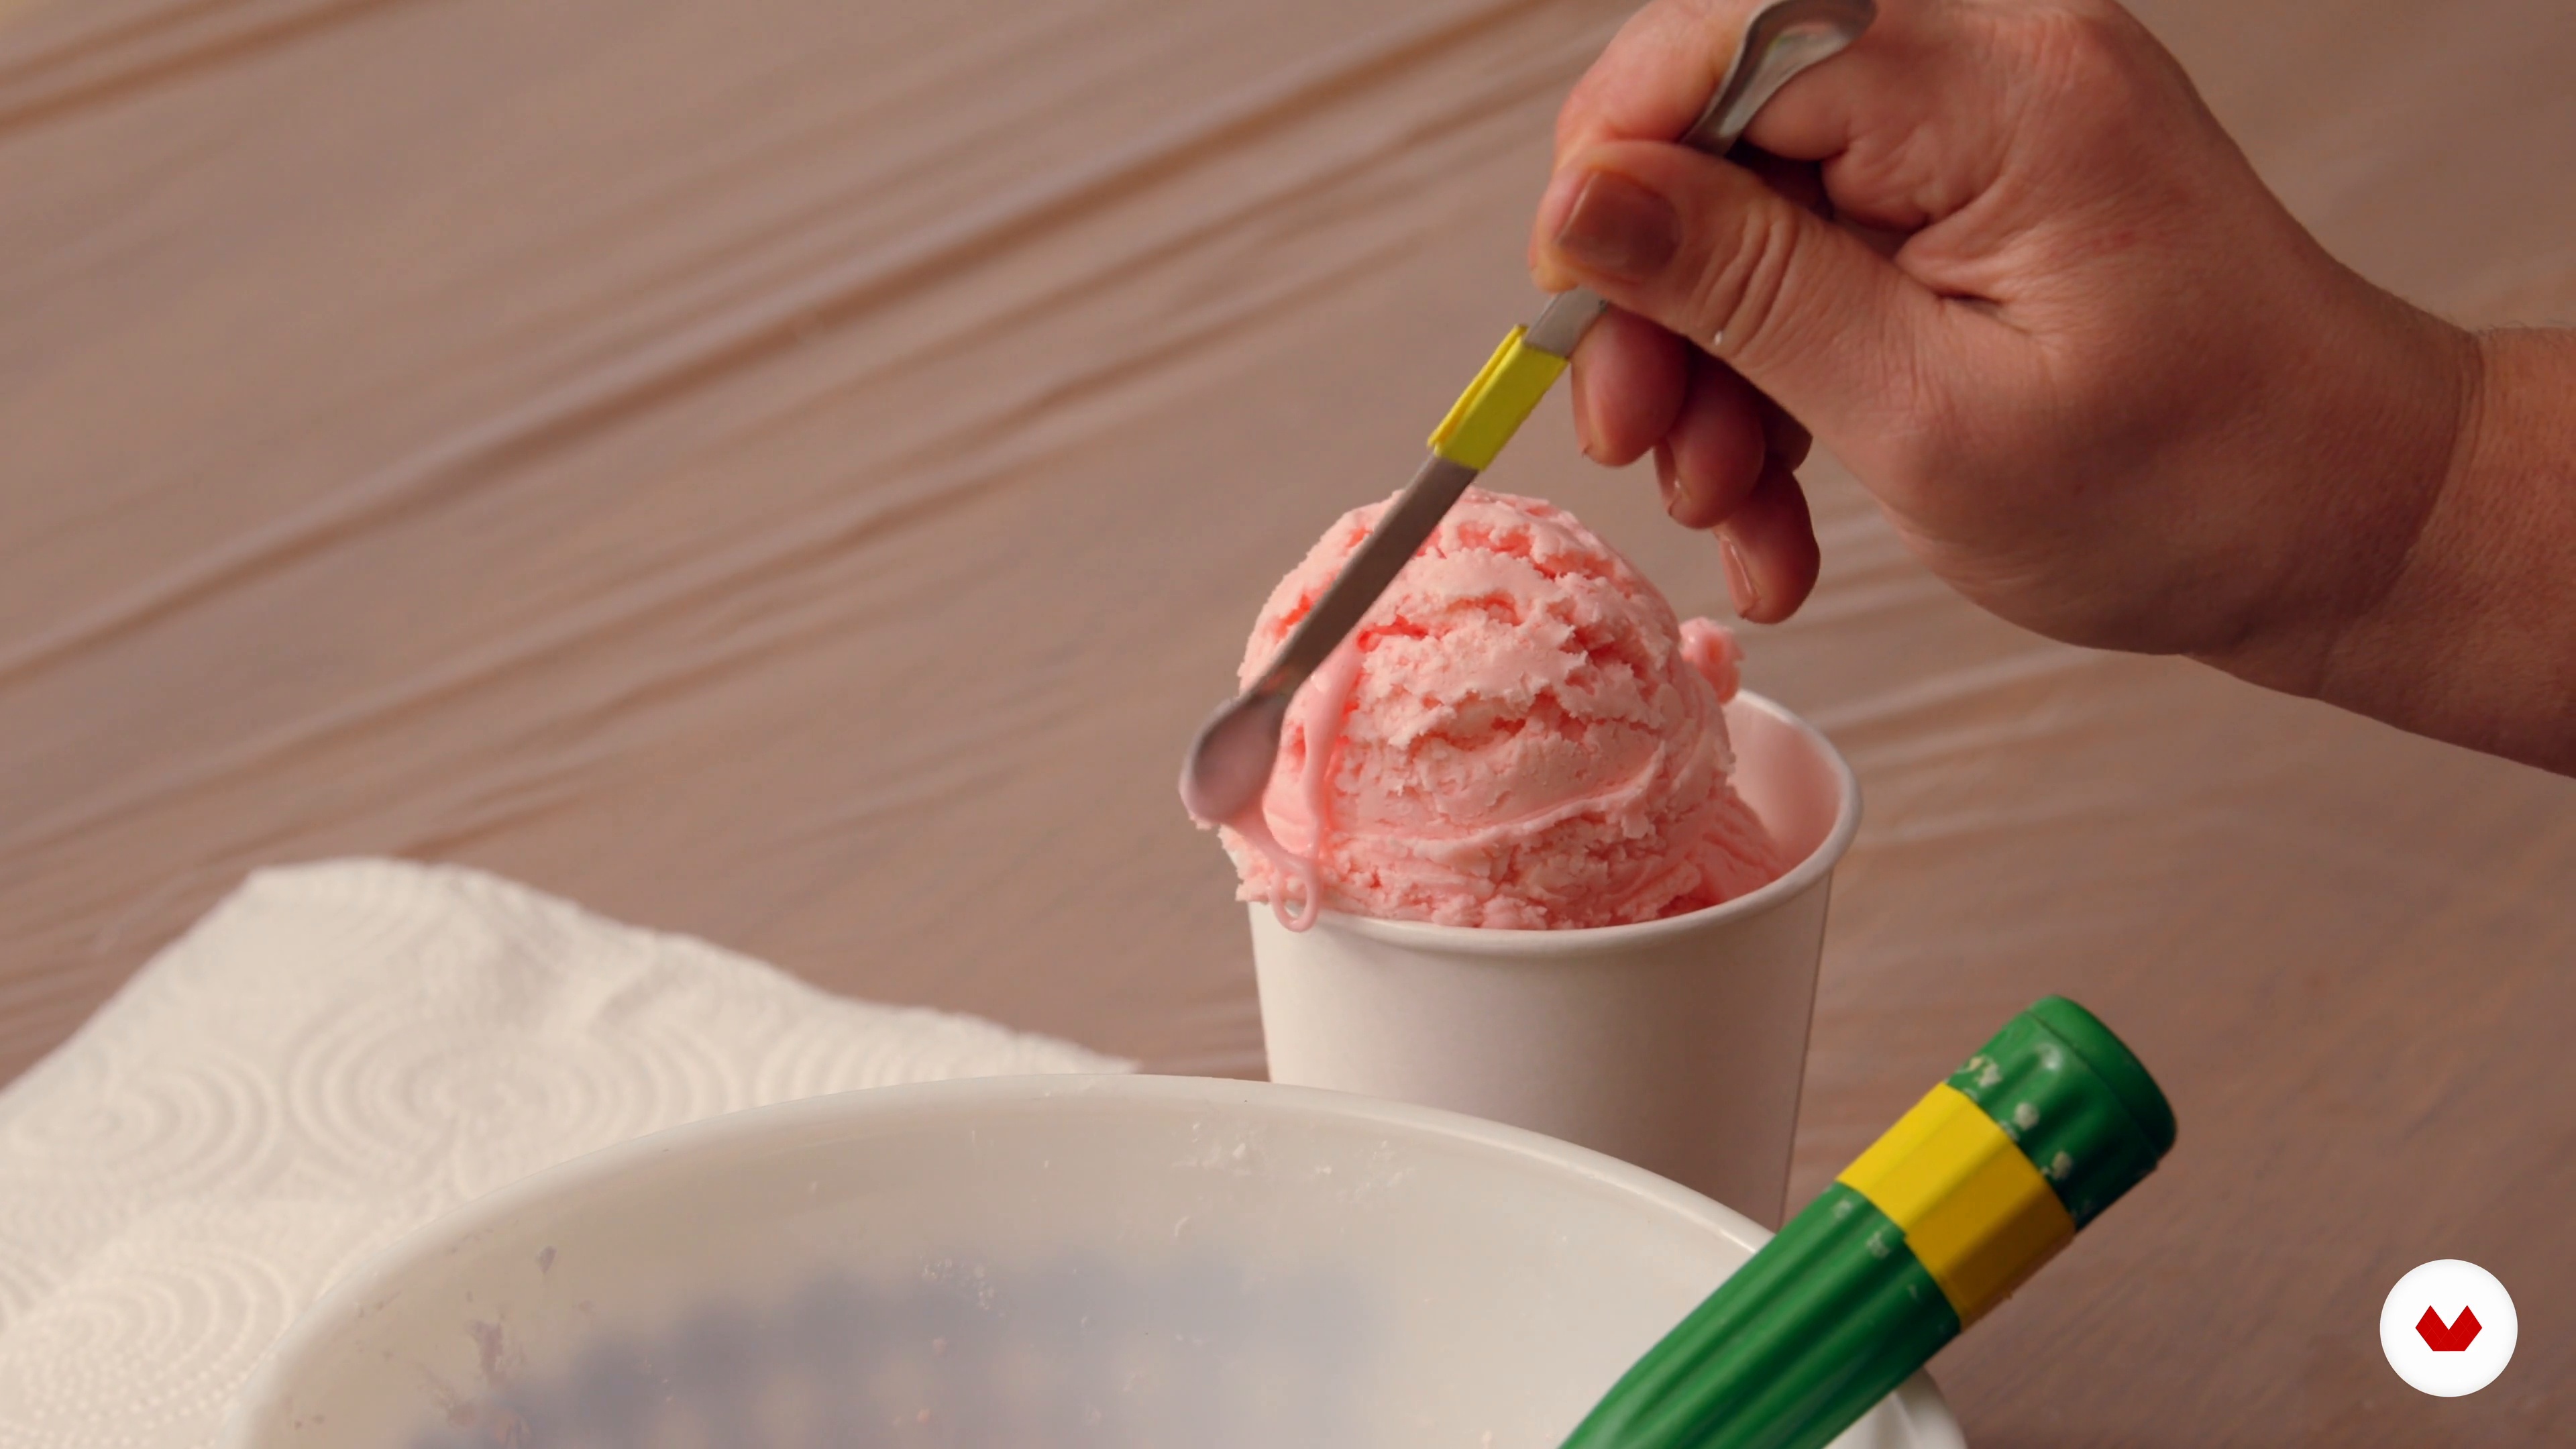
We will finally begin to work with the food. I'll be showing you how to make fake ice cream with powdered sugar, corn syrup, and vegetable shortening. In this way, you'll start learning many tips and tricks on how to mix the ingredients you need to make it all look real.
8m
image
12
Creating the Food
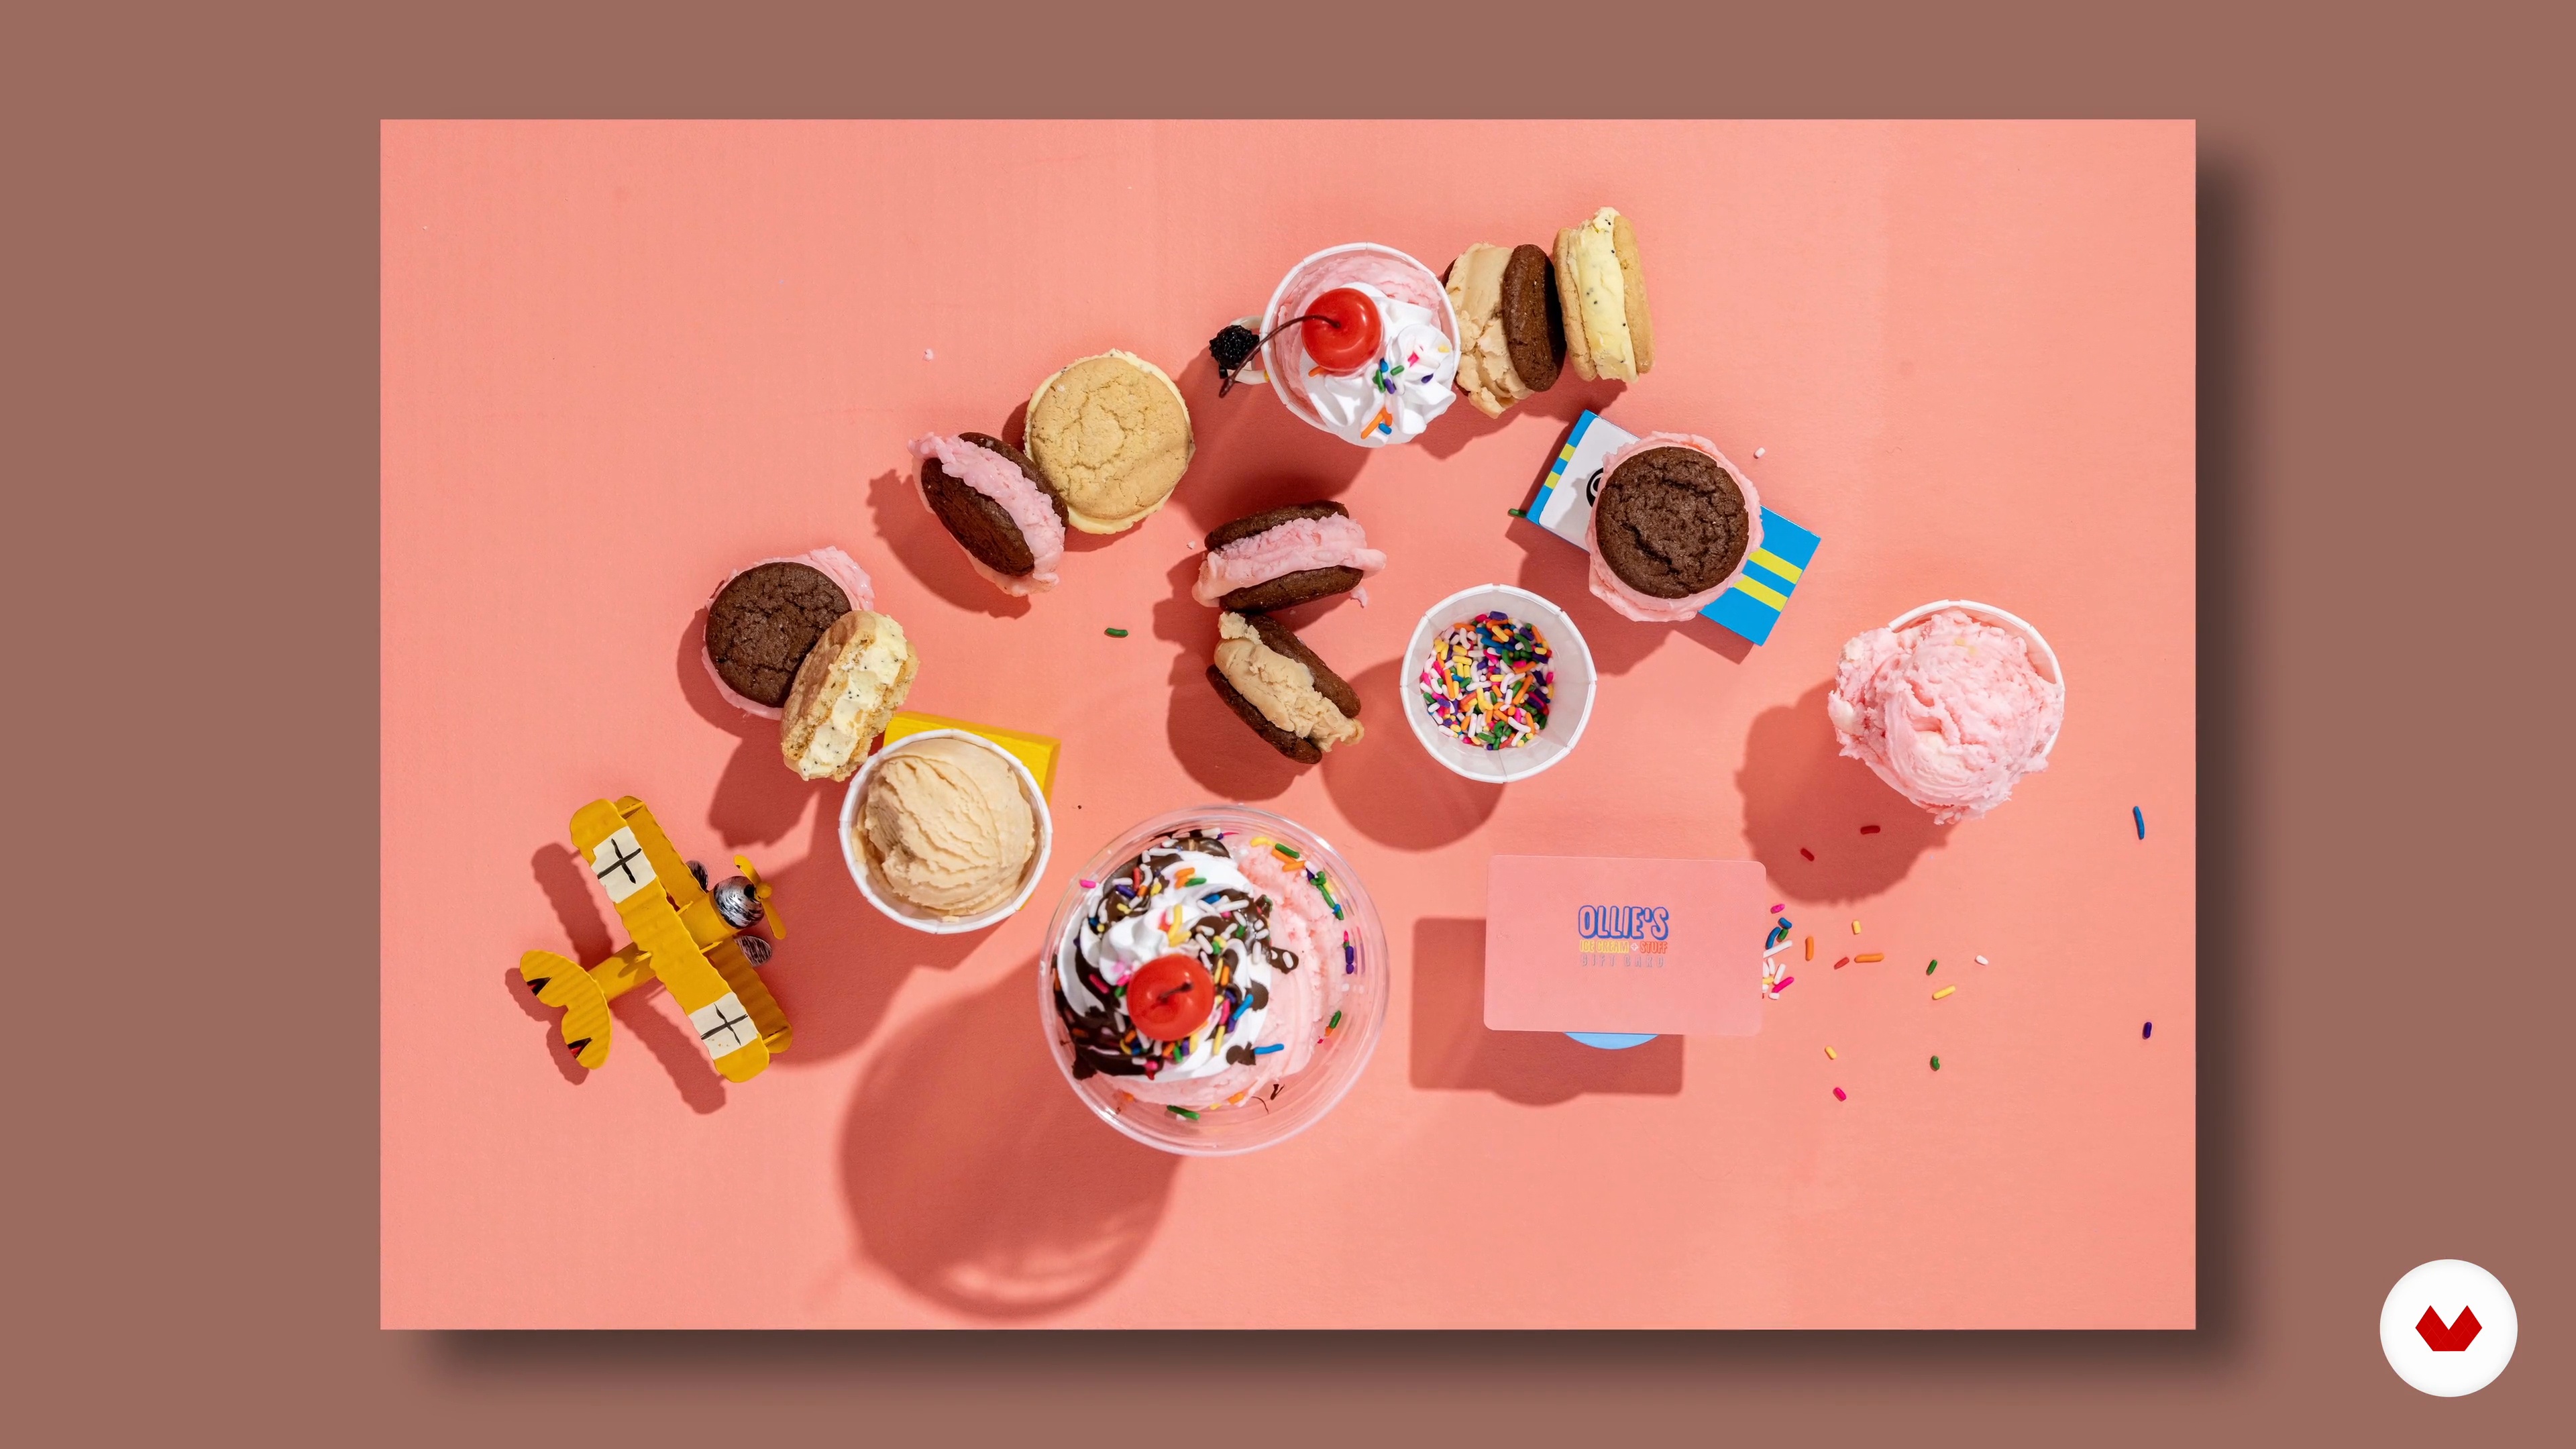
In this lesson, you will learn how to create ice cream cups, sandwiches, and milkshakes. You'll see how to make it all look delicious and authentic.
5m
image
13
Setting the Scene
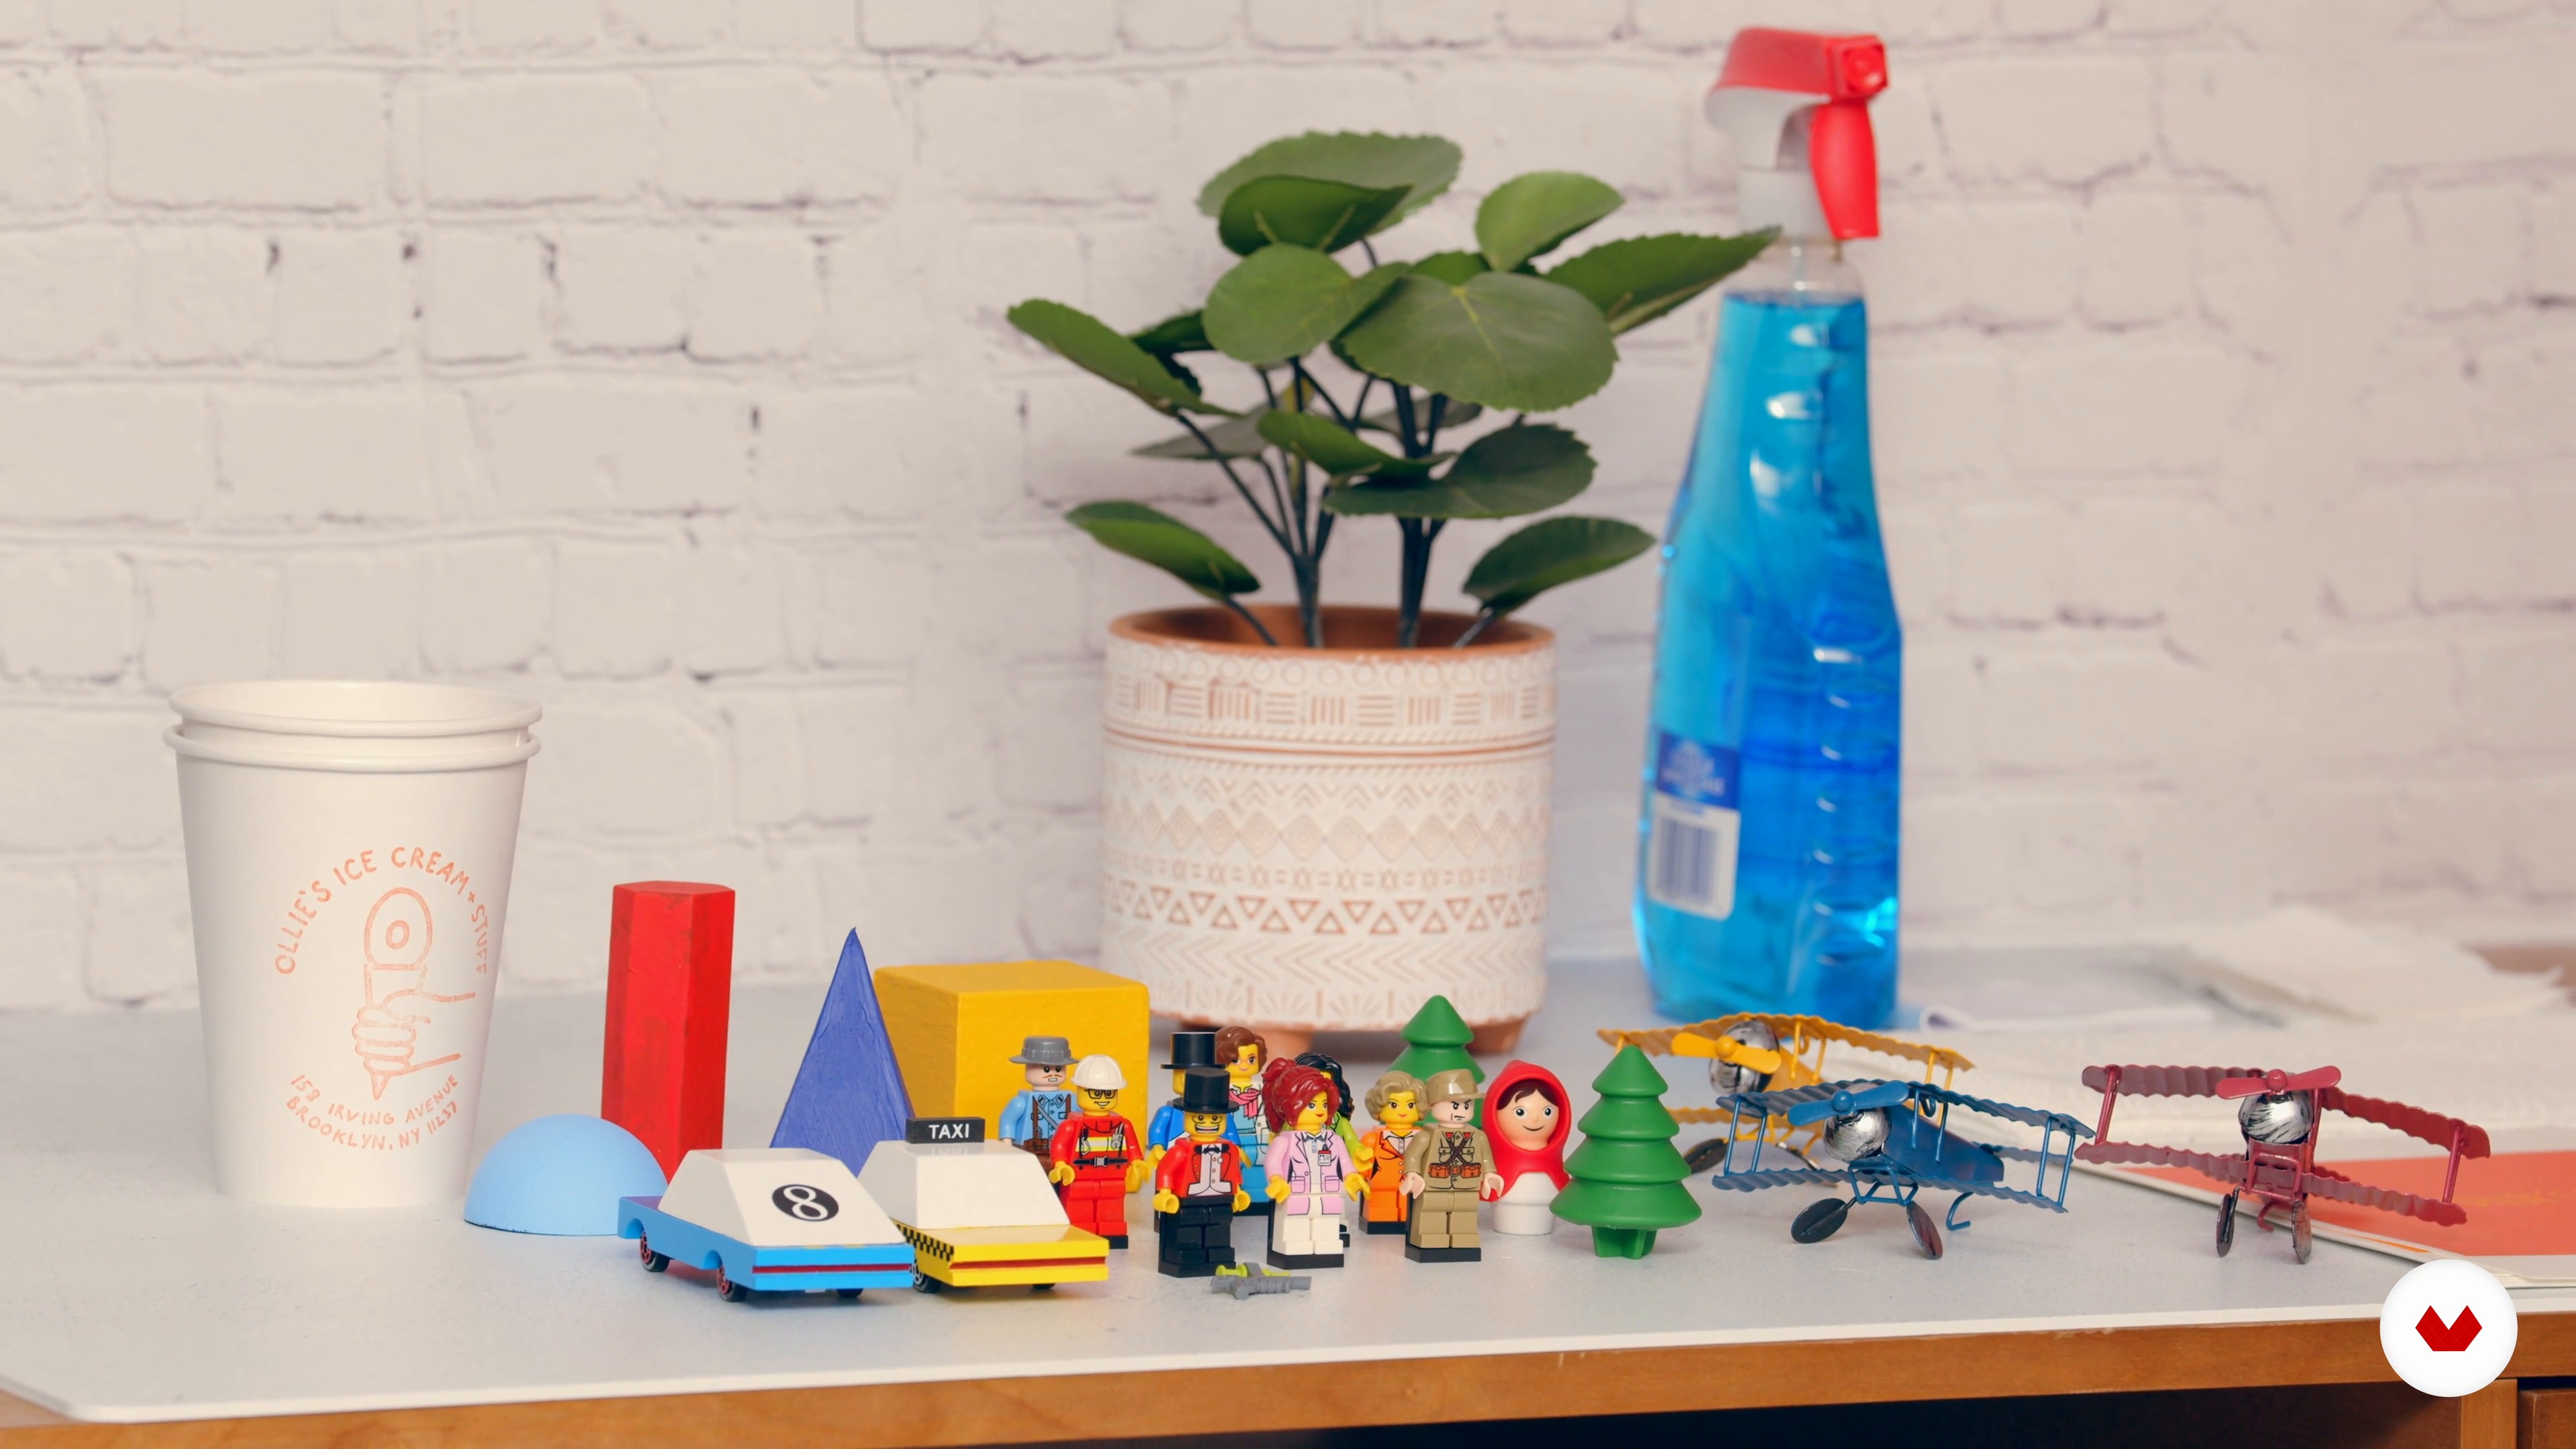
Here you'll learn about set design and the different ways you can use props for your photoshoot. I'll give you some tips on how to set everything up so you can easily reproduce this at home.
2m
image
14
The Shoot!
In this lesson, we will set up our shots, style them, and work with the photographer to capture the most compelling images possible. Along the way, we'll have to make sure we're fulfilling everything set out in the brief.
13m
  • 14 students
  • 86 lessons (13h 4m)
  • 118 additional resources (59 files)
  • Online and at your own pace
  • Audio: English, German, Spanish, Spanish (Latam), French, Italian, Dutch, Polish, Portuguese, Turkish
  • Spanish · English · Portuguese · German · French · Italian · Polish · Dutch · Turkish
  • Level: Beginner
  • Unlimited access forever

What is this course's project?

Create a captivating visual food book showcasing your storytelling skills through photography. Develop a cohesive concept, craft a moodboard, capture evocative natural light and conceptual images, and propose commercial applications, culminating in a sequential narrative of 5-7 photographs.

Who is this specialization for?

Aspiring photographers and content creators eager to enhance their visual storytelling skills through culinary photography will benefit. Those interested in turning food into compelling narratives for artistic or commercial purposes will find this specialization insightful and transformative.

Requirements and materials

No extensive prior knowledge is needed for this course, just a passion for culinary photography. Basic necessities include a camera or smartphone, natural light access, and a simple food styling kit. Creativity and curiosity to explore visual storytelling are key.

Select to get to know your teachers in this specialization course
Read more ↓

What to expect from this specialization course

  • Learn at your own pace

    Enjoy learning from home without a set schedule and with an easy-to-follow method. You set your own pace.

  • Learn from the best professionals

    Learn valuable methods and techniques explained by top experts in the creative sector.

  • Meet expert teachers

    Each expert teaches what they do best, with clear guidelines, true passion, and professional insight in every lesson.

  • Certificates
    Plus

    If you're a Plus member, get a custom certificate for every specialization course. Share it on your portfolio, social media, or wherever you like.

  • Get front-row seats

    Videos of the highest quality, so you don't miss a single detail. With unlimited access, you can watch them as many times as you need to perfect your technique.

  • Share knowledge and ideas

    Ask questions, request feedback, or offer solutions. Share your learning experience with other students in the community who are as passionate about creativity as you are.

  • Connect with a global creative community

    The community is home to millions of people from around the world who are curious and passionate about exploring and expressing their creativity.

  • Watch professionally produced courses

    Domestika curates its teacher roster and produces every course in-house to ensure a high-quality online learning experience.


FAQs

Domestika courses are online classes that allow you to learn new skills and create incredible projects. All our courses include the opportunity to share your work with other students and/or teachers, creating an active learning community. We offer different formats:
Original Courses: Complete classes that combine videos, texts, and educational materials to complete a specific project from start to finish.
Basics Courses: Specialized training where you master specific software tools step by step.
Specialization Courses: Learning paths with various expert teachers on the same topic, perfect for becoming a specialist by learning from different approaches.
Guided Courses: Practical experiences ideal for directly acquiring specific skills.
Intensive Courses (Deep Dives): New creative processes based on artificial intelligence tools in an accessible format for in-depth and dynamic understanding.

All specialization courses are 100% online, so once they're published, specialization courses start and finish whenever you want. You set the pace of the class. You can go back to review what interests you most and skip what you already know, ask questions, answer questions, share your projects, and more.

The specialization courses are divided into different modules. Each one includes lessons, informational text, tasks, and practice exercises to help you carry out your project step by step, with additional complementary resources and downloads. You'll also have access to an exclusive forum where you can interact with other students, as well as share your work and your final project, creating a community around the specialization courses.

You can redeem the specialization courses you received by accessing the redeeming page and entering your gift code.

If you're a Plus member, when you complete a course you've purchased, you'll instantly get your personalized certificate. You can see all your certificates in the Certificates section of your profile. You can download your certificates as PDFs and share the link online. Learn more about certificates.
Specialization in Visual Storytelling through Culinary Photography. Photography, Video, and Culinary course by Domestika

Specialization in Visual Storytelling through Culinary Photography

A specialization by multiple teachers
Berkeley, United States.
Joined April 2002
  • 14 students