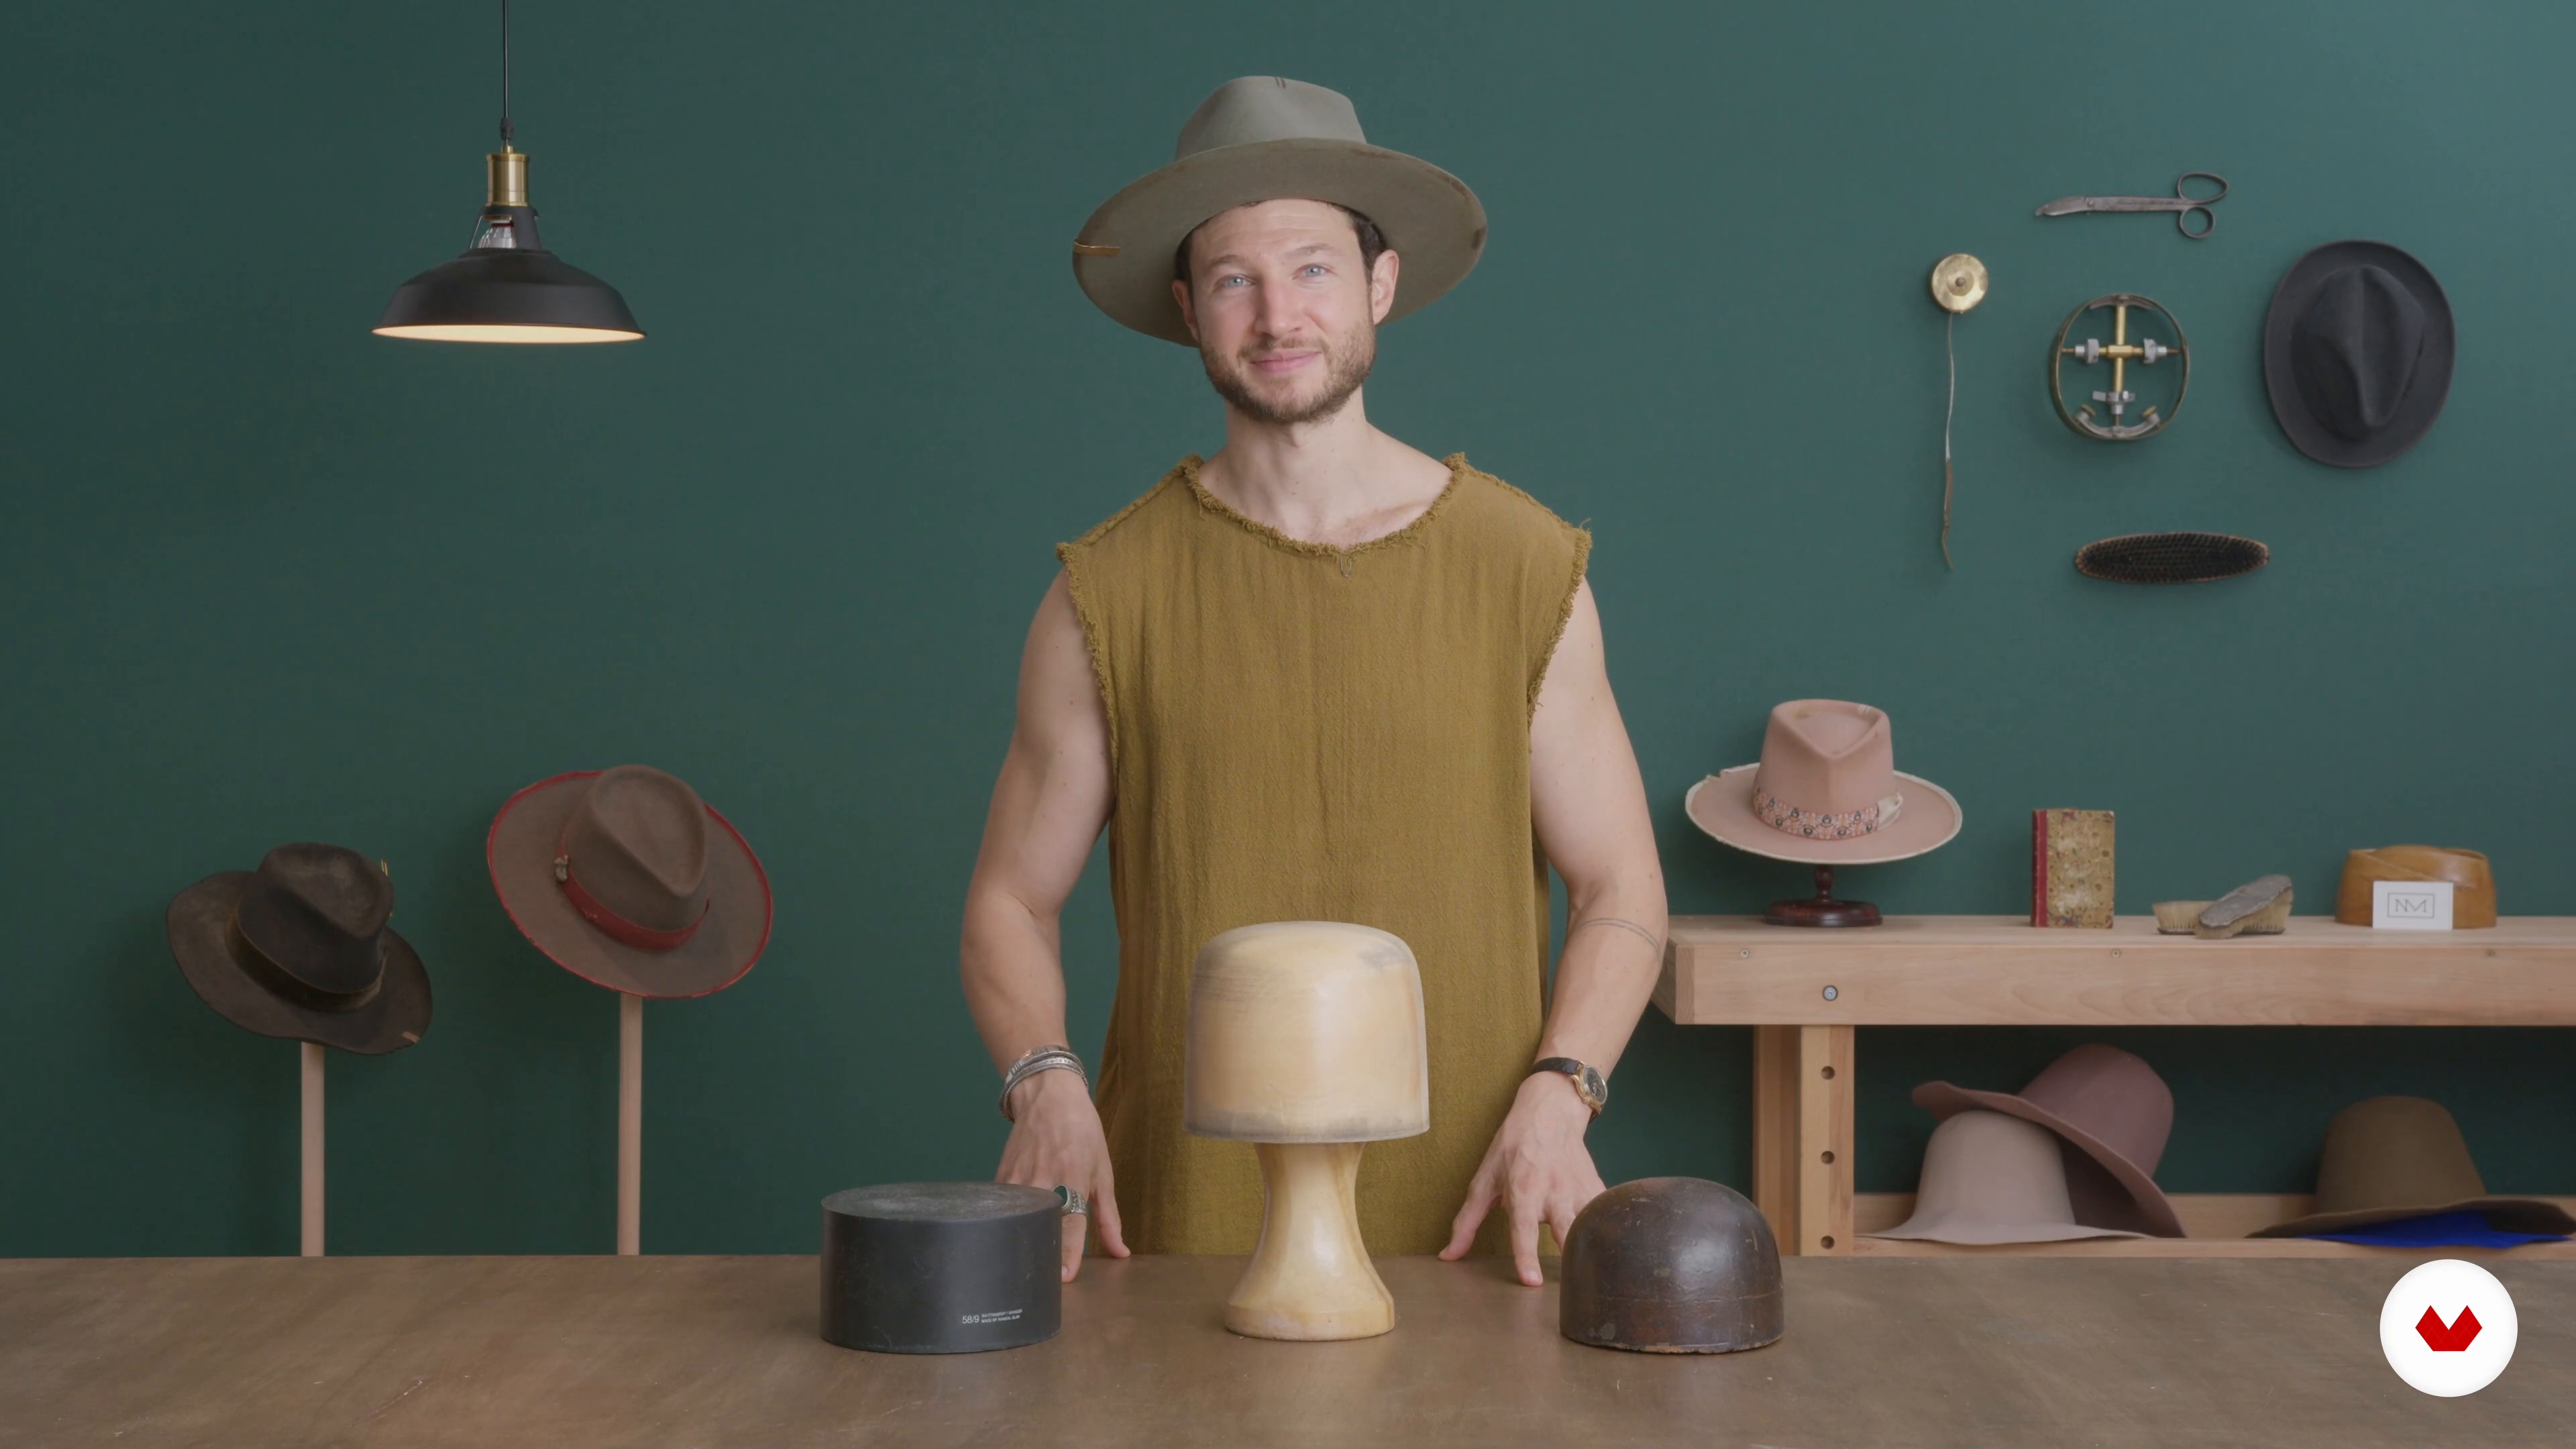
Learn modern hatmaking techniques to design and create unique felt hats using traditional tools and methods
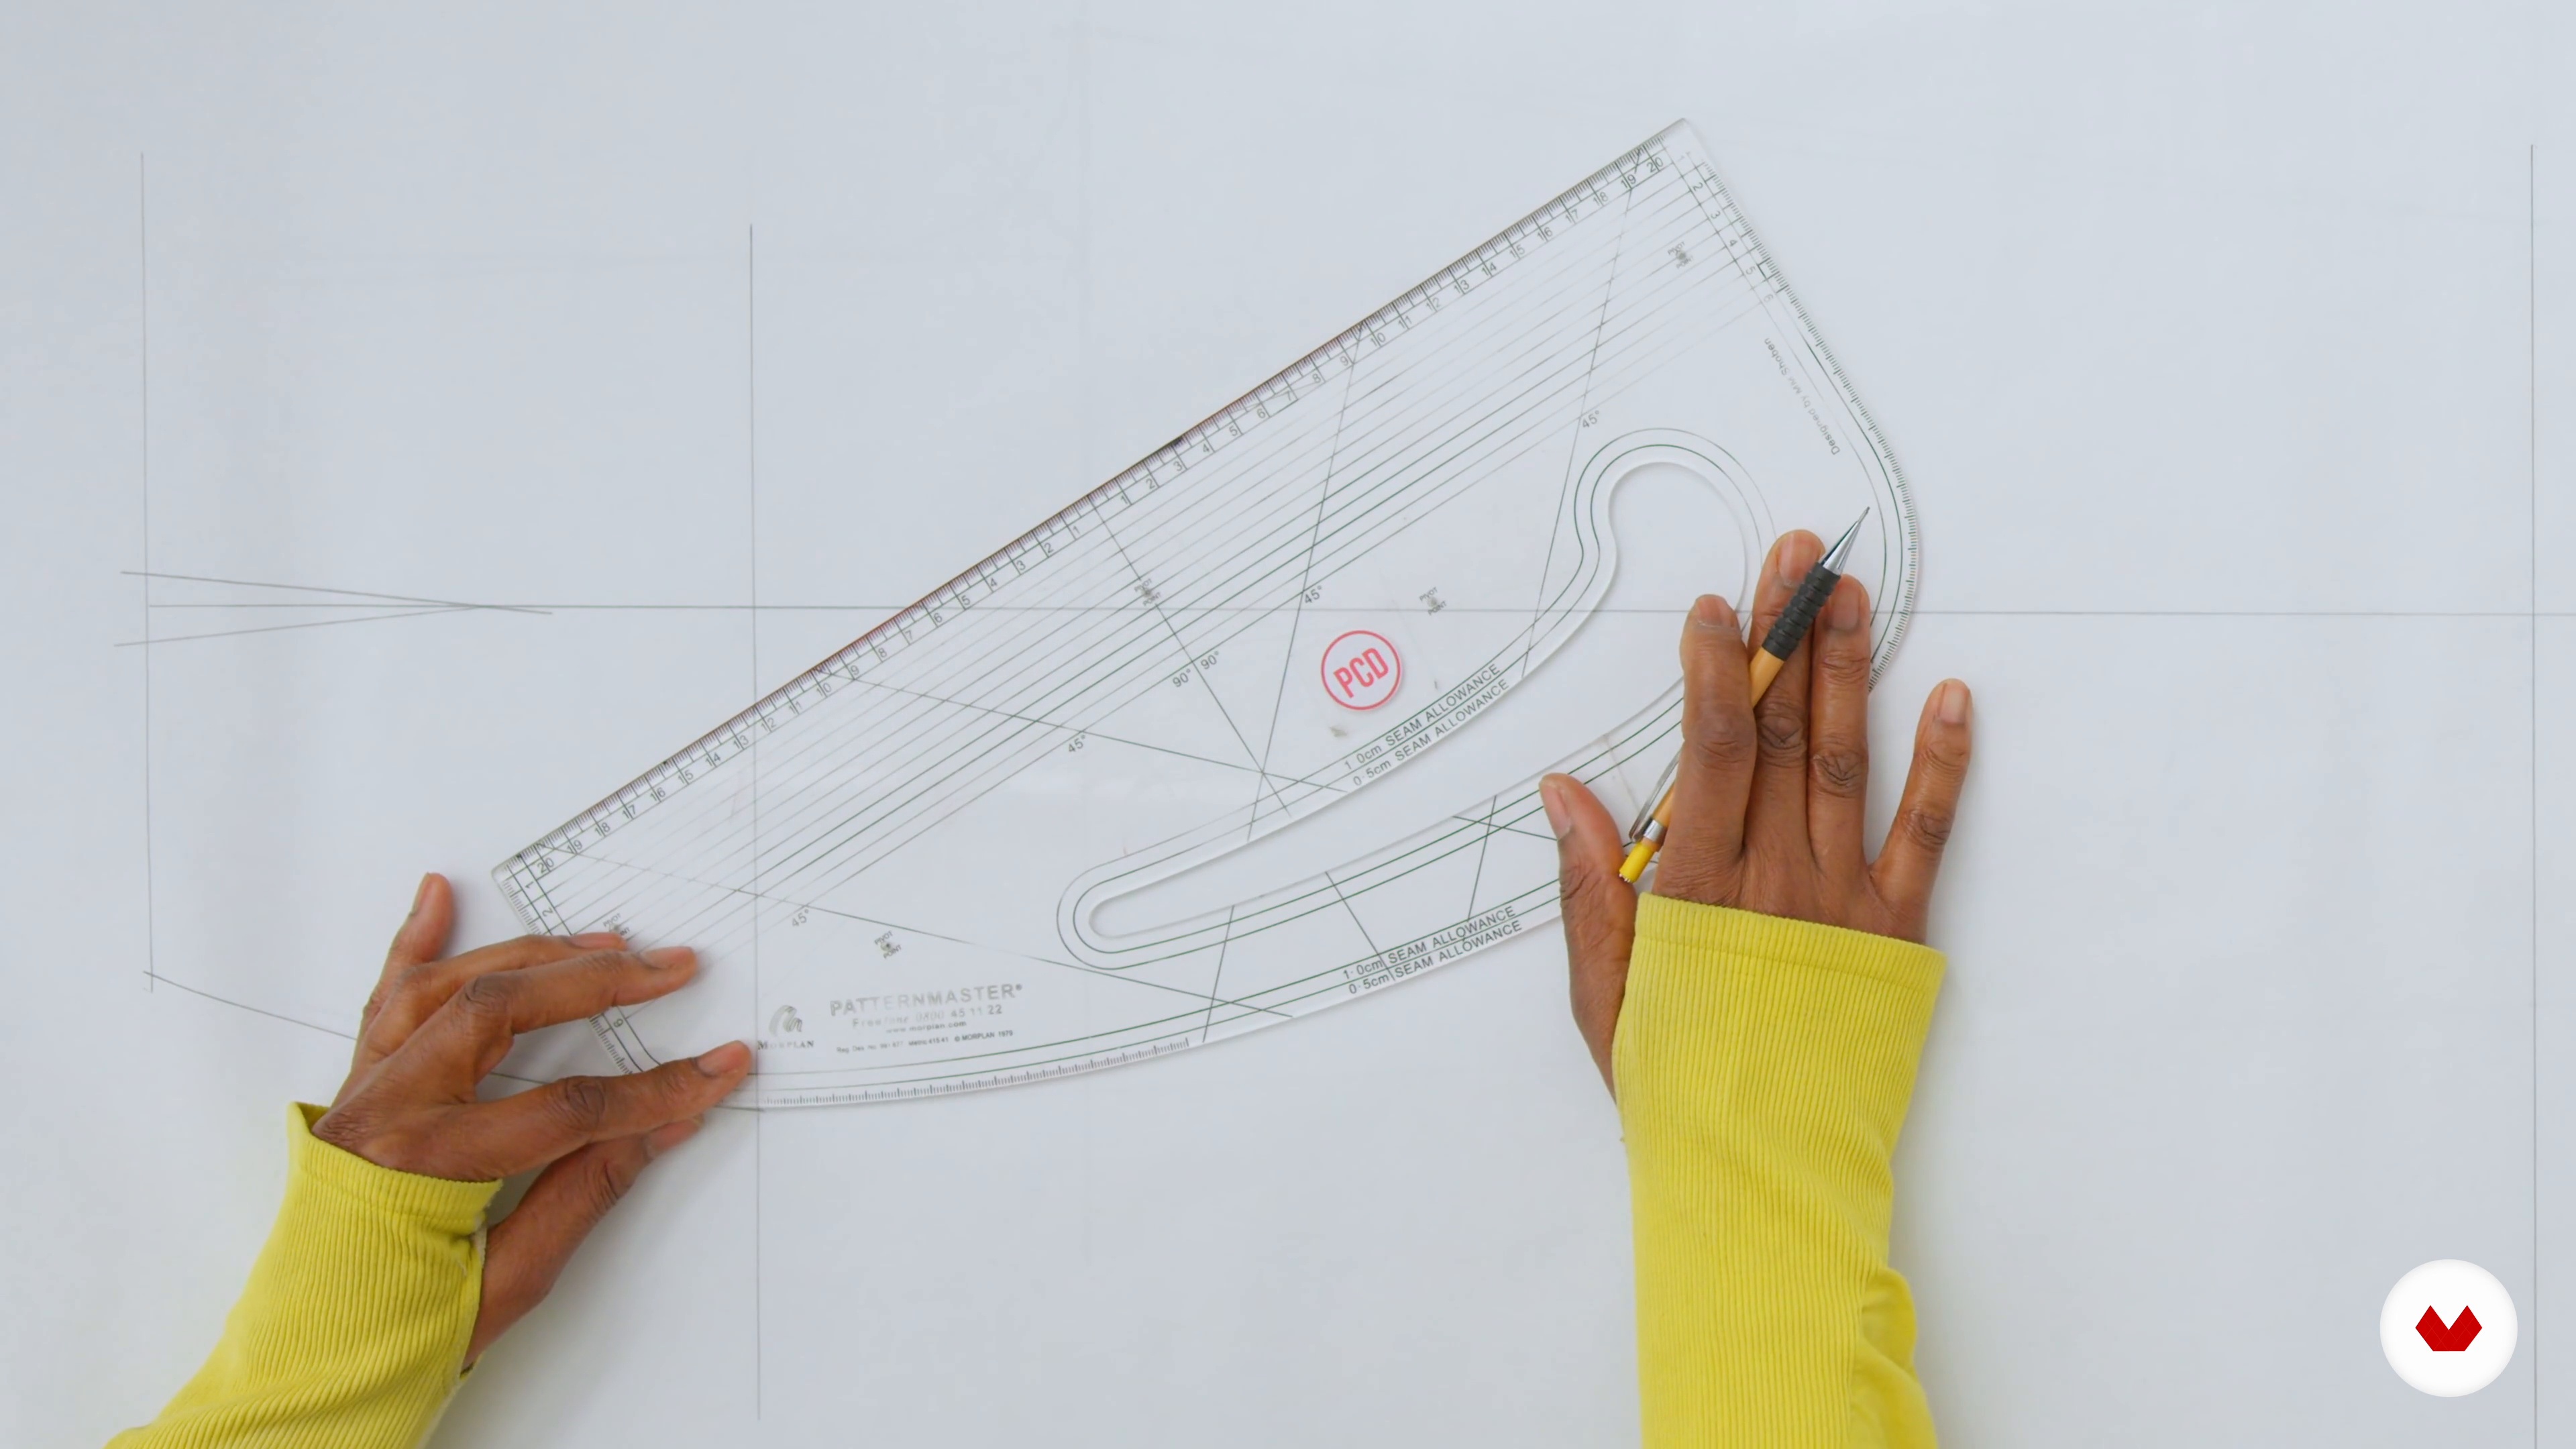
Discover the world of fashion craftsmanship and create a unique wardrobe with this hands-on specialization. Dive into the art of designing and crafting garments and accessories using techniques like pattern cutting, leatherwork, and upcycling. Immerse yourself in the creative process of making custom clothes, shoes, hats, bags, and more. Learn from expert instructors including Ana Lamata, Fábrica de Texturas, Victoria Roussel, Elina Nilsson (Knits from Oslo), María La Madrid, Daniel Zagal, and Gabriela Horvat, who will guide you through each step of your handmade fashion journey.
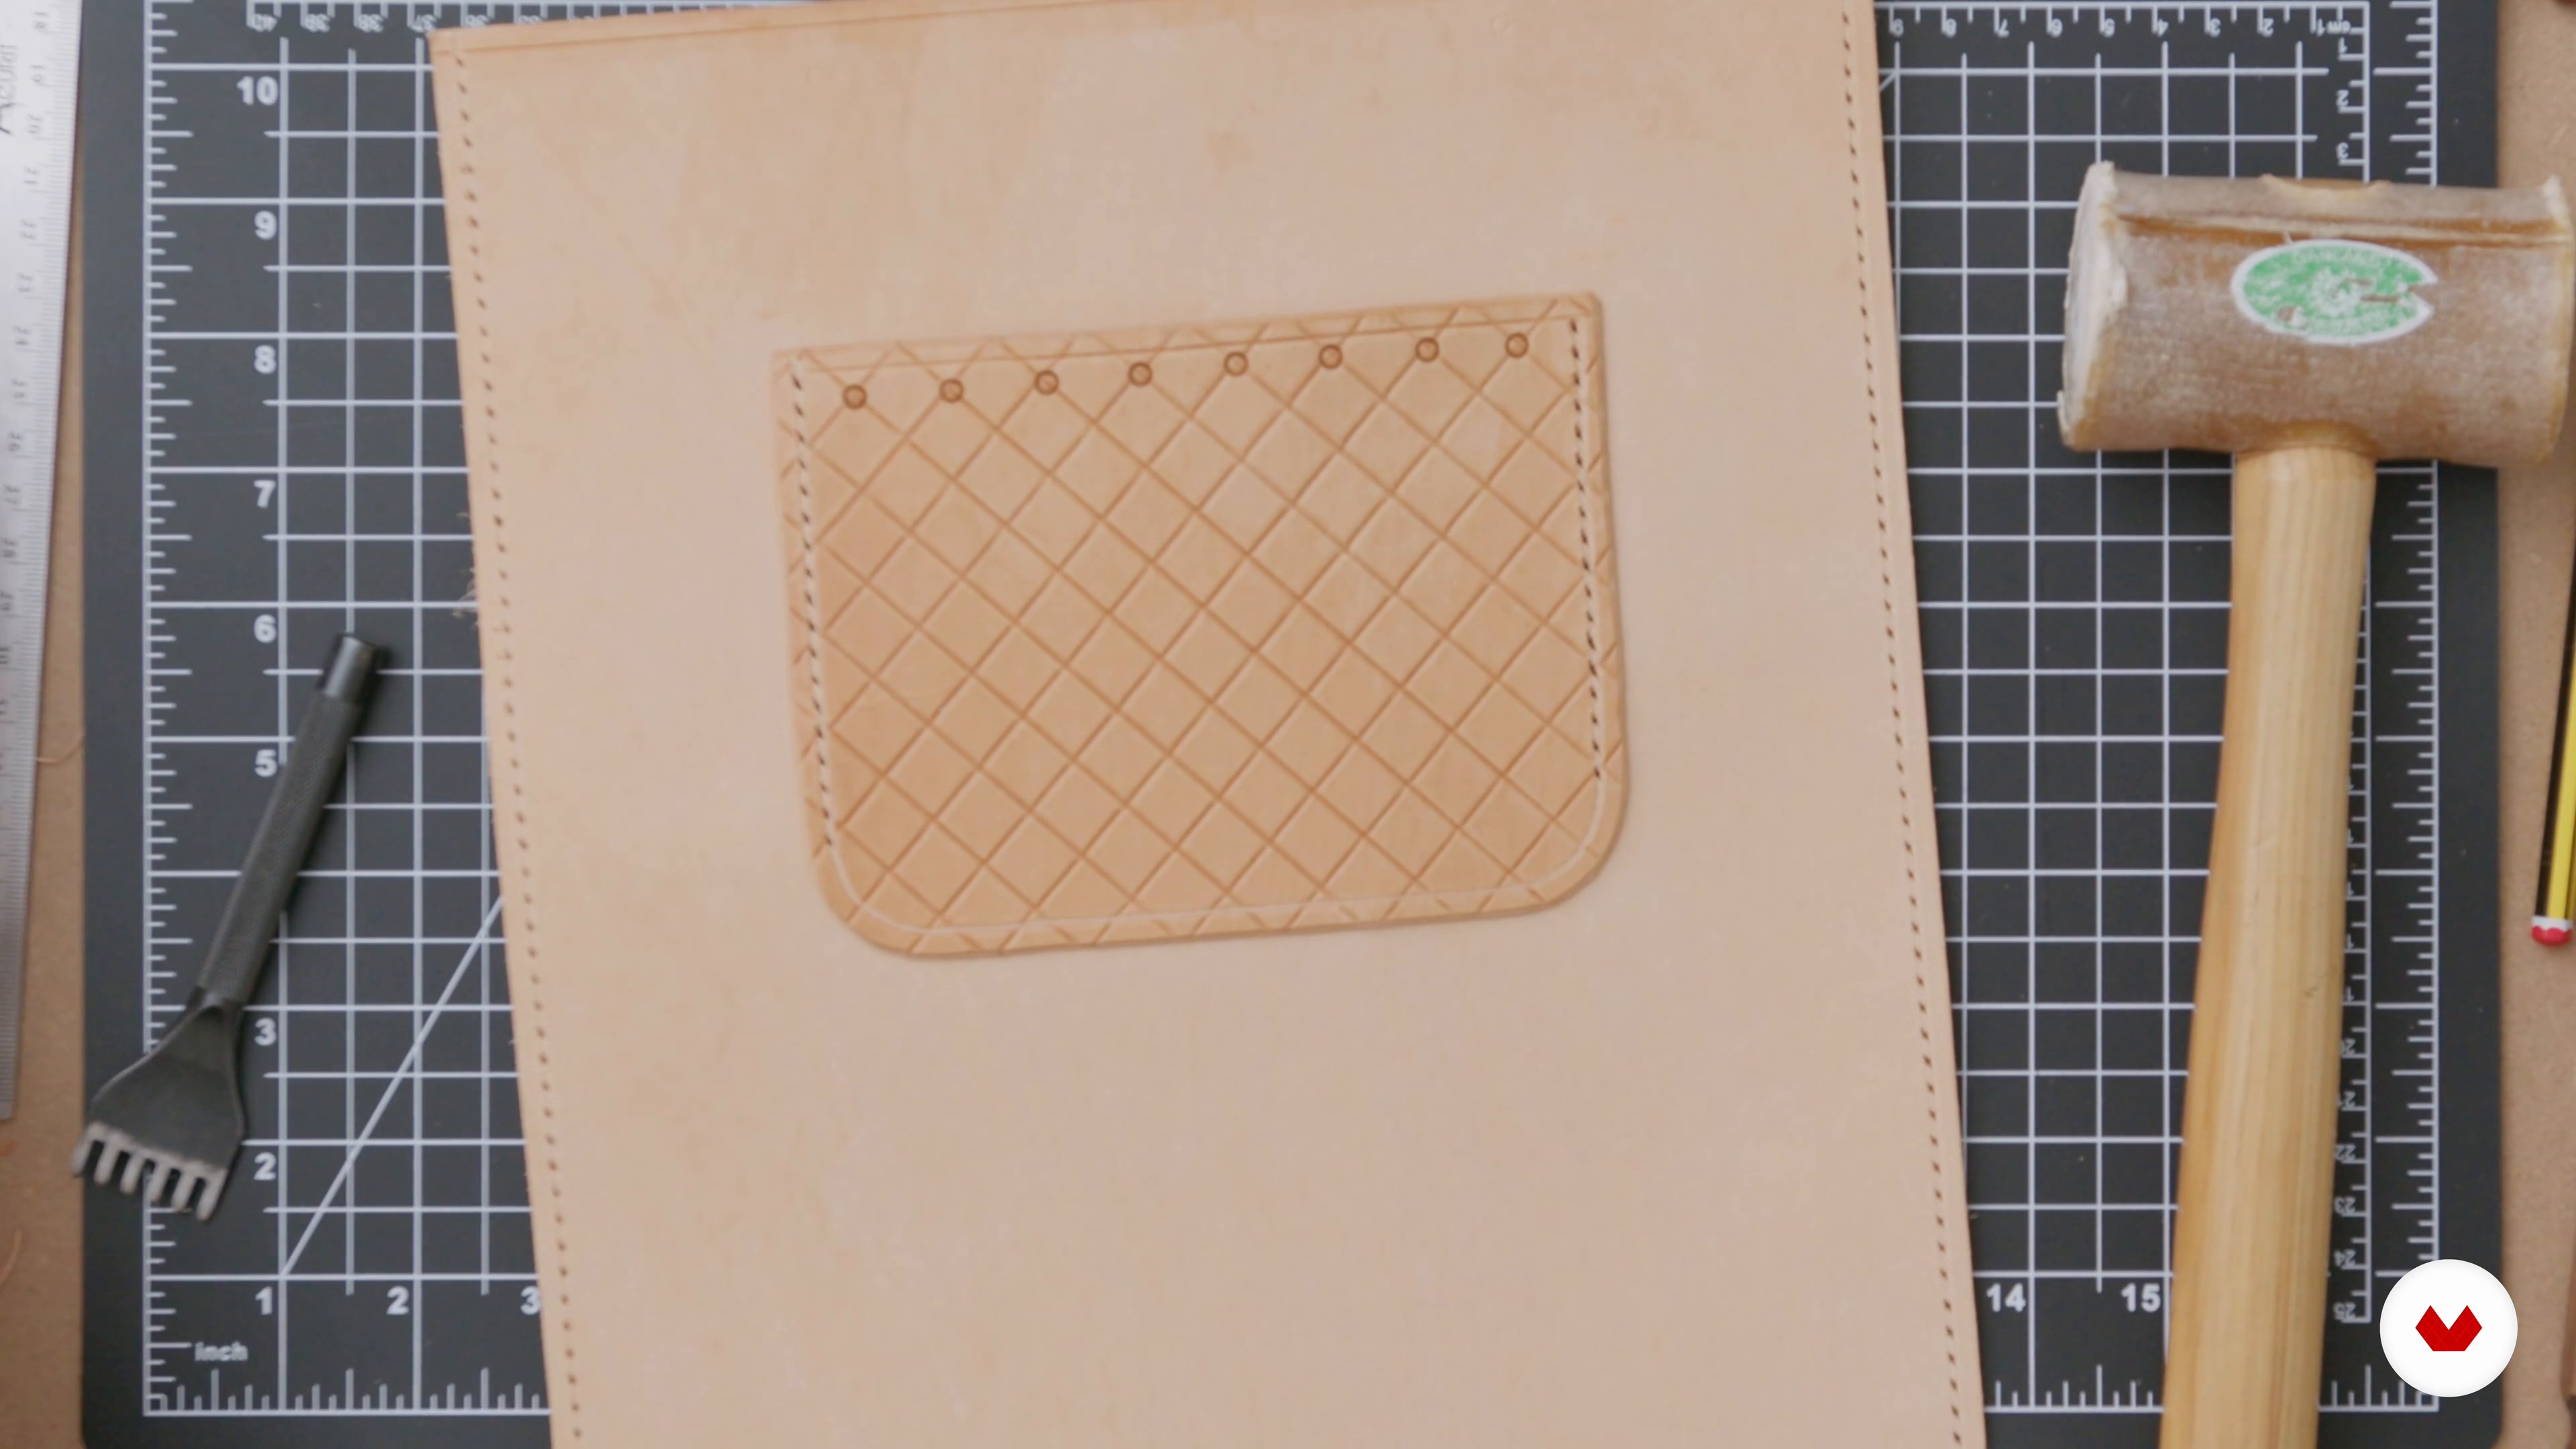
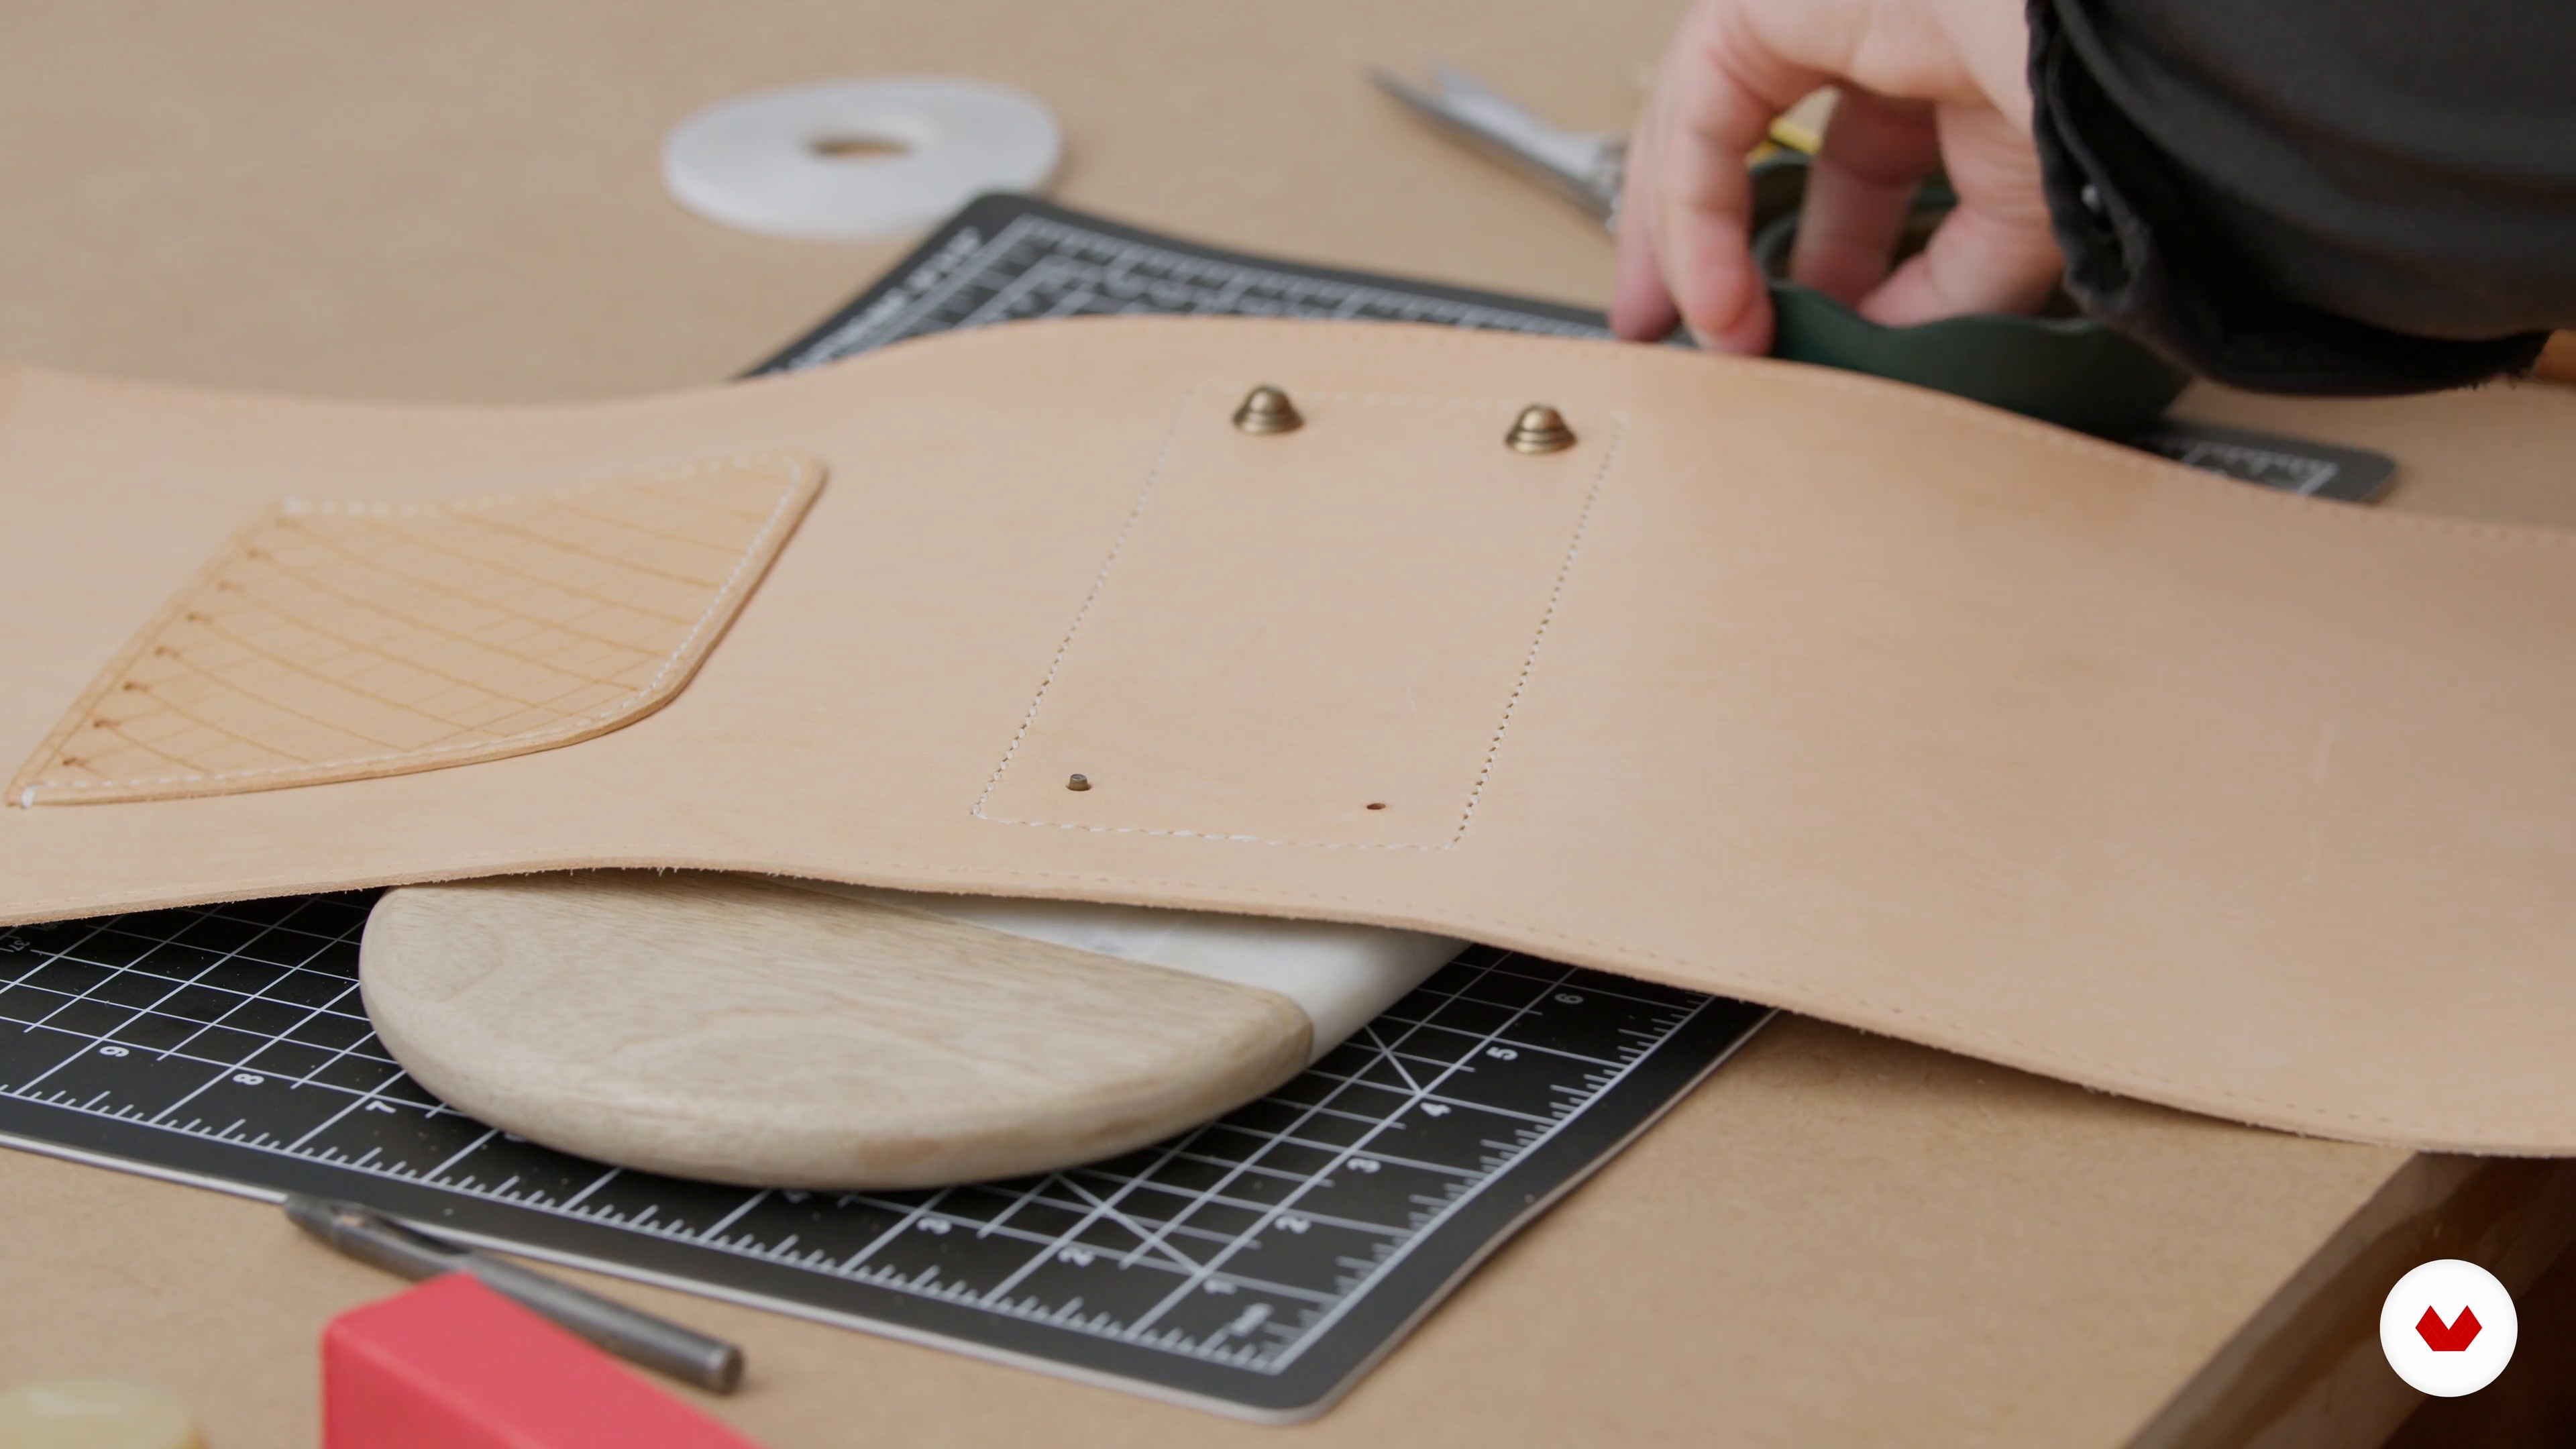
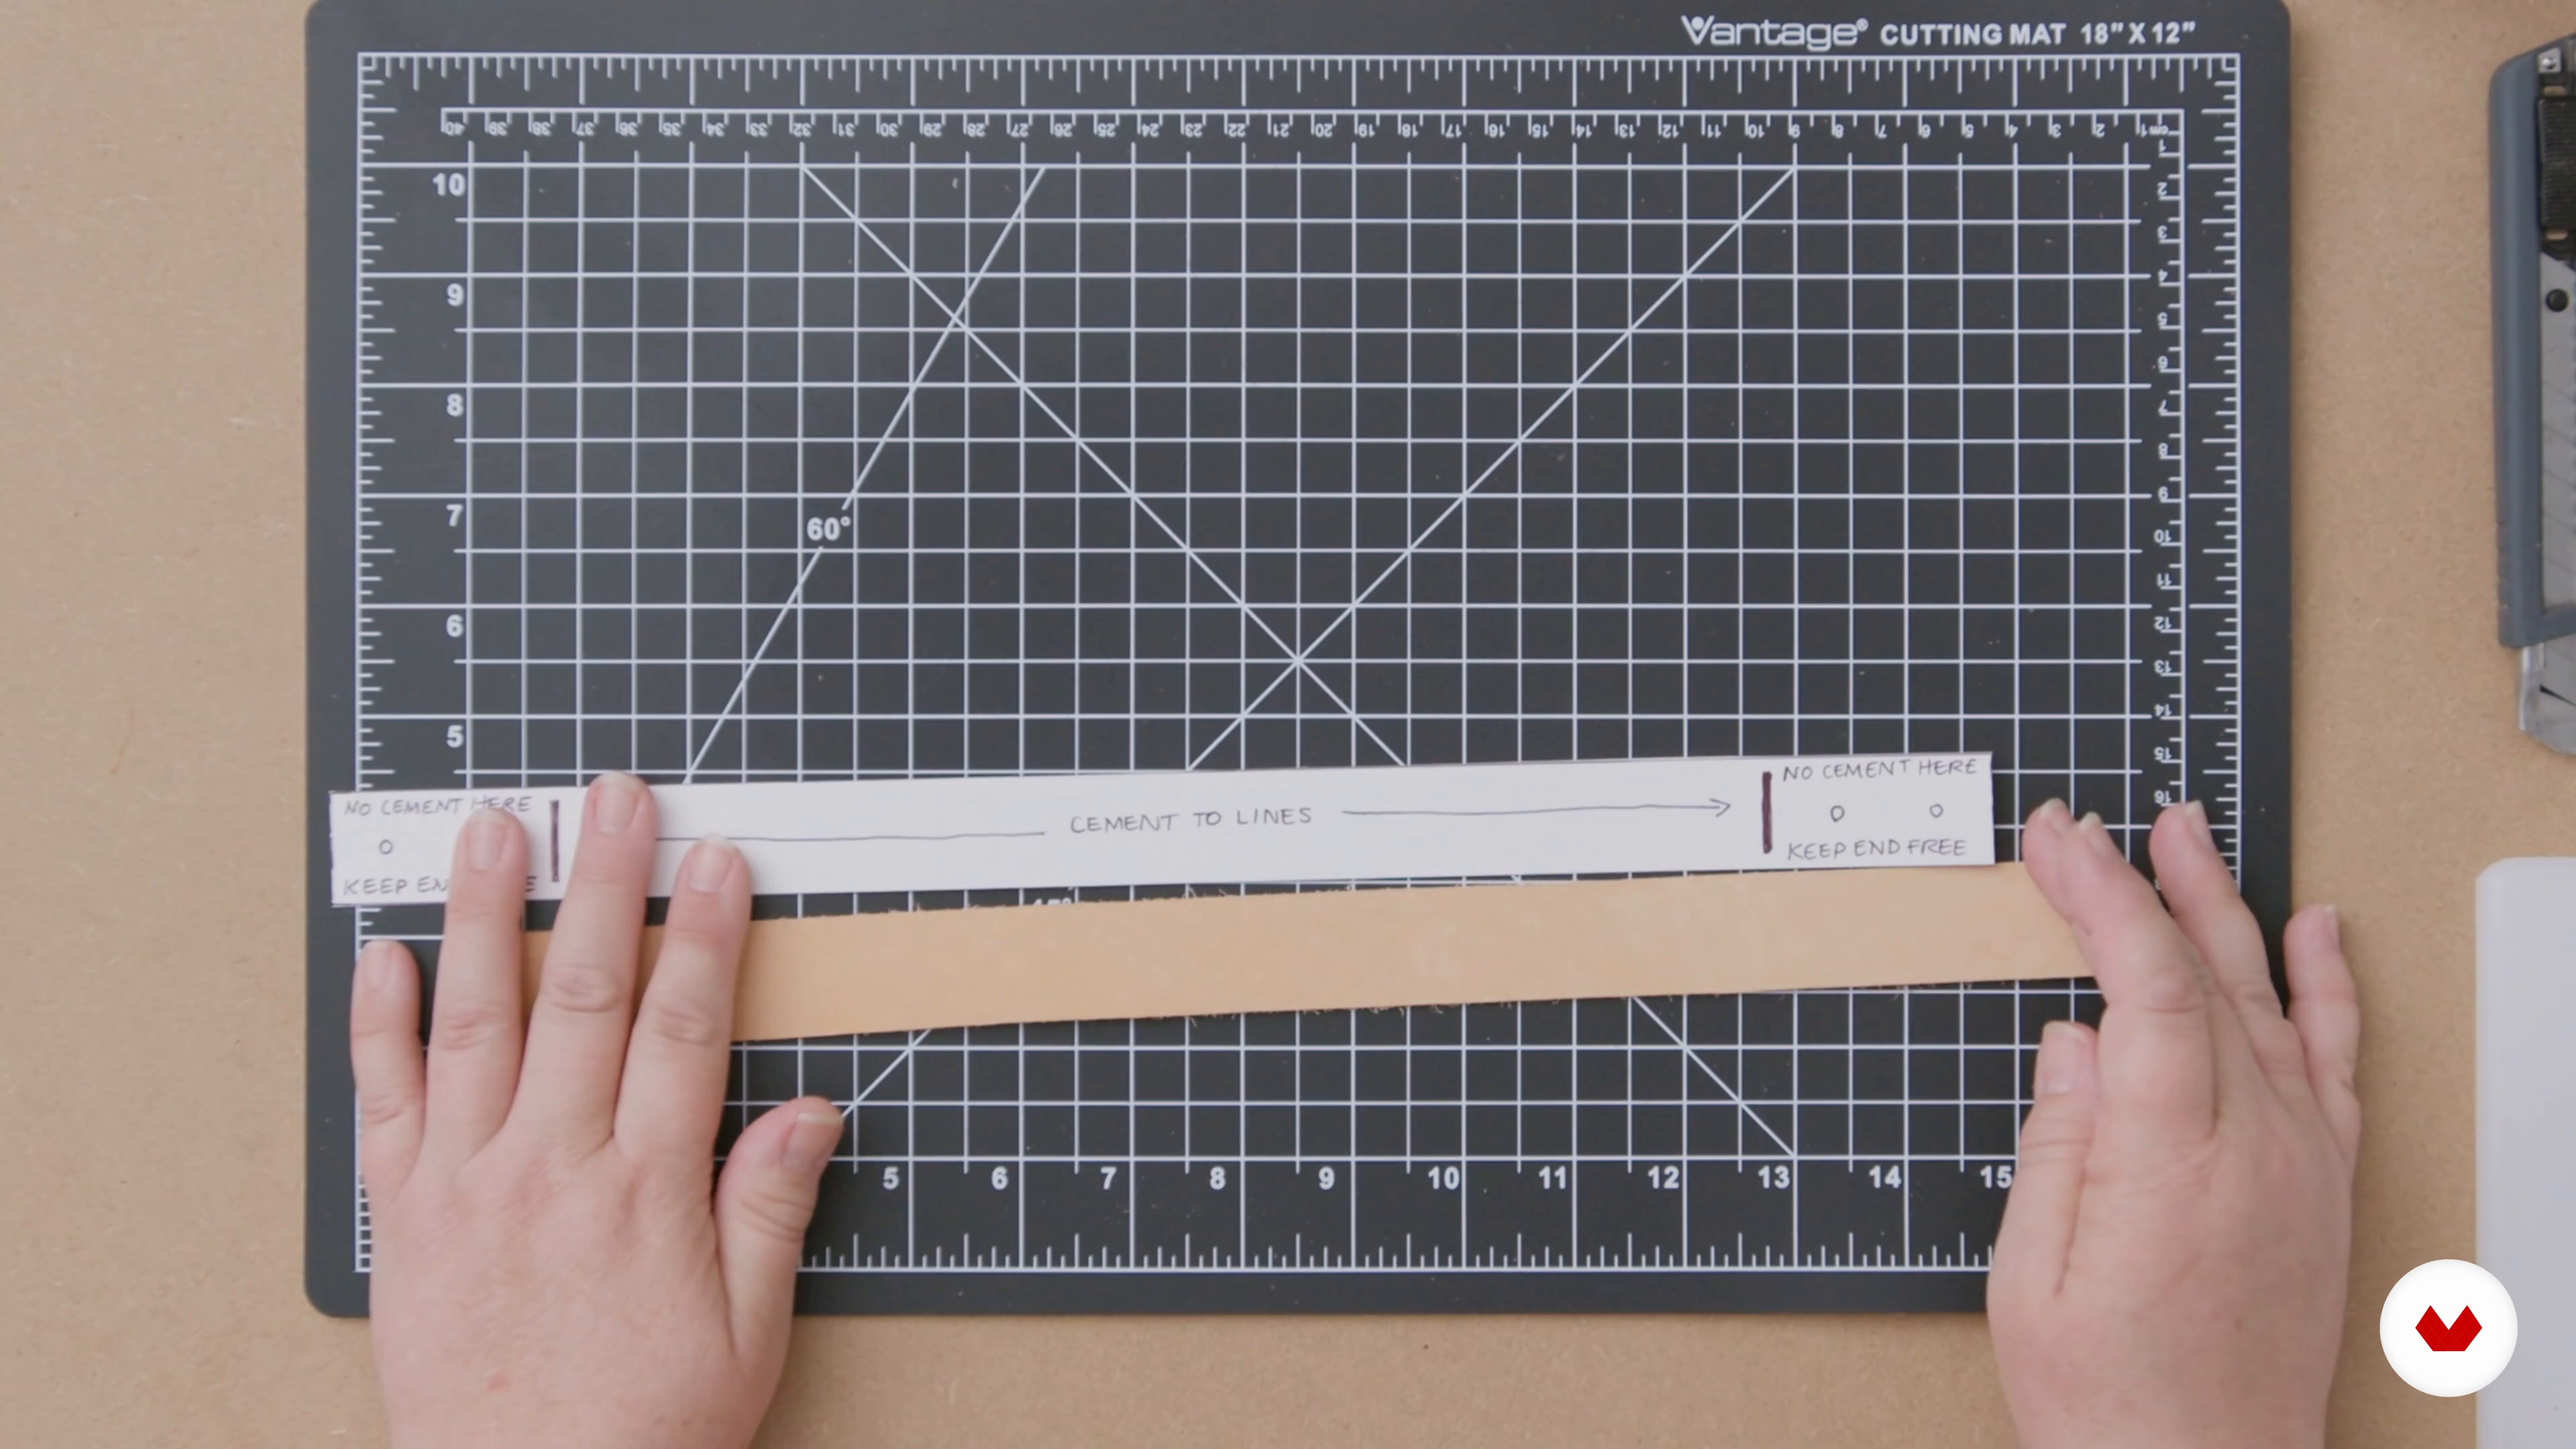
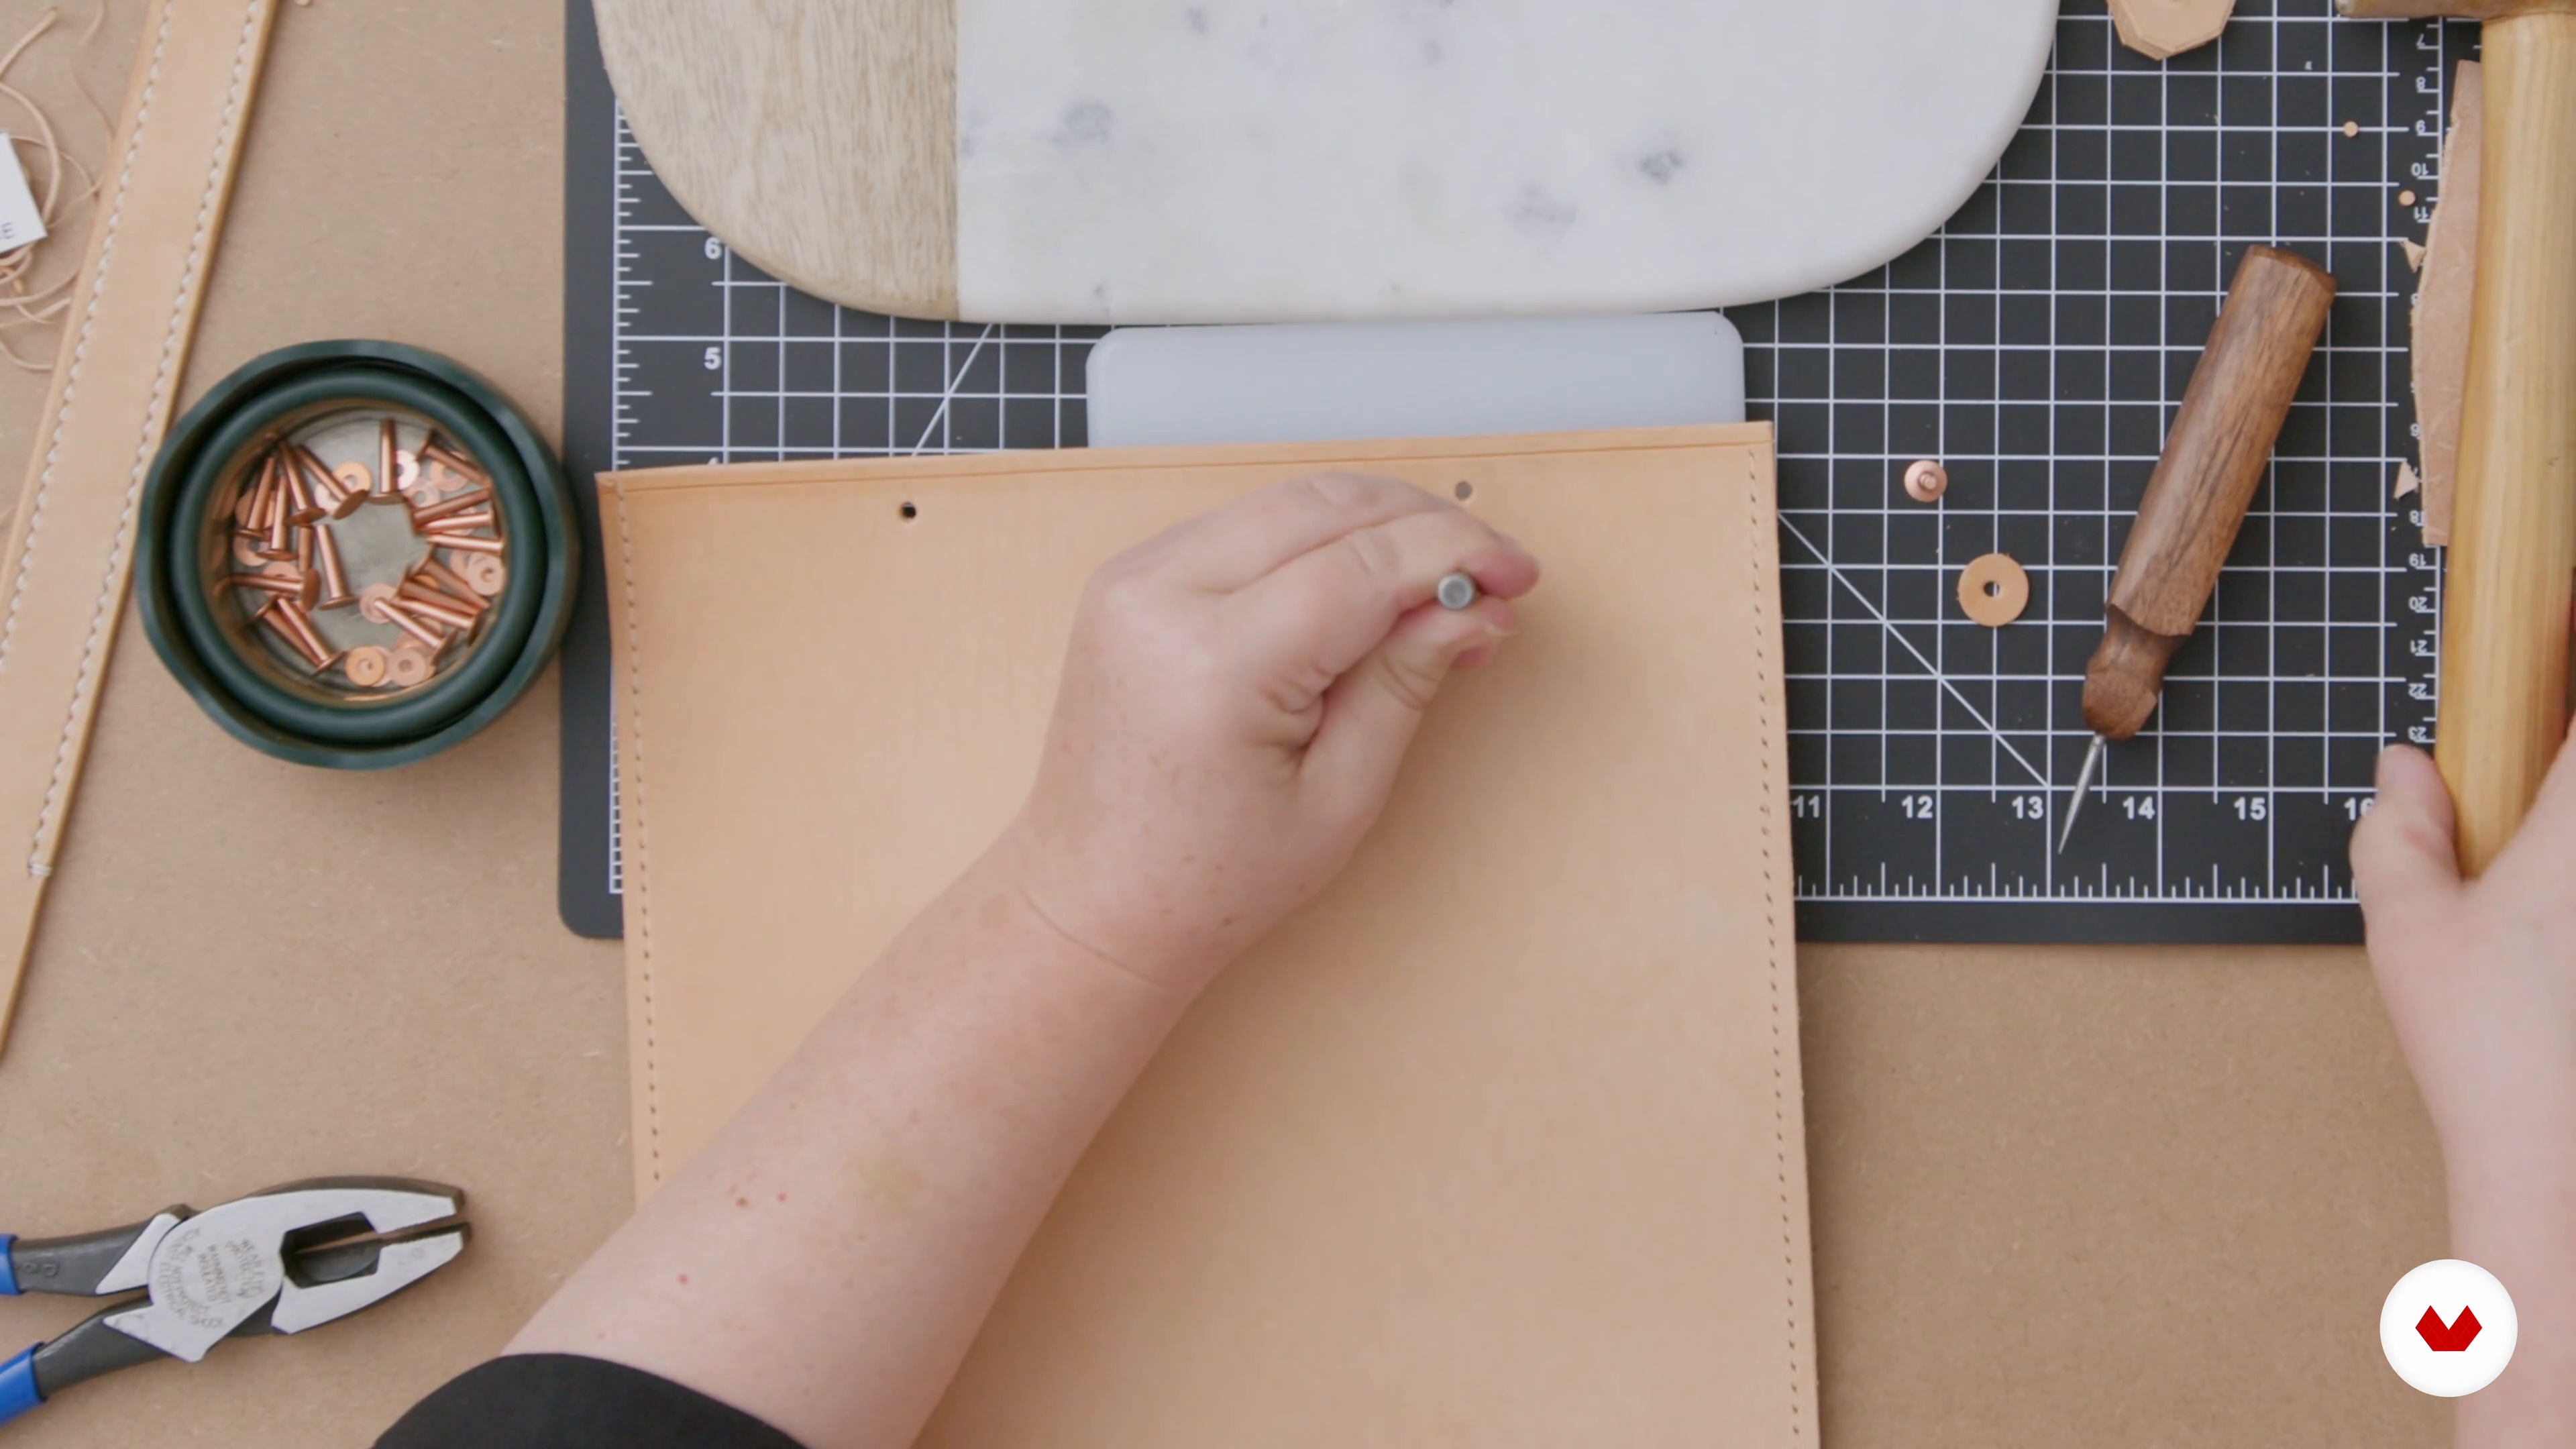
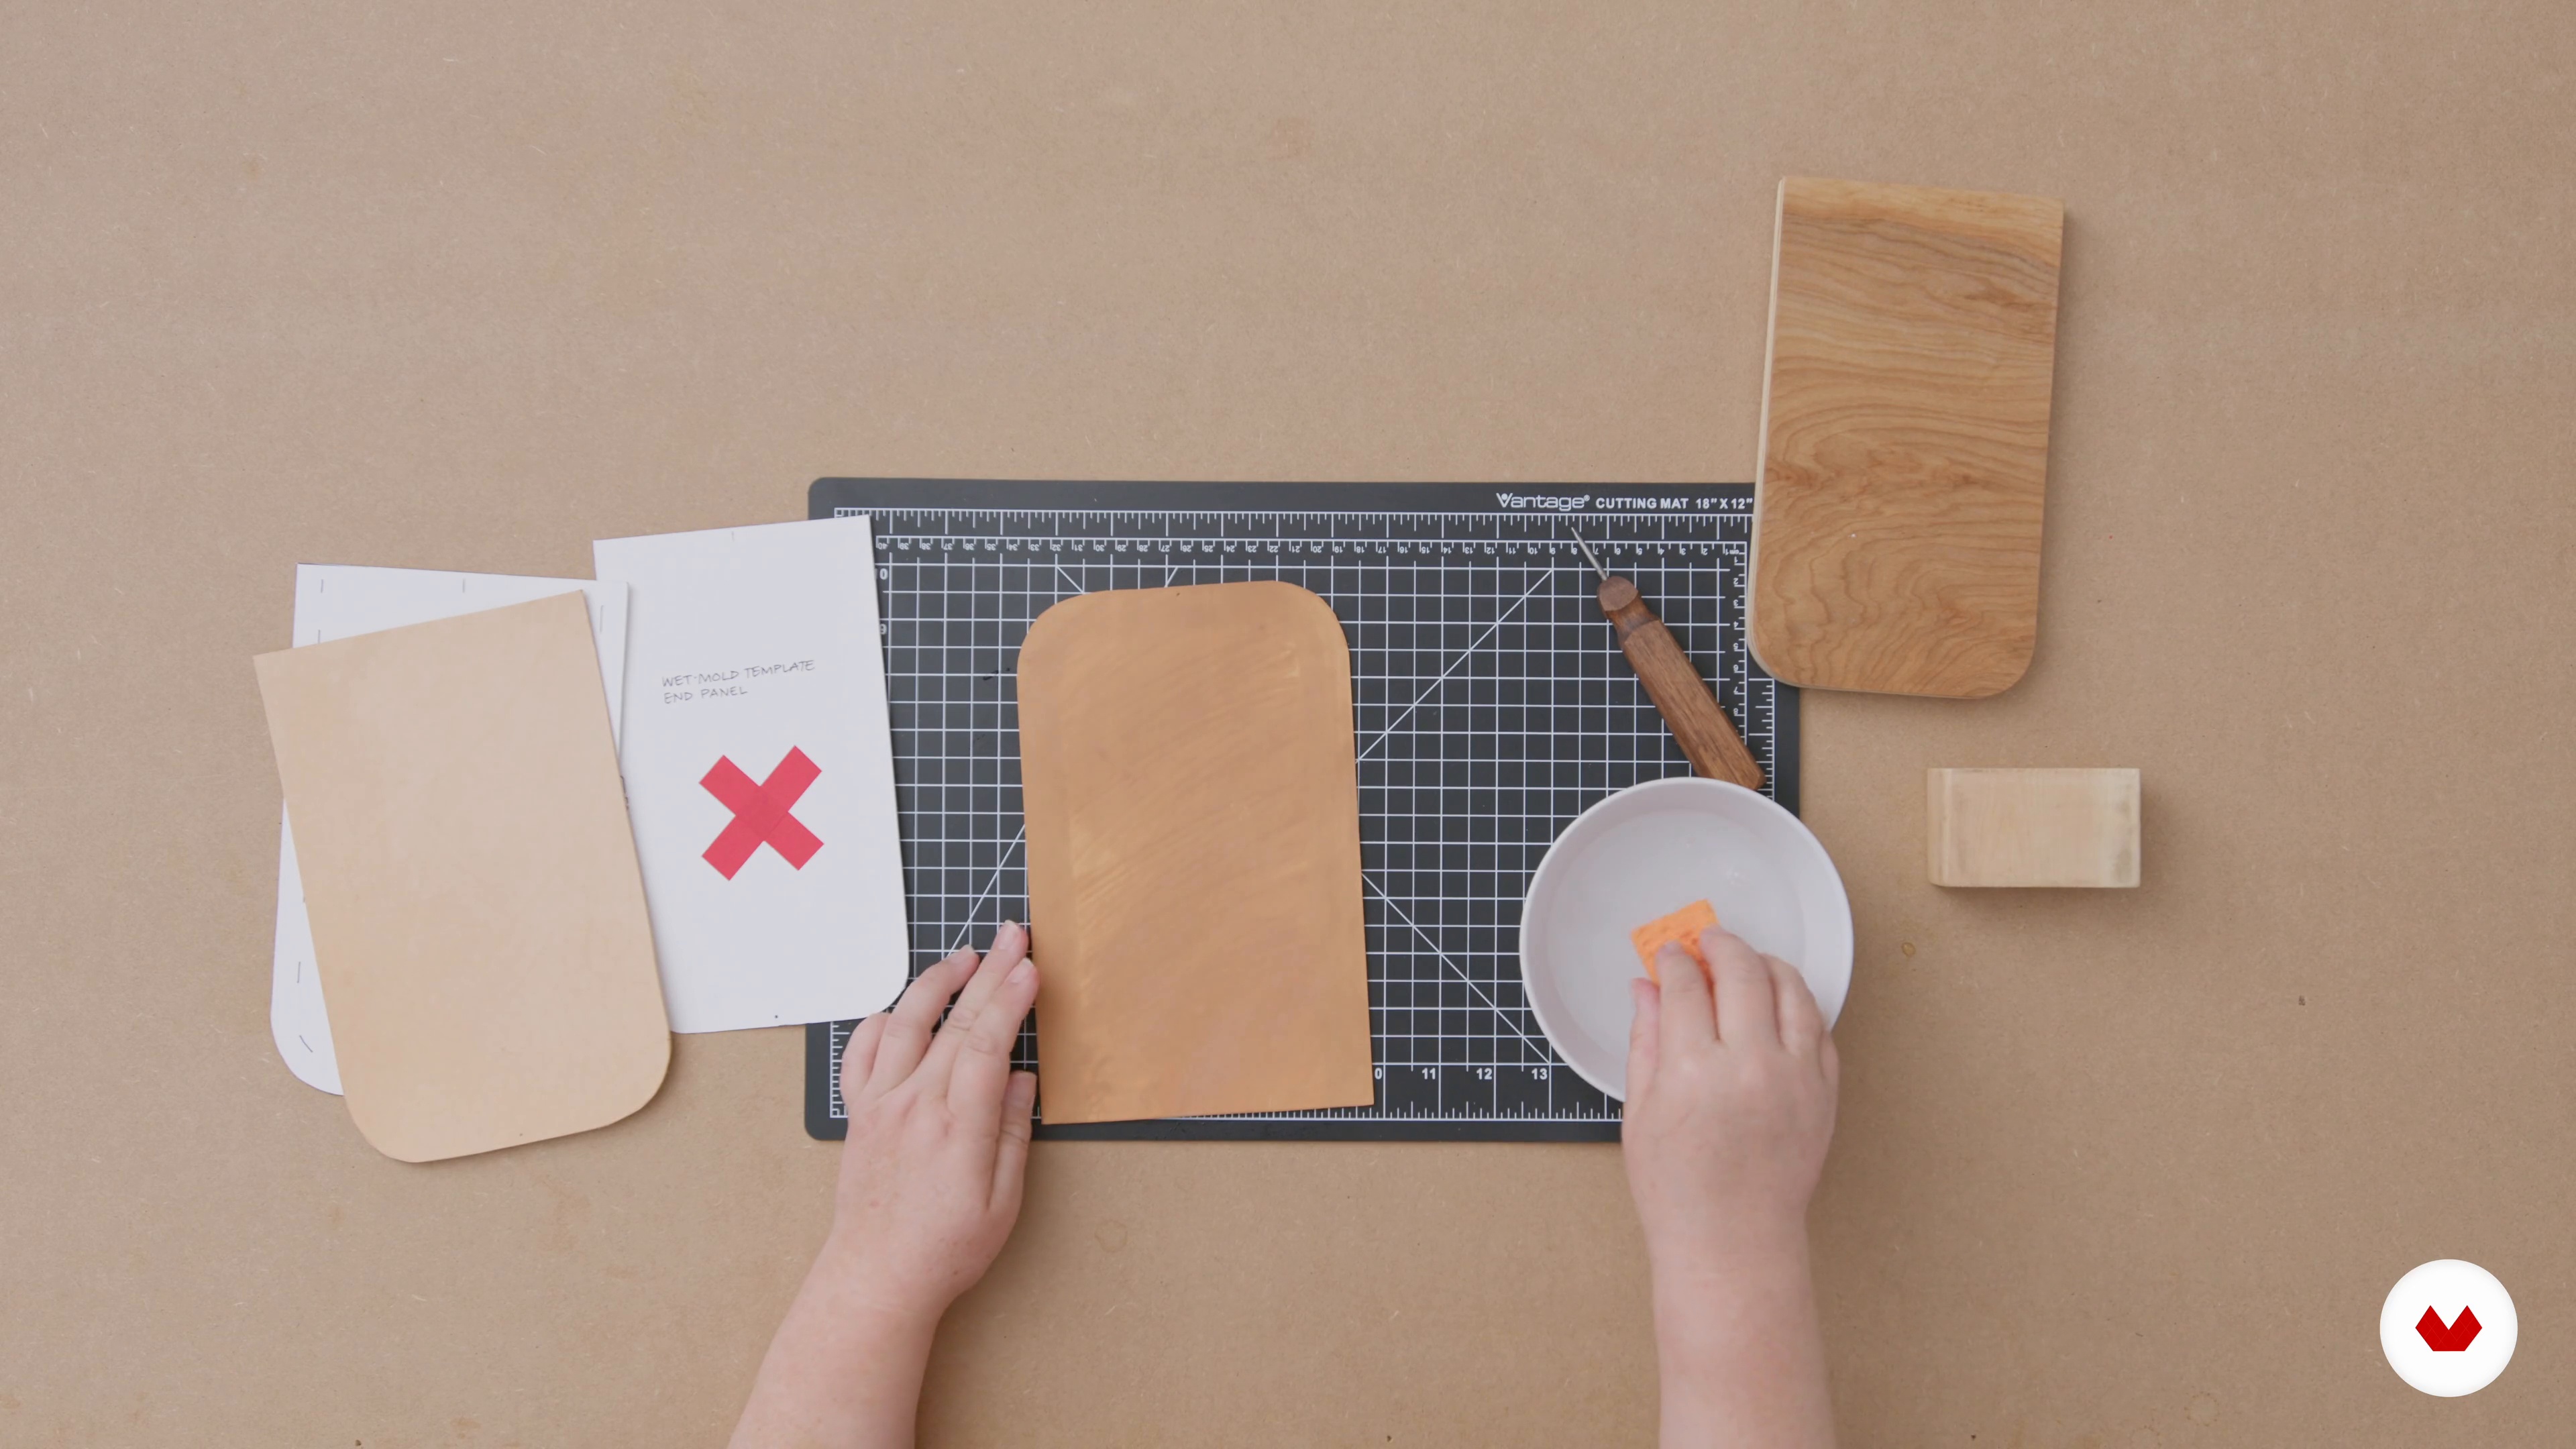
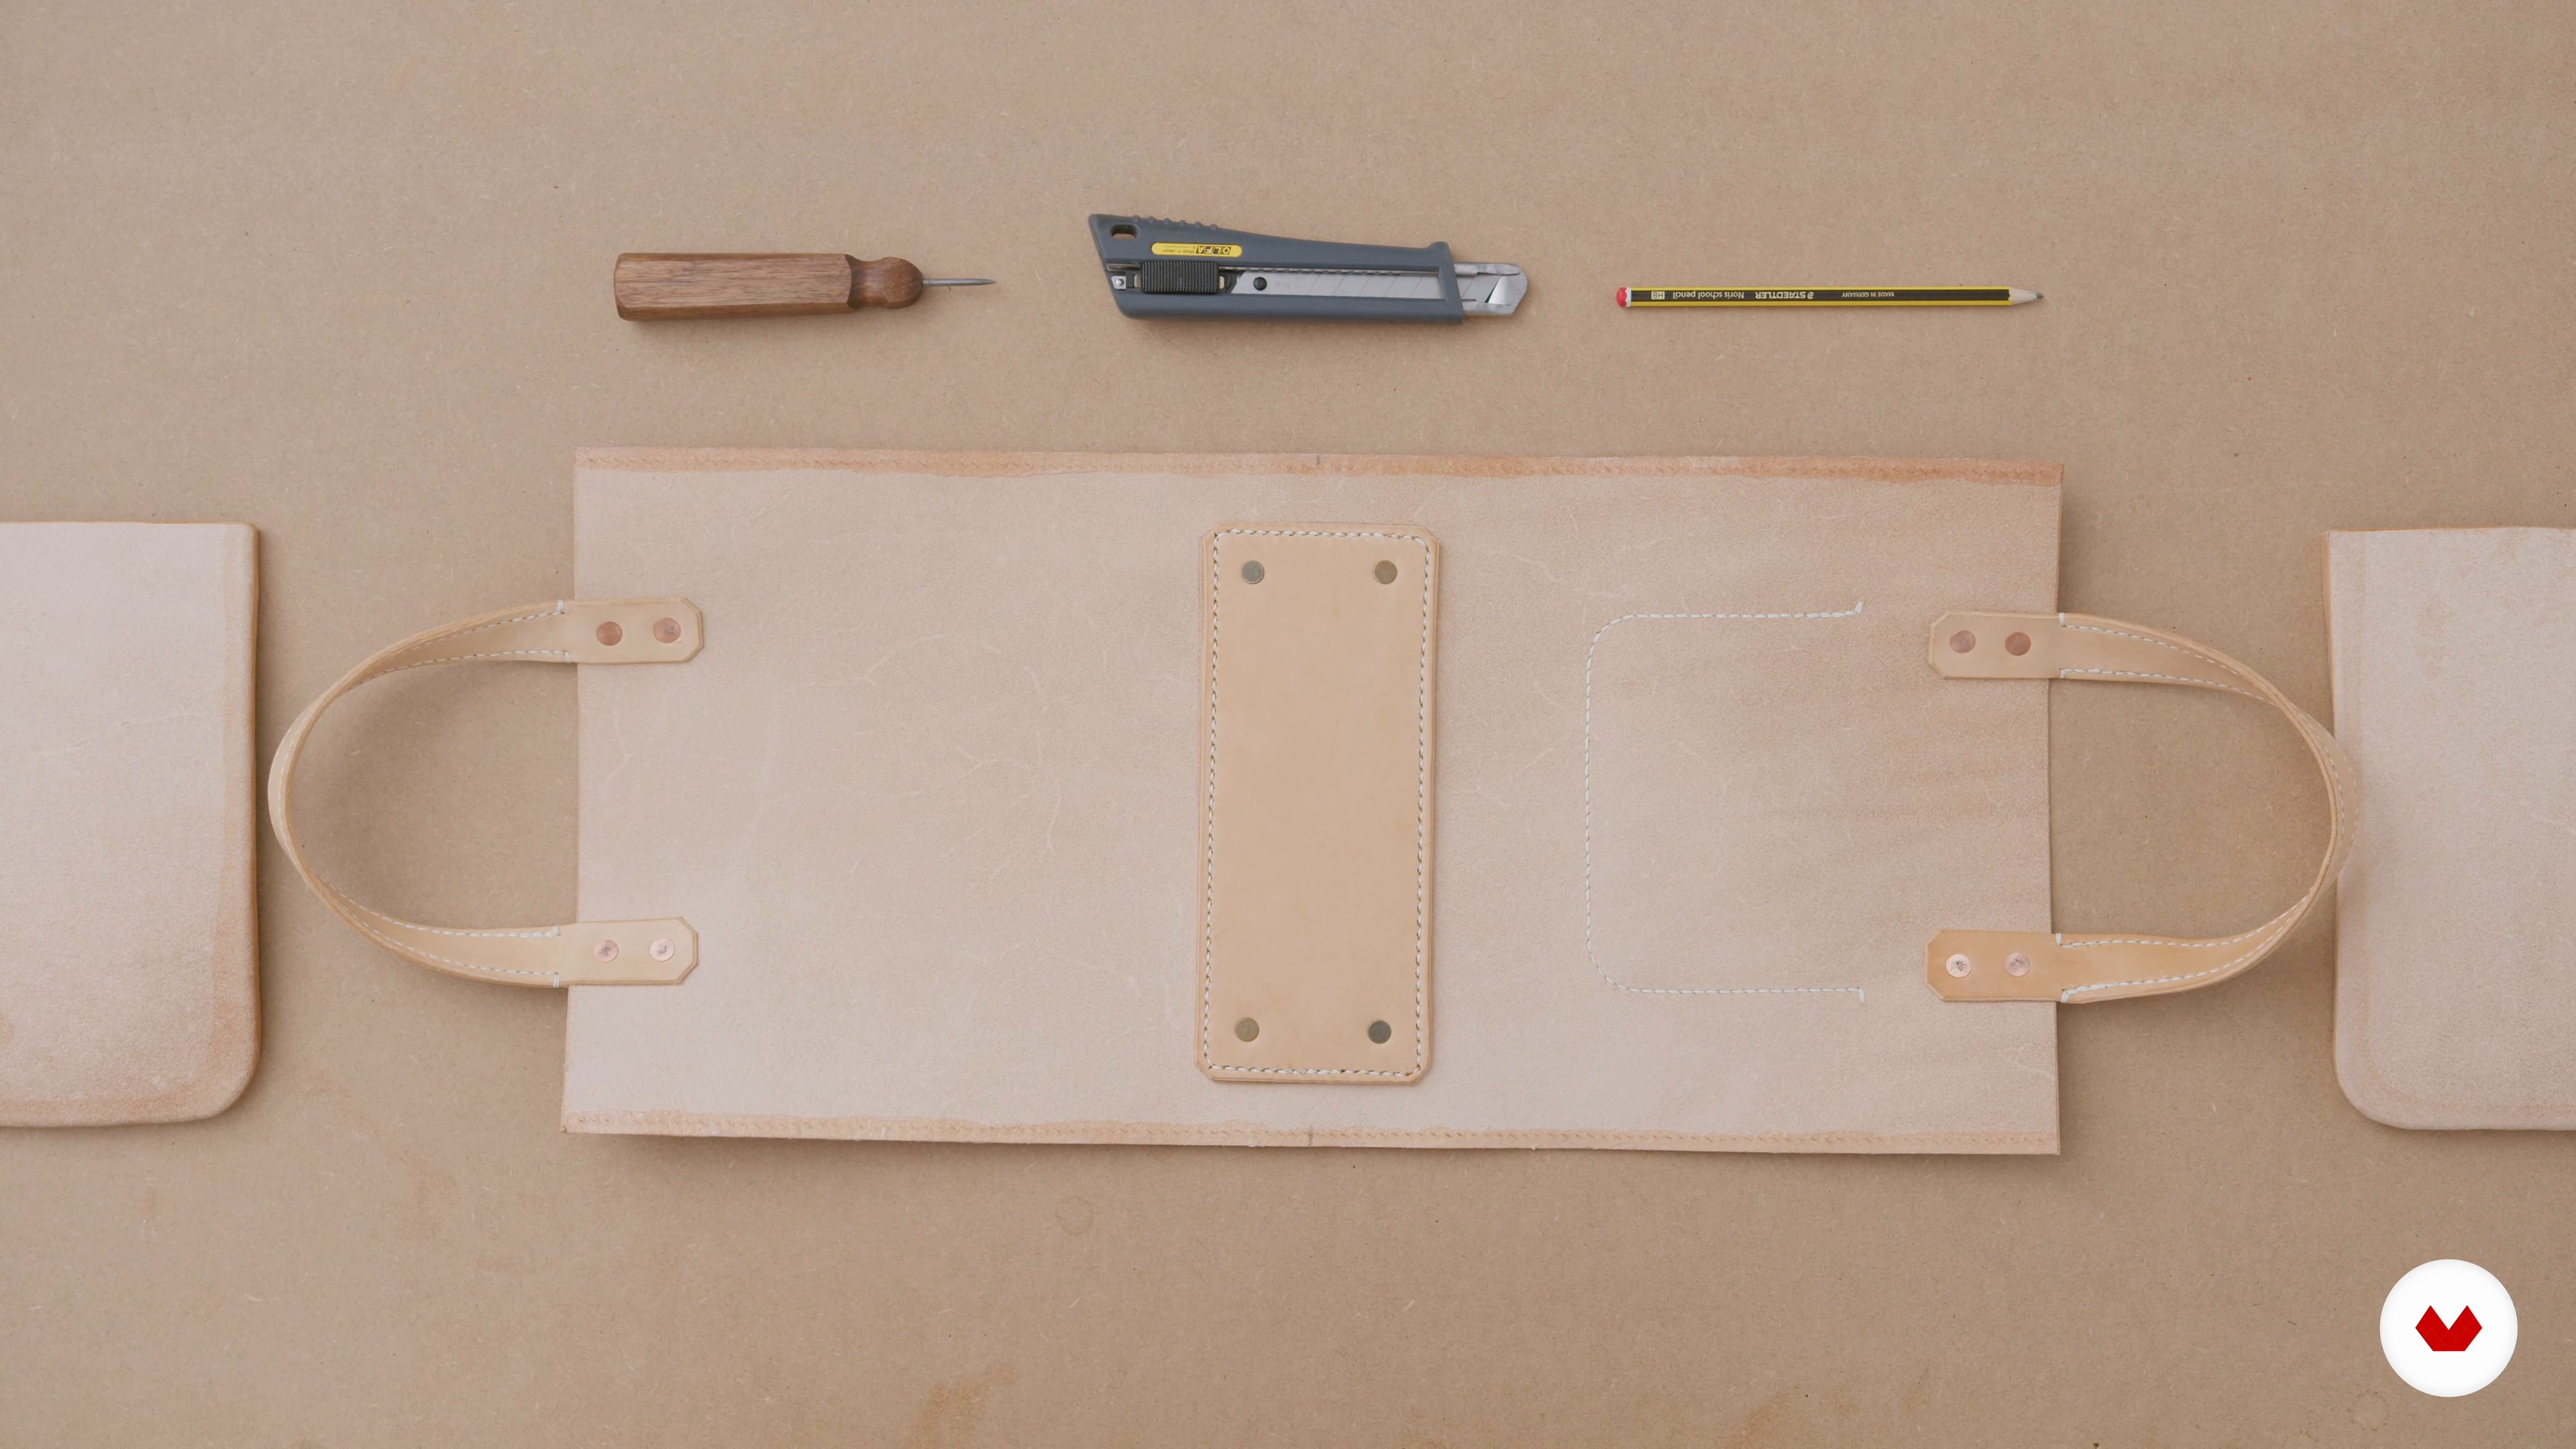
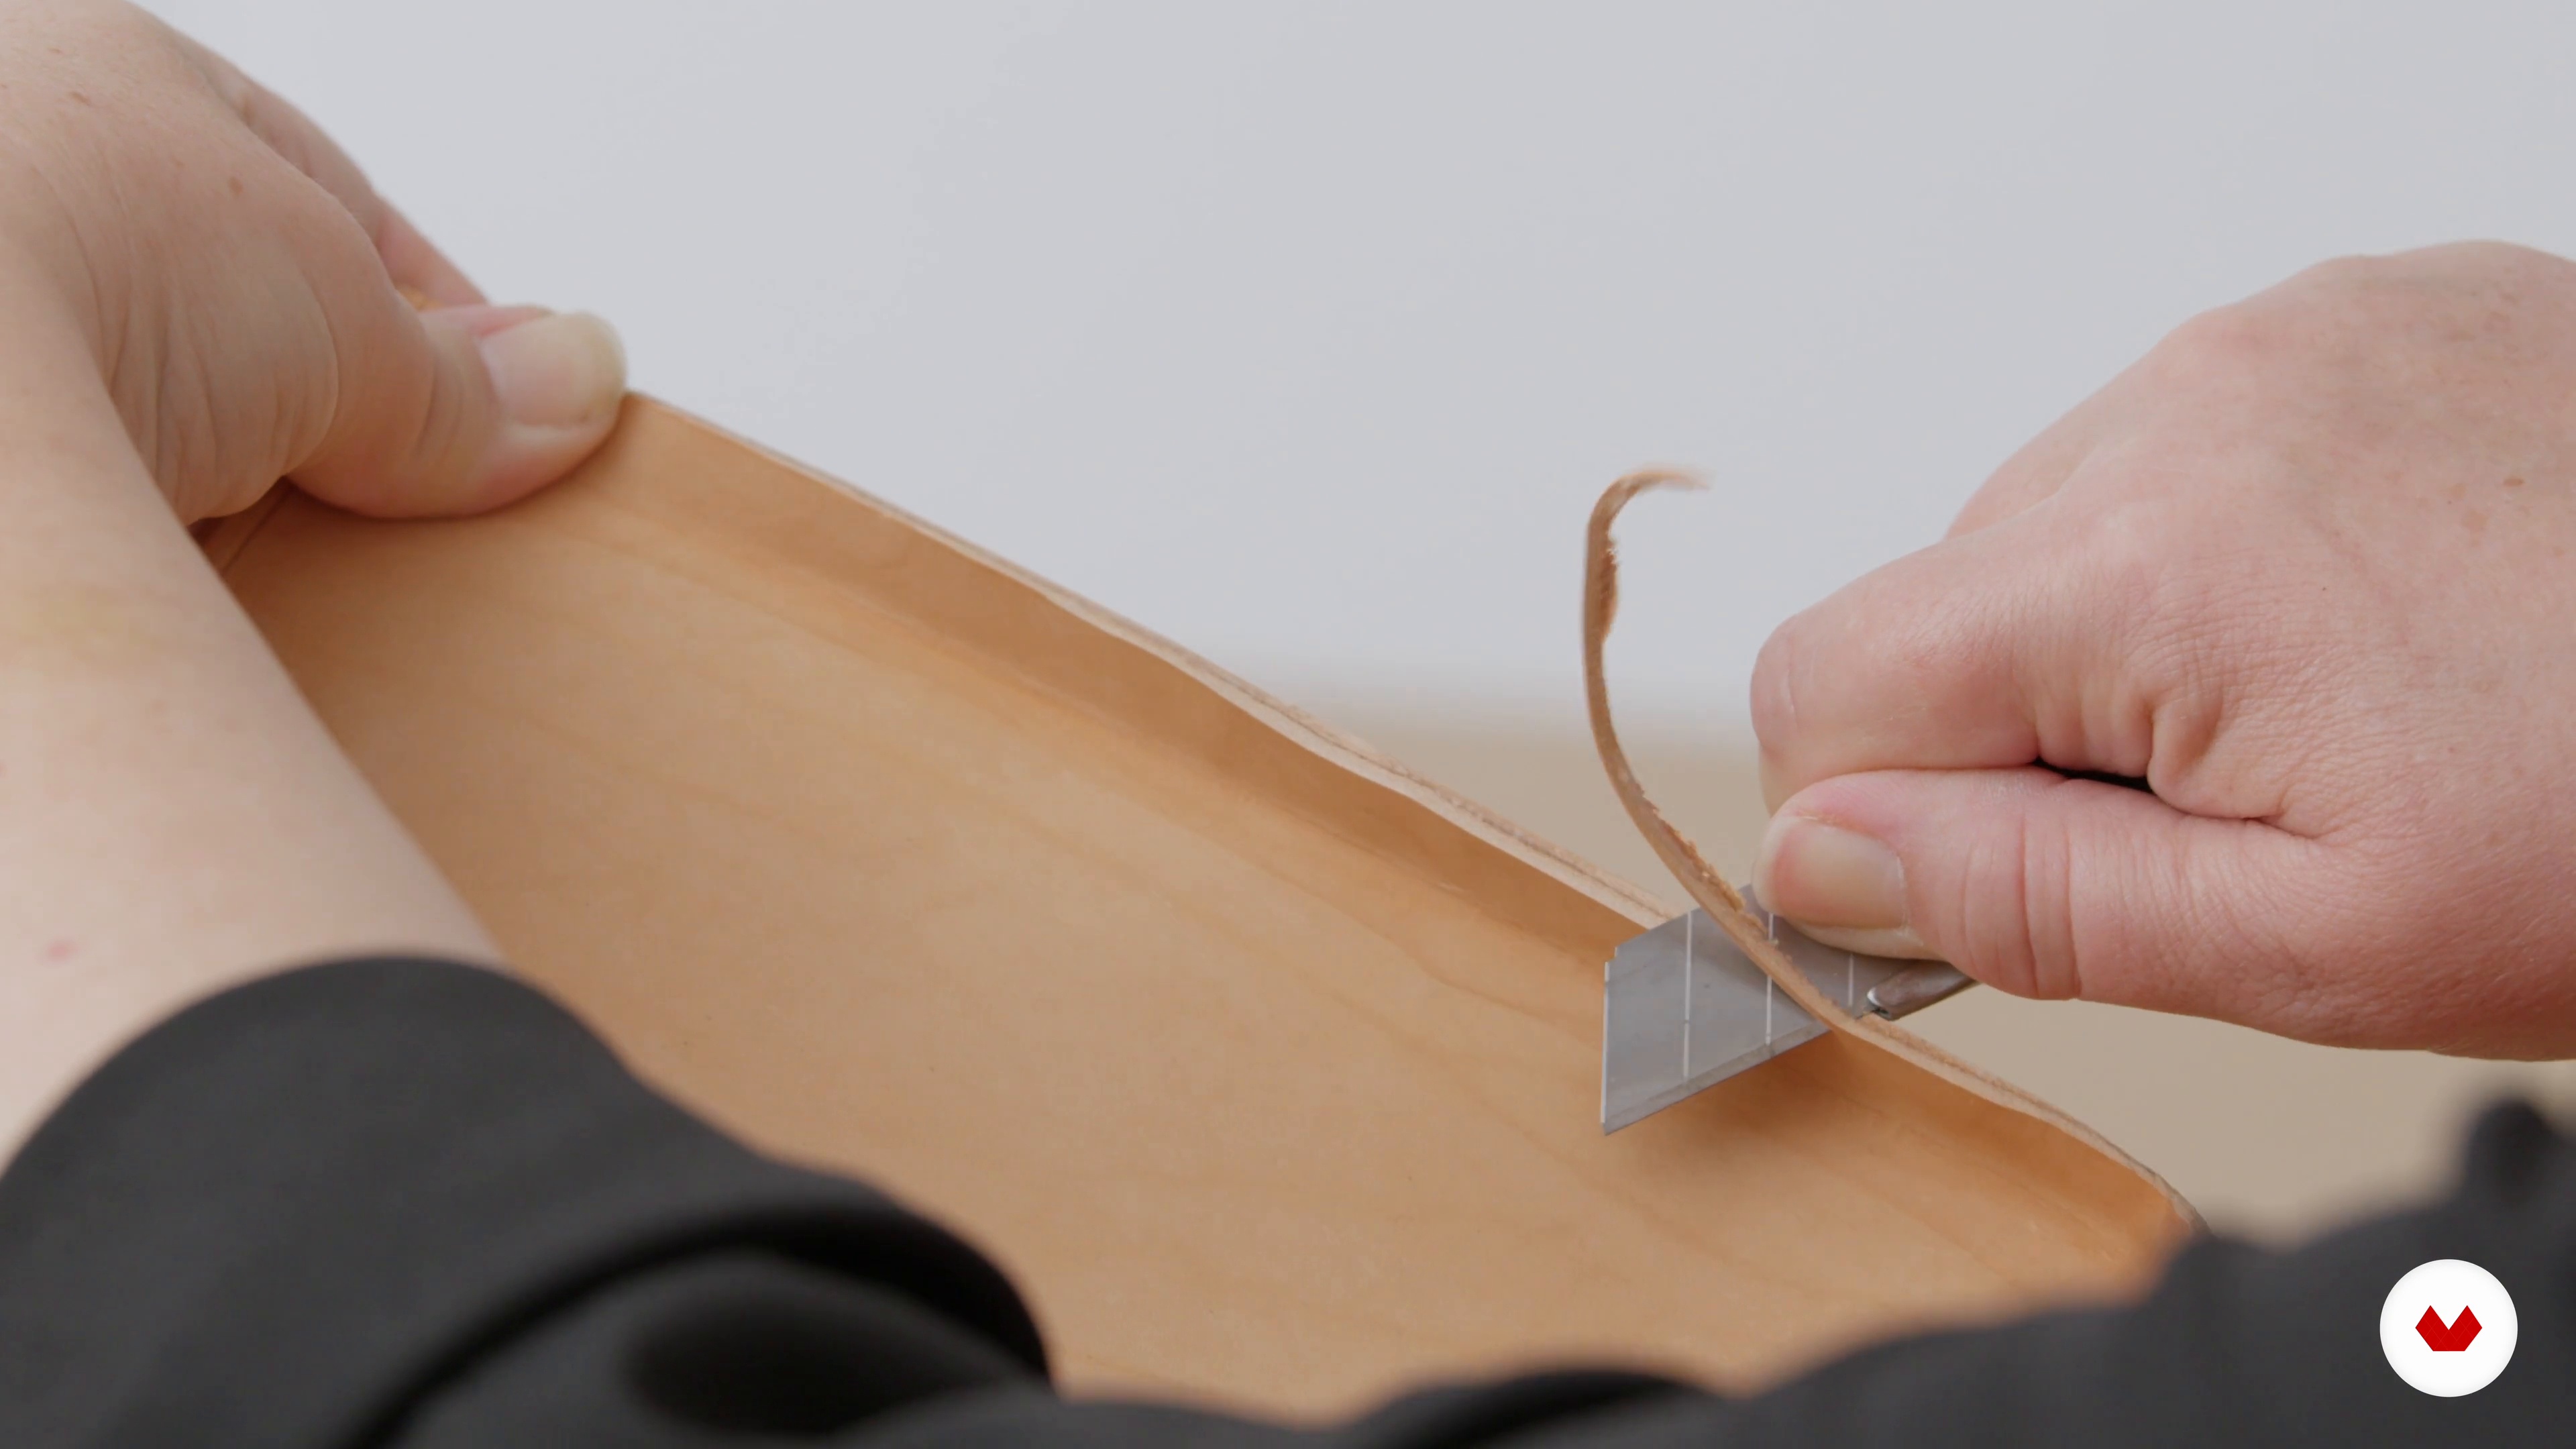
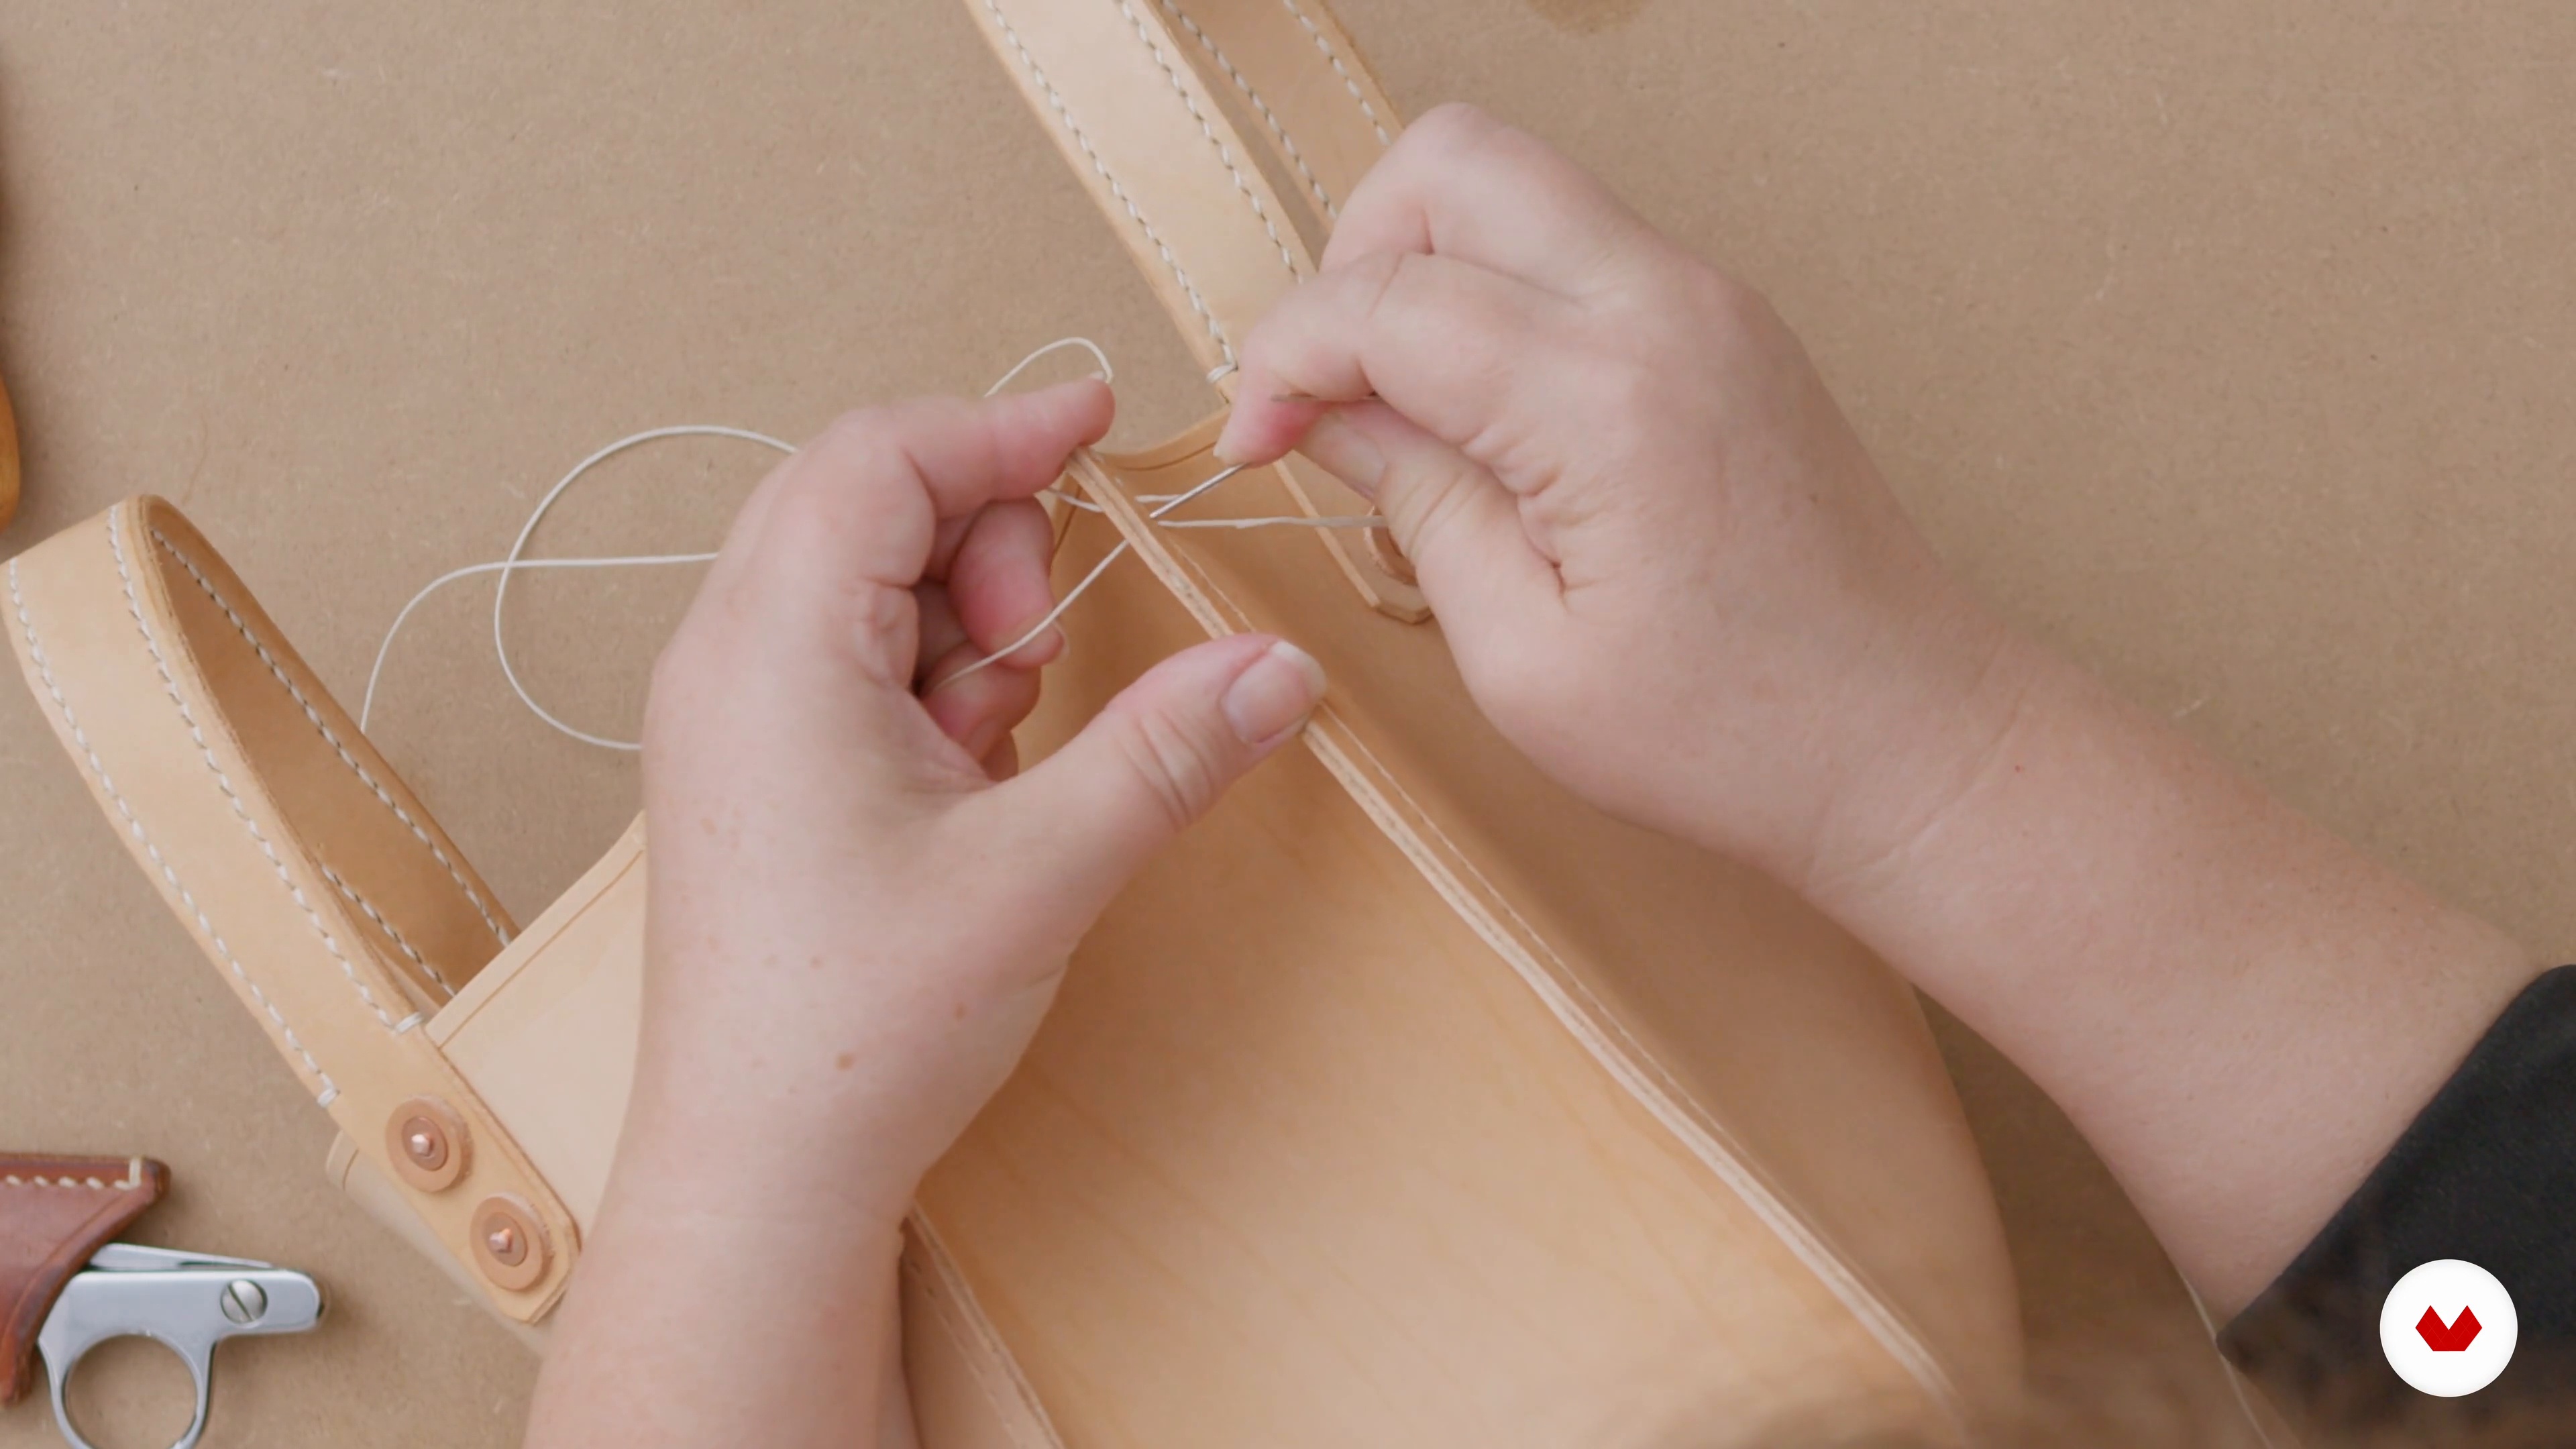
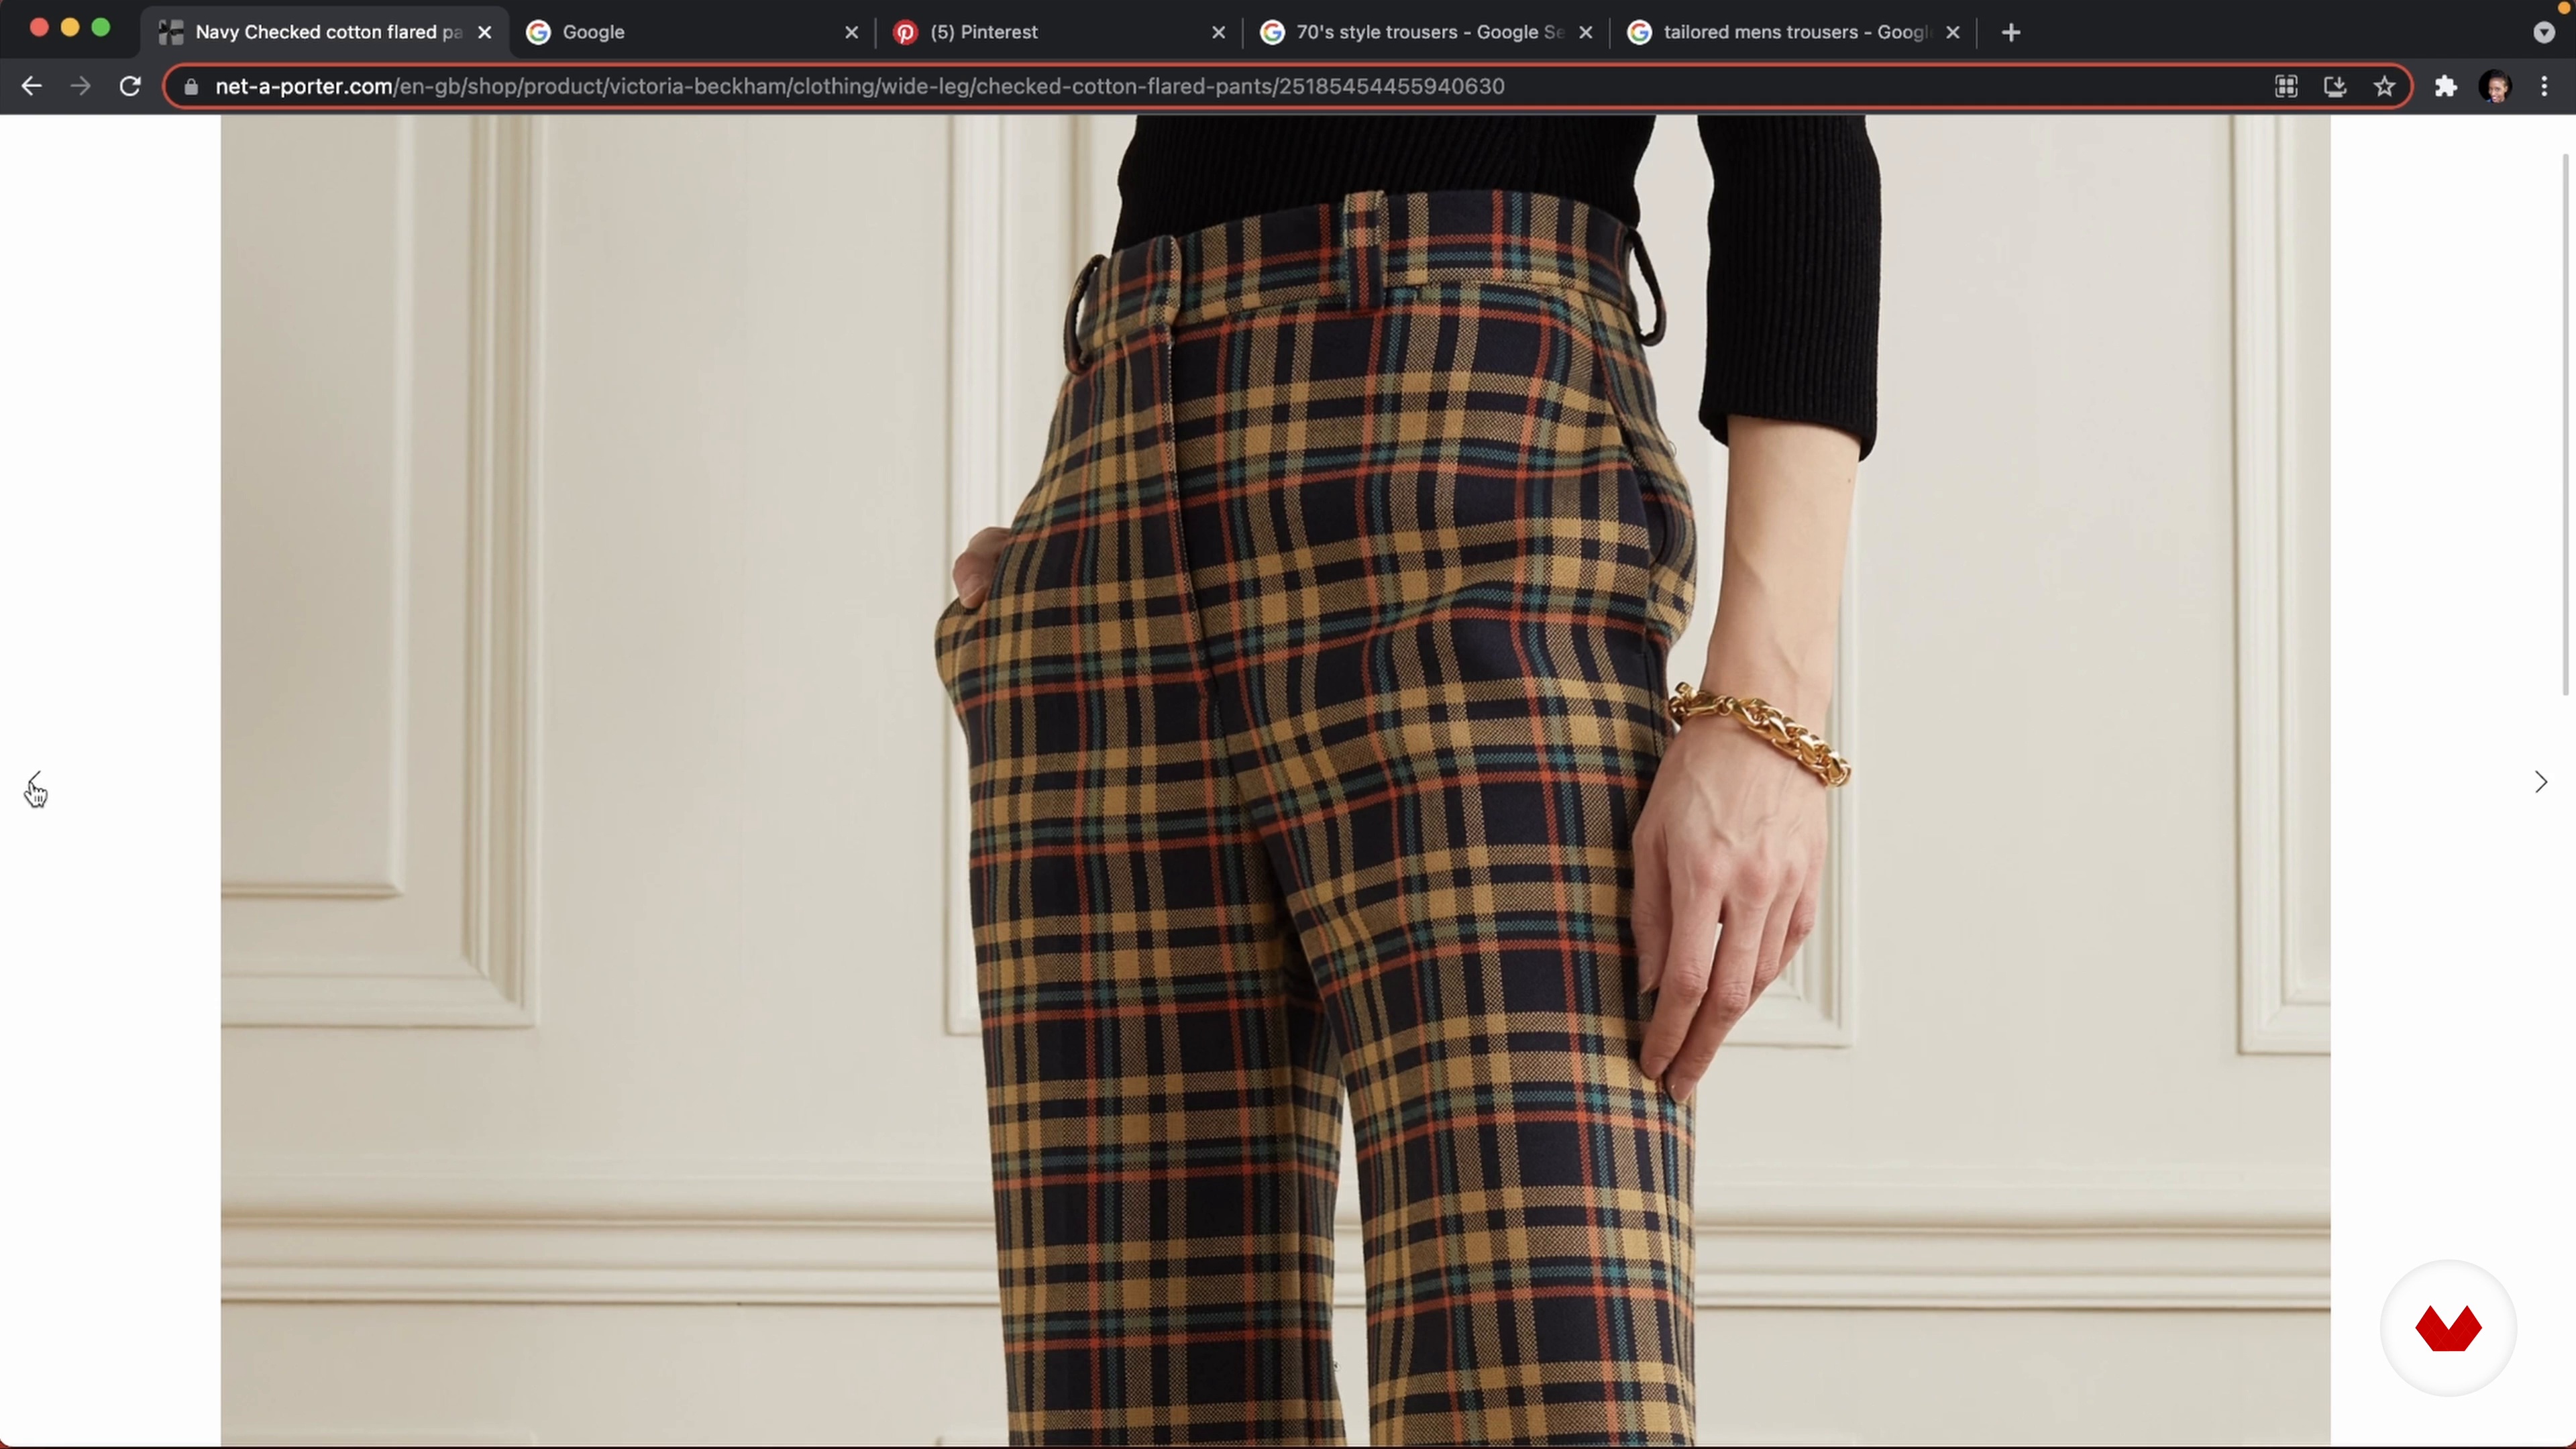
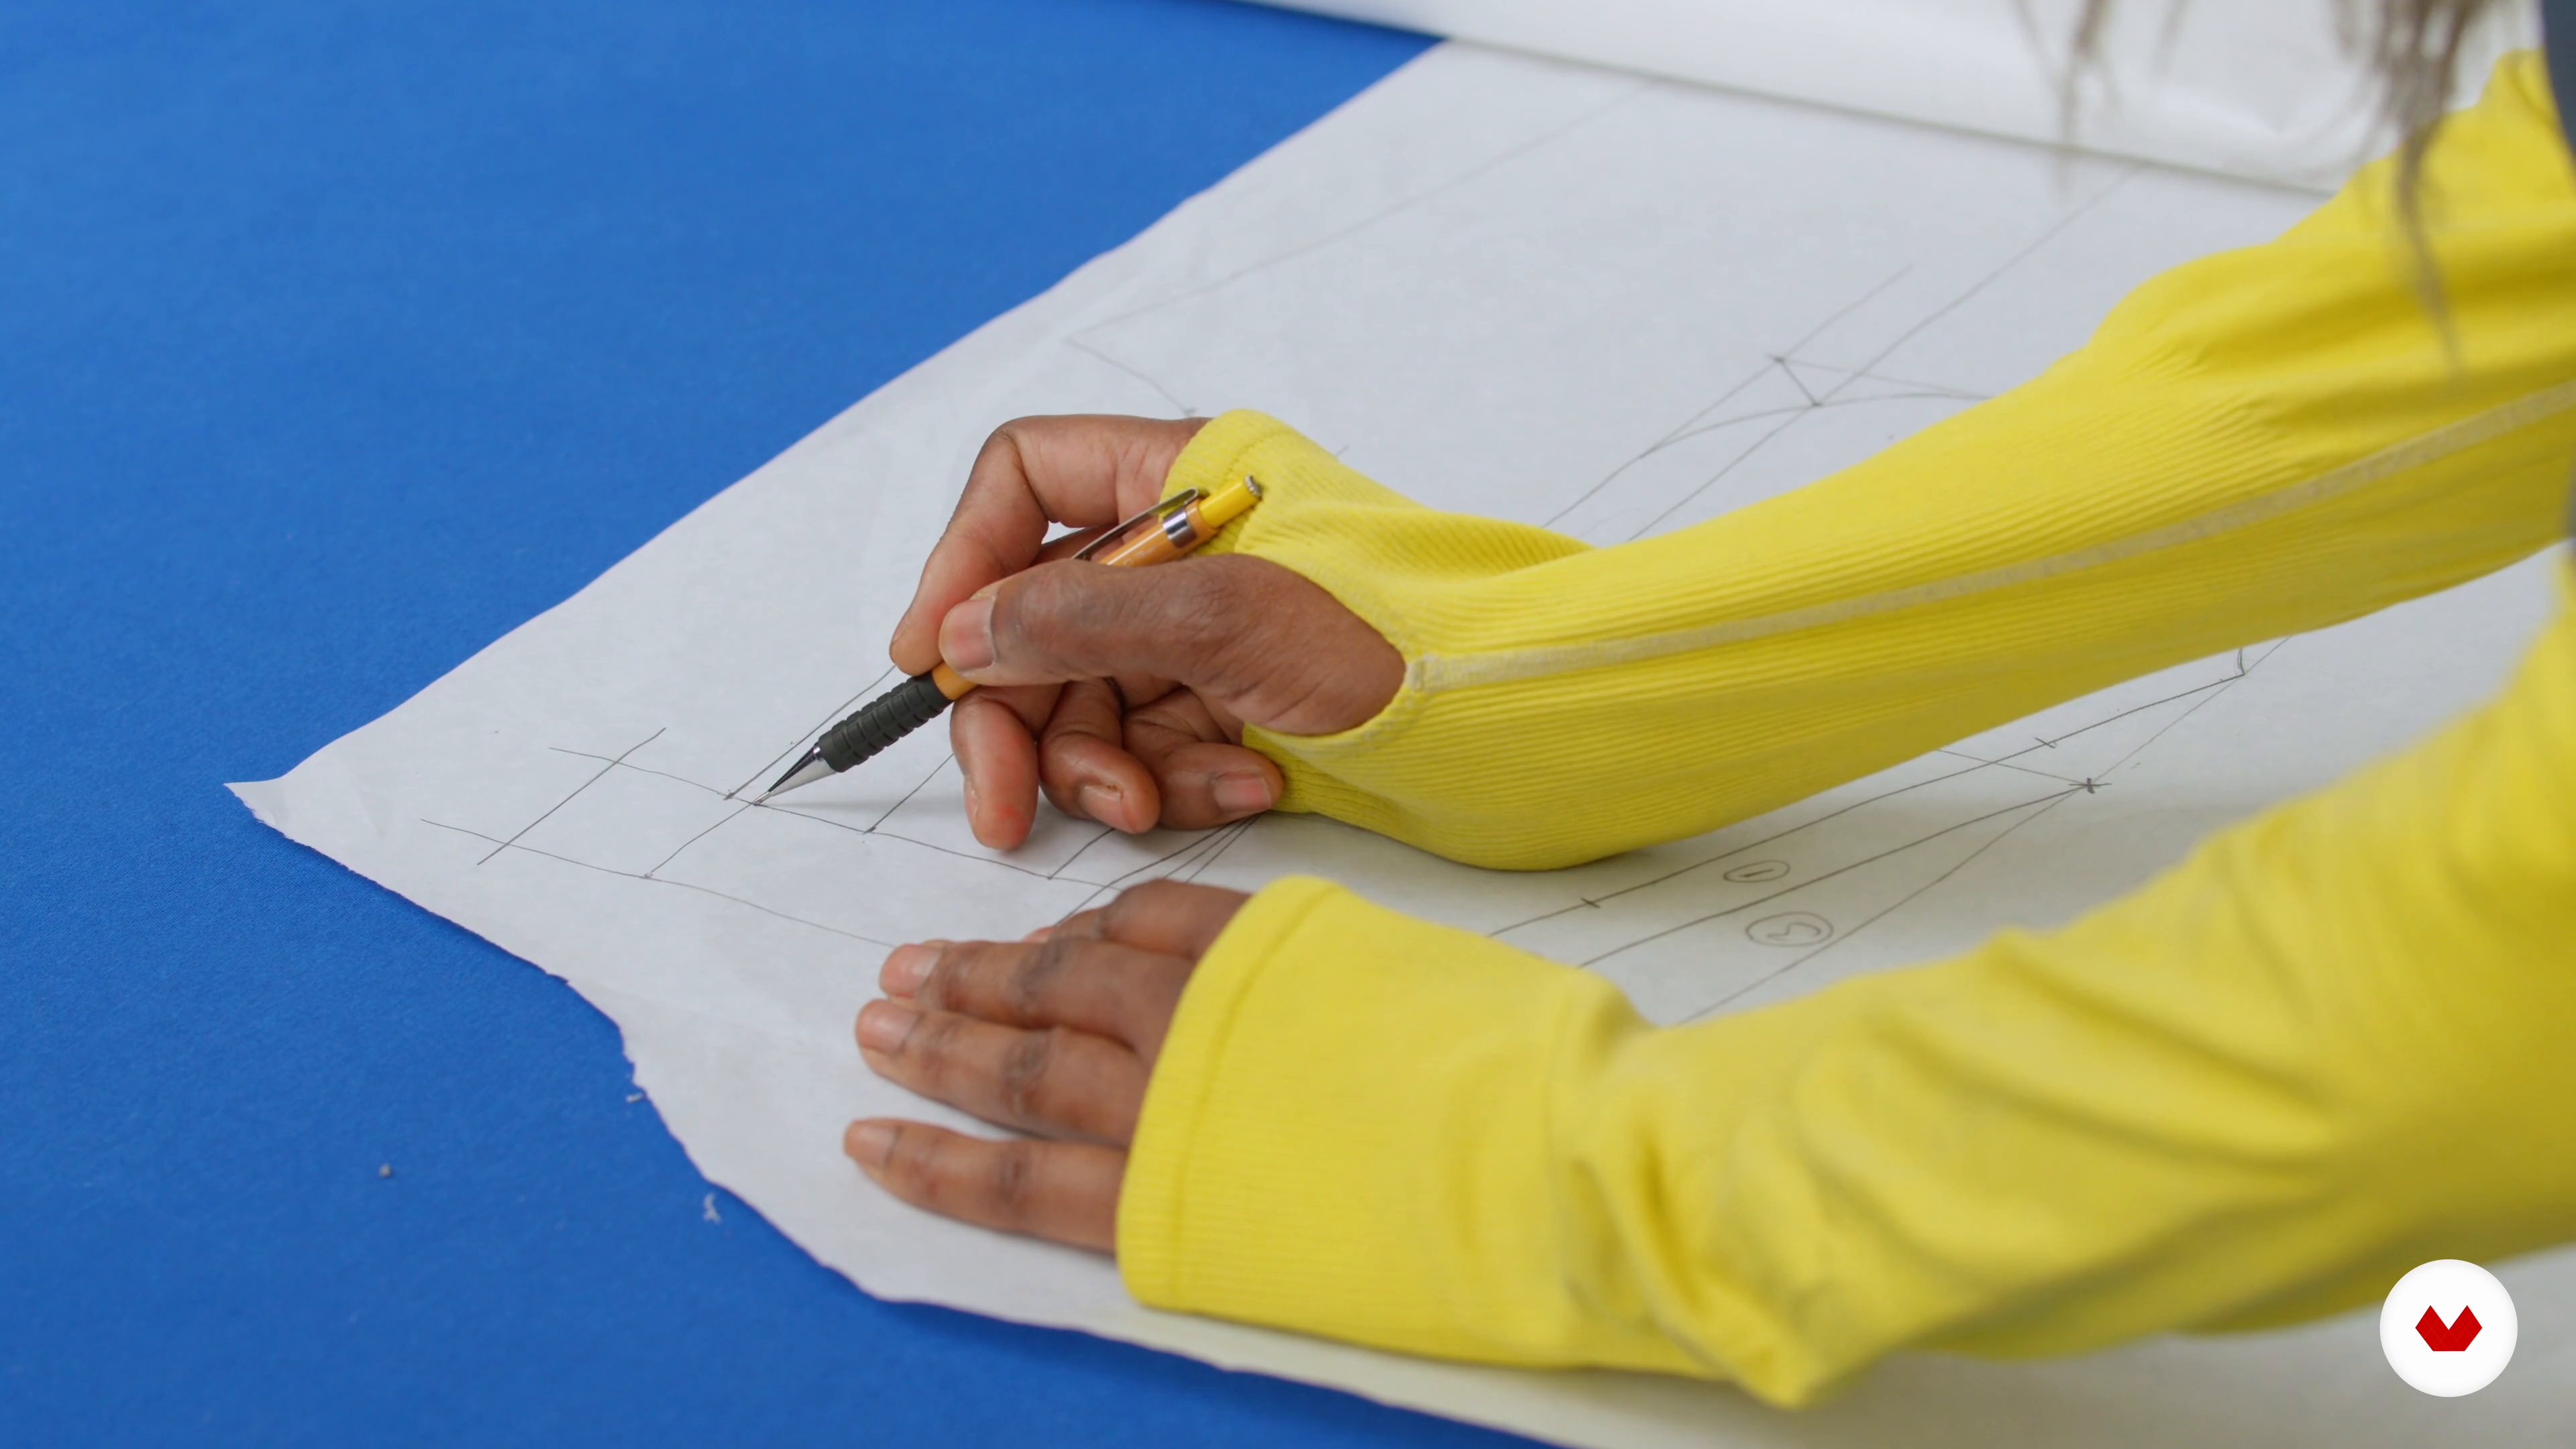
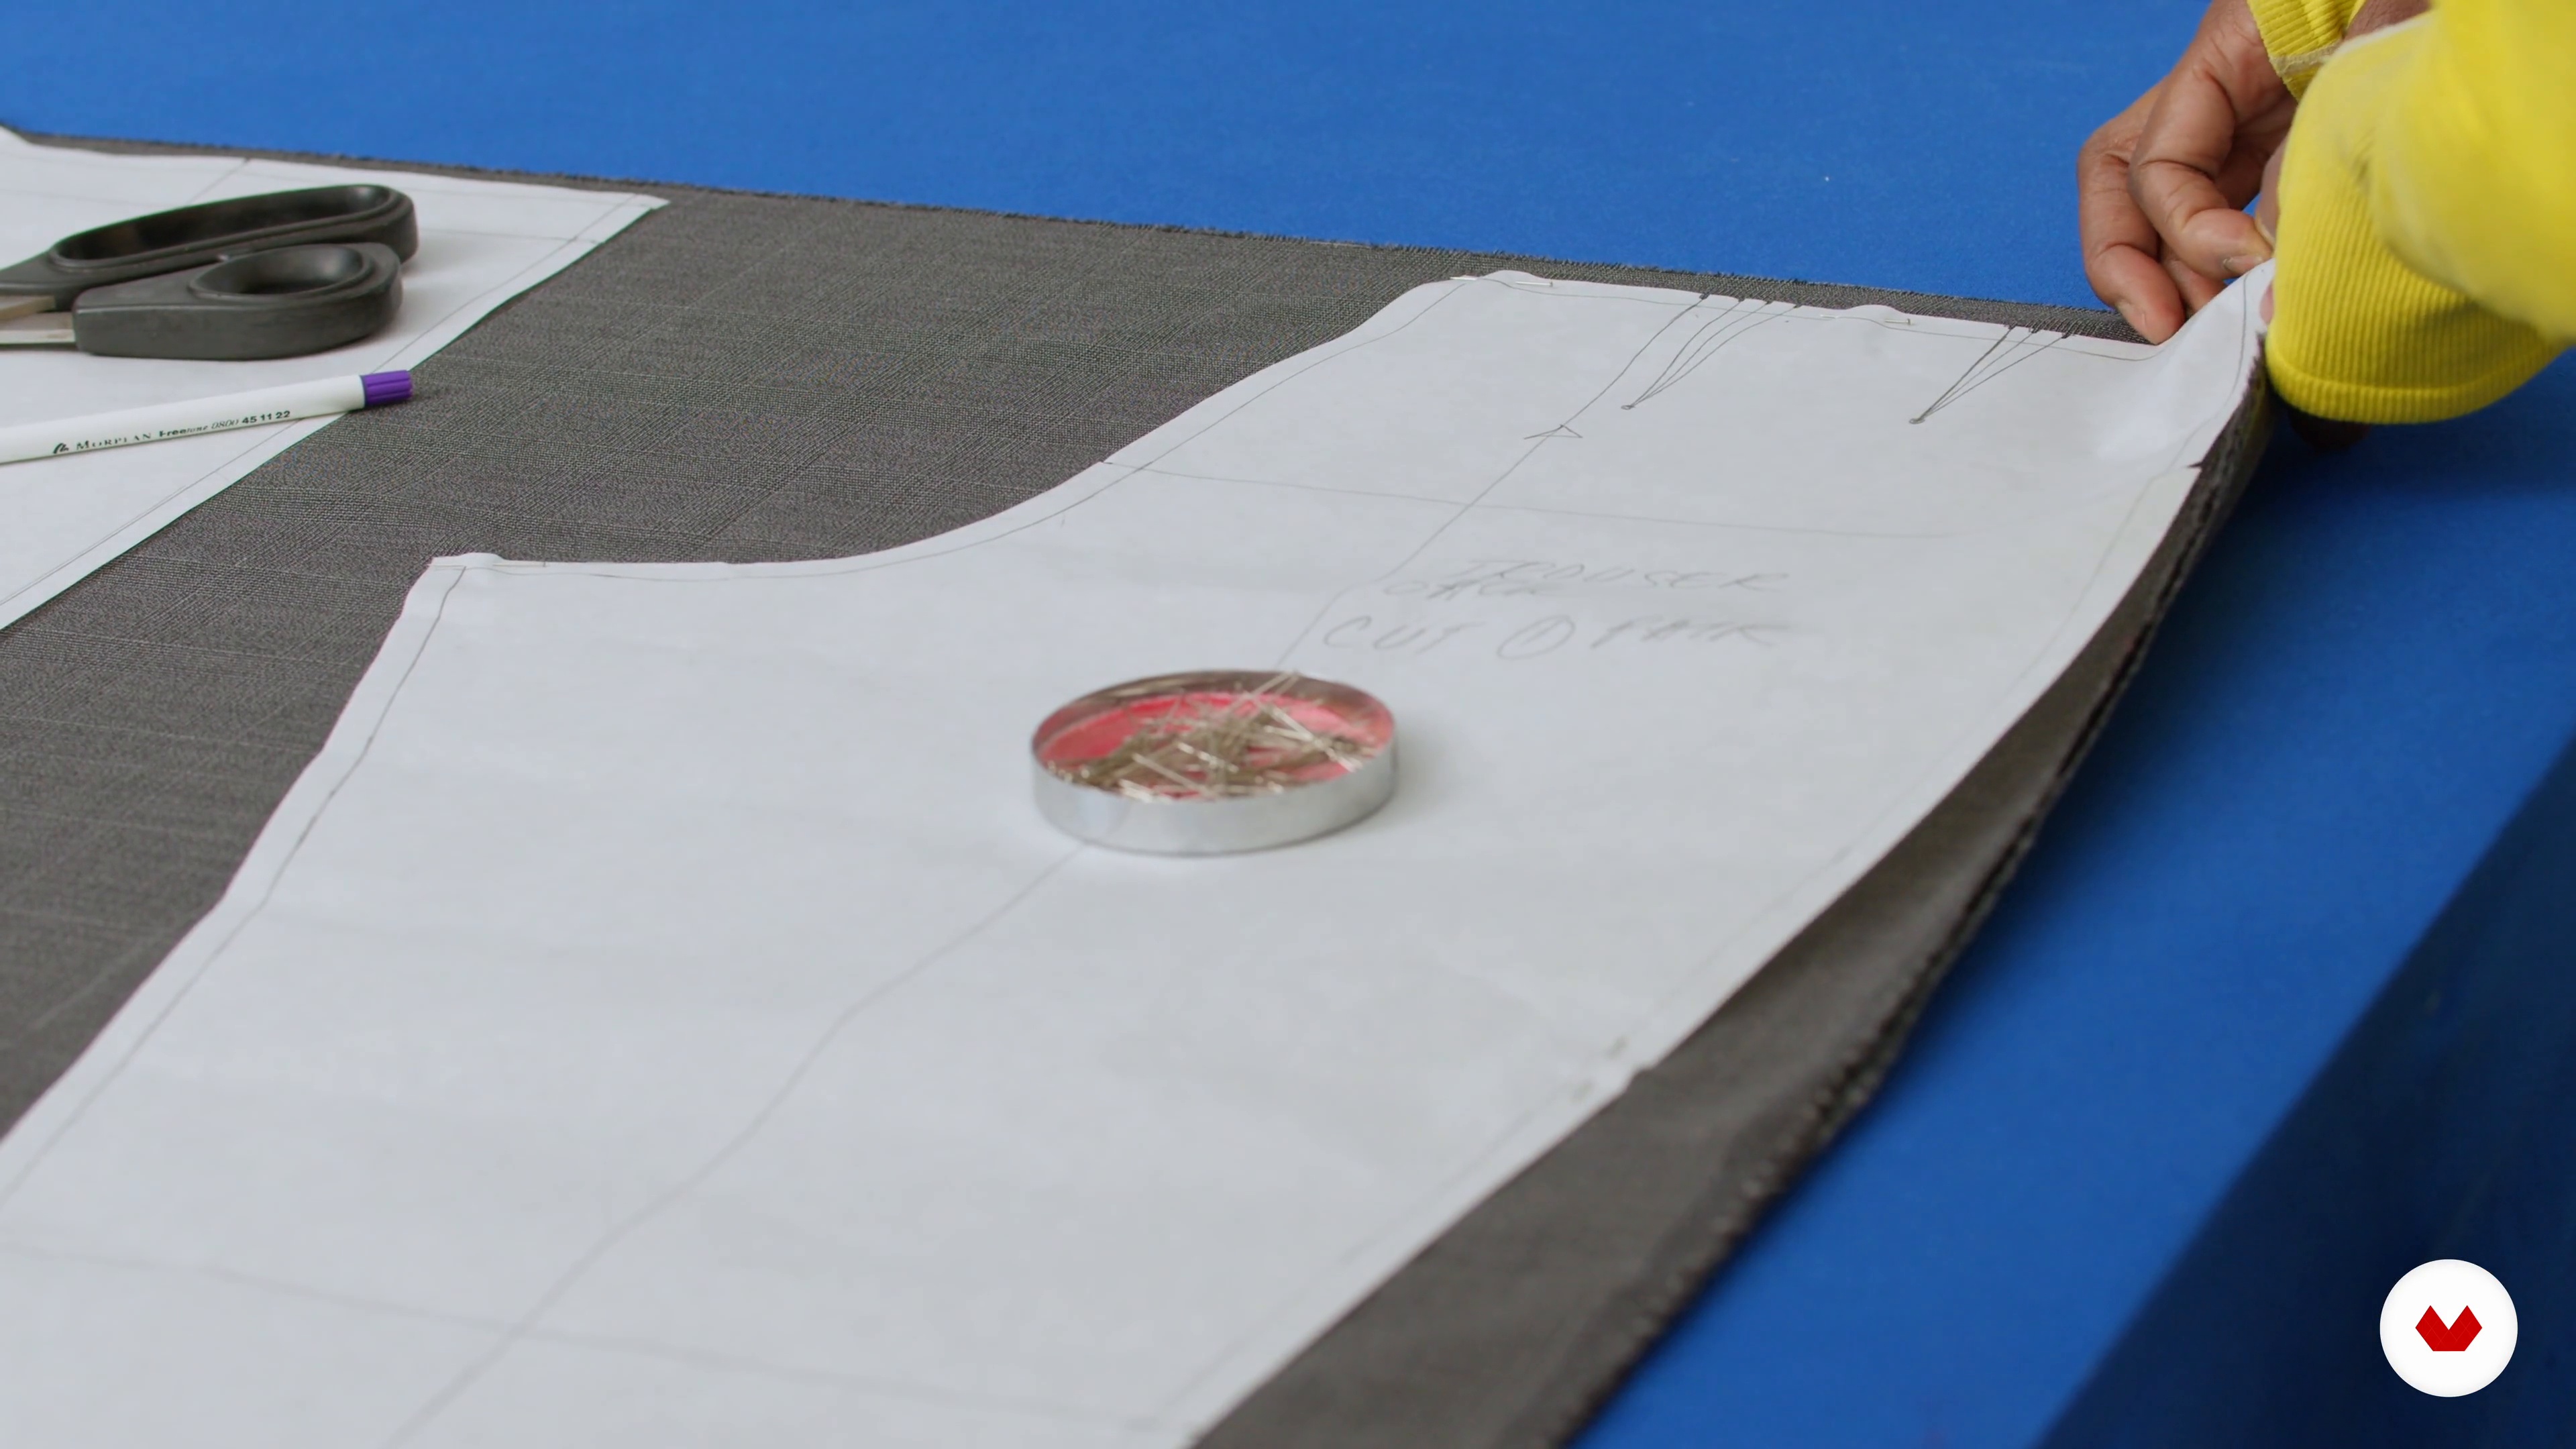
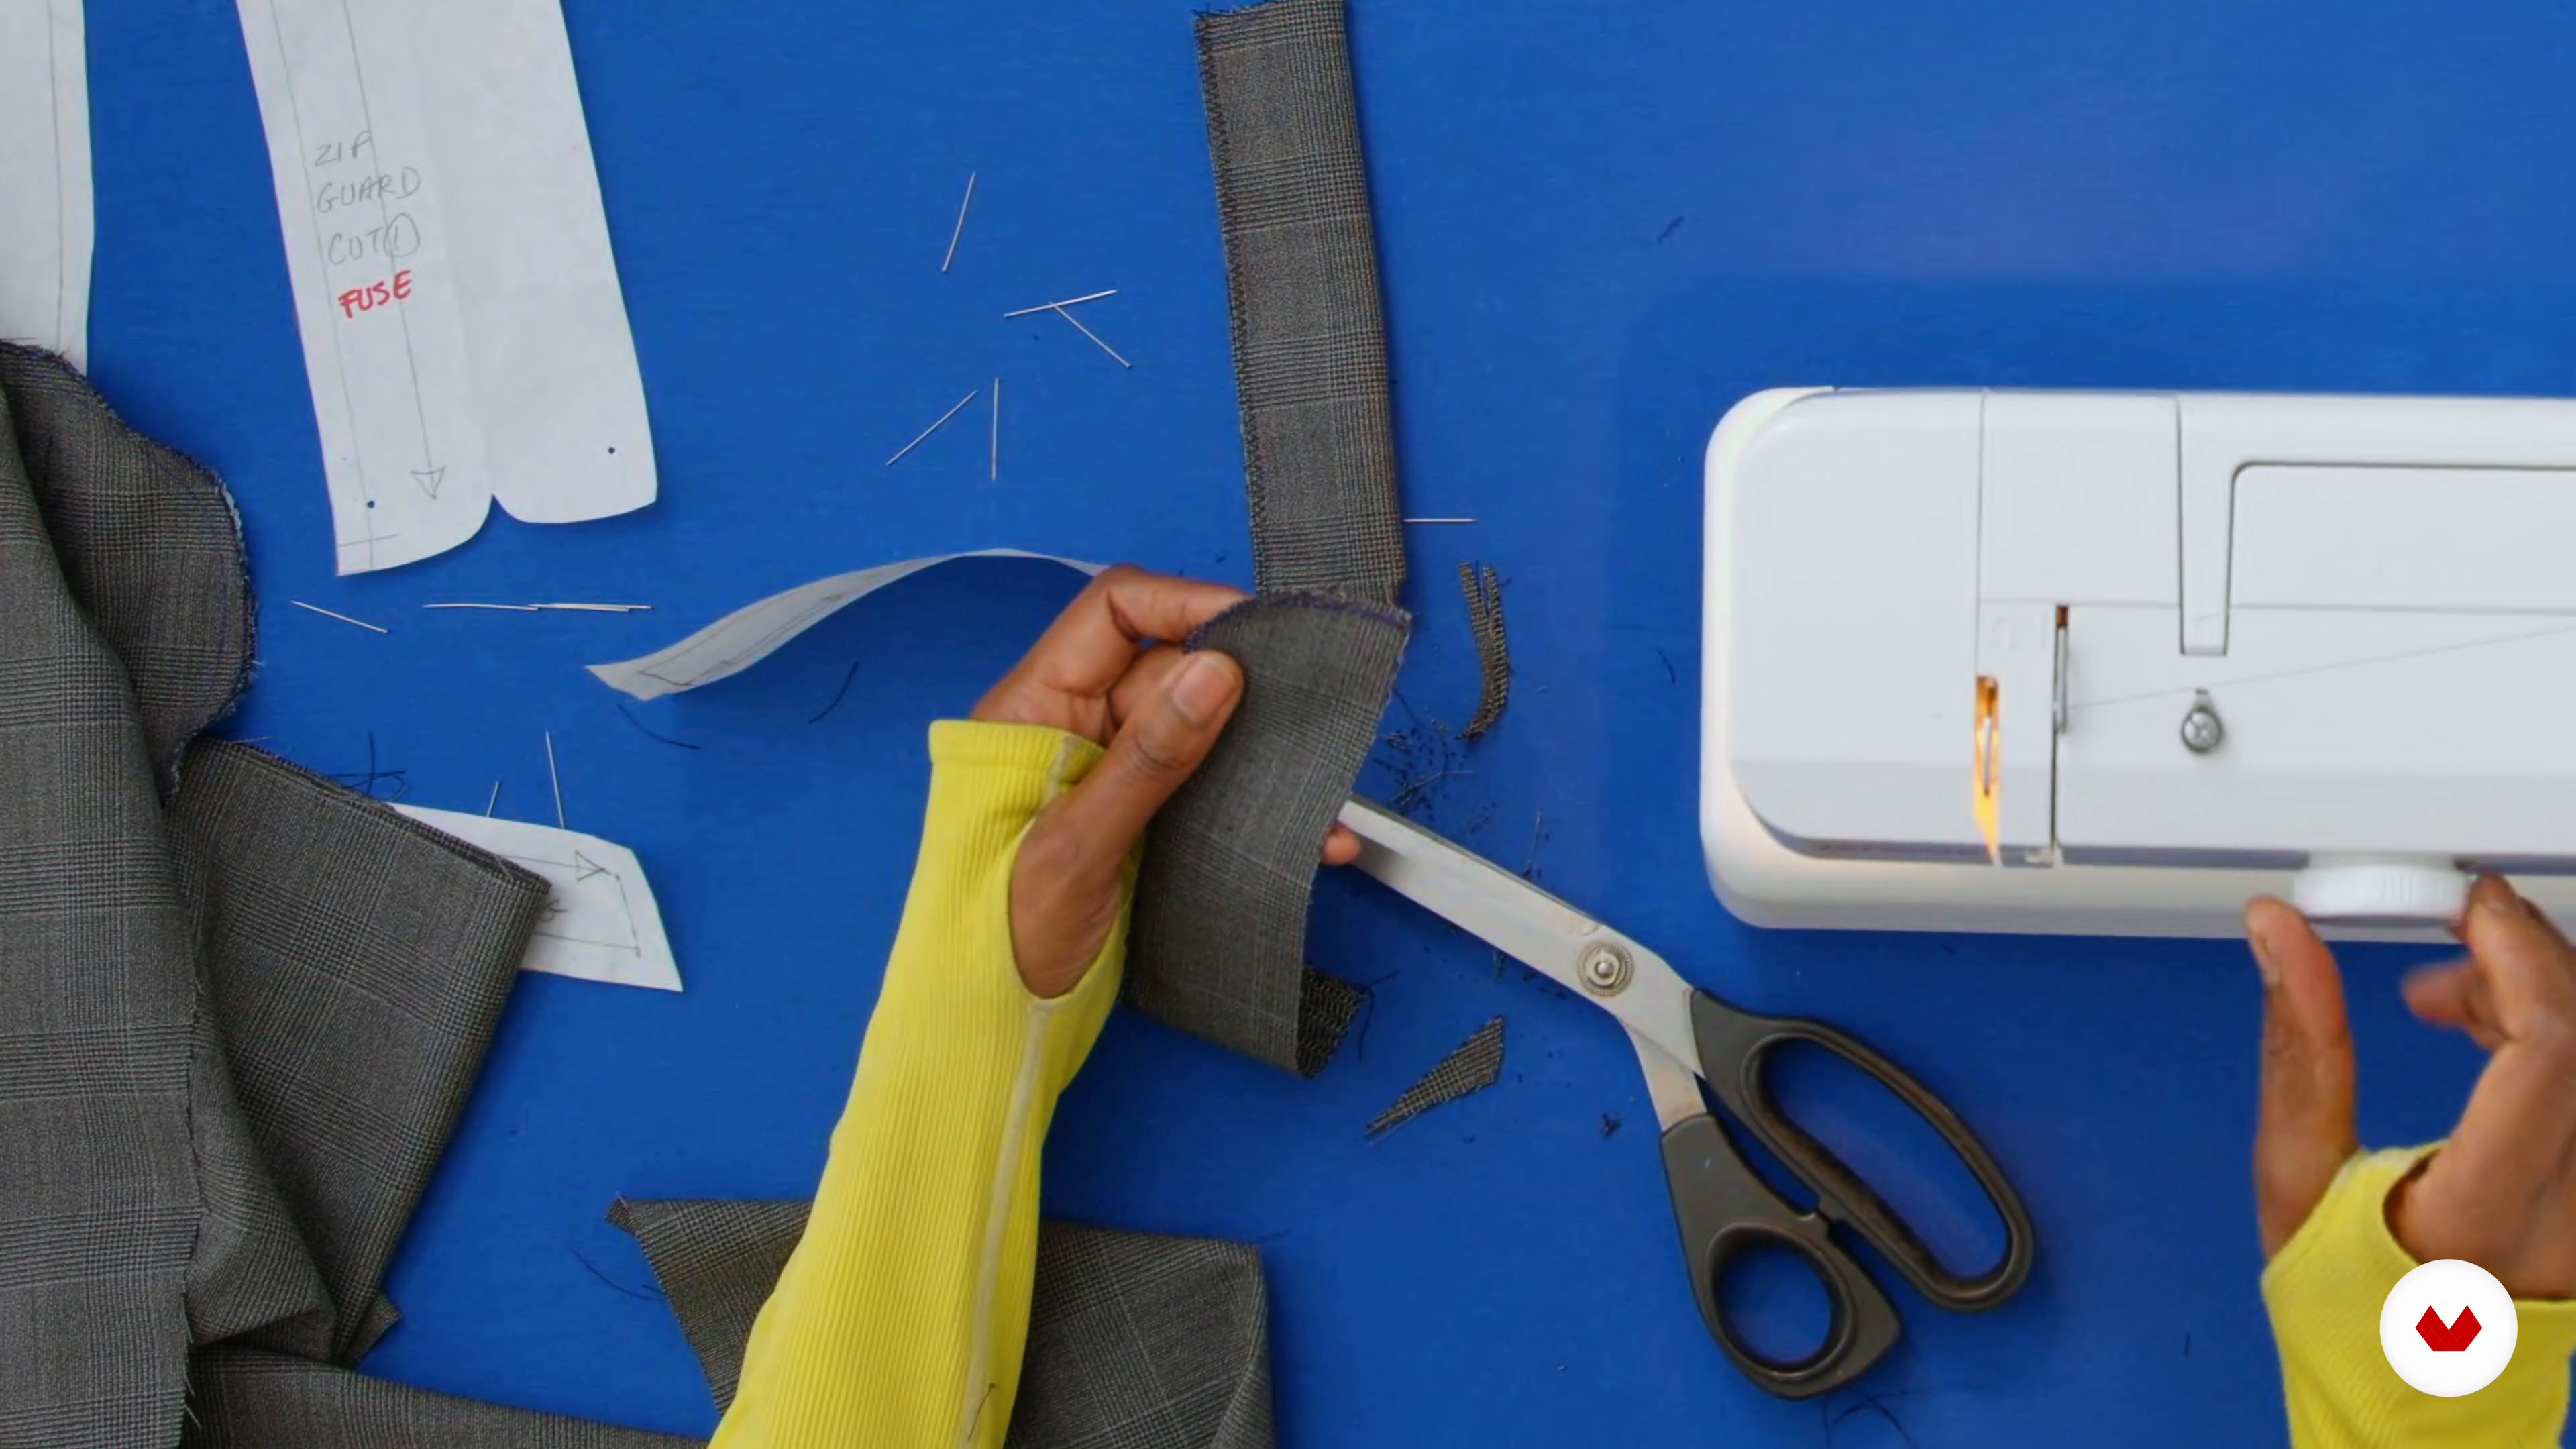
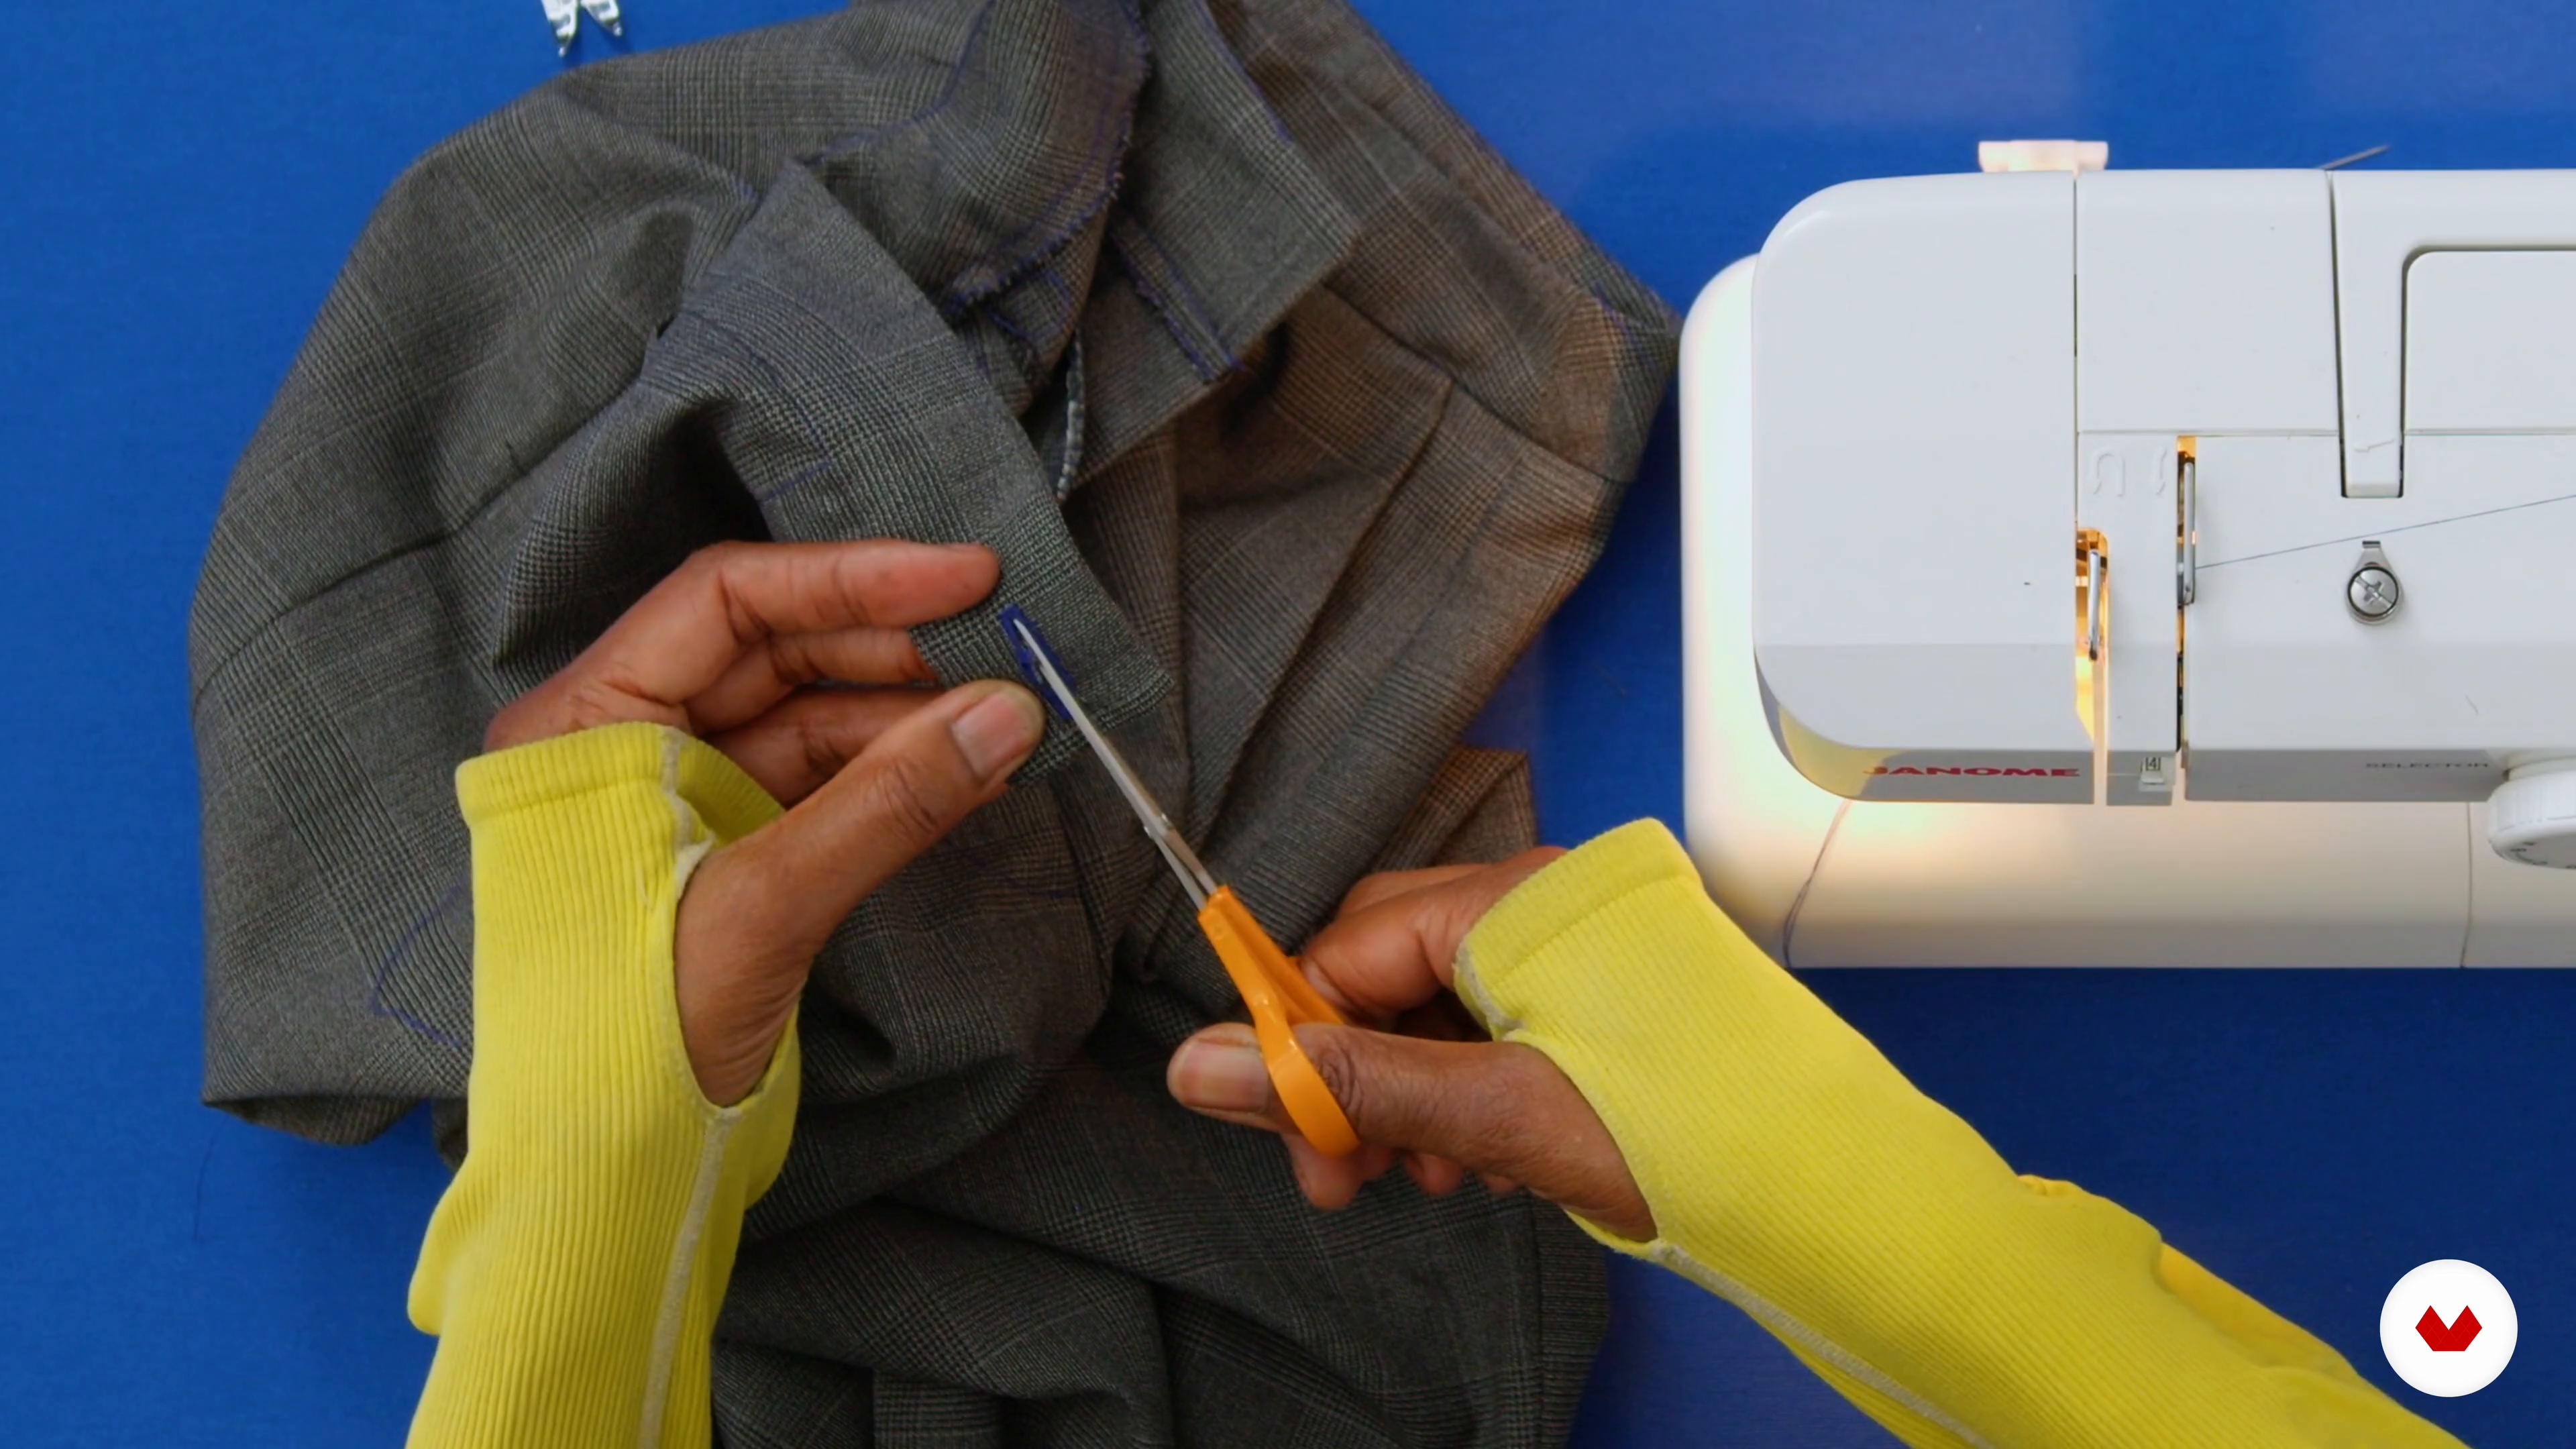
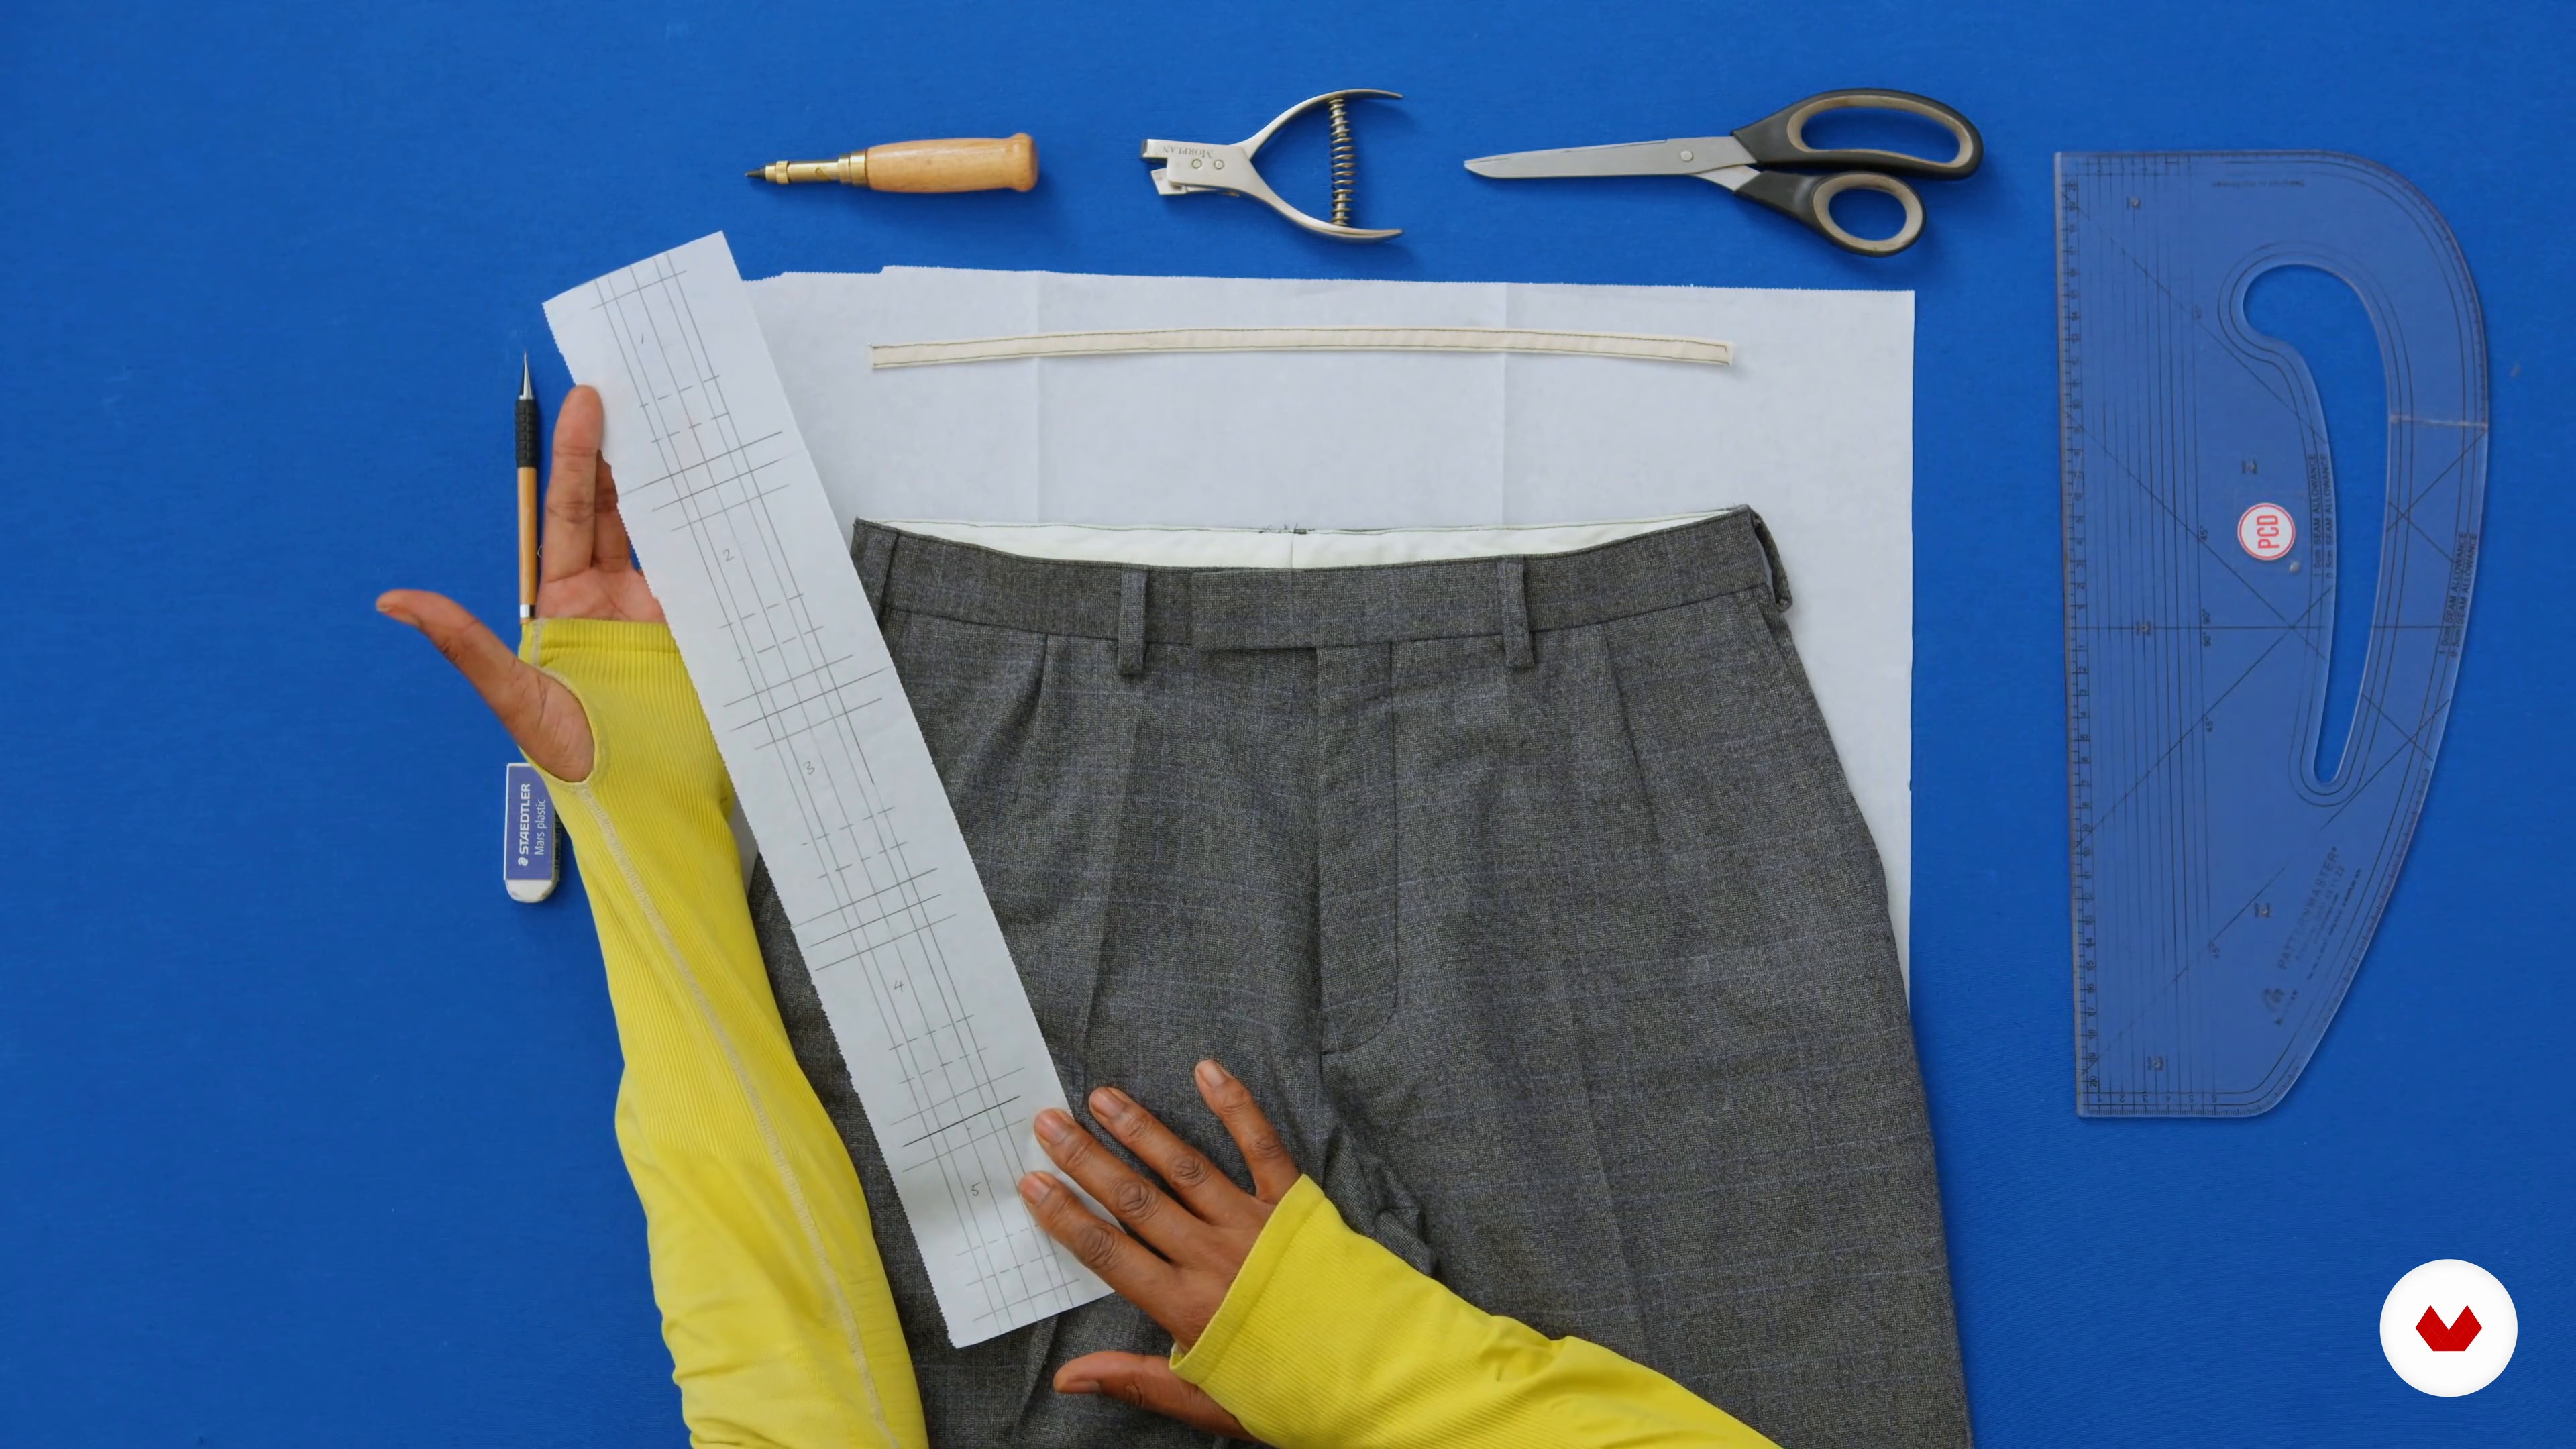
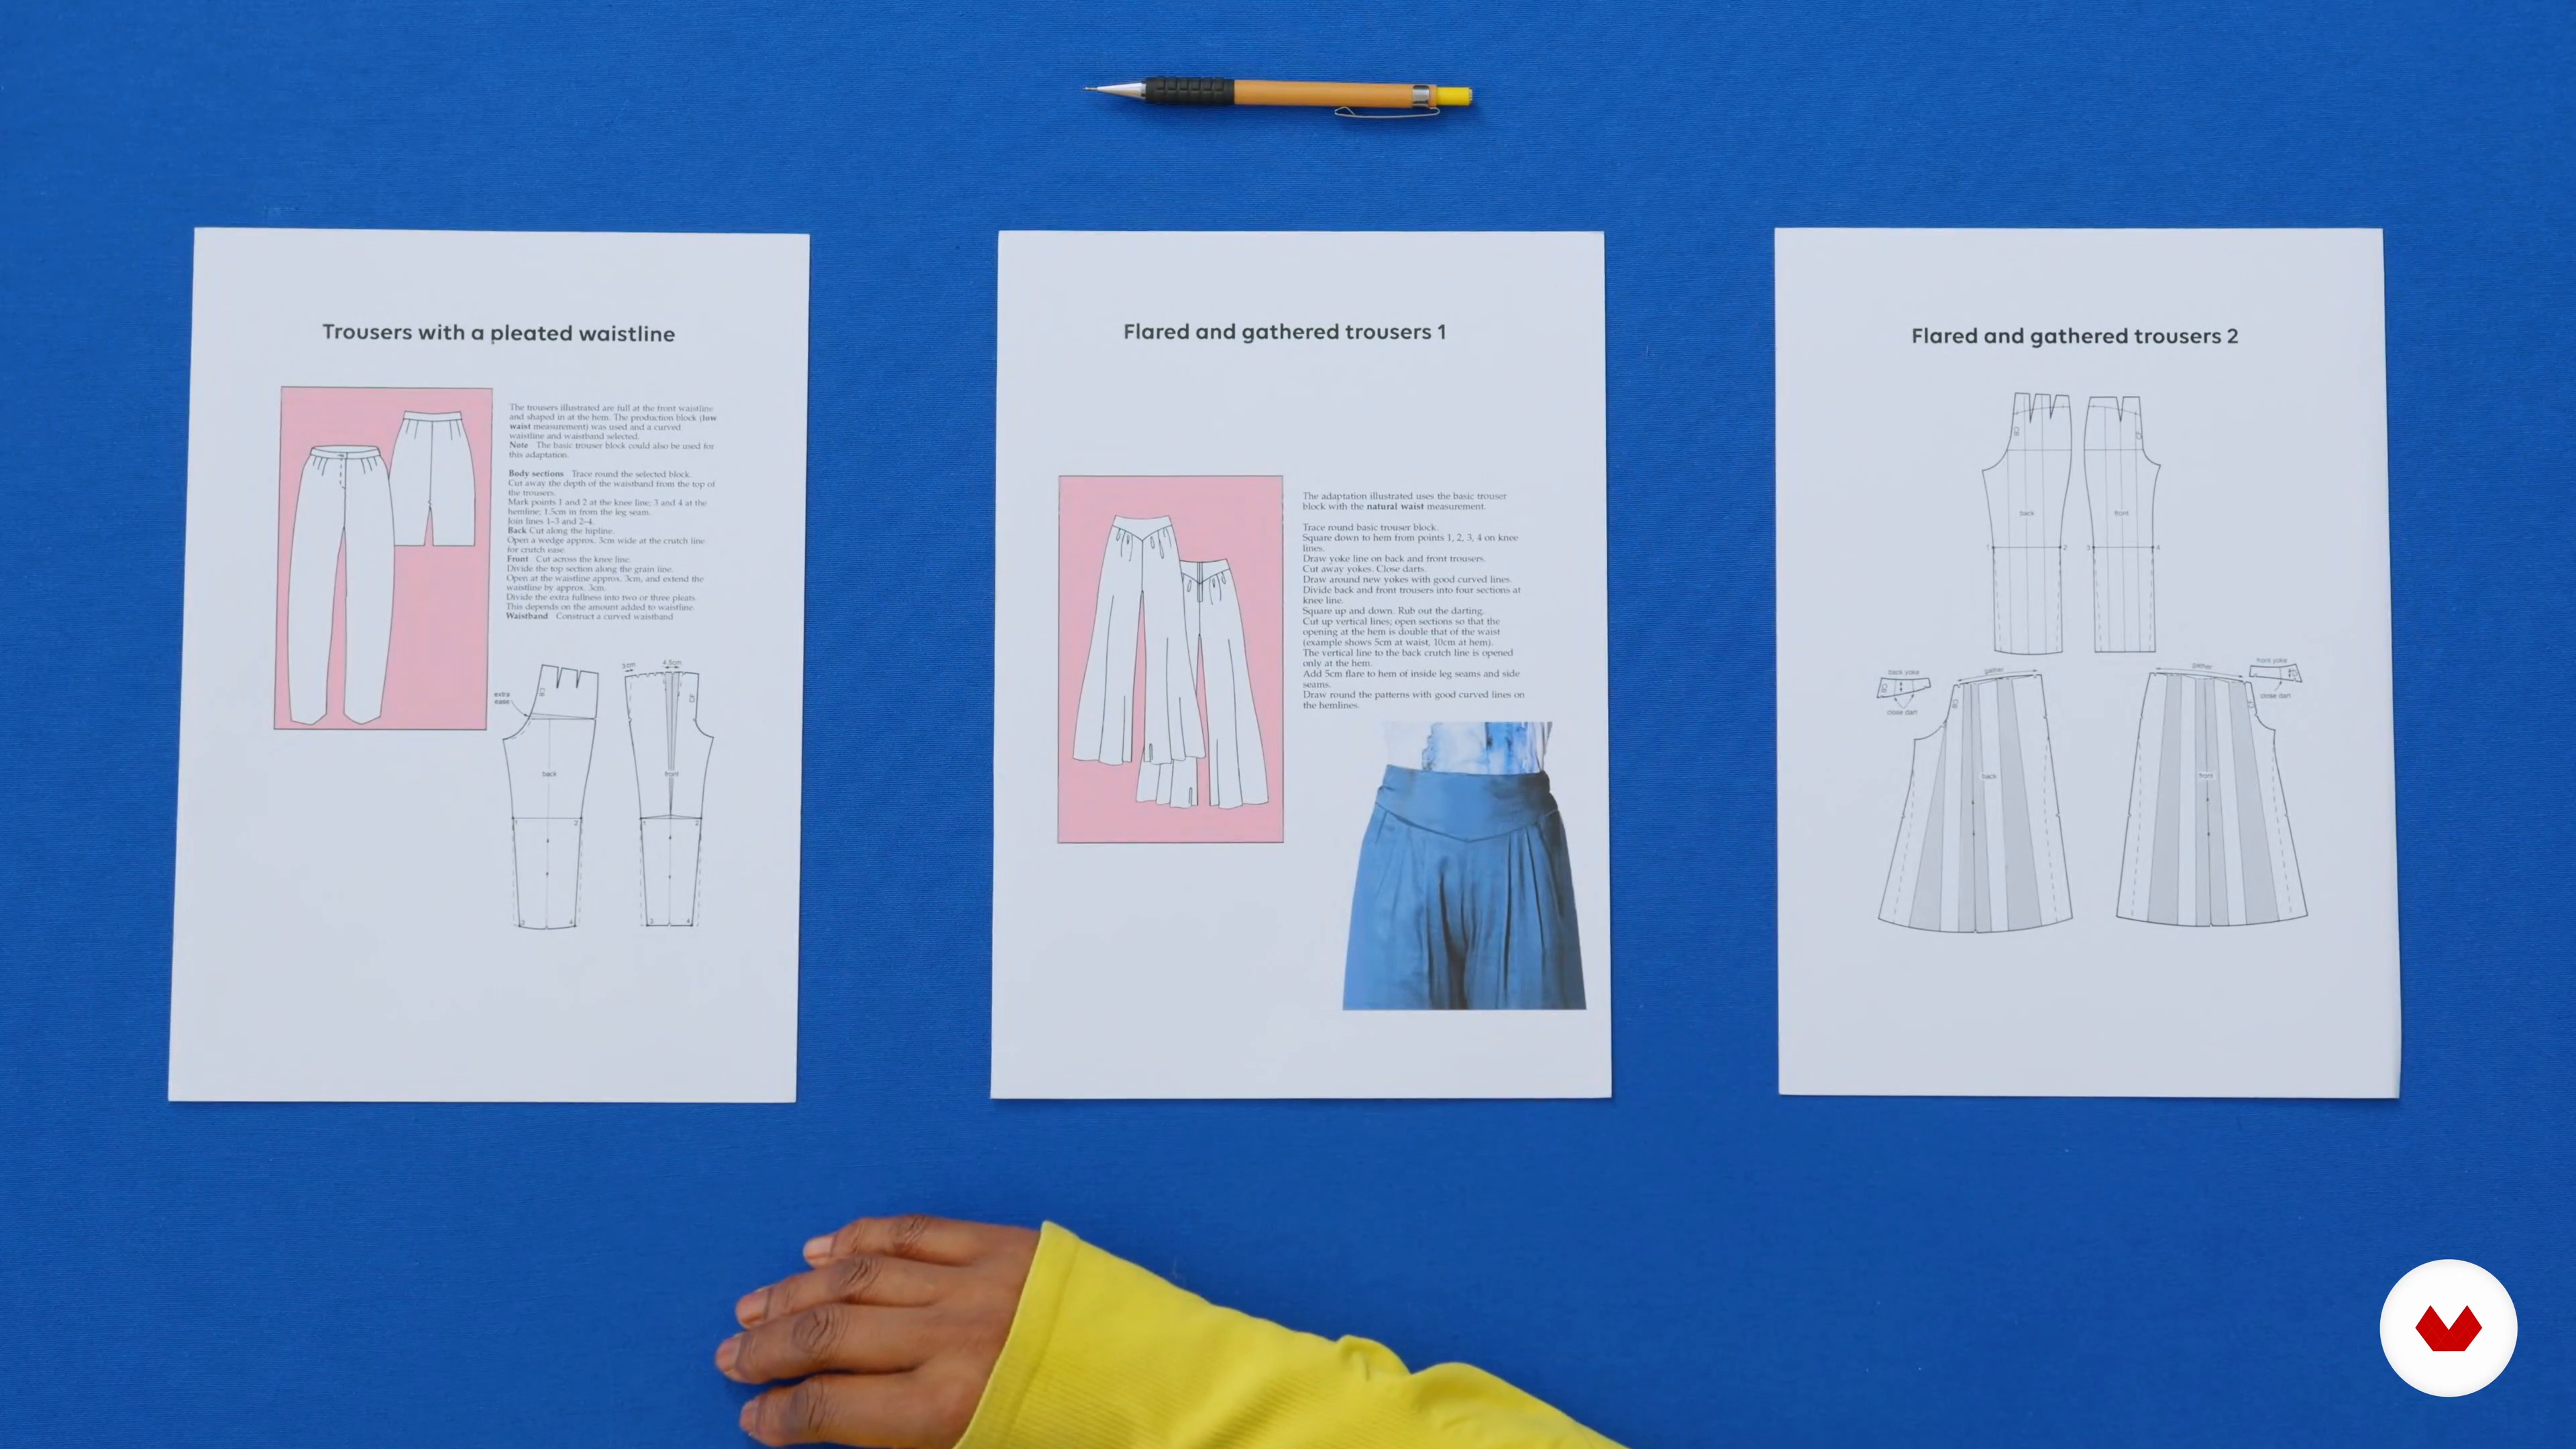
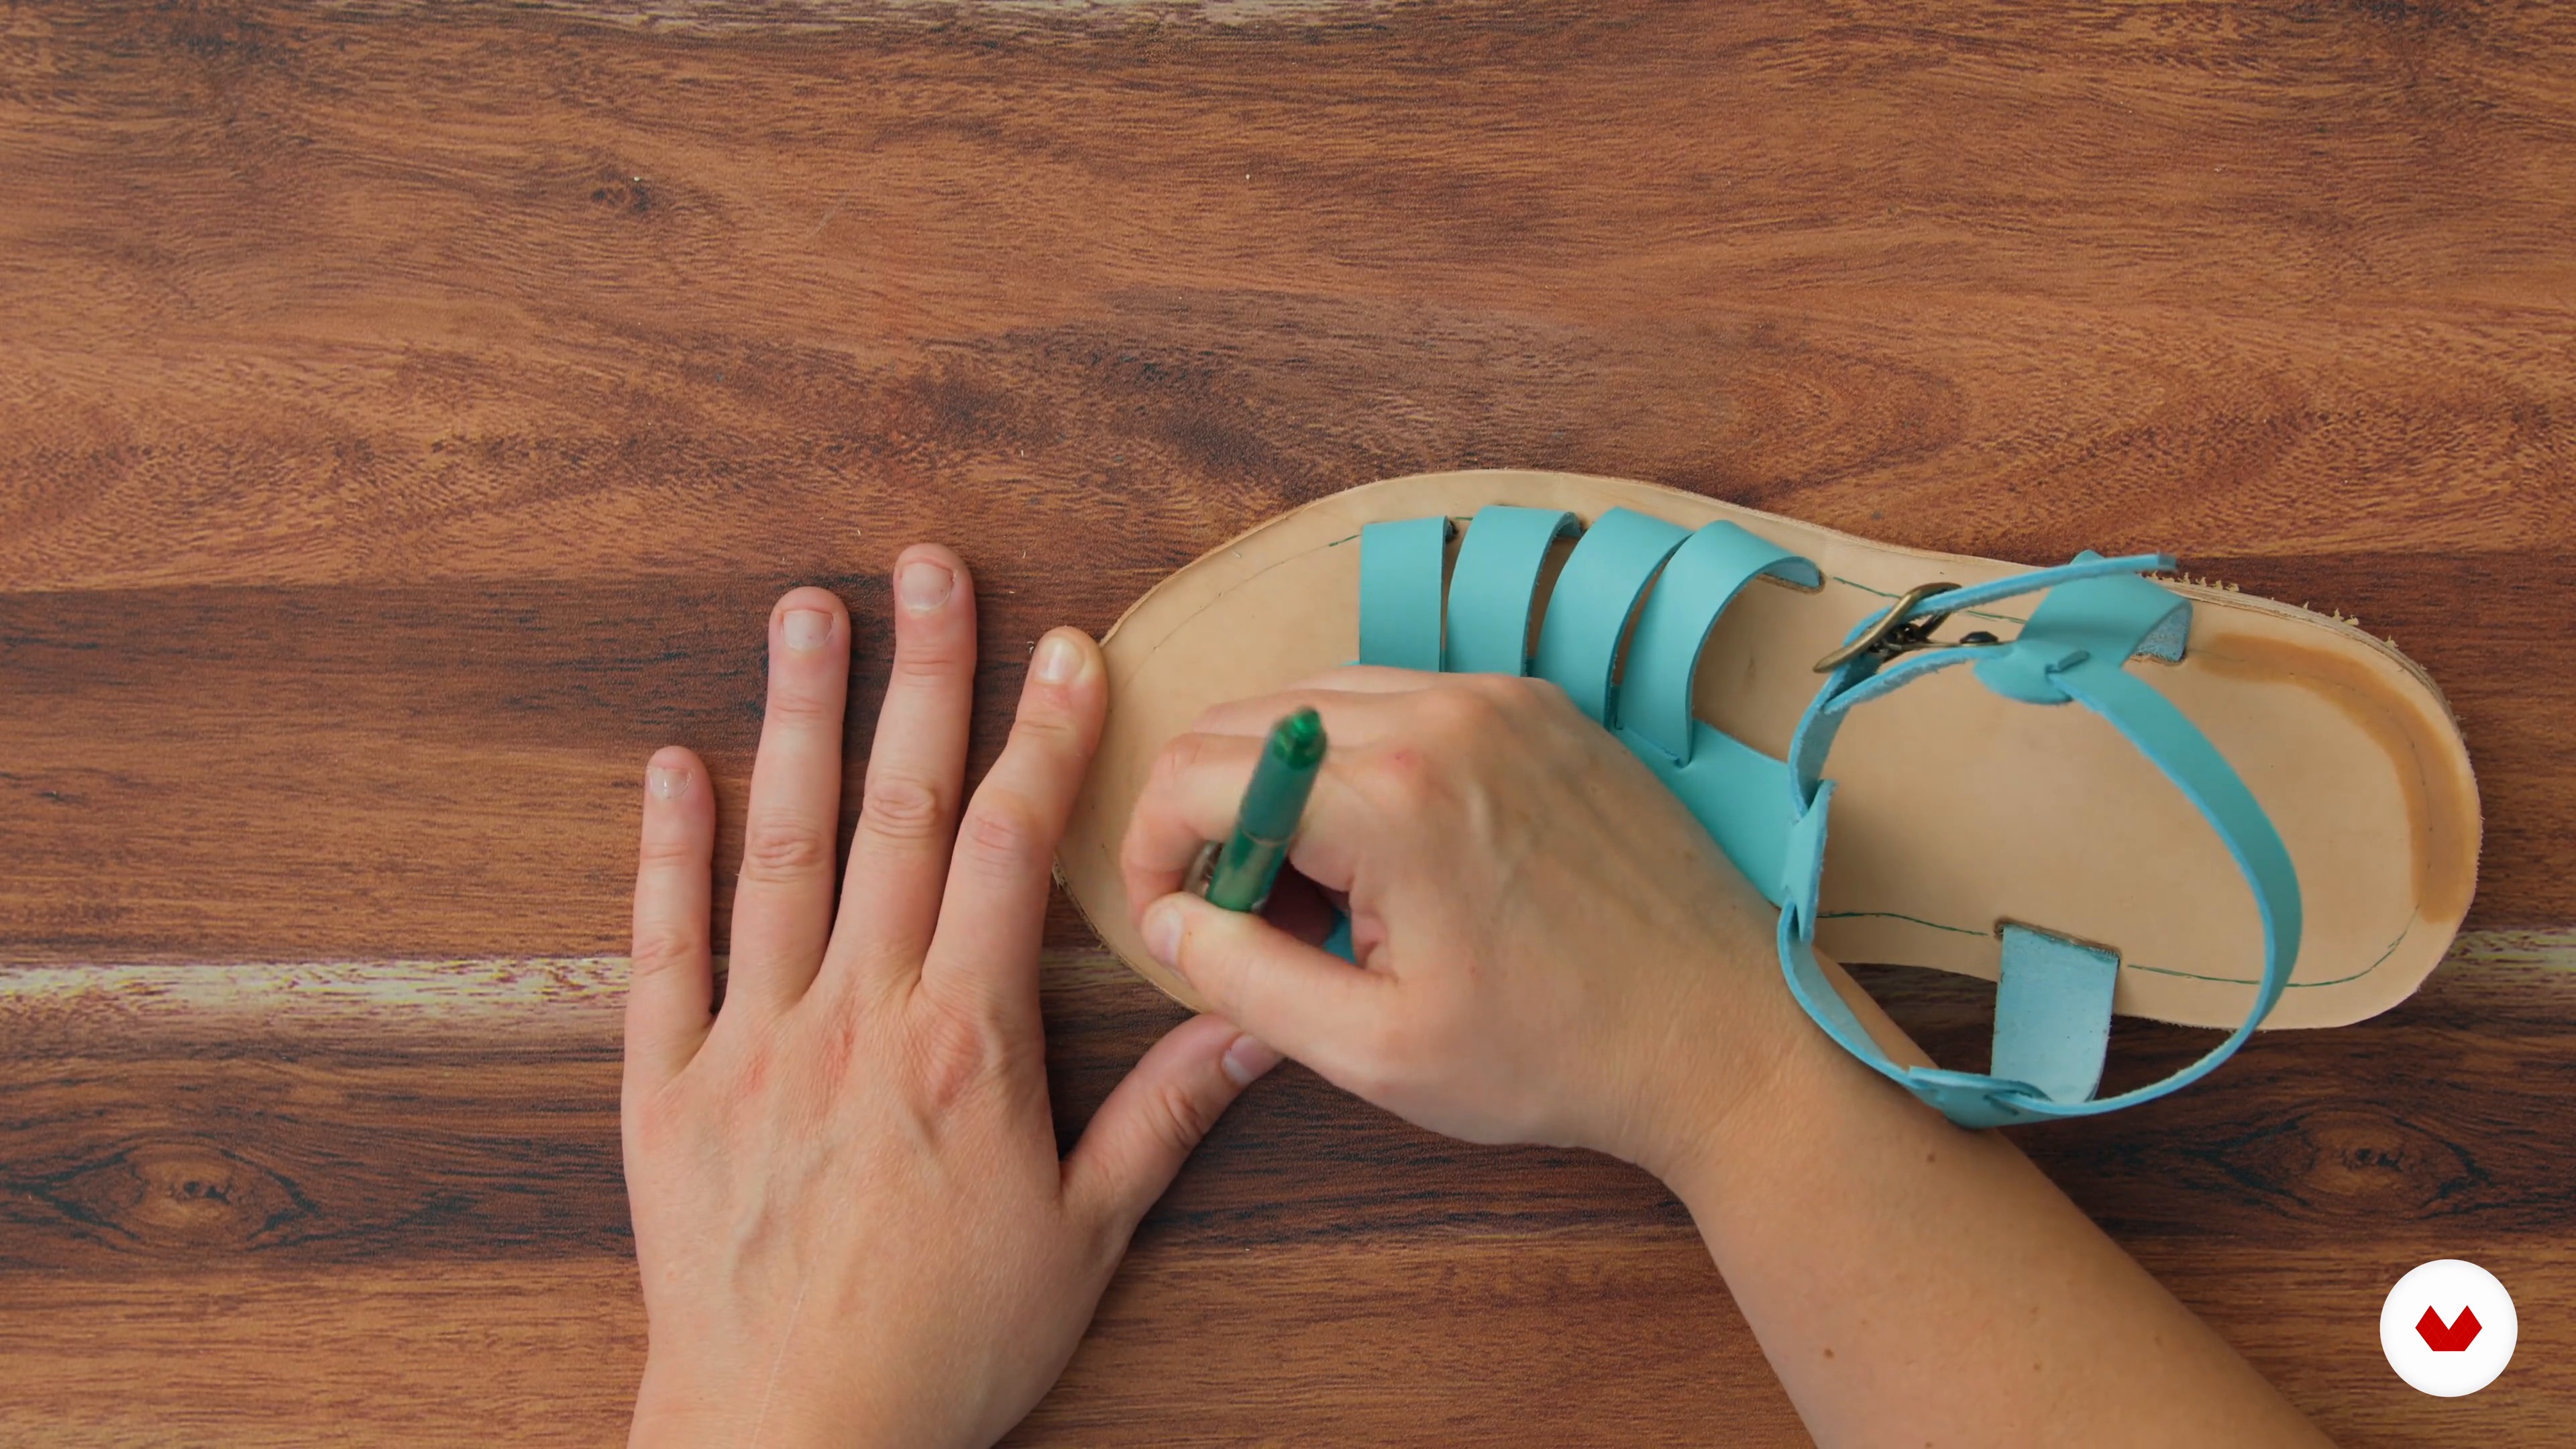
Craft durable and expressive pieces that reflect your personal style and skills. Build a mini wardrobe that includes a variety of handmade items, from tailored trousers and bomber jackets to artisanal shoes and upcycled backpacks. Embrace sustainable practices while exploring your creativity in fashion design. Whether it's a cozy crochet sweater or a custom leather bag, each piece will showcase your craftsmanship and attention to detail. Document your creative process and present your finished looks to create a cohesive fashion capsule collection.
What will you learn in this specialization?


- 162 students
- 123 lessons (22h 17m)
- 103 additional resources (48 files)
- Online and at your own pace
- Audio: English, German, Spanish, Spanish (Latam), French, Indonesian, Italian, Dutch, Polish, Portuguese, Romanian, Turkish
- English · Spanish · Portuguese · German · French · Italian · Polish · Dutch · Turkish · Romanian · Indonesian
- Level: Beginner
- Unlimited access forever
What is this course's project?
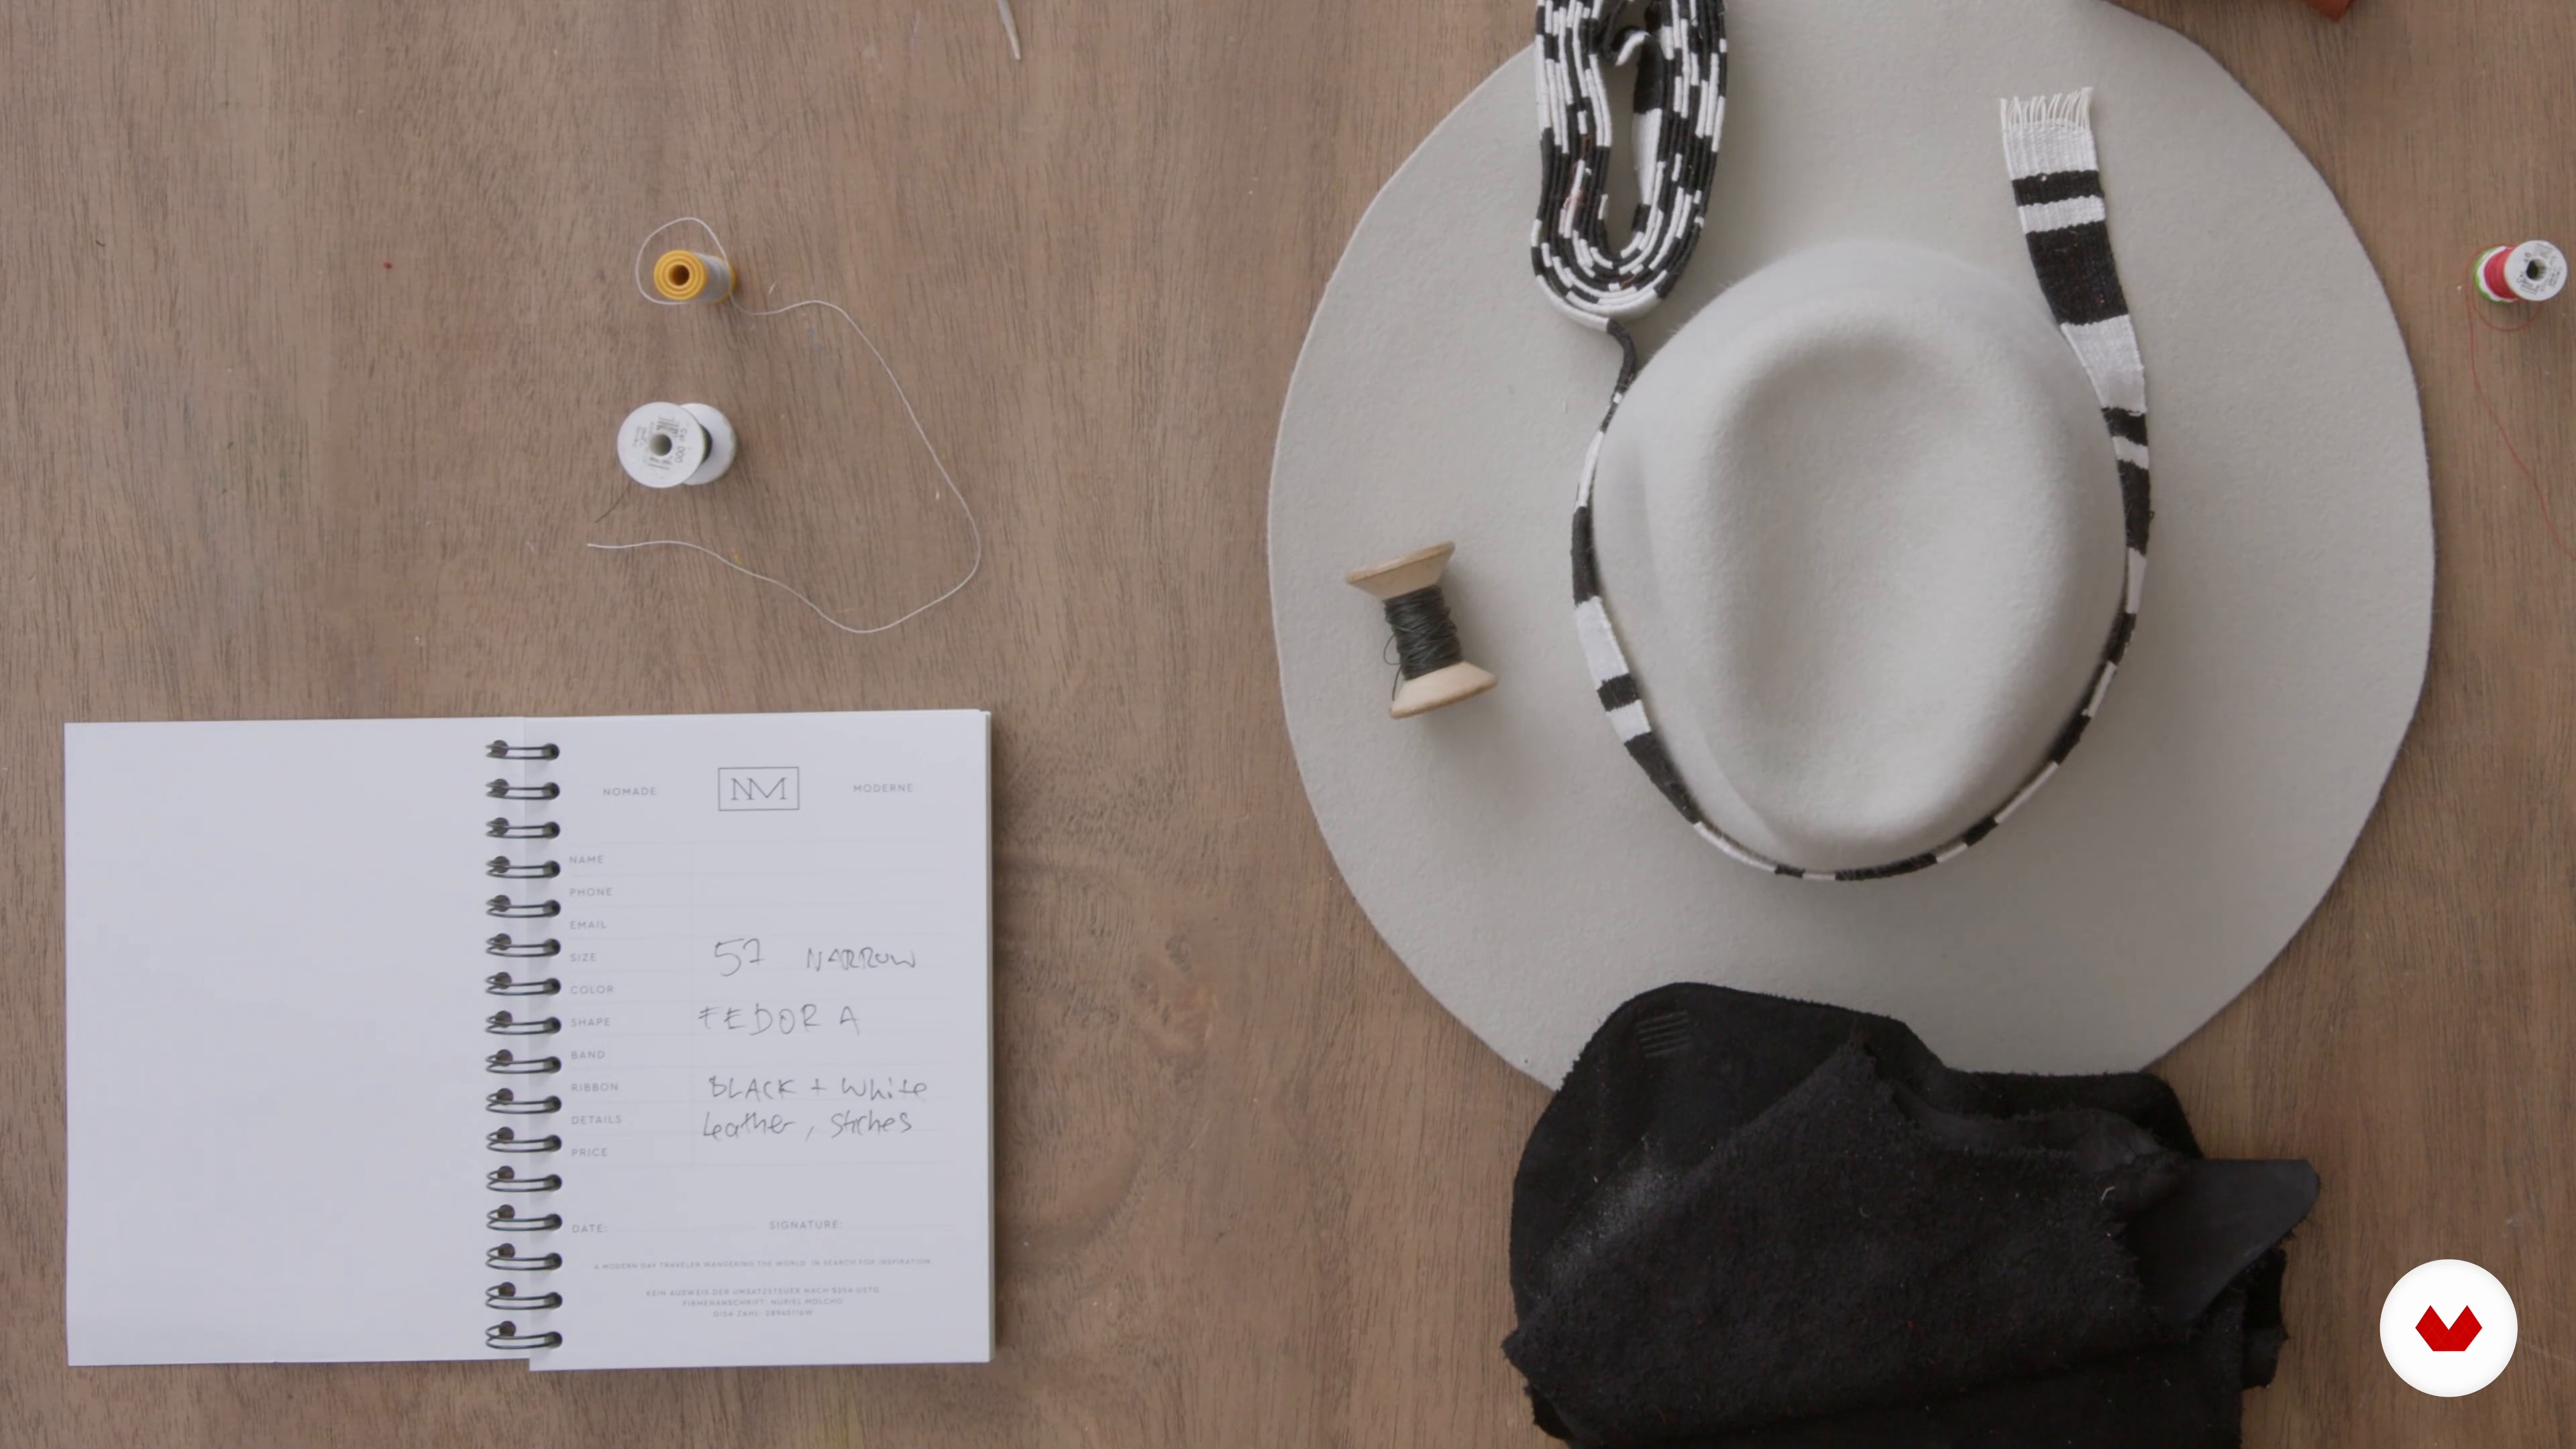
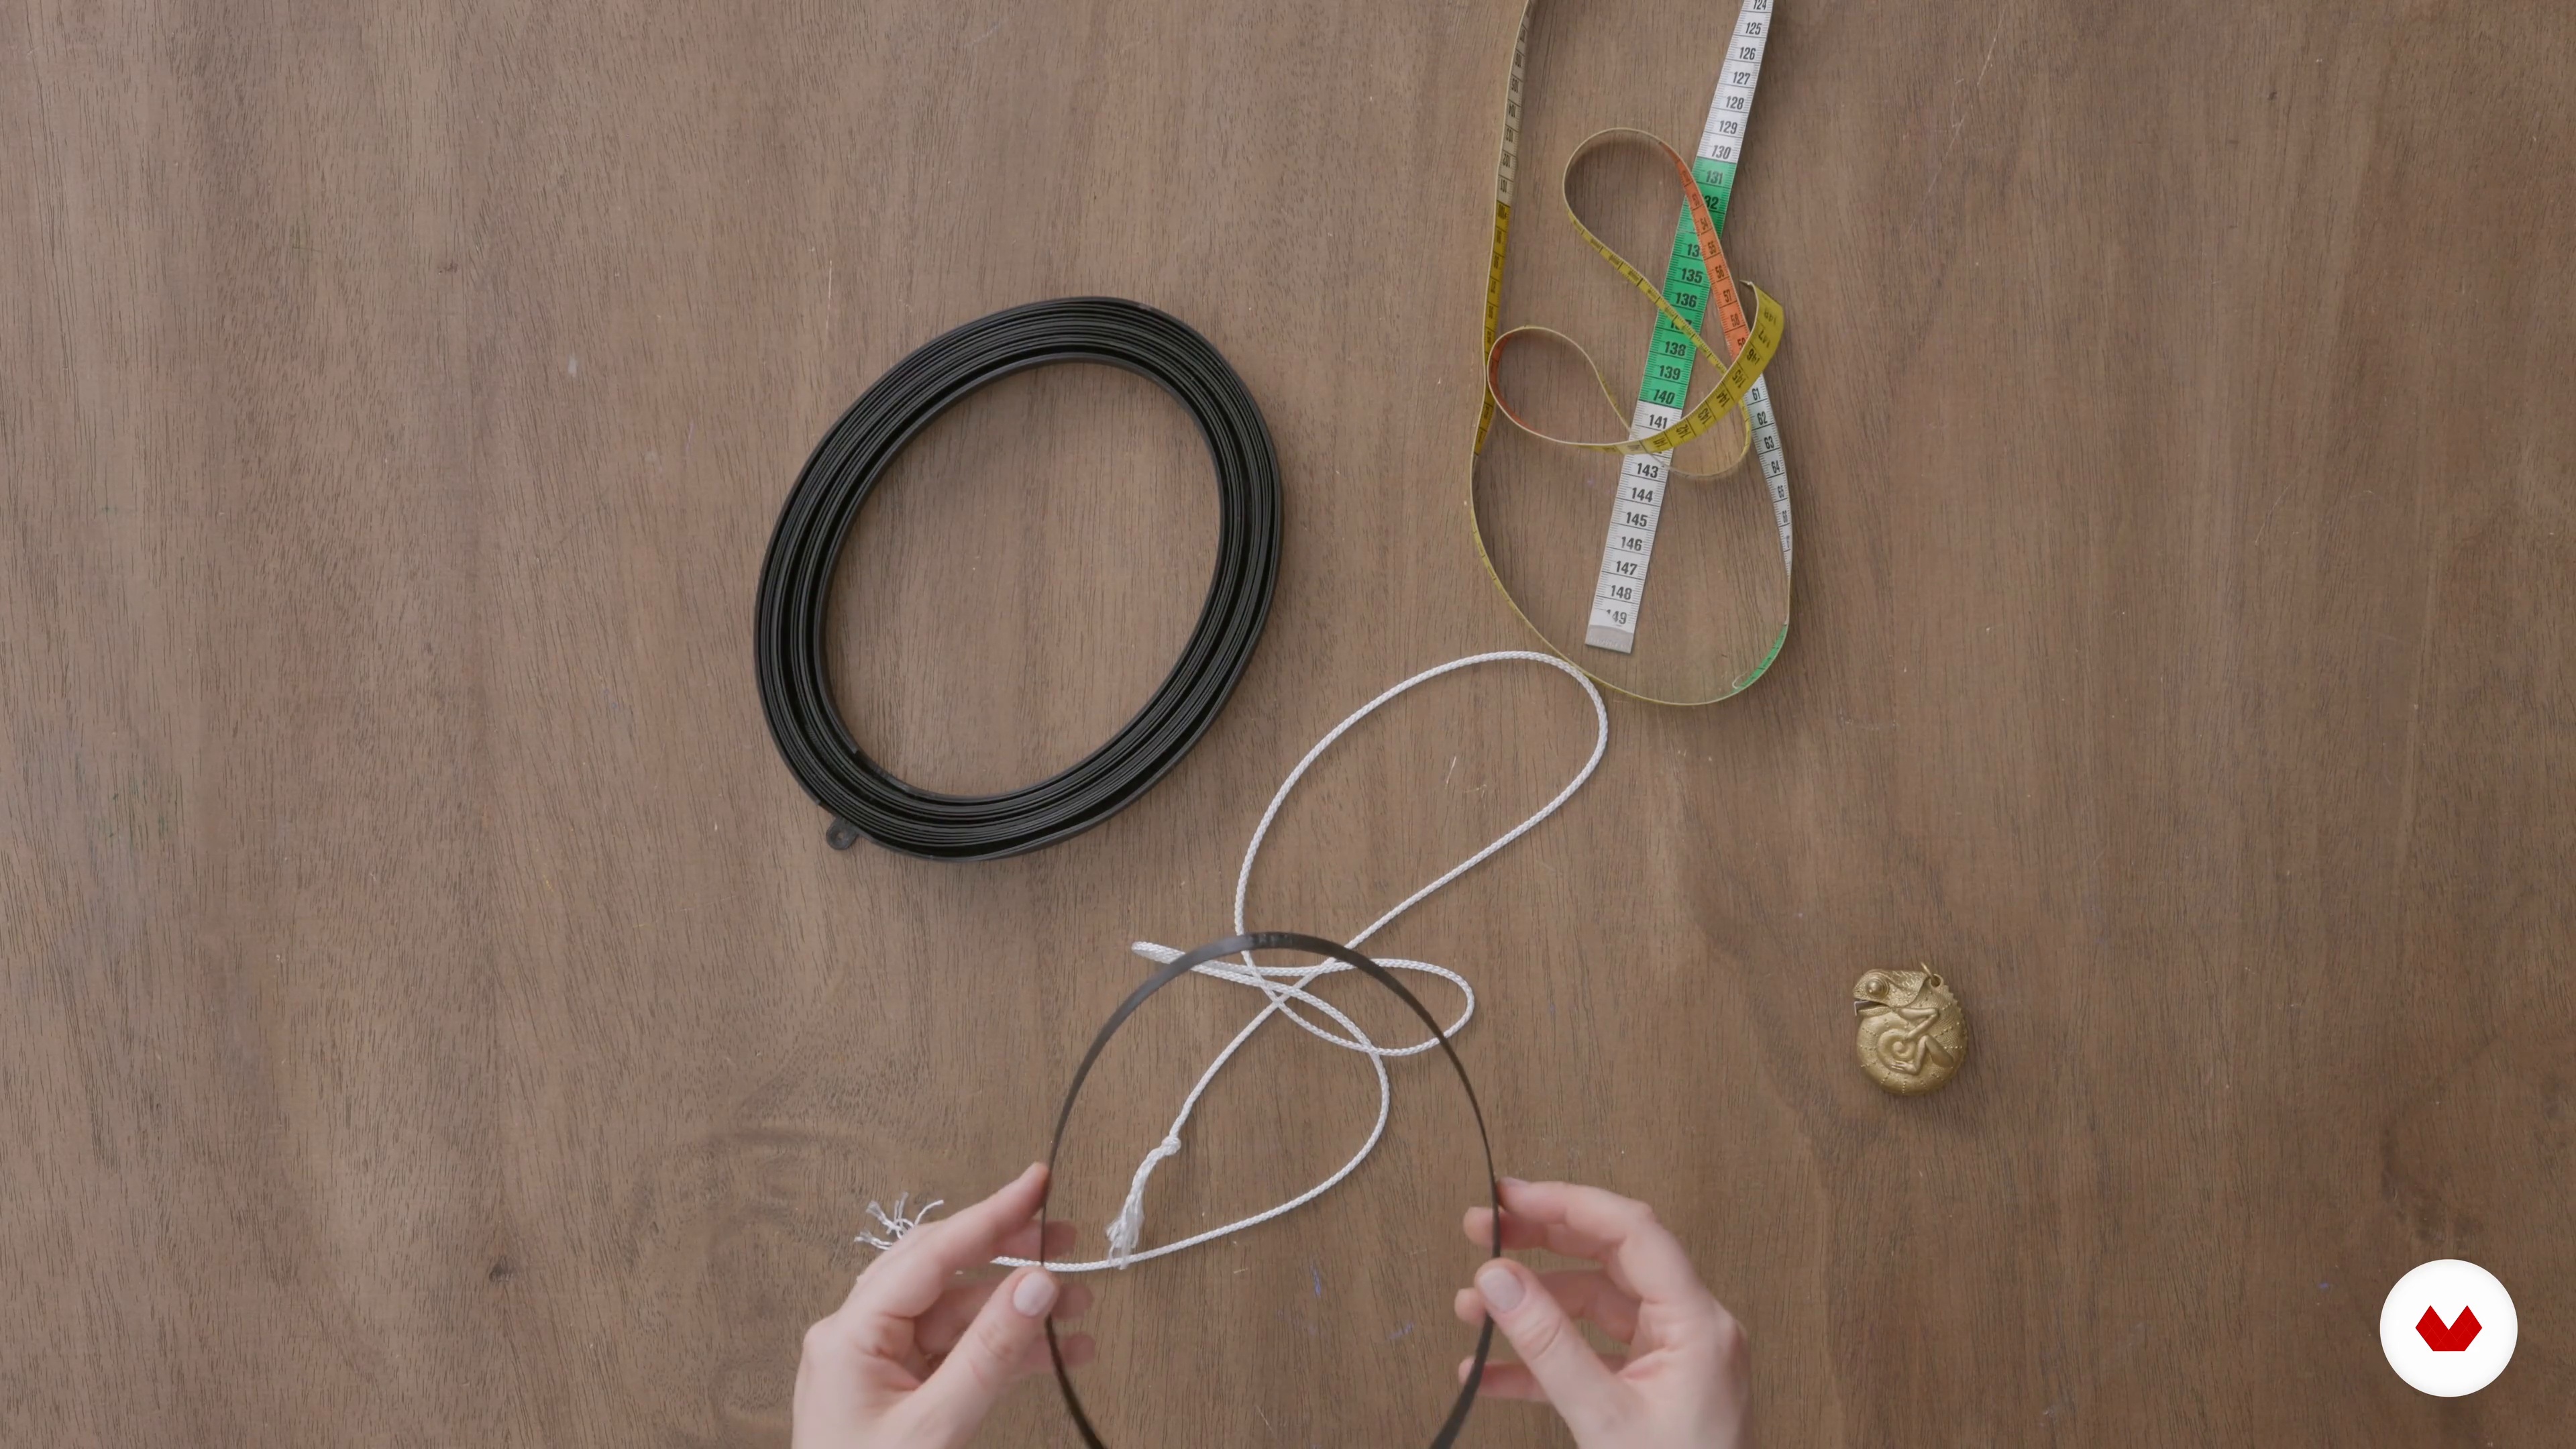
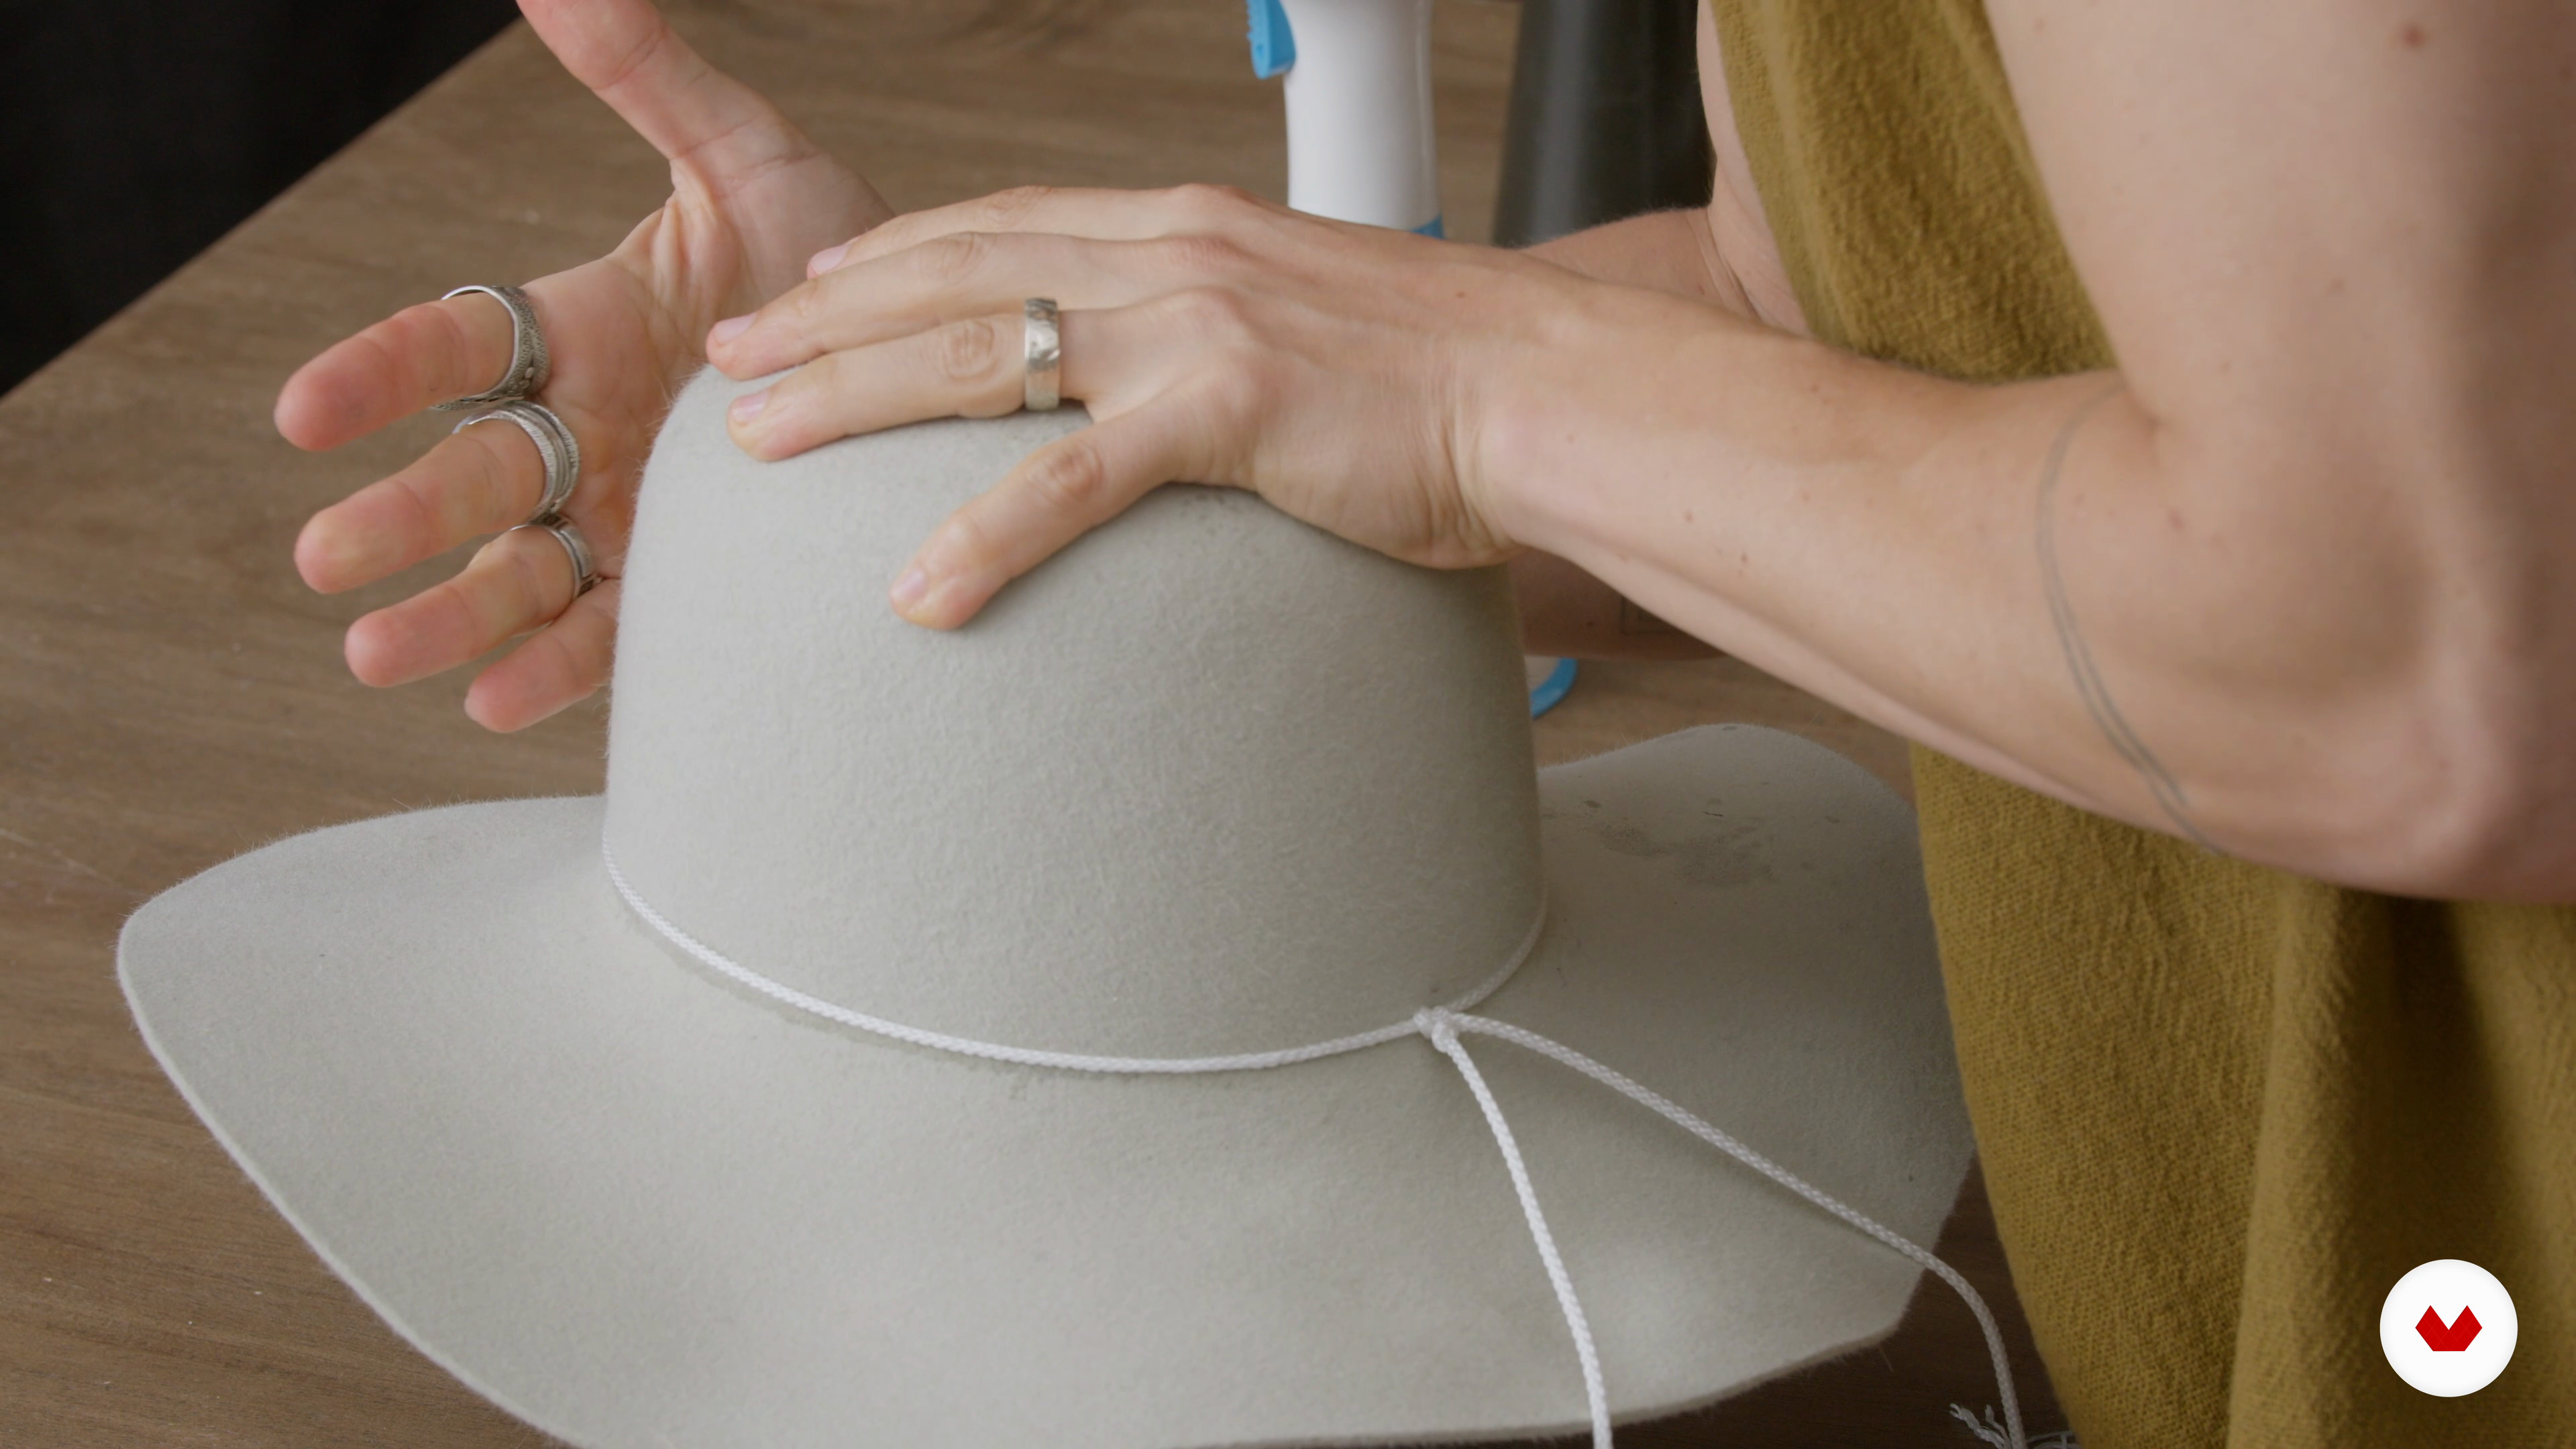
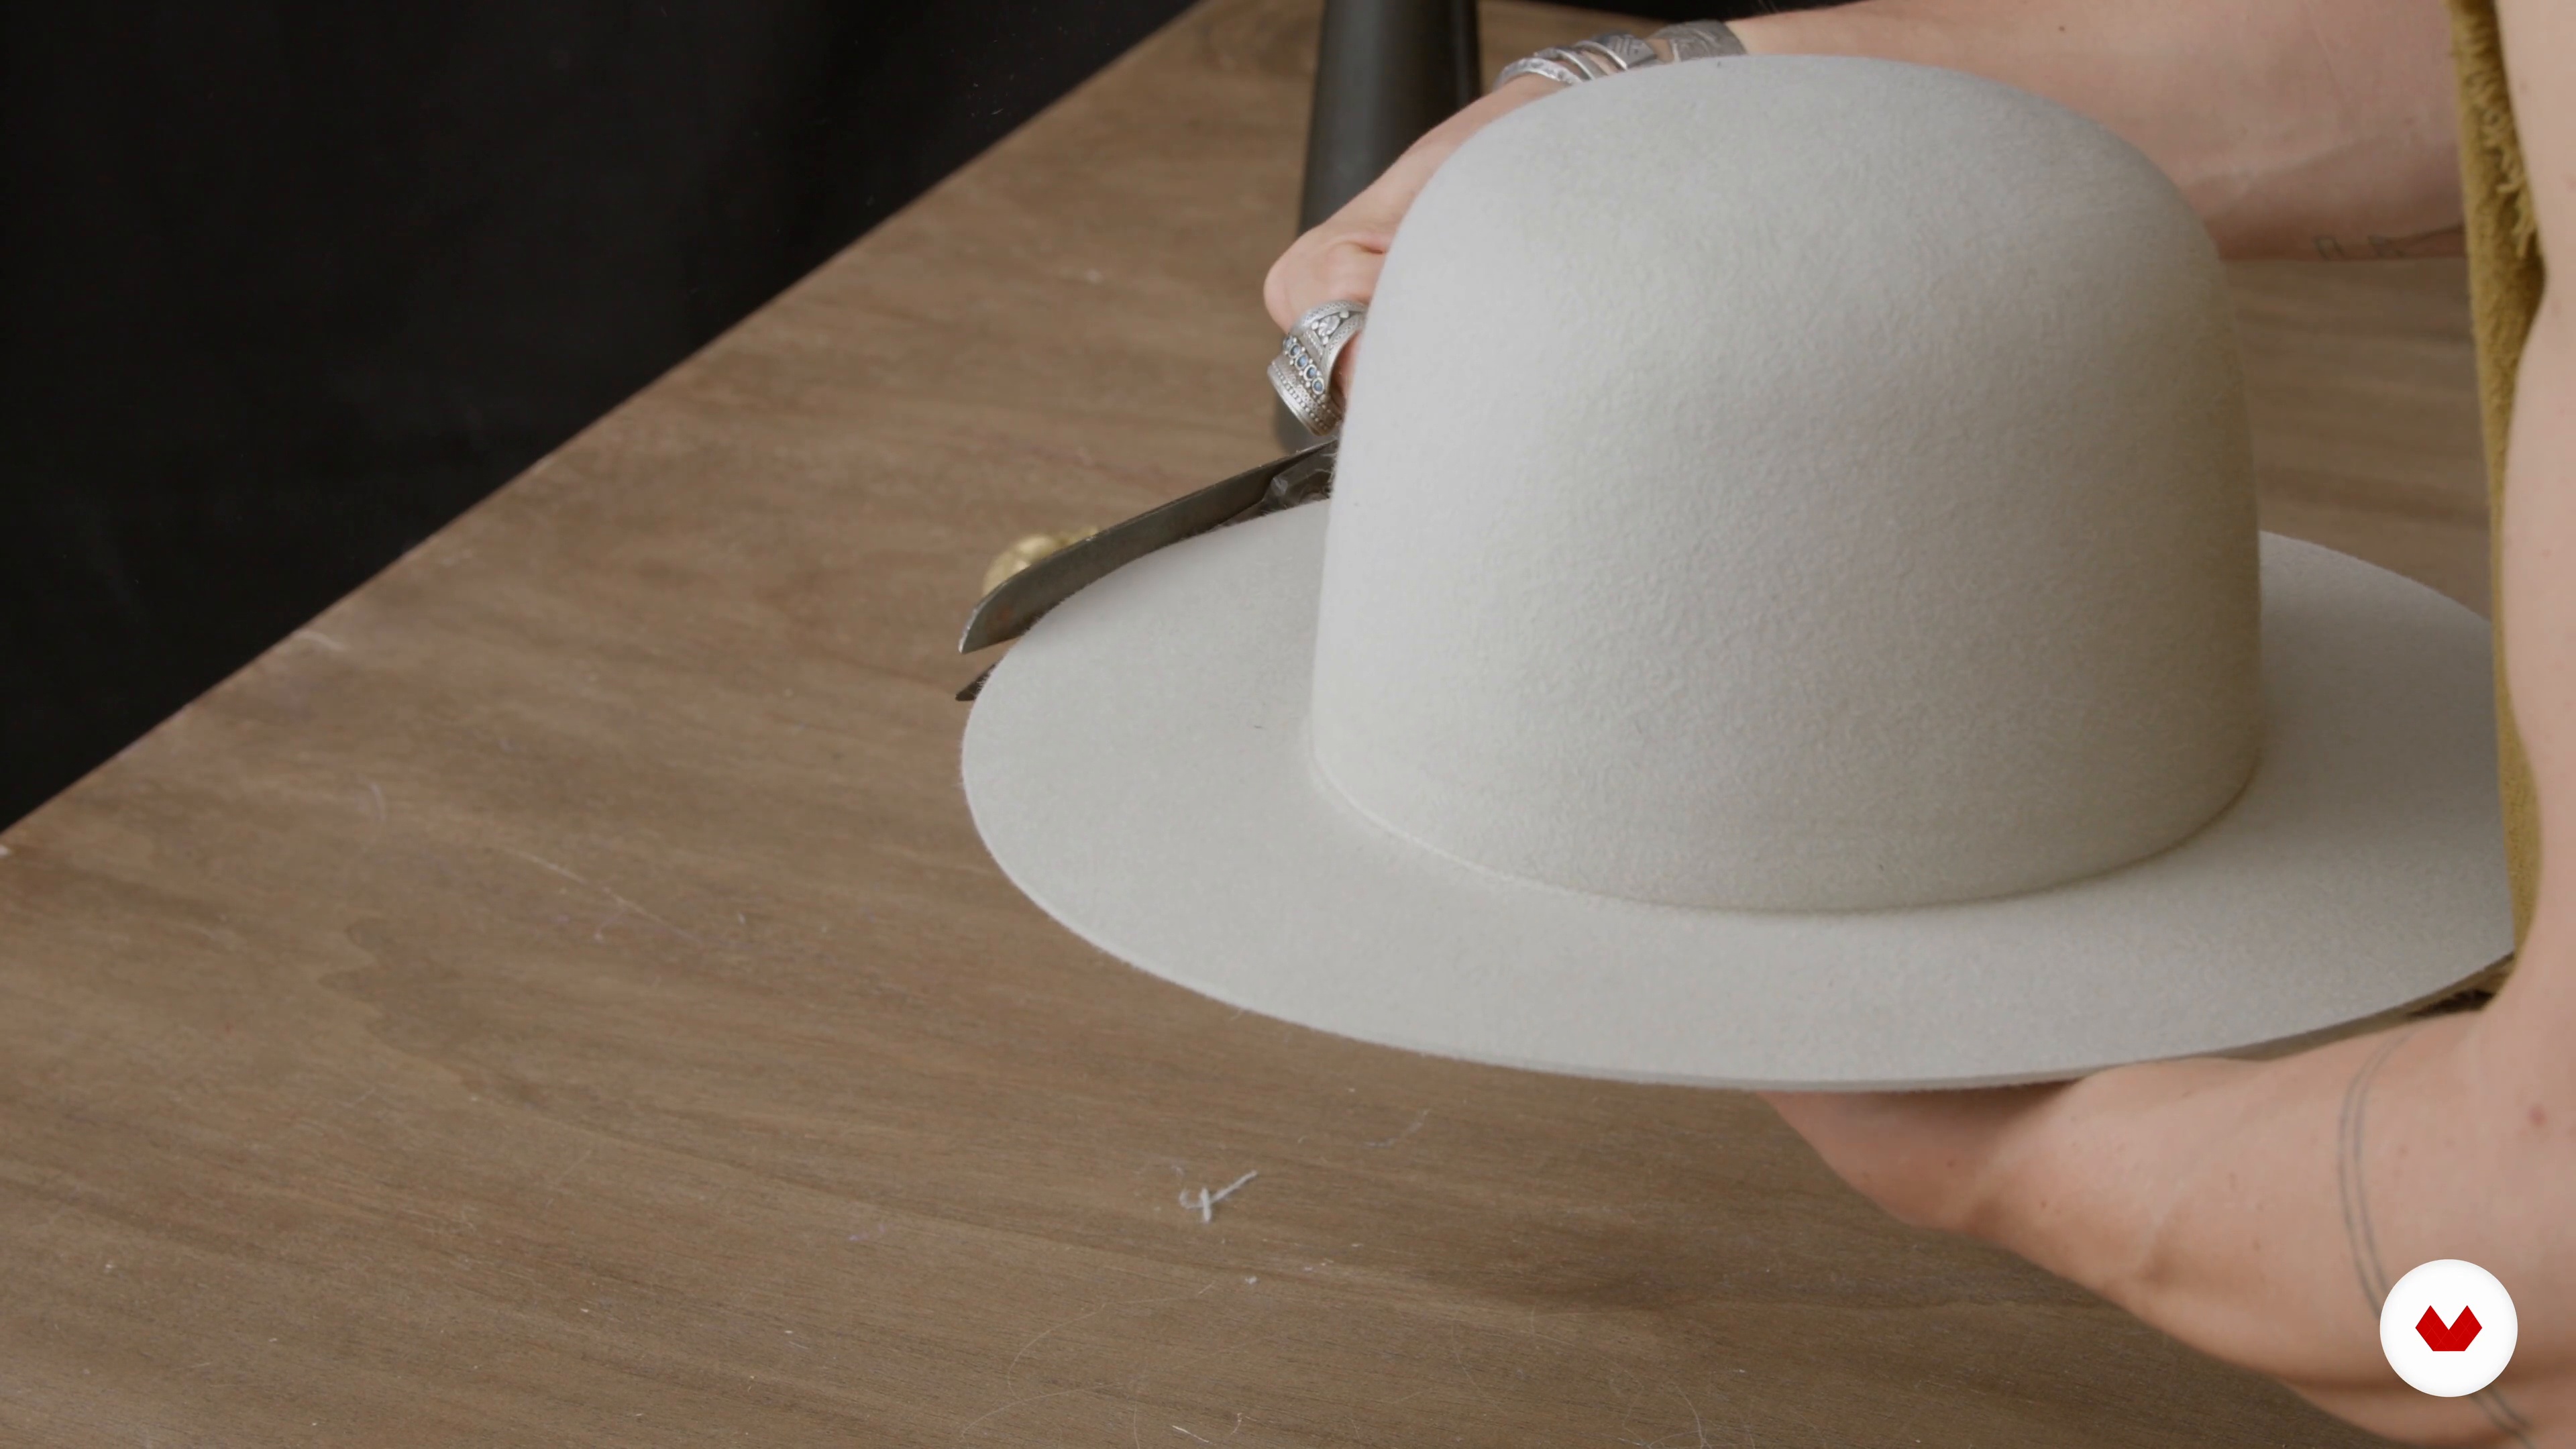
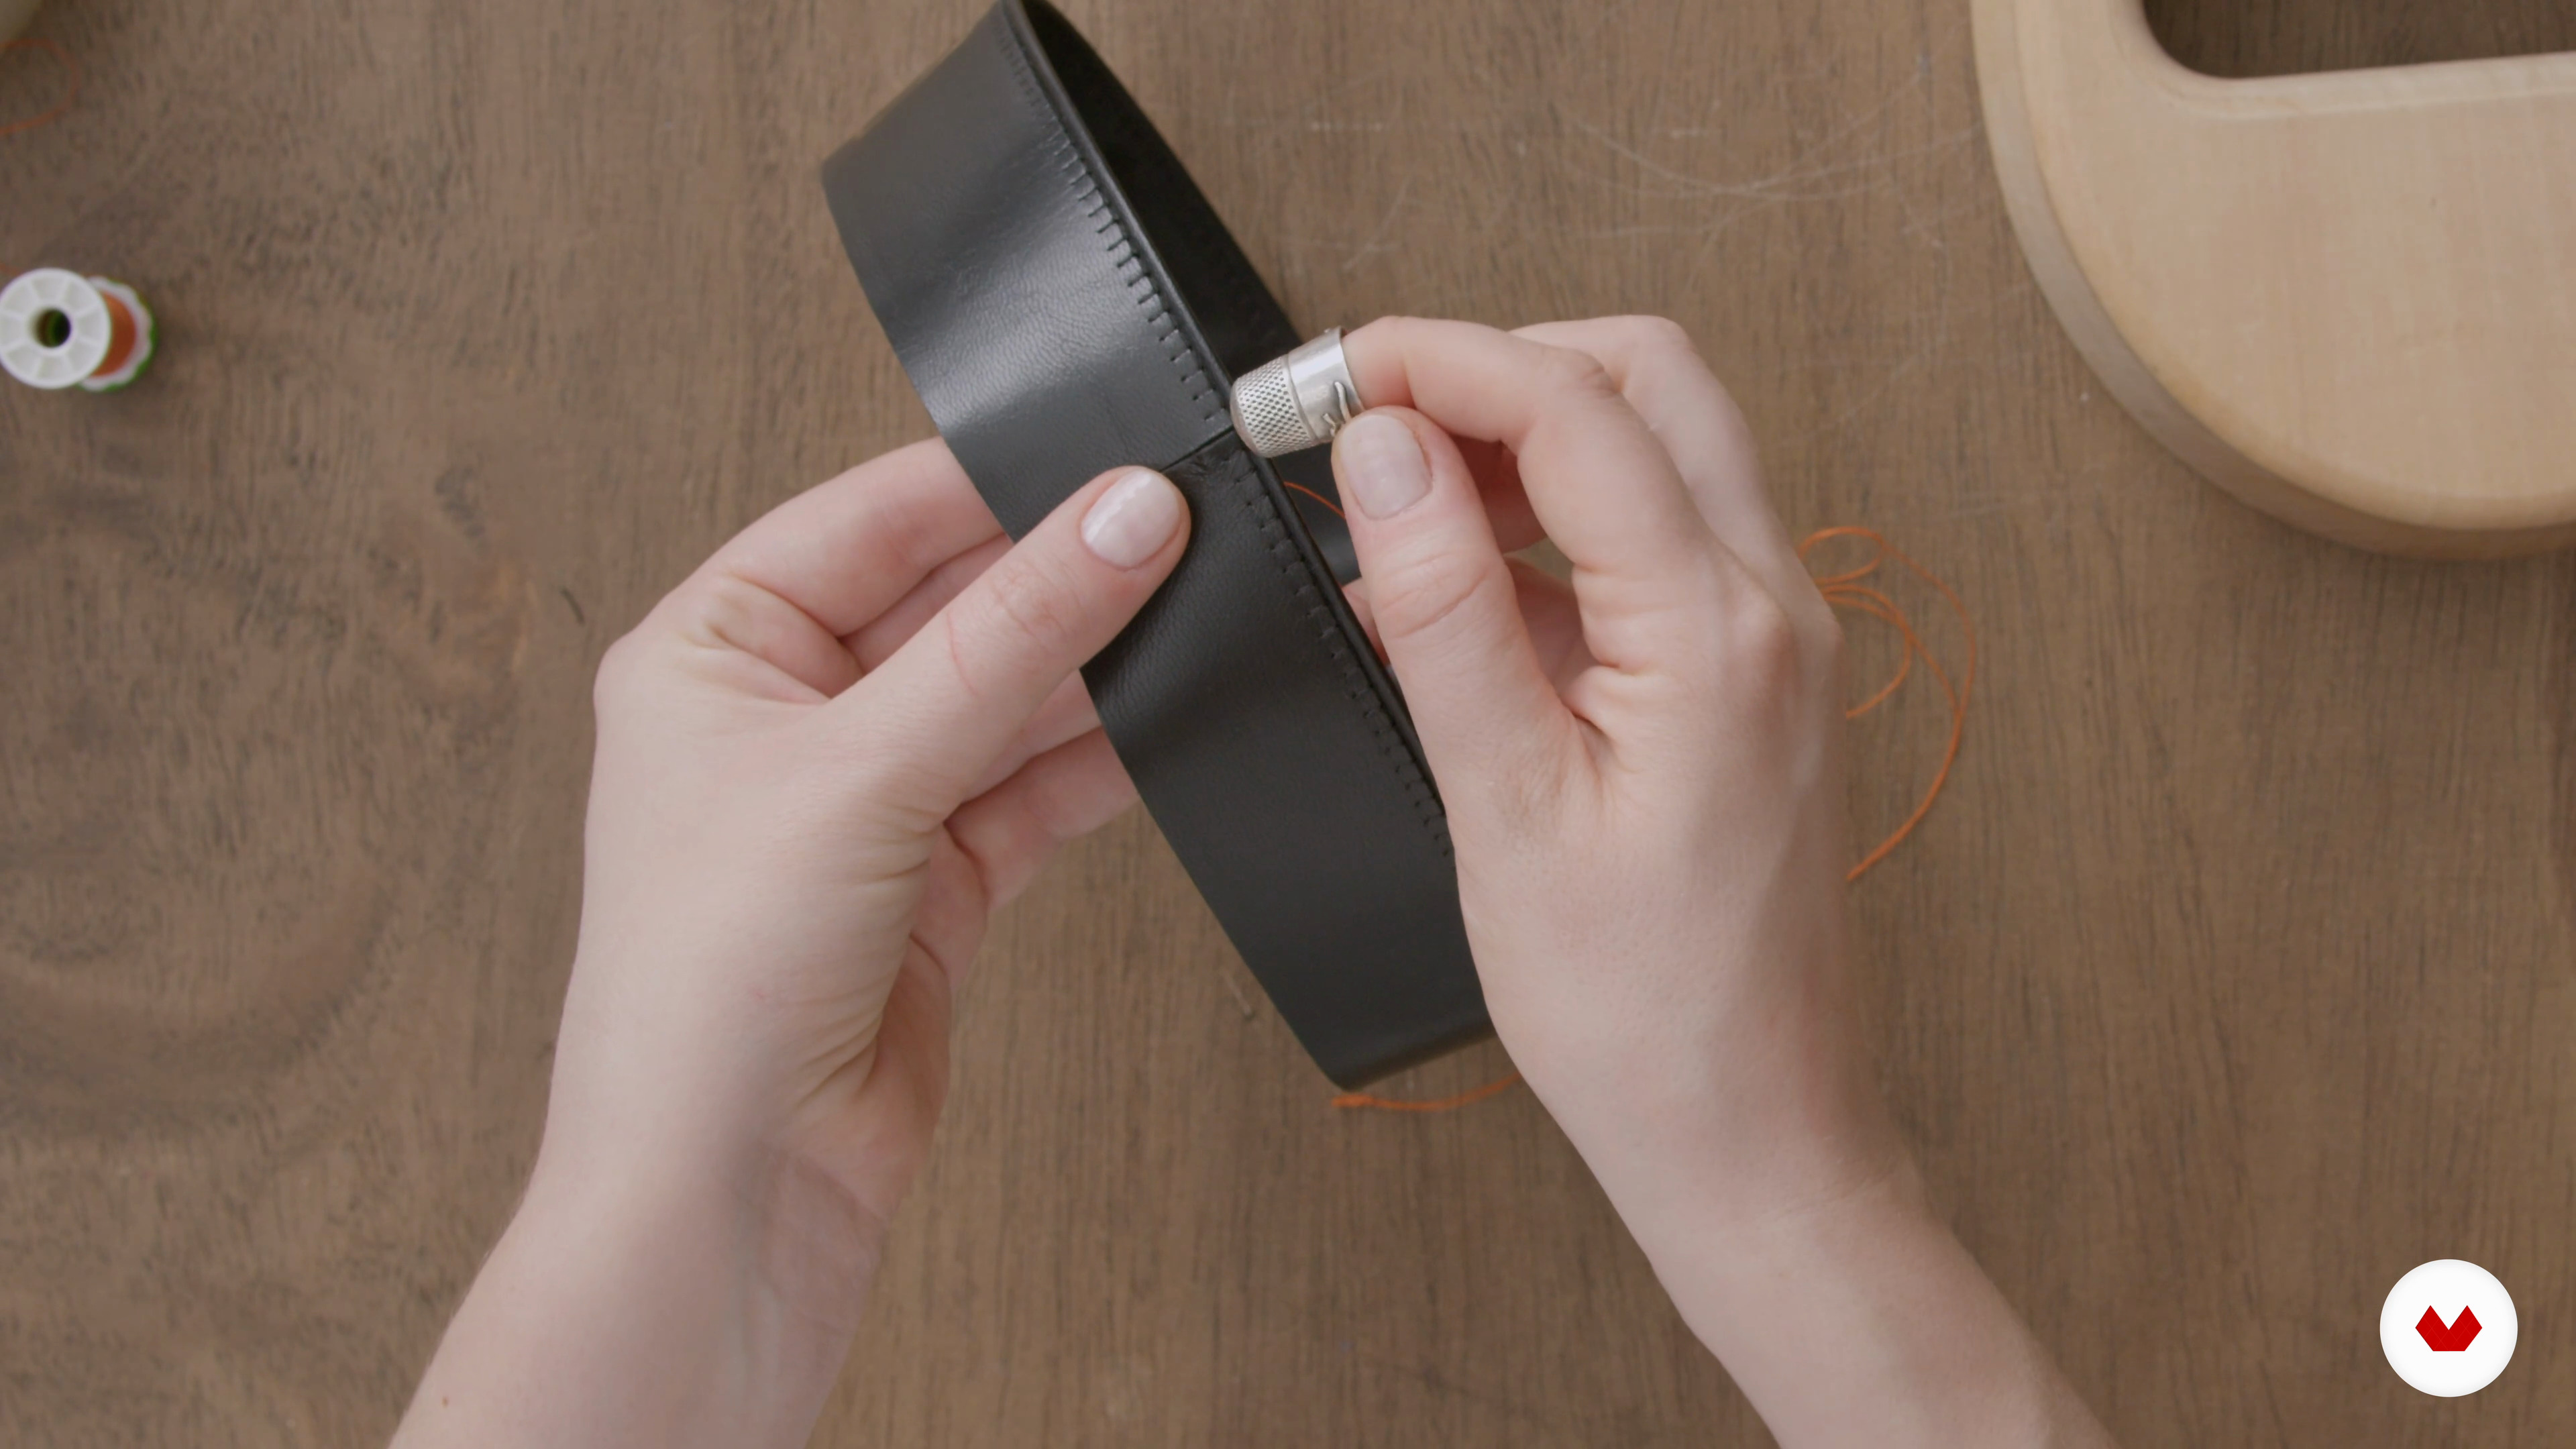
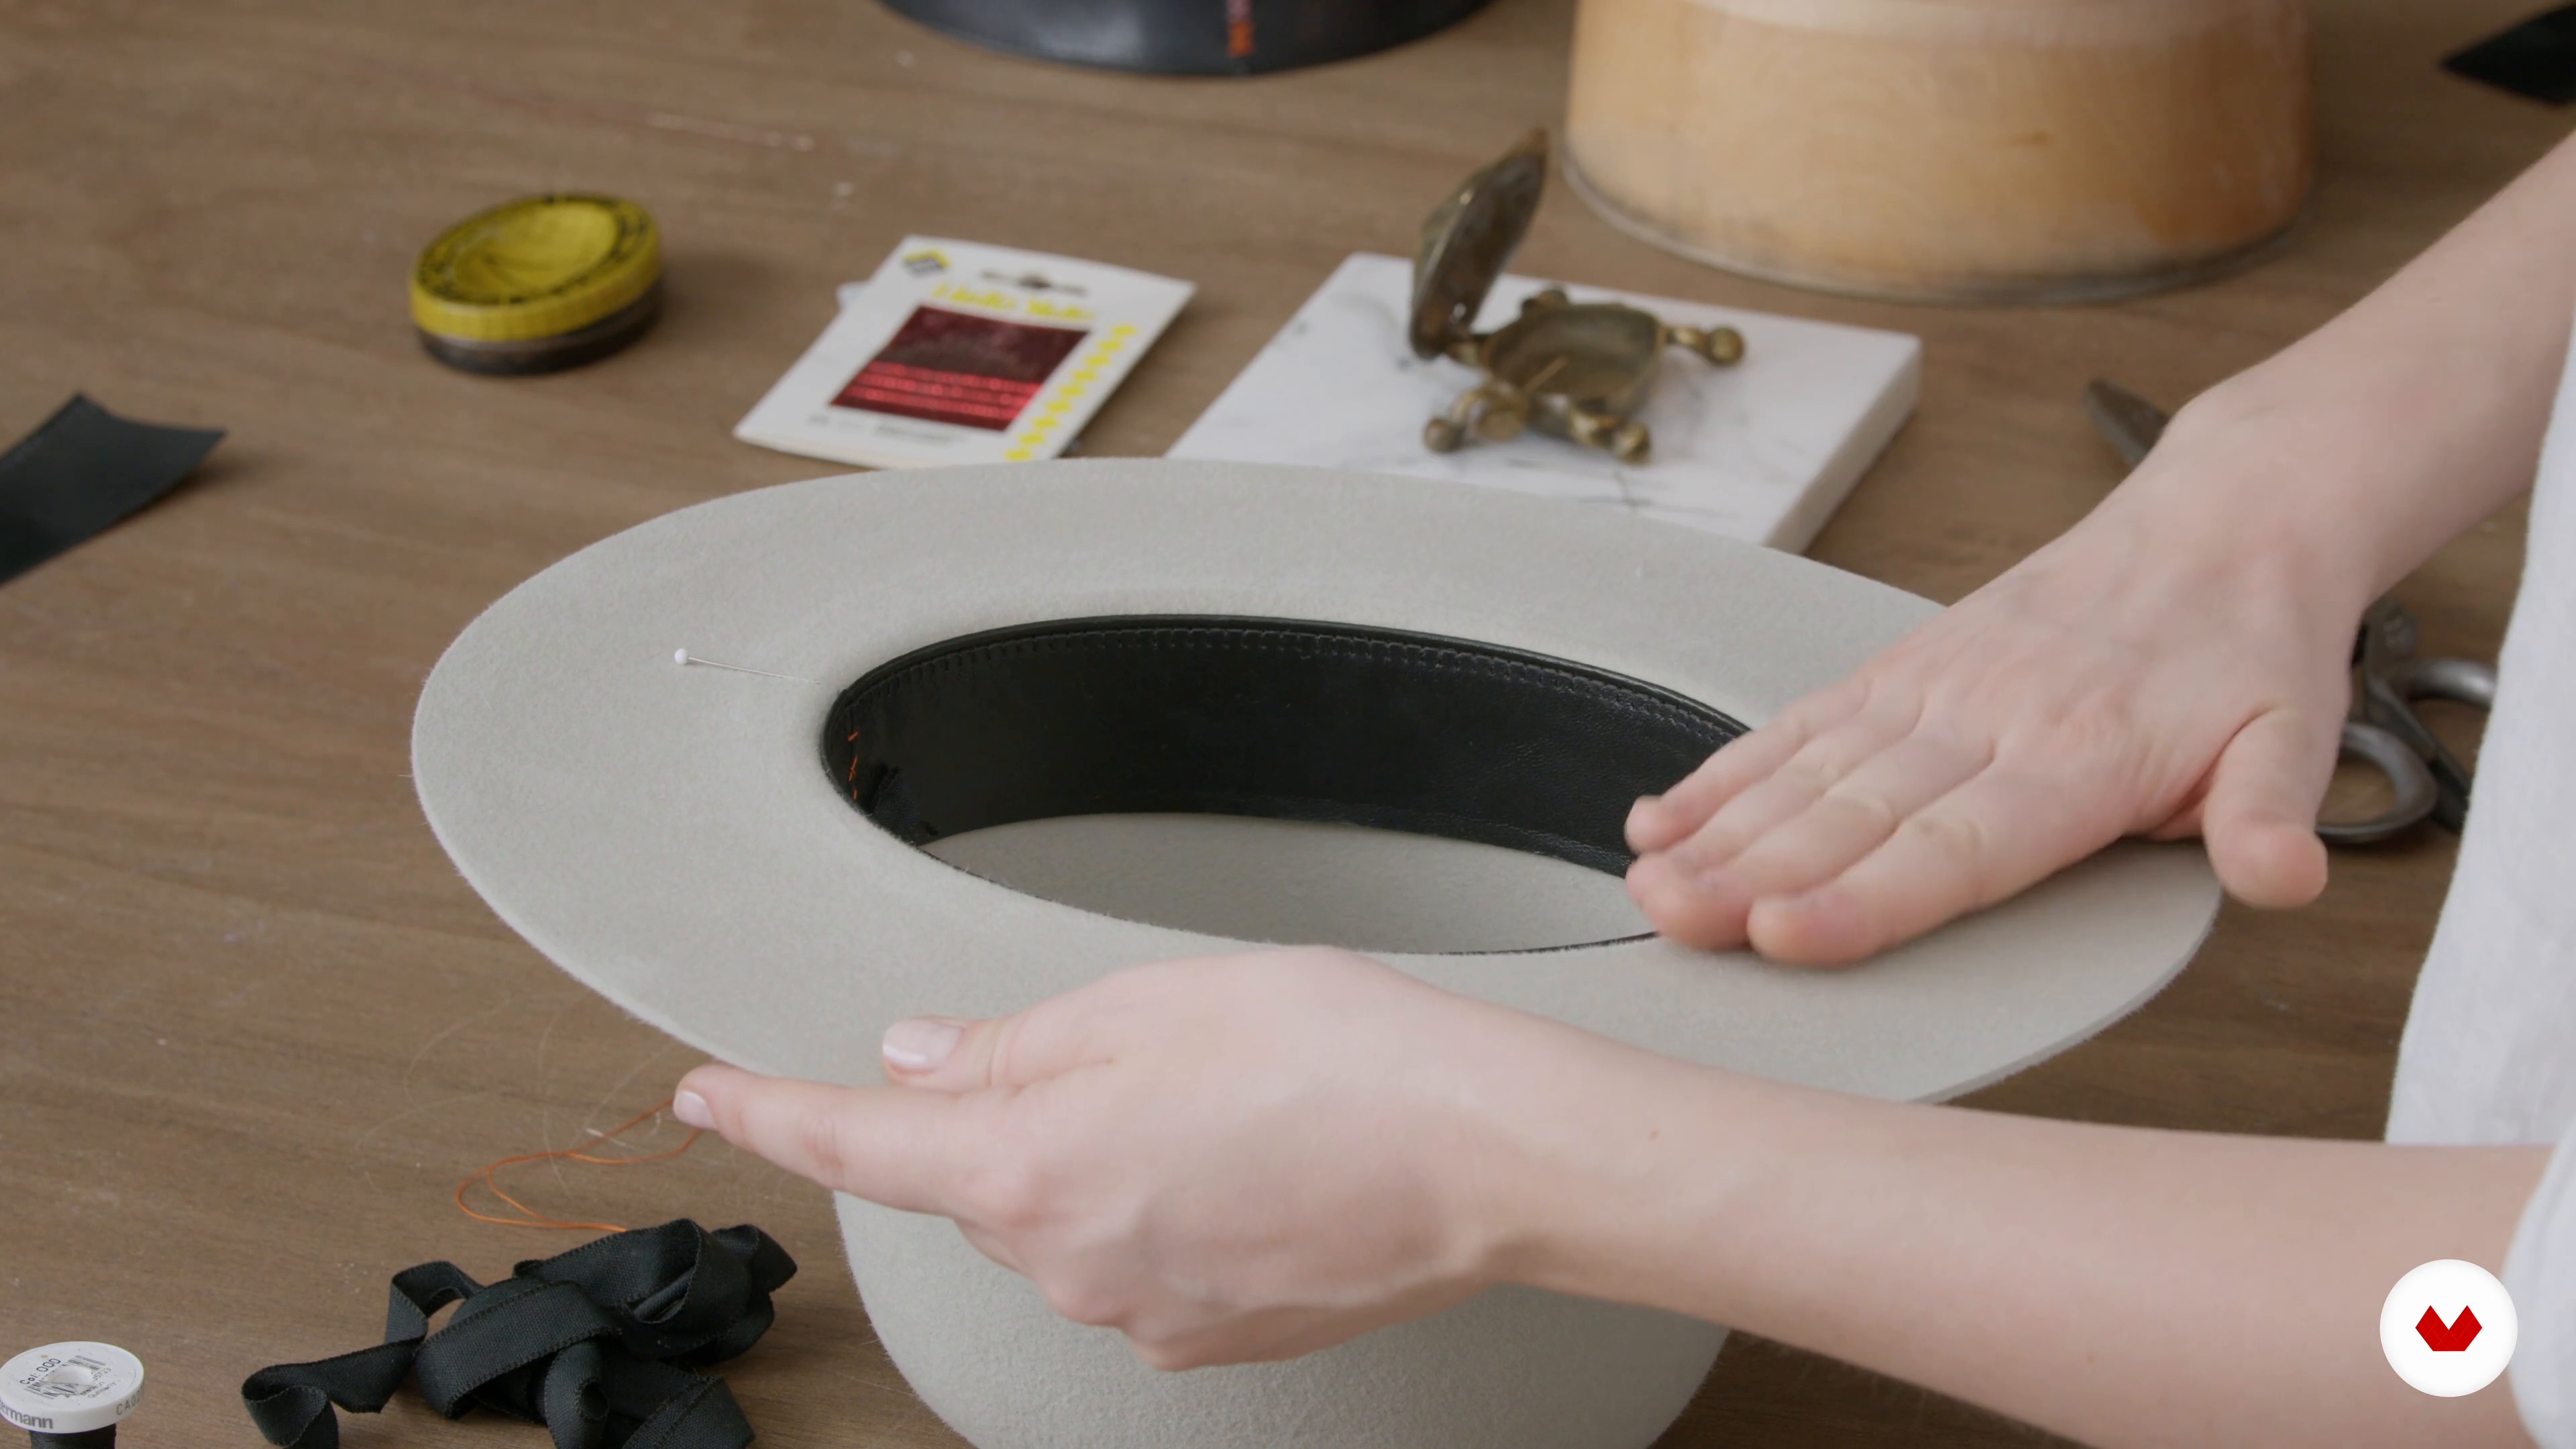
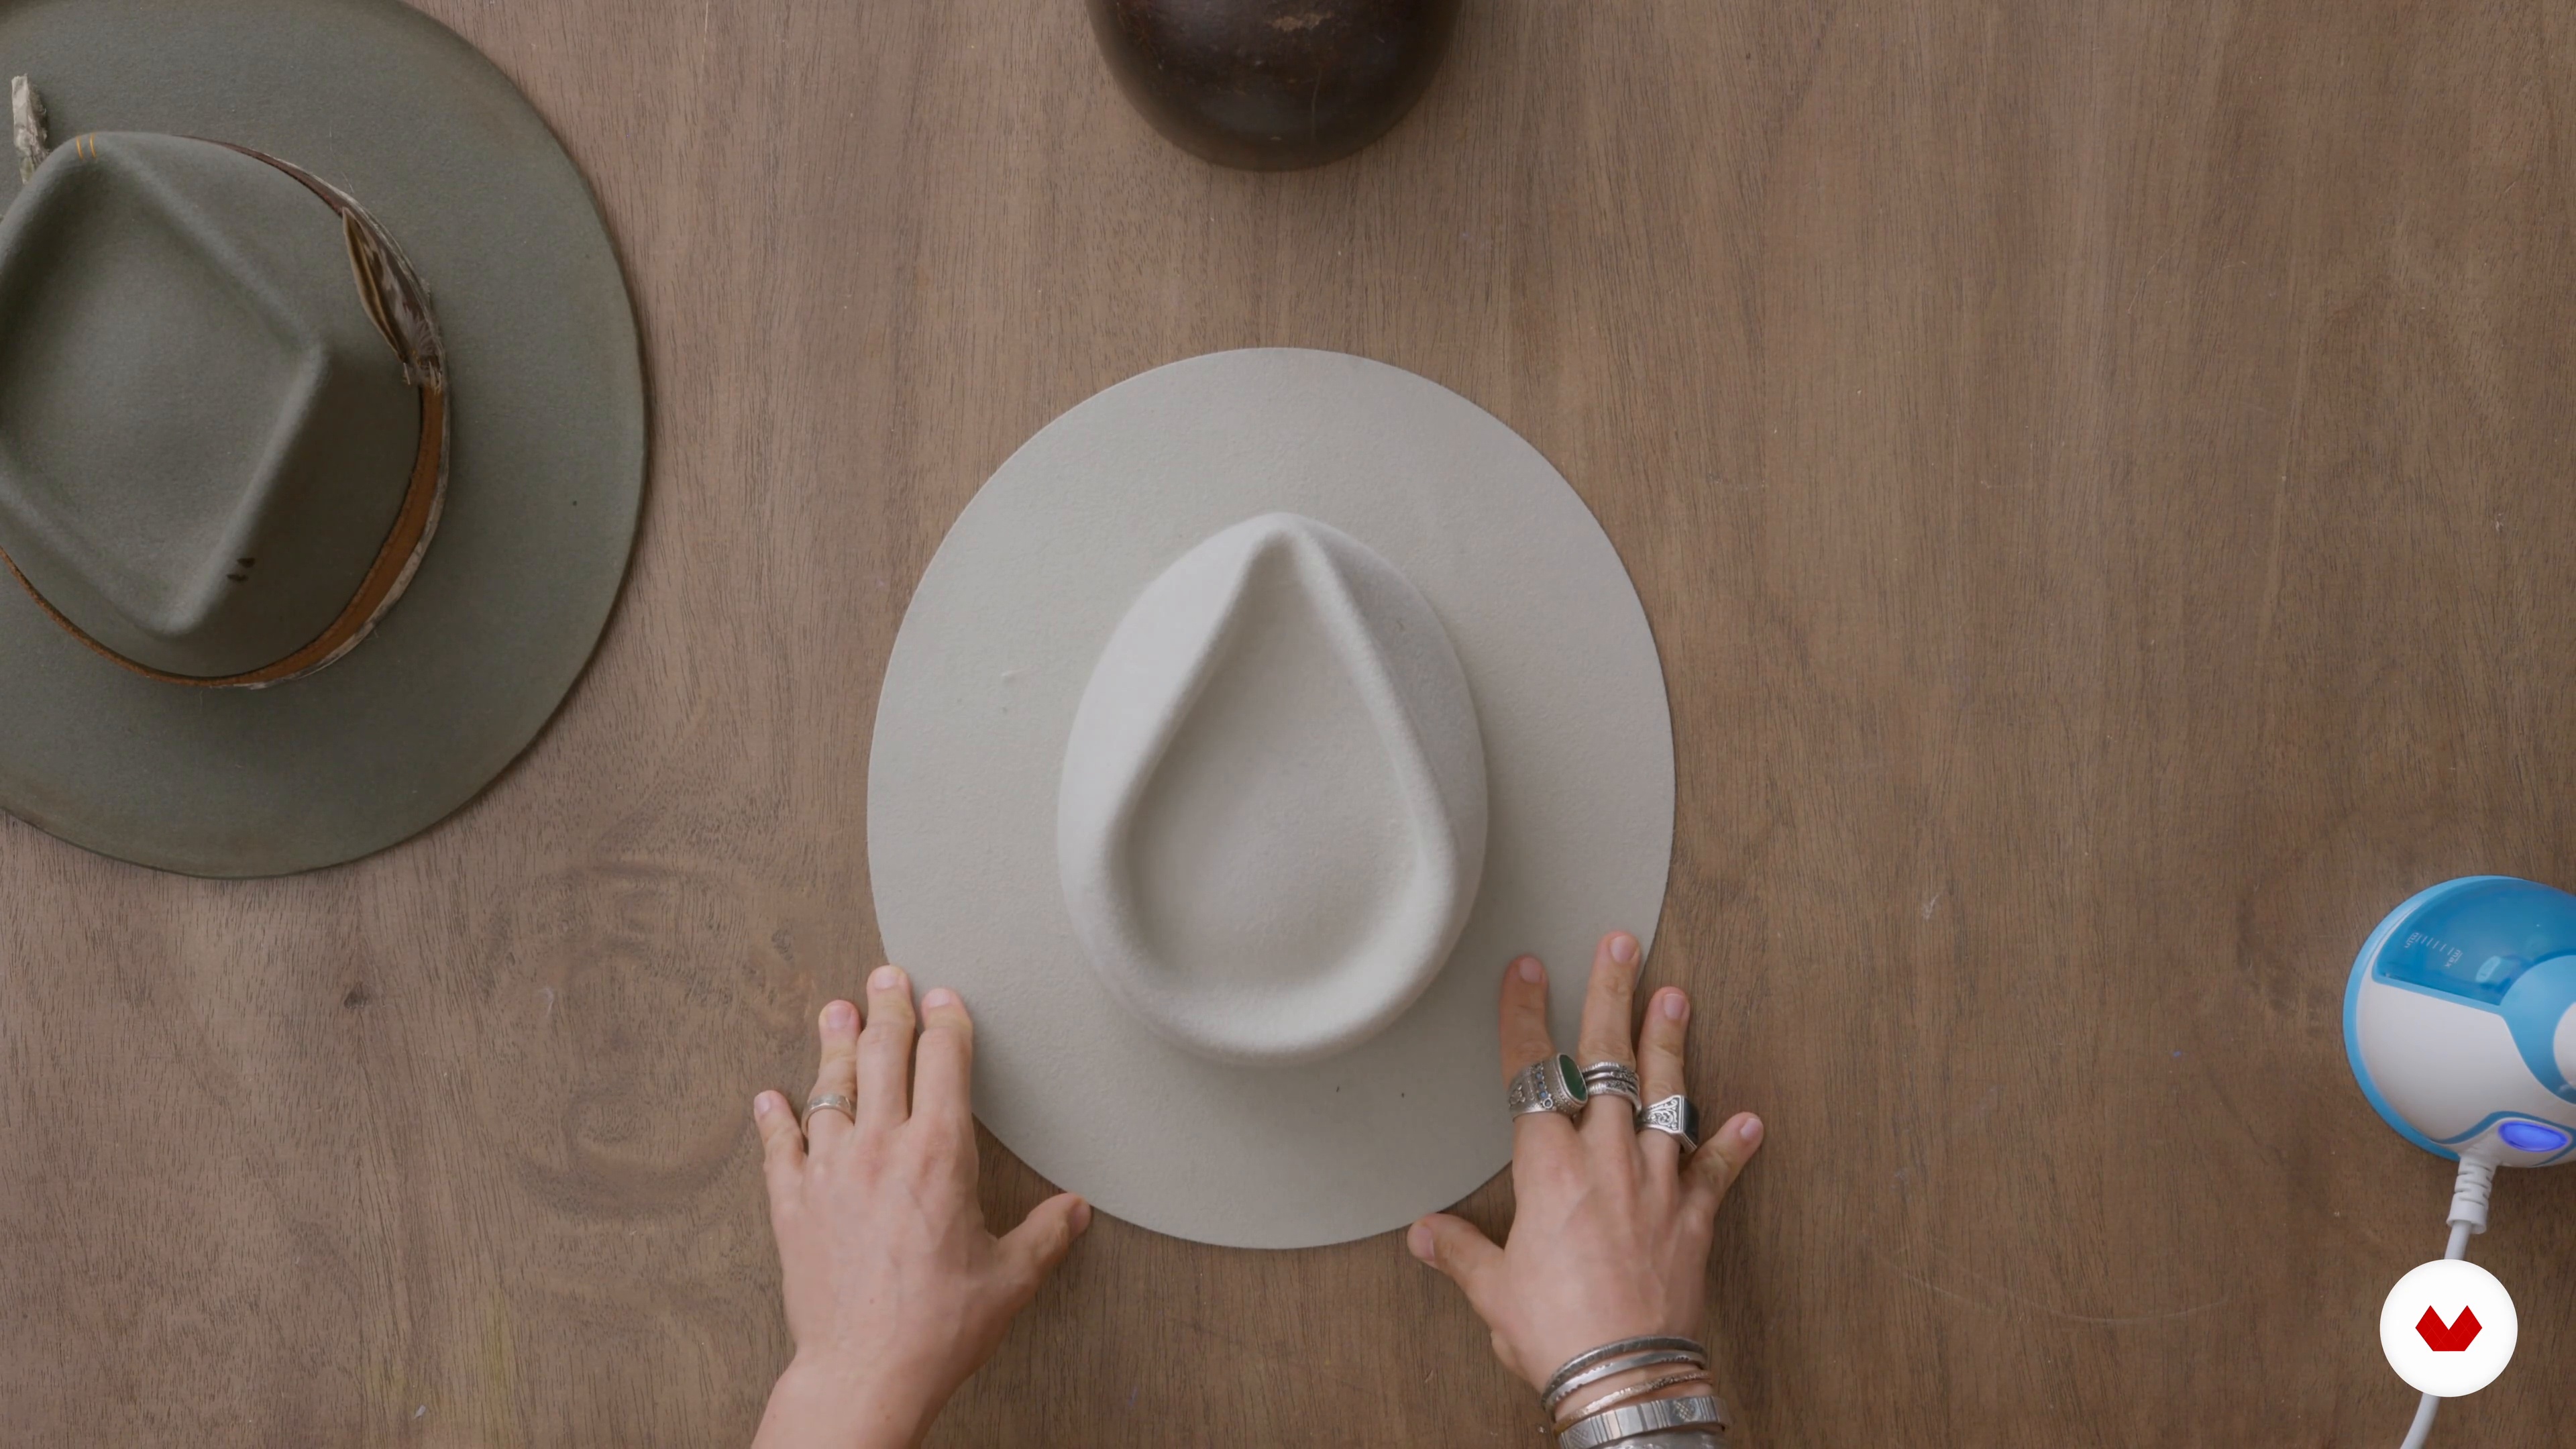
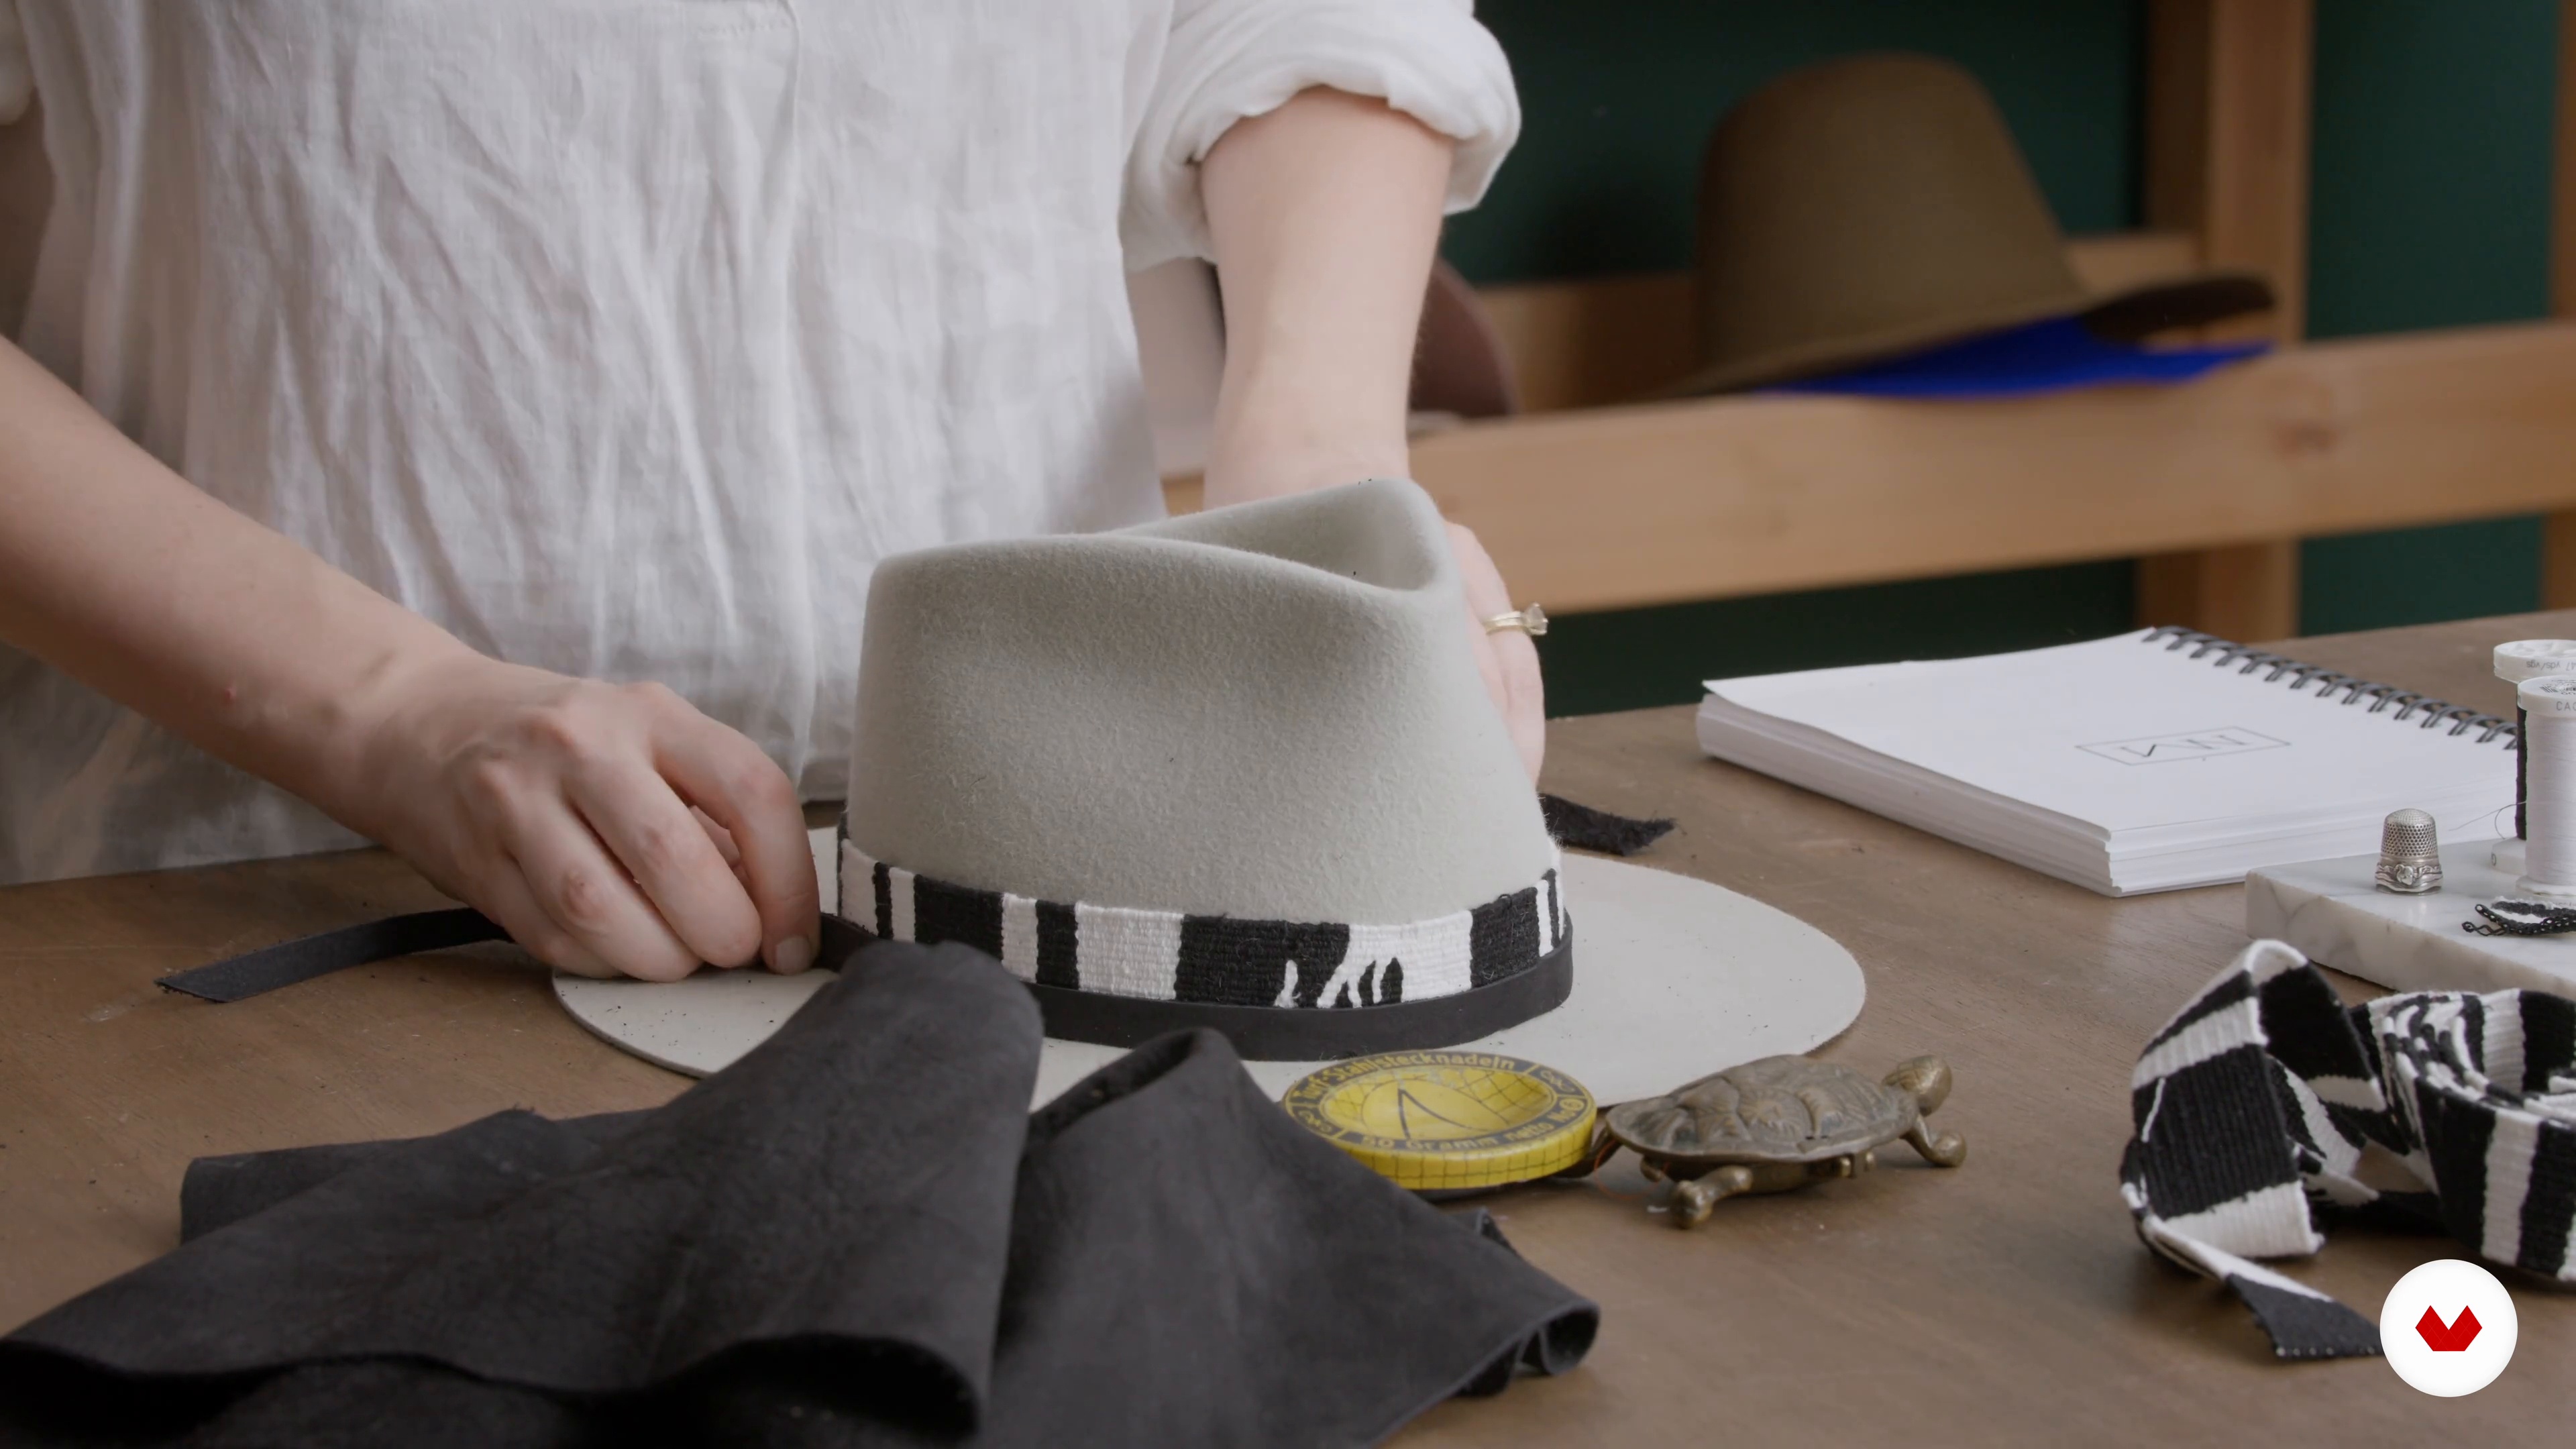
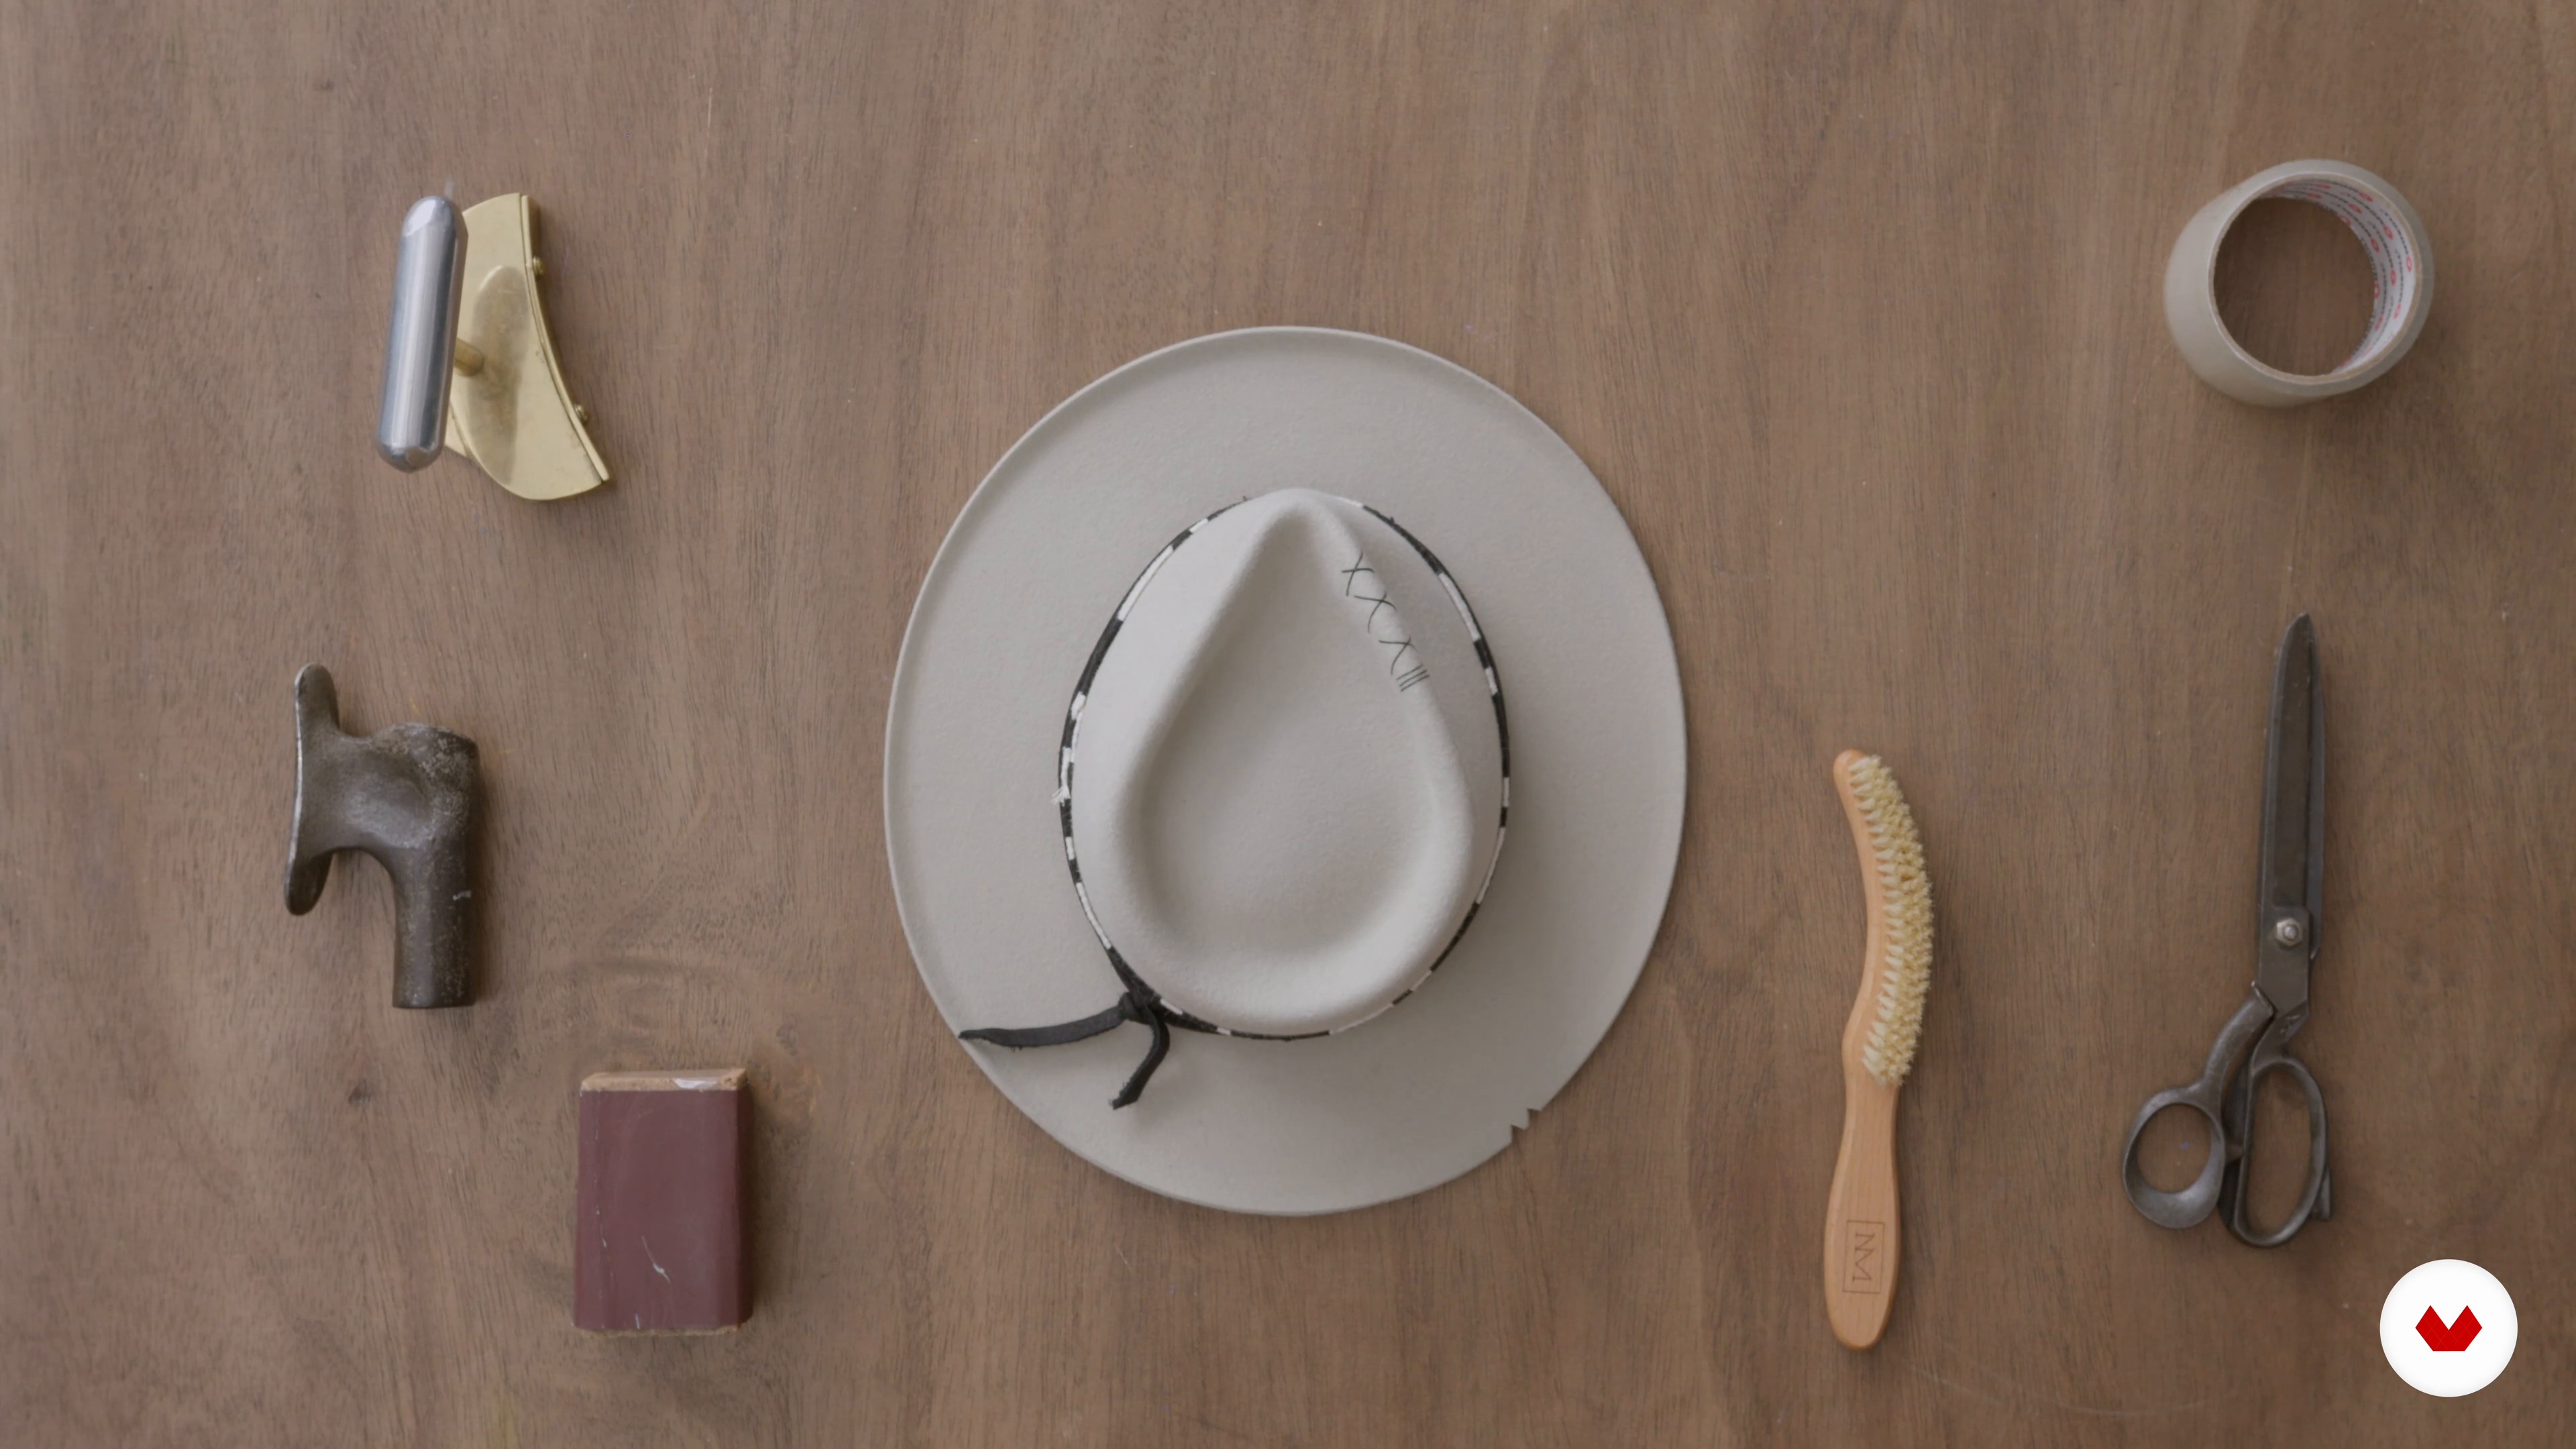
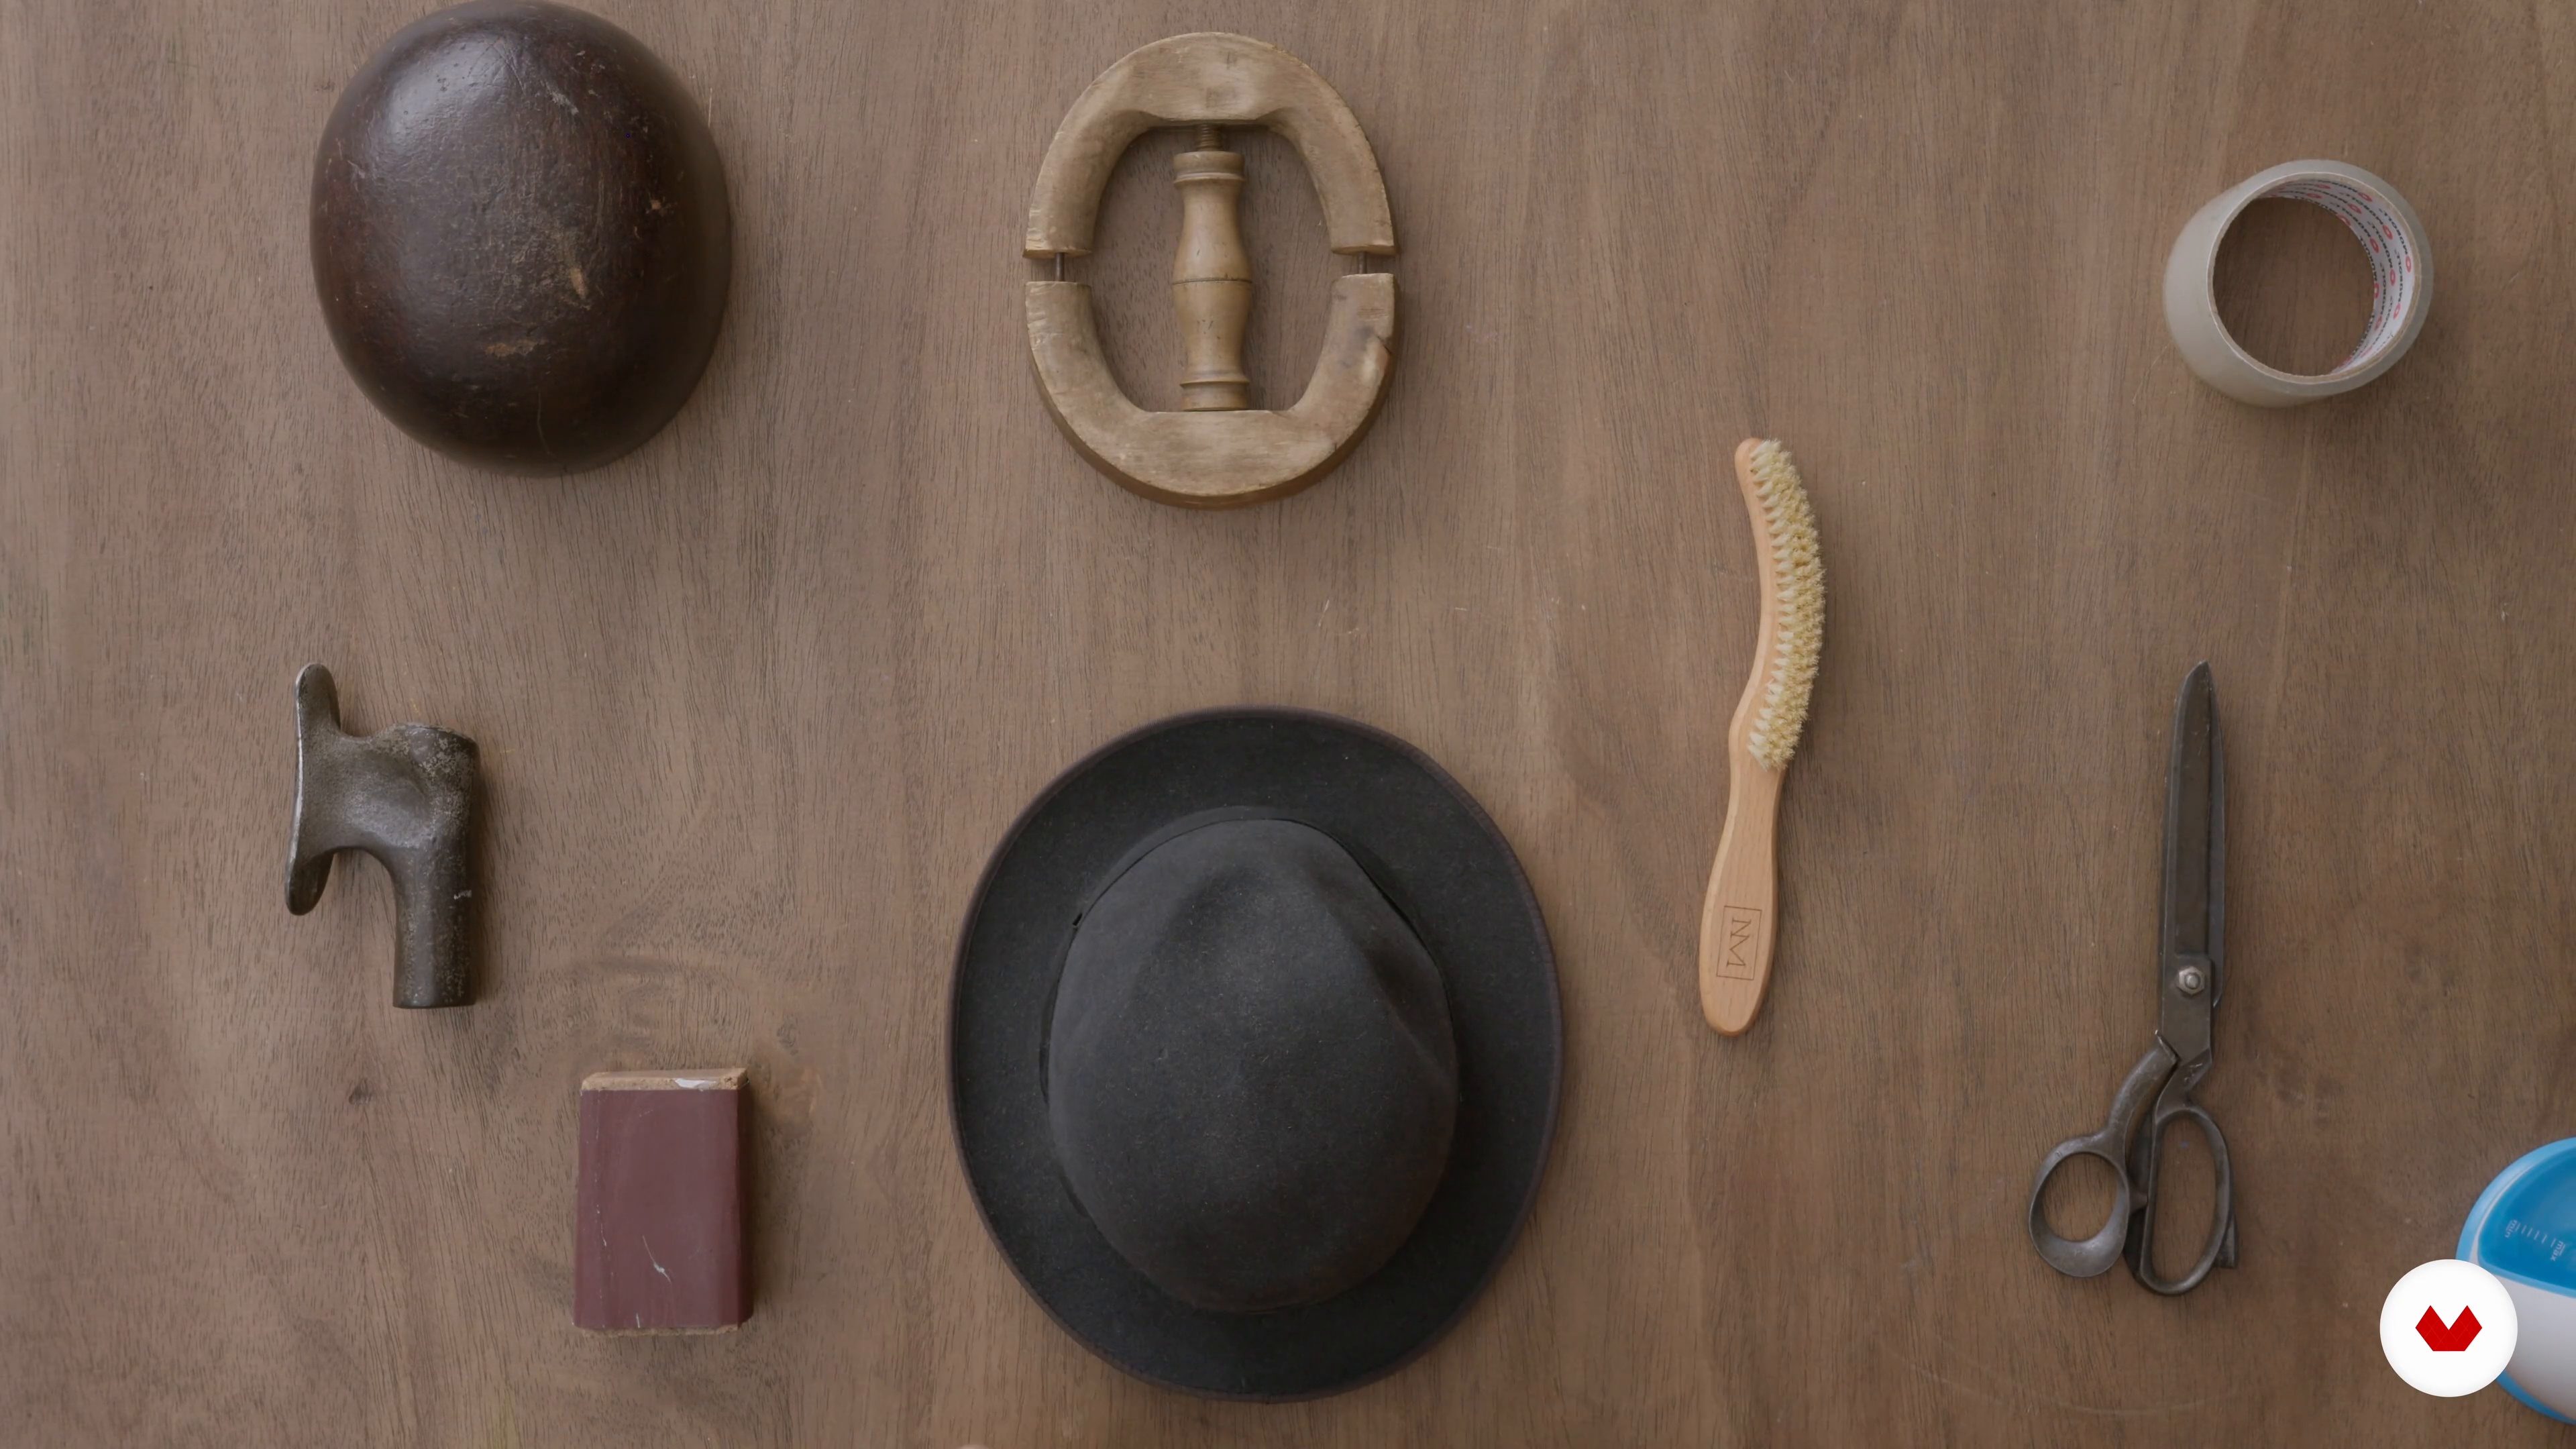
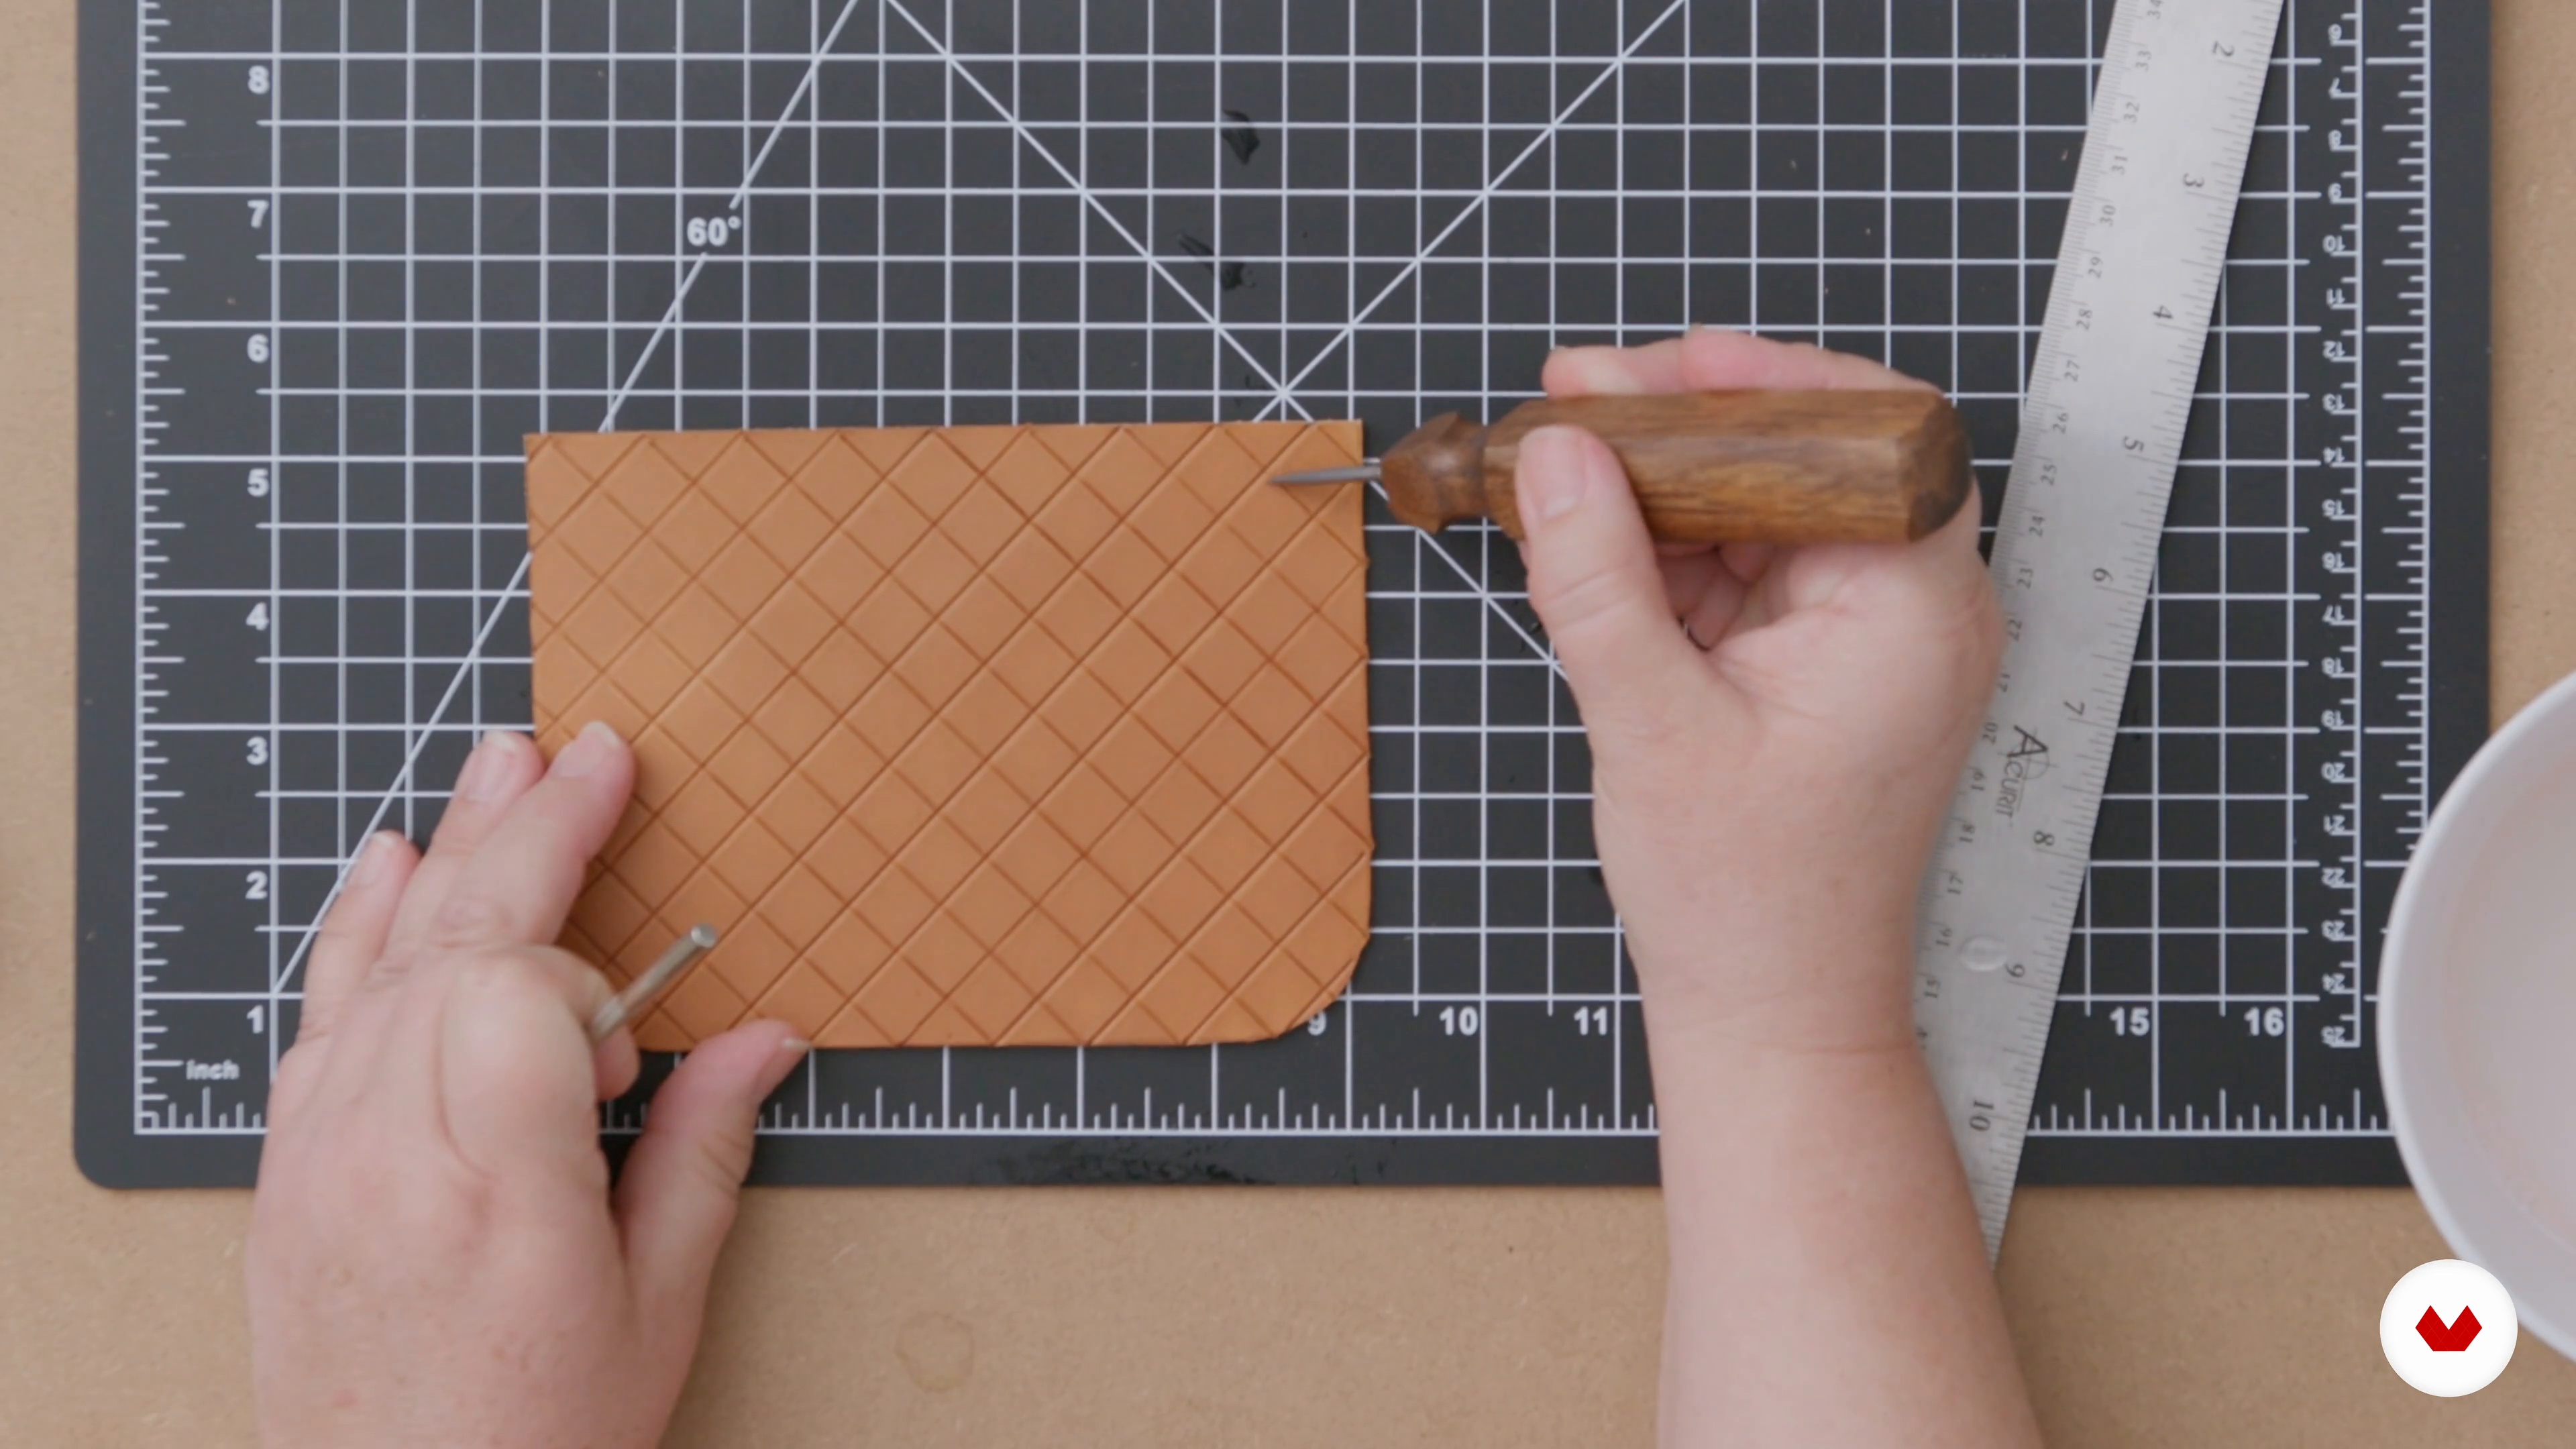
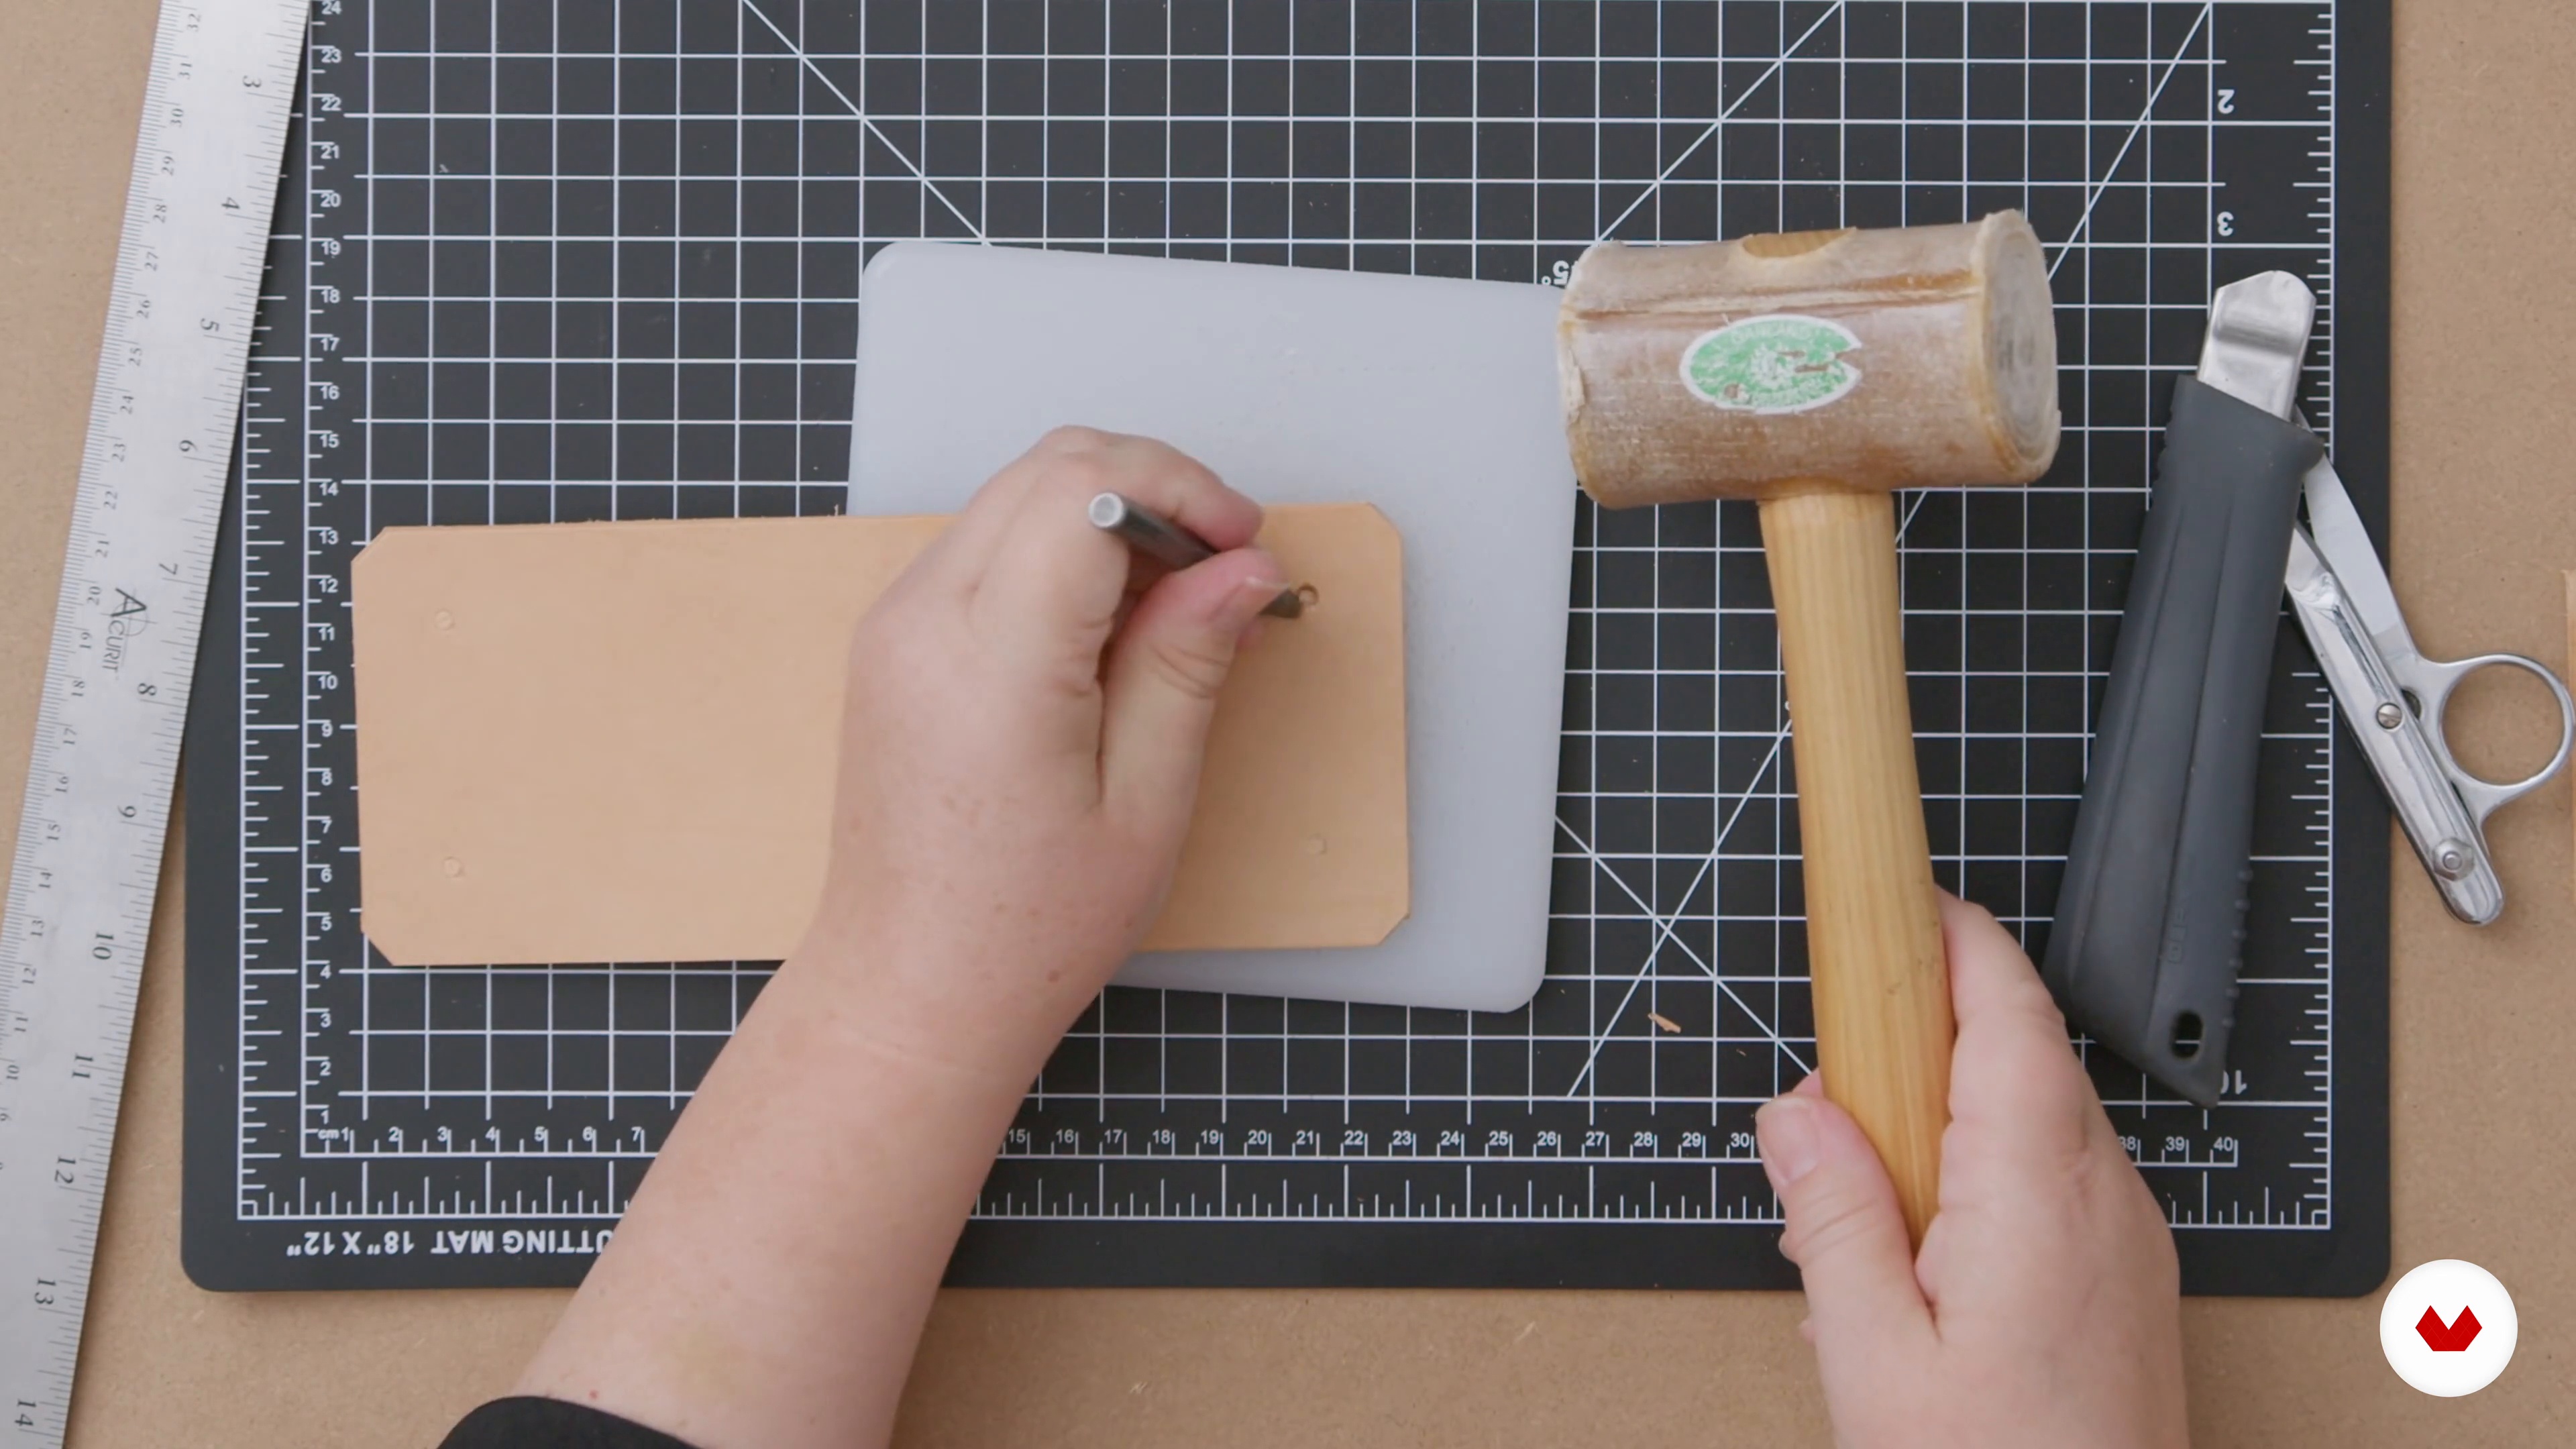
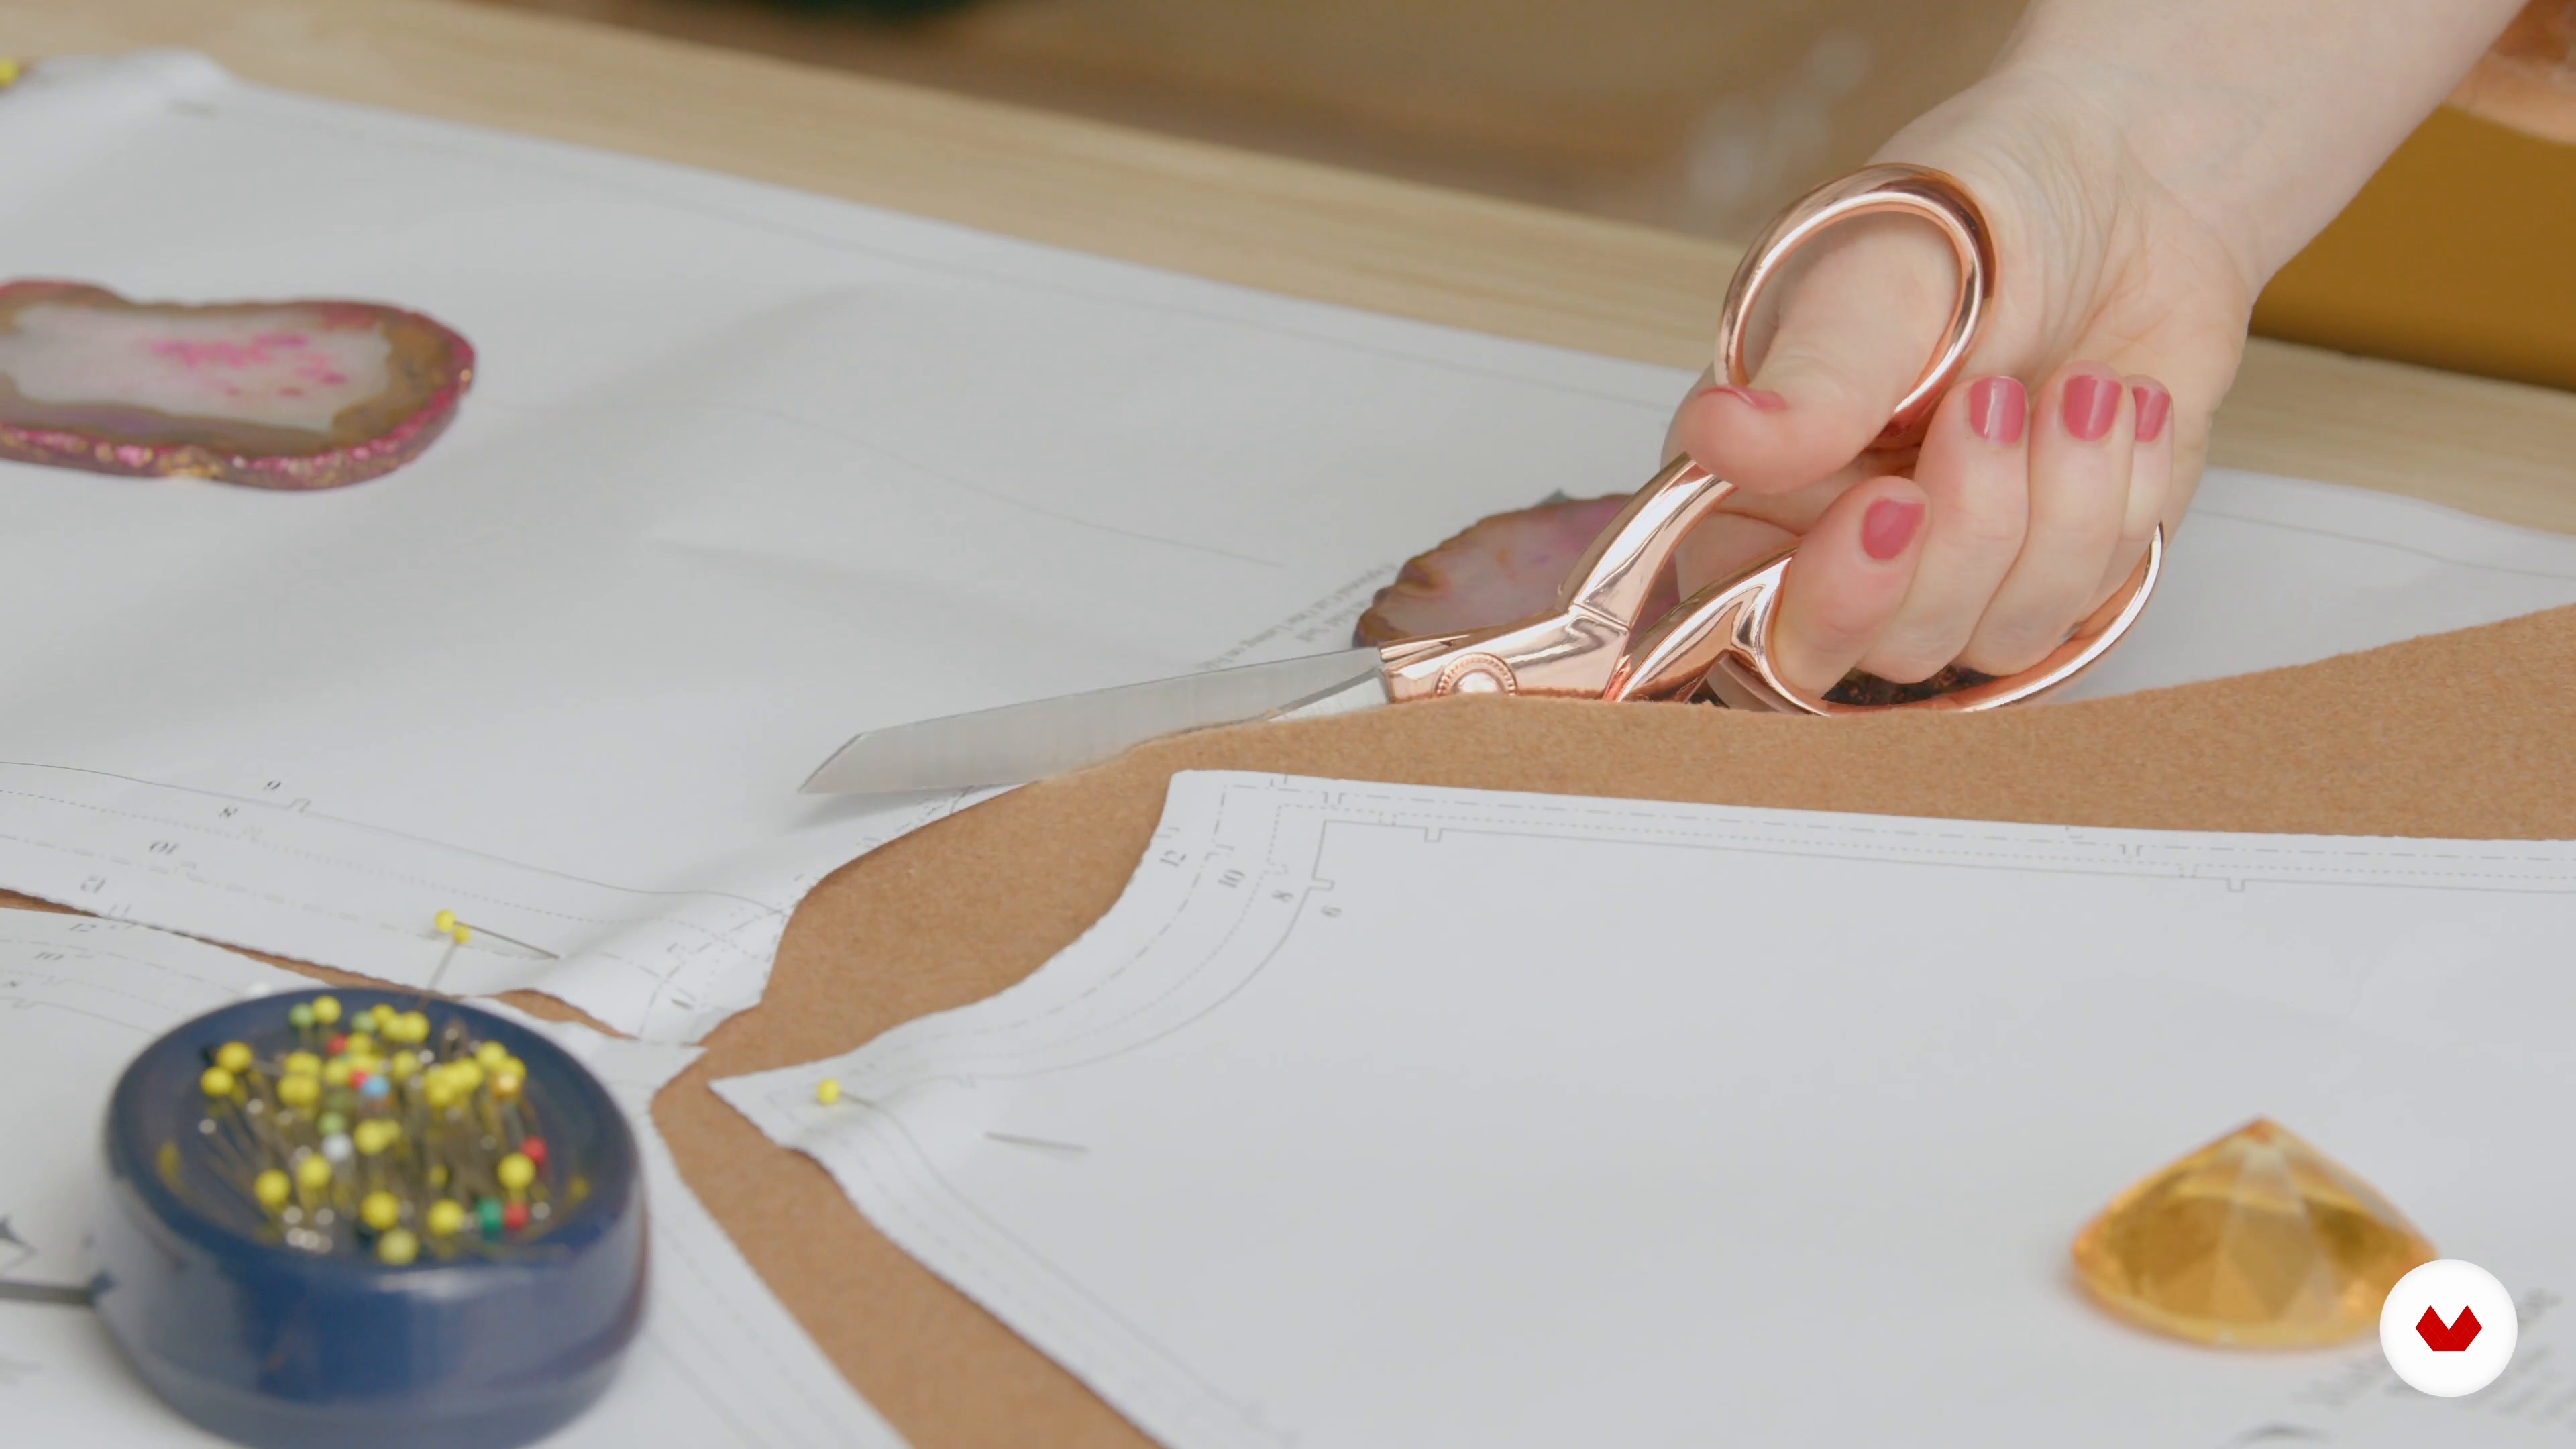
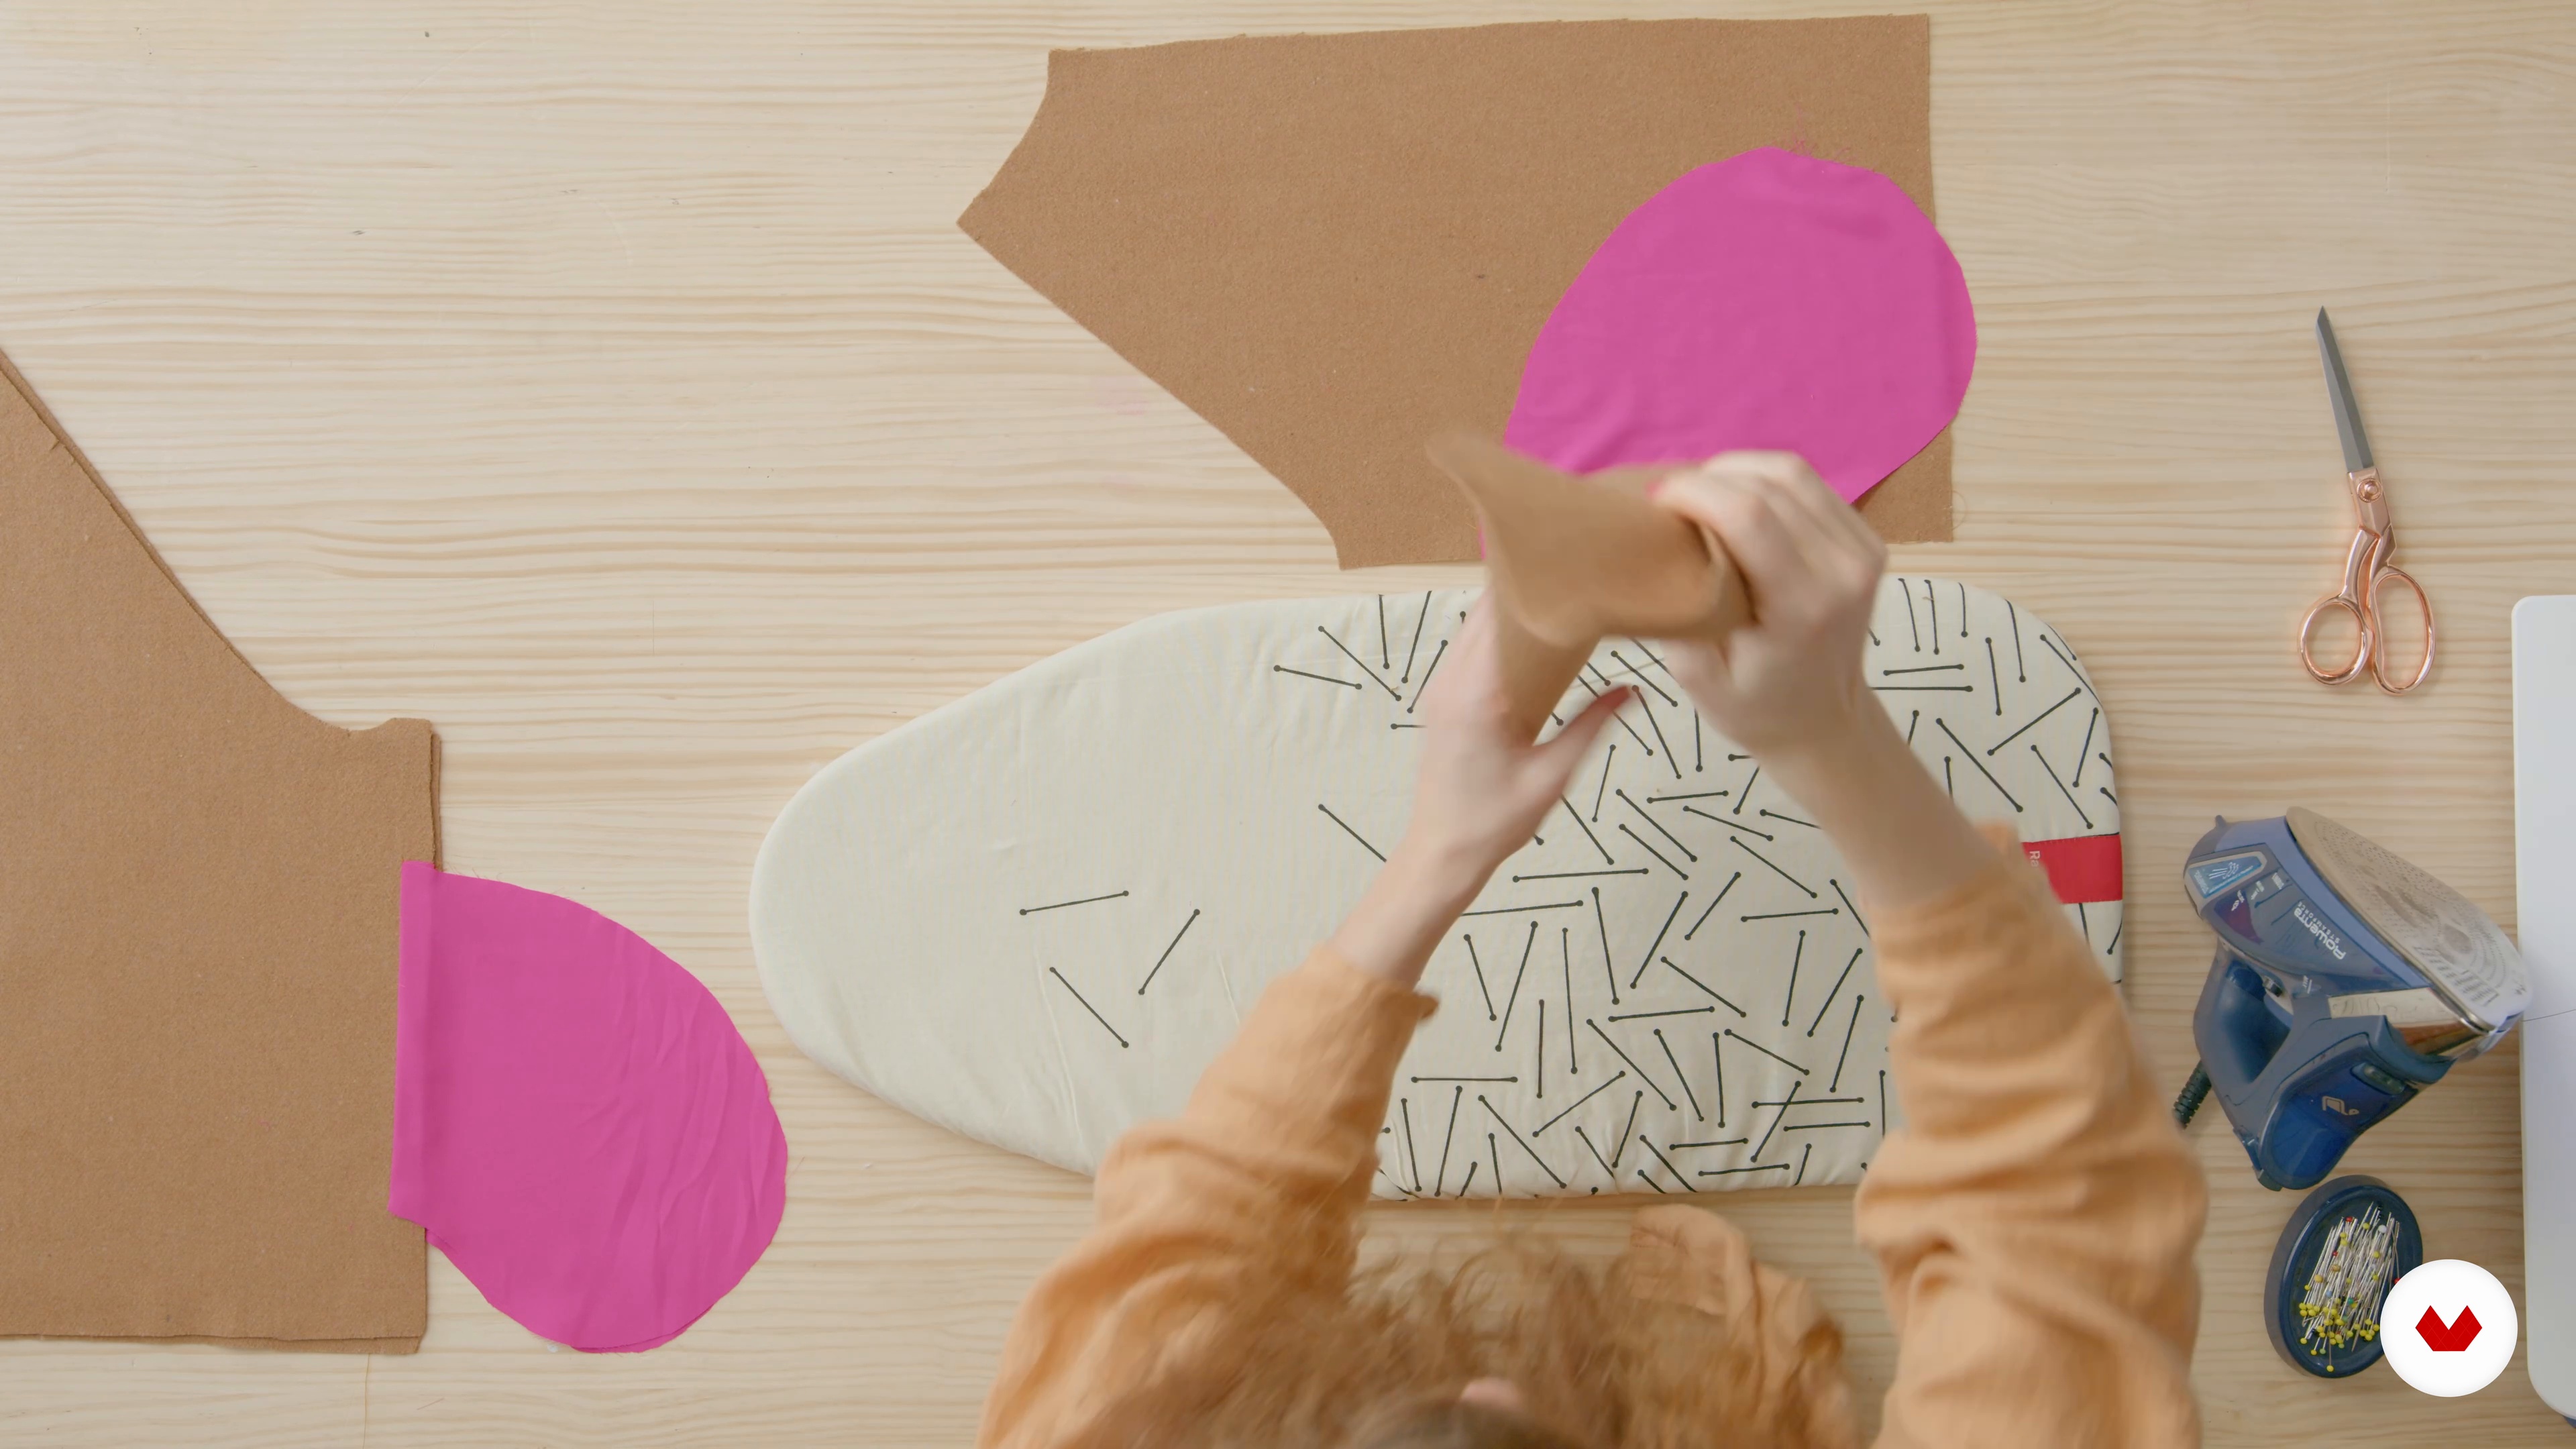
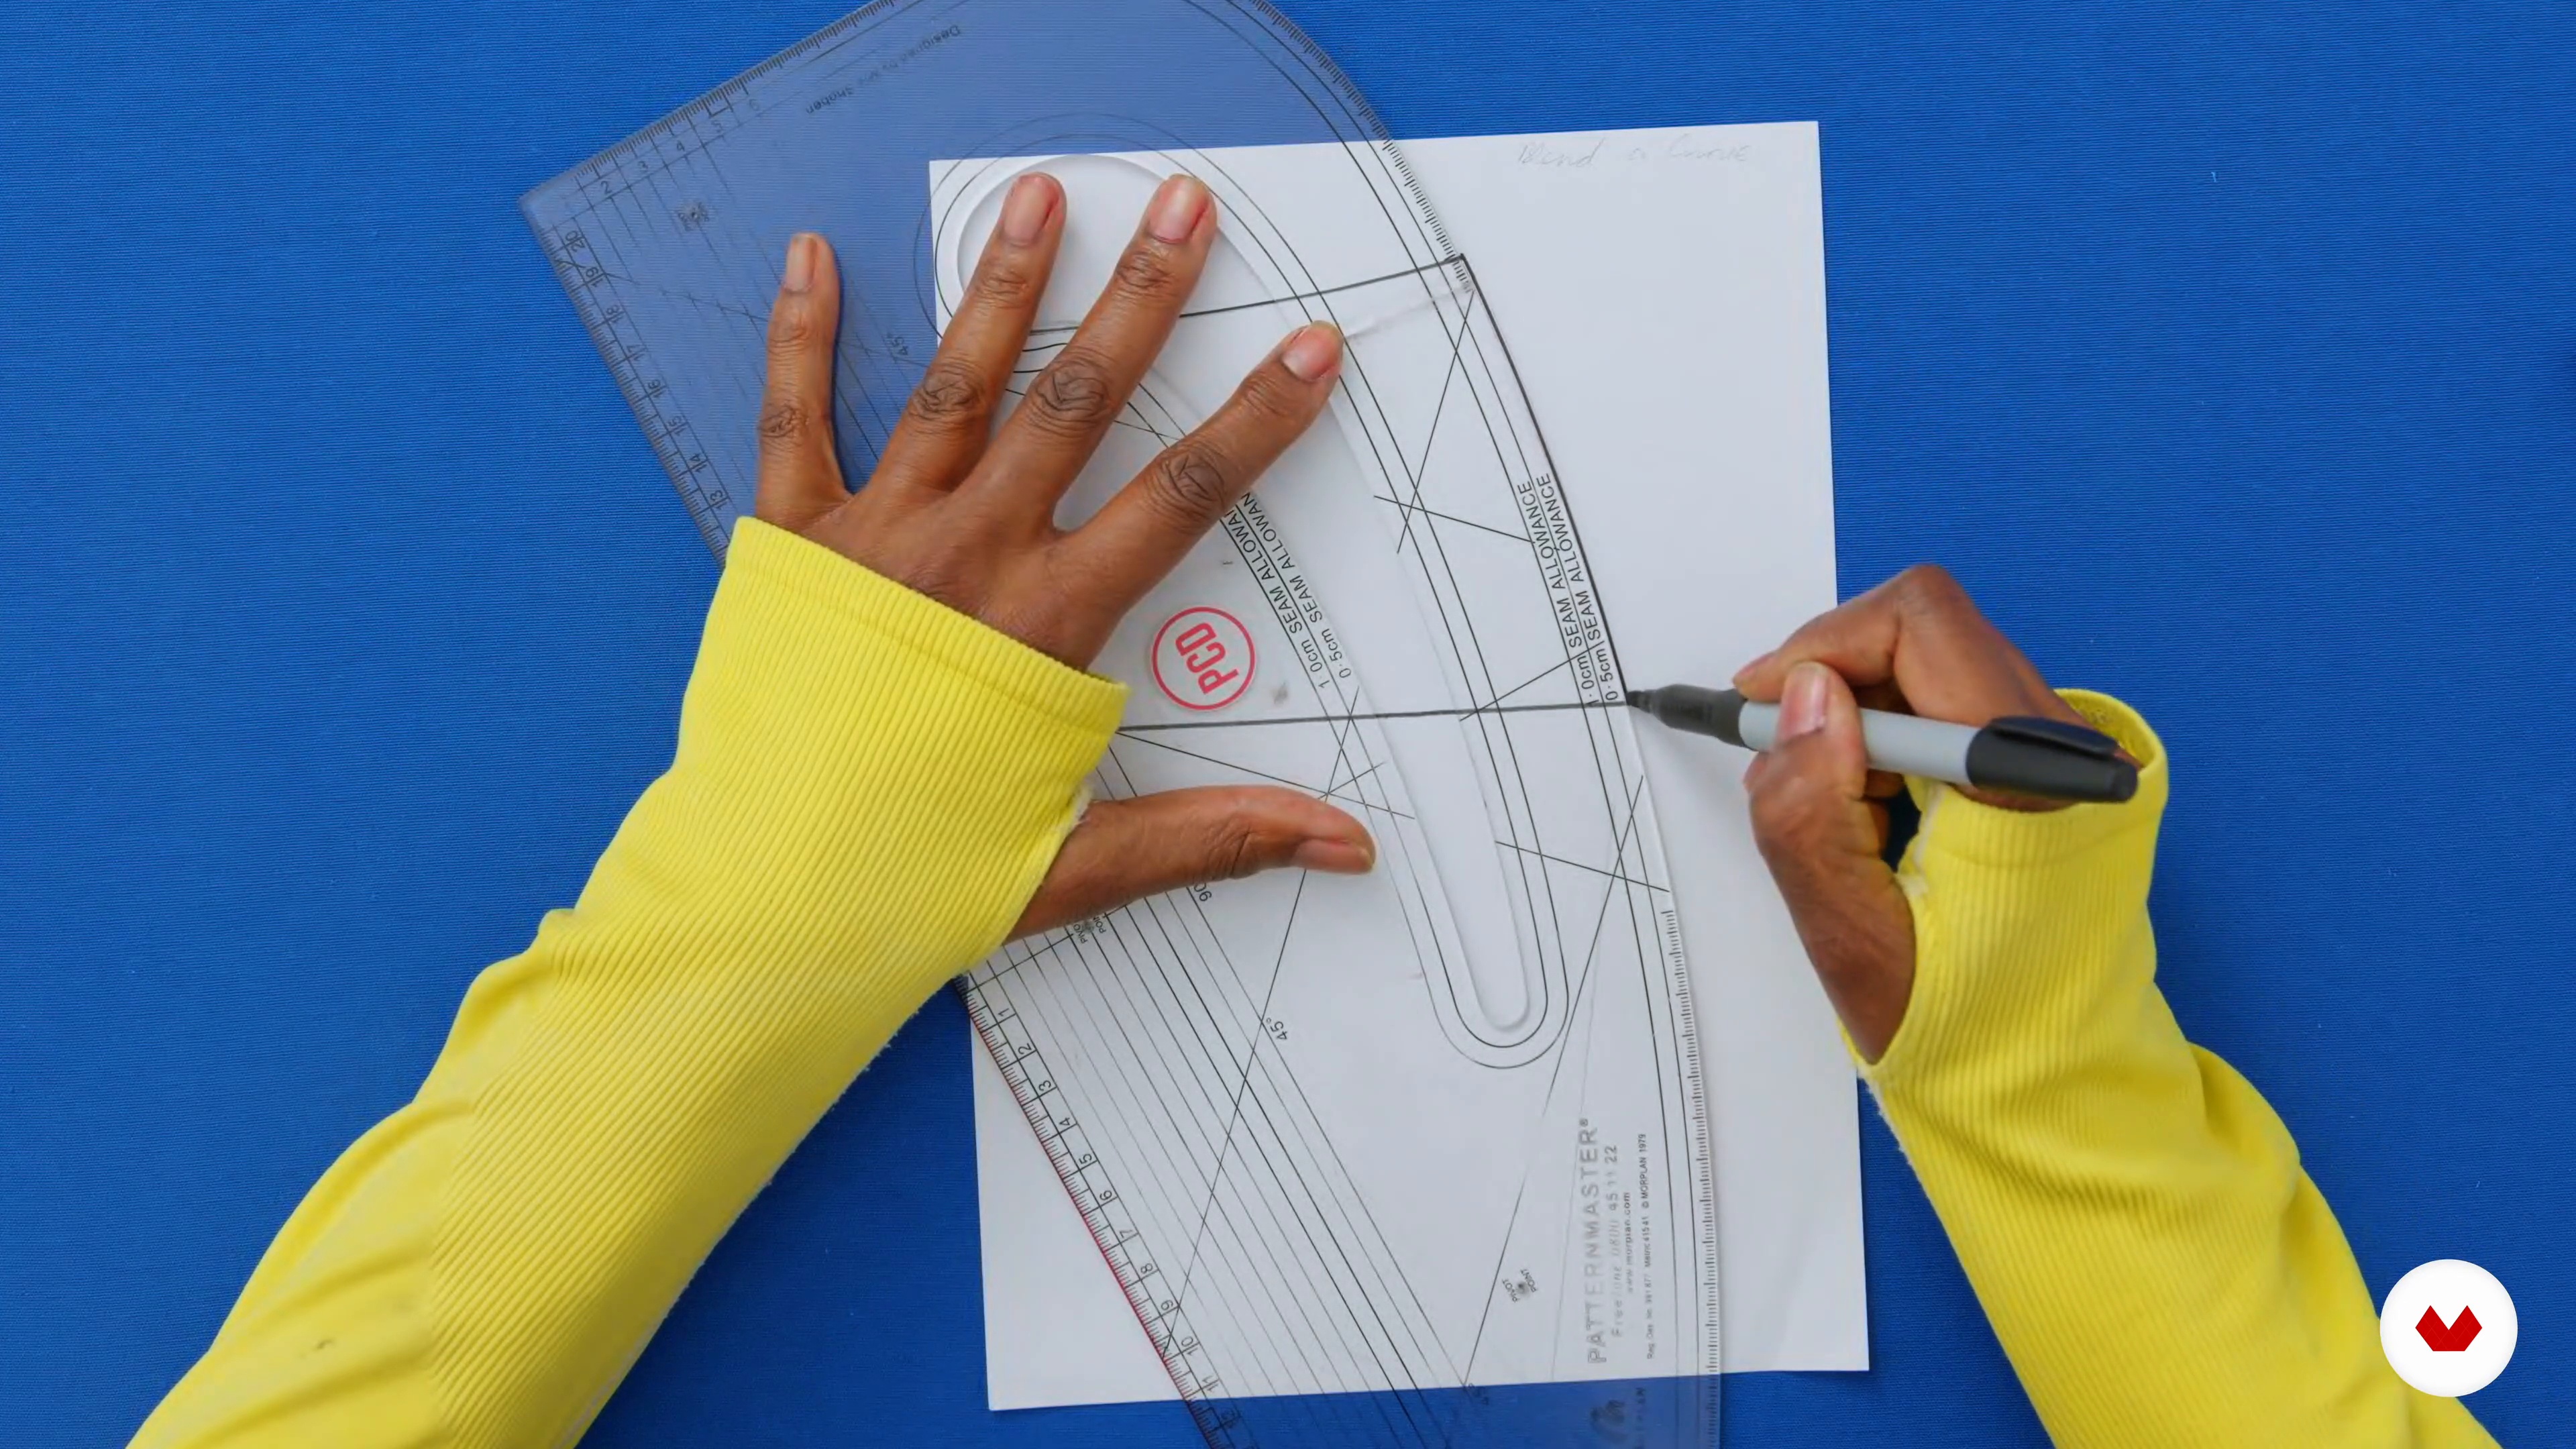
Design and craft a modern felt hat, mastering traditional hatmaking techniques from shaping to finishing details. Create a wearable headpiece that reflects personal style, utilizing traditional tools to bring contemporary flair to a classic accessory.
Who is this specialization for?
Creatives and fashion enthusiasts passionate about slow fashion, craftsmanship, and bespoke creations will thrive in this course. It's perfect for those eager to expand their skills in designing and handcrafting unique garments and accessories with personal and sustainable touches.
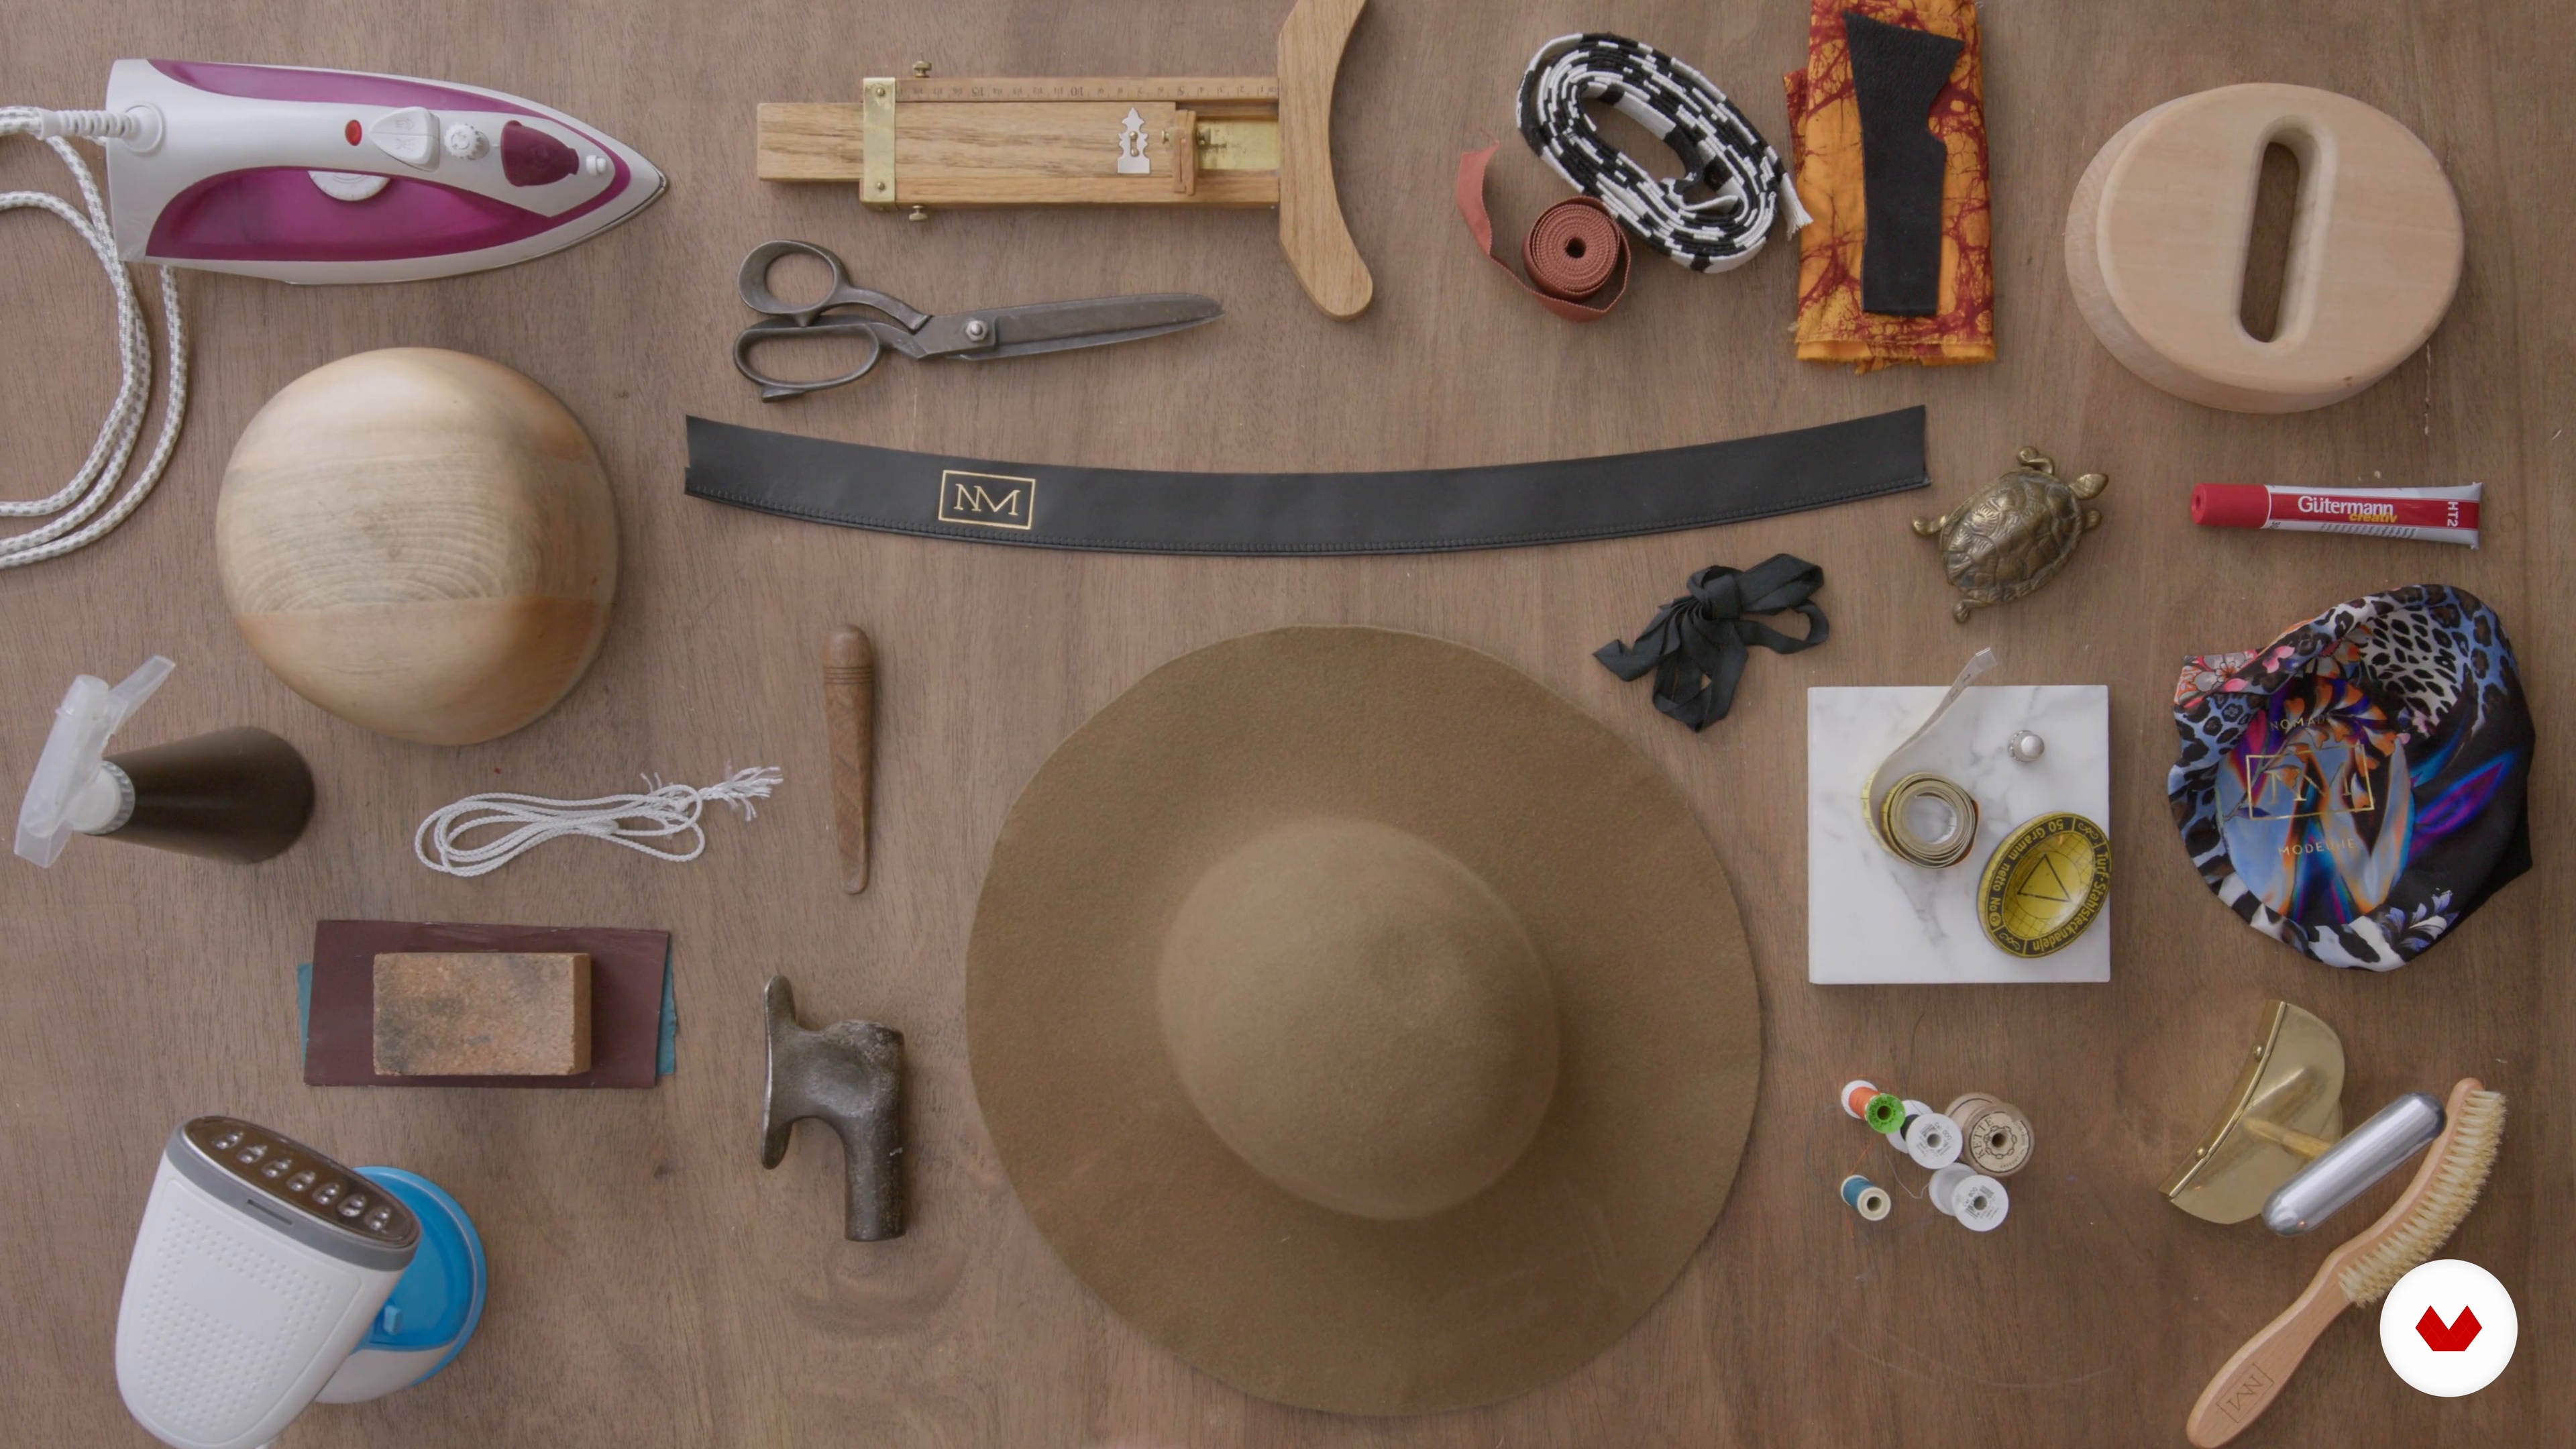
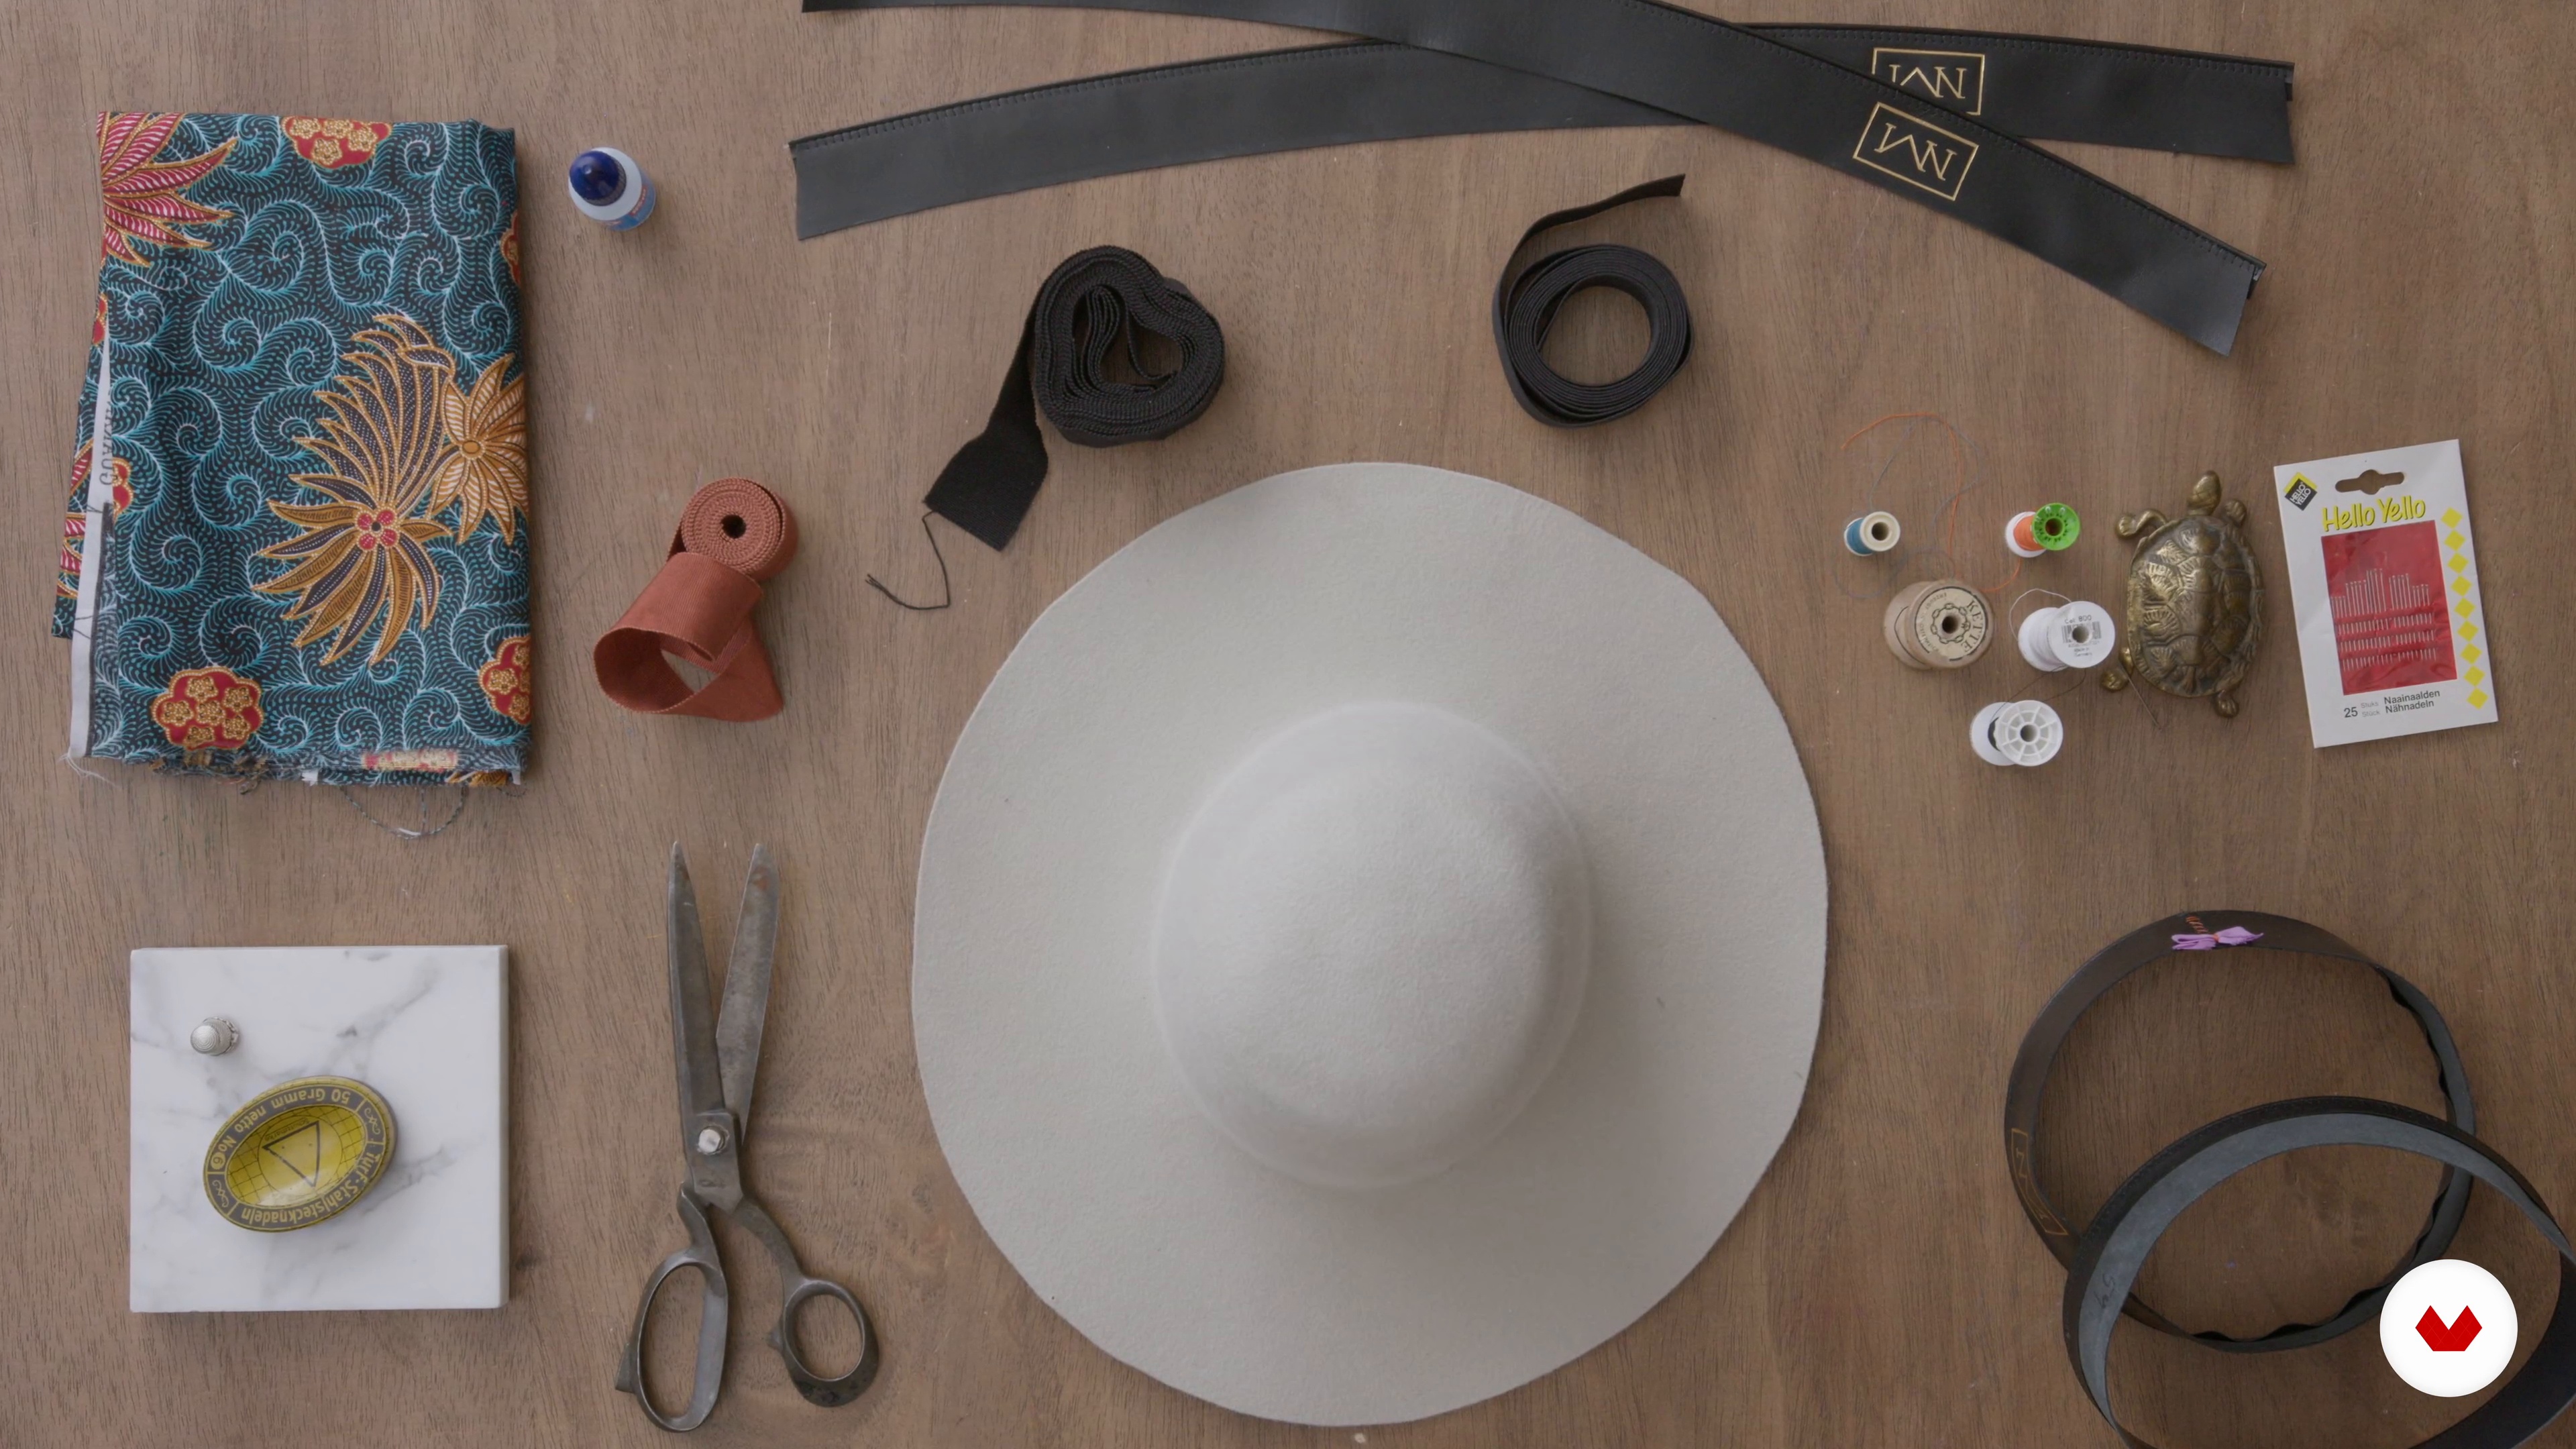
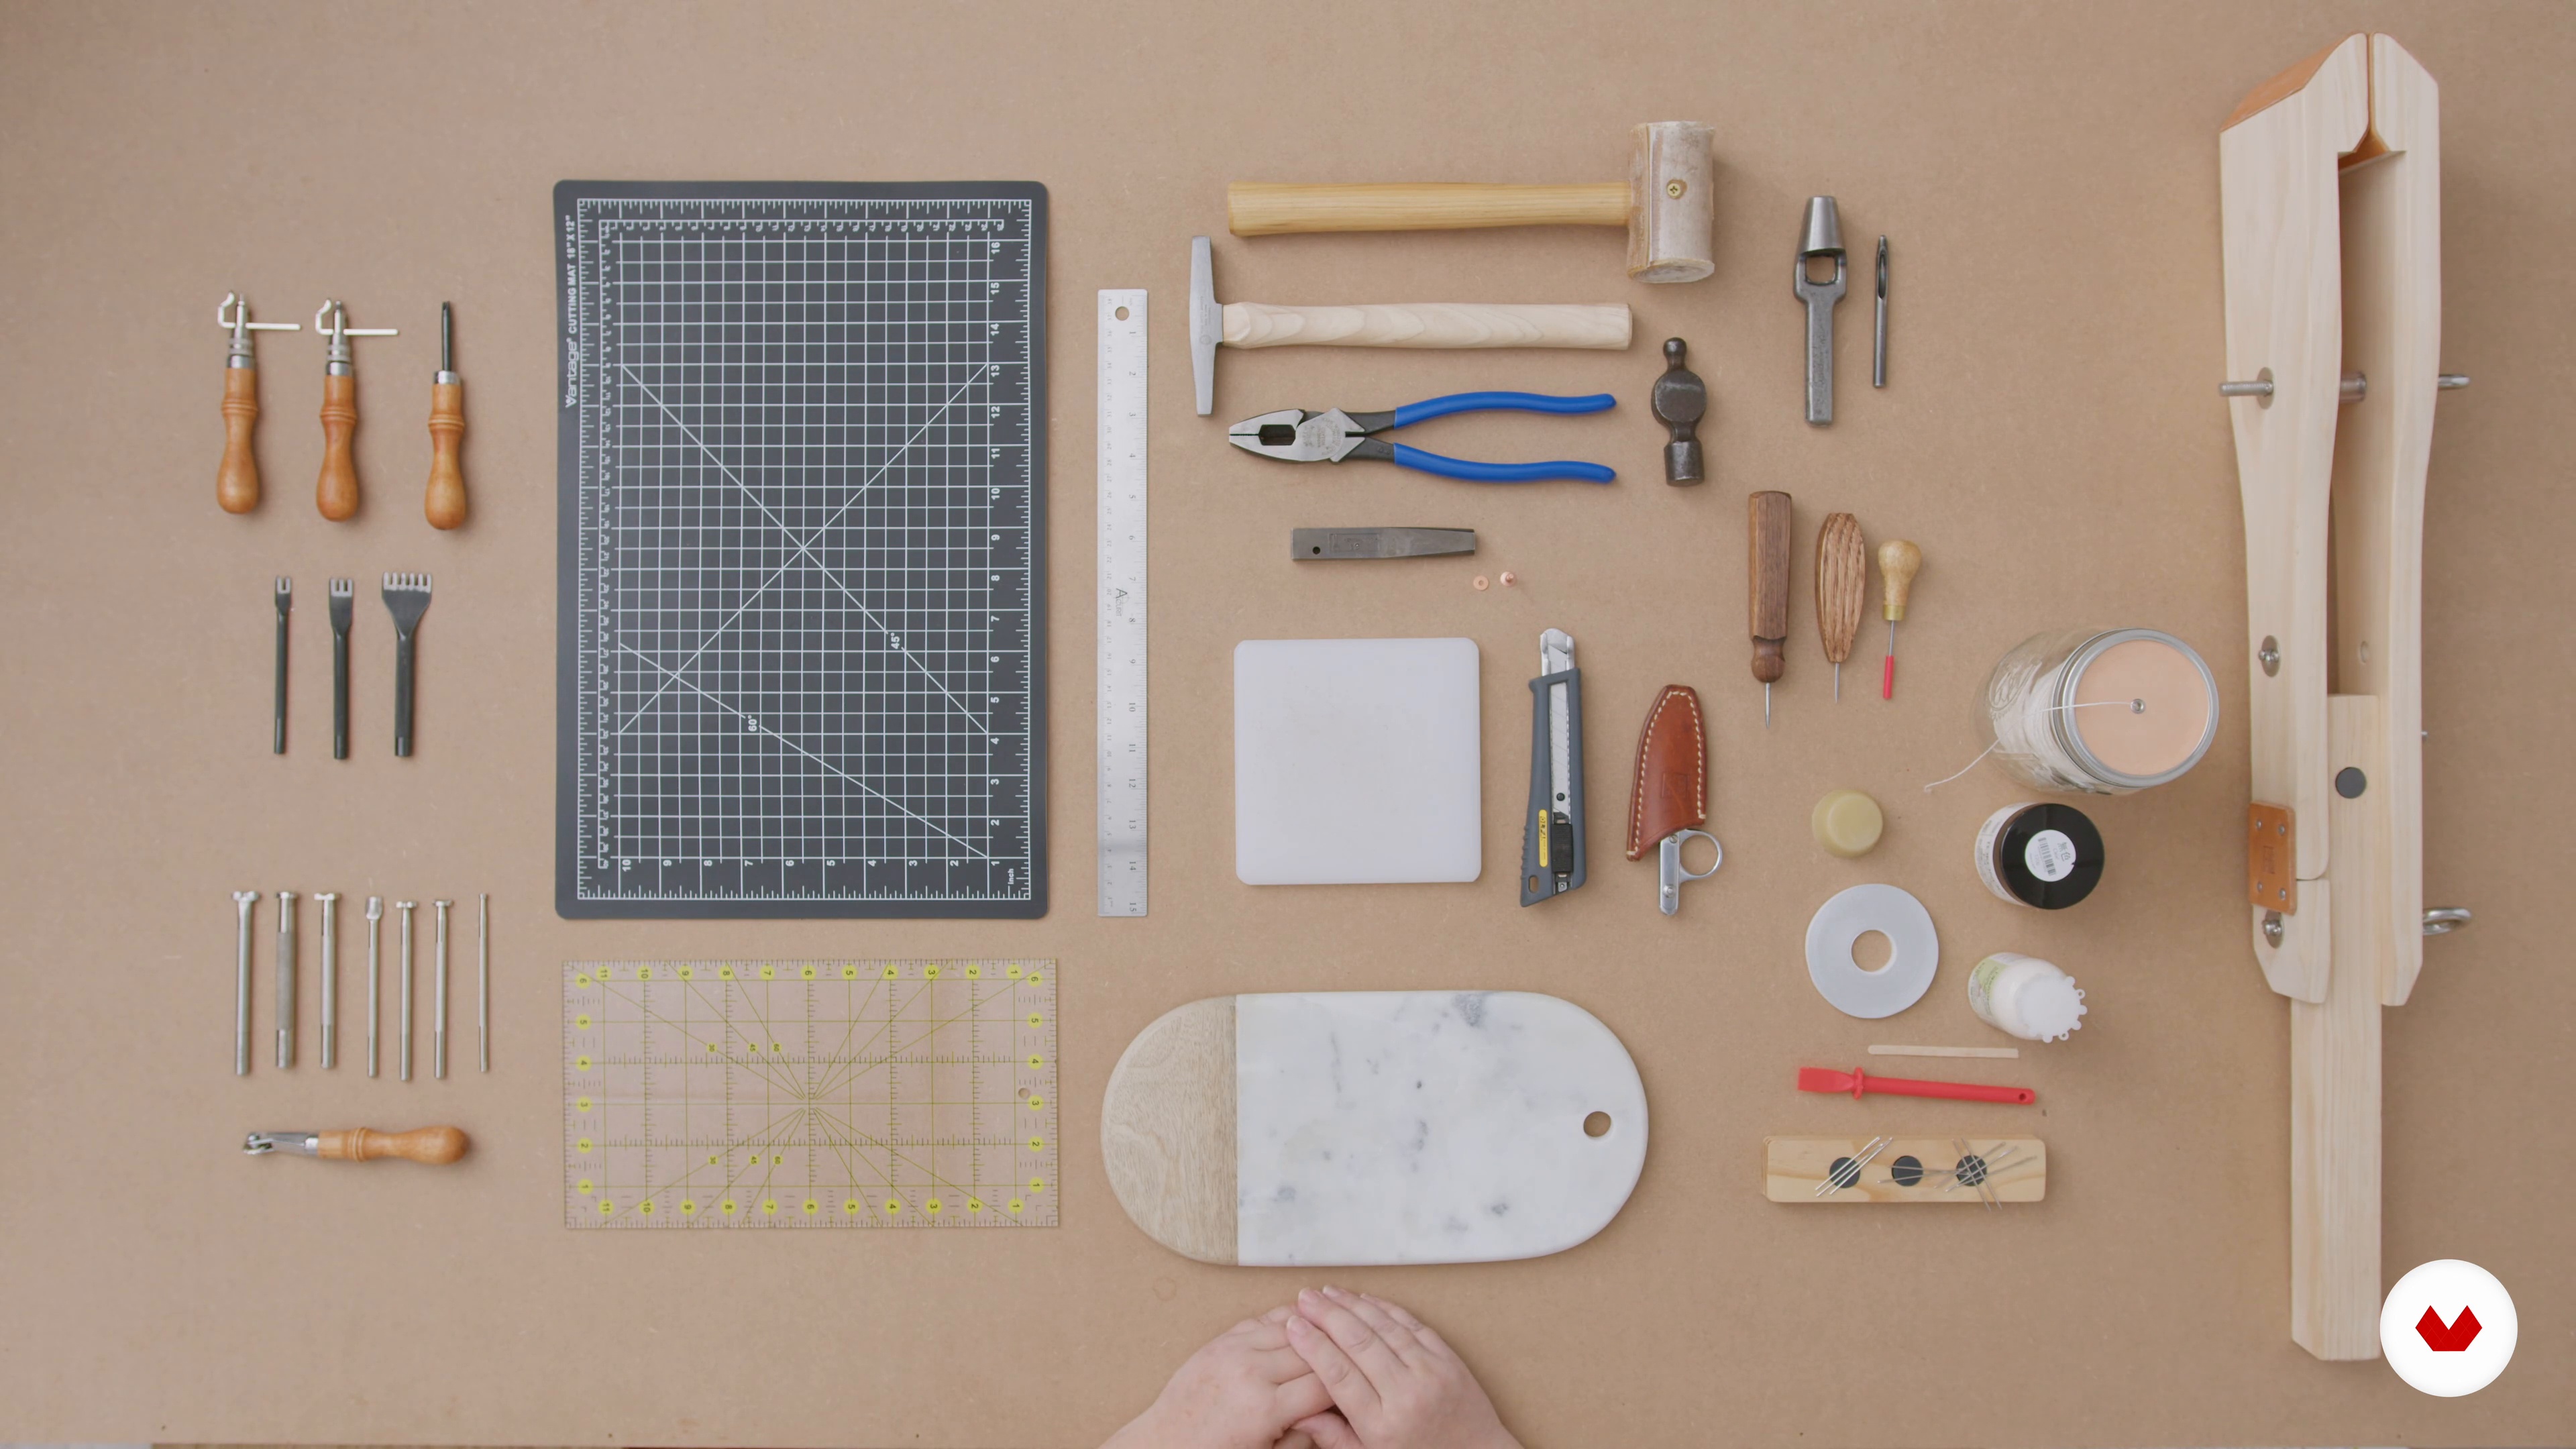
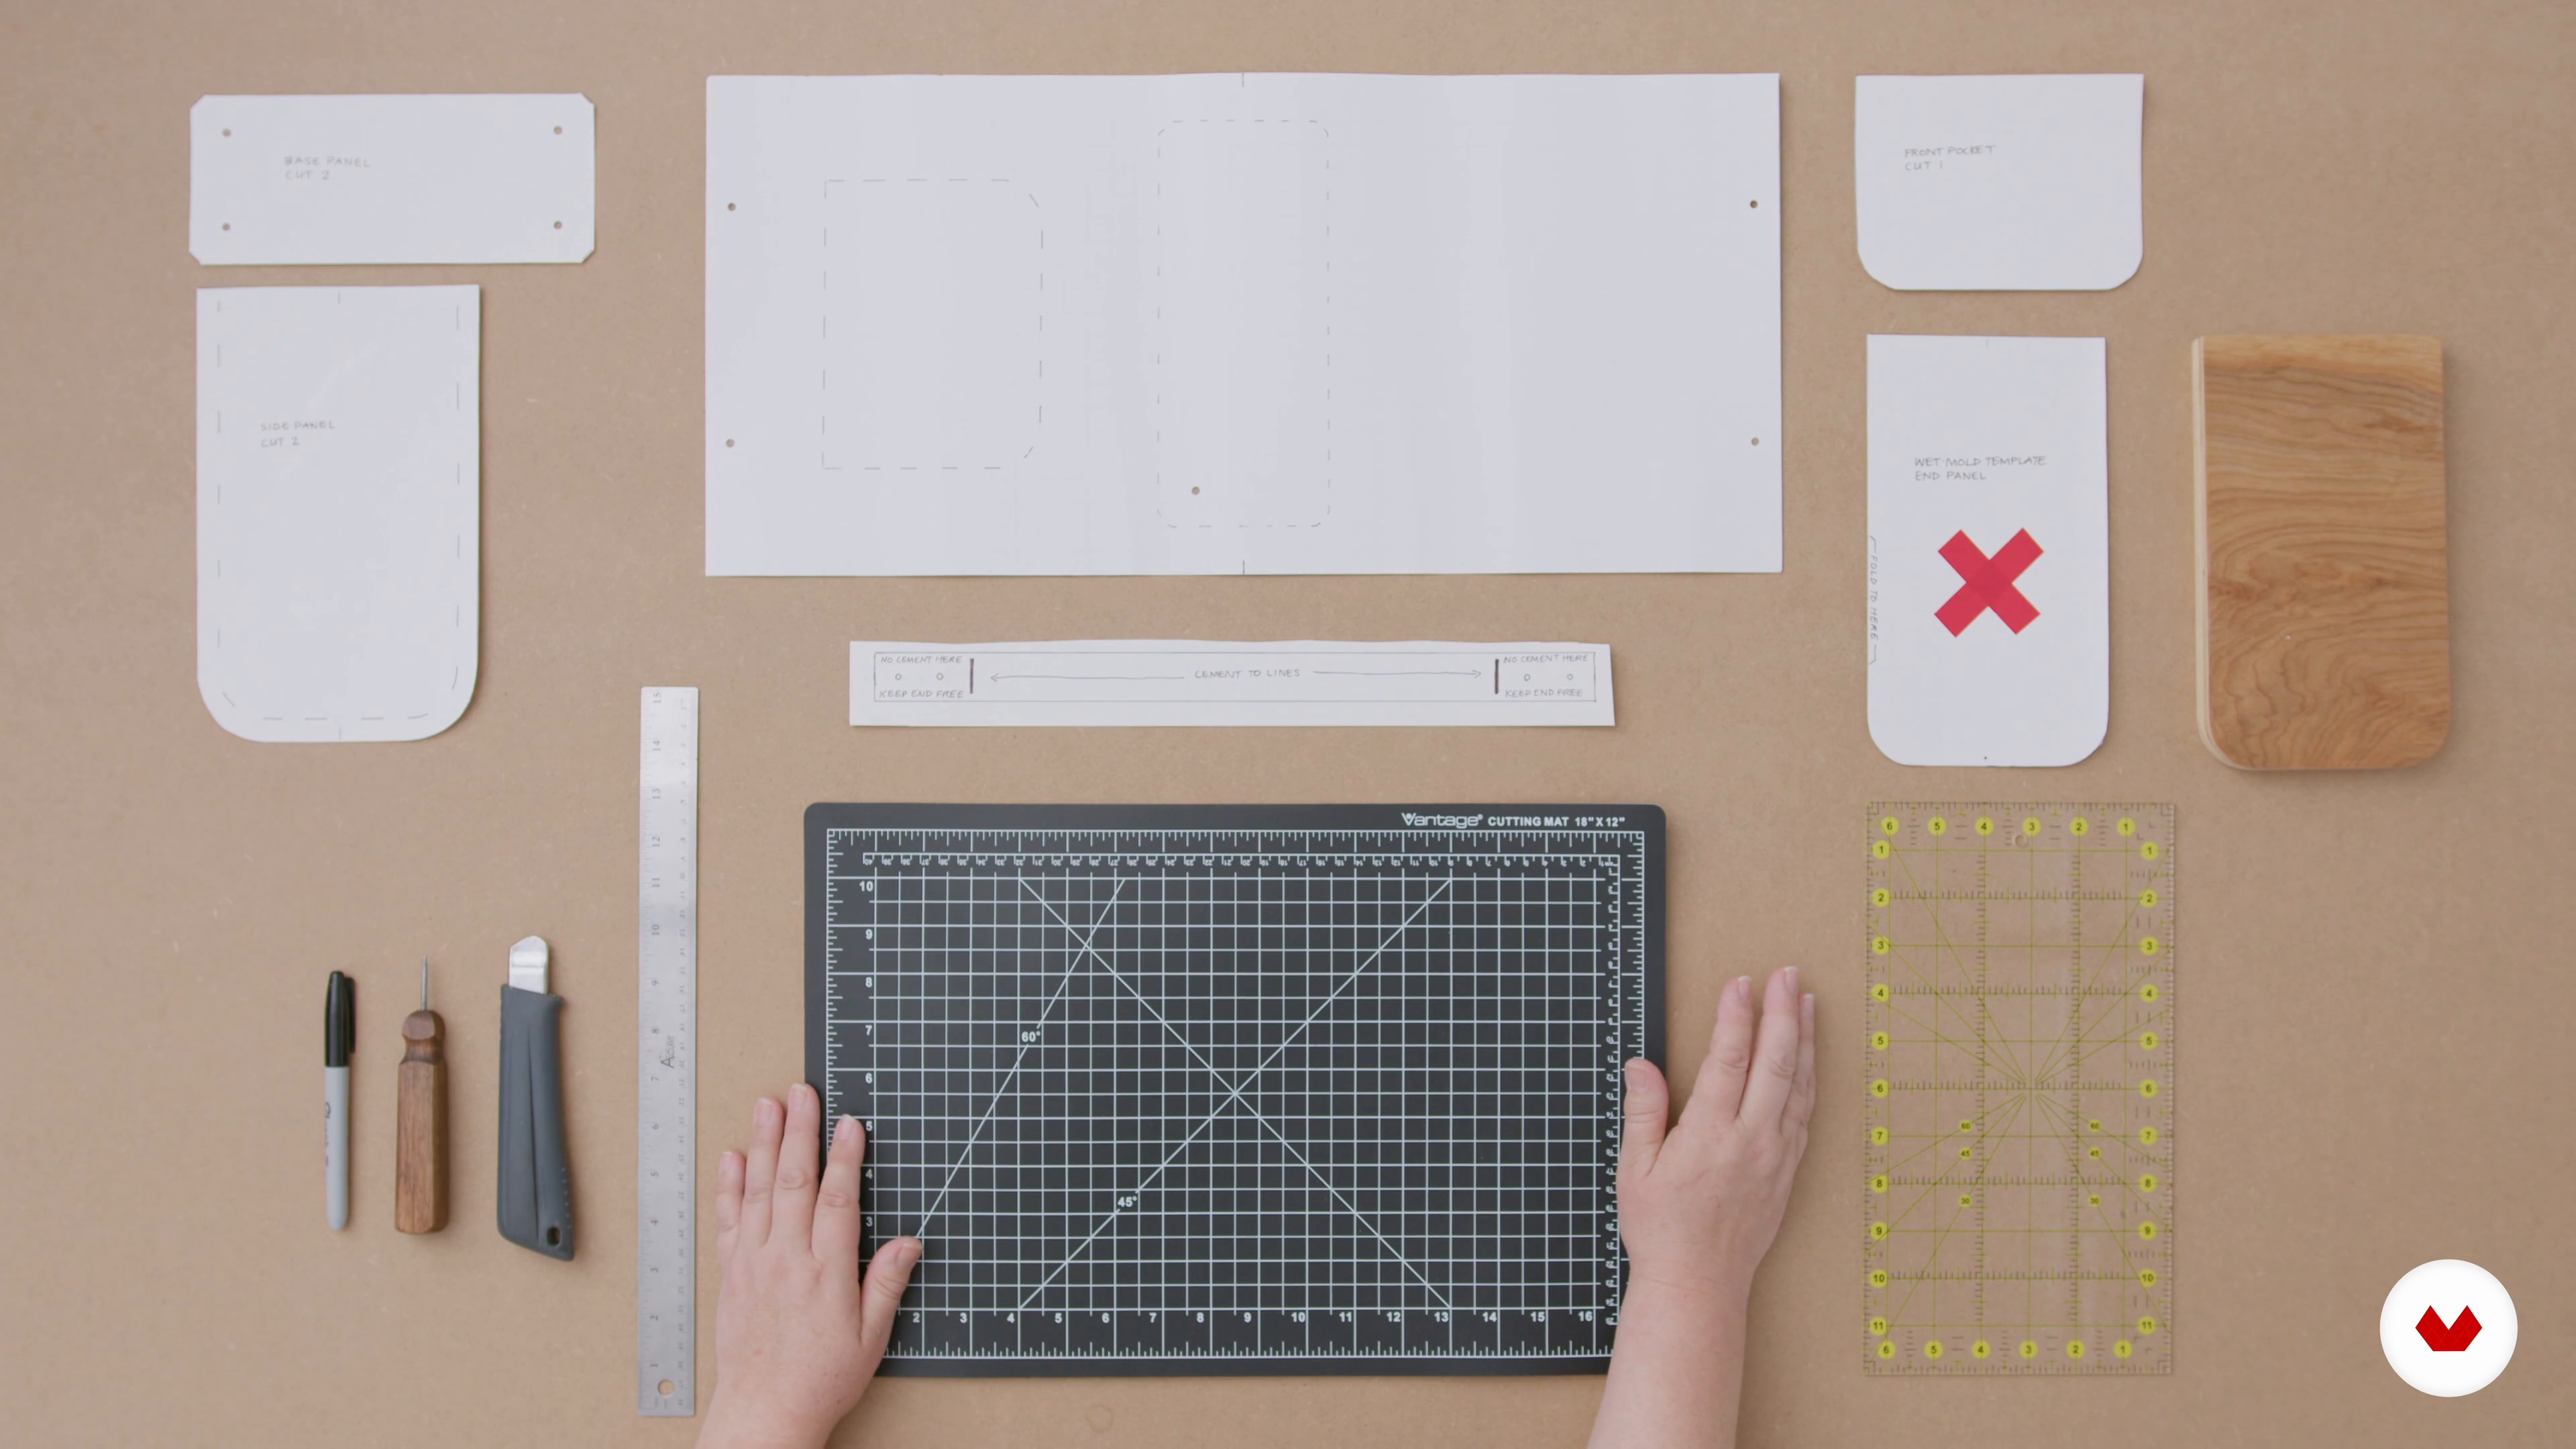
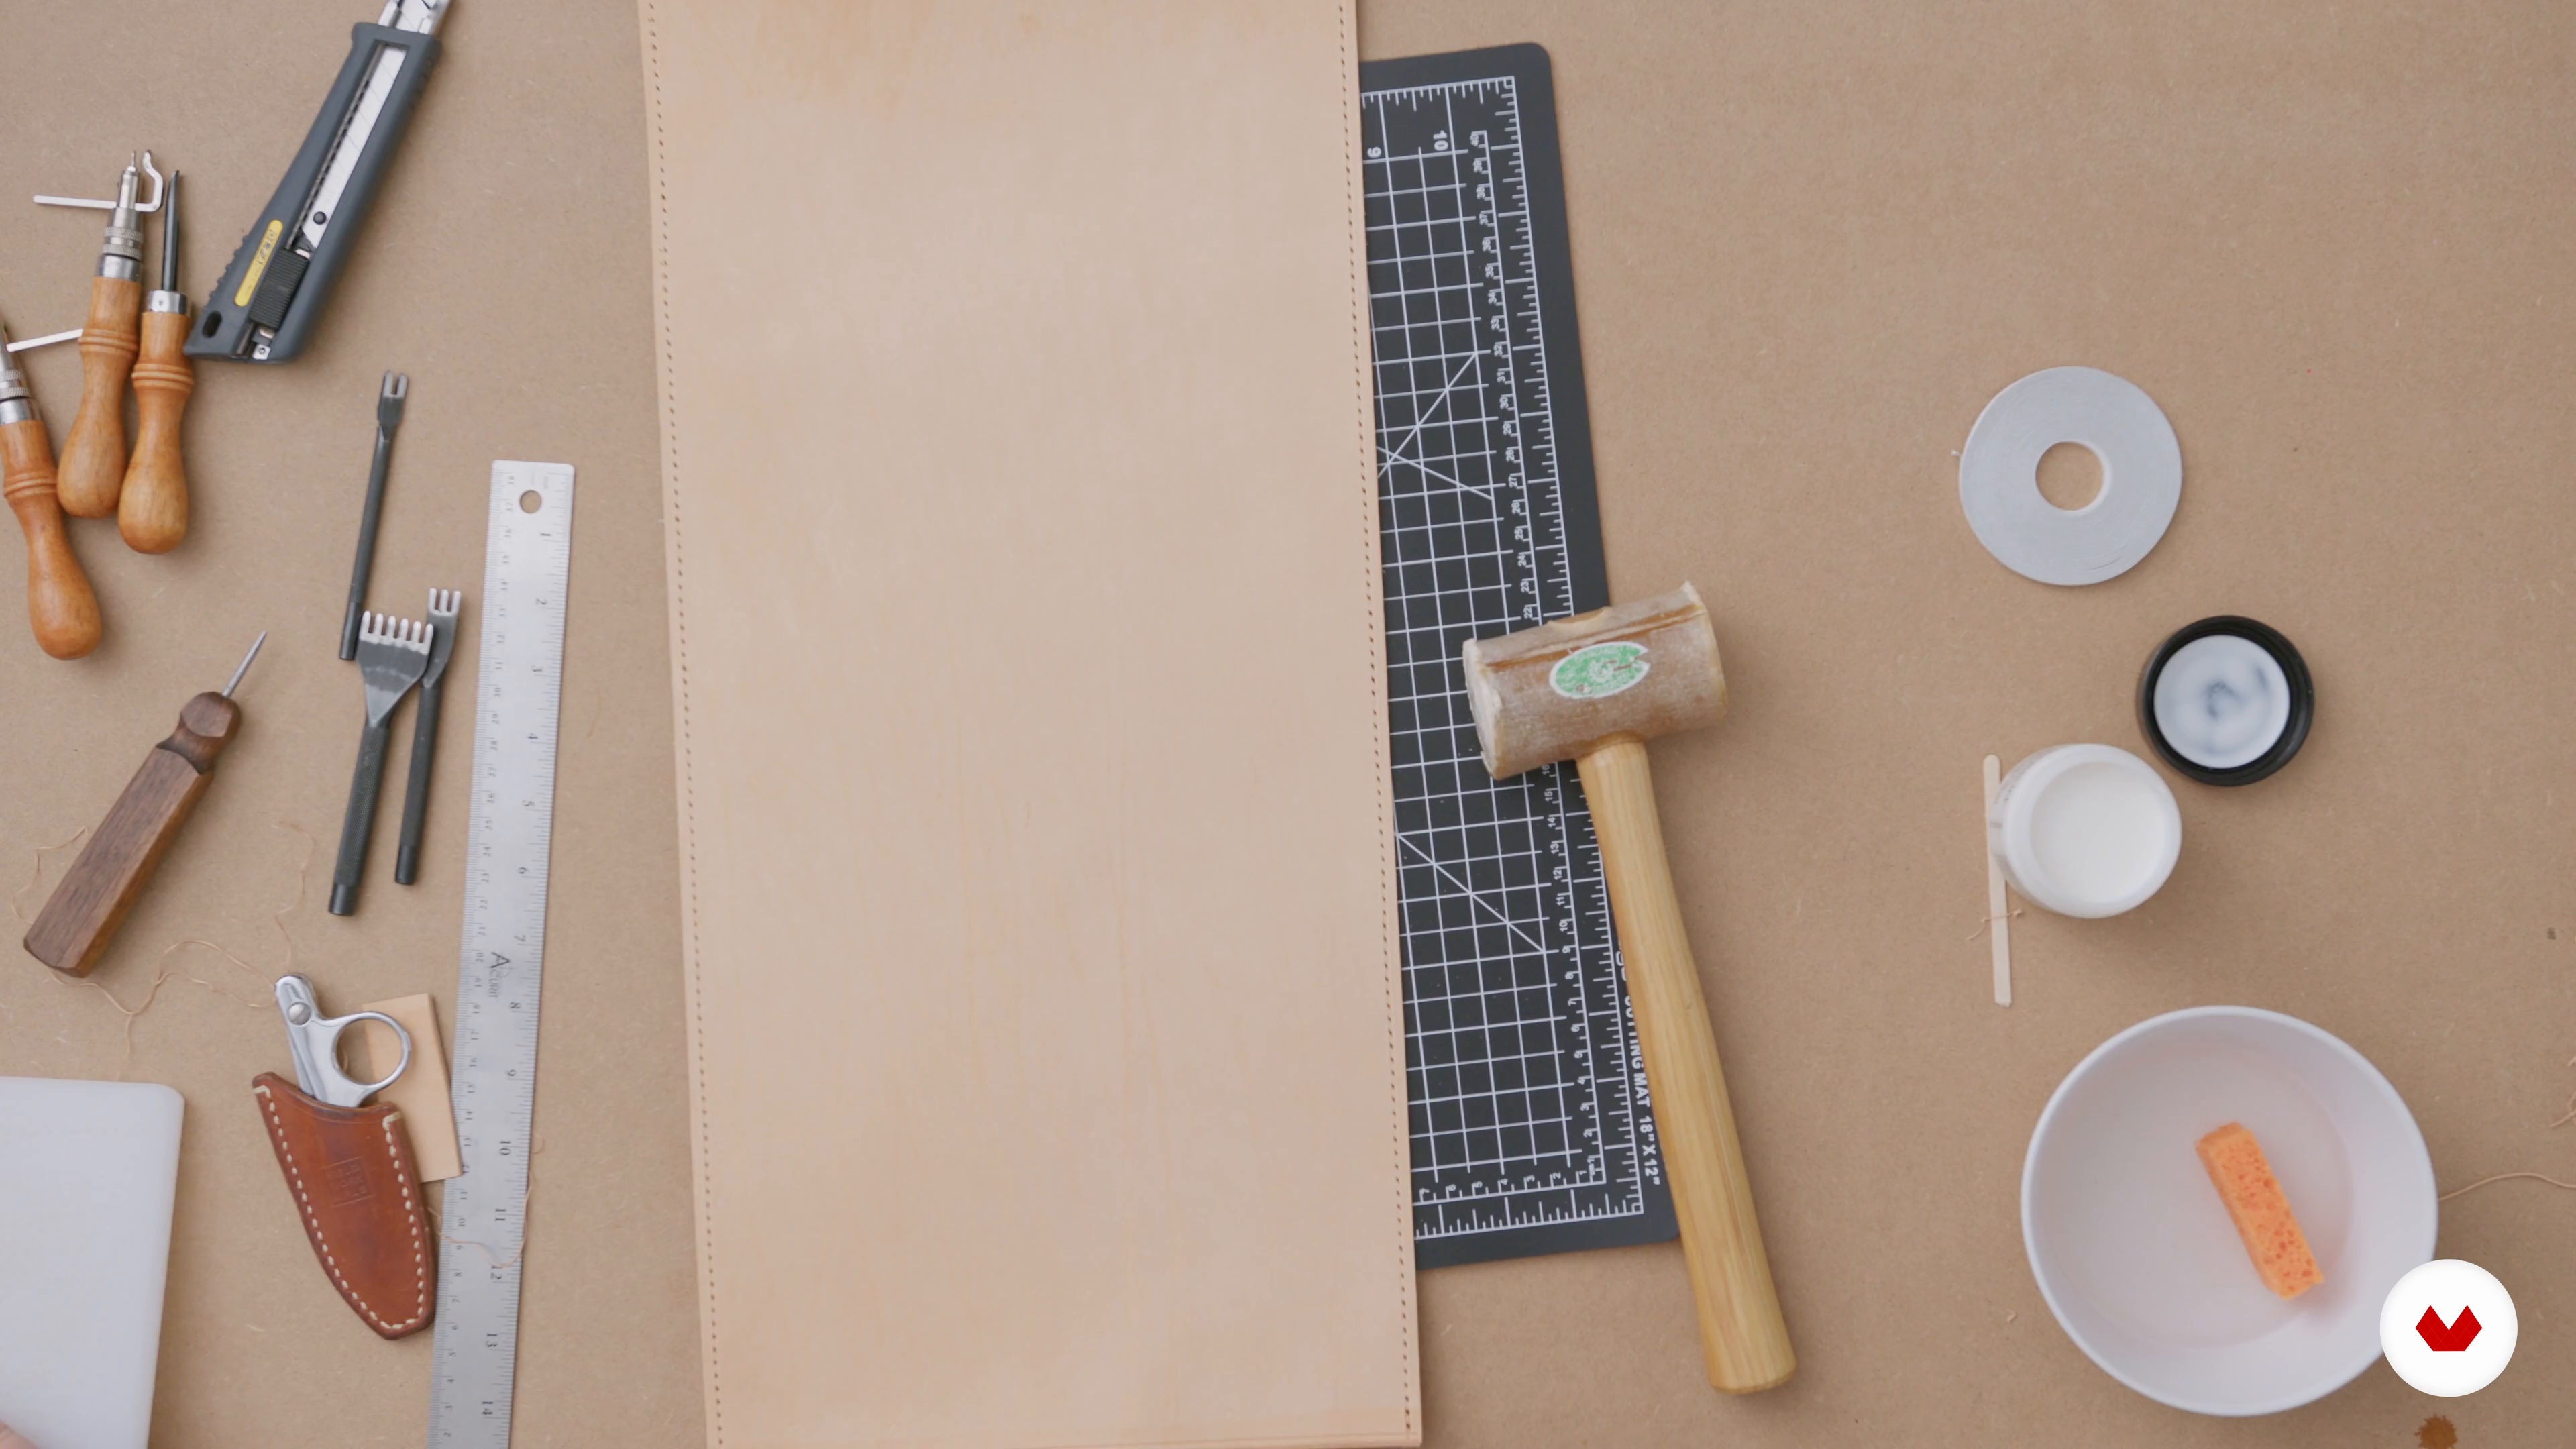
Requirements and materials
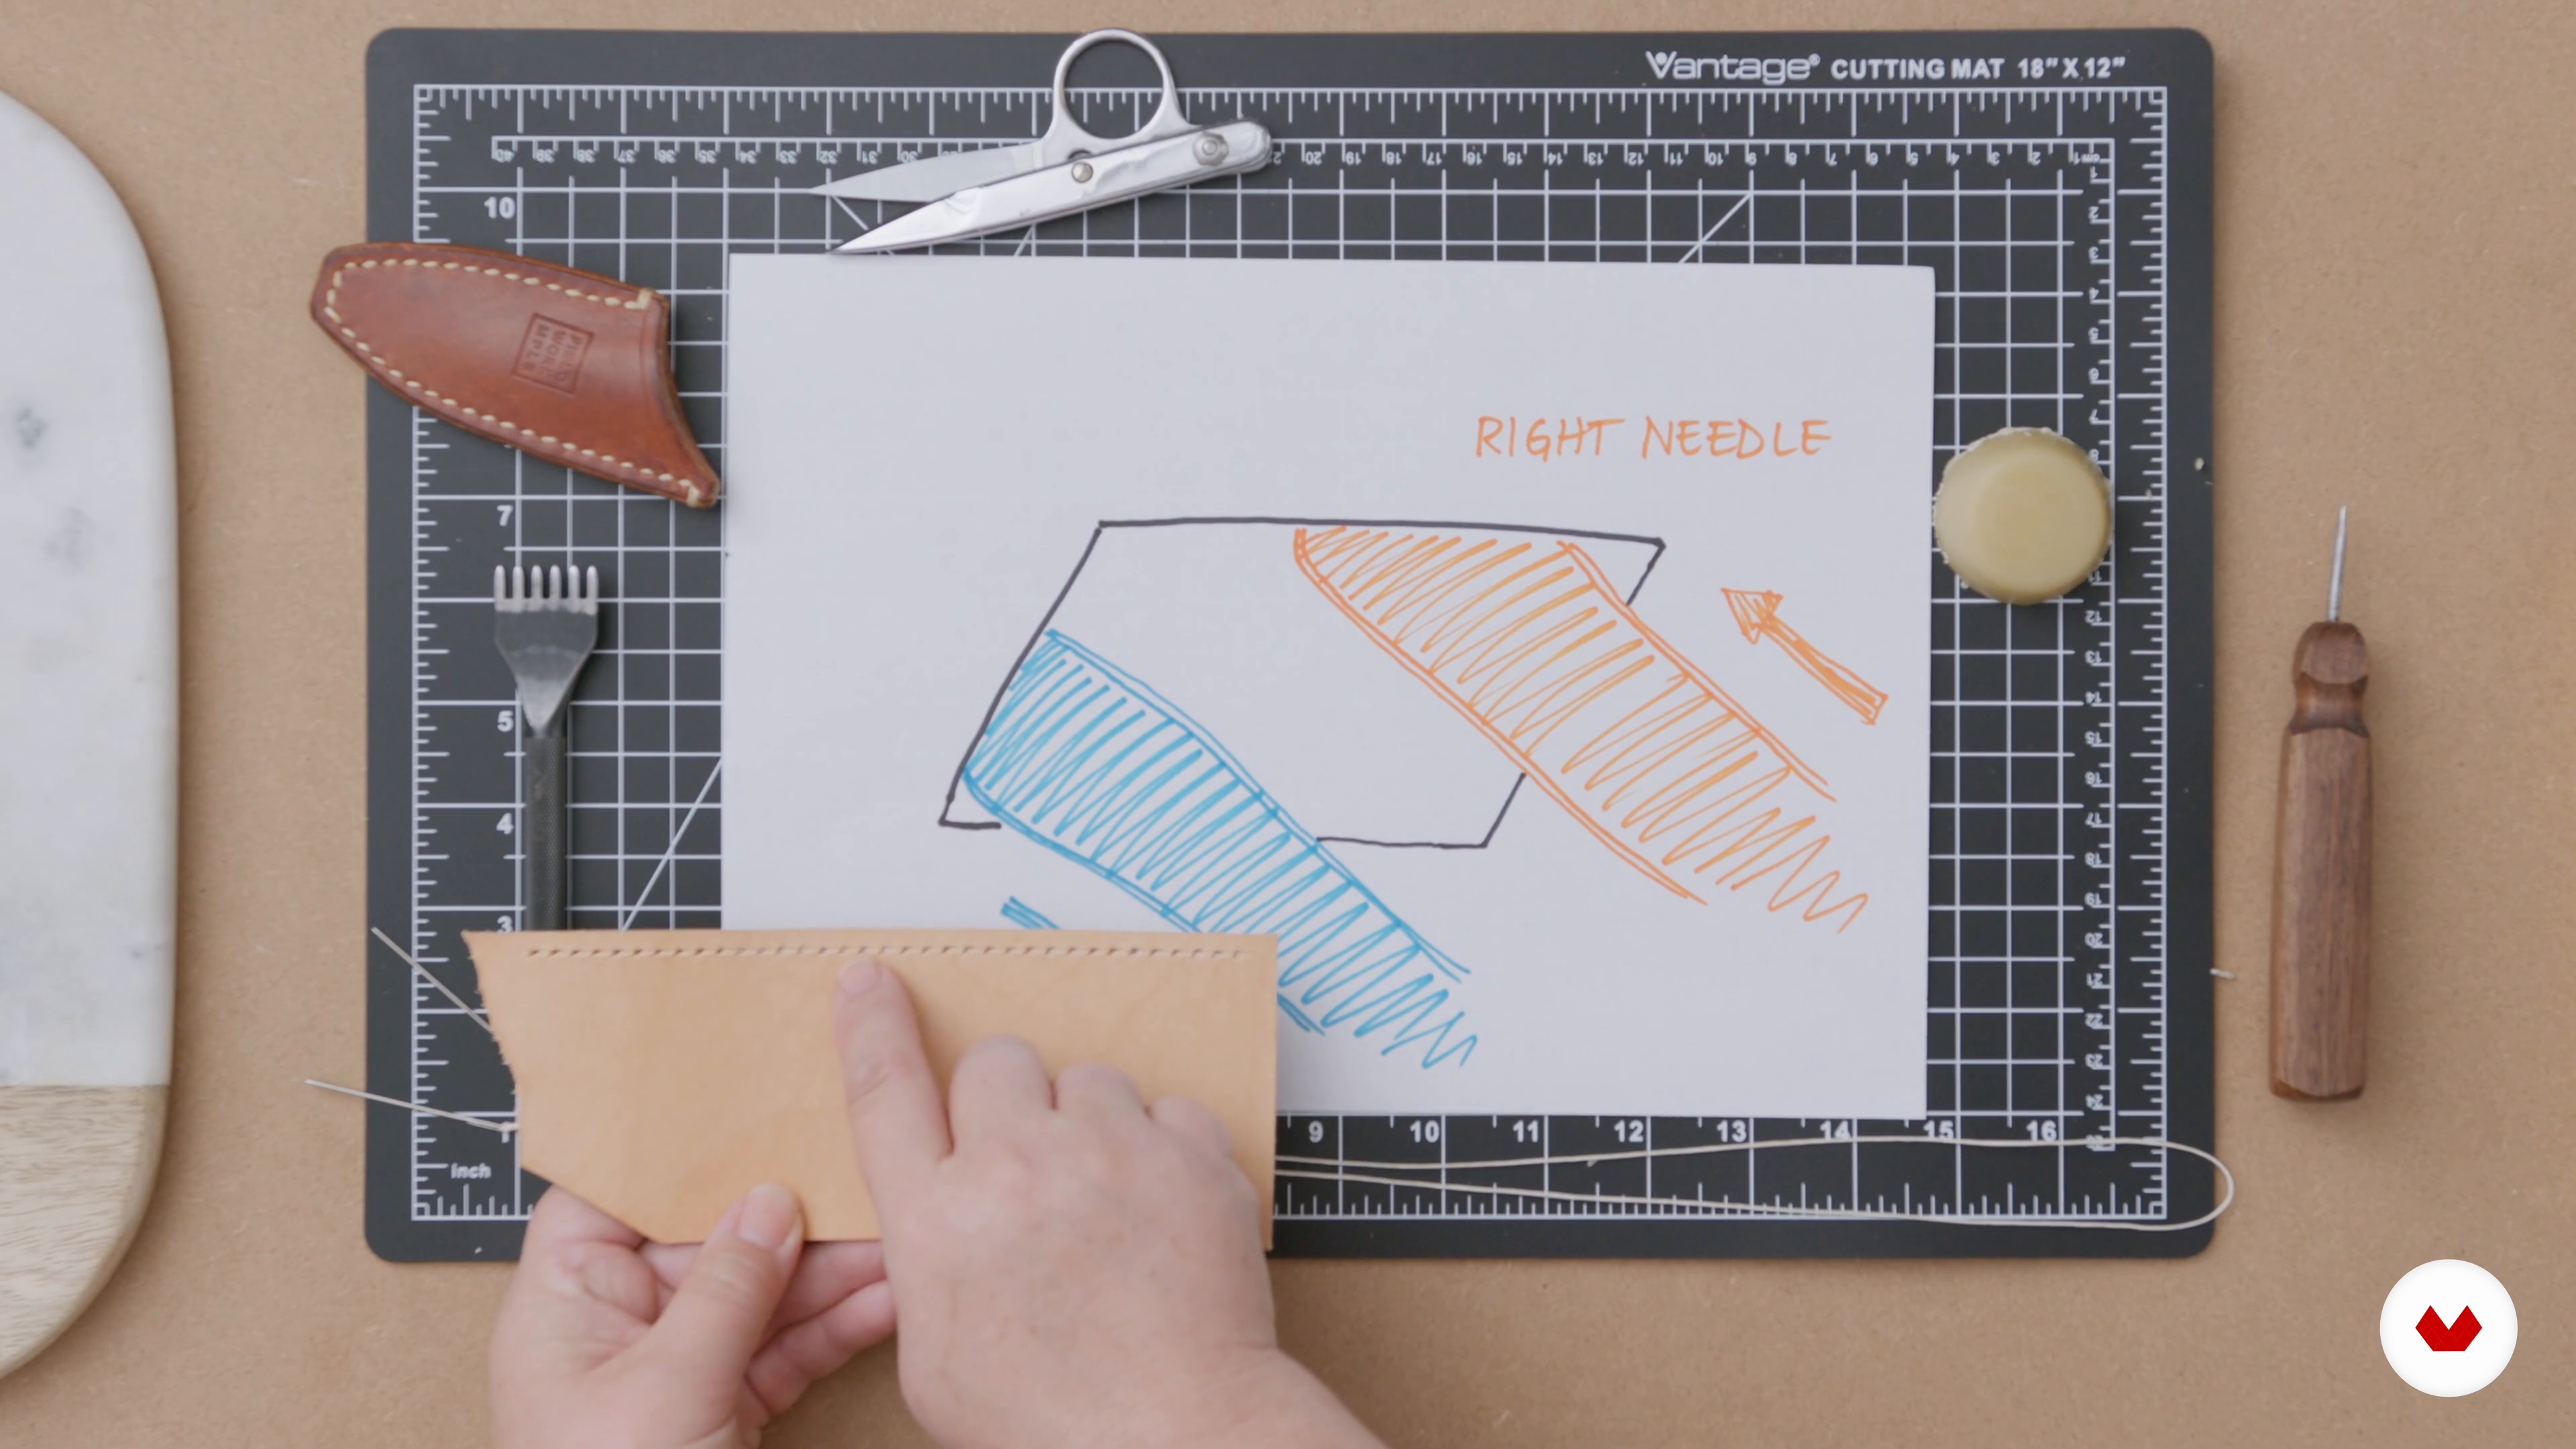
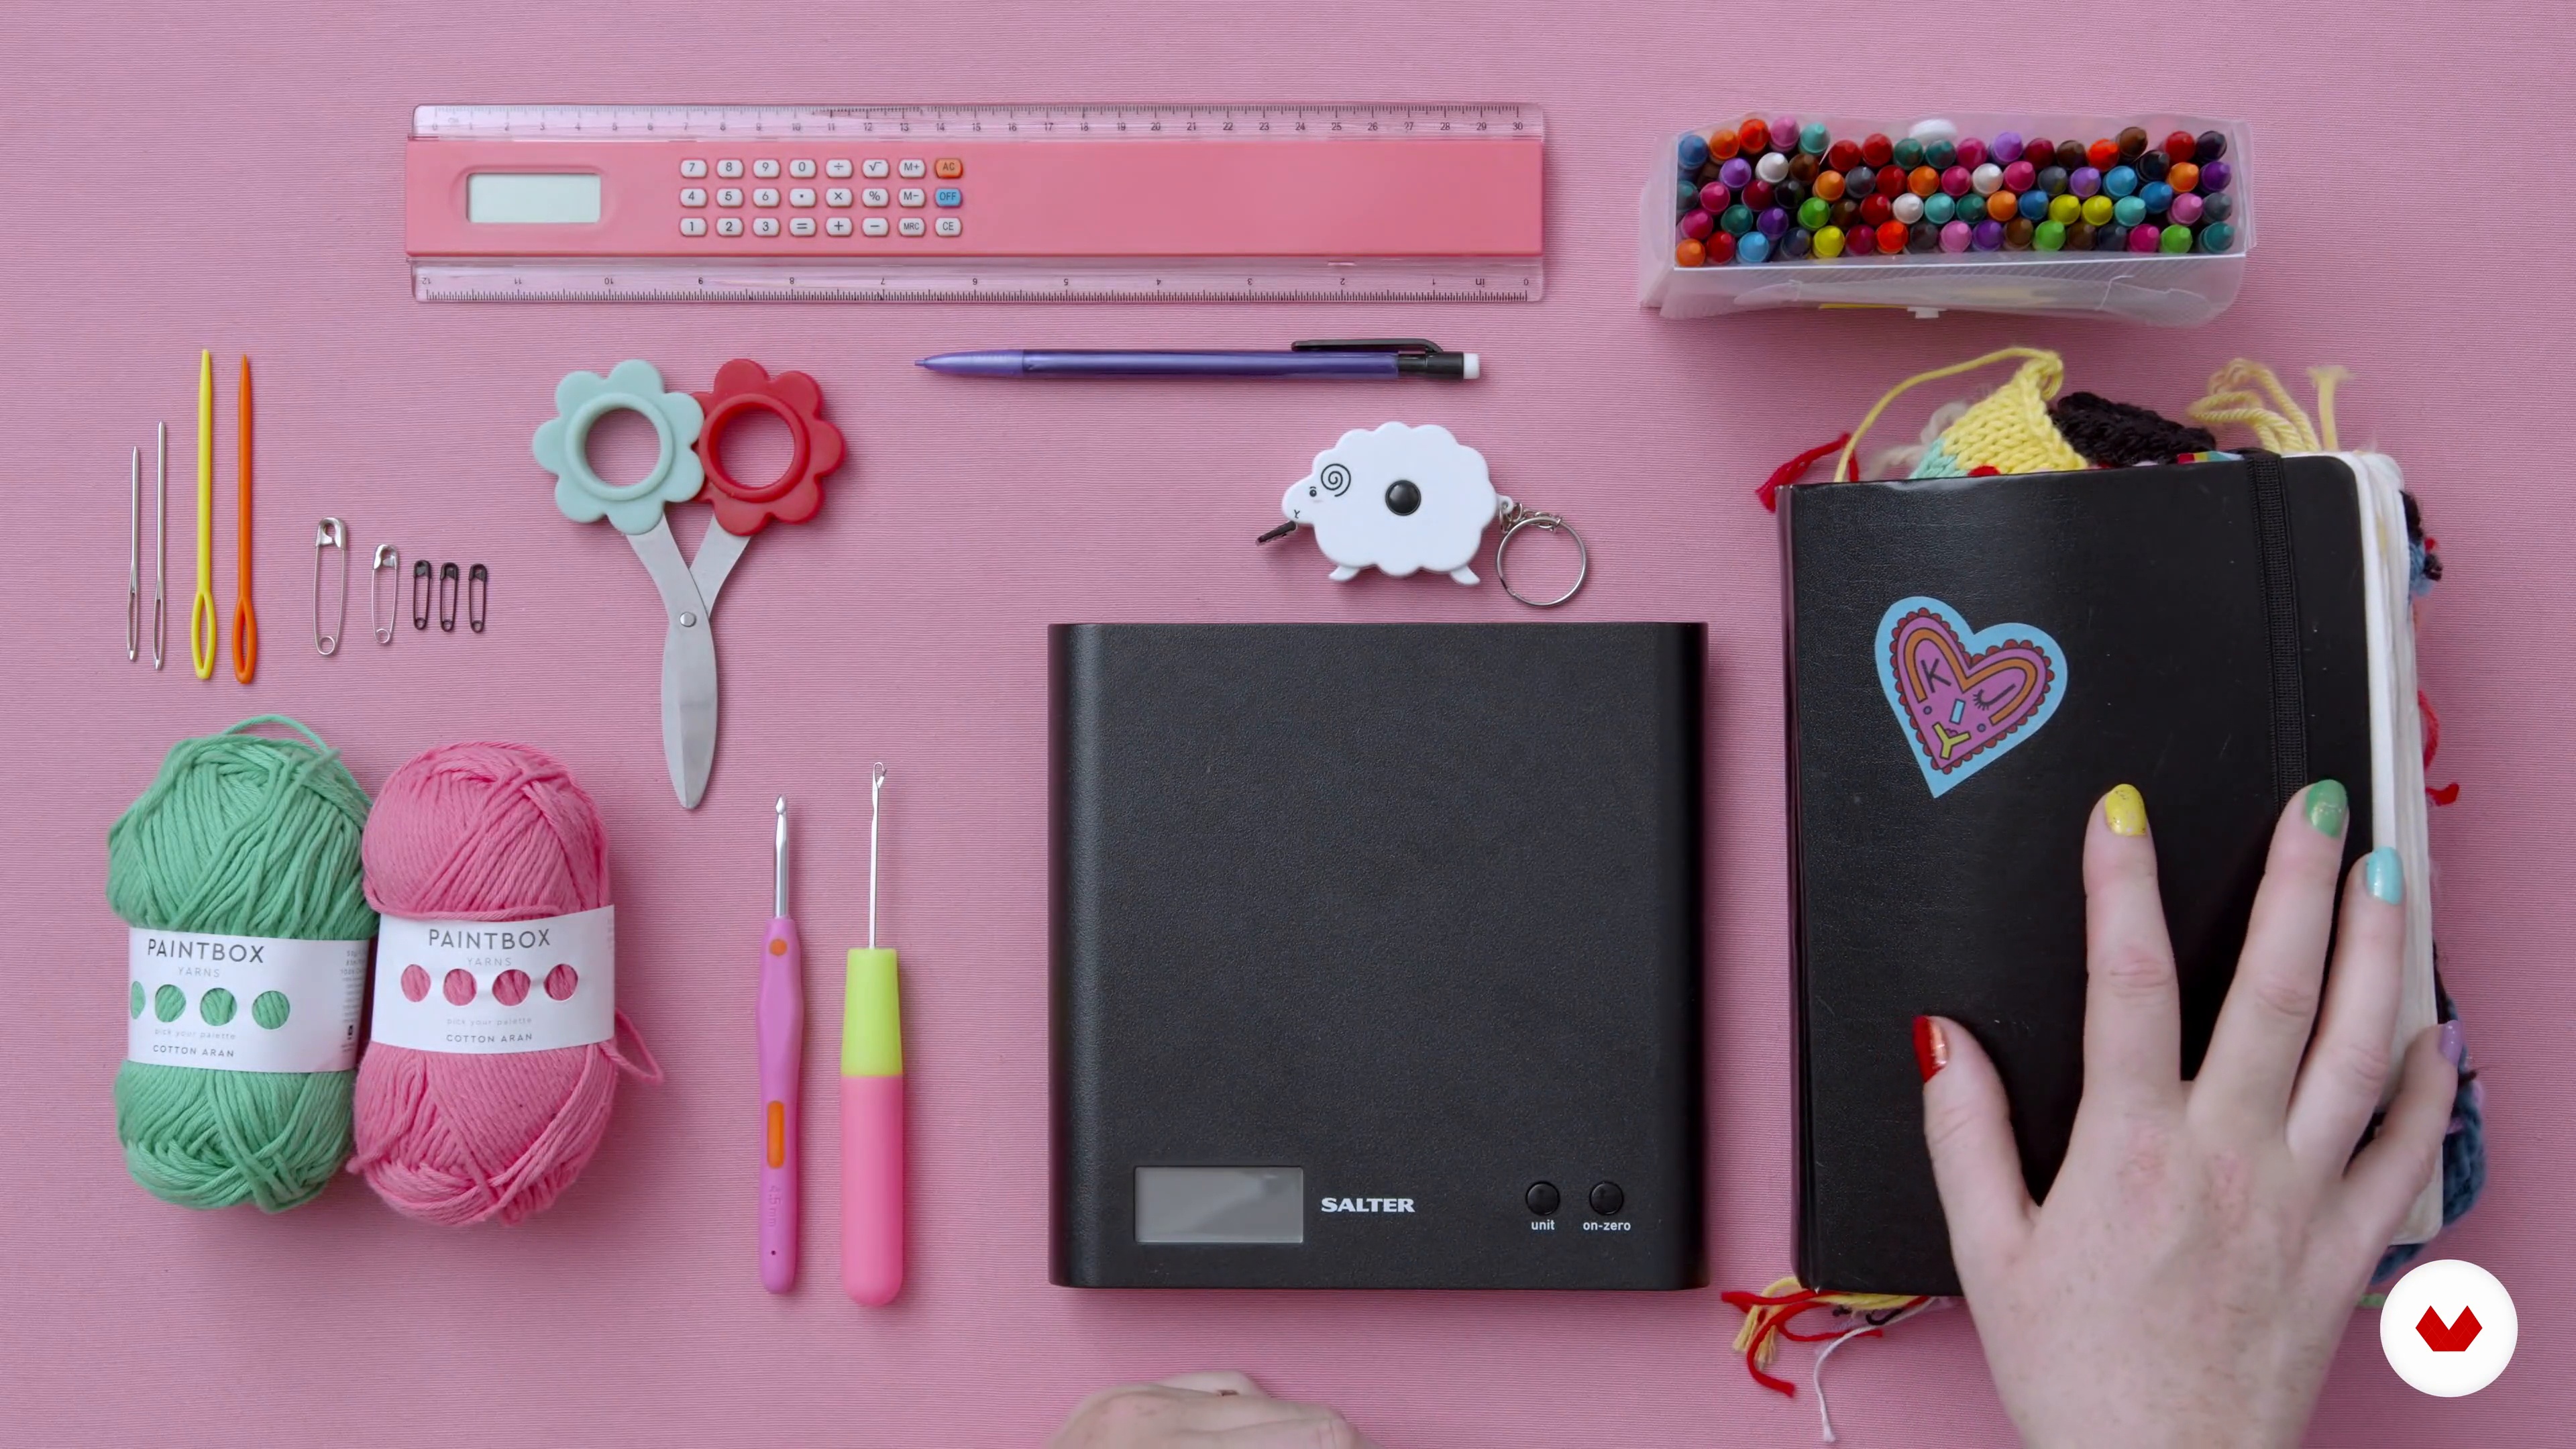
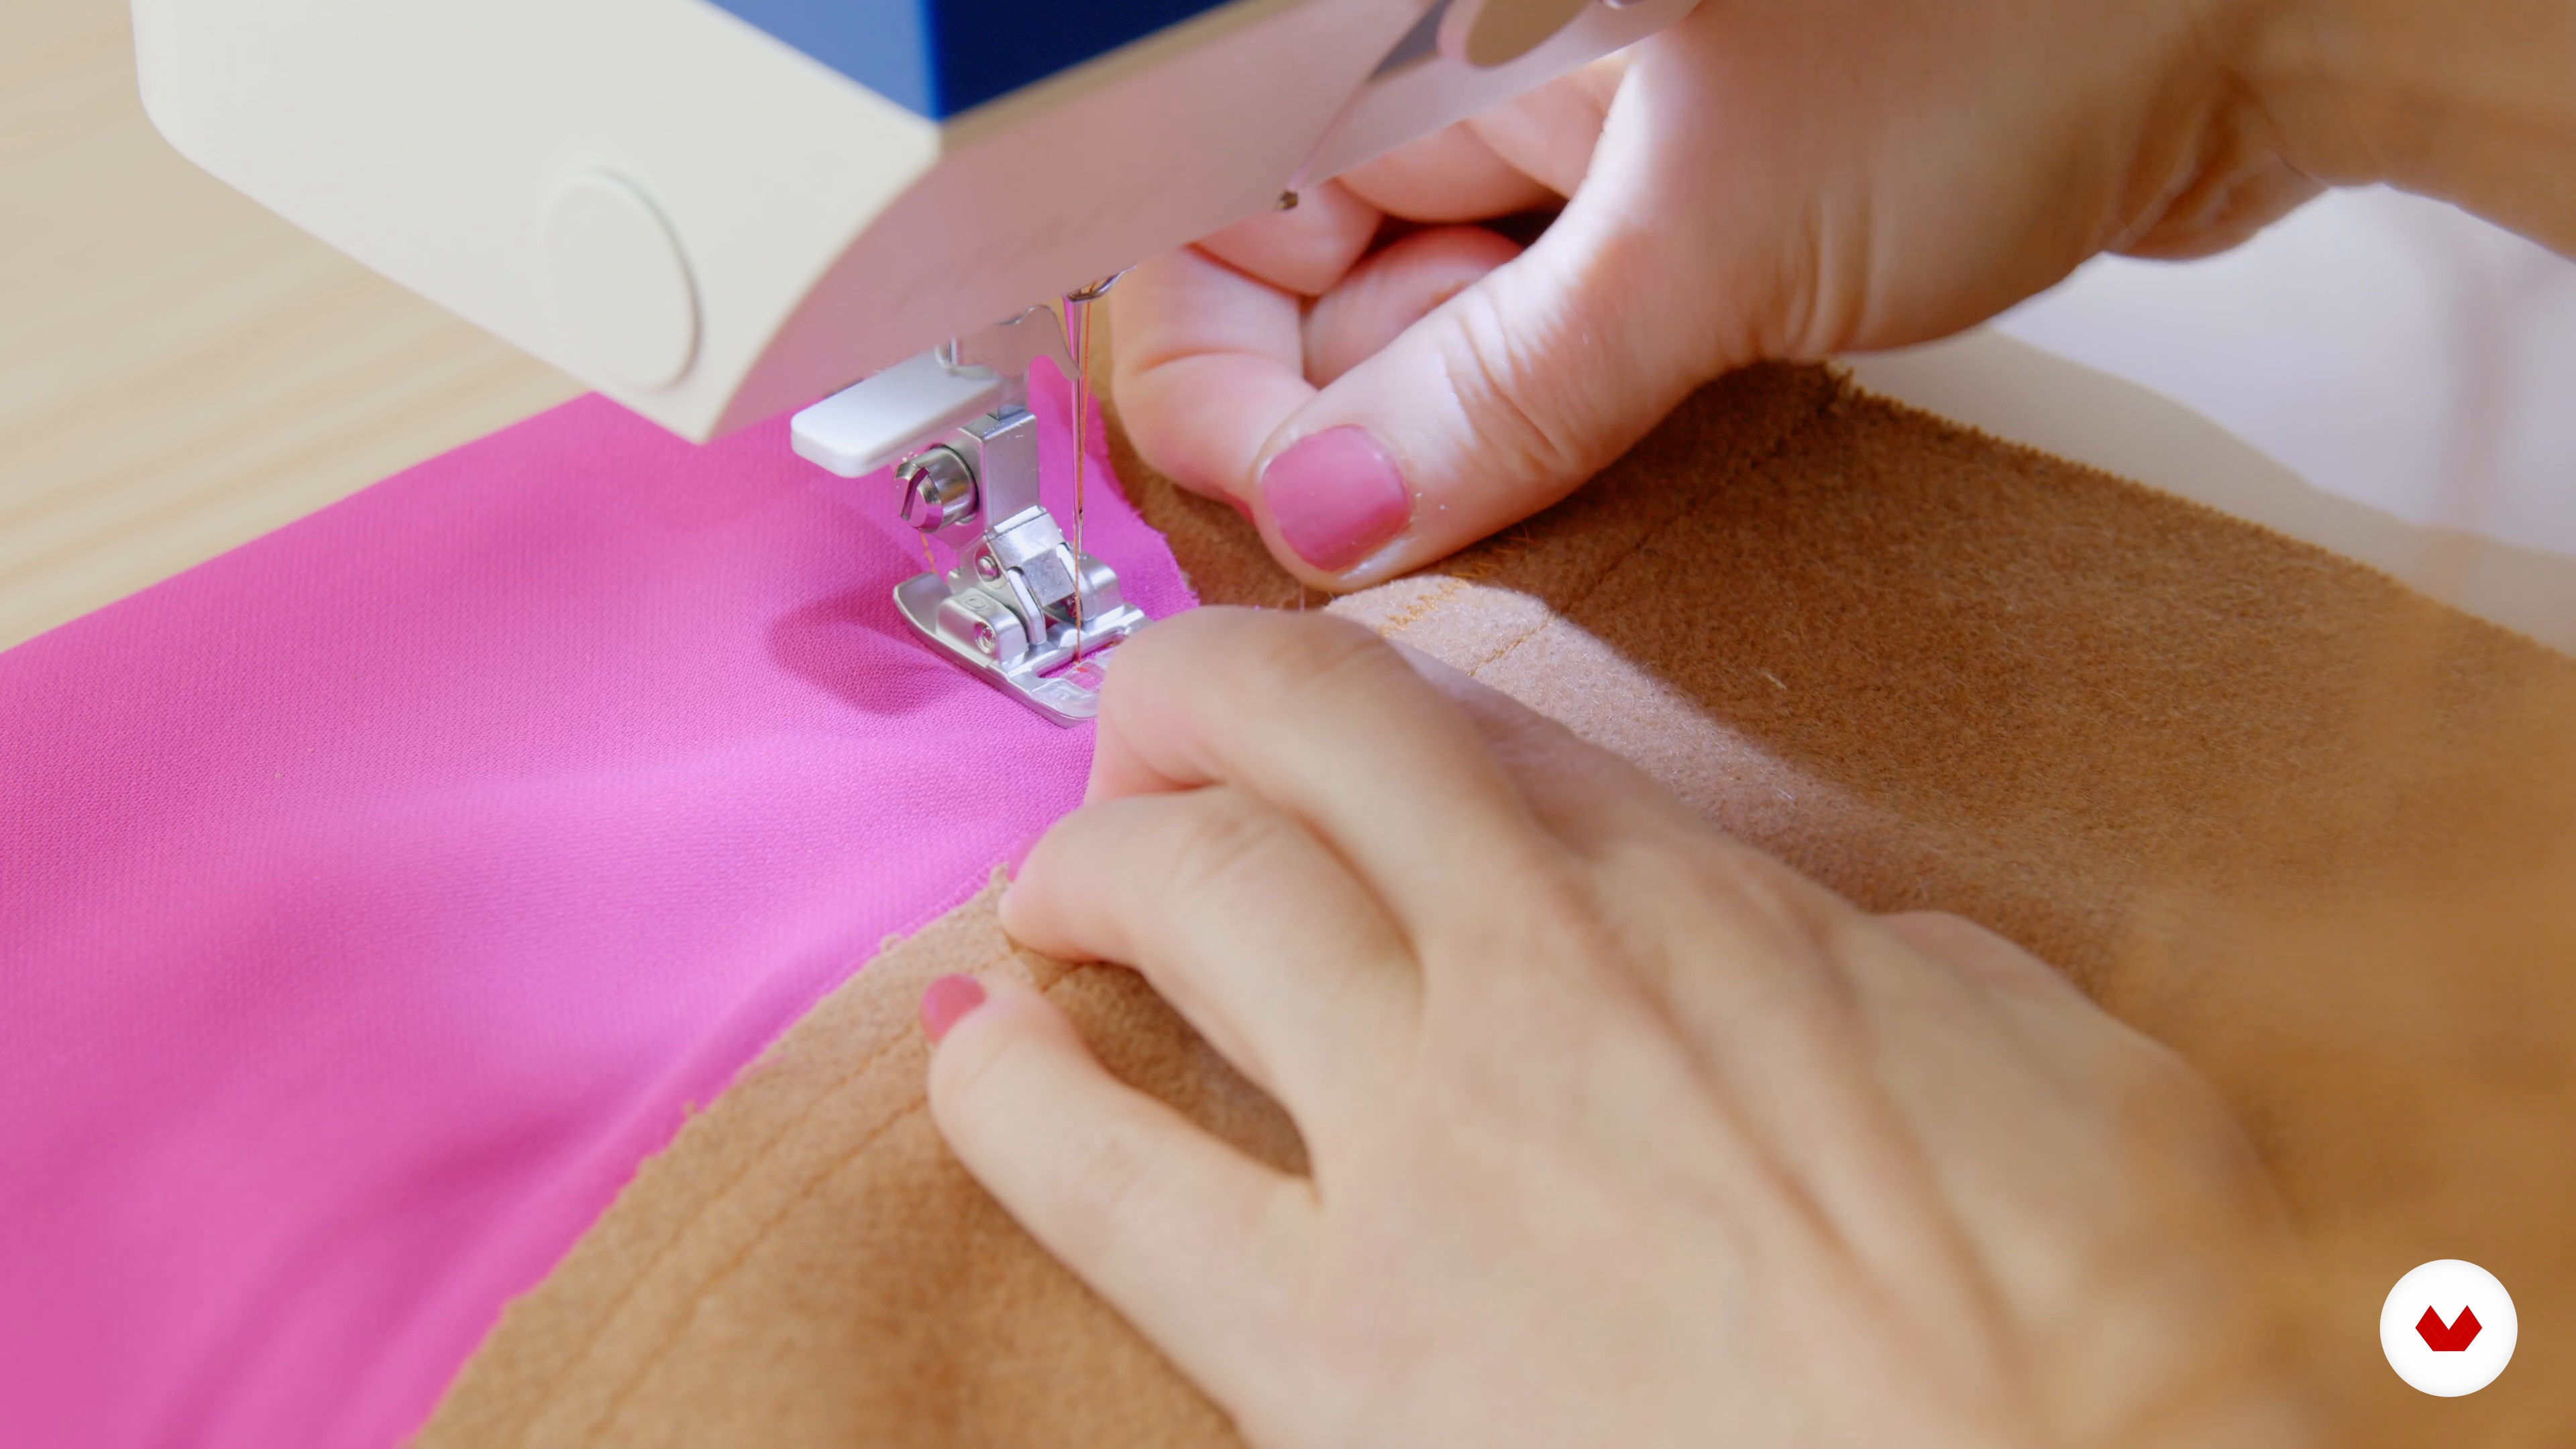
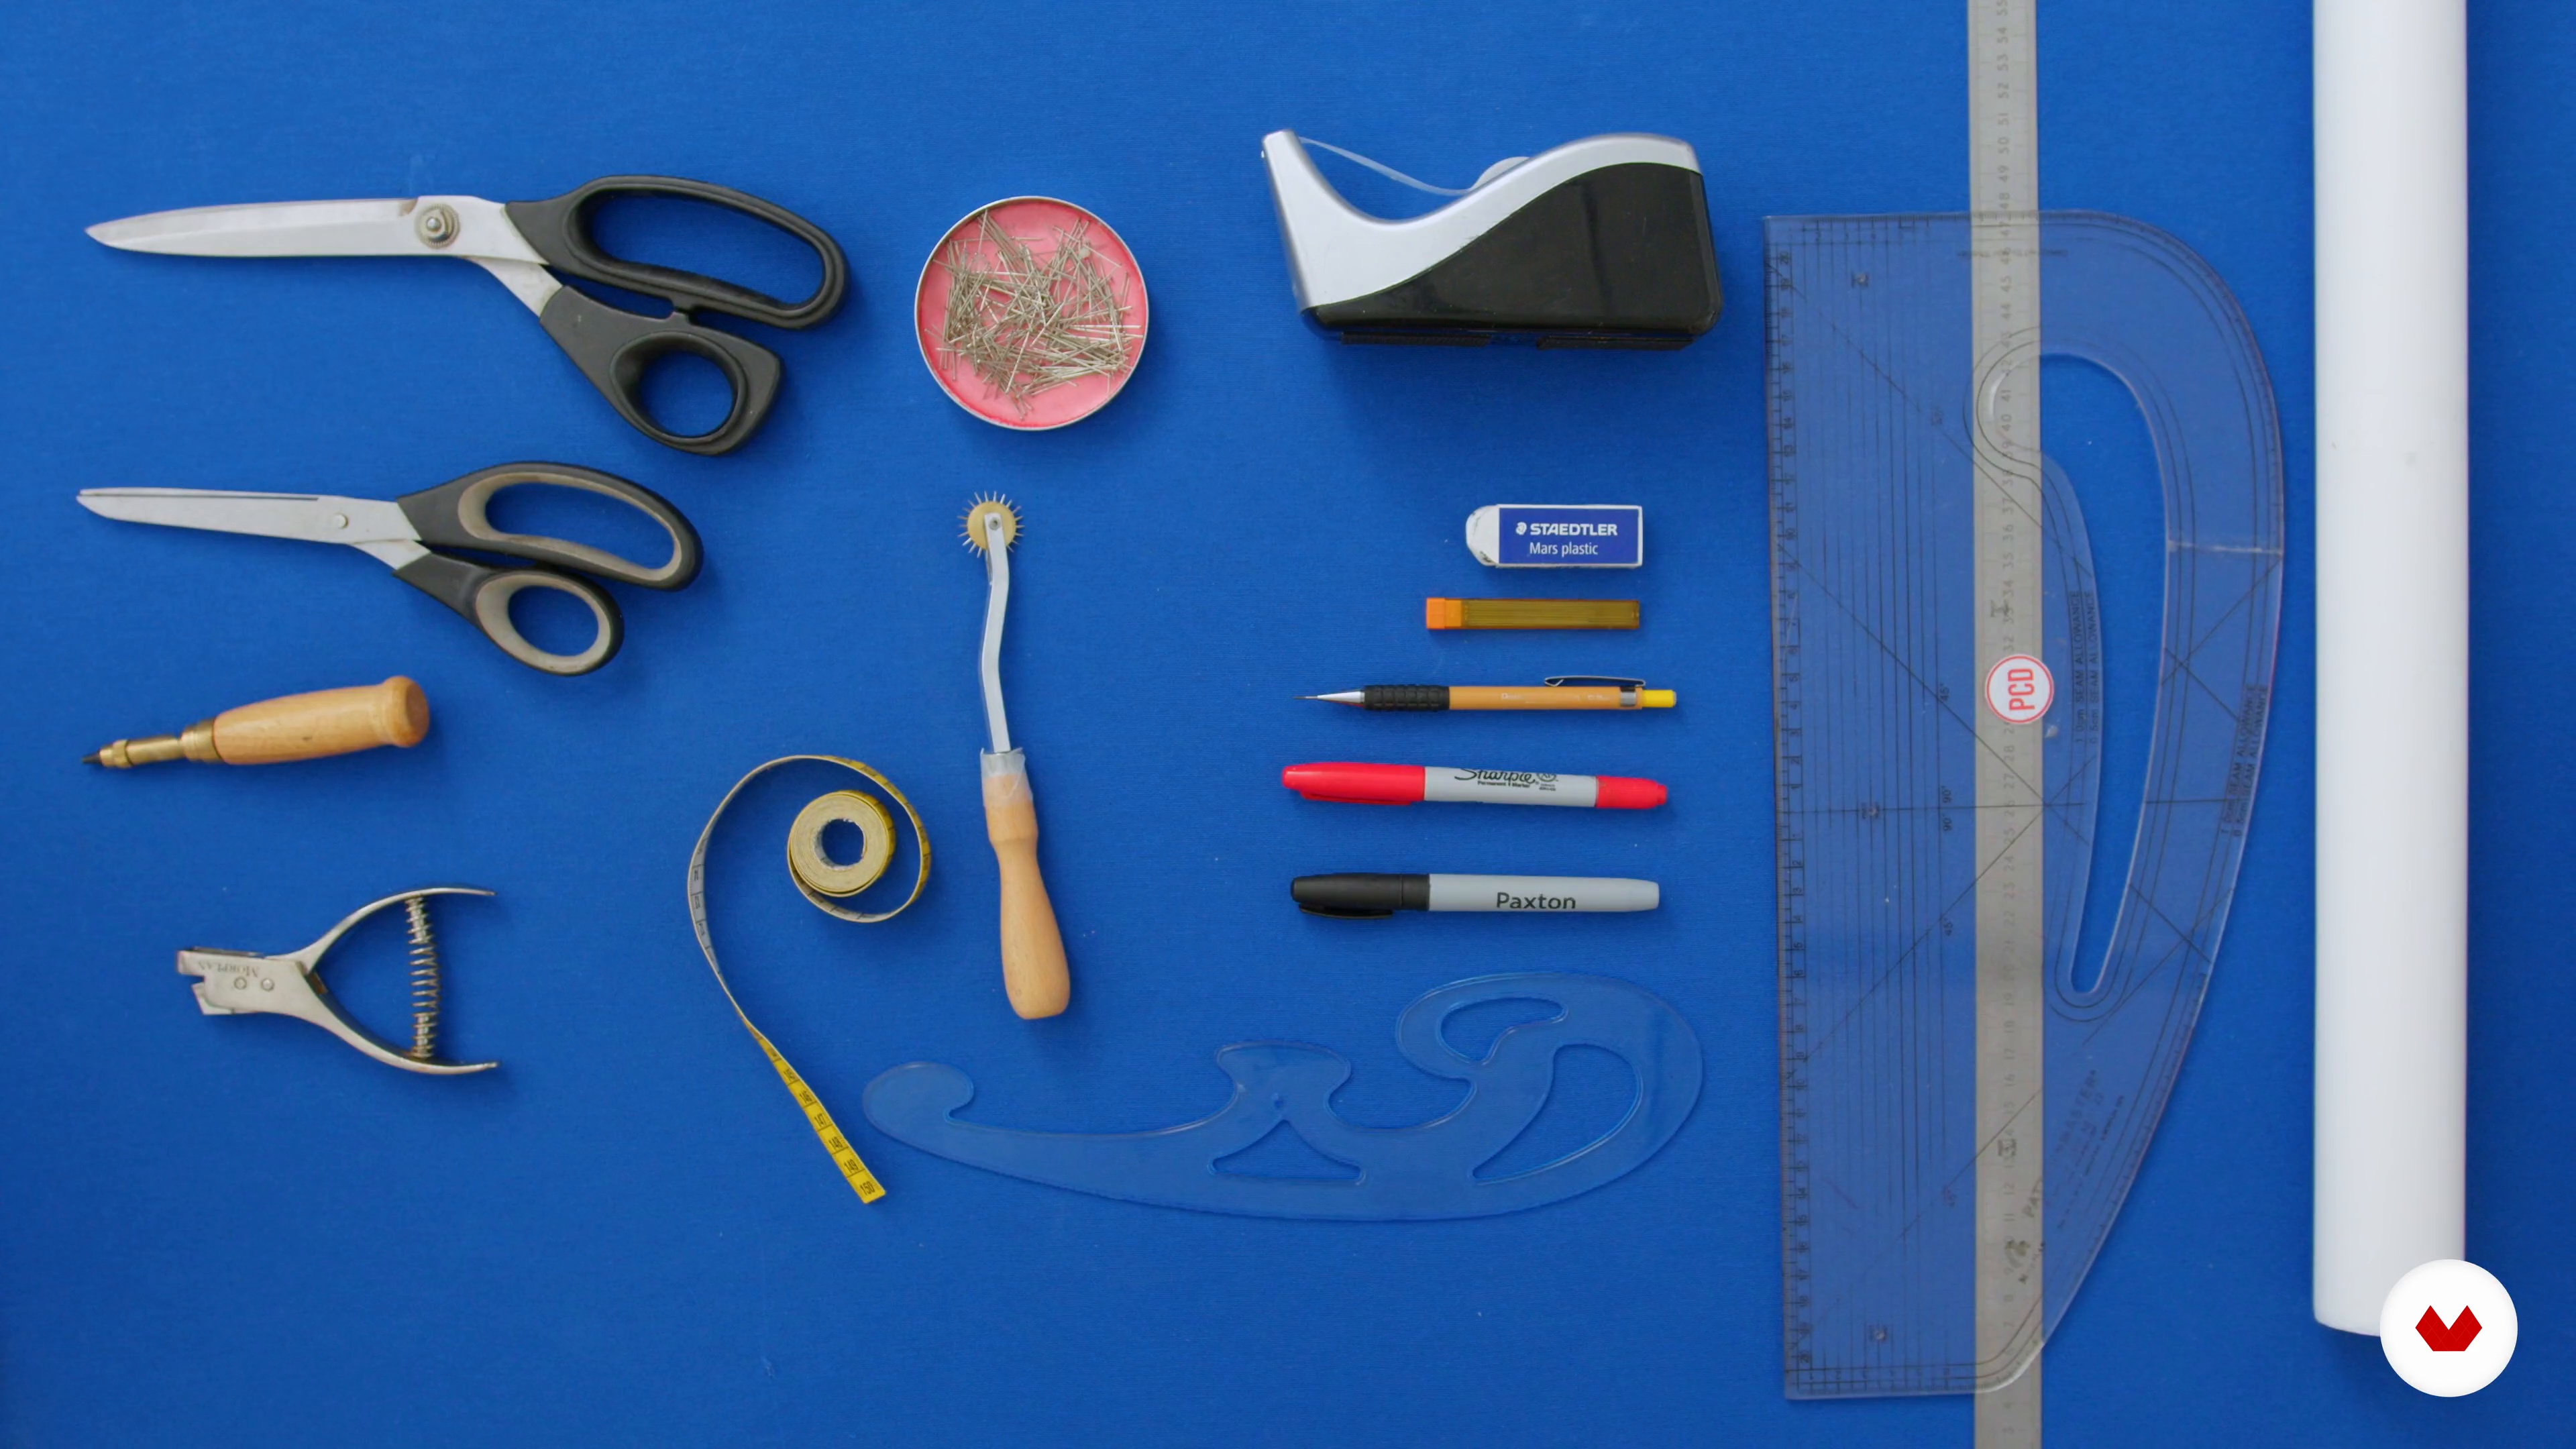
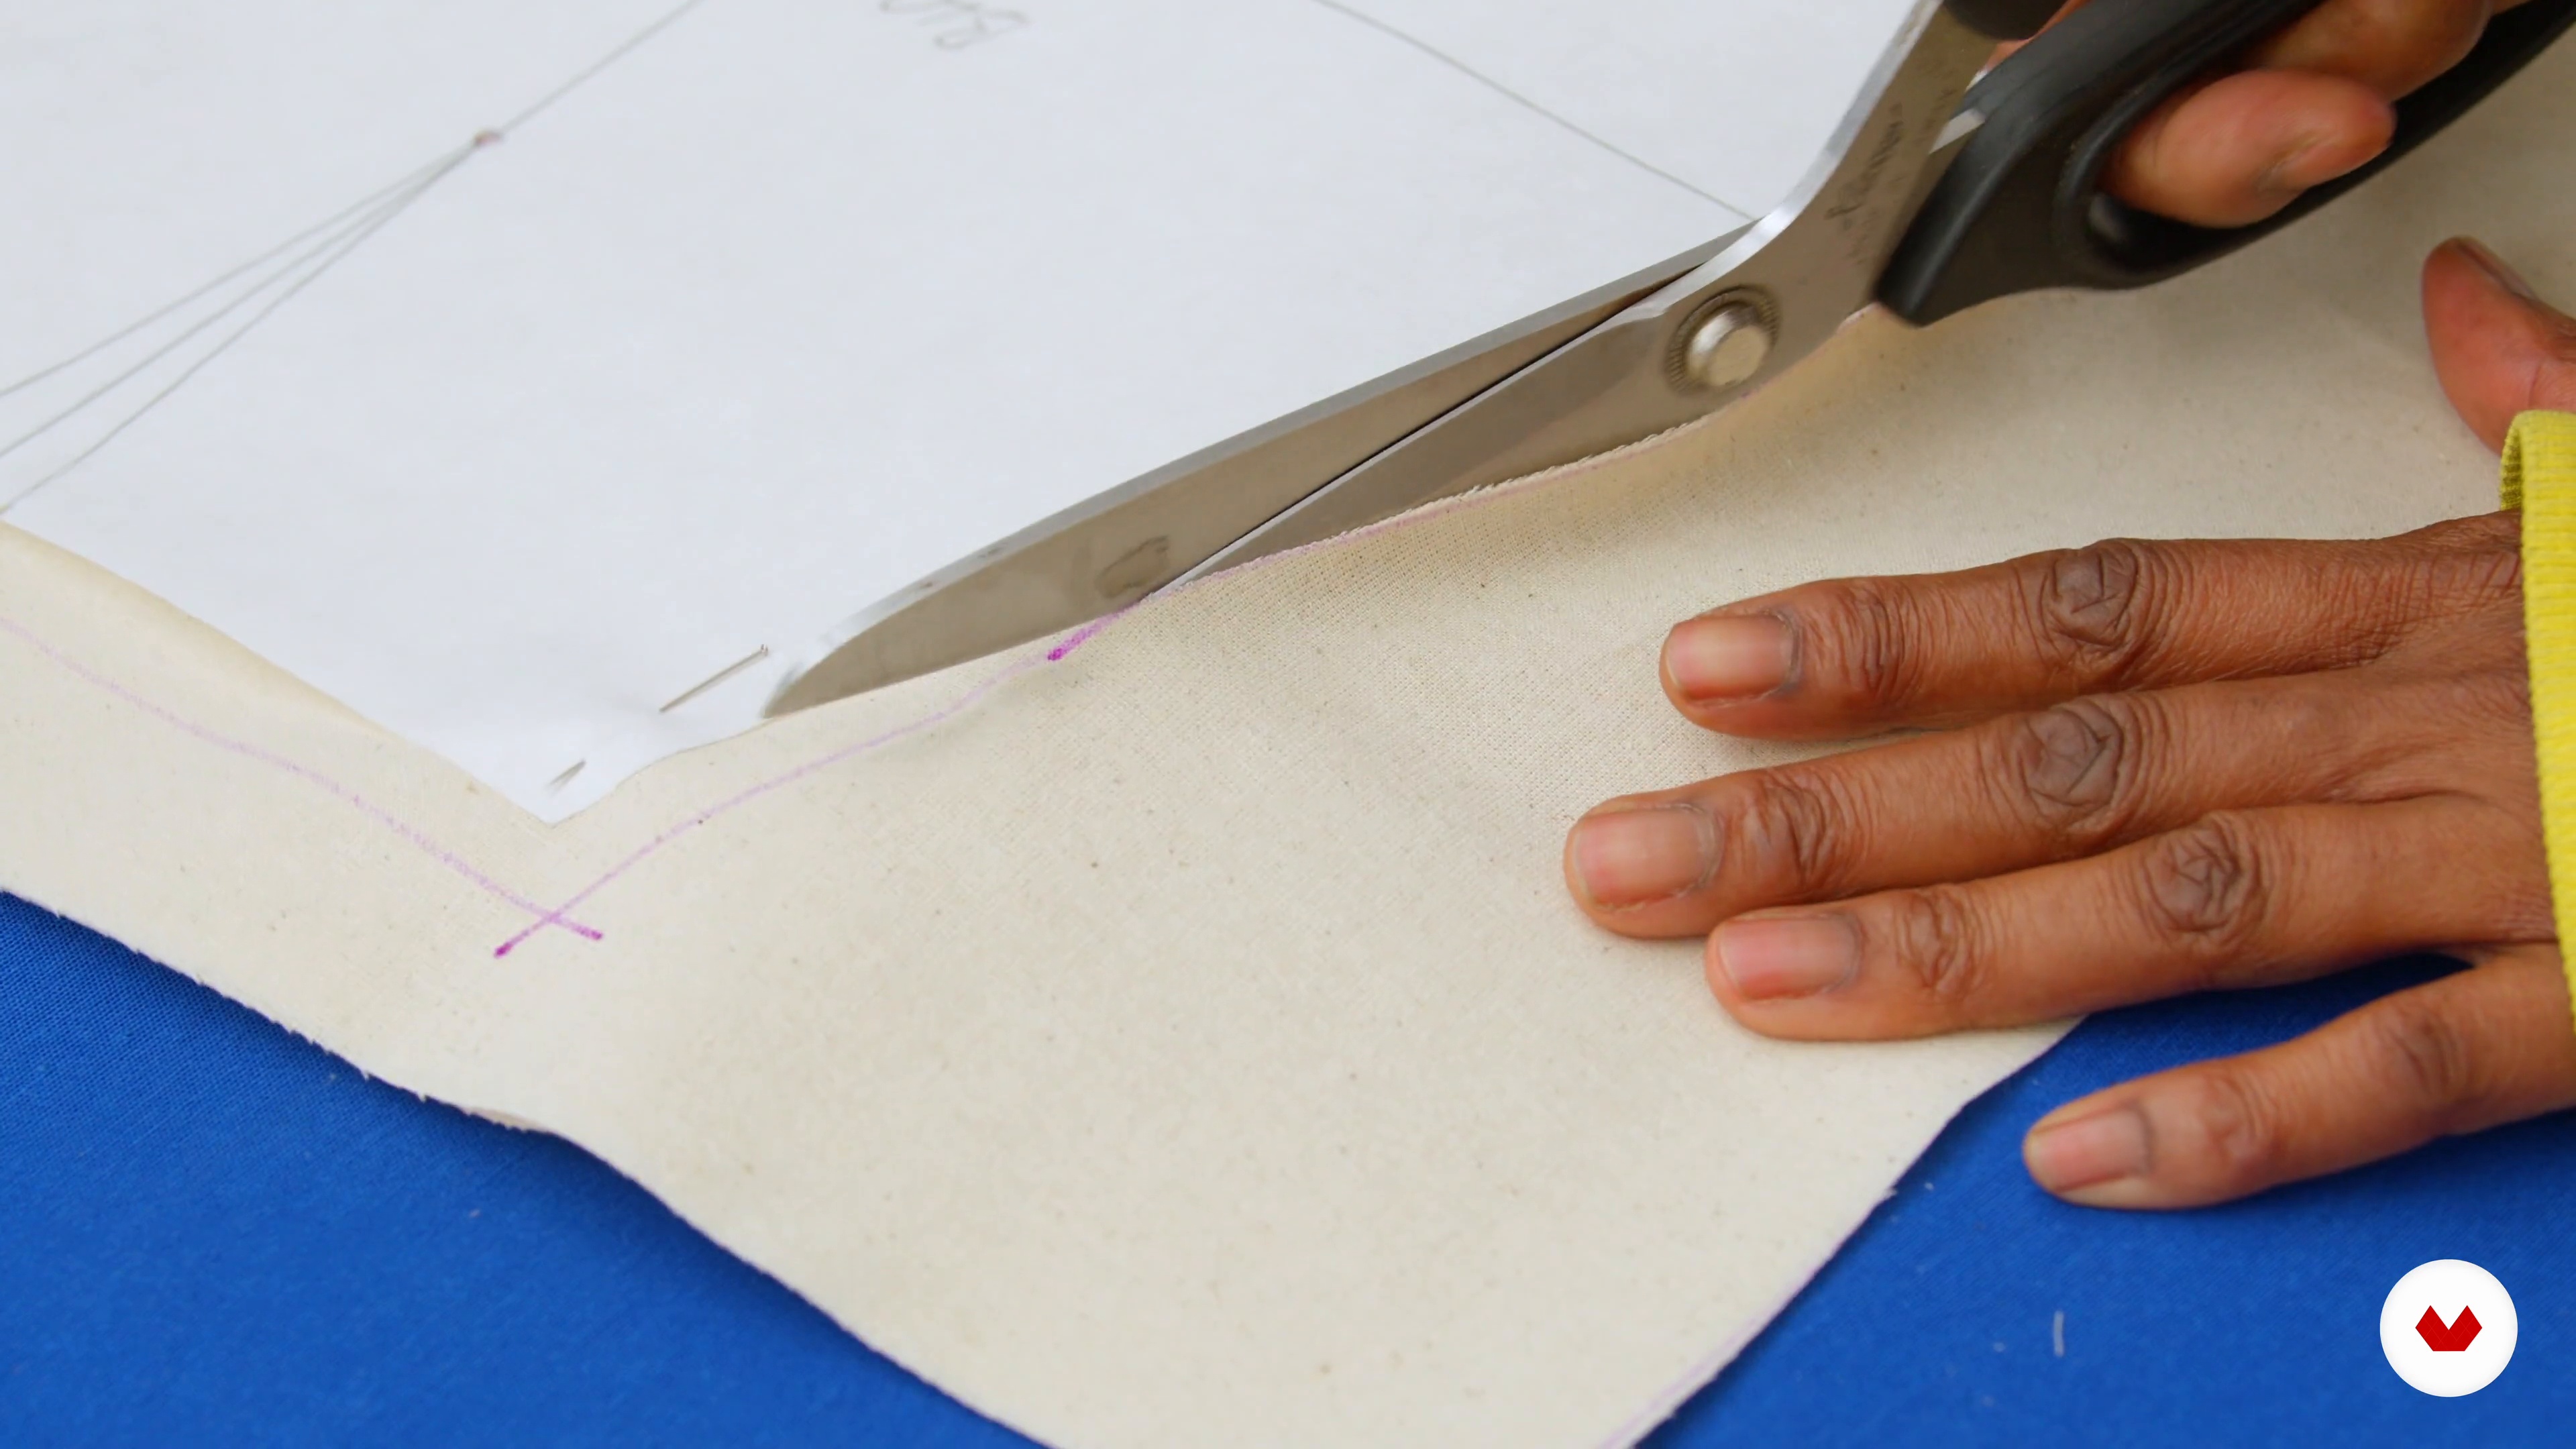
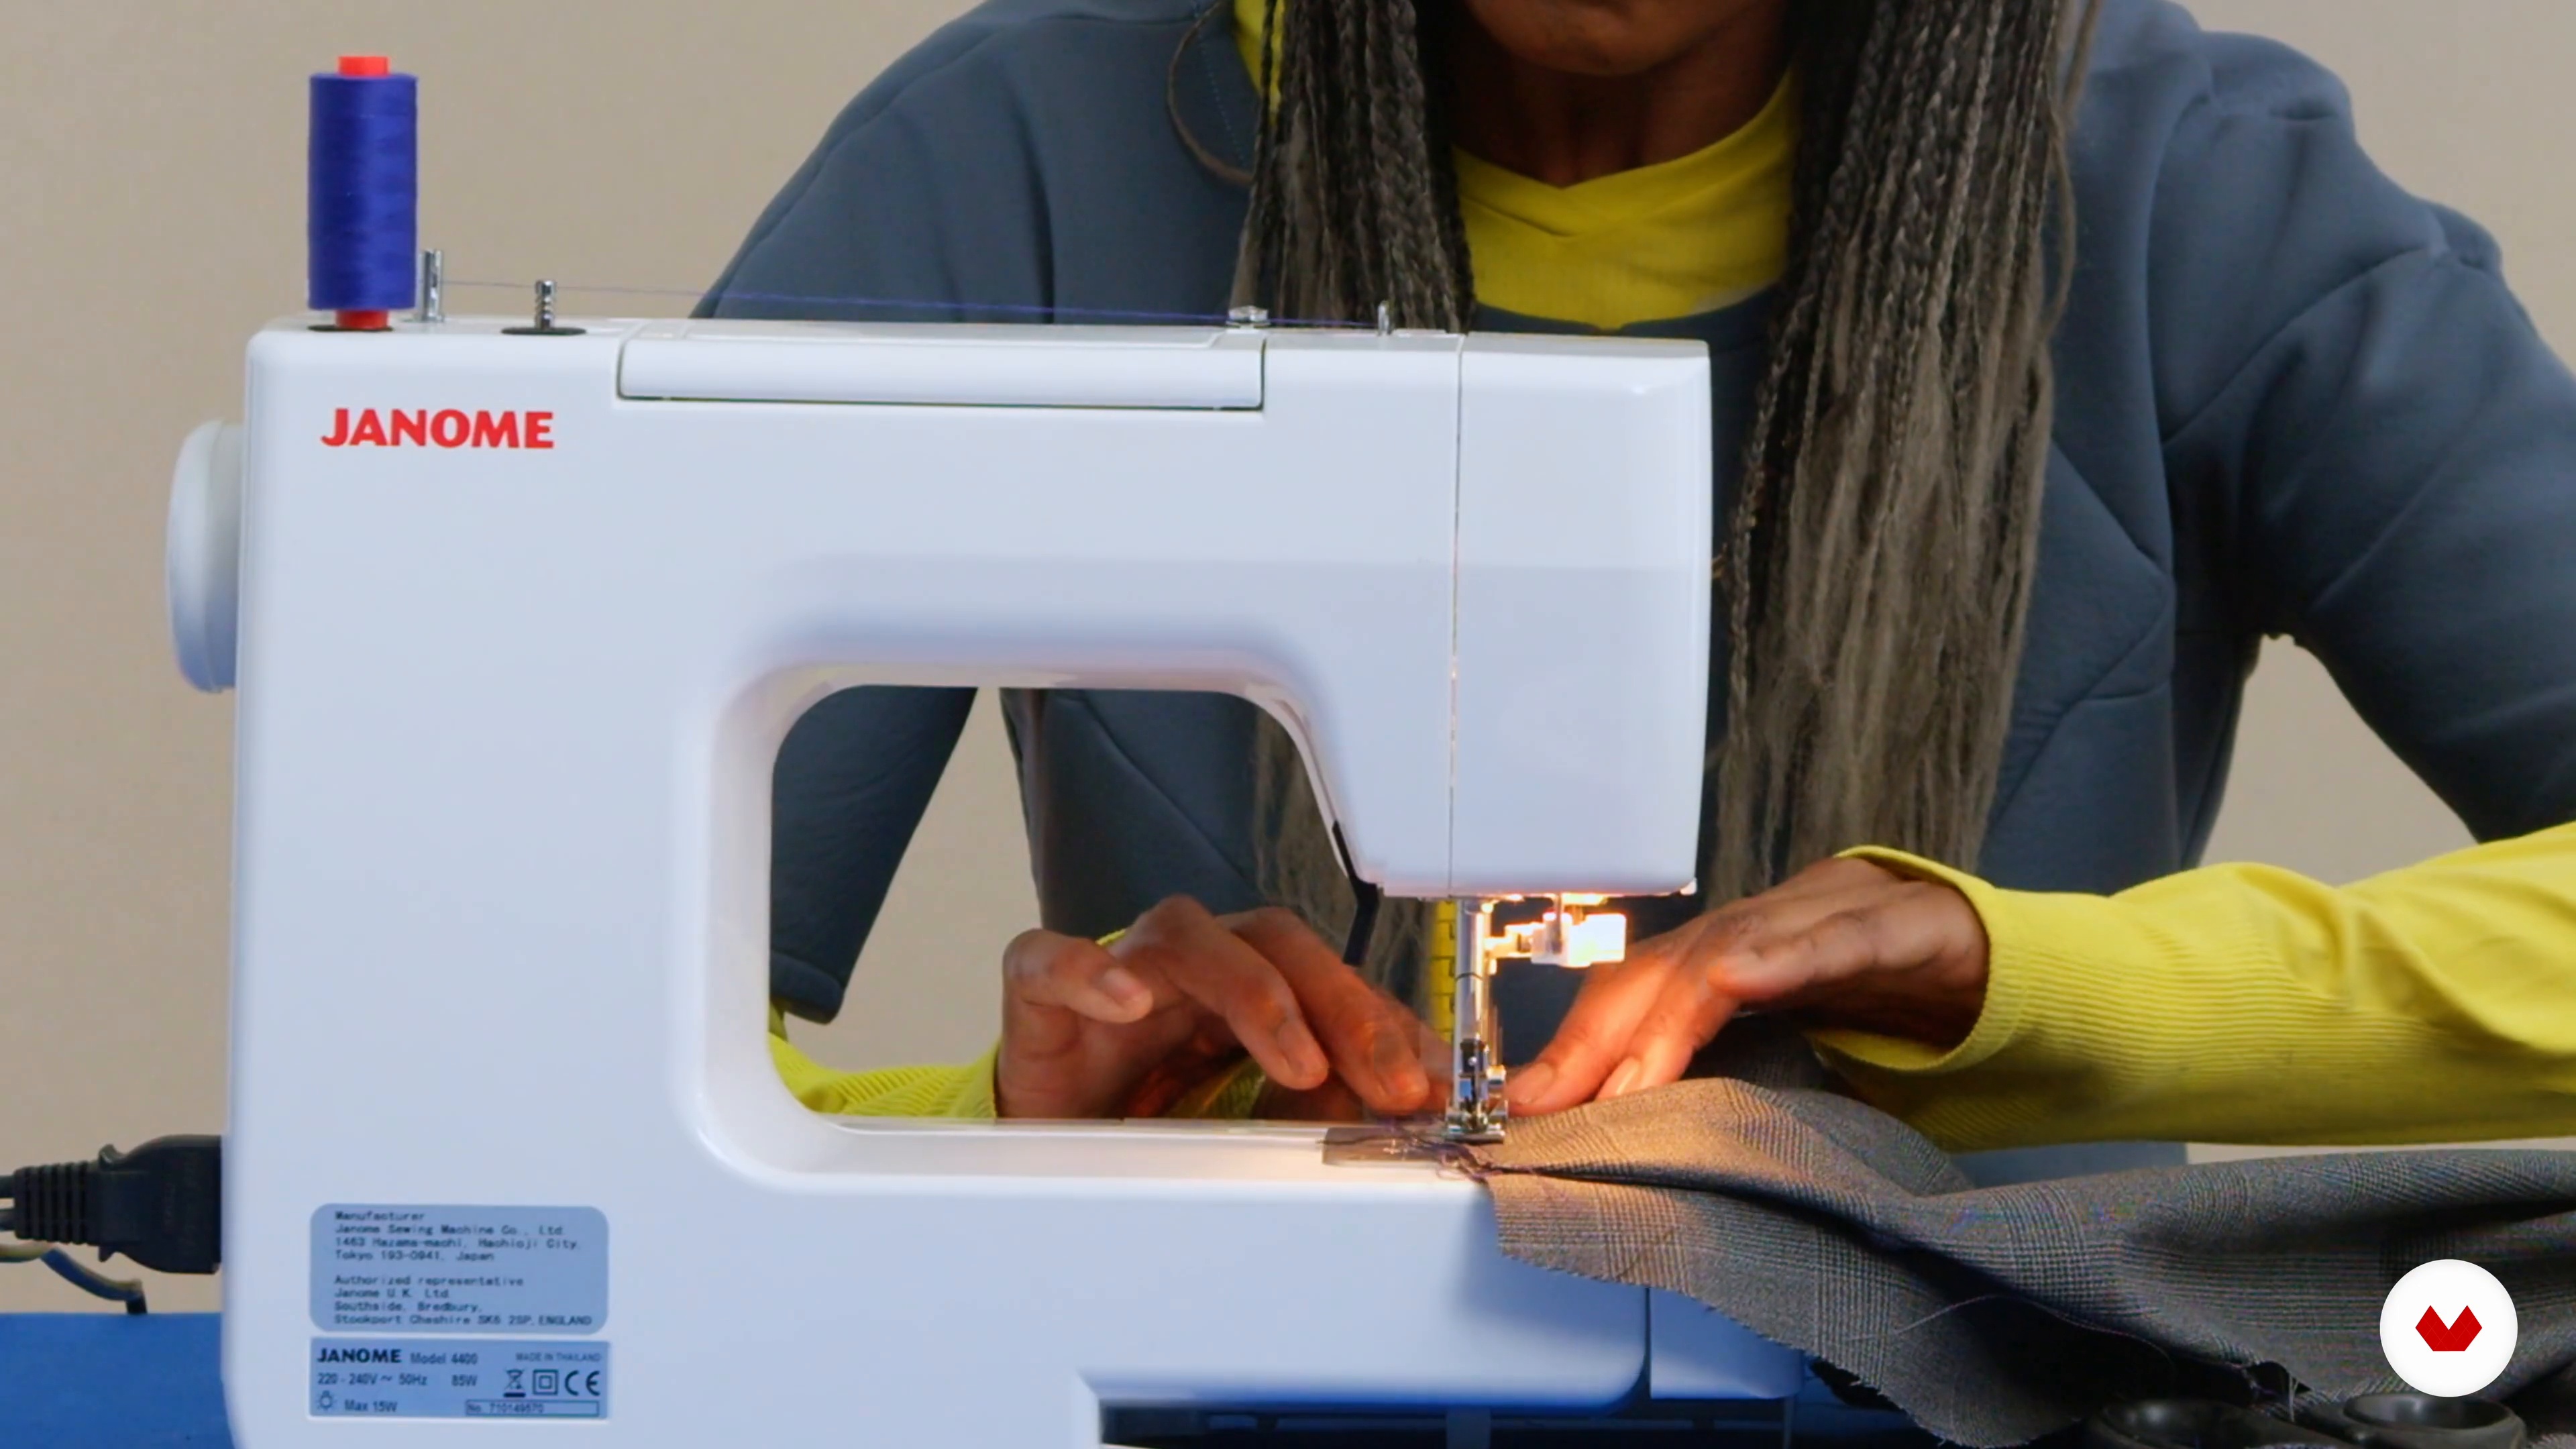
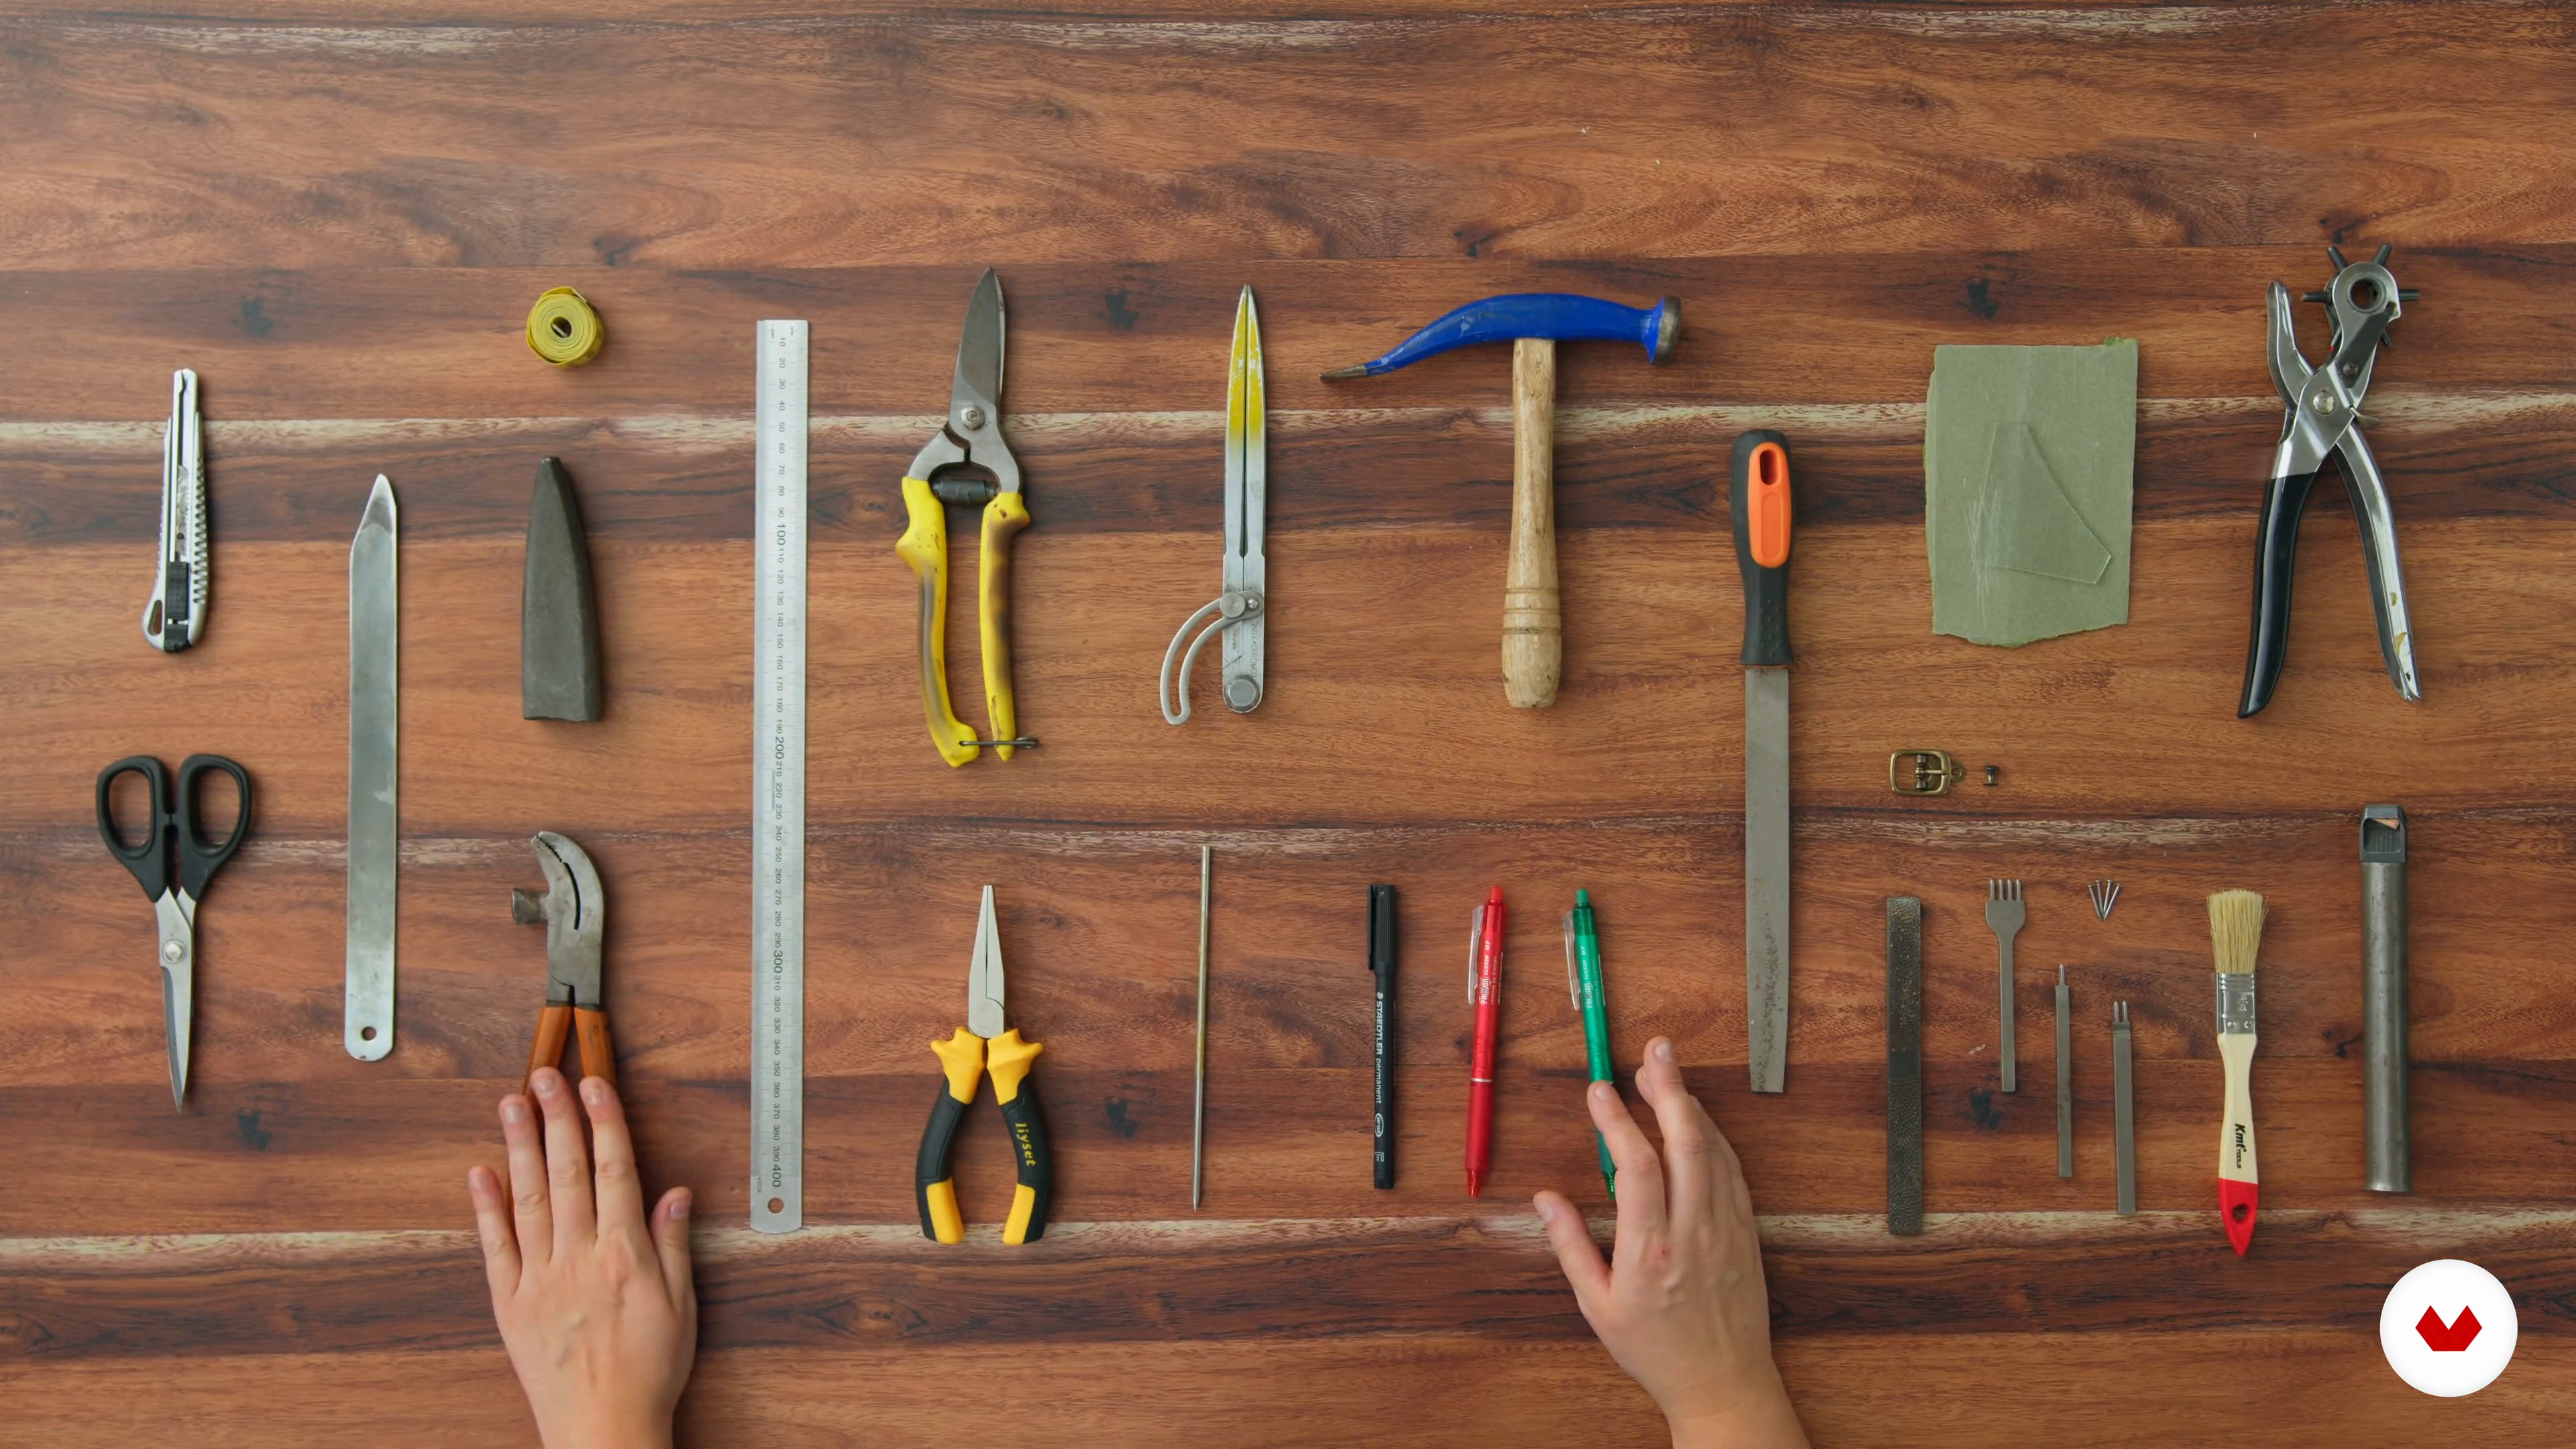
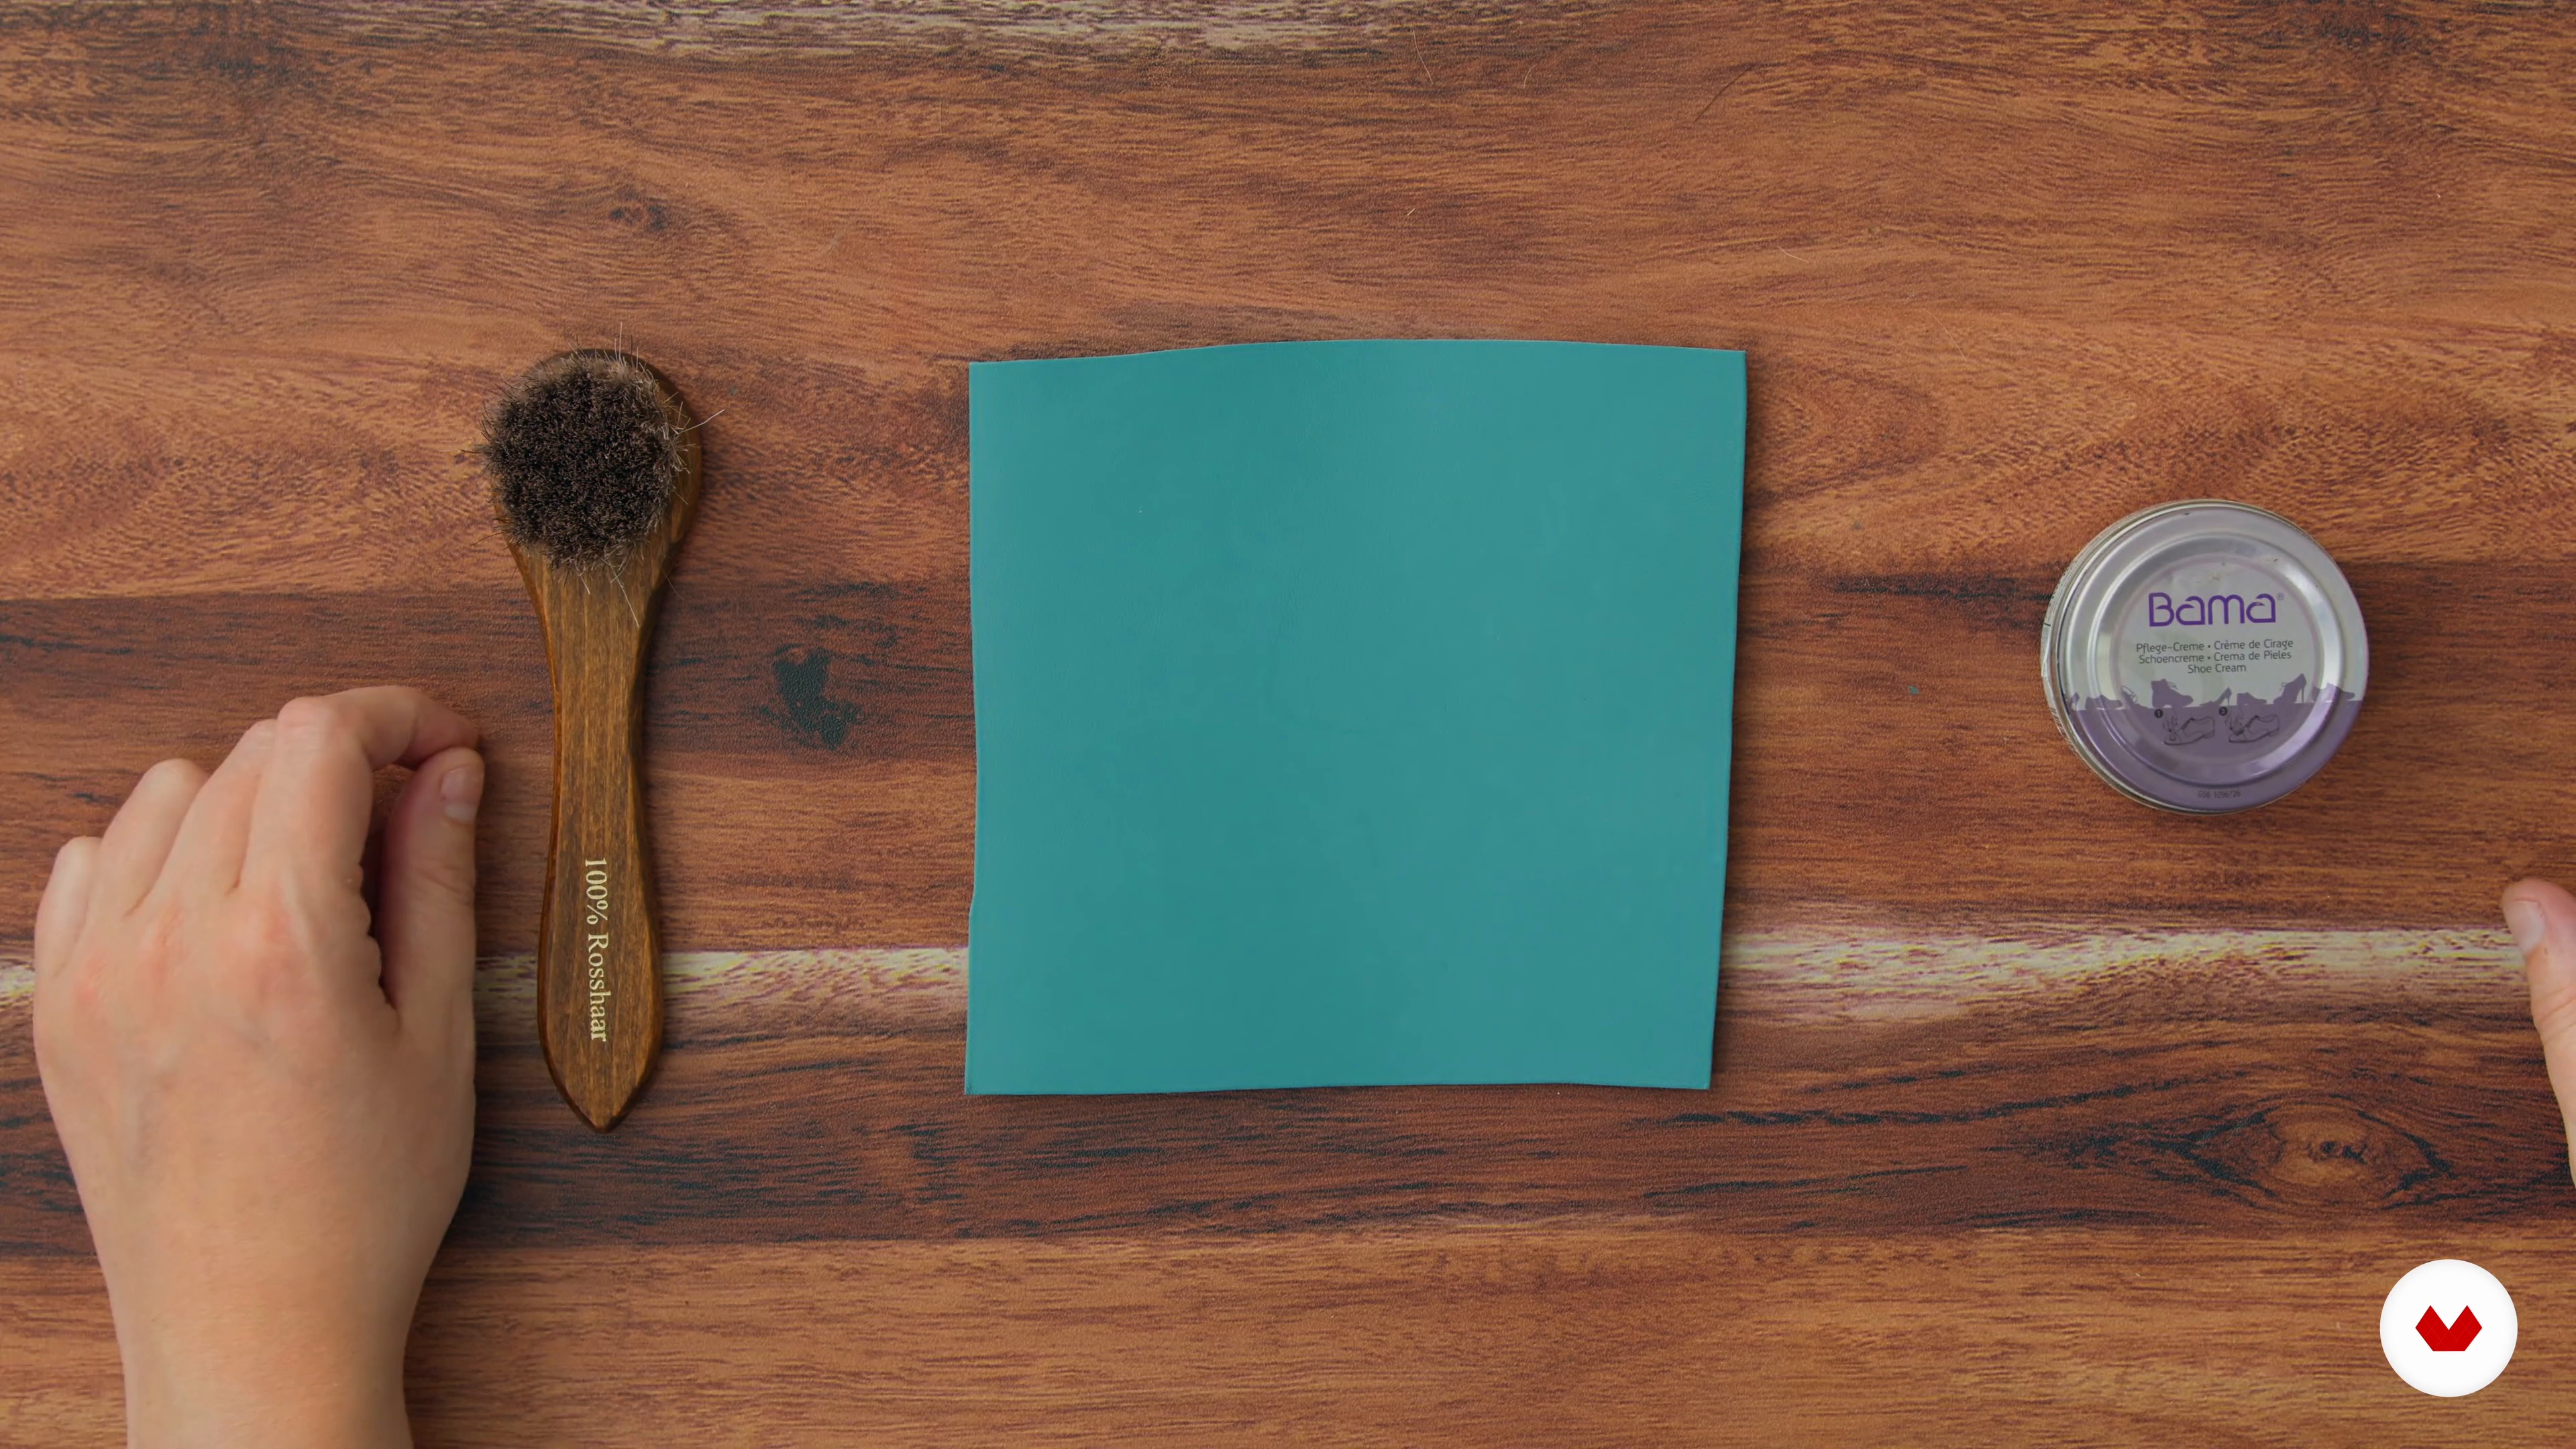
No extensive prior knowledge is needed, but basic sewing skills come in handy. Gather essential materials like fabric, leather, crochet hooks, and yarn. Access to a sewing machine, scissors, needles, and thread ensures a seamless crafting experience.


What to expect from this specialization course
-
Learn at your own pace
Enjoy learning from home without a set schedule and with an easy-to-follow method. You set your own pace.
-
Learn from the best professionals
Learn valuable methods and techniques explained by top experts in the creative sector.
-
Meet expert teachers
Each expert teaches what they do best, with clear guidelines, true passion, and professional insight in every lesson.
-
Certificates
PlusIf you're a Plus member, get a custom certificate for every specialization course. Share it on your portfolio, social media, or wherever you like.
-
Get front-row seats
Videos of the highest quality, so you don't miss a single detail. With unlimited access, you can watch them as many times as you need to perfect your technique.
-
Share knowledge and ideas
Ask questions, request feedback, or offer solutions. Share your learning experience with other students in the community who are as passionate about creativity as you are.
-
Connect with a global creative community
The community is home to millions of people from around the world who are curious and passionate about exploring and expressing their creativity.
-
Watch professionally produced courses
Domestika curates its teacher roster and produces every course in-house to ensure a high-quality online learning experience.
FAQs
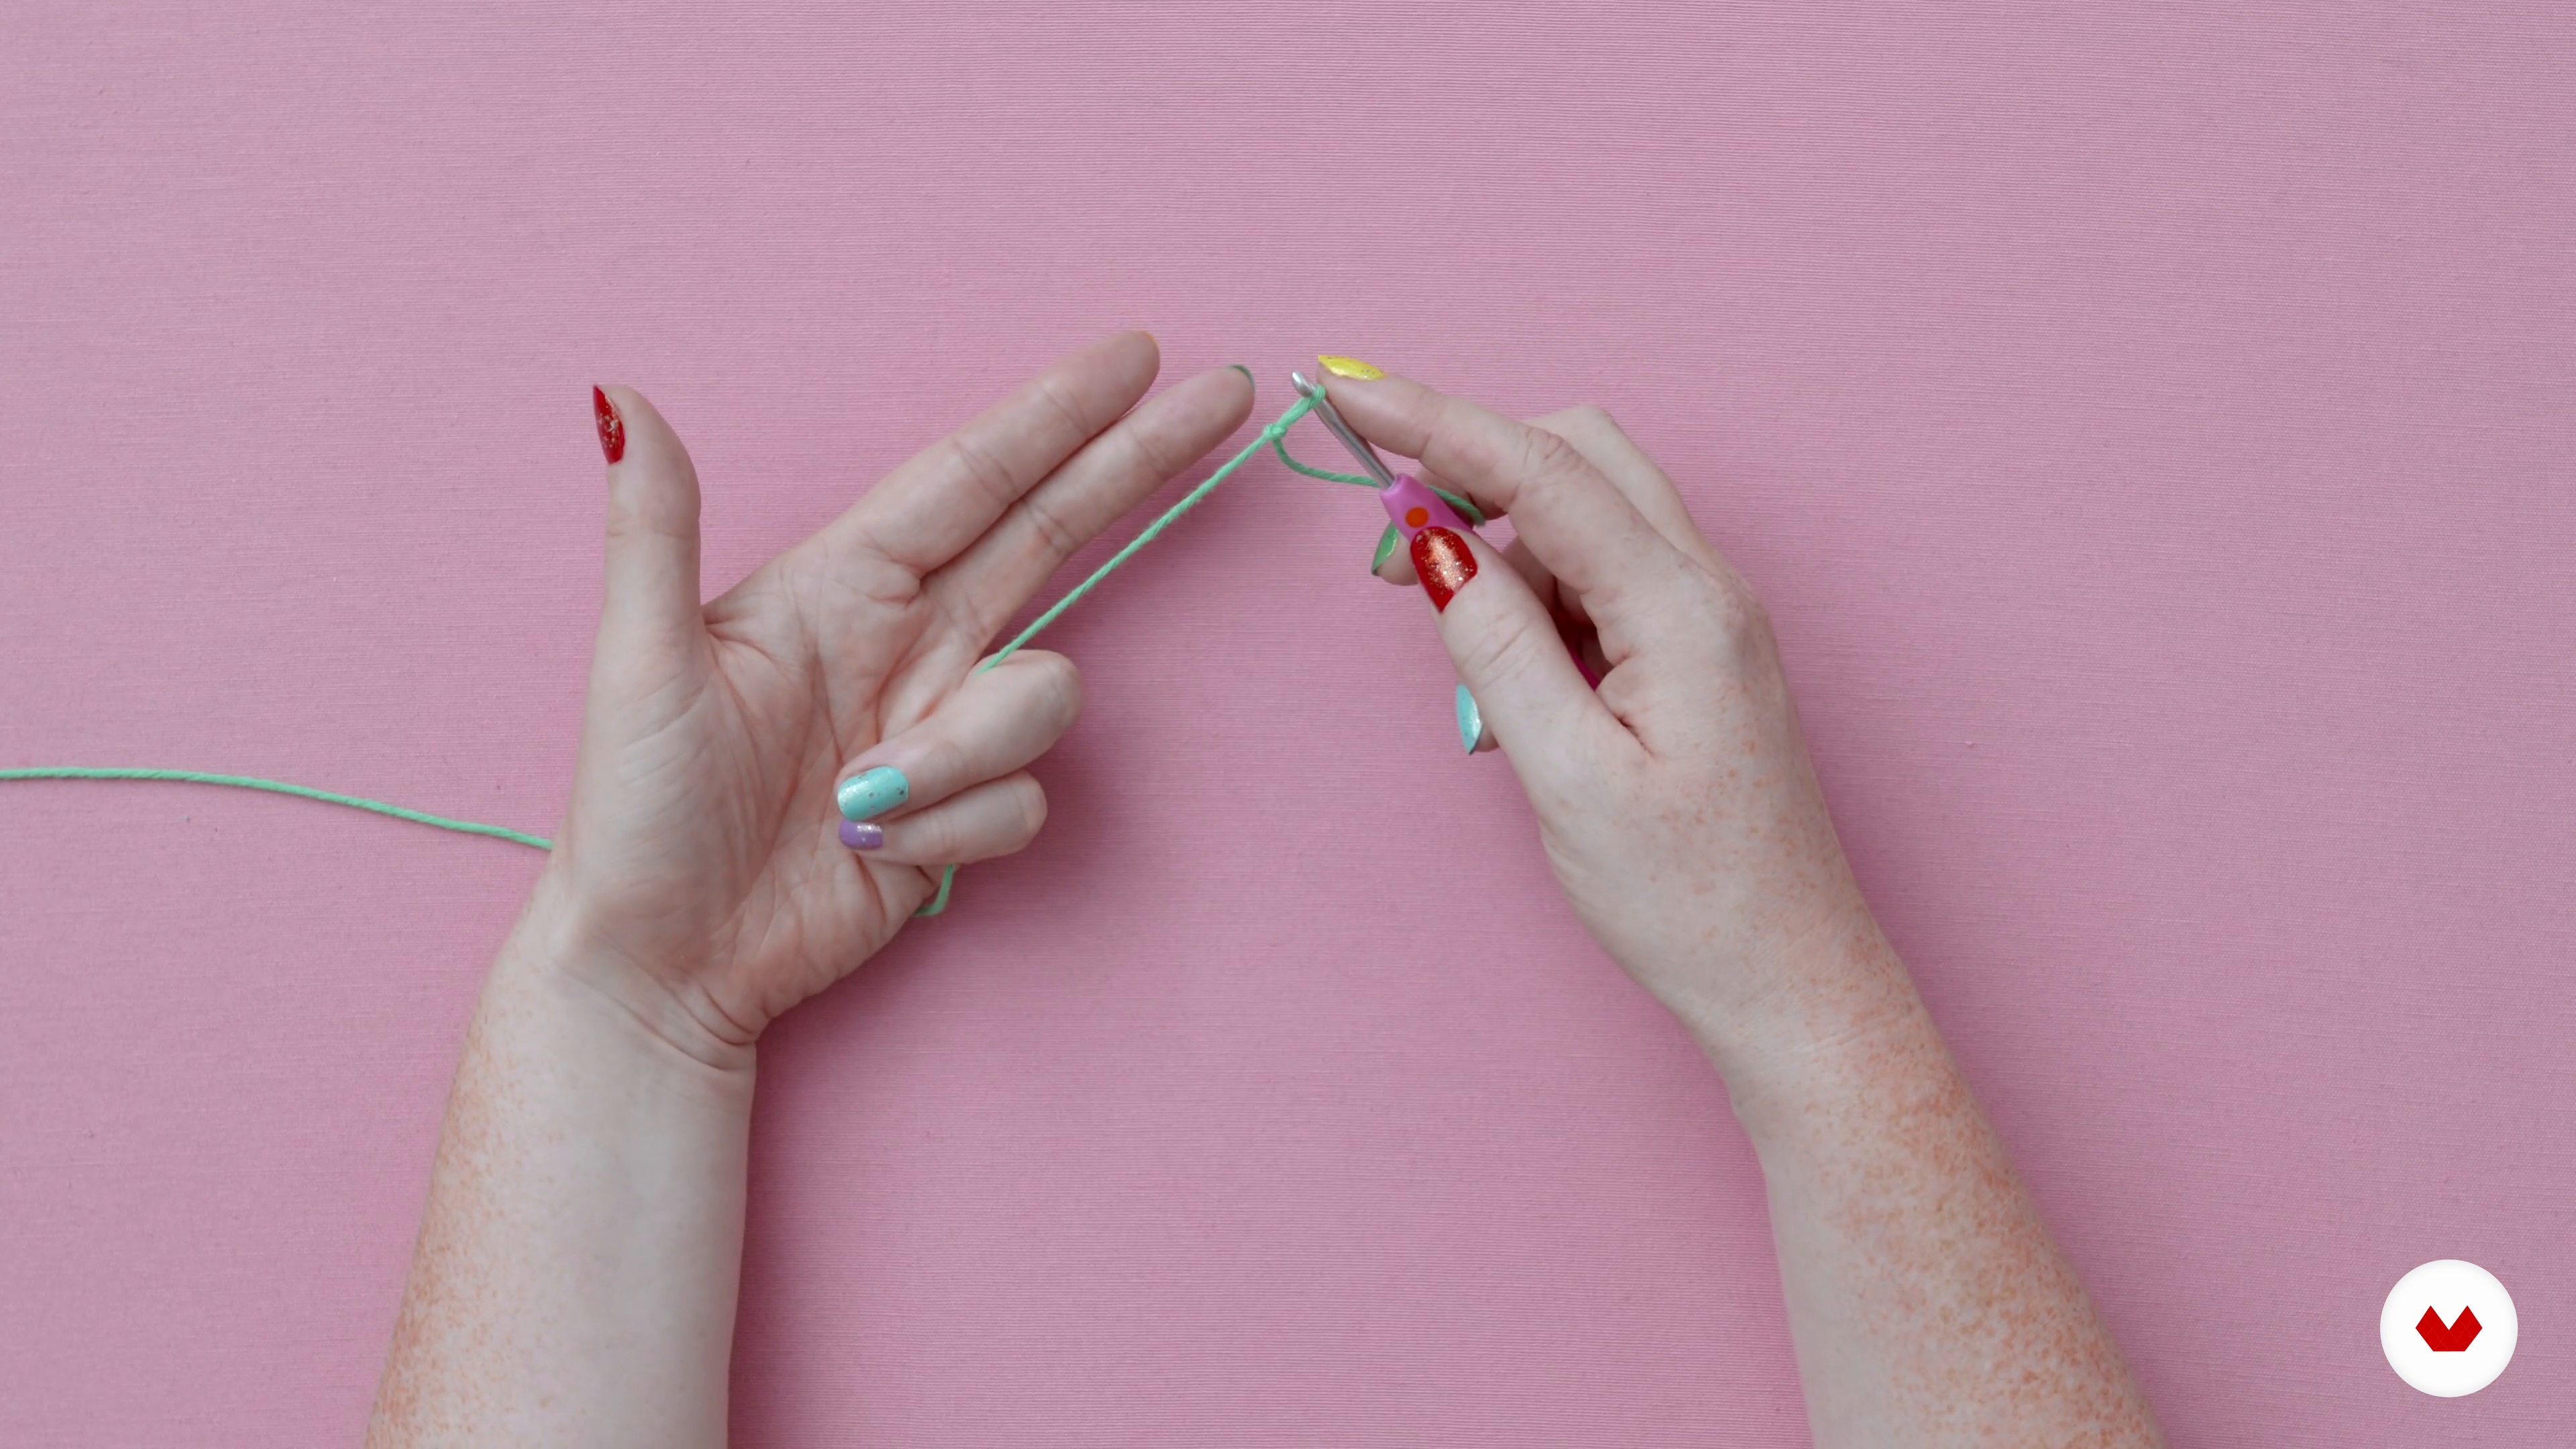
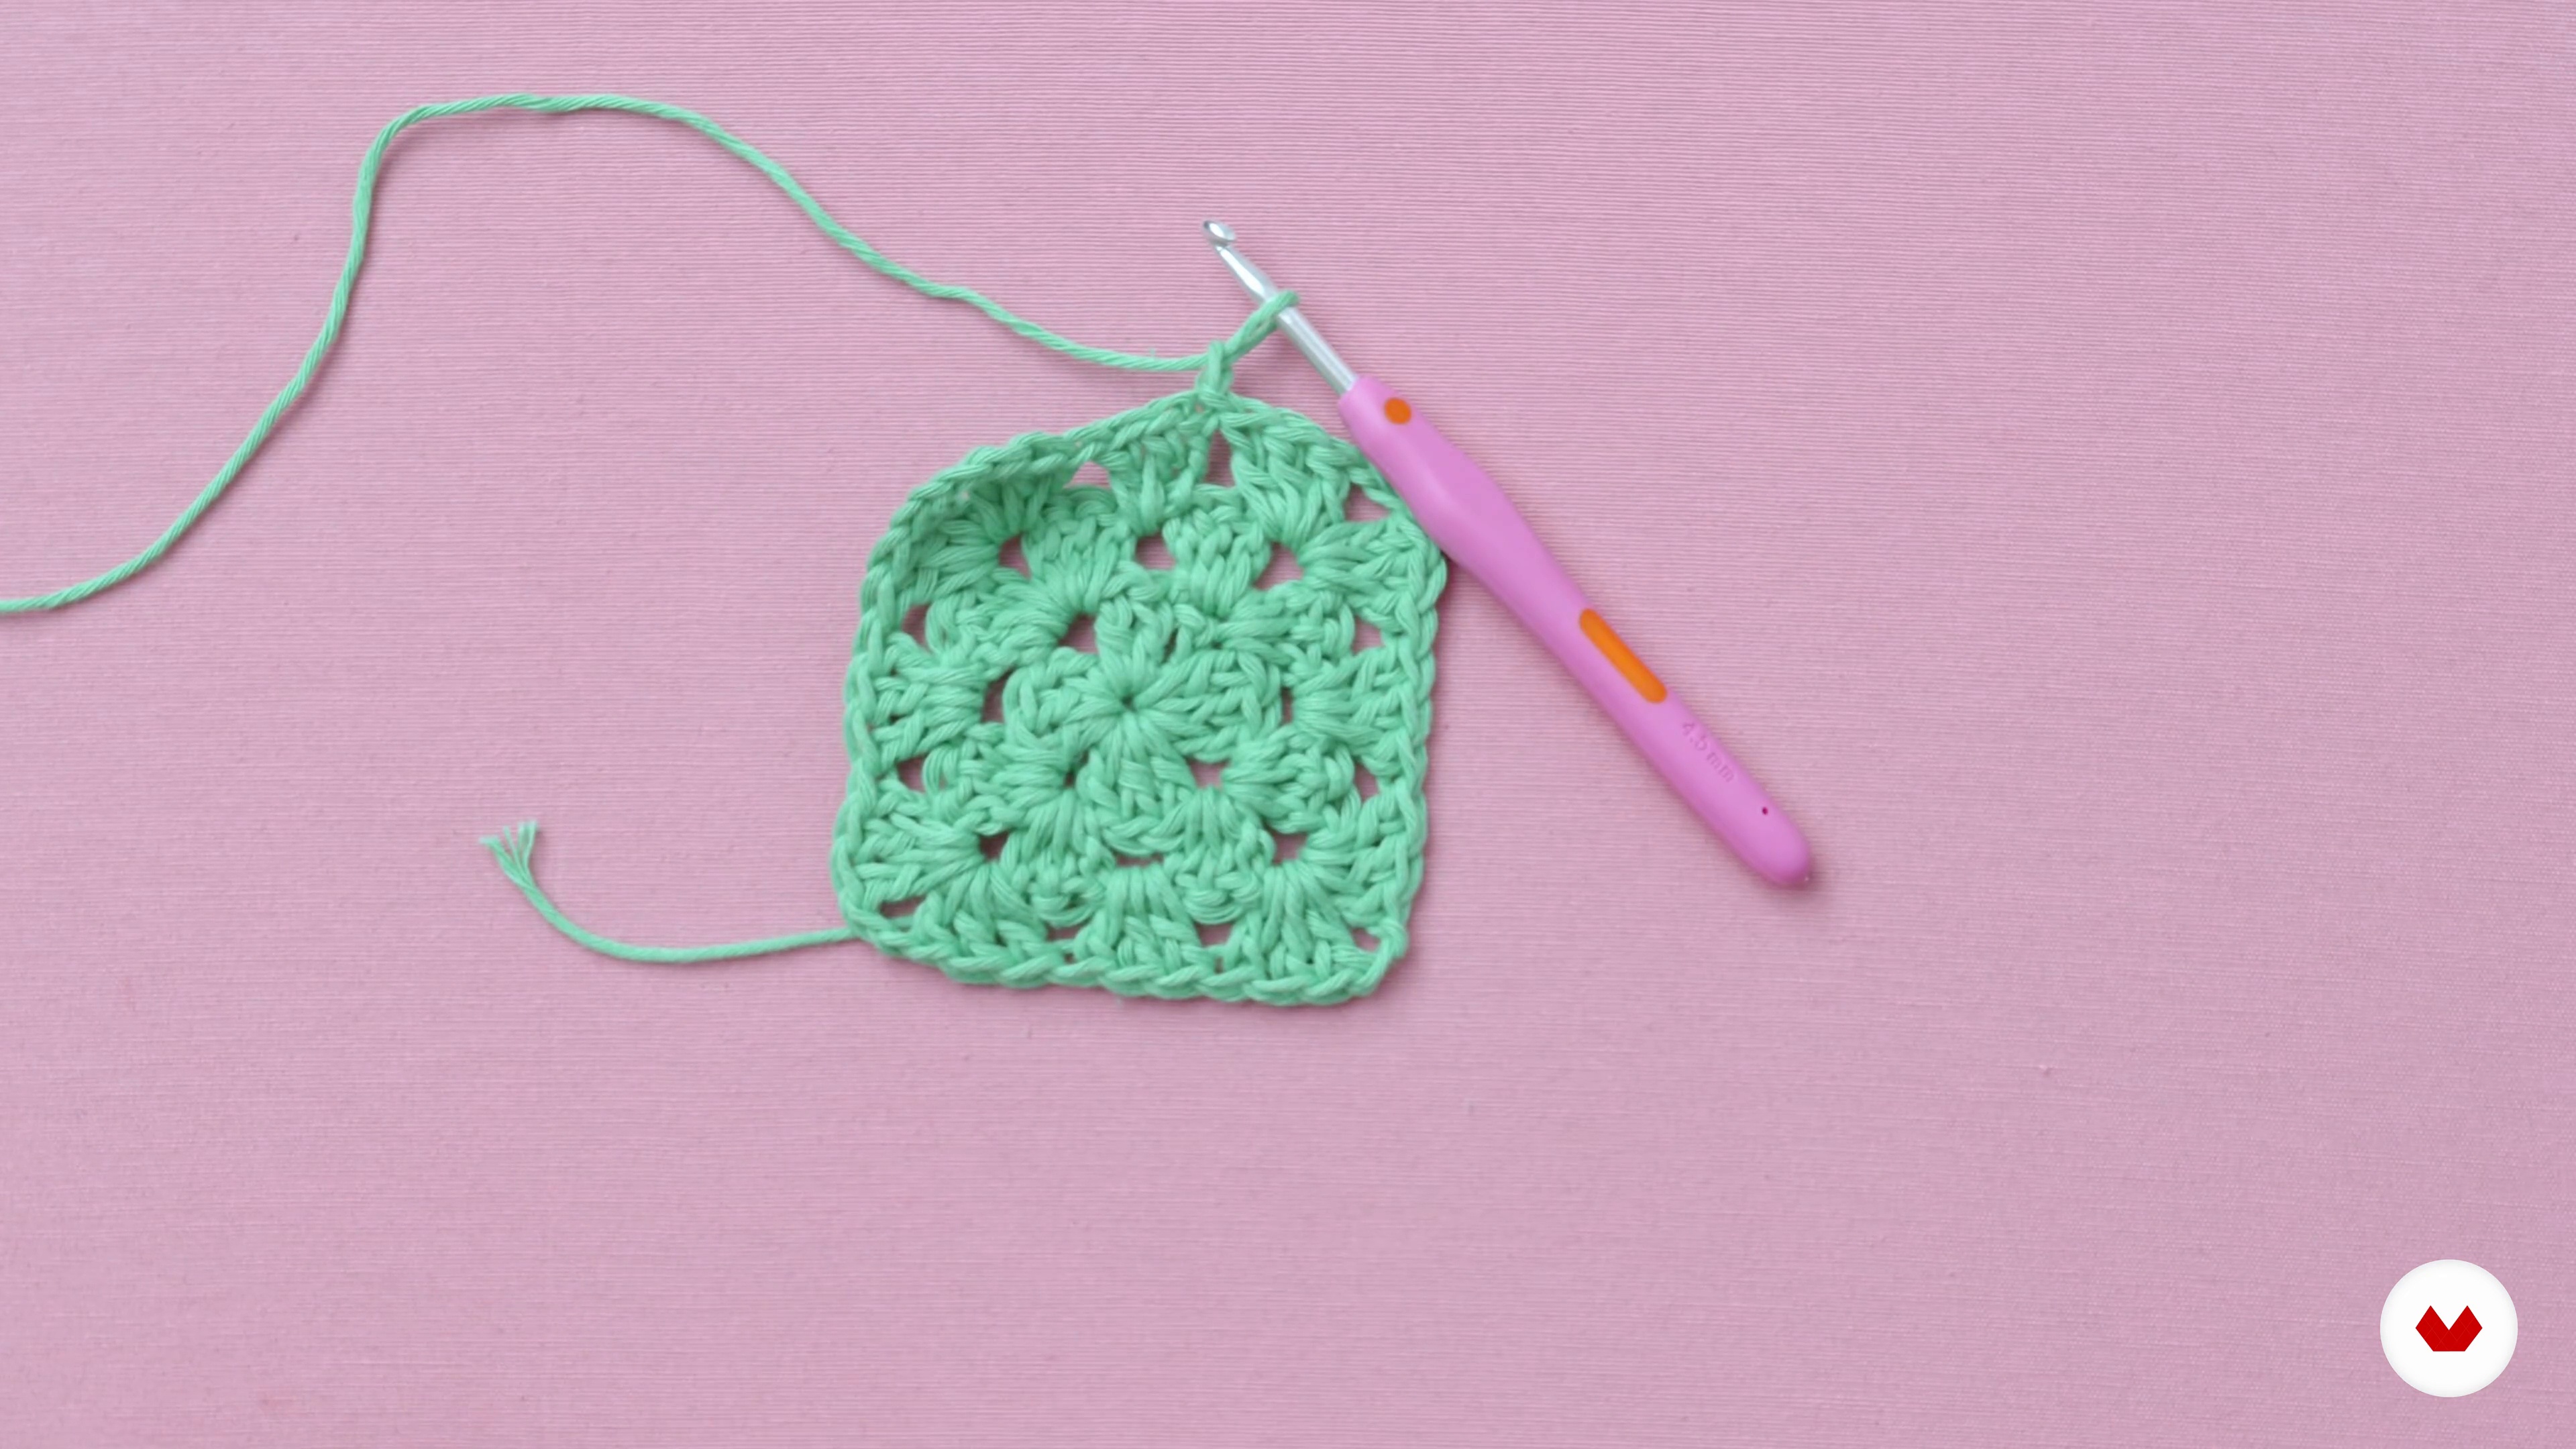
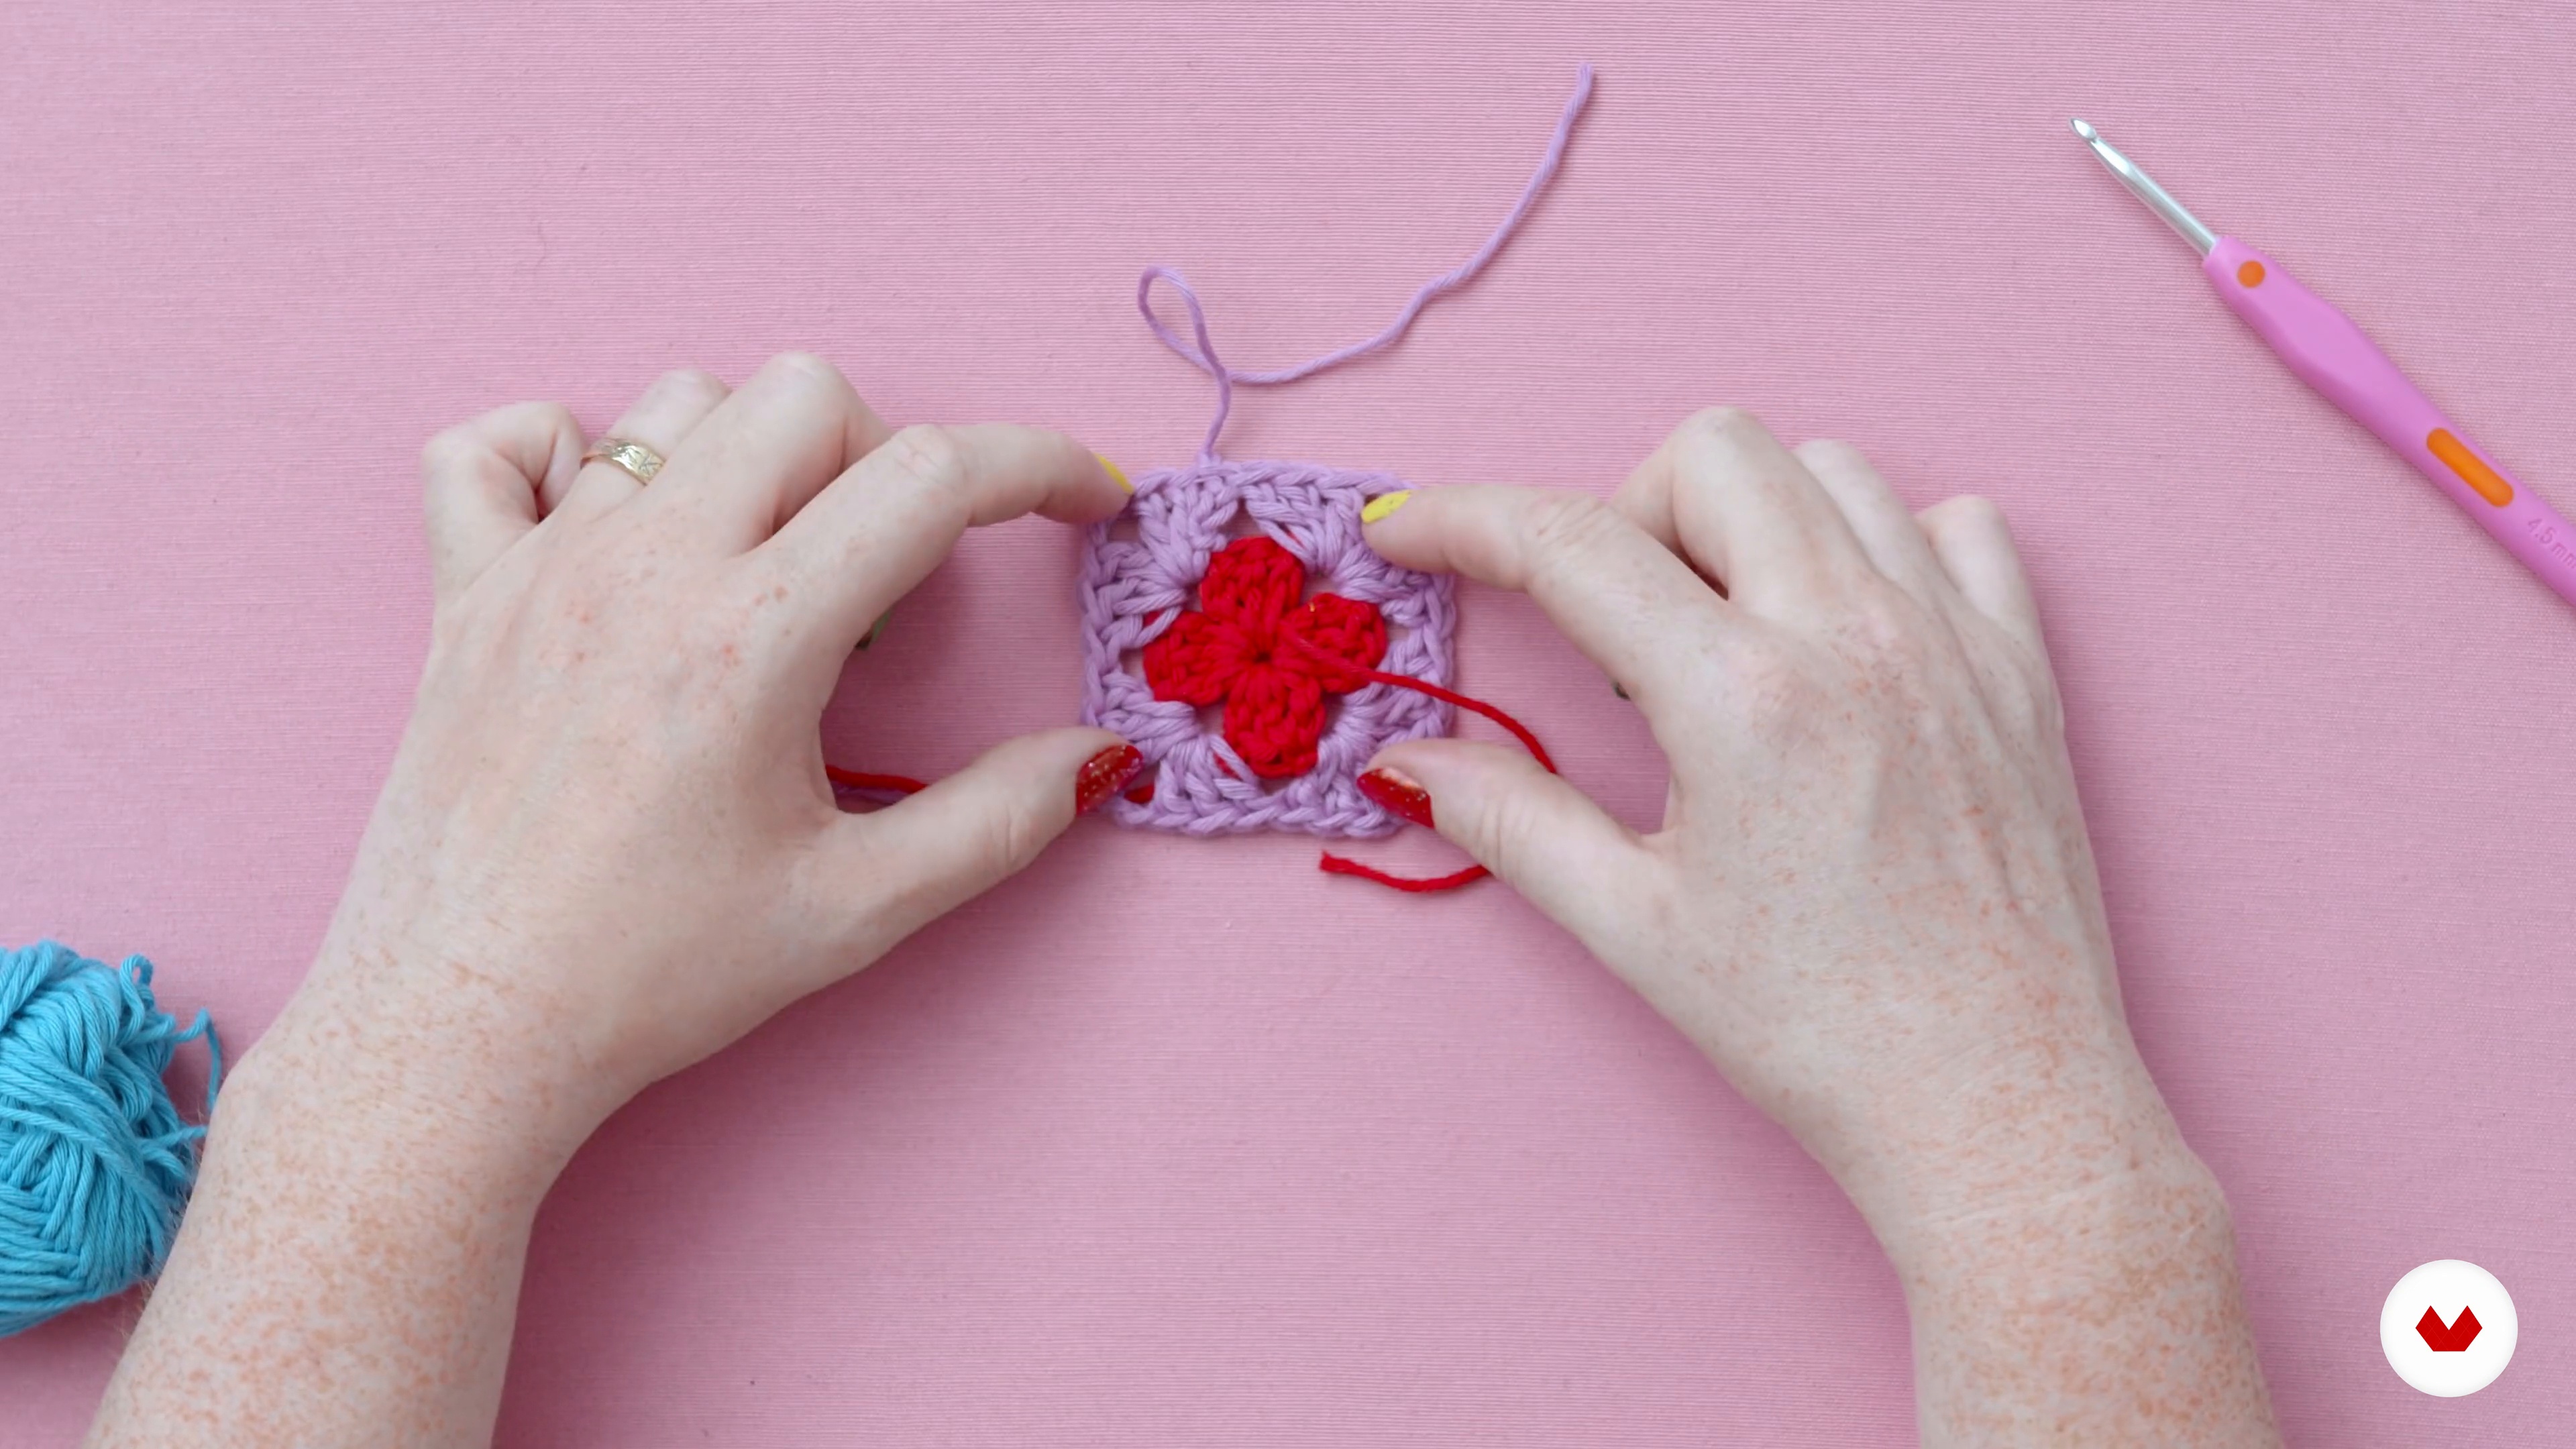
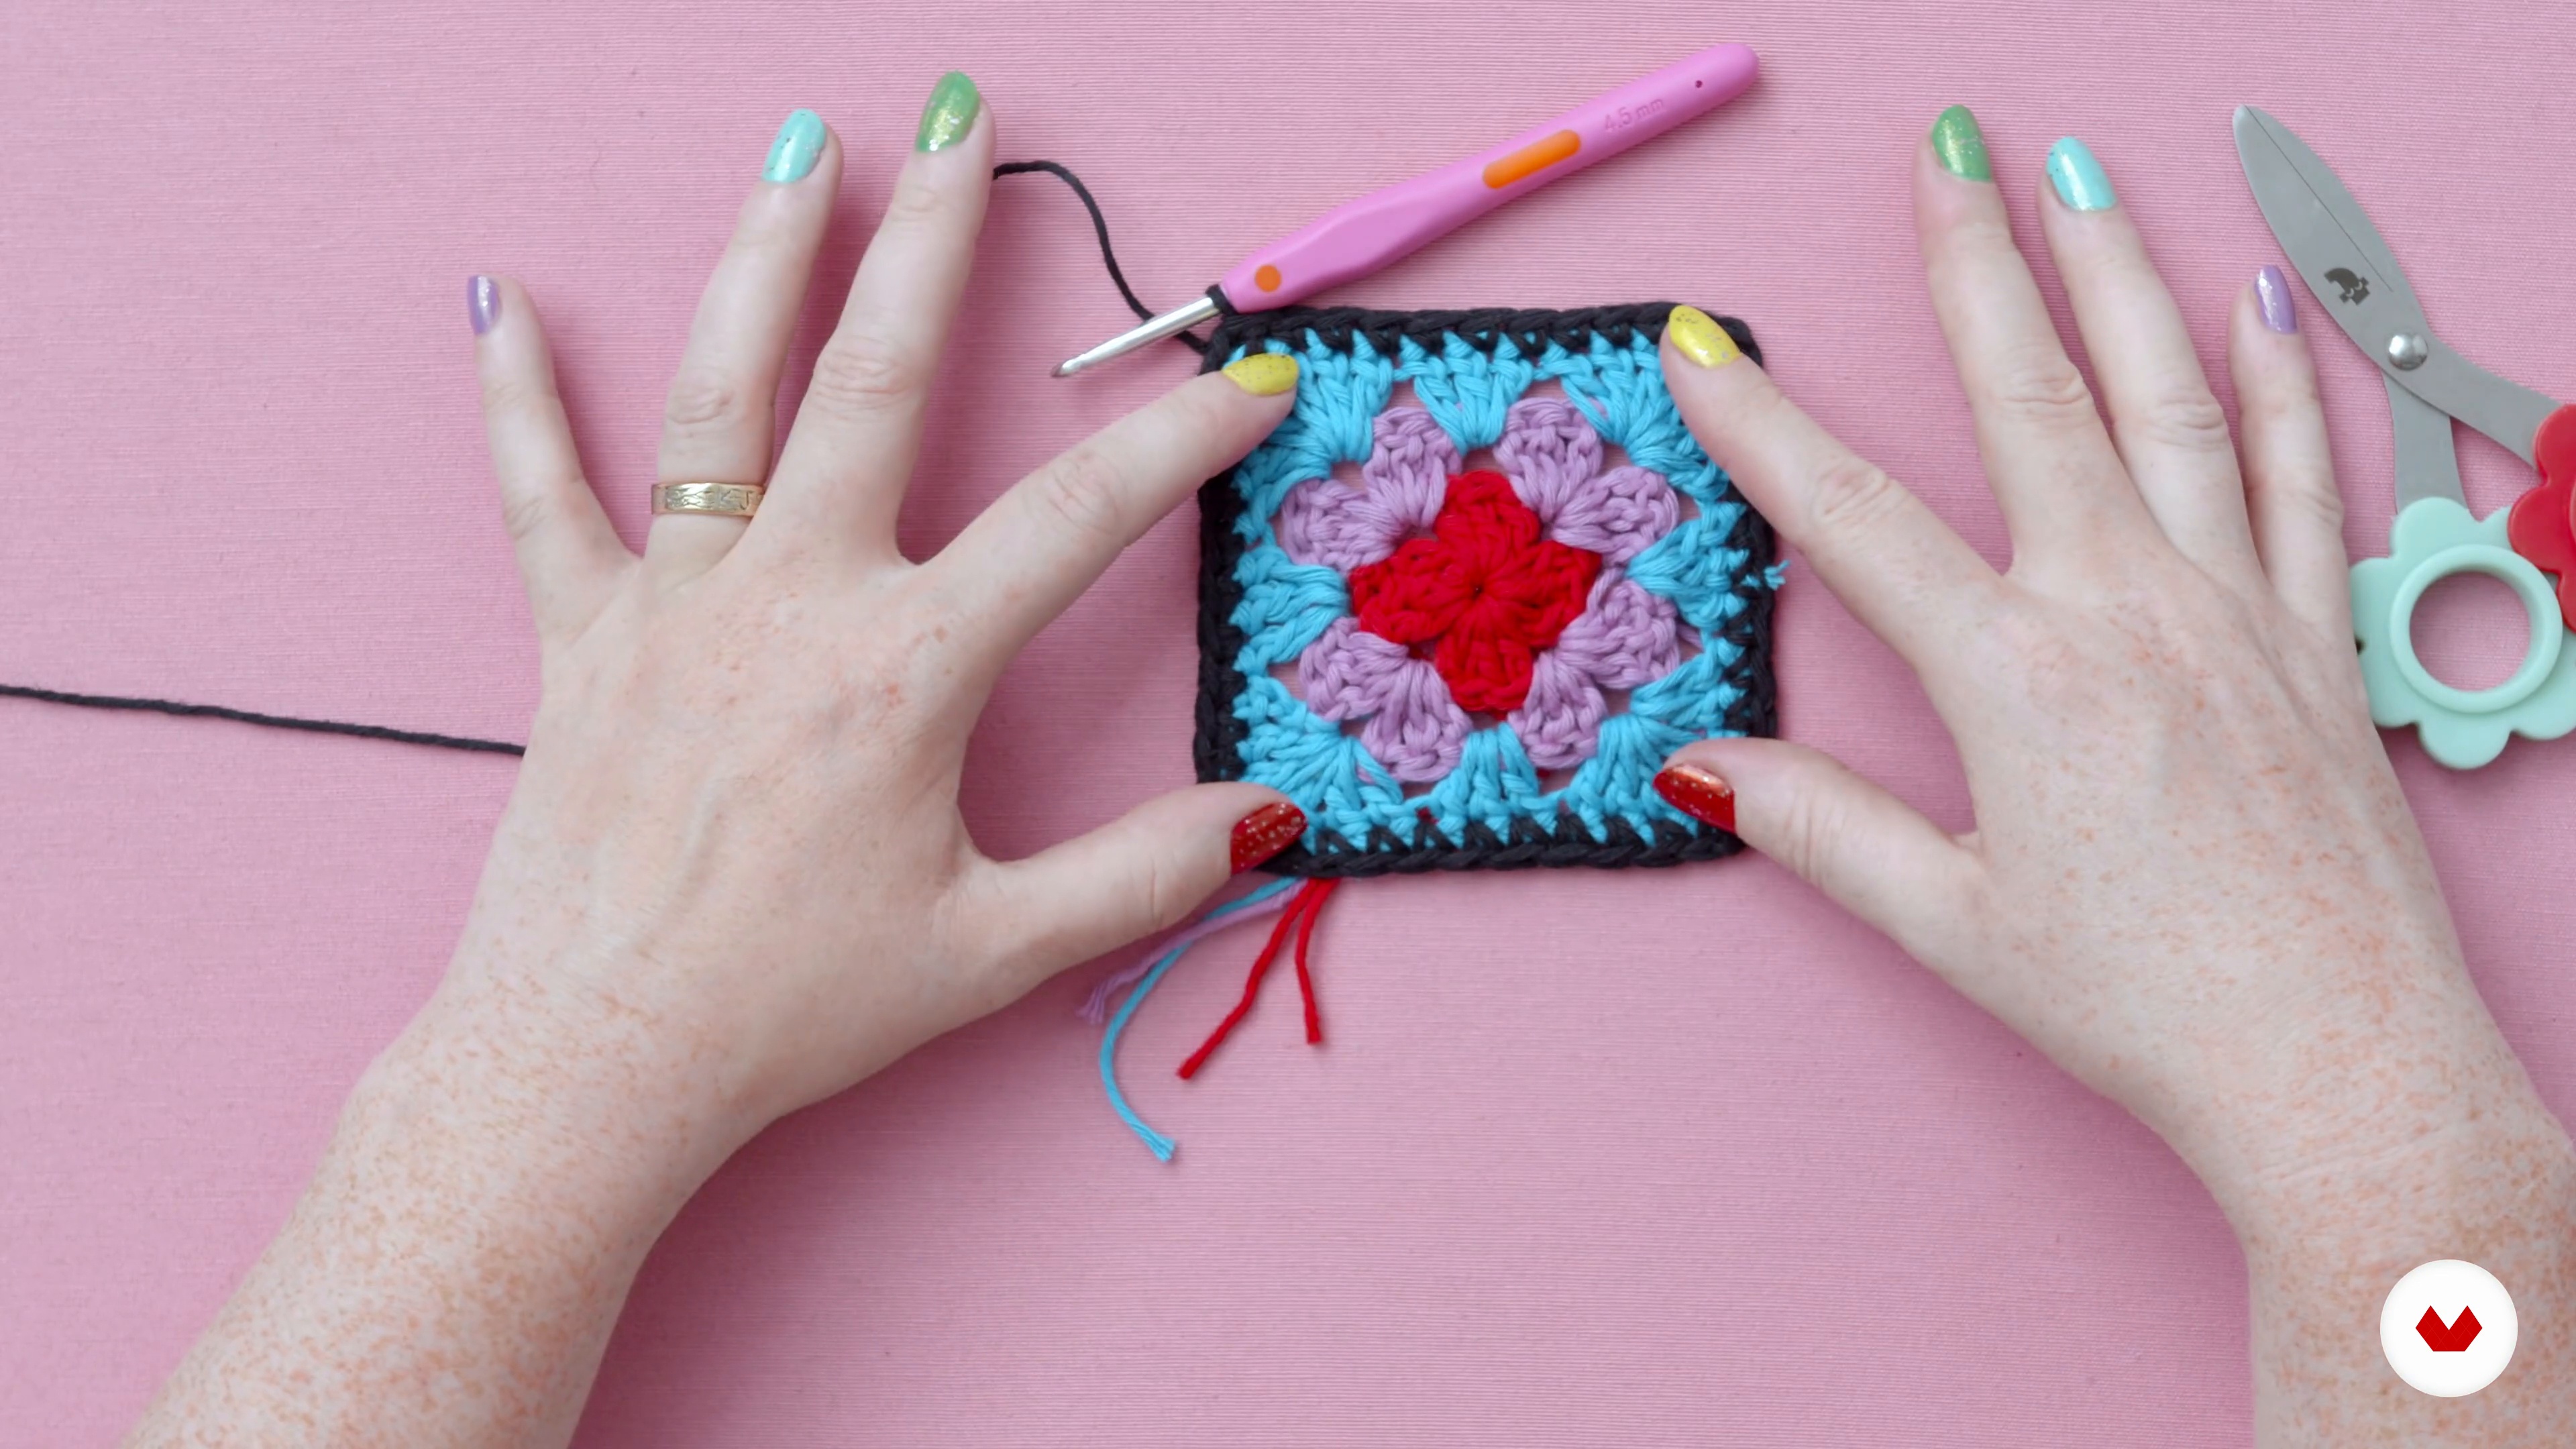
Yes, this course is designed for beginners and covers all the basics, including tools, stitches, and foundational techniques like making granny squares.
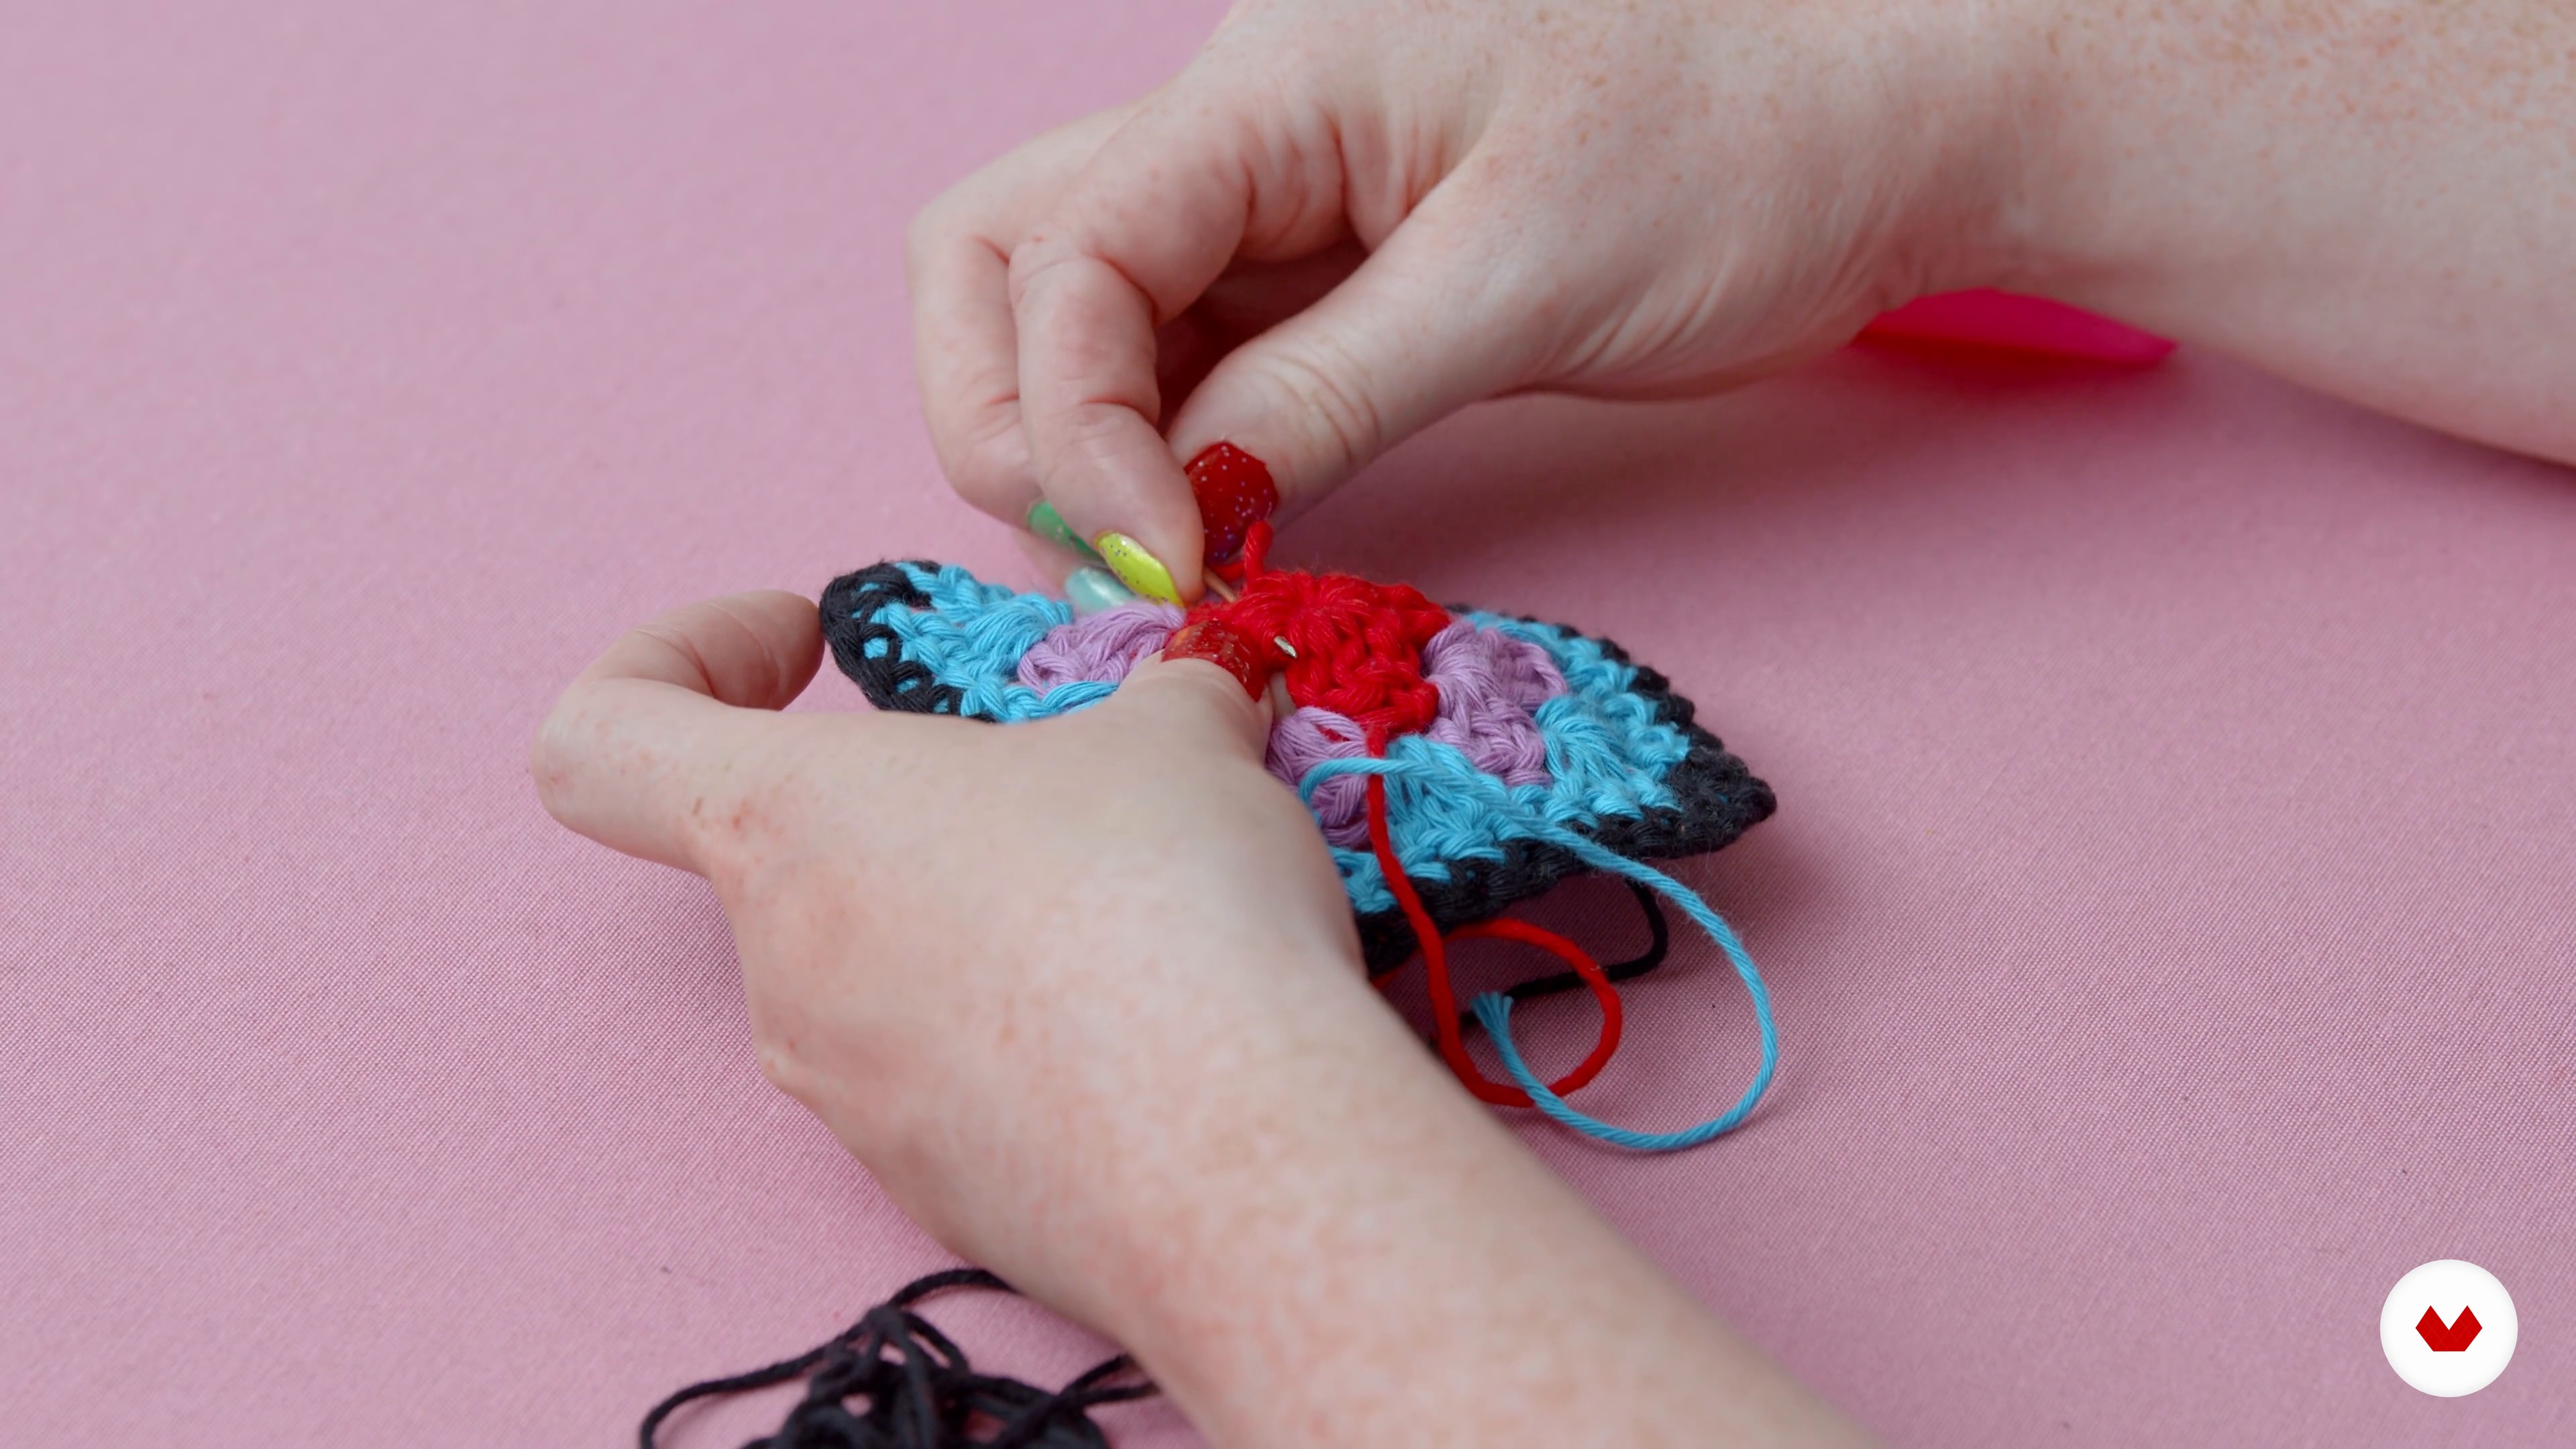
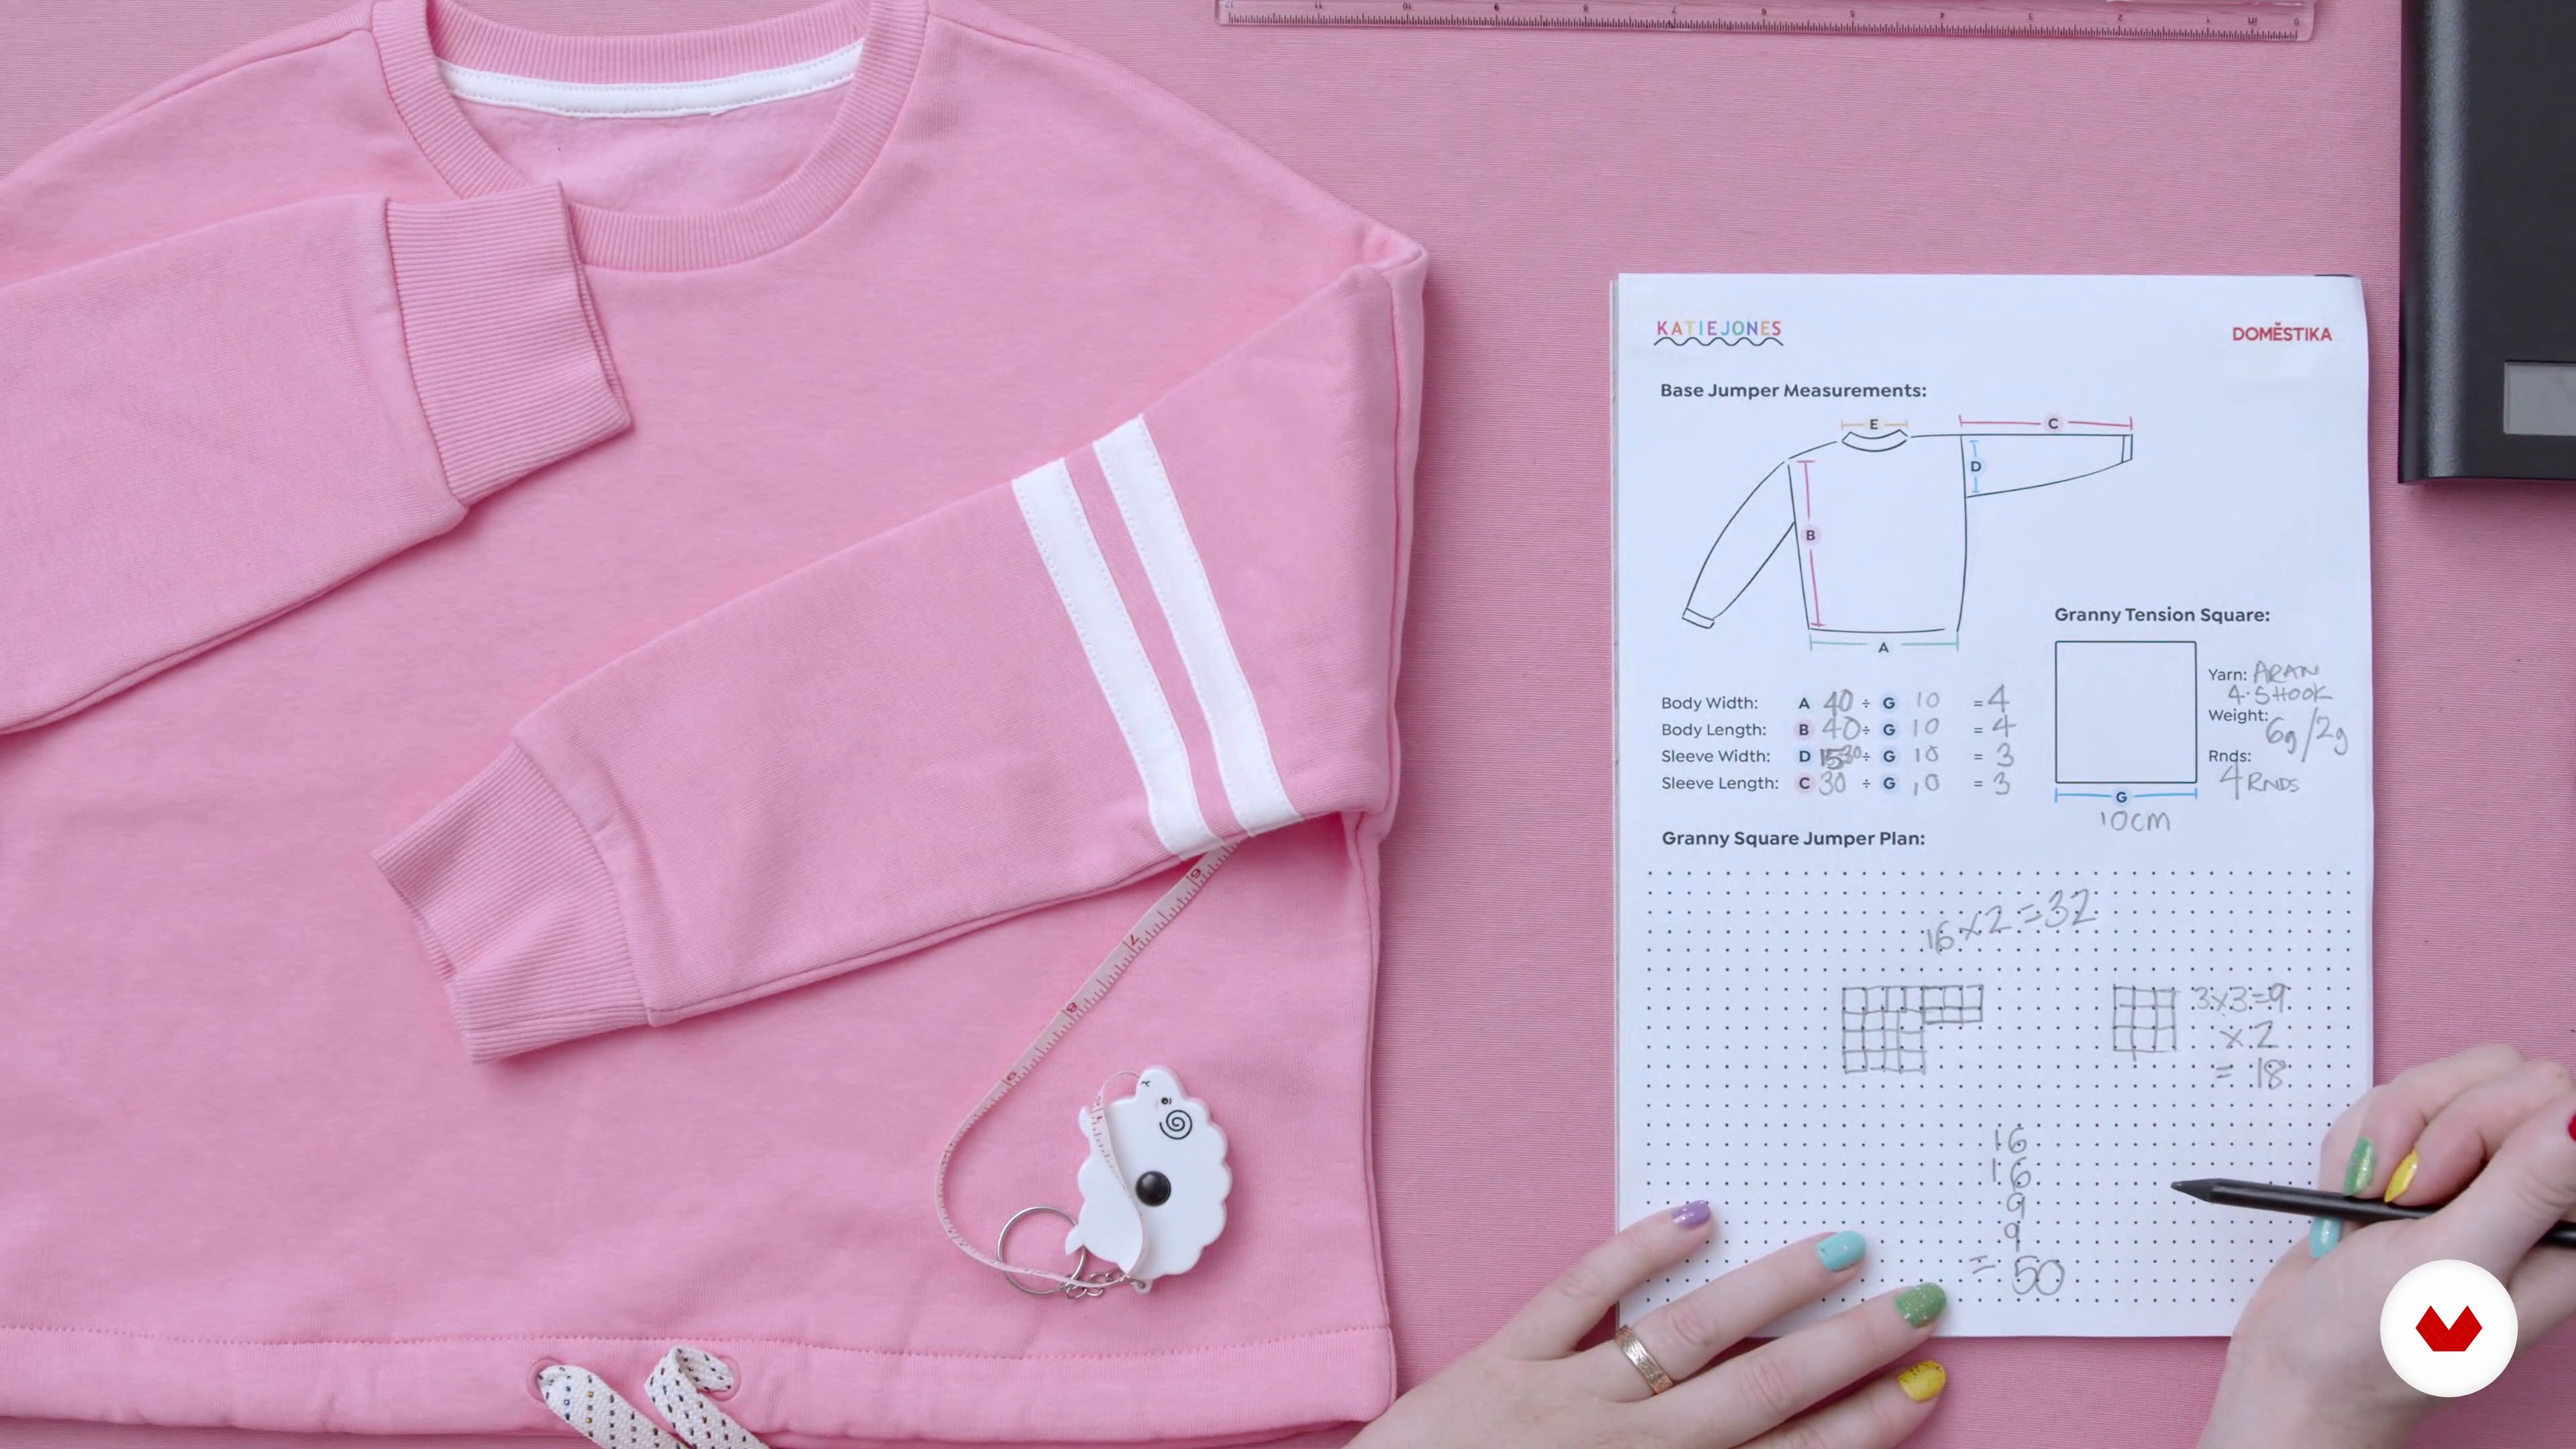
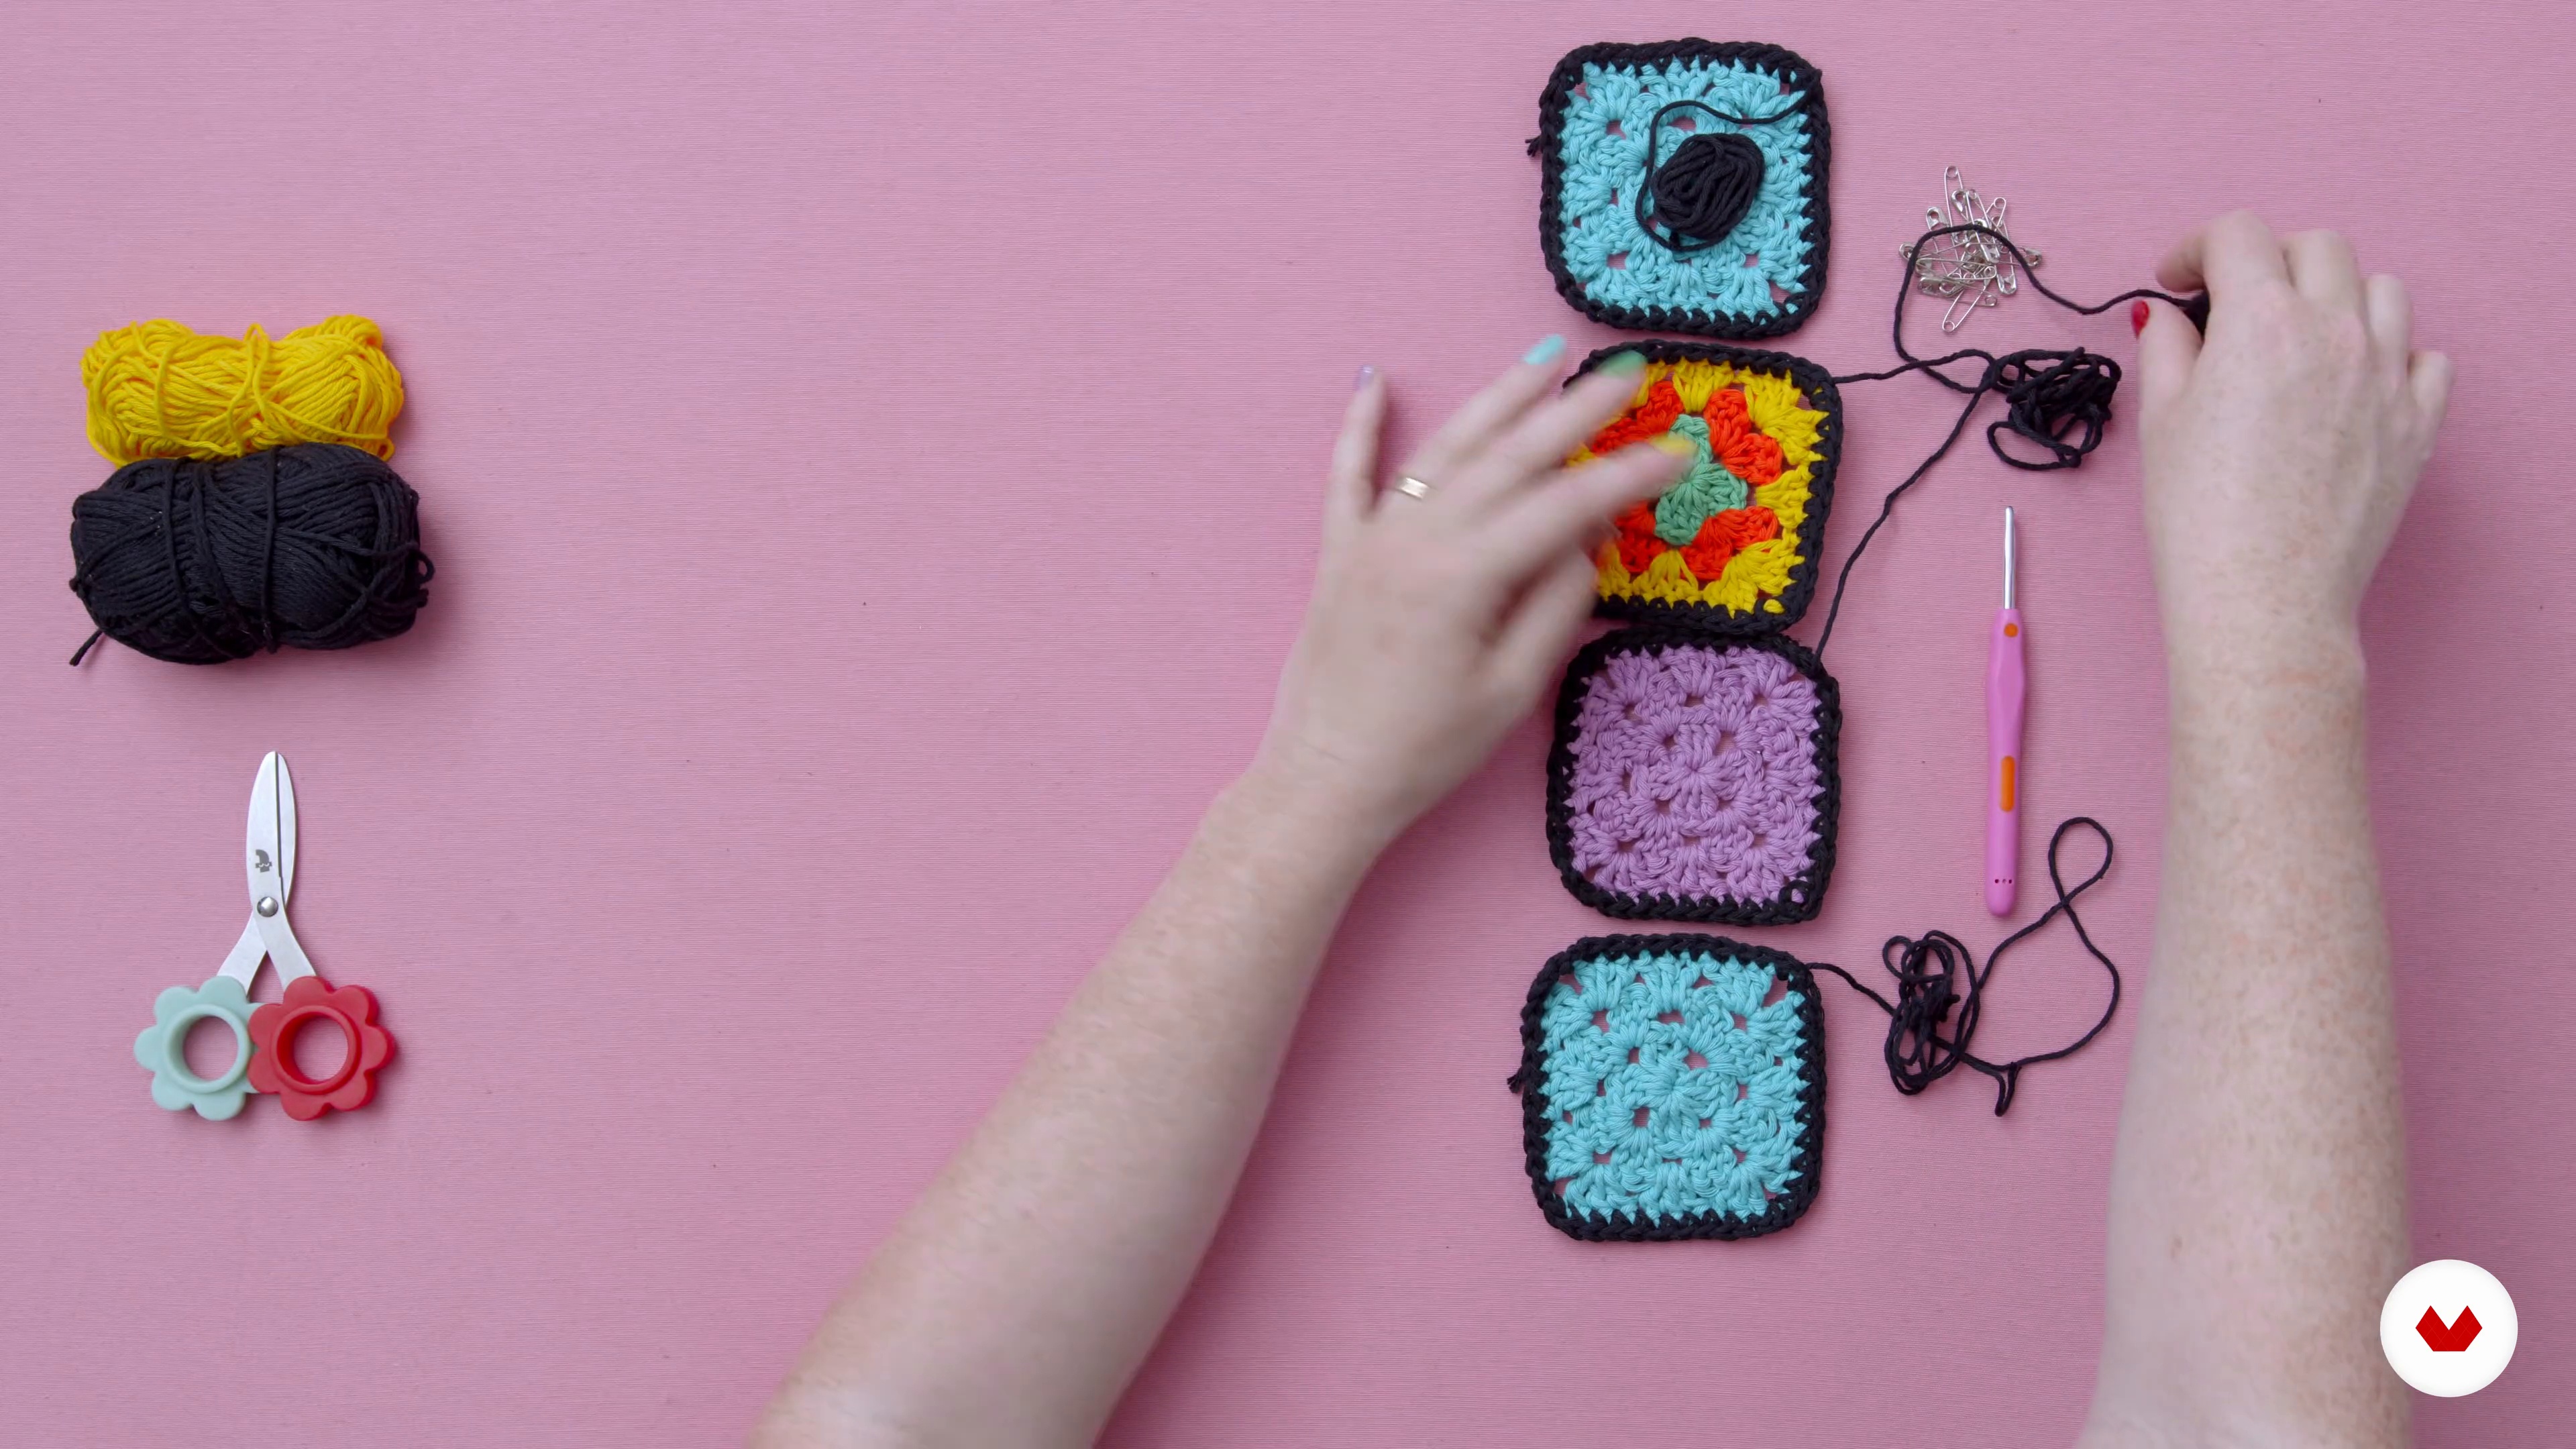
You’ll need yarn, a crochet hook, a latch tool, stitch markers, scissors, and a yarn needle. The course helps you choose the right hook size and yarn weight for your projects.
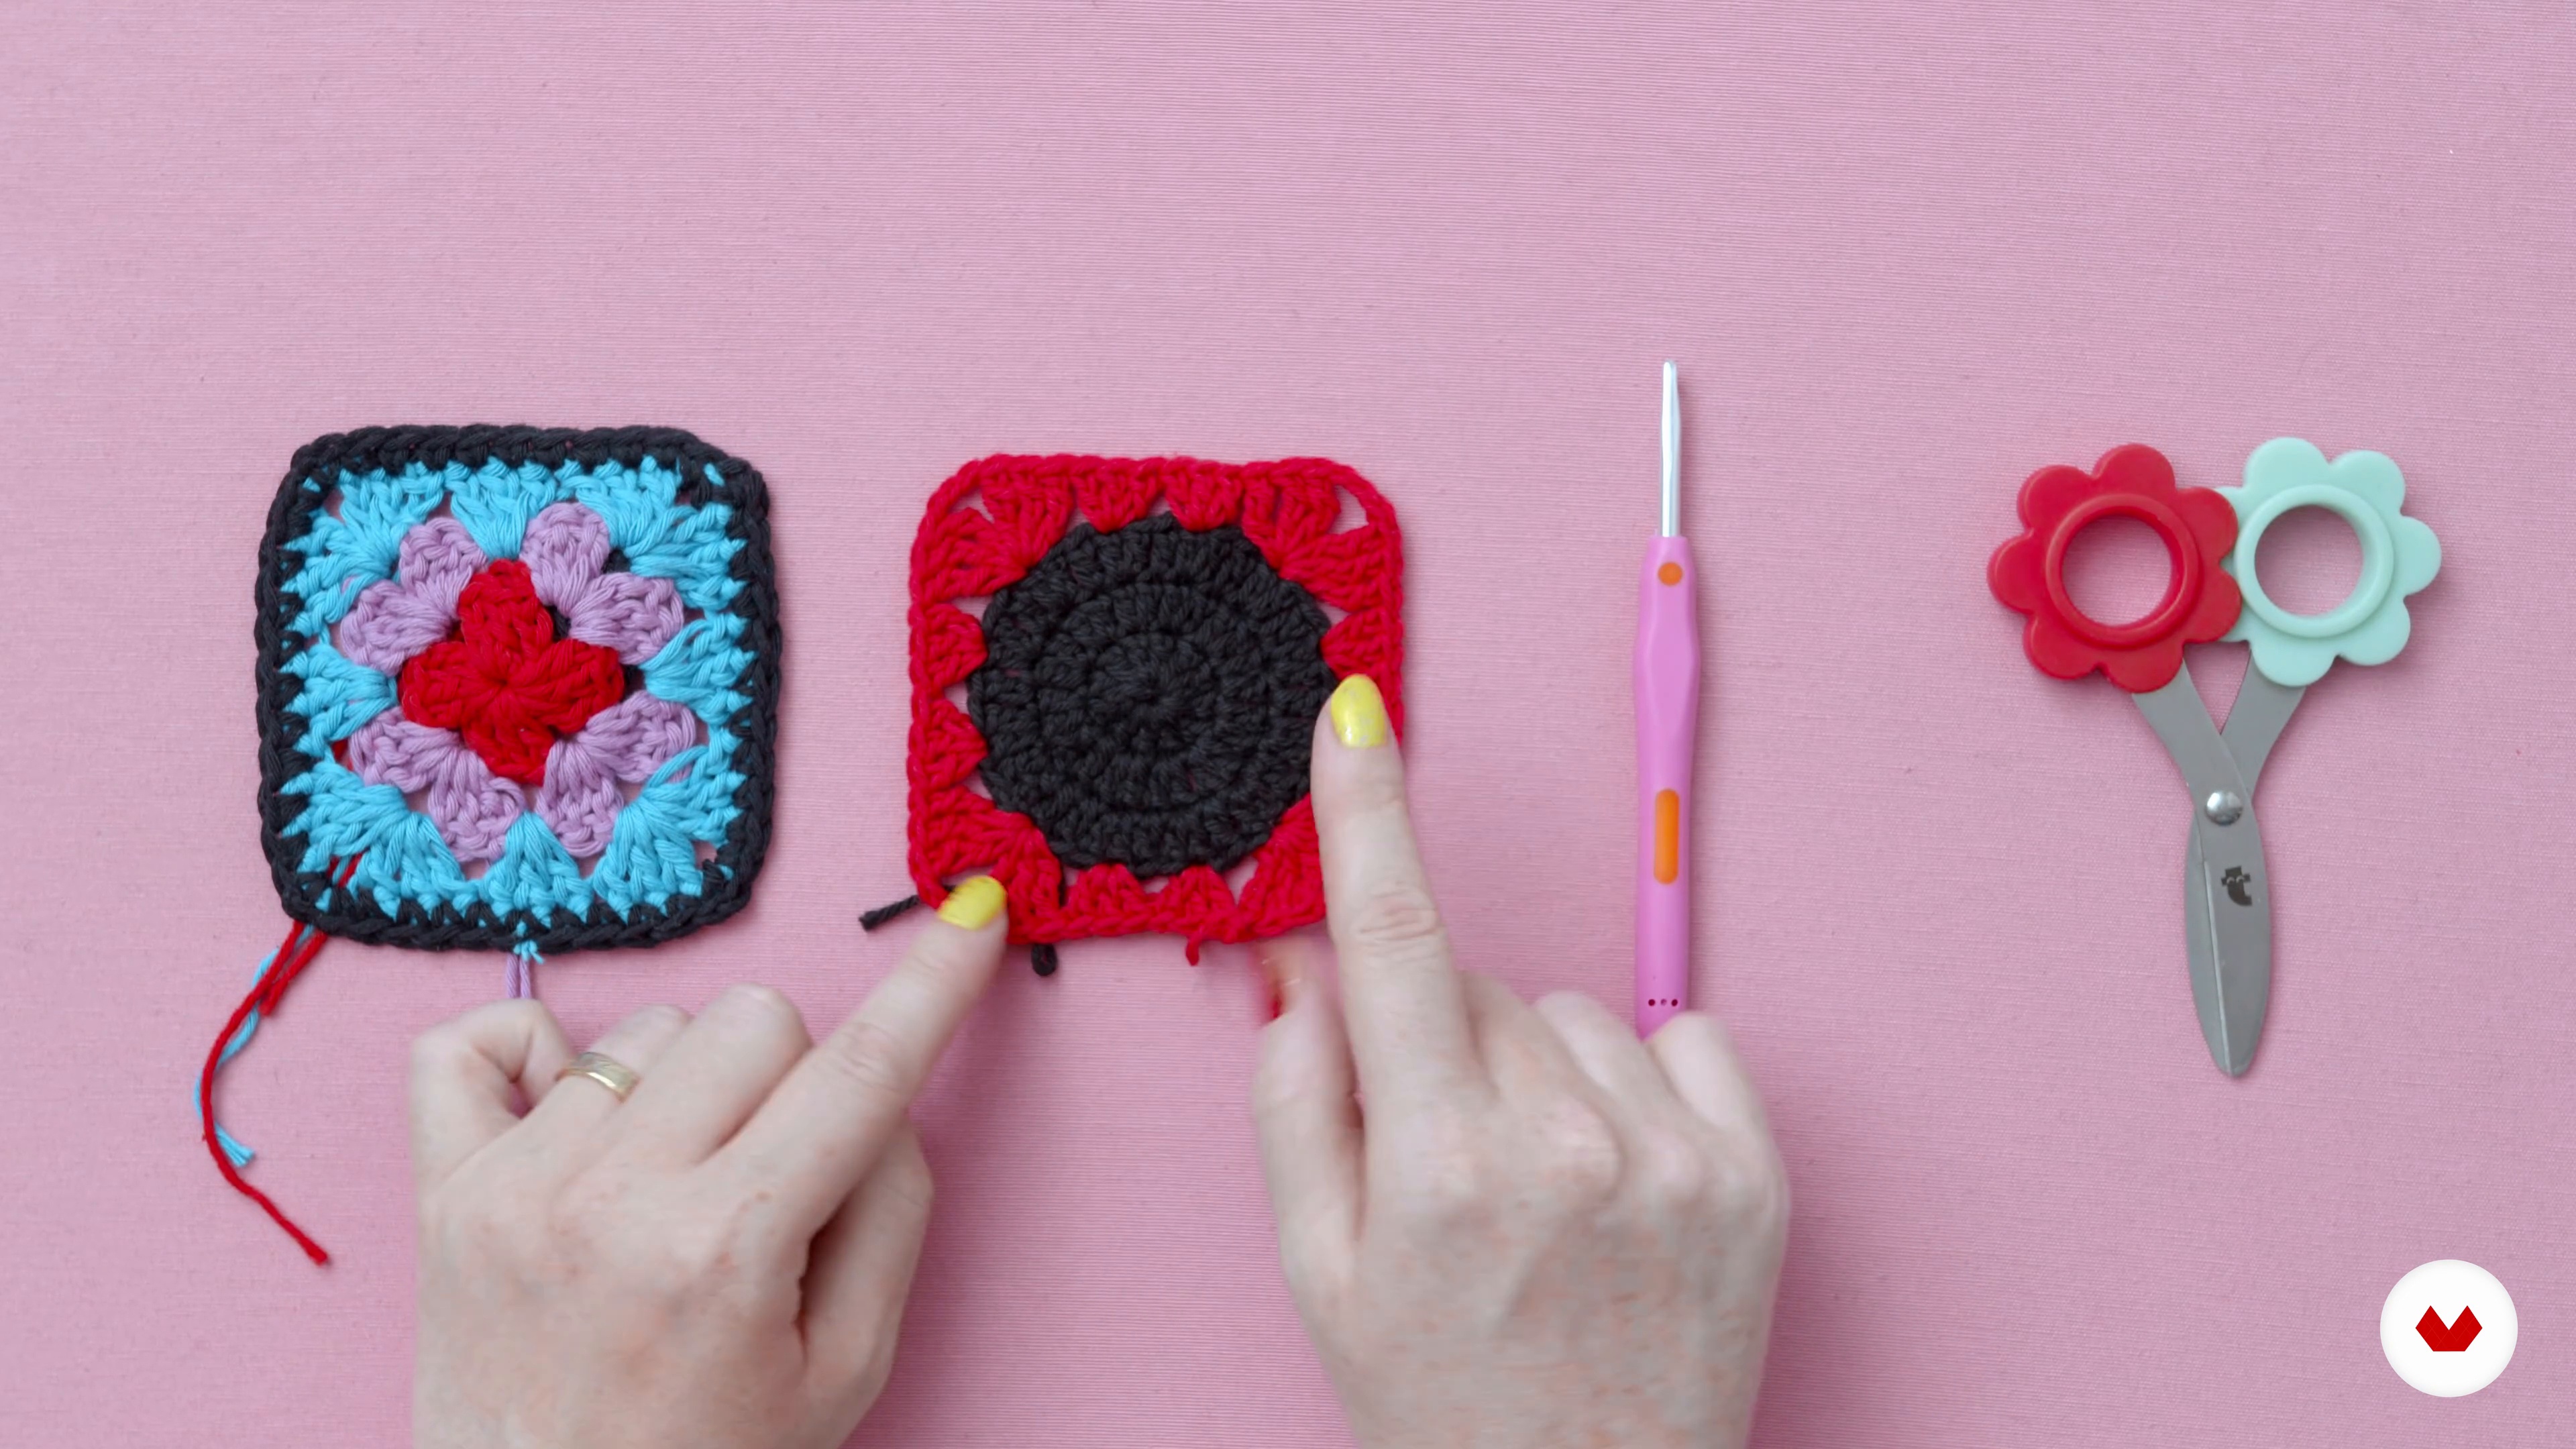
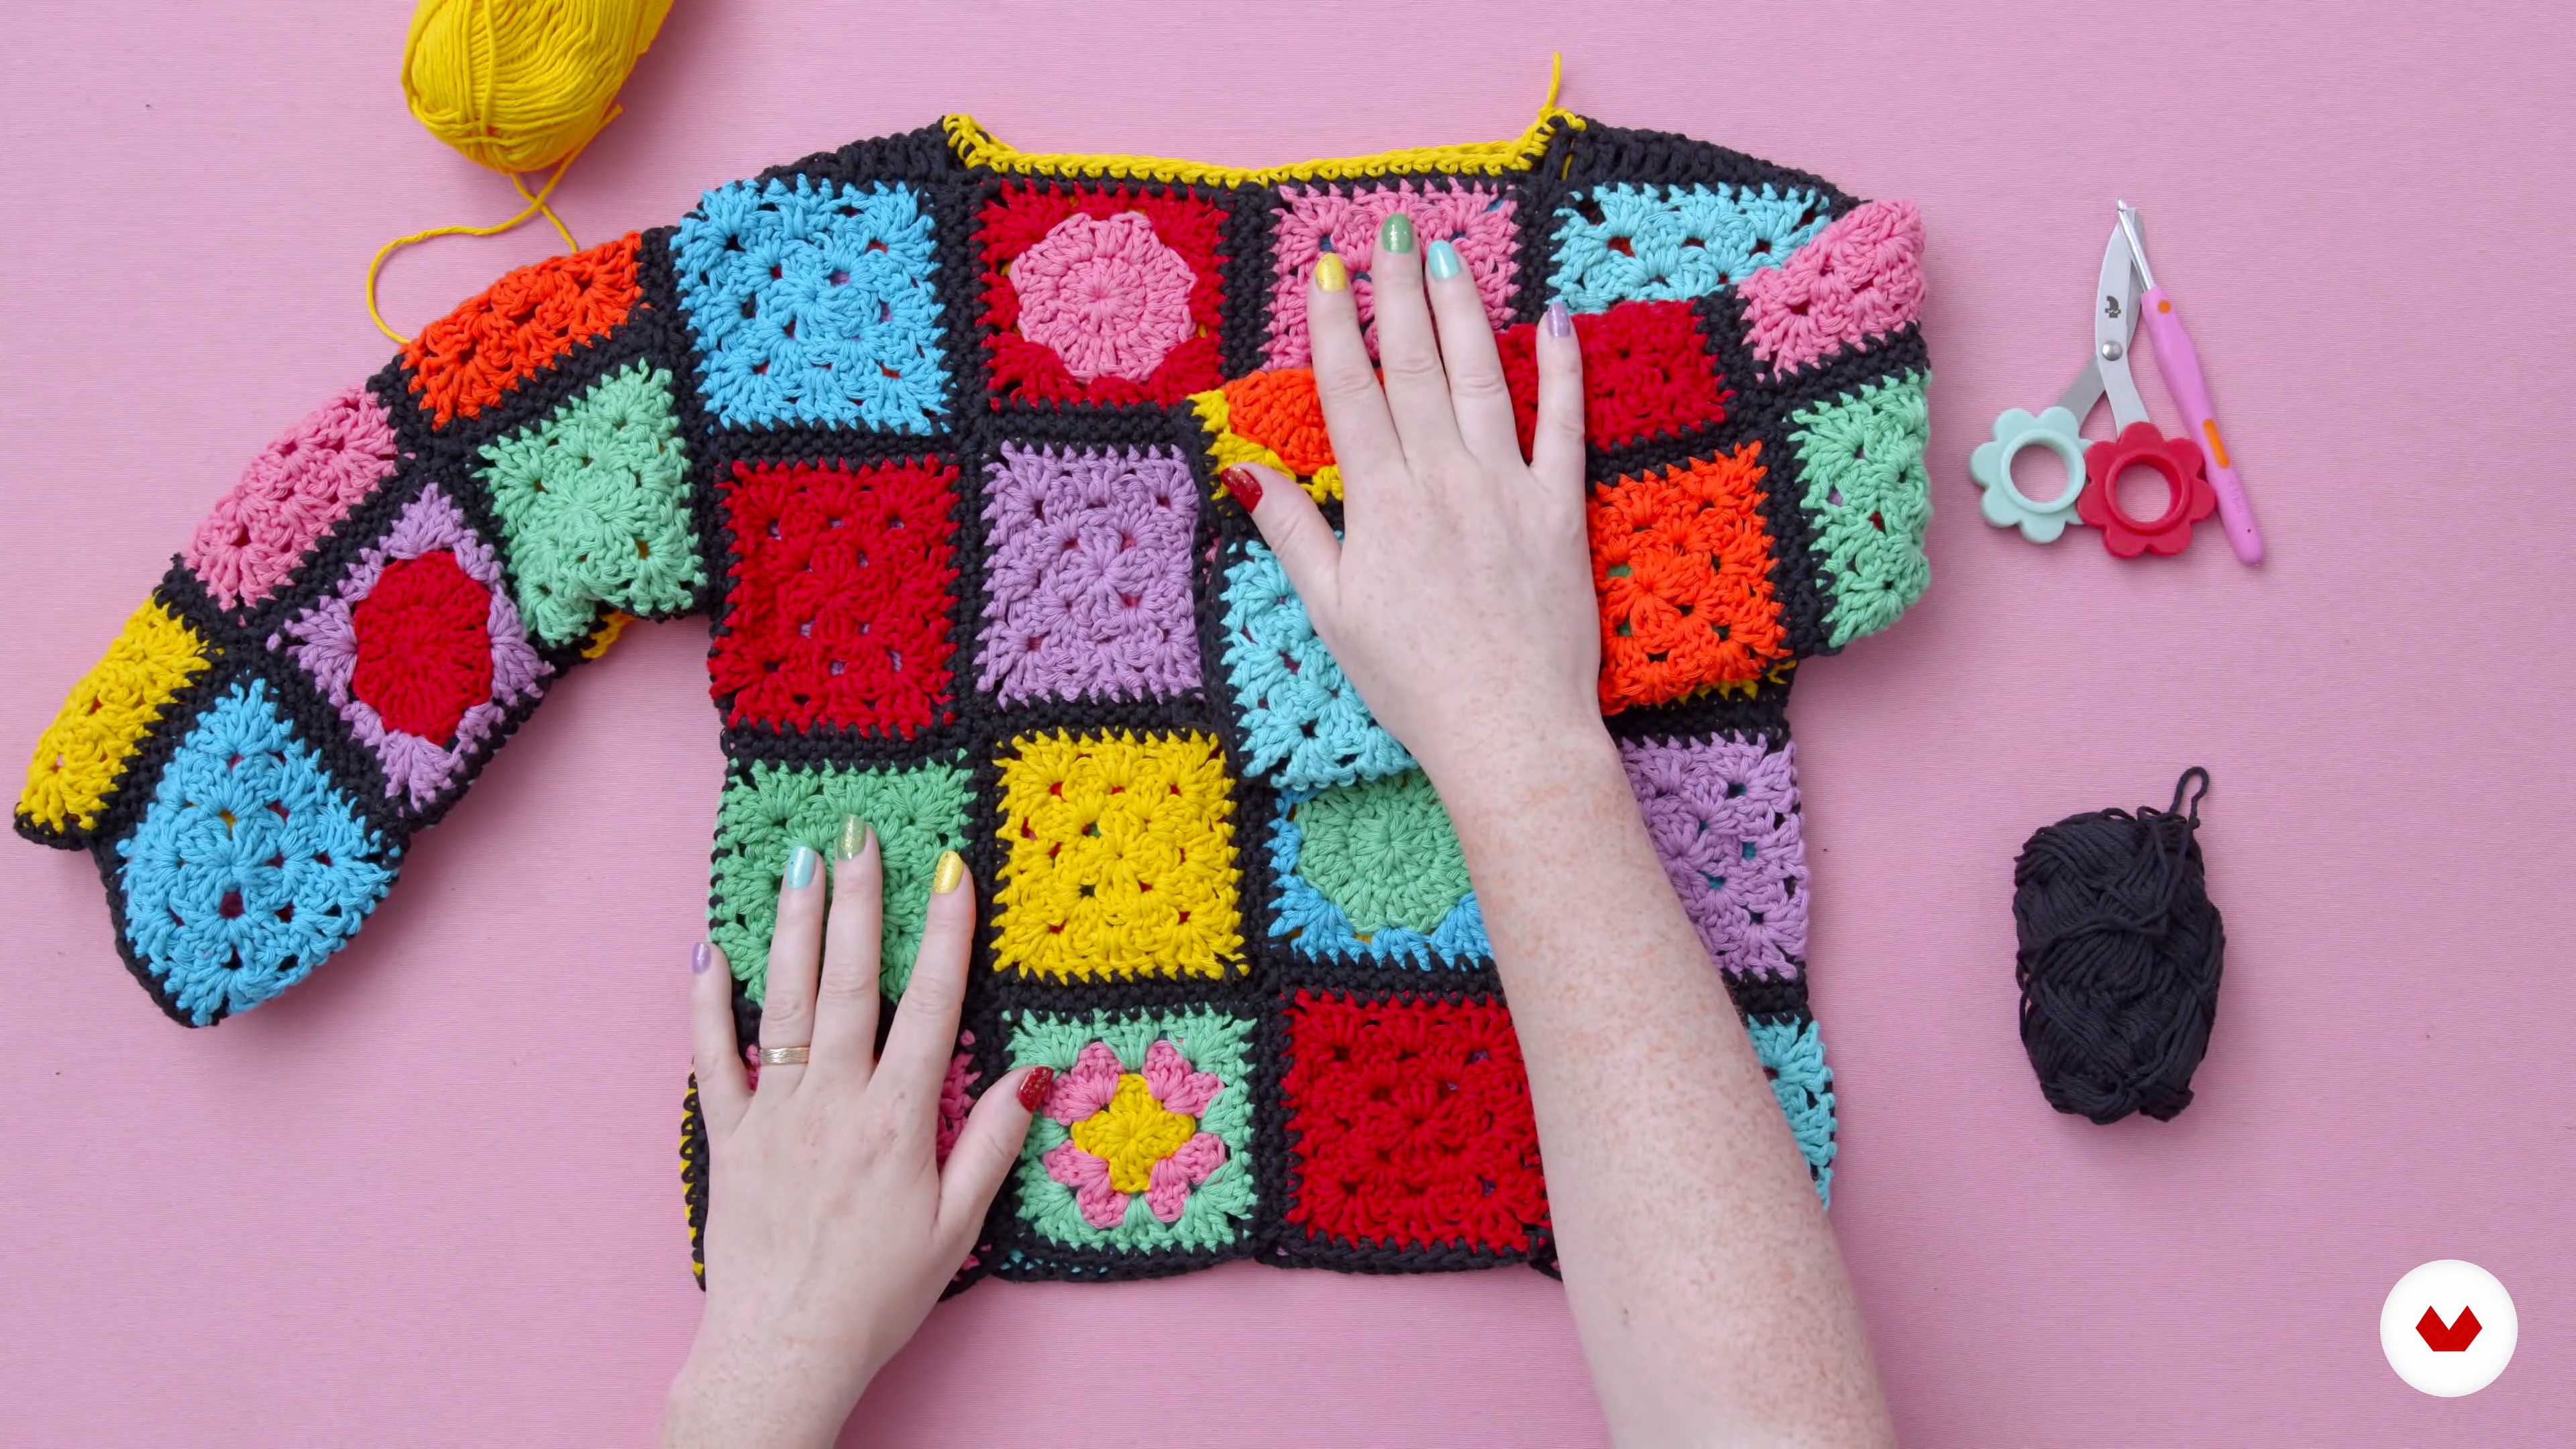
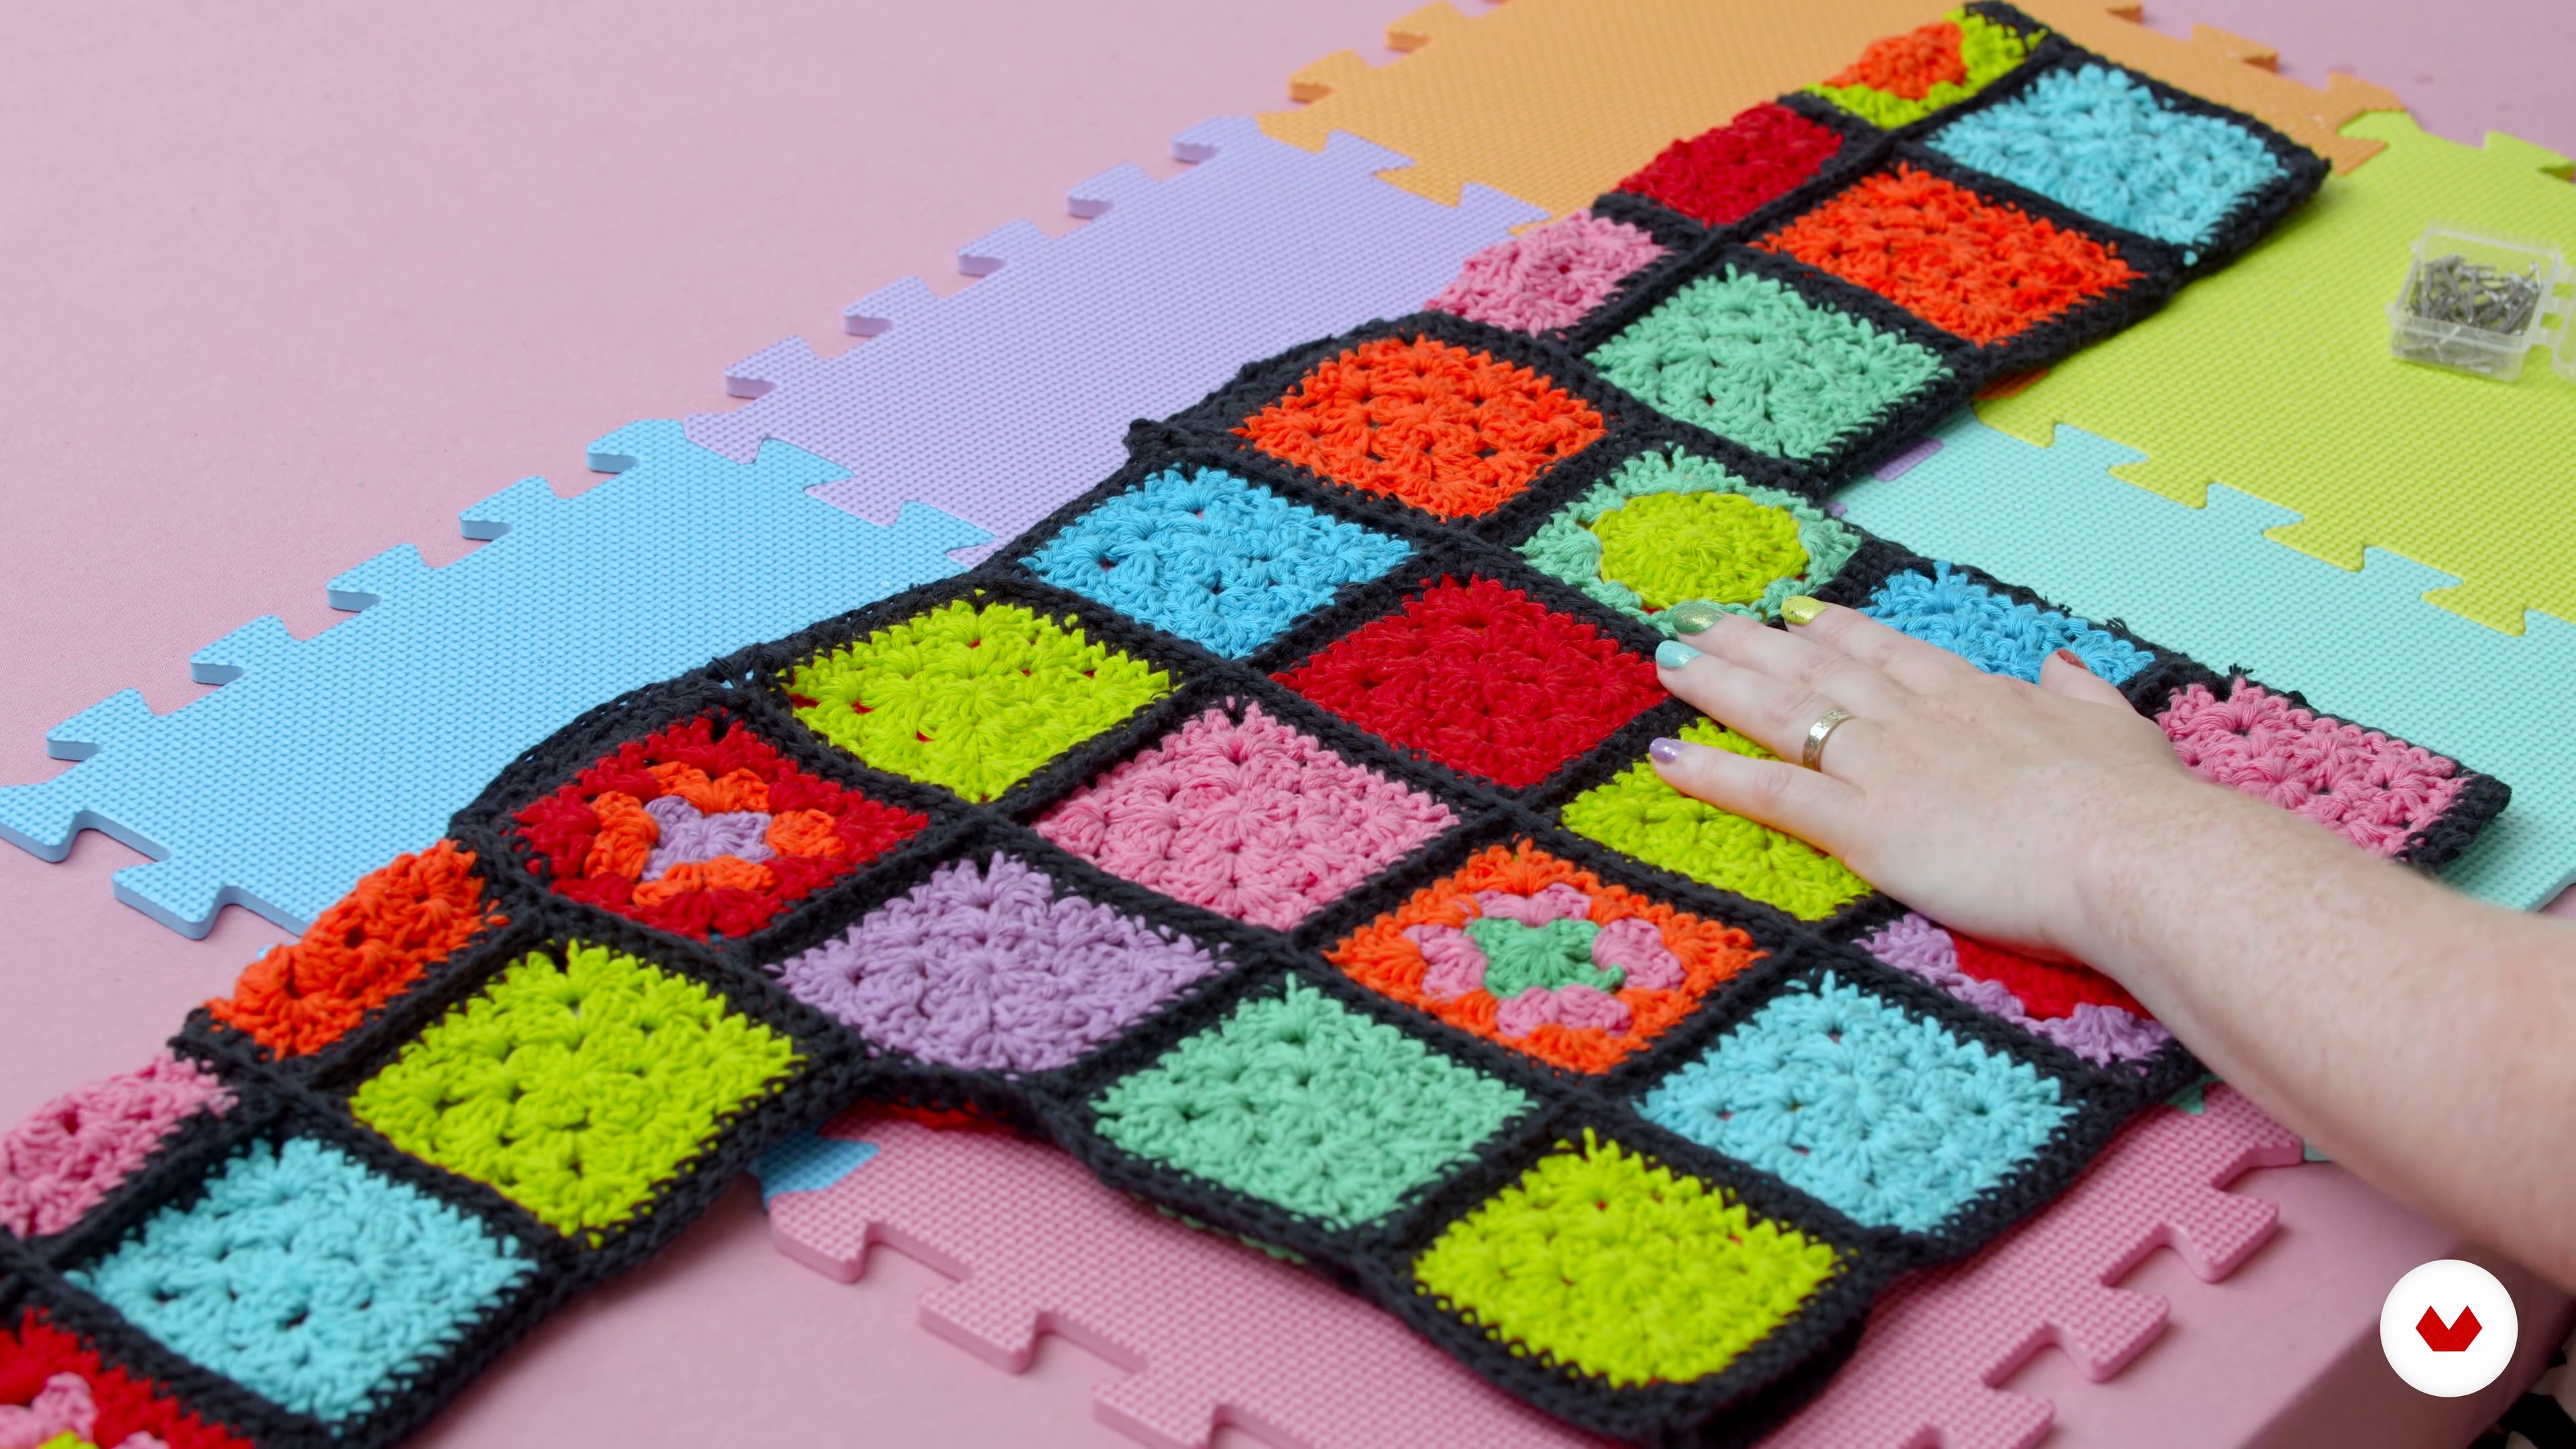
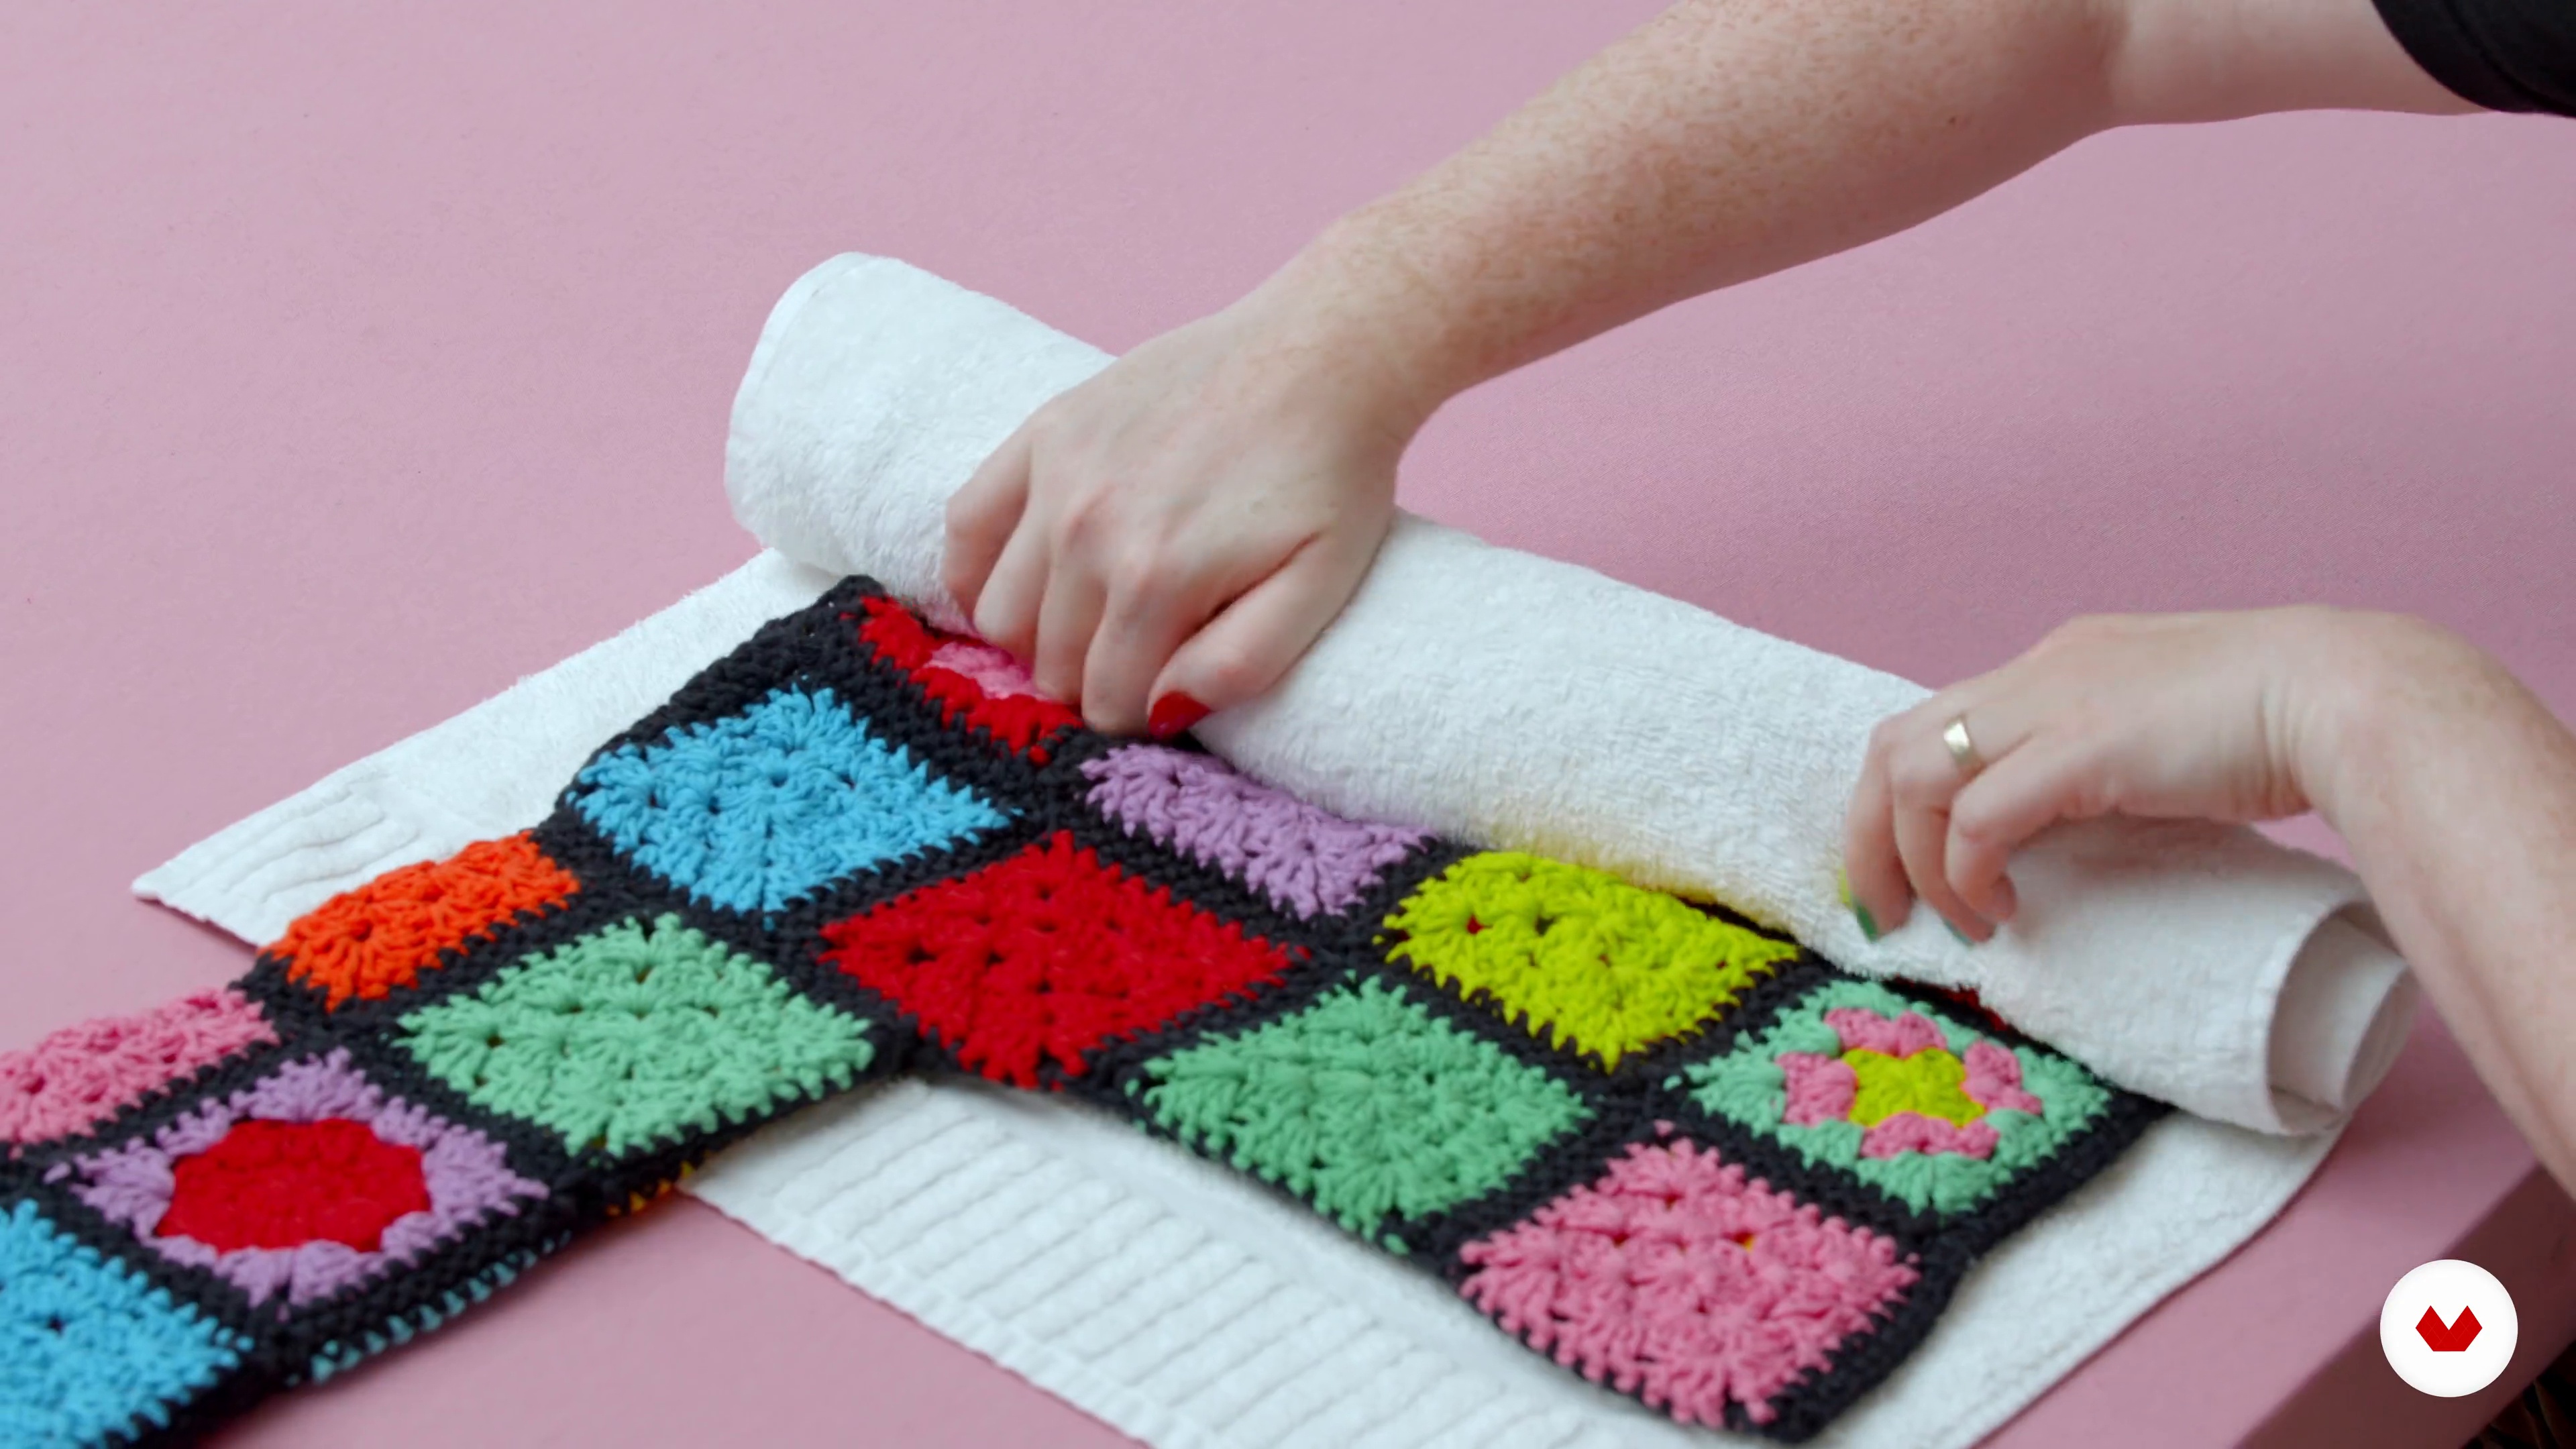
You’ll learn how to make traditional and modern granny squares, join motifs, experiment with color combinations, and assemble them into blankets or garments.
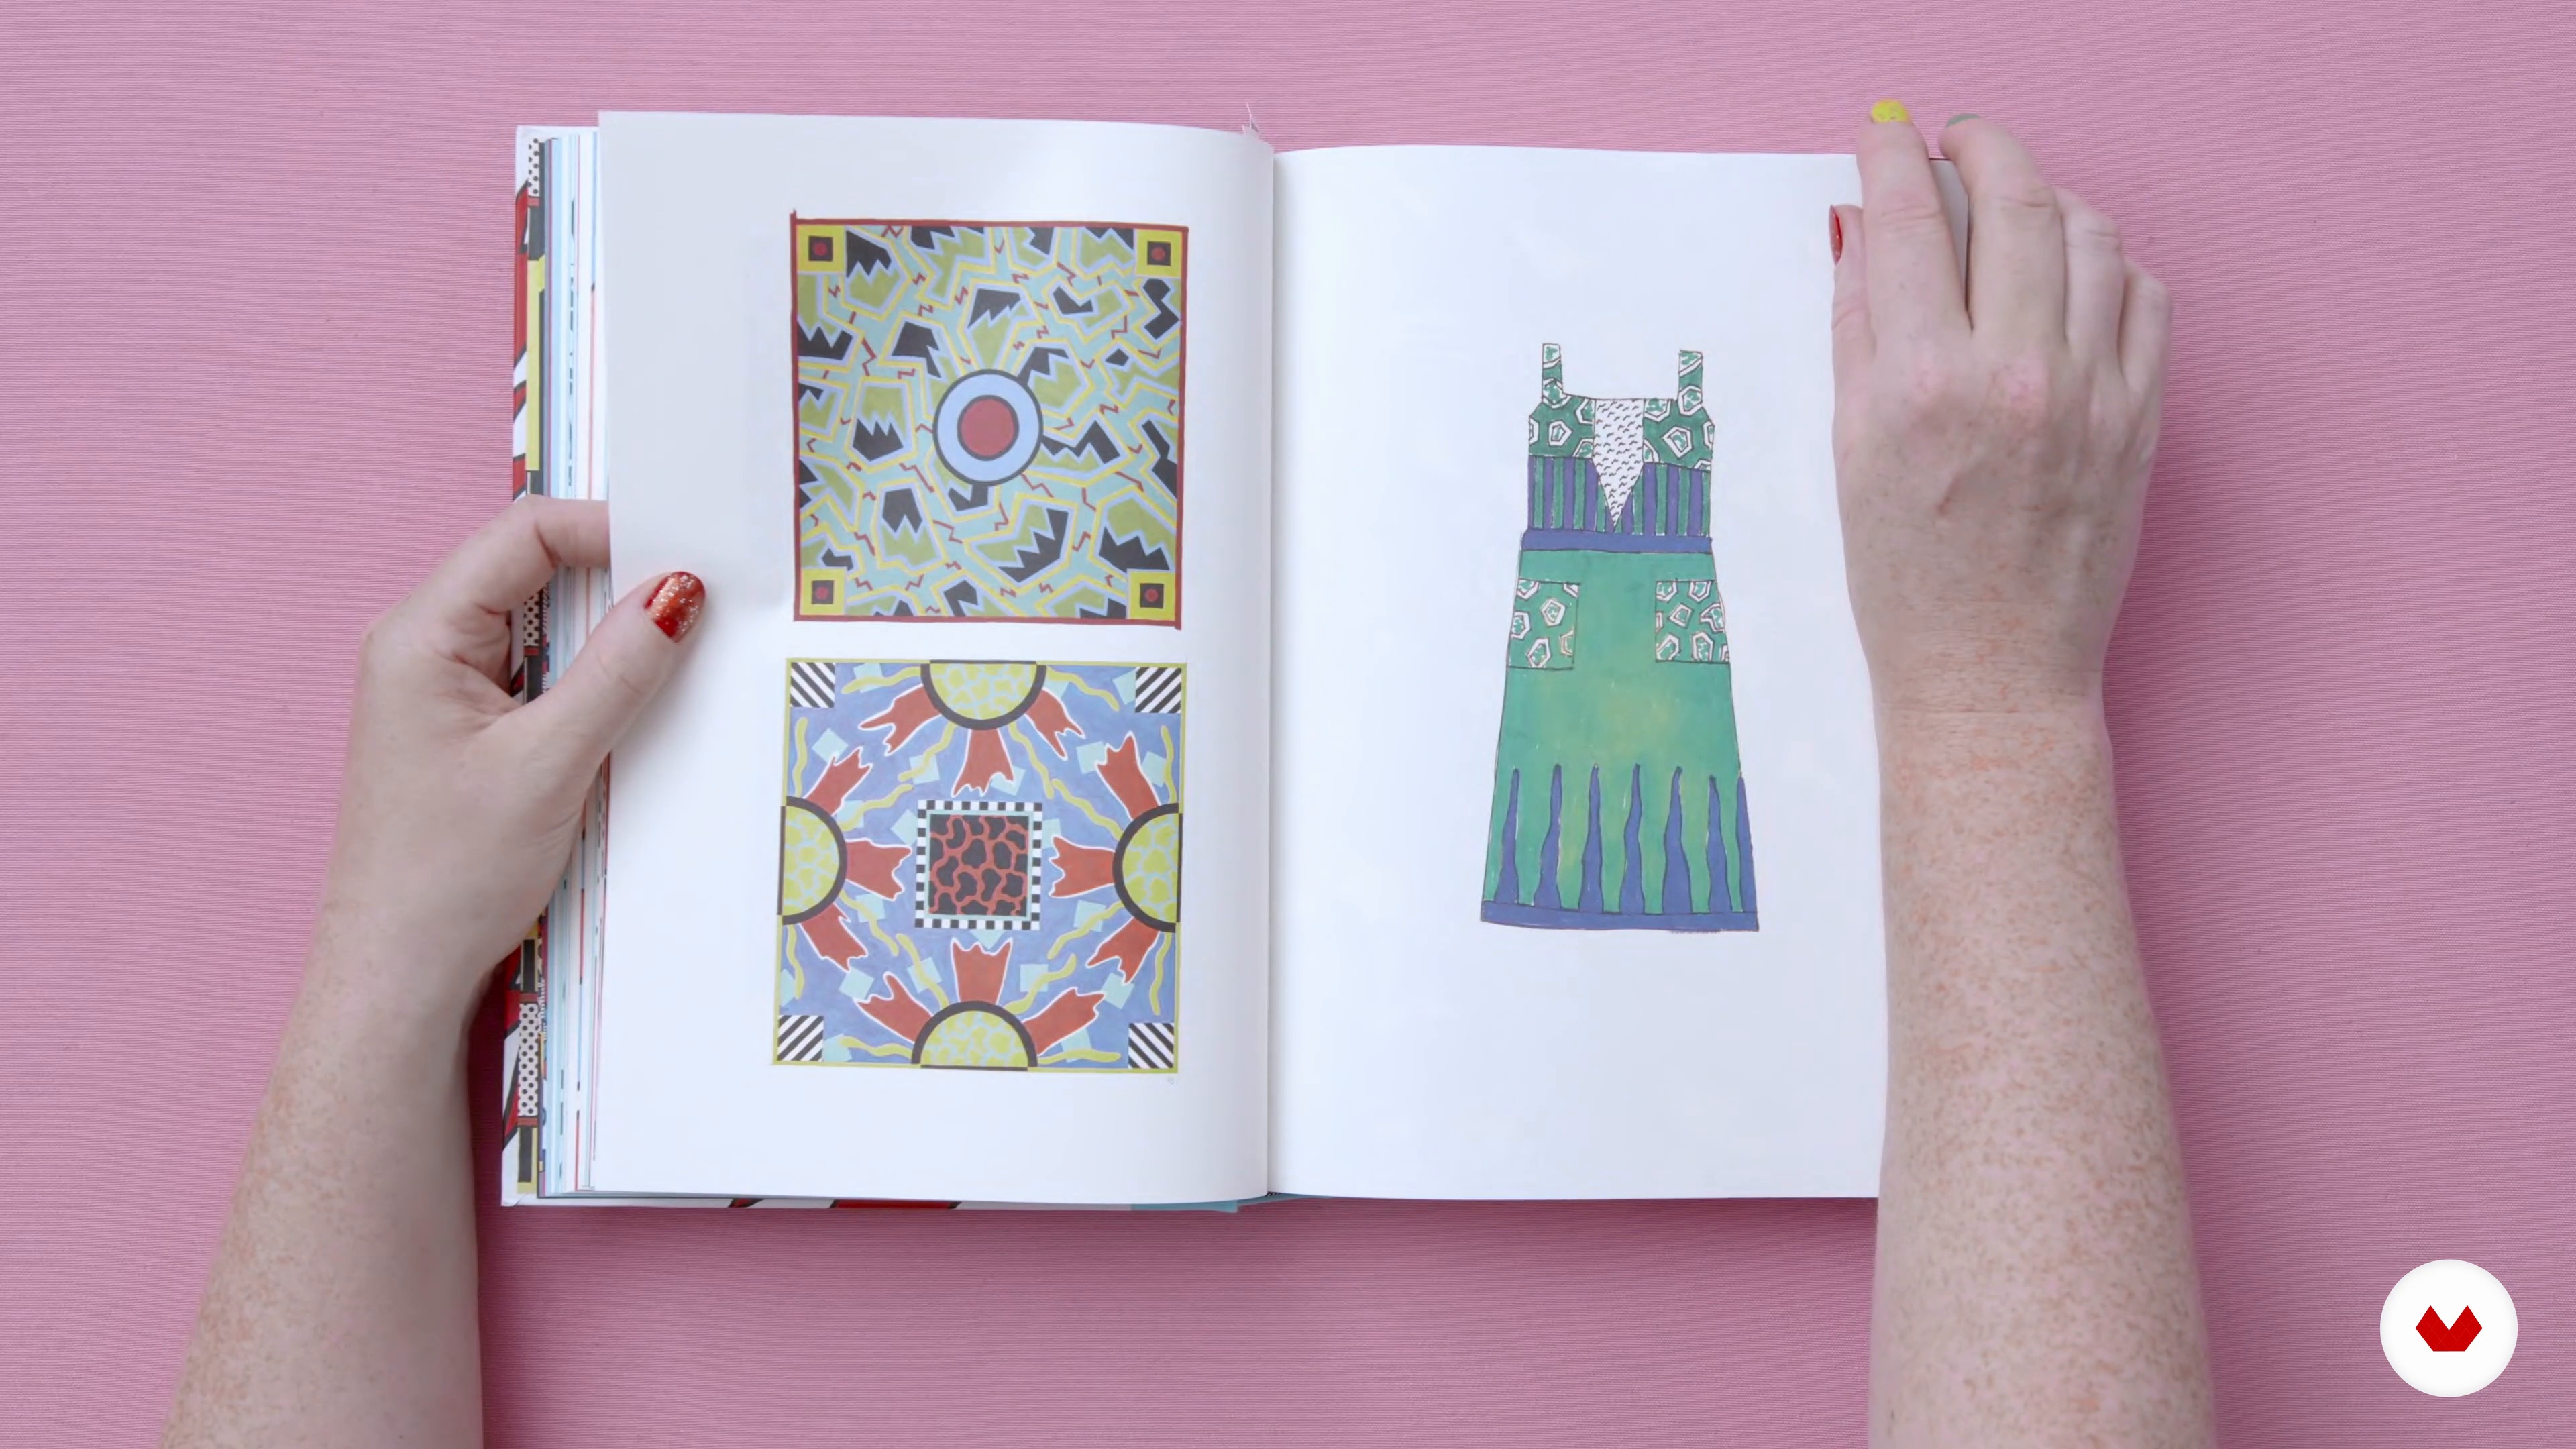
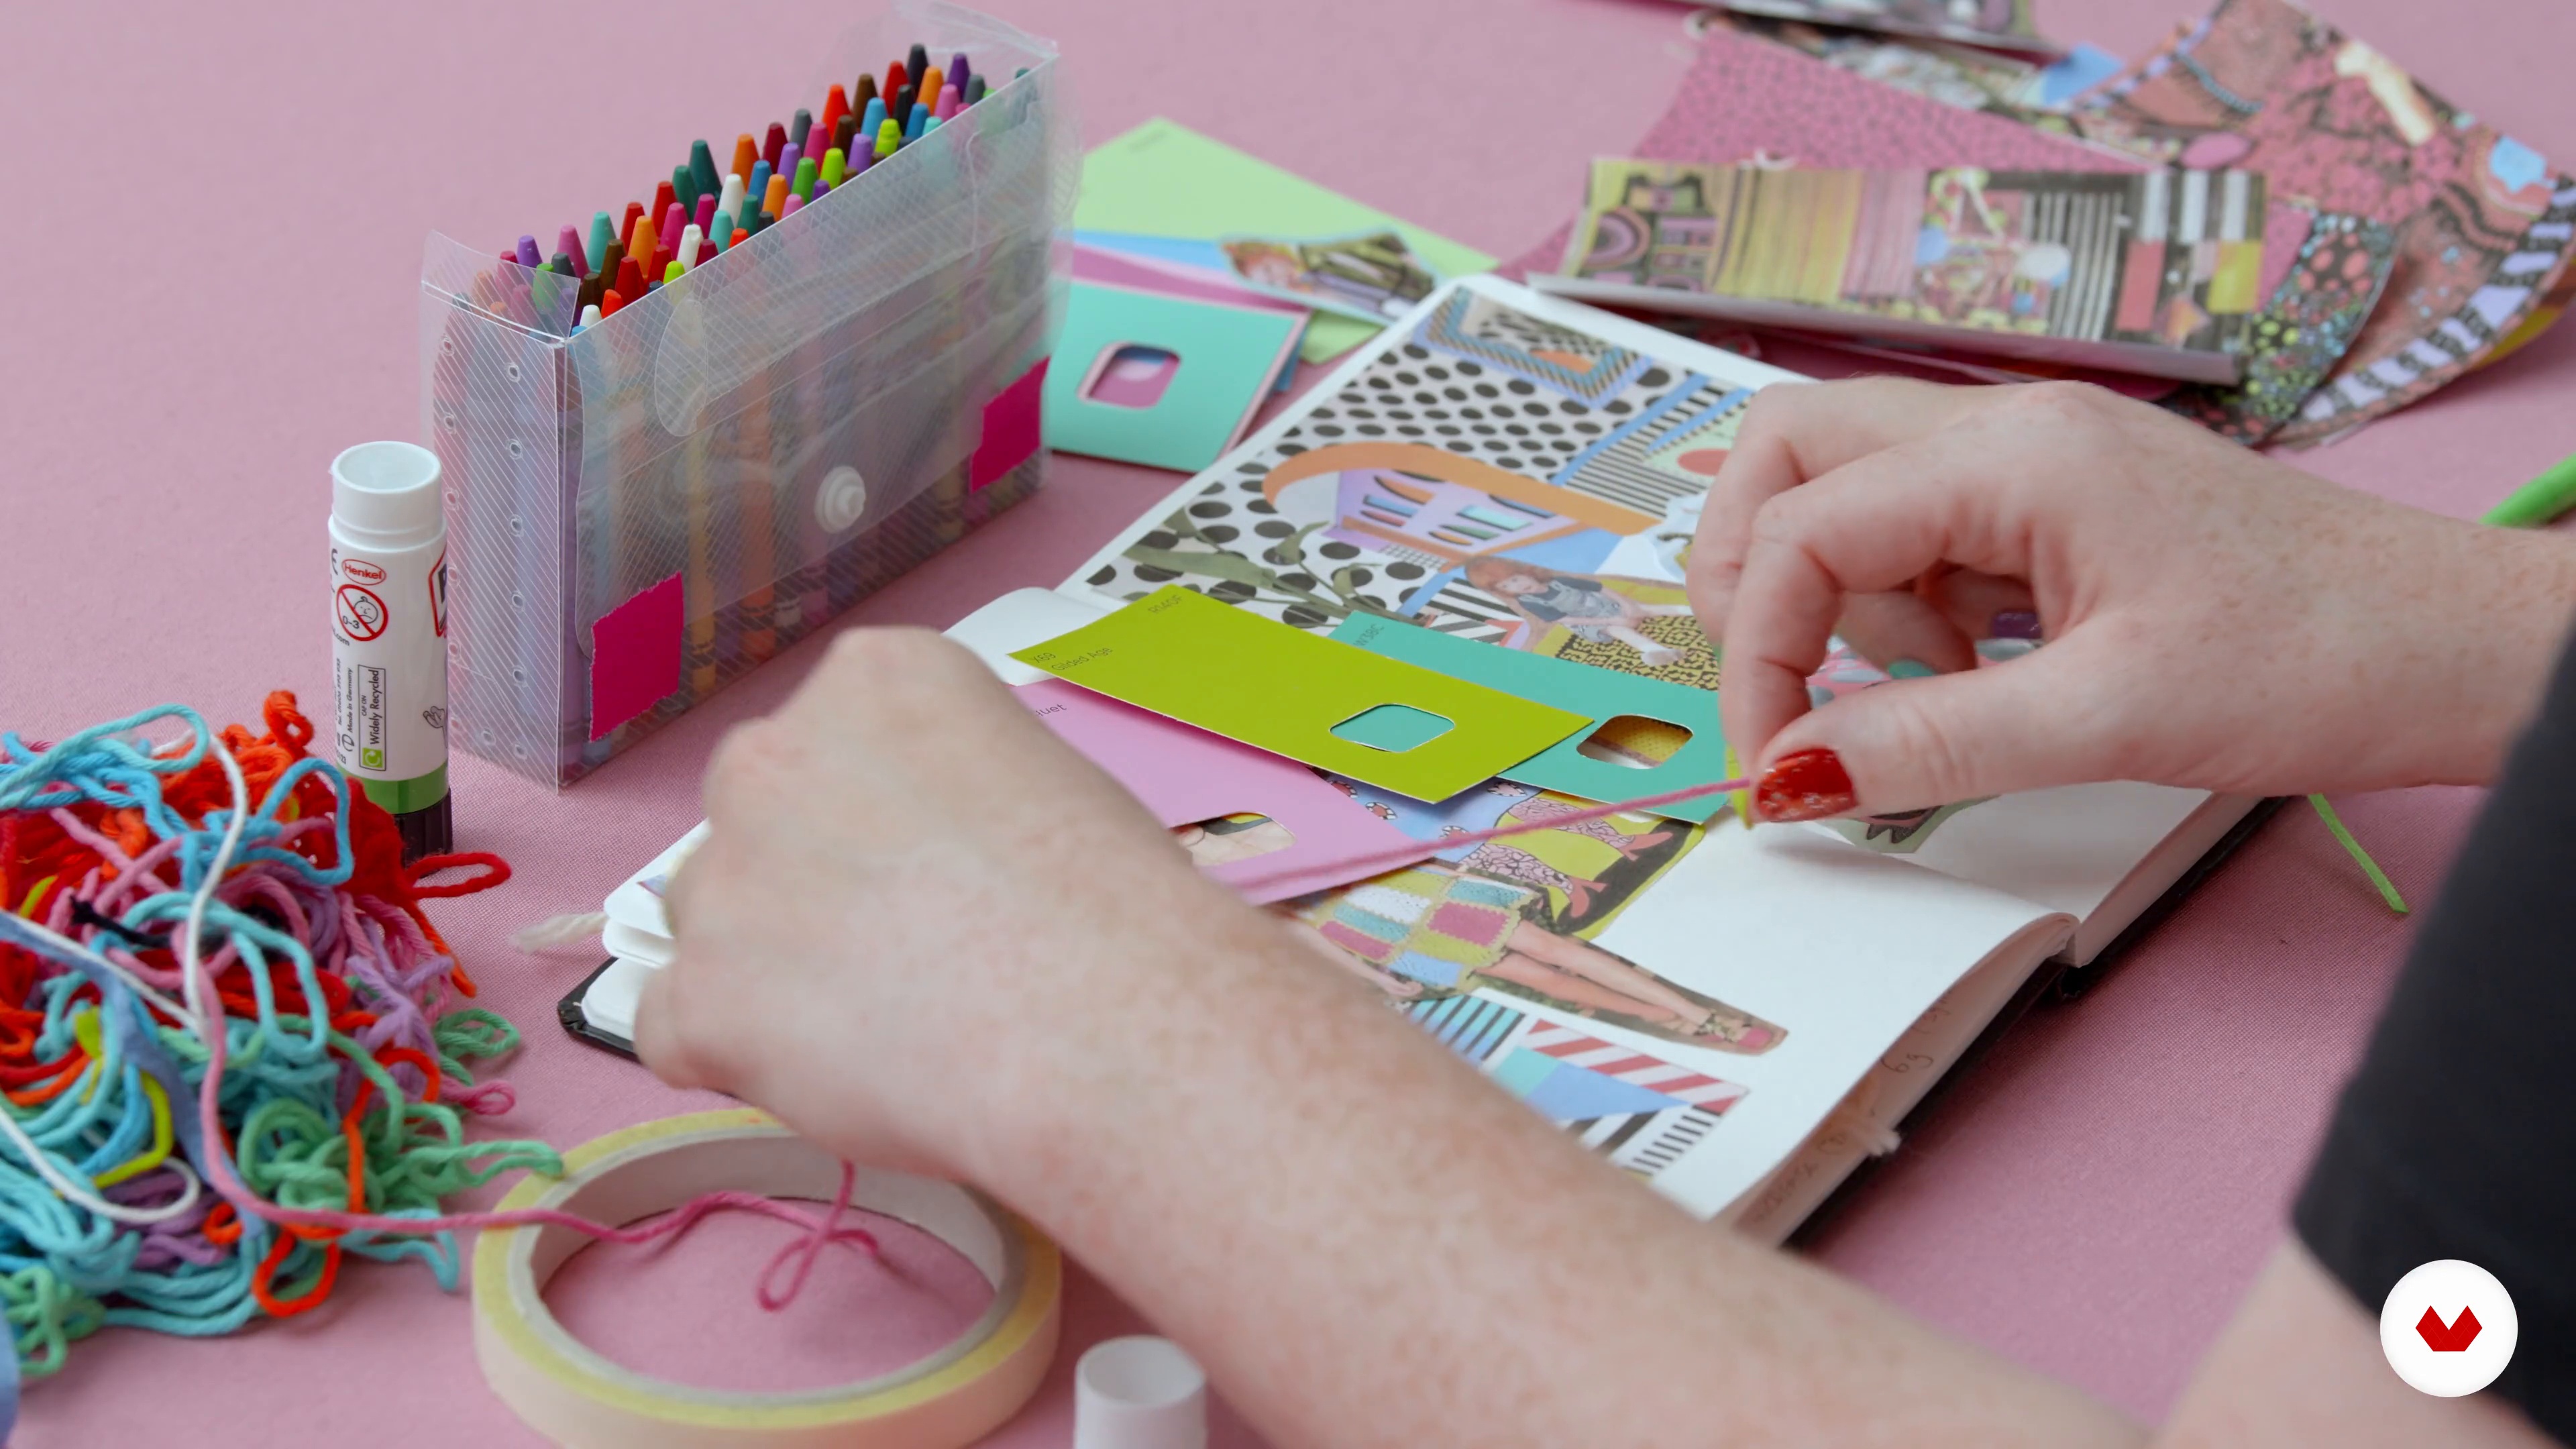
Yes, the course explores color palettes, mood boards, and graphic effects inspired by art movements, helping you create bold, contemporary crochet designs.
The course guides you through interpreting visual art and design influences, then turning them into unique crochet patterns, including Memphis style and polka dot motifs.
Absolutely. The course encourages using scrap yarn for colorful granny squares and offers tips for combining different yarns effectively.
Yes, instructions are provided for both right-handed and left-handed crocheters, including hand positioning and yarn tension techniques.