
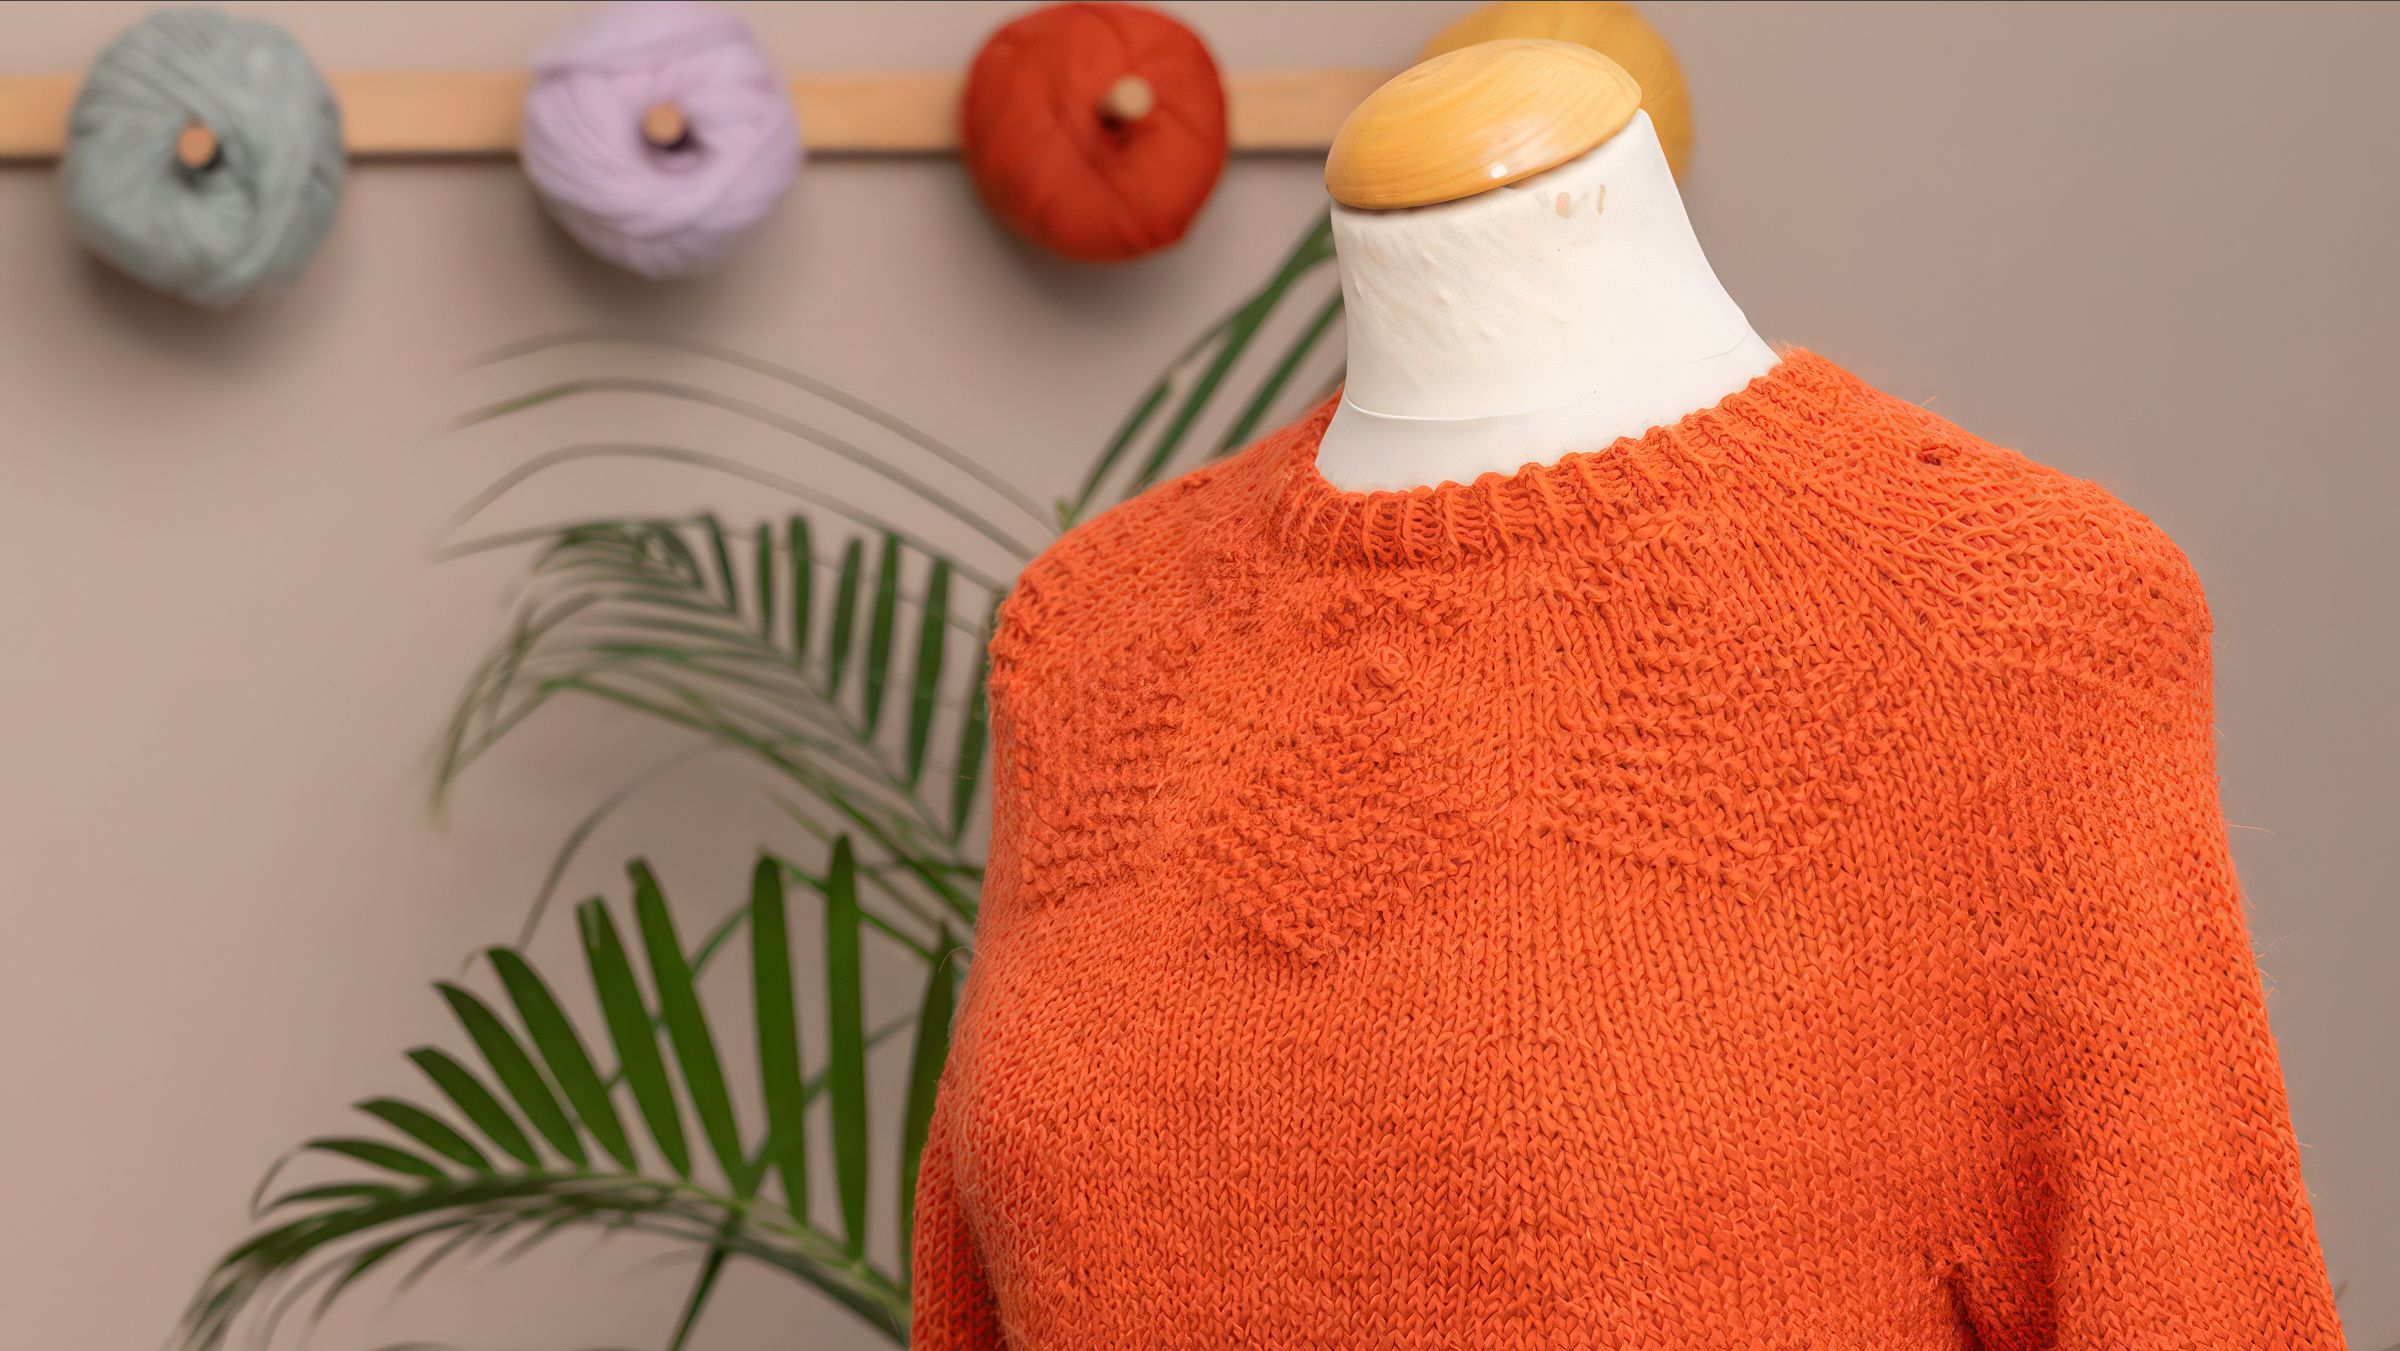
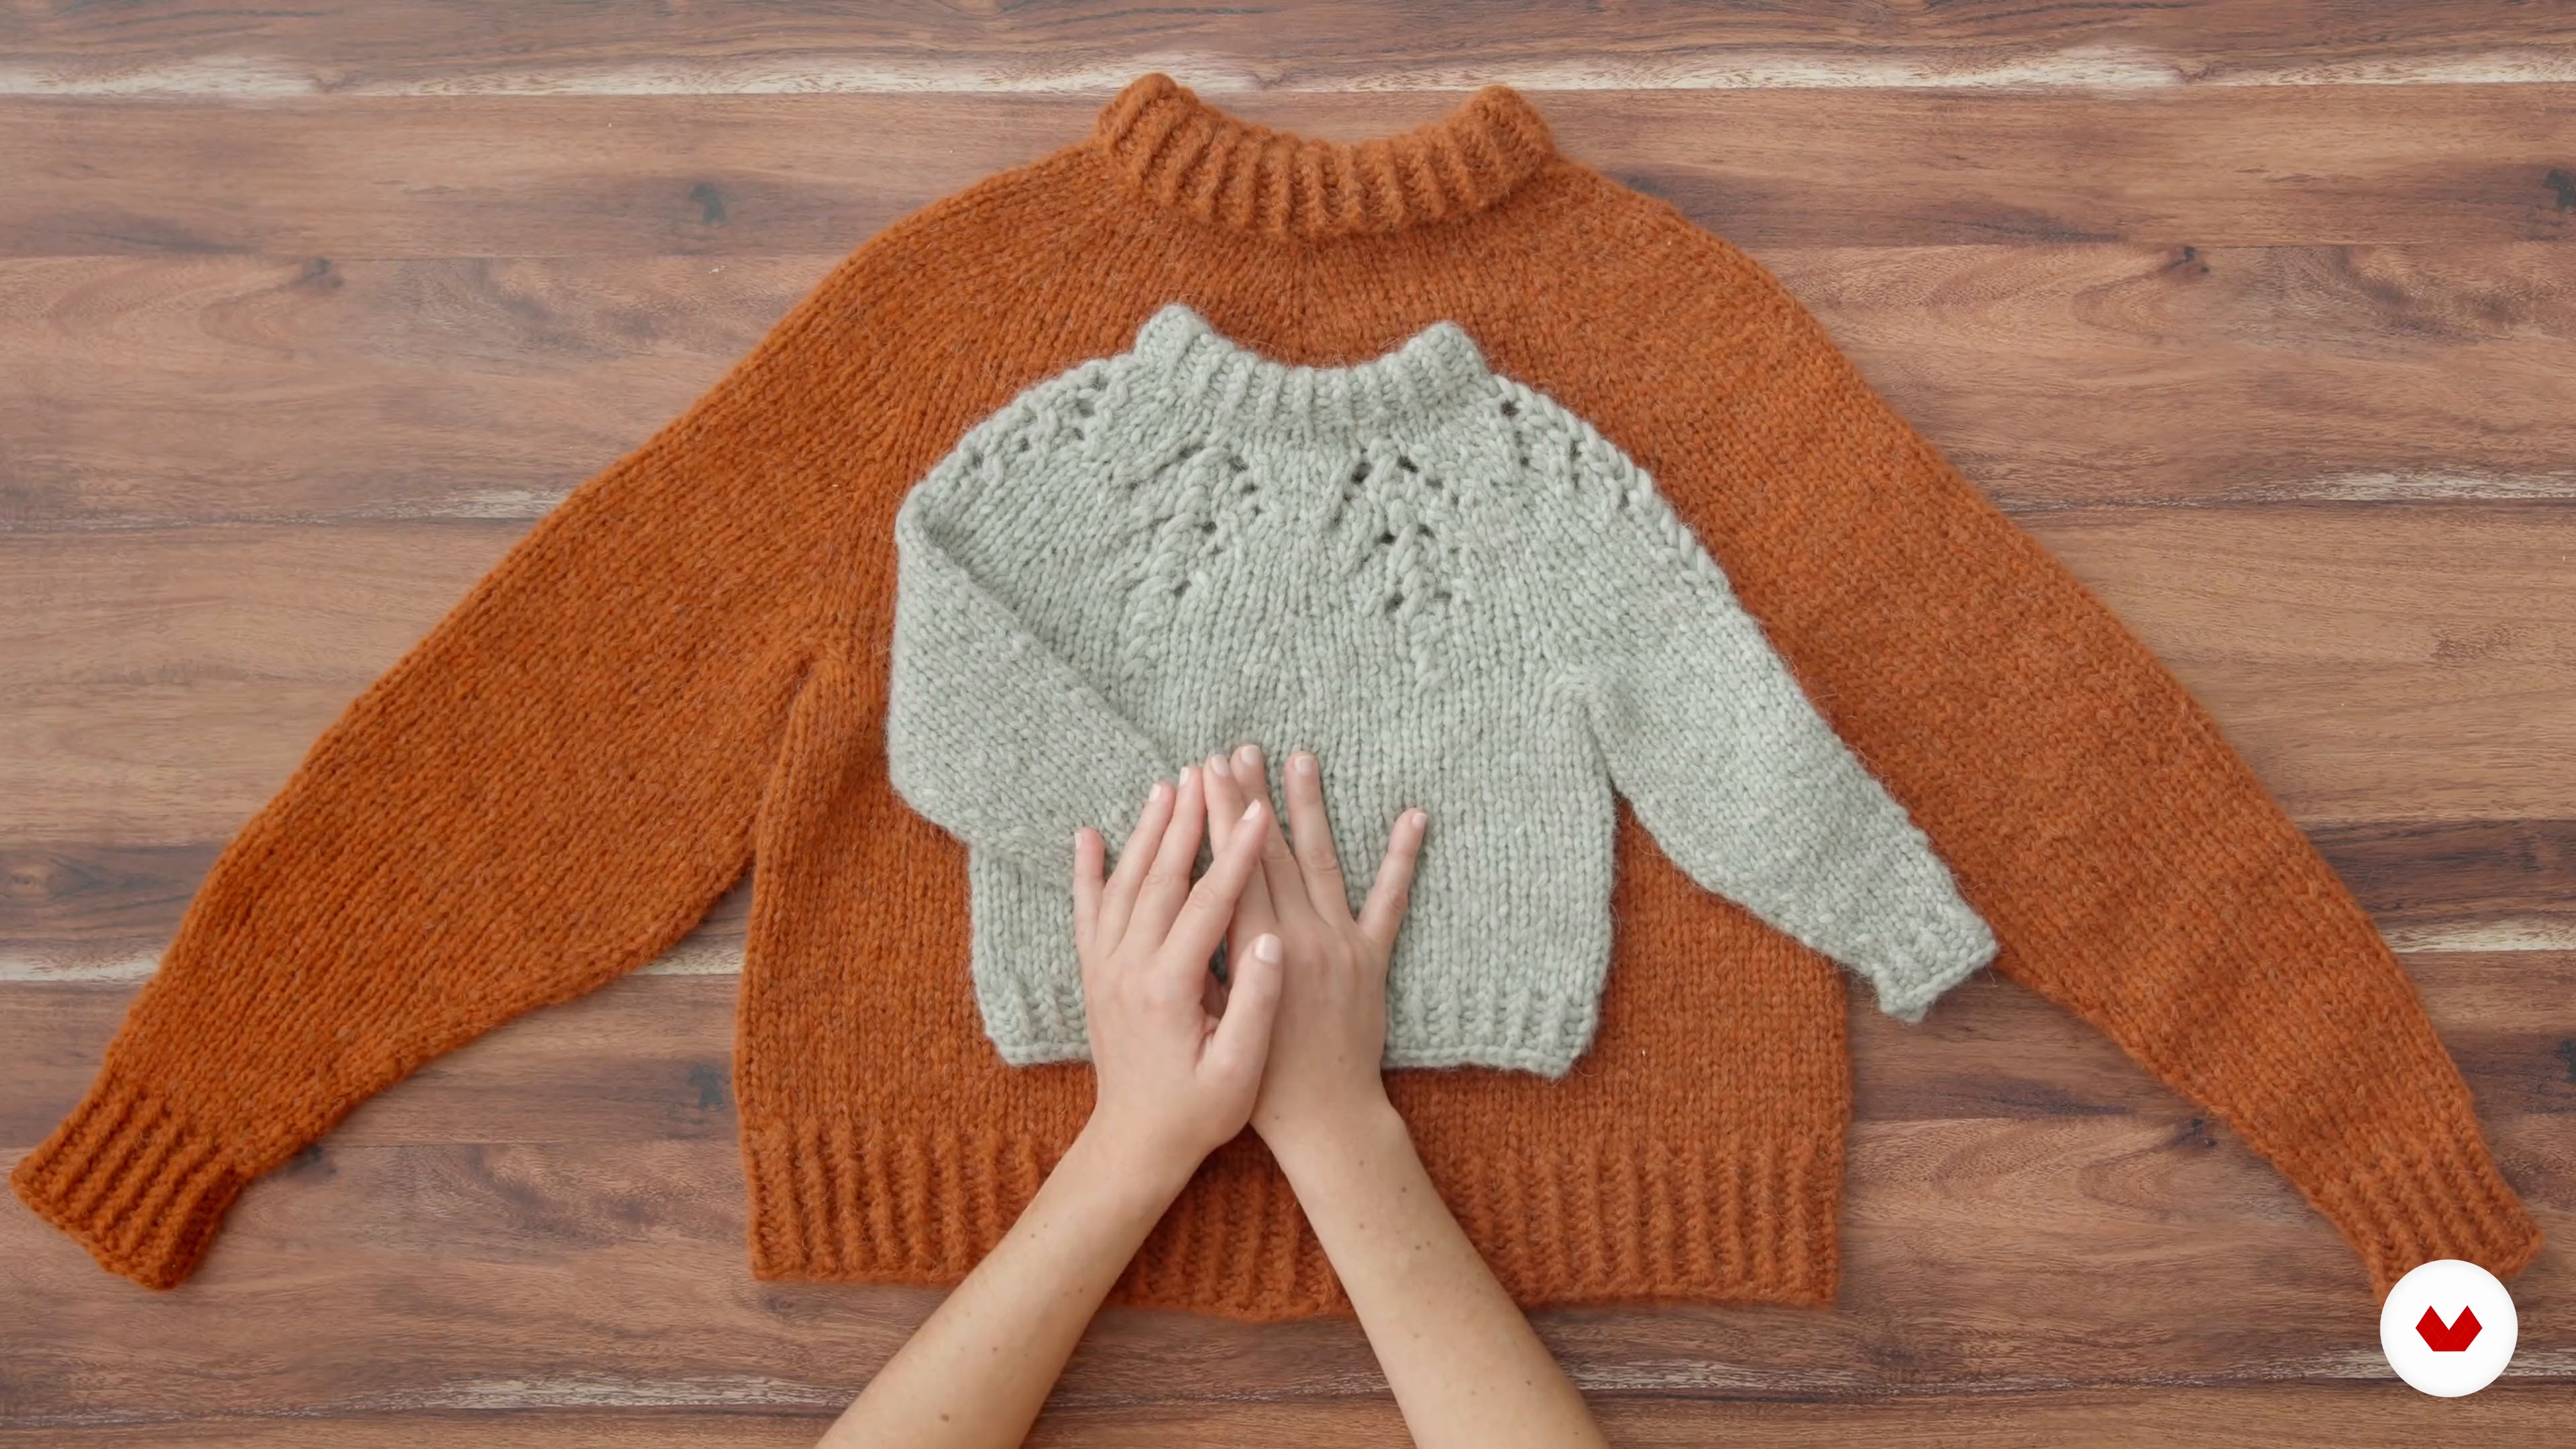
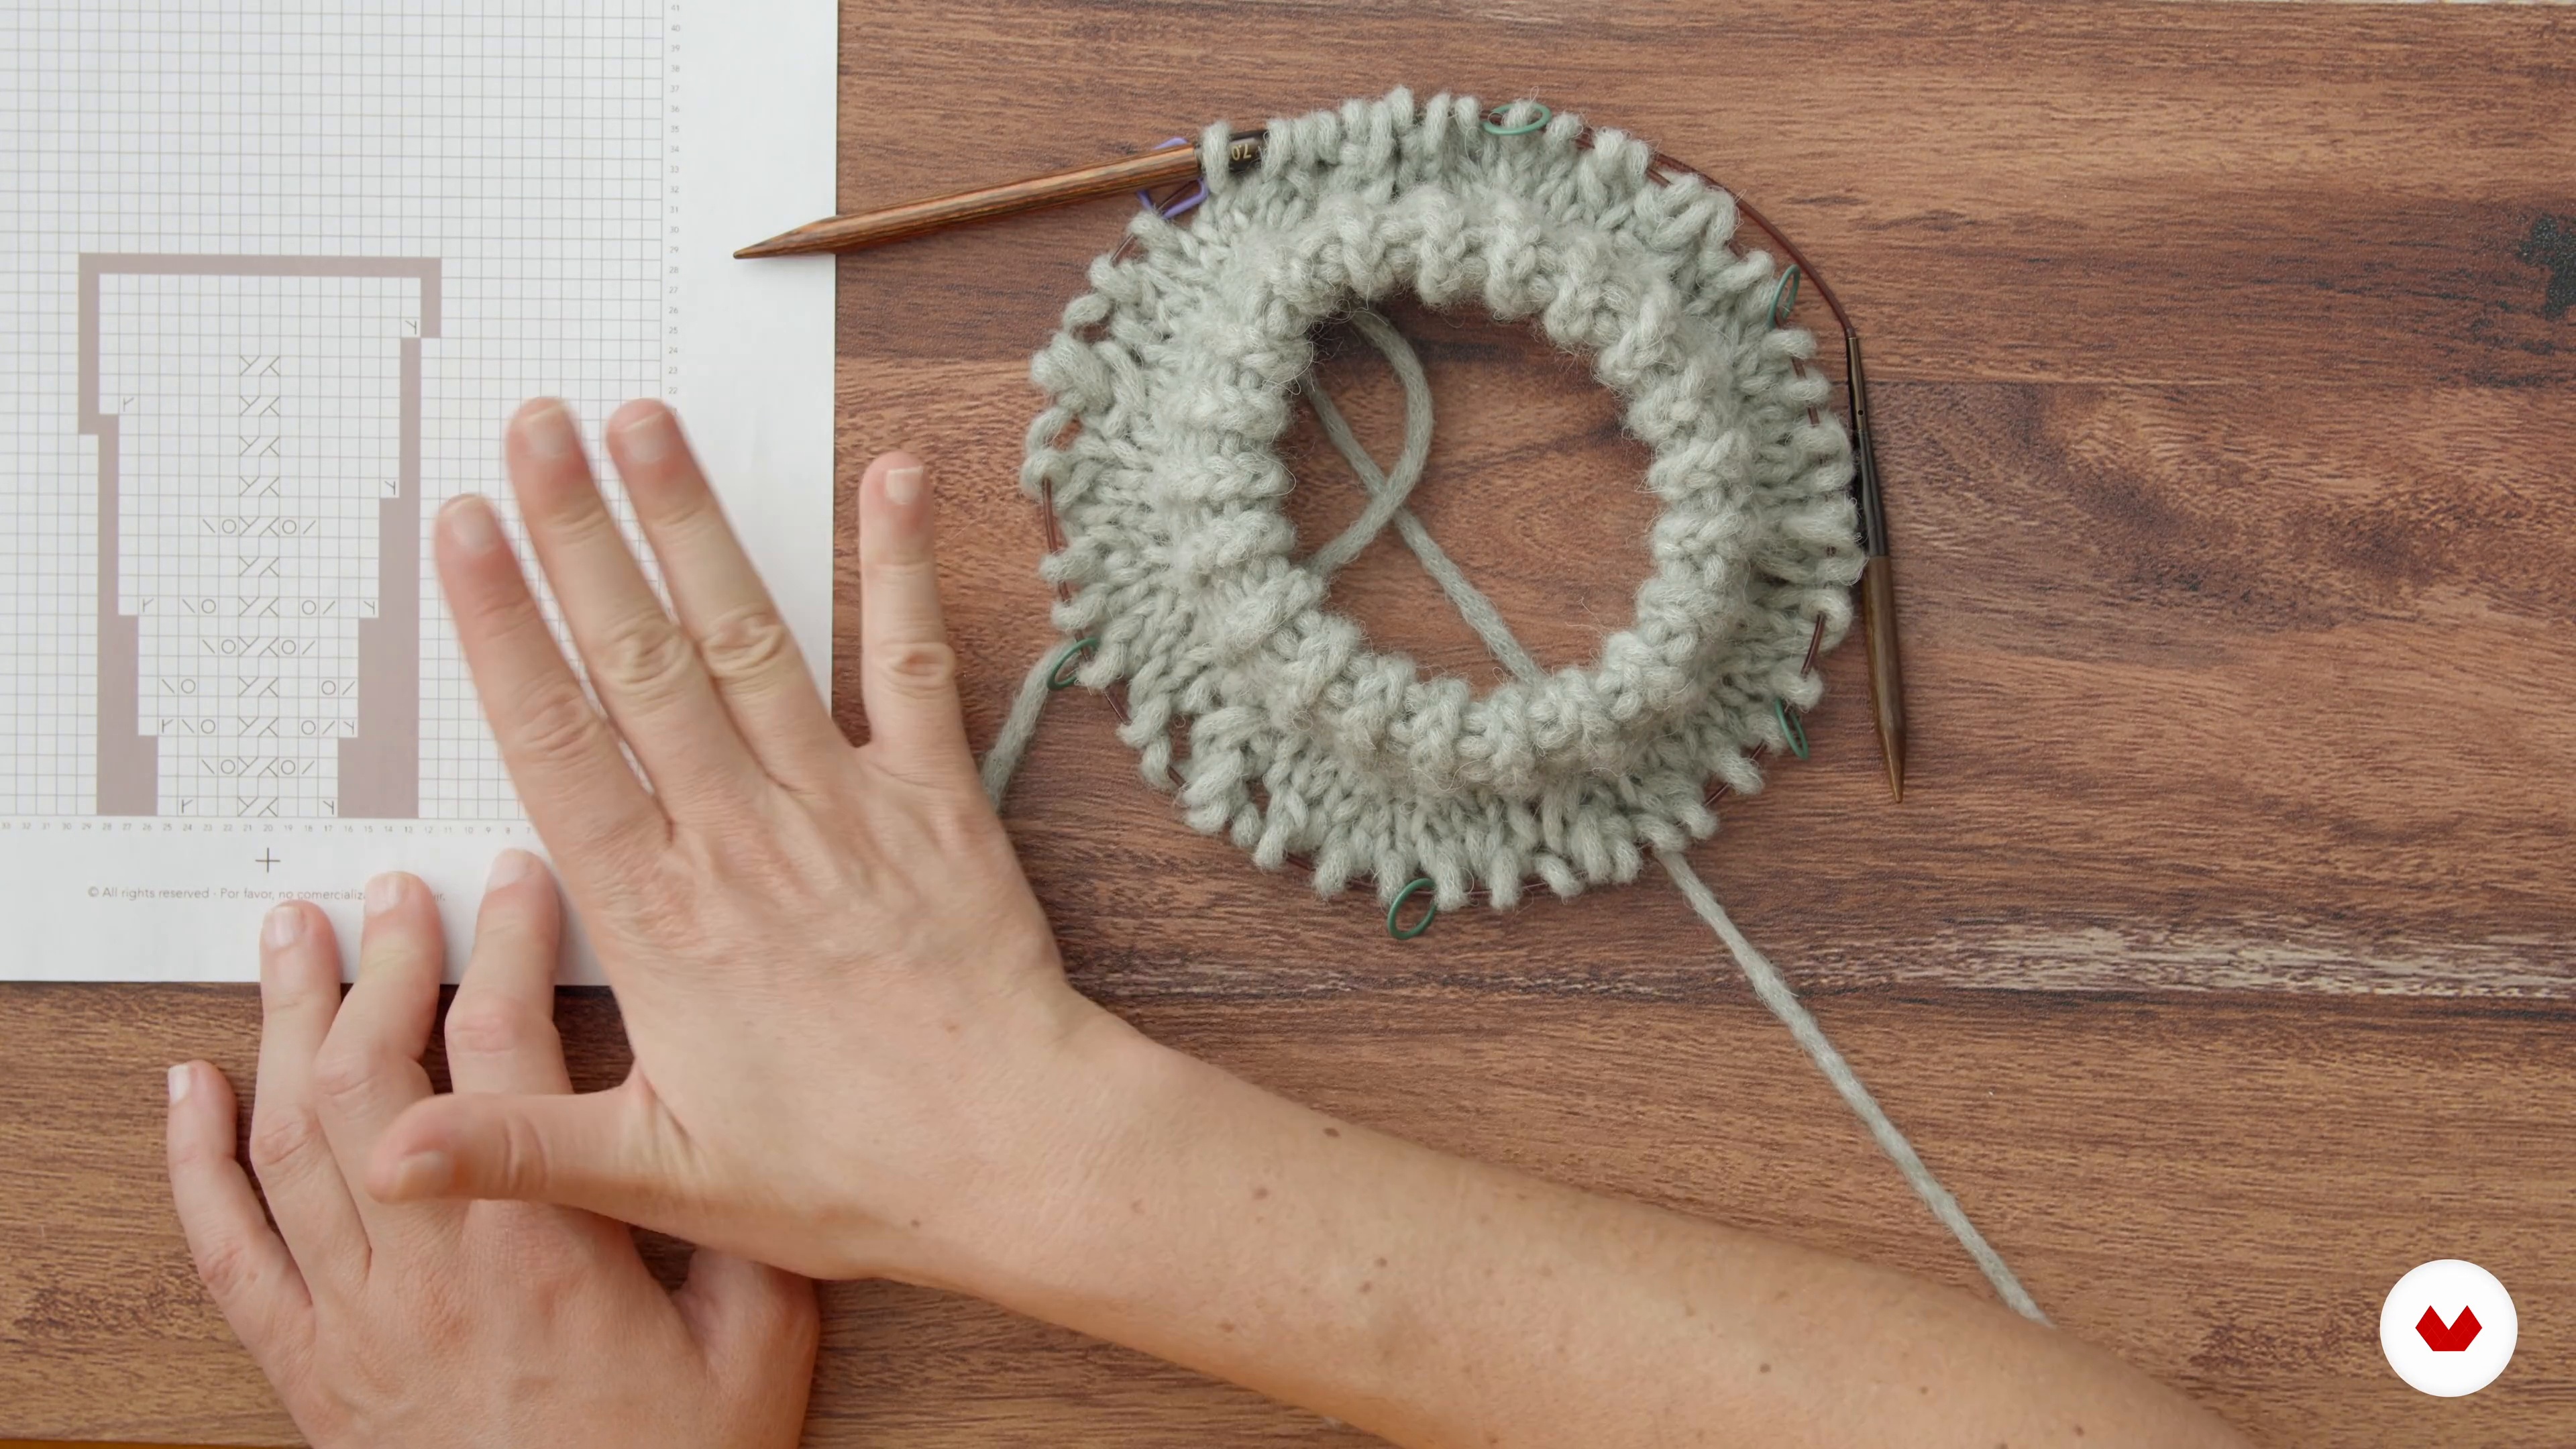
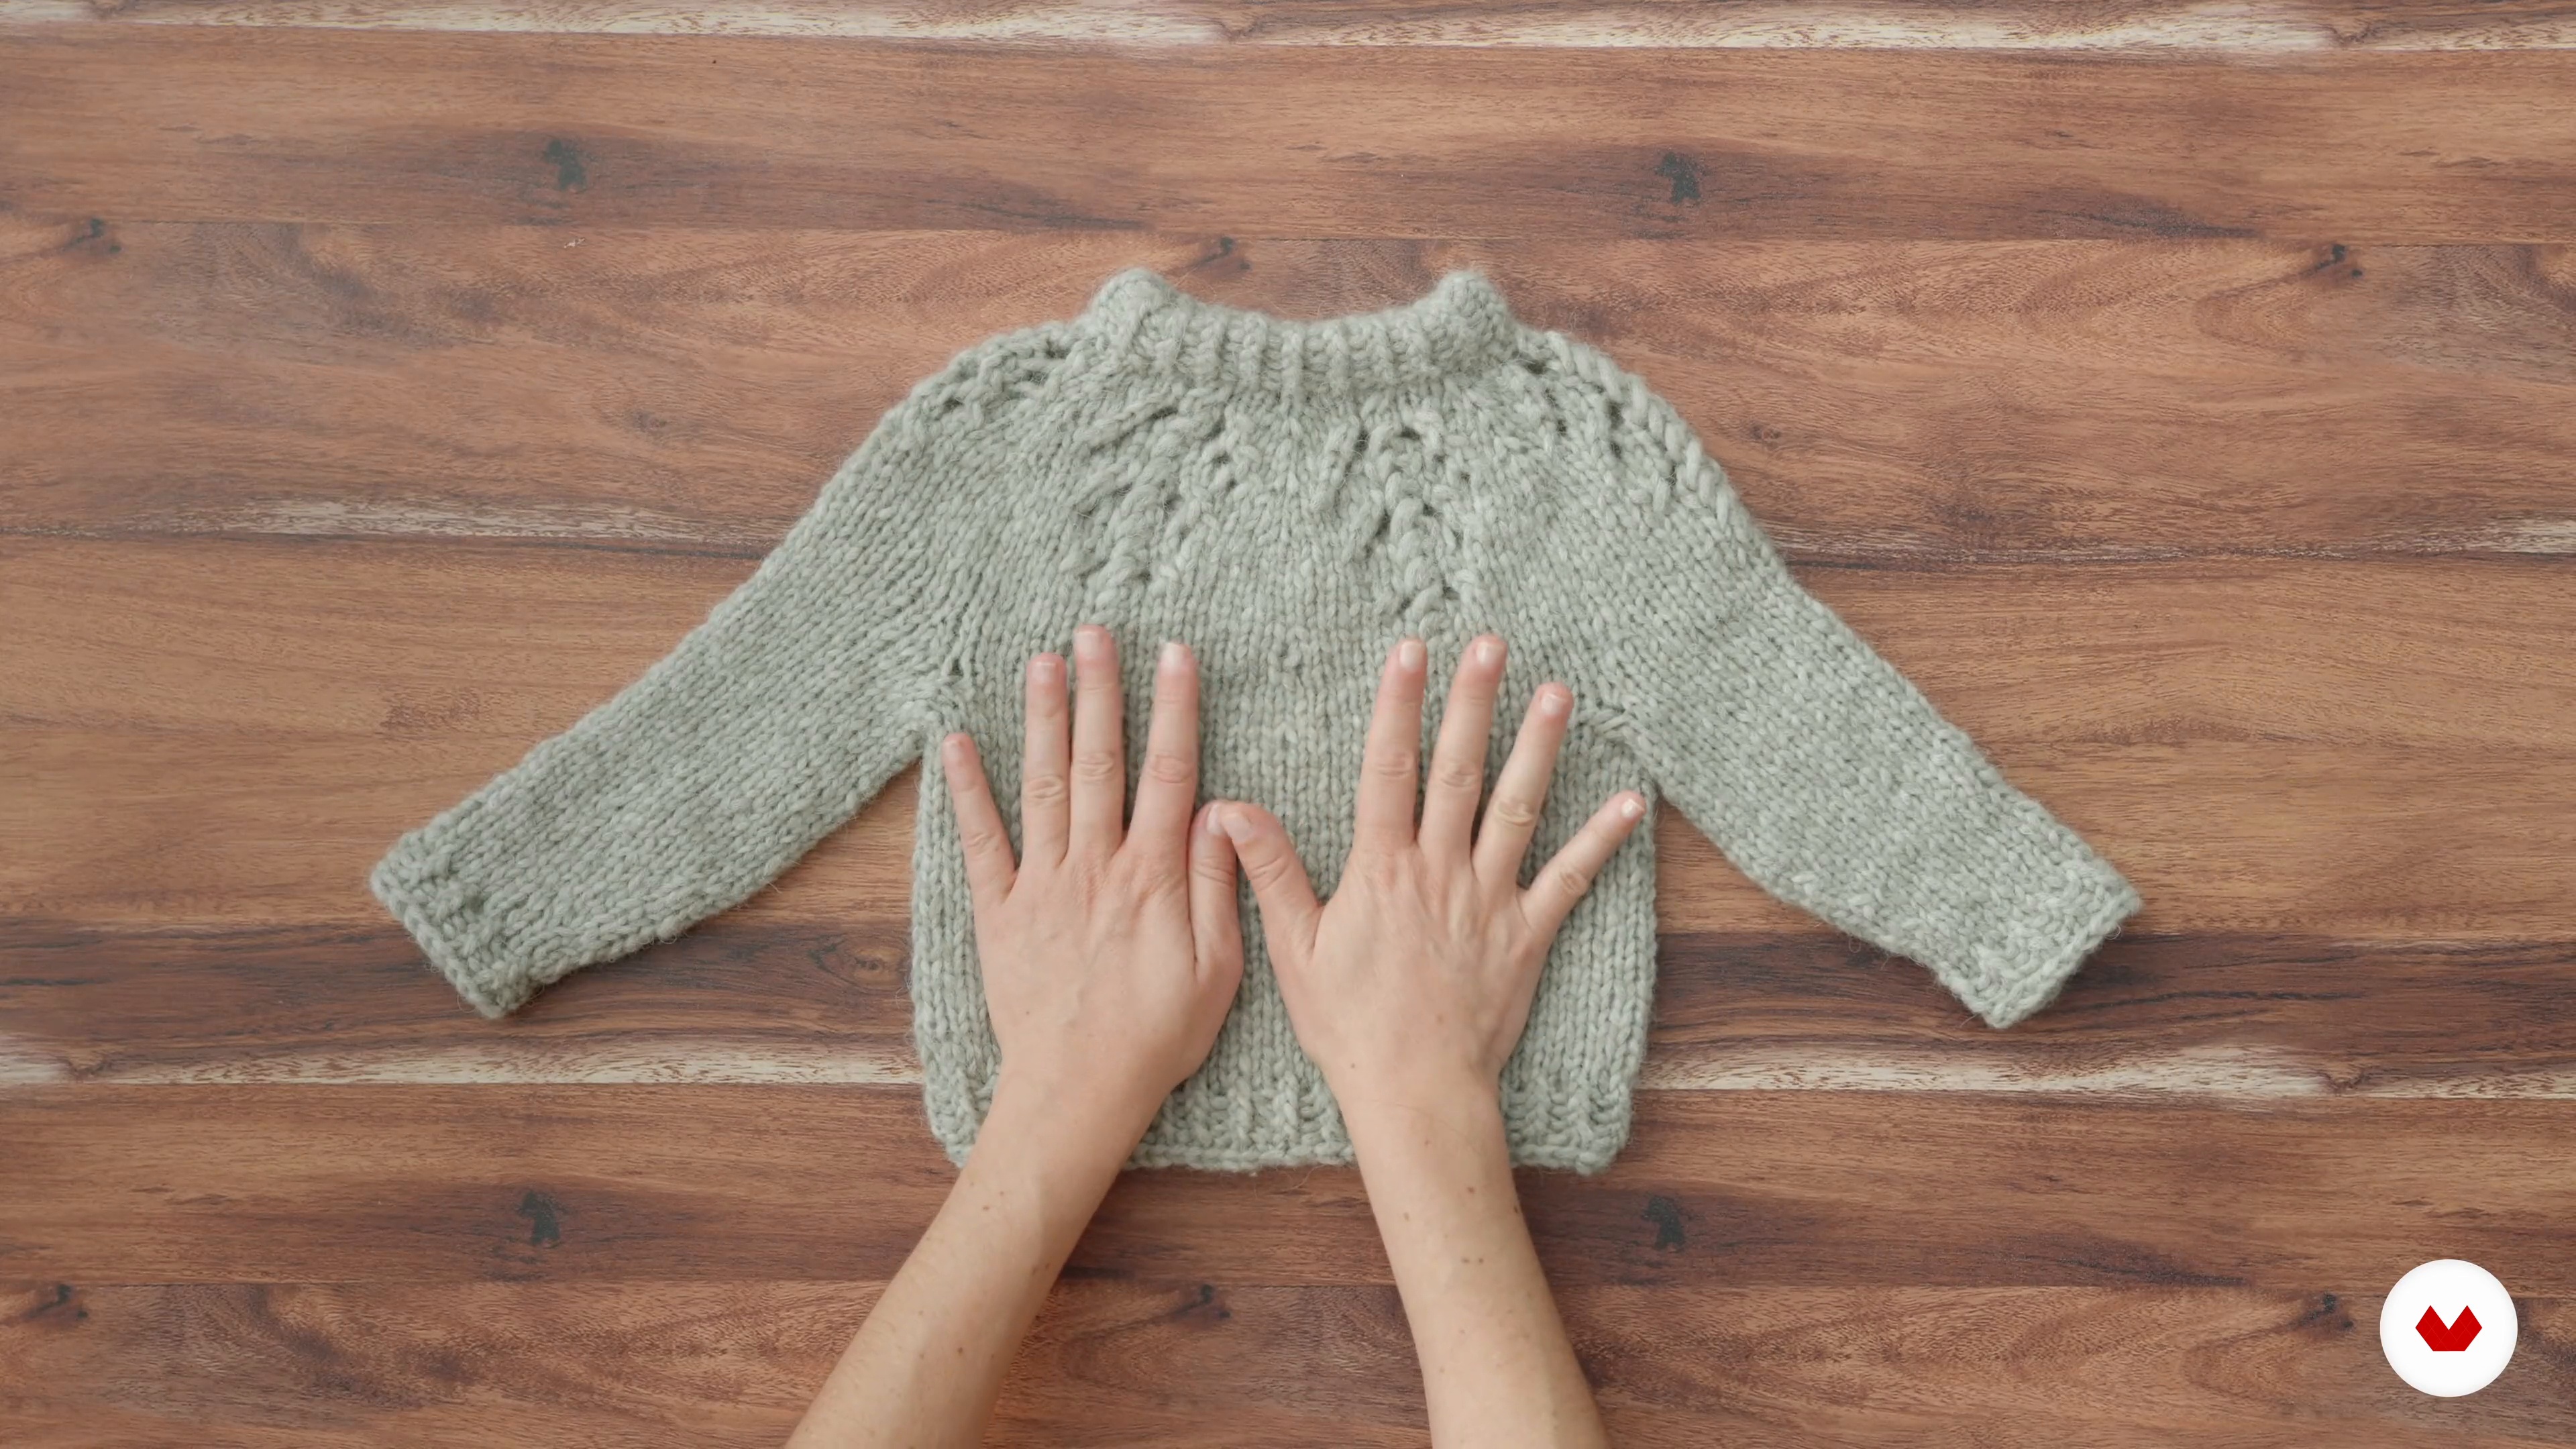
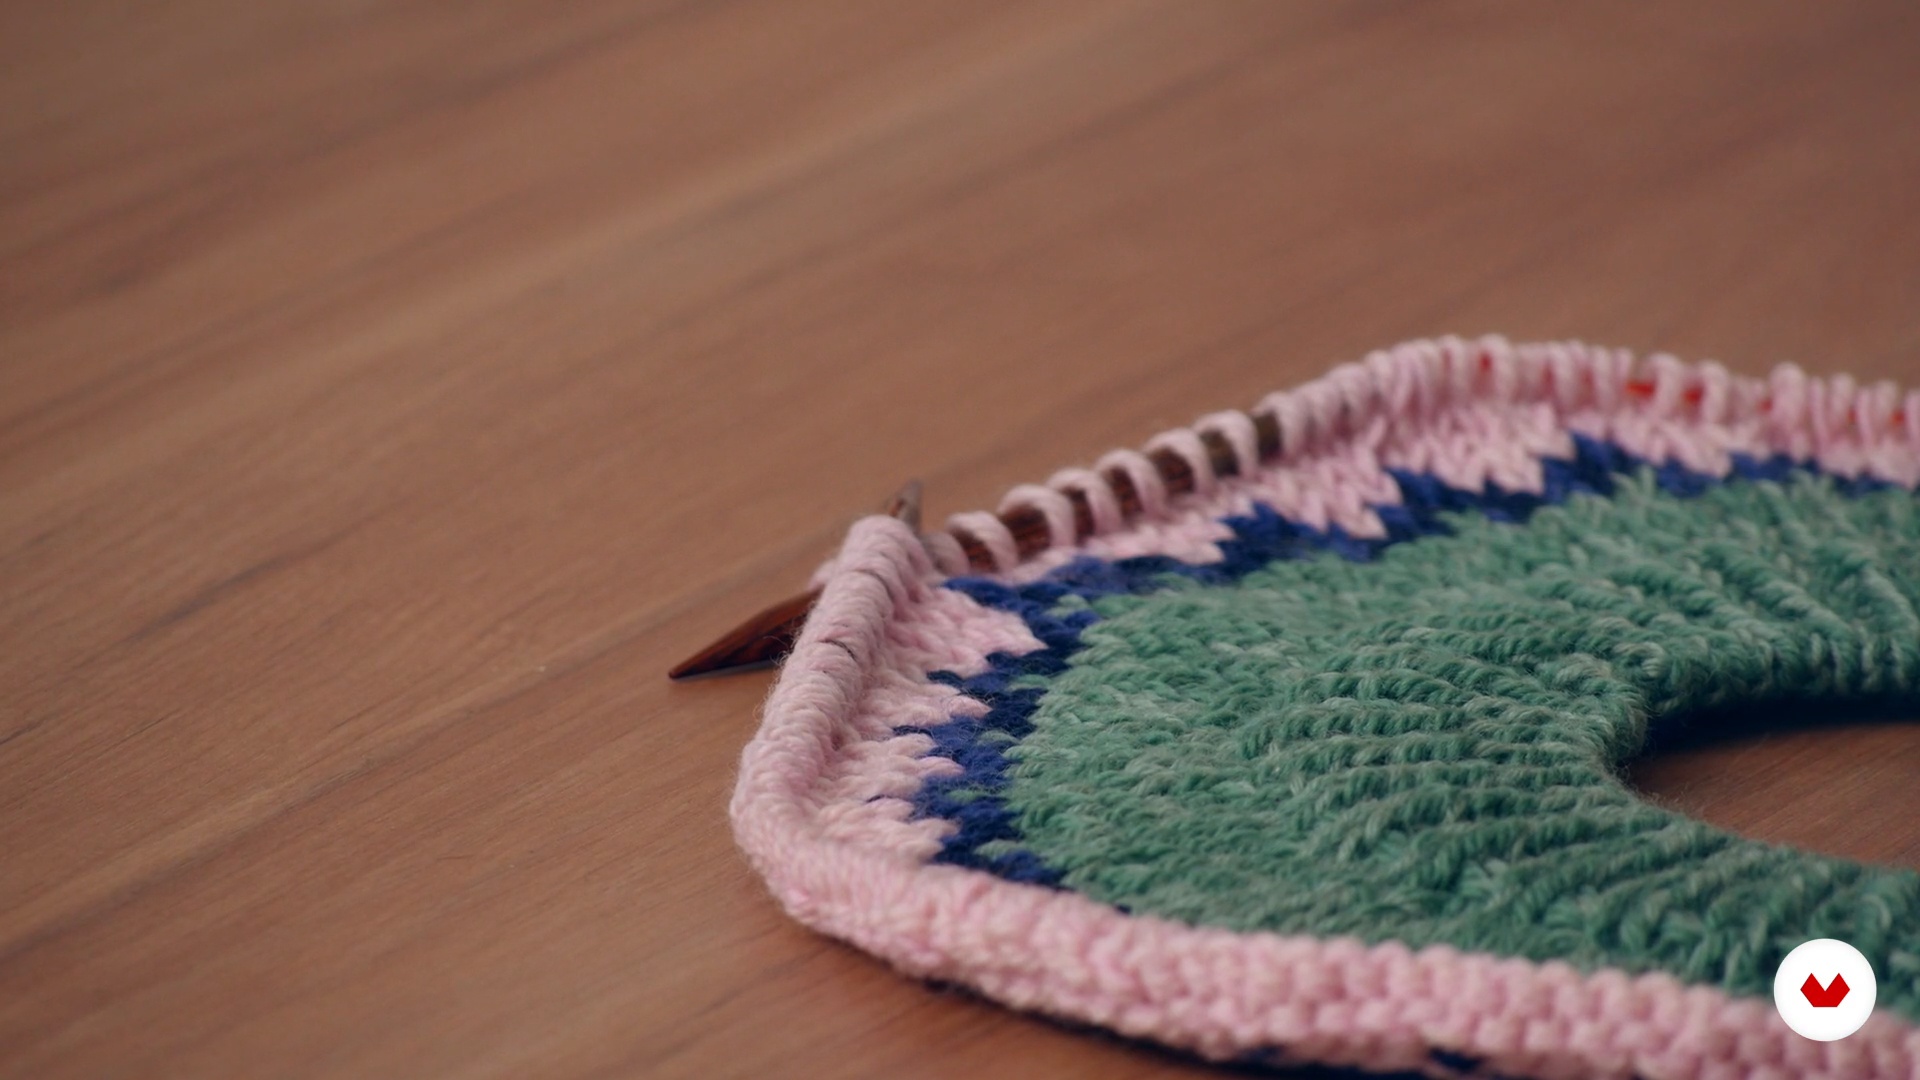
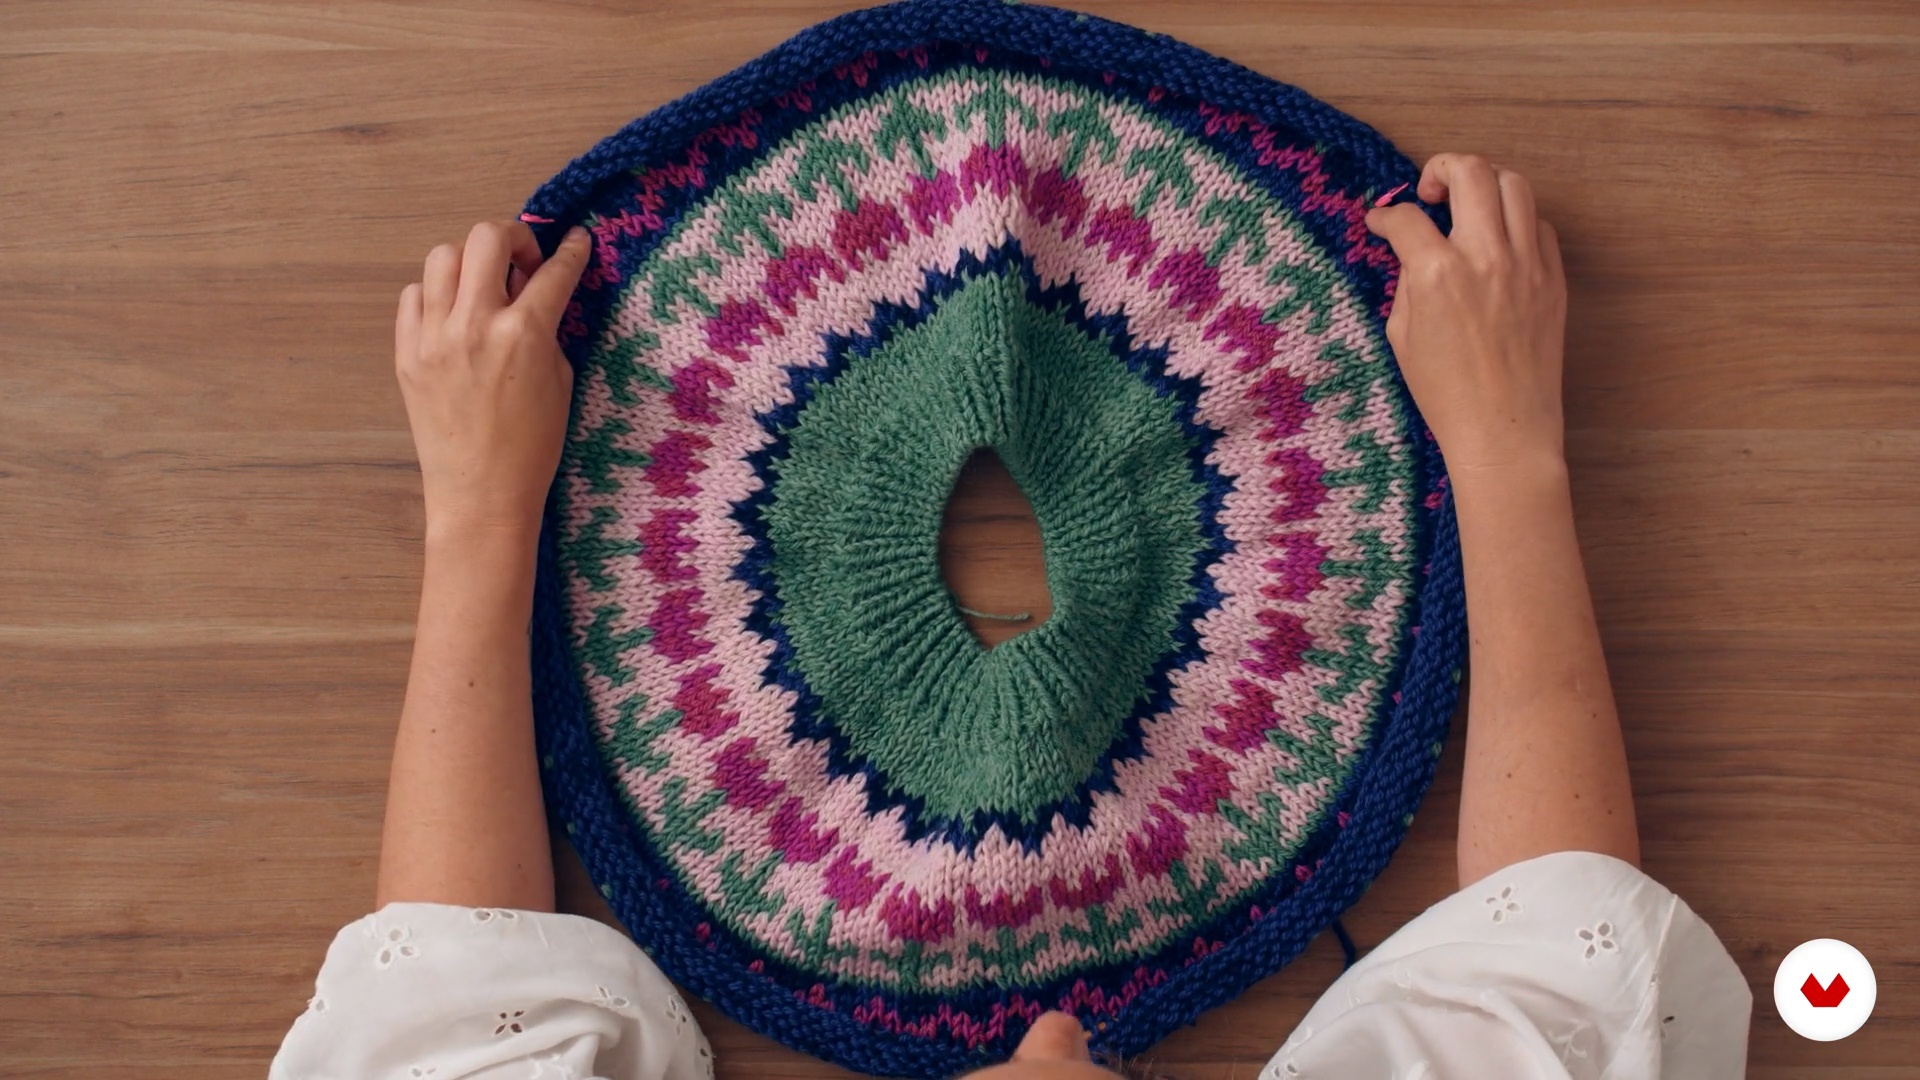
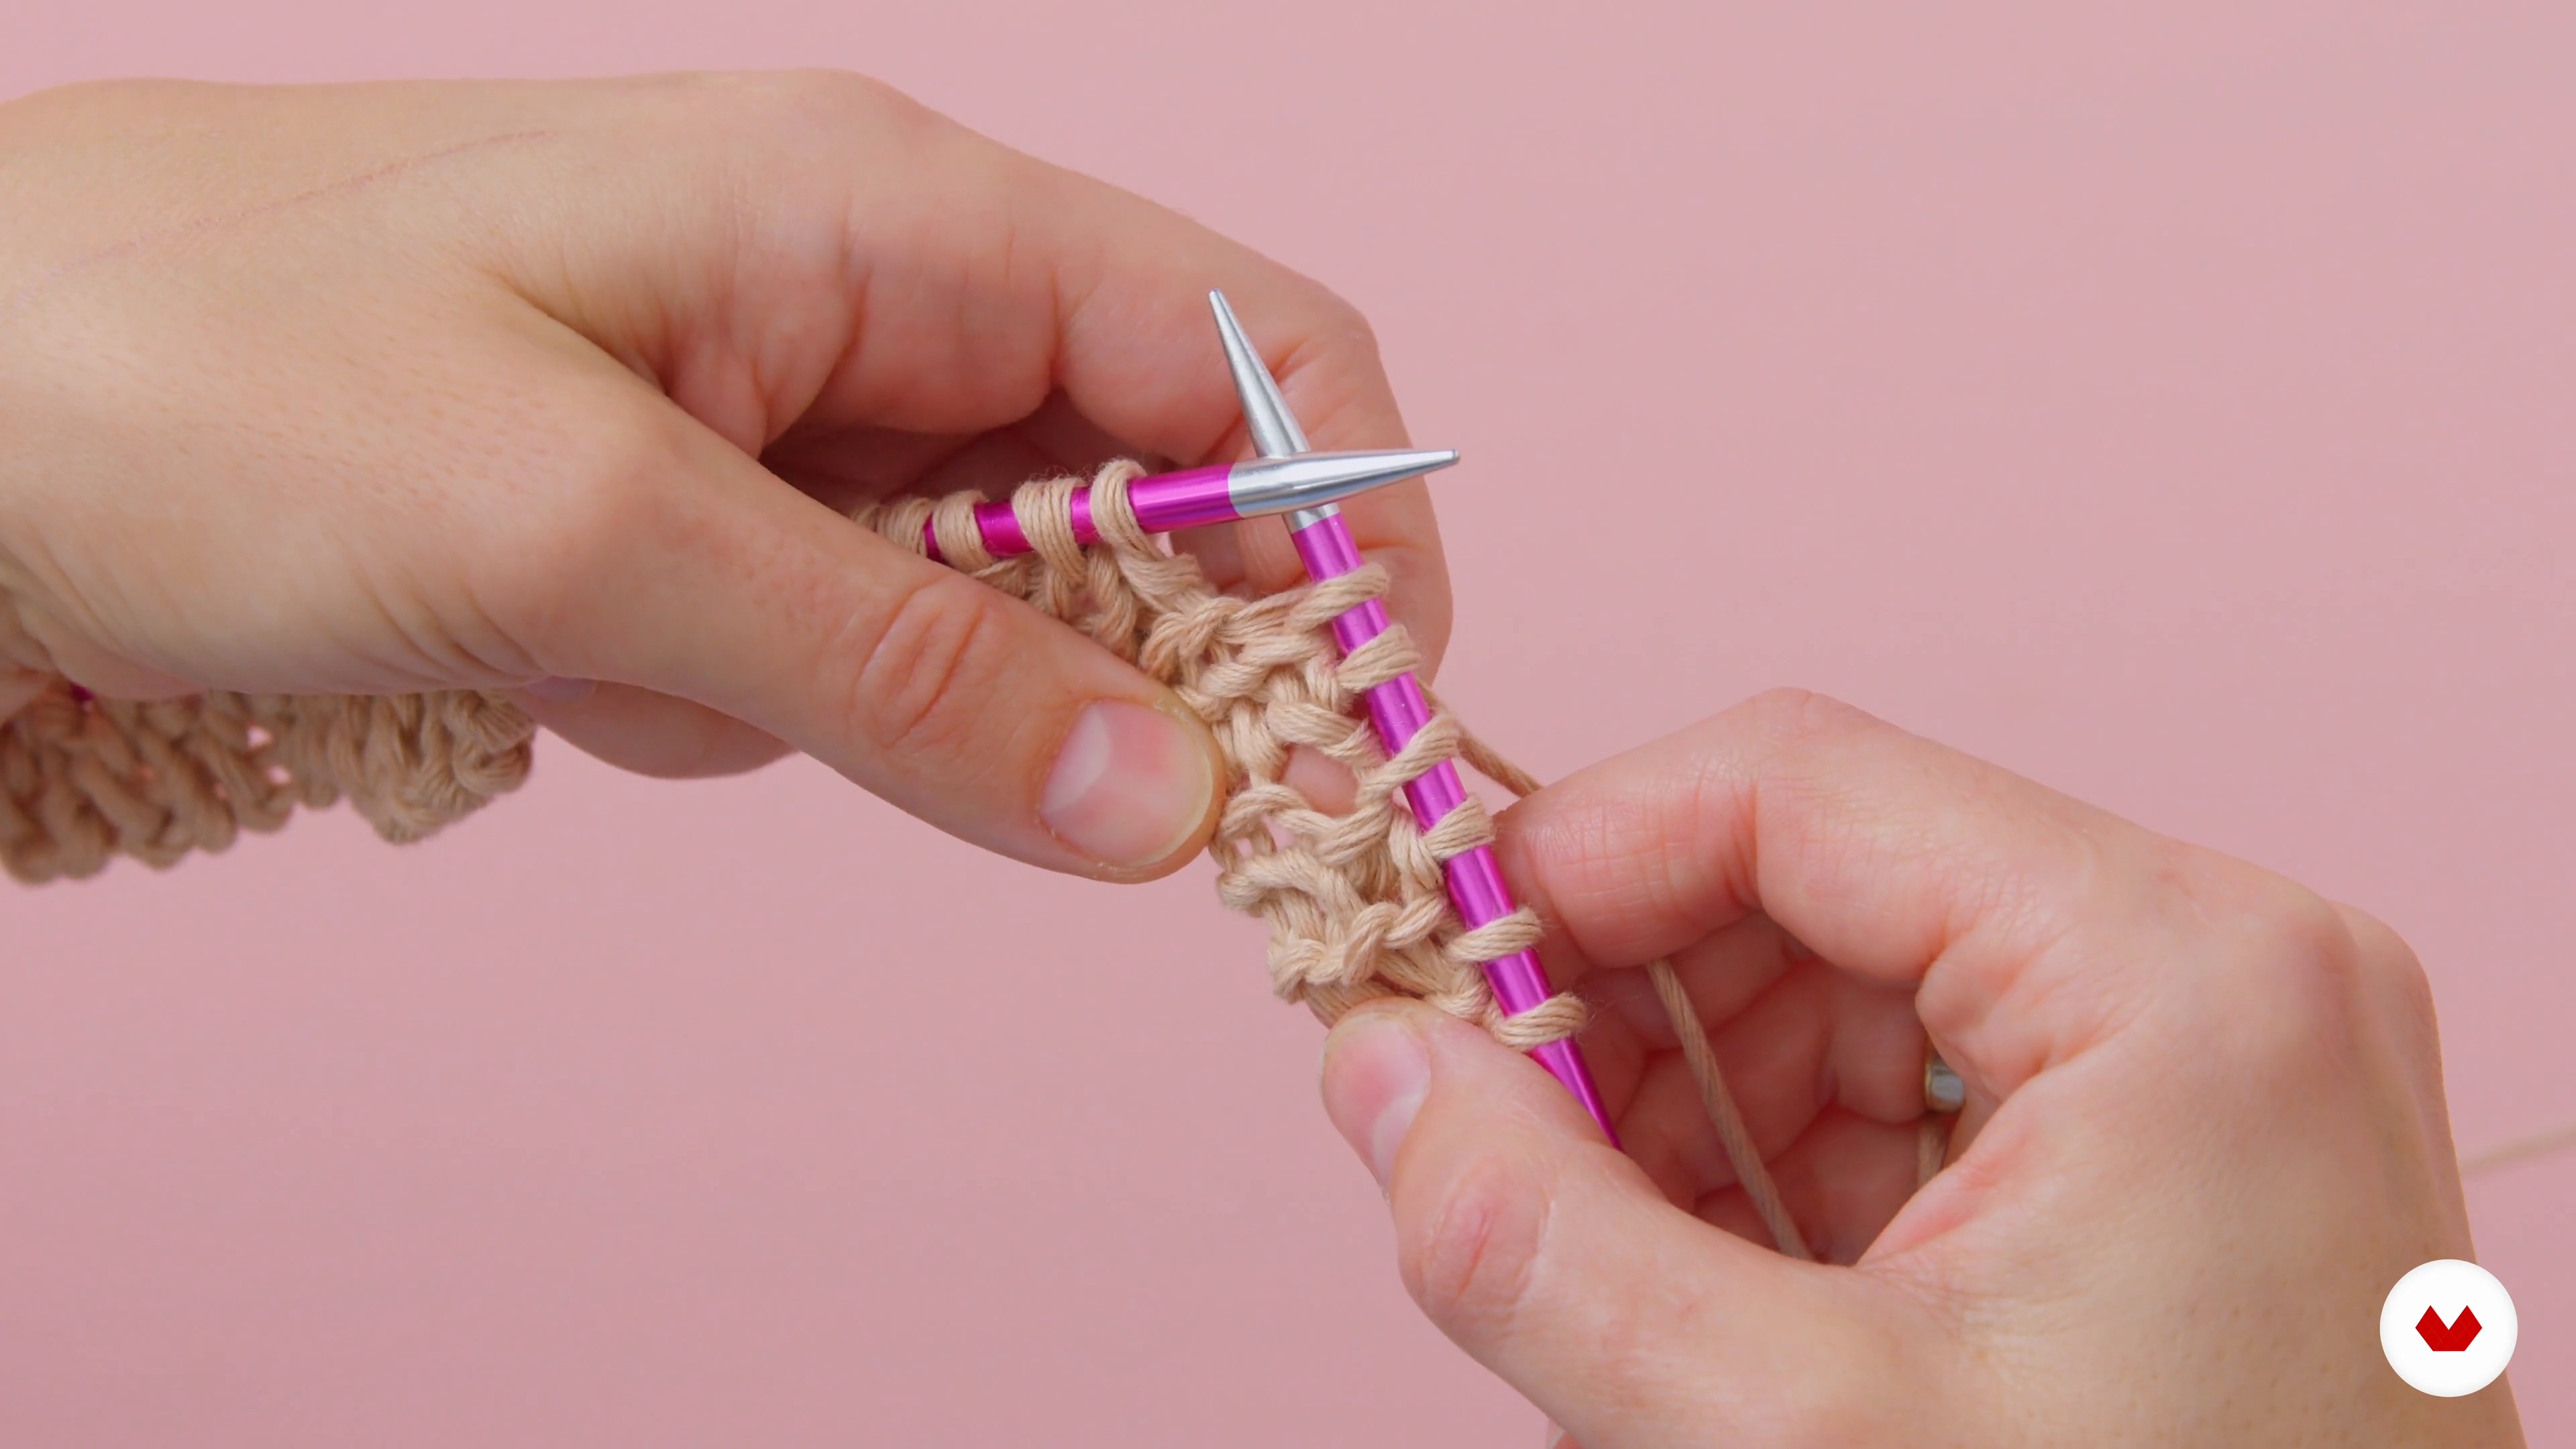
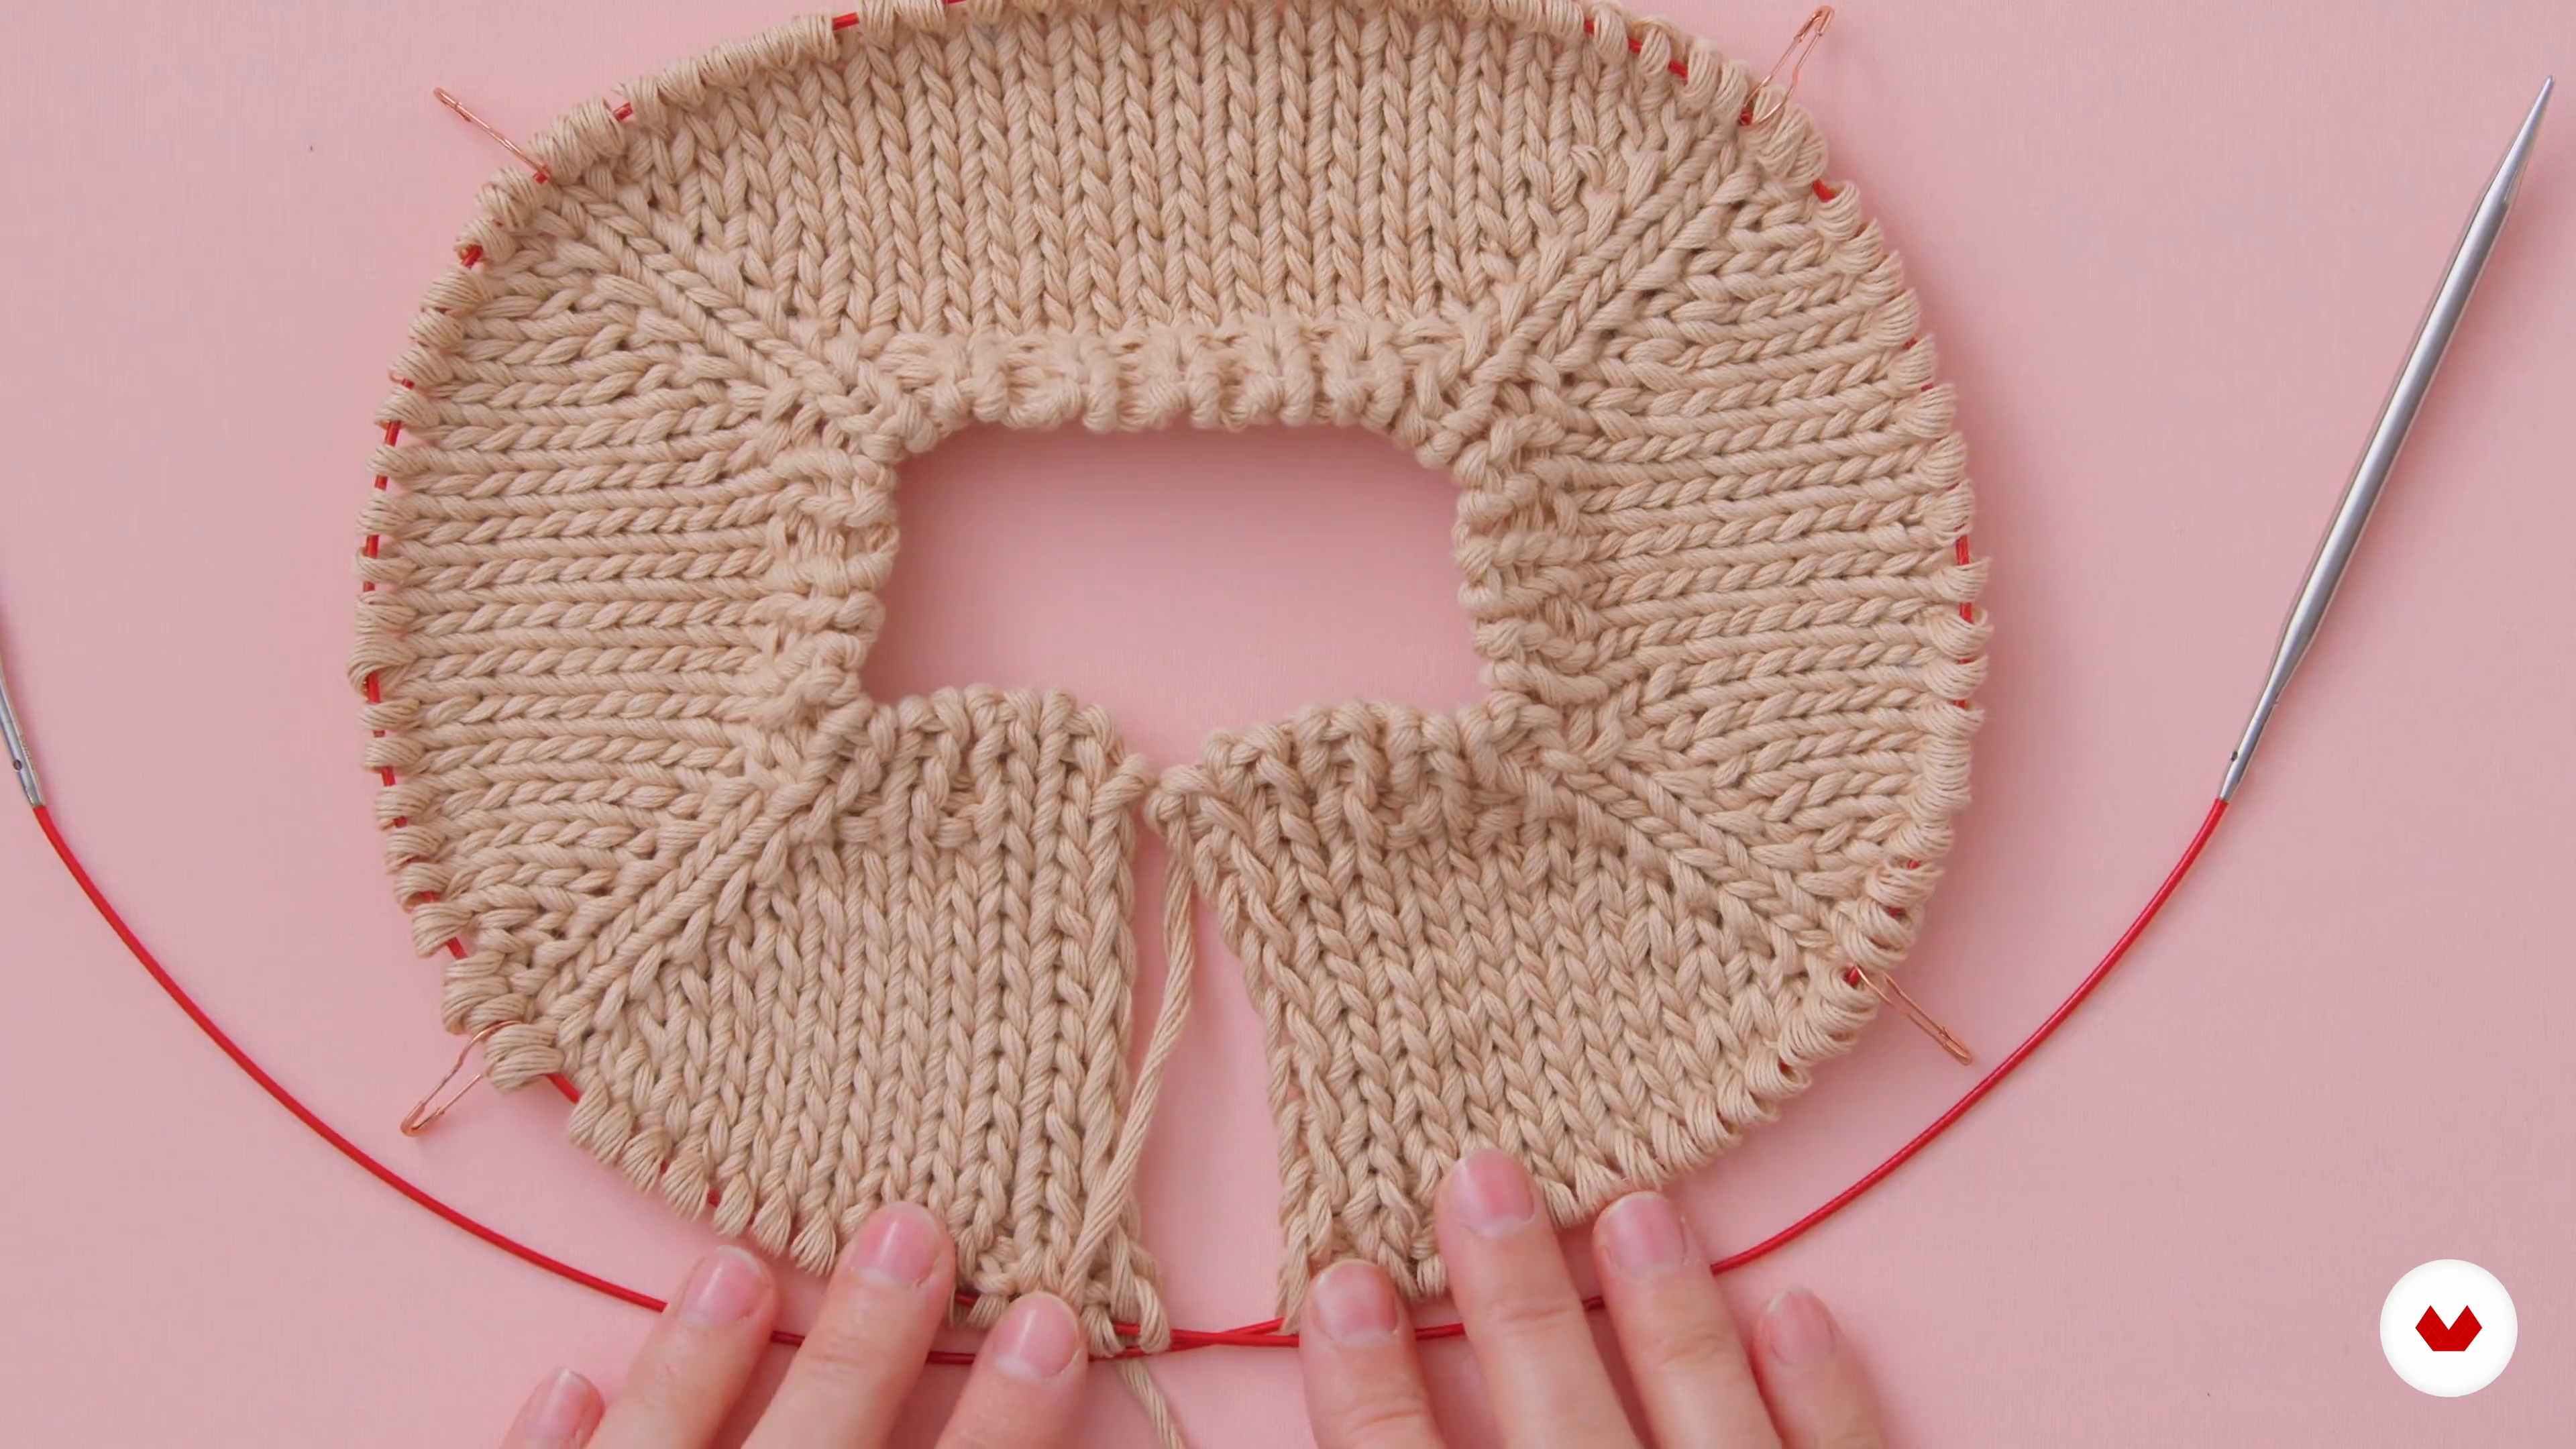
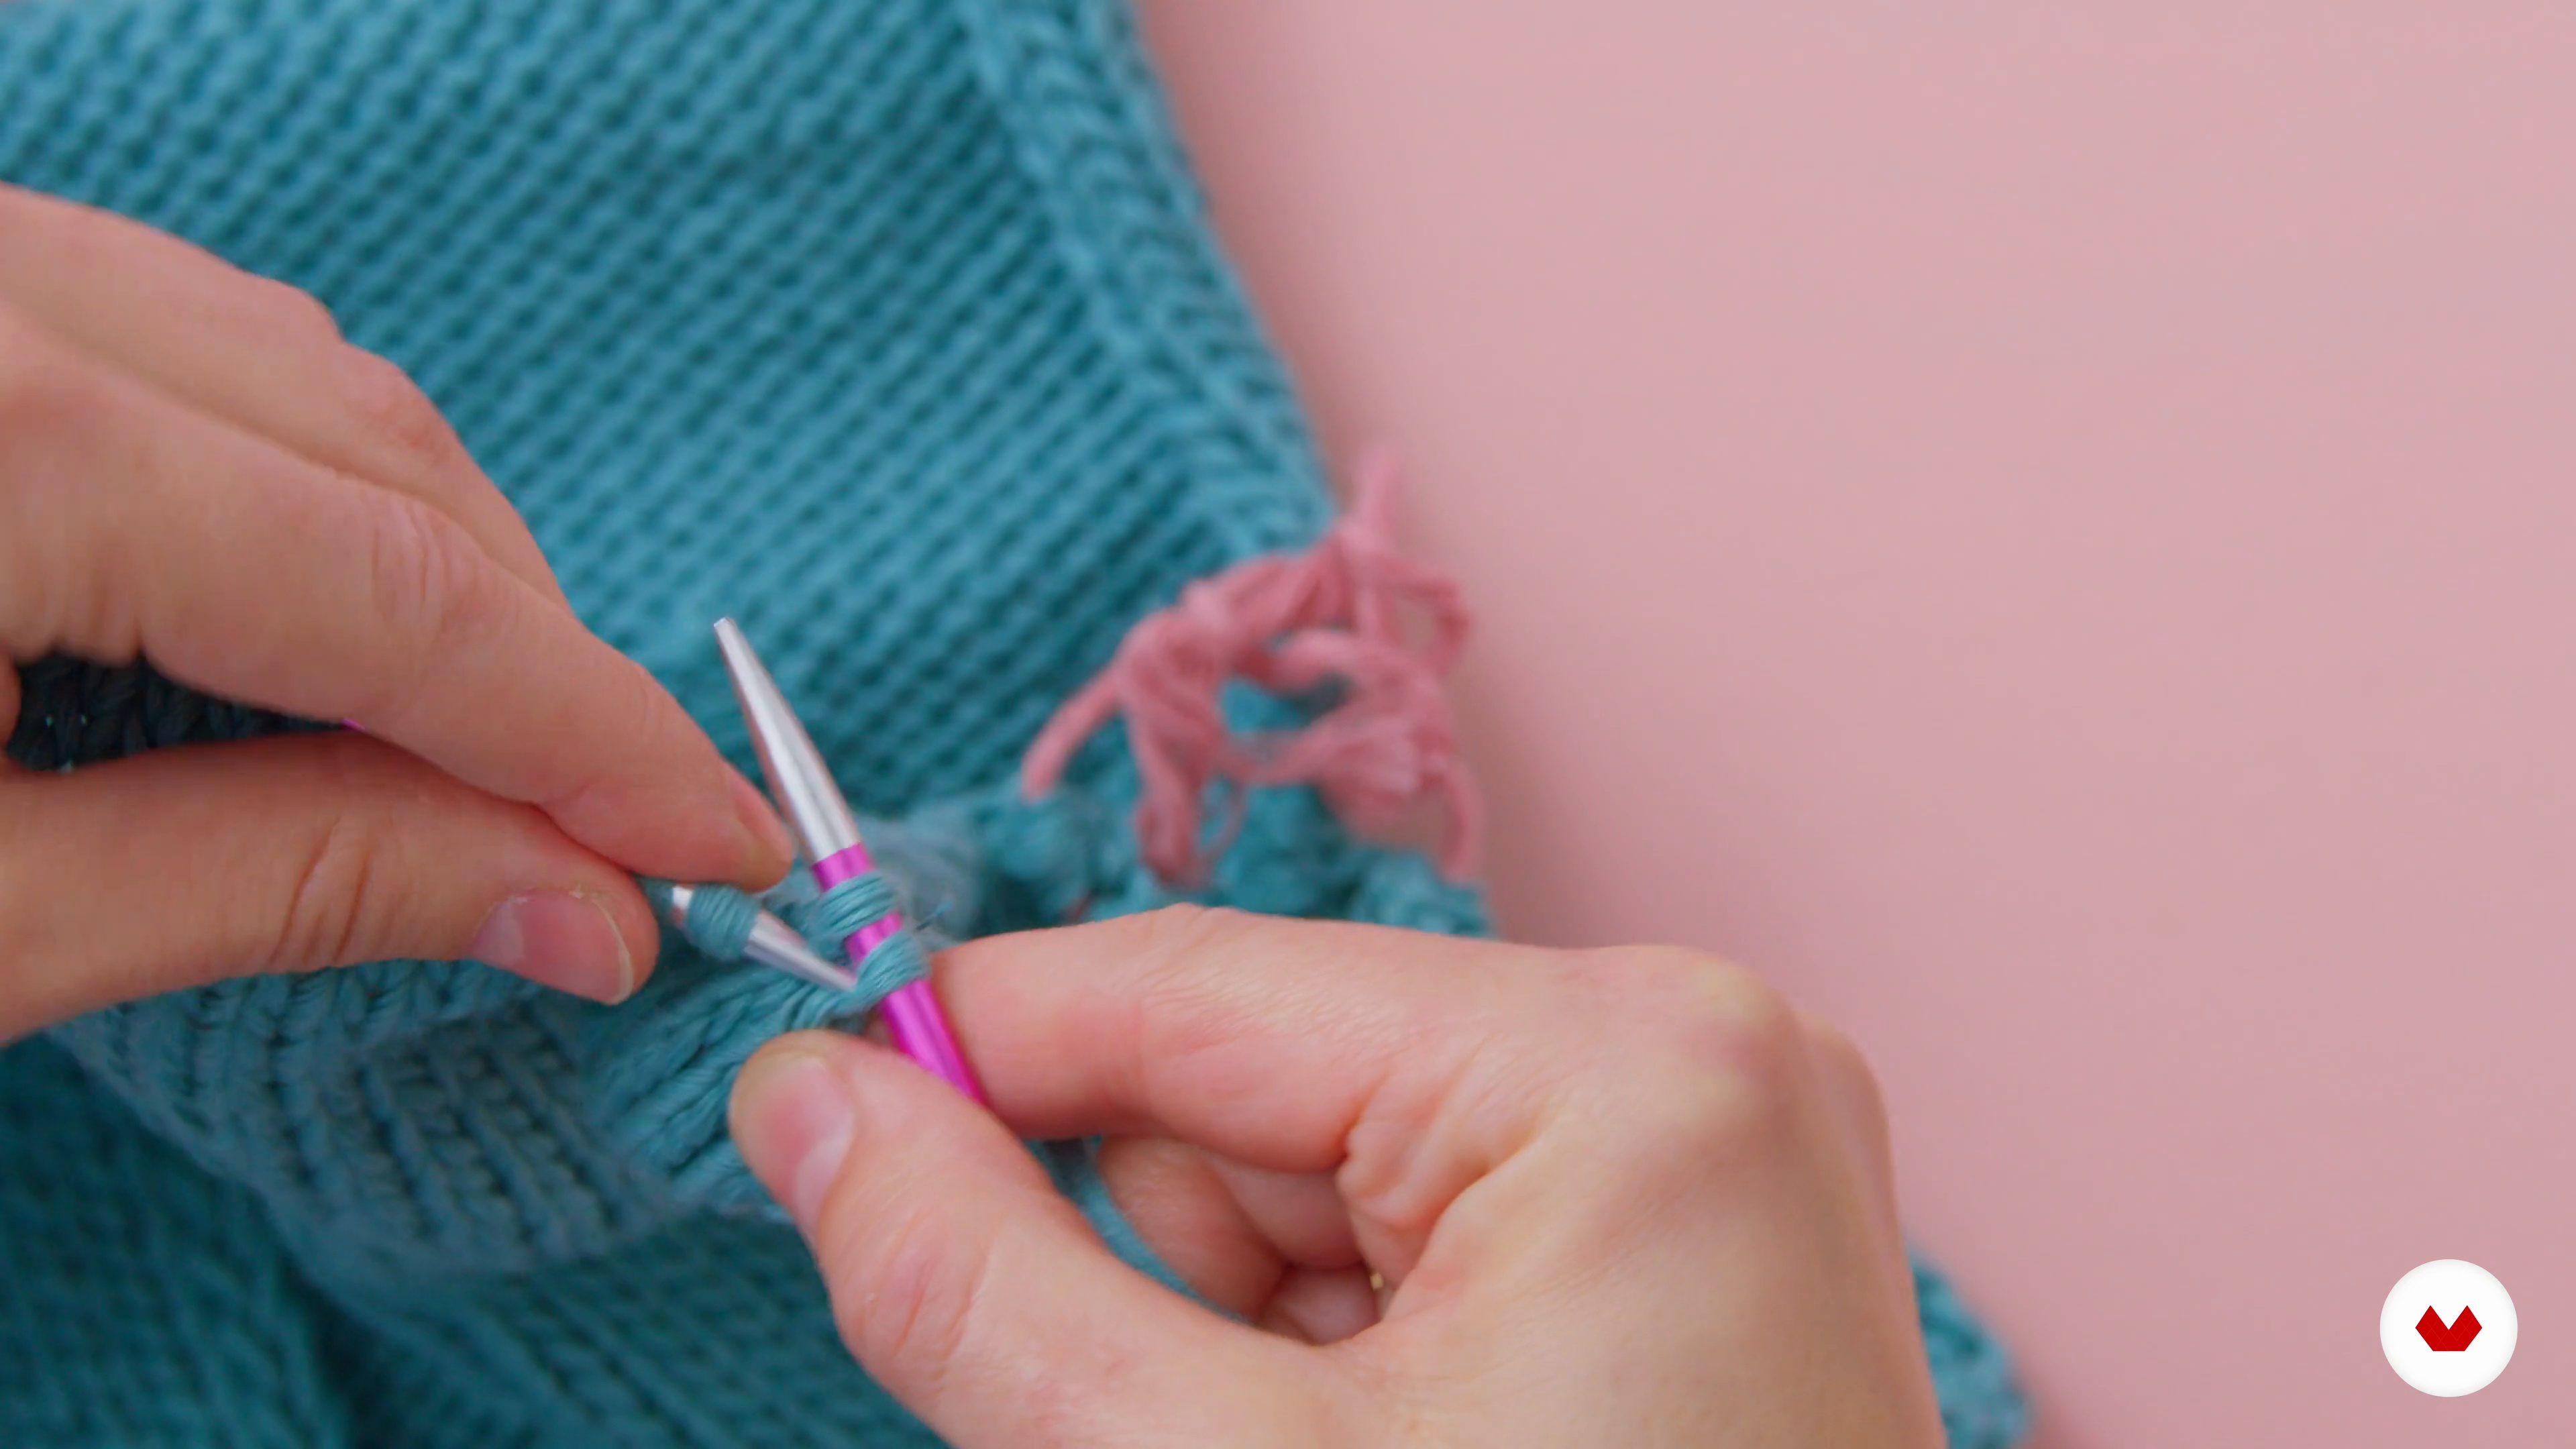
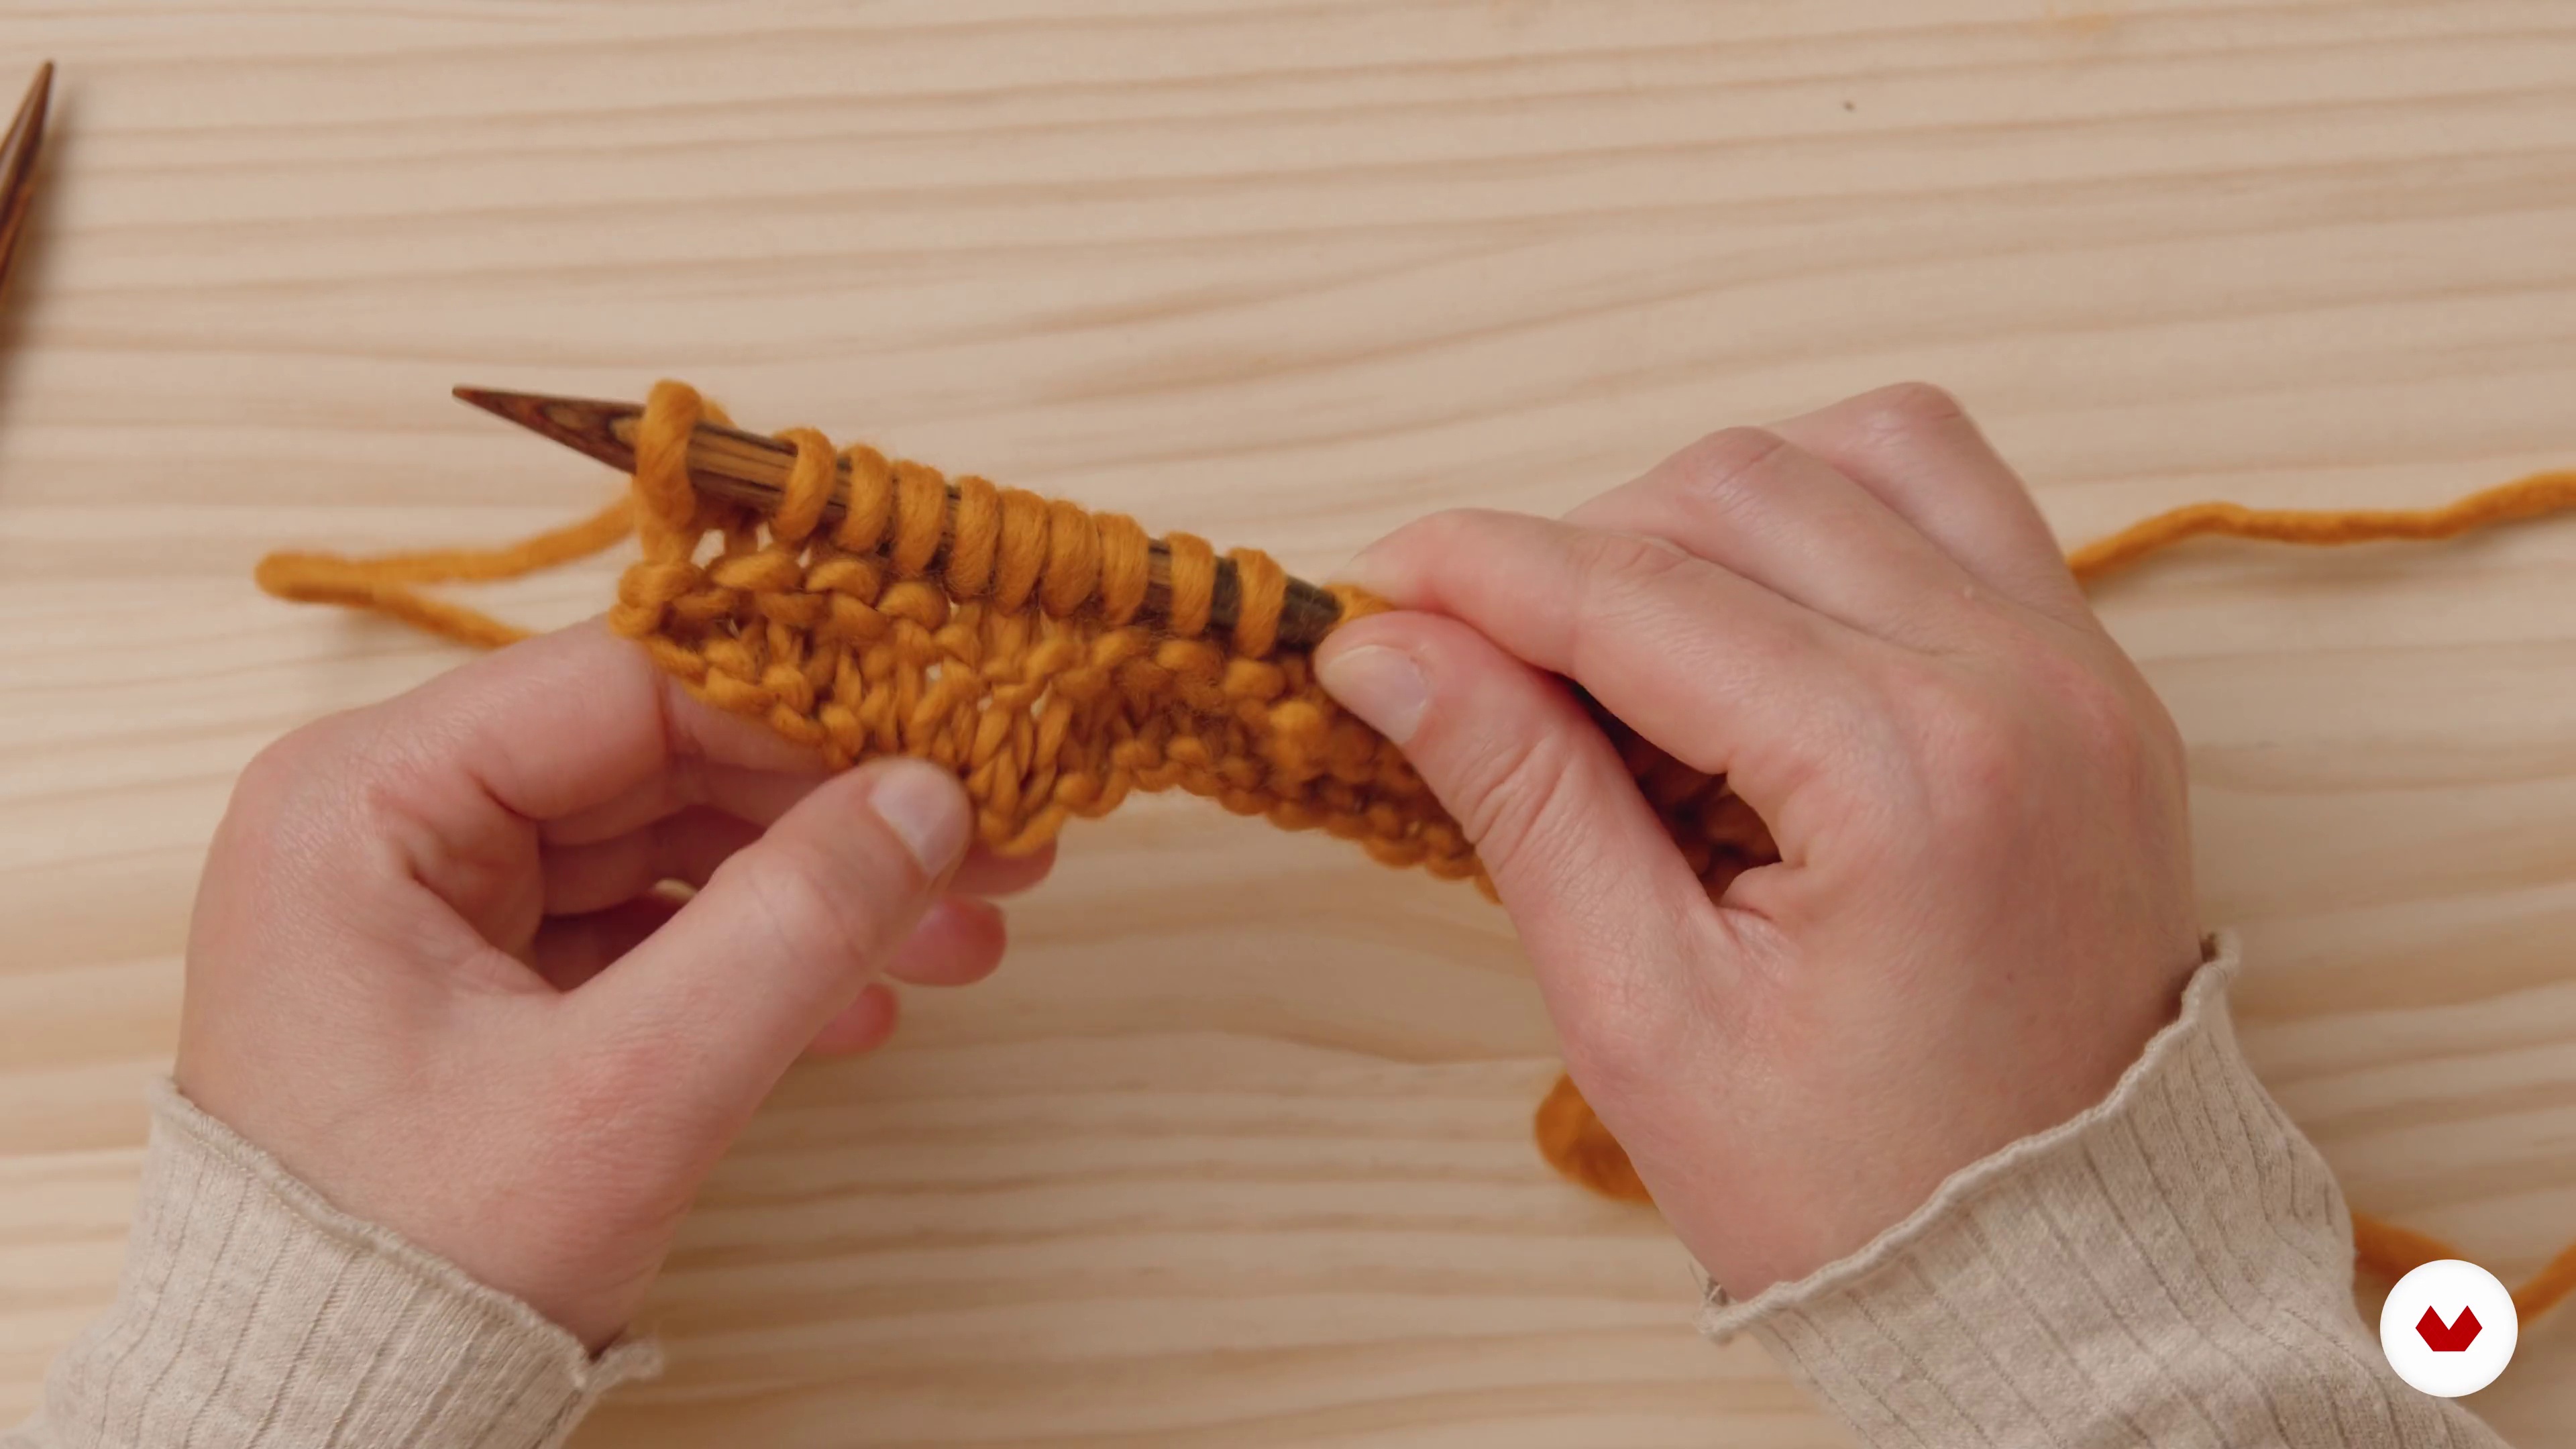
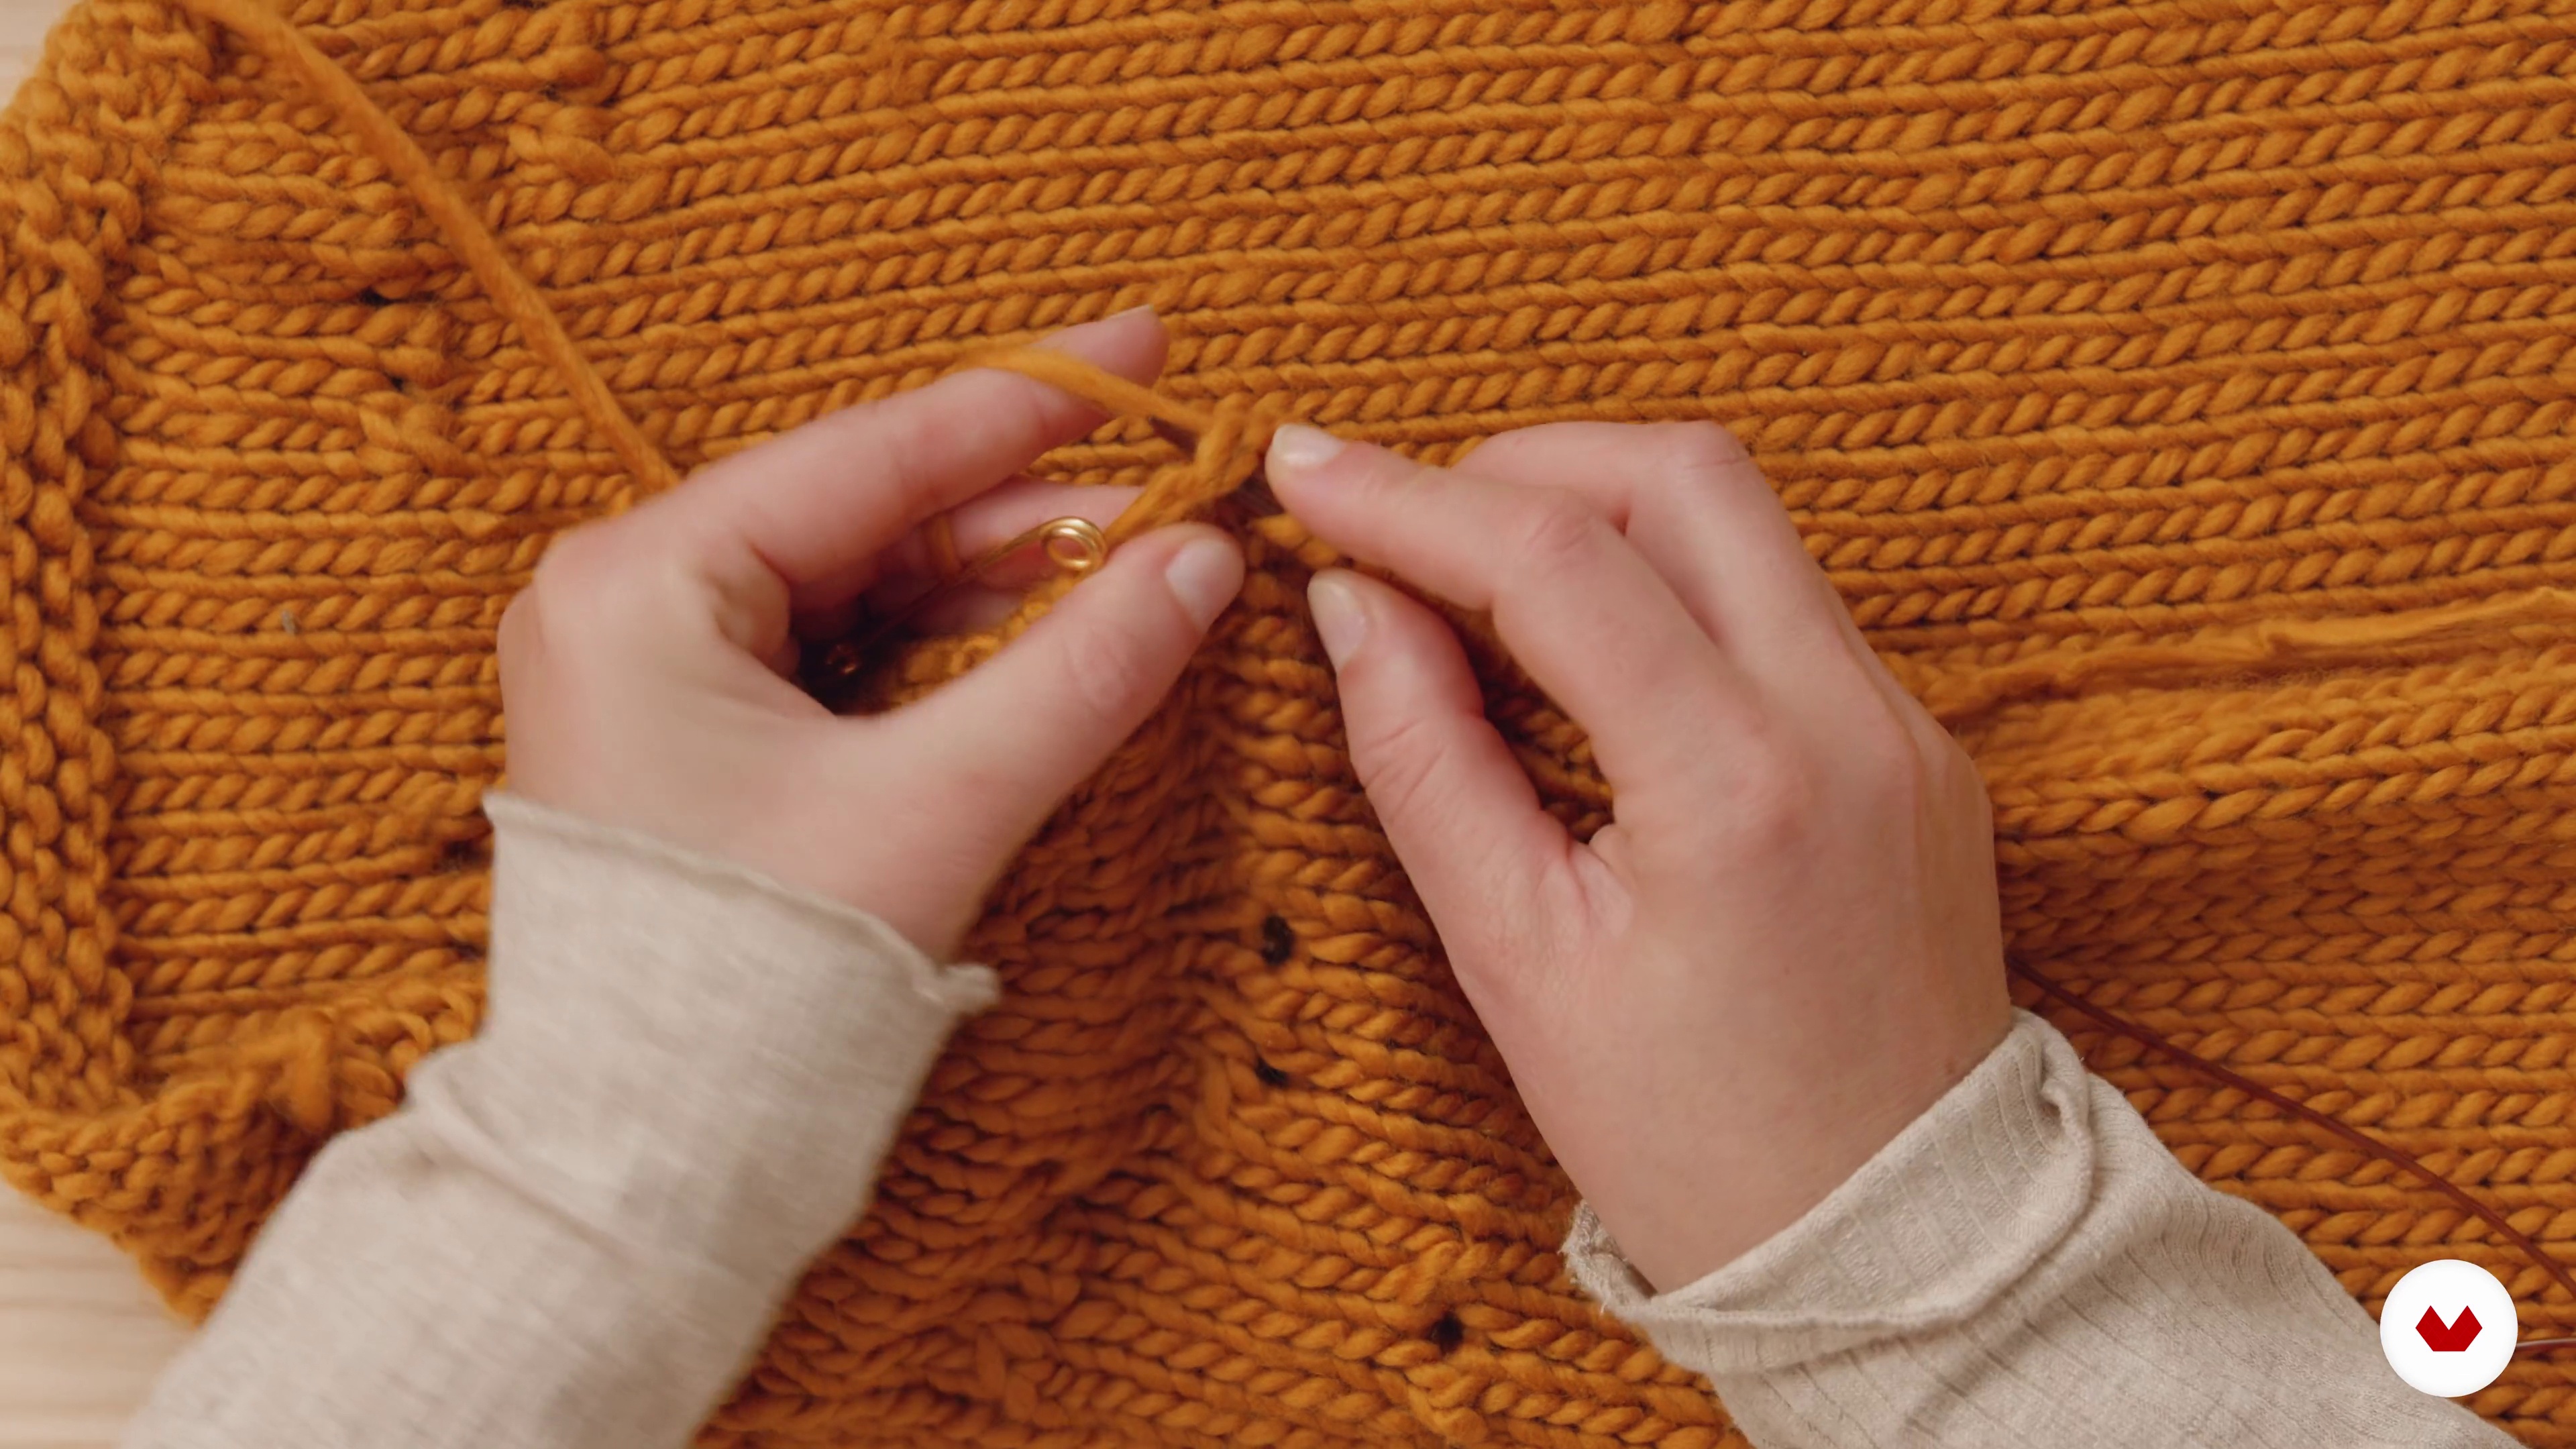
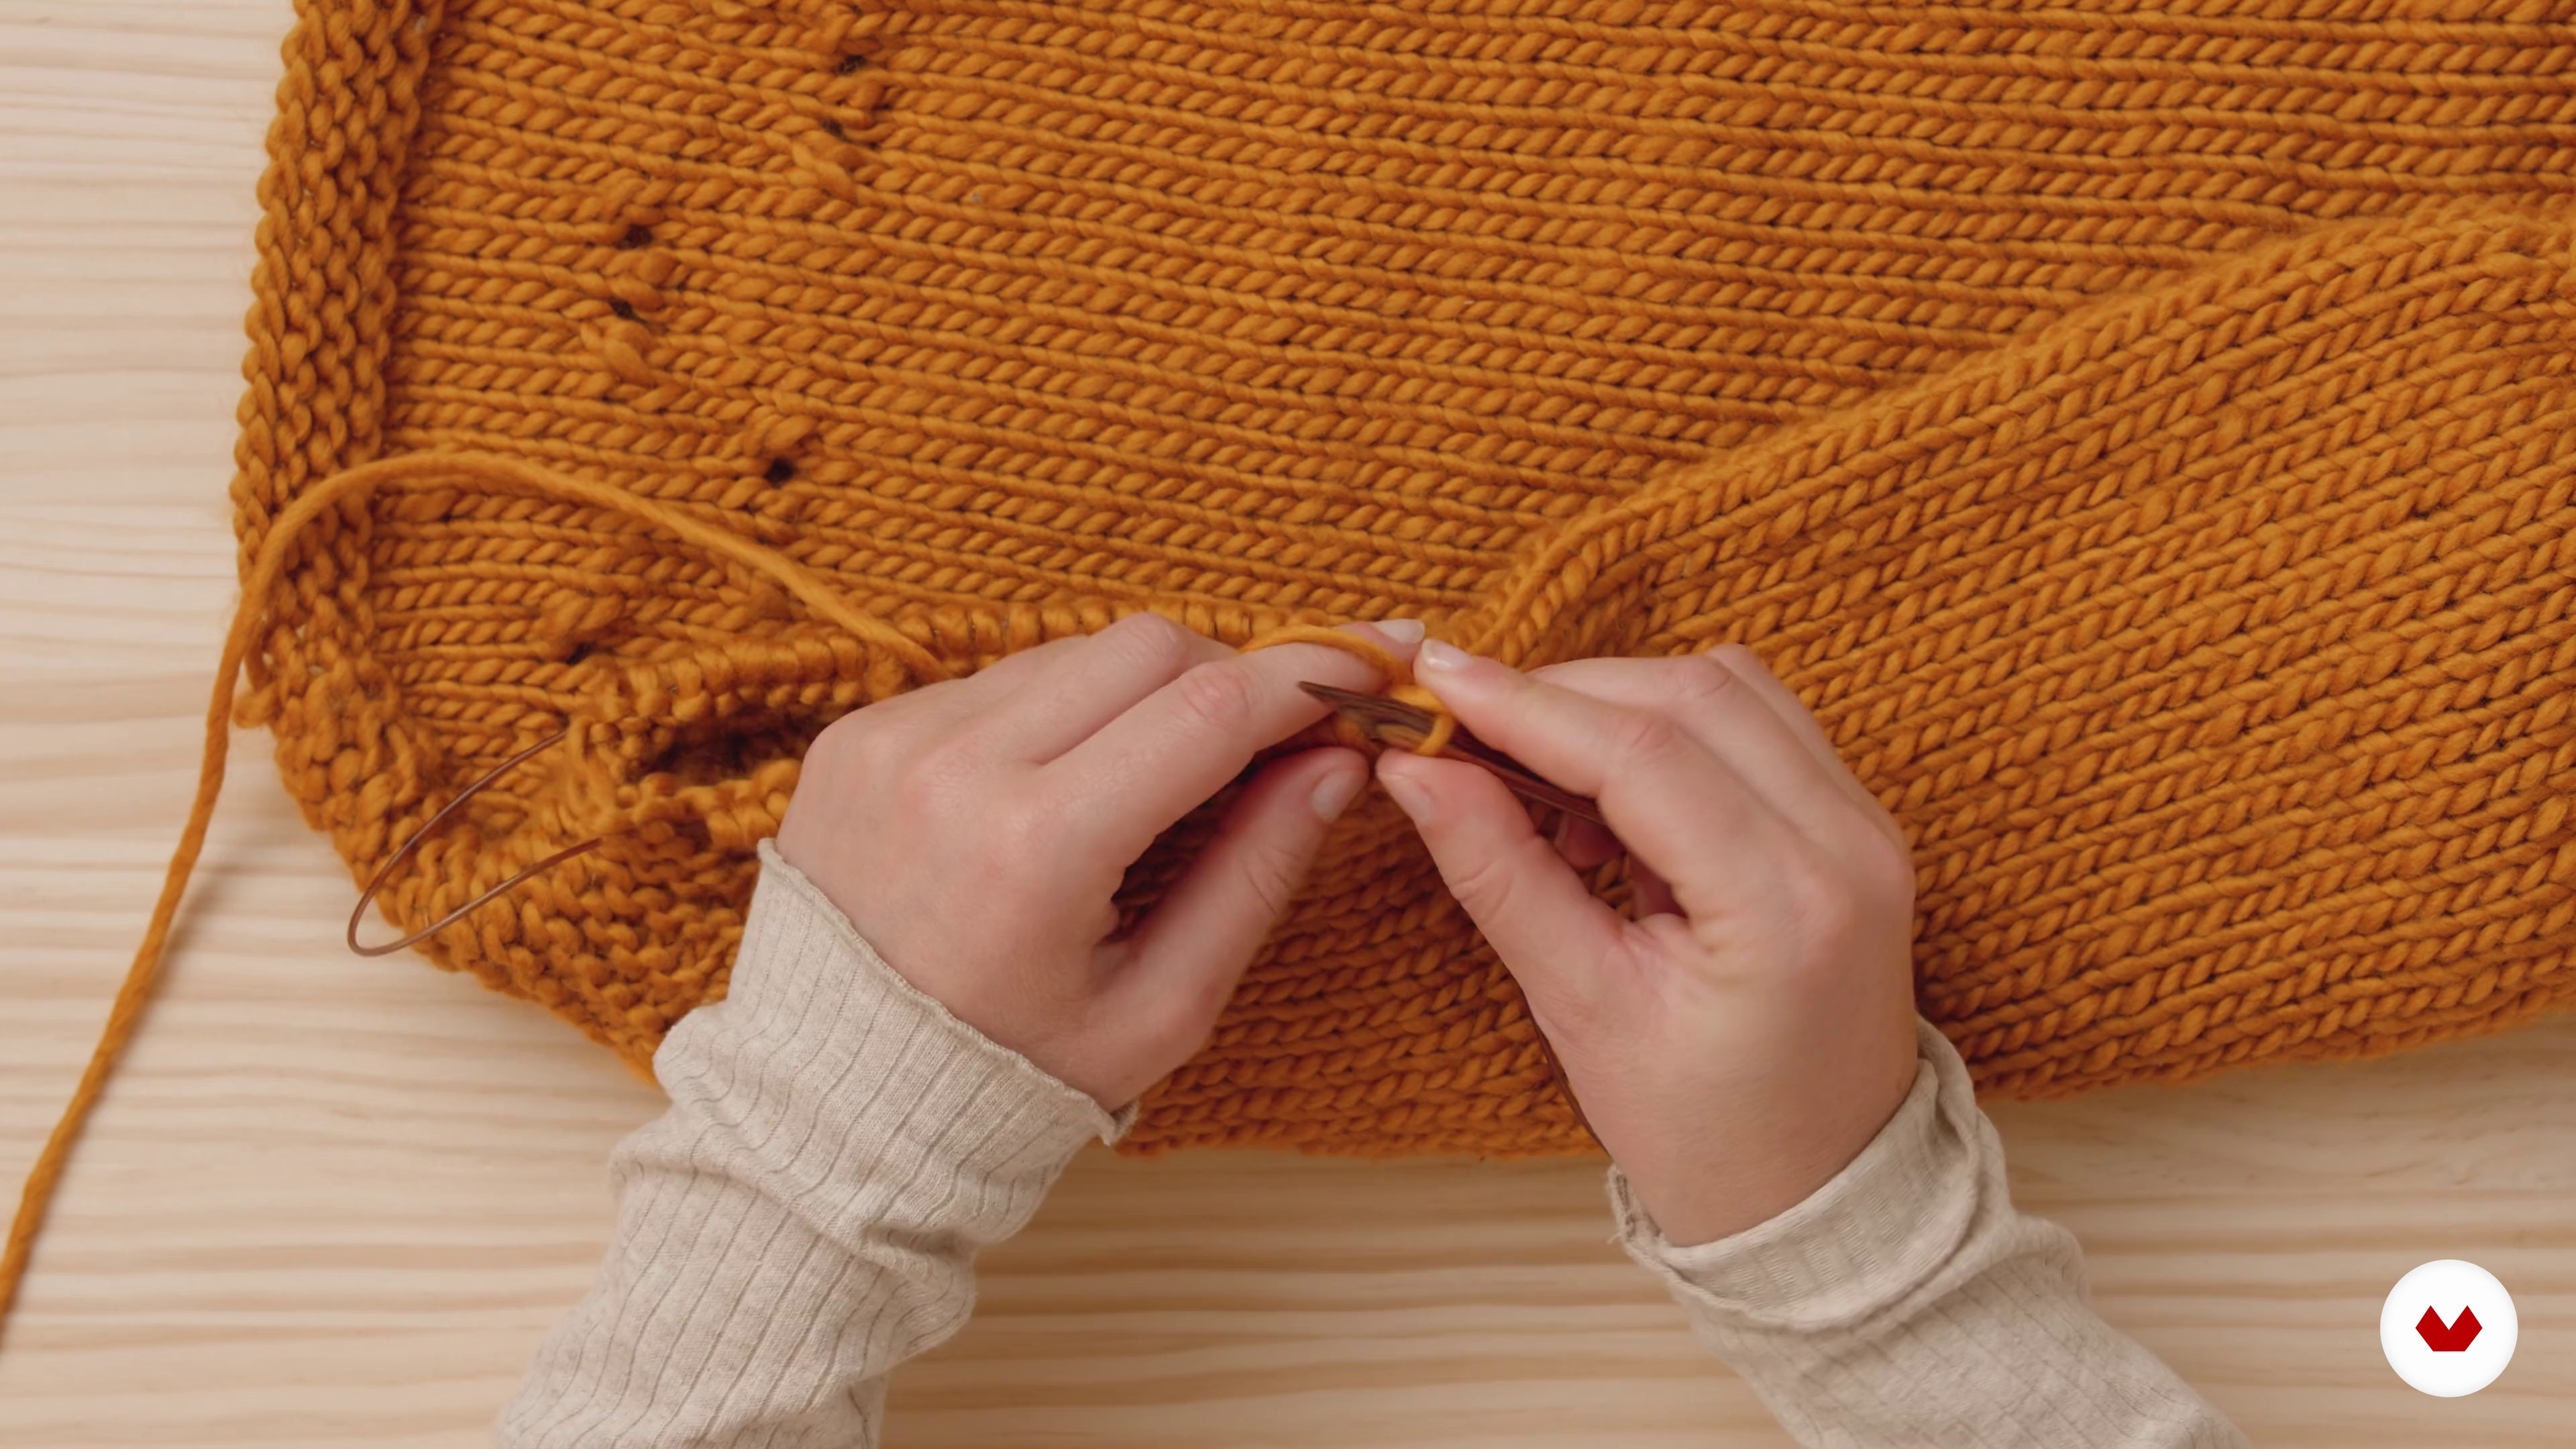
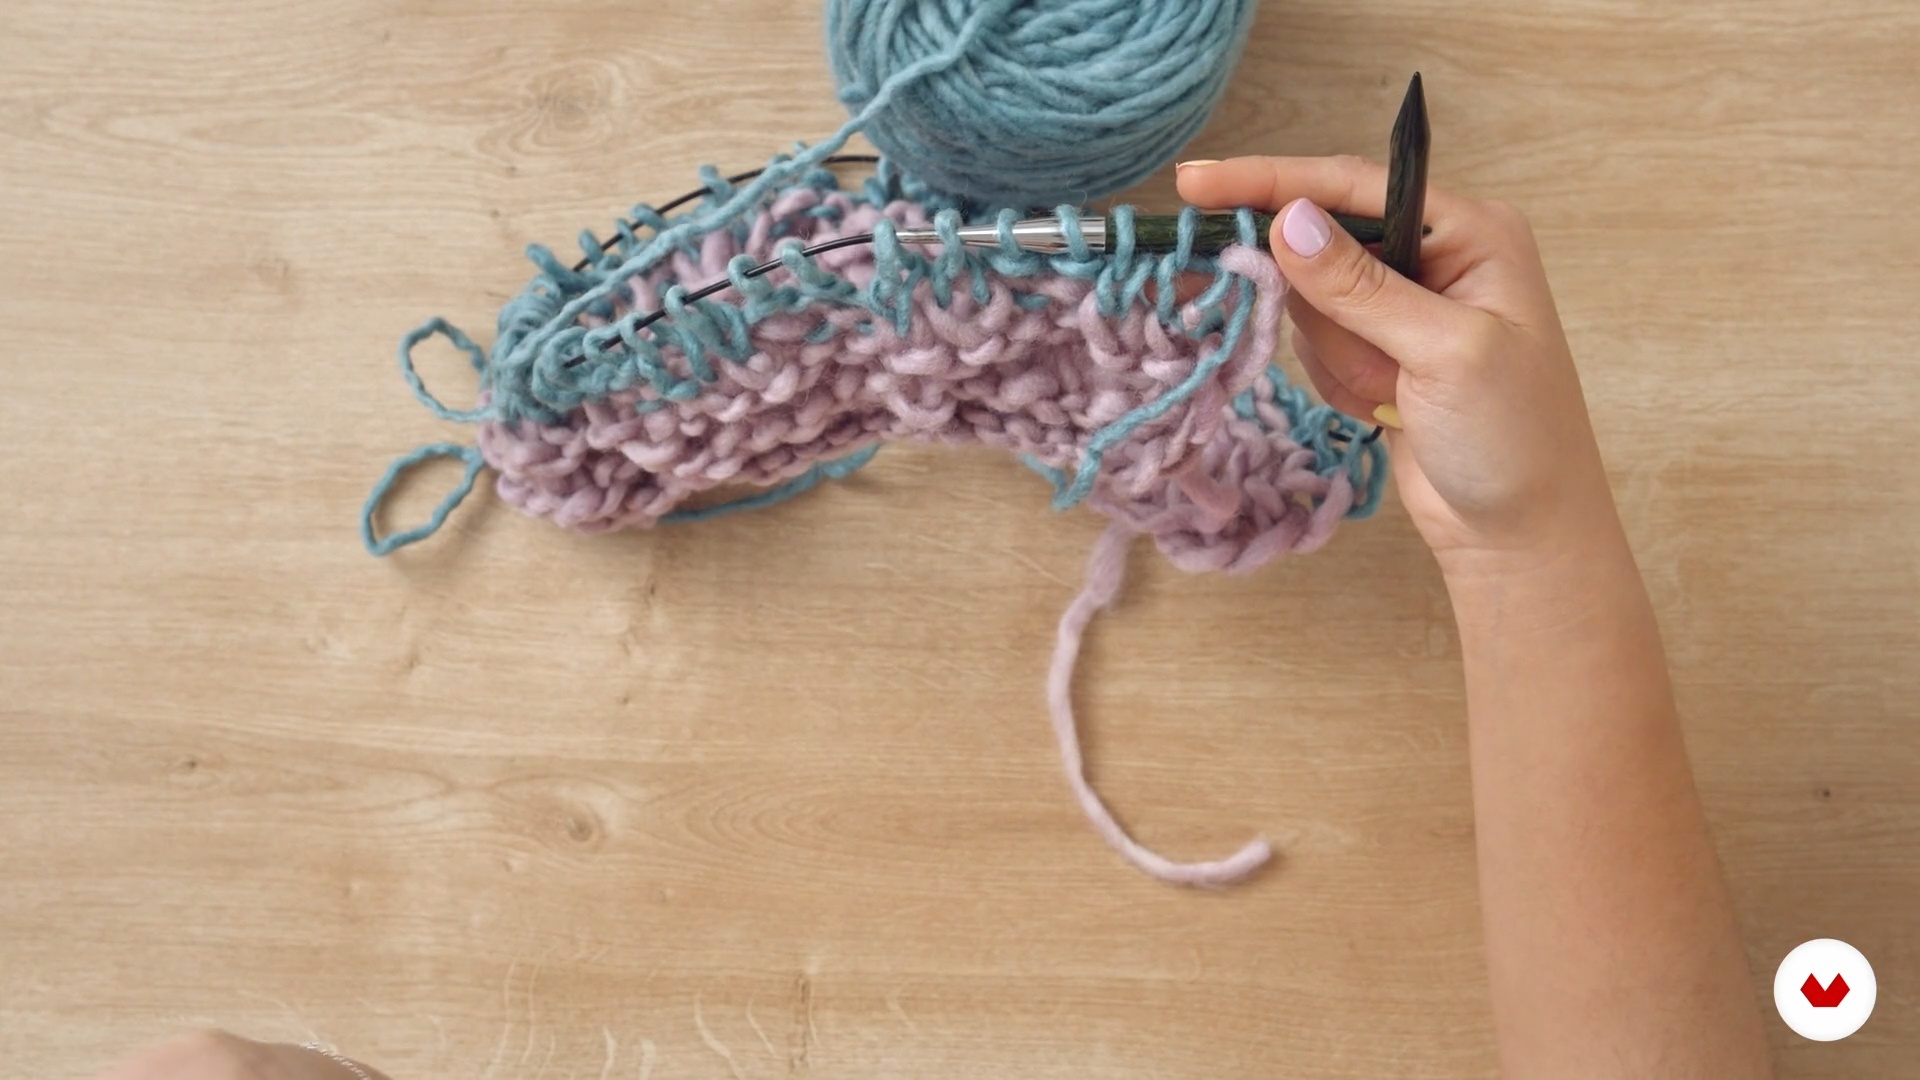
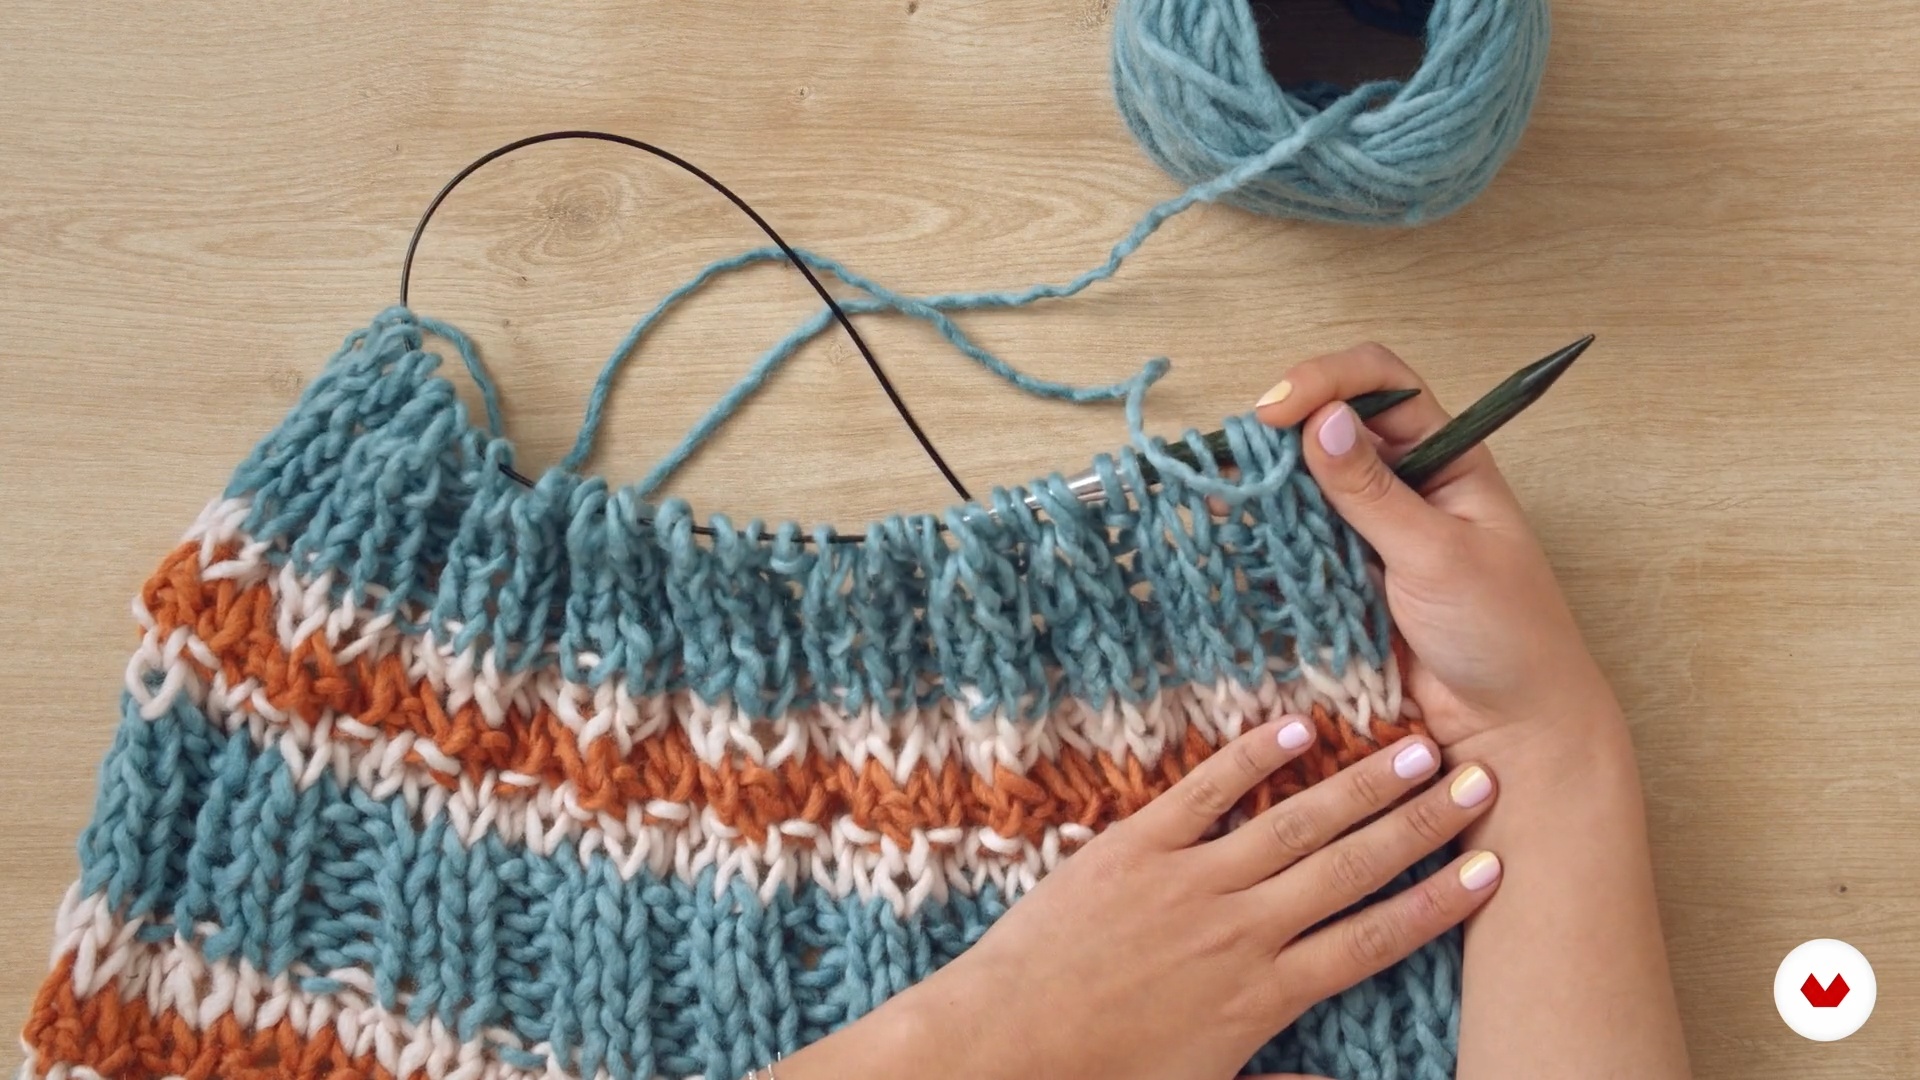
Learn to weave seamless garments using circular needles, improving the fall and anatomical adjustment
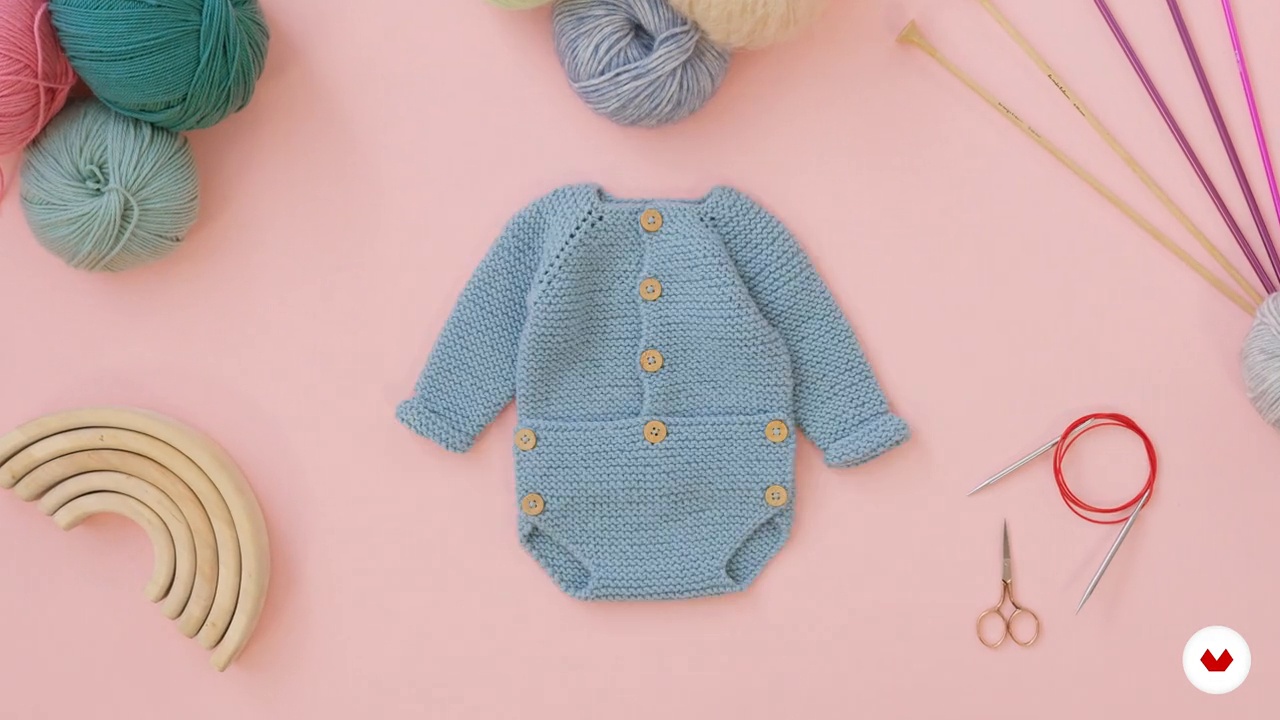
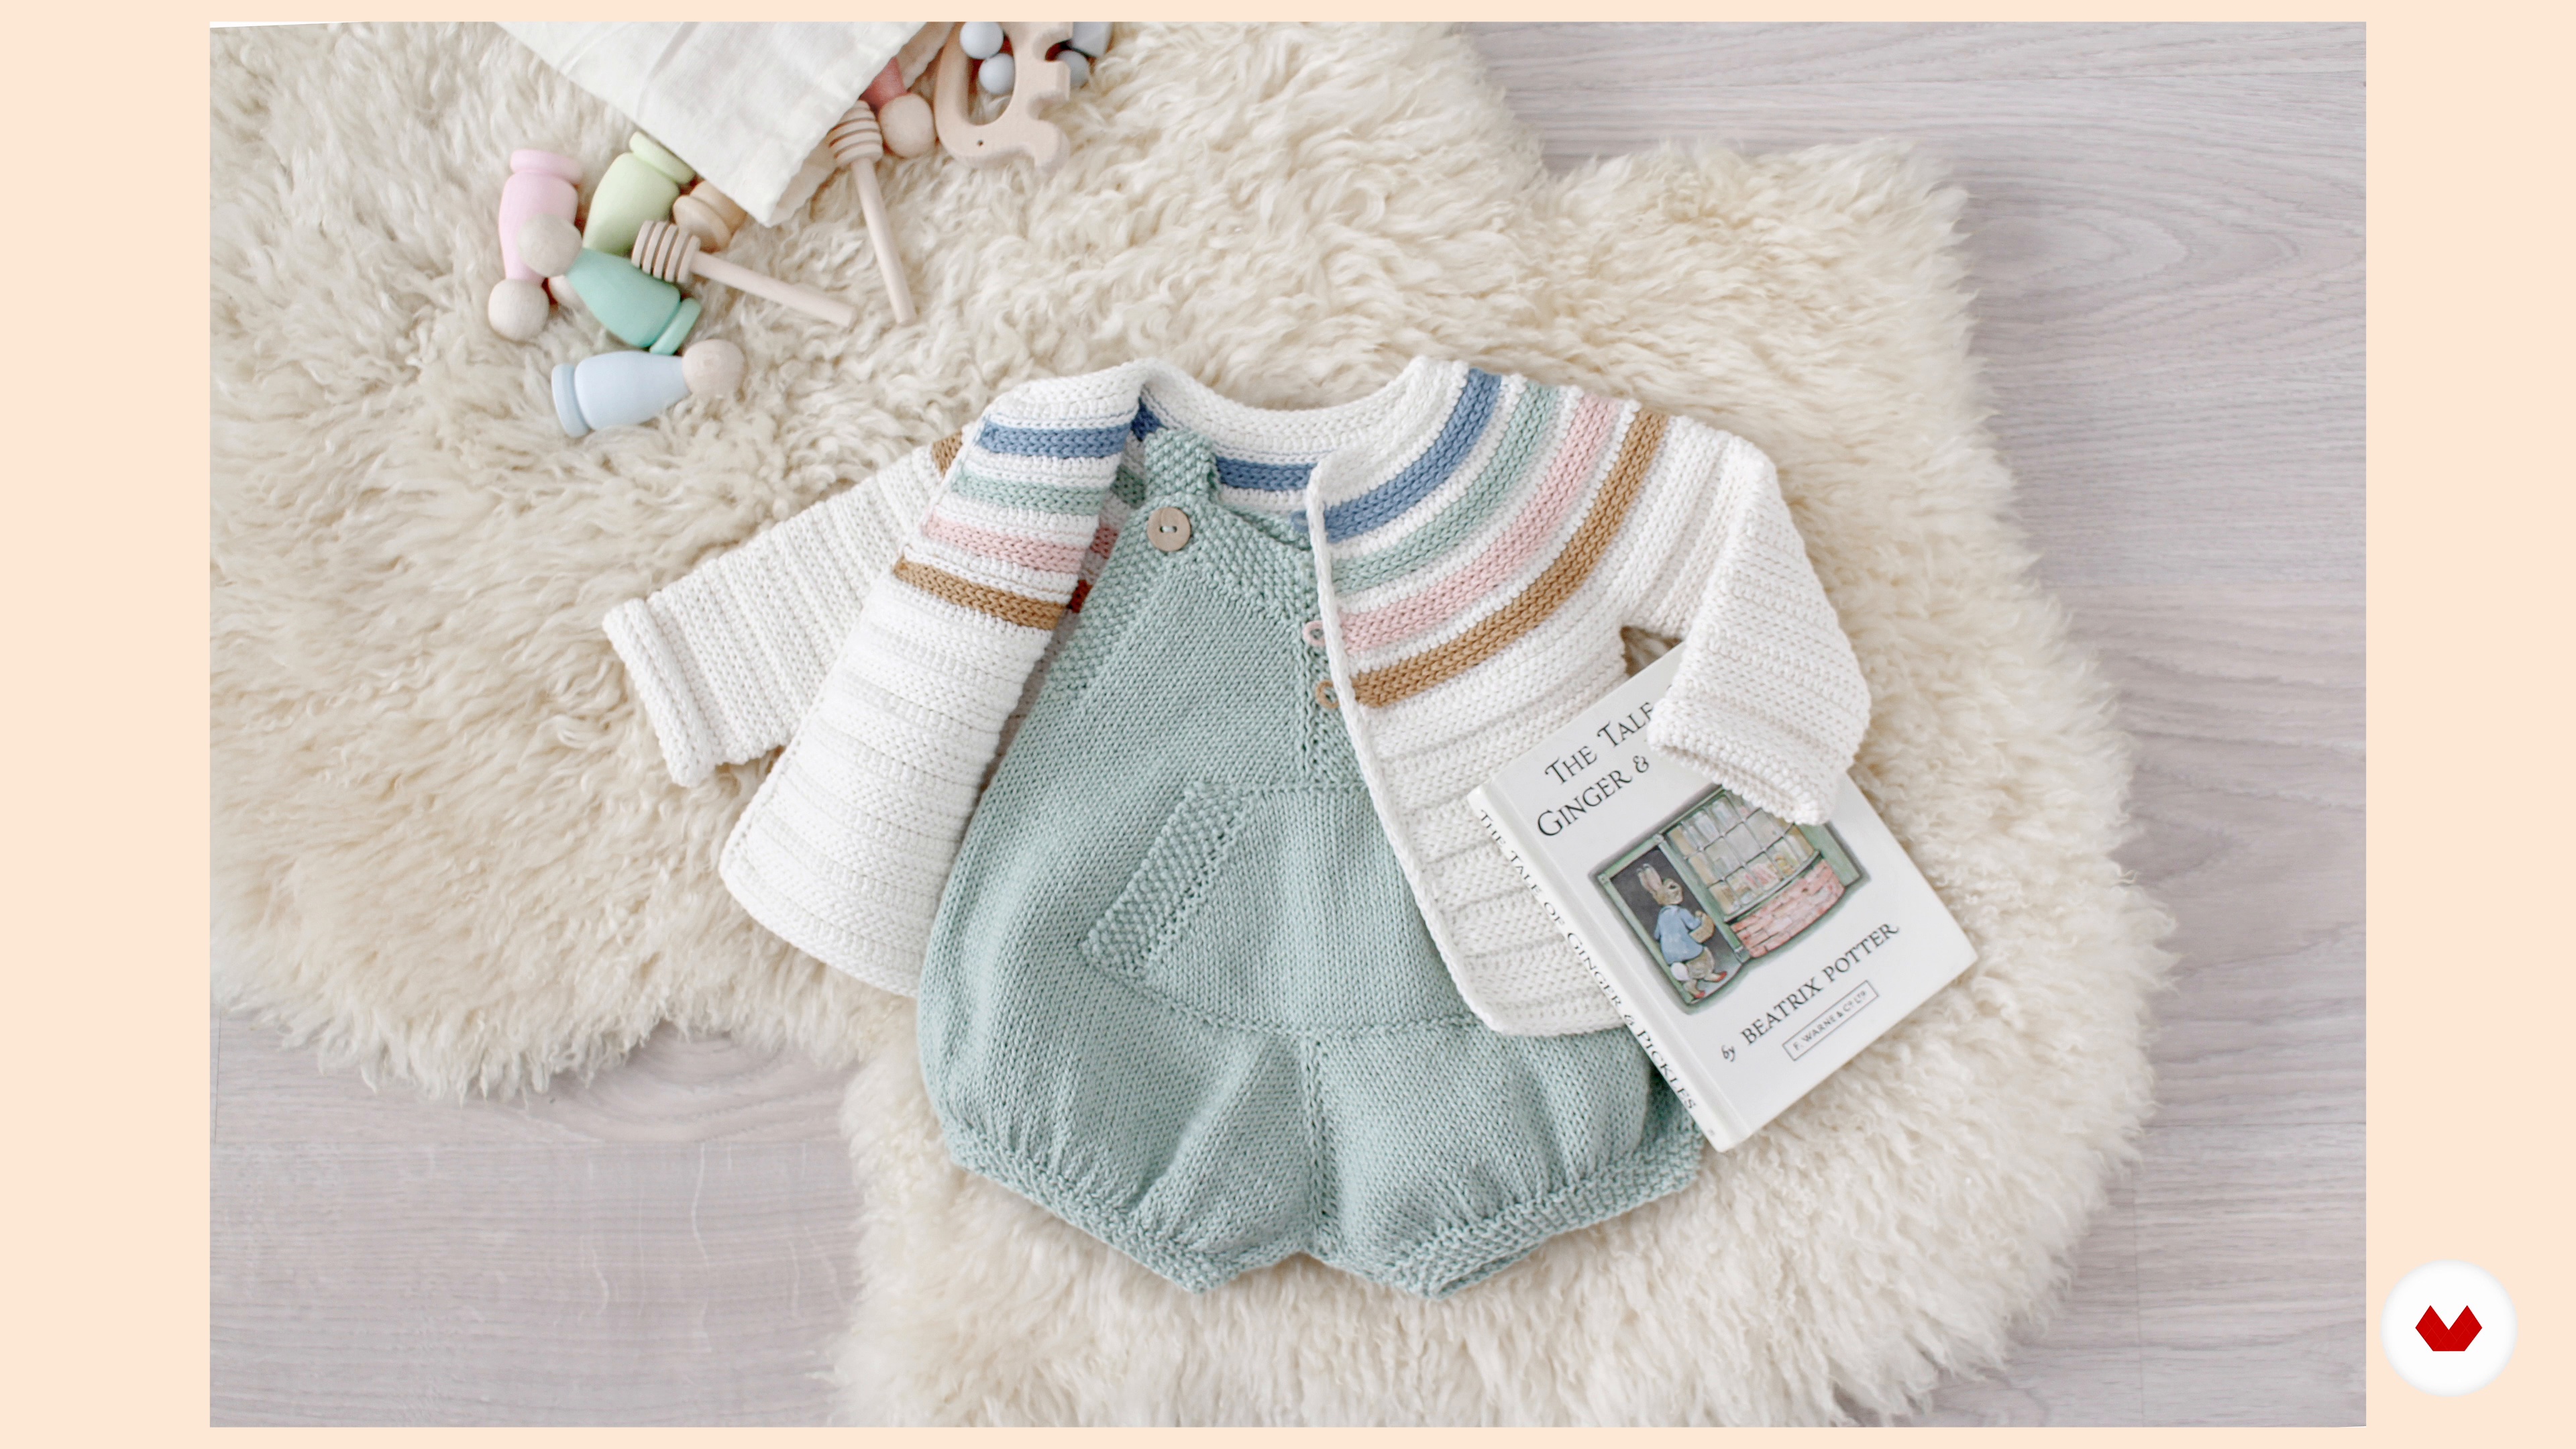
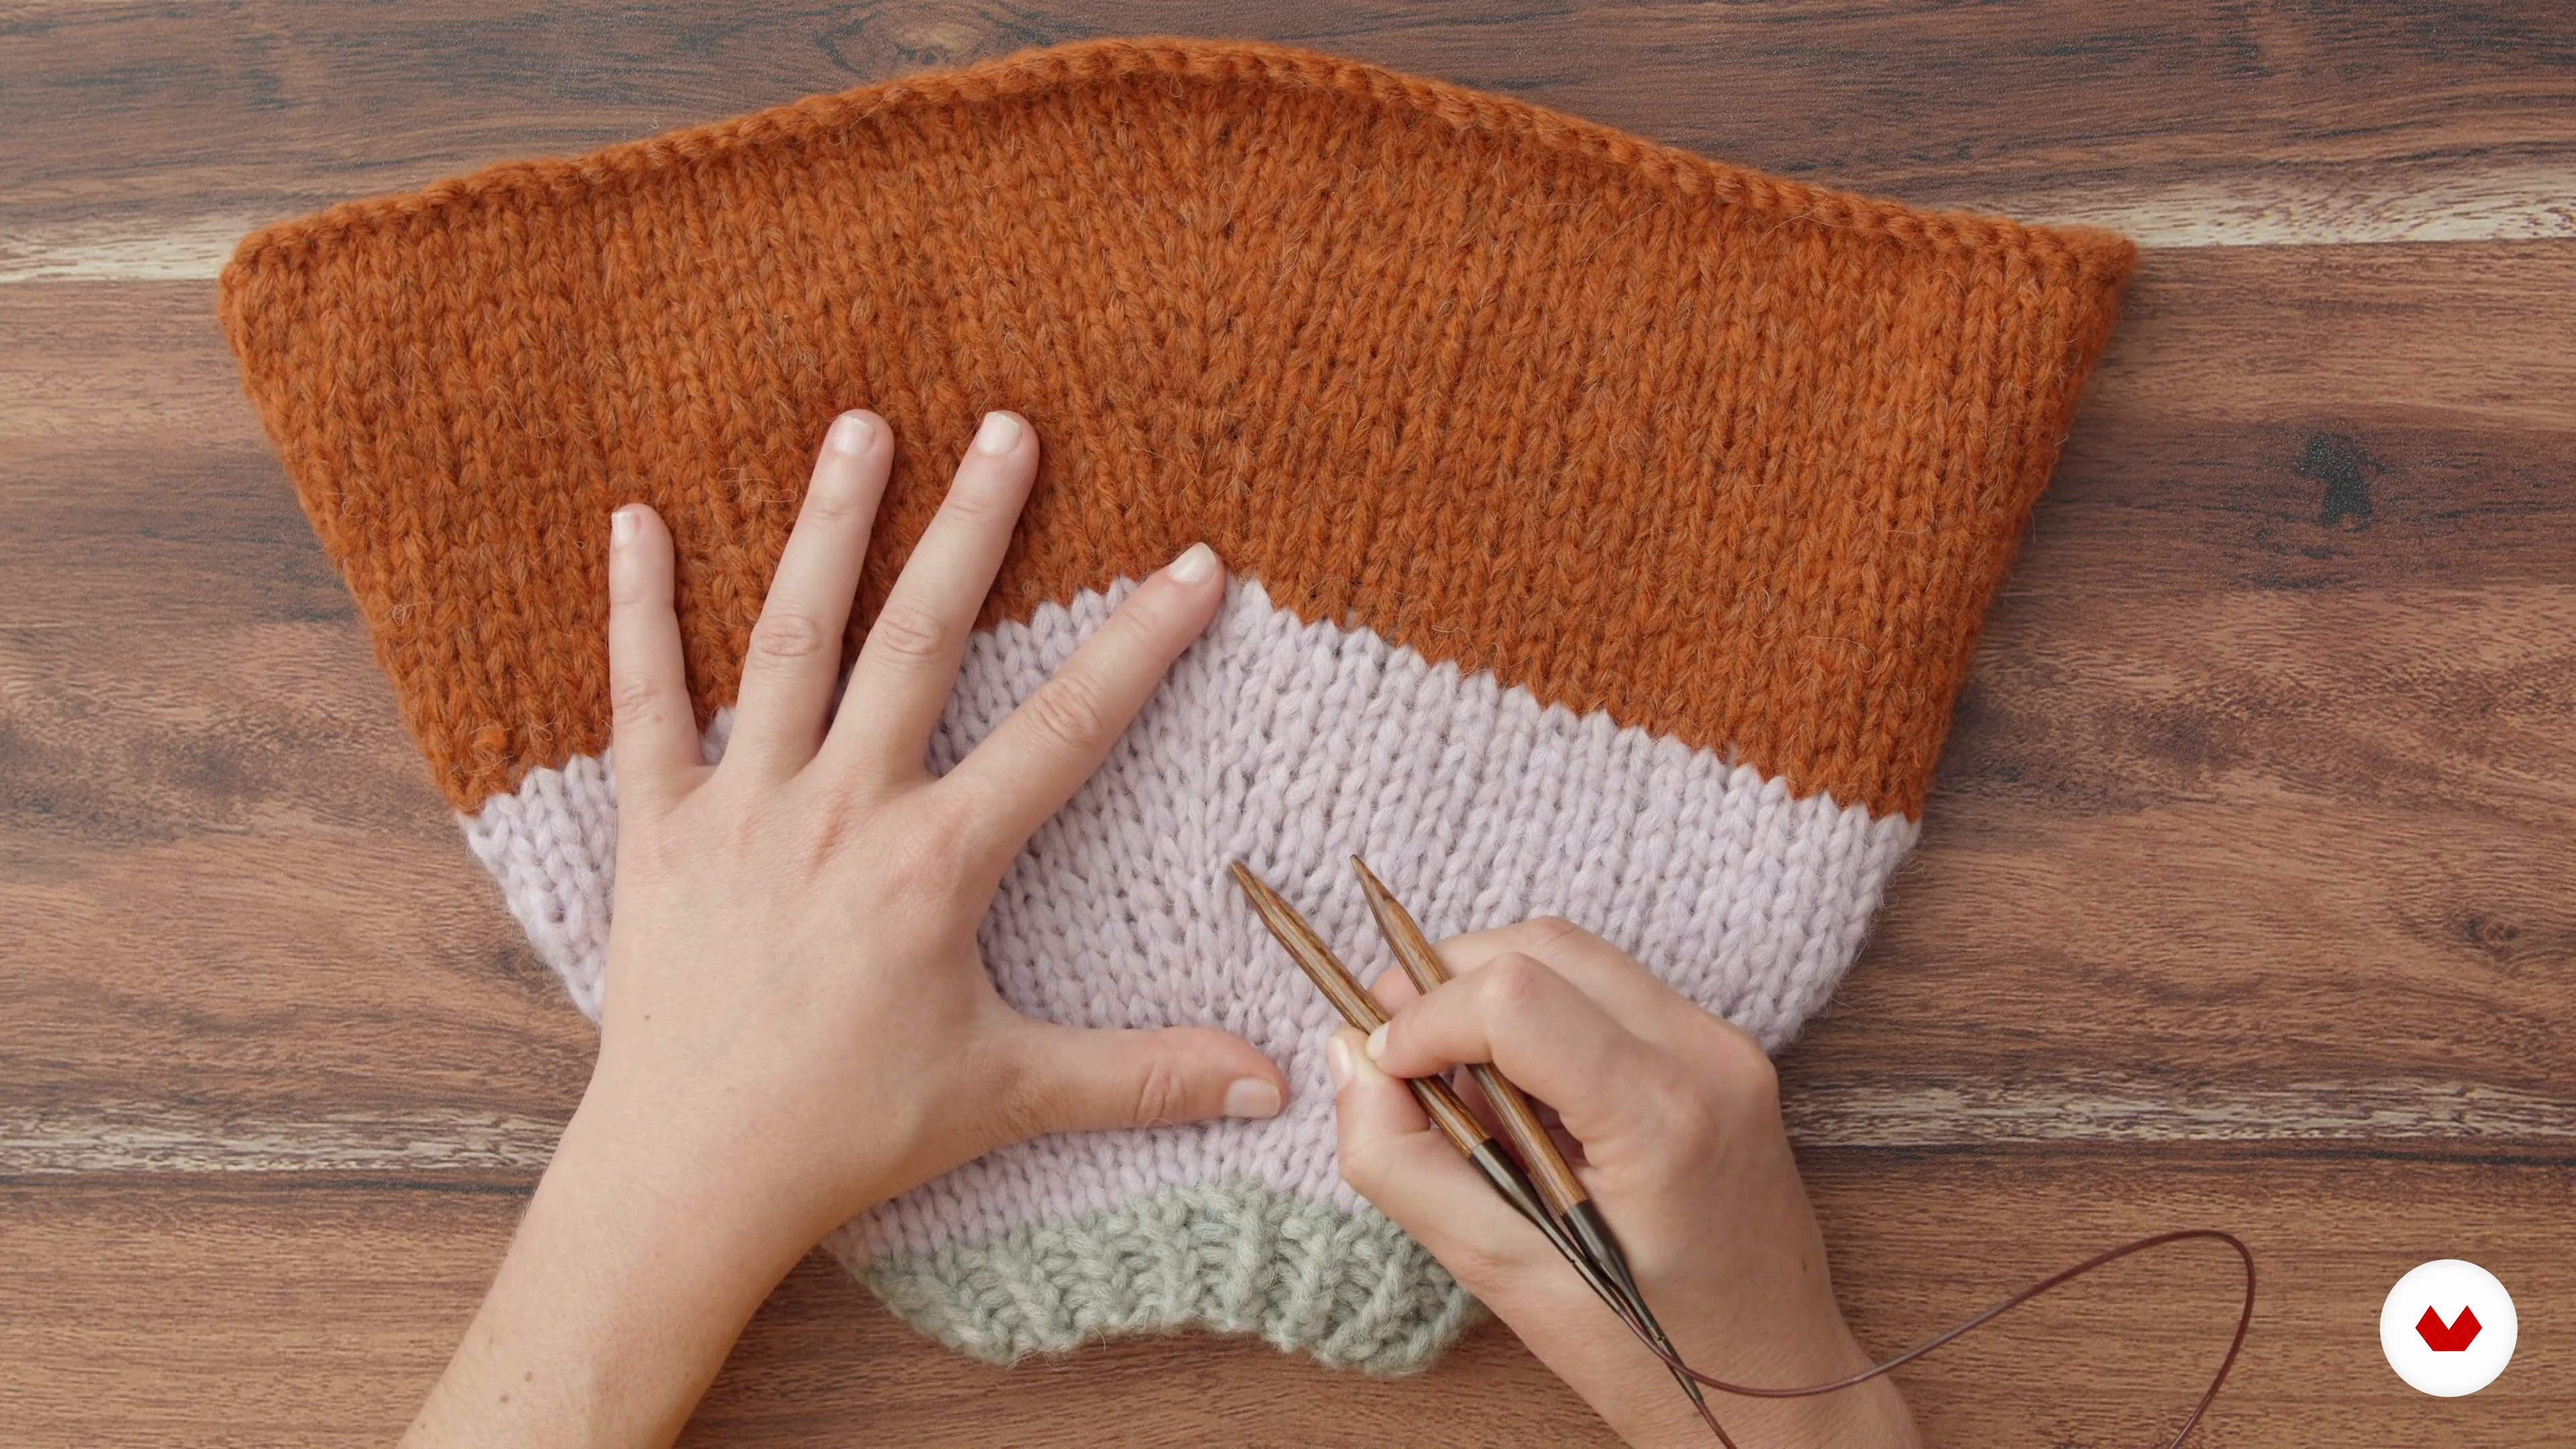
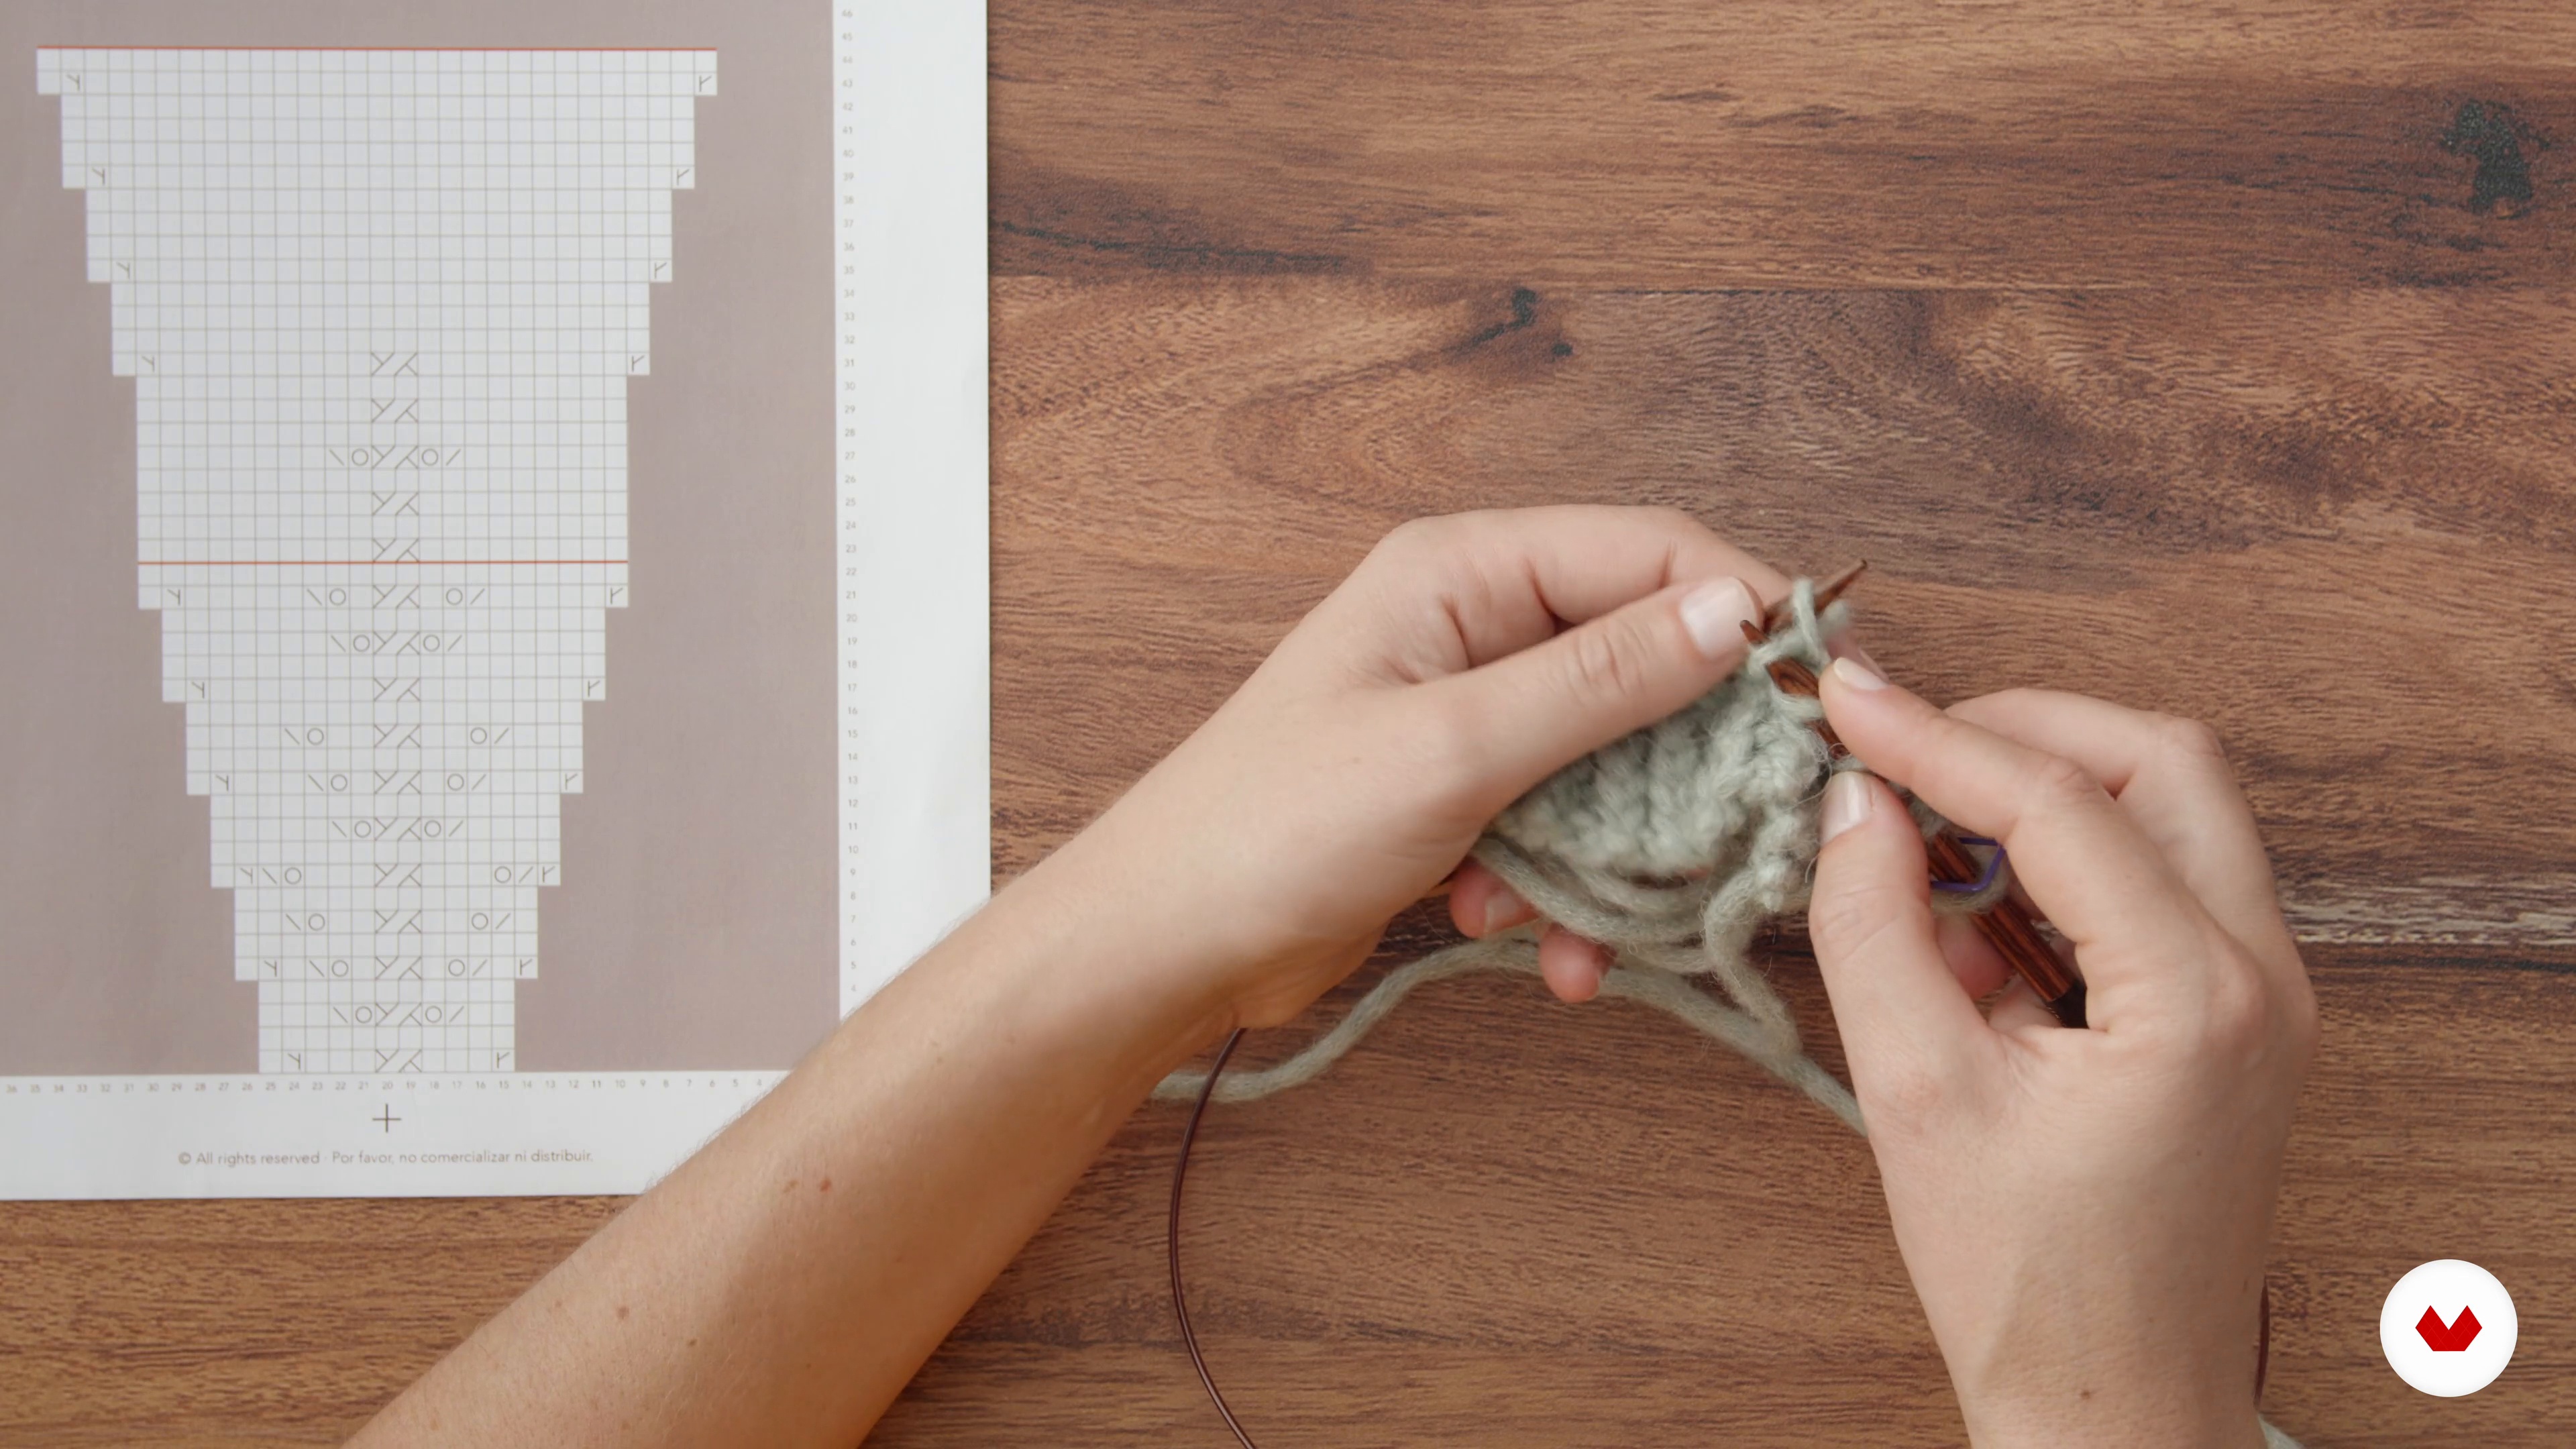
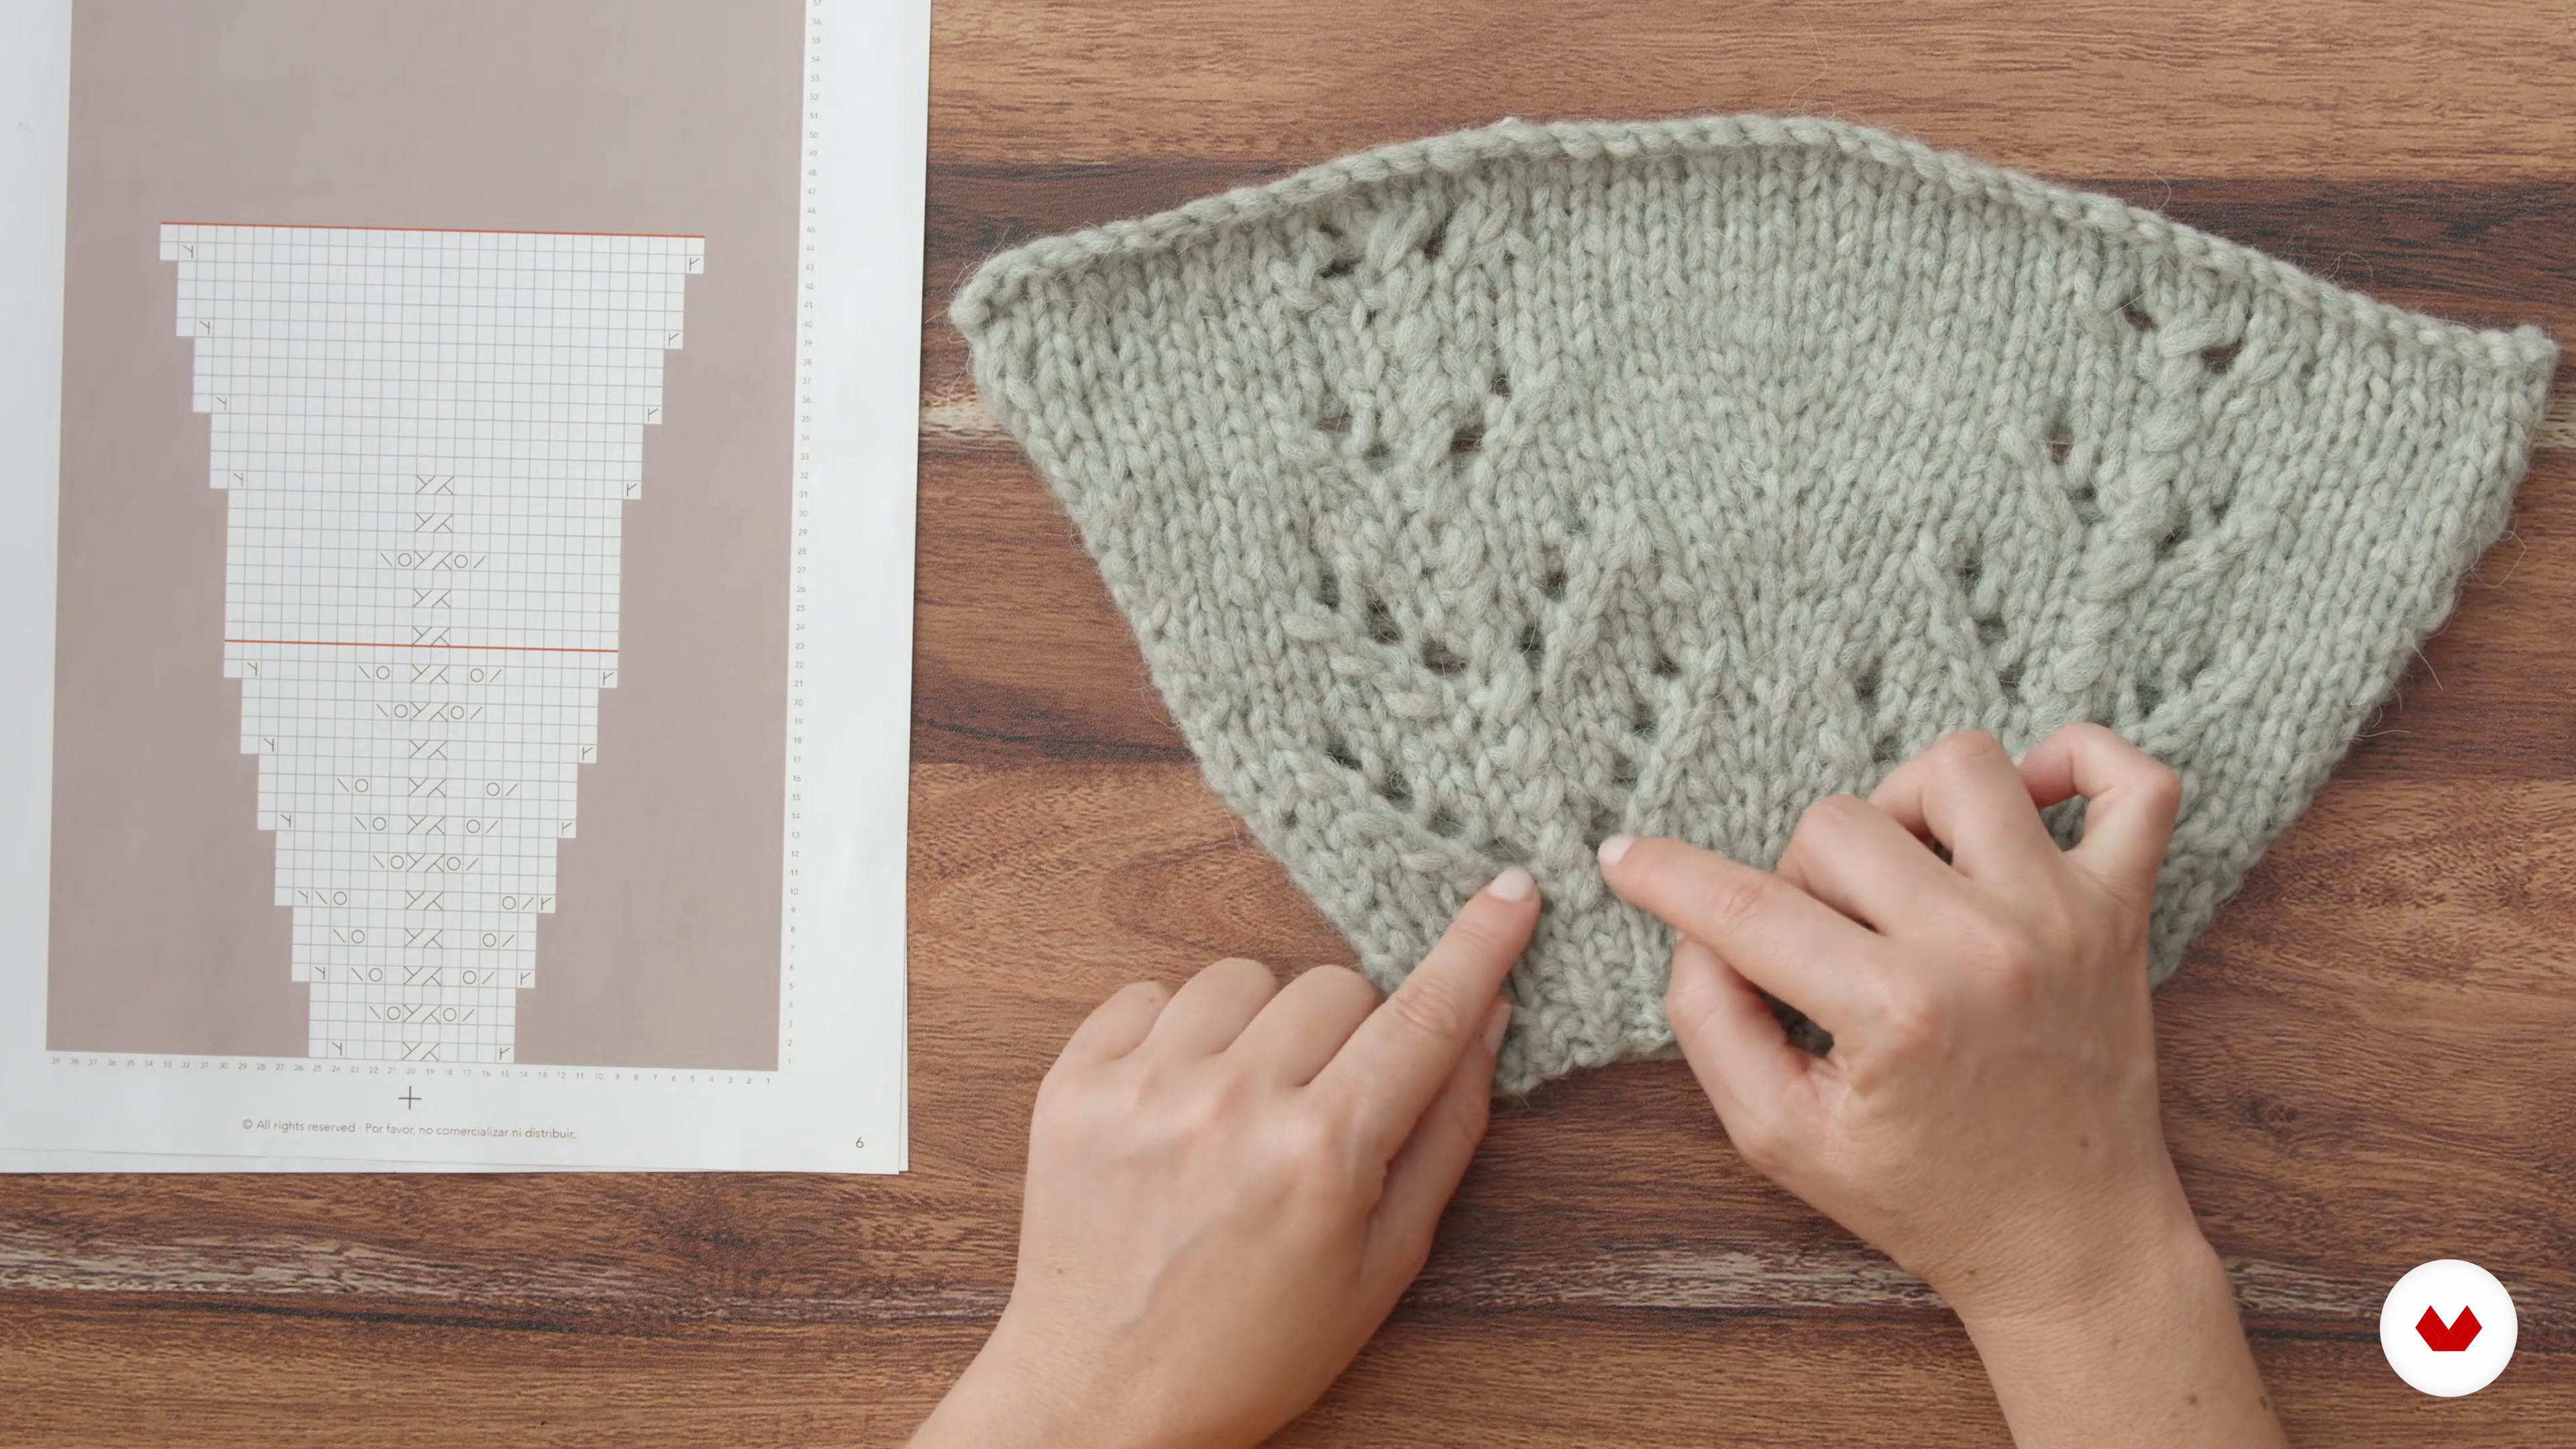
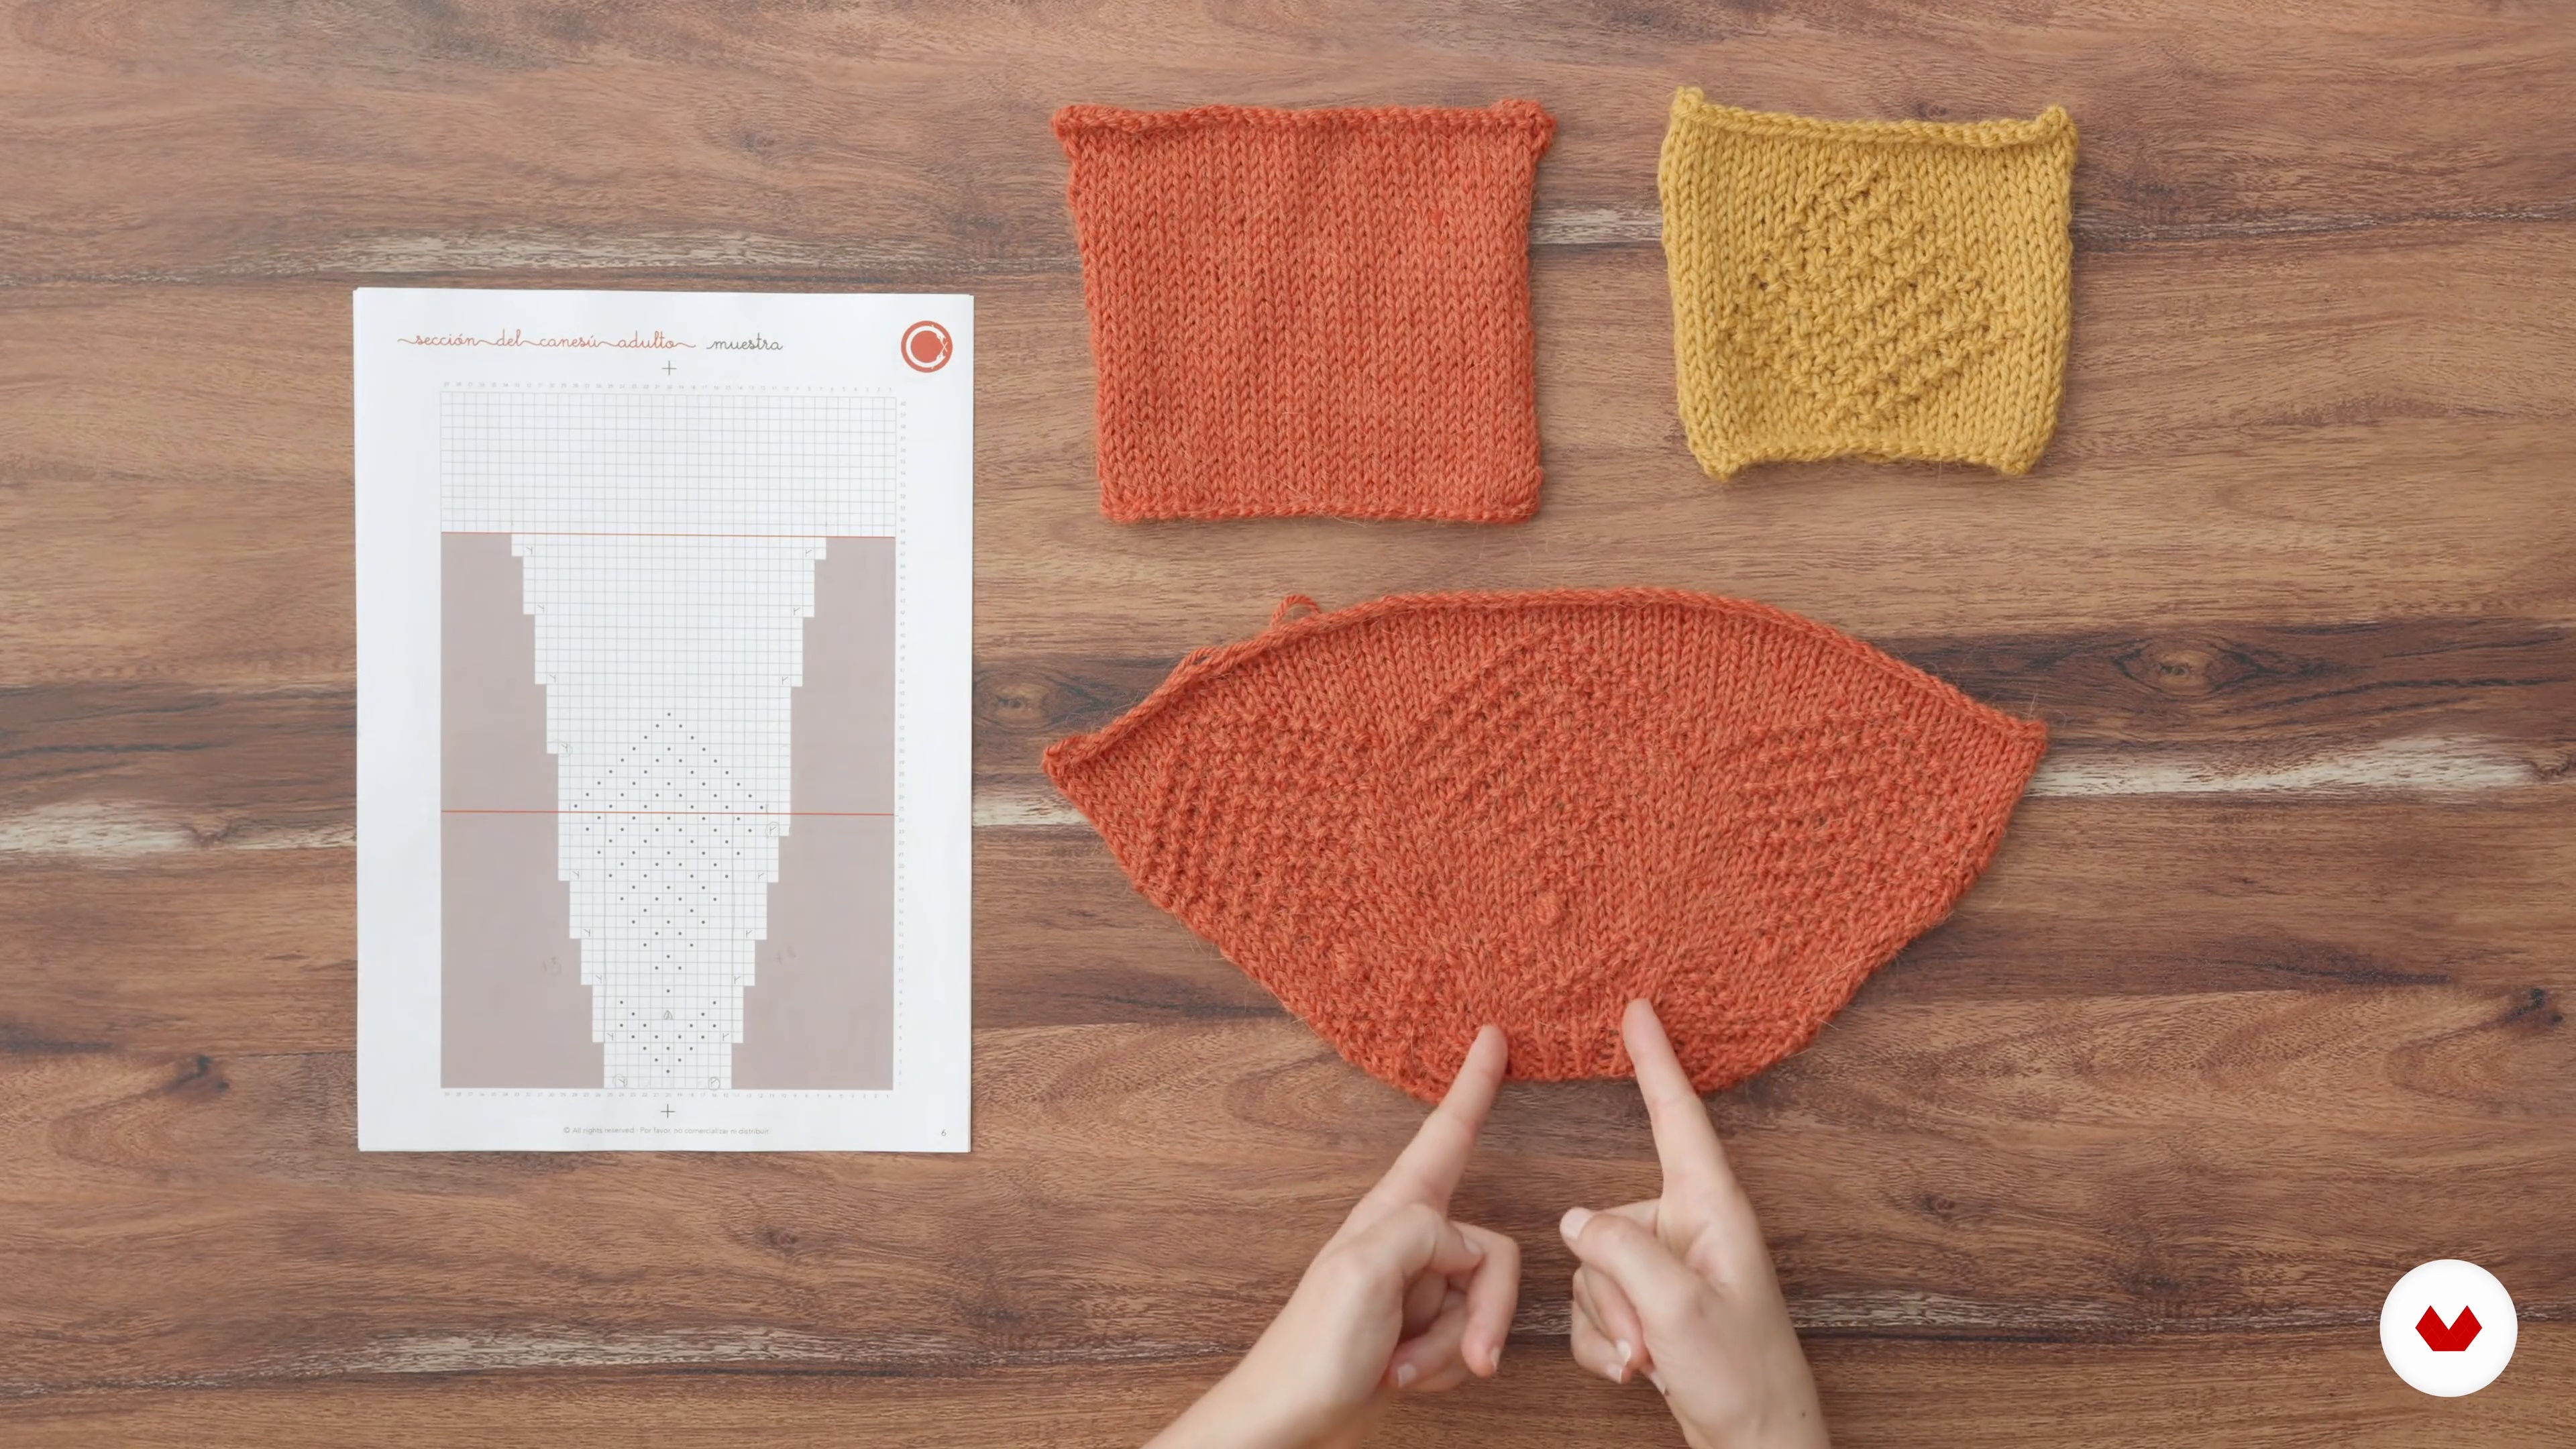
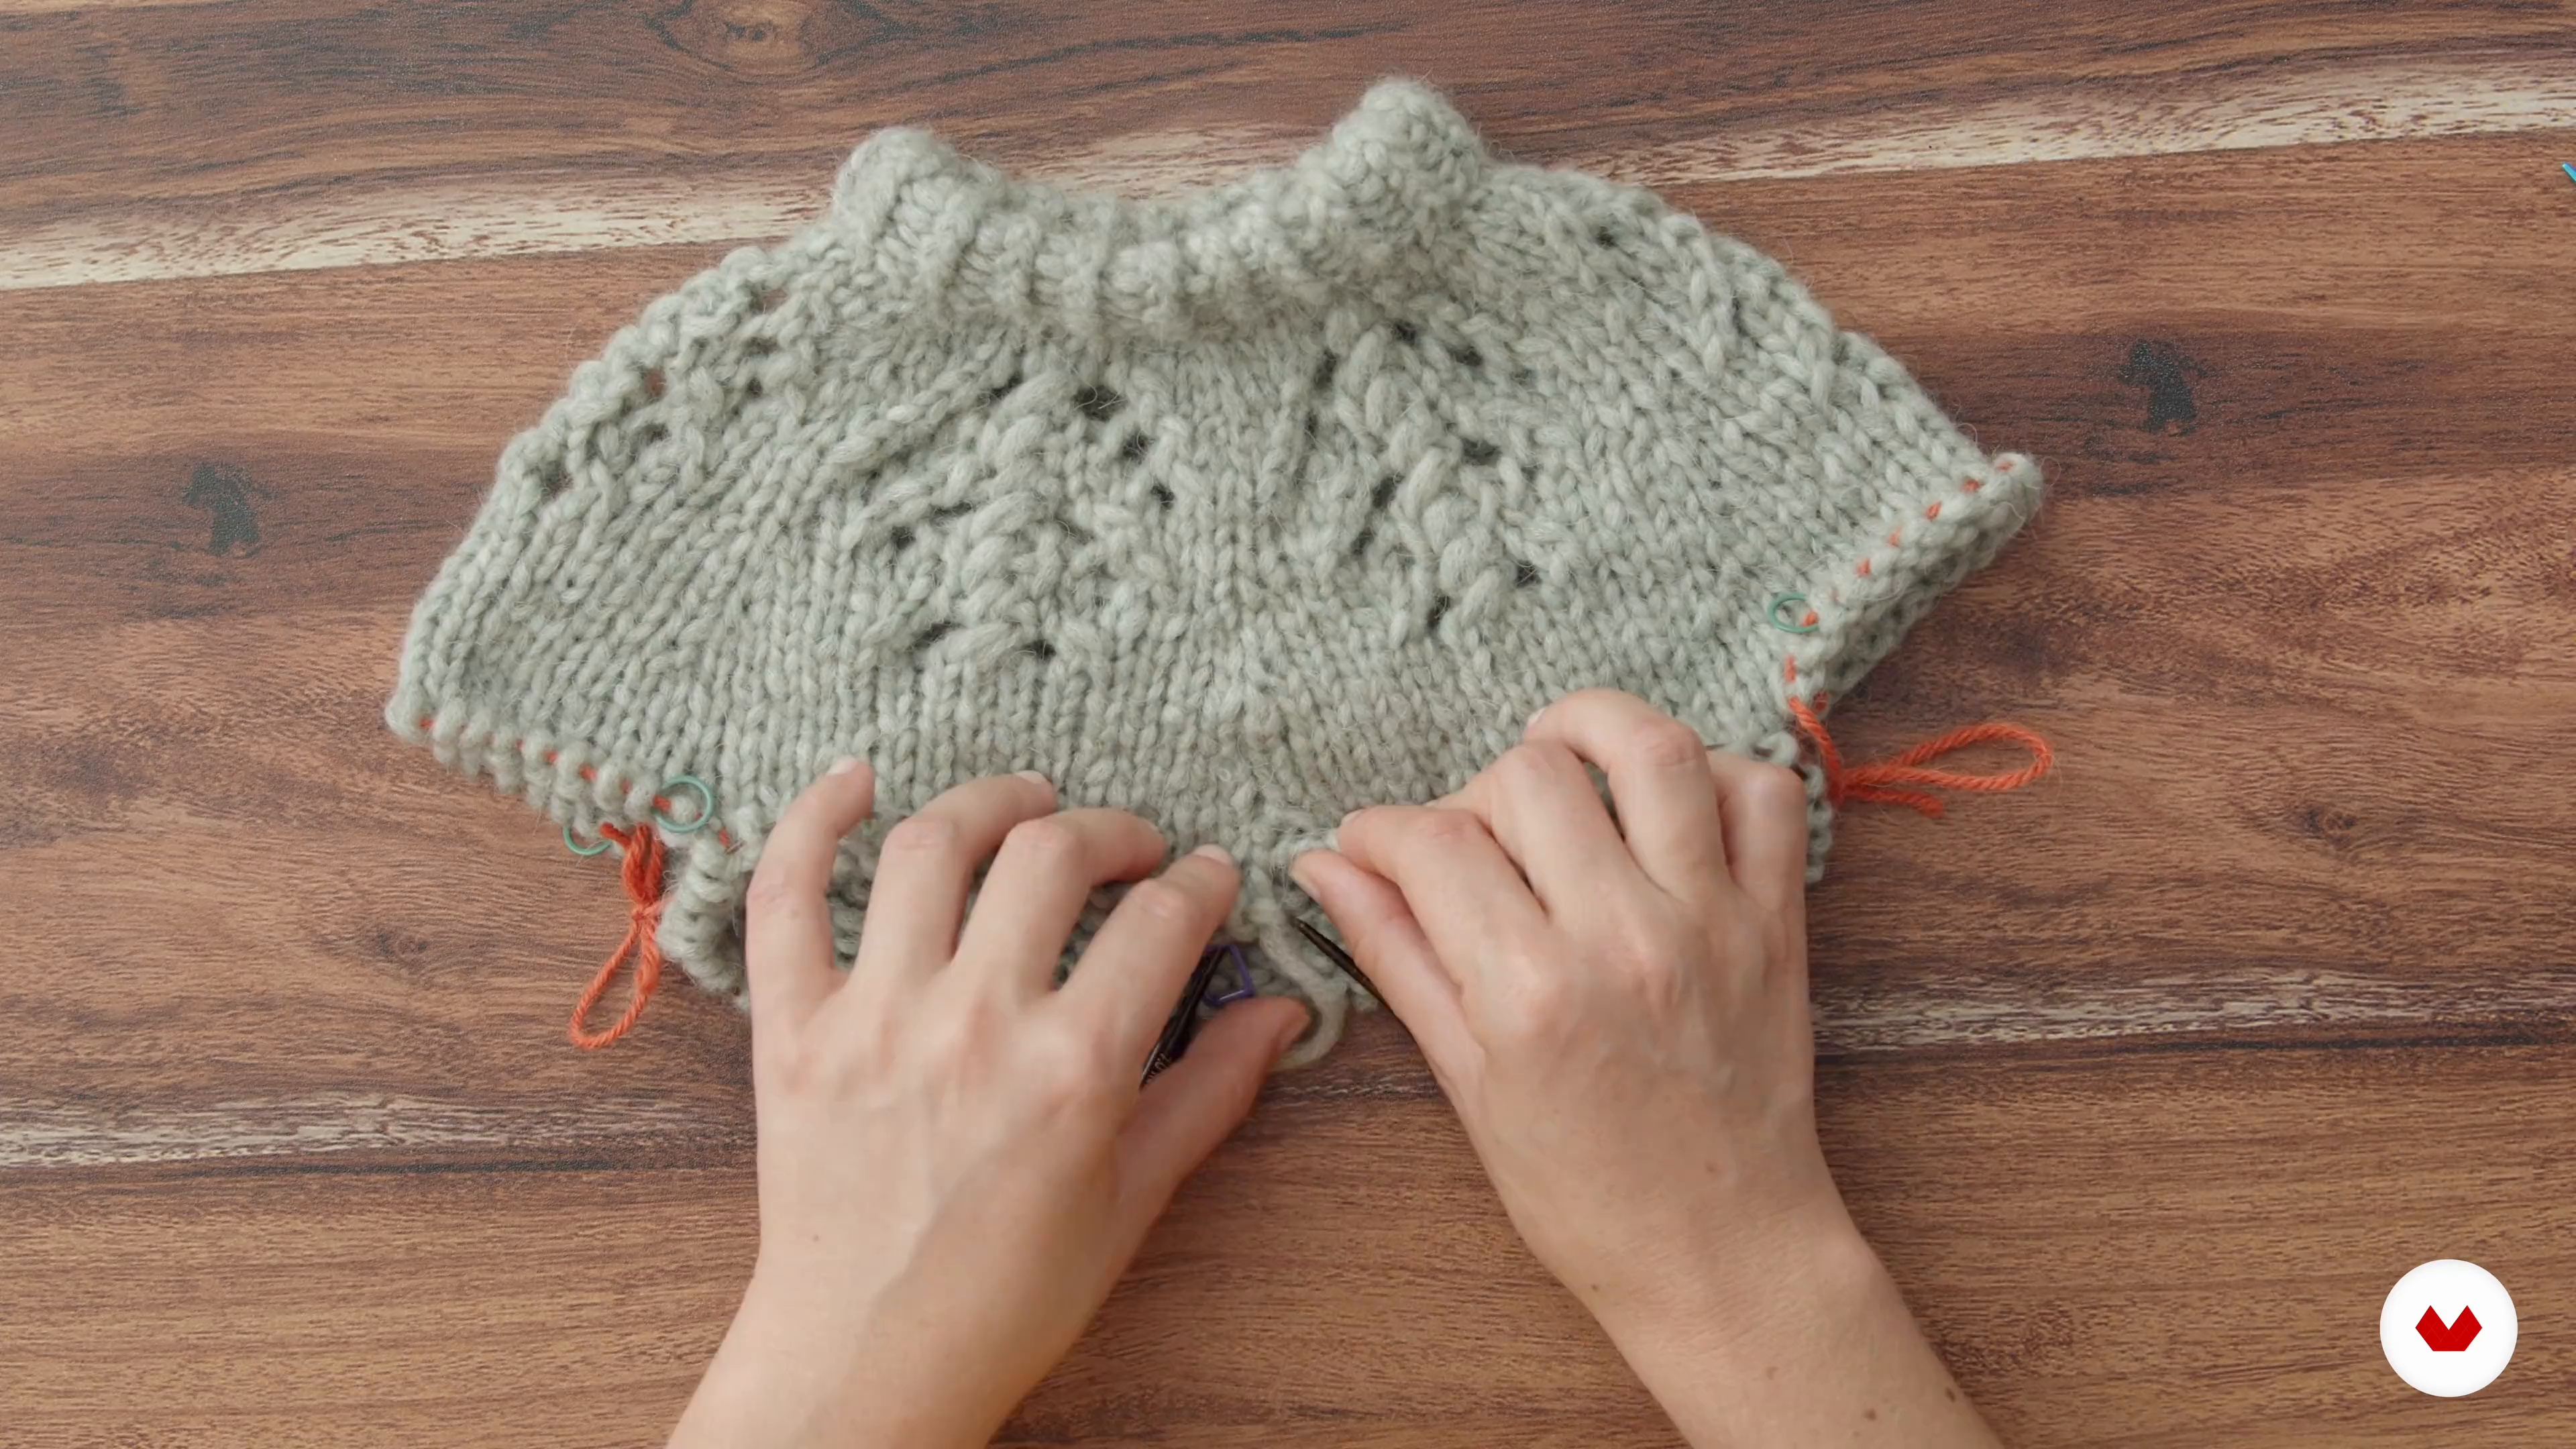
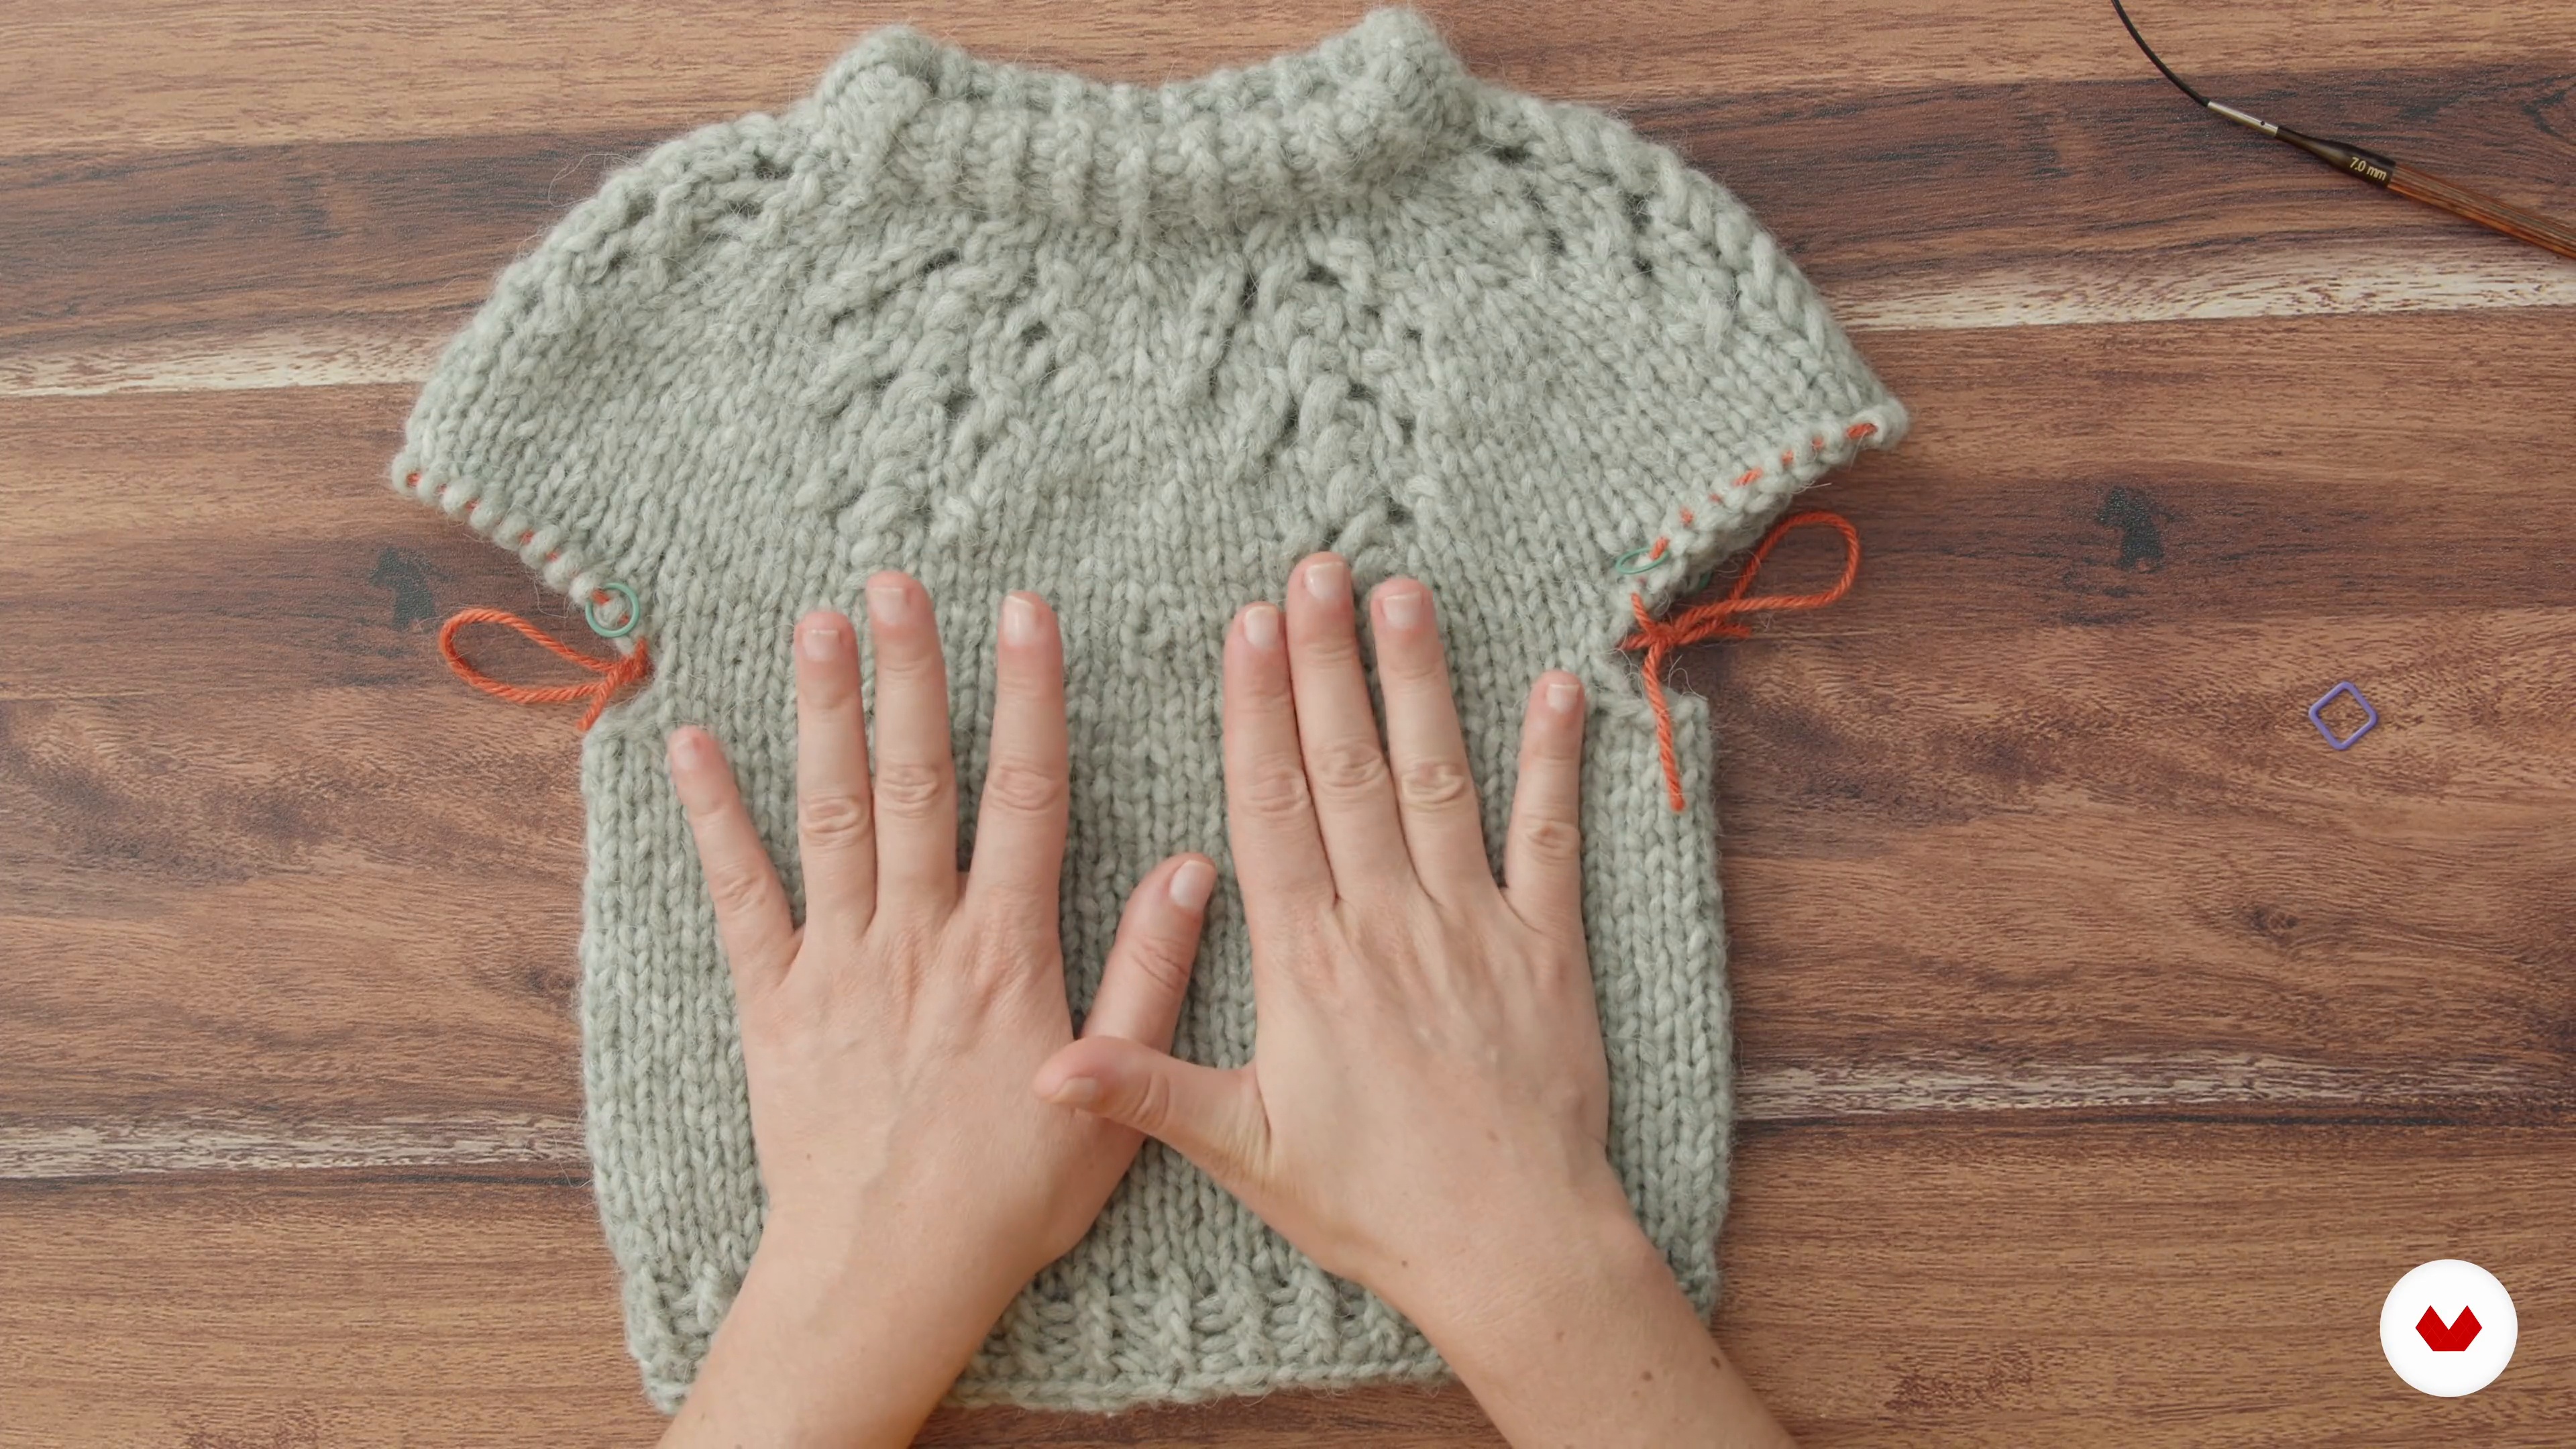
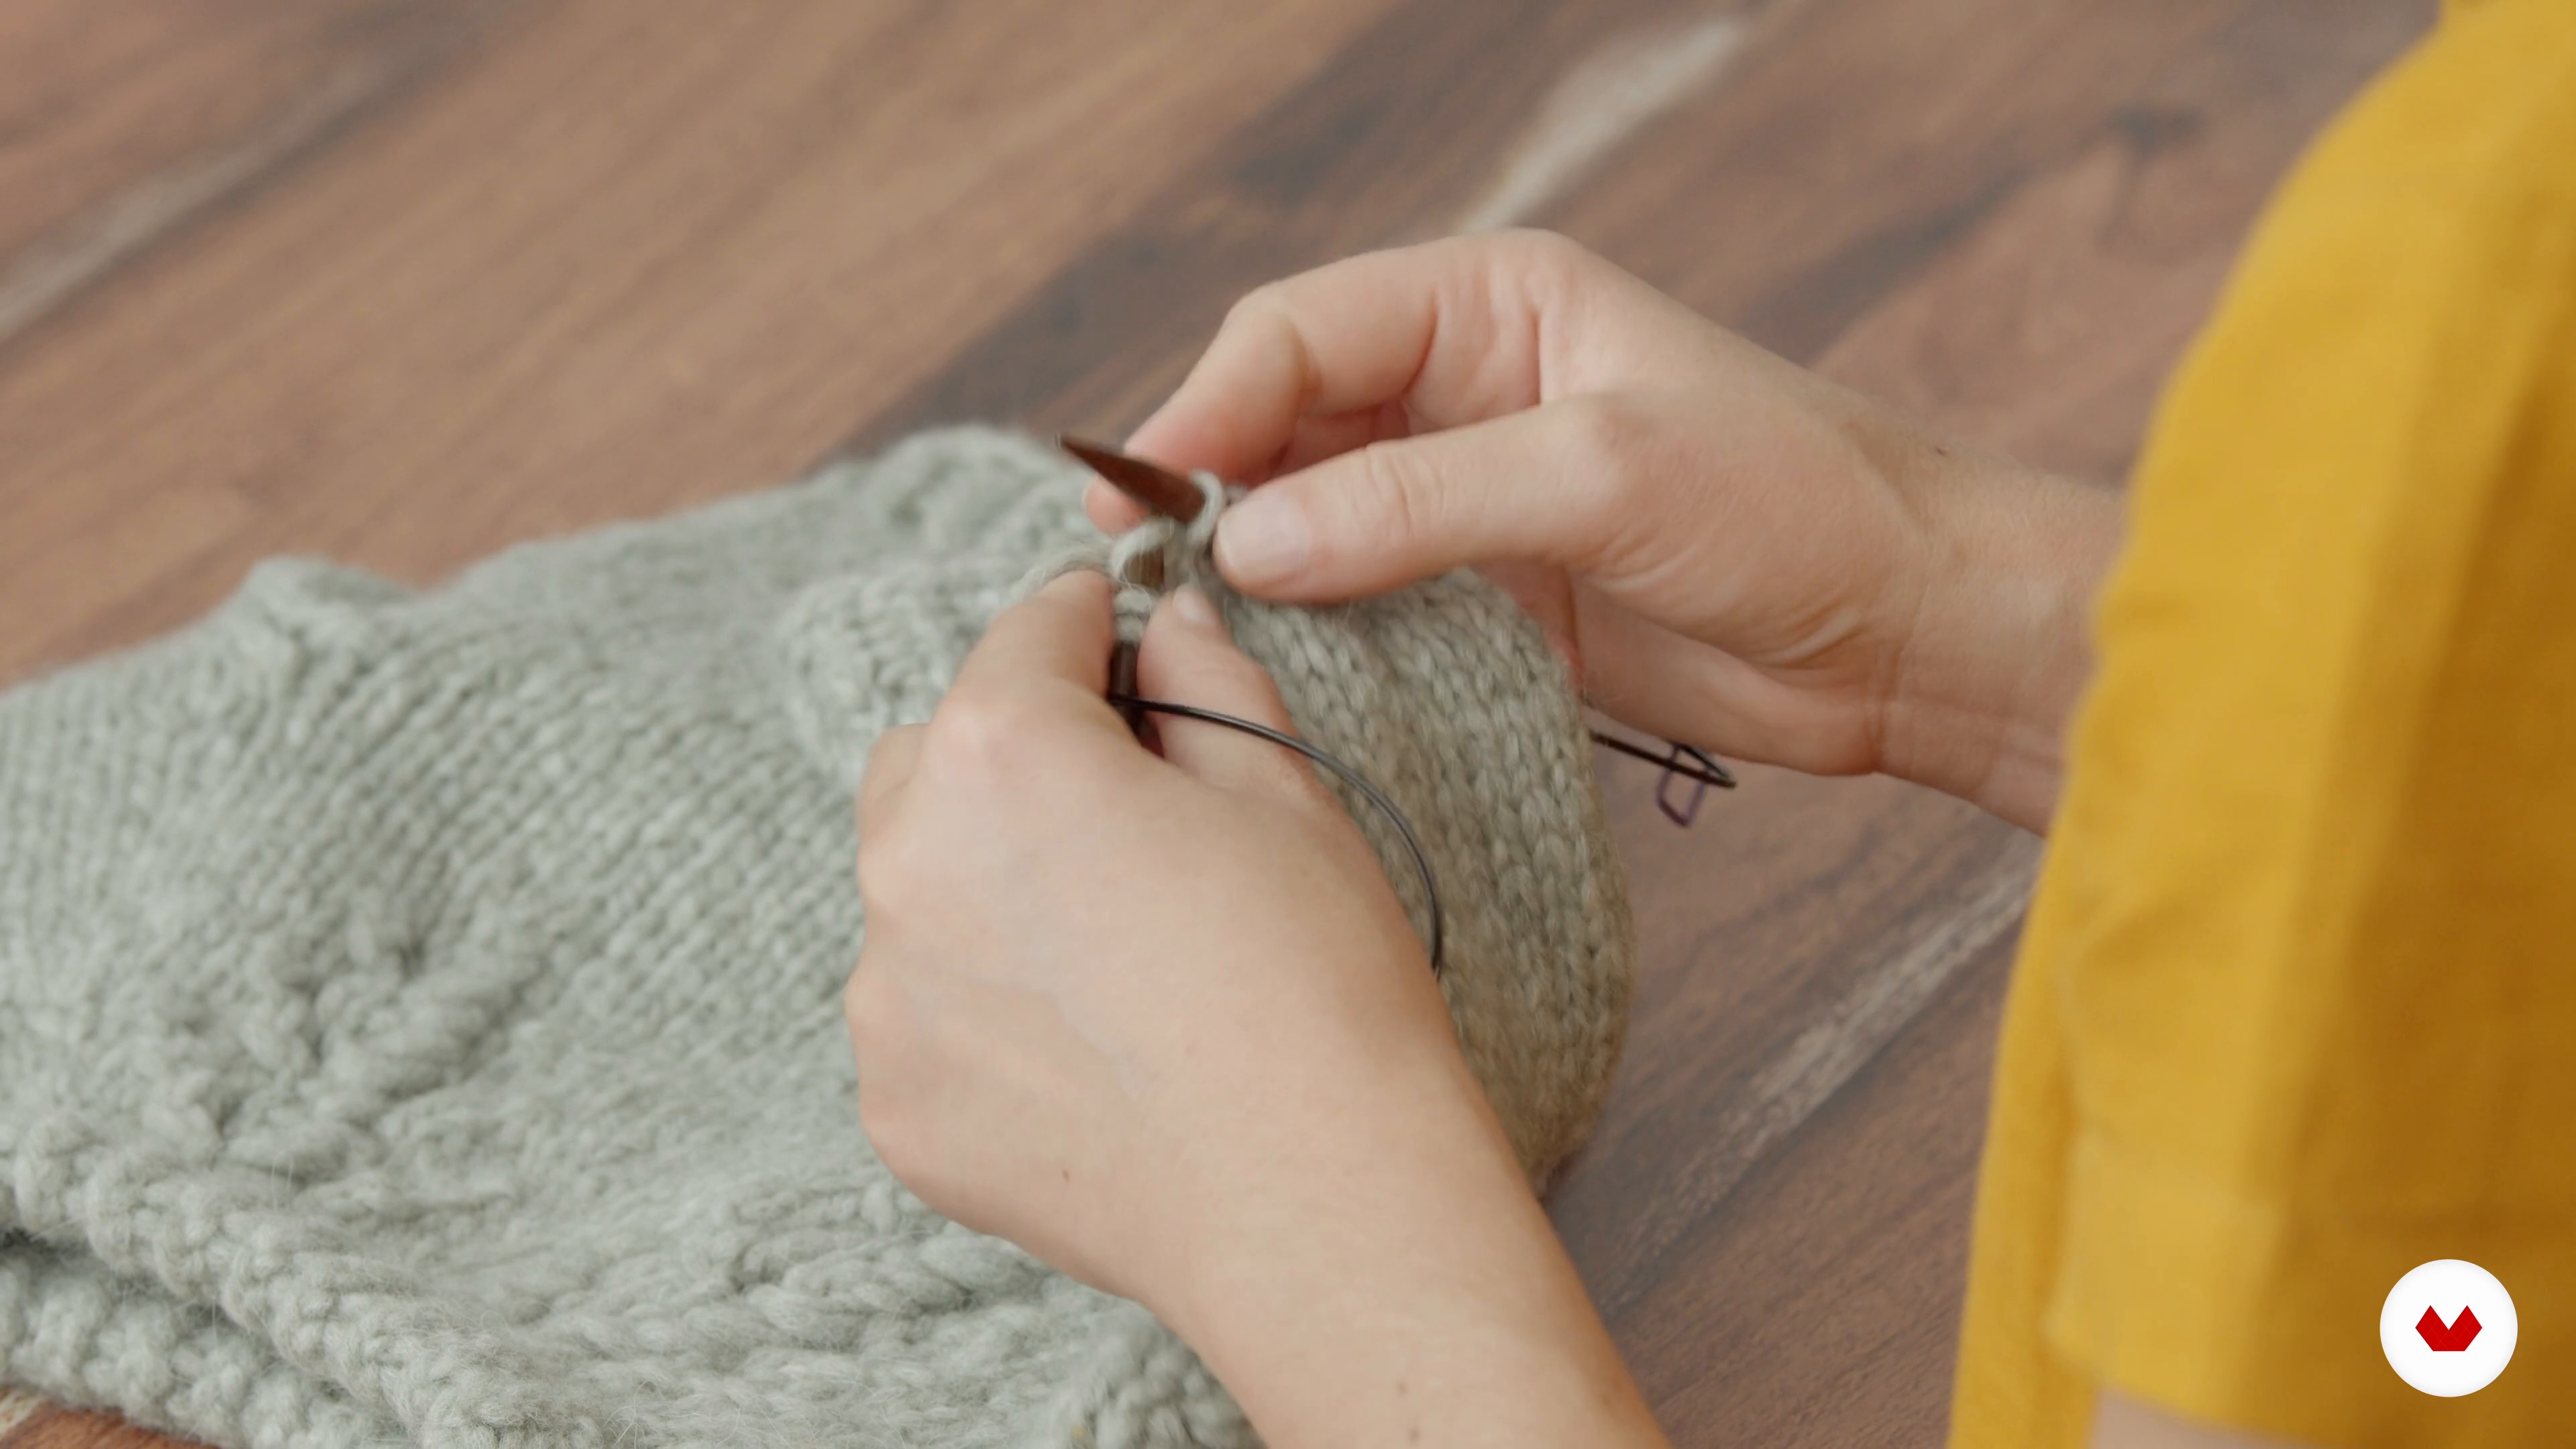
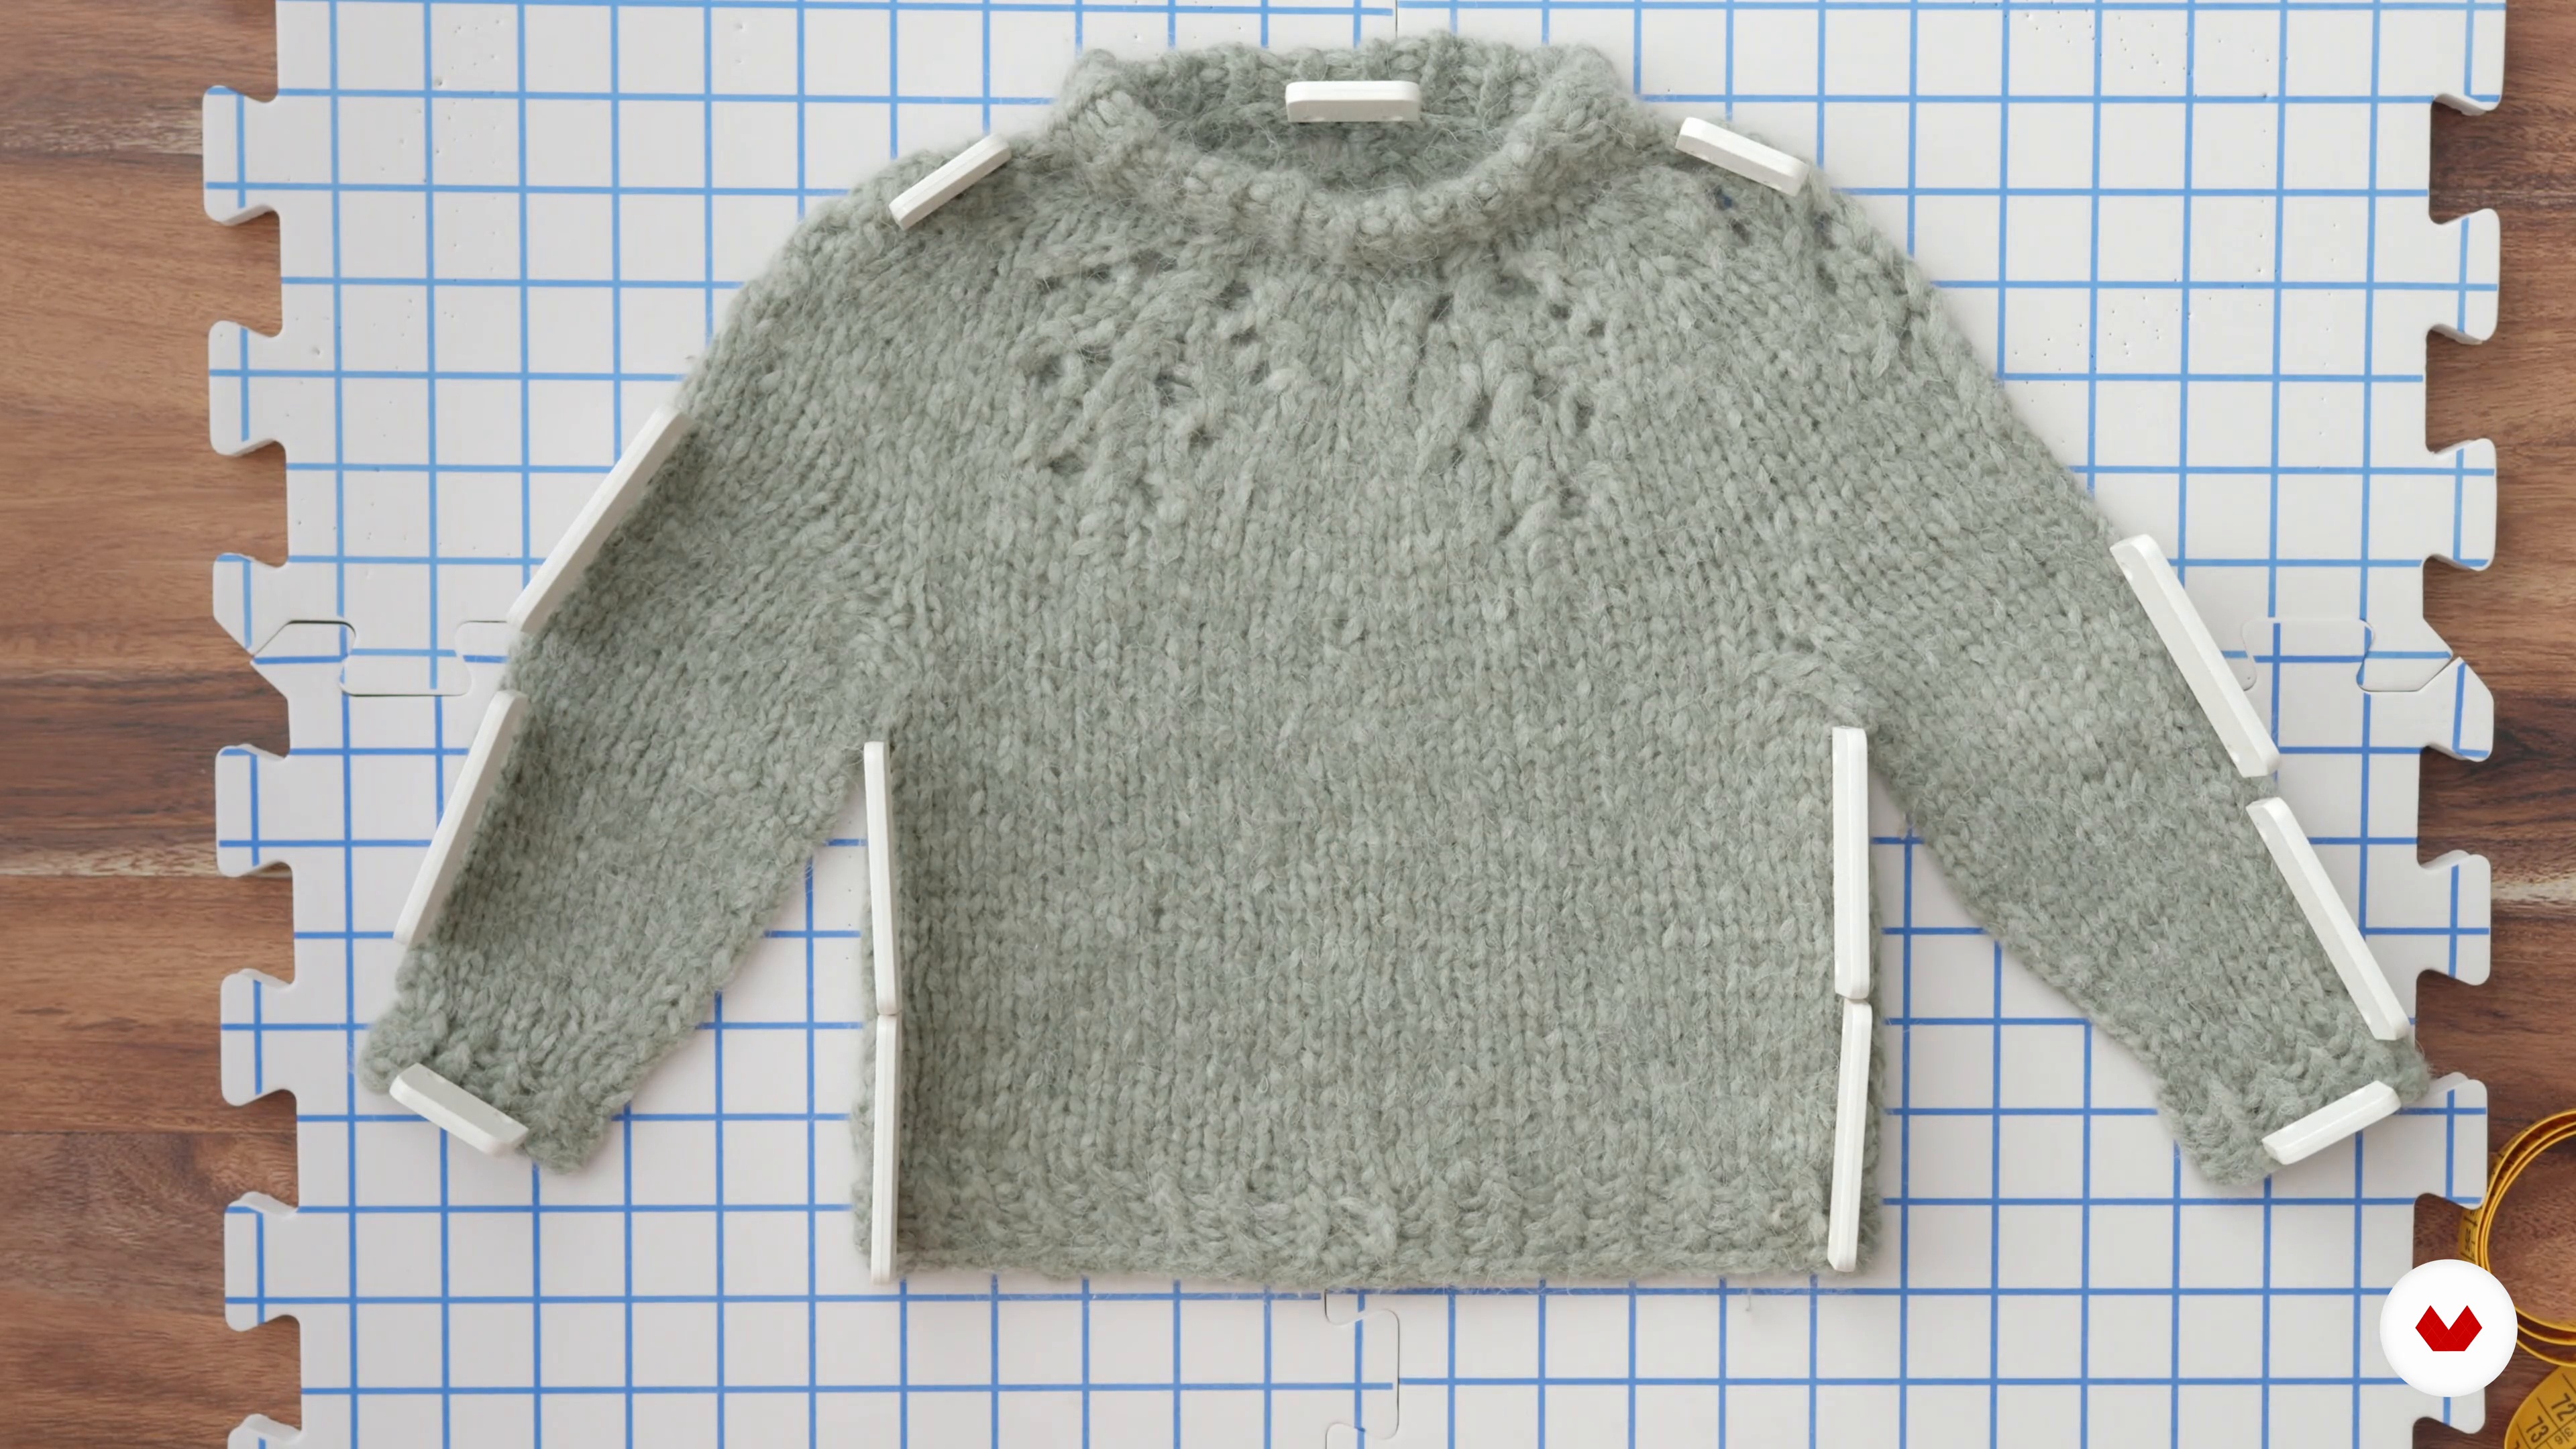
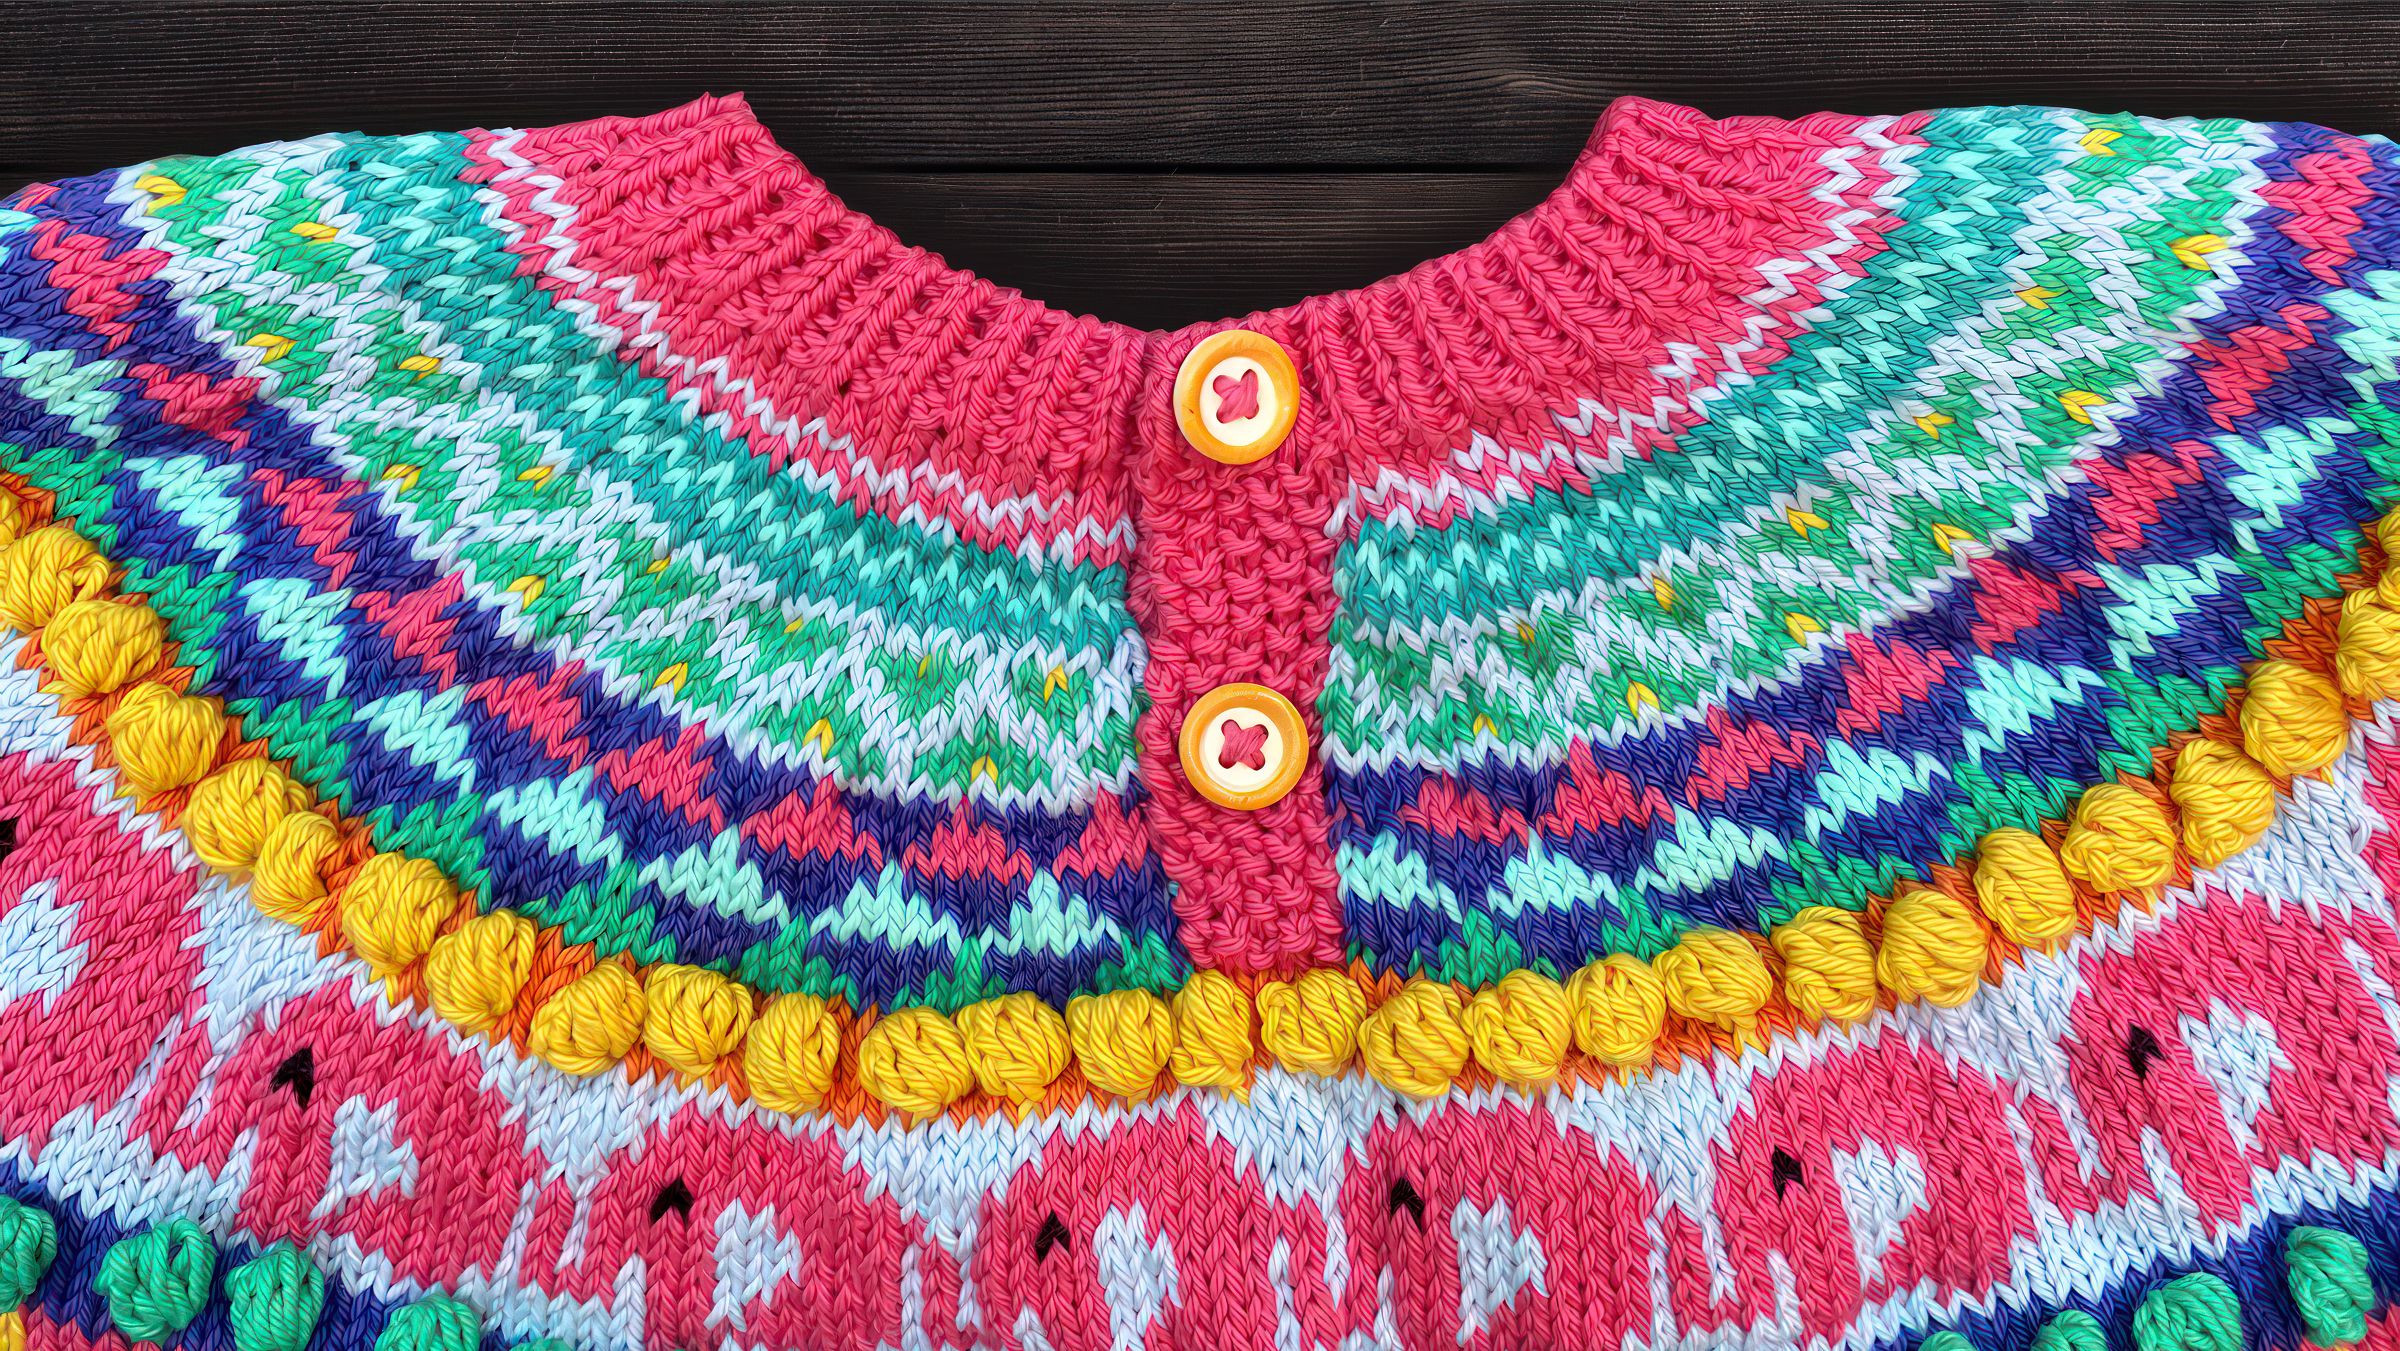
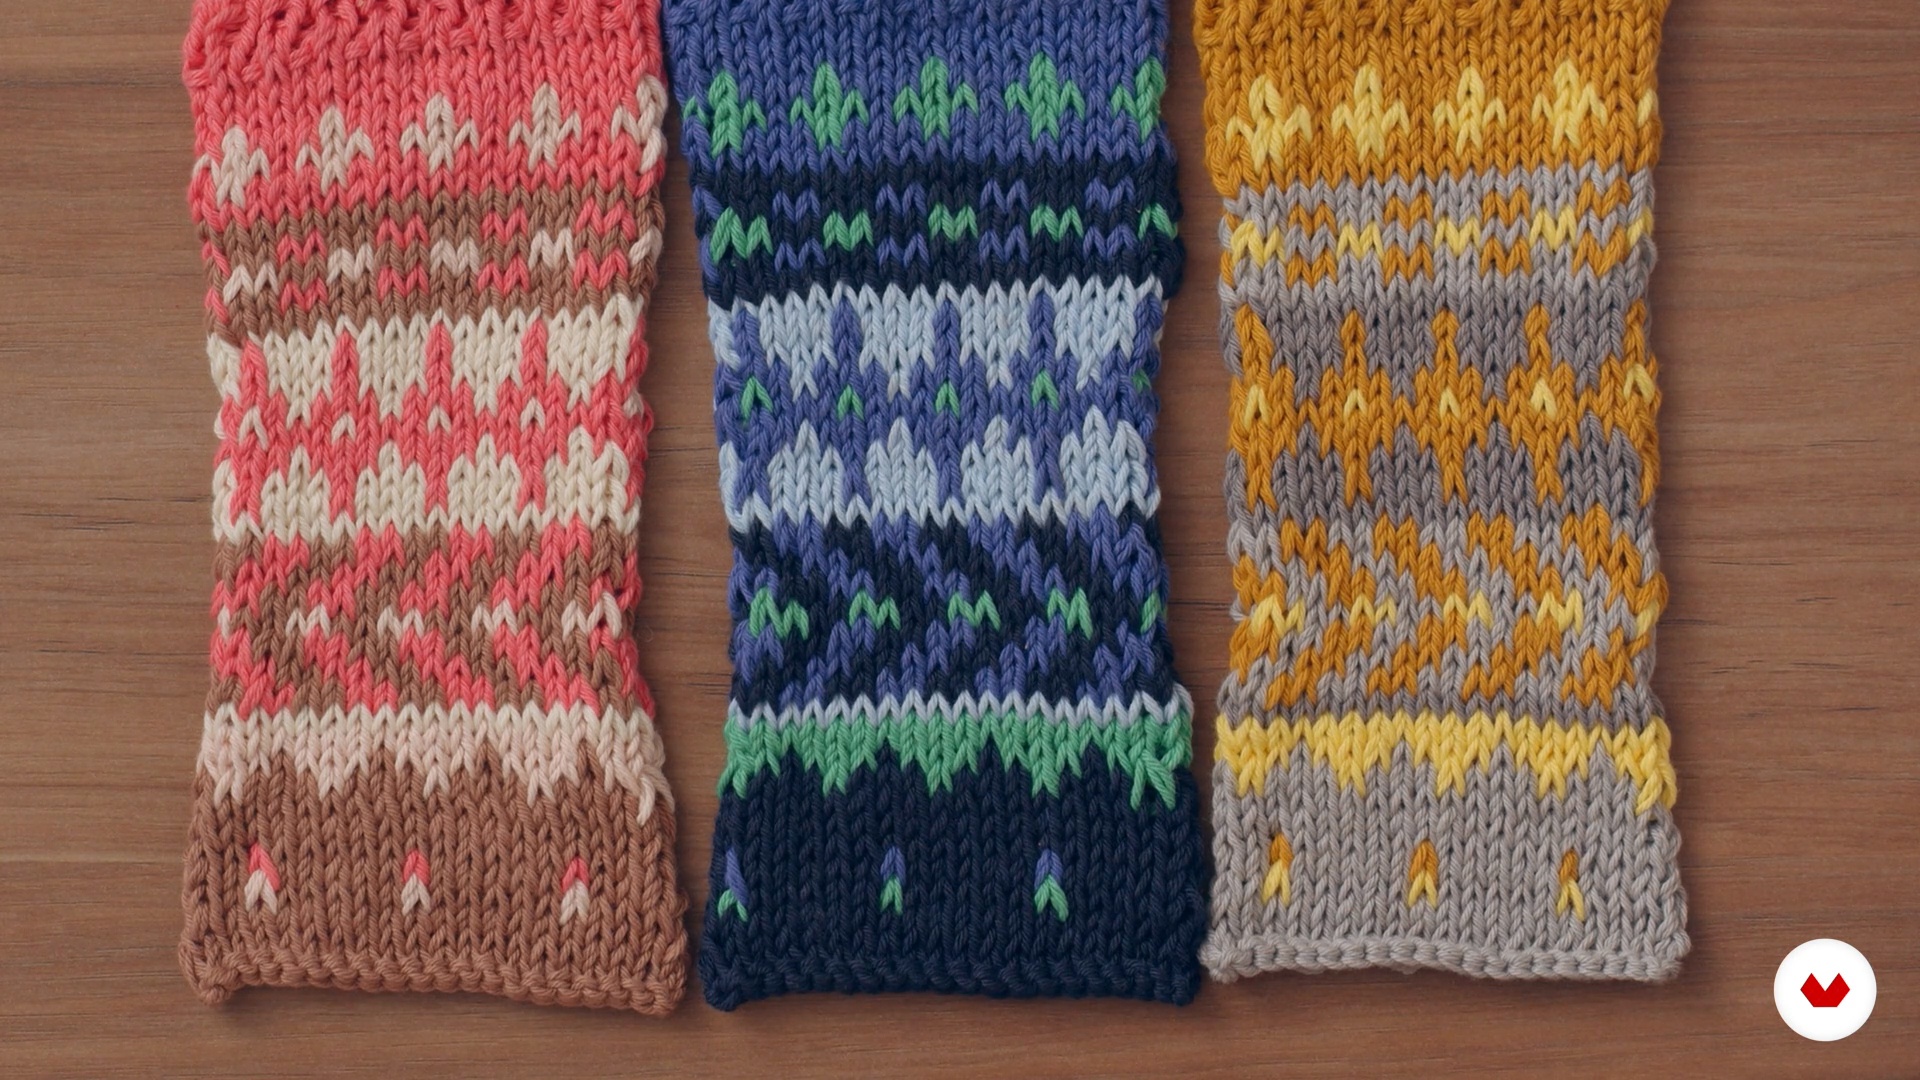
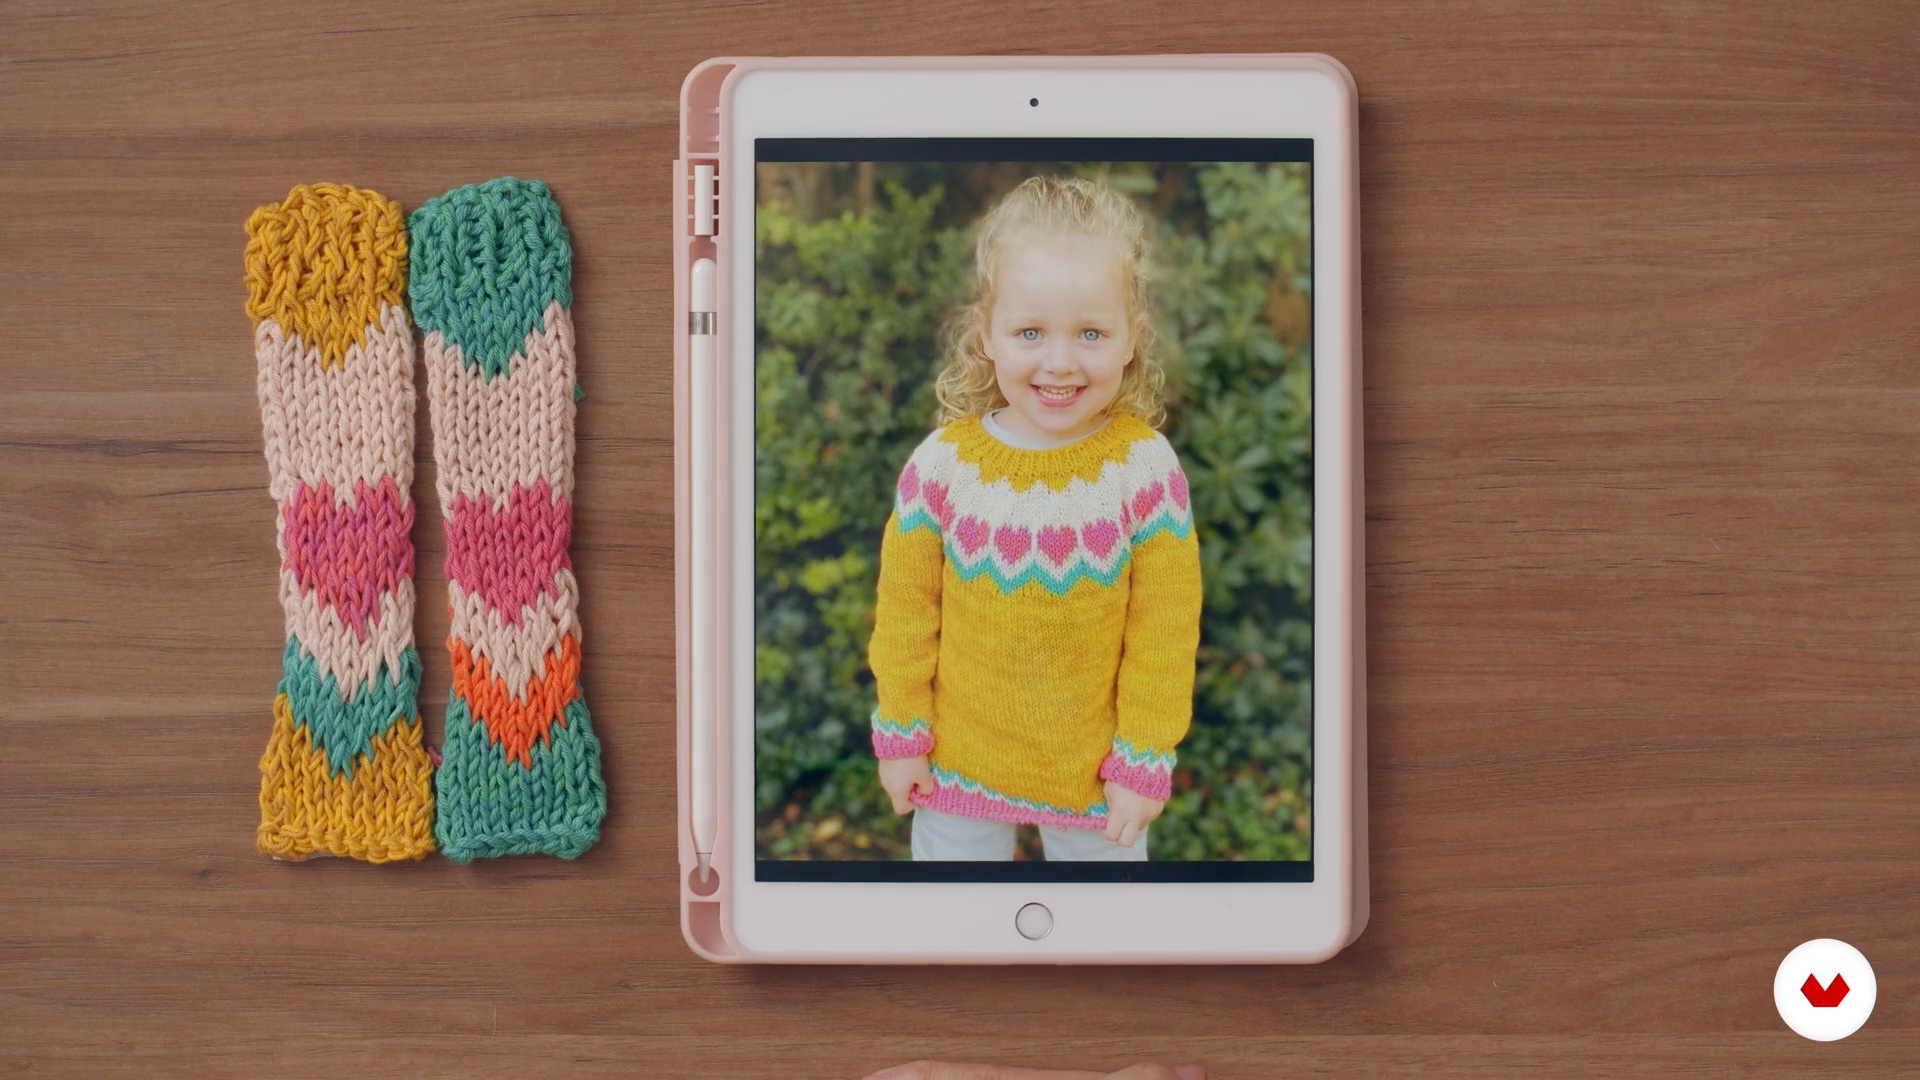
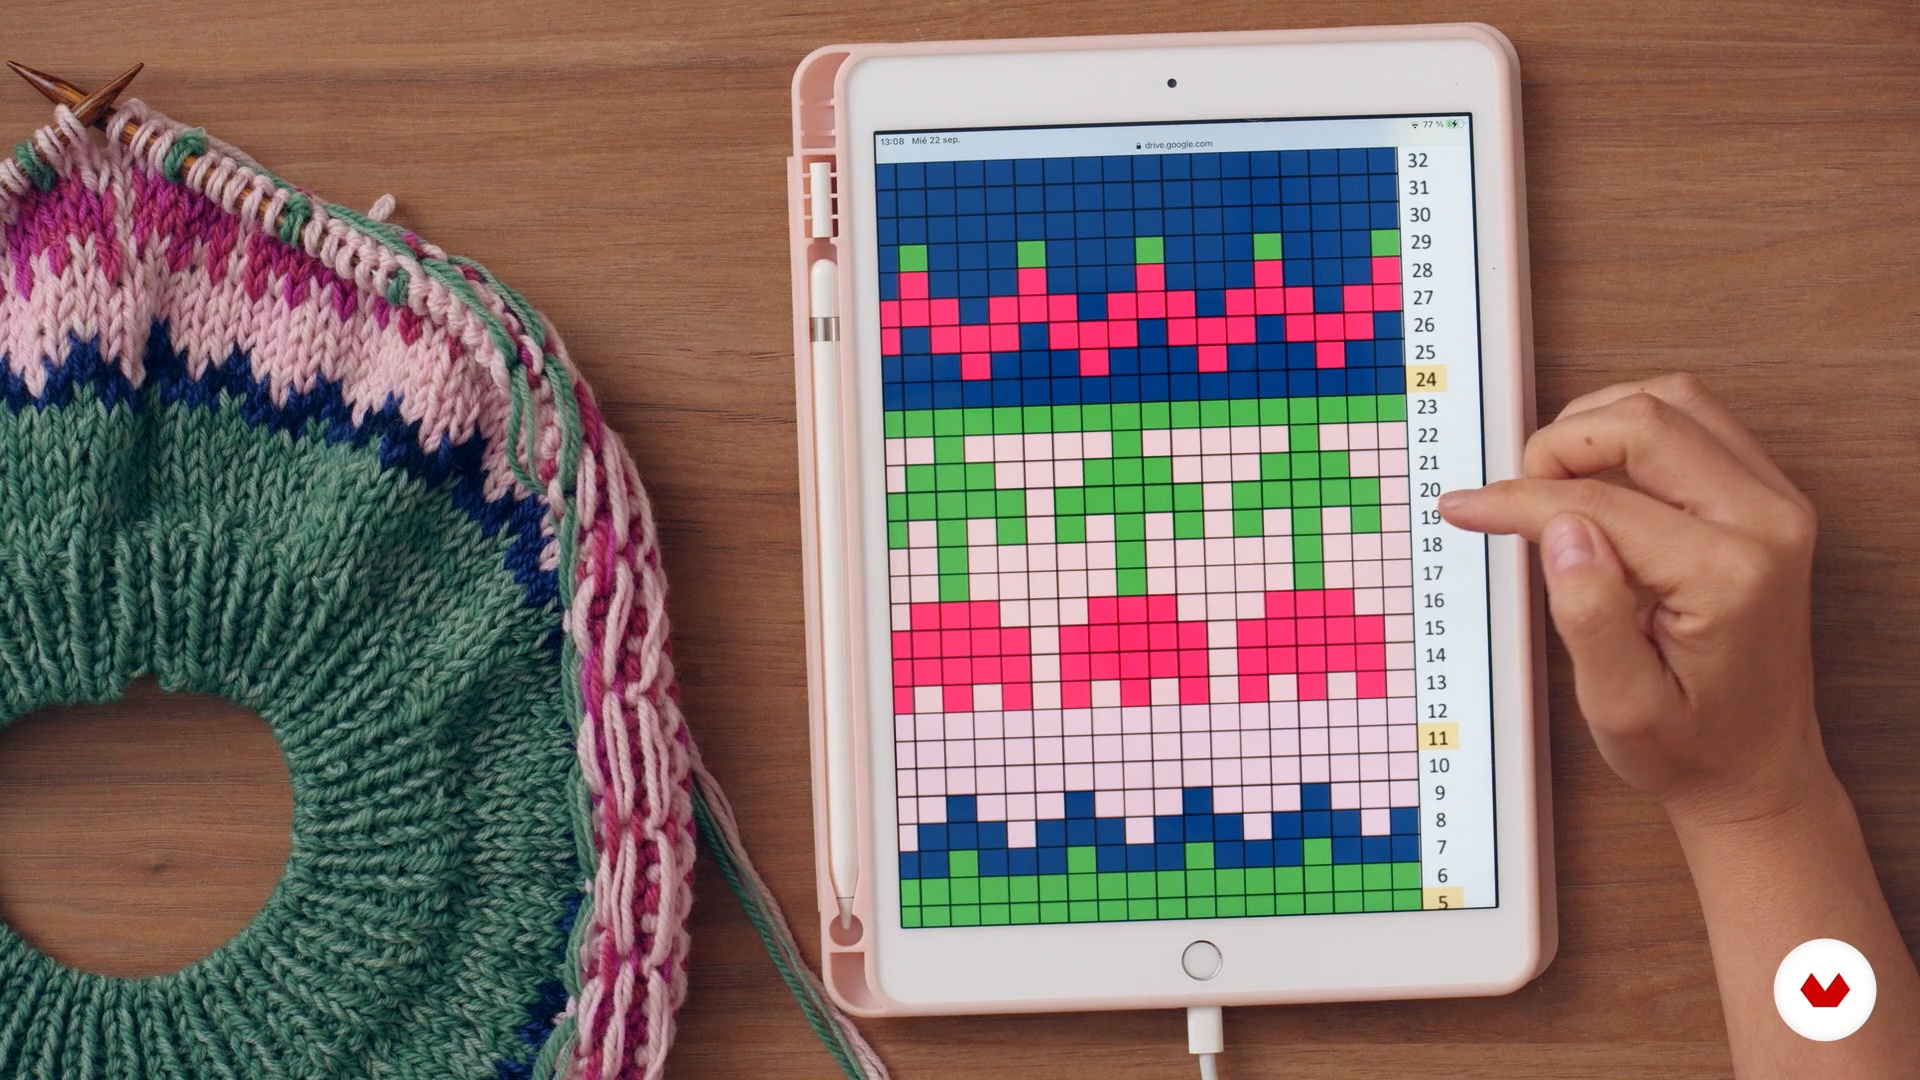
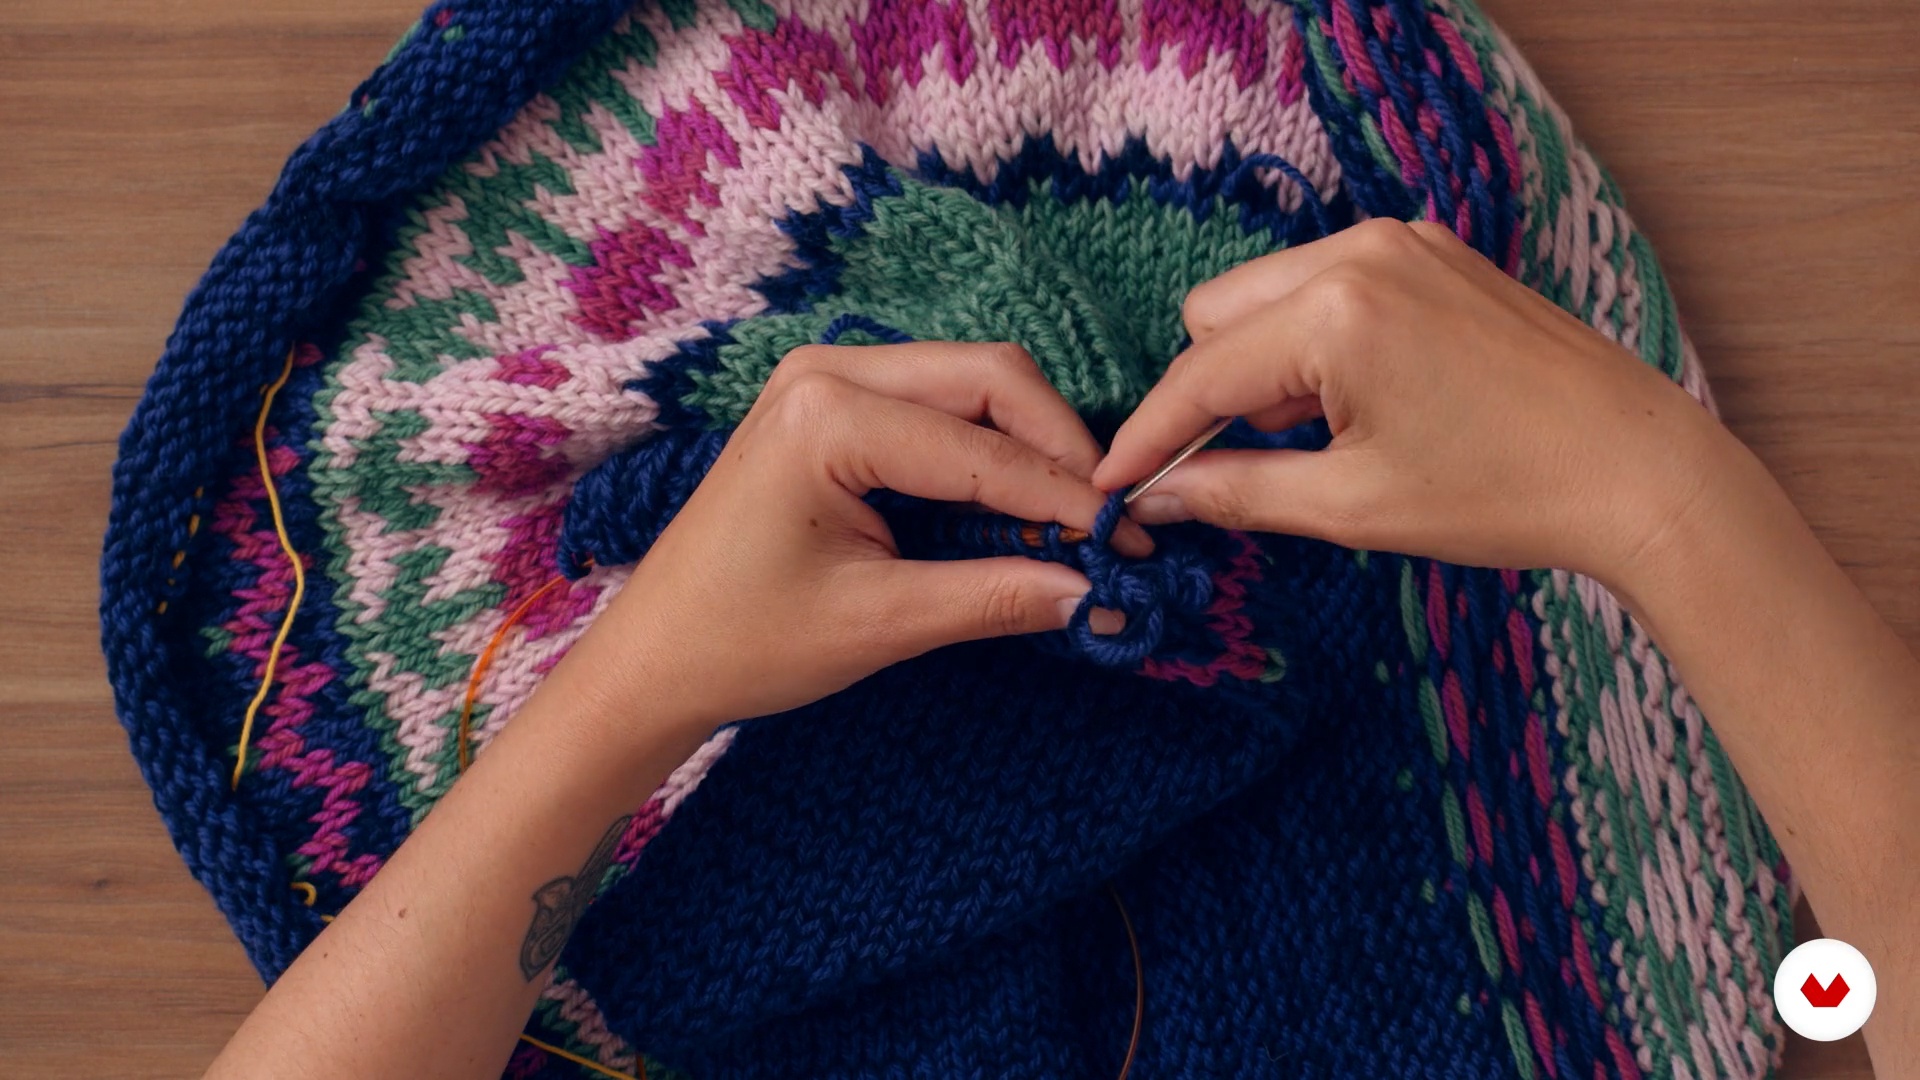
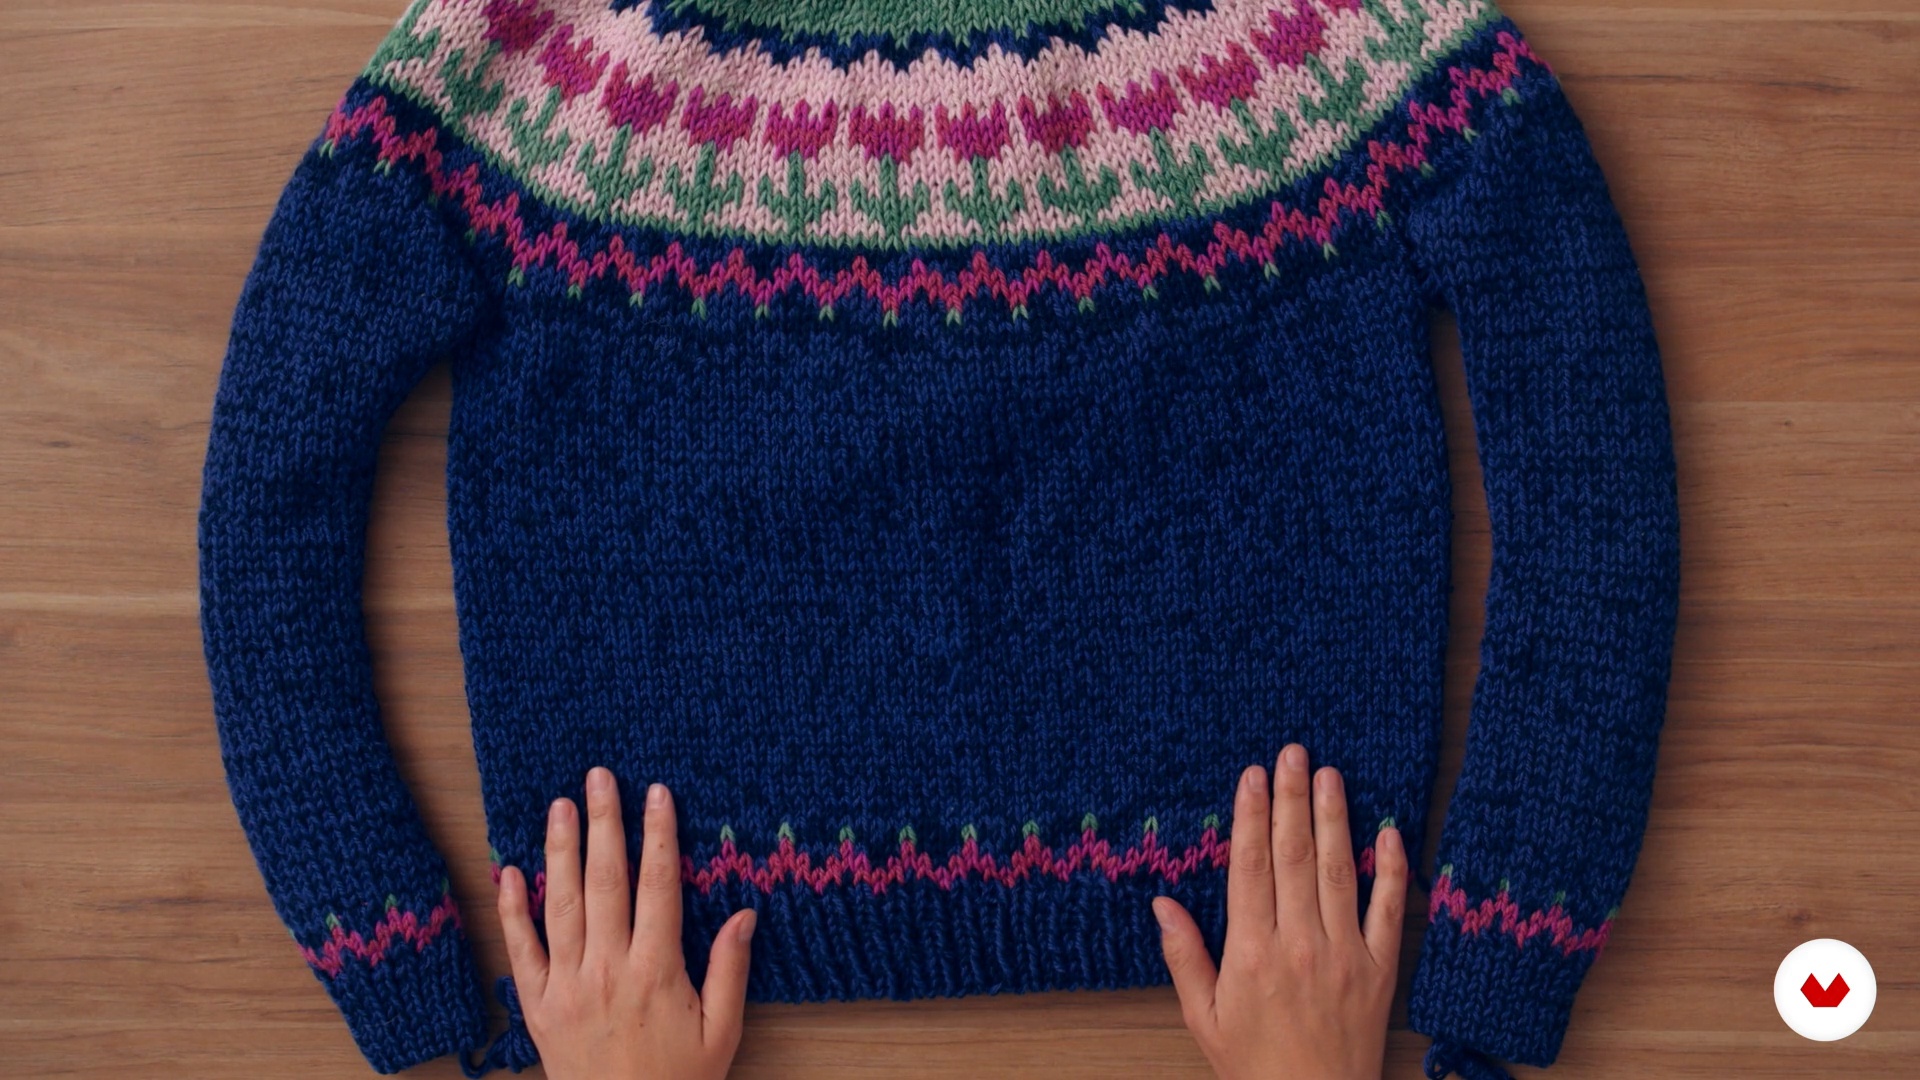
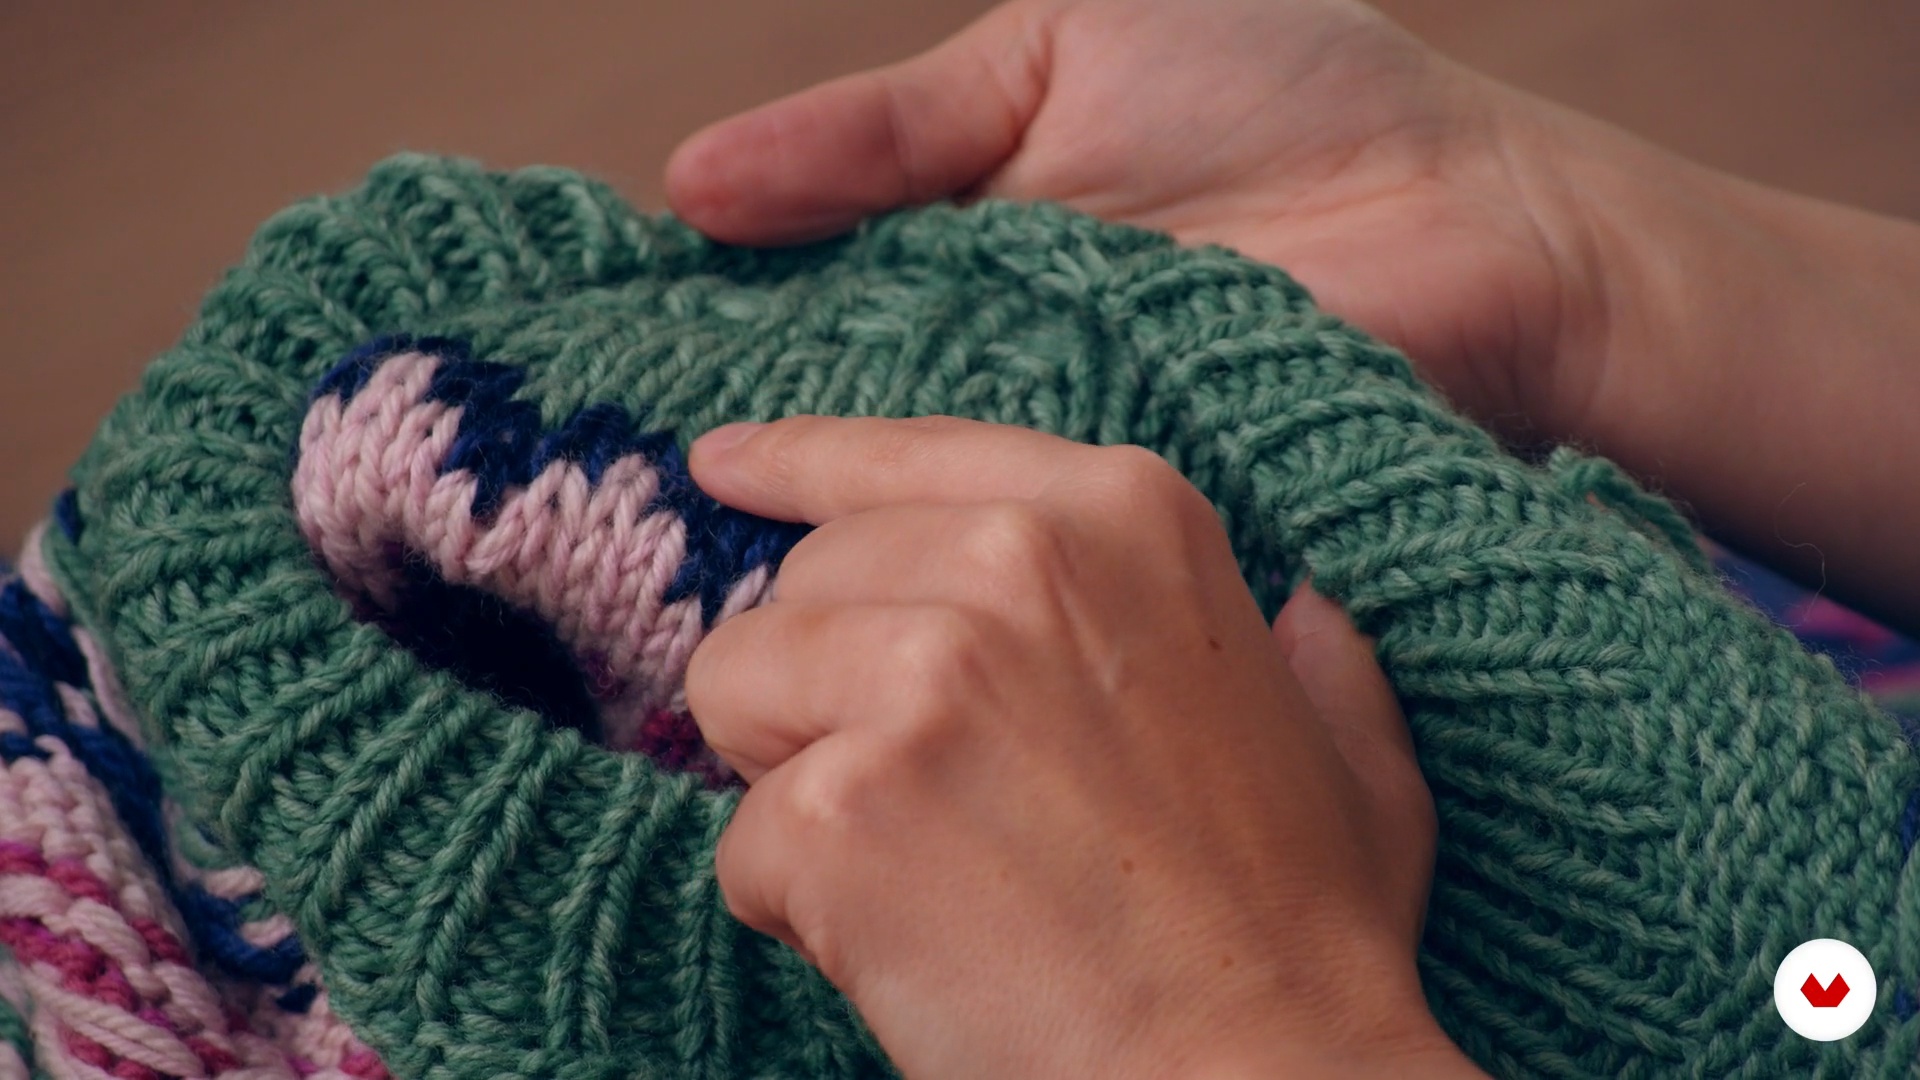
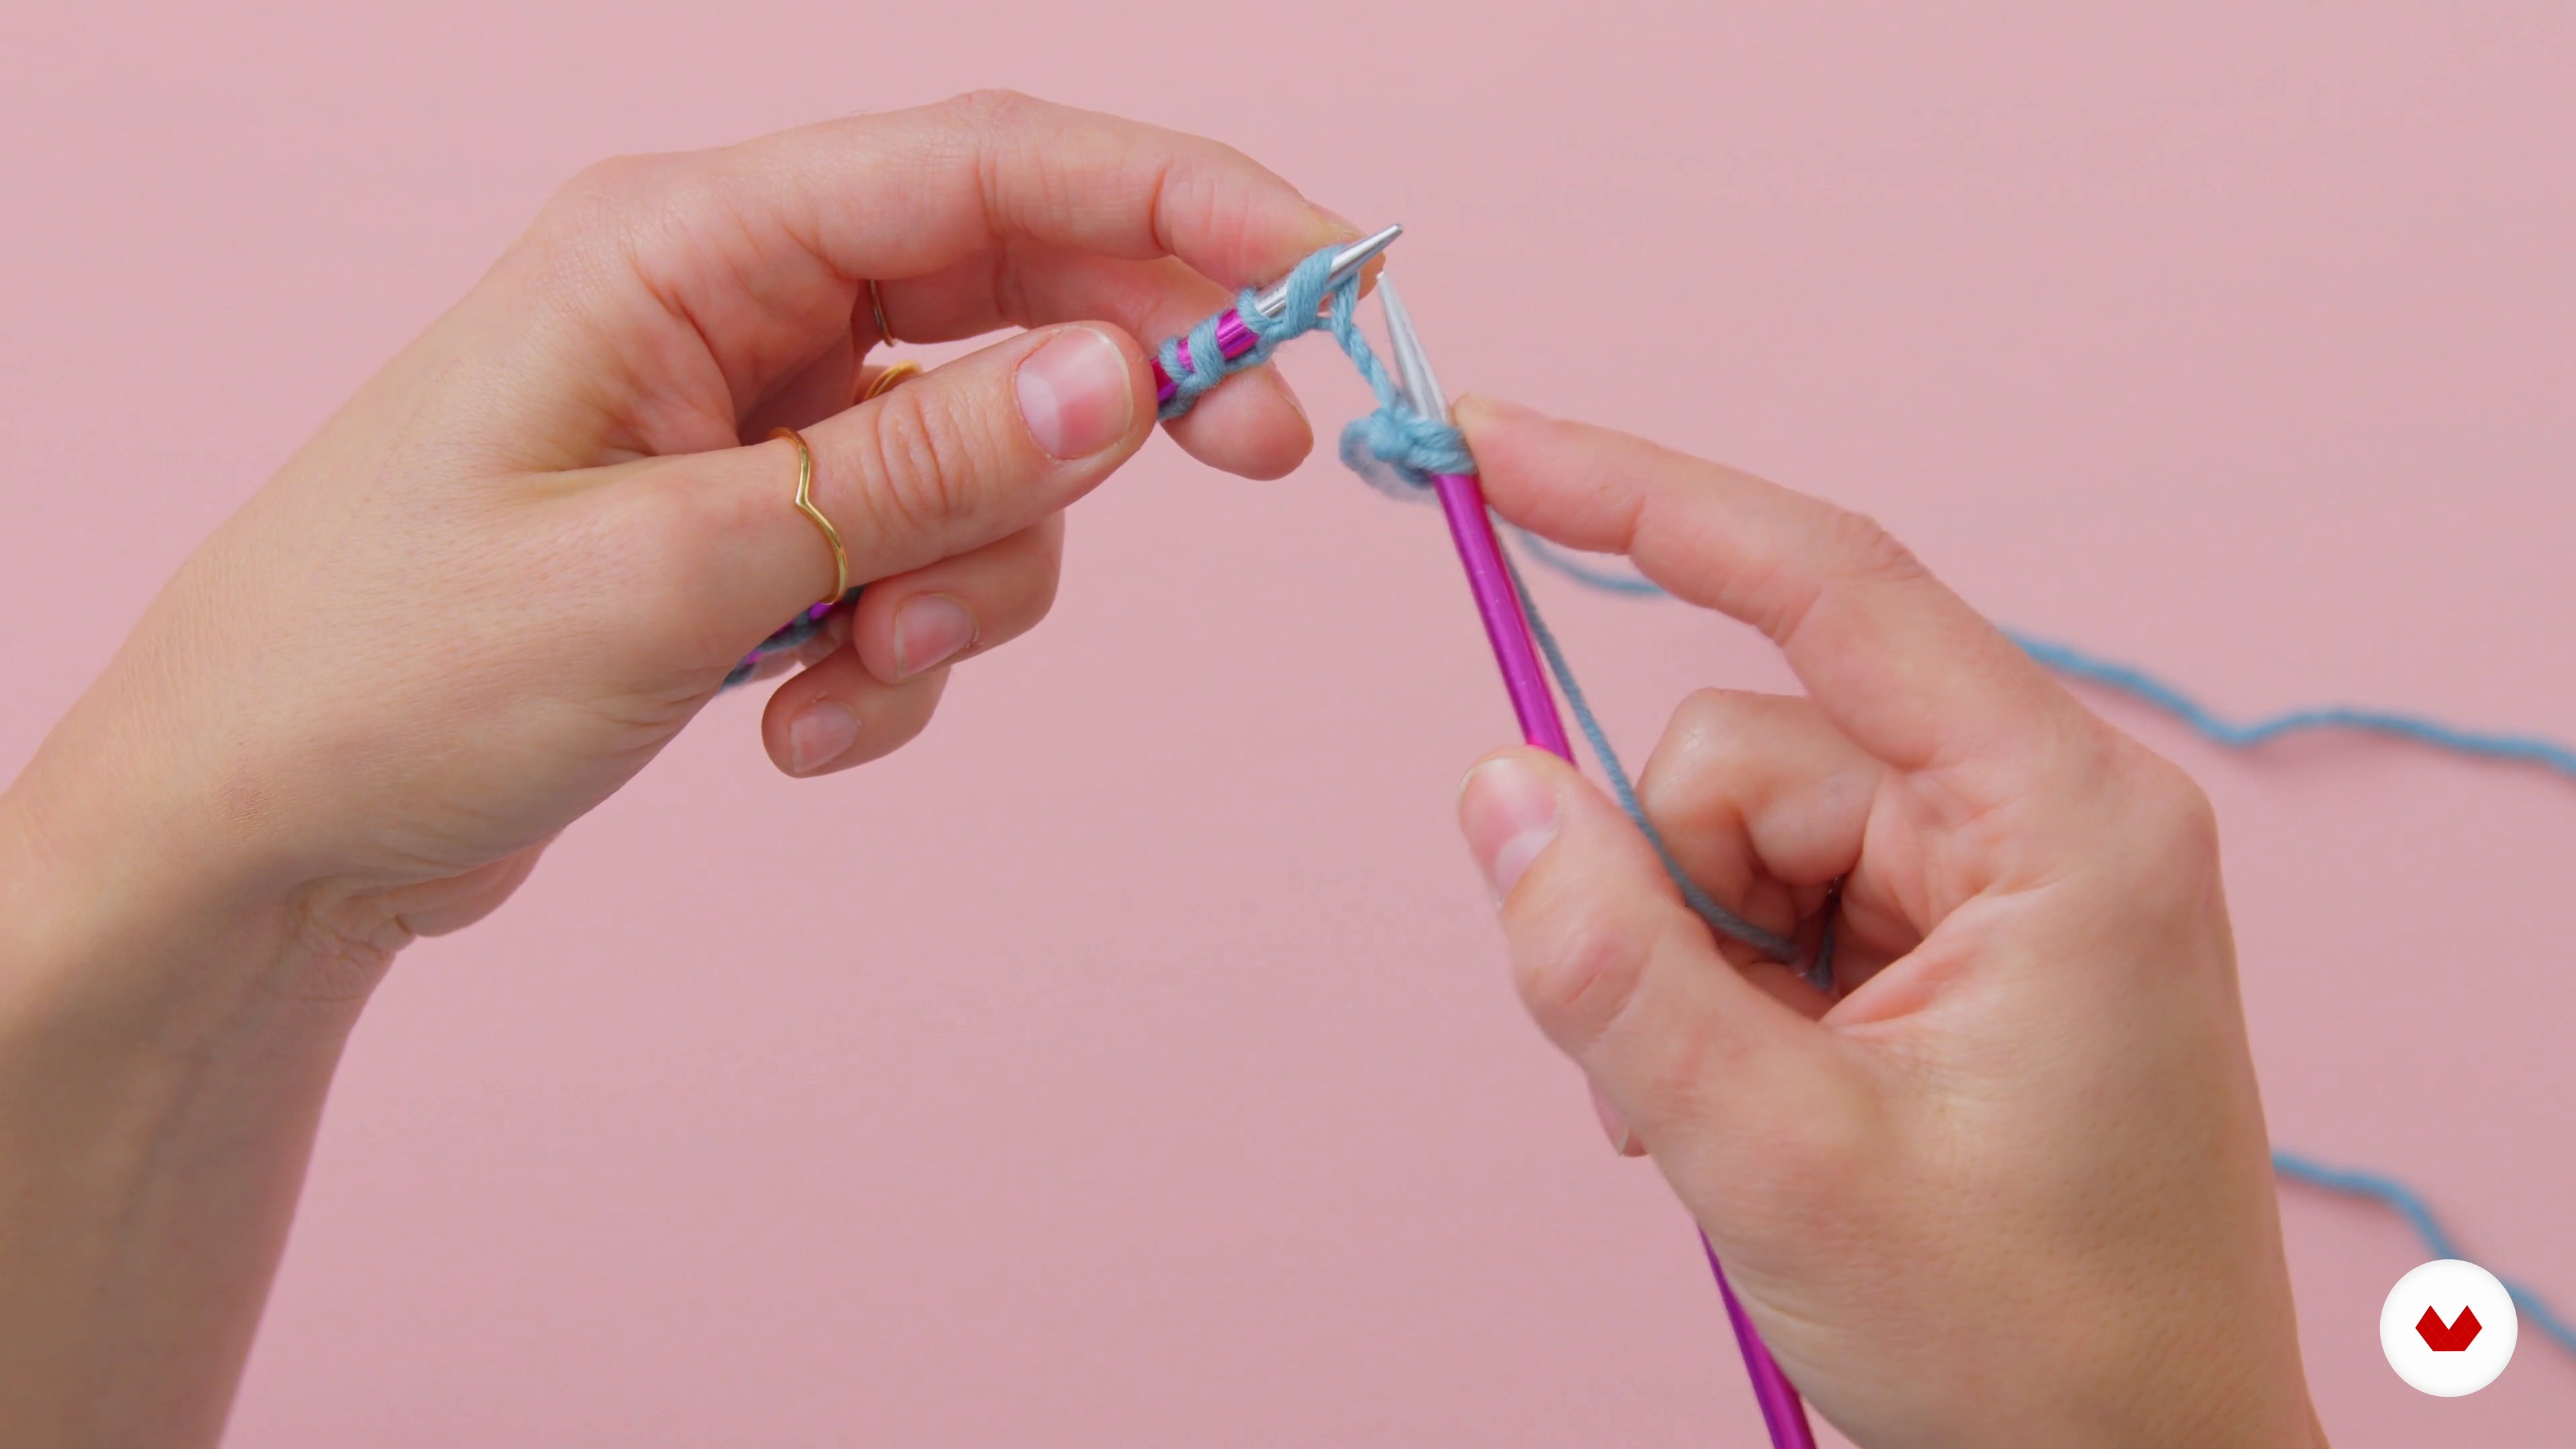
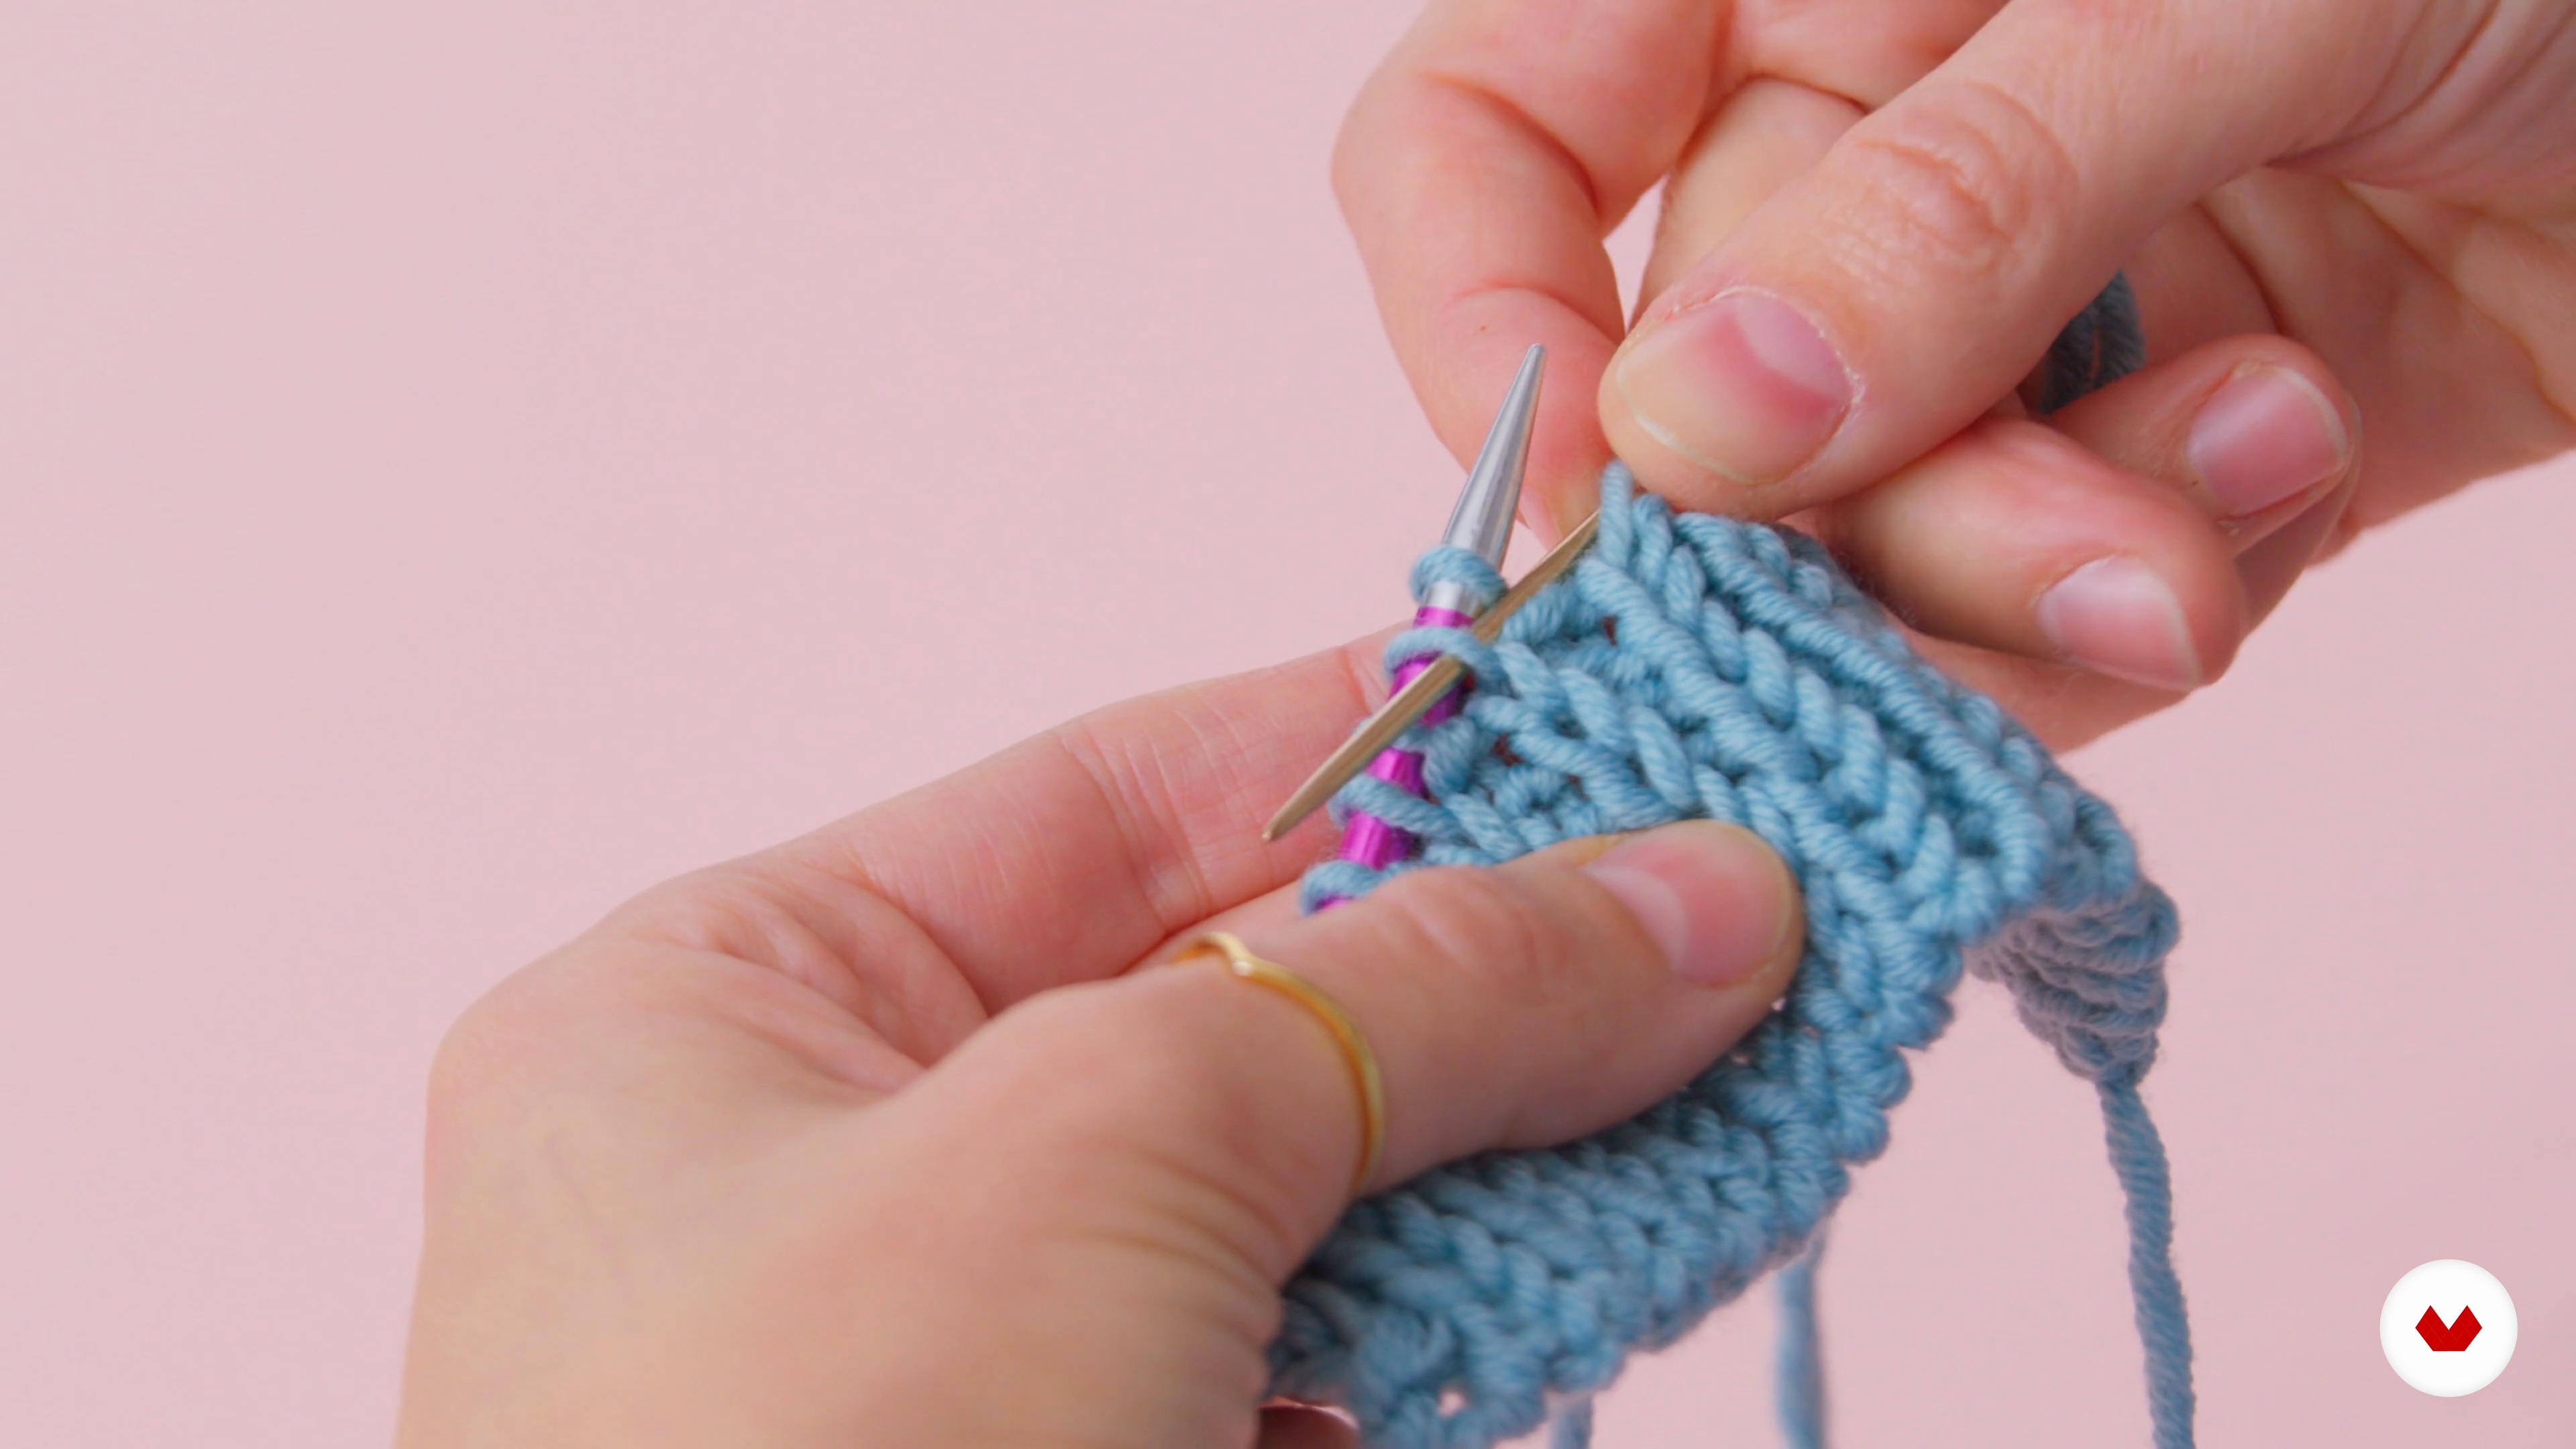
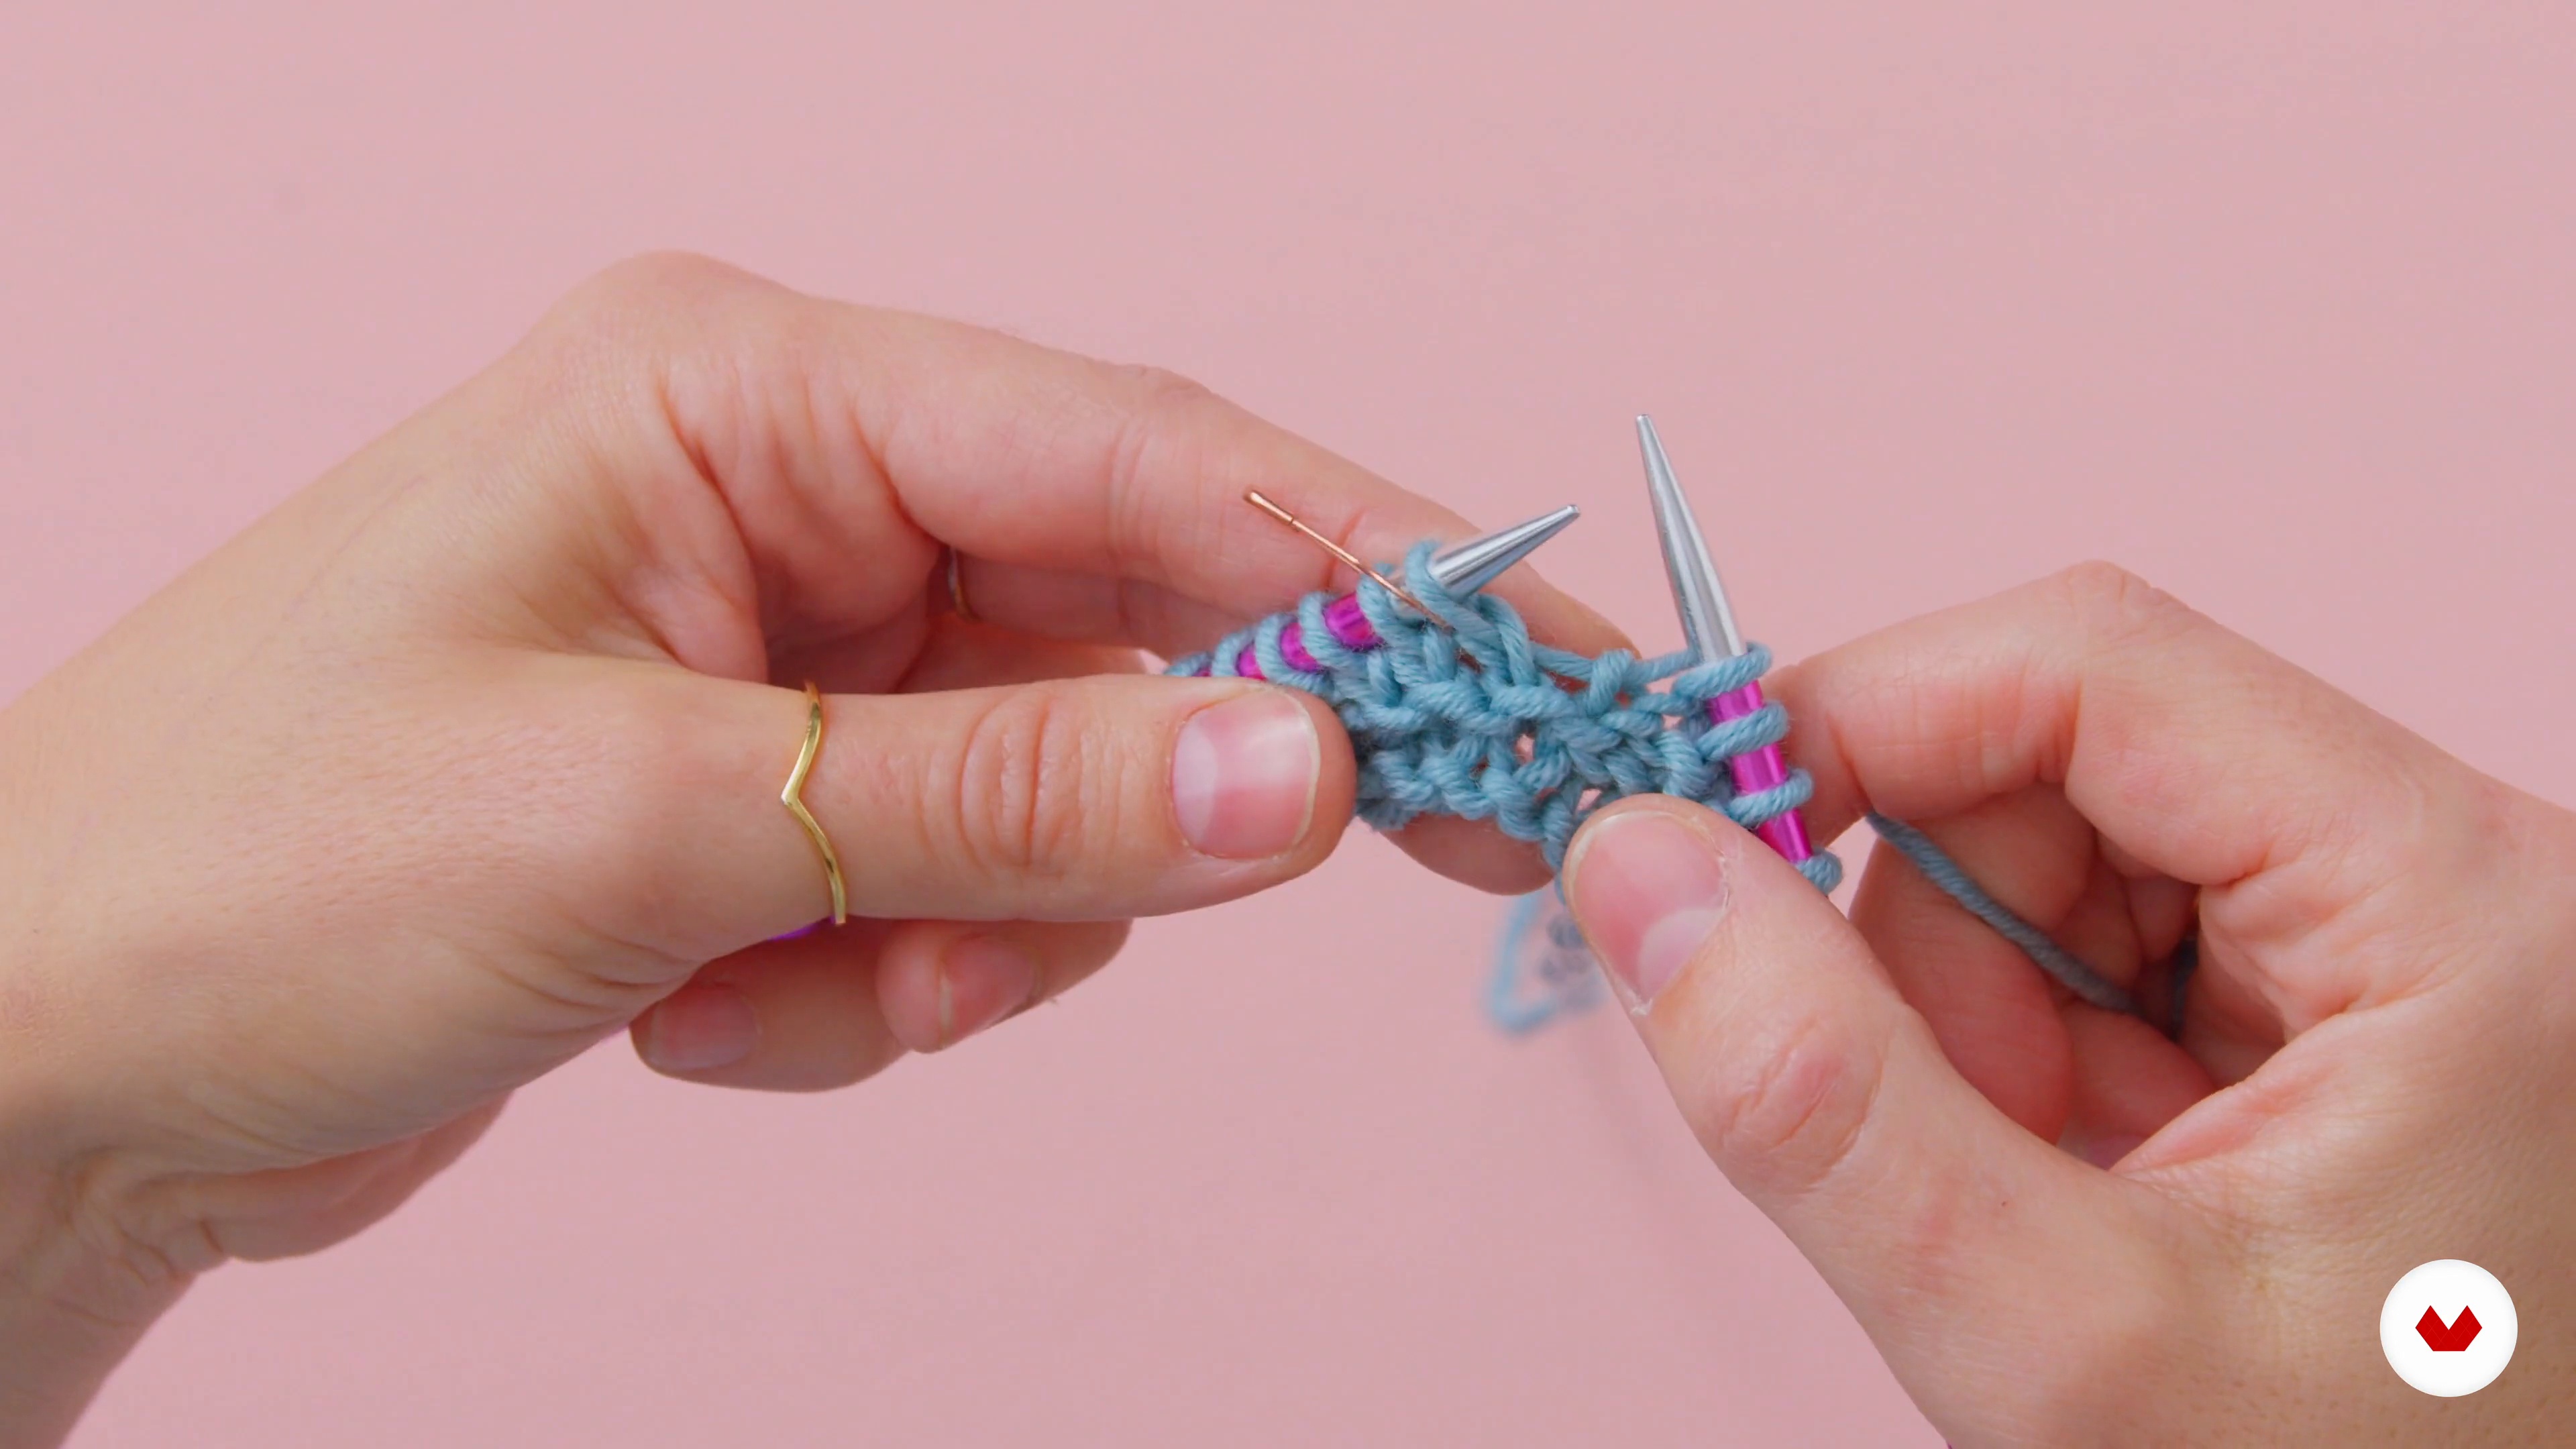
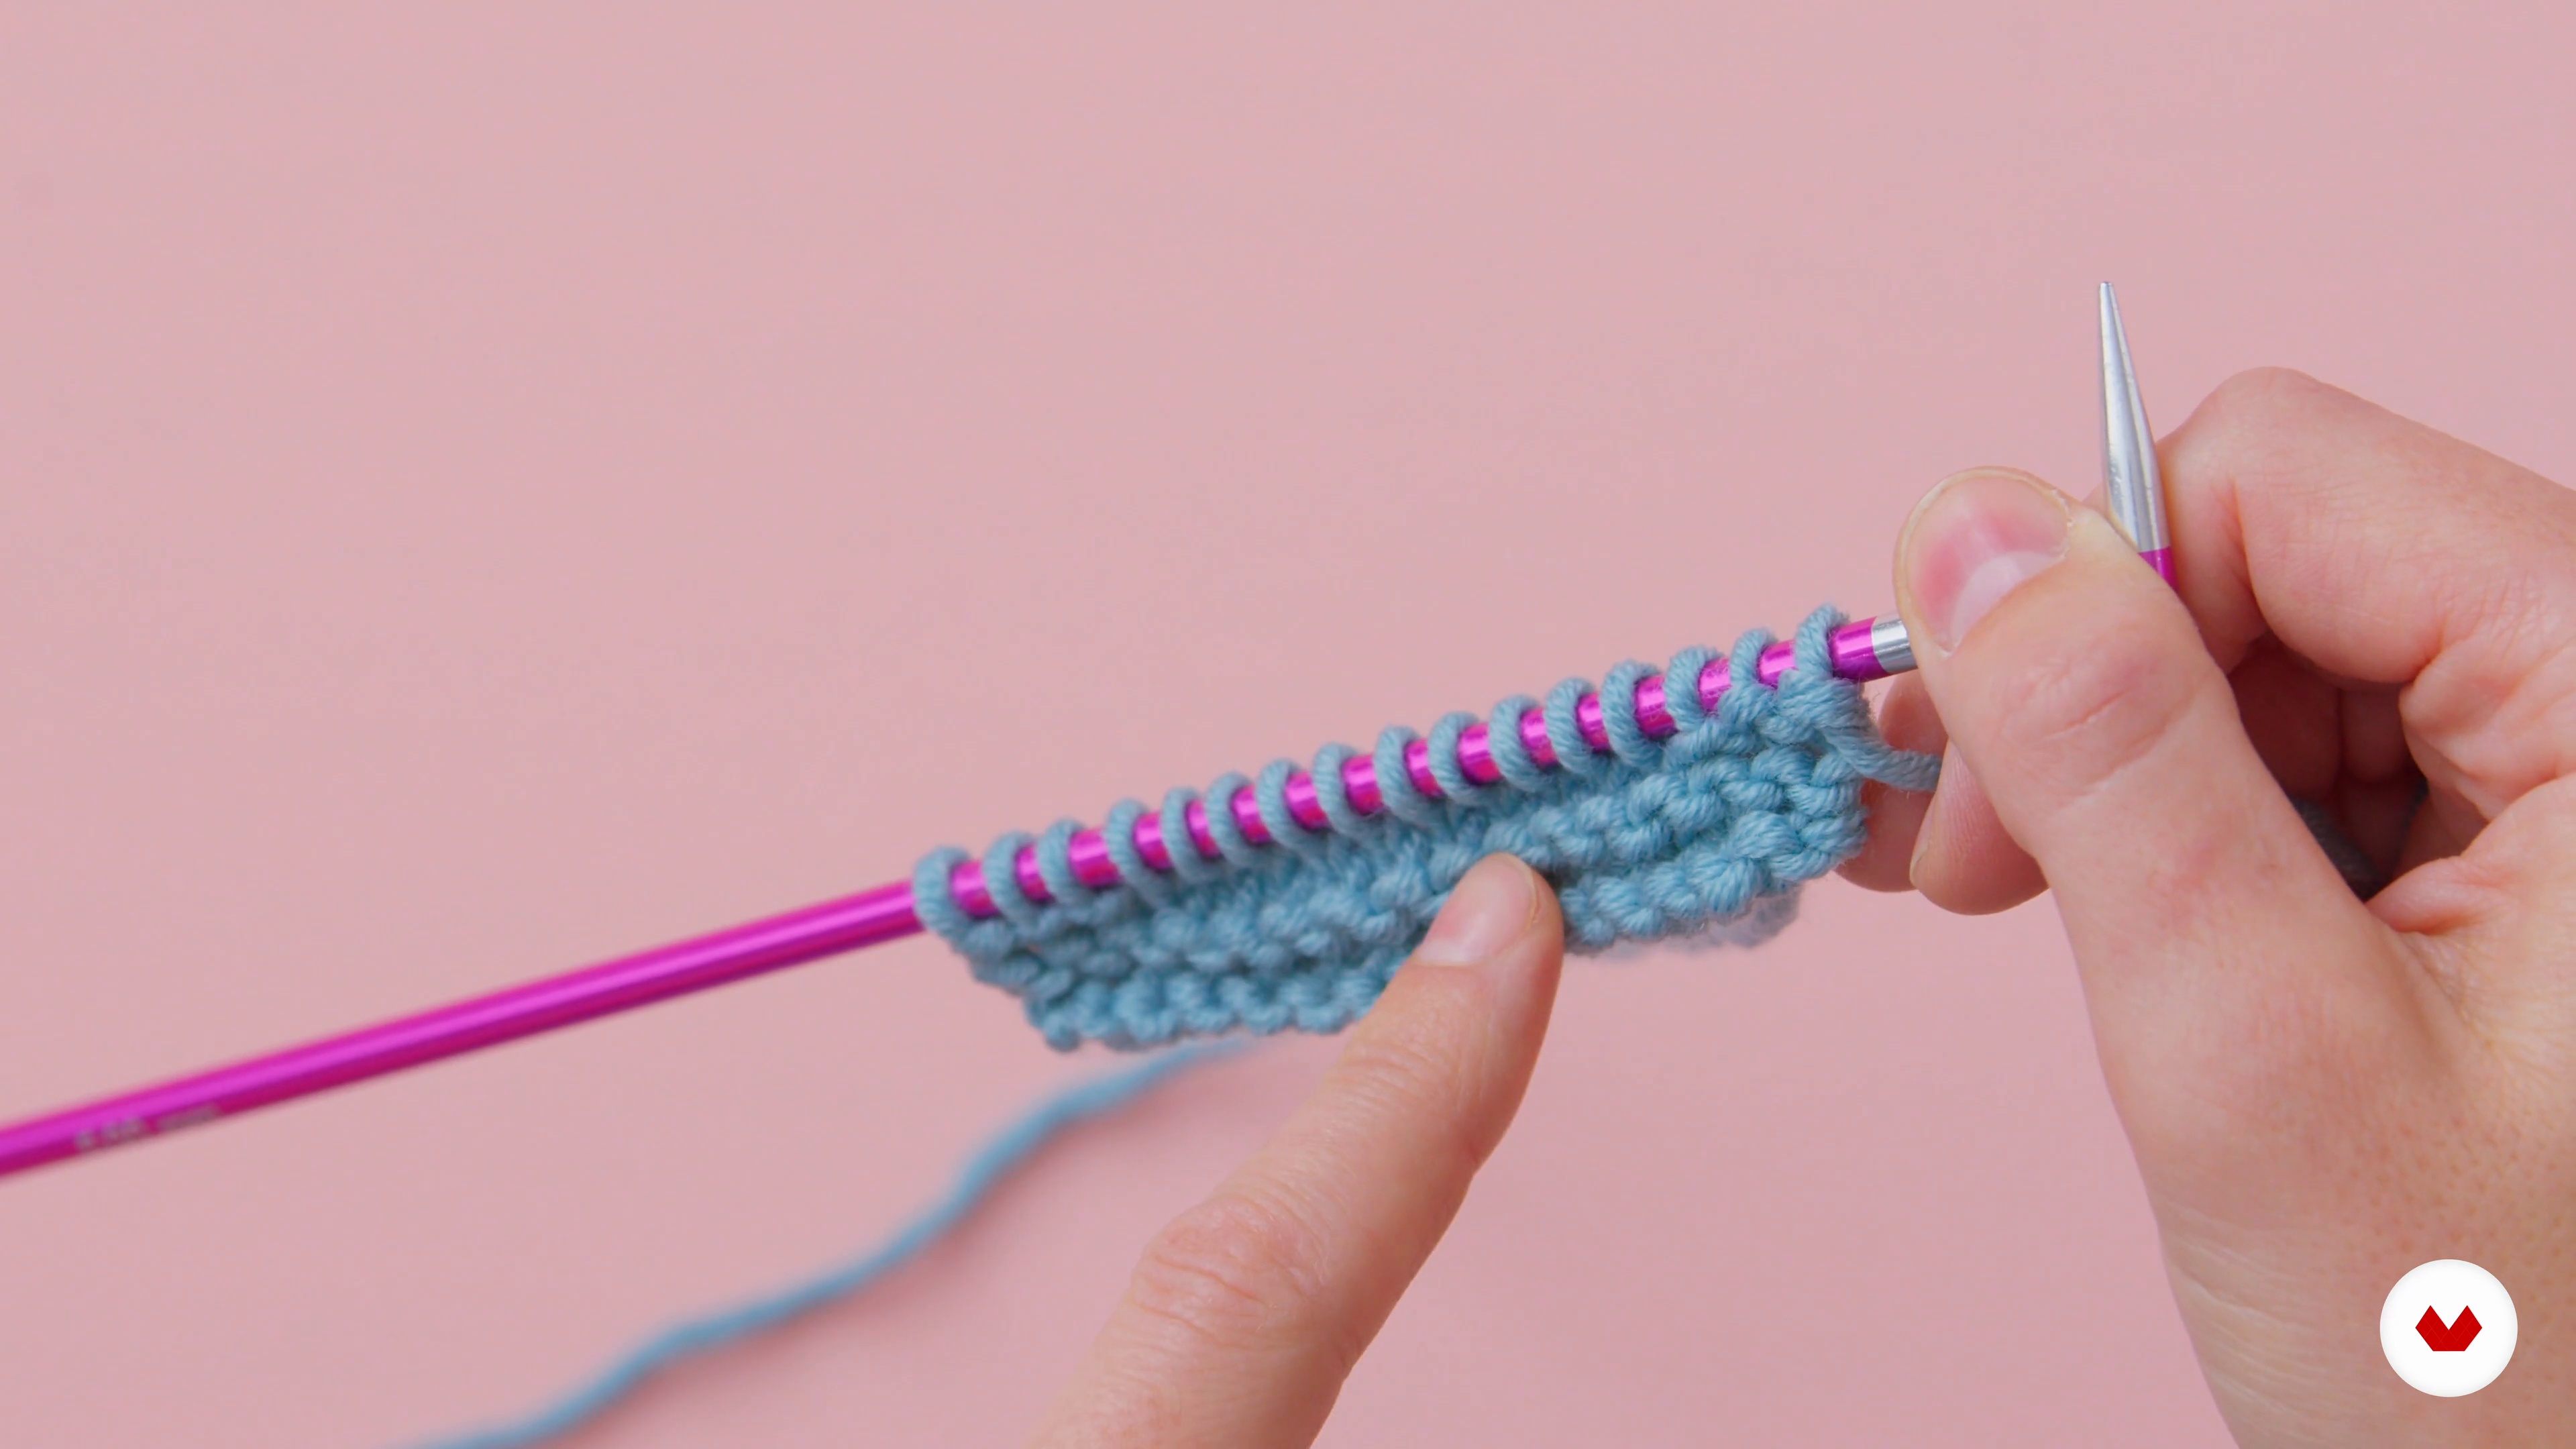
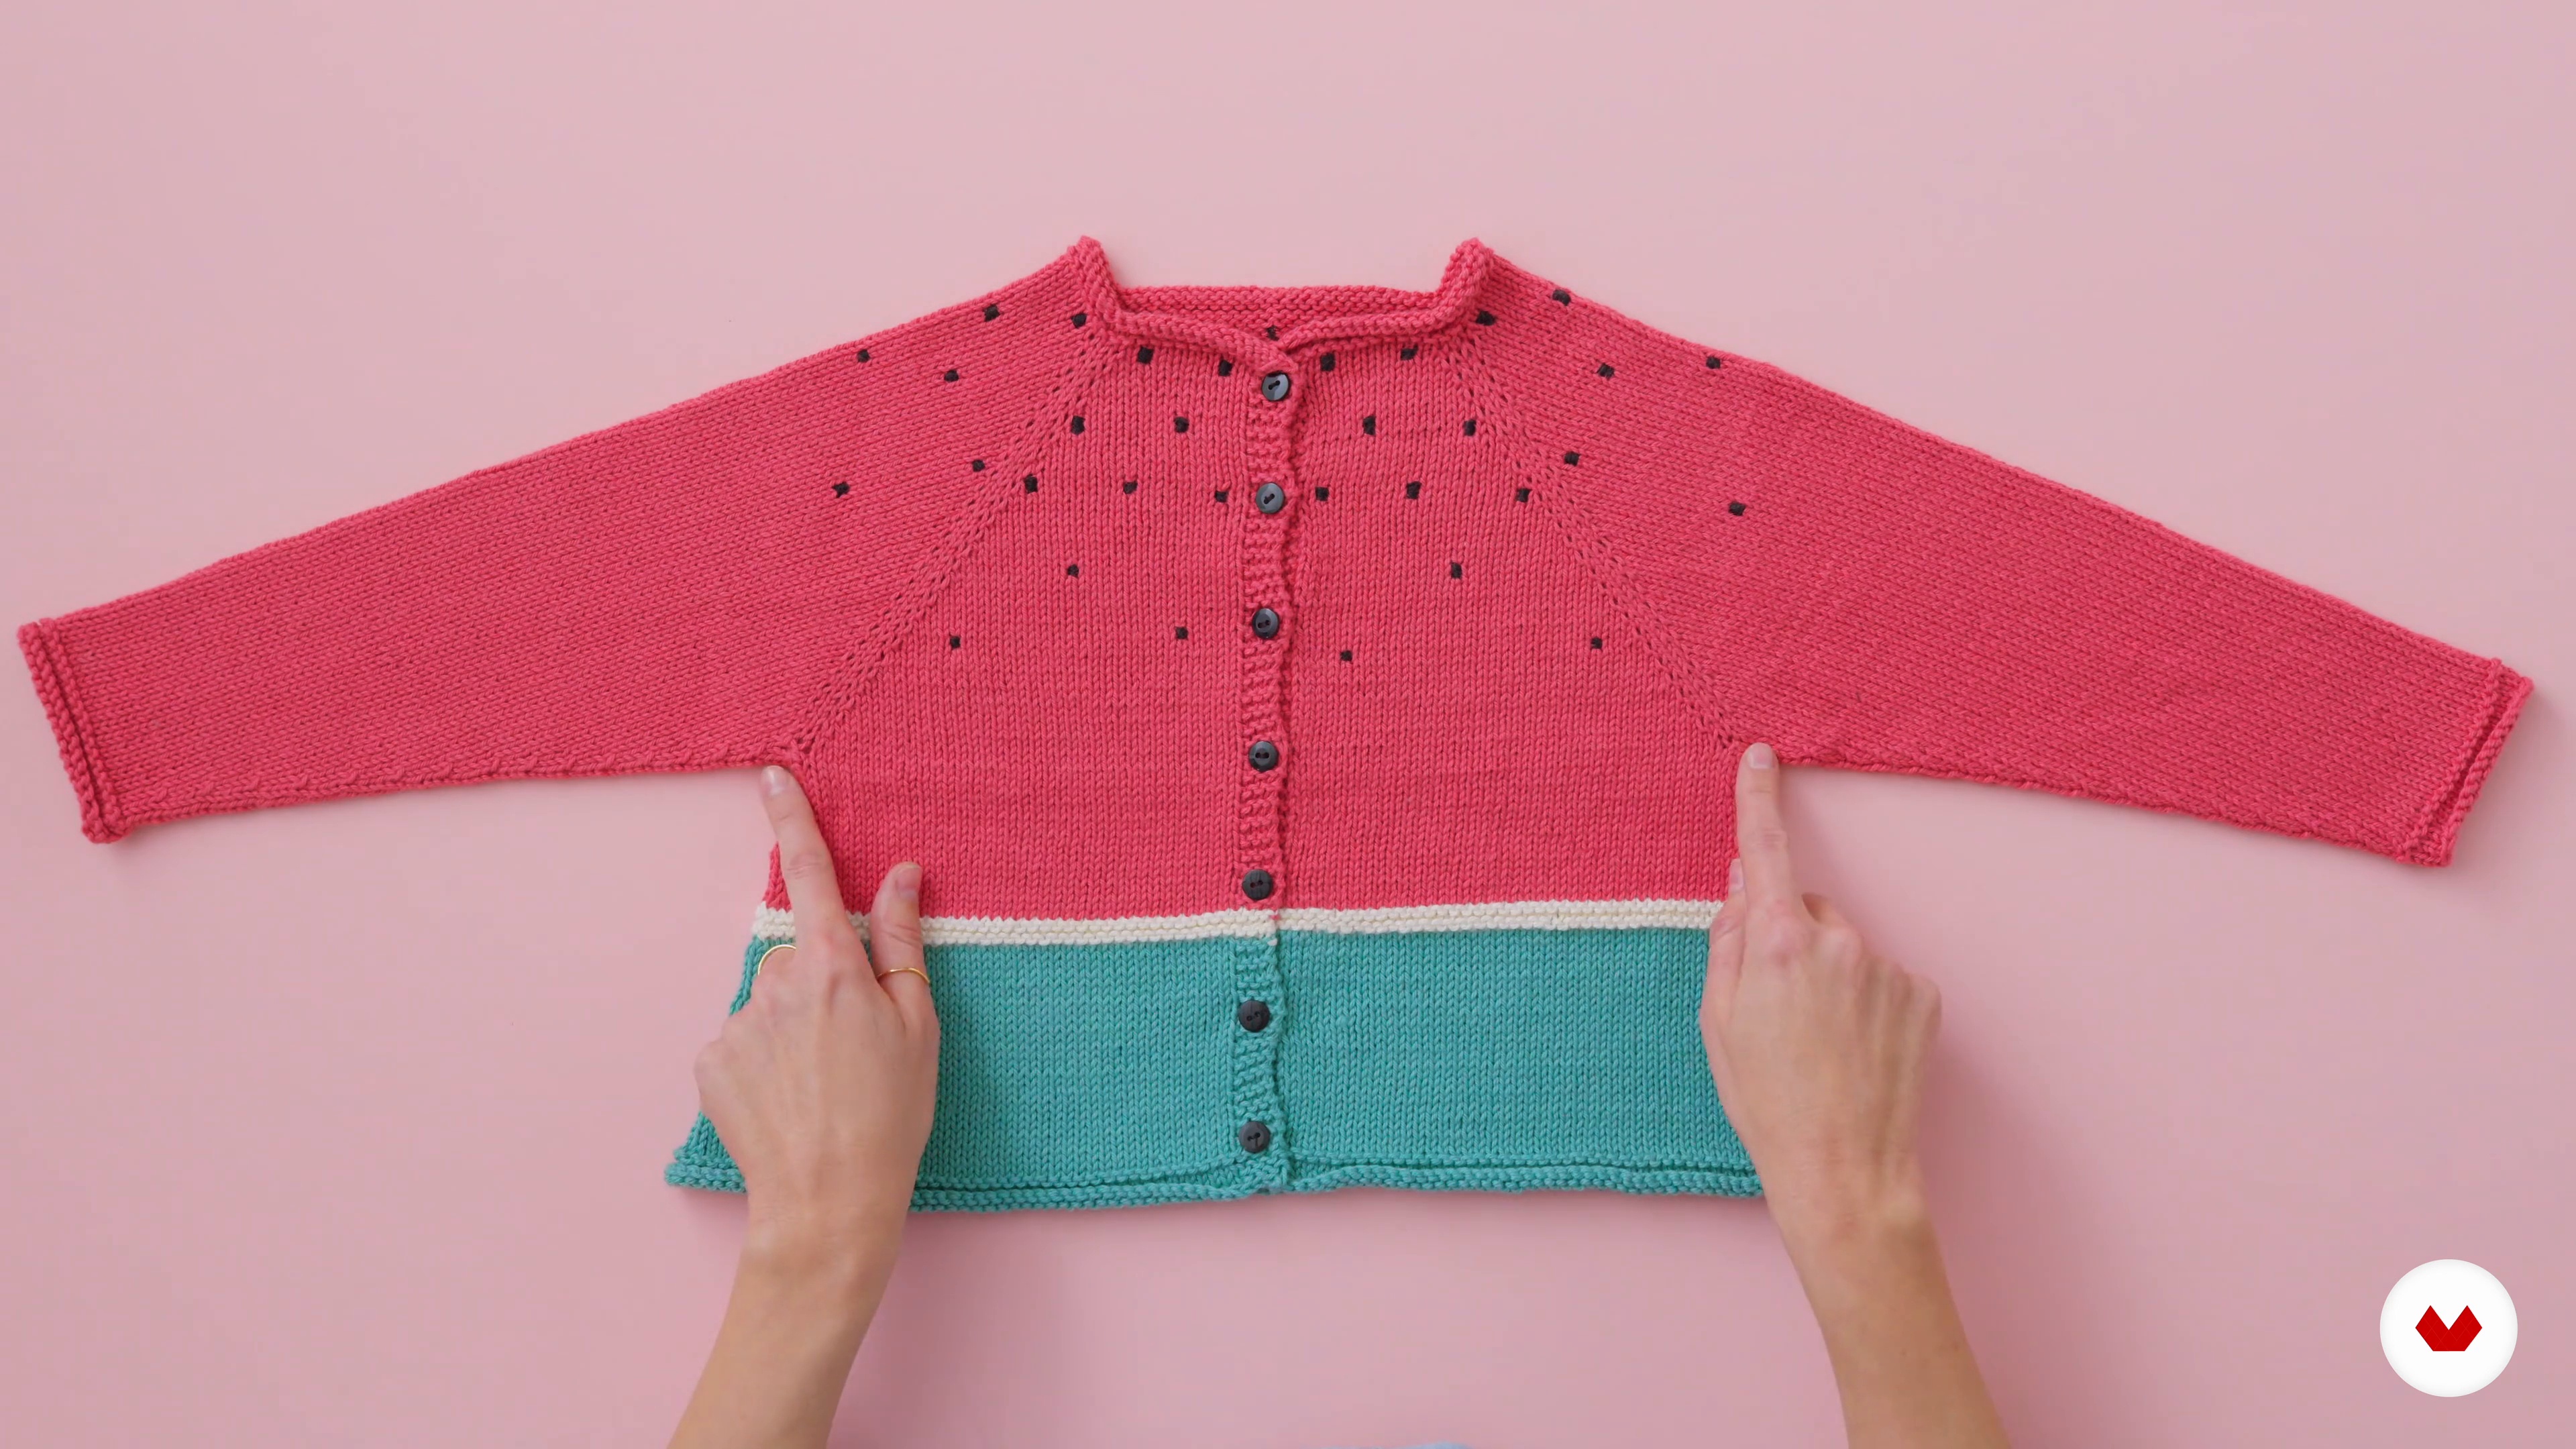
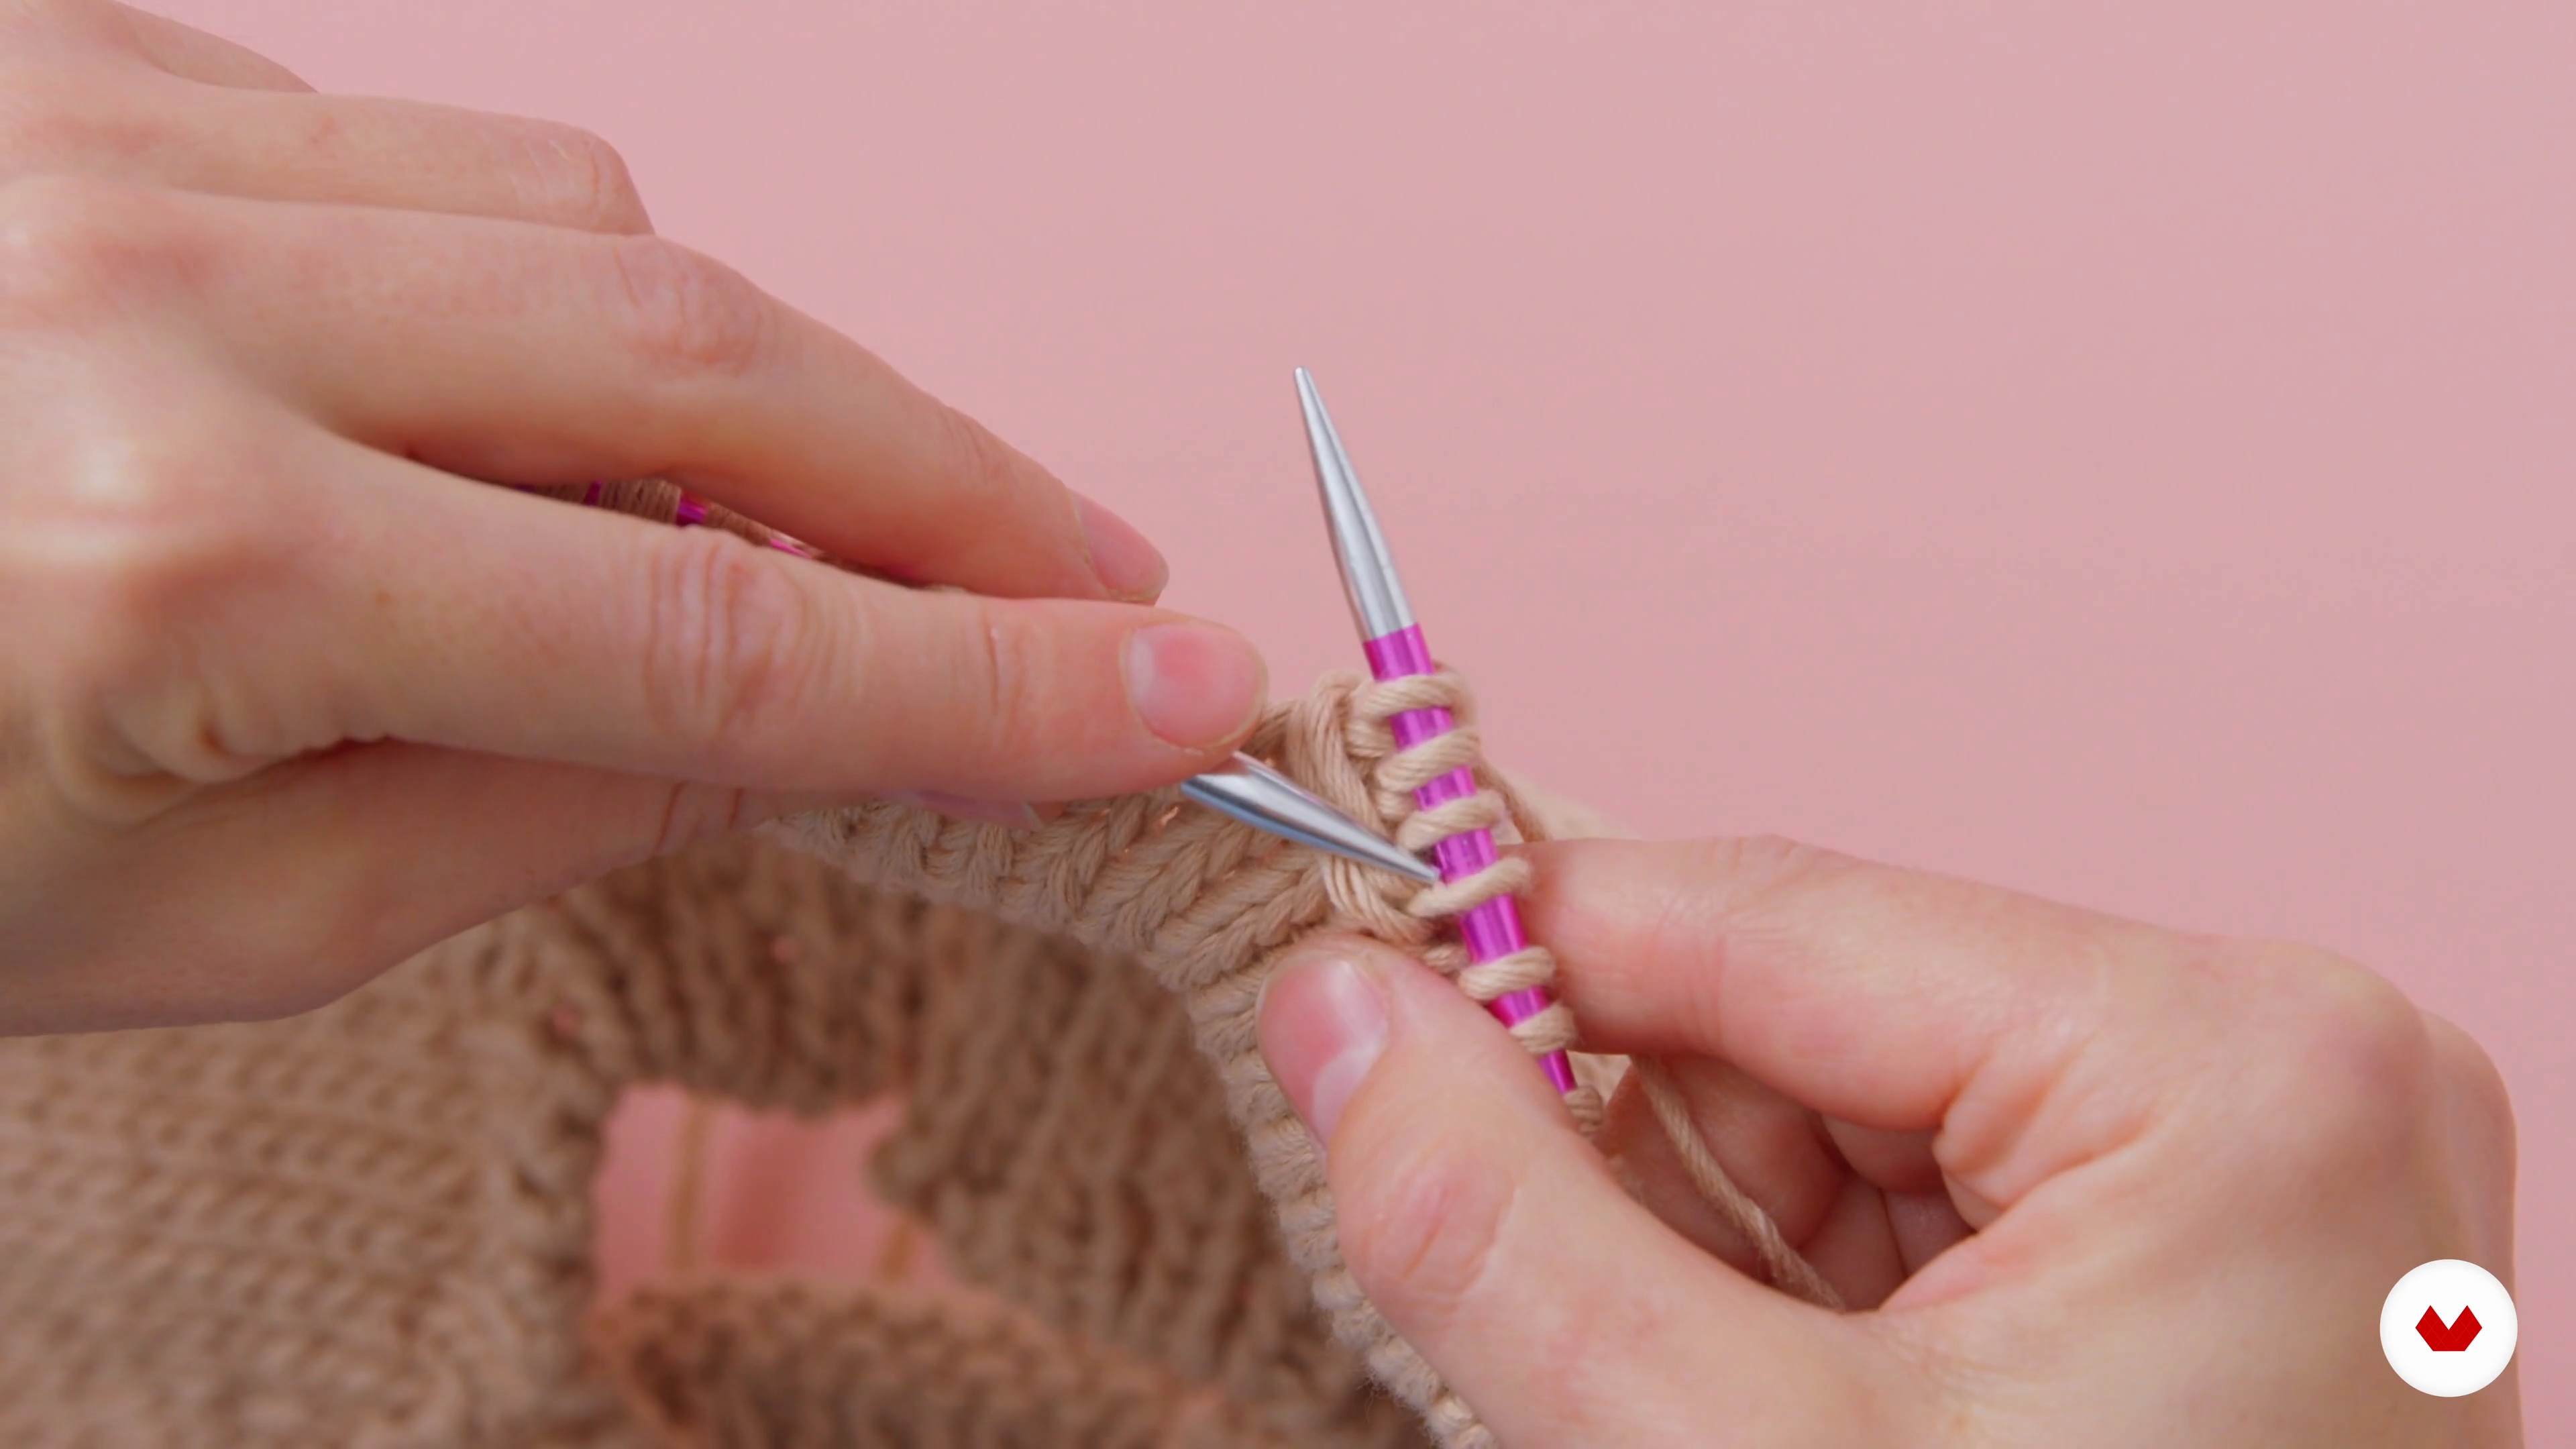
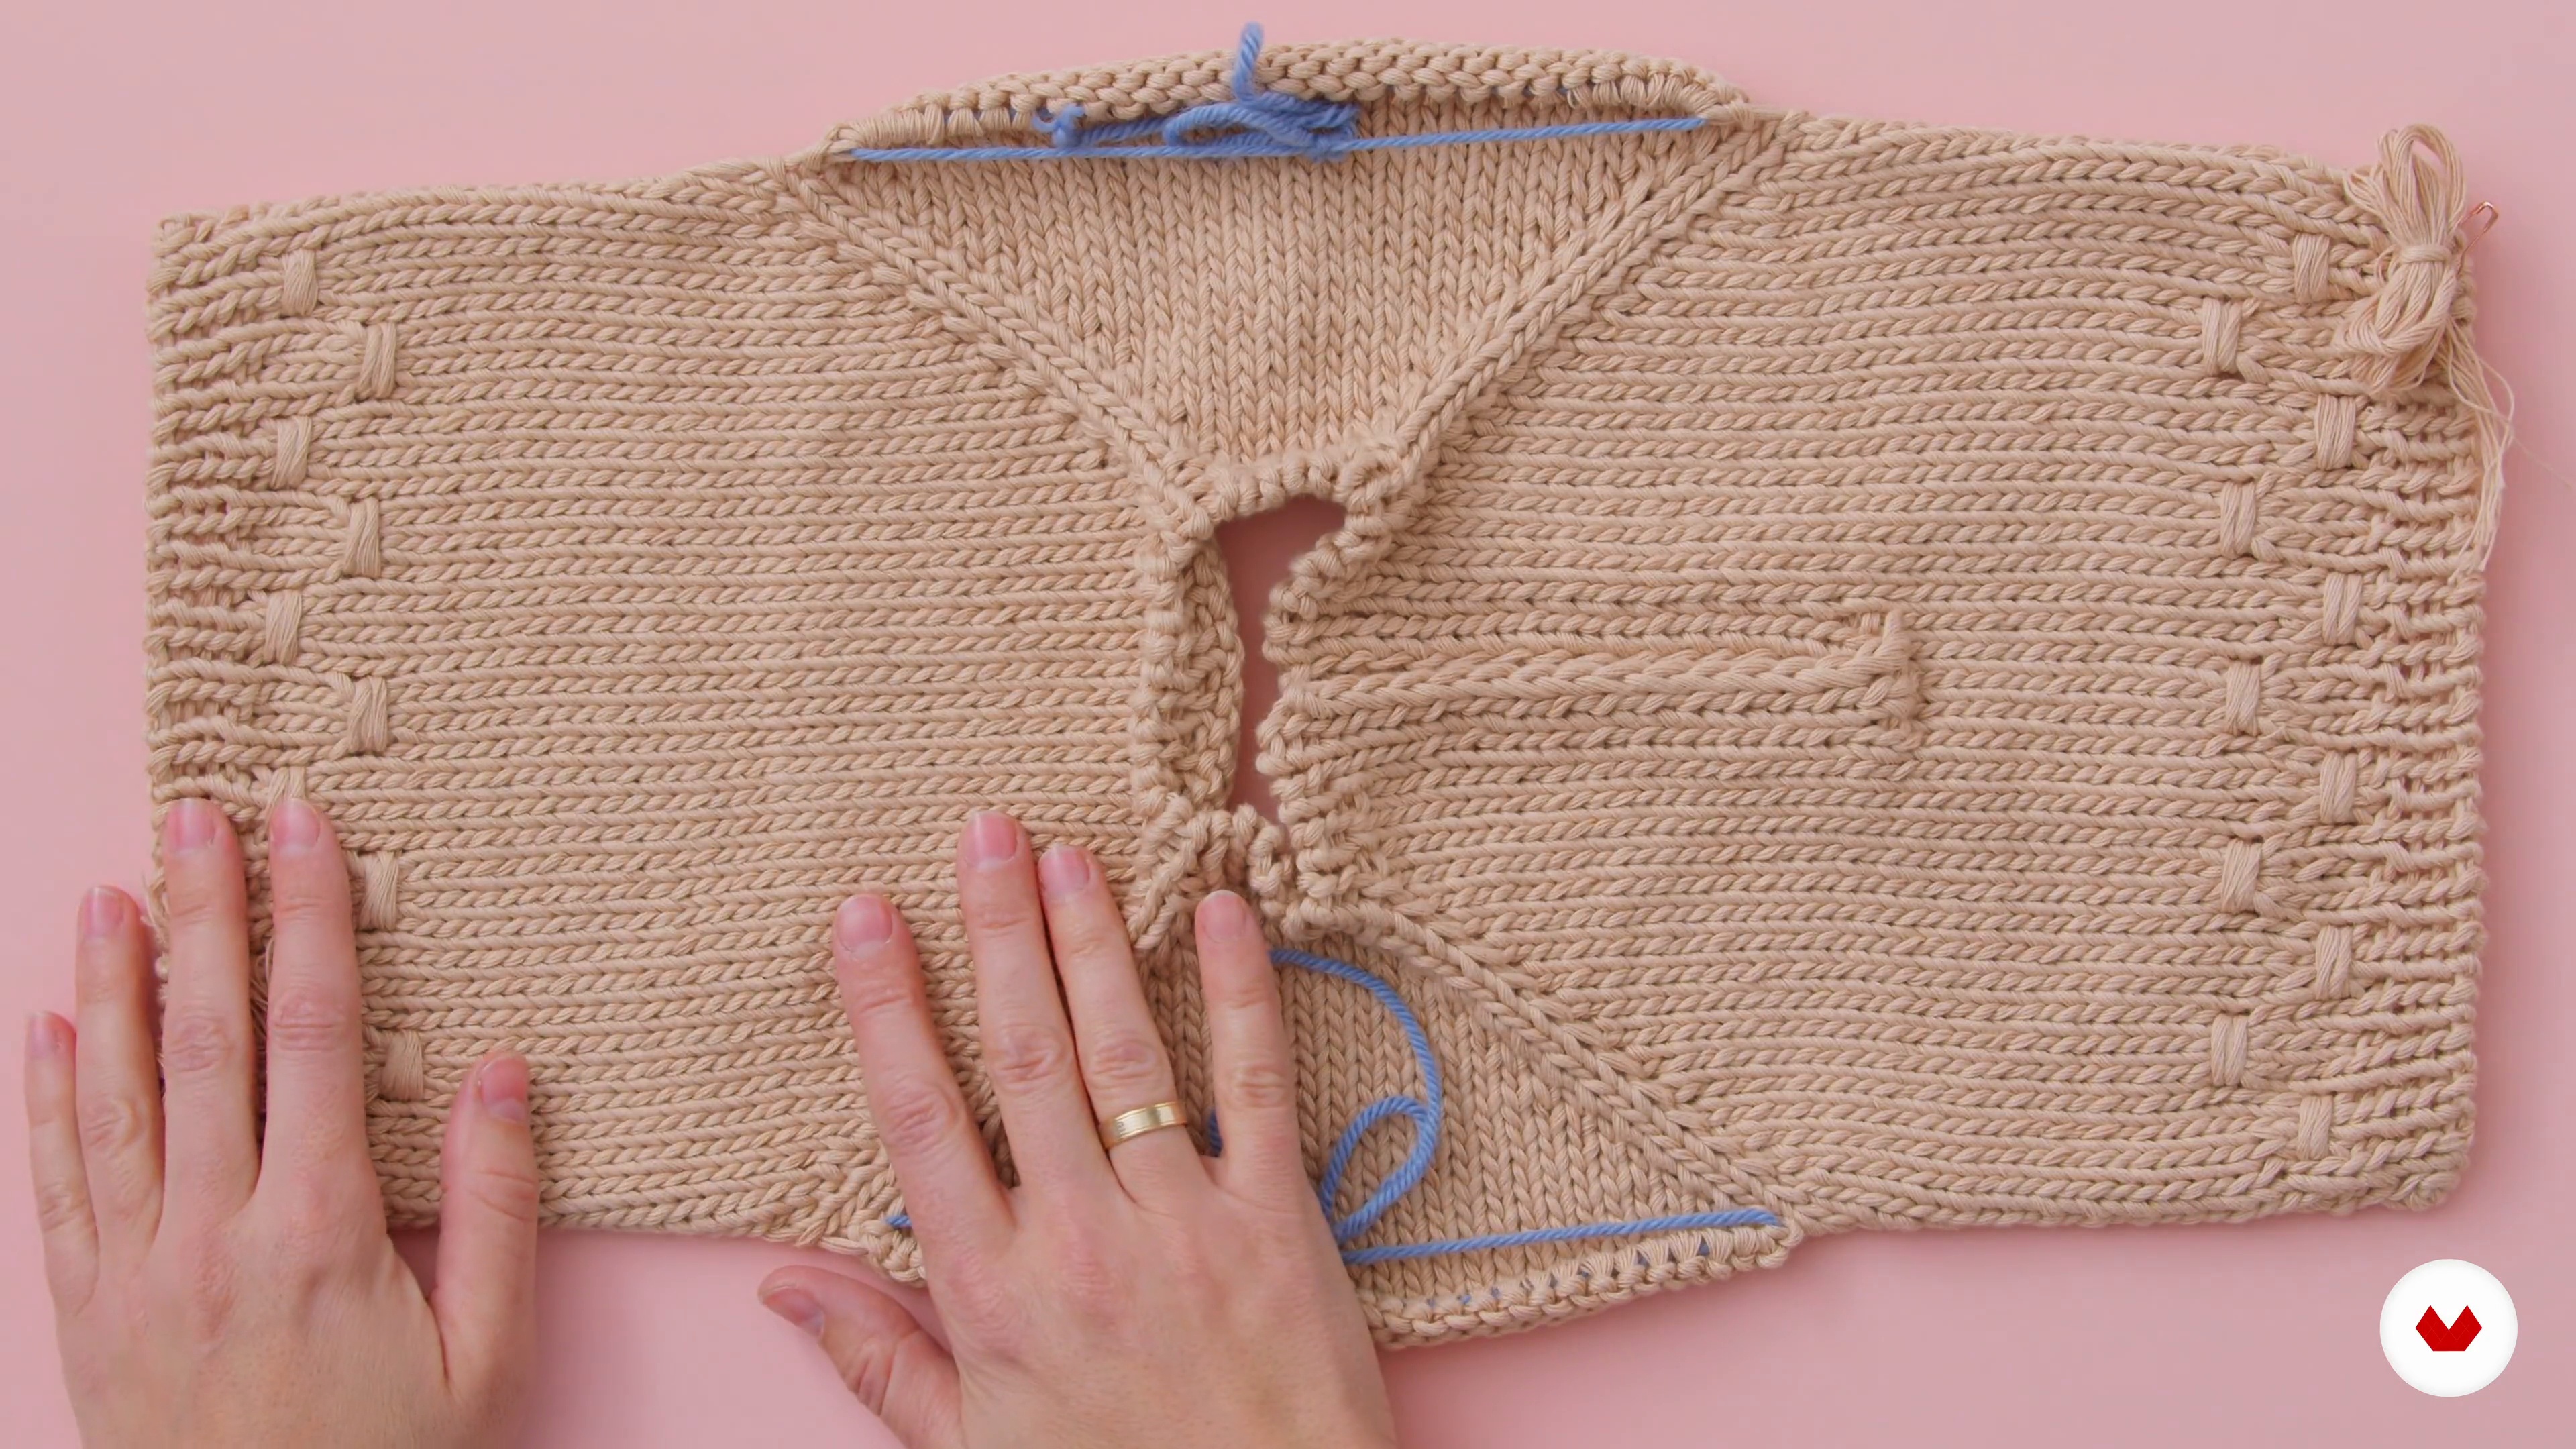
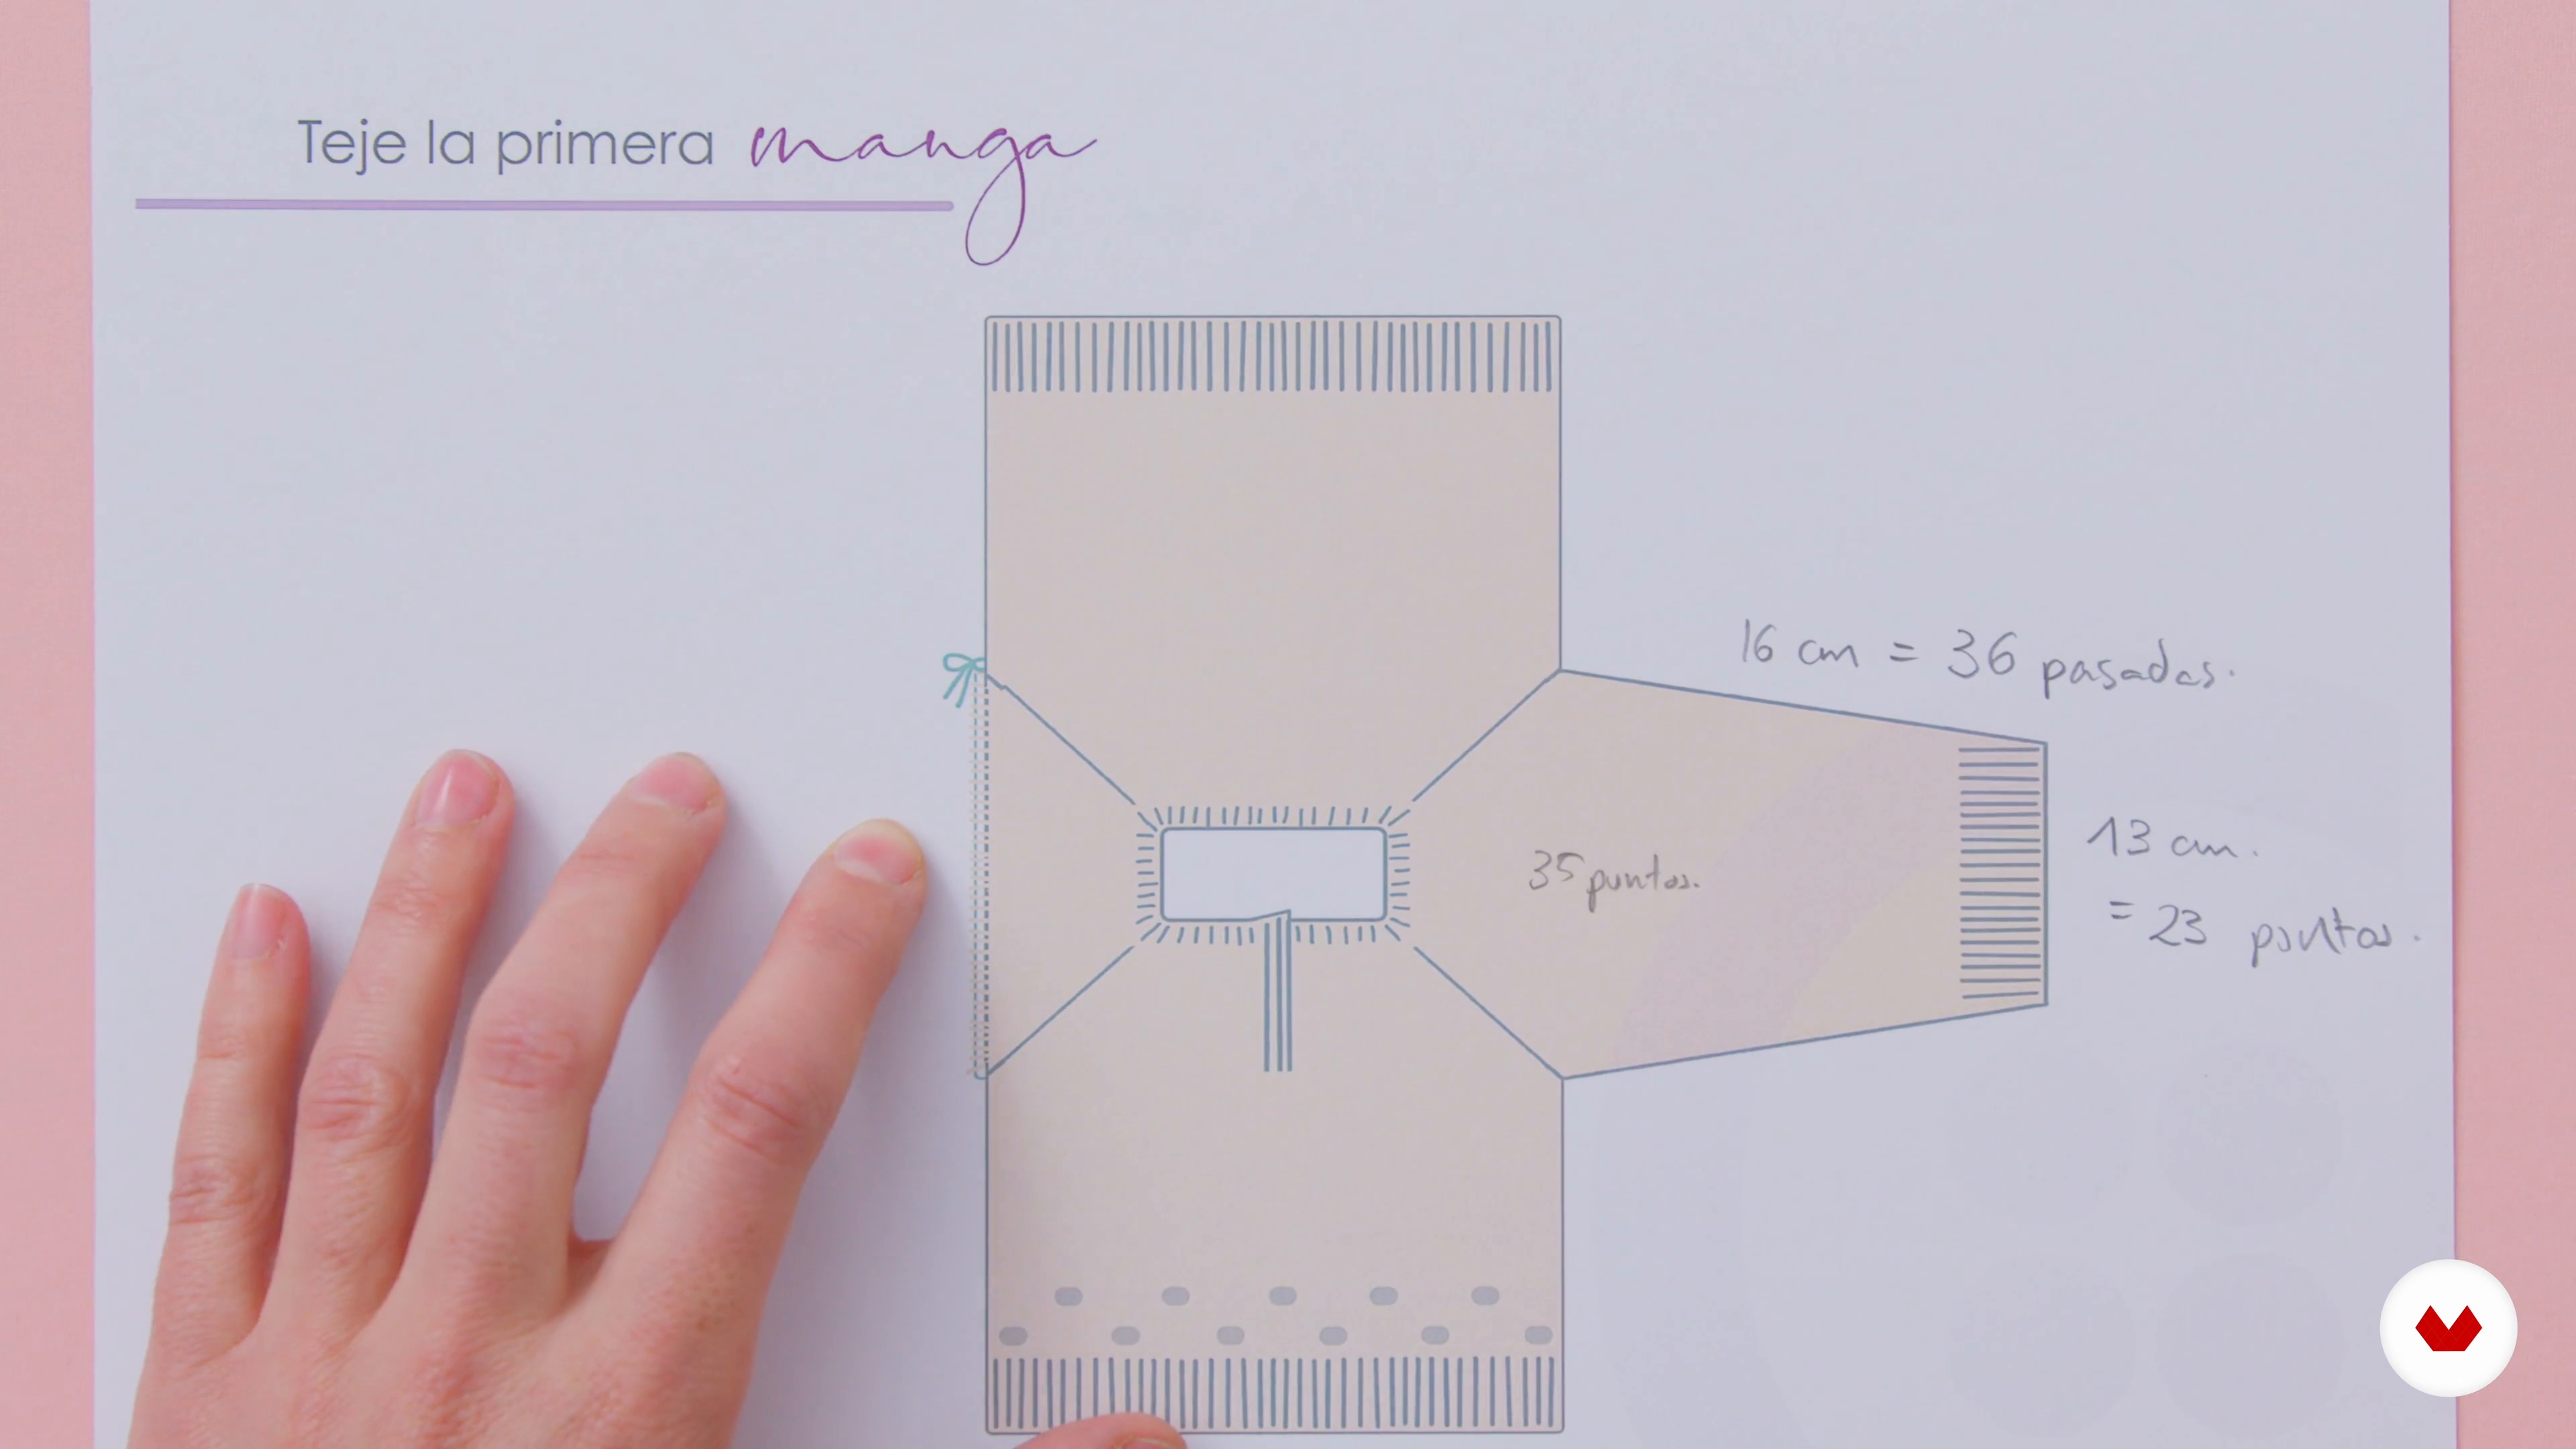
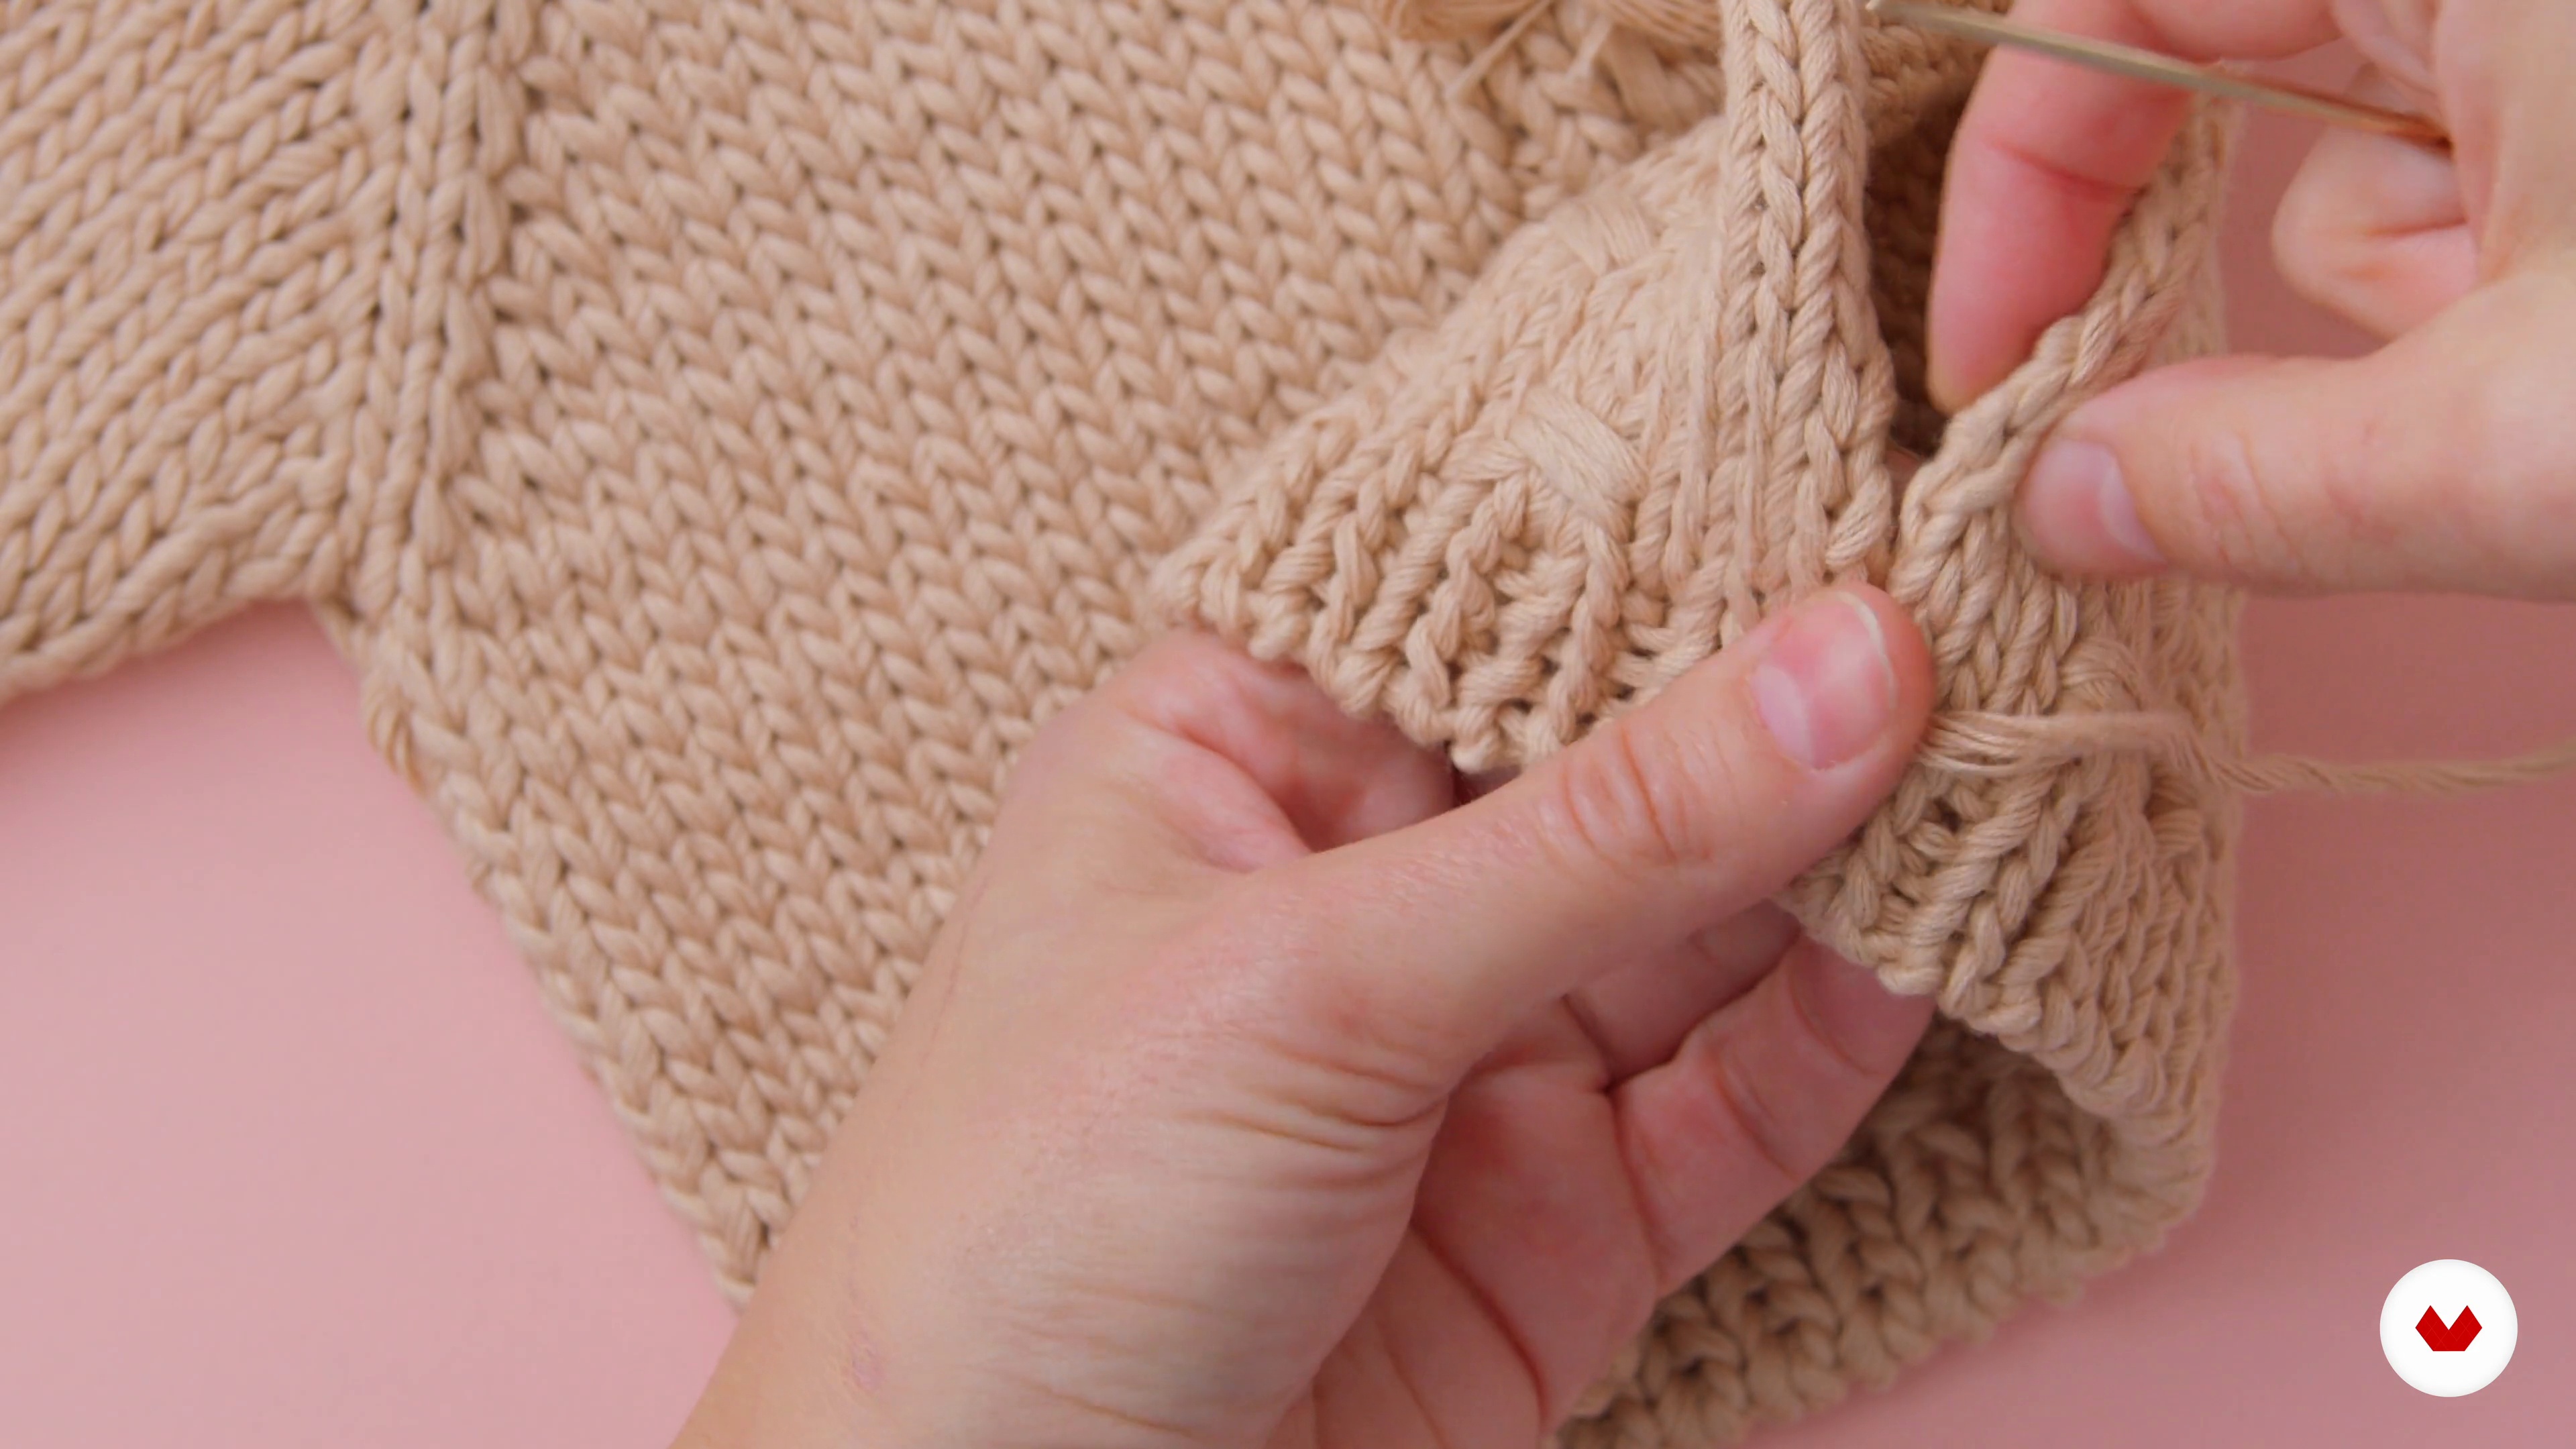
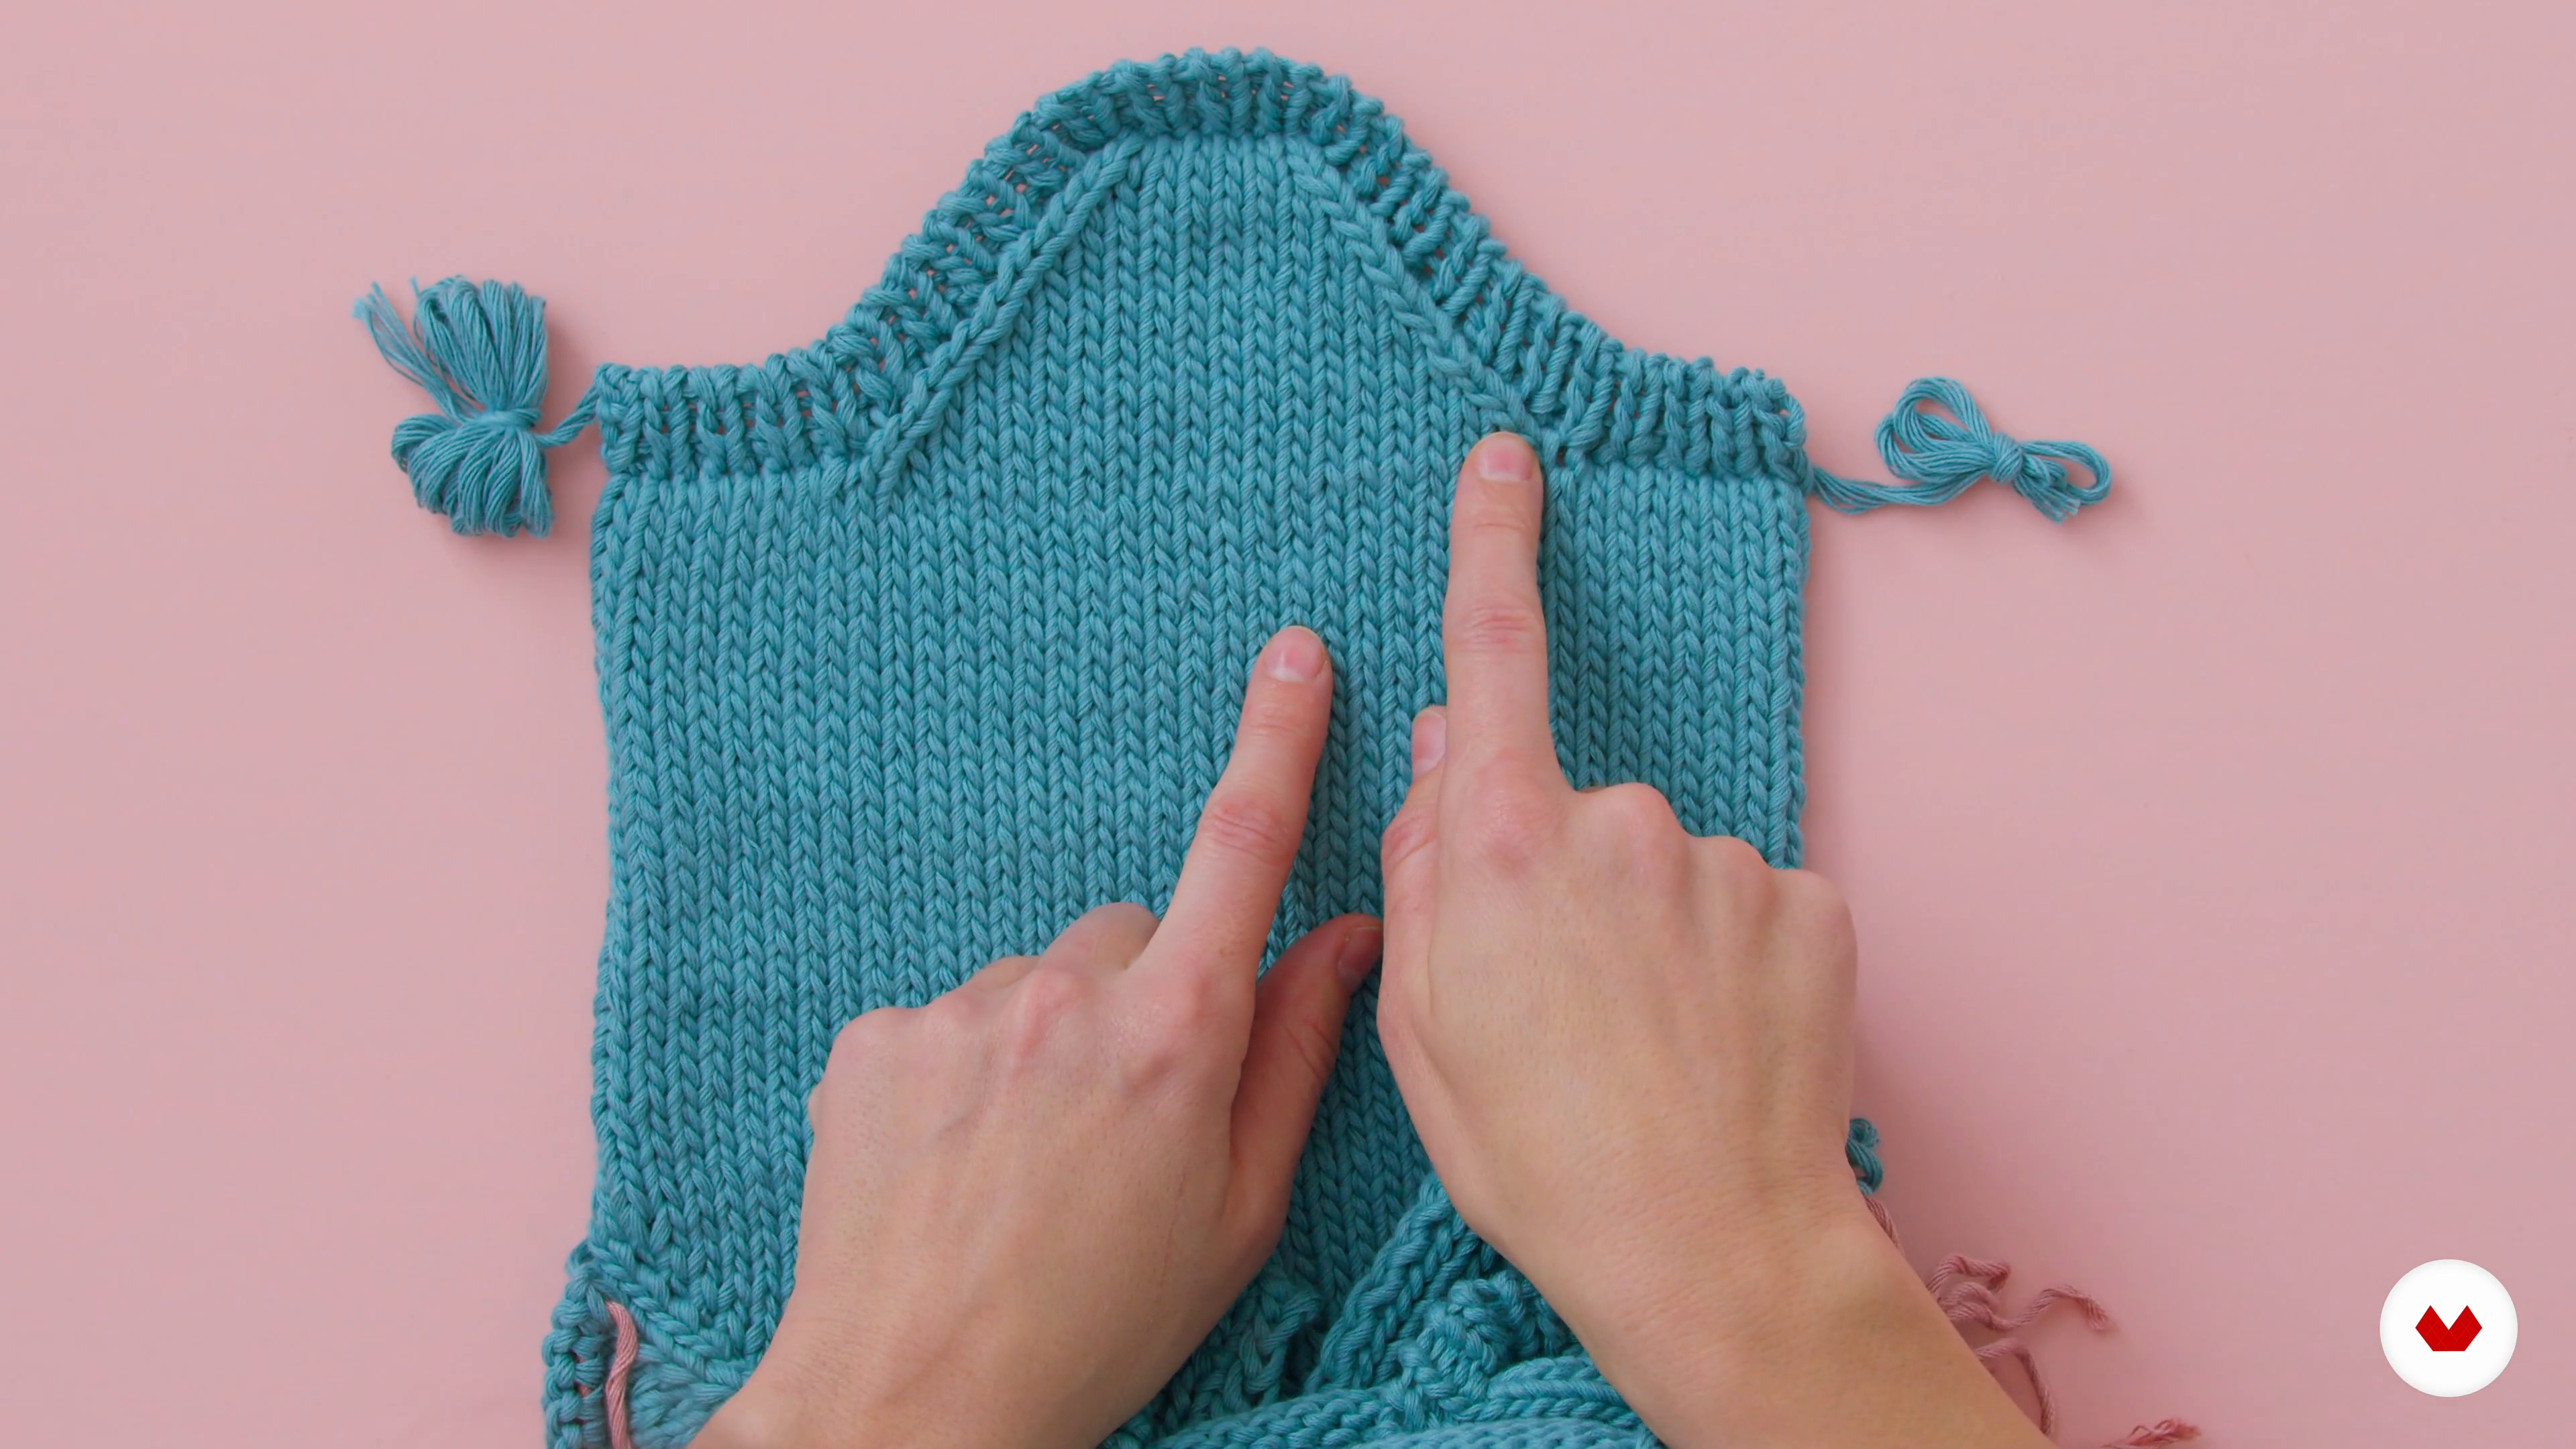
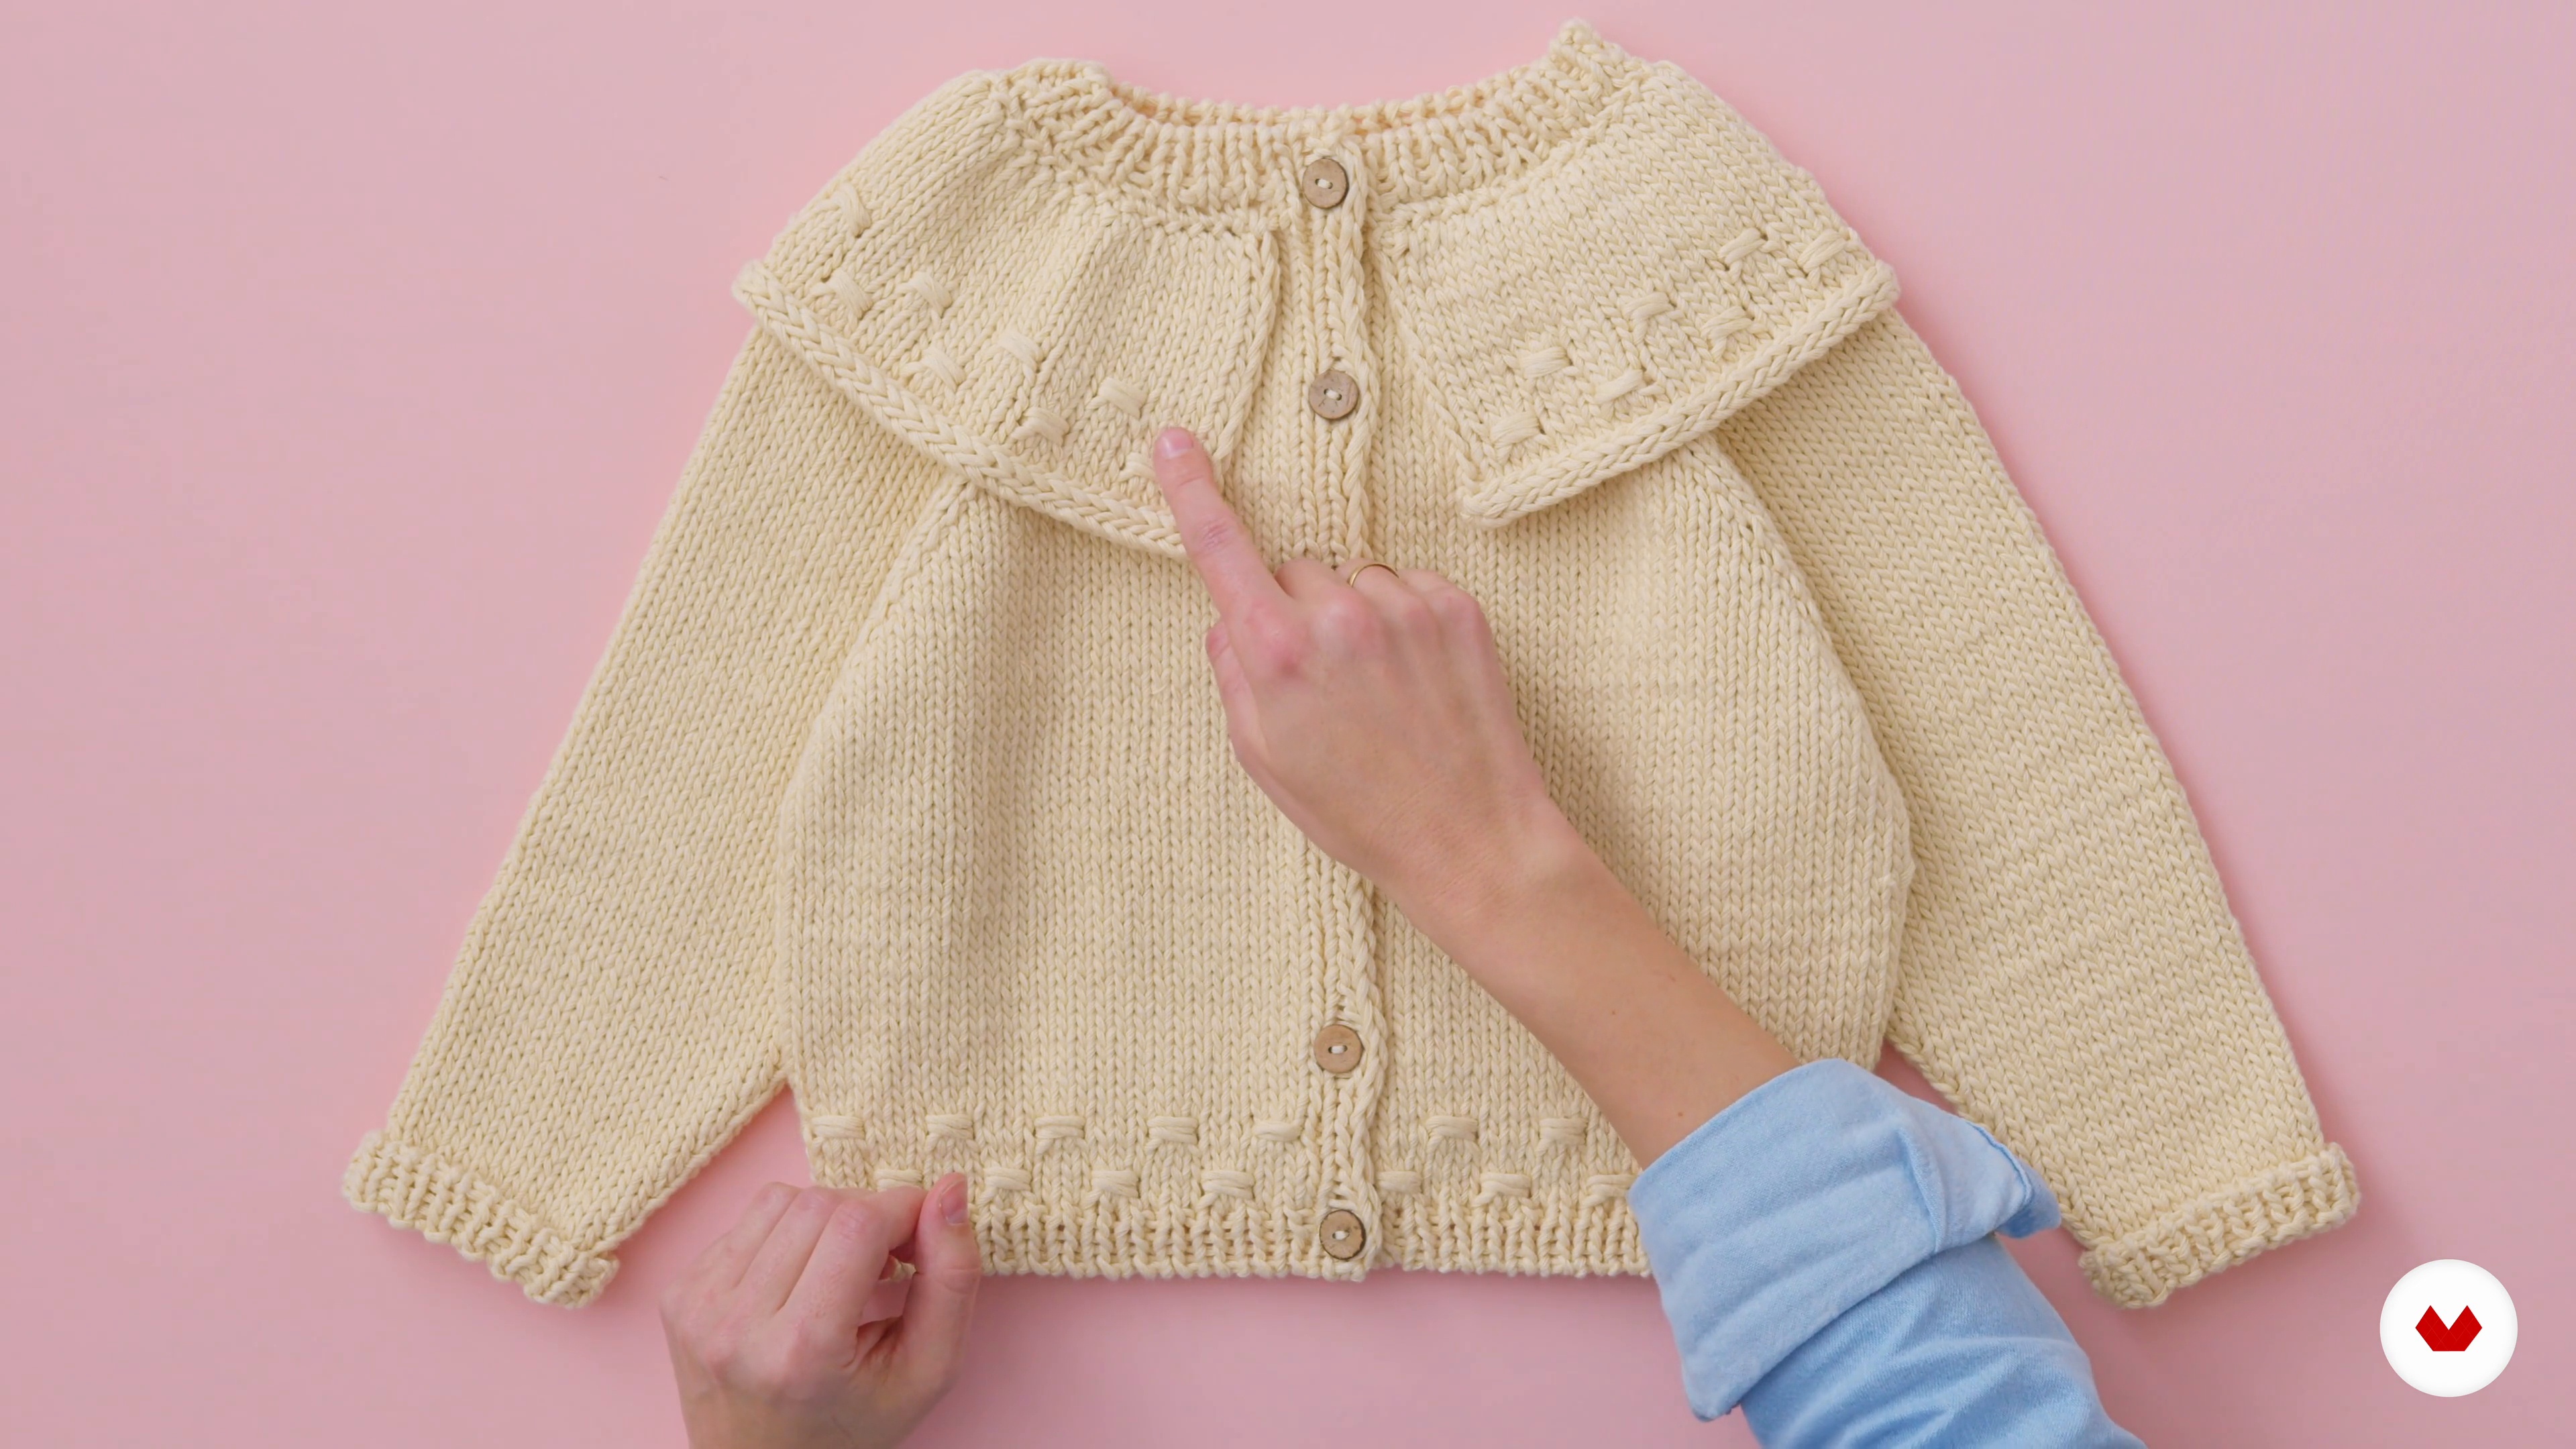
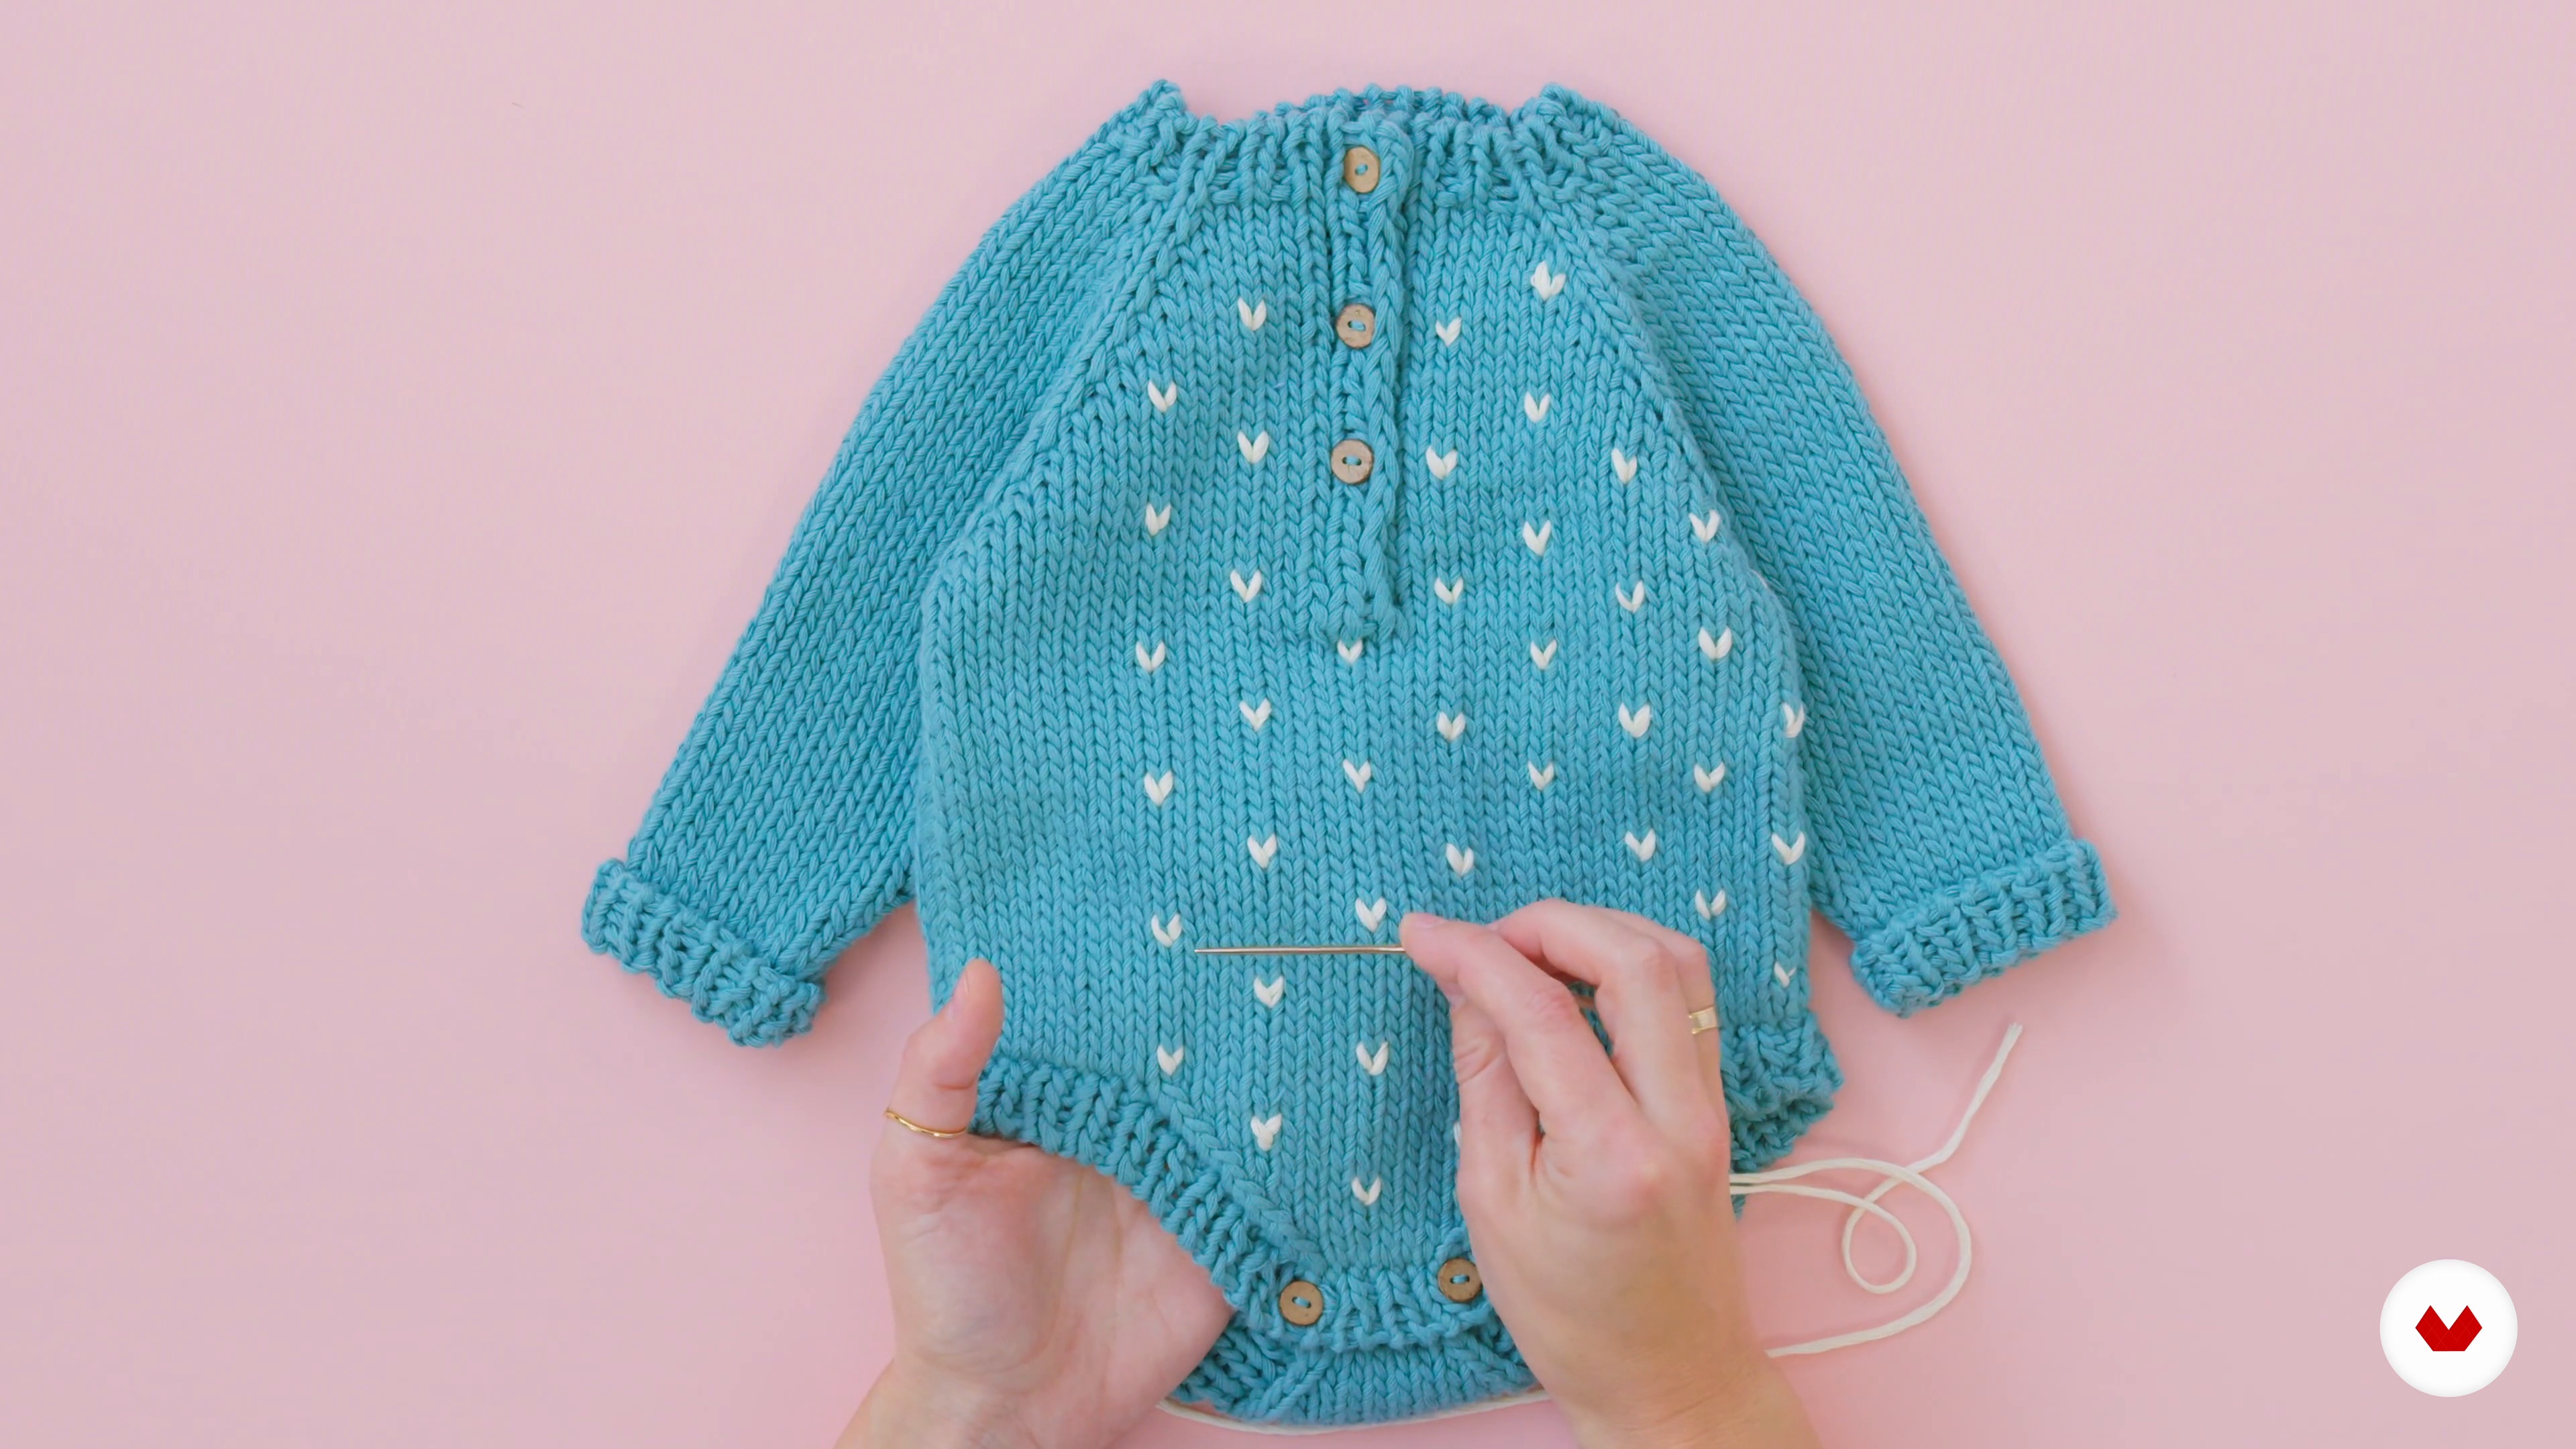
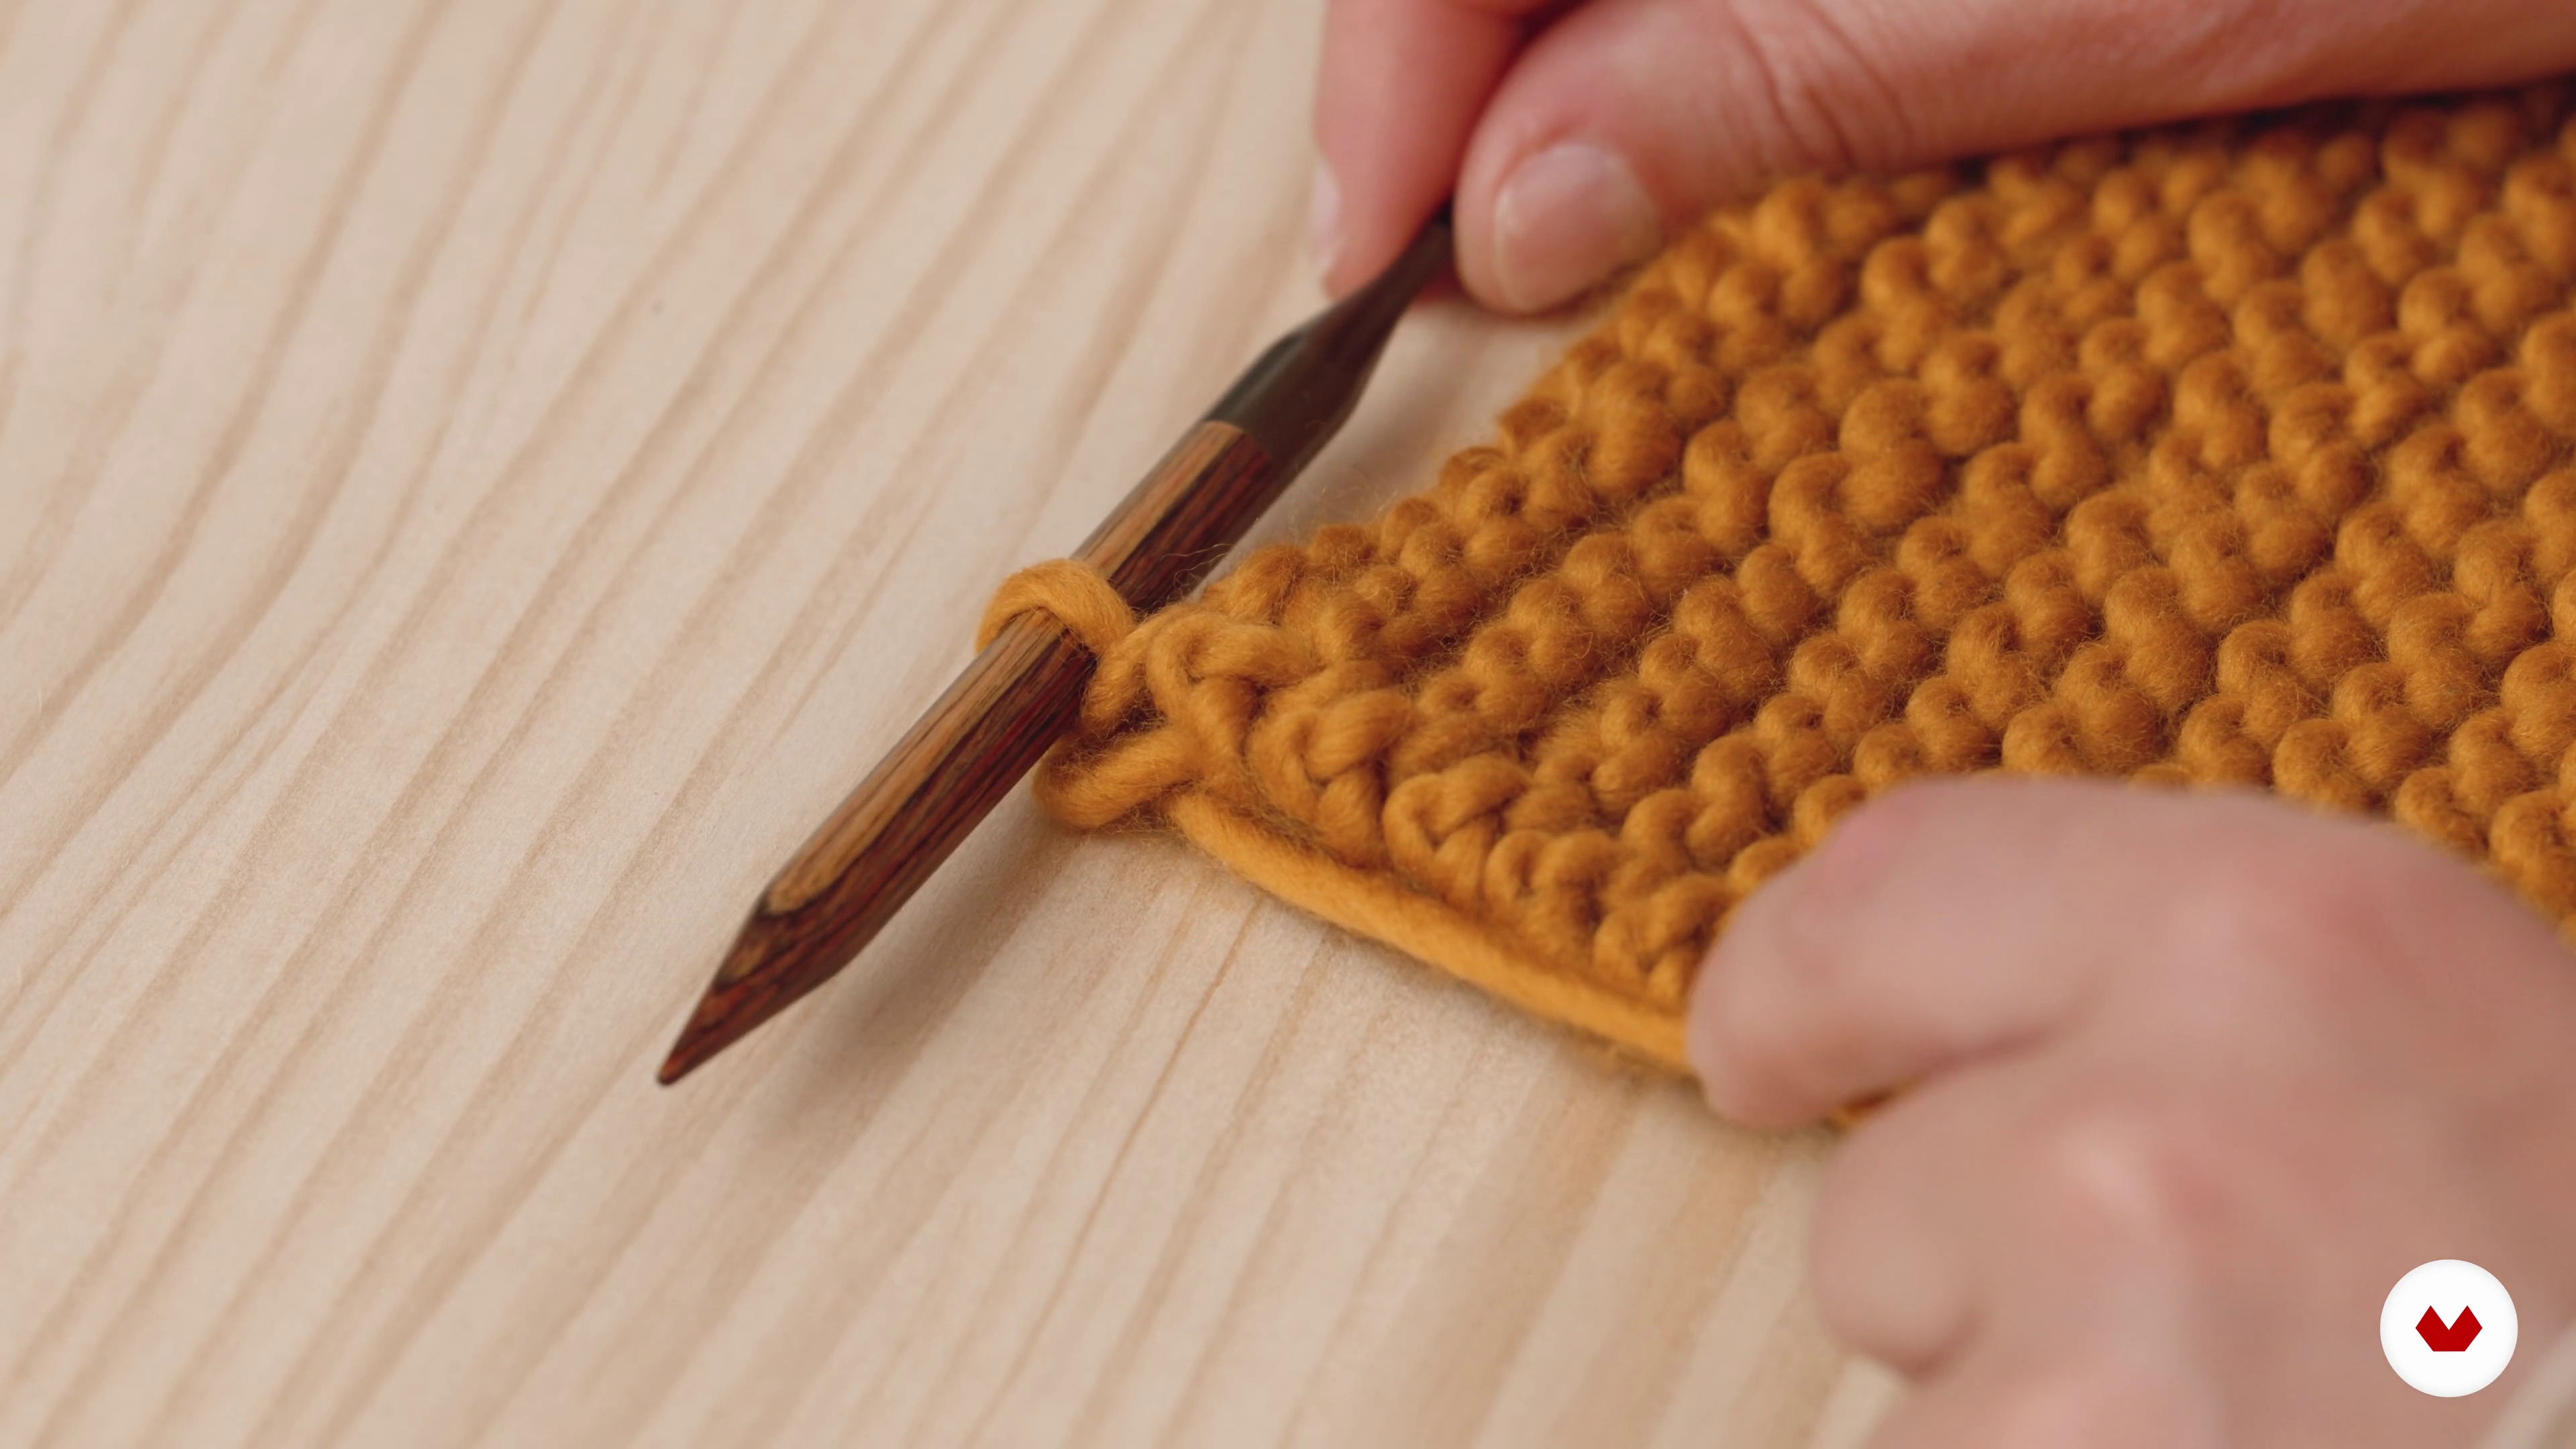
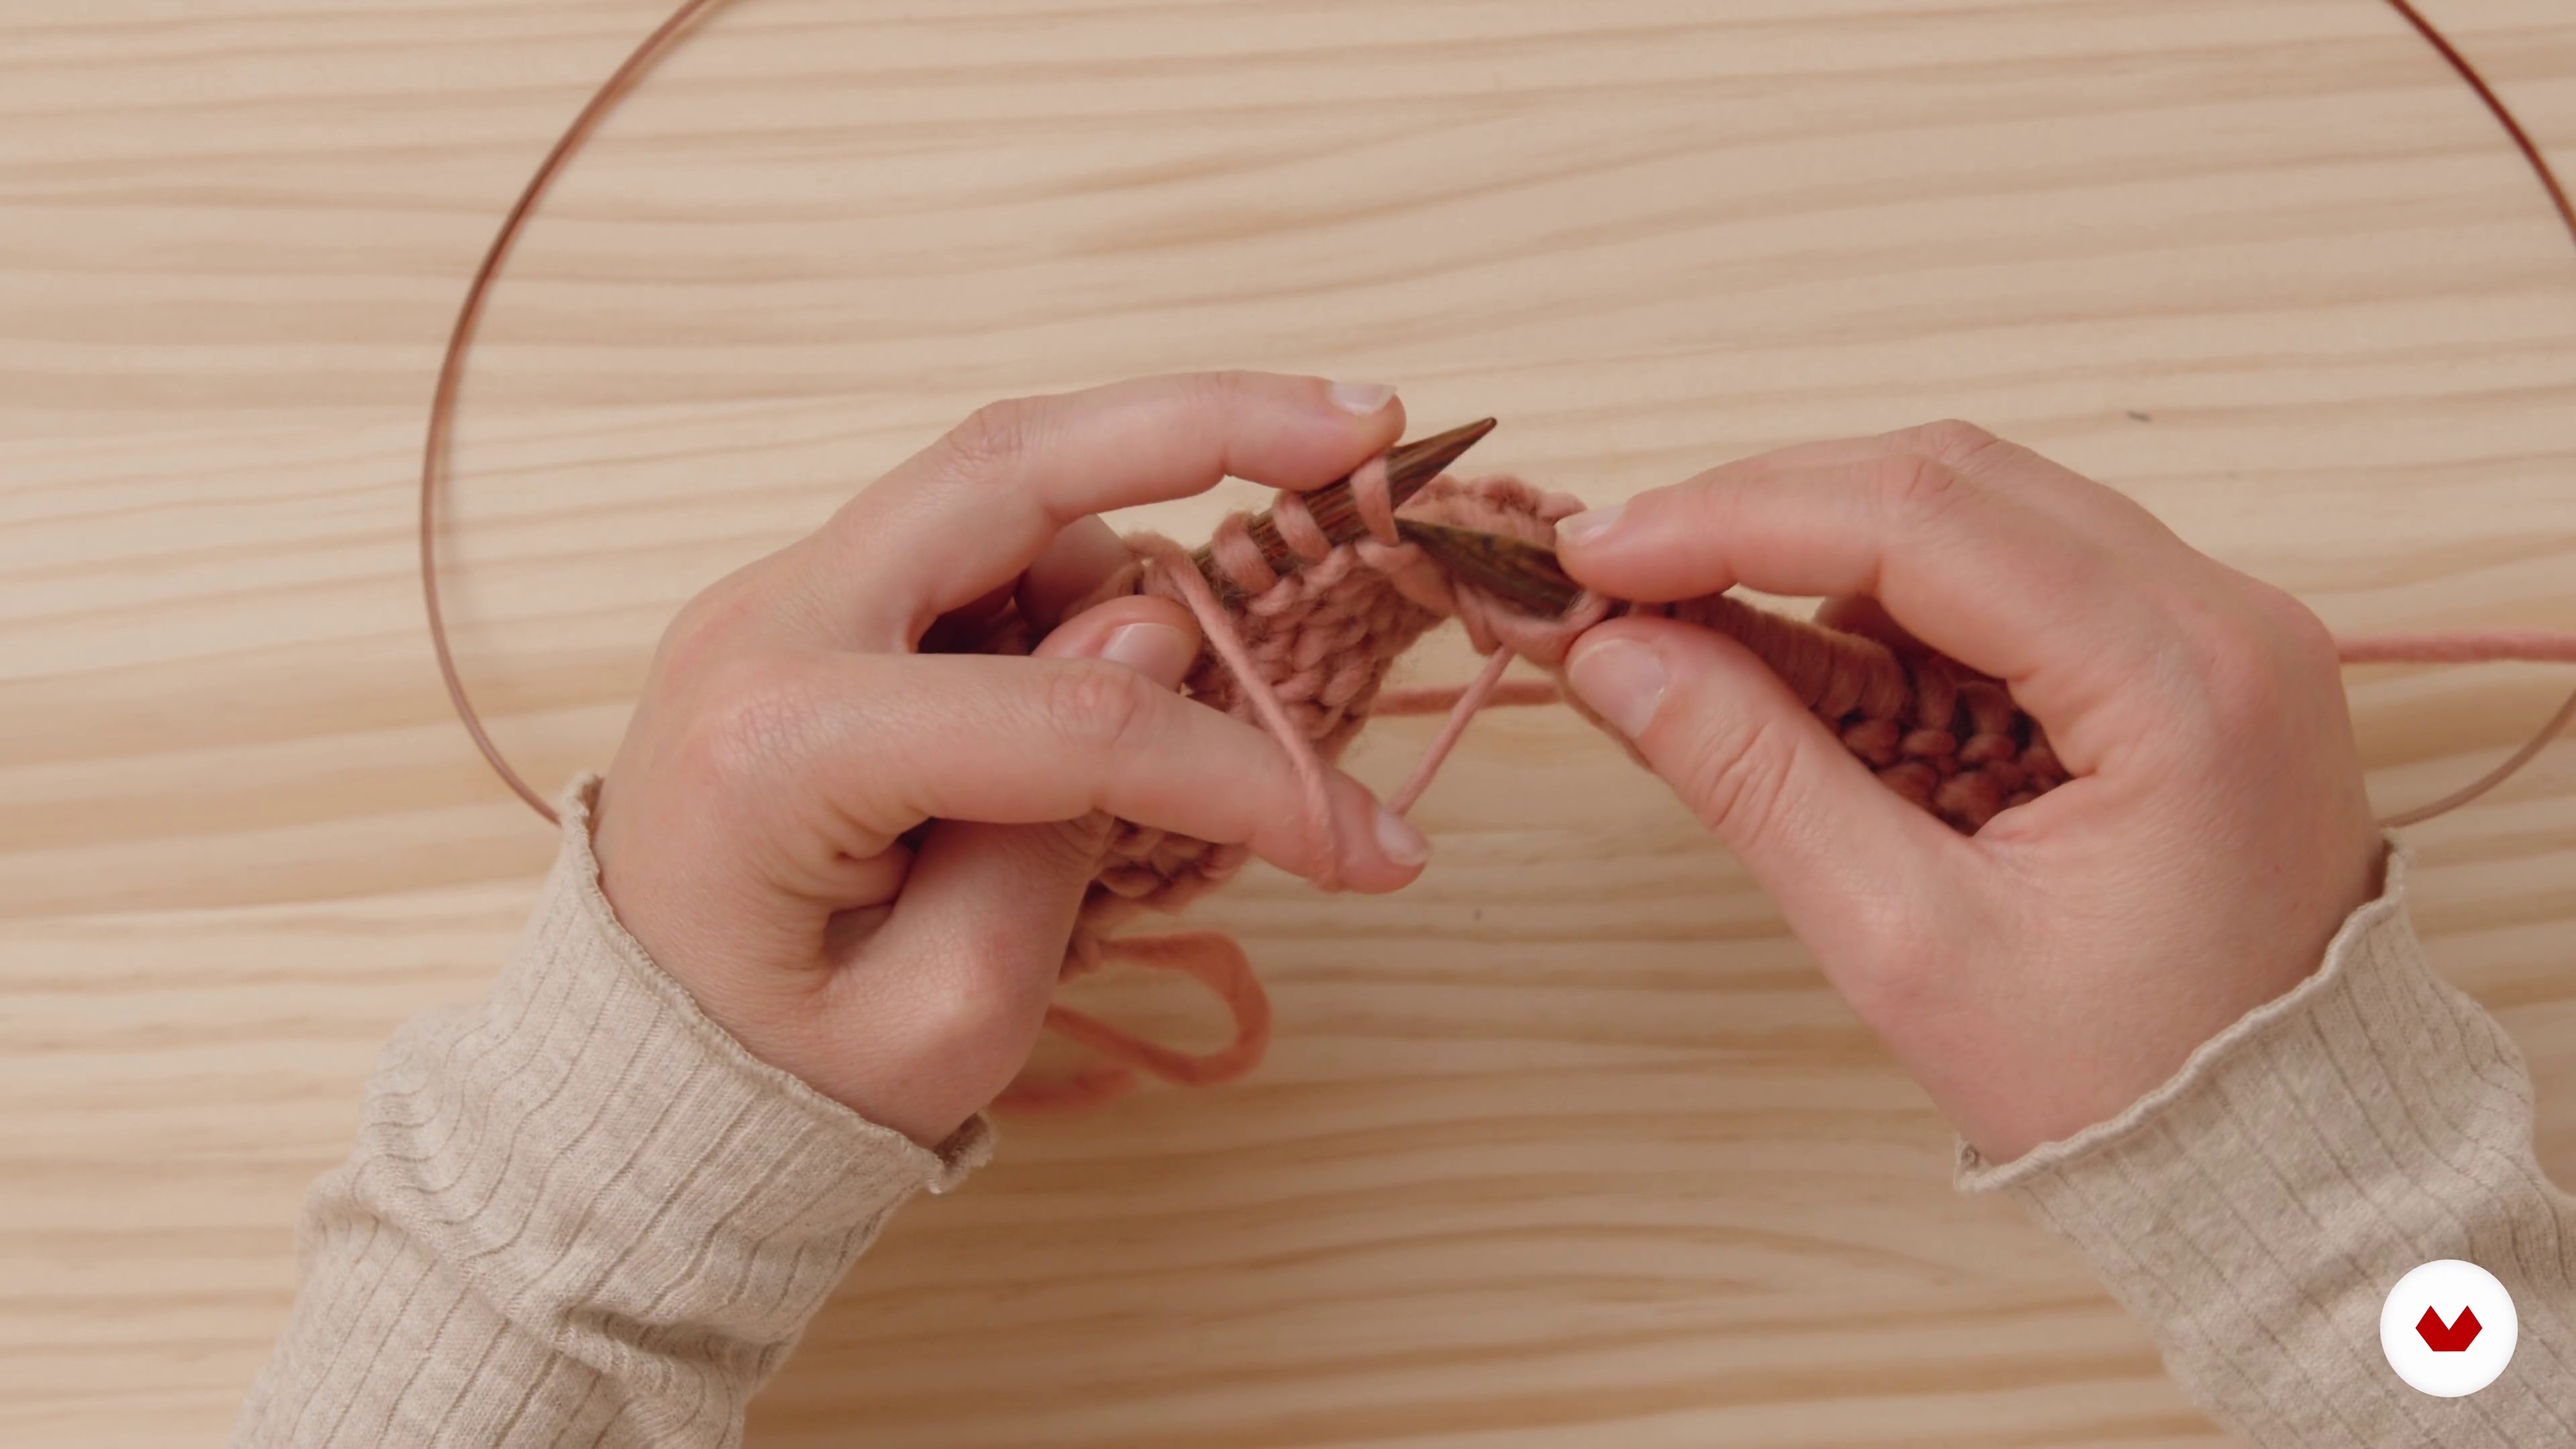
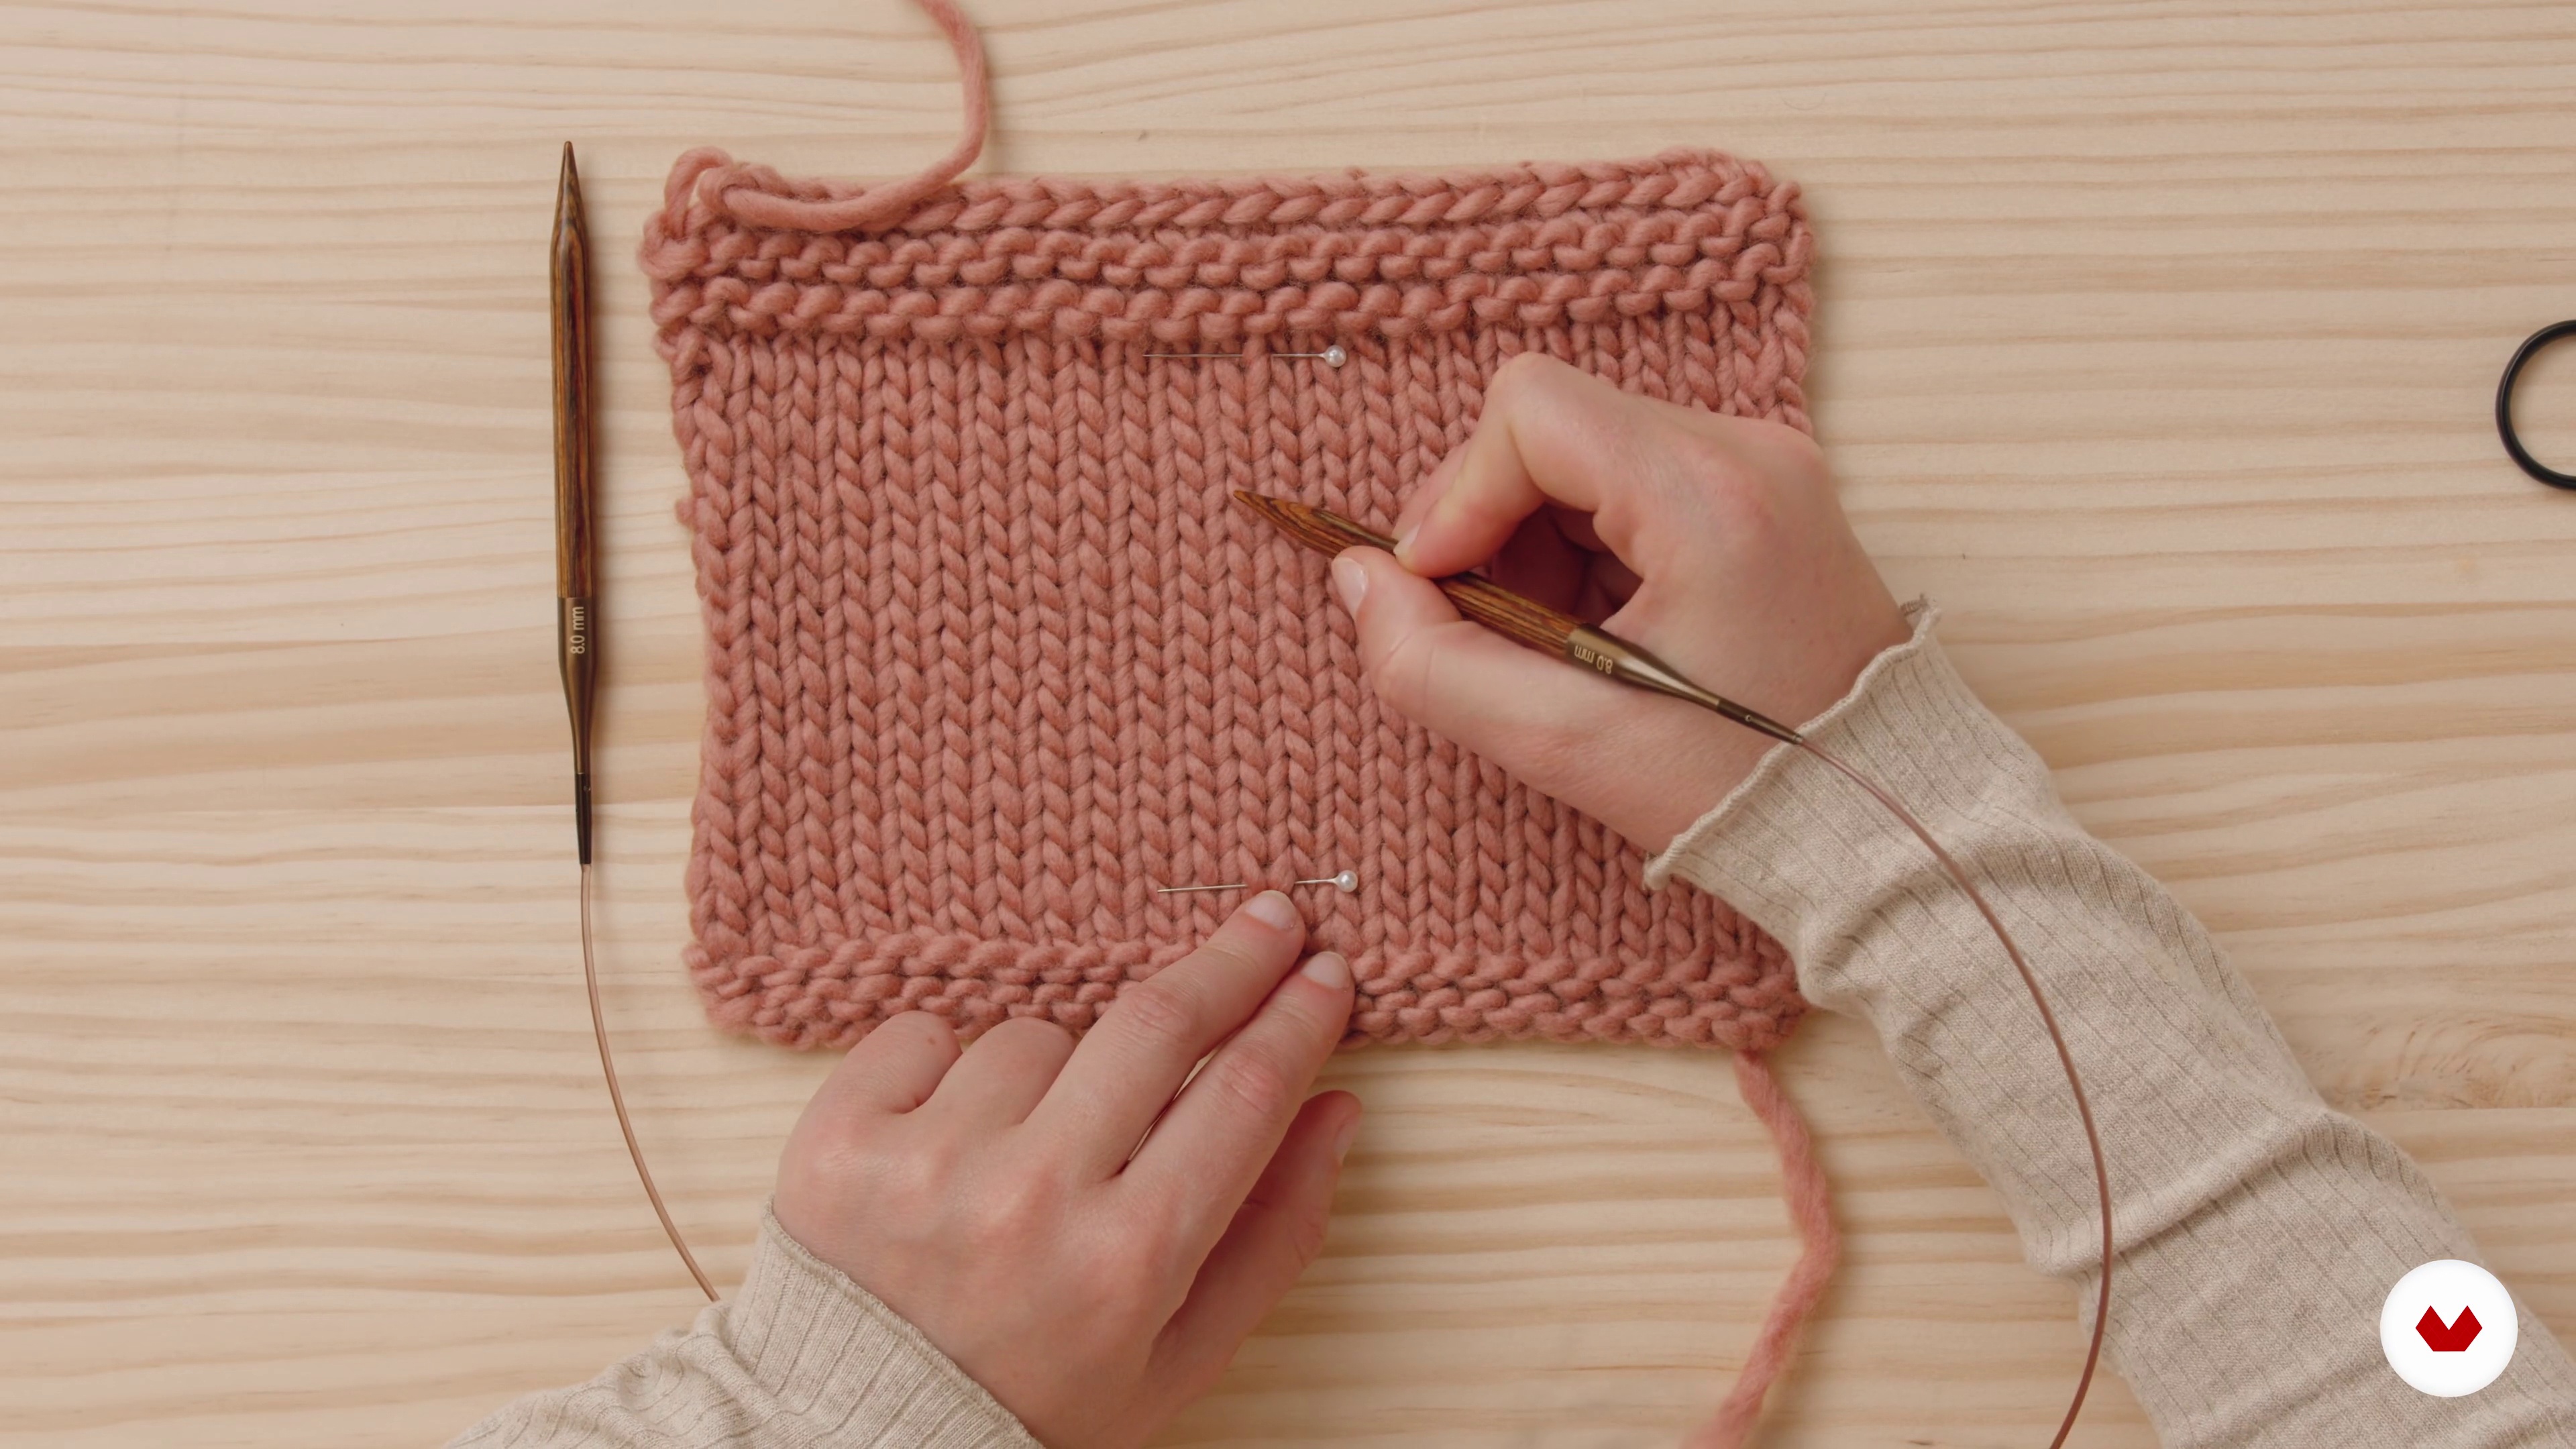
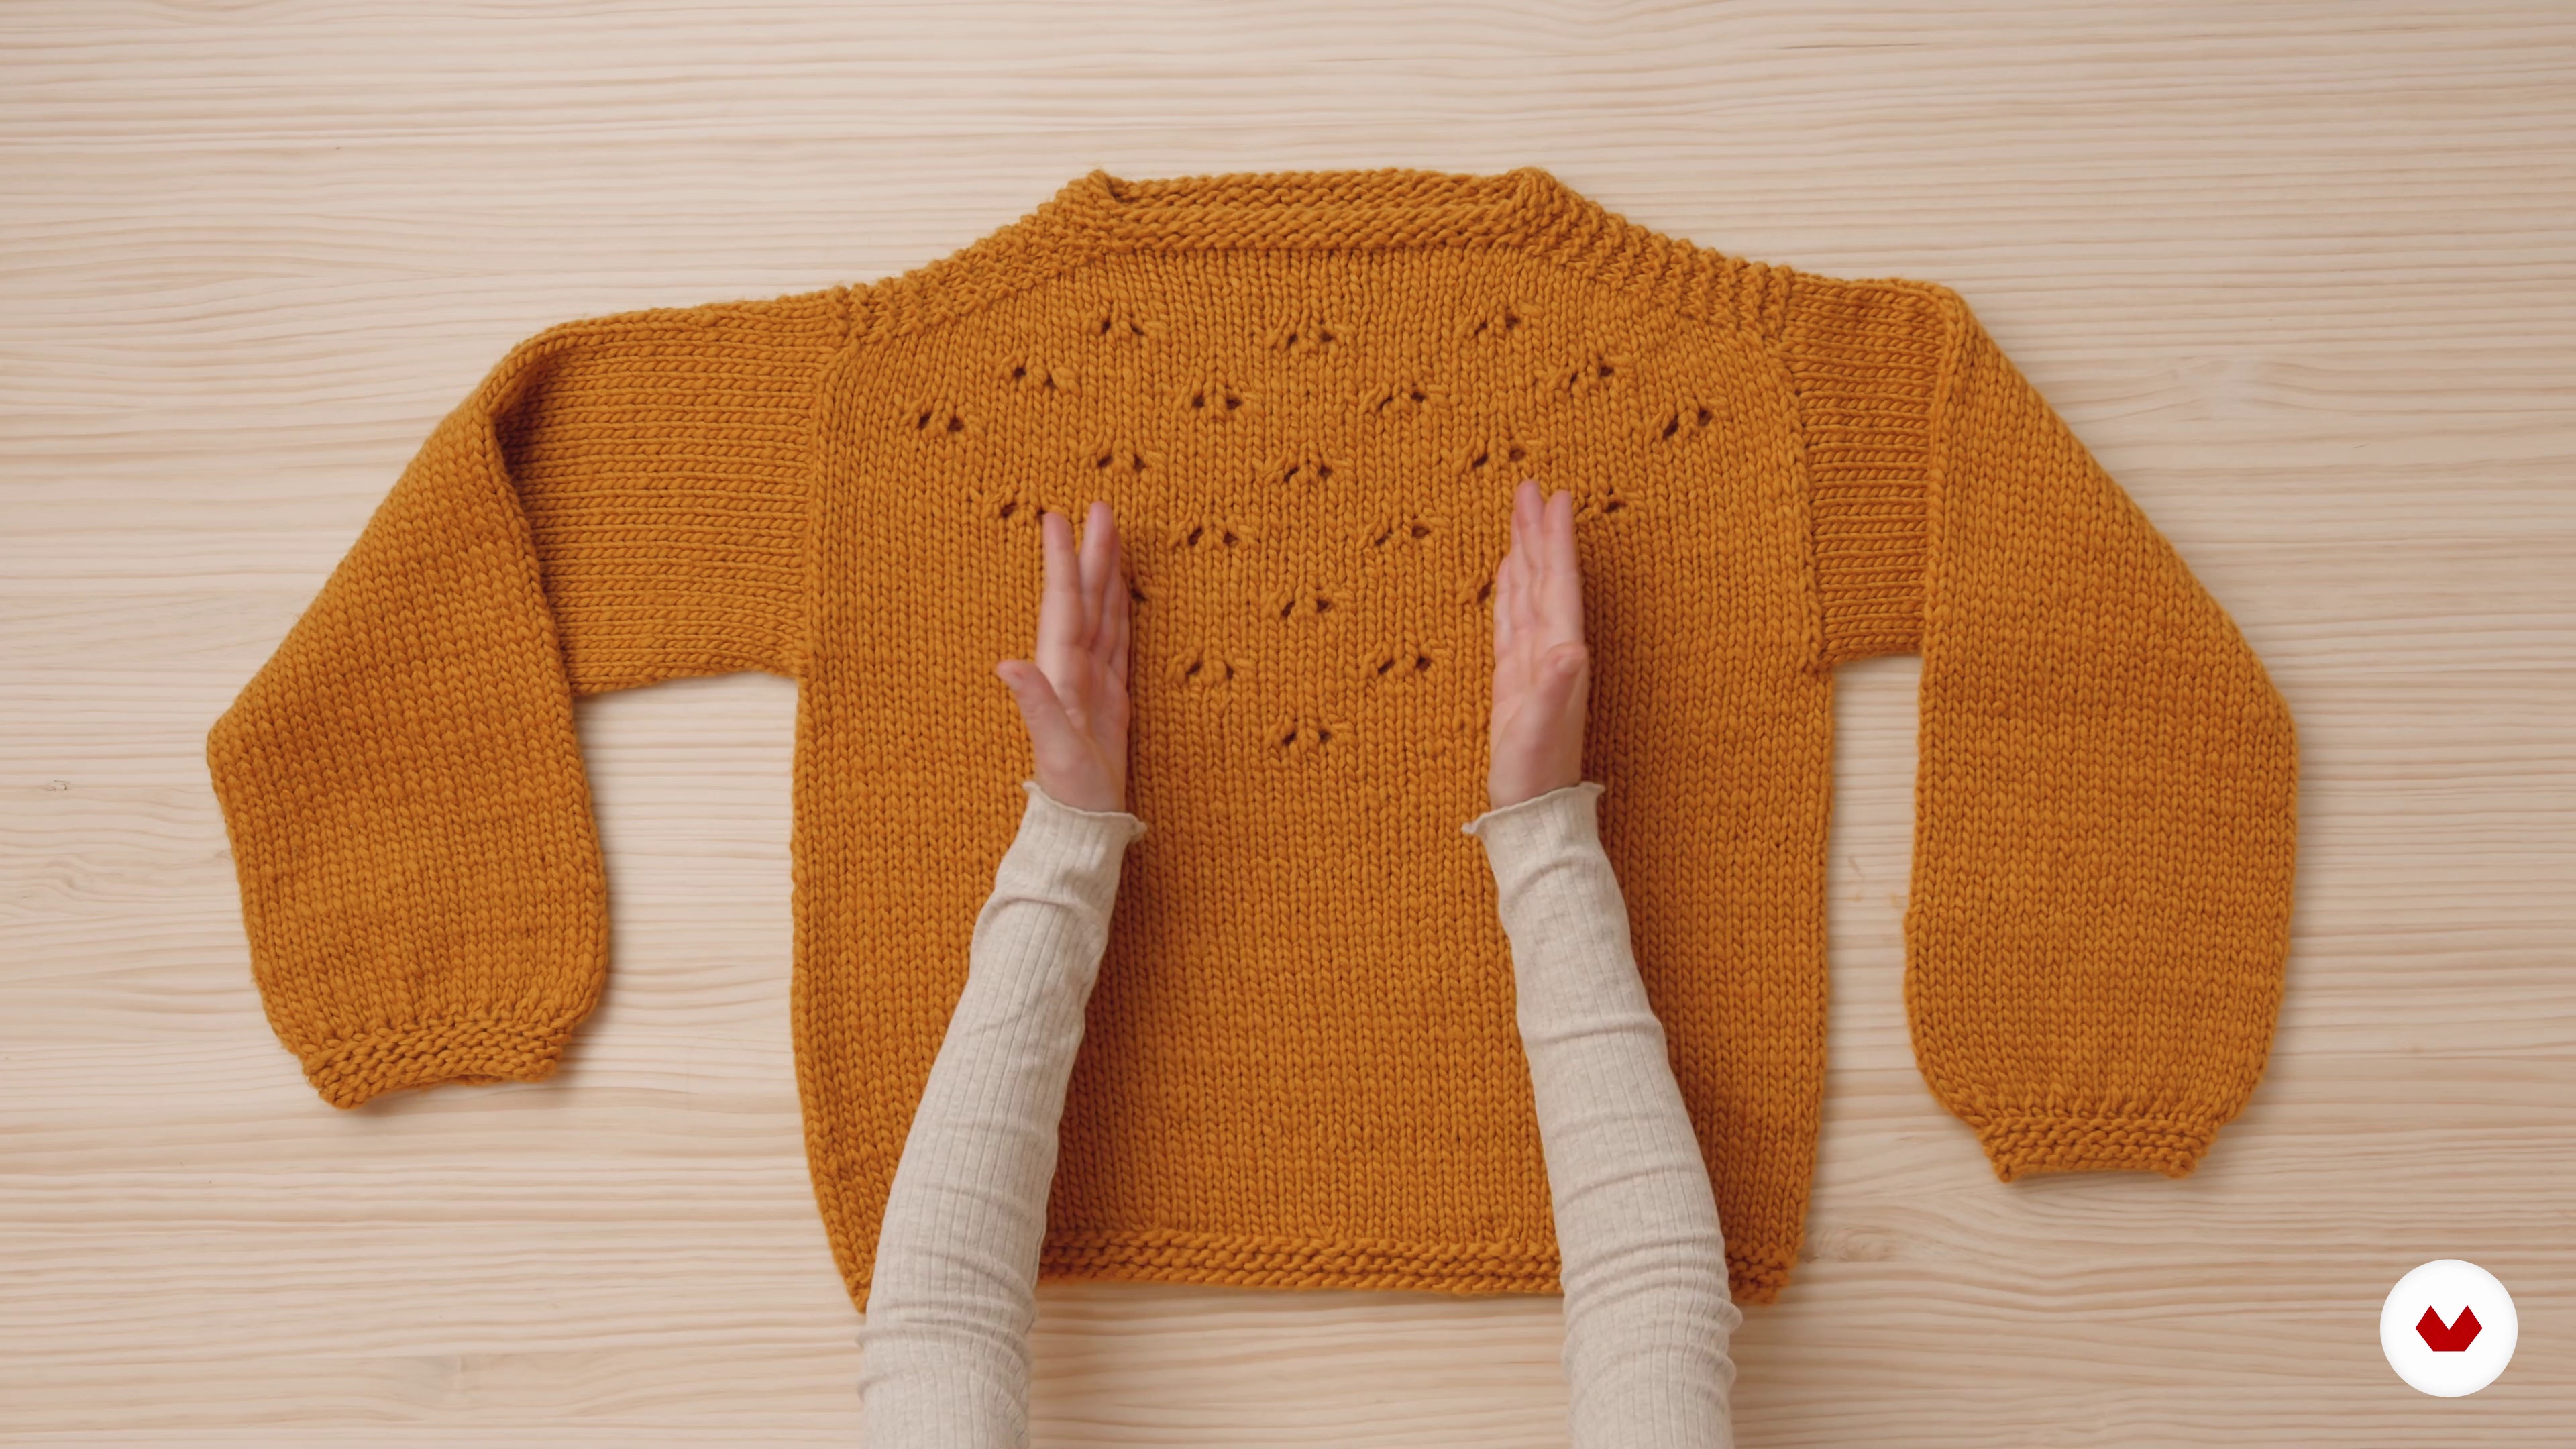
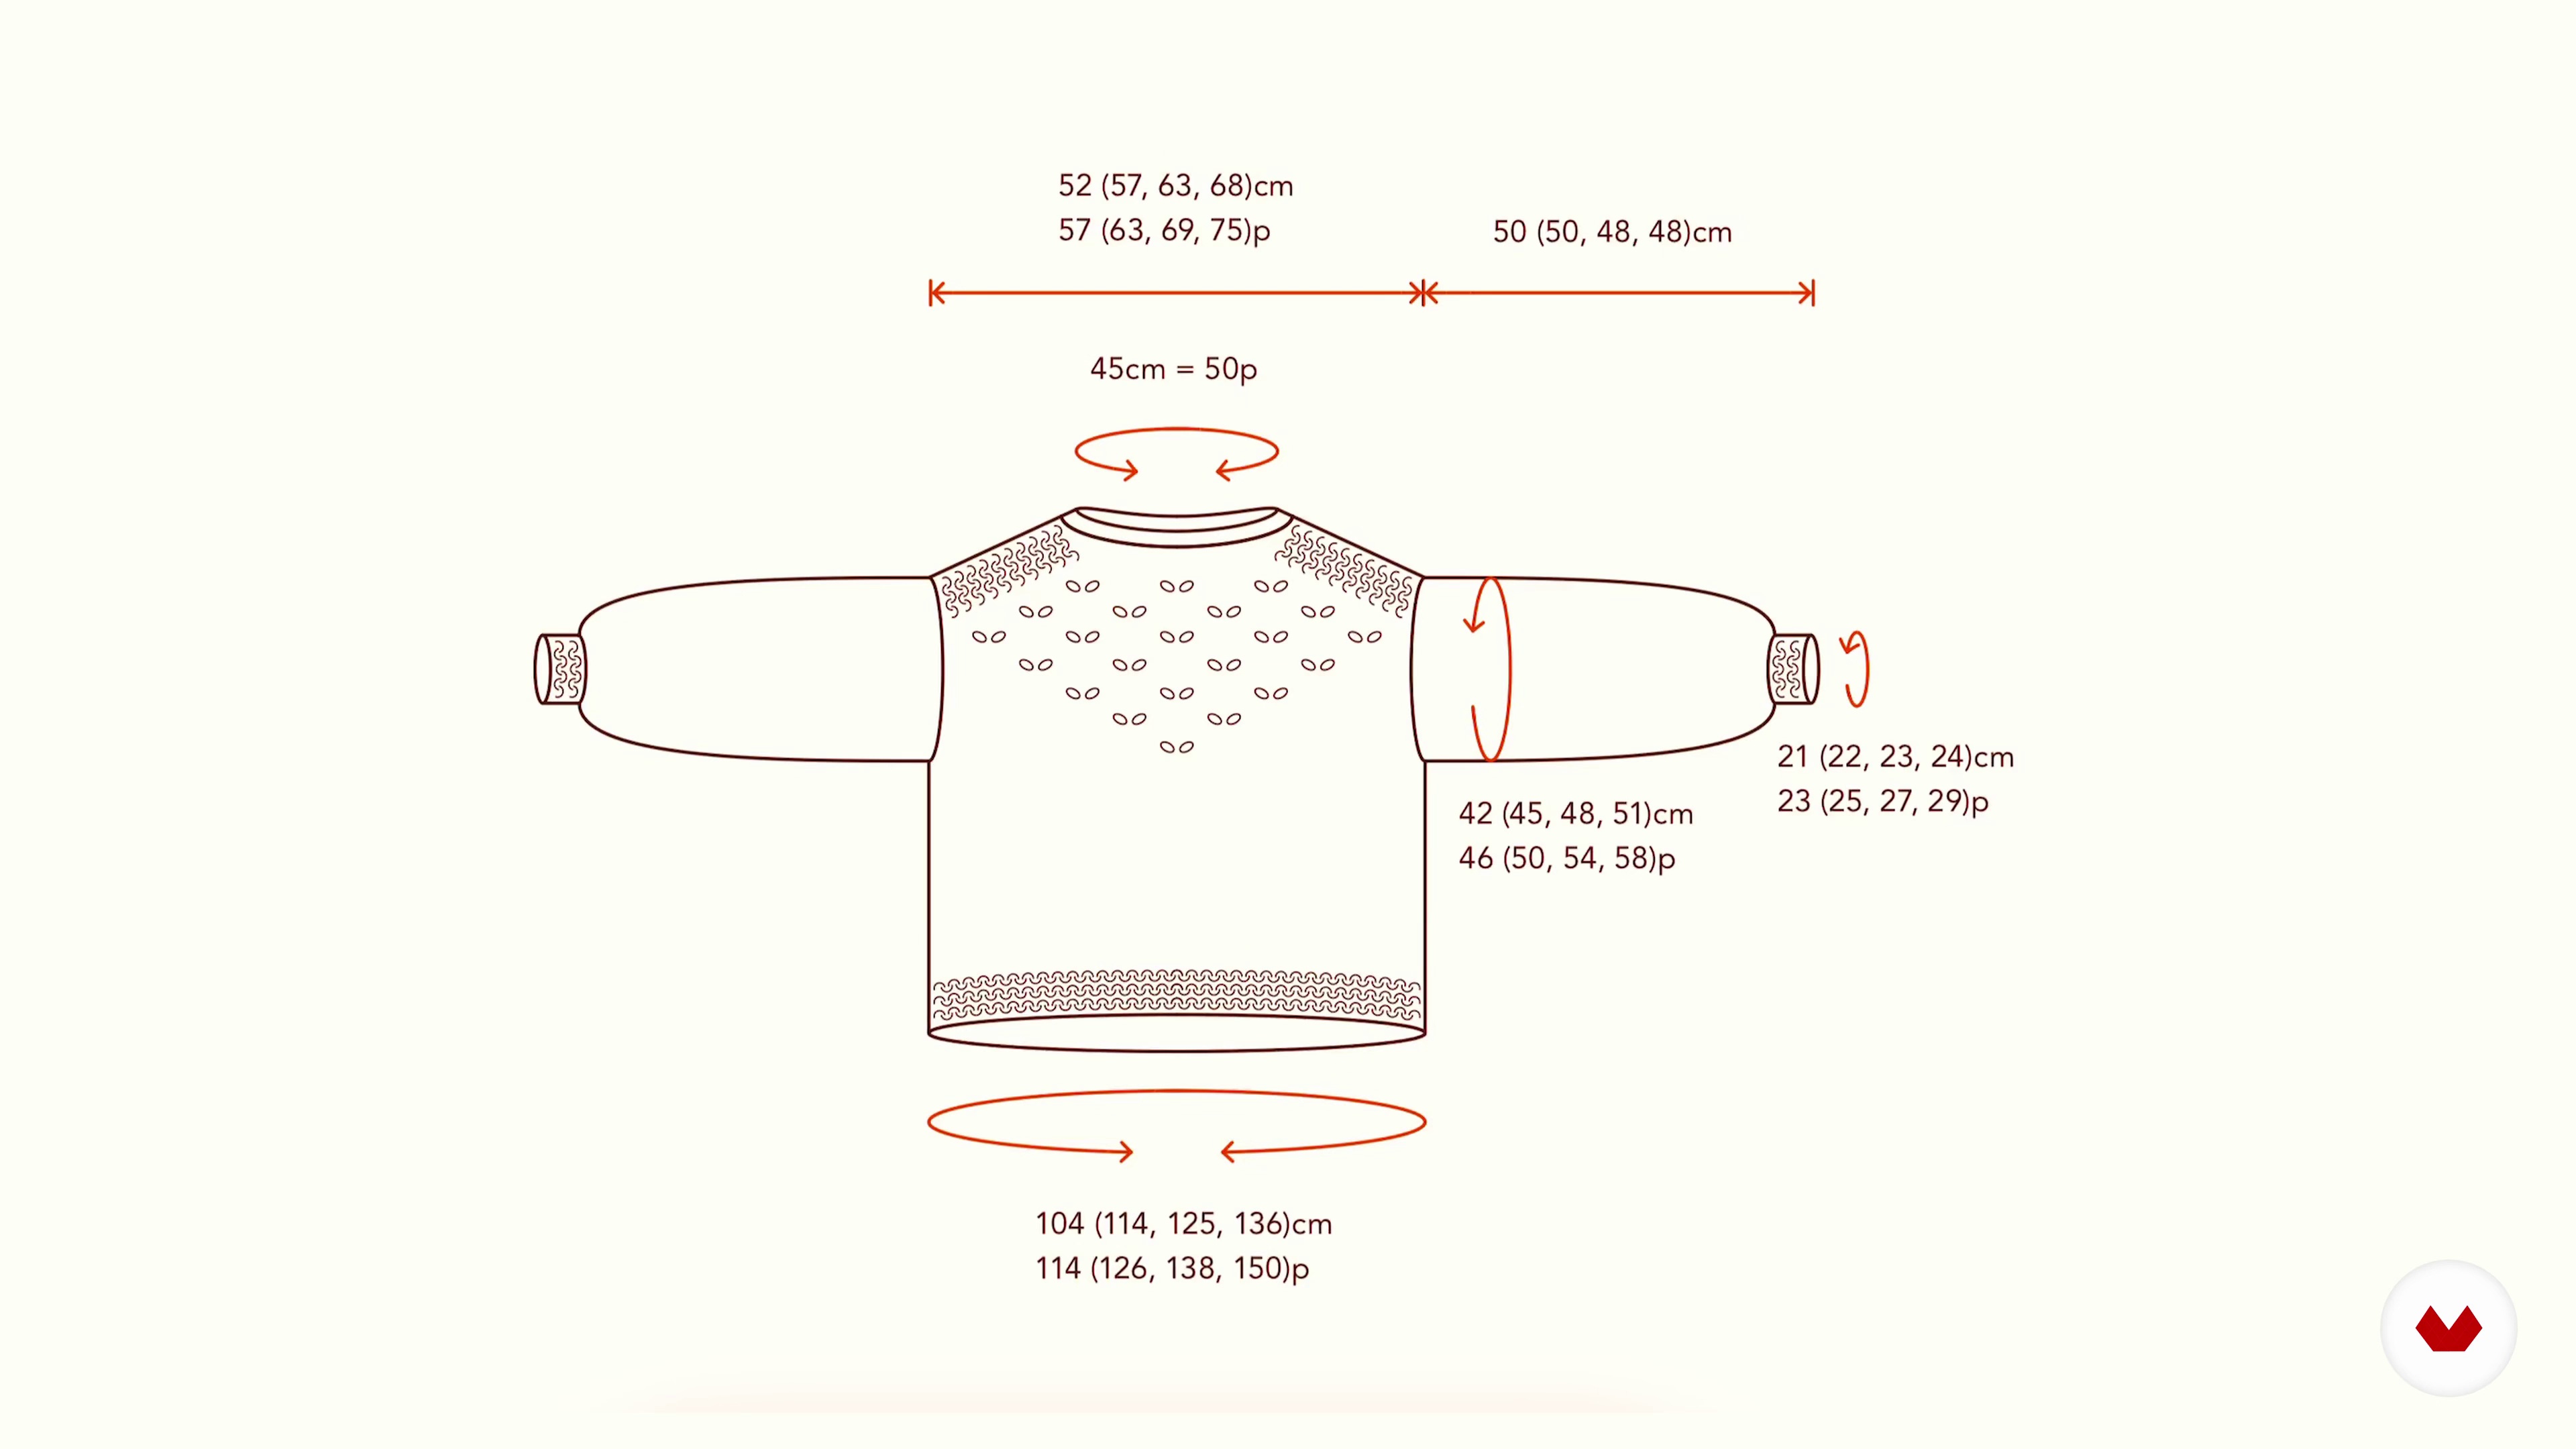
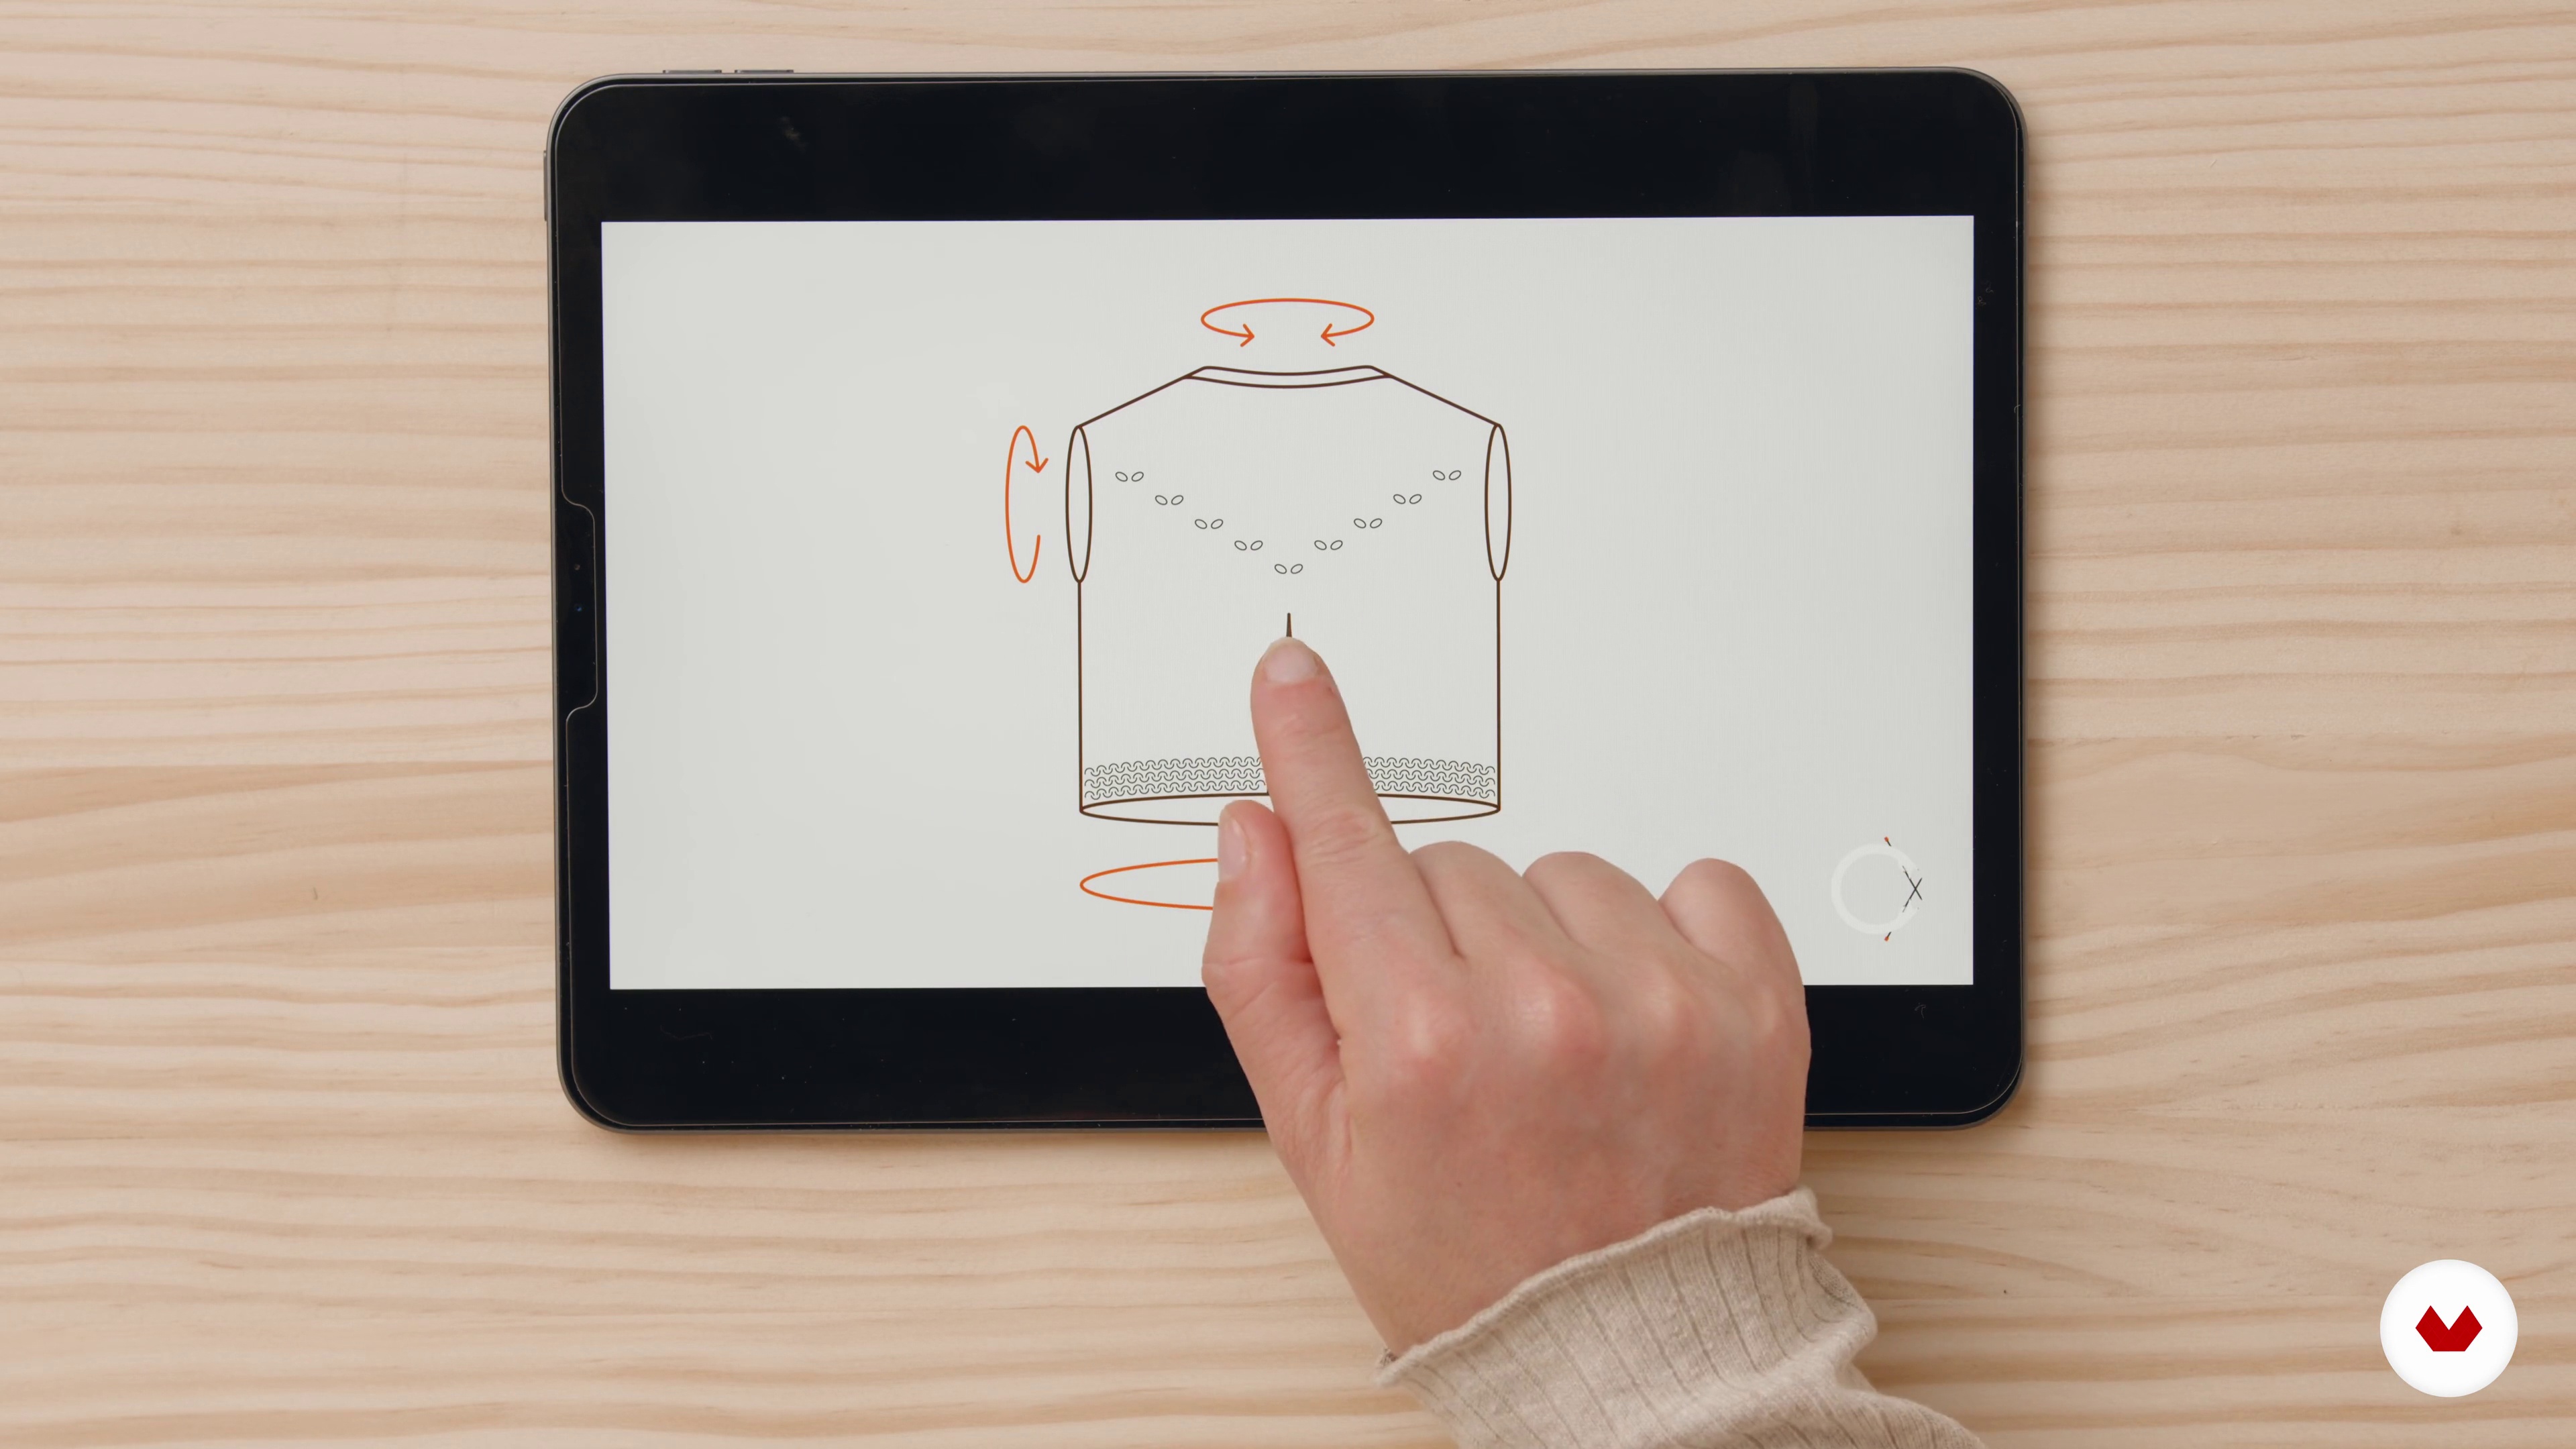
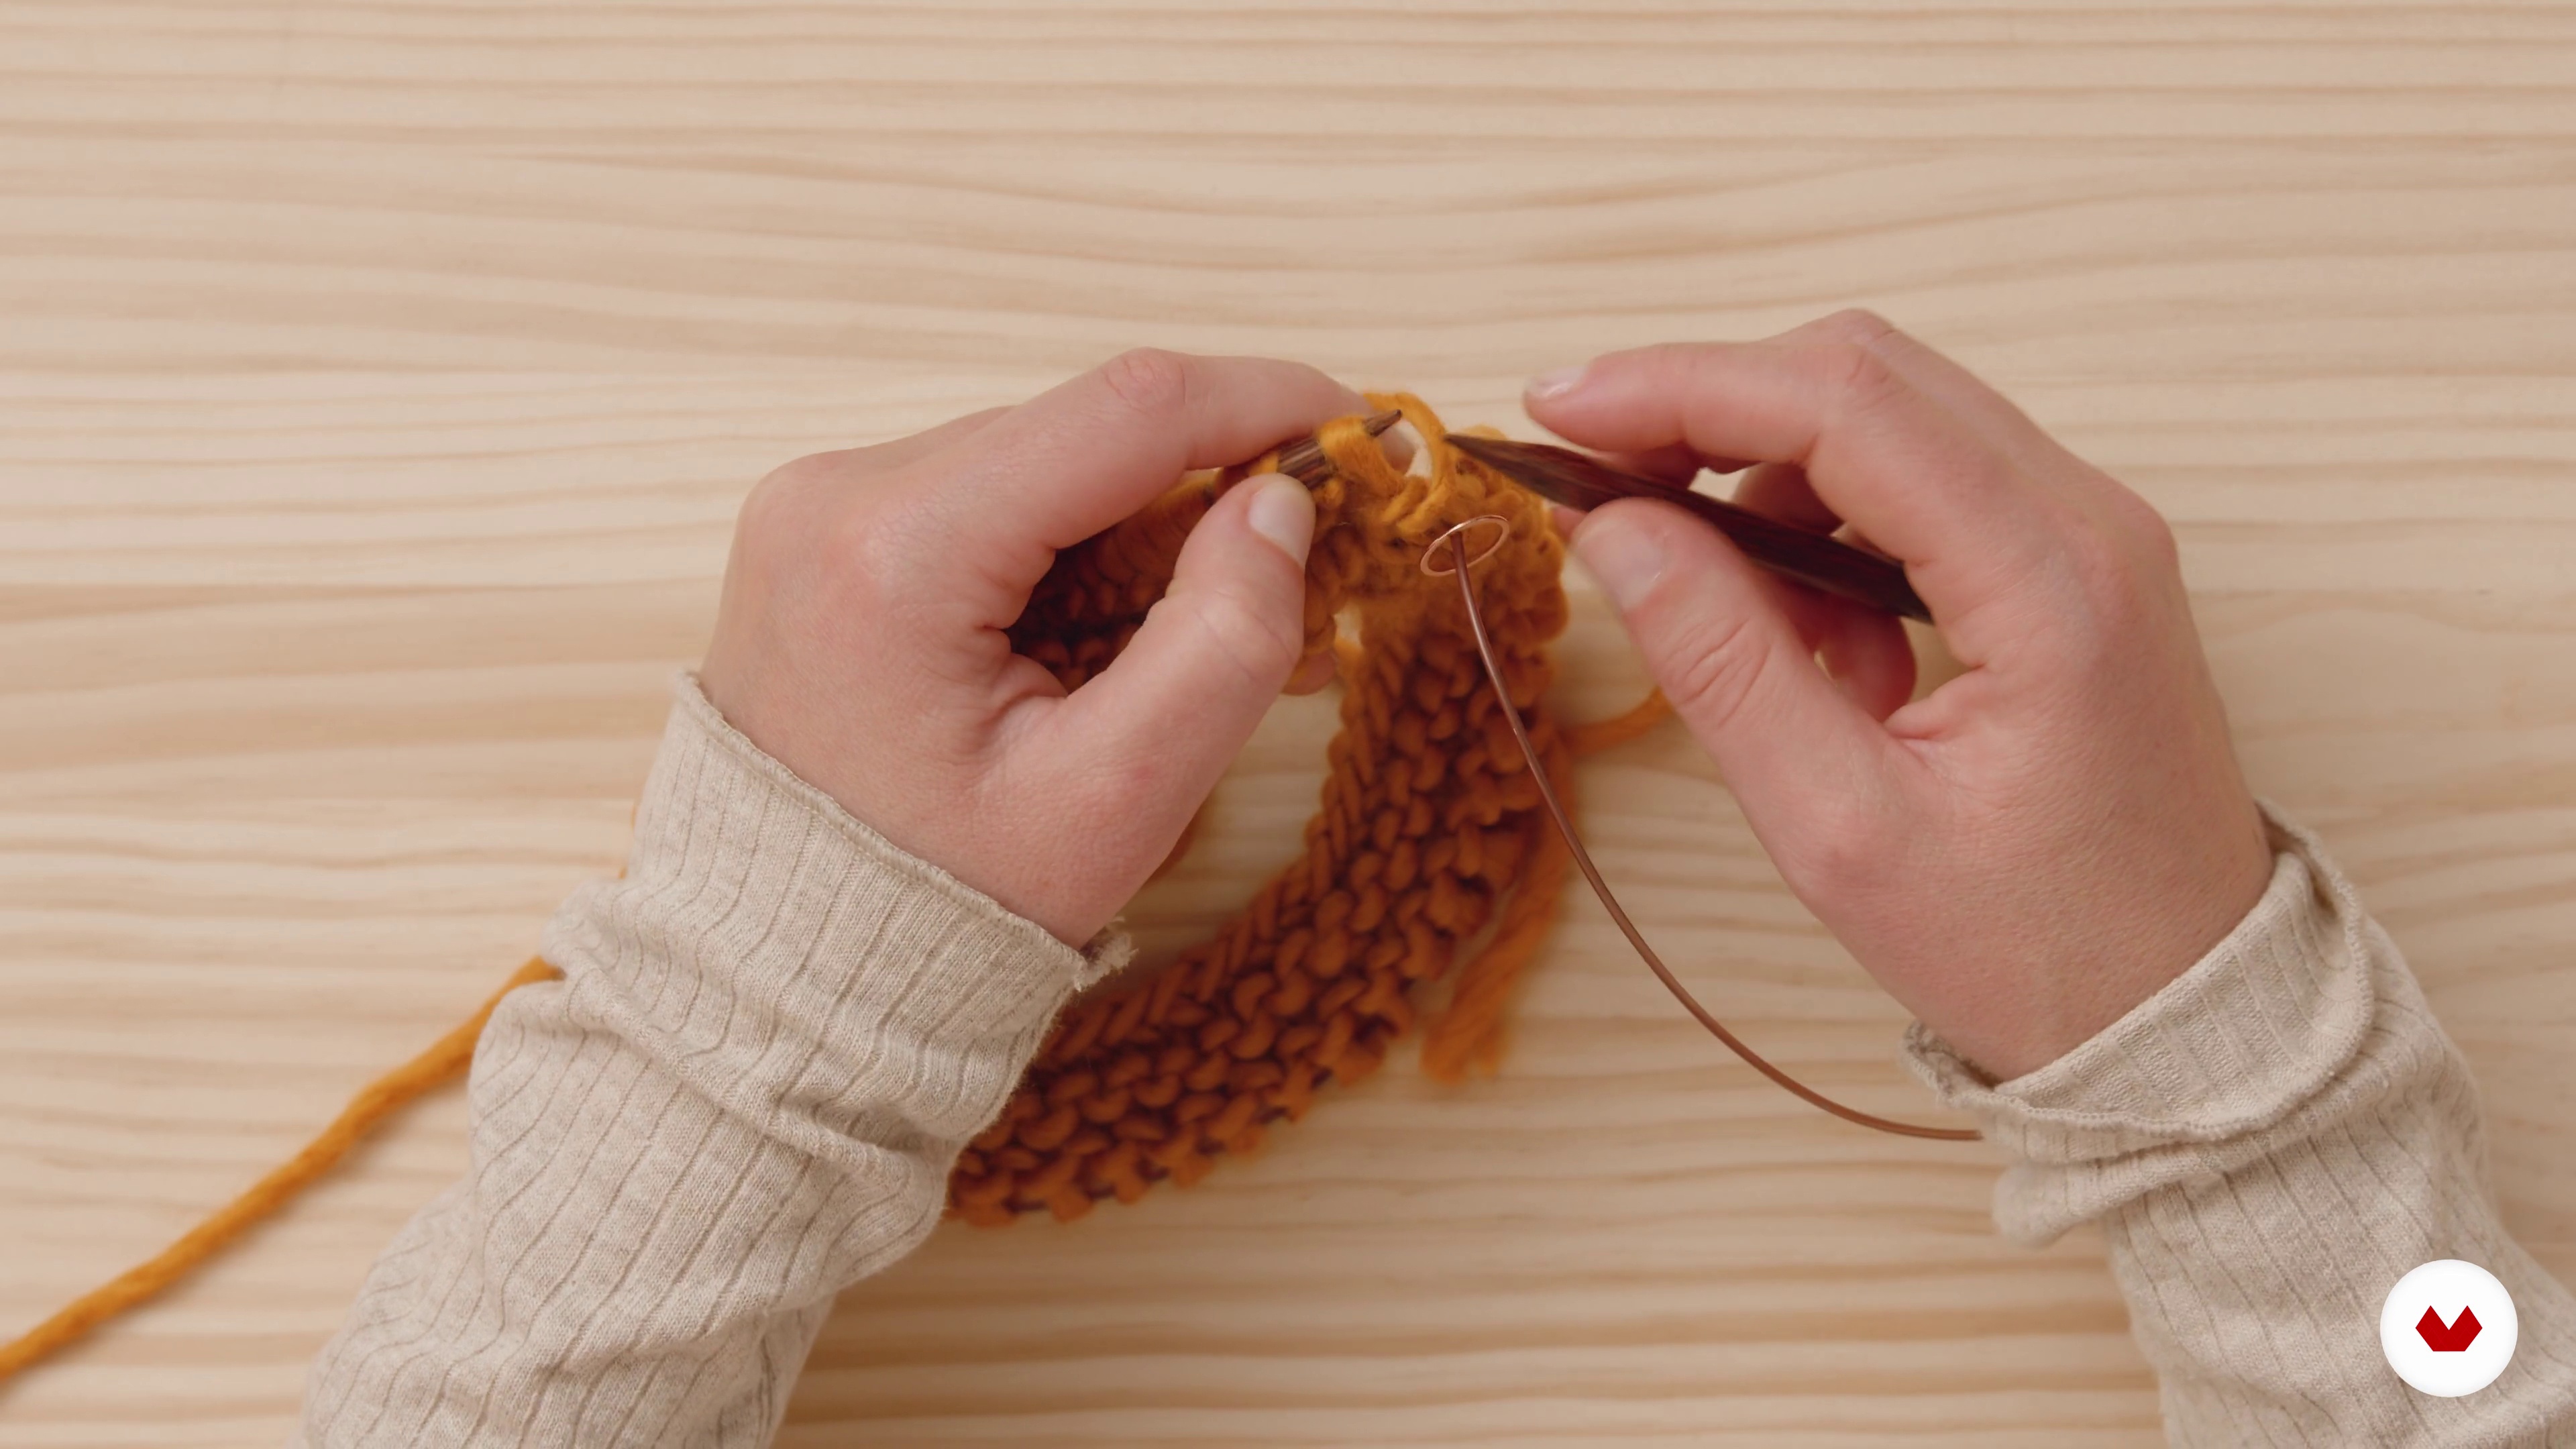
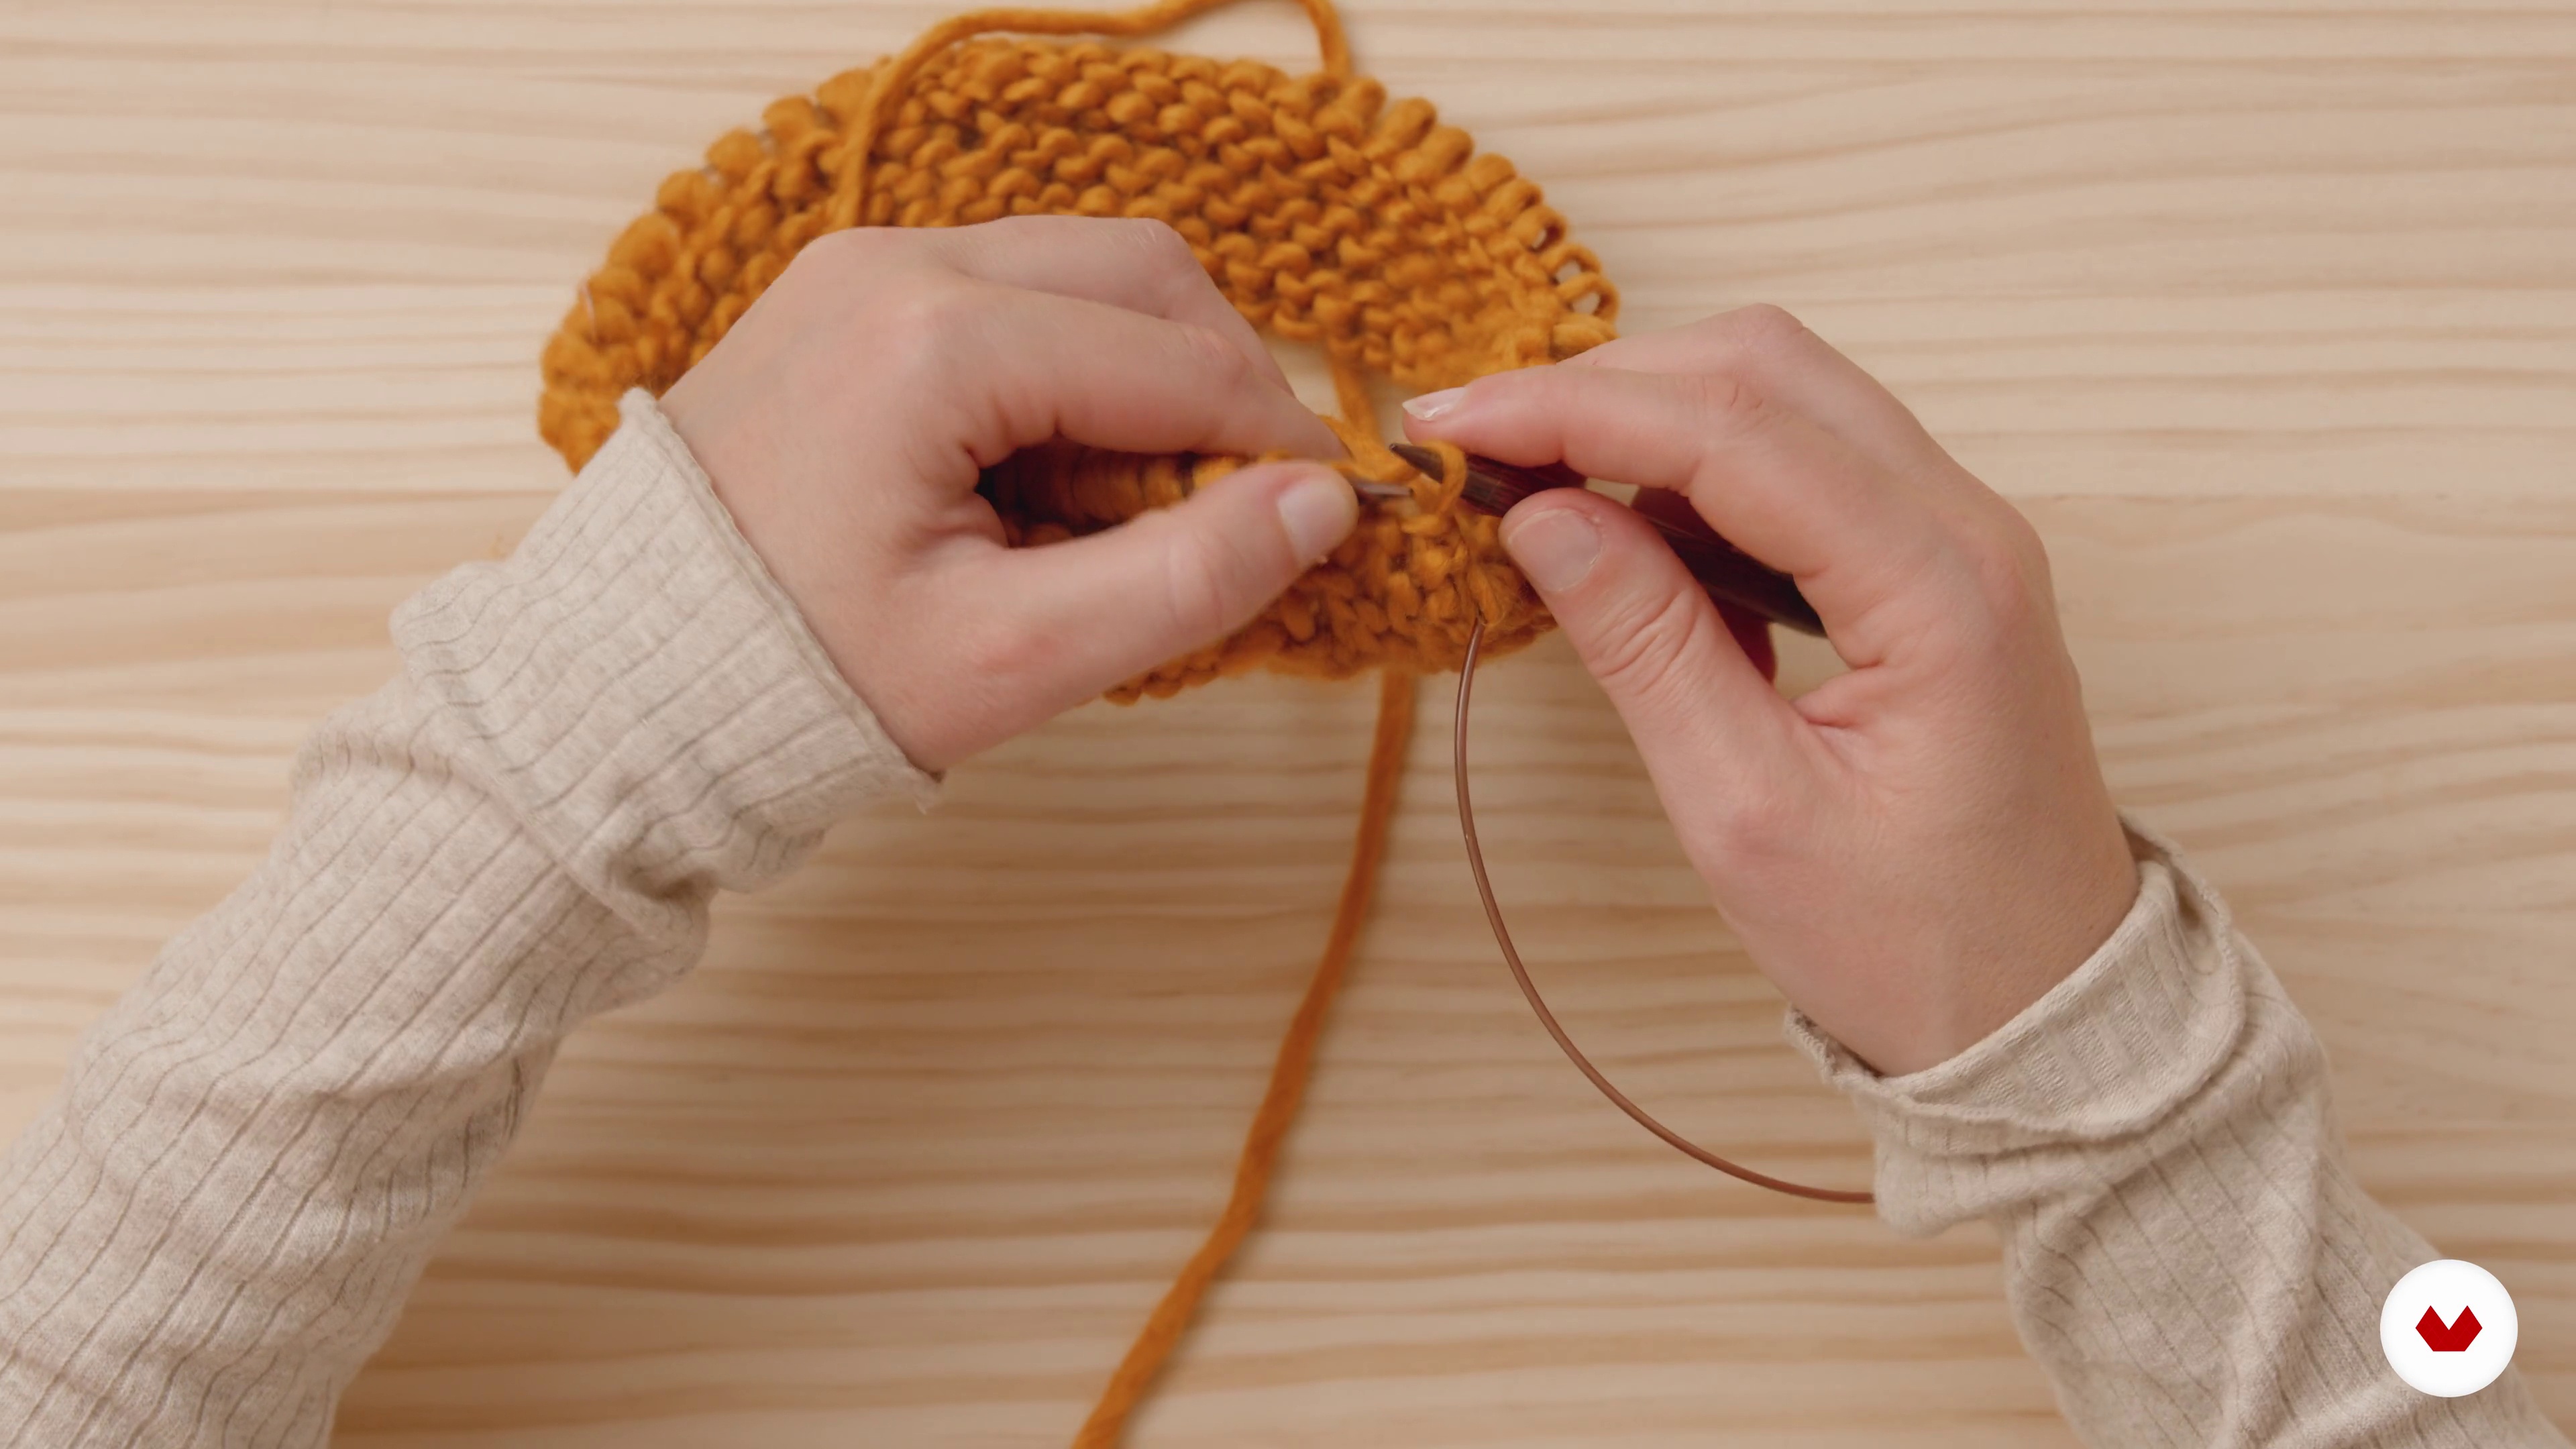
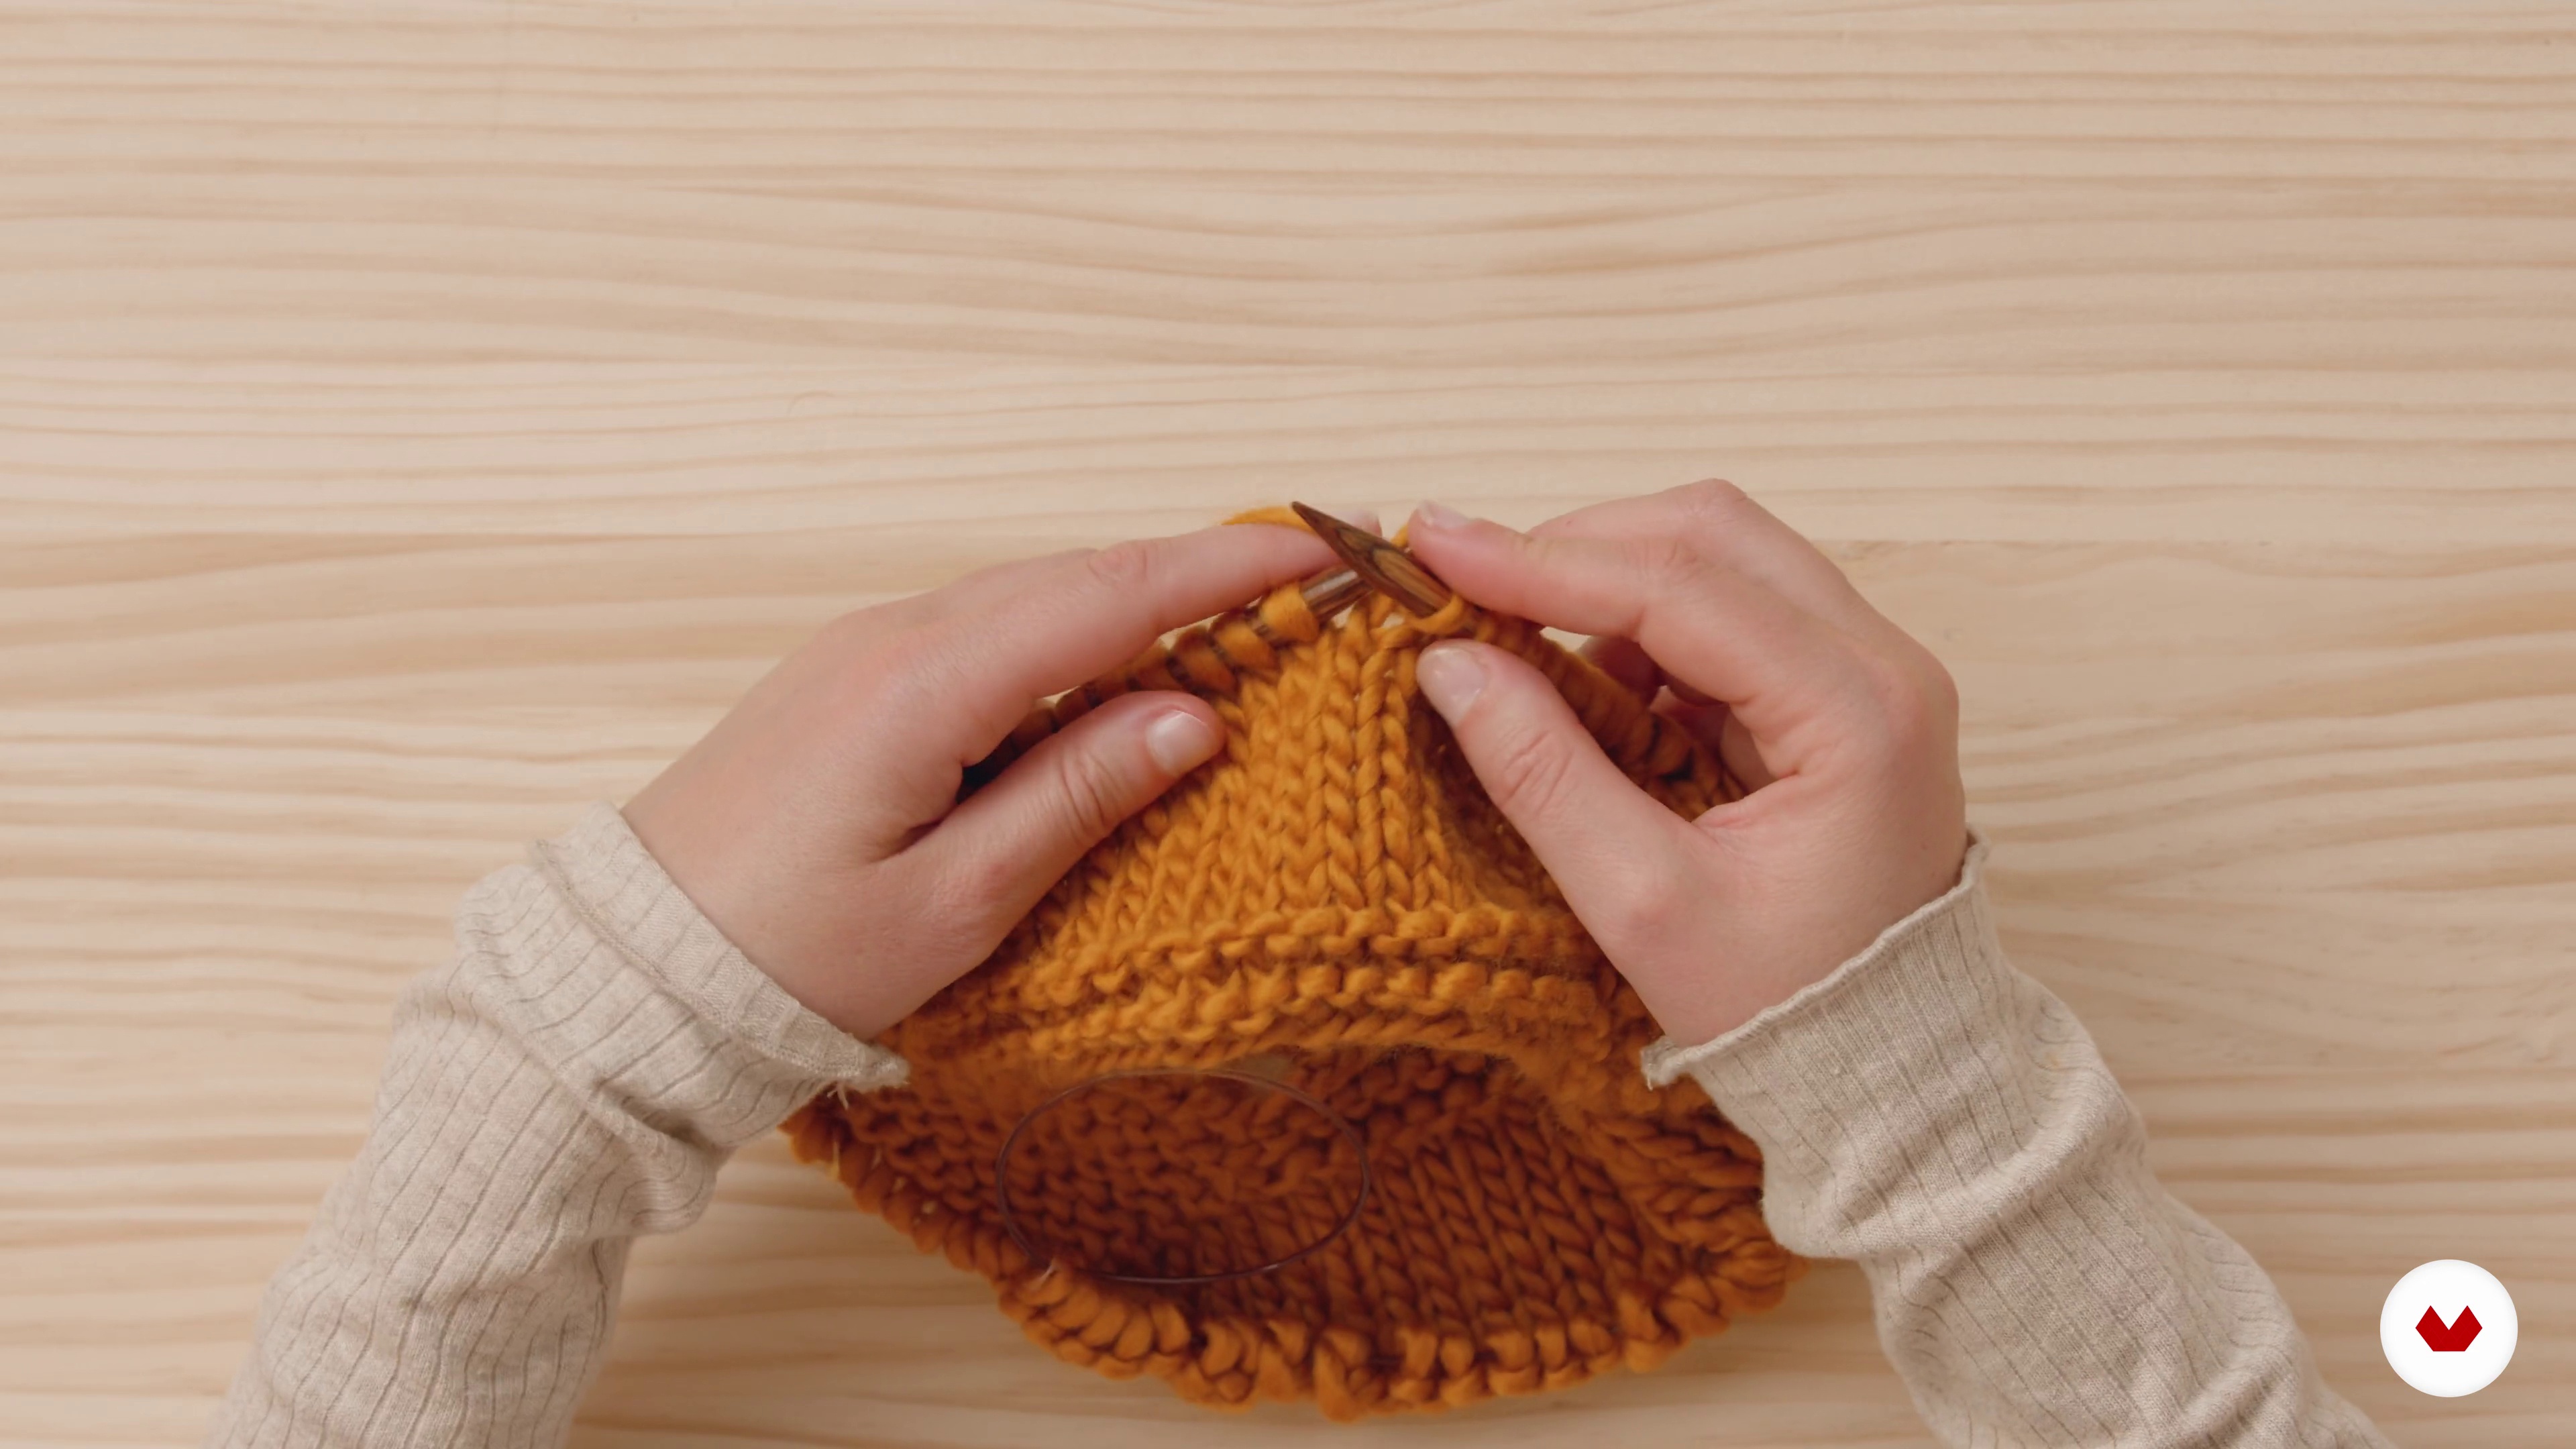
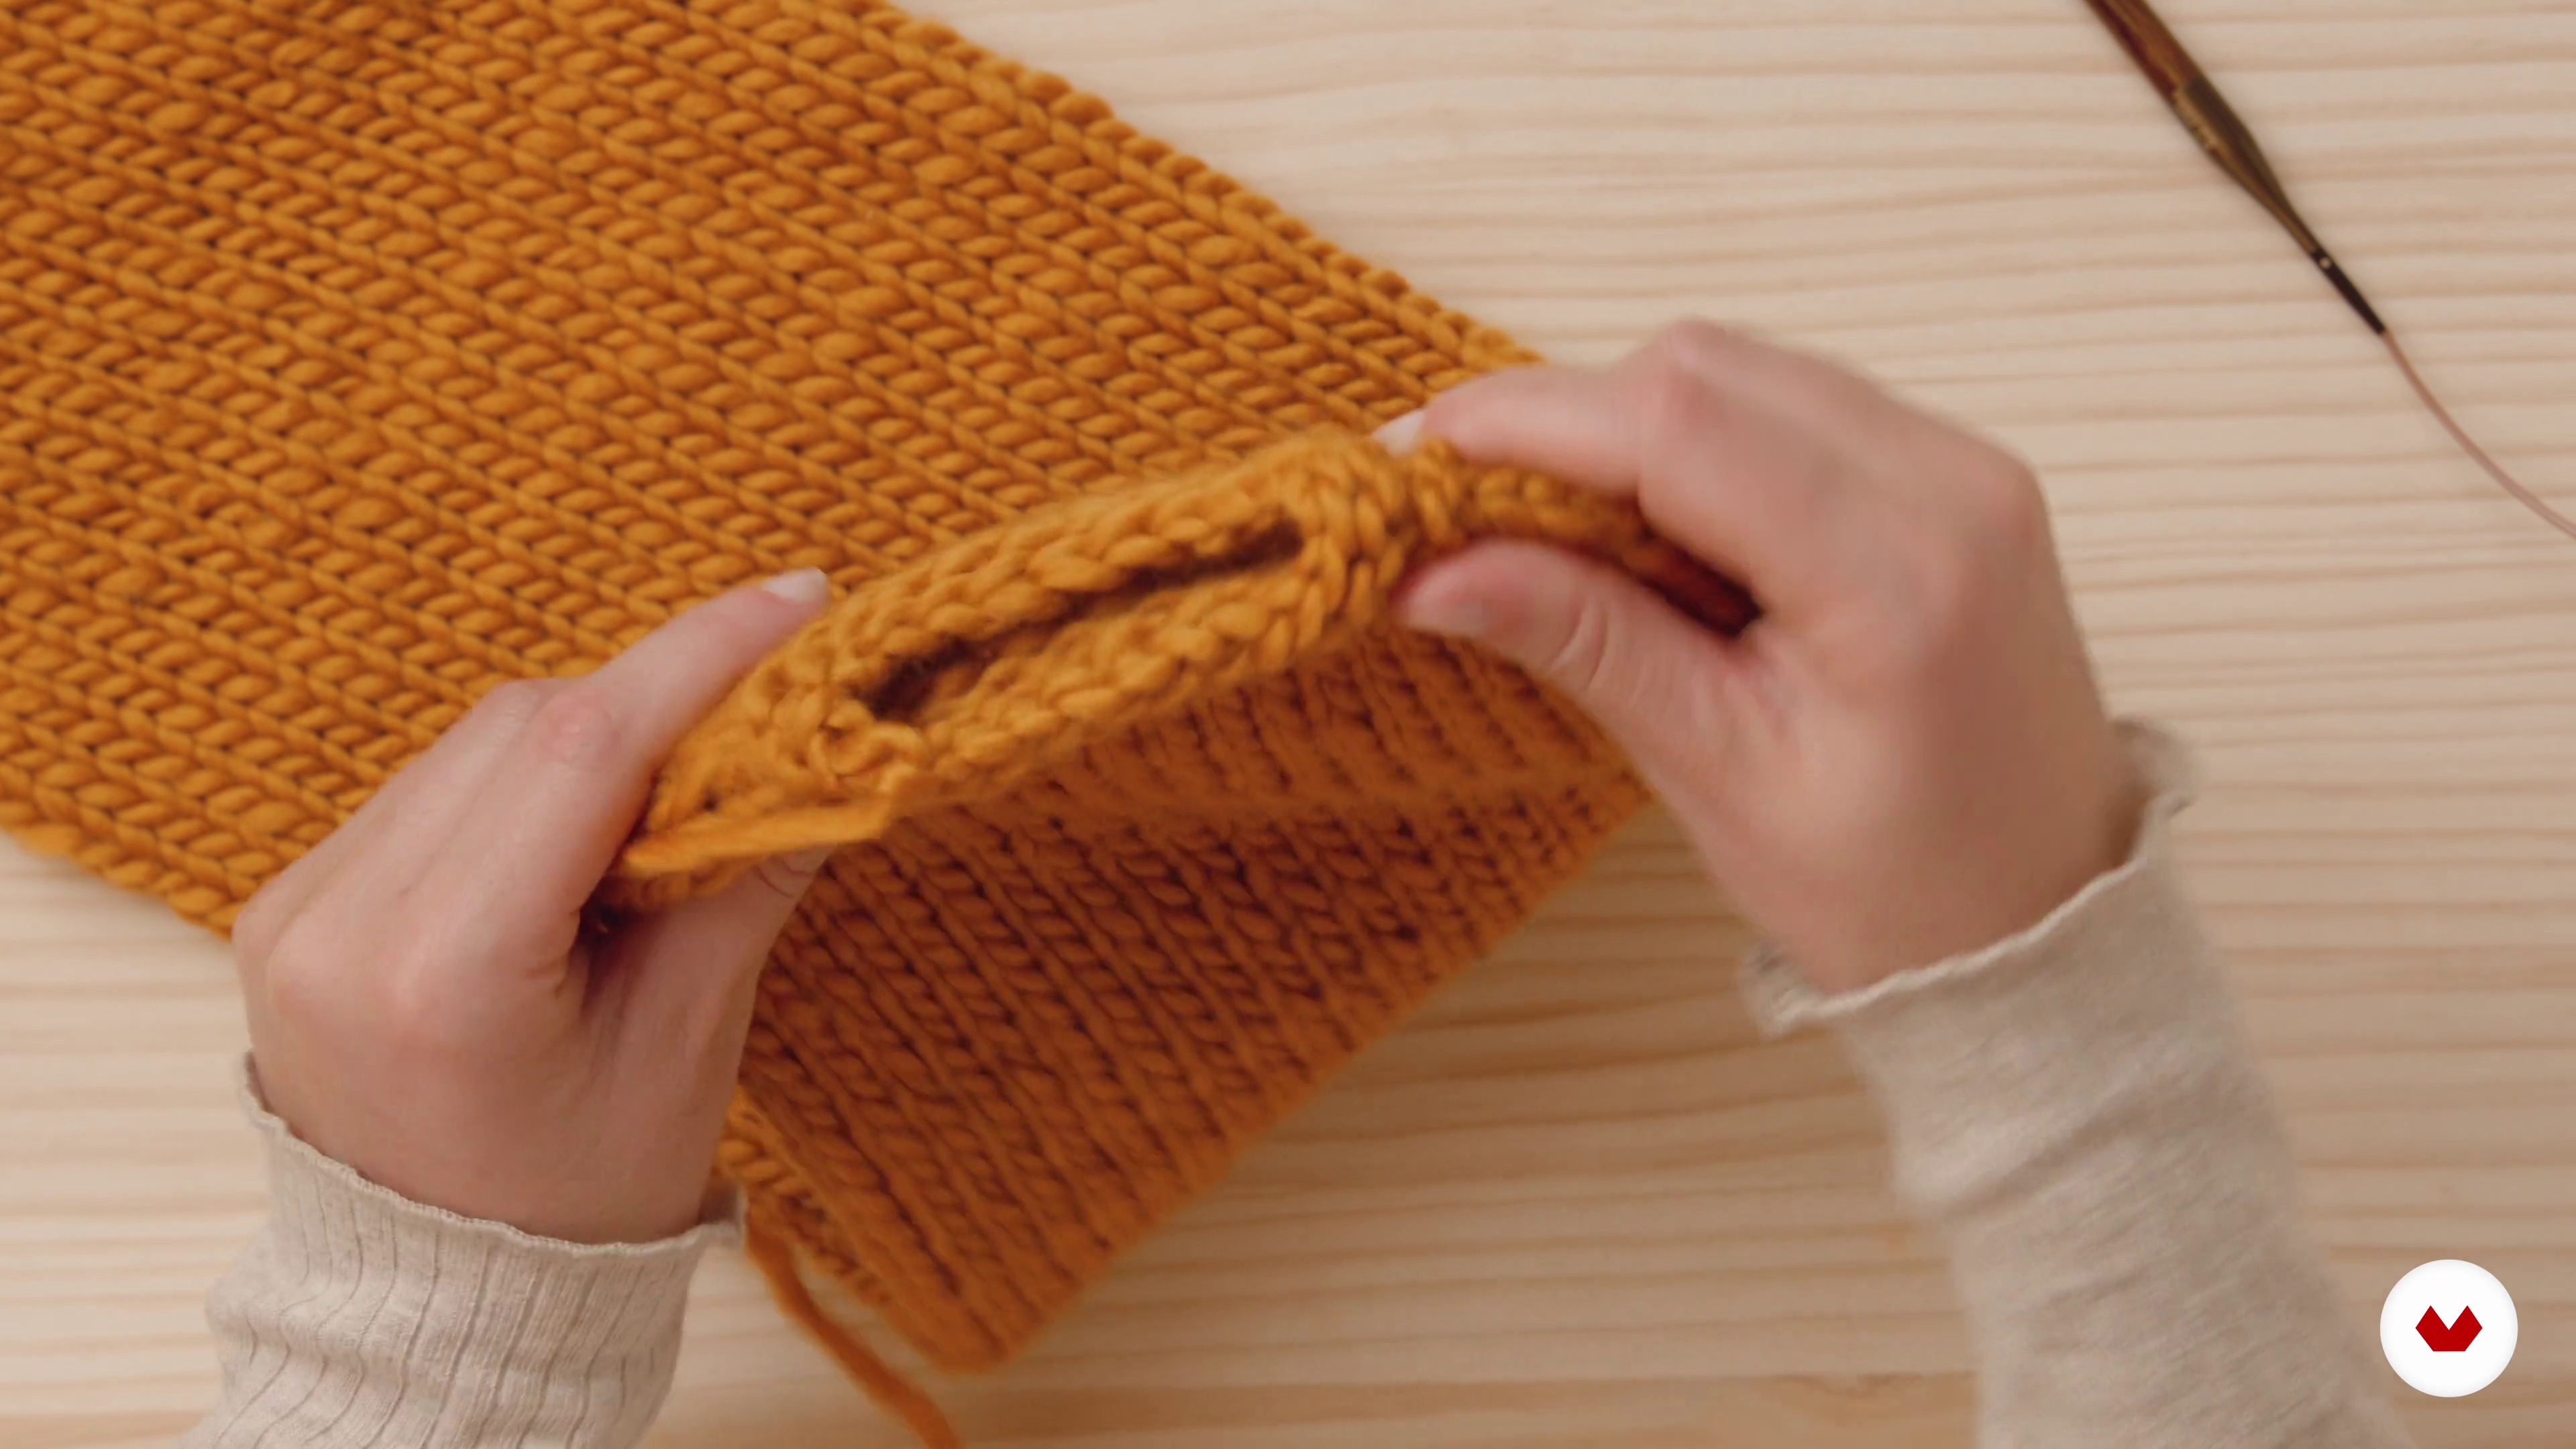
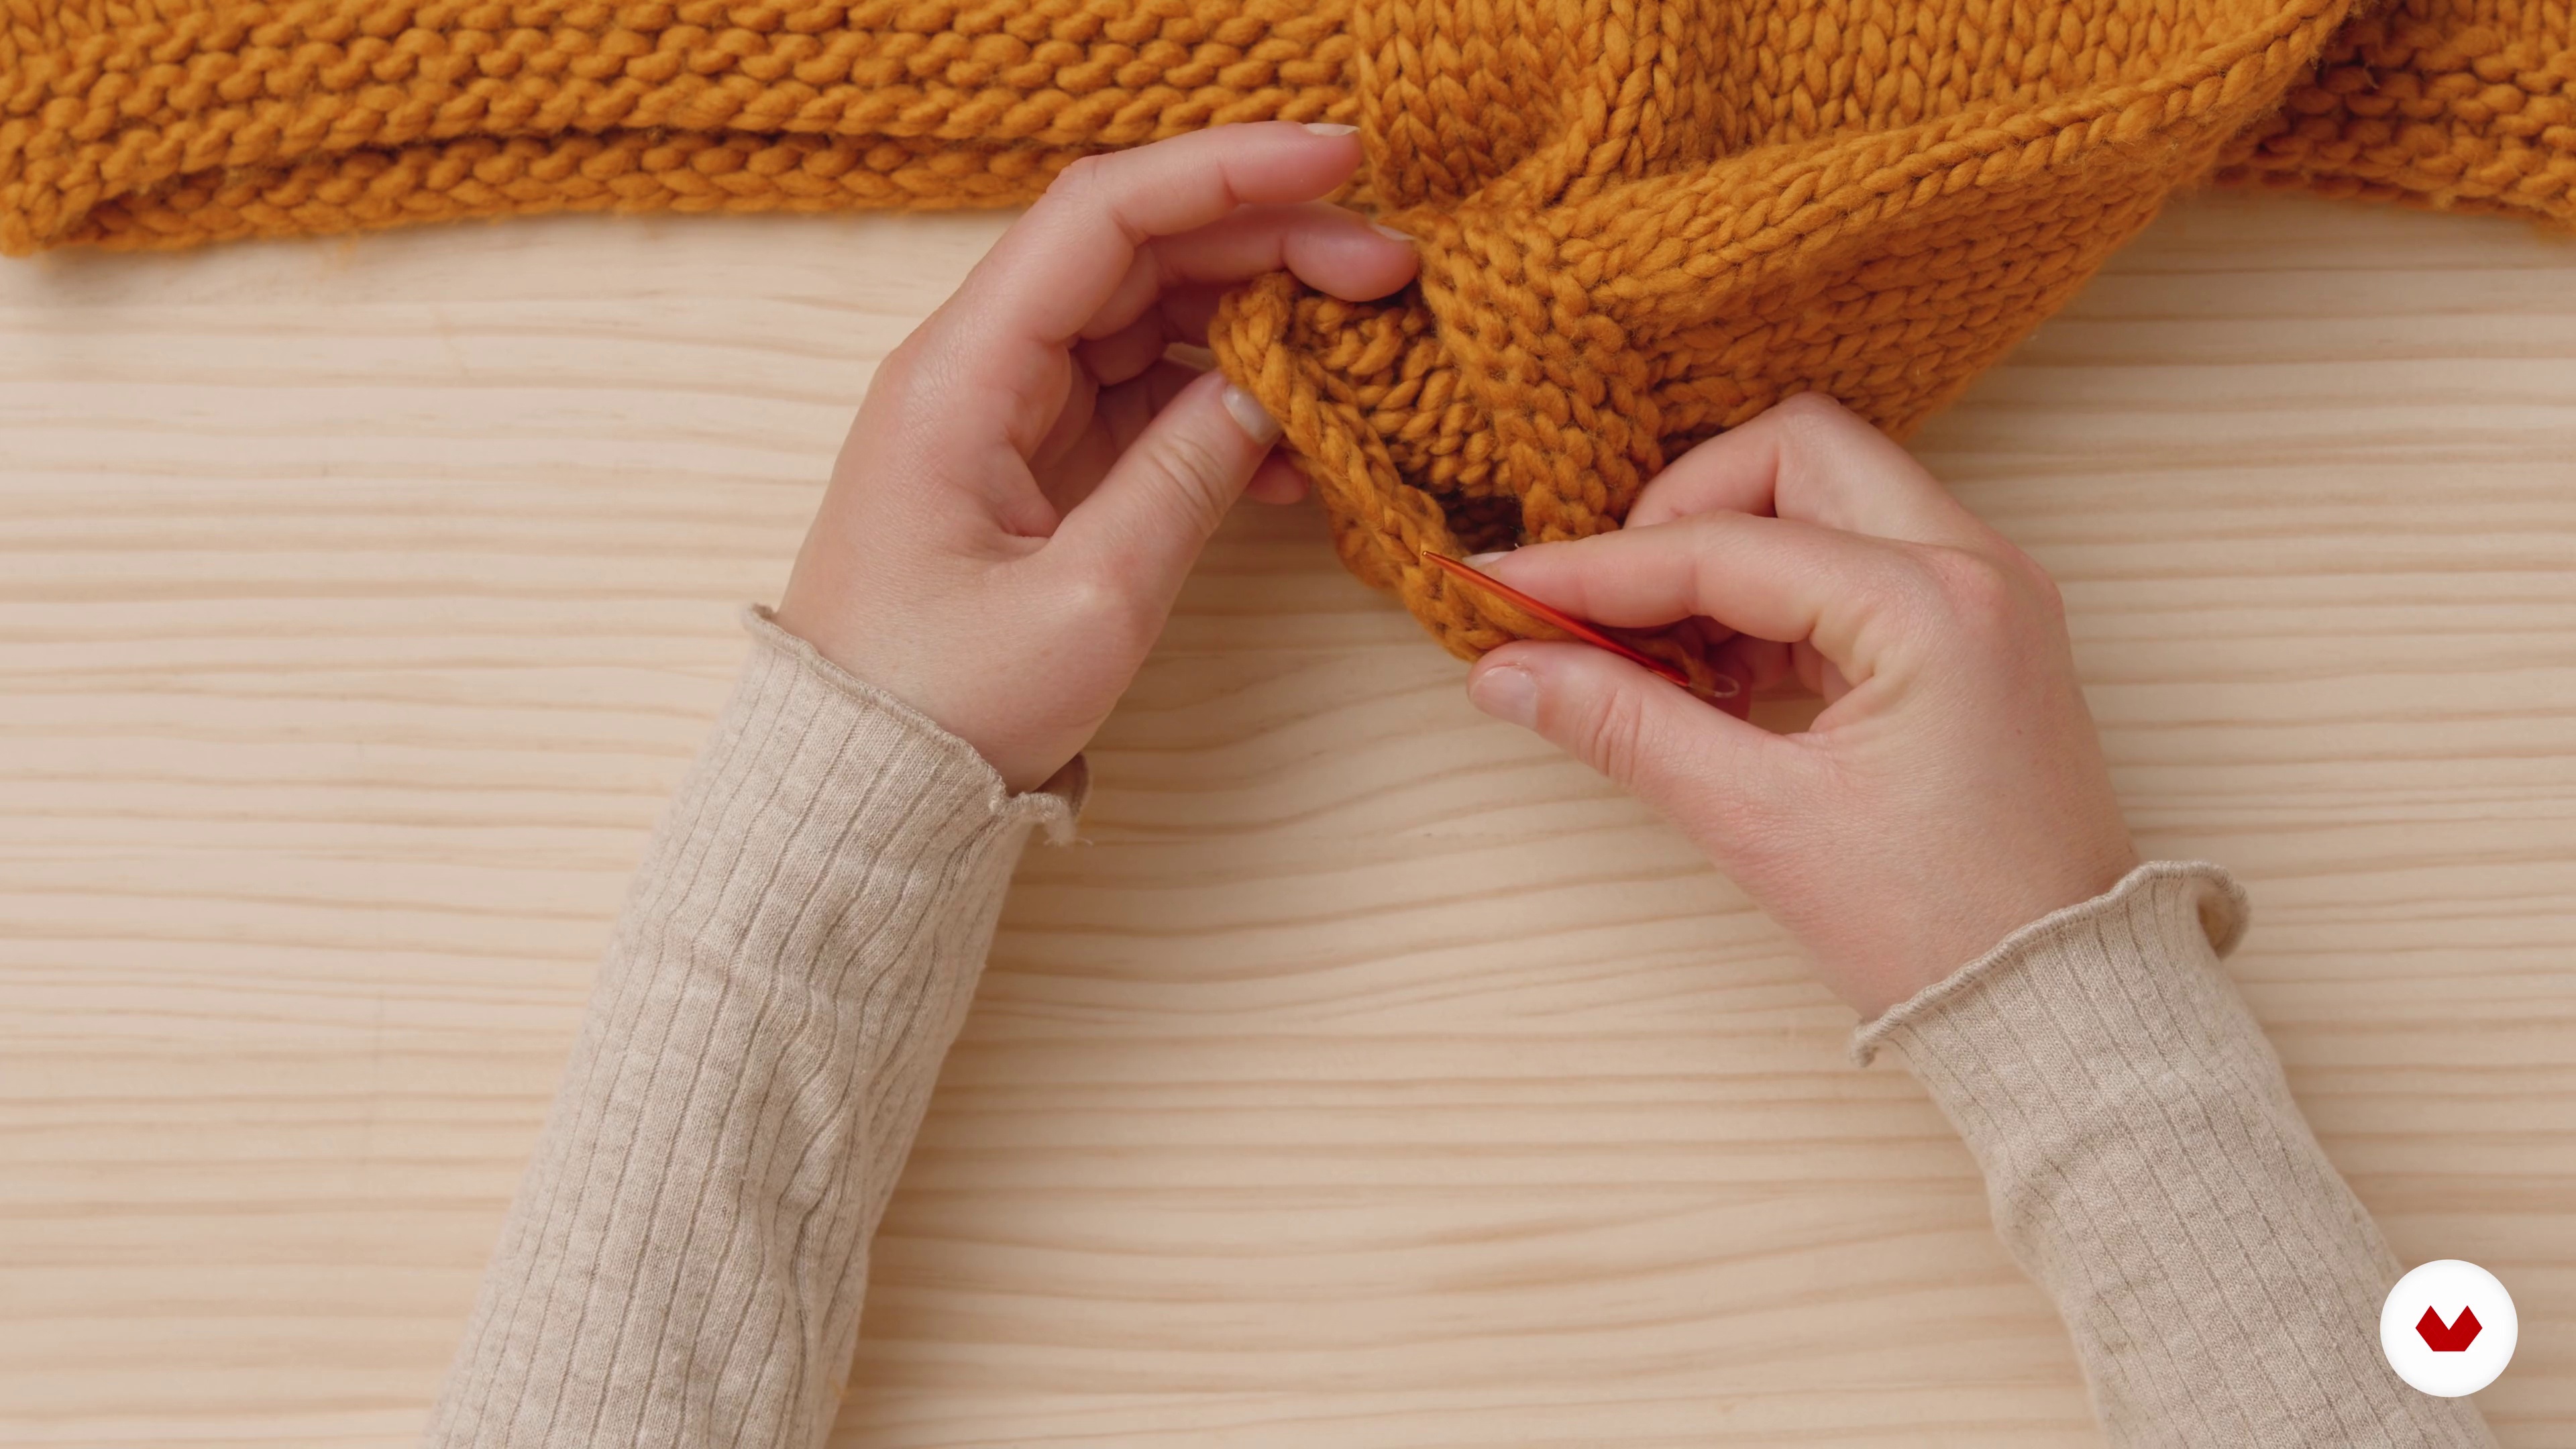
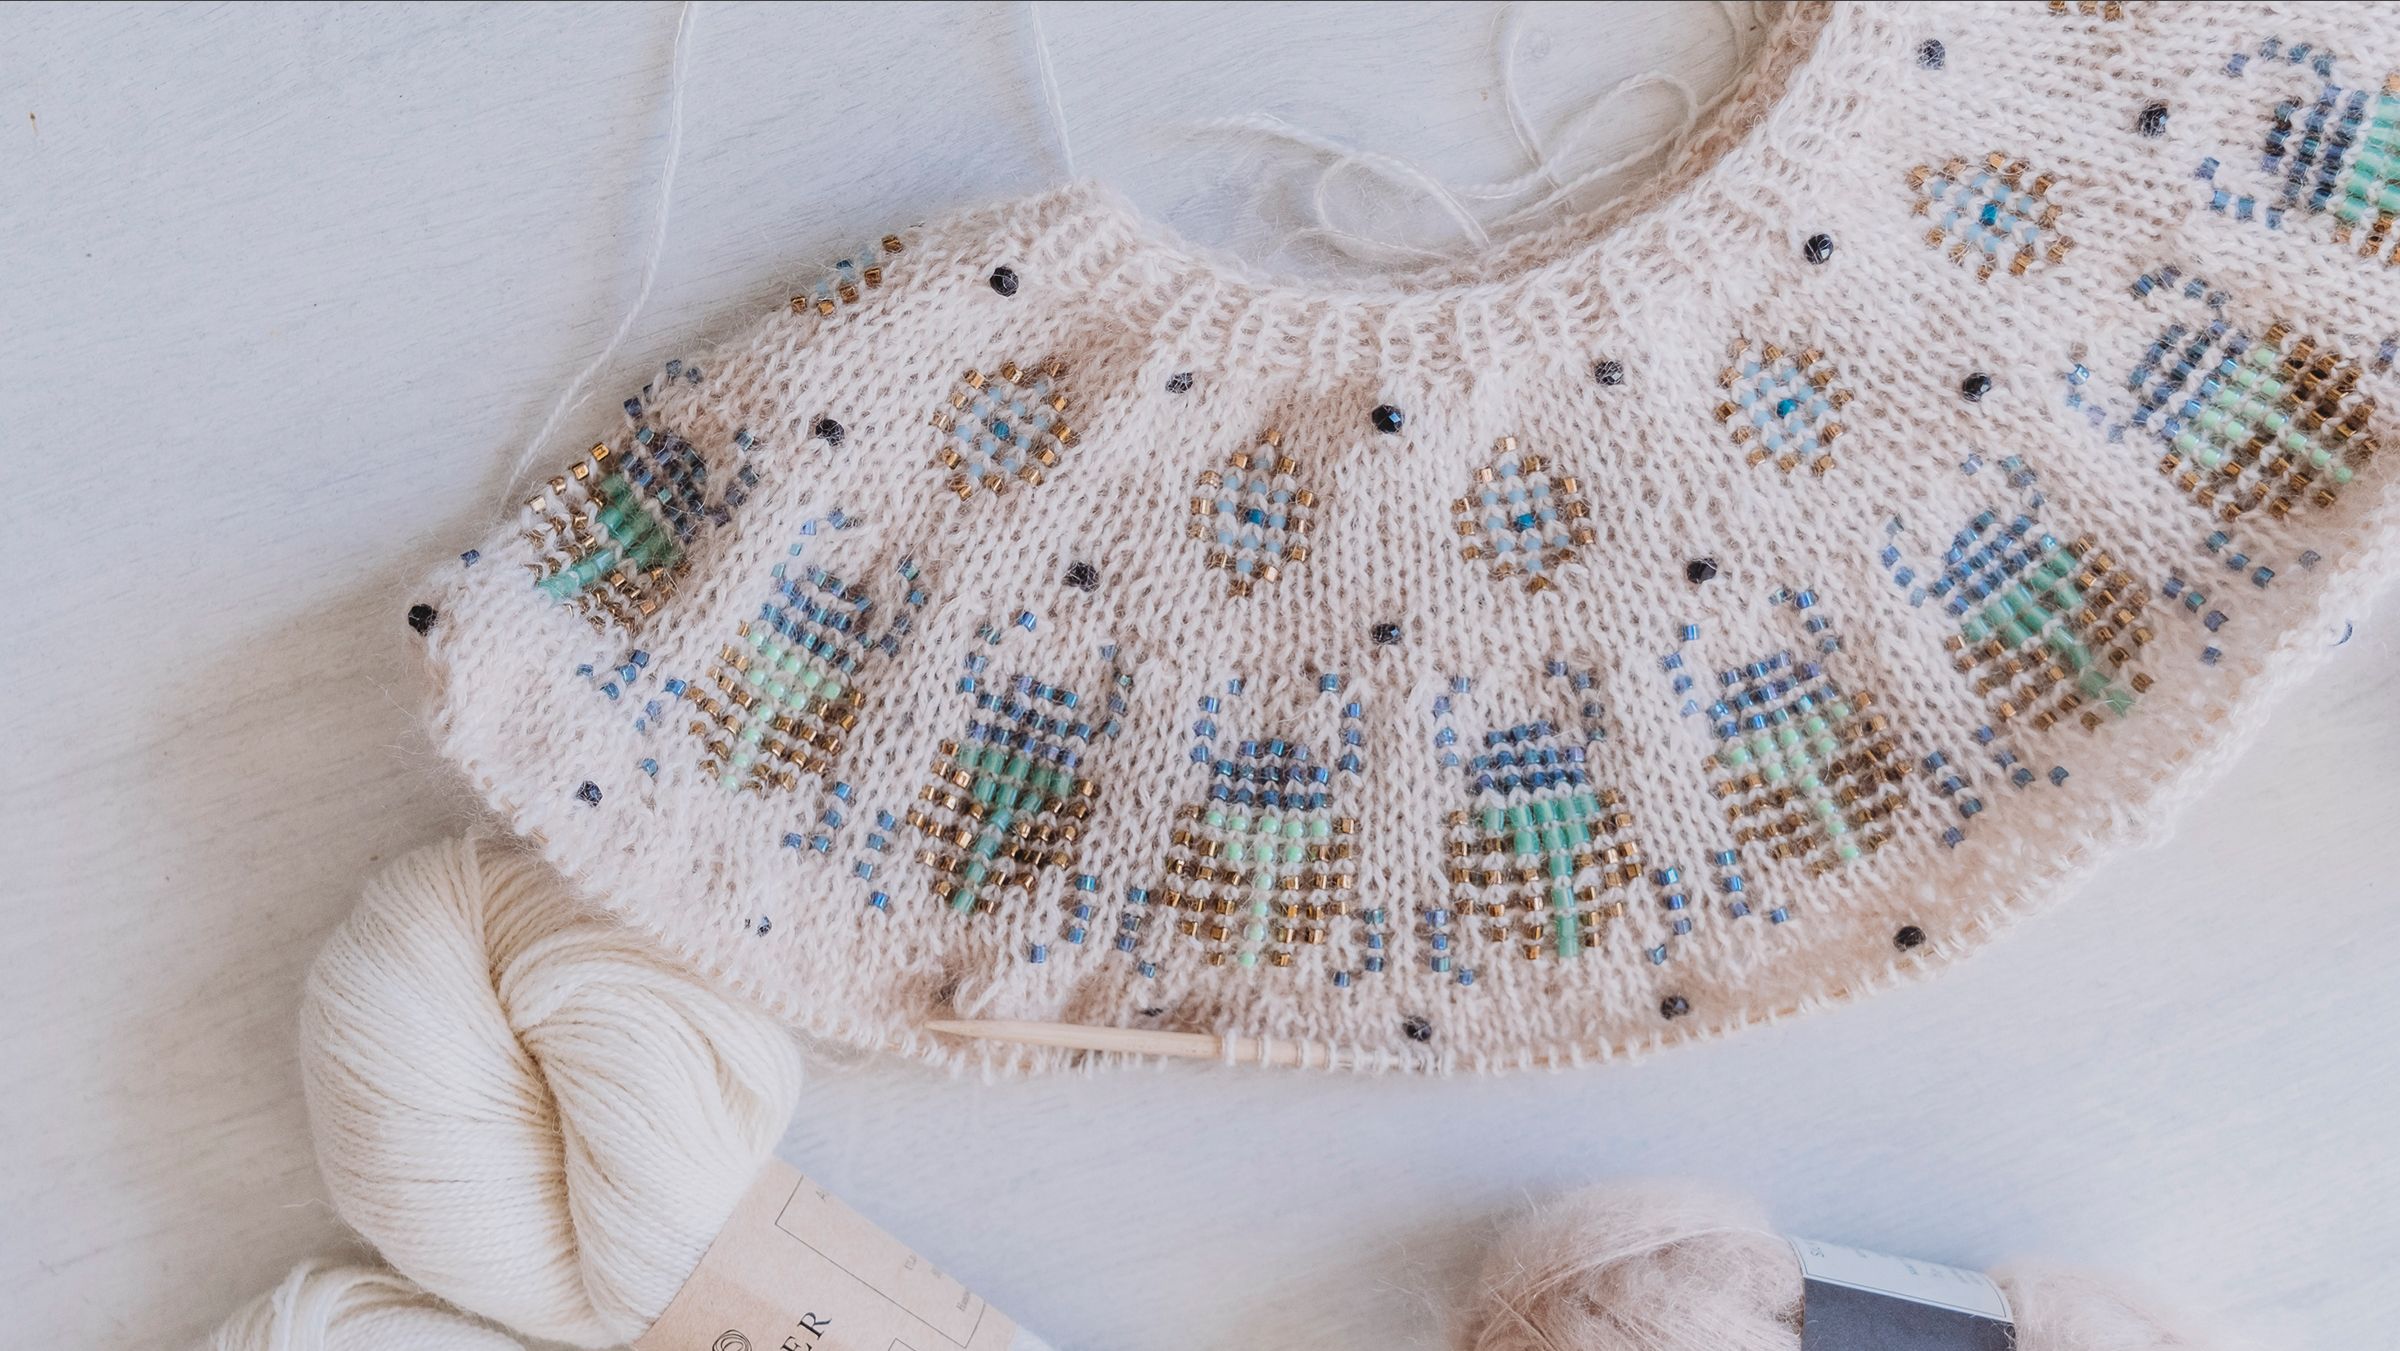
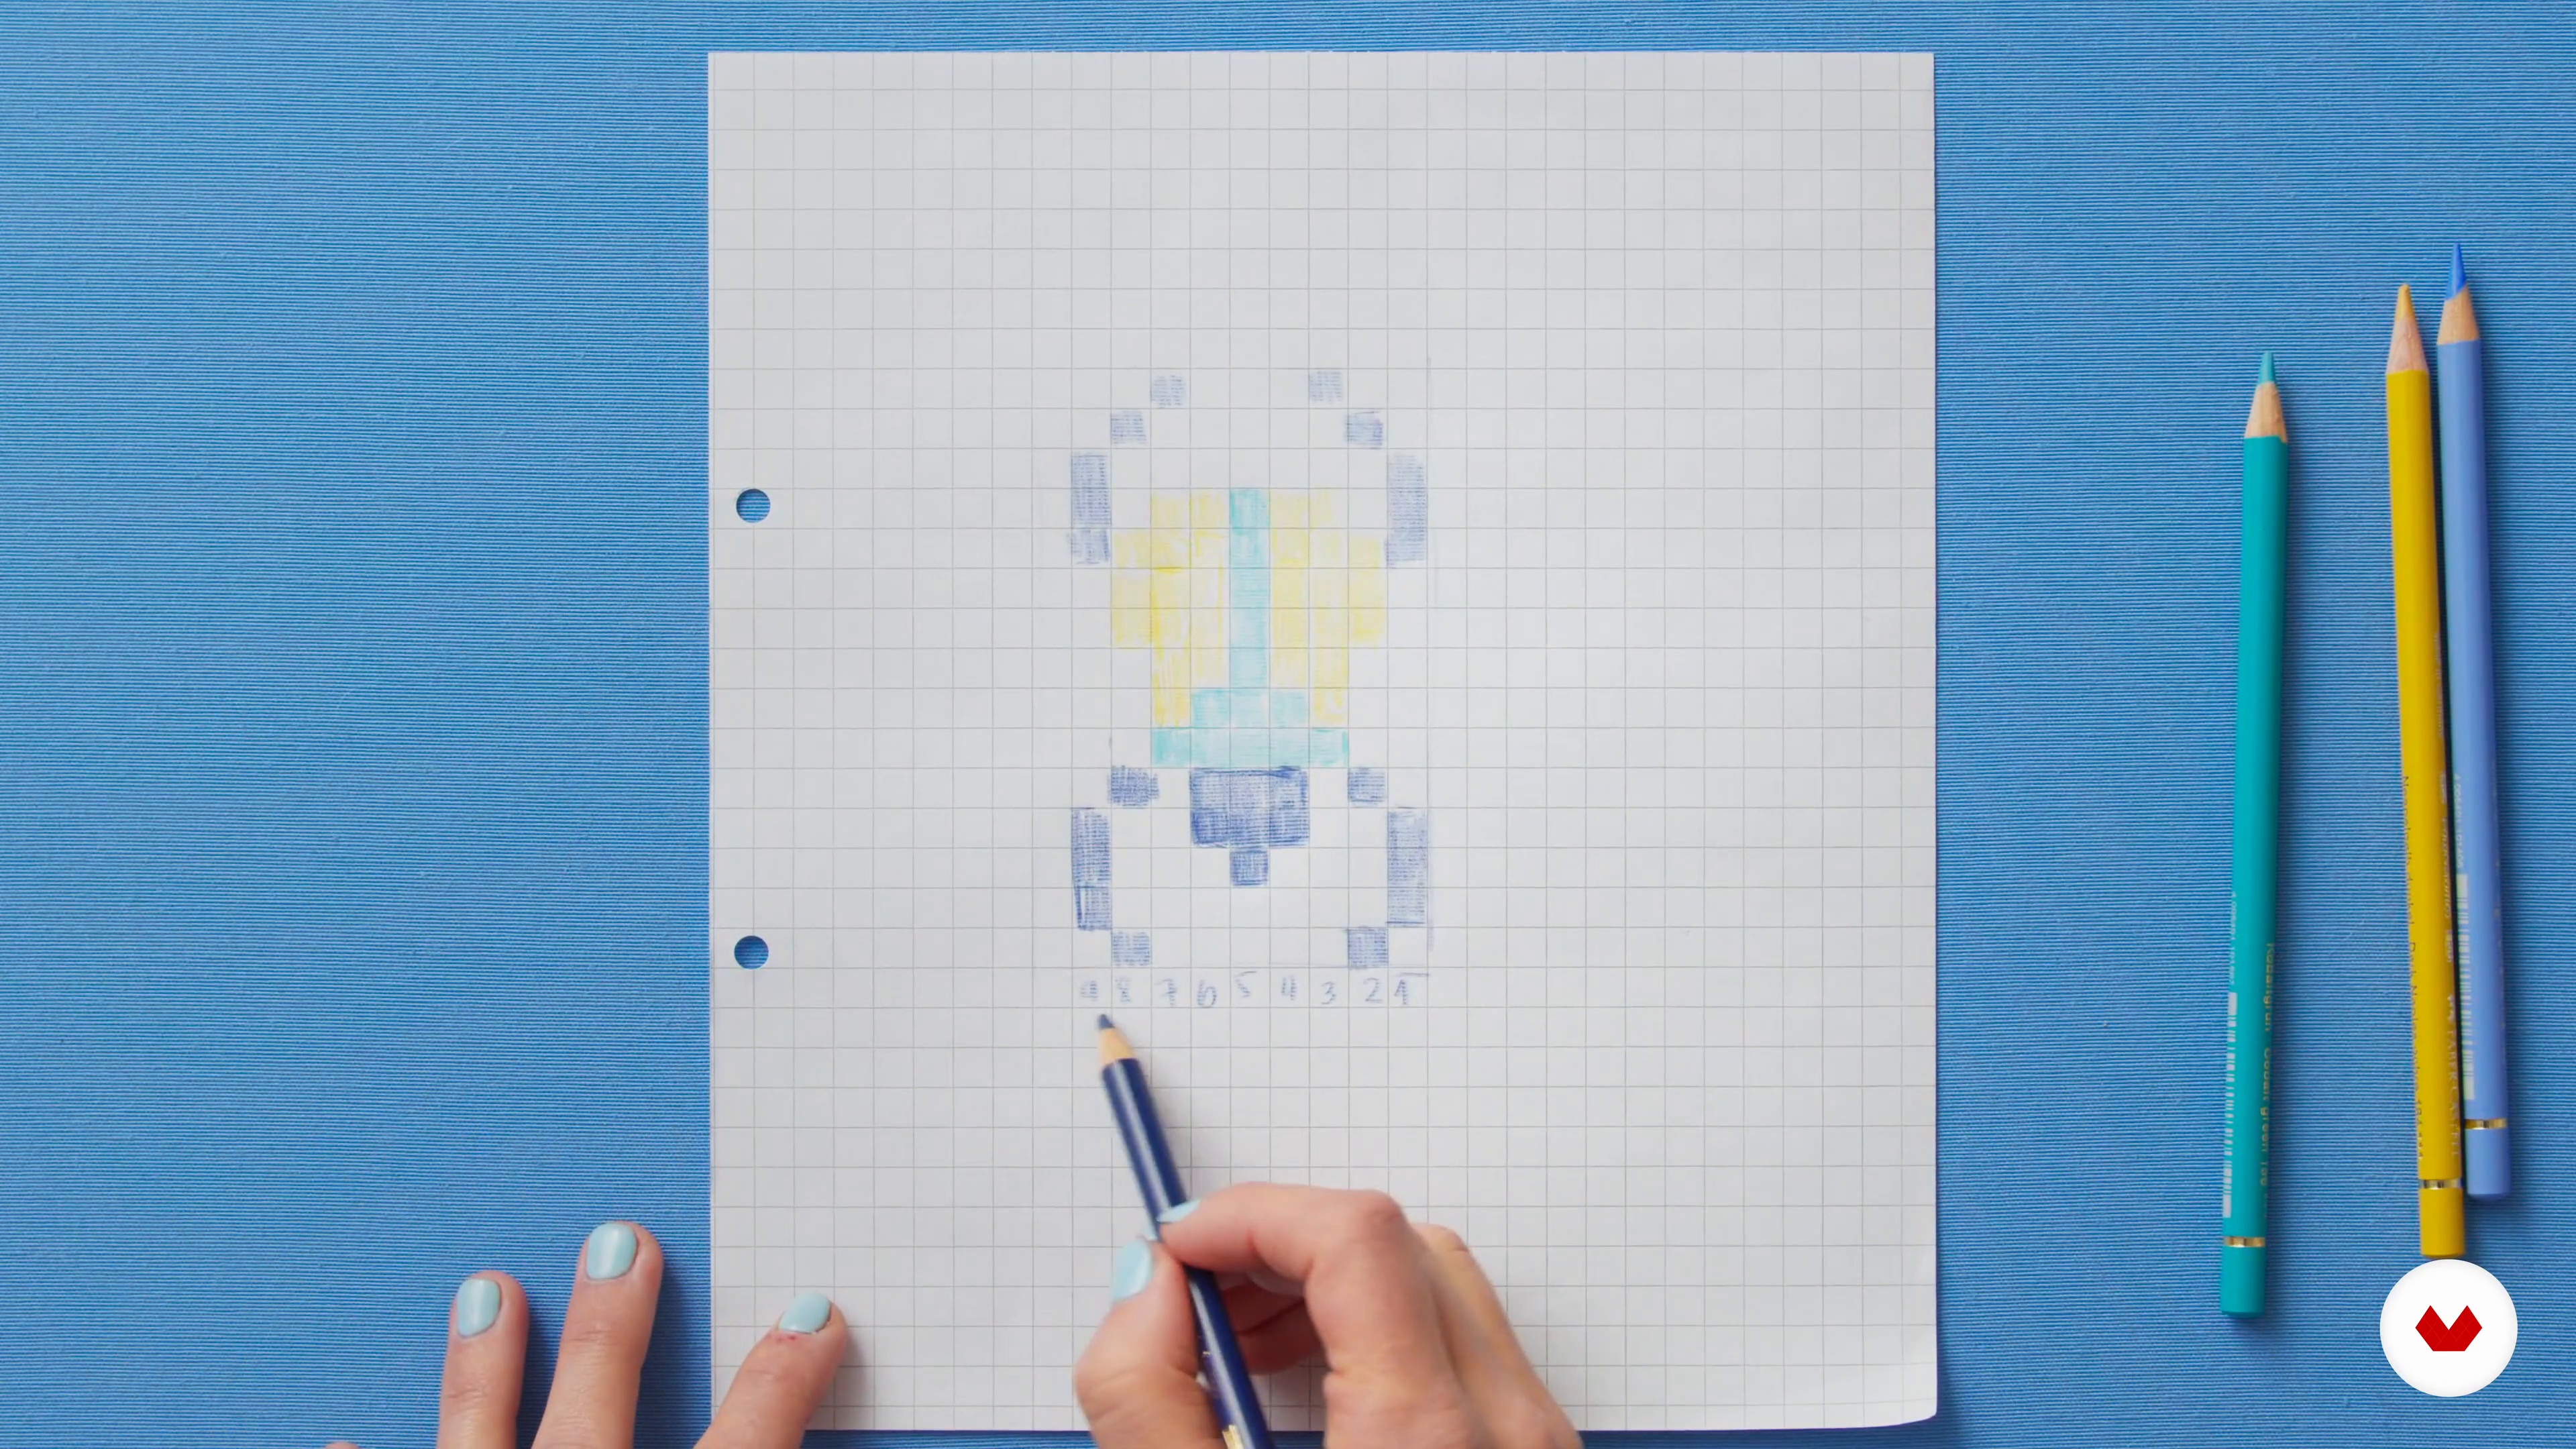
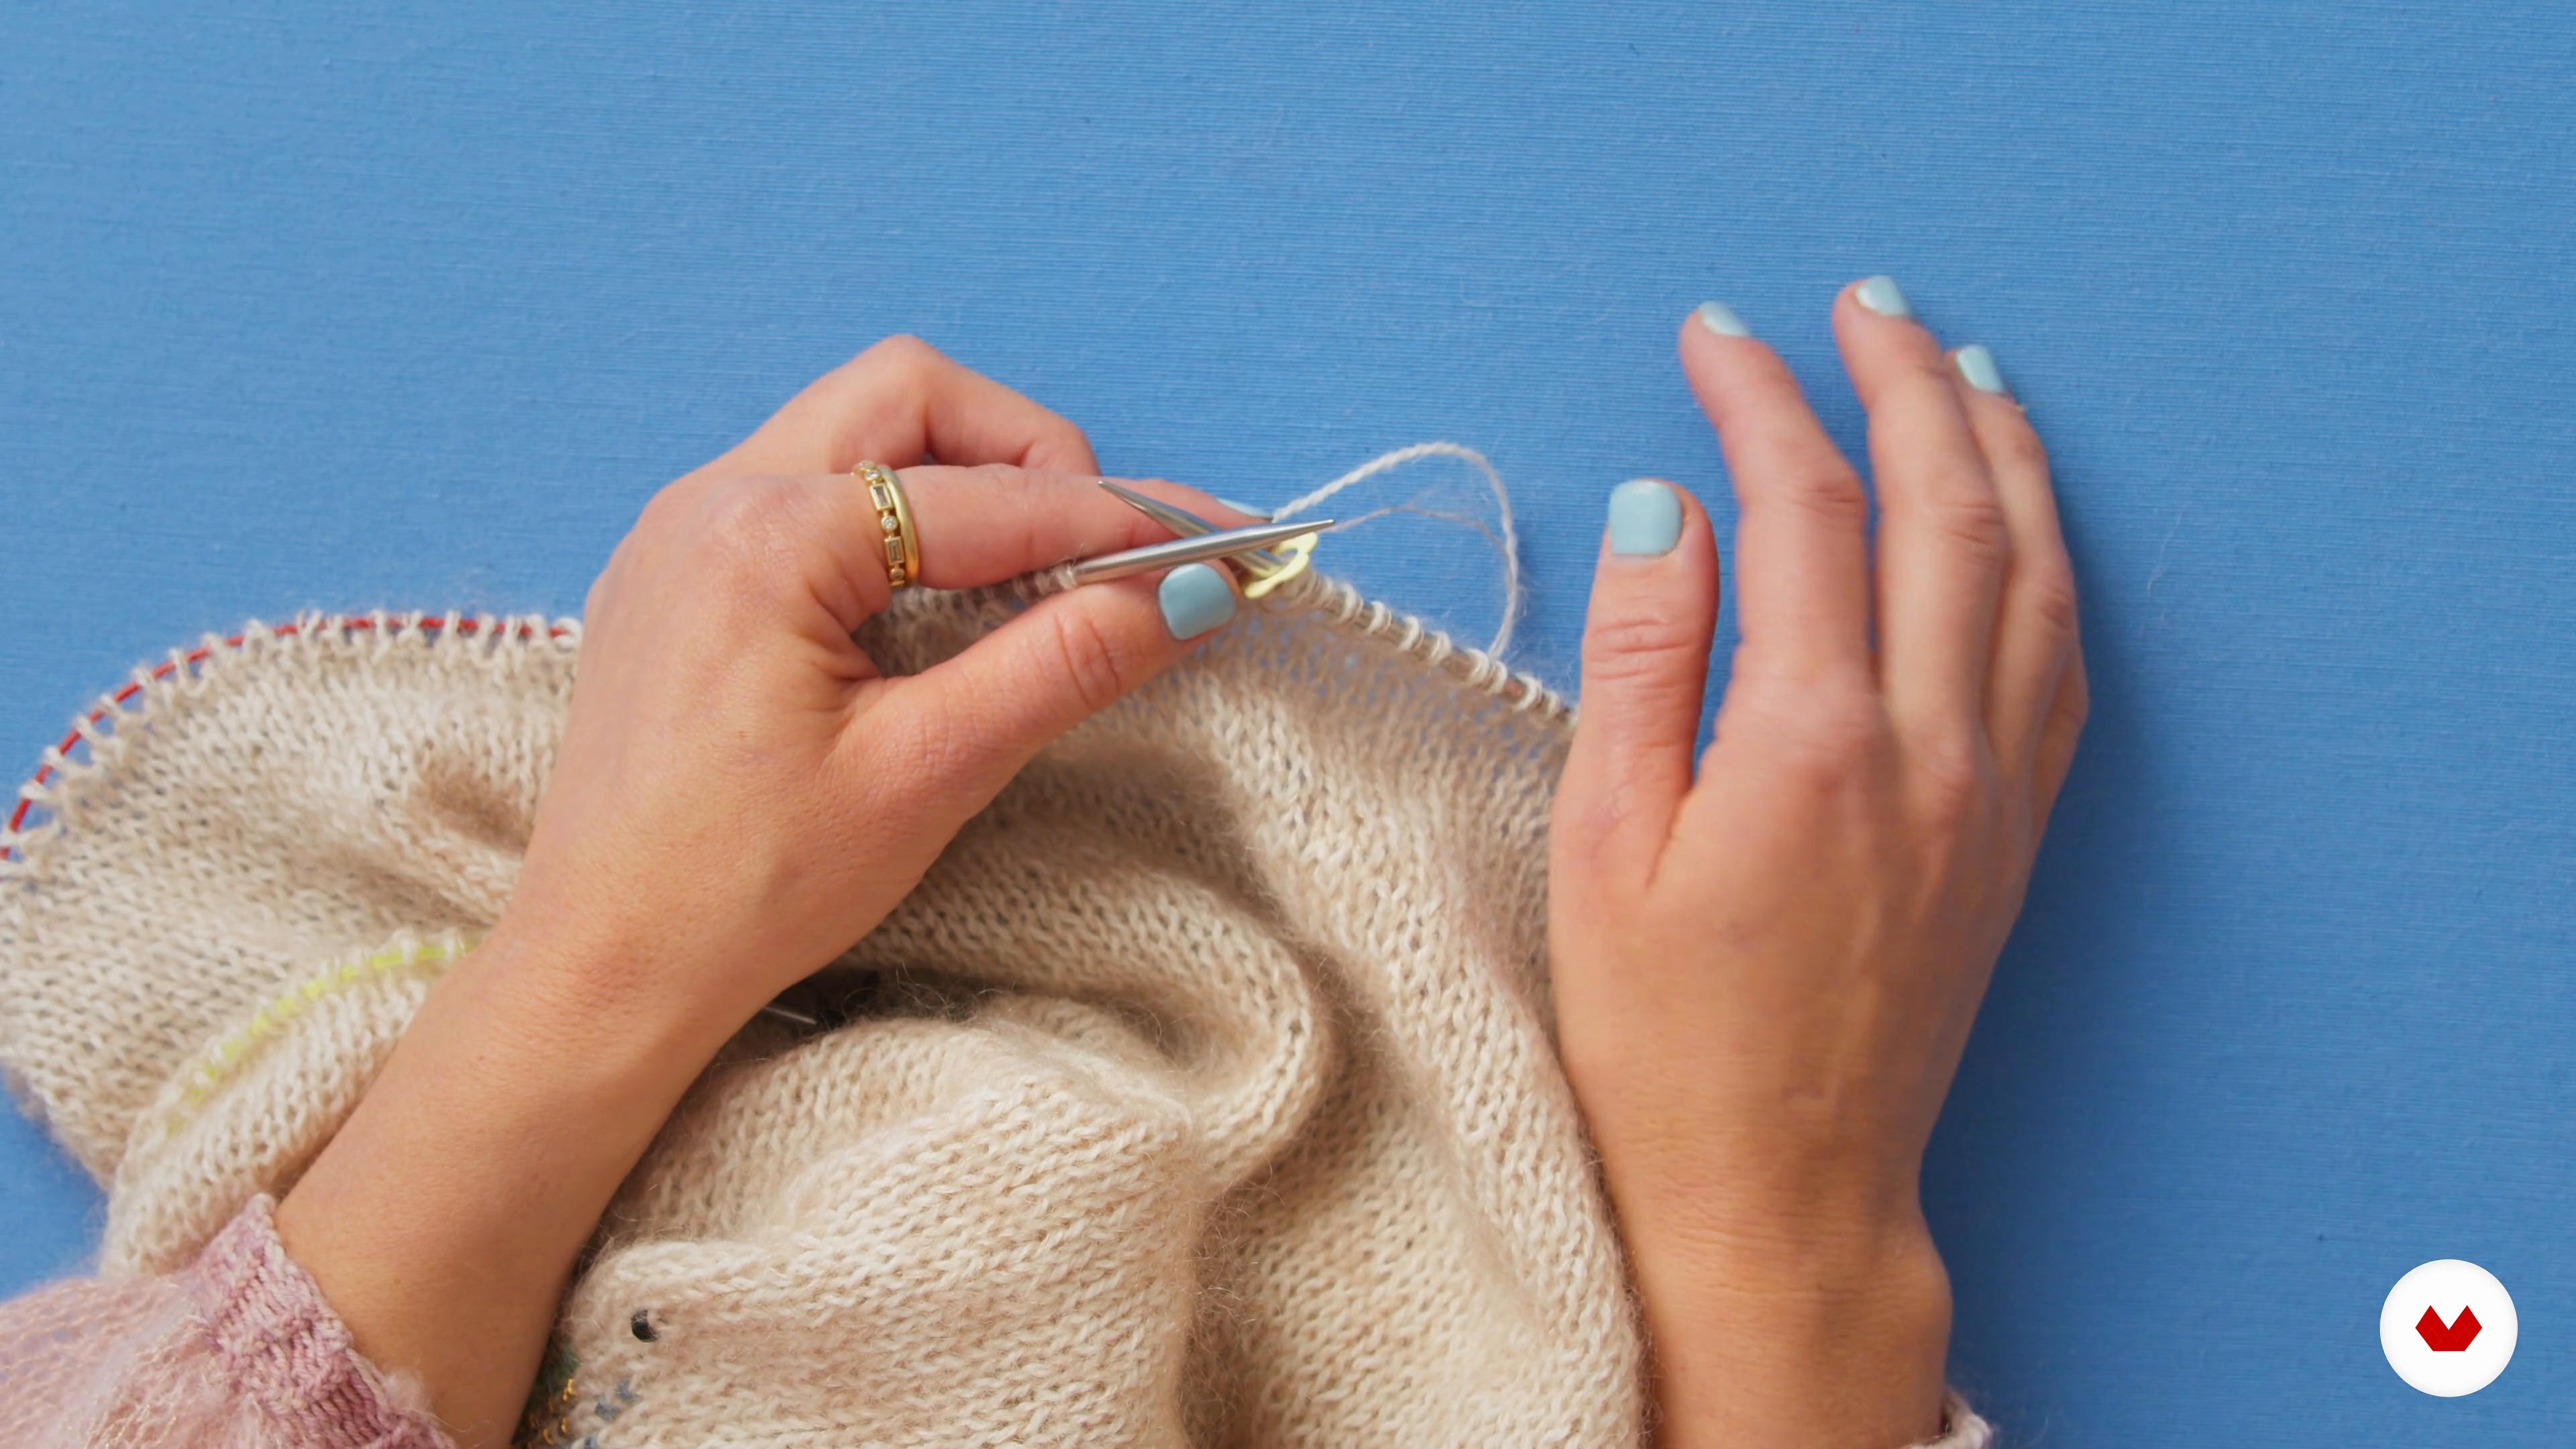
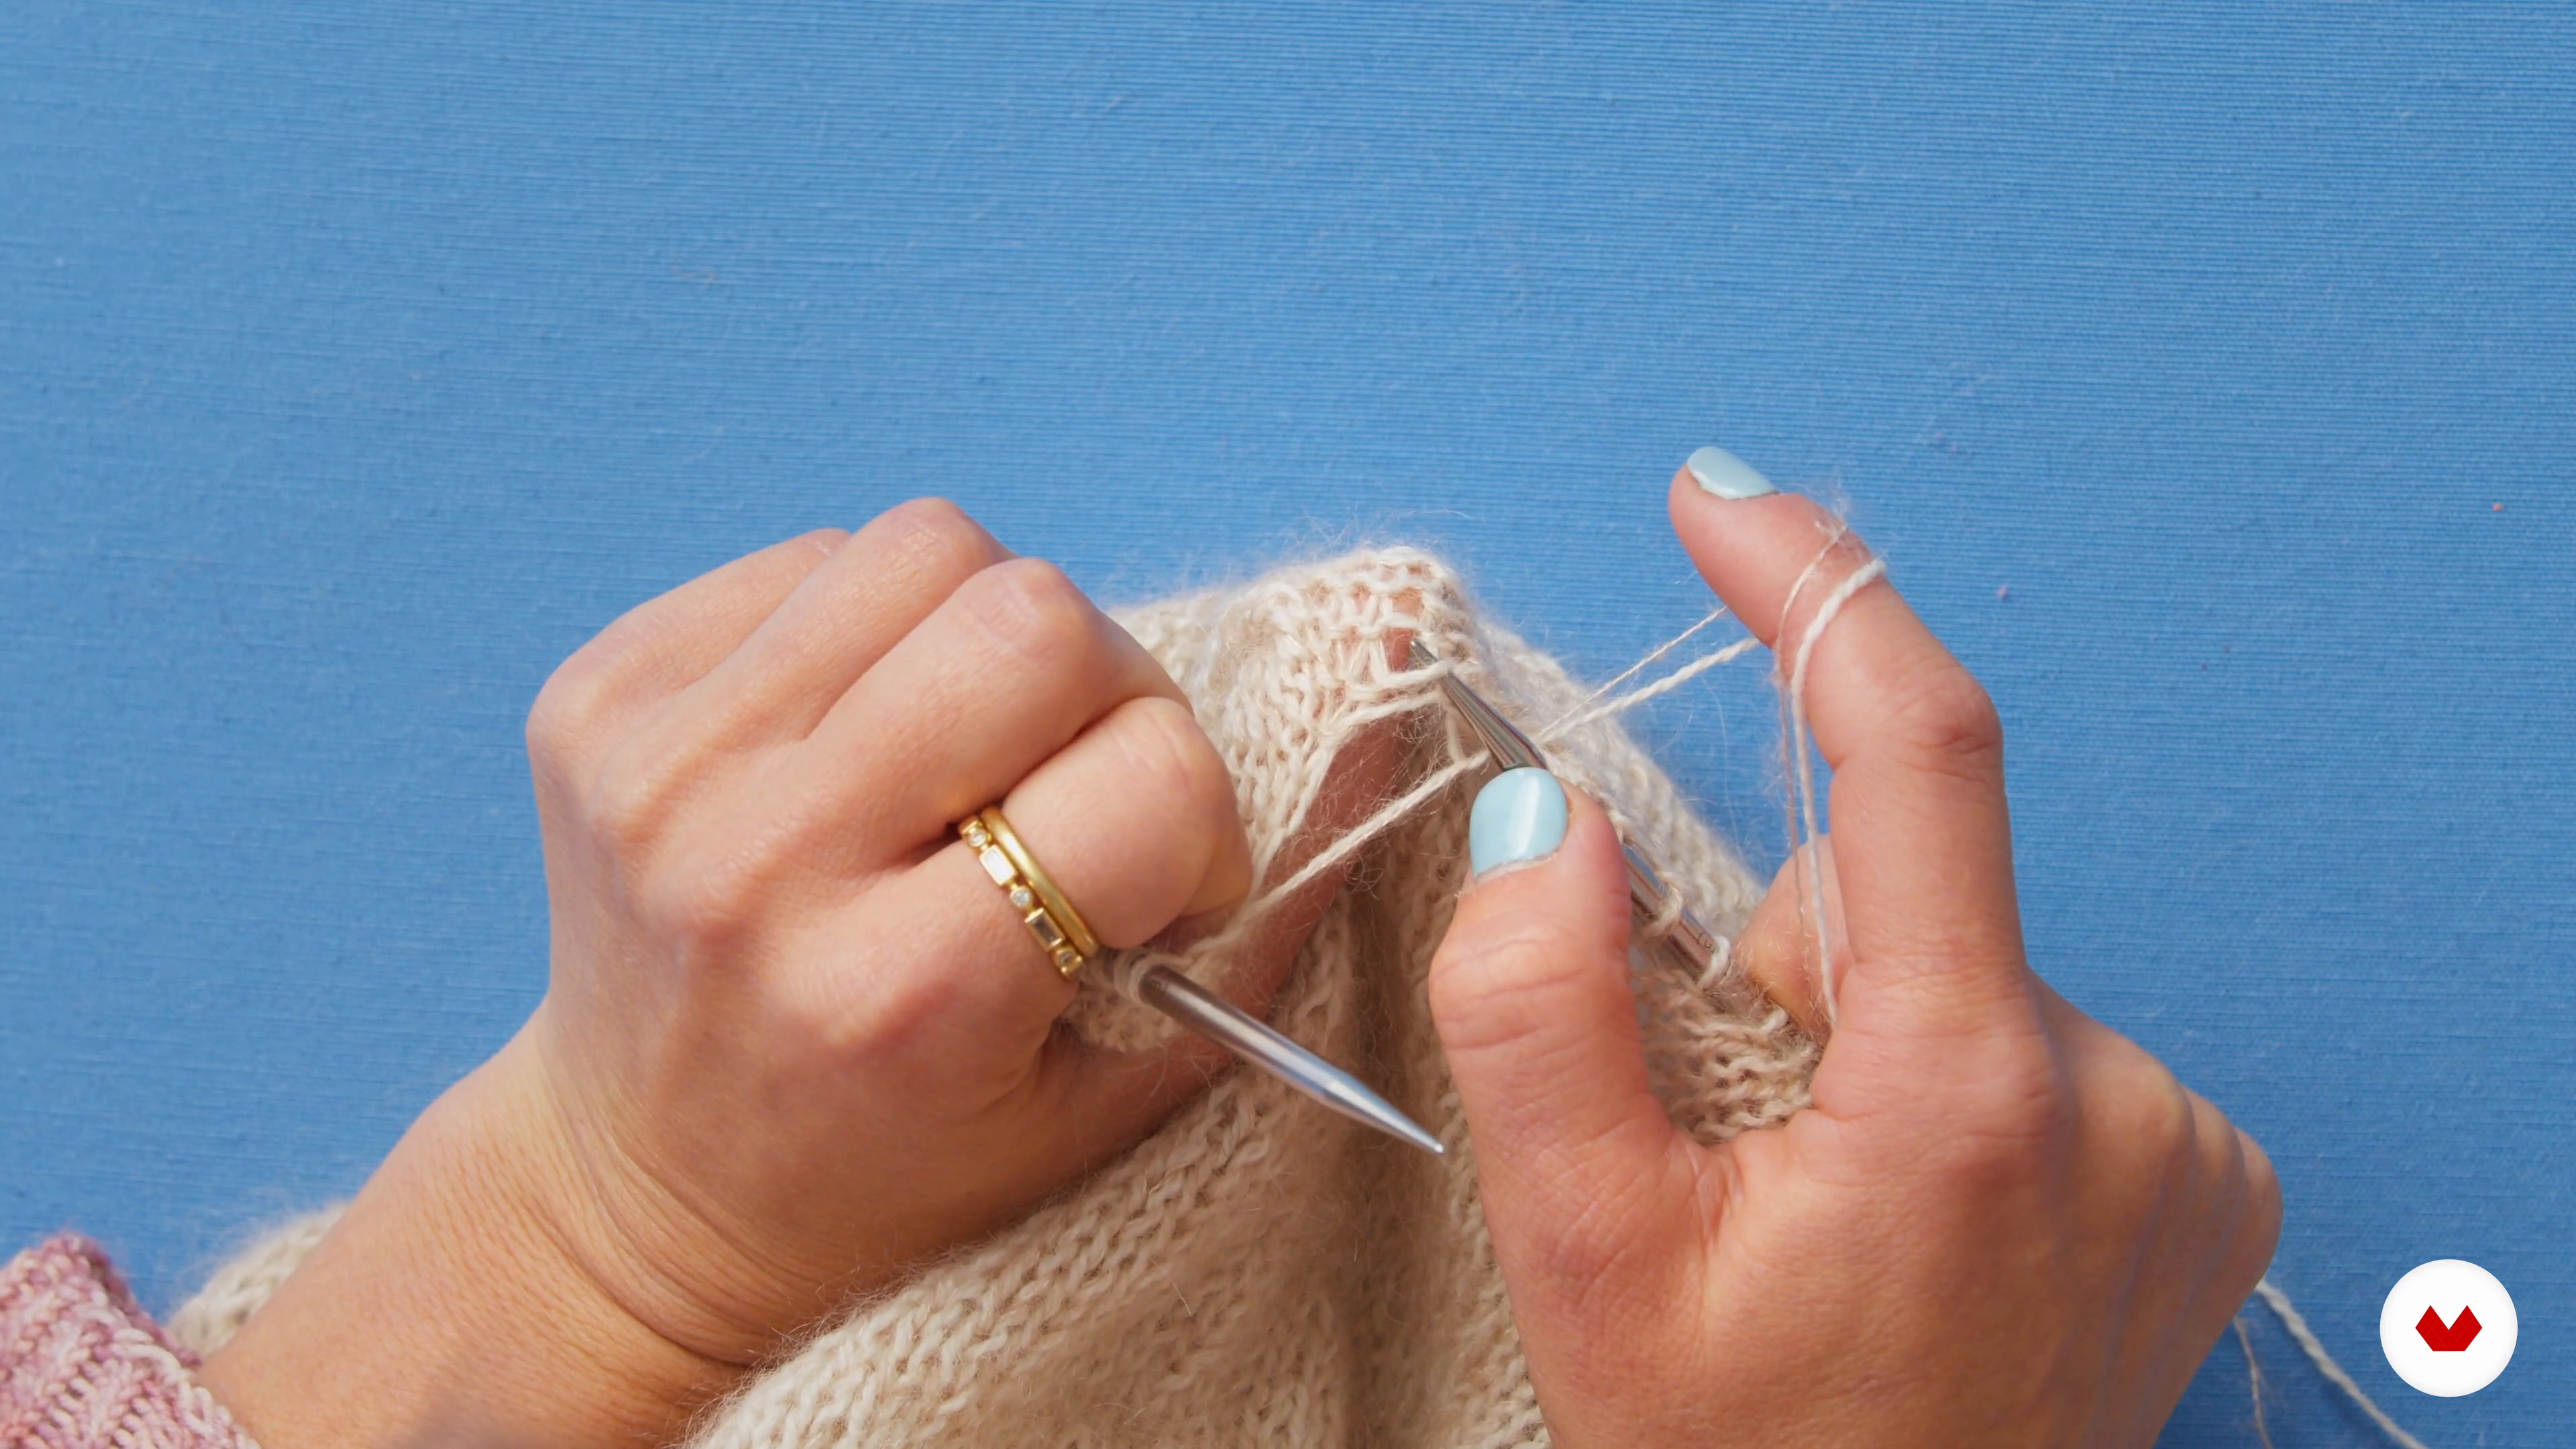
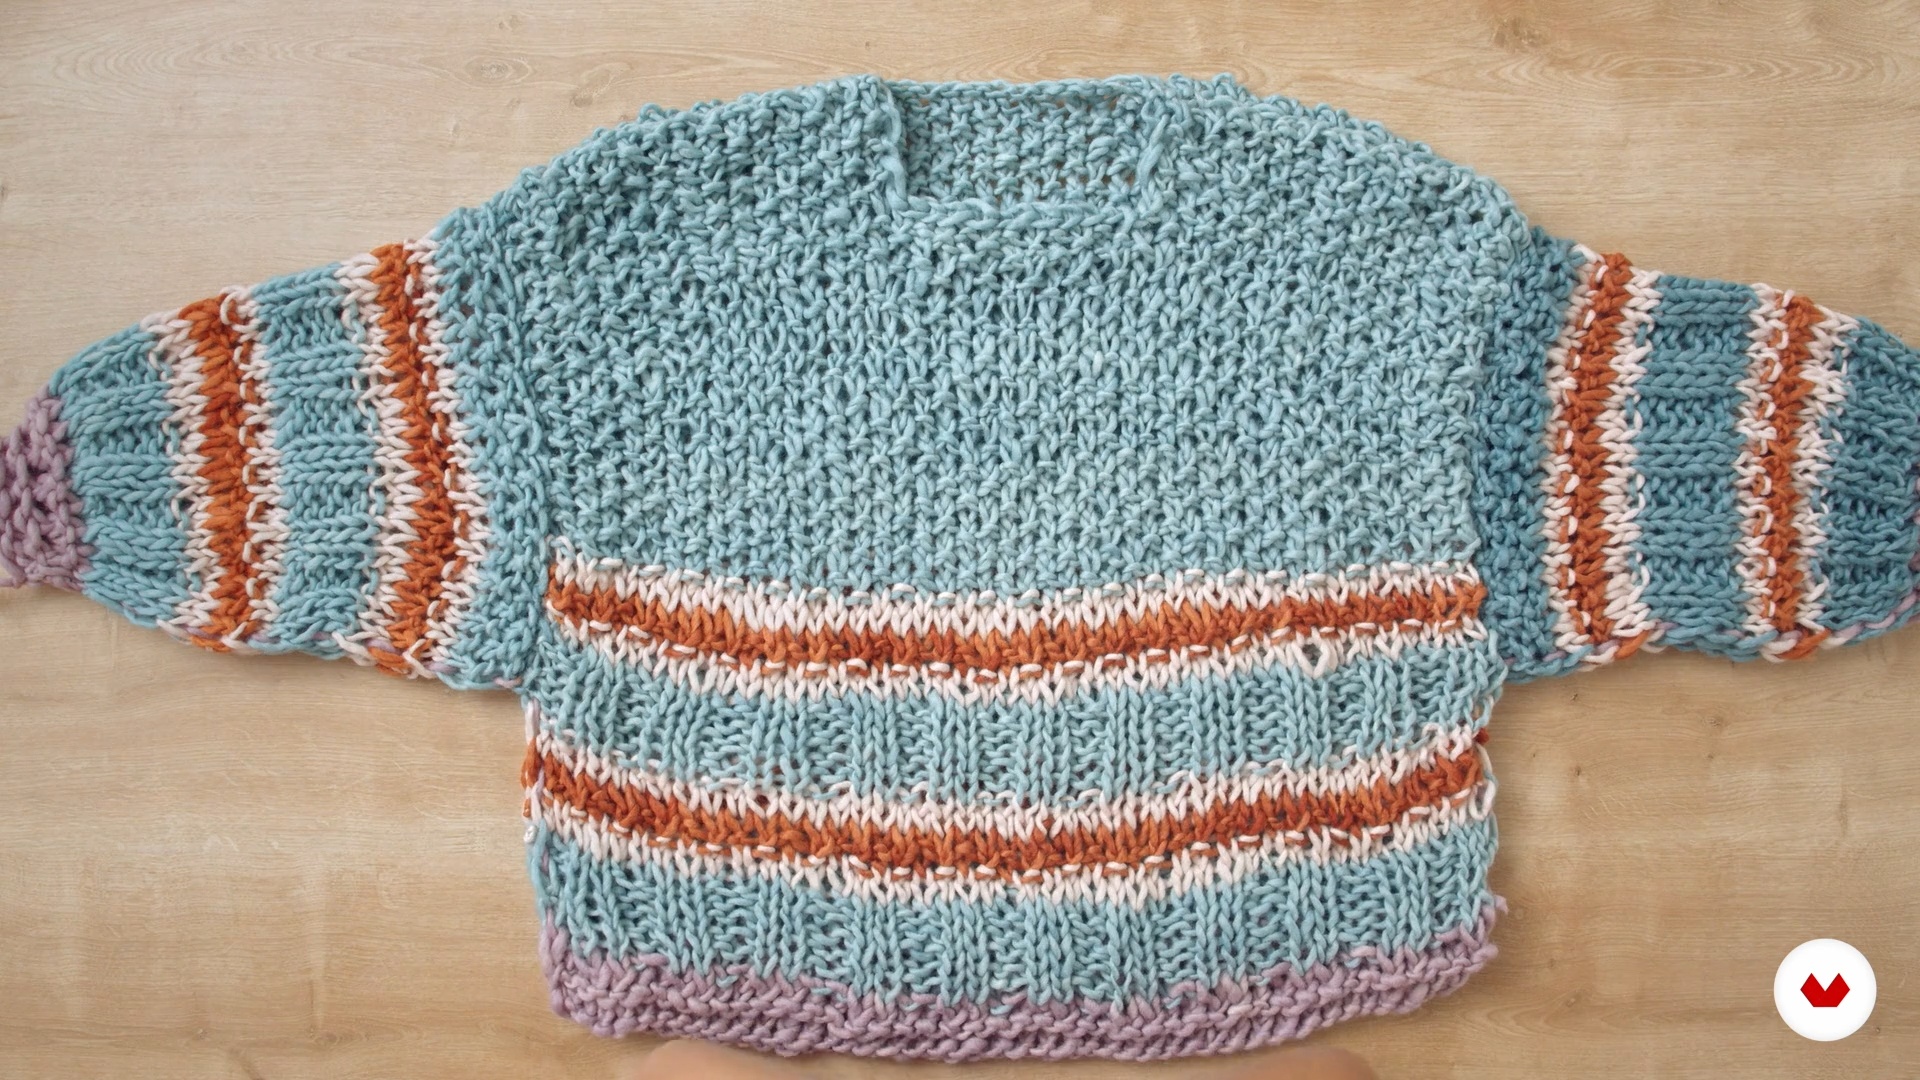
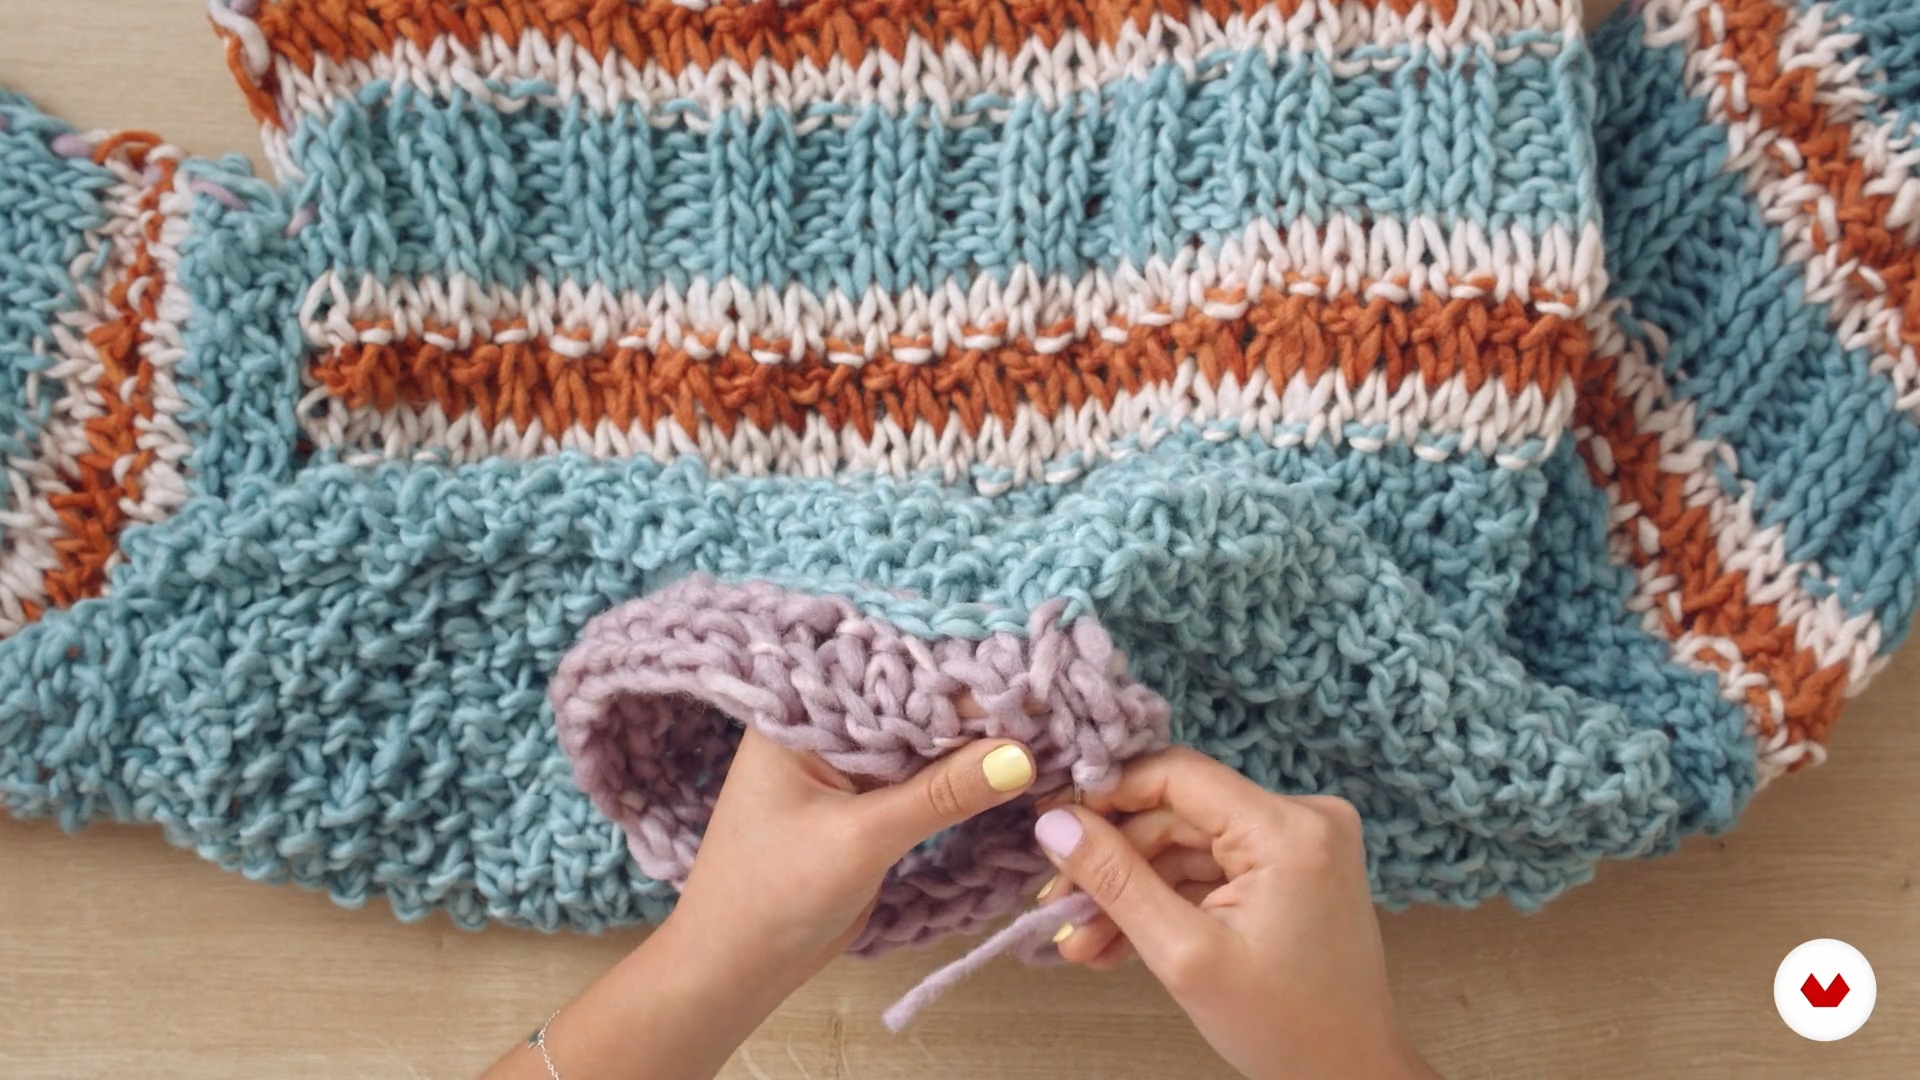
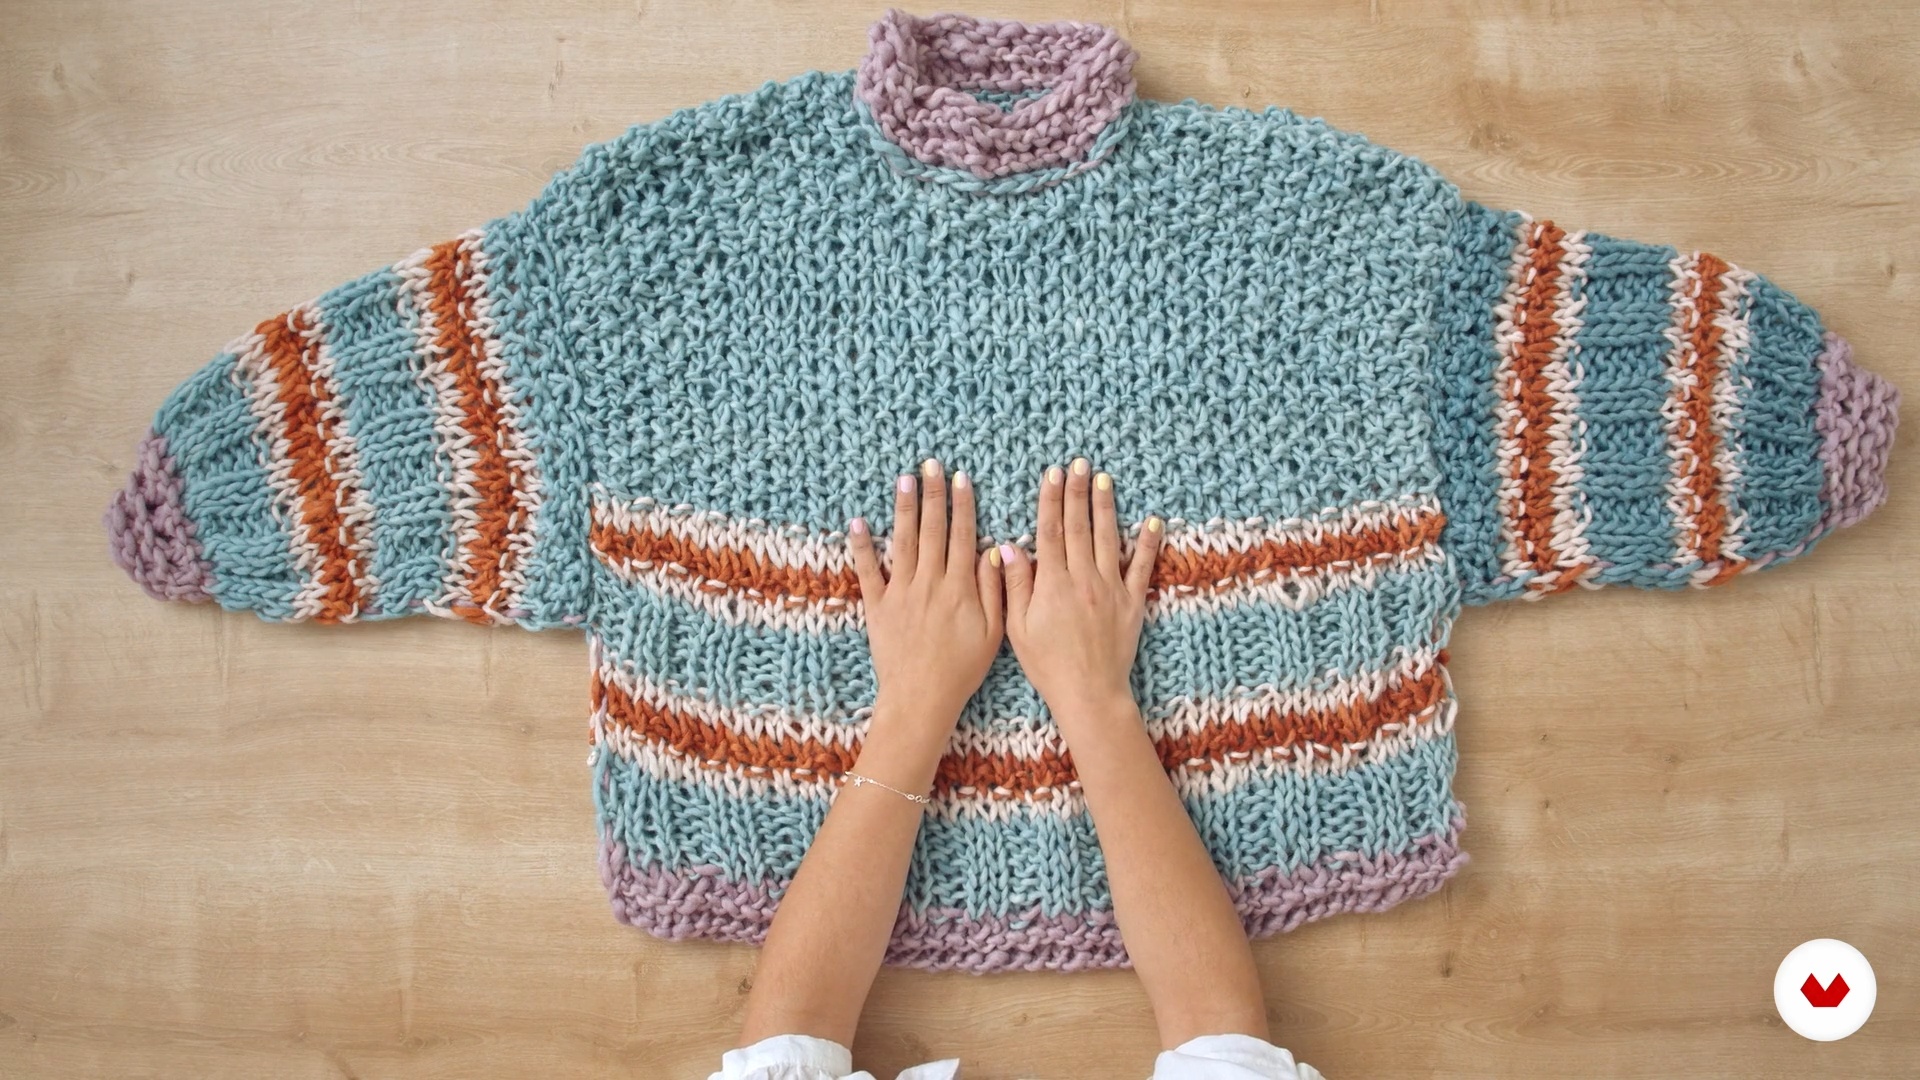
Develop your skills in knitwear design and weaving with a specialization that combines modern and traditional techniques. Learn to knit seamlessly using circular needles, a technique that improves garment drape and eliminates gathers. With the jacquard technique, incorporate colorful motifs and patterns while learning to manage multiple threads and maintain proper tension. Discover how to create children's garments from the neck down using the raglan technique, achieving a perfect fit without seams.
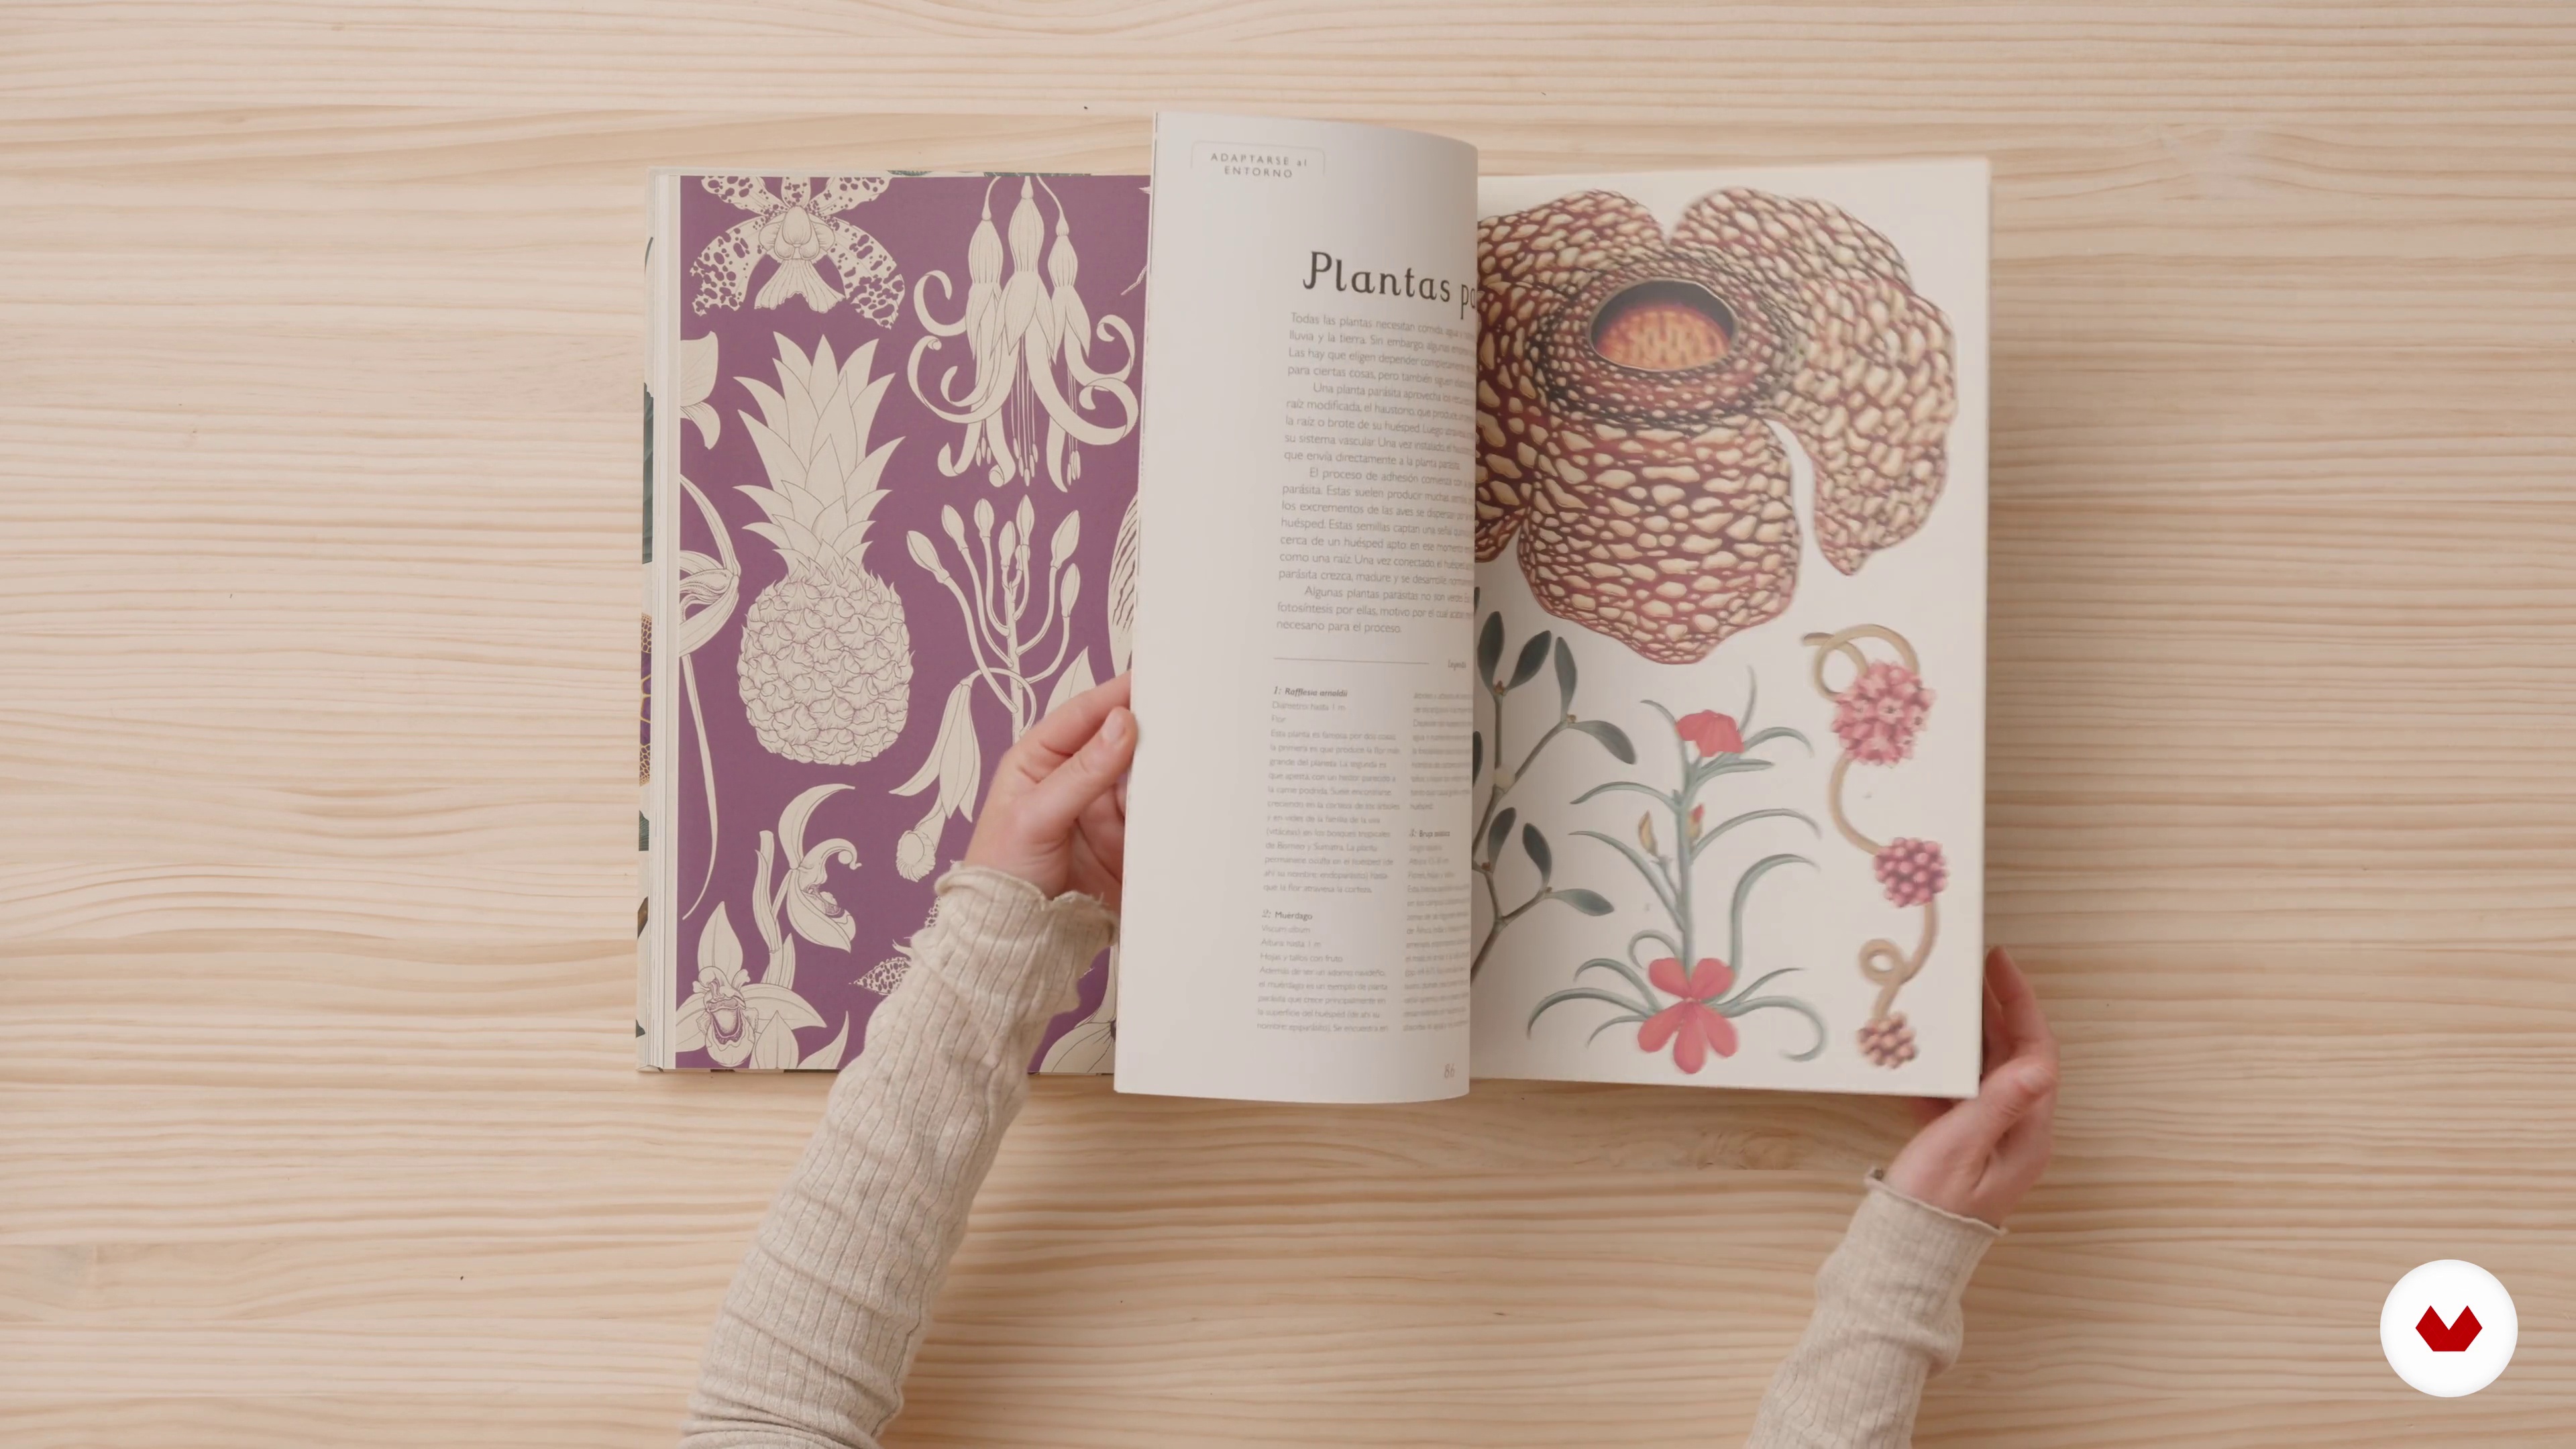
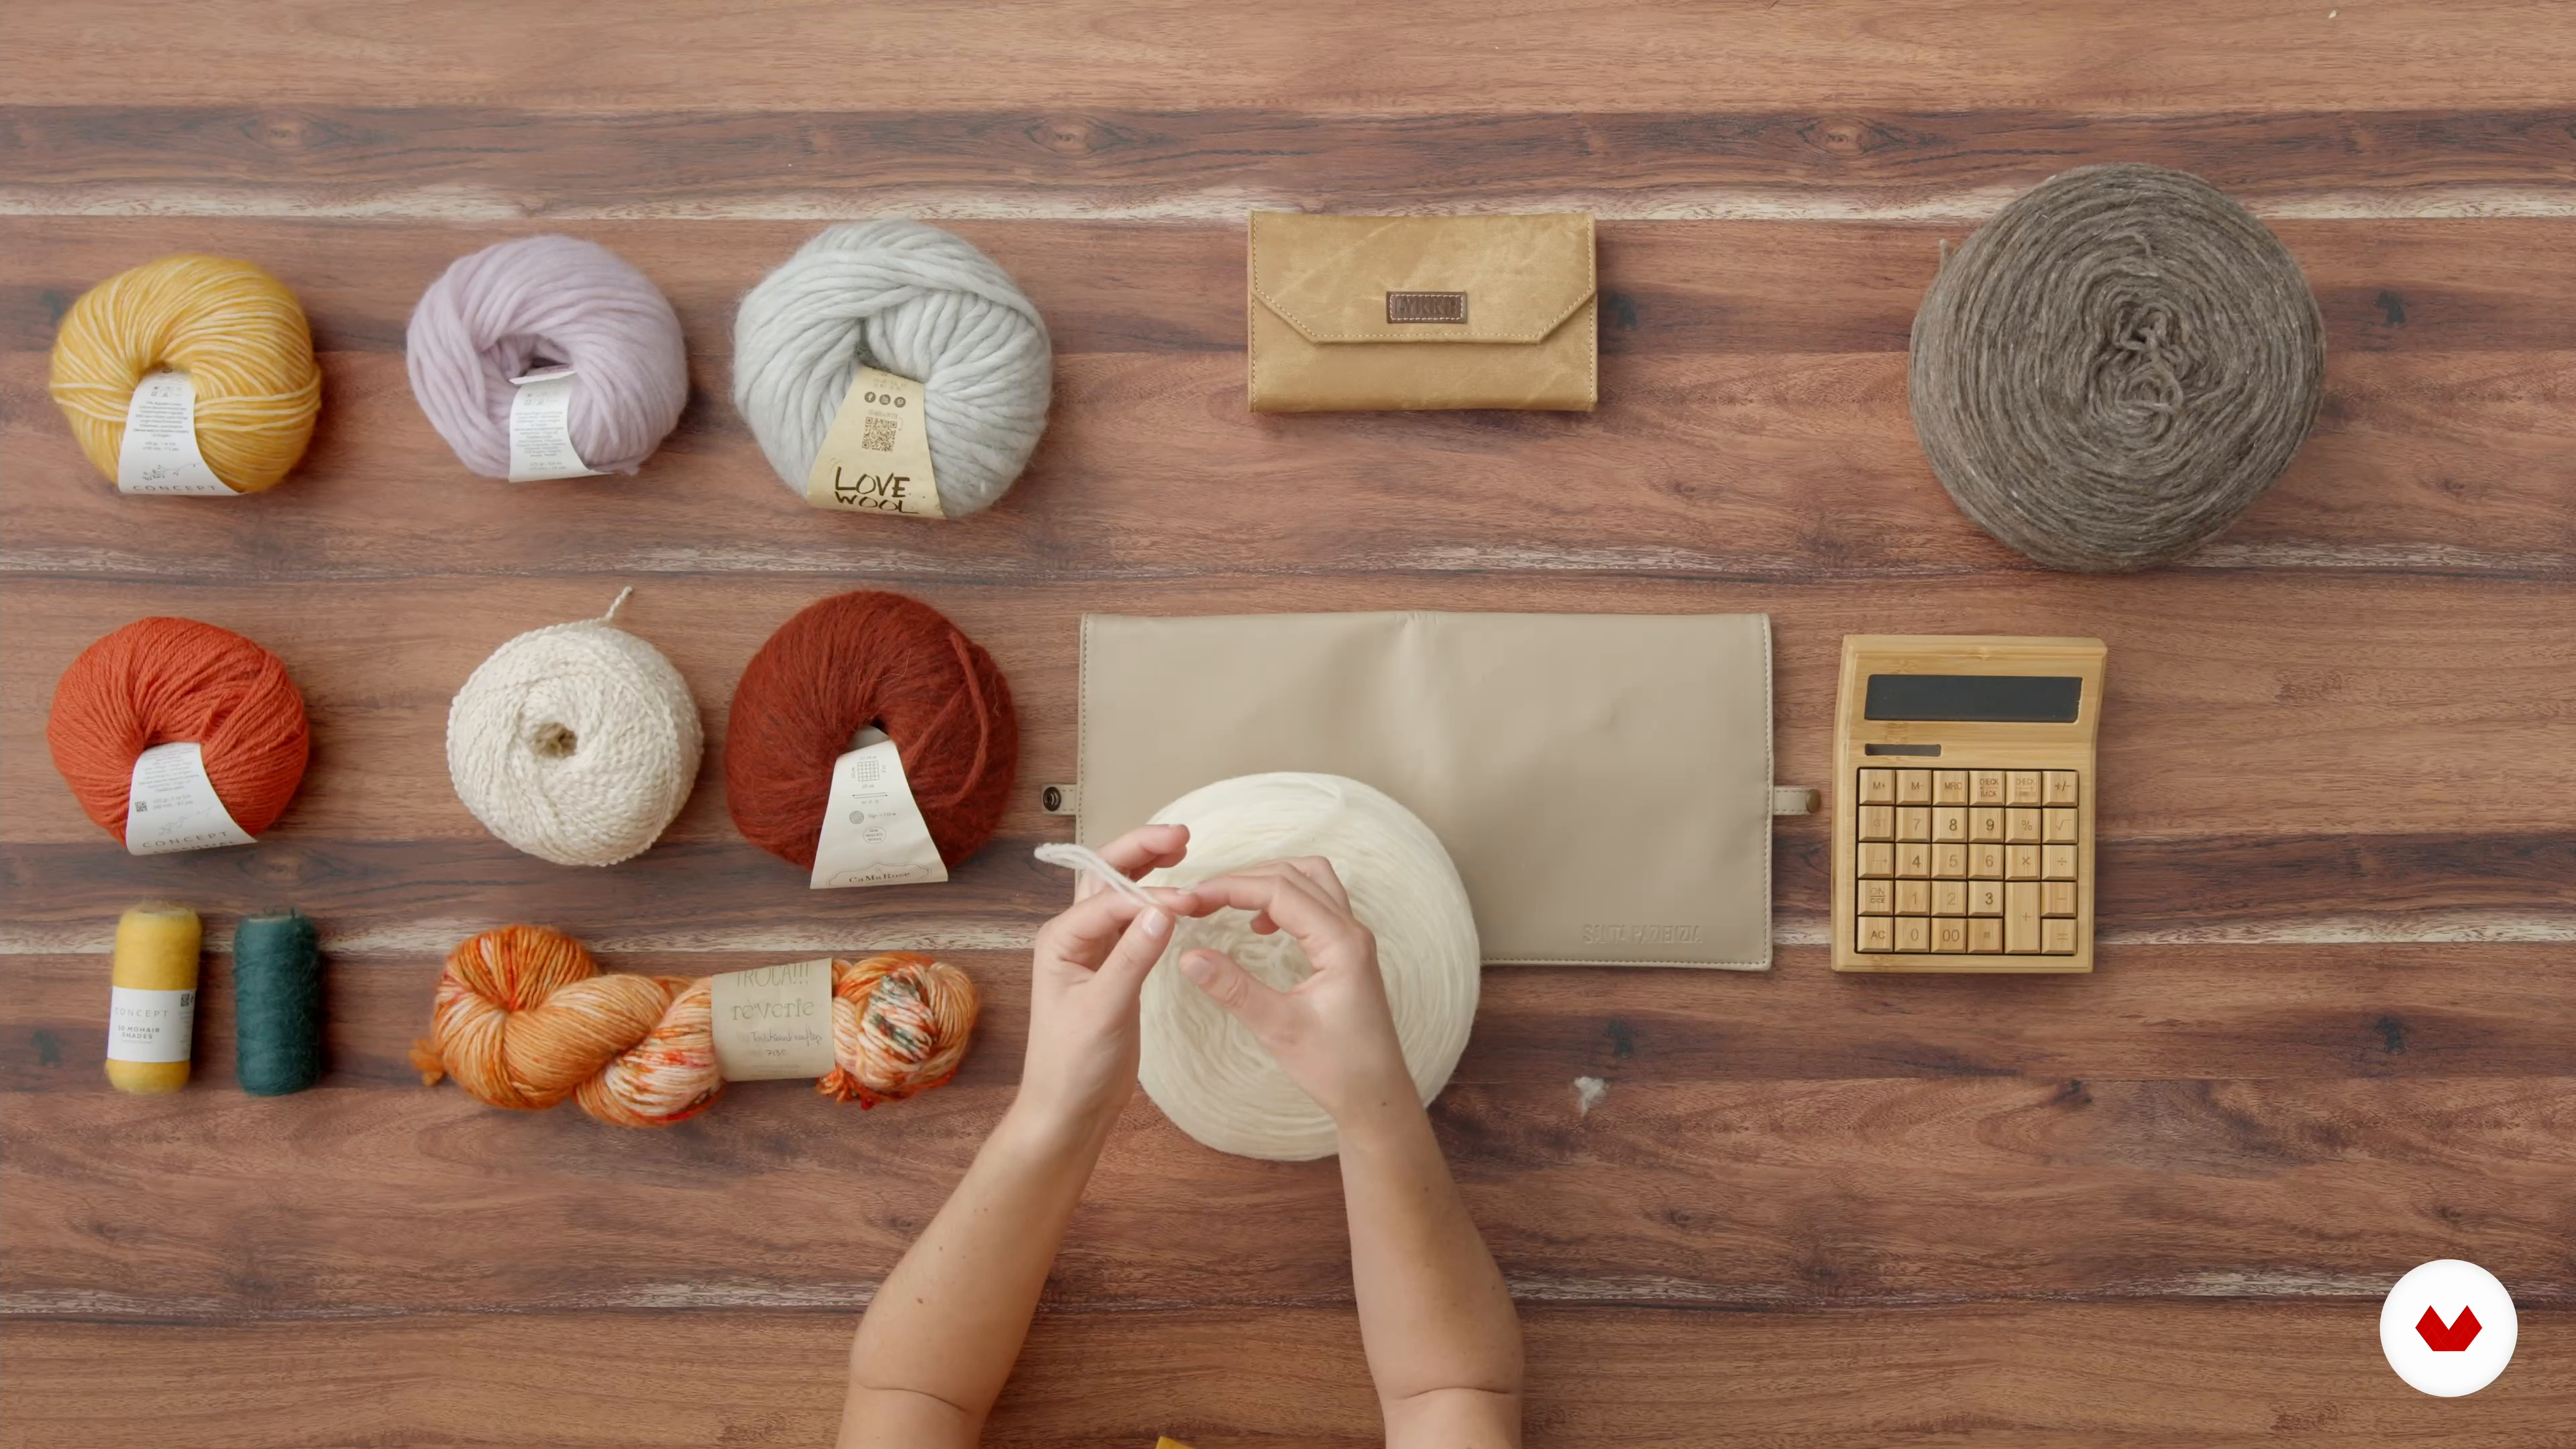
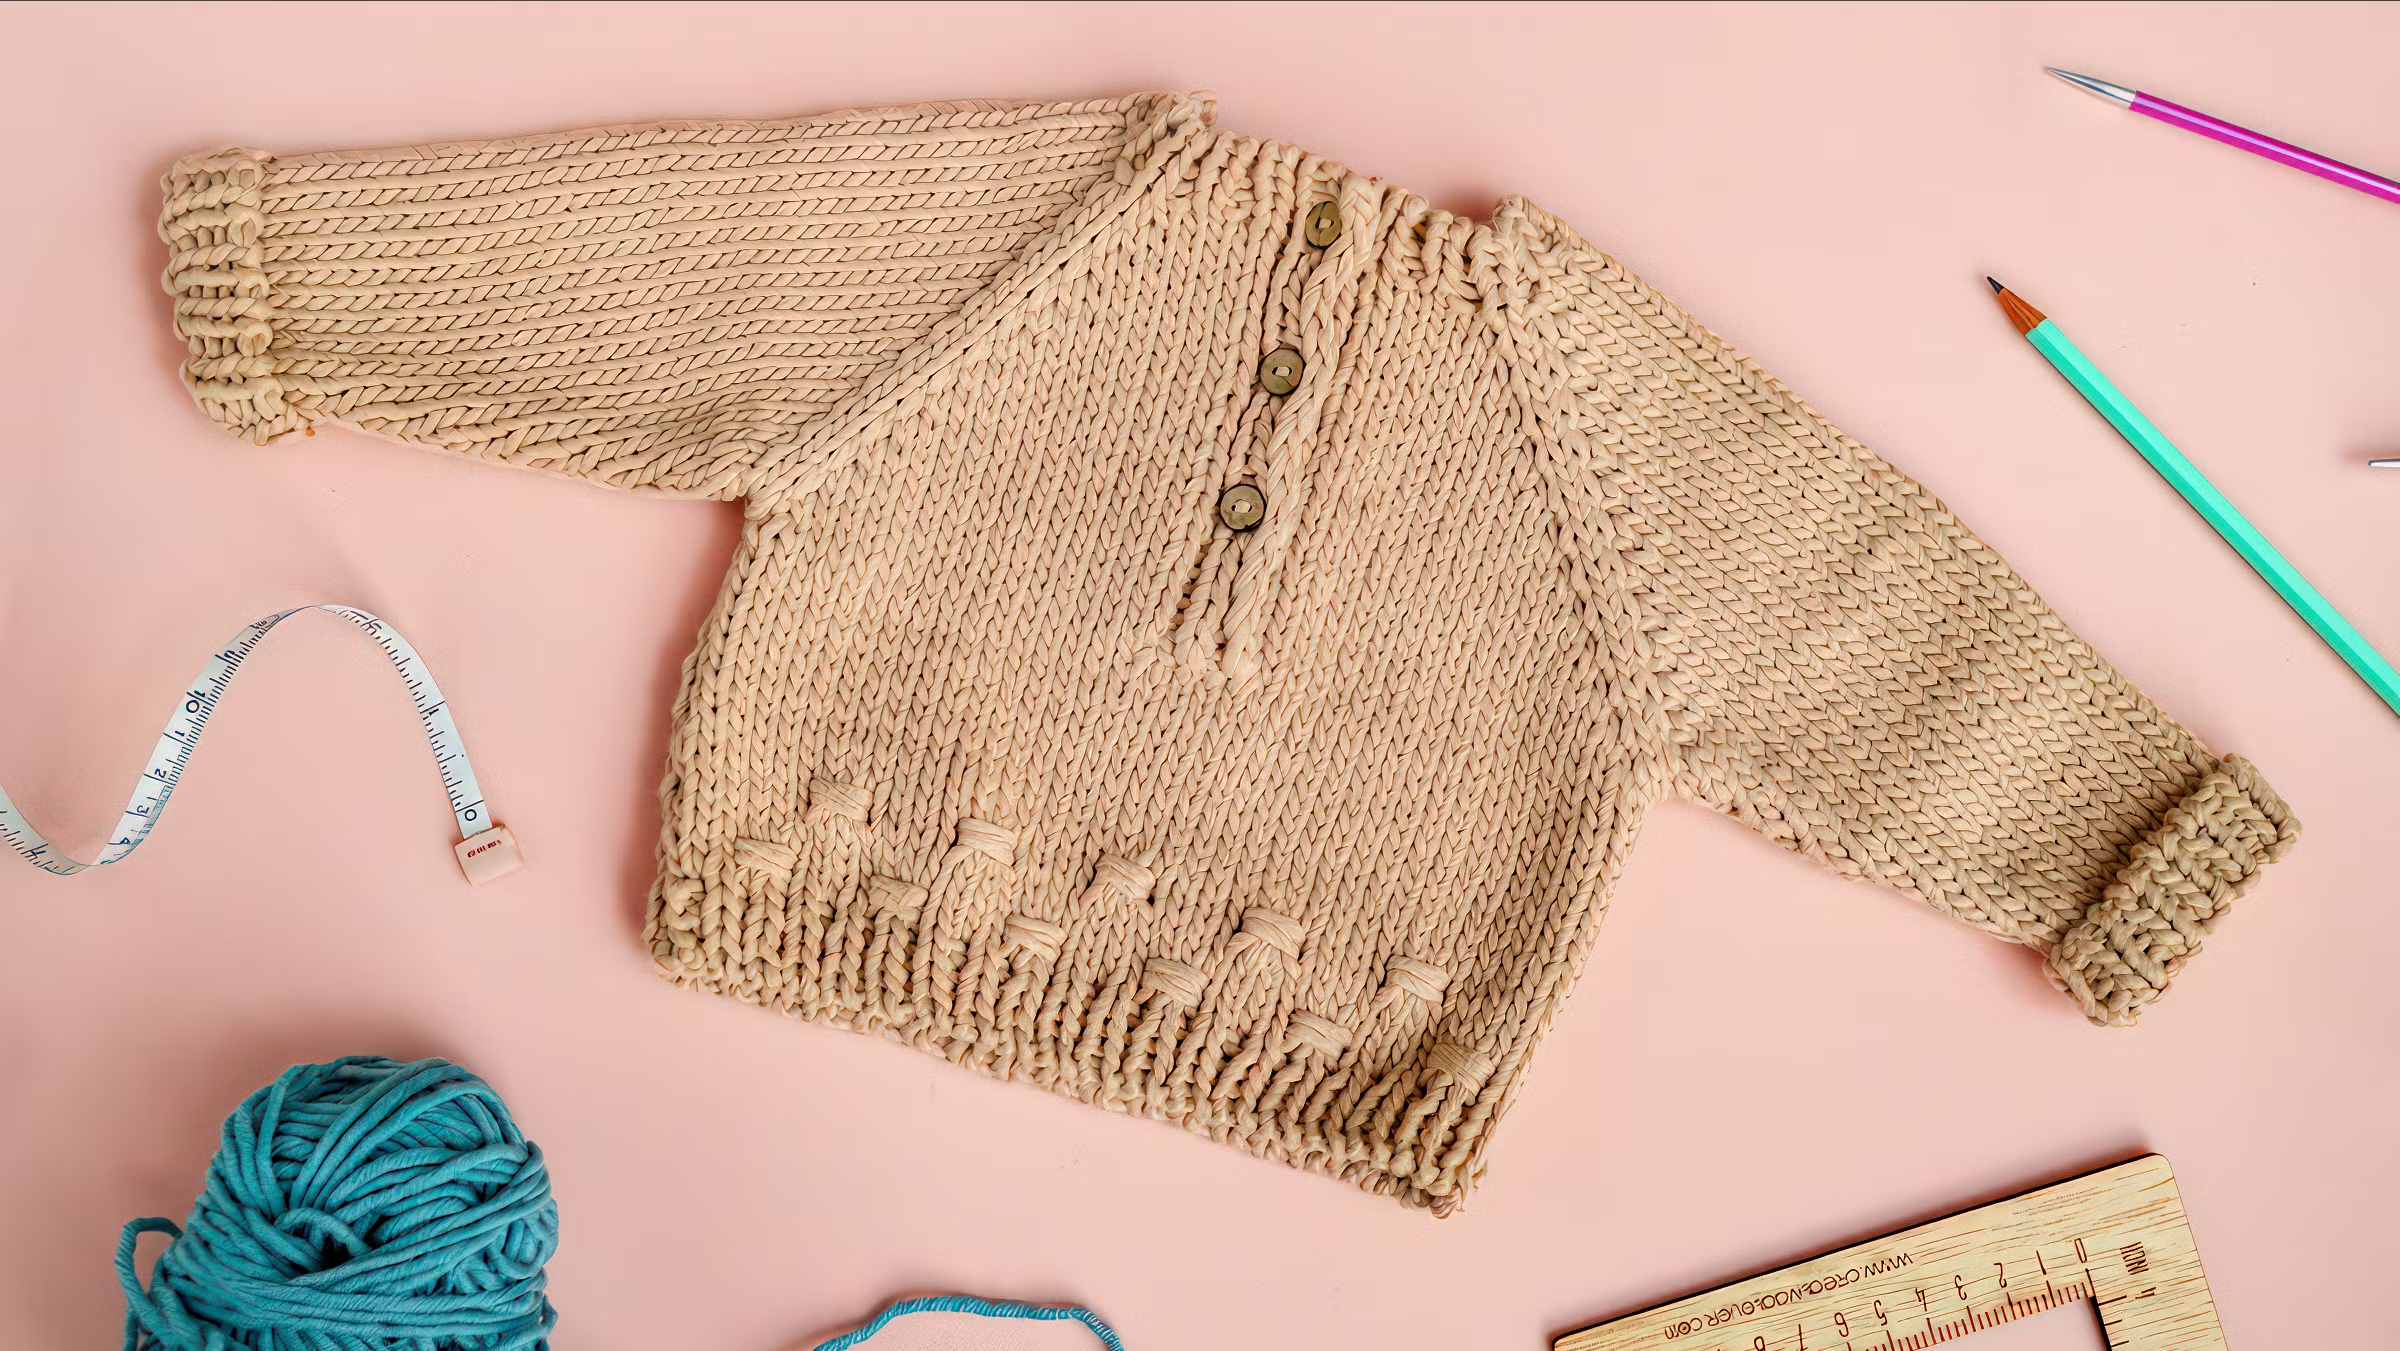
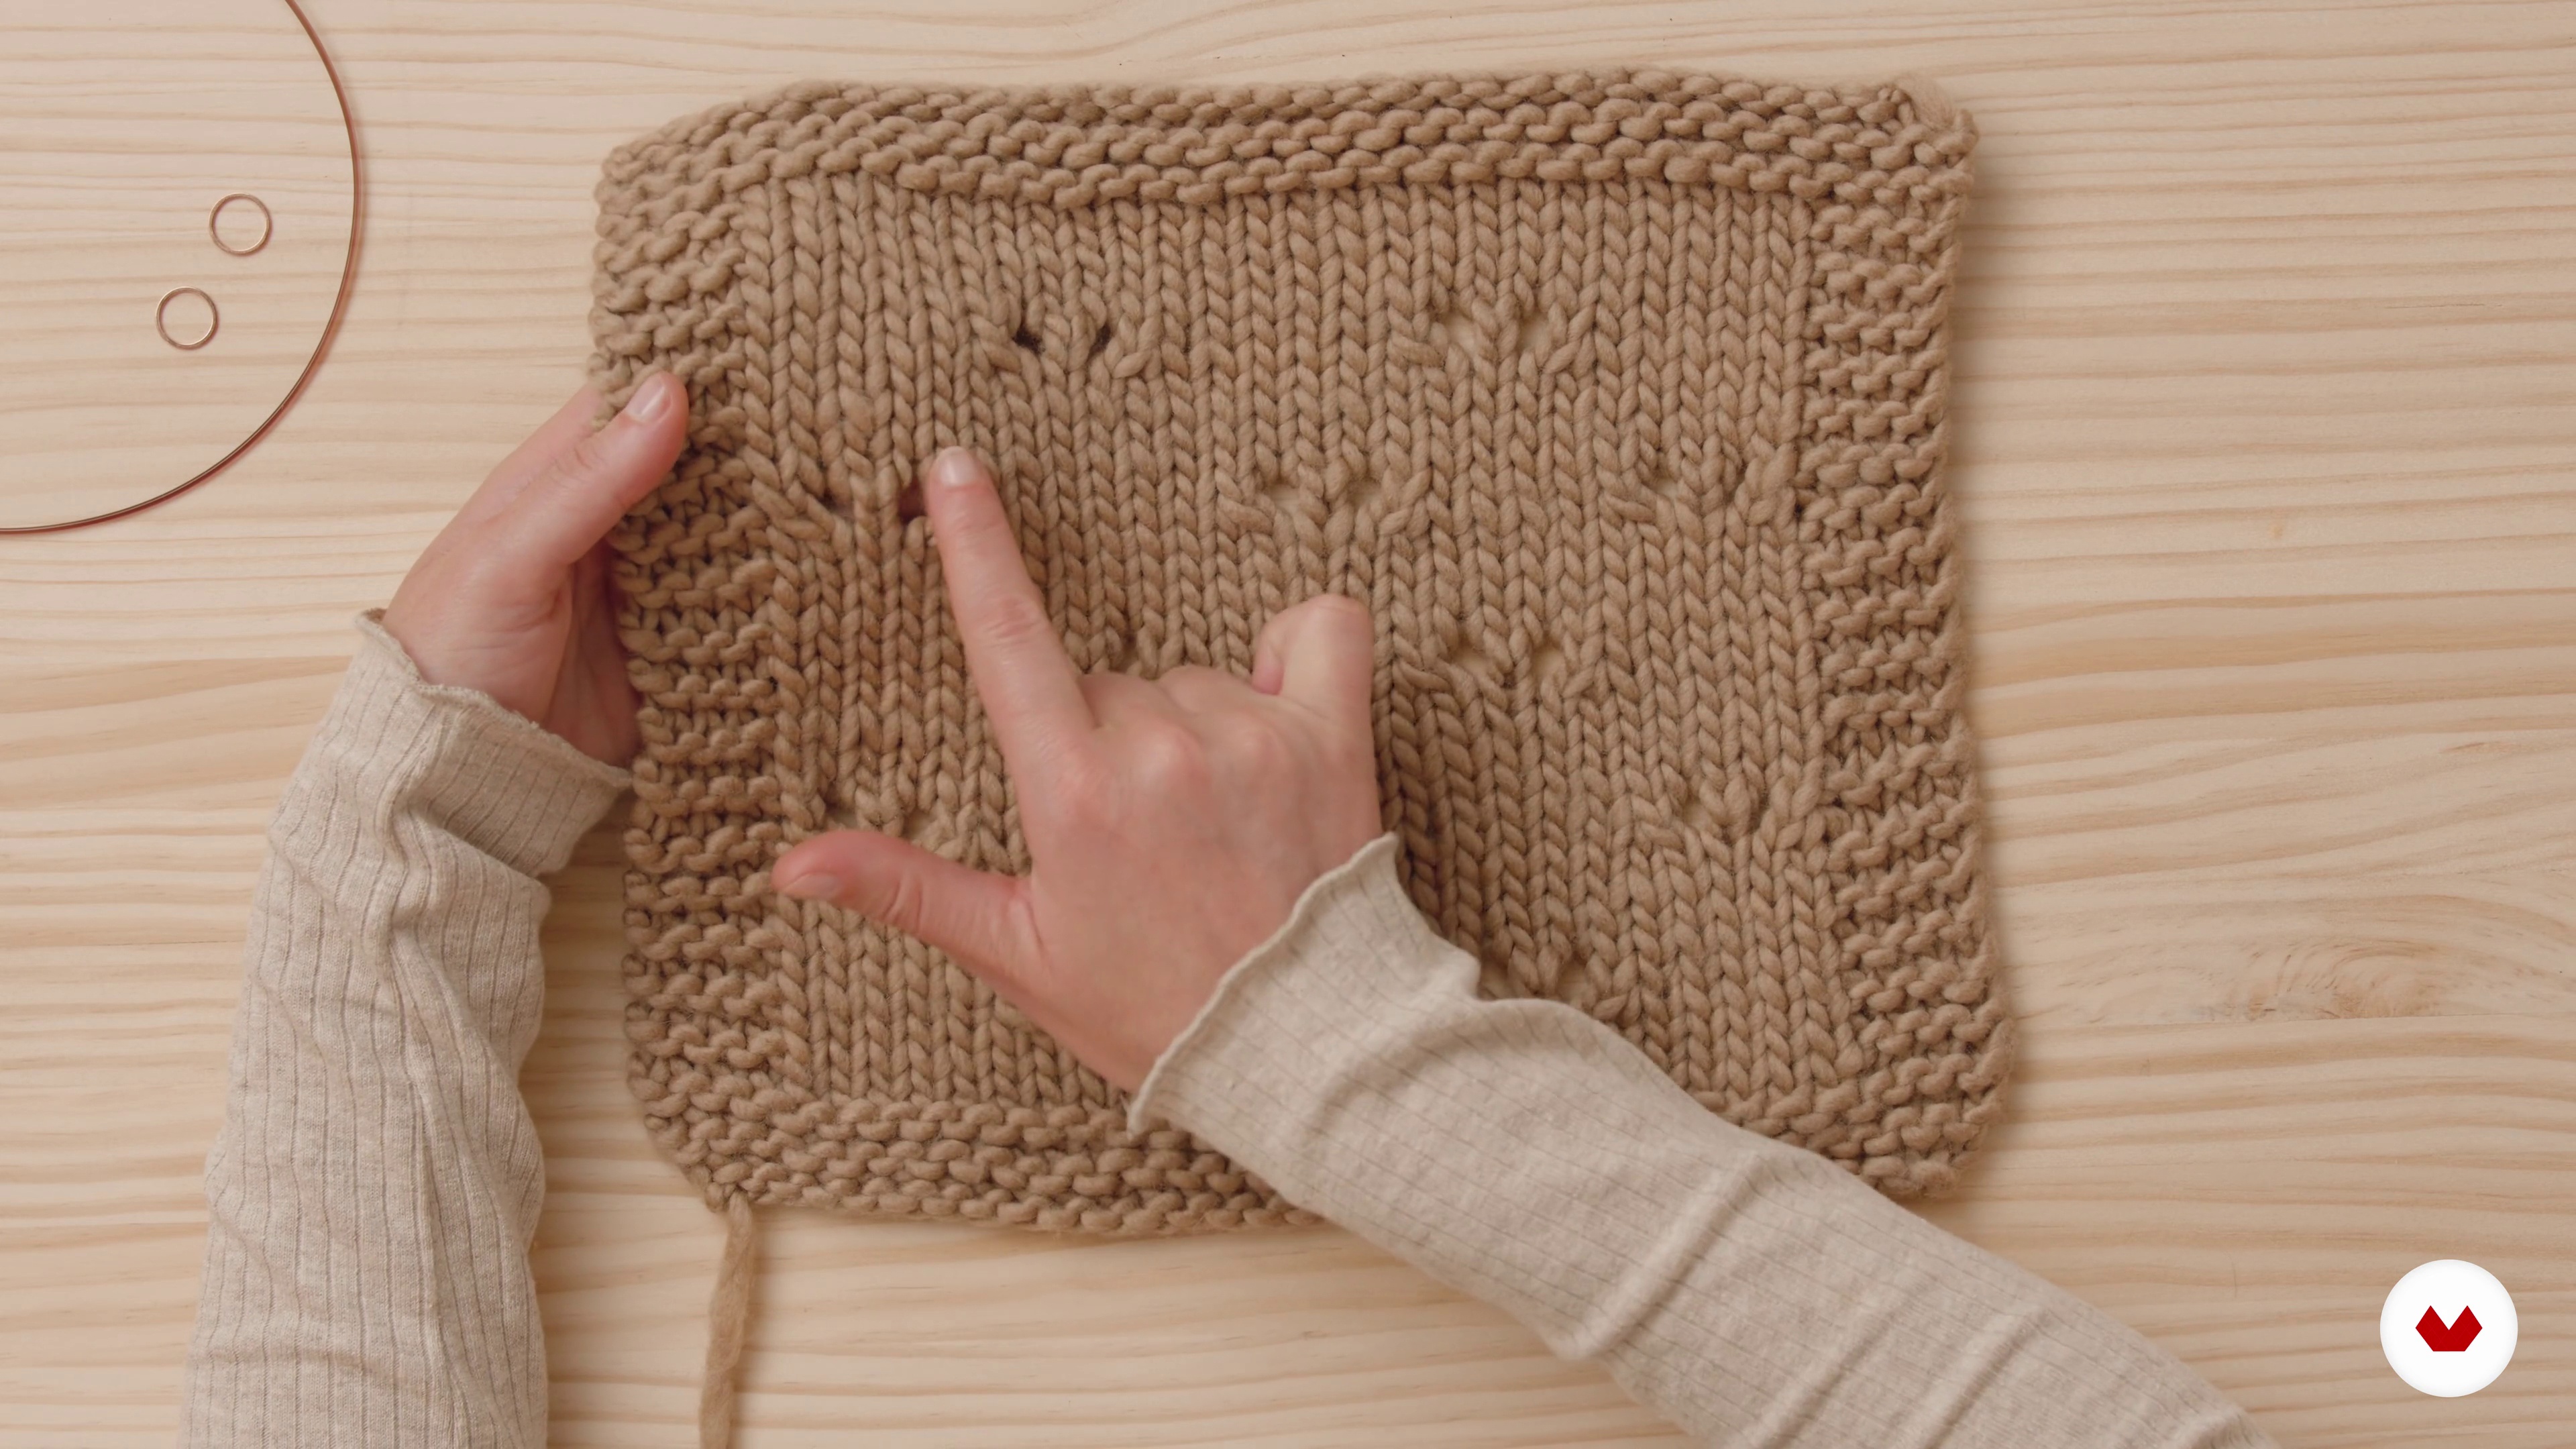
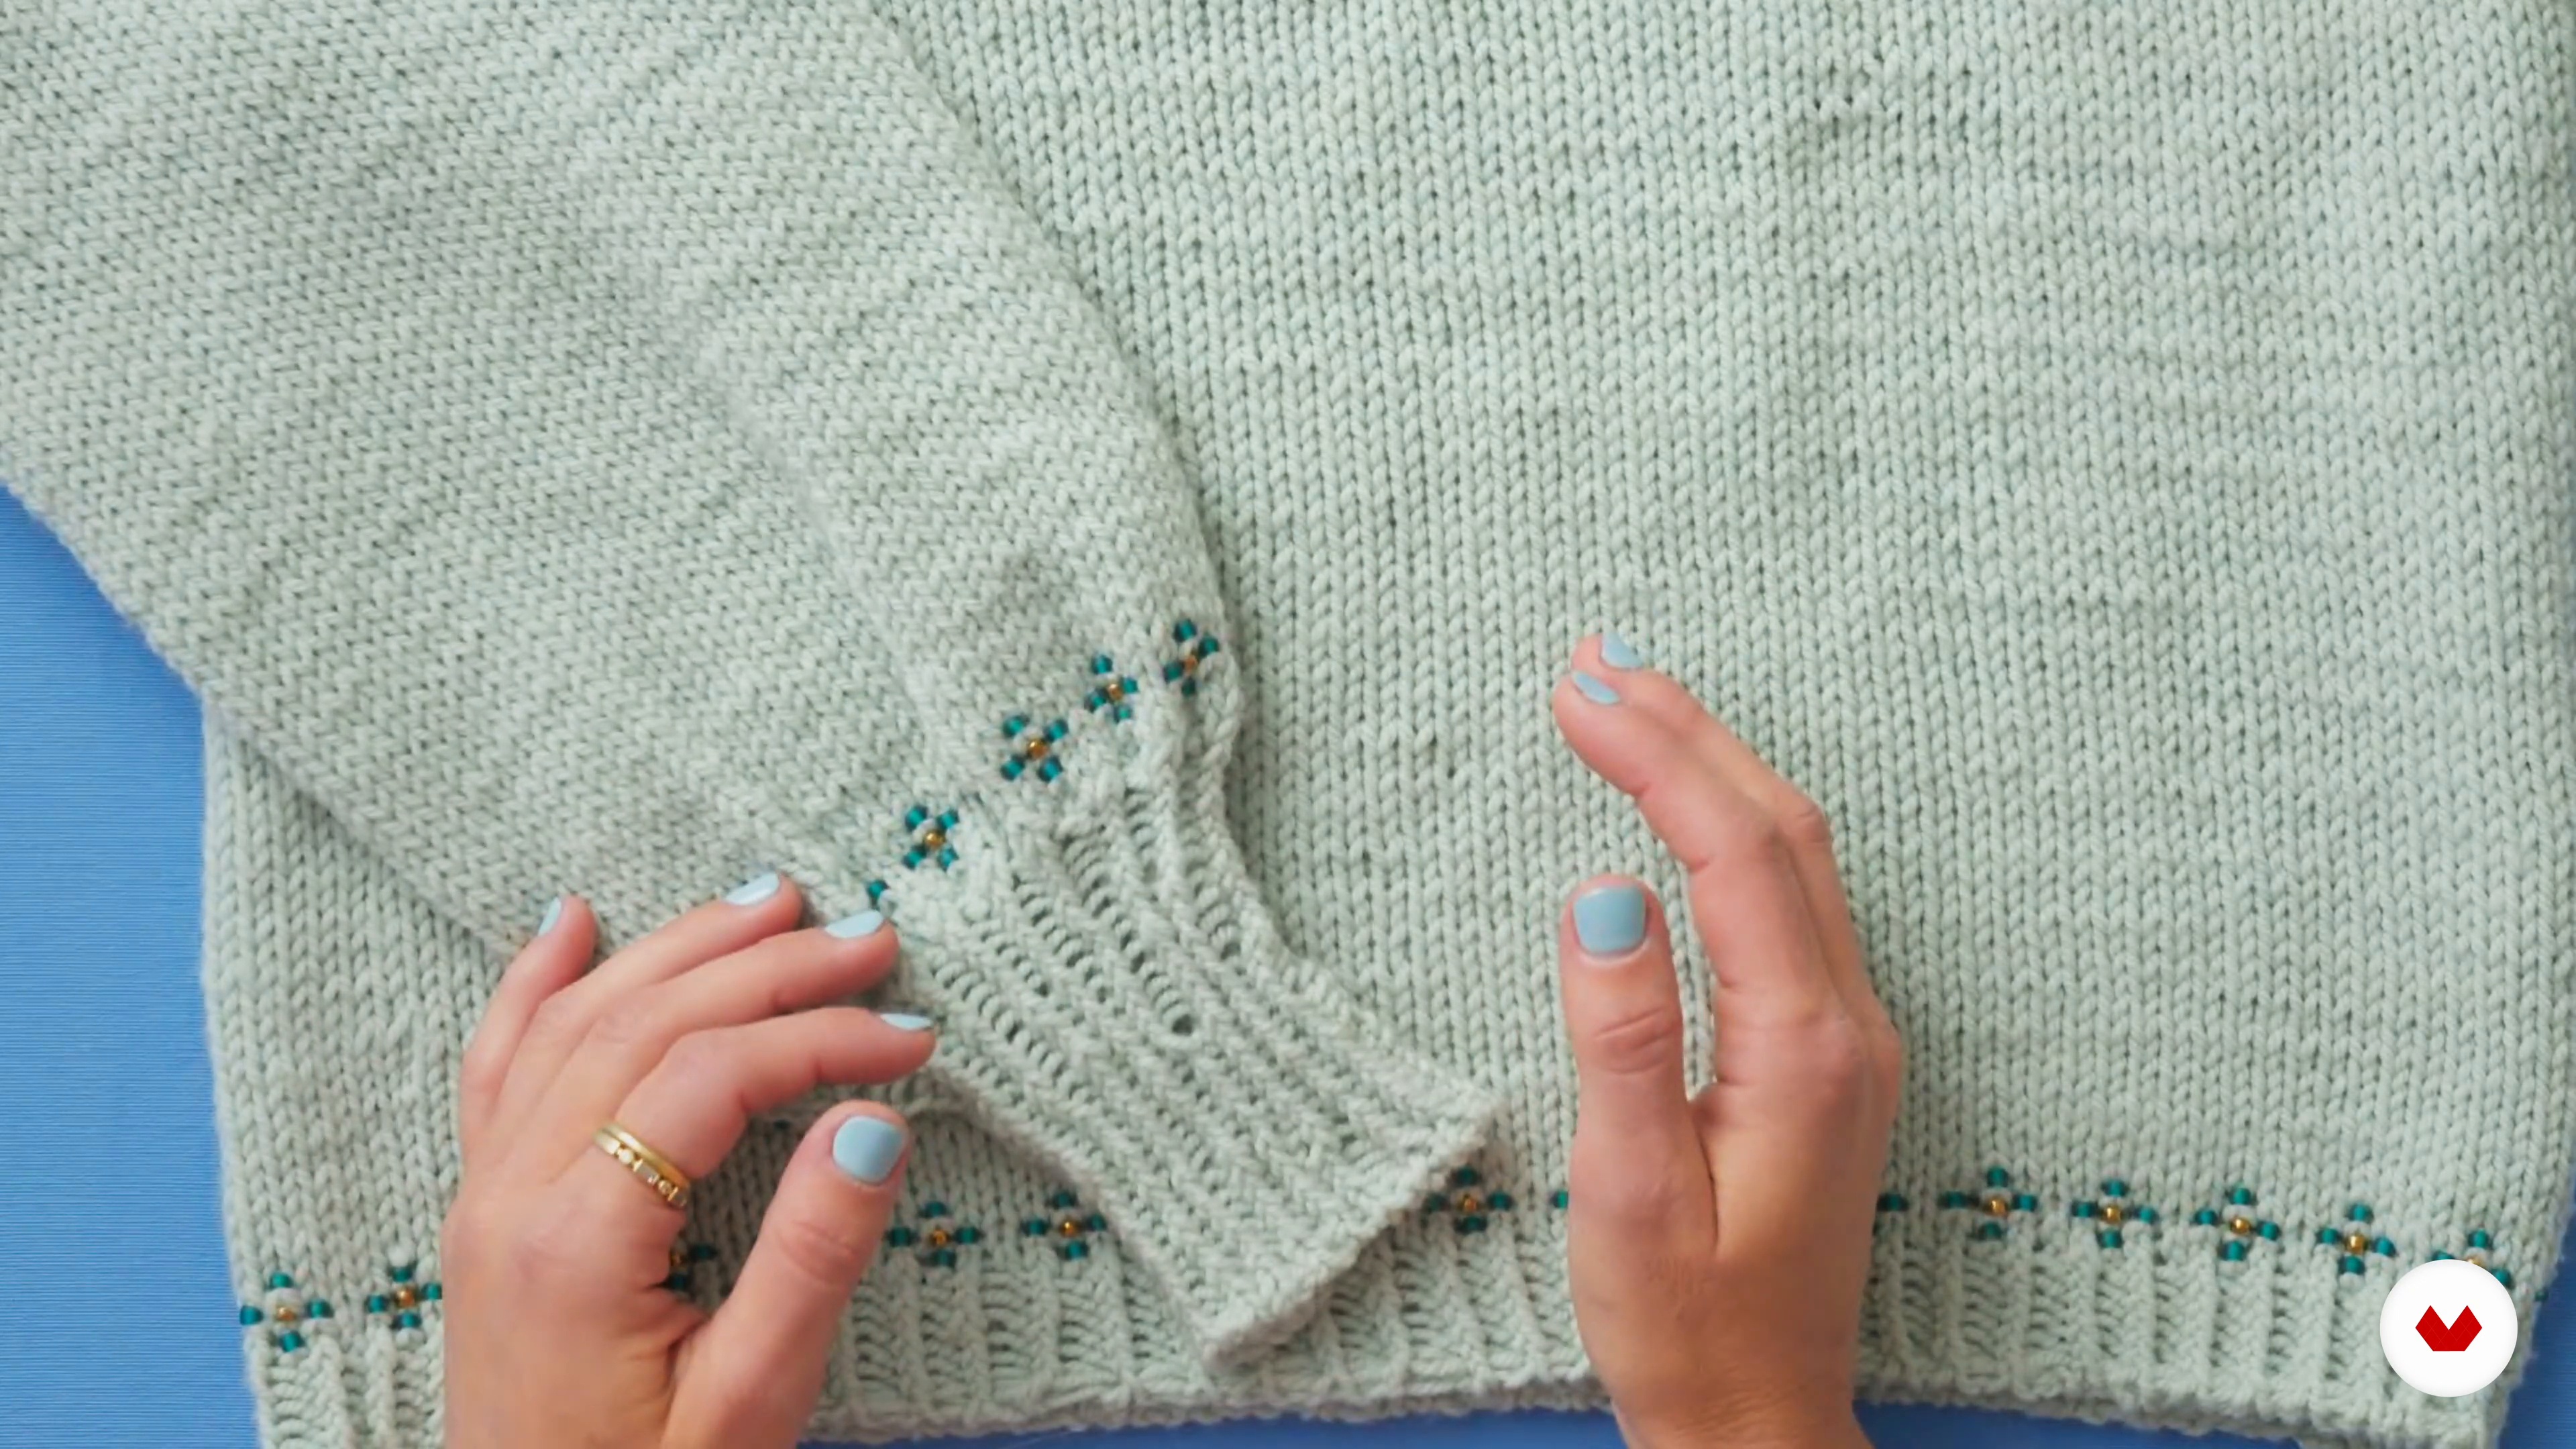
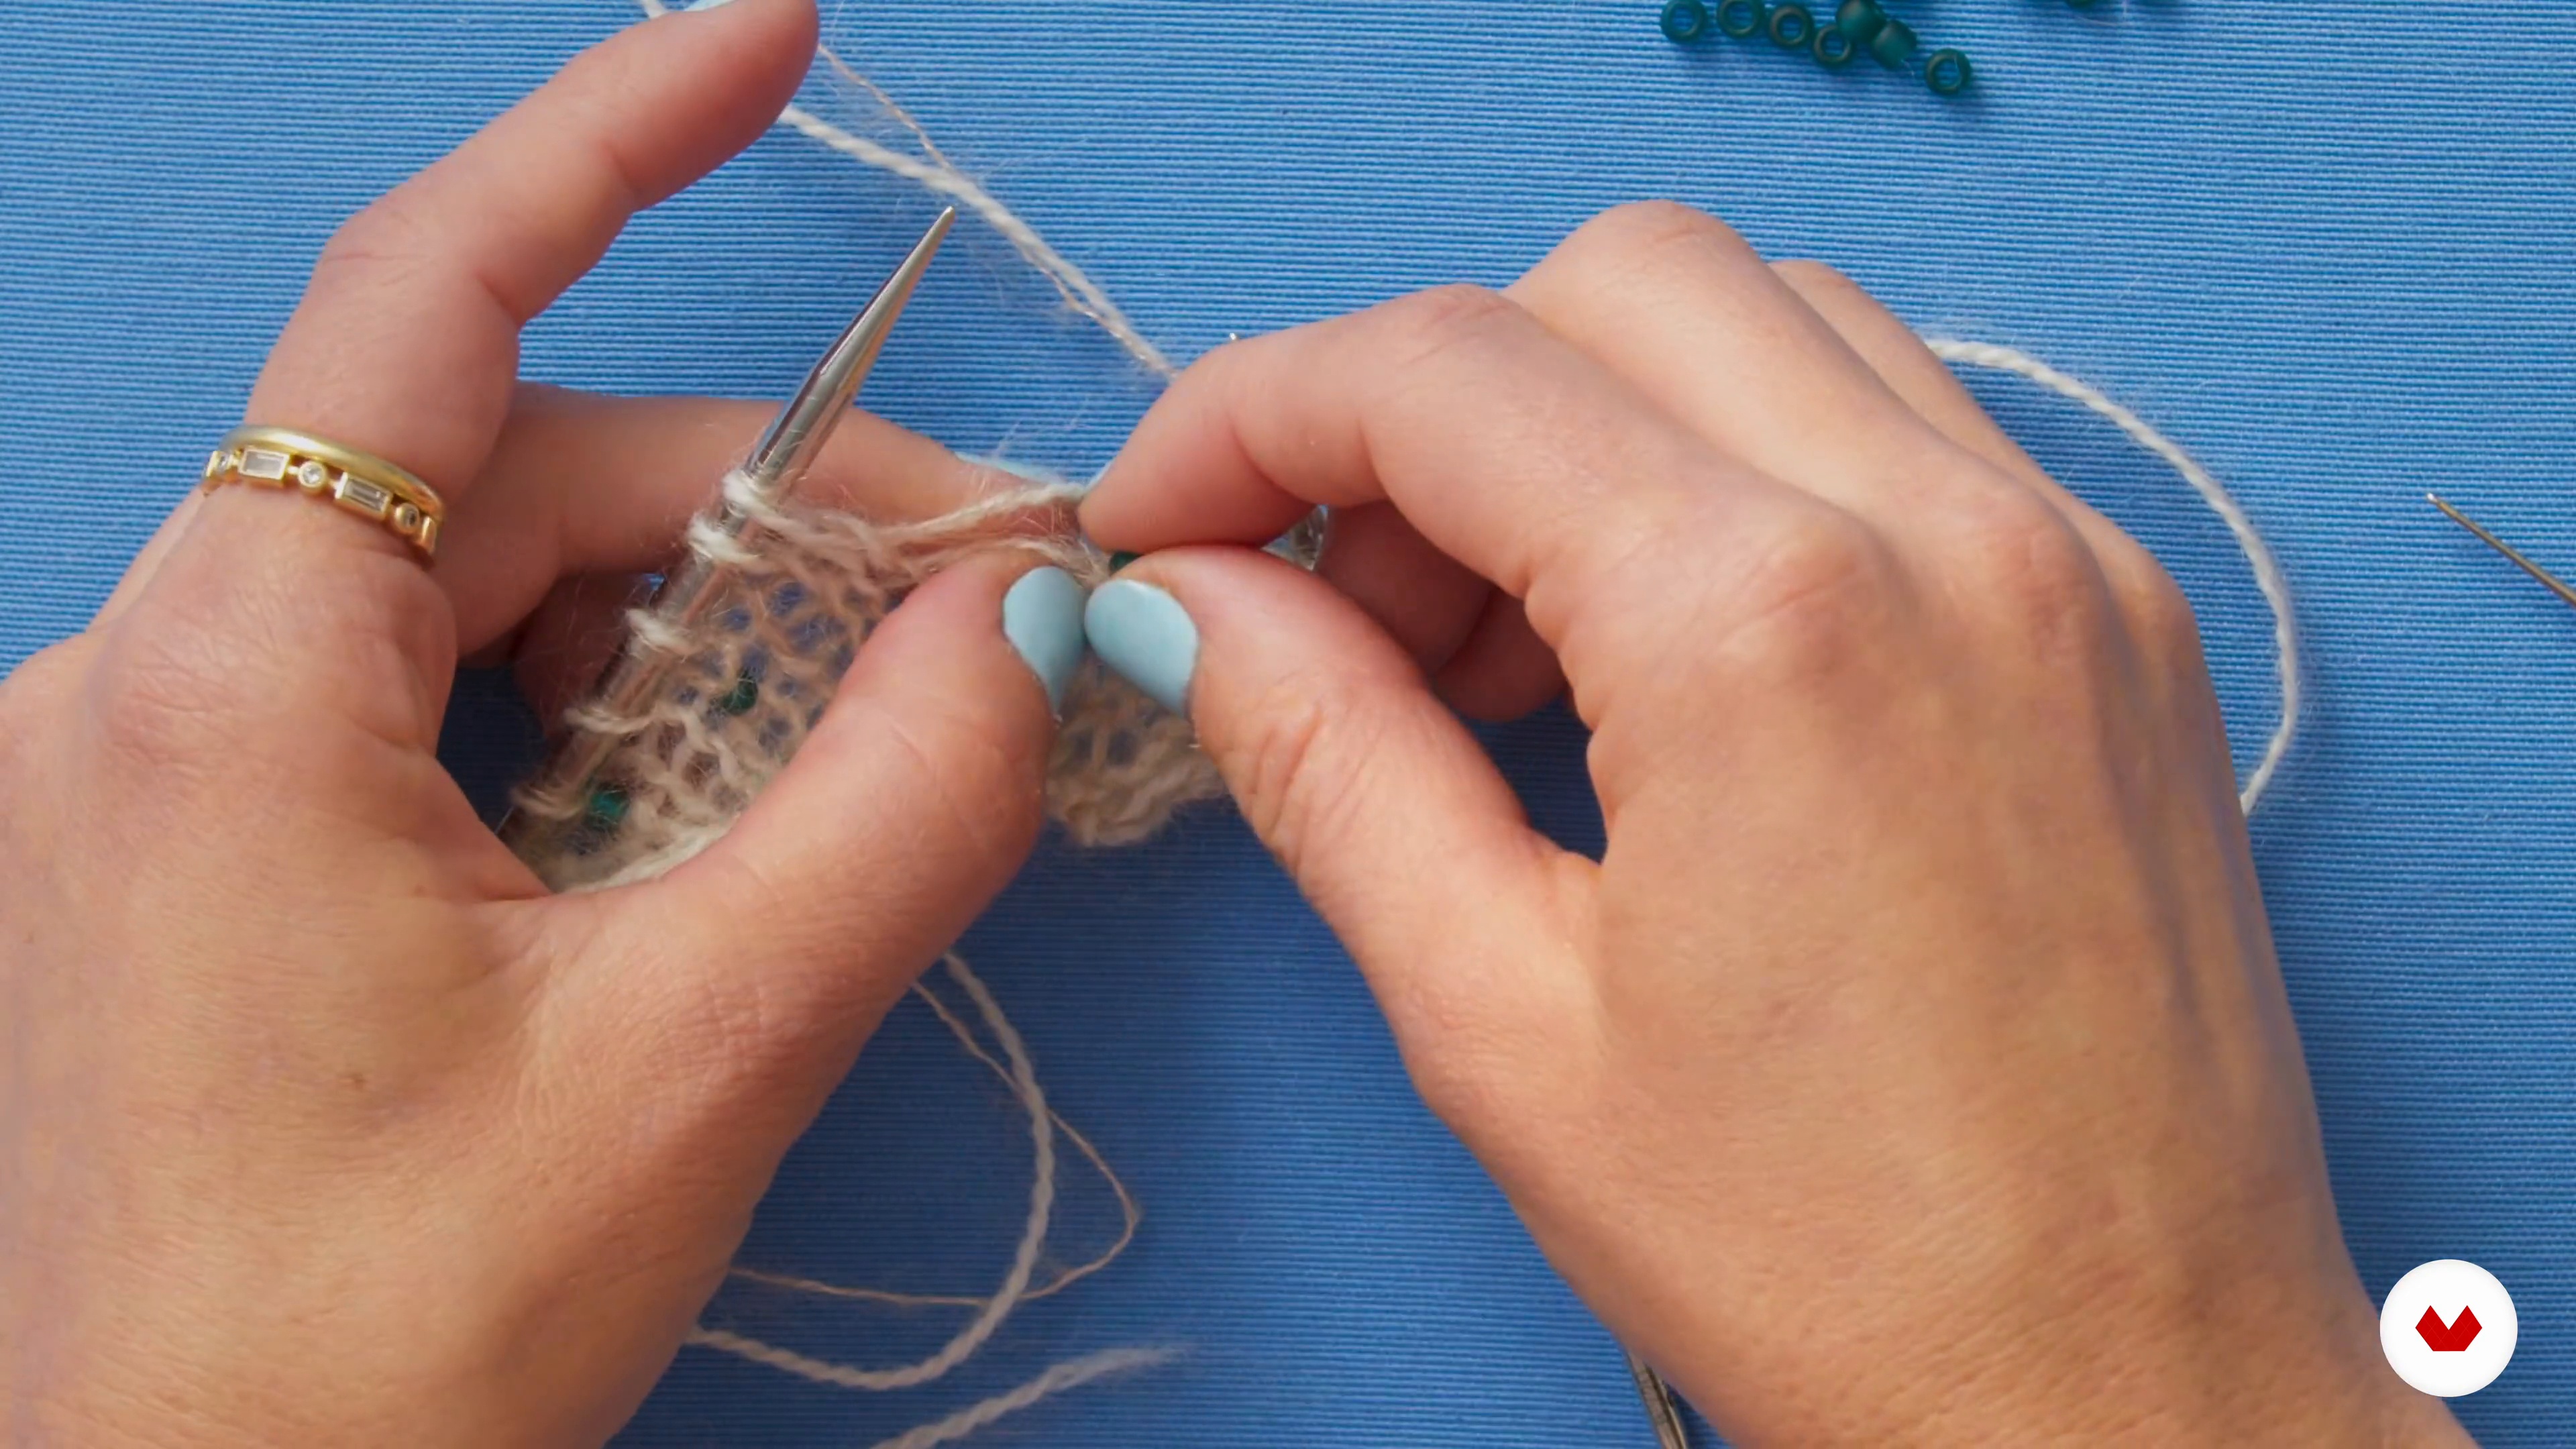
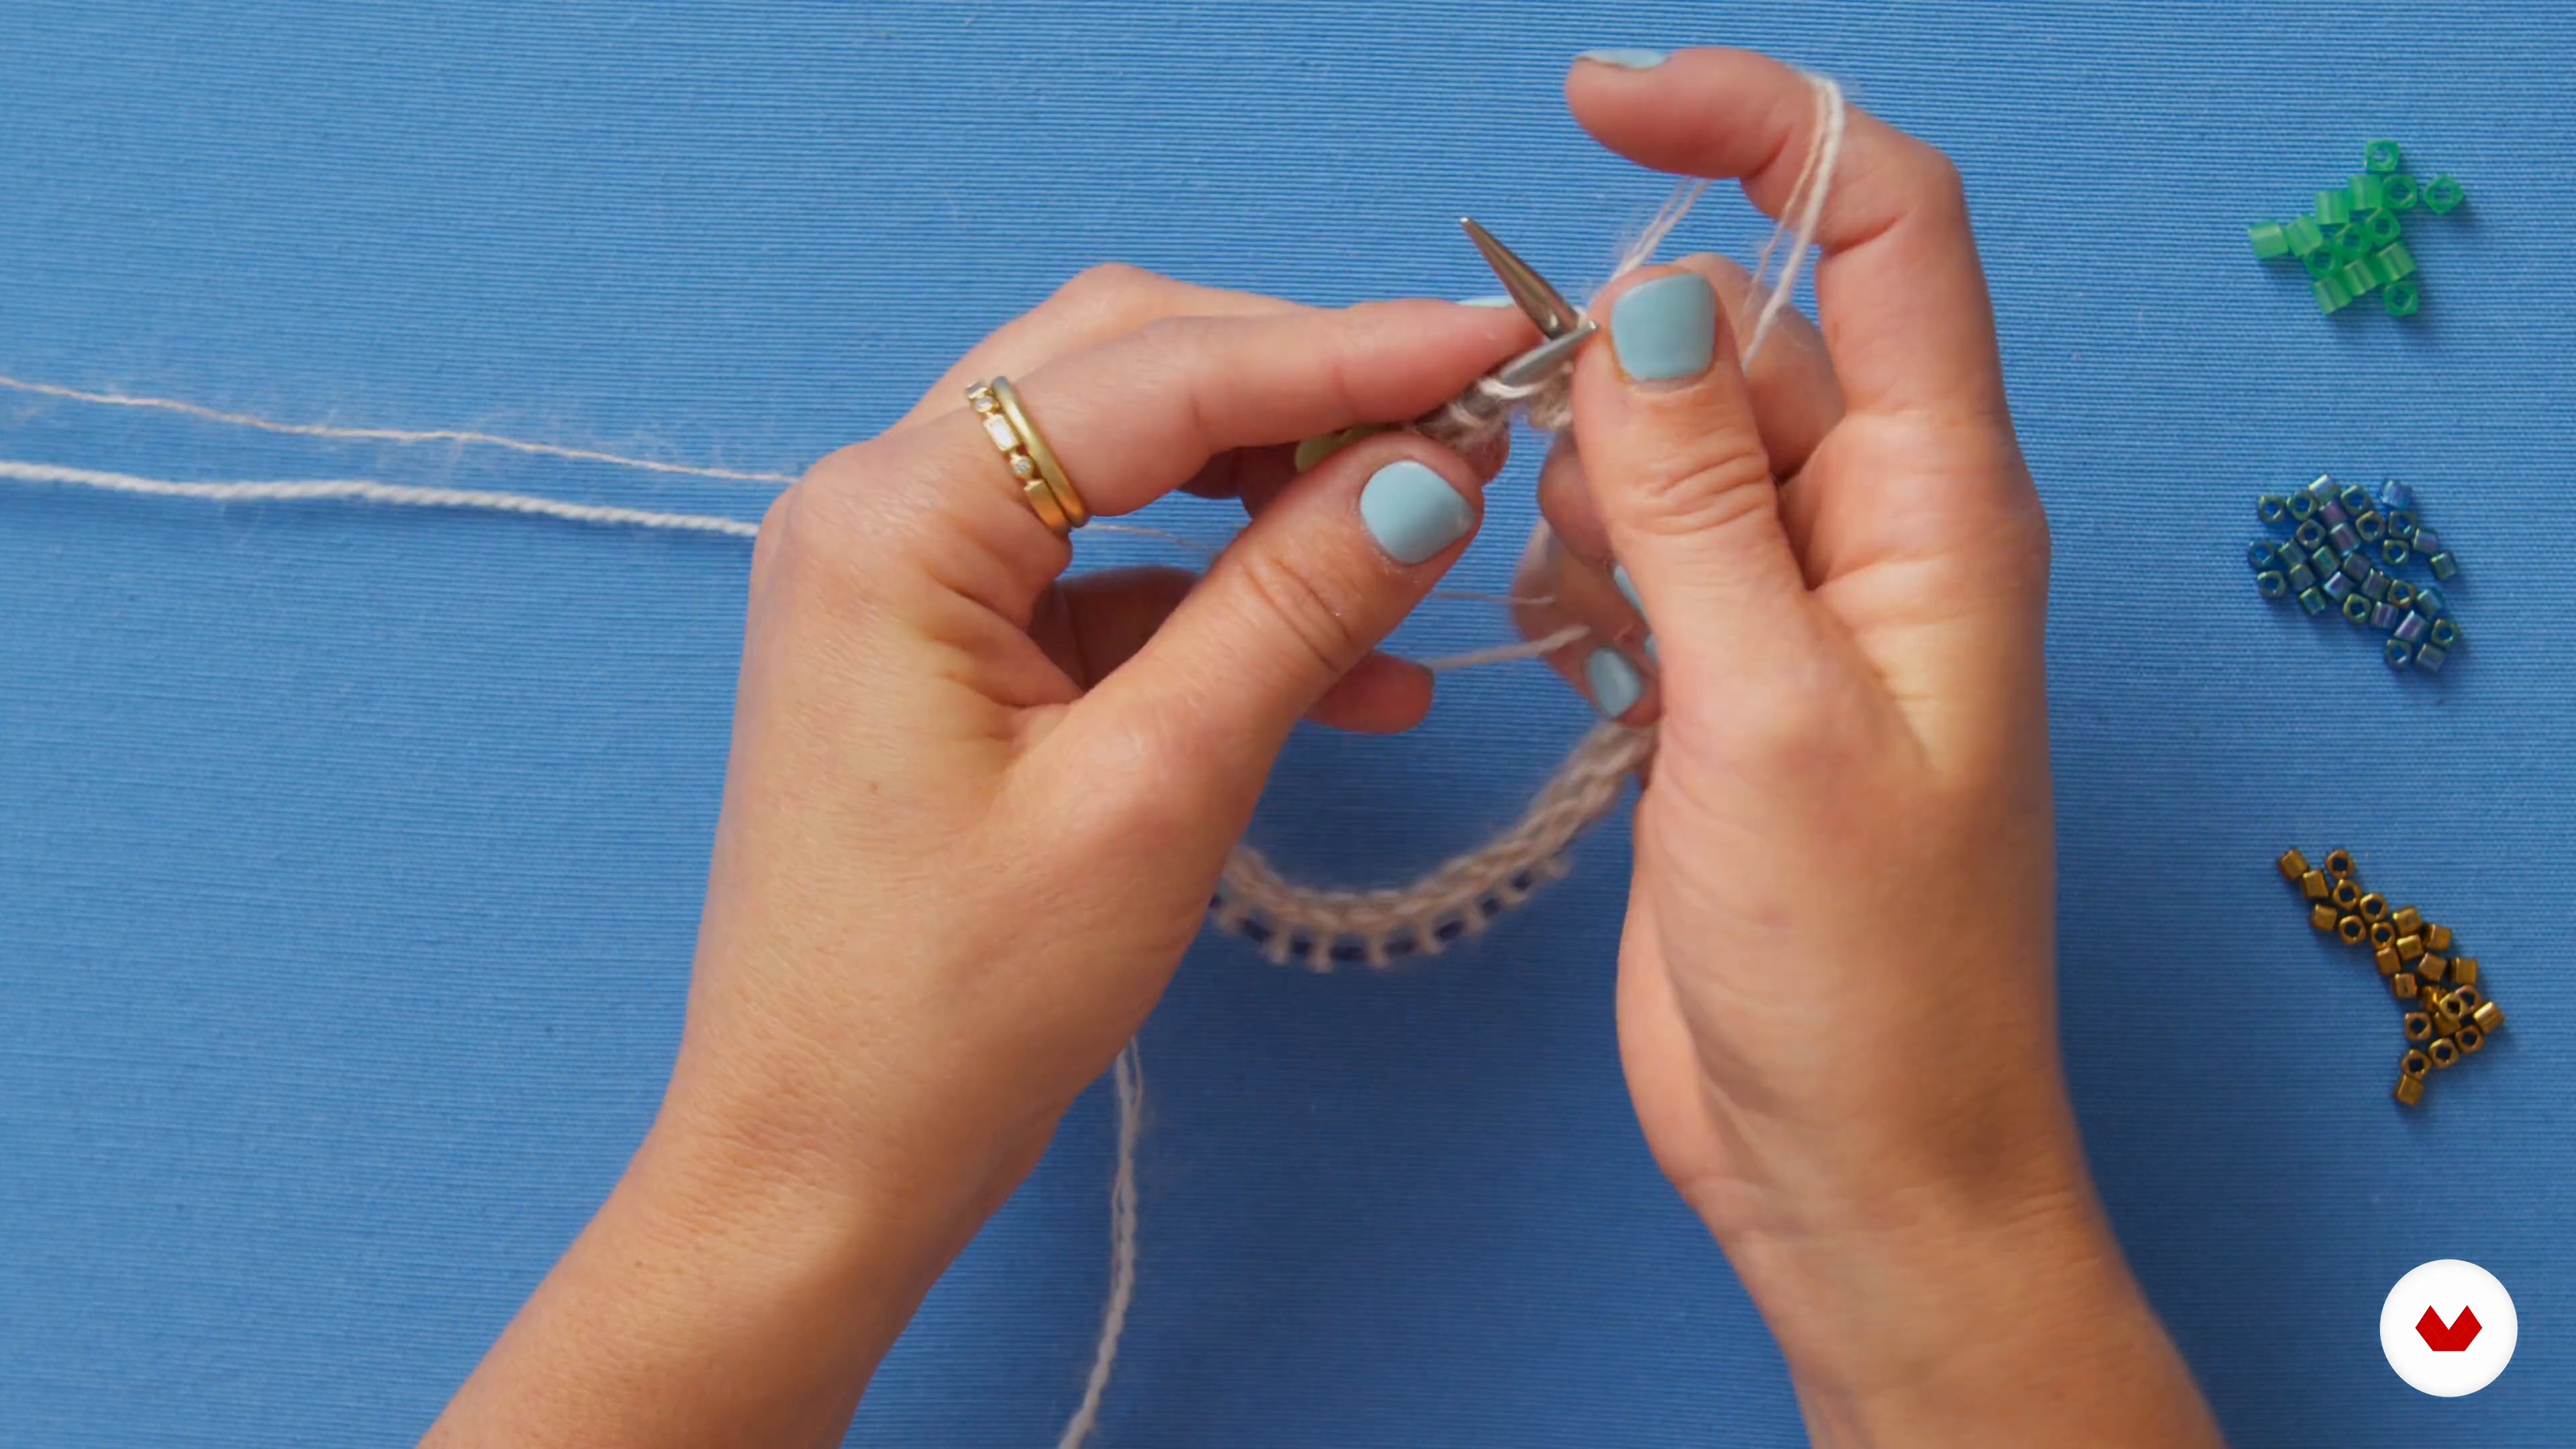
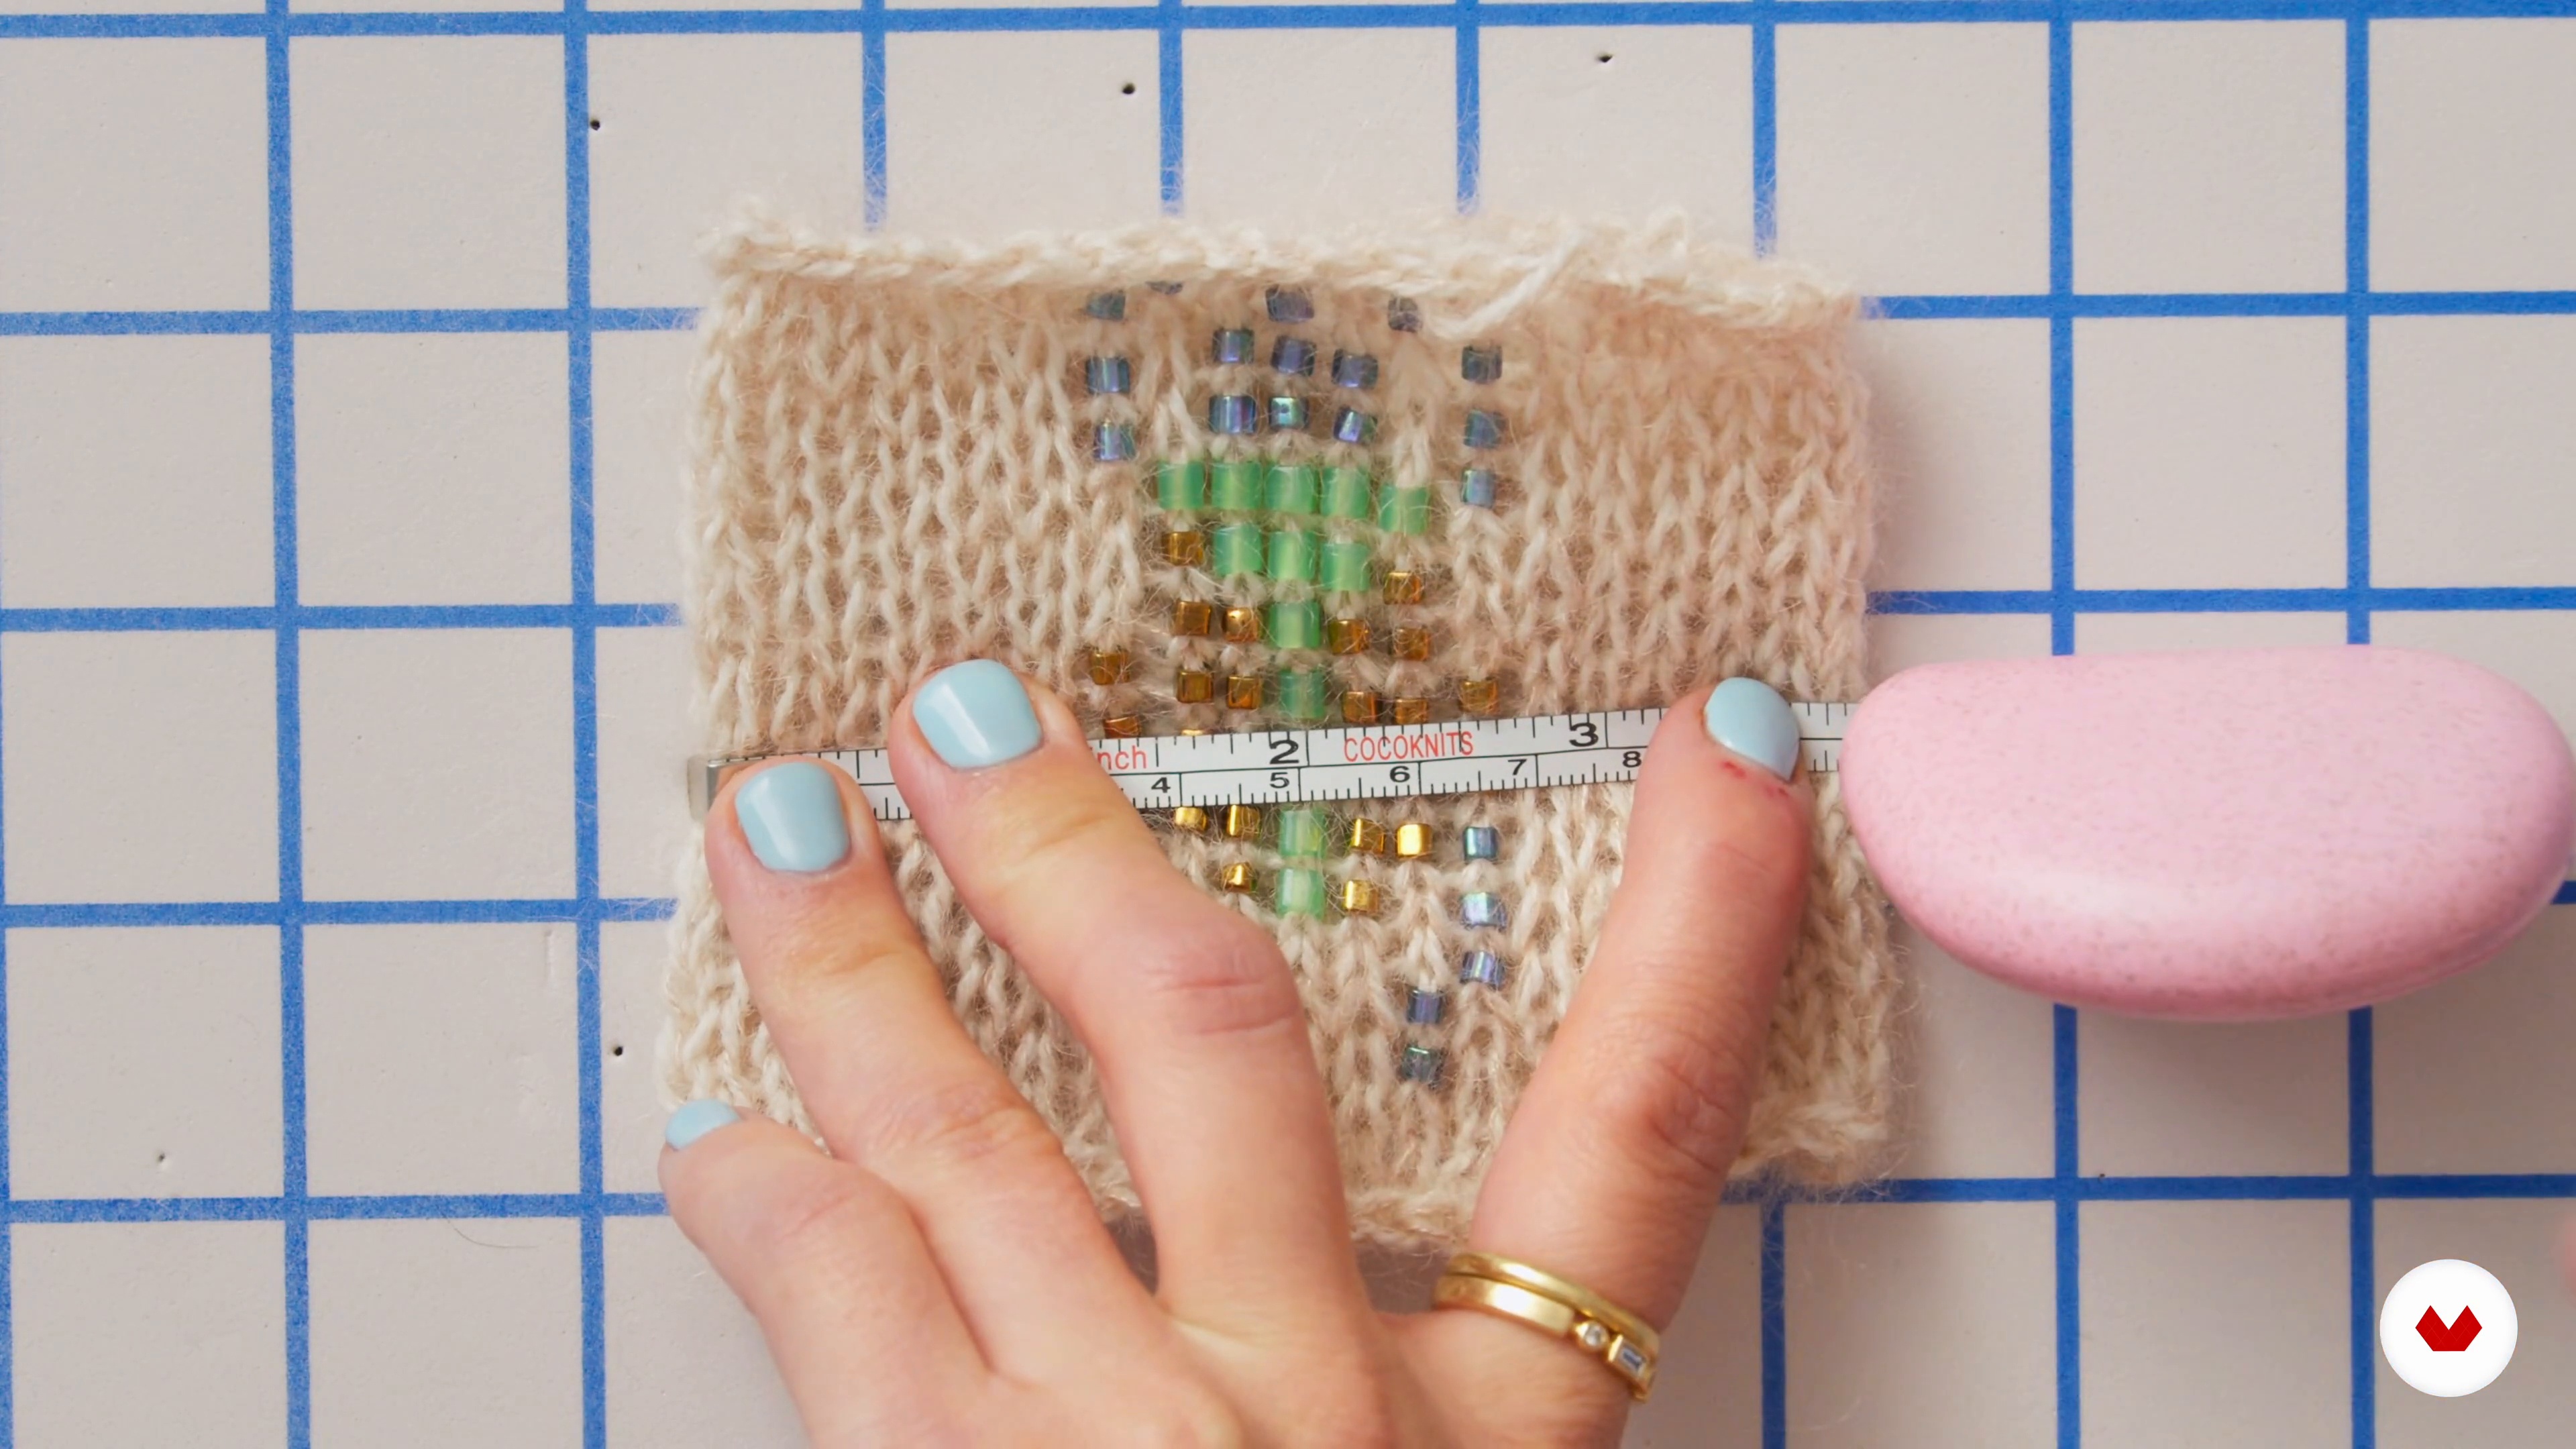
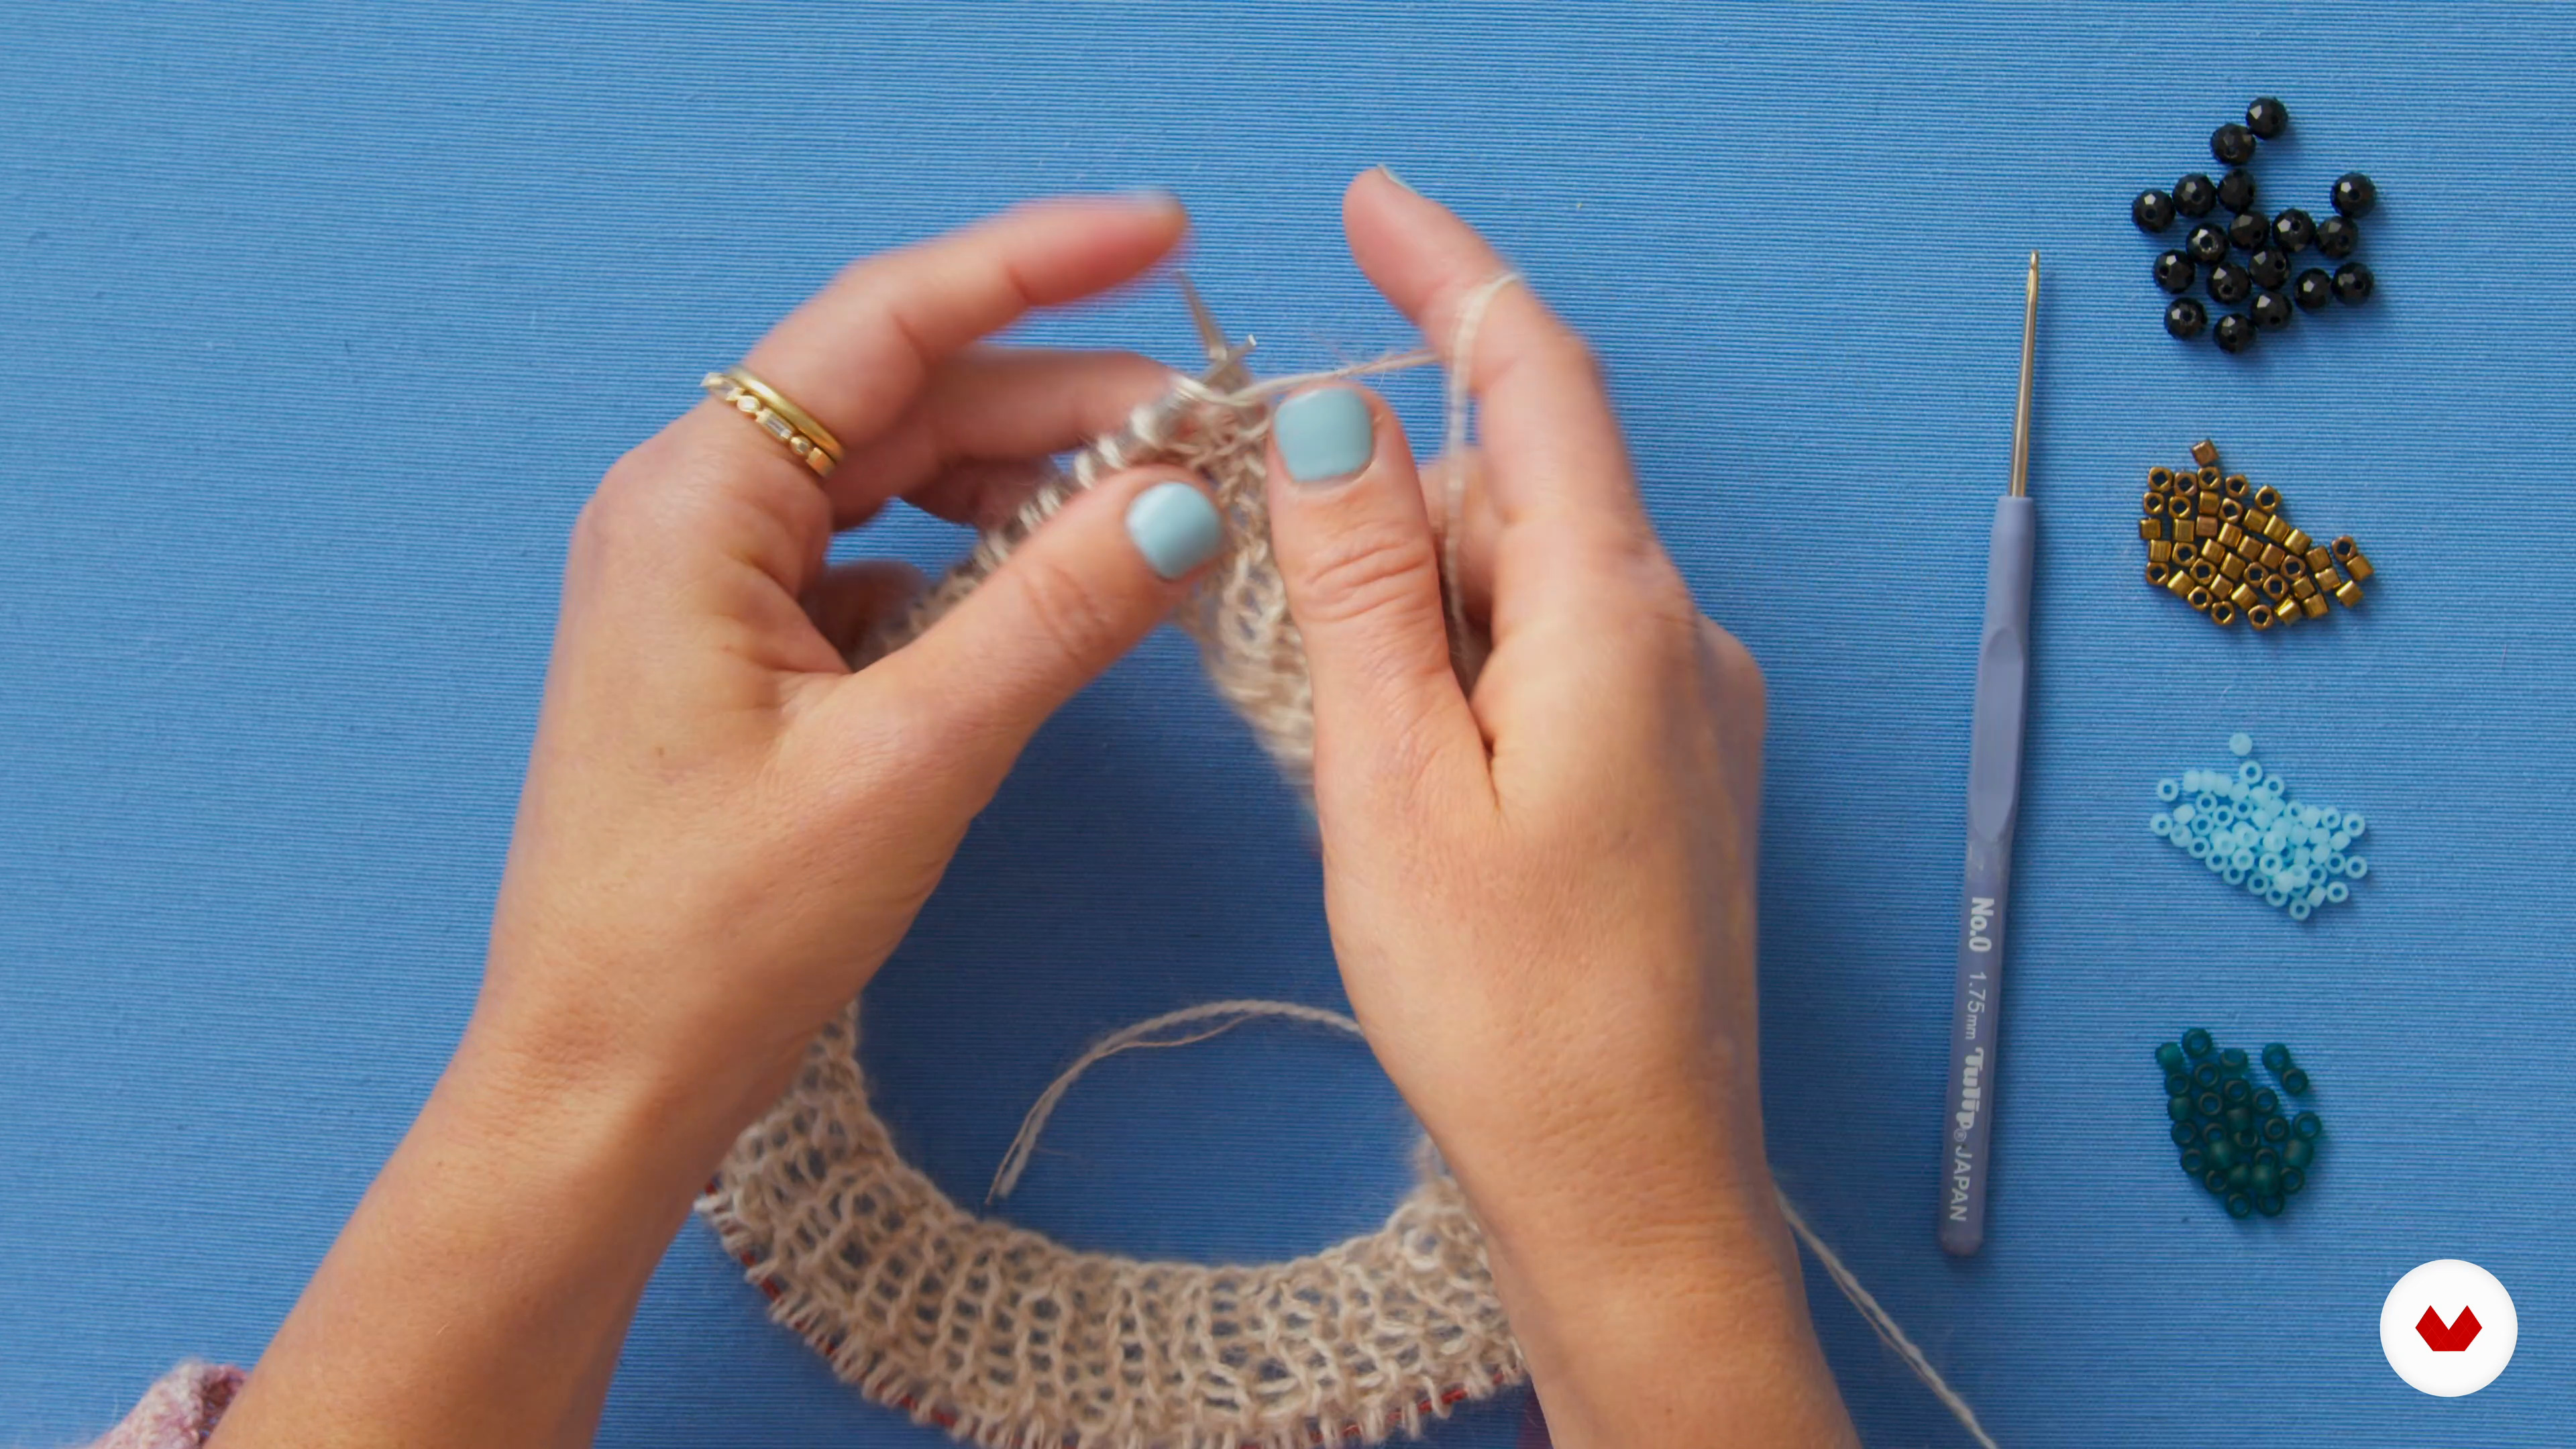
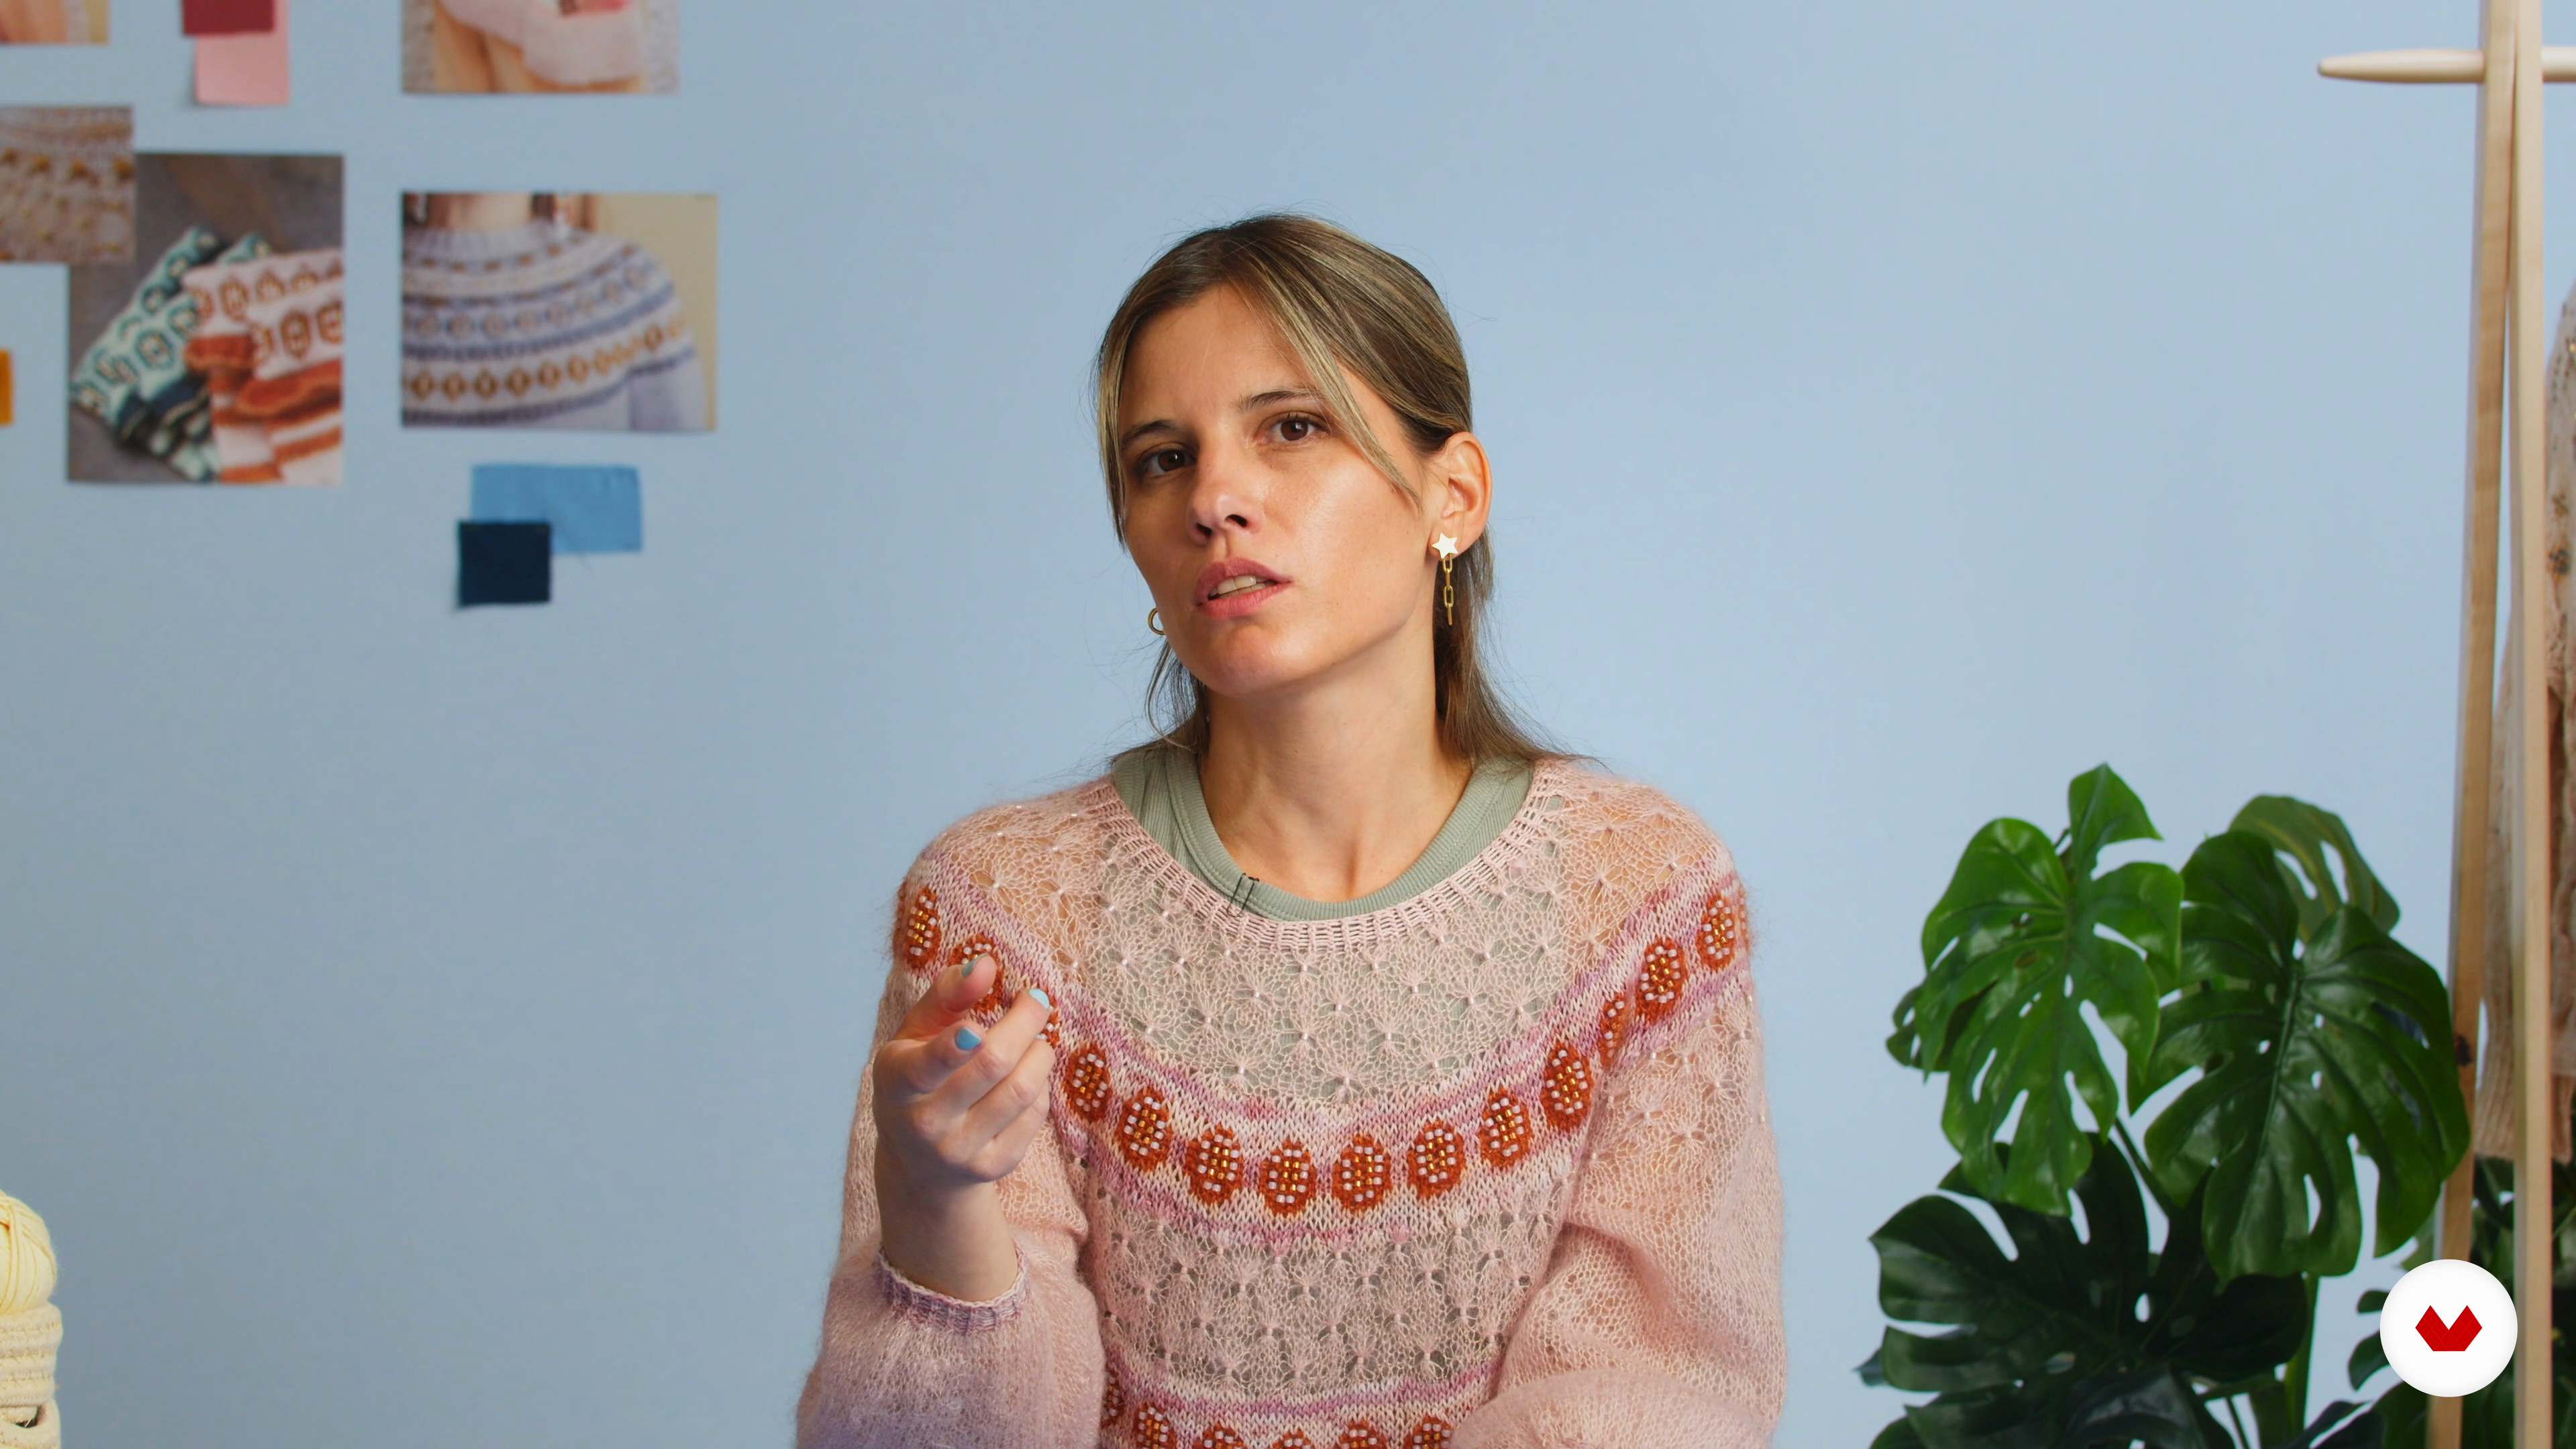
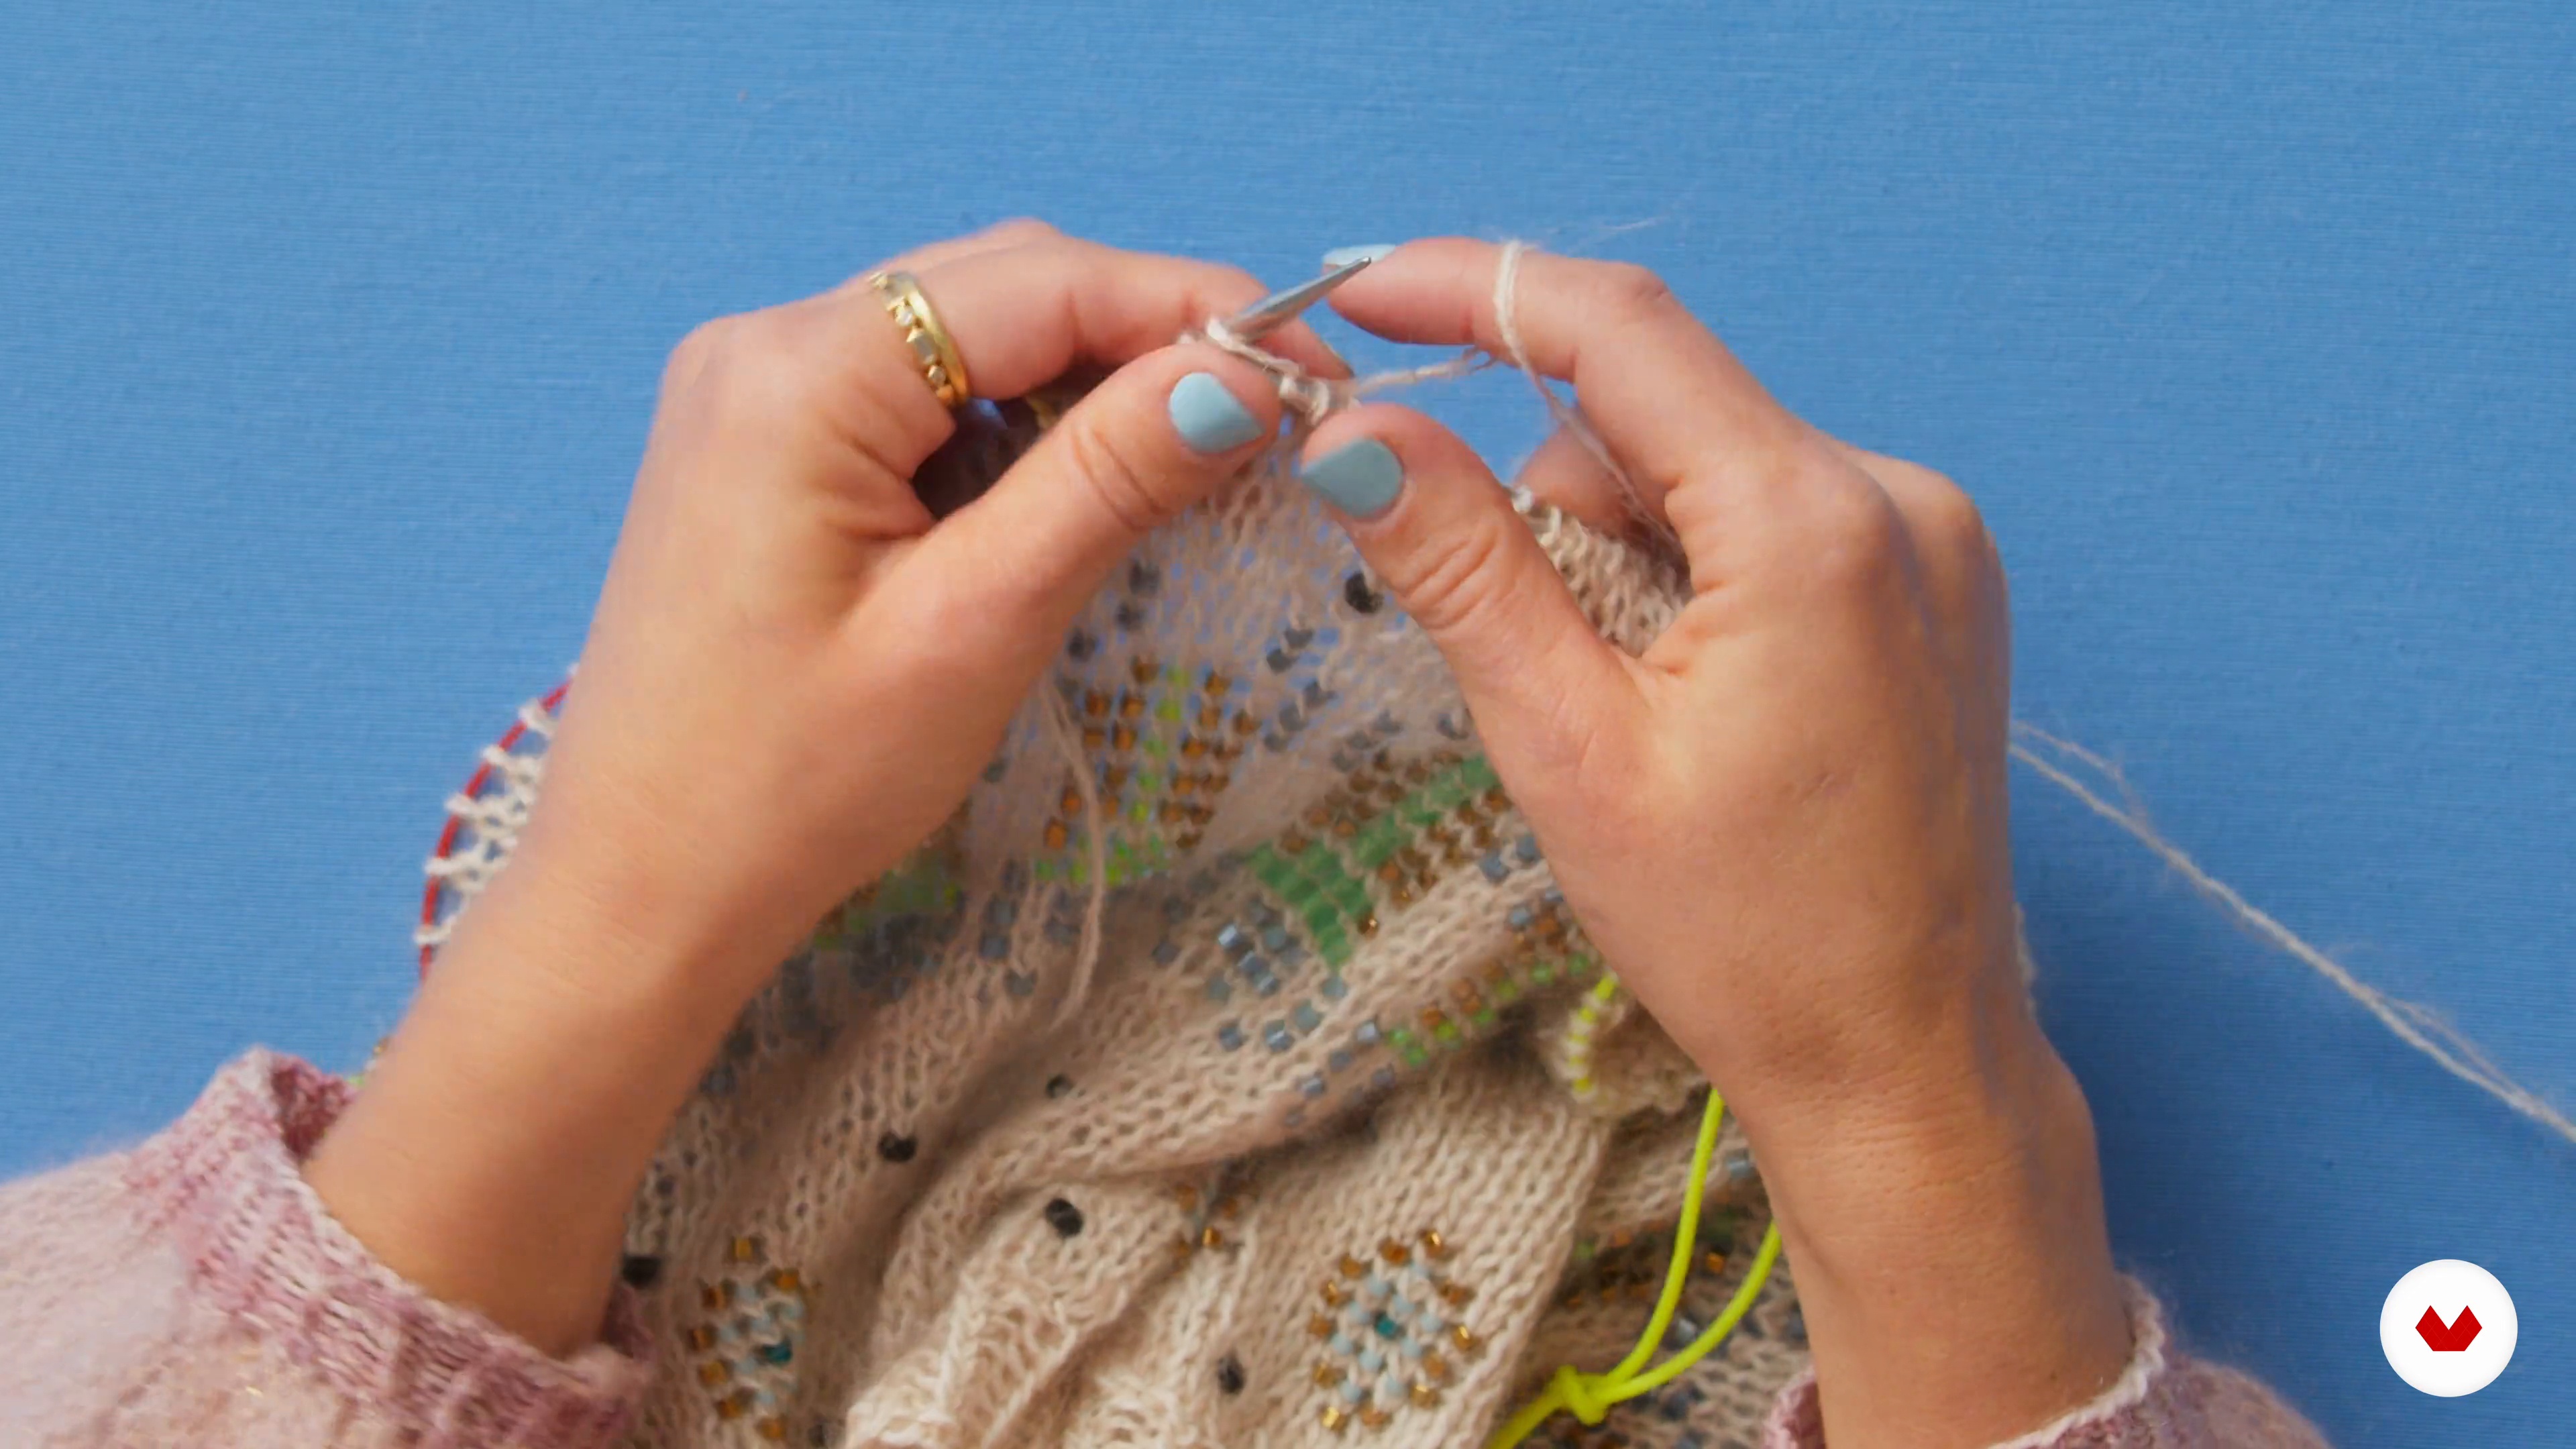
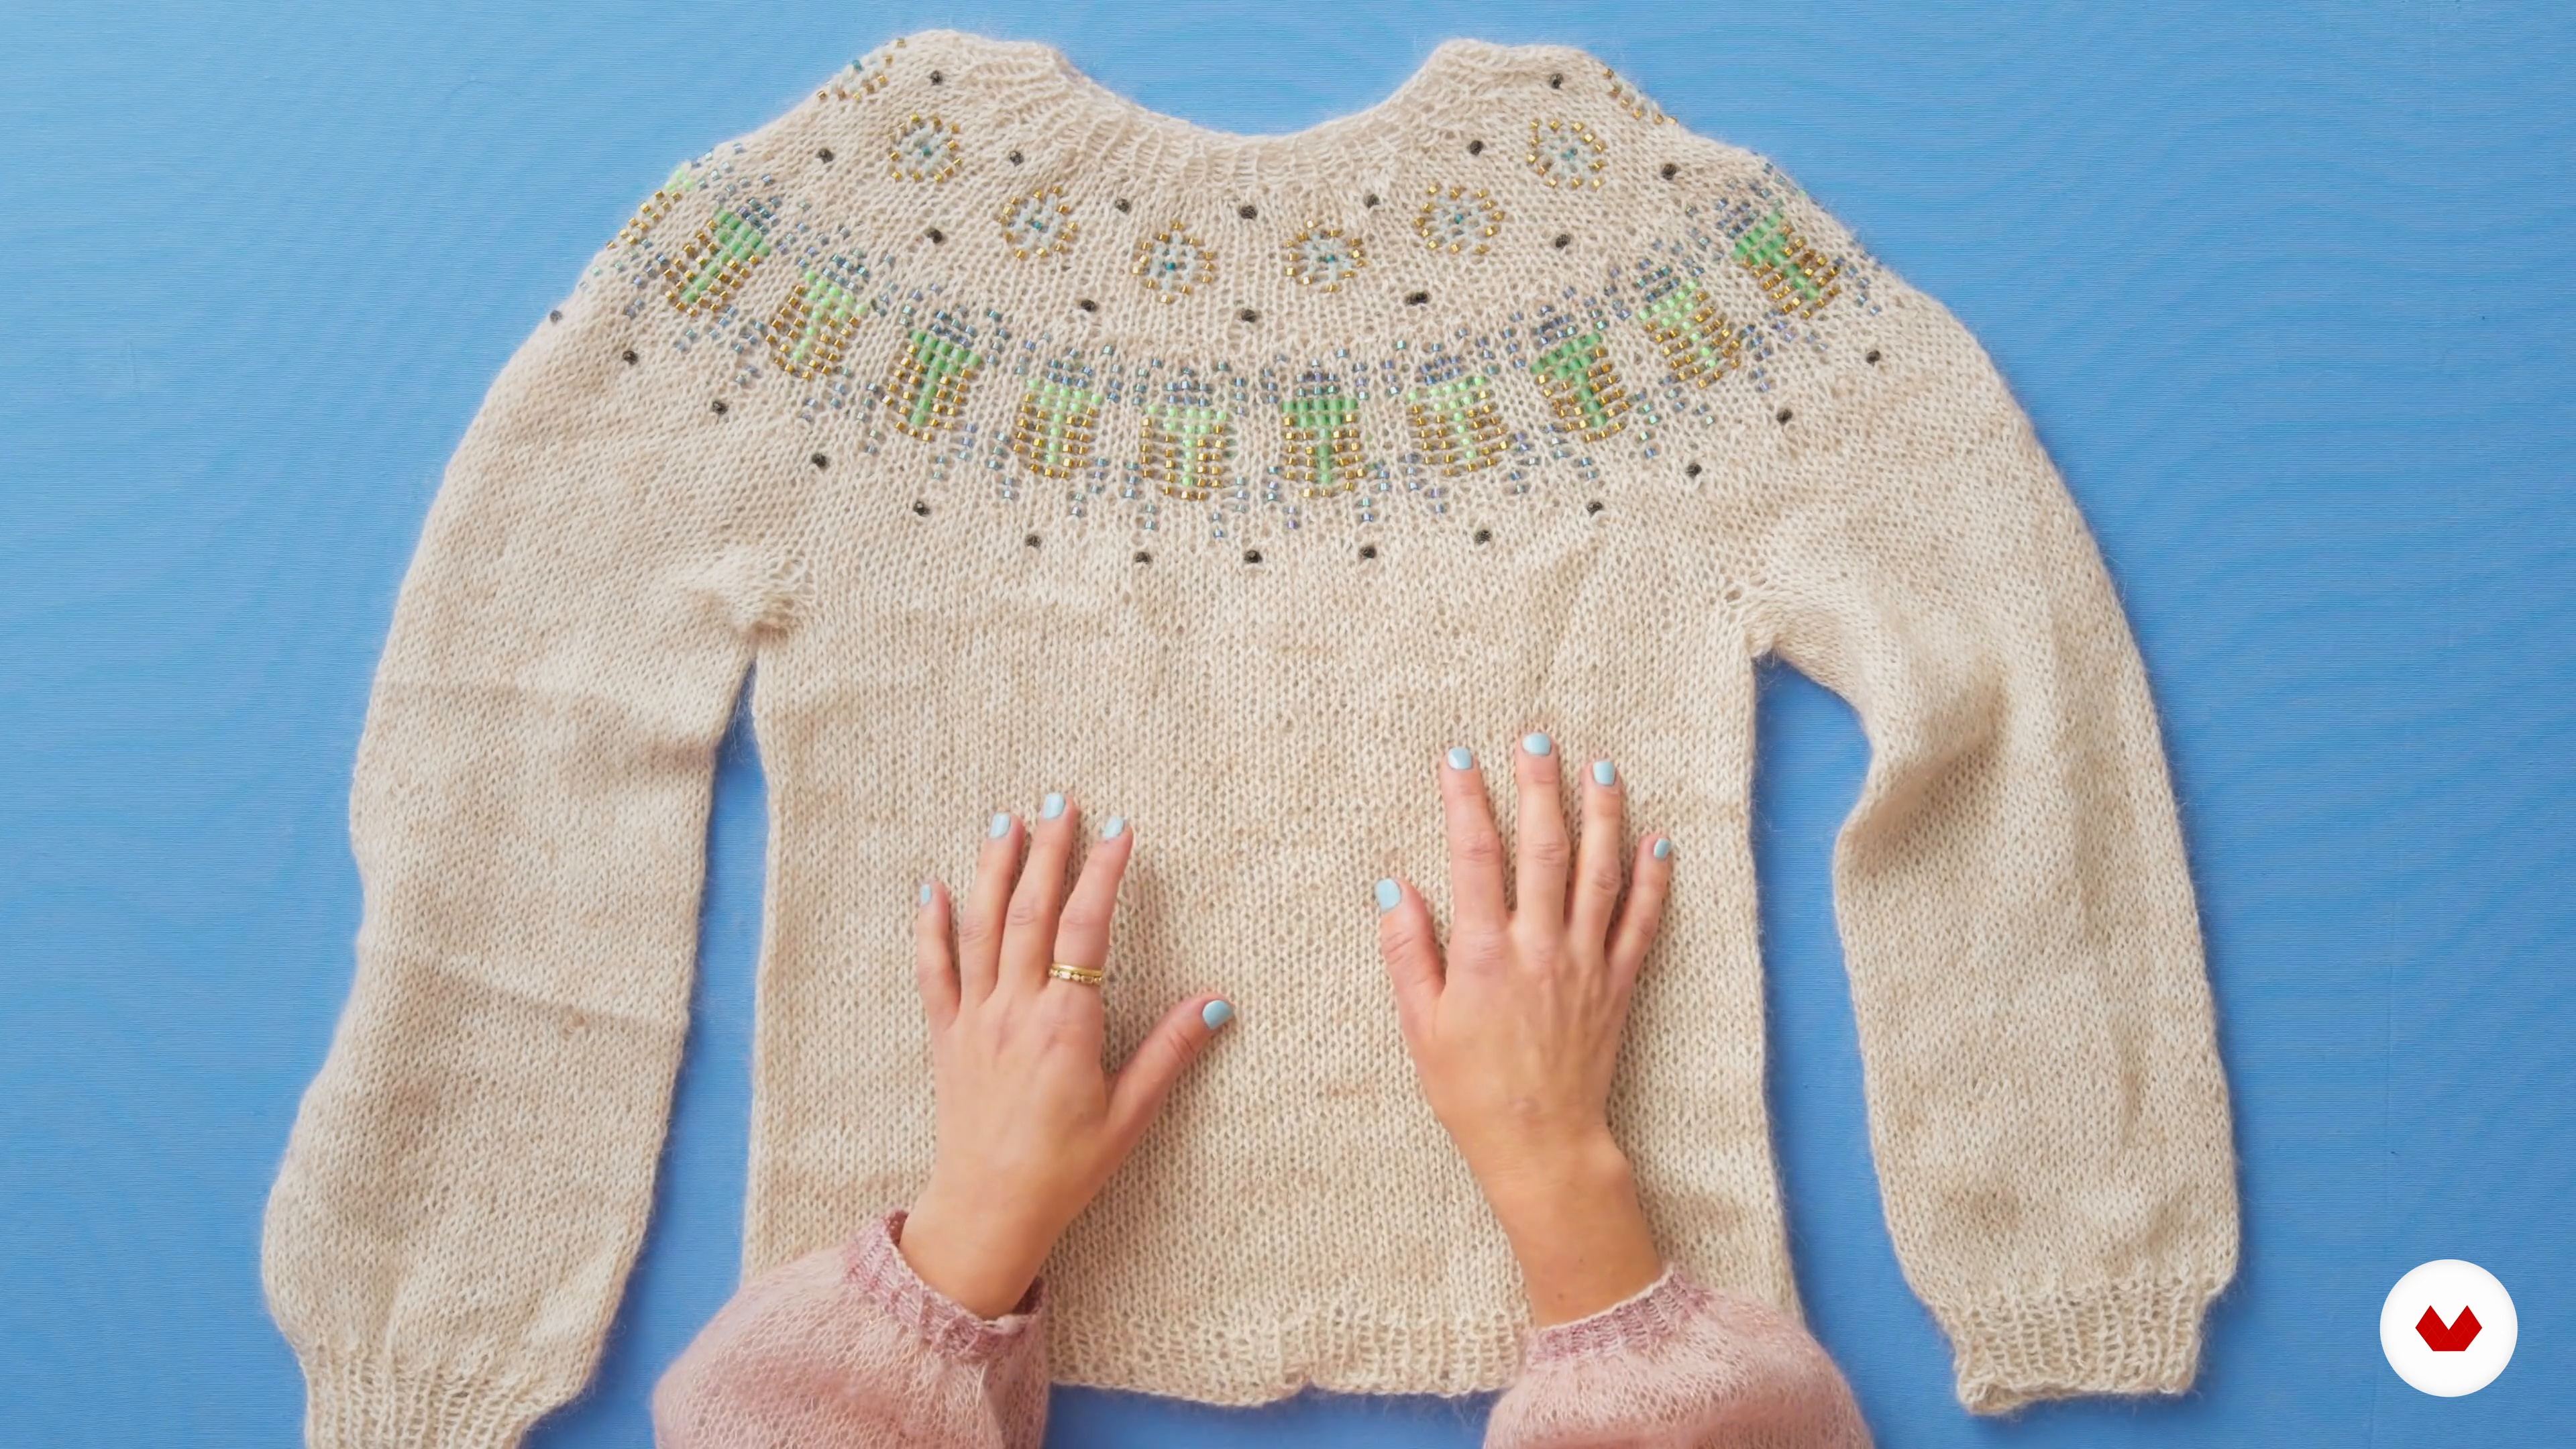
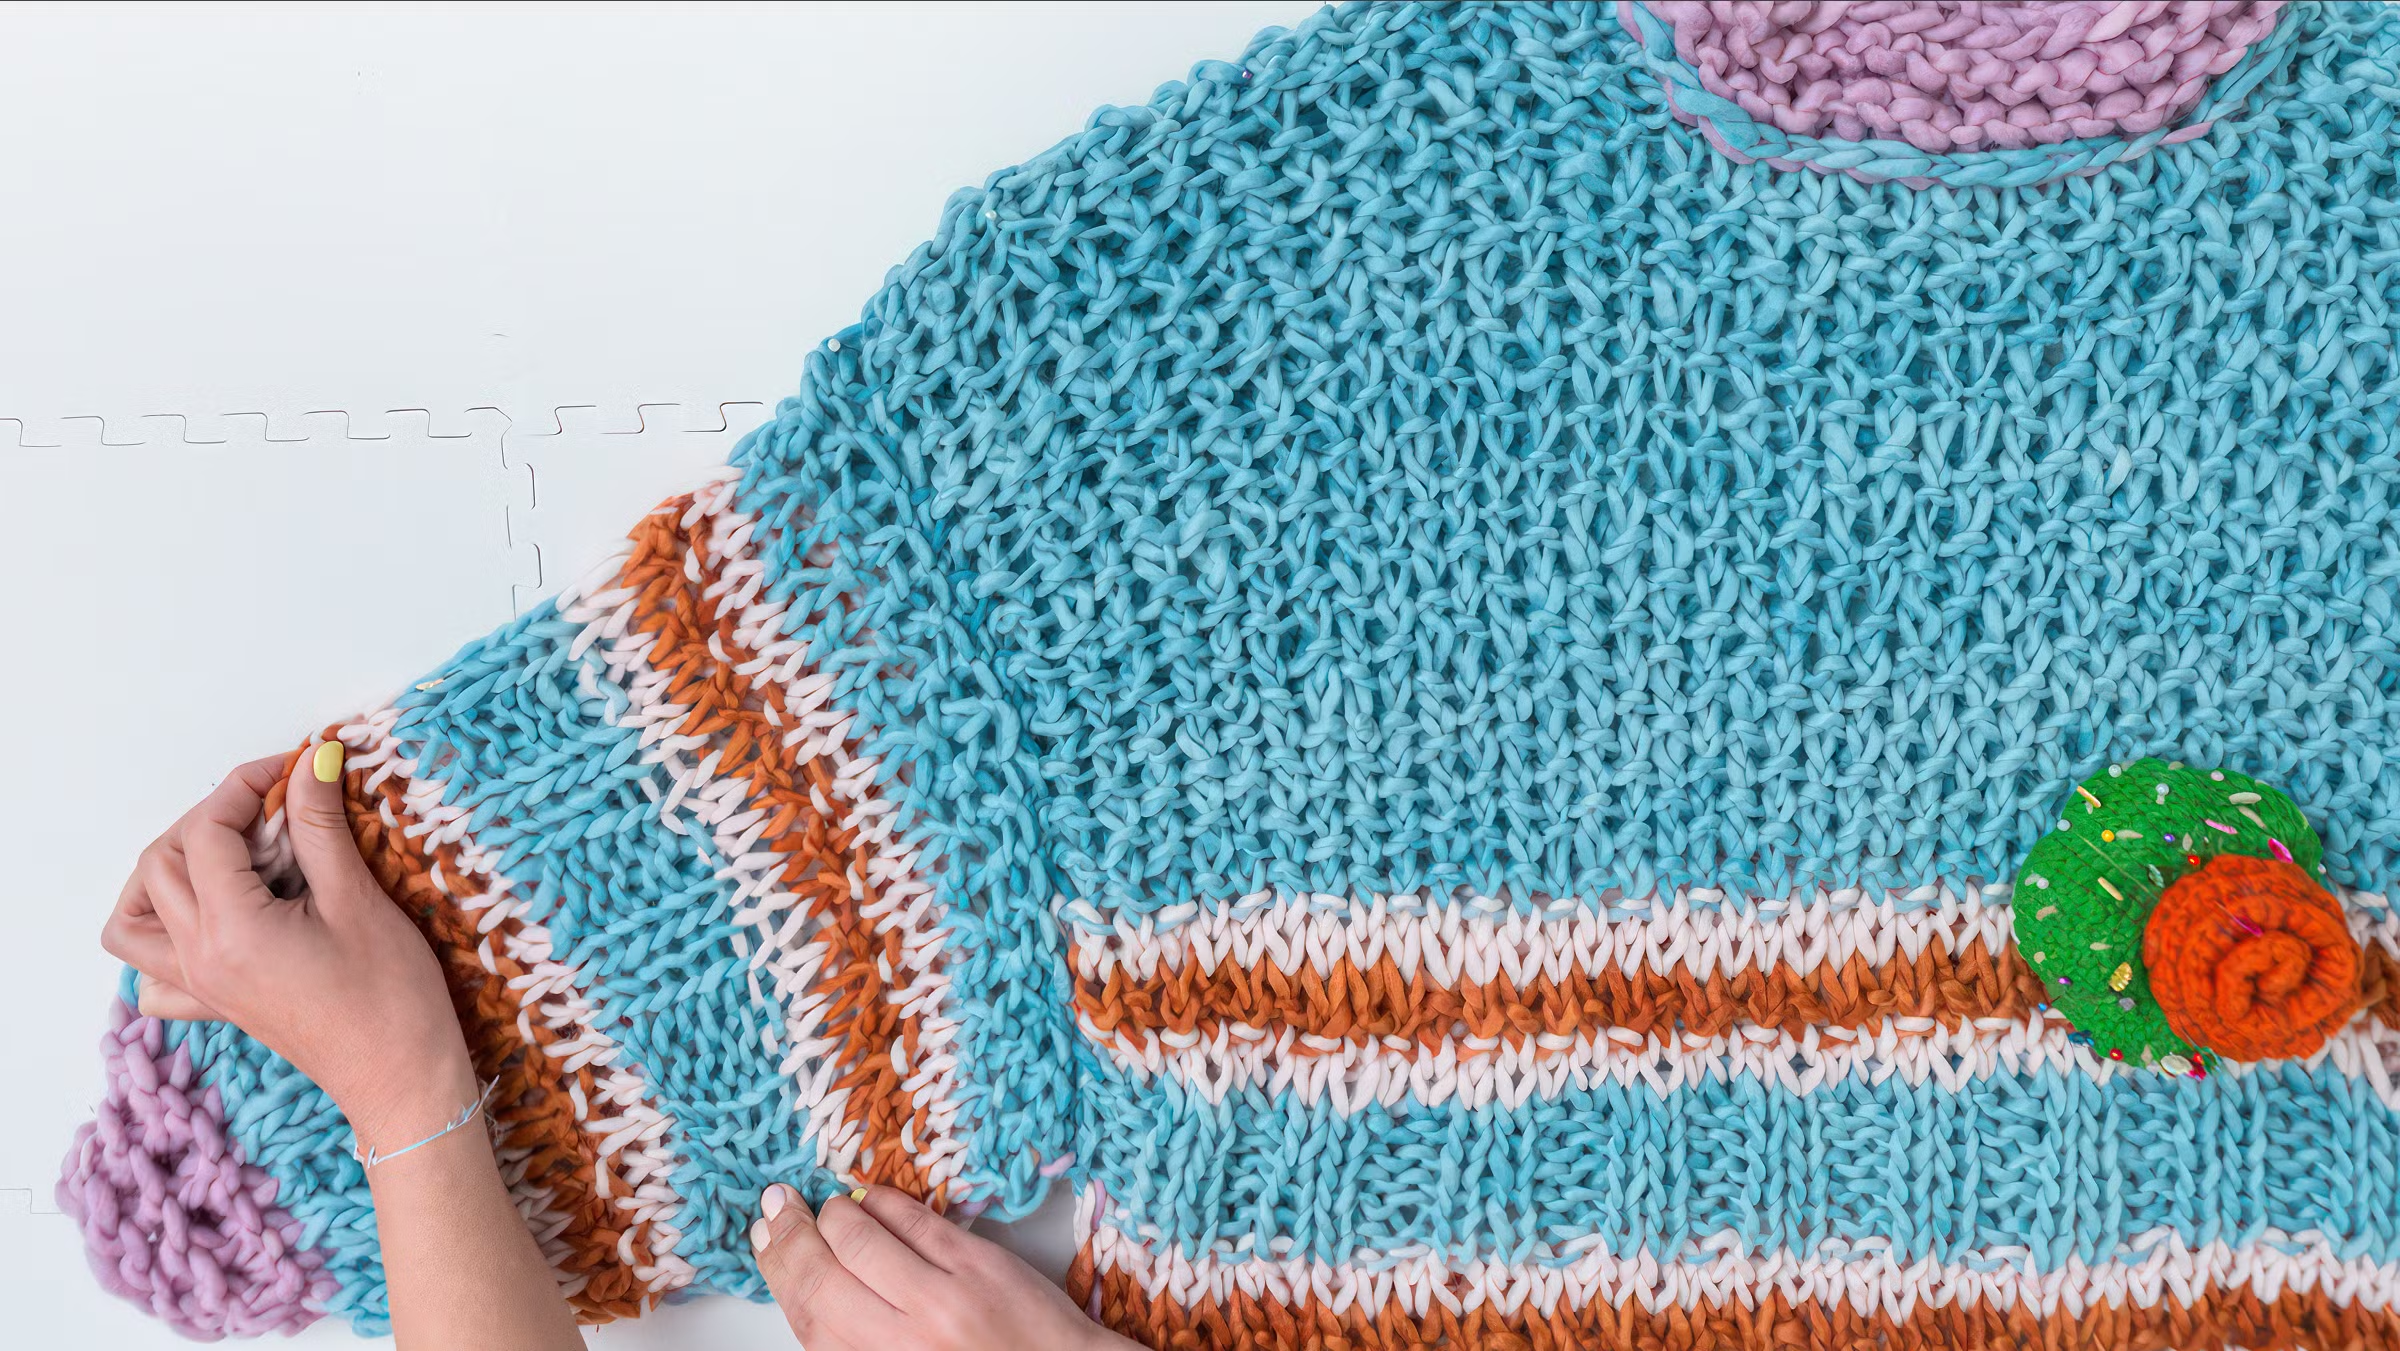
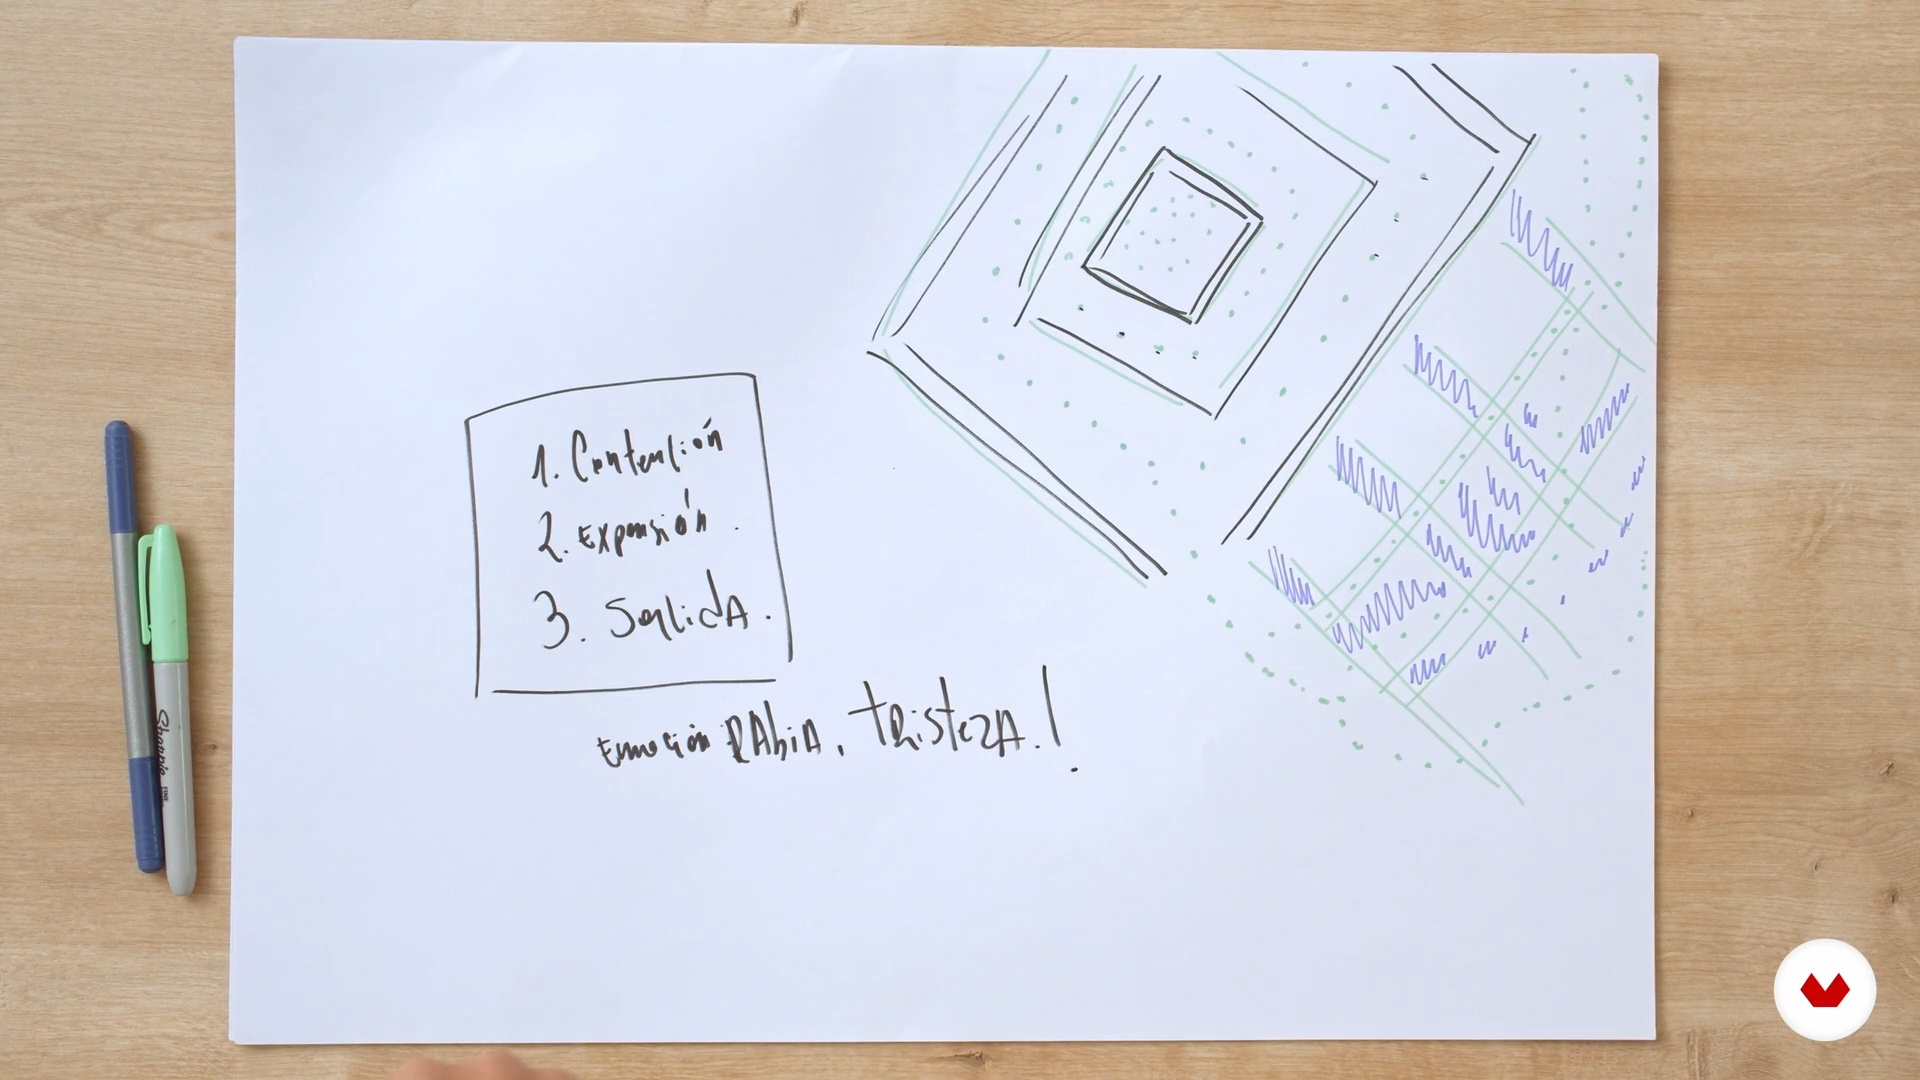
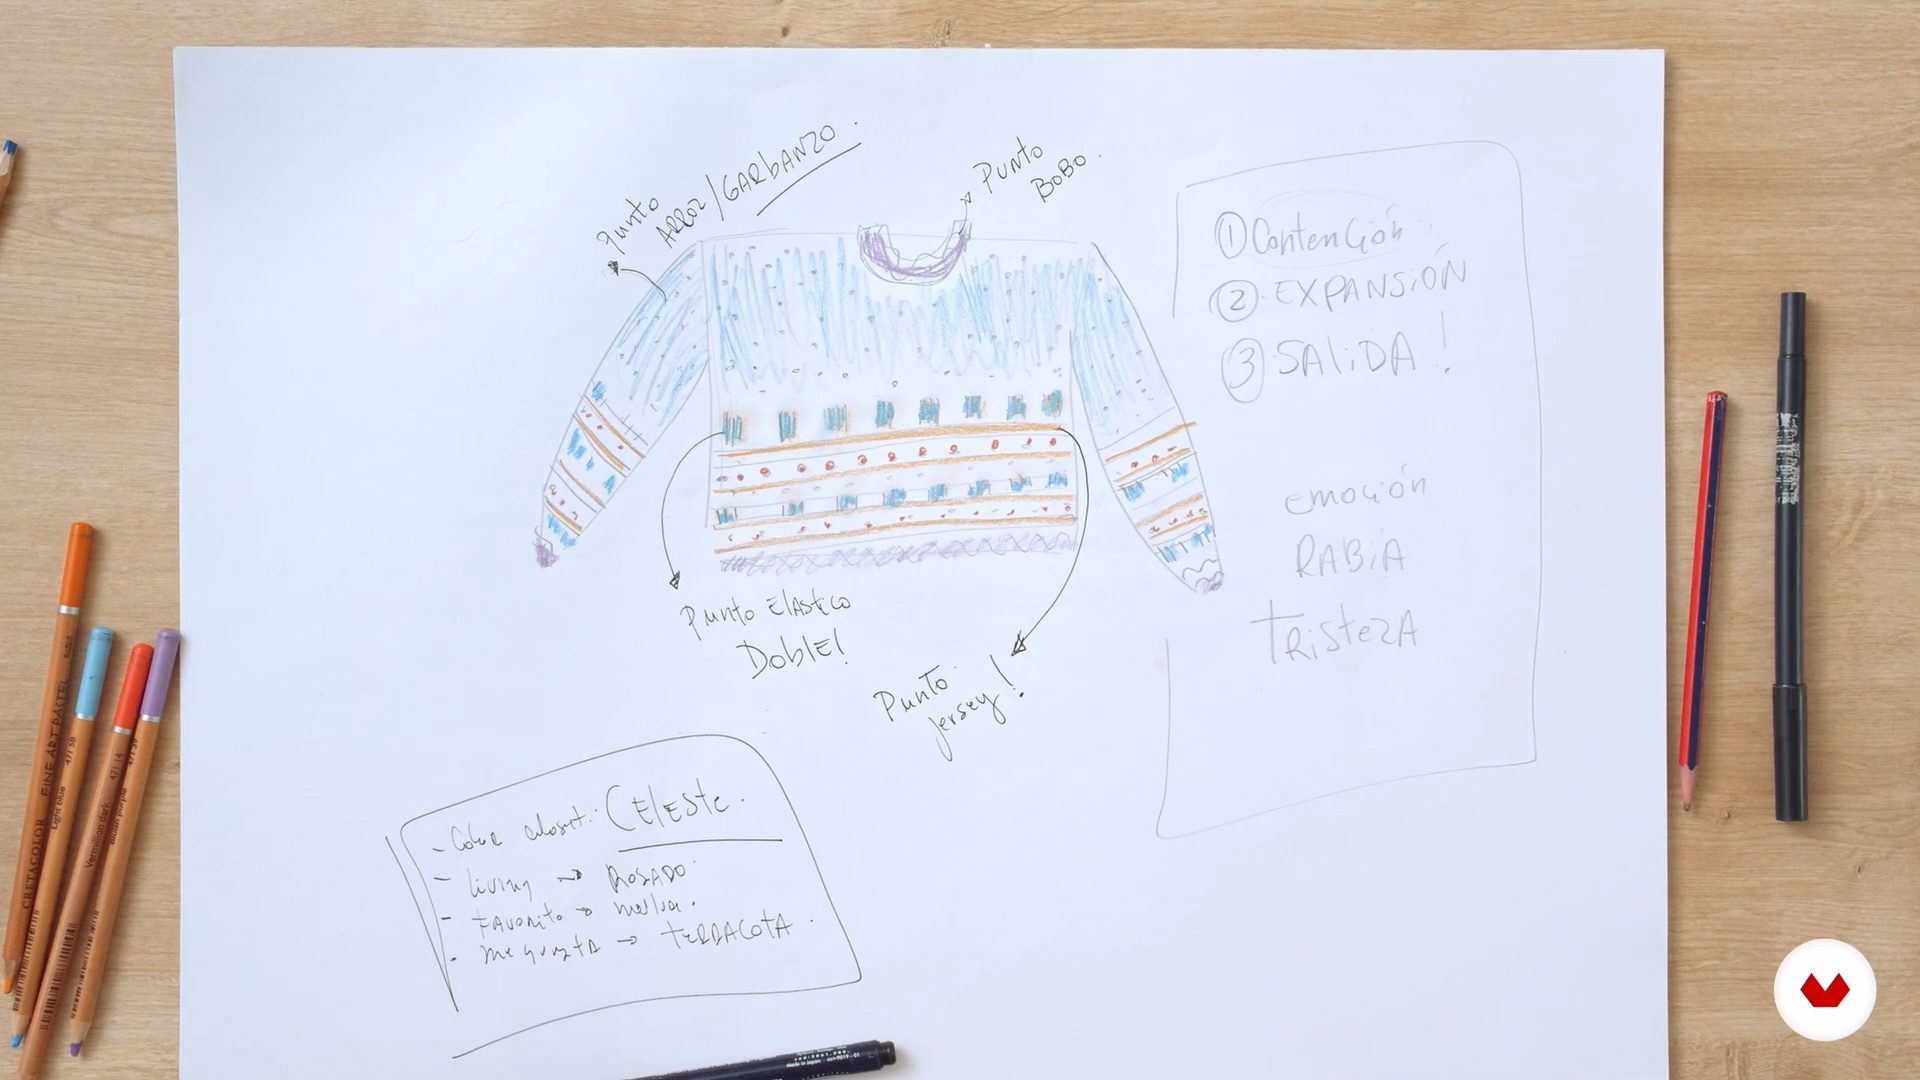
Explore the incorporation of colorful seed beads into your knitting, creating unique patterns and decorative details. This introduction to knitting oversized garments will allow you to explore expansive structures and contemporary styles. Each module is designed to give you a comprehensive understanding of the techniques, from the most basic to the most advanced. With teachings from Carmen García de Mora, Jandi Gardiazabal, Marta Porcel Vilchez, Pope Vergara, and Siempre Oveja, you'll be ready to create custom designs and take your knitting skills to the next level.
What will you learn in this specialization?


- 100% positive reviews (4)
- 720 students
- 117 lessons (22h 45m)
- 138 additional resources (58 files)
- Online and at your own pace
- Audio: Spanish, English
- Spanish · English · Portuguese · German · French · Italian · Polish · Dutch · Turkish · Romanian · Indonesian
- Level: Beginner
- Unlimited access forever
What is this course's project?
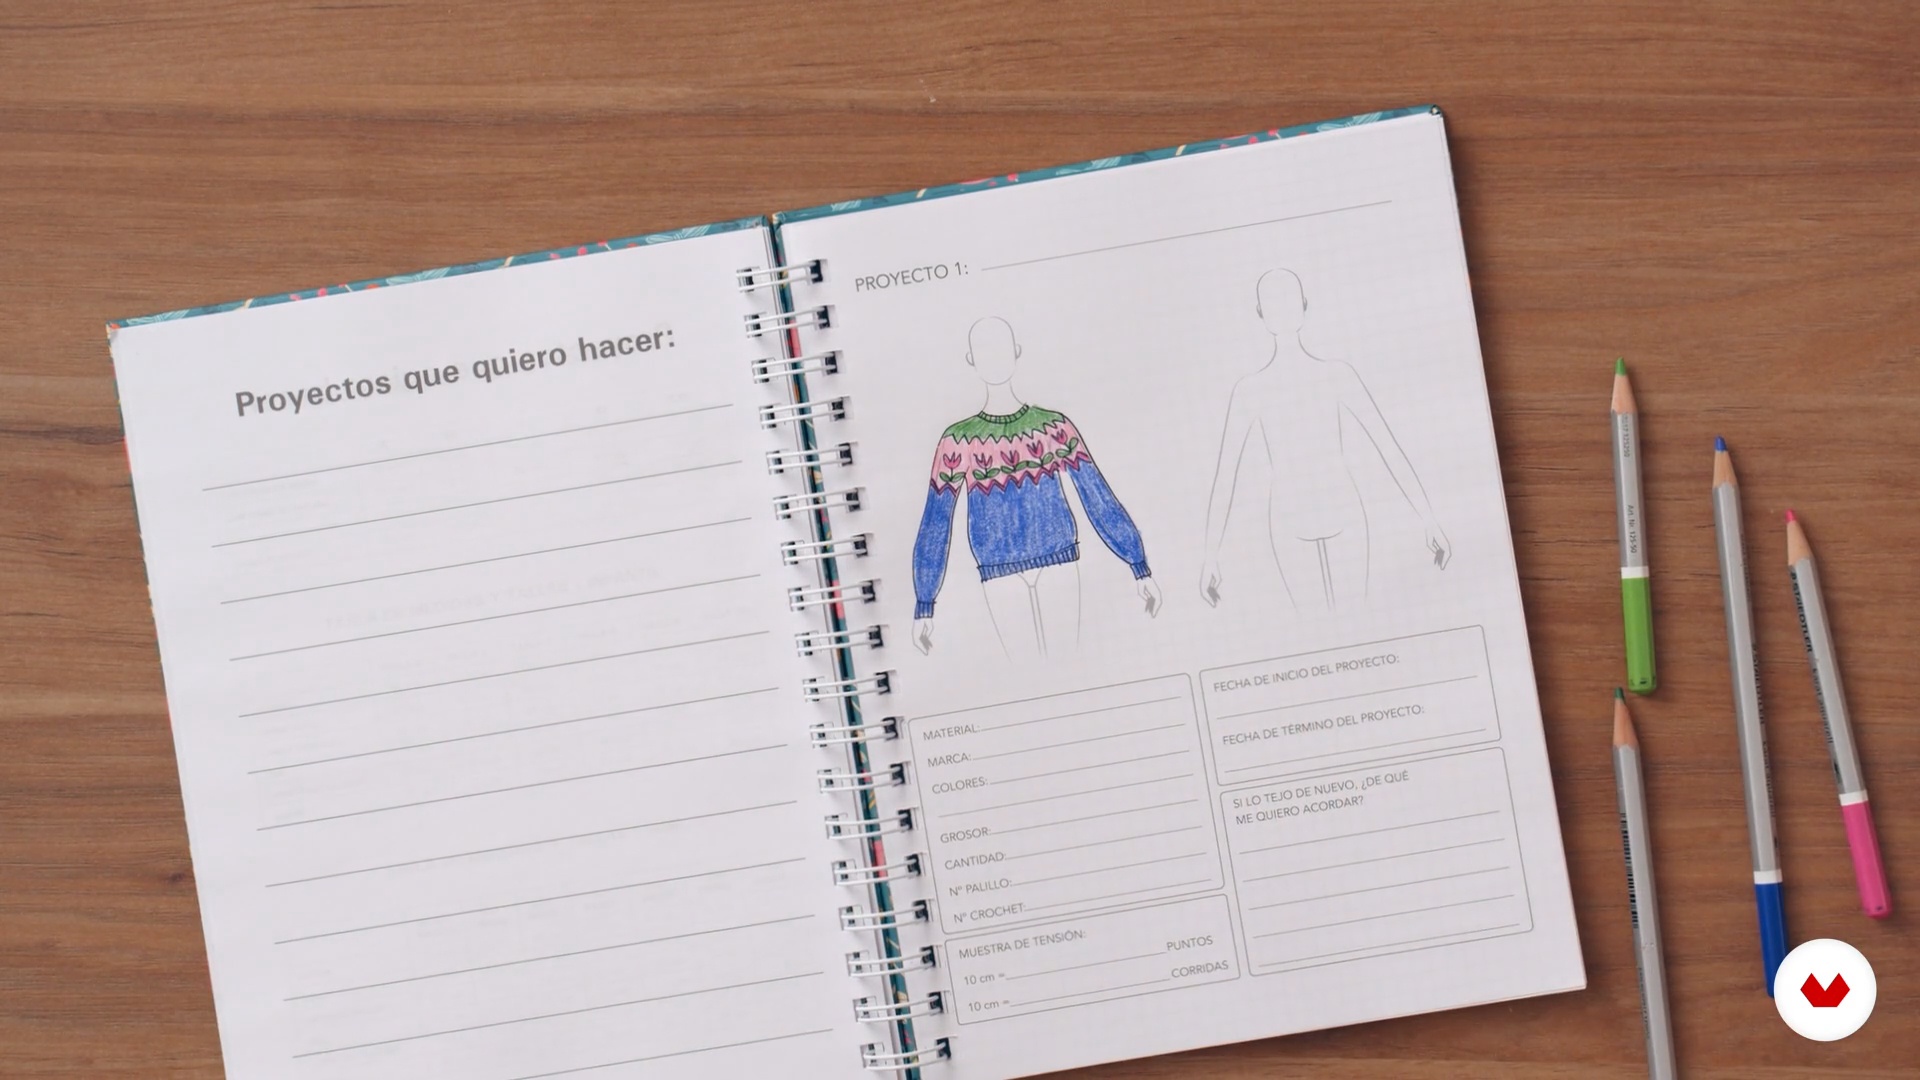
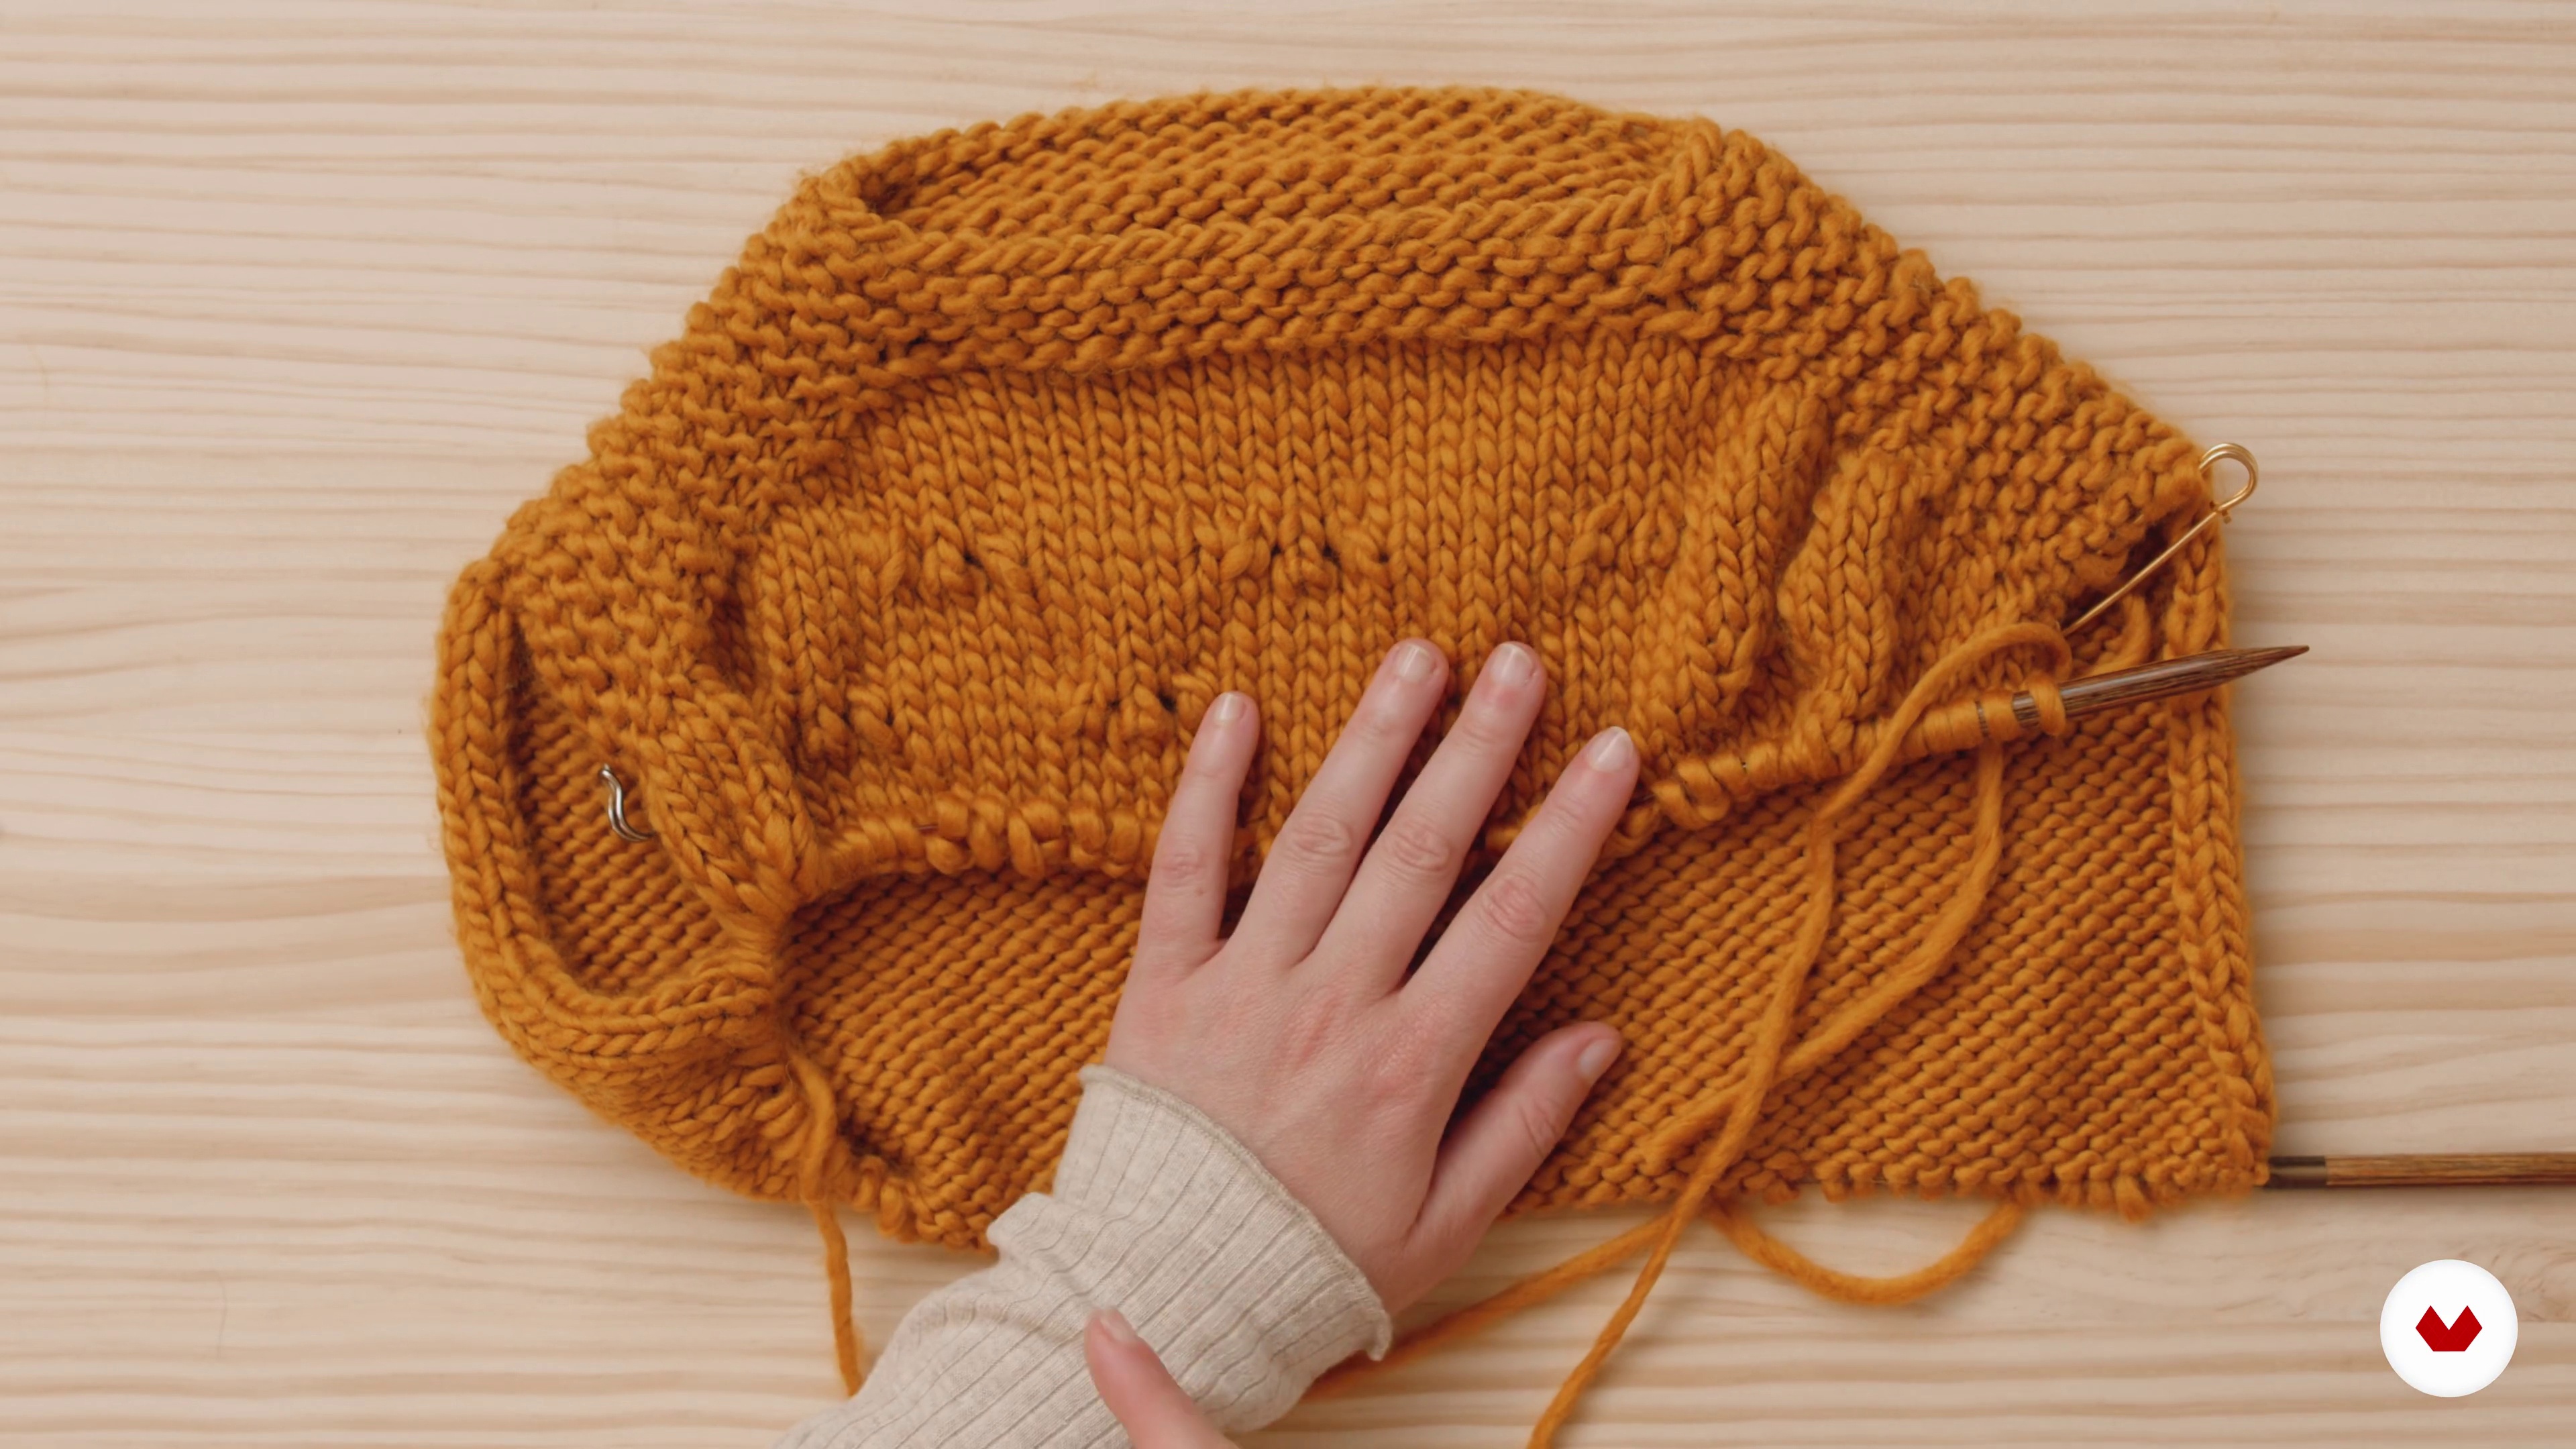
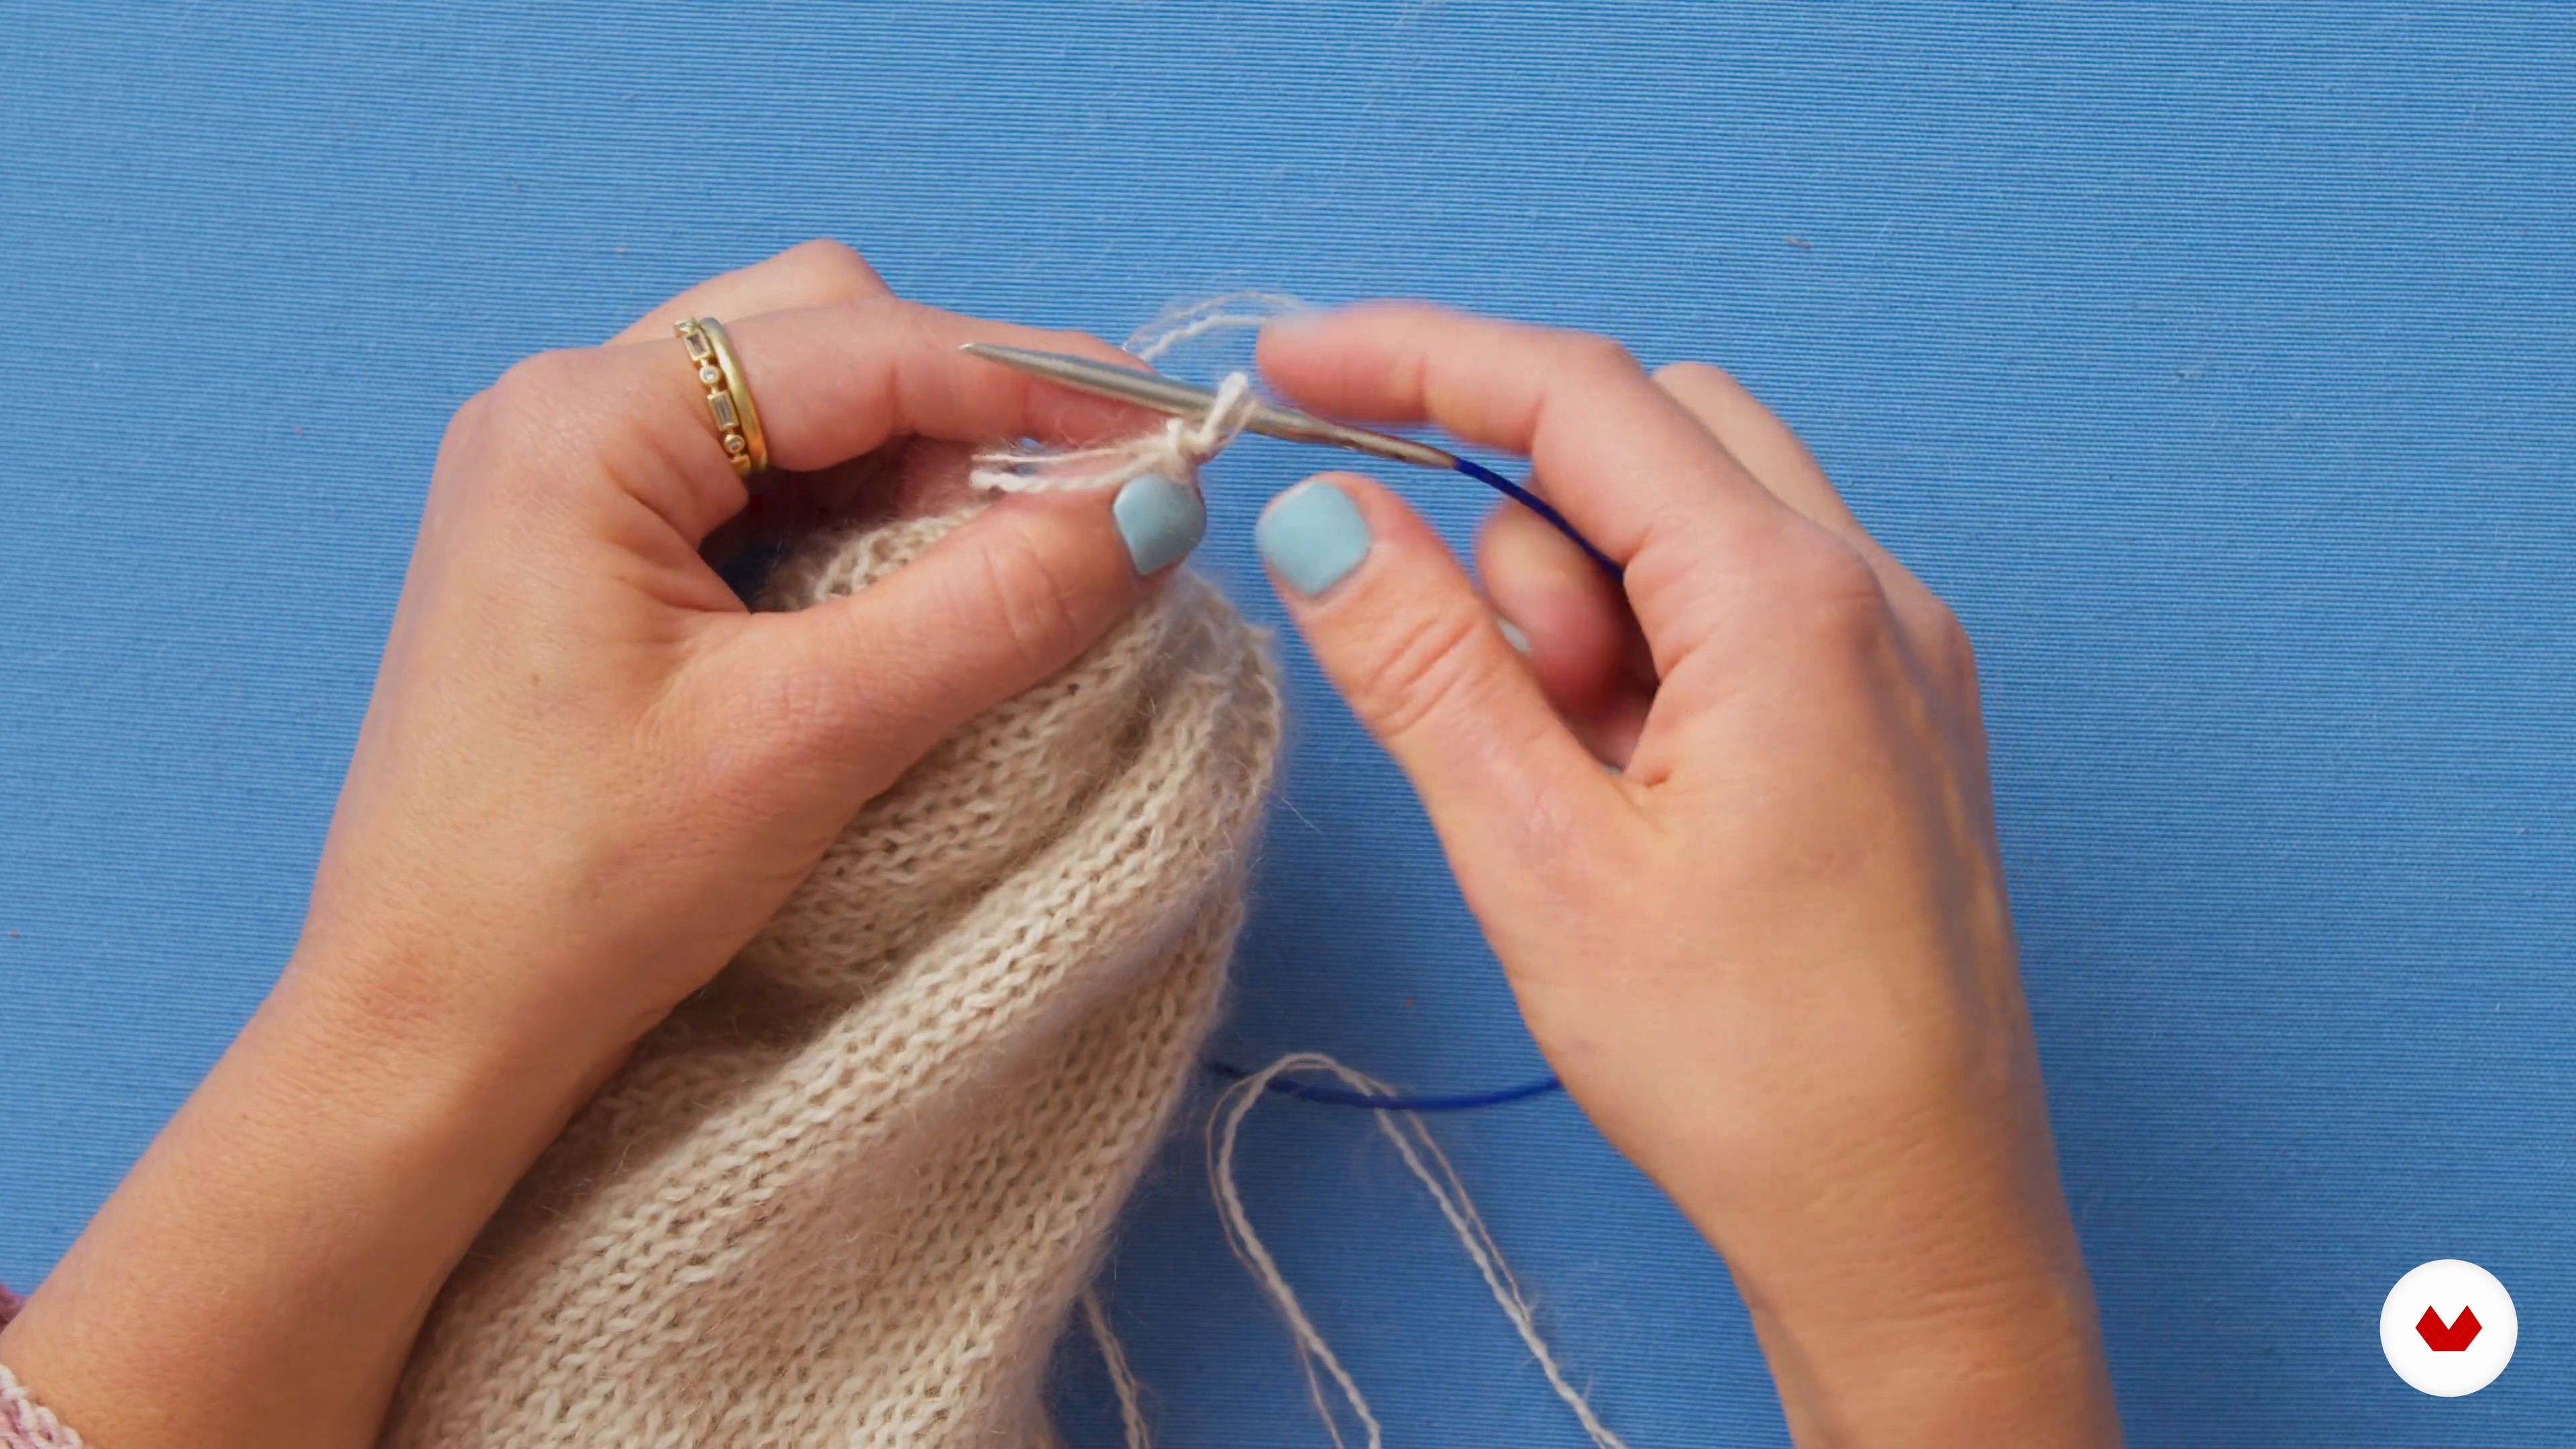
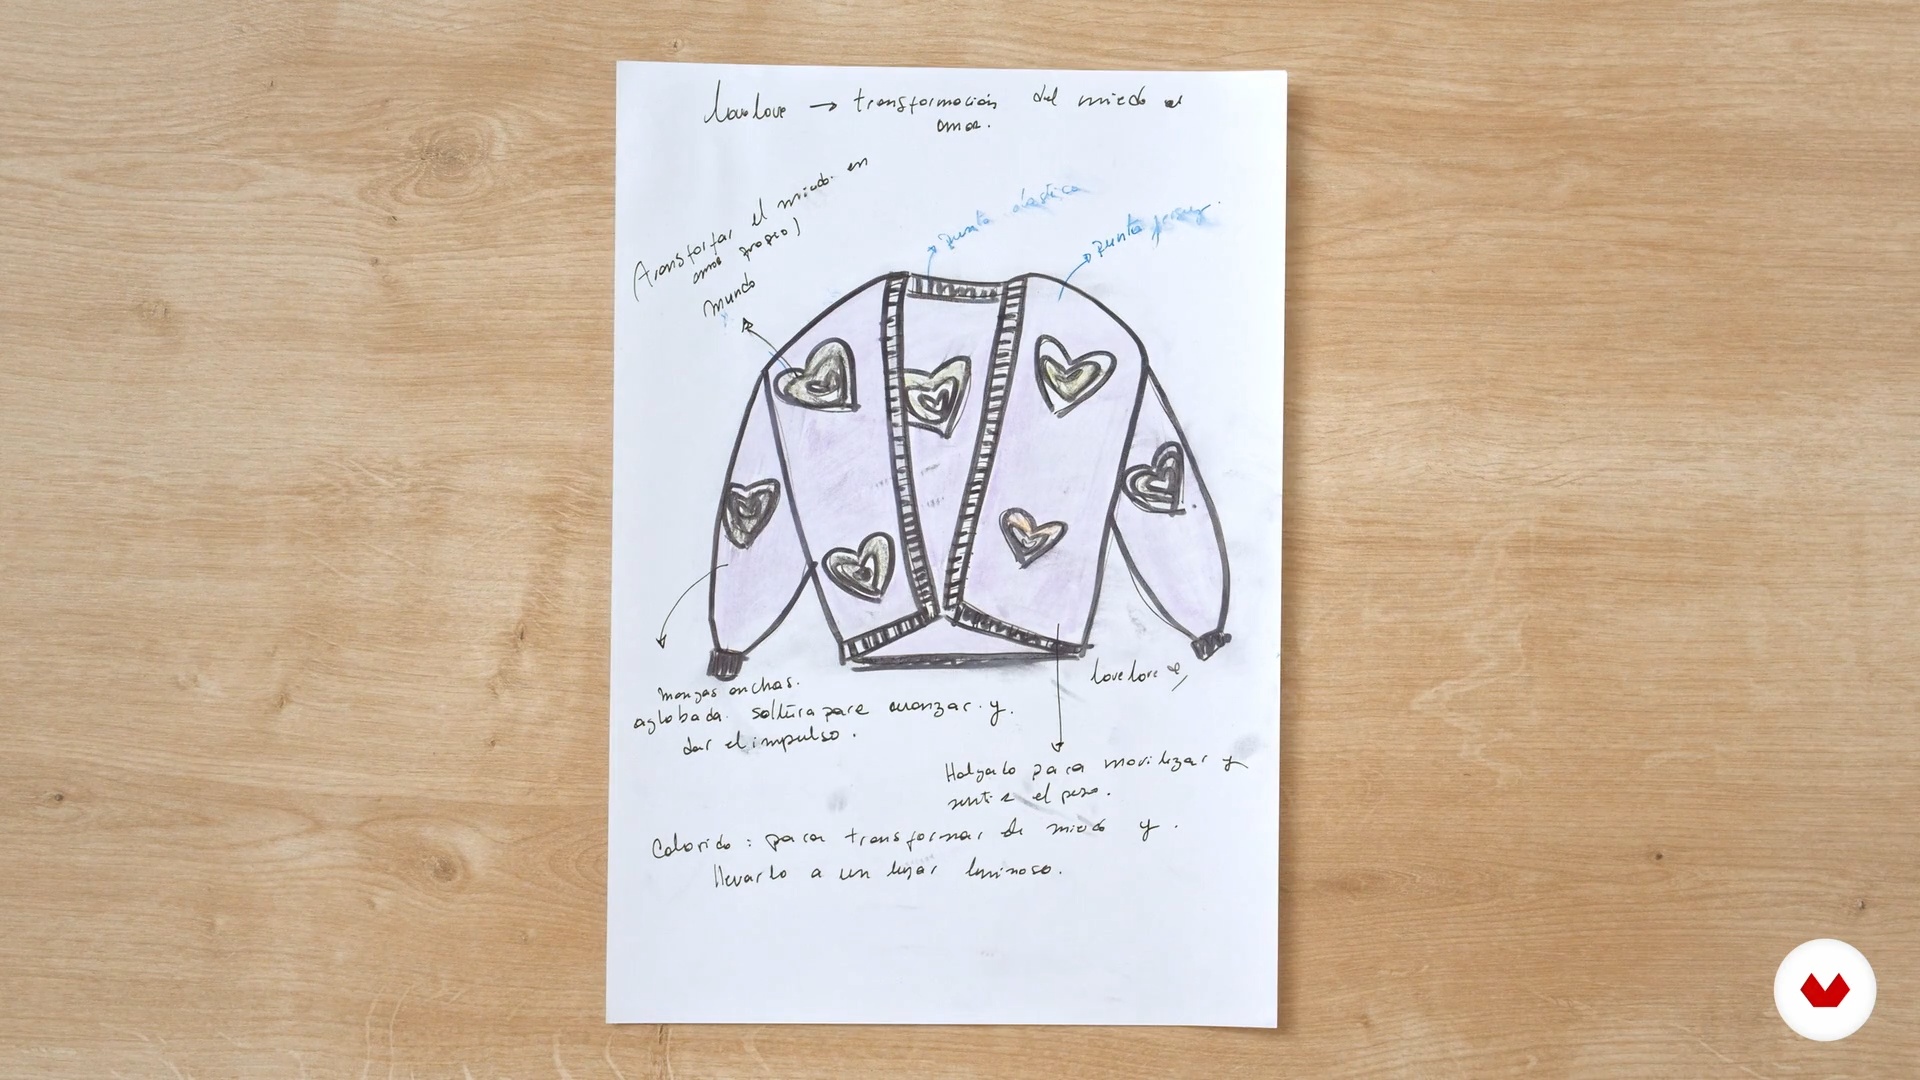
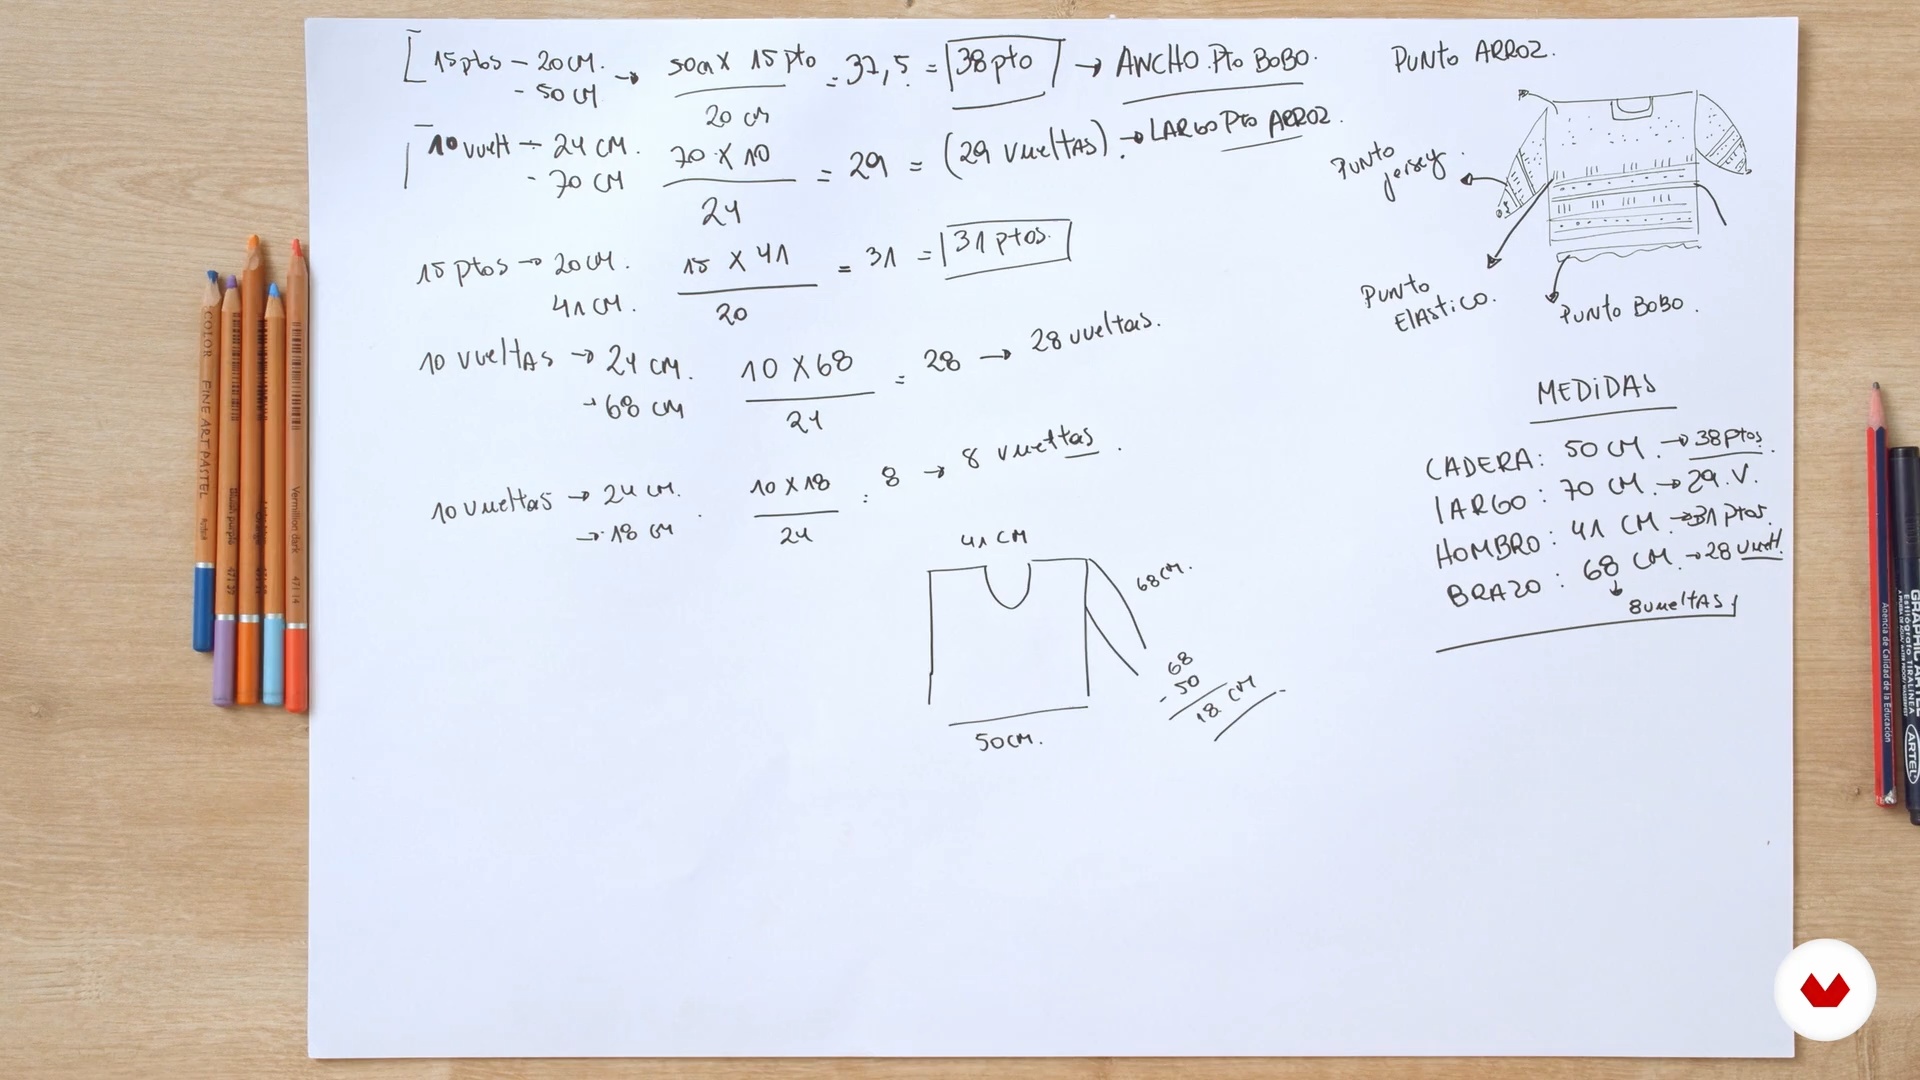
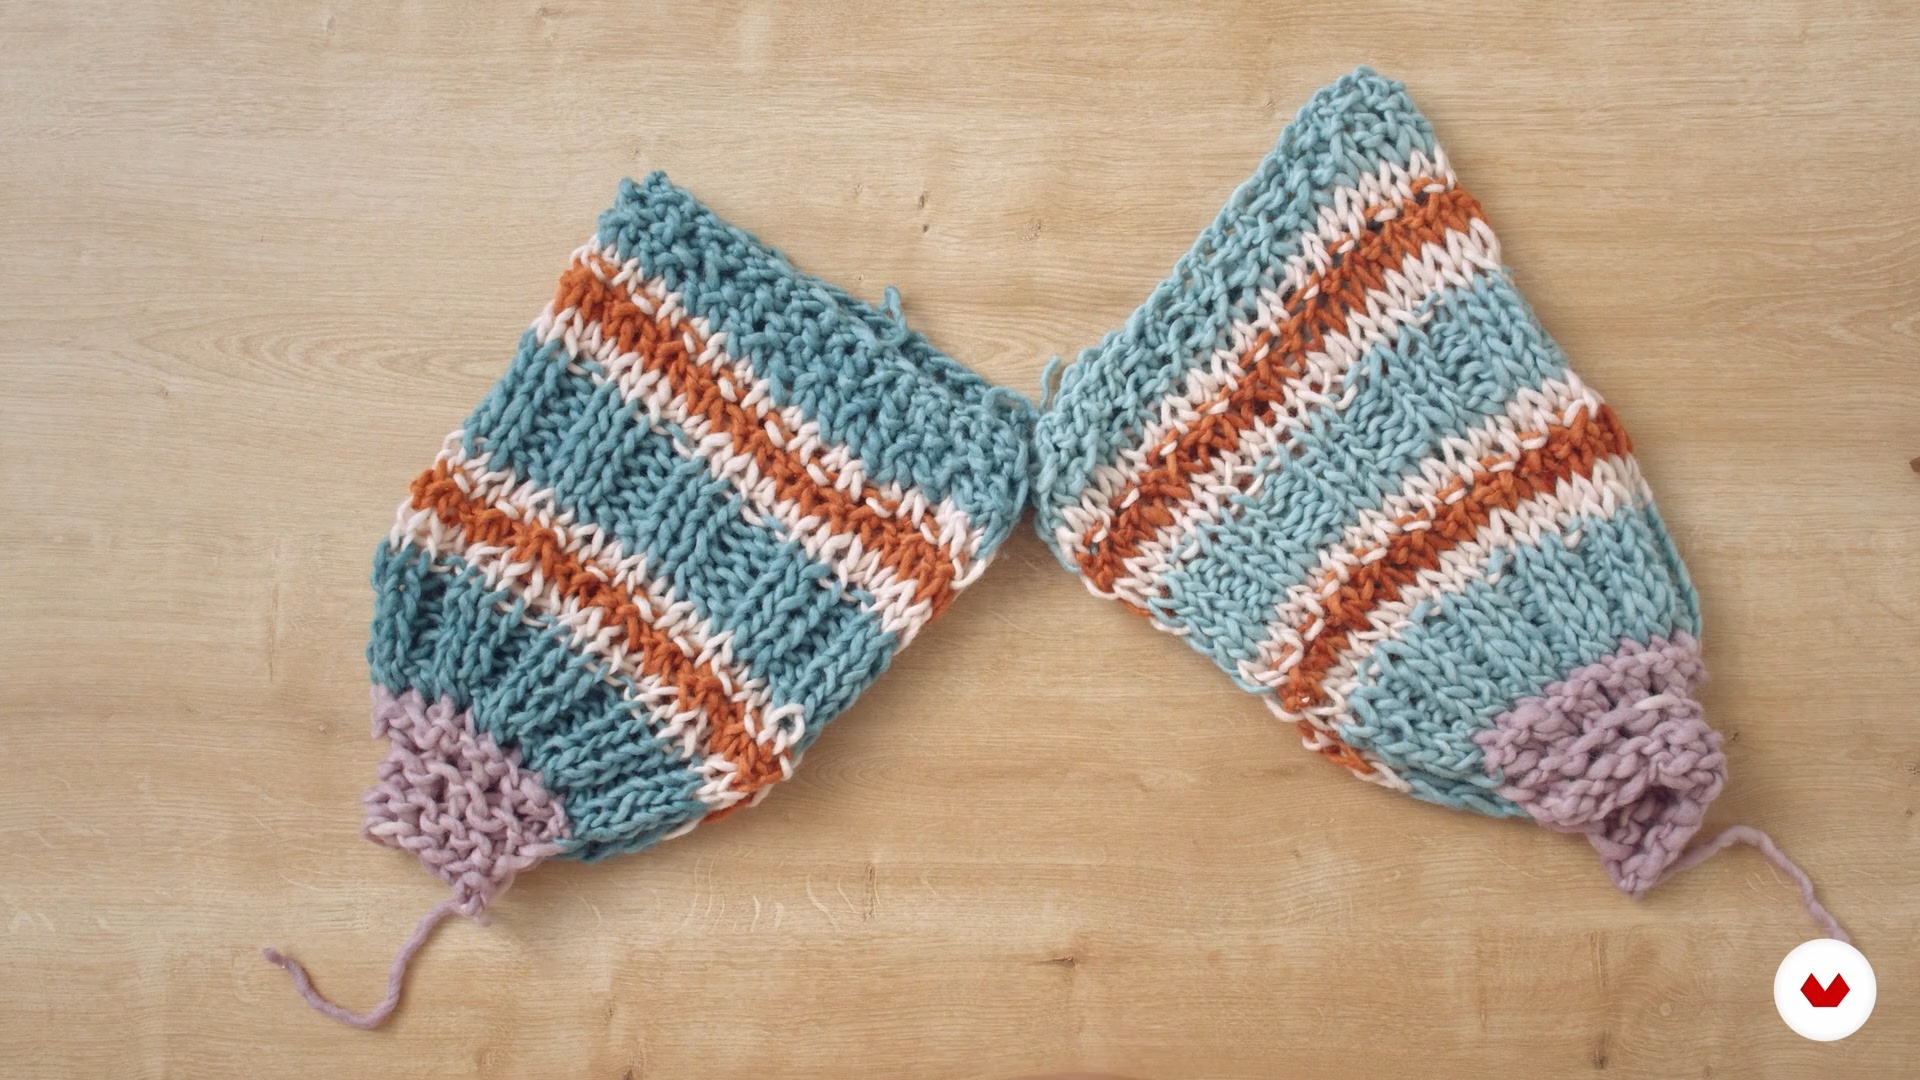
Design and knit a seamless garment tailored to your measurements using circular needles, achieving a fluid finish without awkward assemblies. Learn the techniques needed to construct custom pieces with a perfect anatomical fit.
Who is this specialization for?
Textile designers, knitting enthusiasts, and DIY enthusiasts who want to master modern and traditional knitting techniques, create custom garments, and explore everything from basic to complex designs. Ideal for those looking to enhance their creative and technical skills in the world of knitting.
Requirements and materials
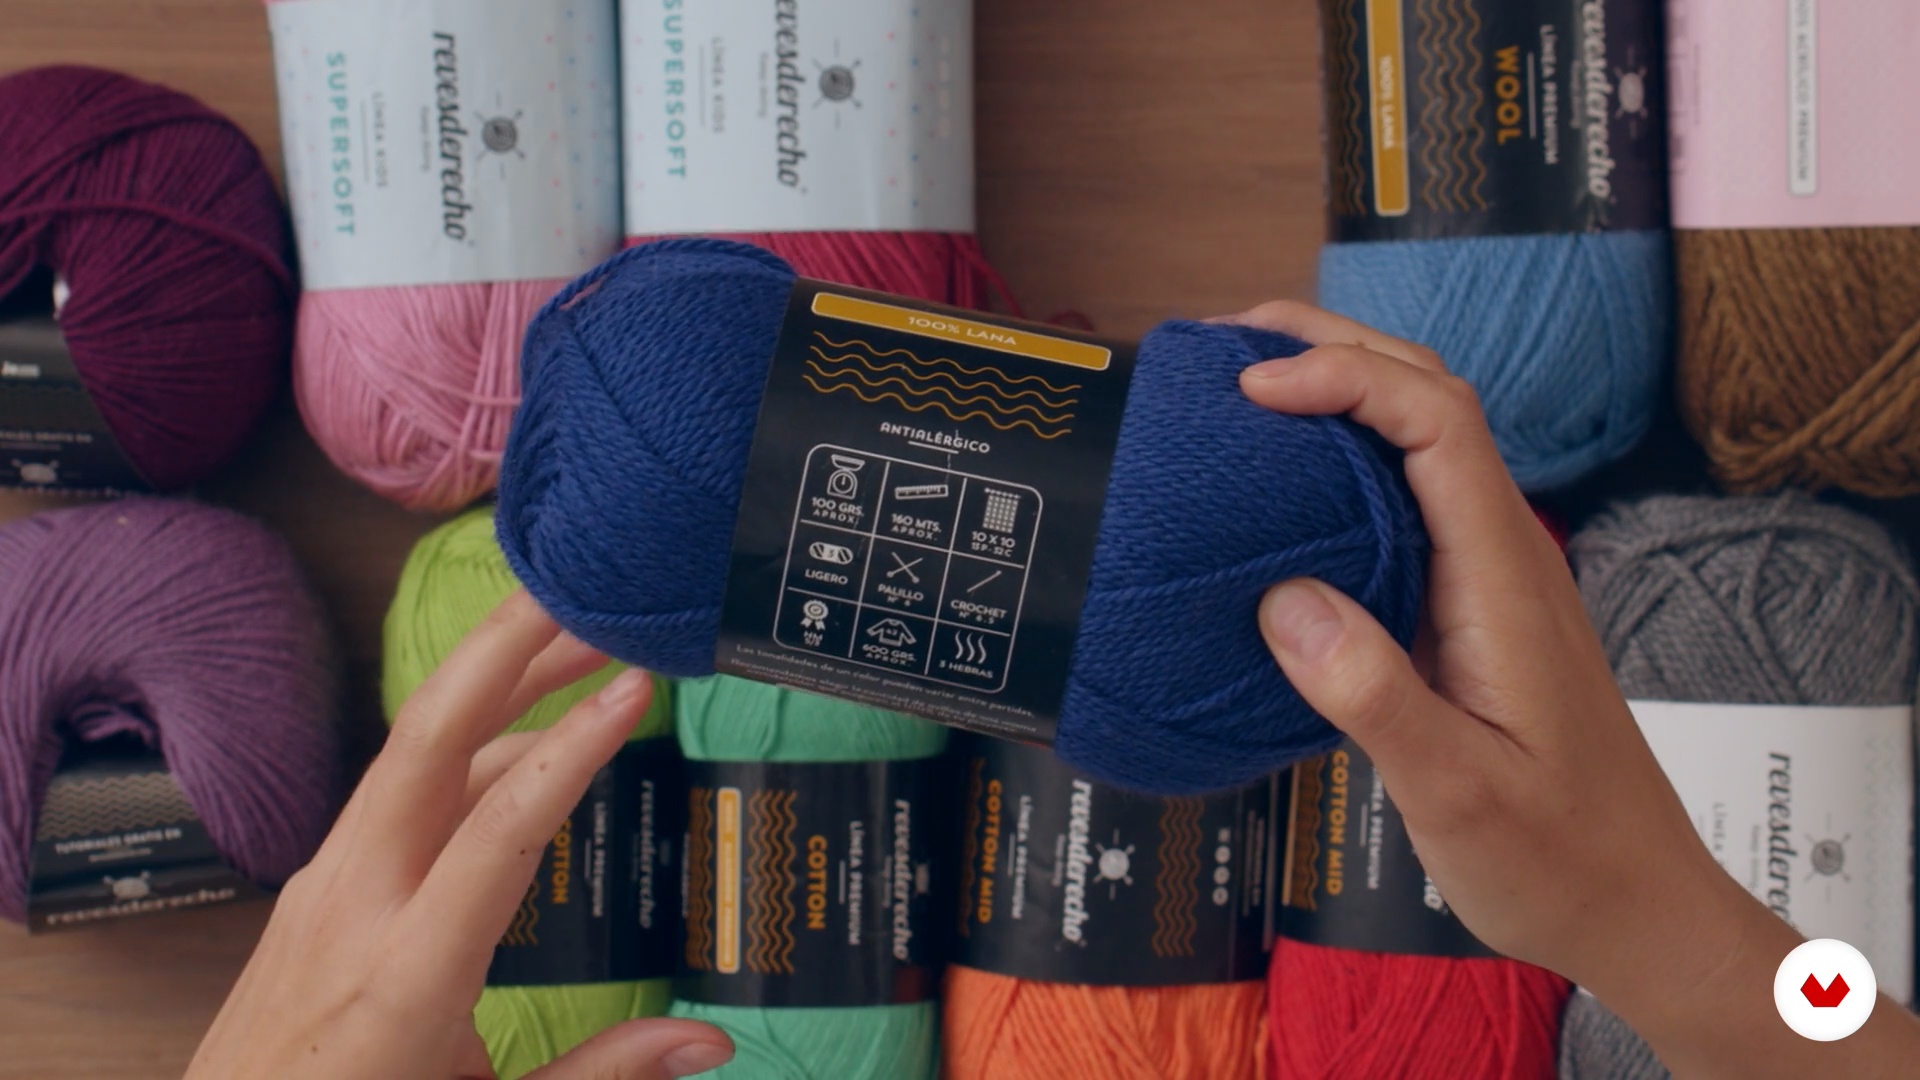
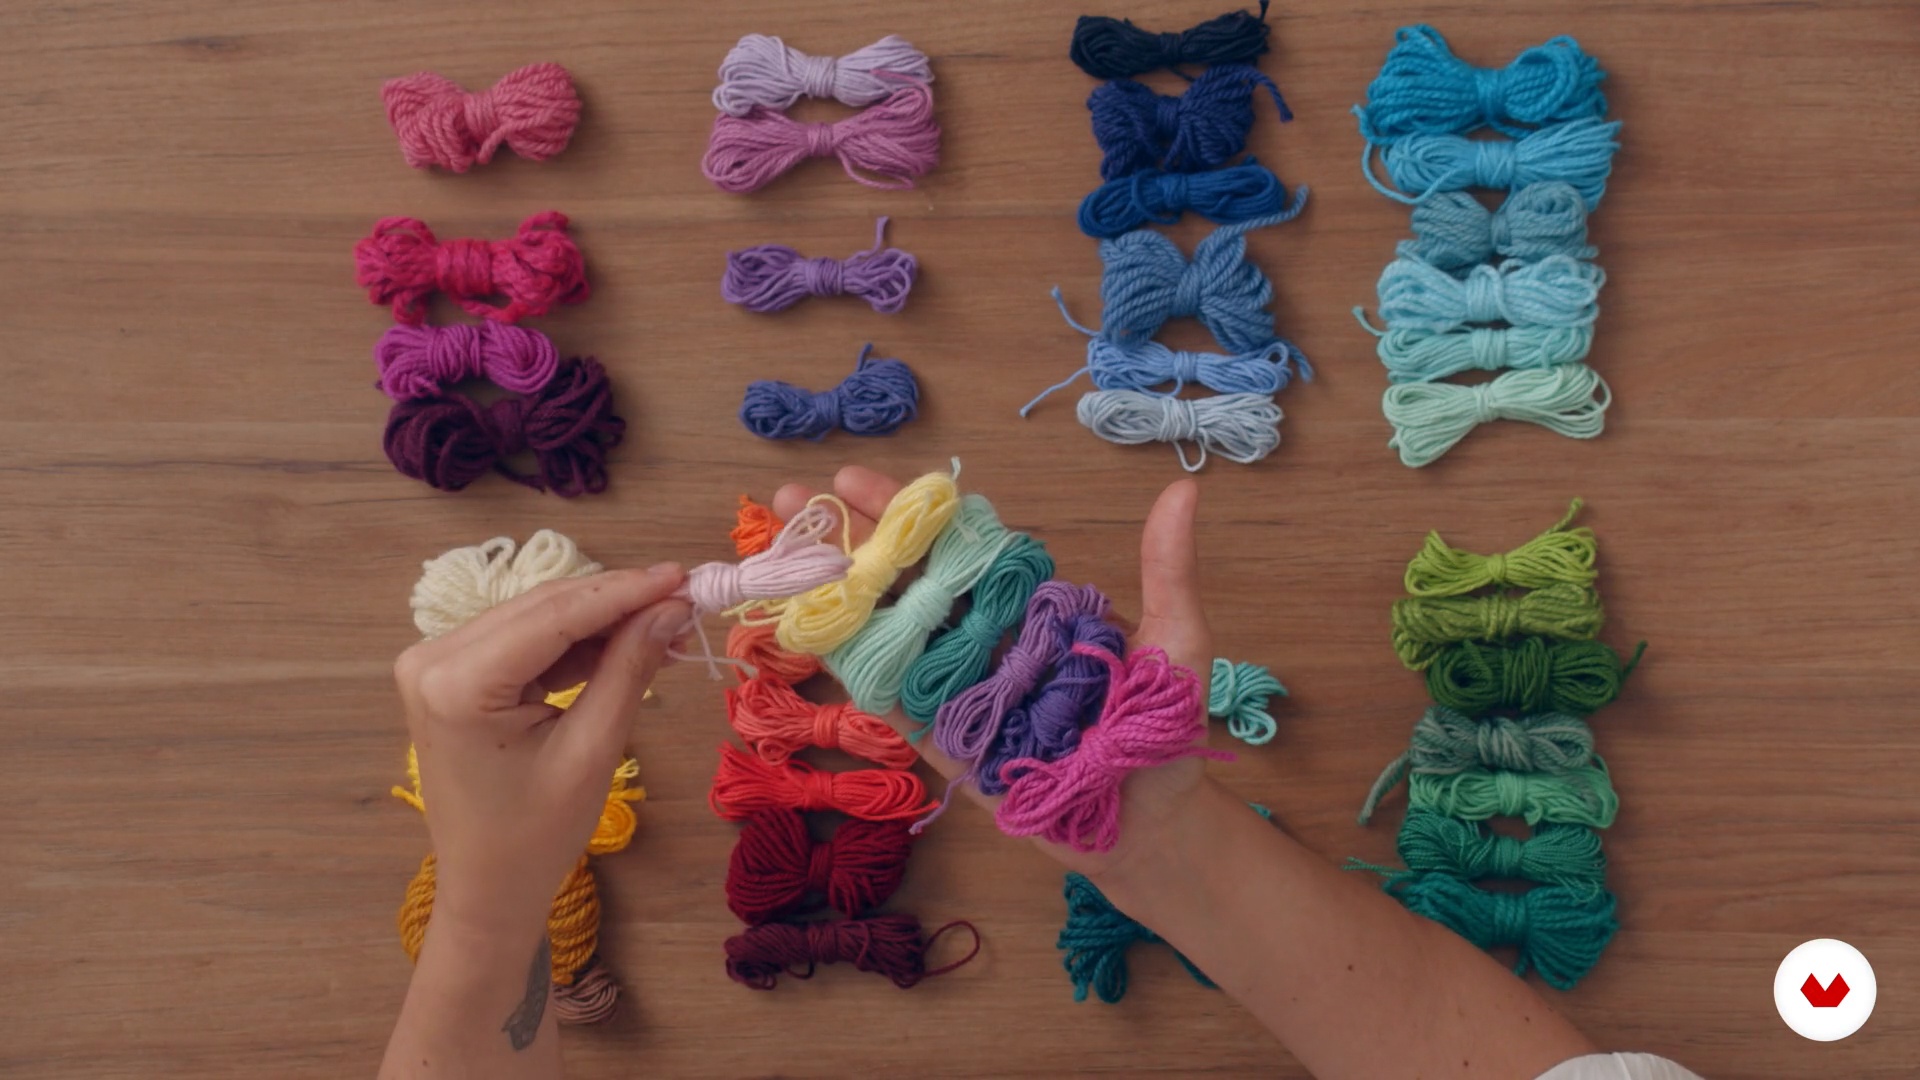
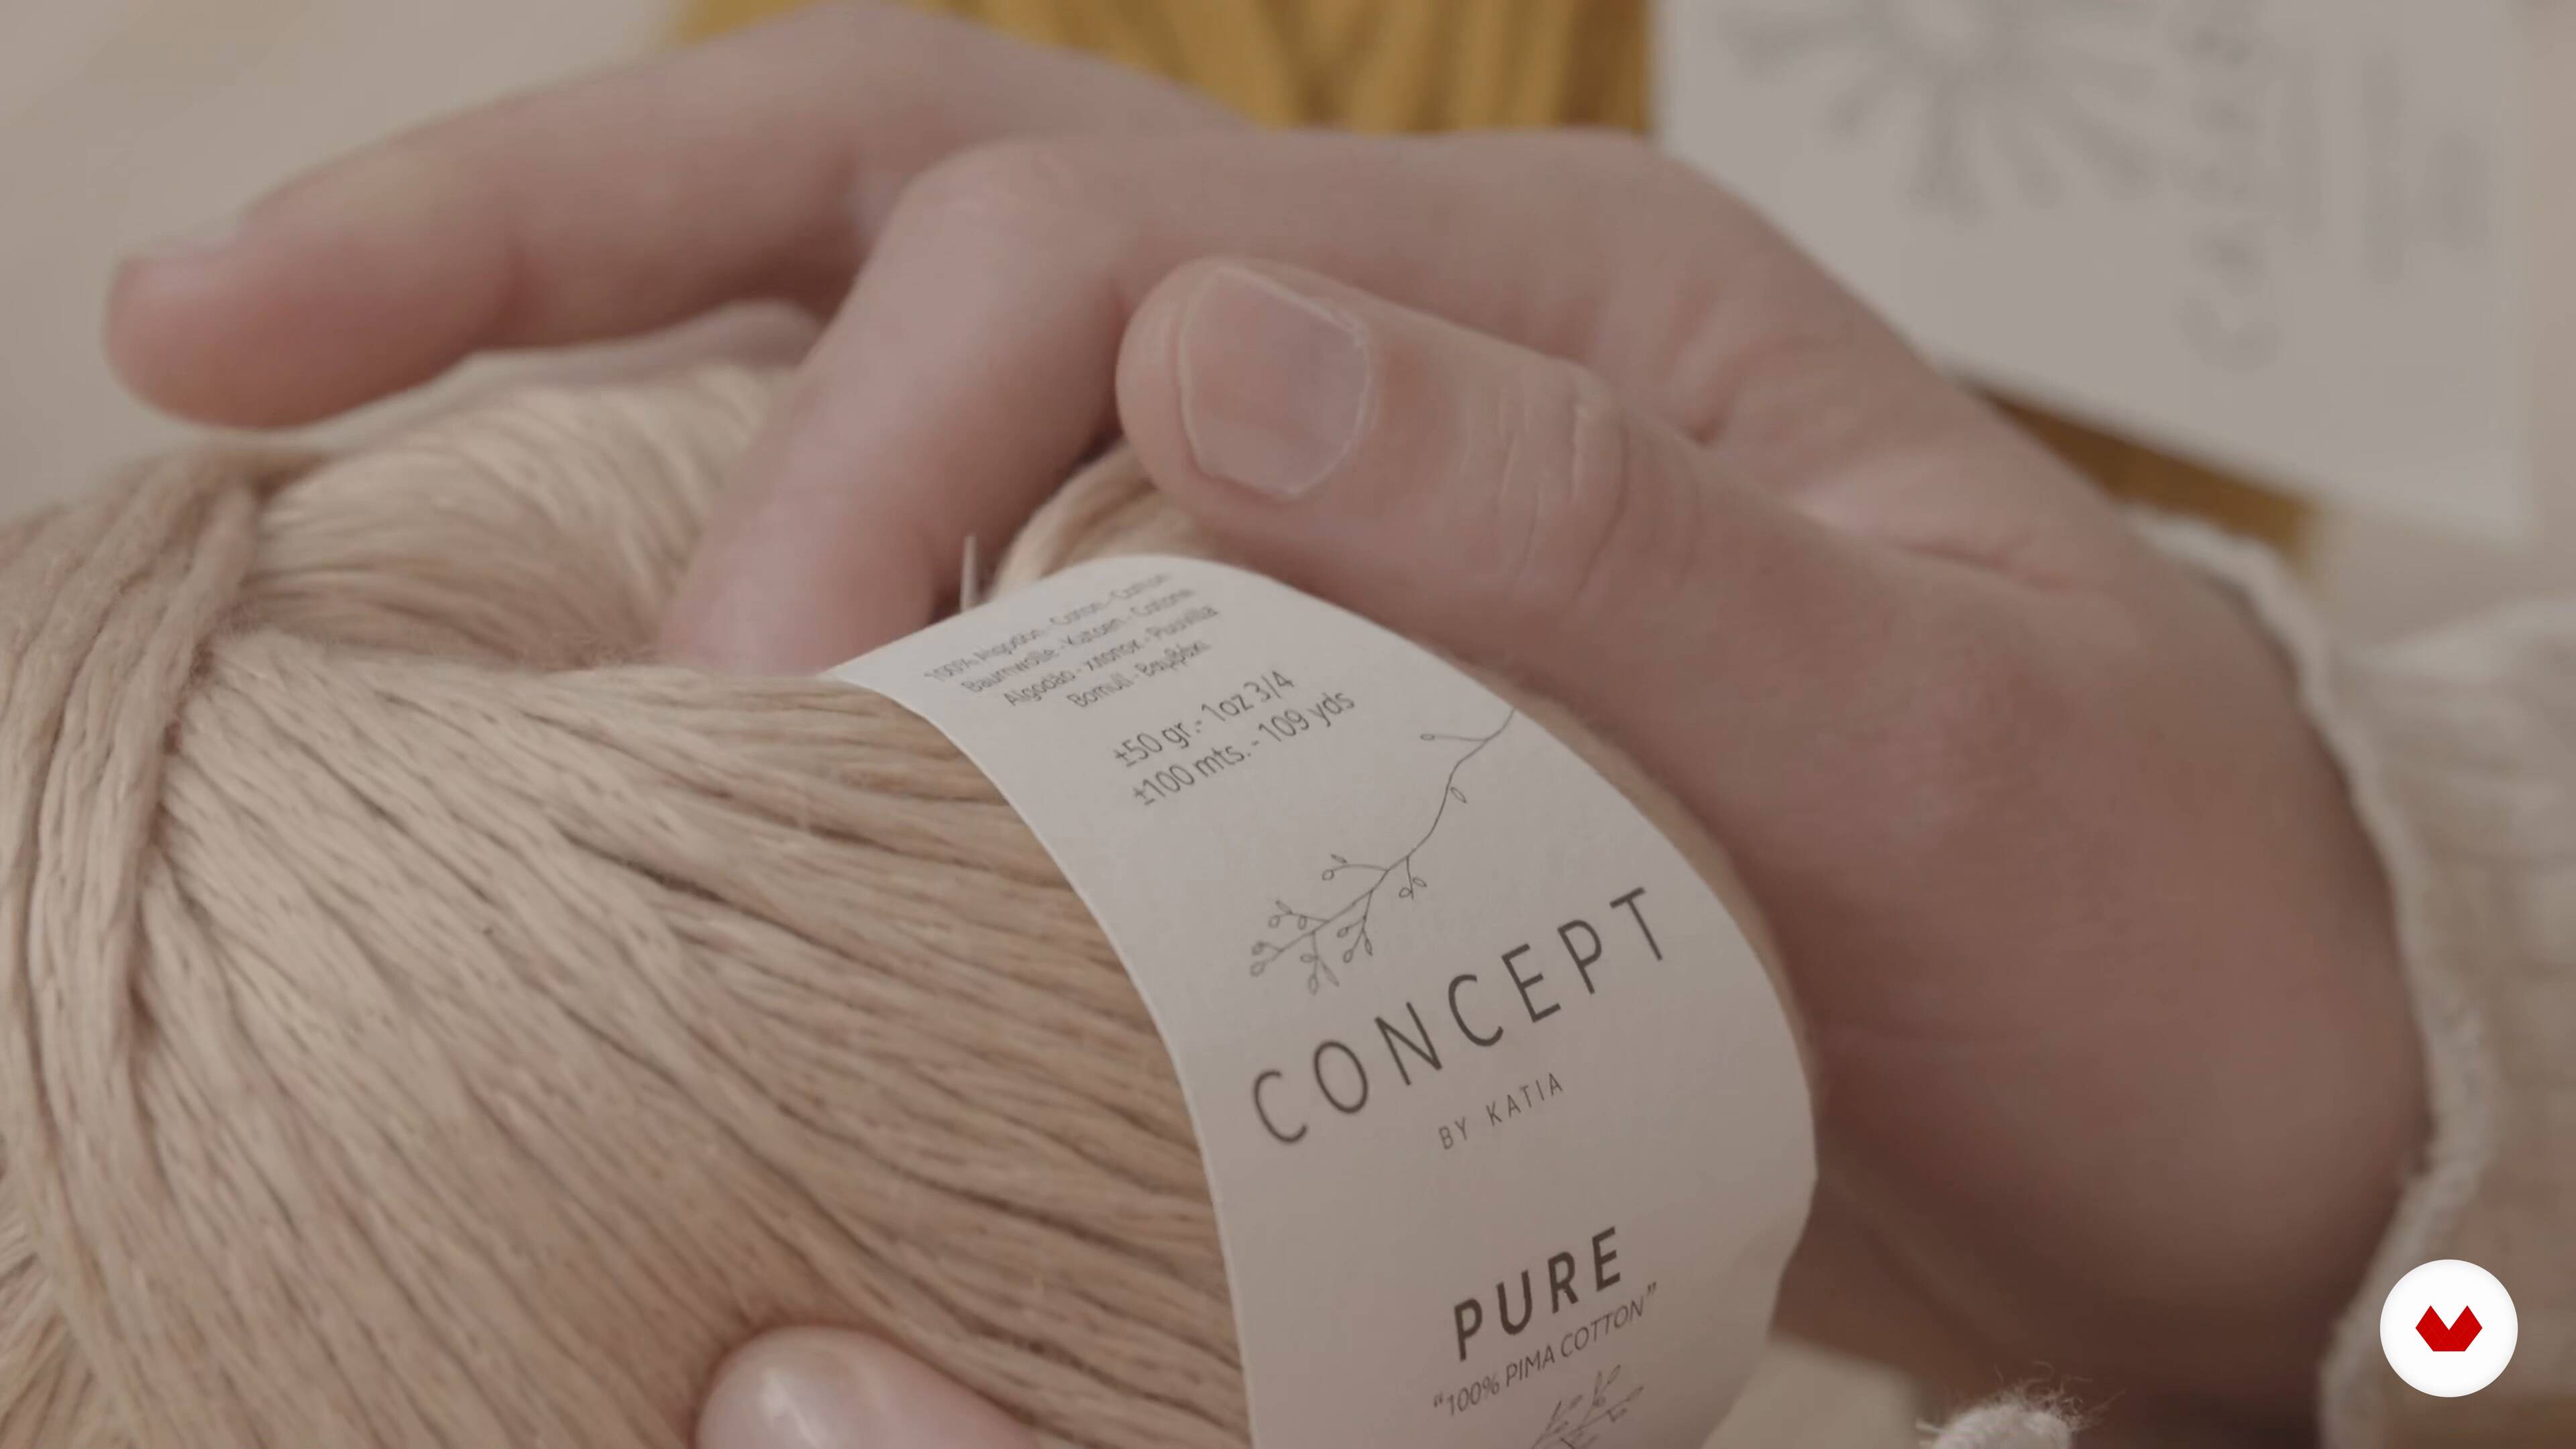
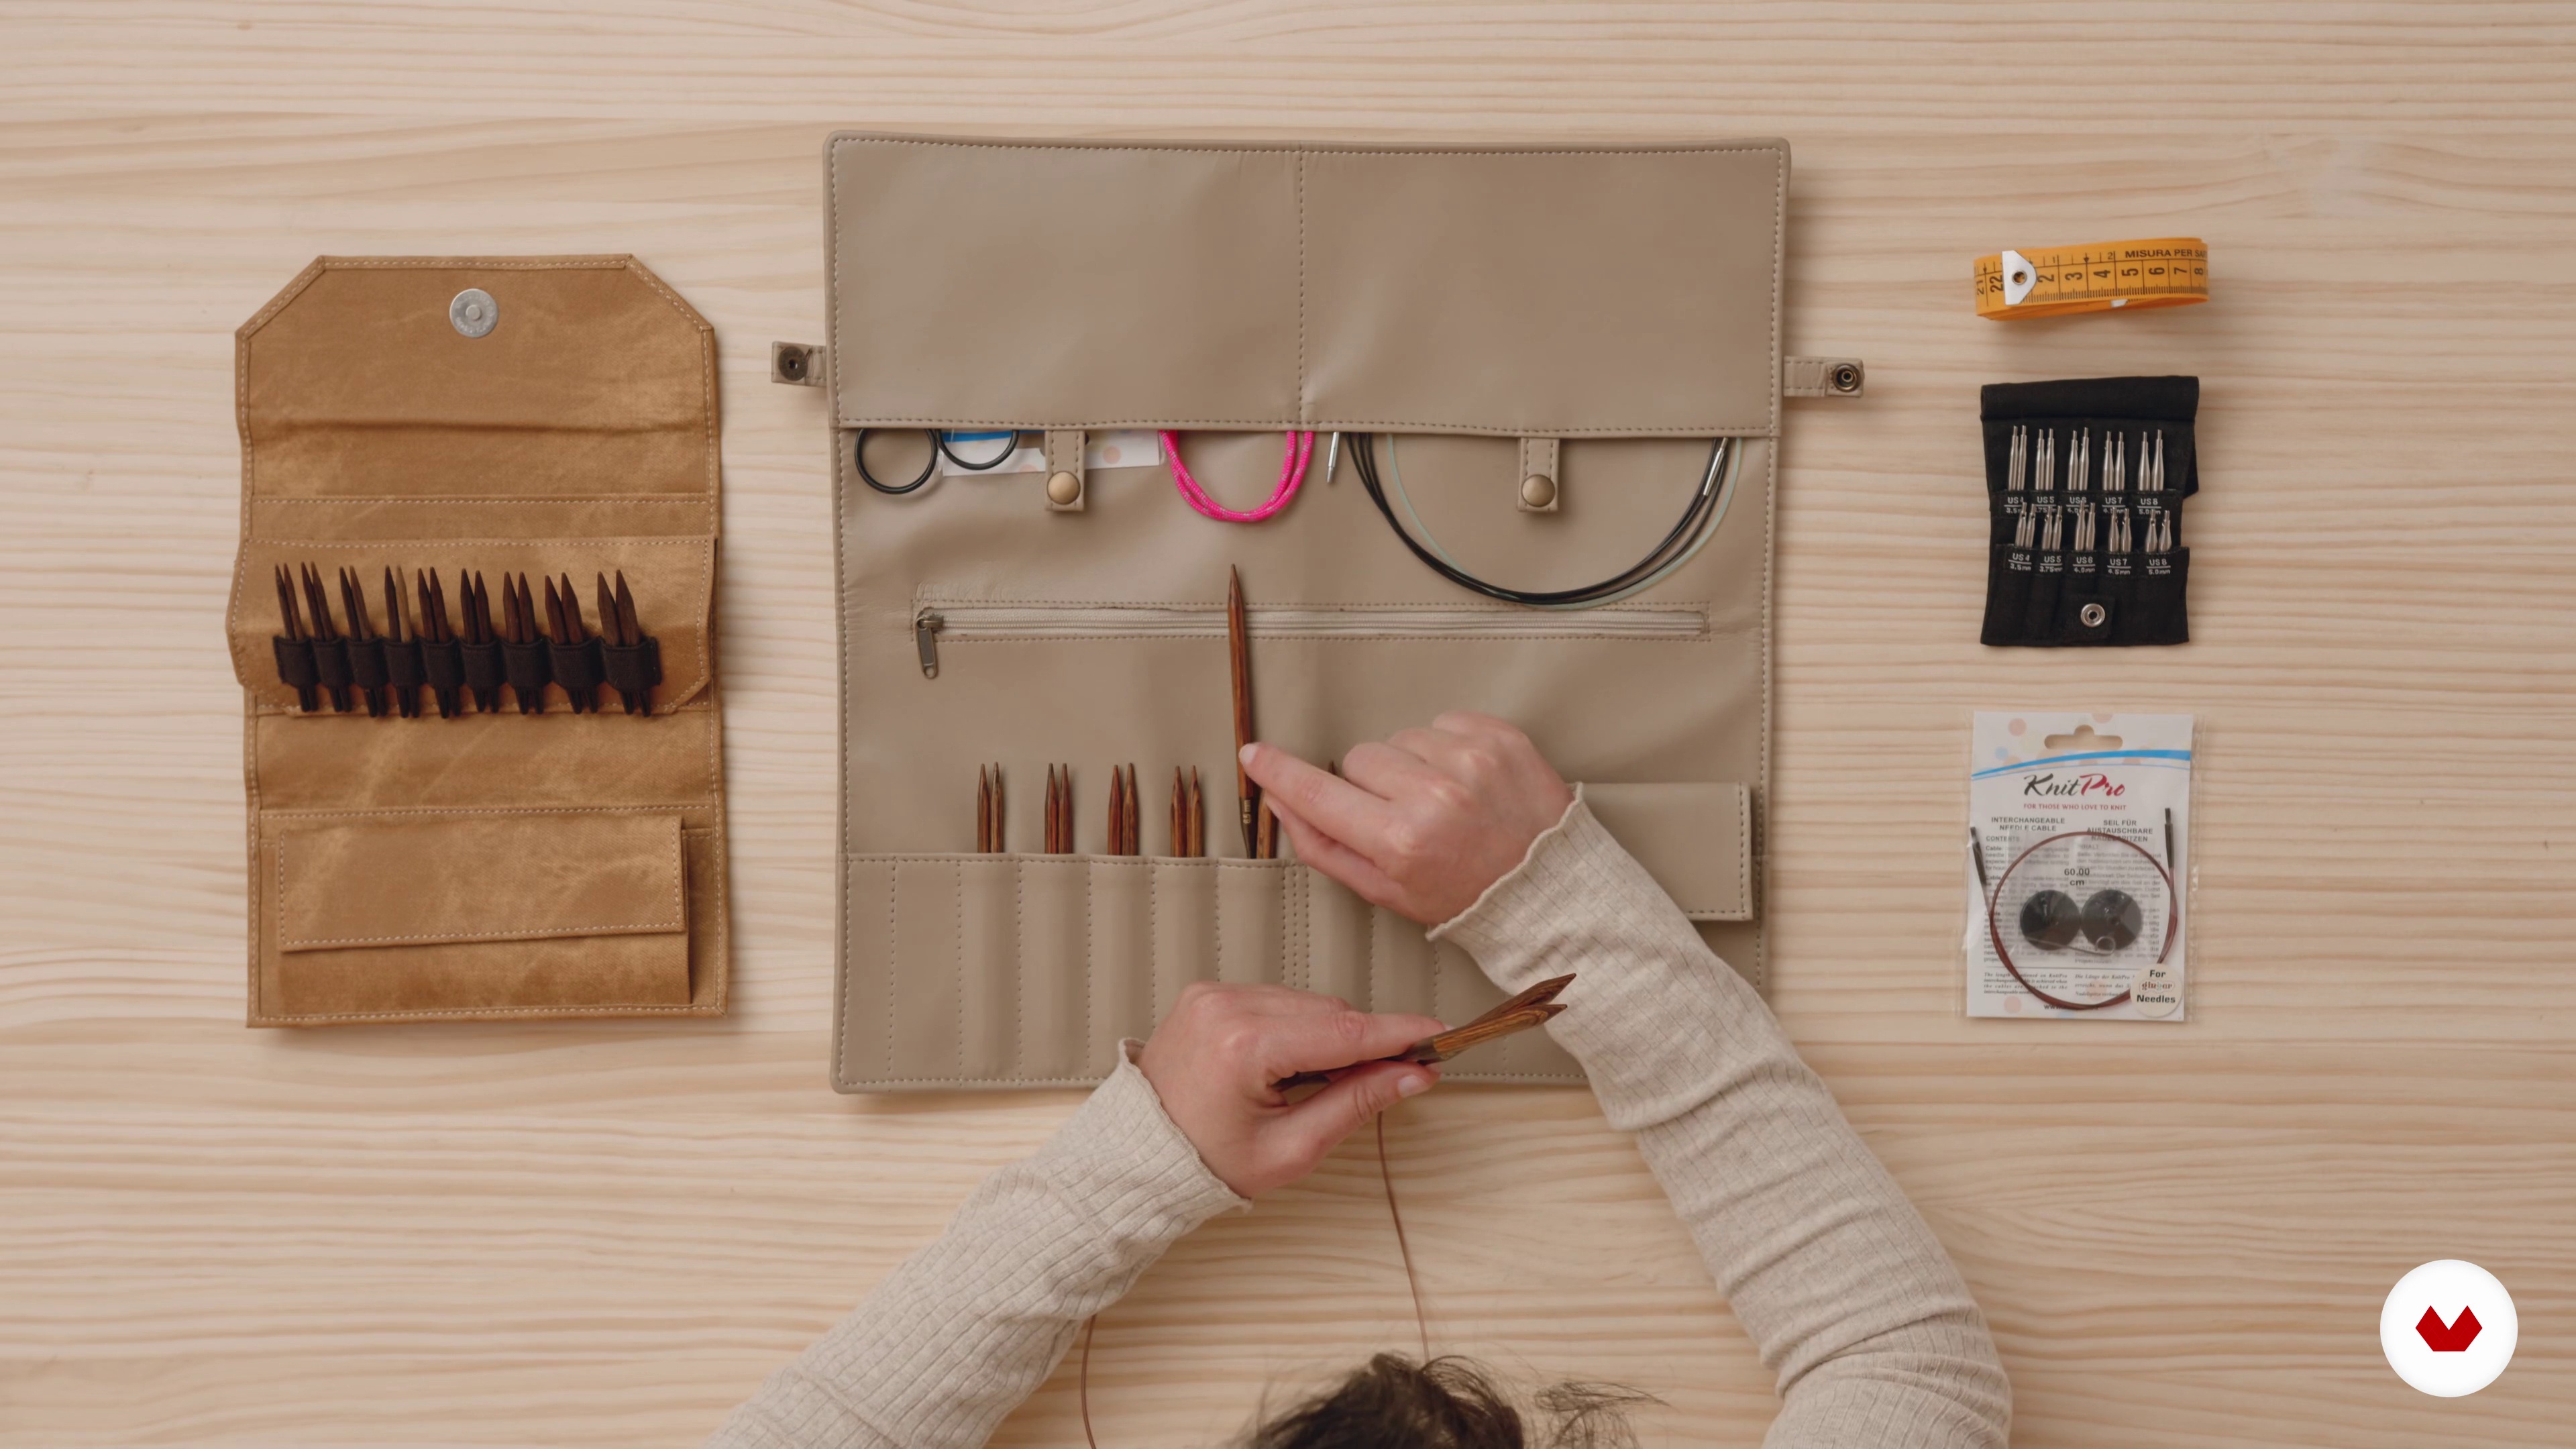
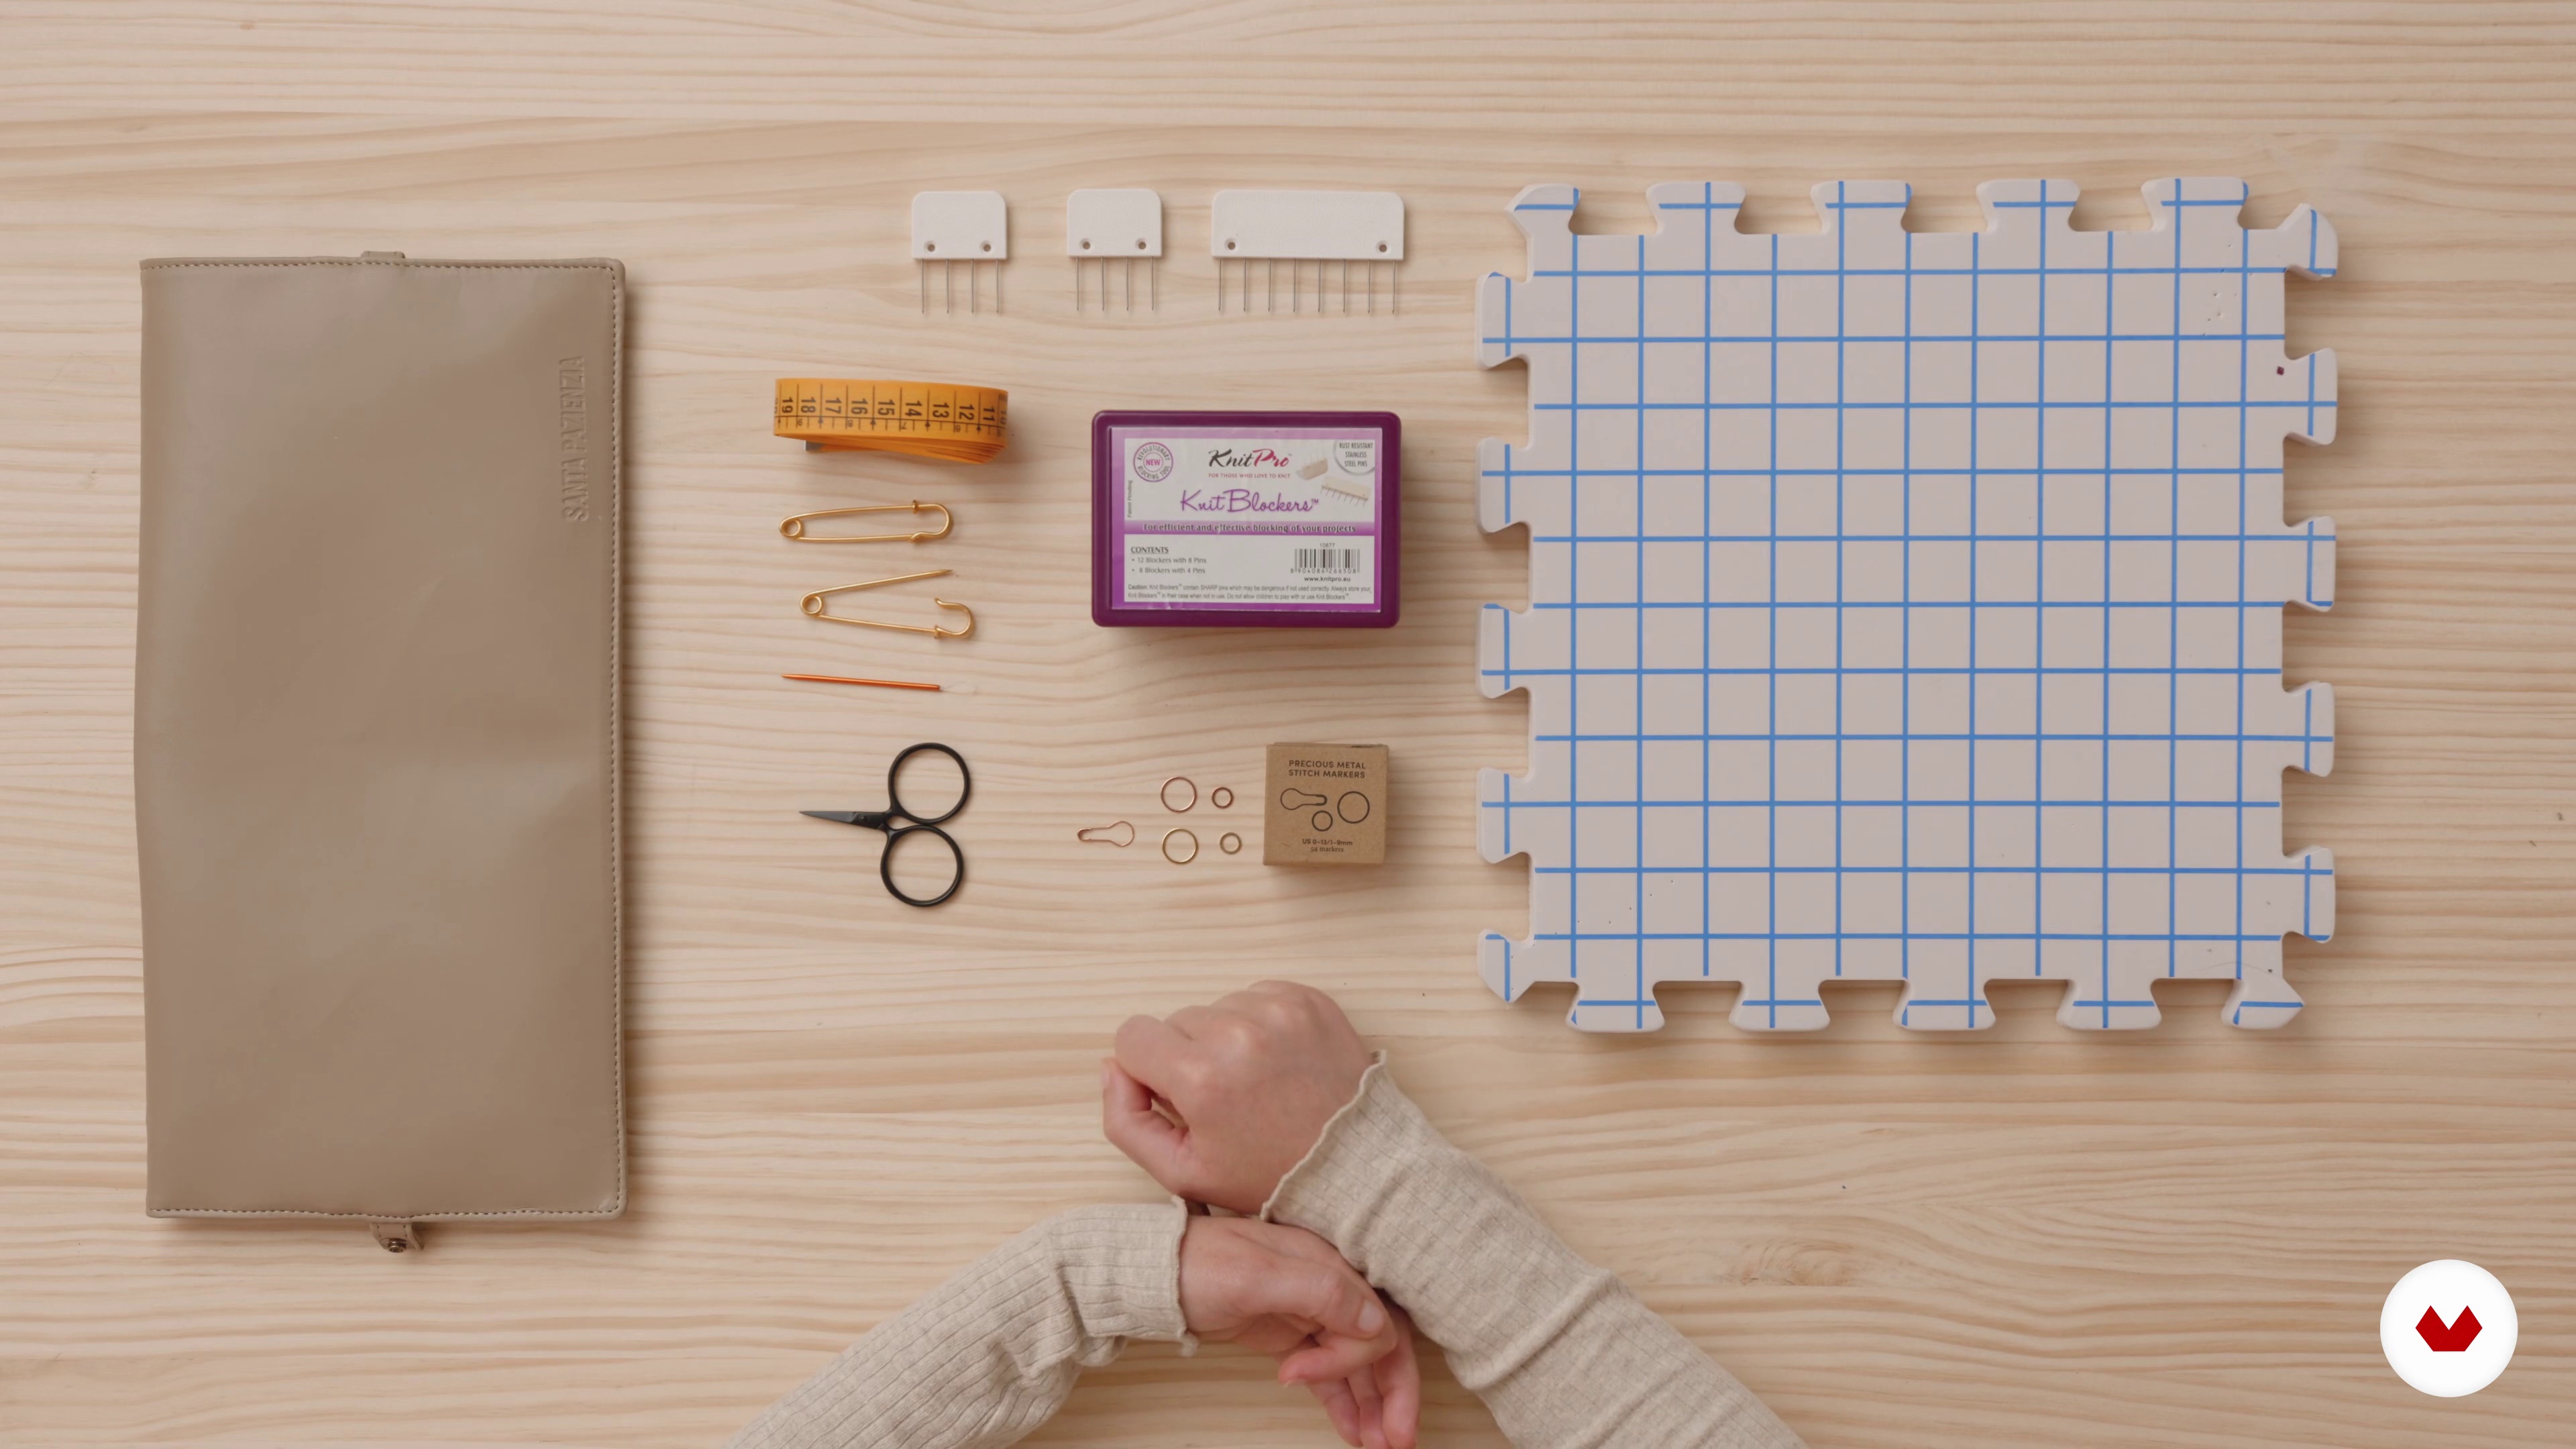
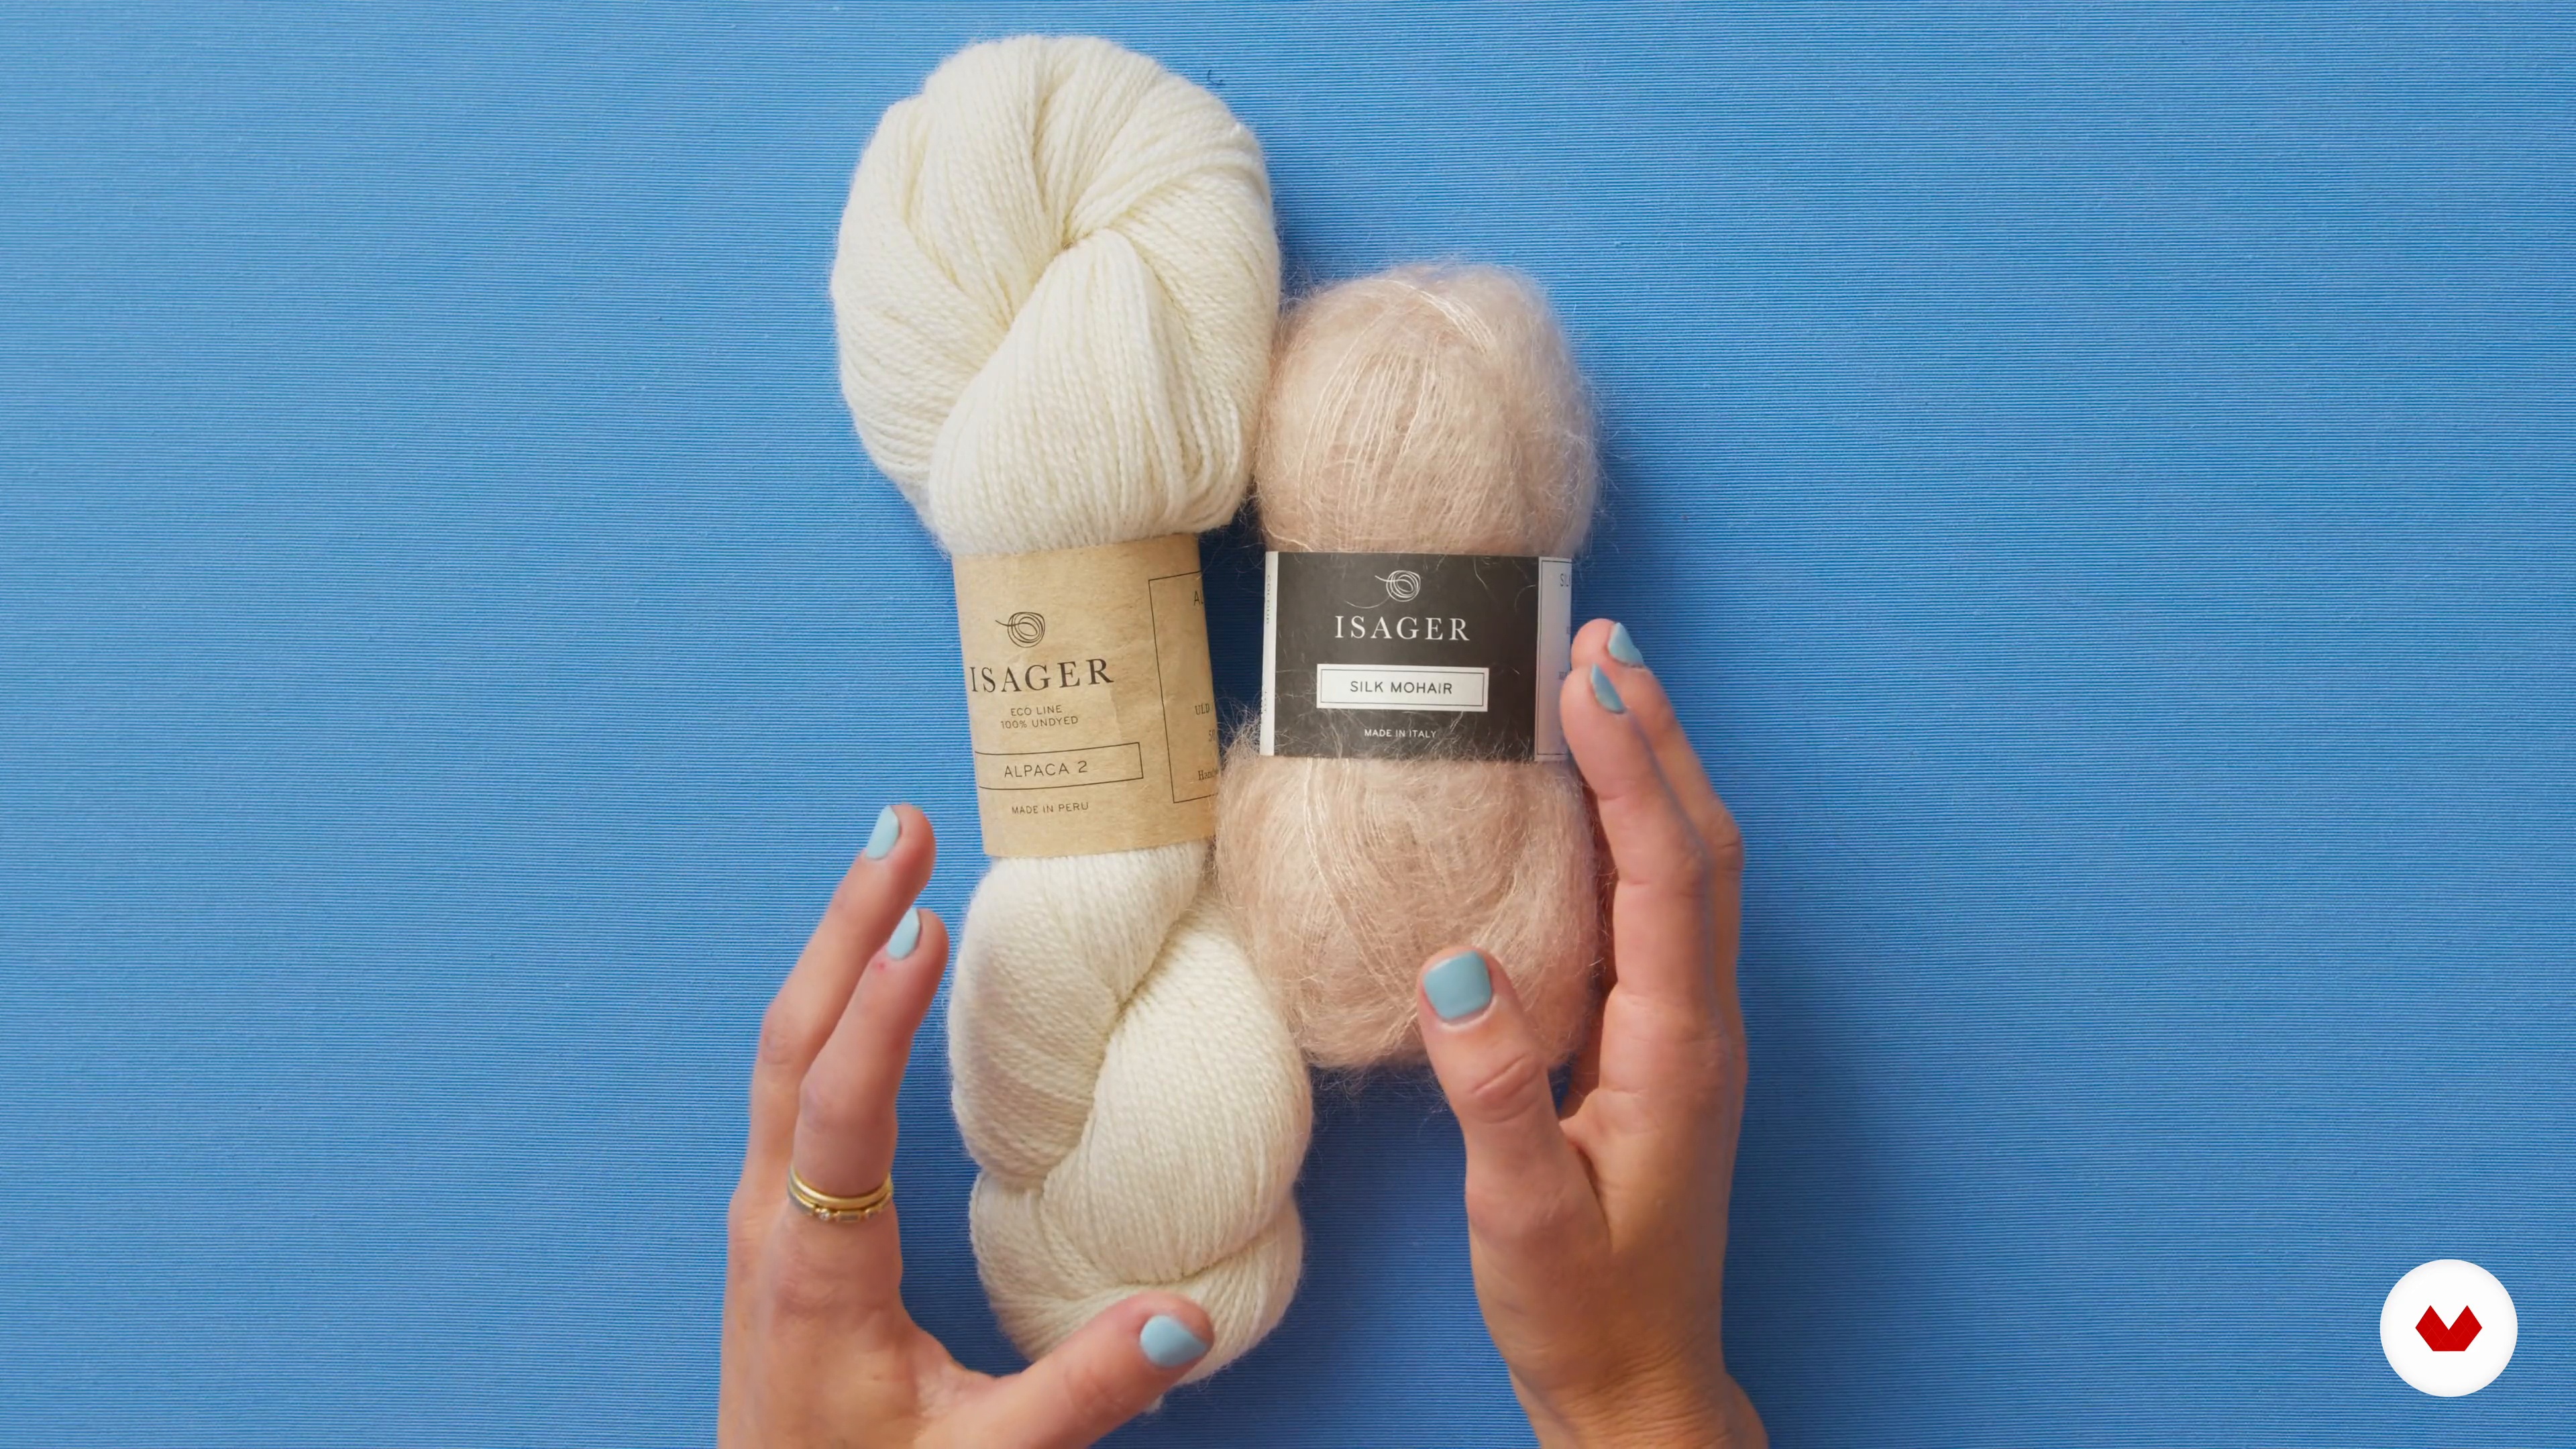
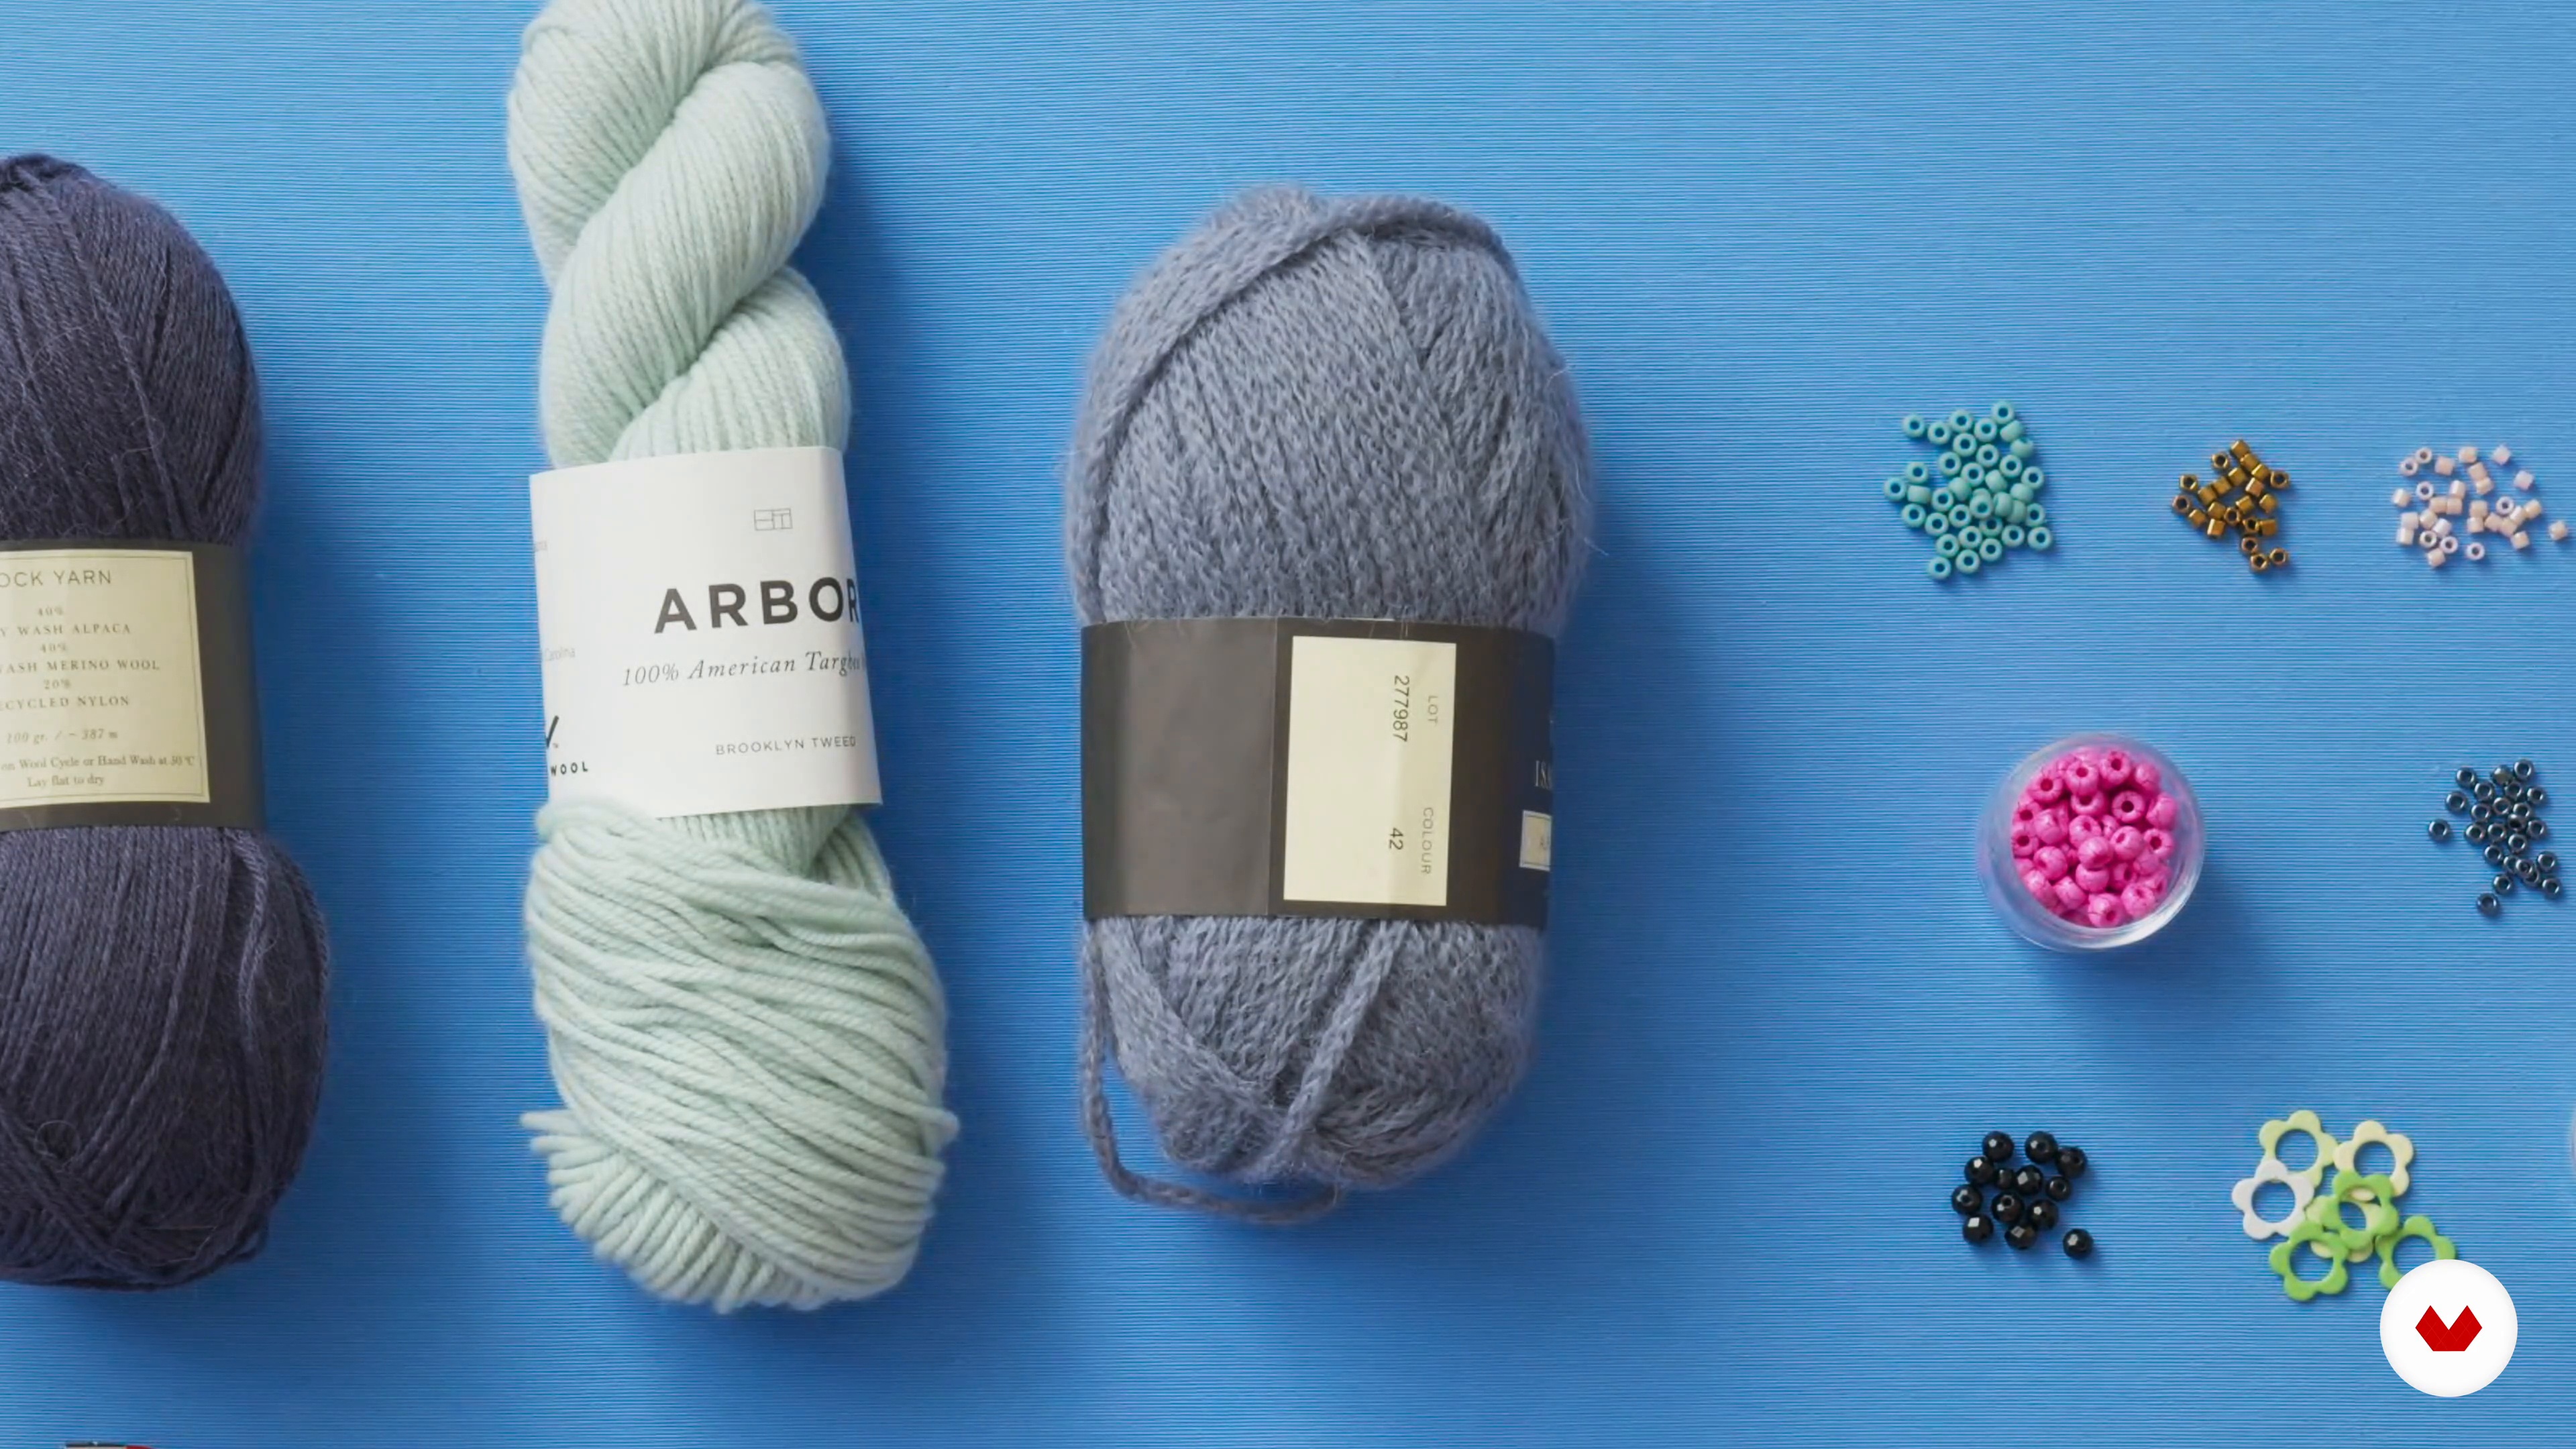
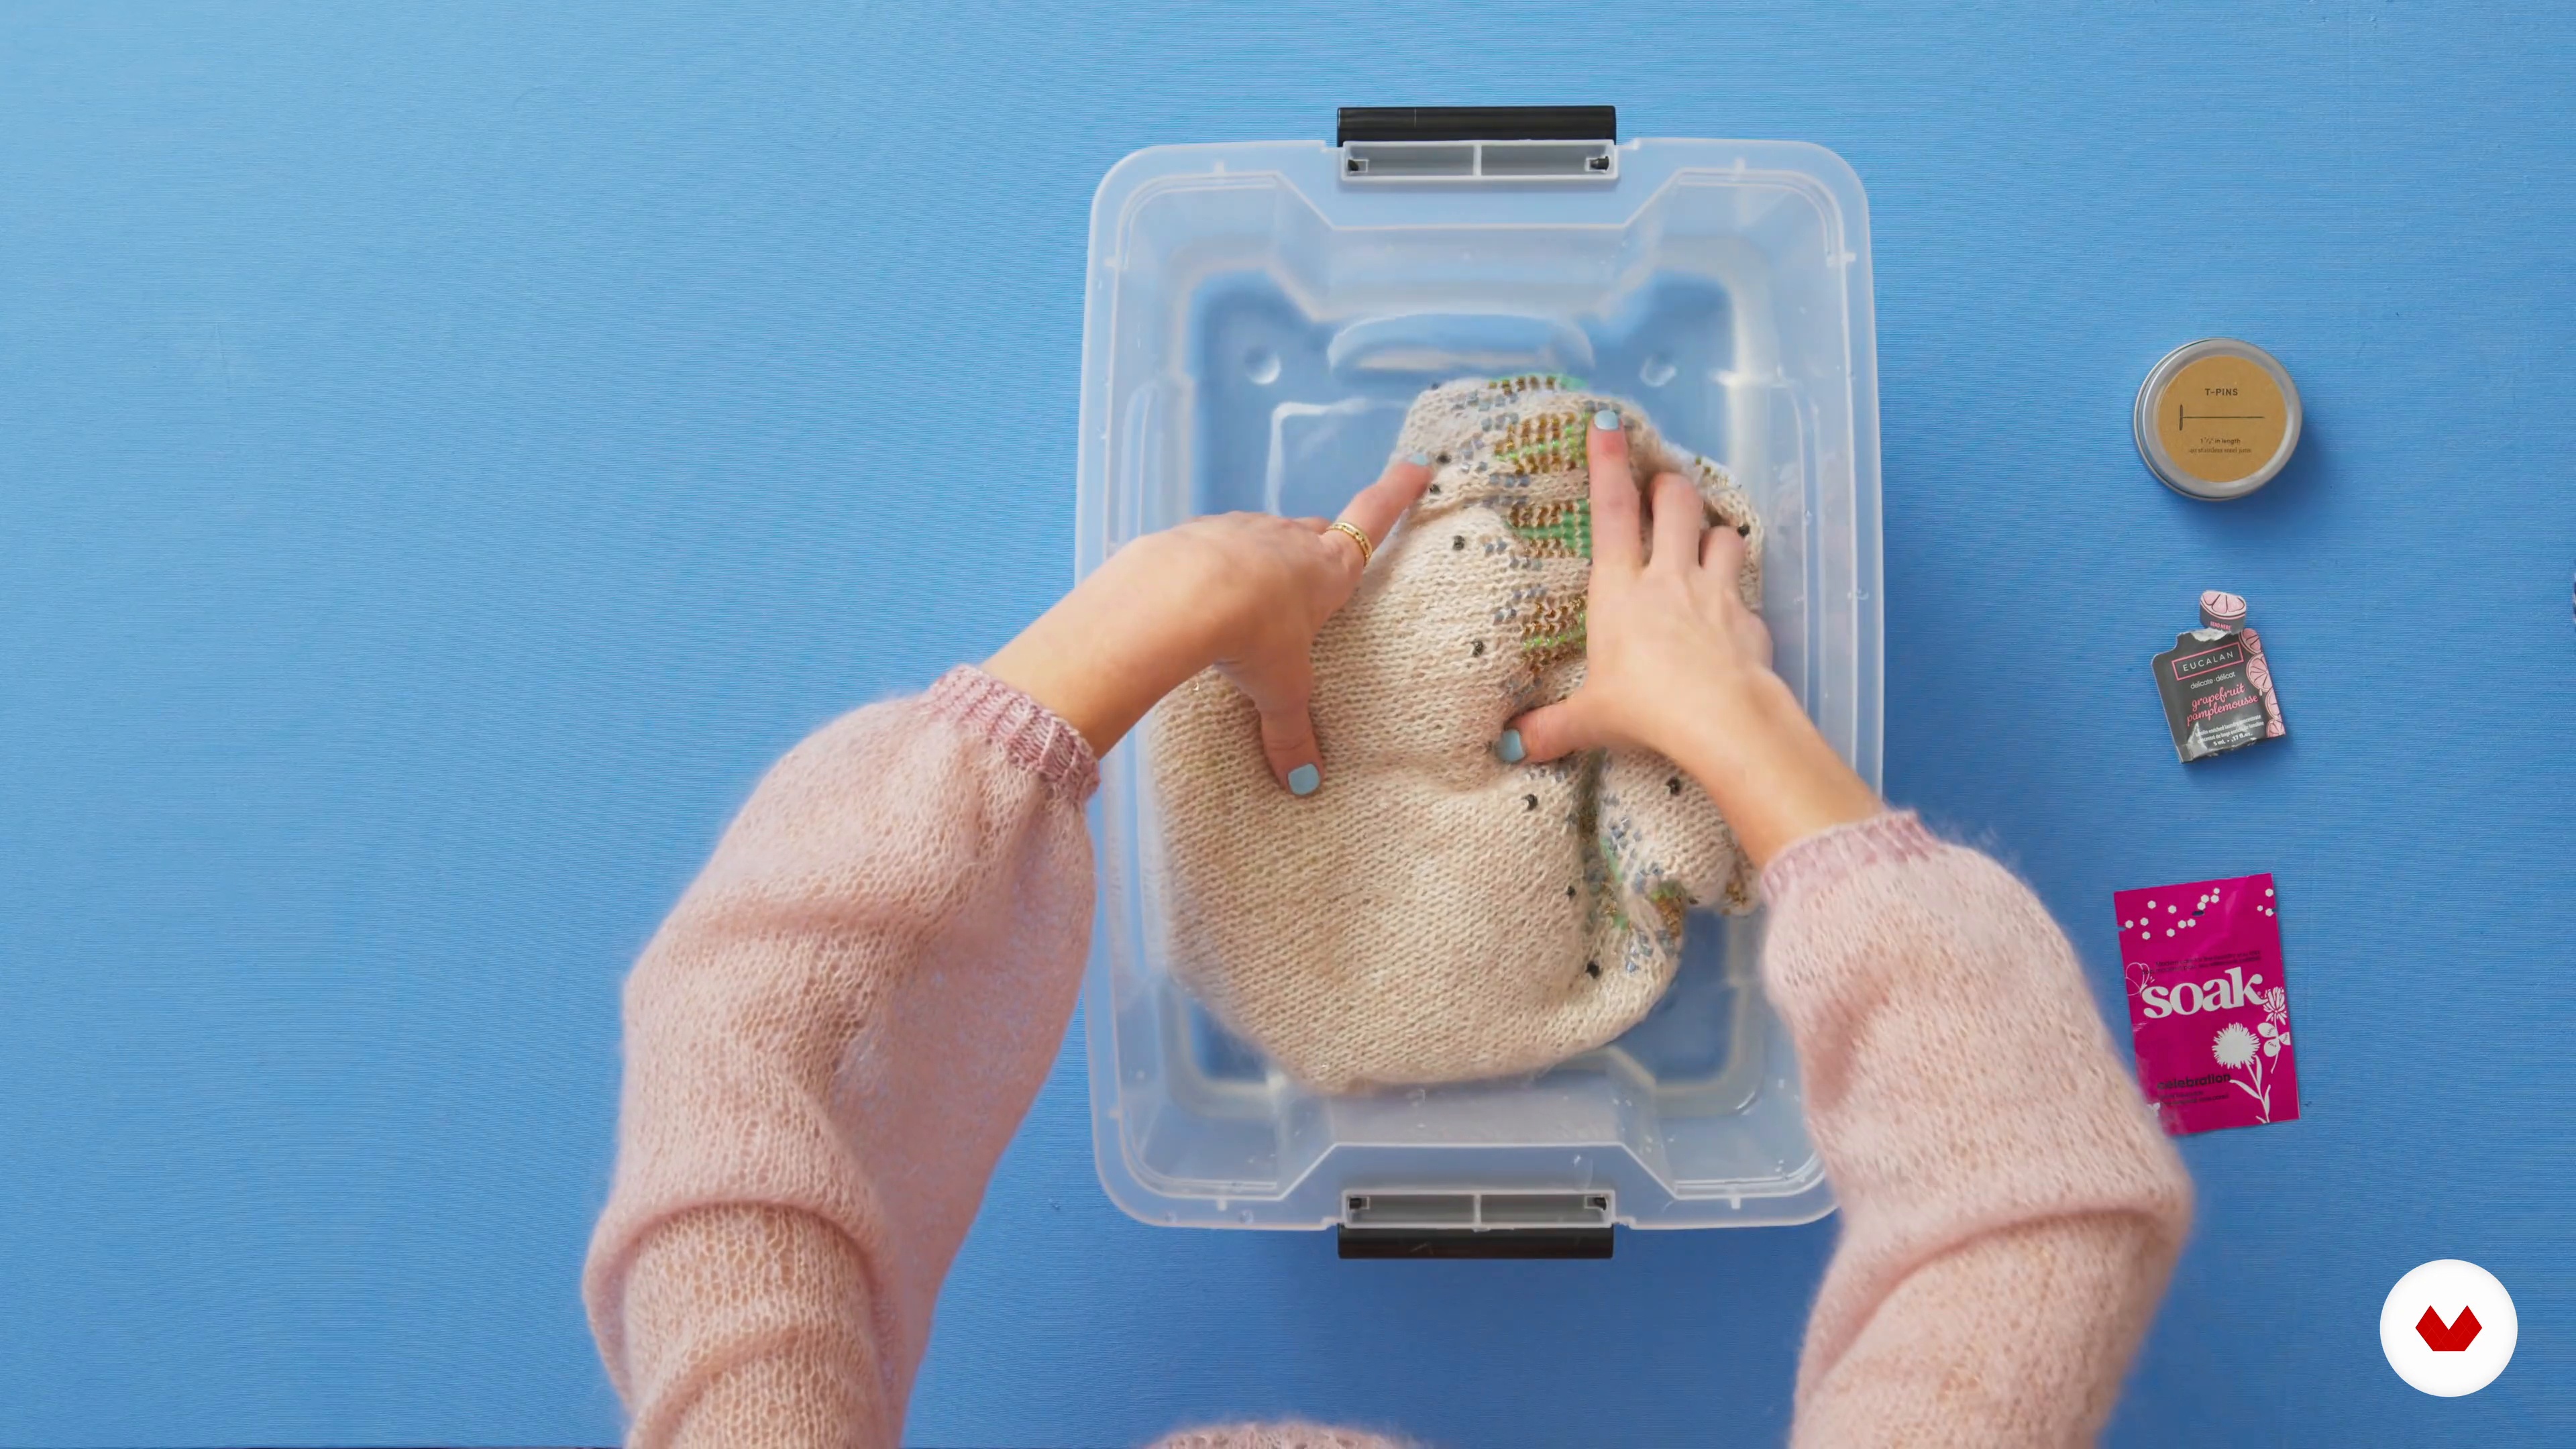
No extensive prior knowledge is required, just basic knitting skills and the motivation to learn. Circular needles, appropriate quality yarn, and, in some courses, seed beads are recommended. A desire to experiment and create is key.


Reviews
What to expect from this specialization course
-
Learn at your own pace
Enjoy learning from home without a set schedule and with an easy-to-follow method. You set your own pace.
-
Learn from the best professionals
Learn valuable methods and techniques explained by top experts in the creative sector.
-
Meet expert teachers
Each expert teaches what they do best, with clear guidelines, true passion, and professional insight in every lesson.
-
Certificates
PlusIf you're a Plus member, get a custom certificate for every specialization course. Share it on your portfolio, social media, or wherever you like.
-
Get front-row seats
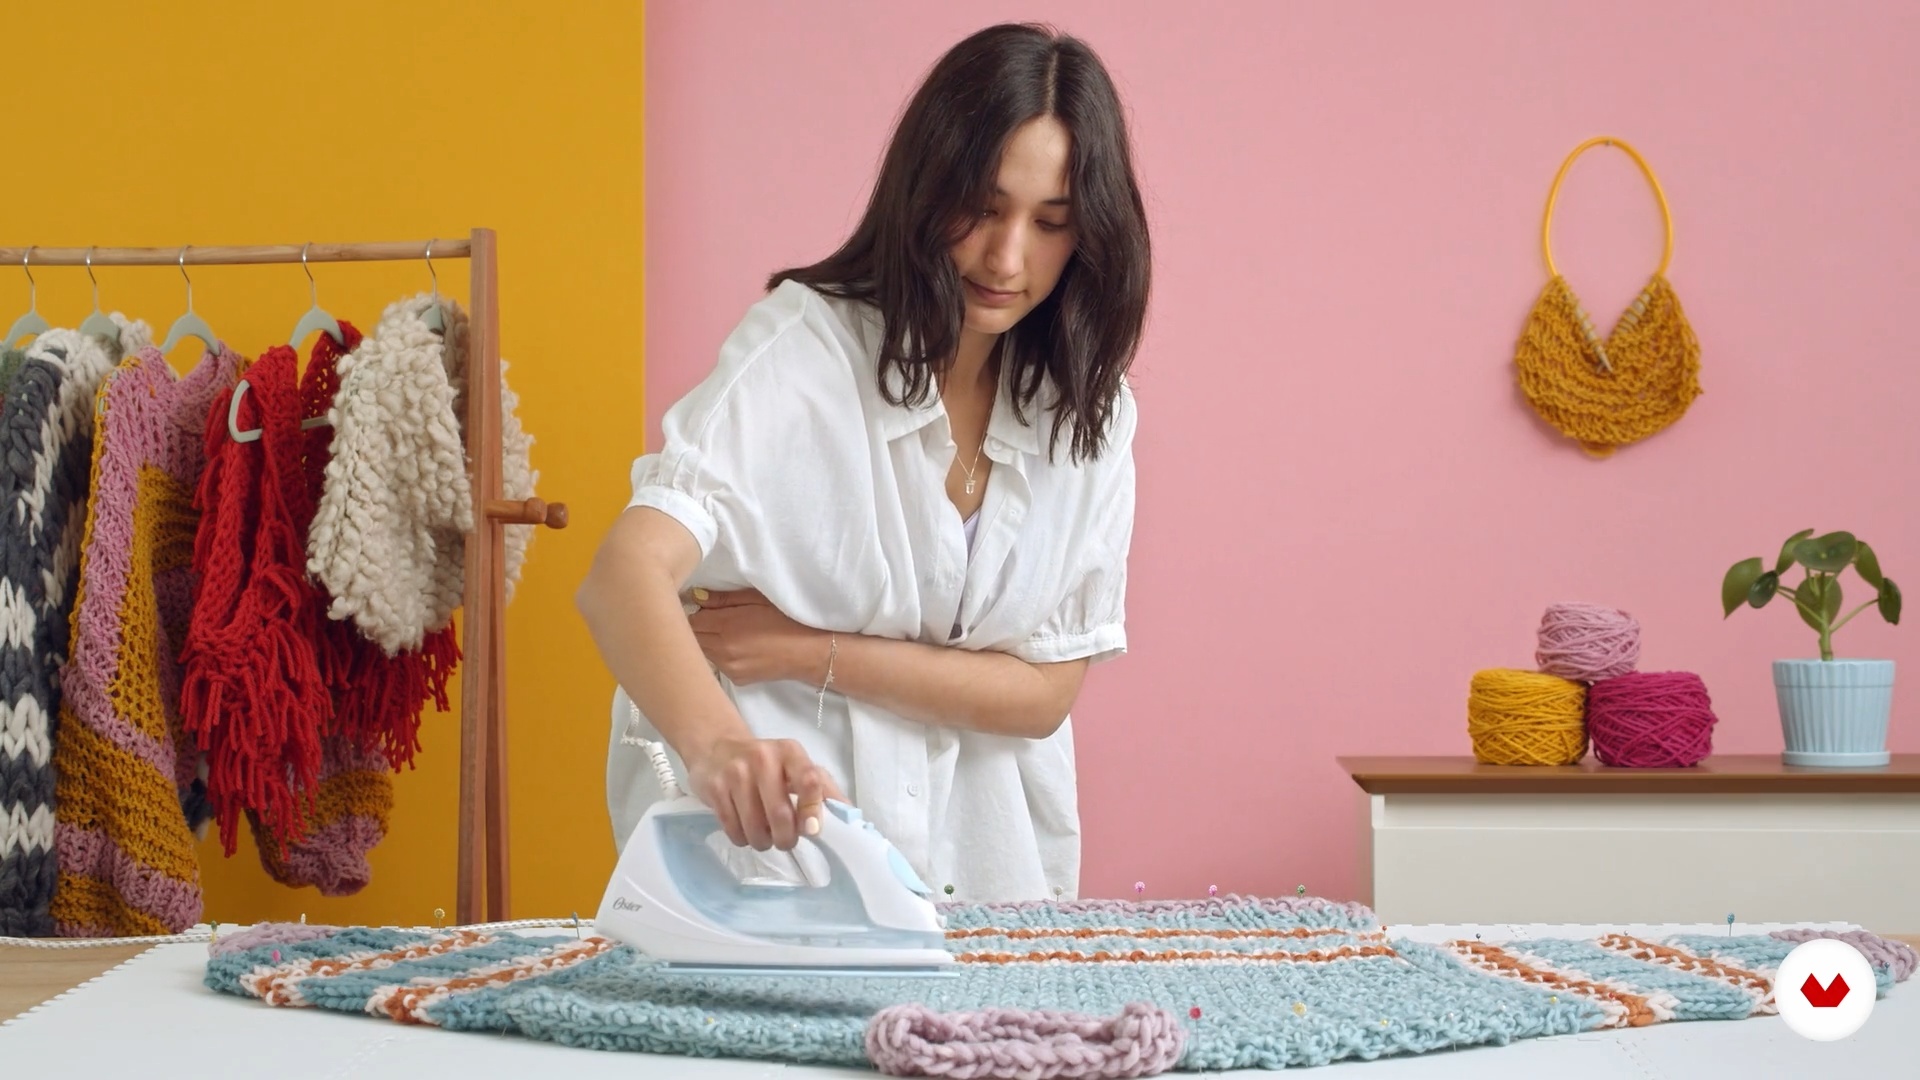
Videos of the highest quality, so you don't miss a single detail. With unlimited access, you can watch them as many times as you need to perfect your technique.
-
Share knowledge and ideas
Ask questions, request feedback, or offer solutions. Share your learning experience with other students in the community who are as passionate about creativity as you are.
-
Connect with a global creative community
The community is home to millions of people from around the world who are curious and passionate about exploring and expressing their creativity.
-
Watch professionally produced courses
Domestika curates its teacher roster and produces every course in-house to ensure a high-quality online learning experience.
FAQs
Domestika courses are online classes that allow you to learn new skills and create incredible projects. All our courses include the opportunity to share your work with other students and/or teachers, creating an active learning community. We offer different formats:
Original Courses: Complete classes that combine videos, texts, and educational materials to complete a specific project from start to finish.
Basics Courses: Specialized training where you master specific software tools step by step.
Specialization Courses: Learning paths with various expert teachers on the same topic, perfect for becoming a specialist by learning from different approaches.
Guided Courses: Practical experiences ideal for directly acquiring specific skills.
Intensive Courses (Deep Dives): New creative processes based on artificial intelligence tools in an accessible format for in-depth and dynamic understanding.
All specialization courses are 100% online, so once they're published, specialization courses start and finish whenever you want. You set the pace of the class. You can go back to review what interests you most and skip what you already know, ask questions, answer questions, share your projects, and more.
The specialization courses are divided into different modules. Each one includes lessons, informational text, tasks, and practice exercises to help you carry out your project step by step, with additional complementary resources and downloads. You'll also have access to an exclusive forum where you can interact with other students, as well as share your work and your final project, creating a community around the specialization courses.
You can redeem the specialization courses you received by accessing the redeeming page and entering your gift code.


Recibo con alegría este compendio de técnicas reunidas en un solo espacio que facilita la comprensión y te hace más fácil el aprendizaje. Gracias
Estoy super emocionada de poder cumplir este sueño de perfeccionar todas mis técnicas aprendidas a lo largo del camino, he podido descubrir que el tejido es mi refugio emocional y una disciplina que me conecta con el ahora. Gracias por regalarnos este espacio para poder educarnos.
Me encanta. Estoy haciendo el primer jersey con la técnica del canesú explicado por la profesora Carmen García de Mora y me está resultando muy claro y abarcable para la poca experiencia que tengo. Estoy disfrutándolo mucho.
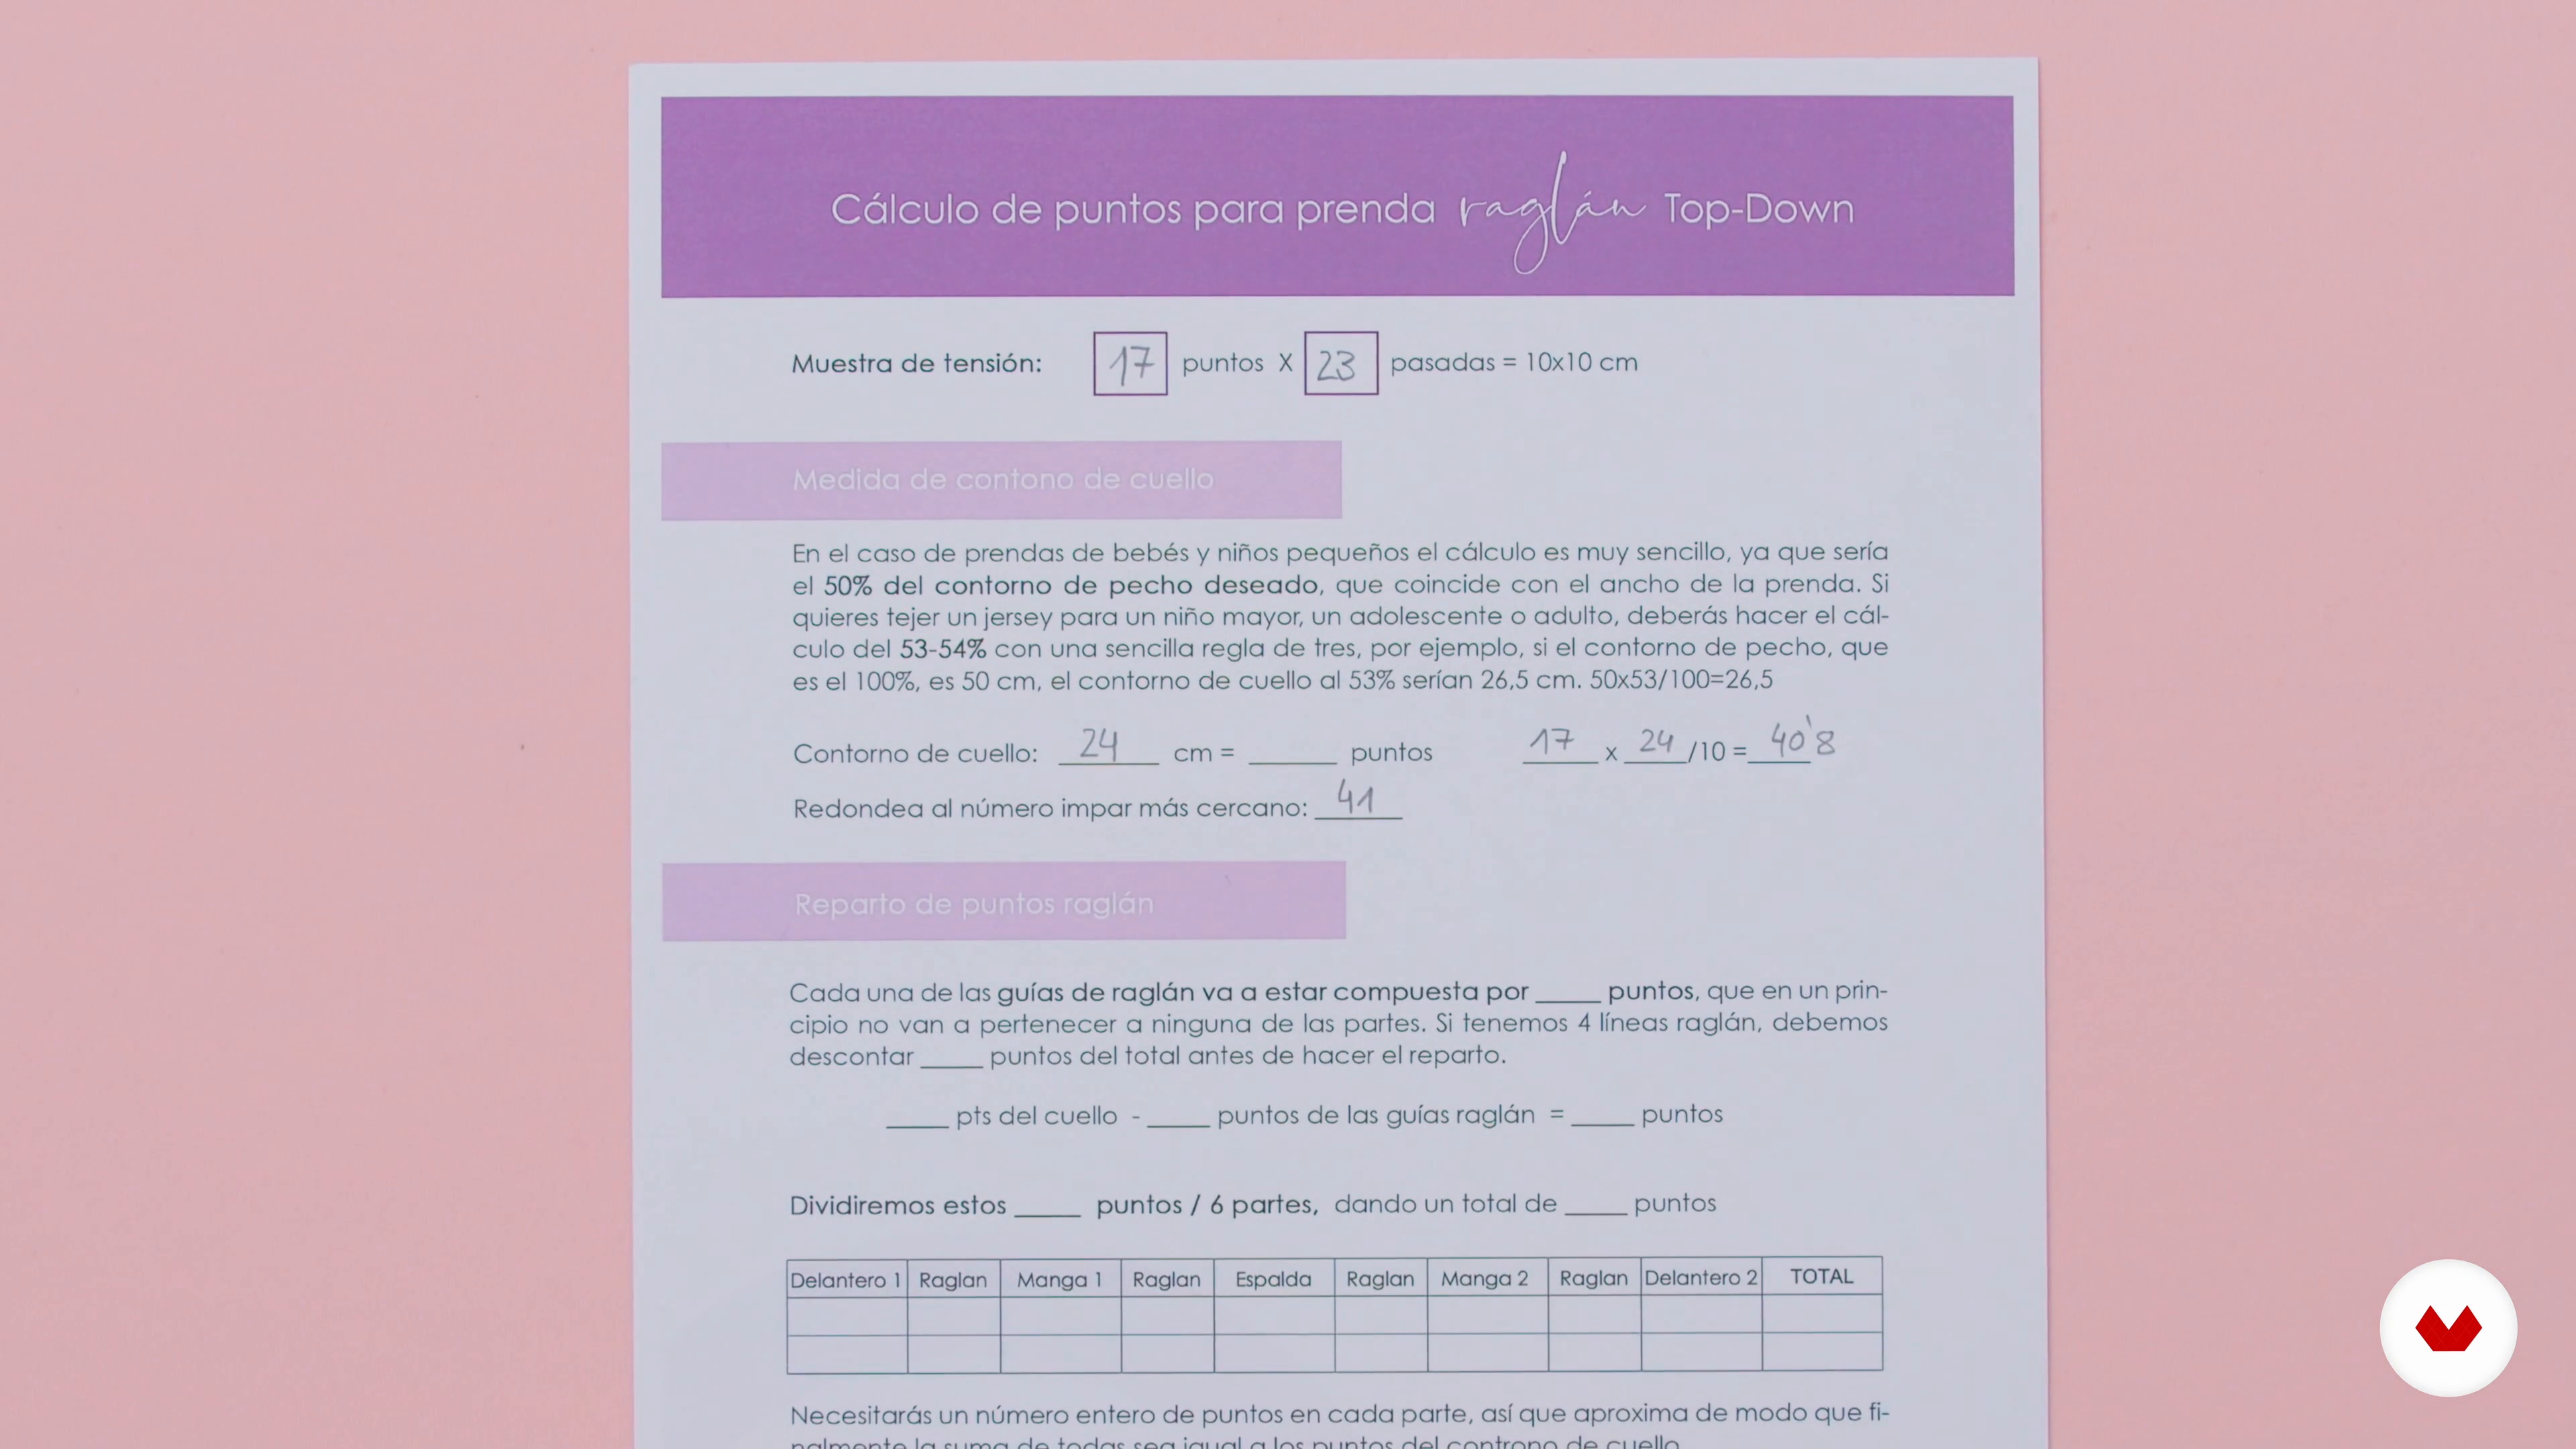
No lo termino aún, pero lo que he visto me ha resultado muy útil. El cálculo de puntos para el canesú y su diseño son conocimientos que podré volver a aplicar en prendas futuras.