Professional Retouching for Product Photography in Photoshop
Course final project
A course by Mareike Keicher , Photo Editor


About the final project for: Professional Retouching for Product Photography in Photoshop
Professional Retouching for Product Photography in Photoshop
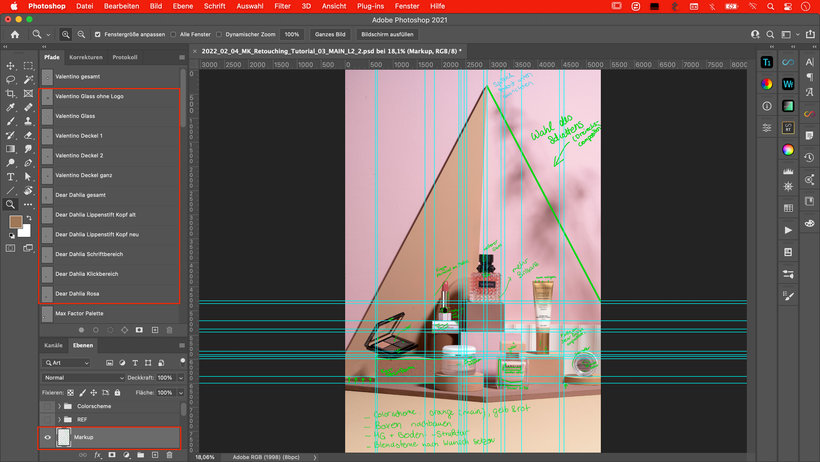
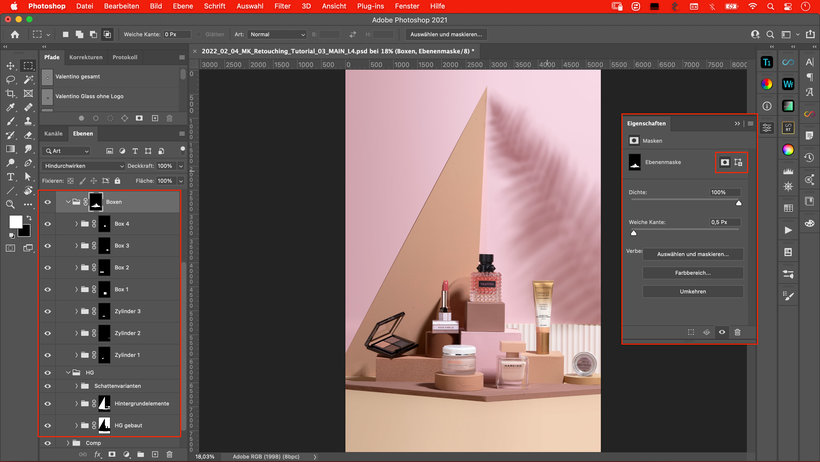
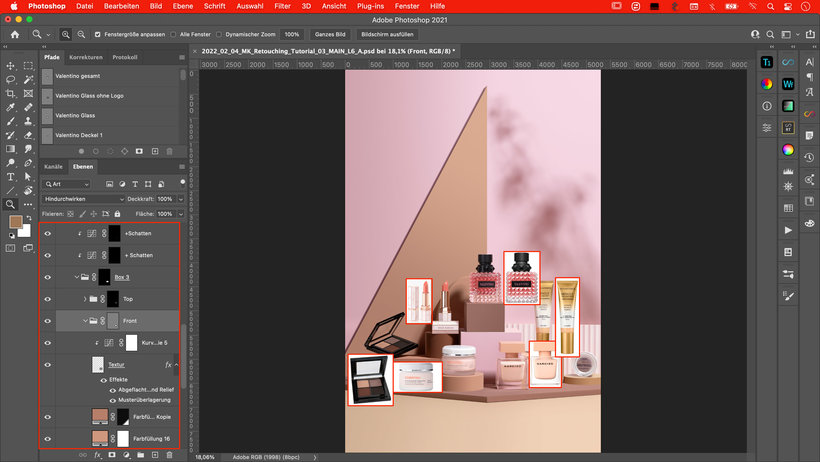
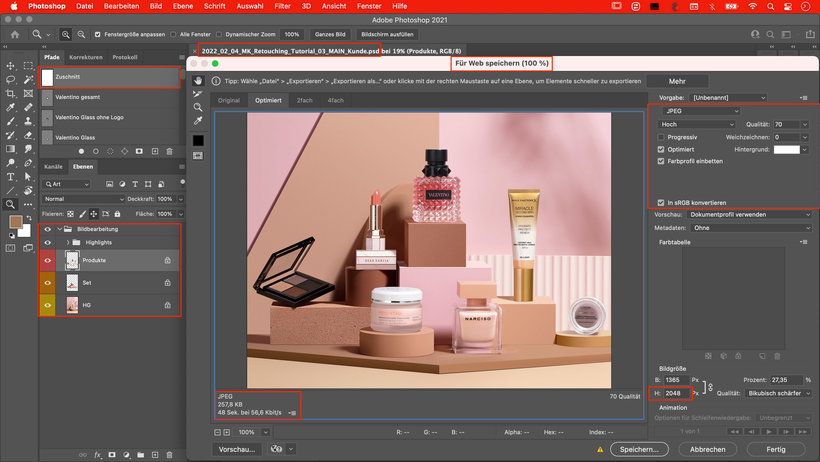
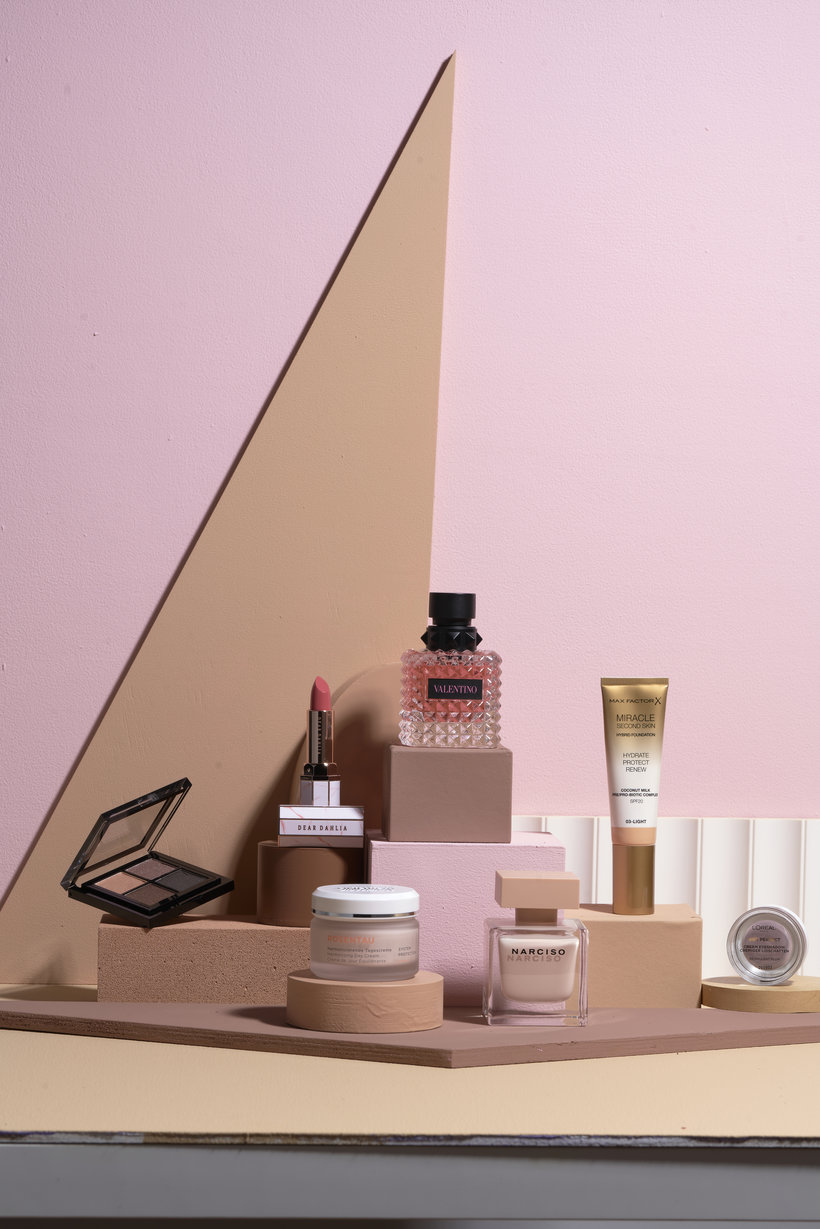
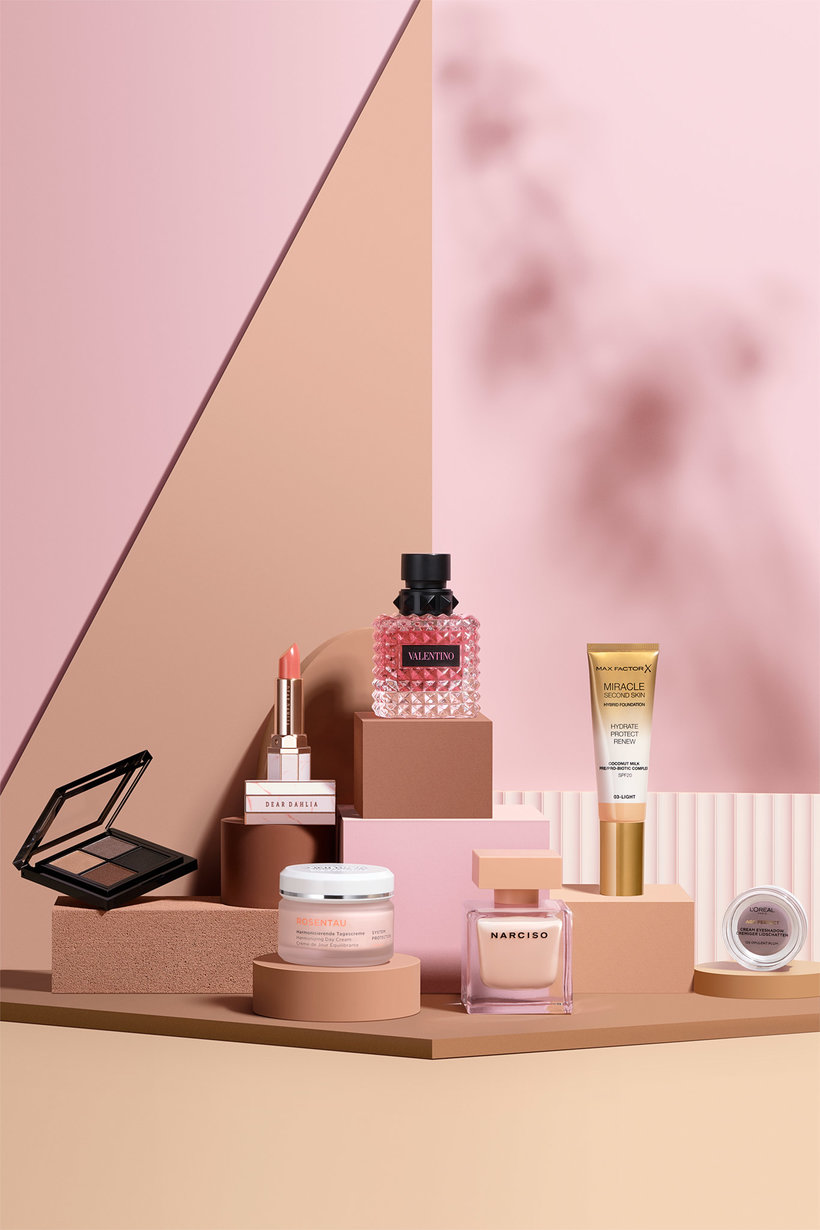
“Thank you for taking the time to attend this course and I hope that the product photography retouching tools and techniques taught here will make your job easier. It is important to me that you can take a lot from this course for your future. Therefore, it is now time to work on your course project by completing the course exercises and using the image shown to put what you have learned into practice in your own way. Of course, you can also use your own – all the better! You now have everything it takes! I want to give you a brief summary of the essential steps and a few tips: Structured work Make life easy for yourself early on and work in a structured way. Once unstructured, this means double work and a lot of searching. Name all files to be used and create a large working file in the correct color profile.

Partial transcription of the video
“final project Thank you for taking my course. I will now give you a brief summary and a few final tips to hand. First I have you insights given into the world of retouching and styles. Then we looked at the color profile, the document structure and the elements of the image taken care of from back to front. For exporting the file for you and your customer I also gave you tips along the way. I sent you the optimized version for export shown for you and your customer and give you a few final tips. Make life easy for yourself early on and work in a structured way. Once unstructured, you end up...”
This transcript is automatically generated, so it may contain mistakes.
Course summary for: Professional Retouching for Product Photography in Photoshop
-
Category
Photography & Video -
Software
Adobe Photoshop -
Areas
Photo Retouching, Photography, Photography Post-production, Product Photography

Mareike Keicher
A course by Mareike Keicher
Mareike Keicher is an expert in retouching and post-production who collaborates on a range of international projects. Her passion for photography with a high-end finish led her seamlessly into this profession, where she eventually specialized in beauty, hair, and product images in both the commercial and editorial sector. As a photo editor, she sees herself as a creative problem solver with complete responsibility over the final outcome of a piece.
The ability to adapt an image to taste while combining her personal style with the client brief is what keeps her inspiration alive. Her work has won her the trust of brands like L'Oréal, Douglas, and 8X4, with whom she has developed long-term collaborations.
- 76% positive reviews (29)
- 986 students
- 14 lessons (1h 47m)
- 22 additional resources (9 files)
- Online and at your own pace
- Available on the app
- Audio: German
- Spanish · English · Portuguese · German · French · Italian · Polish · Dutch · Turkish · Romanian · Indonesian
- Level: Beginner
- Unlimited access forever
Recommended software & tools for this course
Category
Areas


