Frame Making for Beginners: Showcase Your Art
Course final project
A course by Annika McSeveny (Antika) , Picture Framer
")
Joined March 2021


Joined March 2021
About the final project for: Frame Making for Beginners: Showcase Your Art
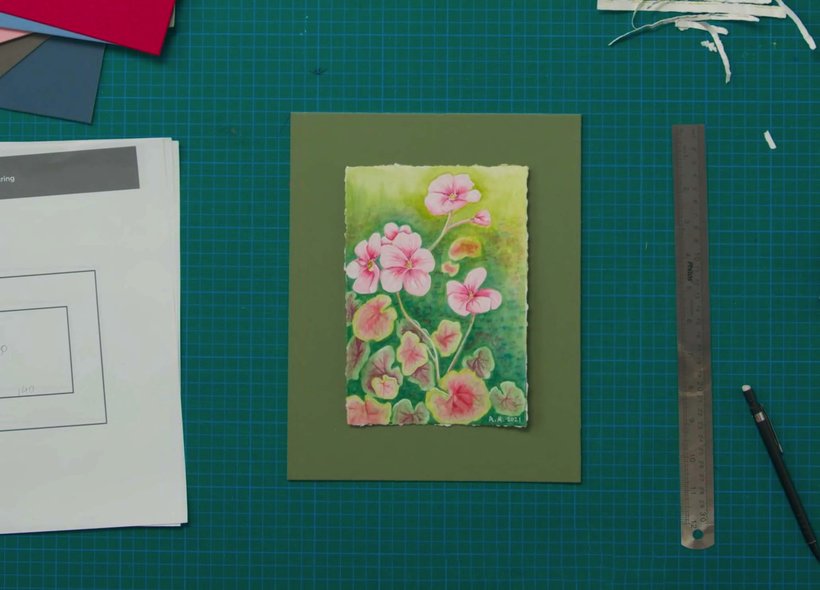
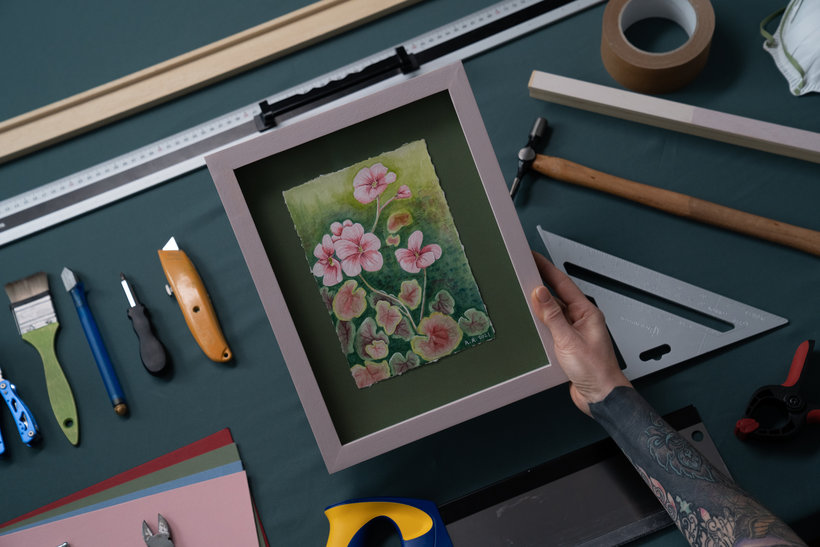
The art of framing - bespoke handmade frames
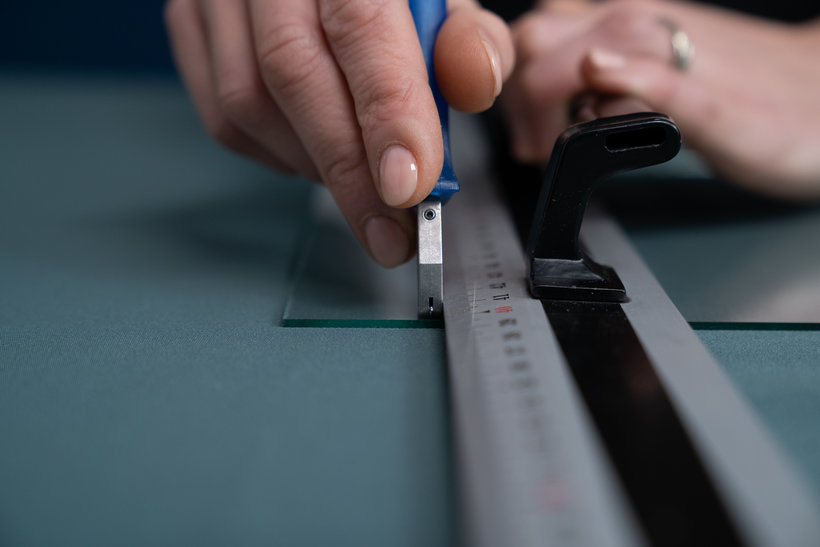
“Congratulations! You have reached the end of this course. Thank you so much for taking part. It has been a wonderful experience! I hope you have enjoyed learning how to display your own artwork or memories in a considered and beautiful way. When one understands the materials, it's possible for anyone to make a frame and feel the satisfaction of hooking the final product onto the wall! As a reminder, I have summarised the main steps you should take to complete your project: Preparing the Artwork If you have not already prepared your artwork for the framing, start by doing this. Trim or tear as necessary, before measuring and planning the sizes for the frame. Remember that the glass size is the most useful size to work with, so factor in the width of the rebate that will cover the edges. Preparing the Mount Next, cut your mount board to size—this is the same size your glass and backing will be. Attach your artwork to the backing board using small hinges so they are invisible behind the paper. You want to get as little adhesive as you can get away with on the back of your paper. Use a tape measure or ruler to make sure the piece is positioned correctly, and make marks on the corners if necessary (remember to carefully remove the marks once the picture is secure!).

Partial transcription of the video
“ Final Project Congratulations on reaching the end of this Domestika course. You should be proud of all you have accomplished. By following along, you will have seen the beauty and dual function of framing, safeguarding the artwork and enhancing it without overpowering the image. If you're stuck on where to start, choose something small. Prepare your work for framing by trimming or tearing as necessary. Measure and note the size of the frame and use the glass size remembering to factor in the width of the rebate, which will cover the edges. Cut your mount board to size and attach the artwo...”
This transcript is automatically generated, so it may contain mistakes.
Course summary for: Frame Making for Beginners: Showcase Your Art
-
Category
Craft -
Areas
Arts & Crafts

Annika McSeveny (Antika)
A course by Annika McSeveny (Antika)
Annika McSeveny is a highly skilled picture framer with a deep passion for the art of framing. With years of experience in the industry and a focus on conservation and display, Annika has honed her skills in creating bespoke finishes and preserving artworks. Her expertise extends to traditional gilding techniques and metal leaf applications.
Annika's career journey led her to collaborate with renowned artists, galleries, and institutions, including Lauren Baker, David Hollington, Gone Rogue, and Getty Images Gallery, among others. With her meticulous approach and unwavering dedication to the two core principles of framing – protecting the artwork and enhancing it without overpowering the image – Annika ensures each frame is a work of art itself.
With a commitment to excellence, Annika continues to expand her knowledge and professional qualifications. She holds Certified Framer Status through the Fine Art Trade Guild and is currently studying towards advanced certification in Conservation Framing and Mount Design. Annika's expertise and passion make her an exceptional guide in exploring the art of bespoke framing.
- 99% positive reviews (84)
- 8,353 students
- 20 lessons (4h 26m)
- 19 additional resources (6 files)
- Online and at your own pace
- Available on the app
- Audio: English
- English · Spanish · Portuguese · German · French · Italian · Polish · Dutch
- Level: Beginner
- Unlimited access forever

