Introduction to Creating Illustrations for Risograph Printing
Course final project
A course by Olivia Fields , Illustrator


About the final project for: Introduction to Creating Illustrations for Risograph Printing
Introduction to Creating illustrations for Risograph Printing
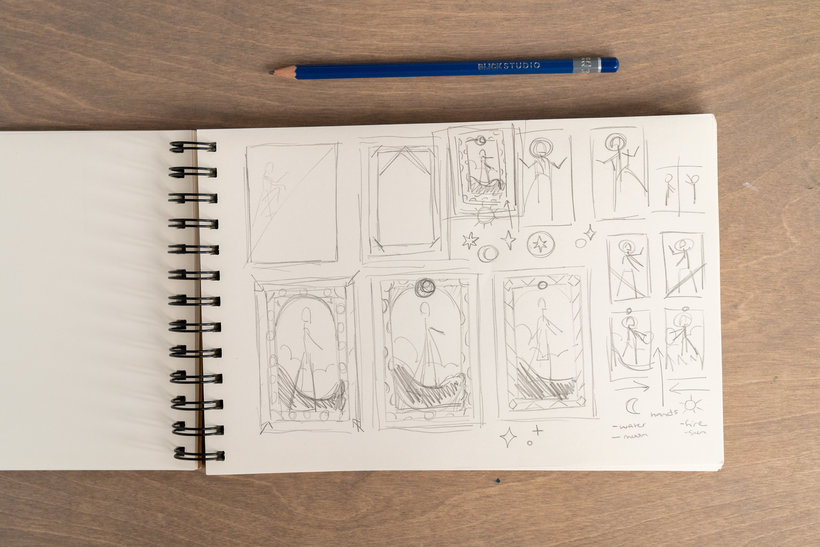
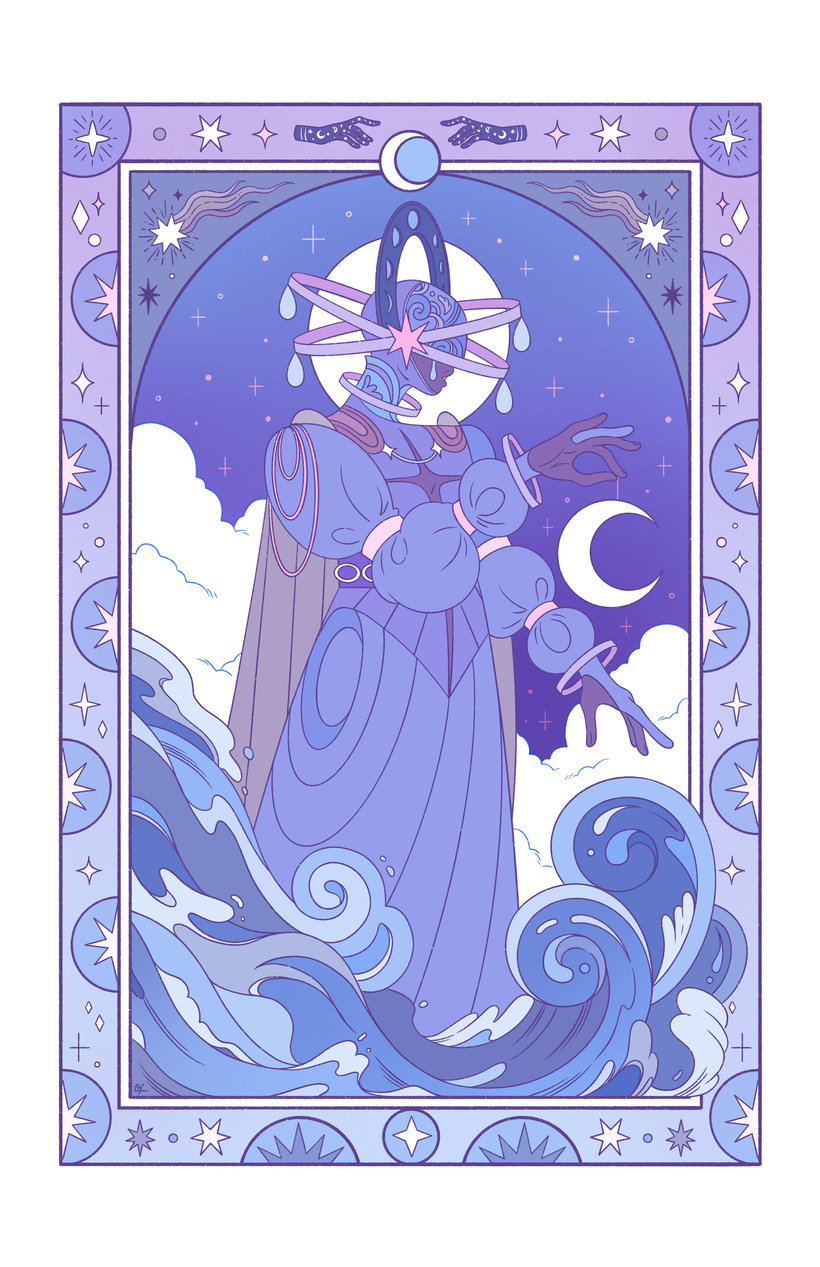
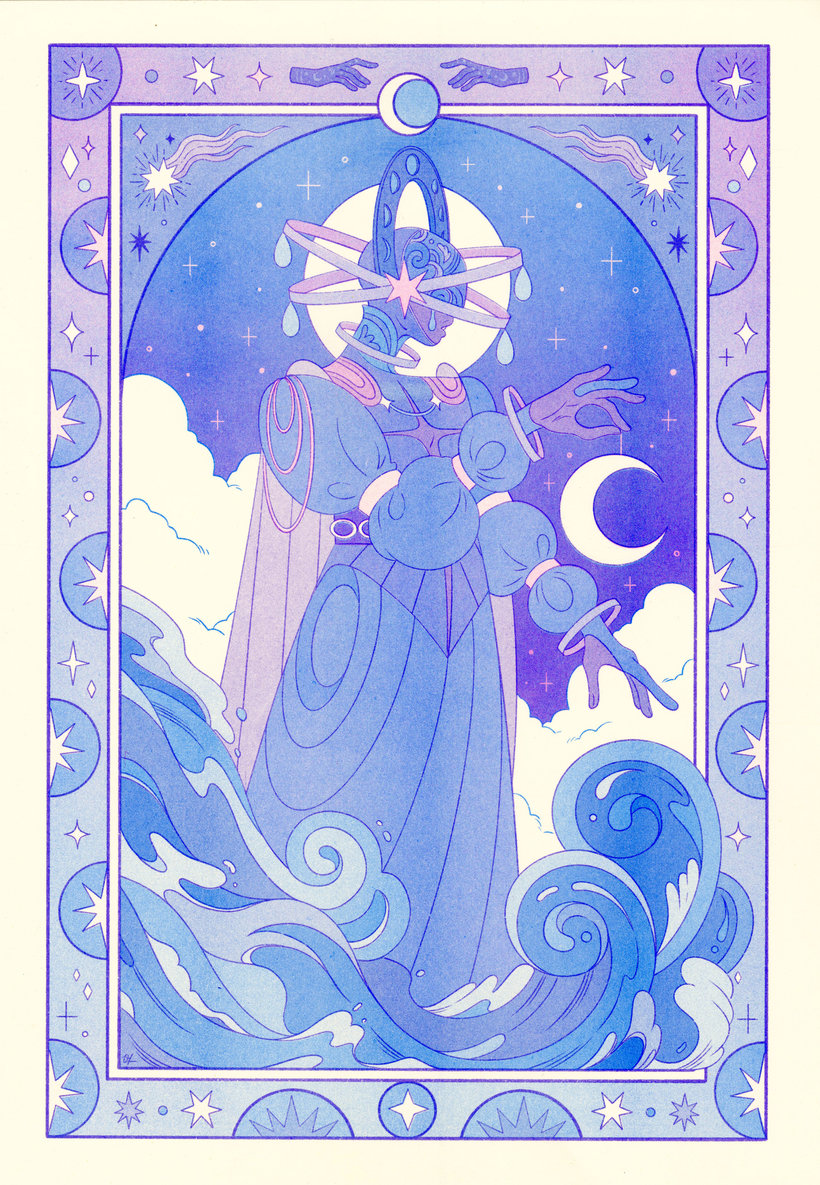
“And with that, we have made it to the end of this course. Thank you so much for spending this time with me learning more about the Riso process and myself. I would also like to thank Domestika for the opportunity and for providing me with the tools to make this course the best it could possibly be. This is my first time teaching, and it has been such a wonderful experience! I hope the information in this course has provided clarity and sparked excitement to try Risograph for yourself if you are new to the process. It may seem overwhelming at first, but it becomes easier with practice. Once you find a groove that works for you, the rest comes naturally! As you proceed, don't be afraid to experiment. The lessons in this course are here to support you. Likewise, be sure to make the process all your own! I talked about how easy it is for Risograph to adapt to different mediums and discussed how different artists approach the process. My course project stemmed from my personal interests and lived experiences. Incorporating who you are and what you enjoy should be central to your art-making. As a reminder, I have summarized the main steps you should follow to complete your project. Sketch Out the Illustration Decide what you would like to draw and start to sketch out some ideas.
Partial transcription of the video
“Well, we have reached the end of this course on creating illustrations for risograph printing. I can hardly believe it. My goal for this course was to pass along a little bit of the excitement that this process makes me feel, and to provide insight based on my own experiences over the years. I know it can be a little confusing at first, but the payoff of seeing your work come together in the end is extremely rewarding and satisfying. So whether you're an experienced printer or just beginning your RISO journey, I hope these lessons have provided a clear guideline to support your own approach...”
This transcript is automatically generated, so it may contain mistakes.
Course summary for: Introduction to Creating Illustrations for Risograph Printing
-
Category
Craft, Illustration -
Software
Adobe Photoshop, Procreate -
Areas
Arts & Crafts, Digital Illustration, Printing

Olivia Fields
A course by Olivia Fields
Olivia Fields is an accomplished illustrator and cartoonist based in Brooklyn, New York. With a focus on editorial illustration and a keen interest in printmaking, Olivia has gained recognition for her vibrant and captivating artwork. Her illustrations have been featured by prestigious clients such as Google, The New York Times, Cartoon Network, and Xbox.
Olivia's love for printmaking, especially Risograph, has led her to explore and experiment with this unique technique, resulting in stunning and visually striking illustrations. Her expertise and passion for sharing knowledge make her the perfect guide for aspiring artists eager to delve into the world of Risograph illustrations.
- 100% positive reviews (16)
- 1,574 students
- 19 lessons (1h 50m)
- 35 additional resources (13 files)
- Online and at your own pace
- Available on the app
- Audio: English
- English · Spanish · Portuguese · German · French · Italian · Polish · Dutch
- Level: Beginner
- Unlimited access forever

