Designing a Ceramic Collection: The Slip Casting Technique

Course final project

A course by Avi Ben Shoshan , Product Designer

Product Designer. Tel Aviv-Yafo, Israel.
Joined August 2021
100% positive reviews (29)
2,682 students
Audio: English
English · Spanish · Portuguese · German · French · Italian · Polish · Dutch

About the final project for: Designing a Ceramic Collection: The Slip Casting Technique

Designing a Ceramic Collection: The Slip Casting Technique

“Congratulations! You have reached the end of this Domestika course. I hope you've enjoyed exploring the world of ceramics. Thank you so much for joining me in this course; sharing my techniques has been an honor. Now, before we end, I'd like to remind you of some of the most important steps we gave throughout the course and that you should remember when you start doing your project: 

 Inspiration Board First, choose your source of inspiration. Then, collect vital information from the Internet or books and organize your inspiration board: pictures, text, color, and try to characterize the source of inspiration. It can be related to aesthetics, art, design, tradition, and more!

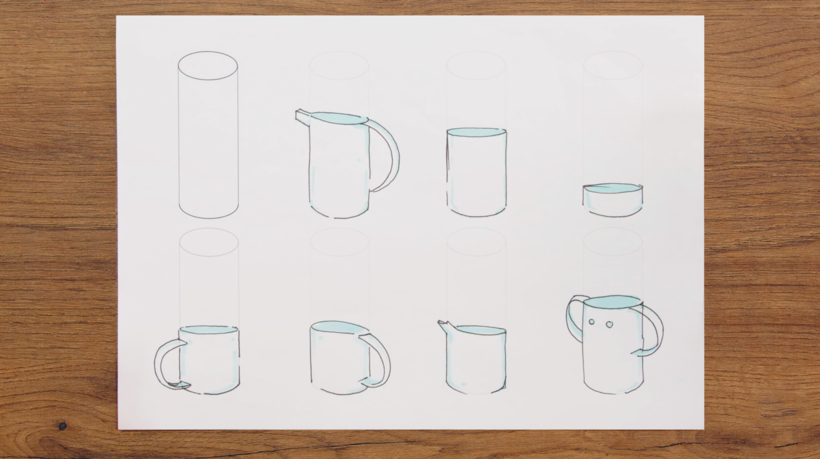
Starting to Sketch Create sketches and look for the shapes that will make up your collection. The more sketches you produce, the more you will get the full development of the exact shapes. Choose the sketches you like best that characterize your concept.
Preparing the Molds Remember to carefully go through all the steps to avoid missing any necessary tasks in preparing your mold. Also, remember to choose from simple shapes you can copy and create your mold.
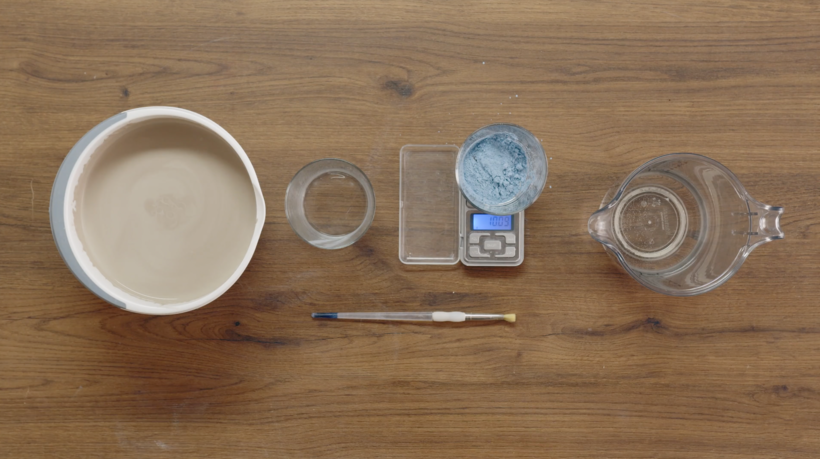
Mixing the Colors Don't forget to go through the detailed instructions on mixing your colors. Remember to create tests for as many tones as possible, for example 1%, 3%, 5%, 7%, 10%. You can finally choose the colors you want to use and combine them in the collection you create.
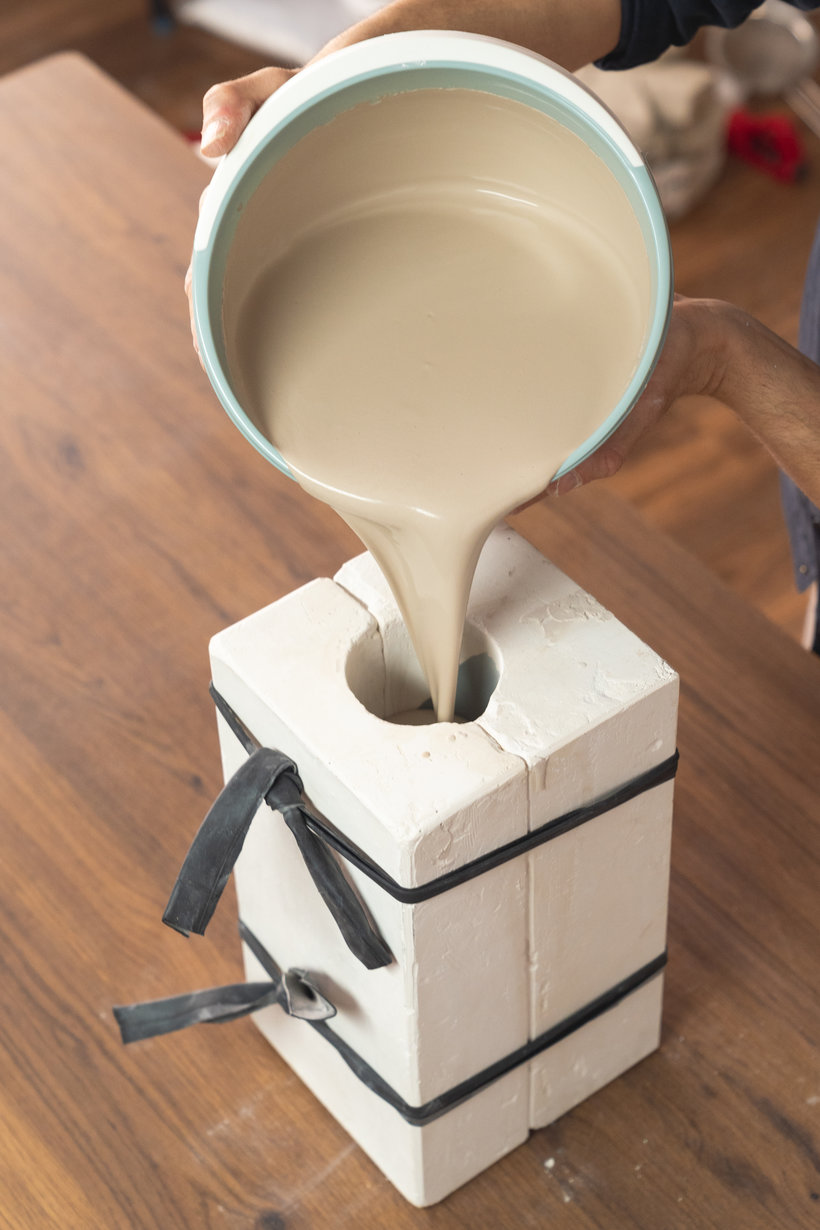
Preparing Clay and Casting This is a technical step where you must follow all the indications and prepare the clay for casting. Remember some of your experience working with new material and try to feel the clay and bring it to a good condition for casting in your mold. Do some casting, and you will see that everything is going well and move on to the next step.
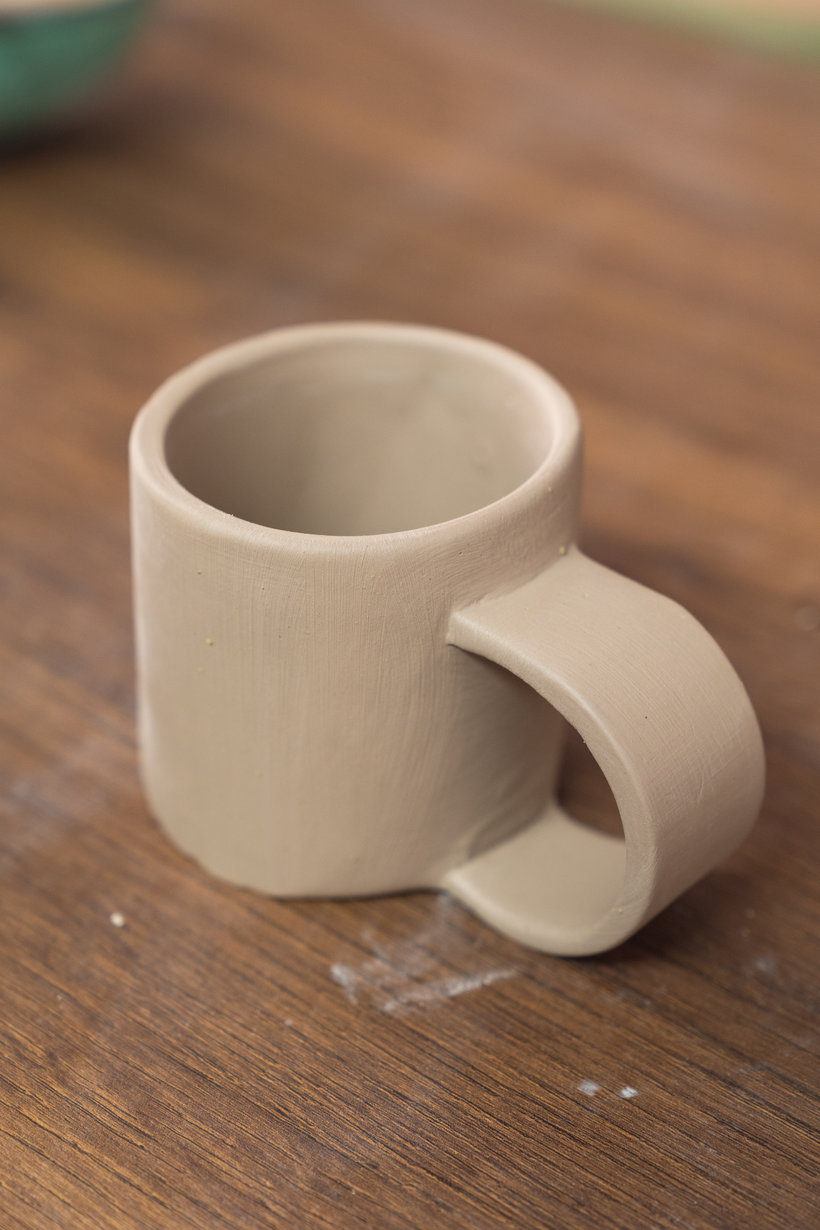
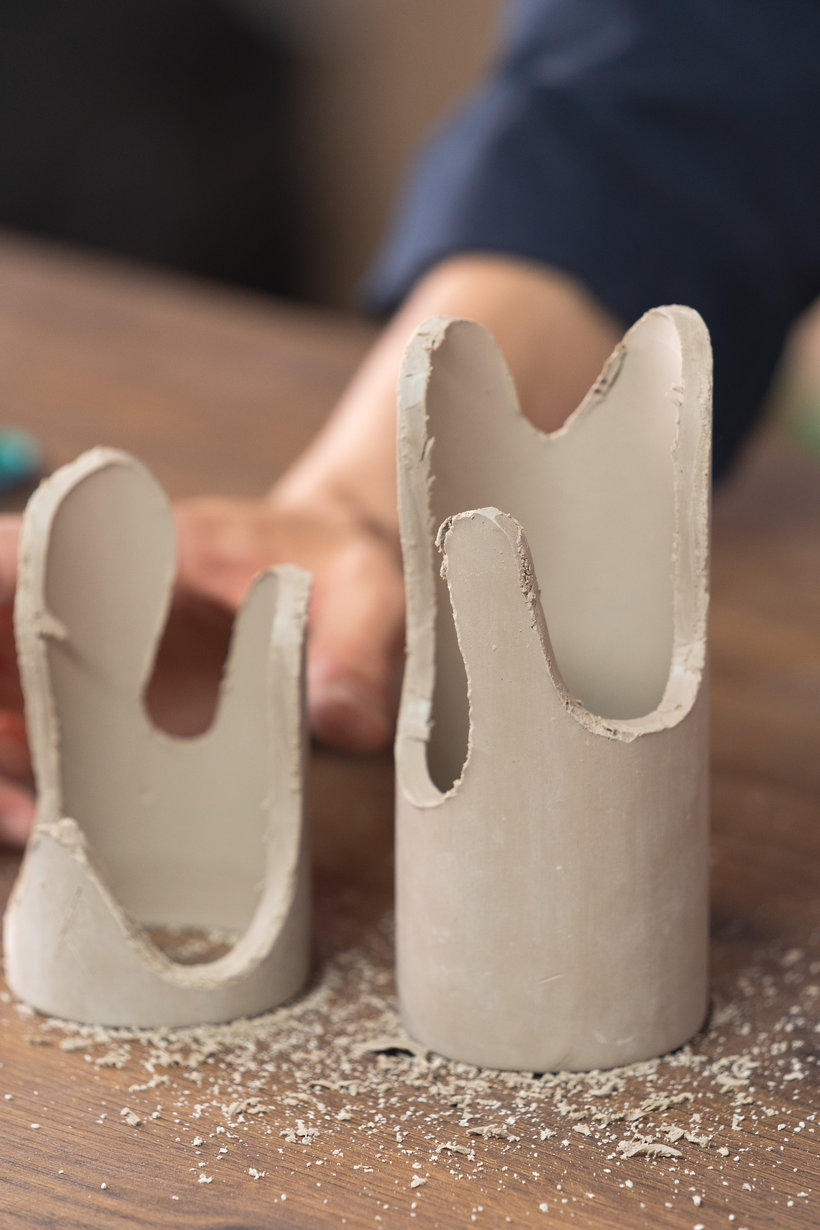
Preparing the Collection Now the final stage of making and creating your collection has arrived! After you have cast all the parts and are ready to work, start applying the working methods and producing the tools you have designed using your chosen sketches. Work carefully and efficiently so as not to distort the clay and keep it intact and without cracks. When preparing the objects, pack them well for further uniform and slow drying to prevent cracks. And from here, you will move on to the first fire.
Glazing Use ready-made glazes from the store to match the burning temperature (high or low burn). Place the glaze on the dishes by dipping/brushing. Thoroughly clean the bottom of the objects and transfer them to a second burn.
And that's all!
Thank you so much for taking part. I can't wait to see your project! You can share your project with us by clicking on "Create your project." Remember to share both the final result and the steps that have led you to it. It would be great if you showed a picture of each step and added a brief explanation about what you have done in each one. I will try my best to engage with the forum as much as possible. If you have any questions, be sure to ask them! I will reply as soon as I can, but in the meantime, I encourage you to interact with each other. Communication fuels creativity. So, don't be afraid to reach out and collaborate with others. But most of all, have fun! See you in the forum! ”

Partial transcription of the video

“Final Project We've finished the course and I'm happy that I had the opportunity to share with you my knowledge via this Domestika course. I hope you'll be able to apply the methods I taught you here in the final project and in any upcoming projects that you might have in the future. Remember the emphasis associated with design thinking, working with inspiration boards, and thinking about developing a set of objects. My best tip for you would be to apply the methods you learned in this course to create two or three different collections with a different story behind each collection and also...”

This transcript is automatically generated, so it may contain mistakes.


Course summary for: Designing a Ceramic Collection: The Slip Casting Technique

  • Level: Beginner
  • 100% positive reviews (29)
  • 2682 students
  • 4 units
  • 18 lessons (3h 40m)
  • 13 downloads
  • Category

    Craft
  • Areas

    Arts & Crafts, Ceramics, Decoration, Design, DIY, Fine Arts, Interior Decoration

Avi Ben Shoshan

Avi Ben Shoshan
A course by Avi Ben Shoshan

Teacher Plus
Product Designer

Avi Ben Shoshan is a product designer based in Tel Aviv and the creative director of his ceramics studio ABS Objects. In 2017 he graduated from the industrial design program at Shenkar College and was awarded a Studio First scholarship at the Binyamin Center, which defined his career as a product designer specializing in ceramics.

A year later, Avi started his own studio where he teaches, makes ceramics, and collaborates with creatives in fashion, jewelry, food, and beyond. He showcases his work in exhibitions and galleries and sells his products both in Tel Aviv and in shops around the world. He also shares his work with over 19K followers on Instagram.


  • 100% positive reviews (29)
  • 2,682 students
  • 18 lessons (3h 40m)
  • 33 additional resources (13 files)
  • Online and at your own pace
  • Available on the app
  • Audio: English
  • English · Spanish · Portuguese · German · French · Italian · Polish · Dutch
  • Level: Beginner
  • Unlimited access forever

Category
Areas
Designing a Ceramic Collection: The Slip Casting Technique. Craft course by Avi Ben Shoshan

Designing a Ceramic Collection: The Slip Casting Technique

A course by Avi Ben Shoshan
Product Designer. Tel Aviv-Yafo, Israel.
Joined August 2021
  • 100% positive reviews (29)
  • 2,682 students