Terrazzo Techniques for Resin Furniture Making

Course final project

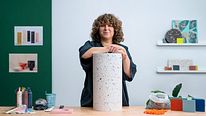
A course by Olivia Aspinall , Surface and Product Designer

Surface and Product Designer. Nottingham, United Kingdom.
Joined September 2021
96% positive reviews (47)
2,633 students
Audio: English
English · Spanish · Portuguese · German · French · Italian · Polish · Dutch

About the final project for: Terrazzo Techniques for Resin Furniture Making

Terrazzo Techniques for Resin Furniture Making

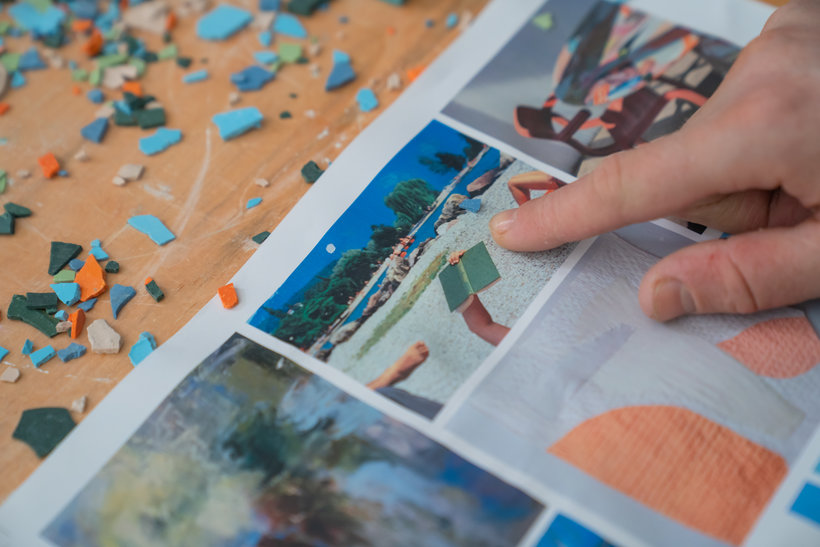
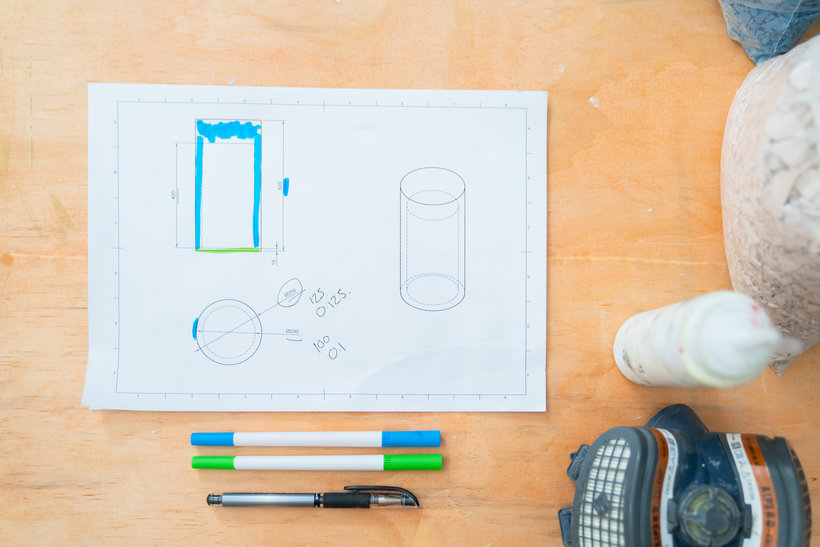
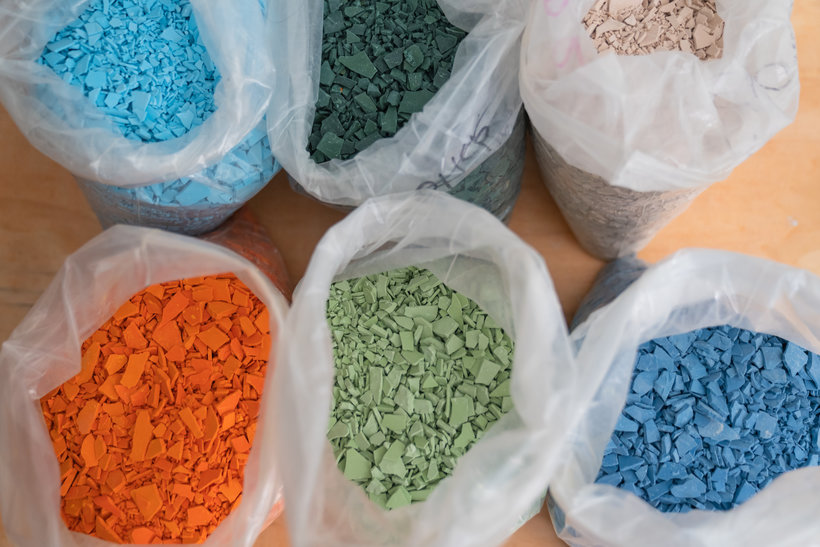
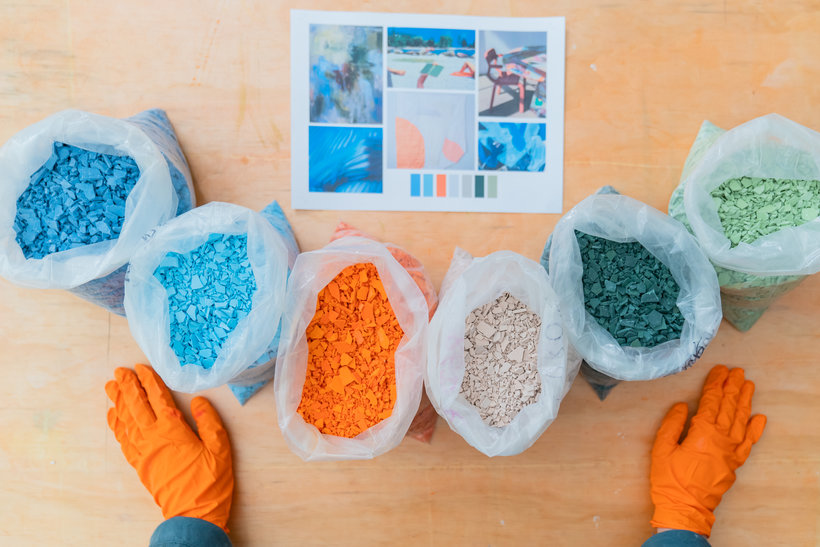
“Well done! You have reached the end of this course. Thank you so much for enrolling. It’s been a journey and you’ve worked really hard. I hope I've taught you some essential casting skills which you can take onto future projects! I’ve explained a lot of different processes throughout the course. Below are some key tips, to recap the main steps we’ve covered and to reinforce what you’ve learnt throughout. The Design Preparation First, sketch a design for your table. You can use my template, or if you're feeling up to the challenge create your own. Then, build a mood board. This initial step will help clarify your design vision. It's worthwhile to hone in on a colour palette here, to inform your eventual terrazzo vision.

The Terrazzo Chips Create your terrazzo chips and use these to build a unique palette of aggregate to work with. Remember to be prepared and weigh out your liquid and powder separately first to help you work efficiently. It's very important not to overload your liquid with pigment. As a general rule, your pigment weight should not exceed 2% of the total weight of your liquid and powder combined. This step can be hard to achieve without accurate scales. If you do have scales go ahead and weigh your pigment and make a record of what you are adding. If not, don't worry! Just be slightly reserved with the amount of pigment you're adding. To do this, pour your mixture out onto the plastic sheet. Spread it out evenly. Once the material has set, you can break it up into your chips. This is where you decide what size terrazzo chips you want to make. The material is still quite soft at this stage so you can easily break this up with your hands. Don't forget to create colour combinations that you are excited by.
The Sample Now, create samples of your terrazzo. Testing different variations is always useful here. You will find that changing the quantities of colour and also playing with the ratio of different colours you use will have a big effect on how your piece feels. This is important to do before you cast your finished piece, allowing you to test if you are happy with your design. It's your time to experiment! So, relax, be playful, and have fun. I’d advise keeping notes of any interesting combinations for your own future records.
The Mould Build or create your simple moulds out of easily accessible materials. You can imitate my process by sticking to card and wood. Remember to wax your mould first and when assembling it be precise. Especially when marking out your card paper, applying tape, and waxing. It's important that your card is securely taped, avoiding any material escaping. Include your polystyrene core to reduce material usage and therefore the weight of the final piece and the cost.
The Casting Next, cast your table. Remember to calculate volumes and material weights. The key tip for this stage is that it's always best to apply a decorative layer or as I say the gel coat. Applying the pattern this way helps to create a much better finish on 3D objects. Use jesmonite to make the glue that will bond the first gel coat to the bottom of the poly core to stop it from floating to the top. Ensure that this is set before moving onto the final pour. You need to make sure your core finishes just underneath the level of your mould, so that it doesn’t show through the bottom of your furniture piece. Curing will take 24 hours.
The Final Details When demoulding, don’t rush. Sand your piece with a rough grit first until you're completely happy with your terrazzo pattern. Keep changing your sandpaper as the sheets wear out. These hand sanding techniques really will help finesse your finish. Lastly, apply the finishing touches. At this stage, you can remove any air bubbles by filling these to your preference. By sealing your surface, you’ll enhance the colour and add a certain level of protection.
It’s really exciting that you now have lots of new skills to work with. I would encourage you to dive into exploring the colour palettes in your project, really play with the size of your terrazzo and the ratios of your colour. You could also consider creating different shapes for your mould! See what you can achieve with the materials you have access to. I can't wait to see your piece of furniture! You can share your project with all of us by clicking on 'Create your project'. Remember to share both the final result and the steps that have led you to it. It would be great if you showed a picture of each step and added a brief explanation about what you have done in each one. I will try my best to engage with the forum as much as possible. If you have any questions, be sure to ask them! I will reply as soon as I can, but in the meantime, I encourage you to interact with each other. Communication fuels creativity. So, don't be afraid to reach out and collaborate with others. But most of all, have fun! See you in the forum! ”

Partial transcription of the video

“ Final Project We're at the end of my Domestika course. In this lesson, we'll recap what we've learned so far and I'll give you tips to help you in your journey of creating your terrazzo side table. Having followed along, you'll notice that the creative process of casting is satisfying and it's a real joy to create pieces that serve the dual function of being decorative and practical. The first step is to create a mood board. This will help clarify your design vision. It's worthwhile to hone in the colour palette at this stage. It helps you create your final terrazzo vision. Using the sket...”

This transcript is automatically generated, so it may contain mistakes.


Course summary for: Terrazzo Techniques for Resin Furniture Making

  • Level: Beginner
  • 96% positive reviews (47)
  • 2633 students
  • 4 units
  • 14 lessons (2h 41m)
  • 12 downloads
  • Category

    Architecture & Spaces, Craft
  • Areas

    Arts & Crafts, DIY, Furniture Design & Making, Interior Decoration, Interior Design

Olivia Aspinall

Olivia Aspinall
A course by Olivia Aspinall

Teacher Plus
Surface and Product Designer

Olivia Aspinall is a surface and product designer based in Nottingham, England. She grew up learning to fix things around the house with her dad and went on to study a degree in textile design that allowed her to put her hands-on experience into practice. While preparing for her final project, she started experimenting with hard surfaces, which kickstarted her career as a product designer.

After graduating, Olivia began casting and creating from her dad’s garage alongside other design jobs before building up enough commissions to start her own studio. Since then, she has created work for Google, Pinterest, Cancer Research, and more, making bespoke pieces characterized by their color, pattern, and craftsmanship.


  • 96% positive reviews (47)
  • 2,633 students
  • 14 lessons (2h 41m)
  • 22 additional resources (12 files)
  • Online and at your own pace
  • Available on the app
  • Audio: English
  • English · Spanish · Portuguese · German · French · Italian · Polish · Dutch
  • Level: Beginner
  • Unlimited access forever

Areas
Terrazzo Techniques for Resin Furniture Making. Craft, Architecture, and Spaces course by Olivia Aspinall

Terrazzo Techniques for Resin Furniture Making

A course by Olivia Aspinall
Surface and Product Designer. Nottingham, United Kingdom.
Joined September 2021
  • 96% positive reviews (47)
  • 2,633 students