3D Wooden Textiles for Beginners
Course final project
A course by Tesler + Mendelovitch , Textile Design Studio

Joined August 2021
Joined August 2021
About the final project for: 3D Wooden Textiles for Beginners
3D Wooden Textiles for Beginners
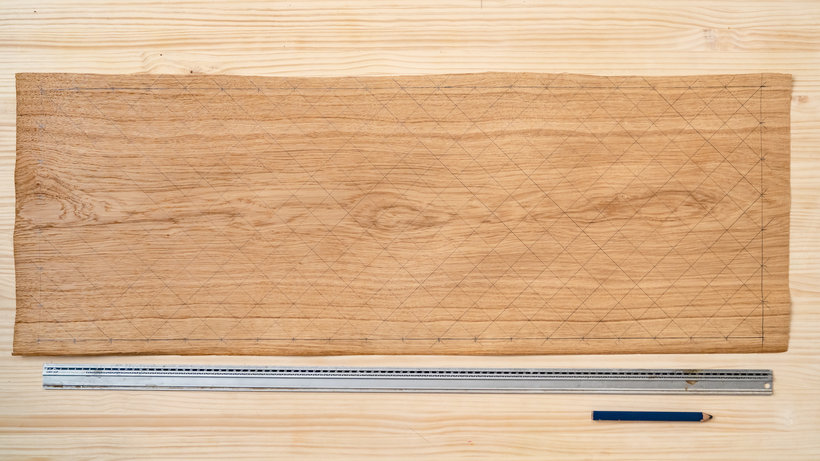
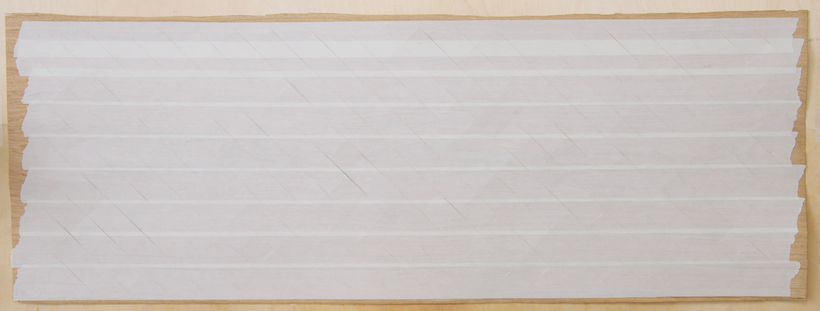
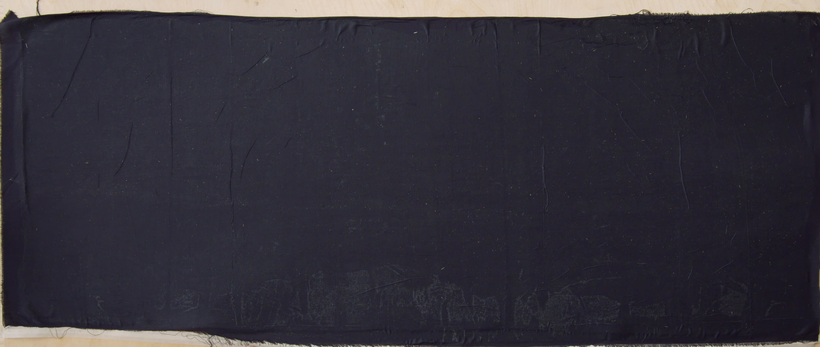
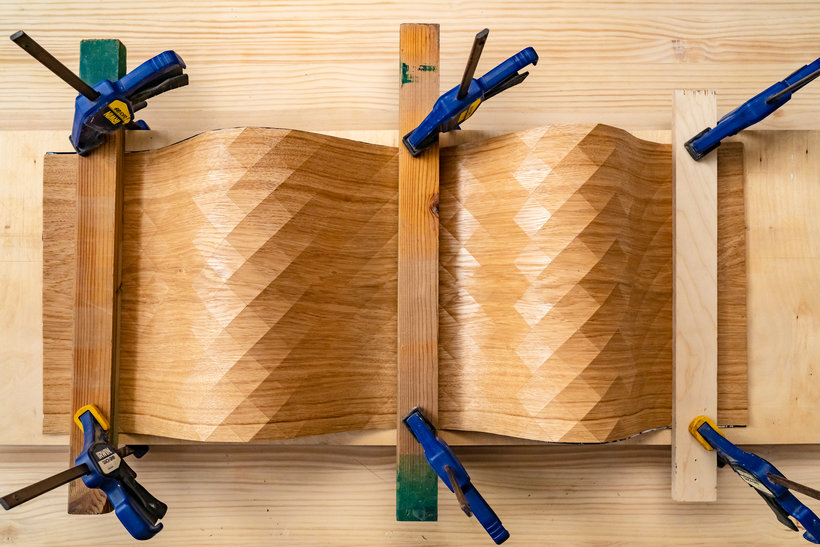
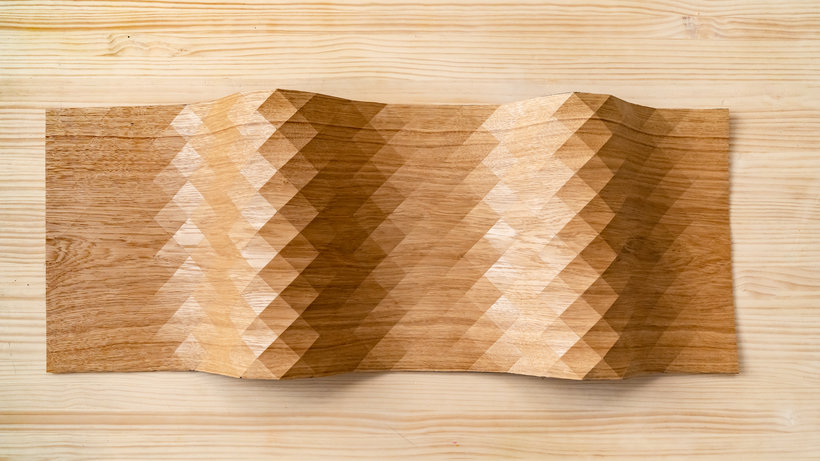
“Congratulations! You've reached the end of this Domestika course. Thank you for taking part, we hope you enjoyed it. It's now time to work on your project. This could mean finishing the project you started by completing the course tasks or making a brand new project! Either way, we strongly suggest you take the time to gather inspiration and make a unique project of your own. Make sure to keep track of your progress with different pictures of each step. It'd be great if you could also explain the choices you've made along the way and tell us if you have any doubts. This will help us understand your creative process and guide you better if you need advice. For your project, you will be creating a double-sided wood textile. Create 2 pieces of the following steps: The Sketch and Incisions Sketch a 5 cm diagonal grid onto the 100/35 cm veneer sheet. Then, using a utility knife, create 5 cm diagonal incisions.
Partial transcription of the video
“Hi, and thank you for joining us on this course. We discovered wood veneer while studying textile design at the University of Shinkaku. Since then, we've been absolutely fascinated by this material. We studied it and made lots of experiments and lots of mistakes. Until. we were able to create the wood textile technique. So in this course, we're sharing for the first time our patented picnic. As a final project, we showed you how to create a 3D wall panel using our wood textile technique. For that, The first step is to understand the material itself. We work. With veneer sheets. and a fundam...”
This transcript is automatically generated, so it may contain mistakes.
Course summary for: 3D Wooden Textiles for Beginners
-
Category
Craft, Design -
Areas
Arts & Crafts, DIY, Interior Decoration, Interior Design, Product Design, Textile Design

Tesler + Mendelovitch
A course by Tesler + Mendelovitch
Orli Tesler and Itamar Mendelovitch are the founders of Israel-based studio Tesler + Mendelovitch. They met while studying textile design at the Shenkar University of Engineering and Design. From the outset, they had opposing design ideologies: Itamar works methodically and precisely, while Orli is more impulsive, but they soon realized that the two approaches complemented each other and began collaborating on projects. After graduating, they opened their own studio with the aim of transforming known materials into new forms.
Their first product launch was the diamond wood coffee table and sitting stool, but they’ve since gone on to create a whole range of unique products including their best-selling wooden clutch. Through their studio, Orli and Itamar collaborate with interior designers and architects around the world to create site-specific installations, special editions, and specialist commissions. They also share their designs with over 10K followers on Instagram.
- 96% positive reviews (133)
- 7,119 students
- 11 lessons (1h 30m)
- 8 additional resources (1 files)
- Online and at your own pace
- Available on the app
- Audio: English, Spanish (Latam), French, Italian, Portuguese, Turkish
- Spanish · English · Portuguese · German · French · Italian · Polish · Dutch · Turkish · Romanian · Indonesian
- Level: Beginner
- Unlimited access forever
Areas

