Colorful Hand Embroidery 101: Learn to Stitch from Scratch
A course by Kristen GulaFiber Artist
A course by Kristen Gula, Fiber Artist

Learn to embroider with pride by making a vibrant statement piece filled with layers, colors, and textures
Embroidery is a beautiful, meditative craft that allows you to express yourself by making something truly unique. For fiber artist Kristen Gula, this practice helped her through tough times, and led her to become a thriving artist, author, and instructor. With her book 200 Embroidered Flowers, which has been translated into German and Japanese, and 98K followers on Instagram, she’s here to share with you the magic of embroidery.
In this course, Kristen takes you on a journey to learn how to embroider whatever inspires you most. Learn the basics of embroidery, from how to set up your hoop to a variety of stitching techniques. Then let the fiber artist in you blossom by creating a vibrant statement piece. Ready to discover the colorful world of embroidery?
What will you learn in this online course?
18 lessons & 19 downloads
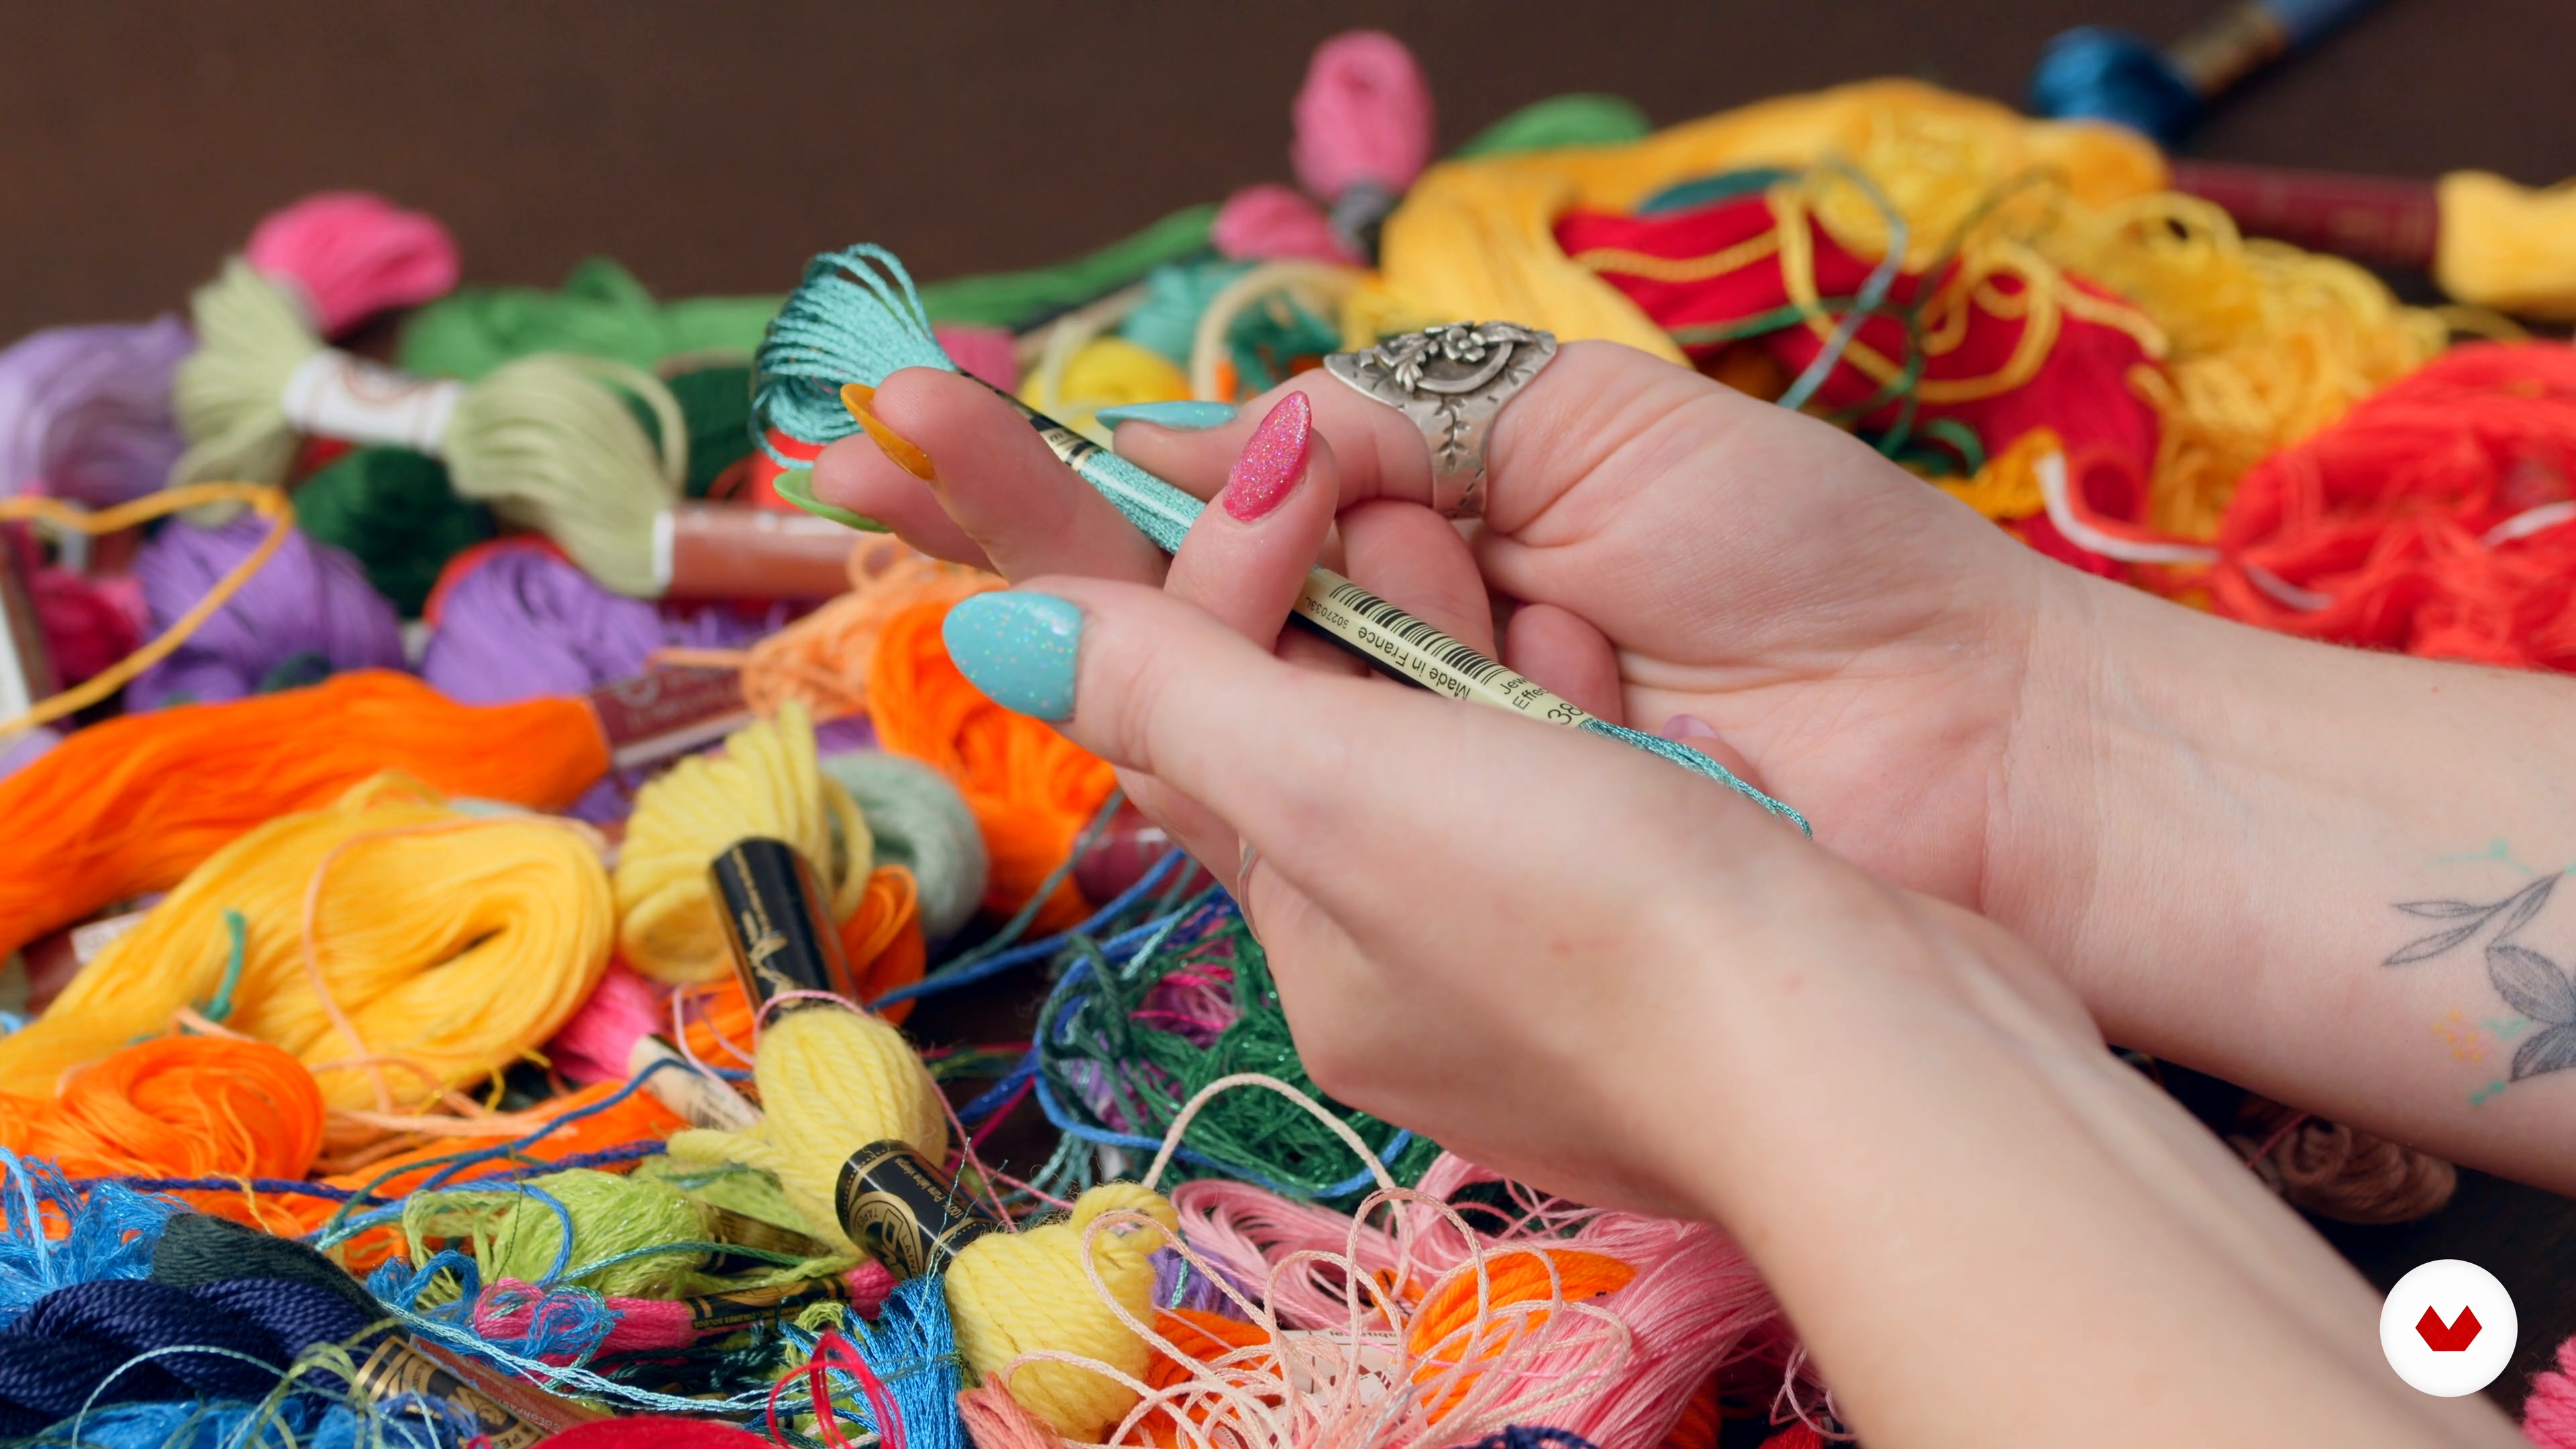
Materials
7 minutes, 43 seconds
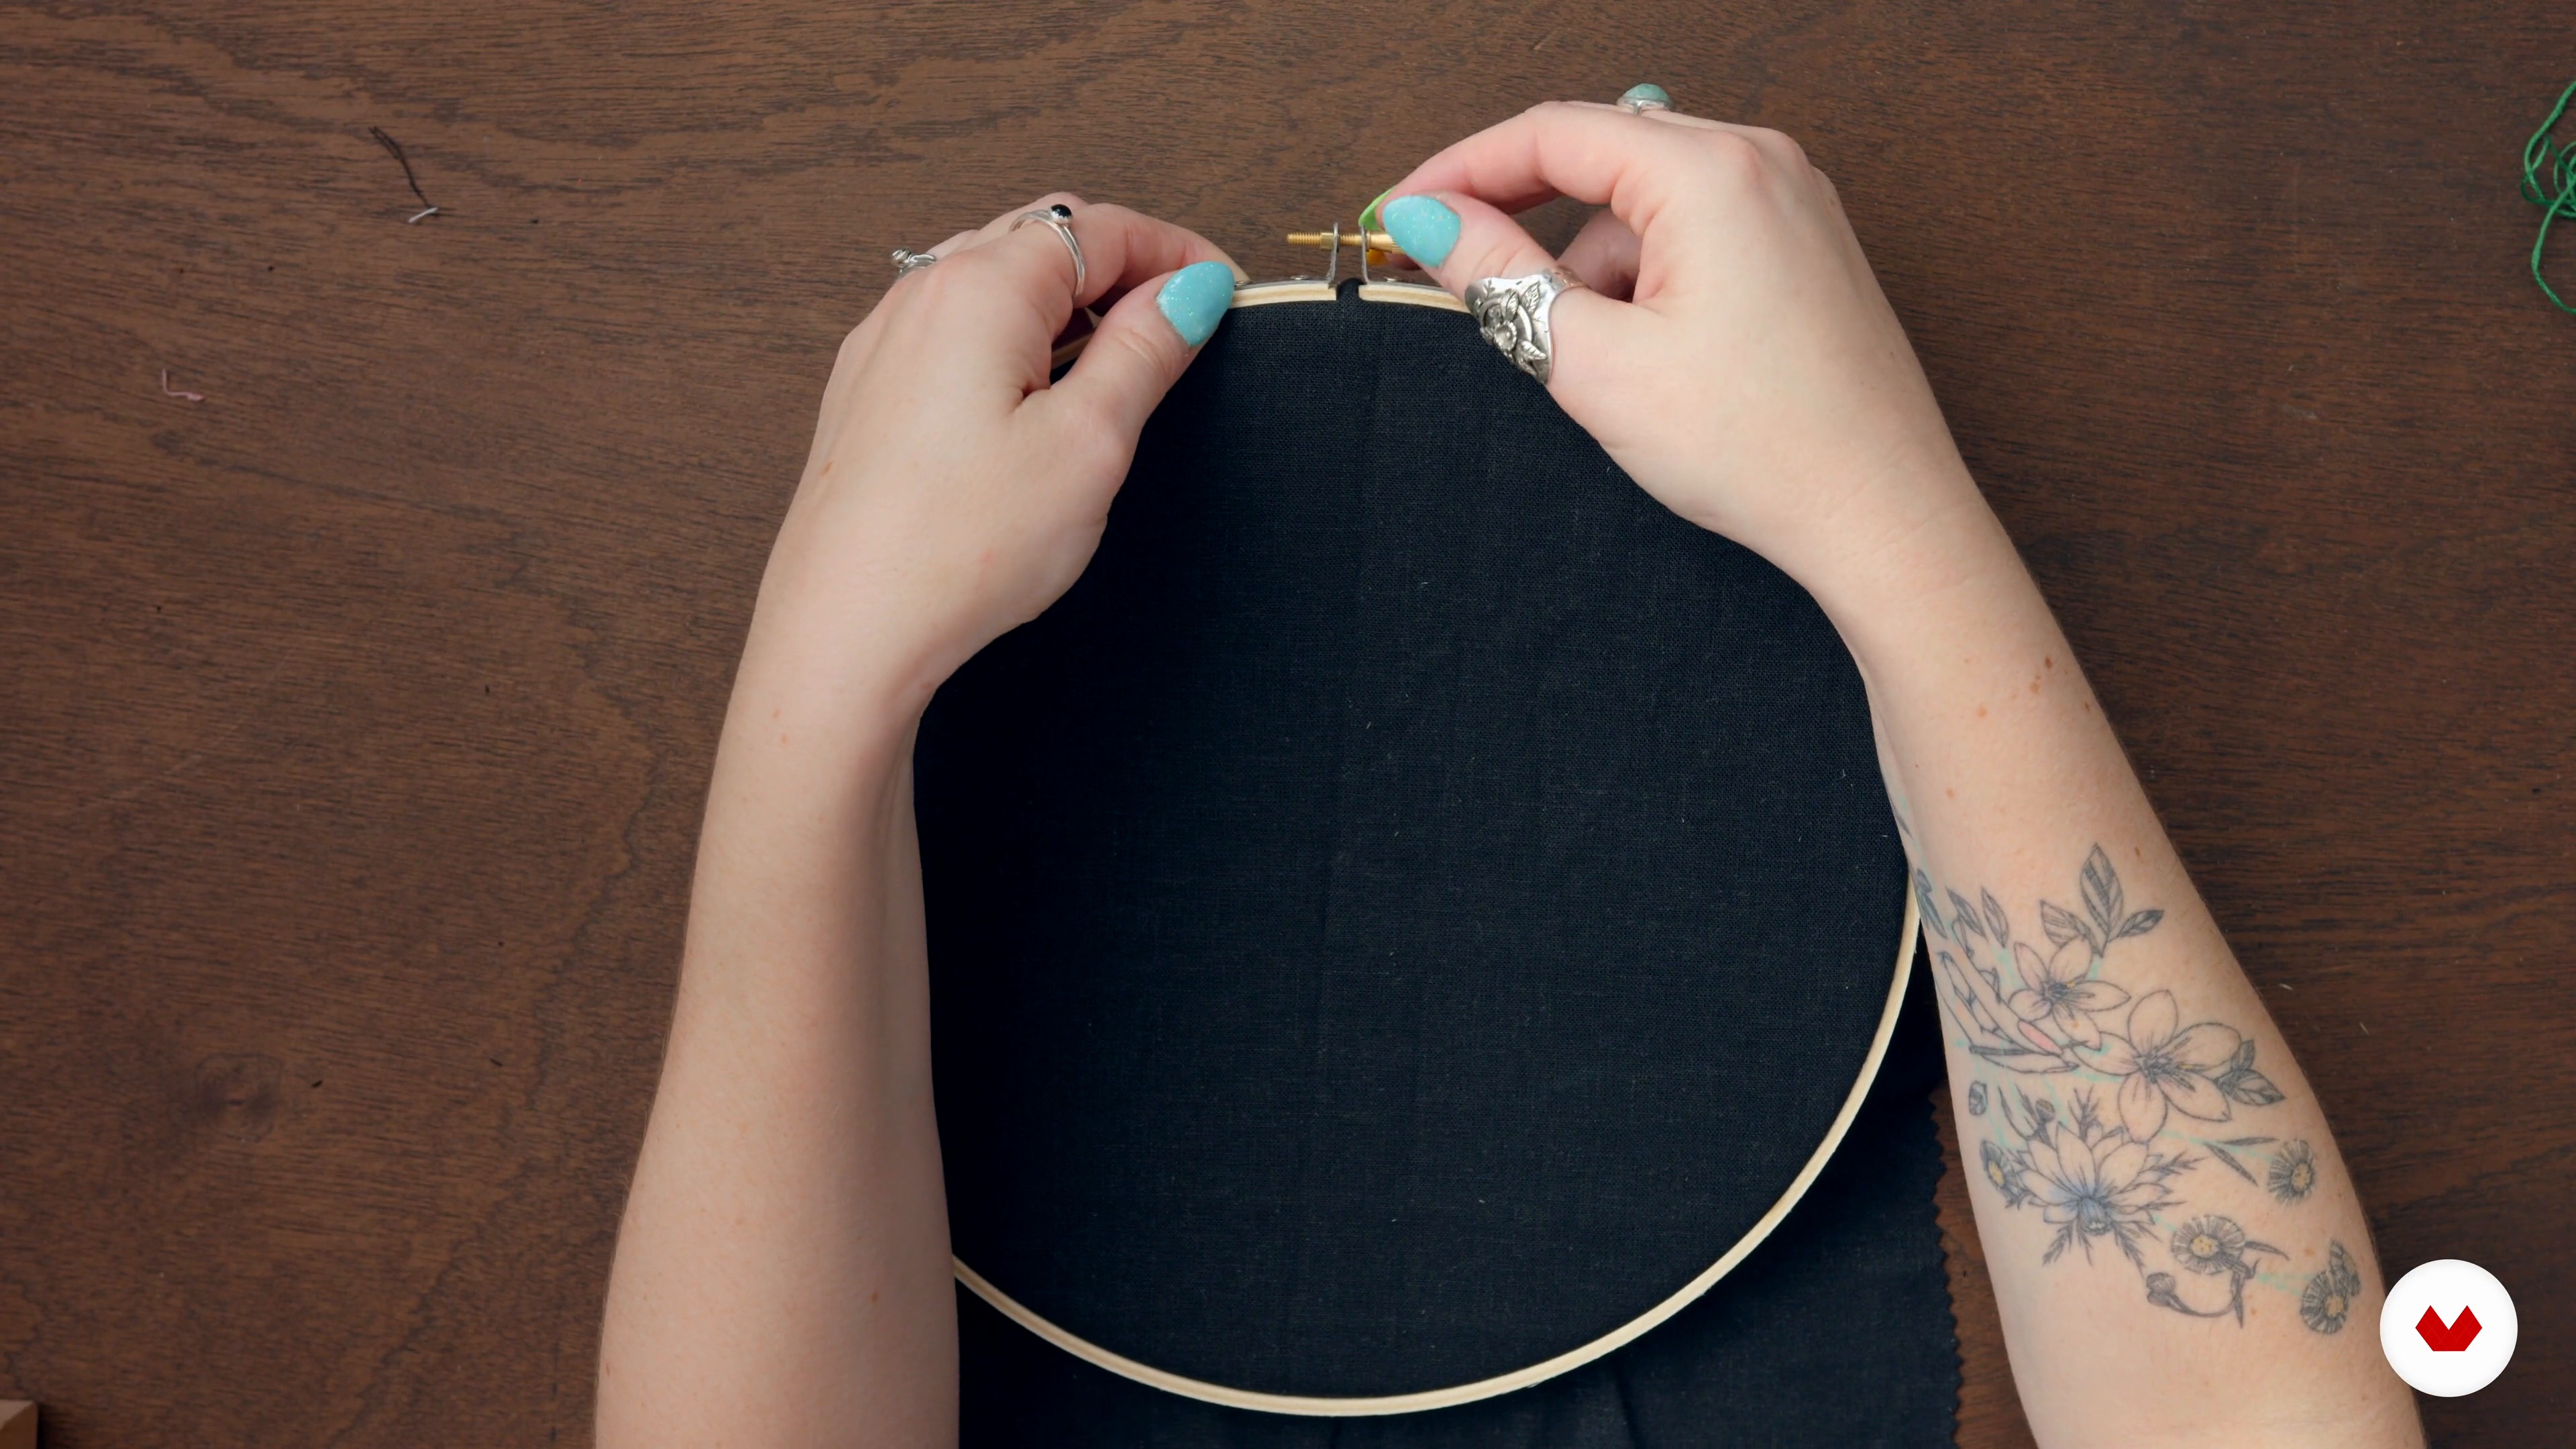
Embroidery Basics and Pattern Transfer 1
10 minutes, 54 seconds
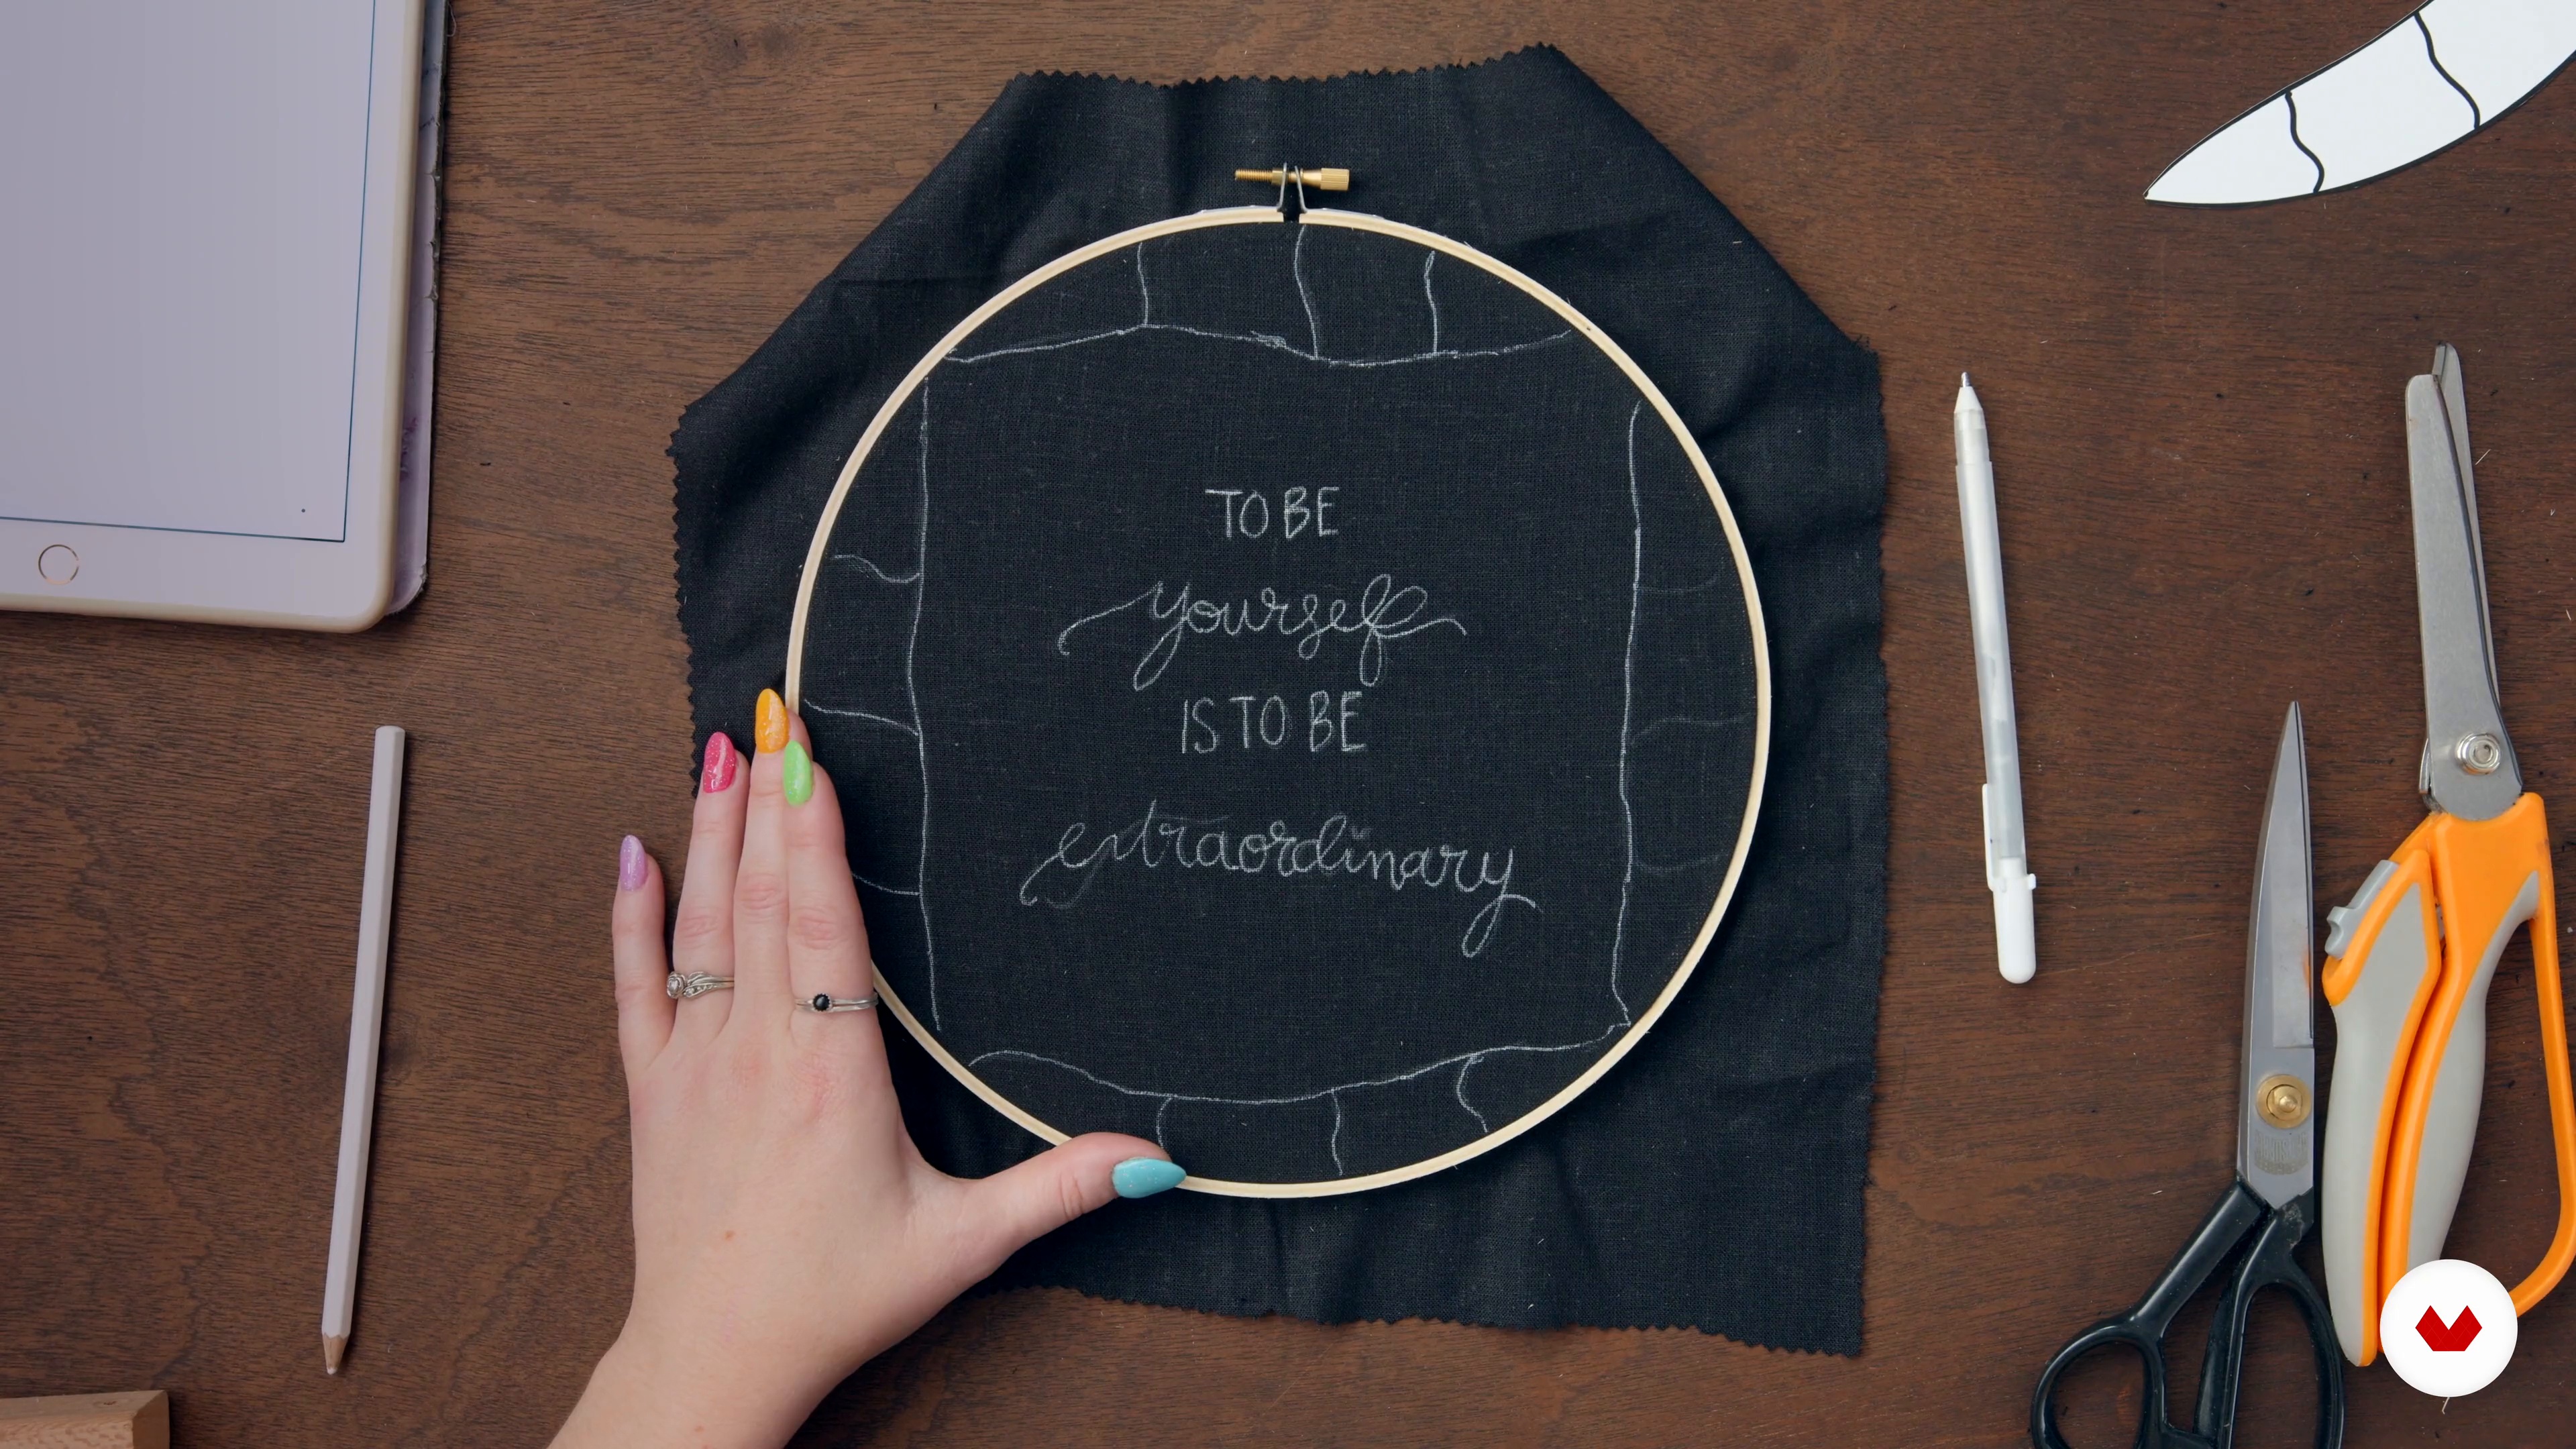
Embroidery Basics and Pattern Transfer 2
11 minutes, 23 seconds
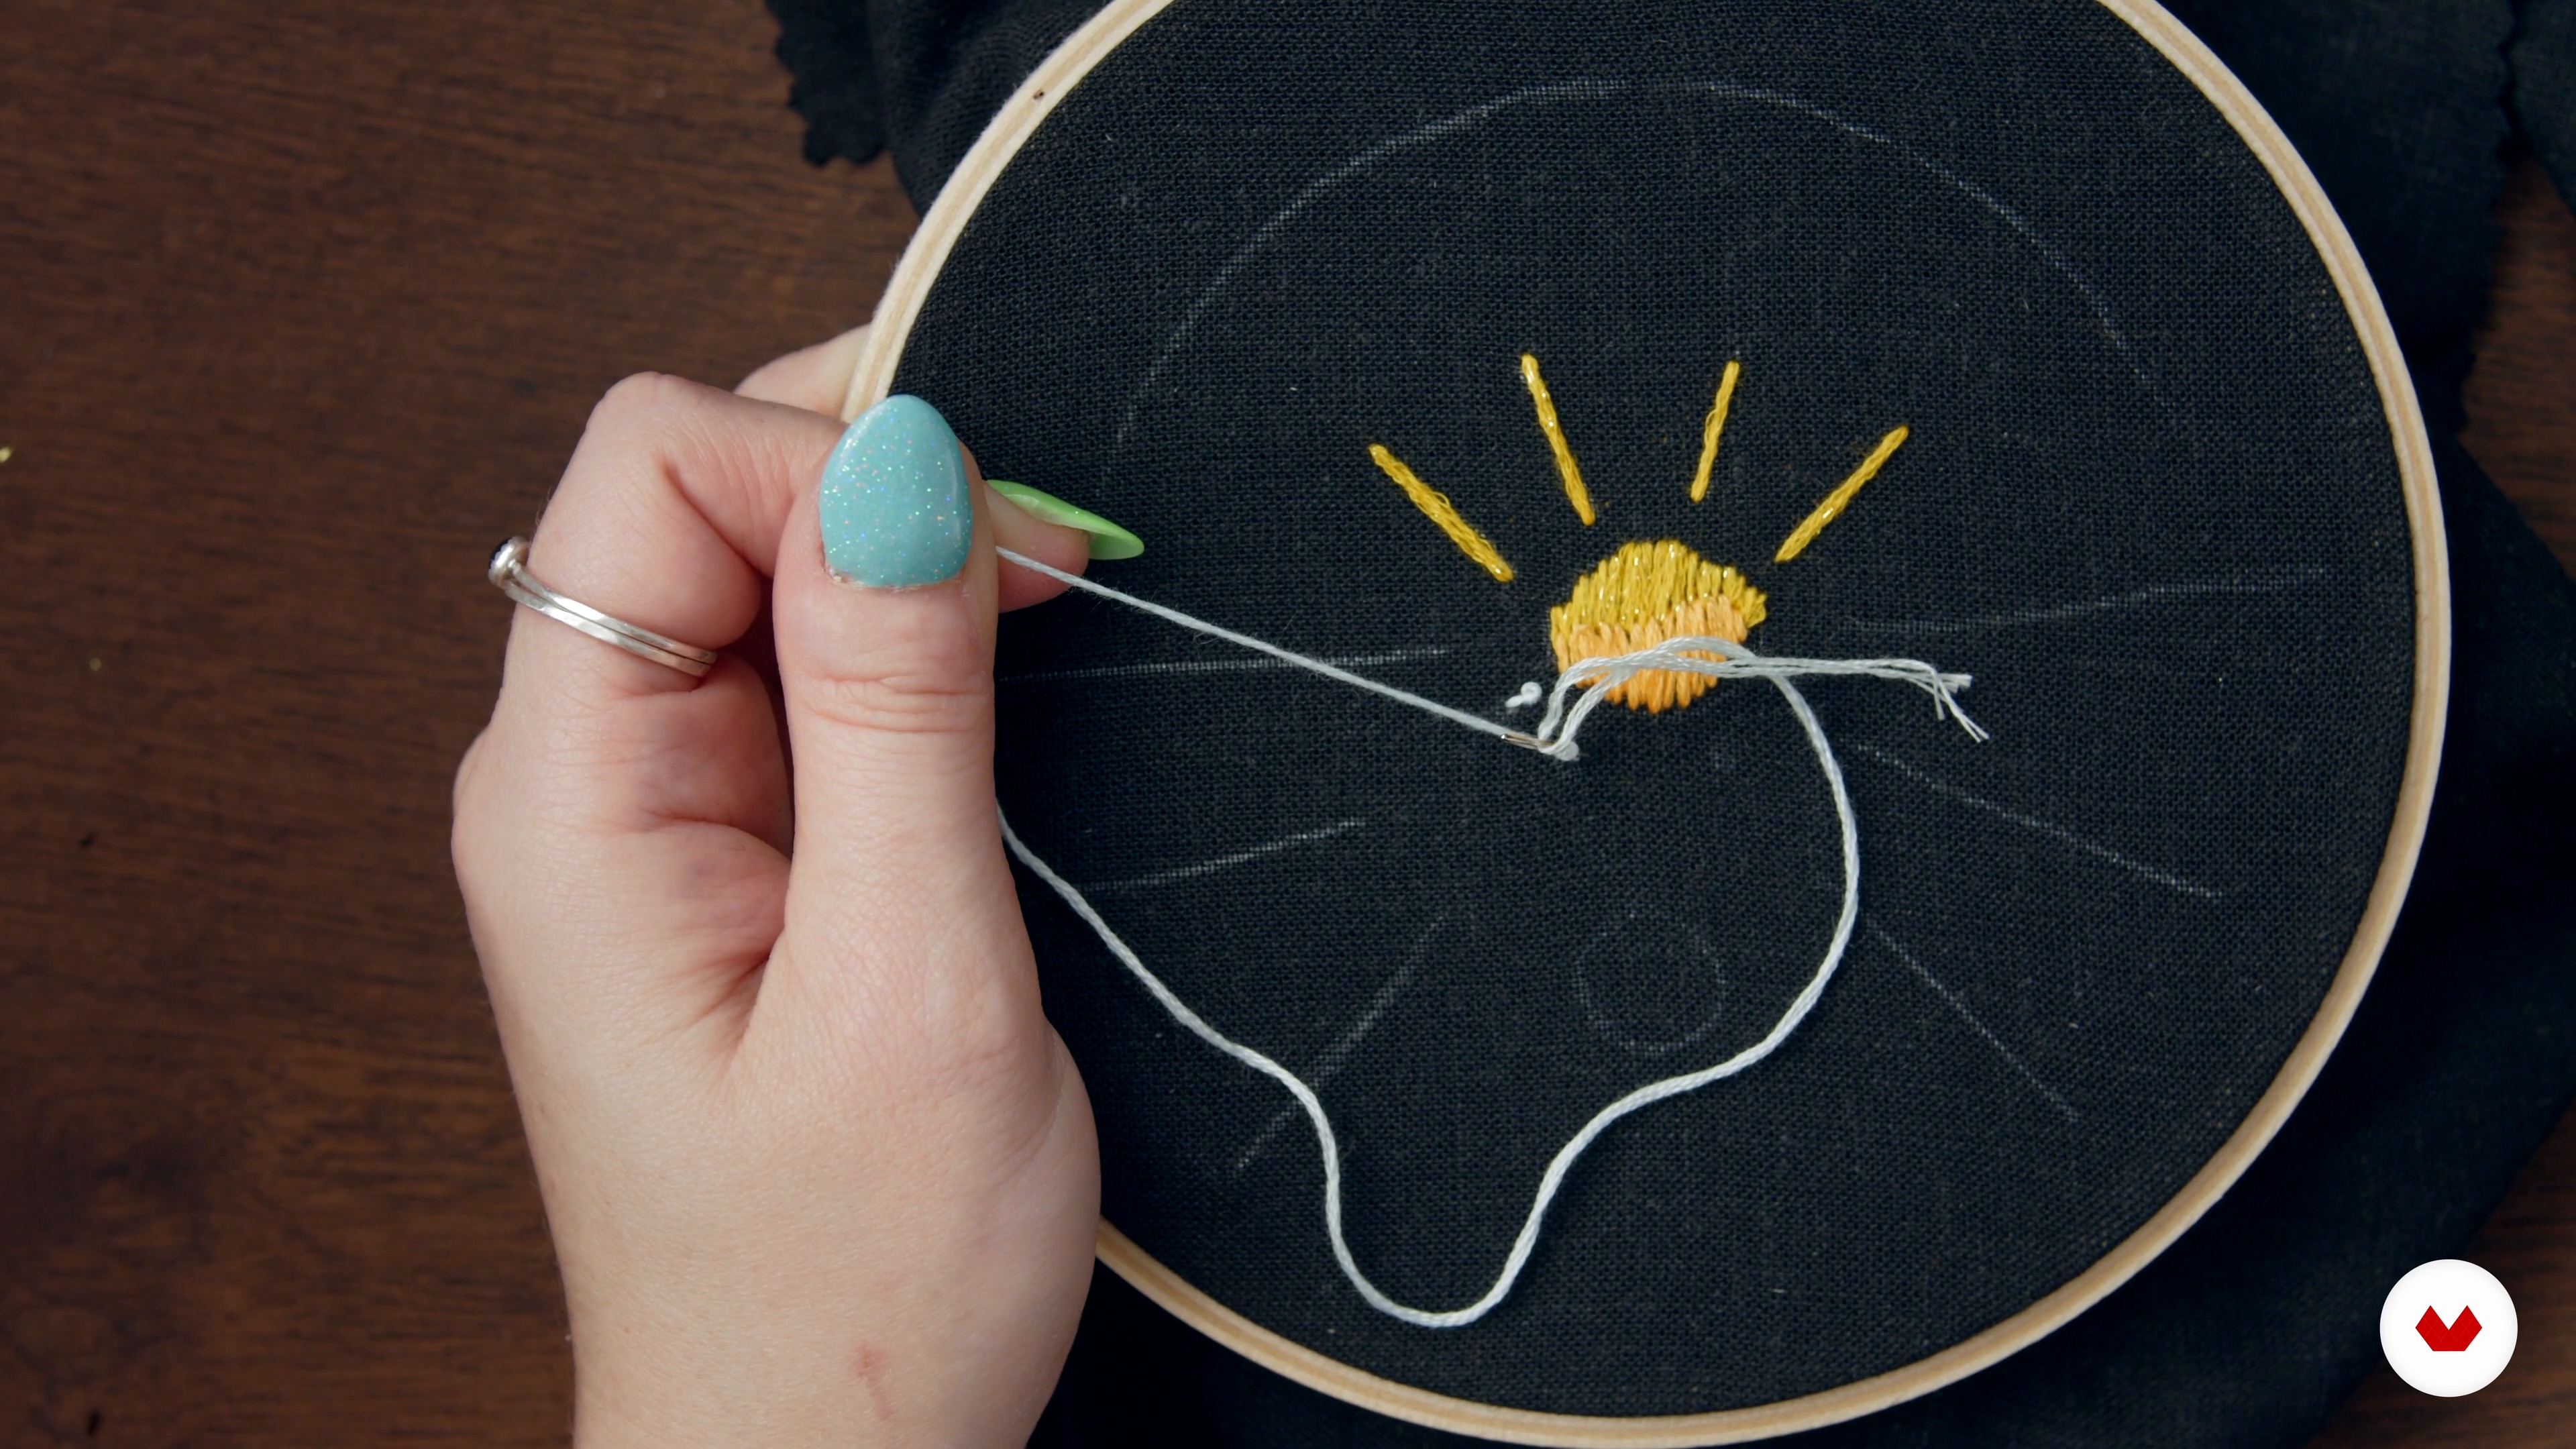
Stitch Sampler 1
14 minutes, 8 seconds
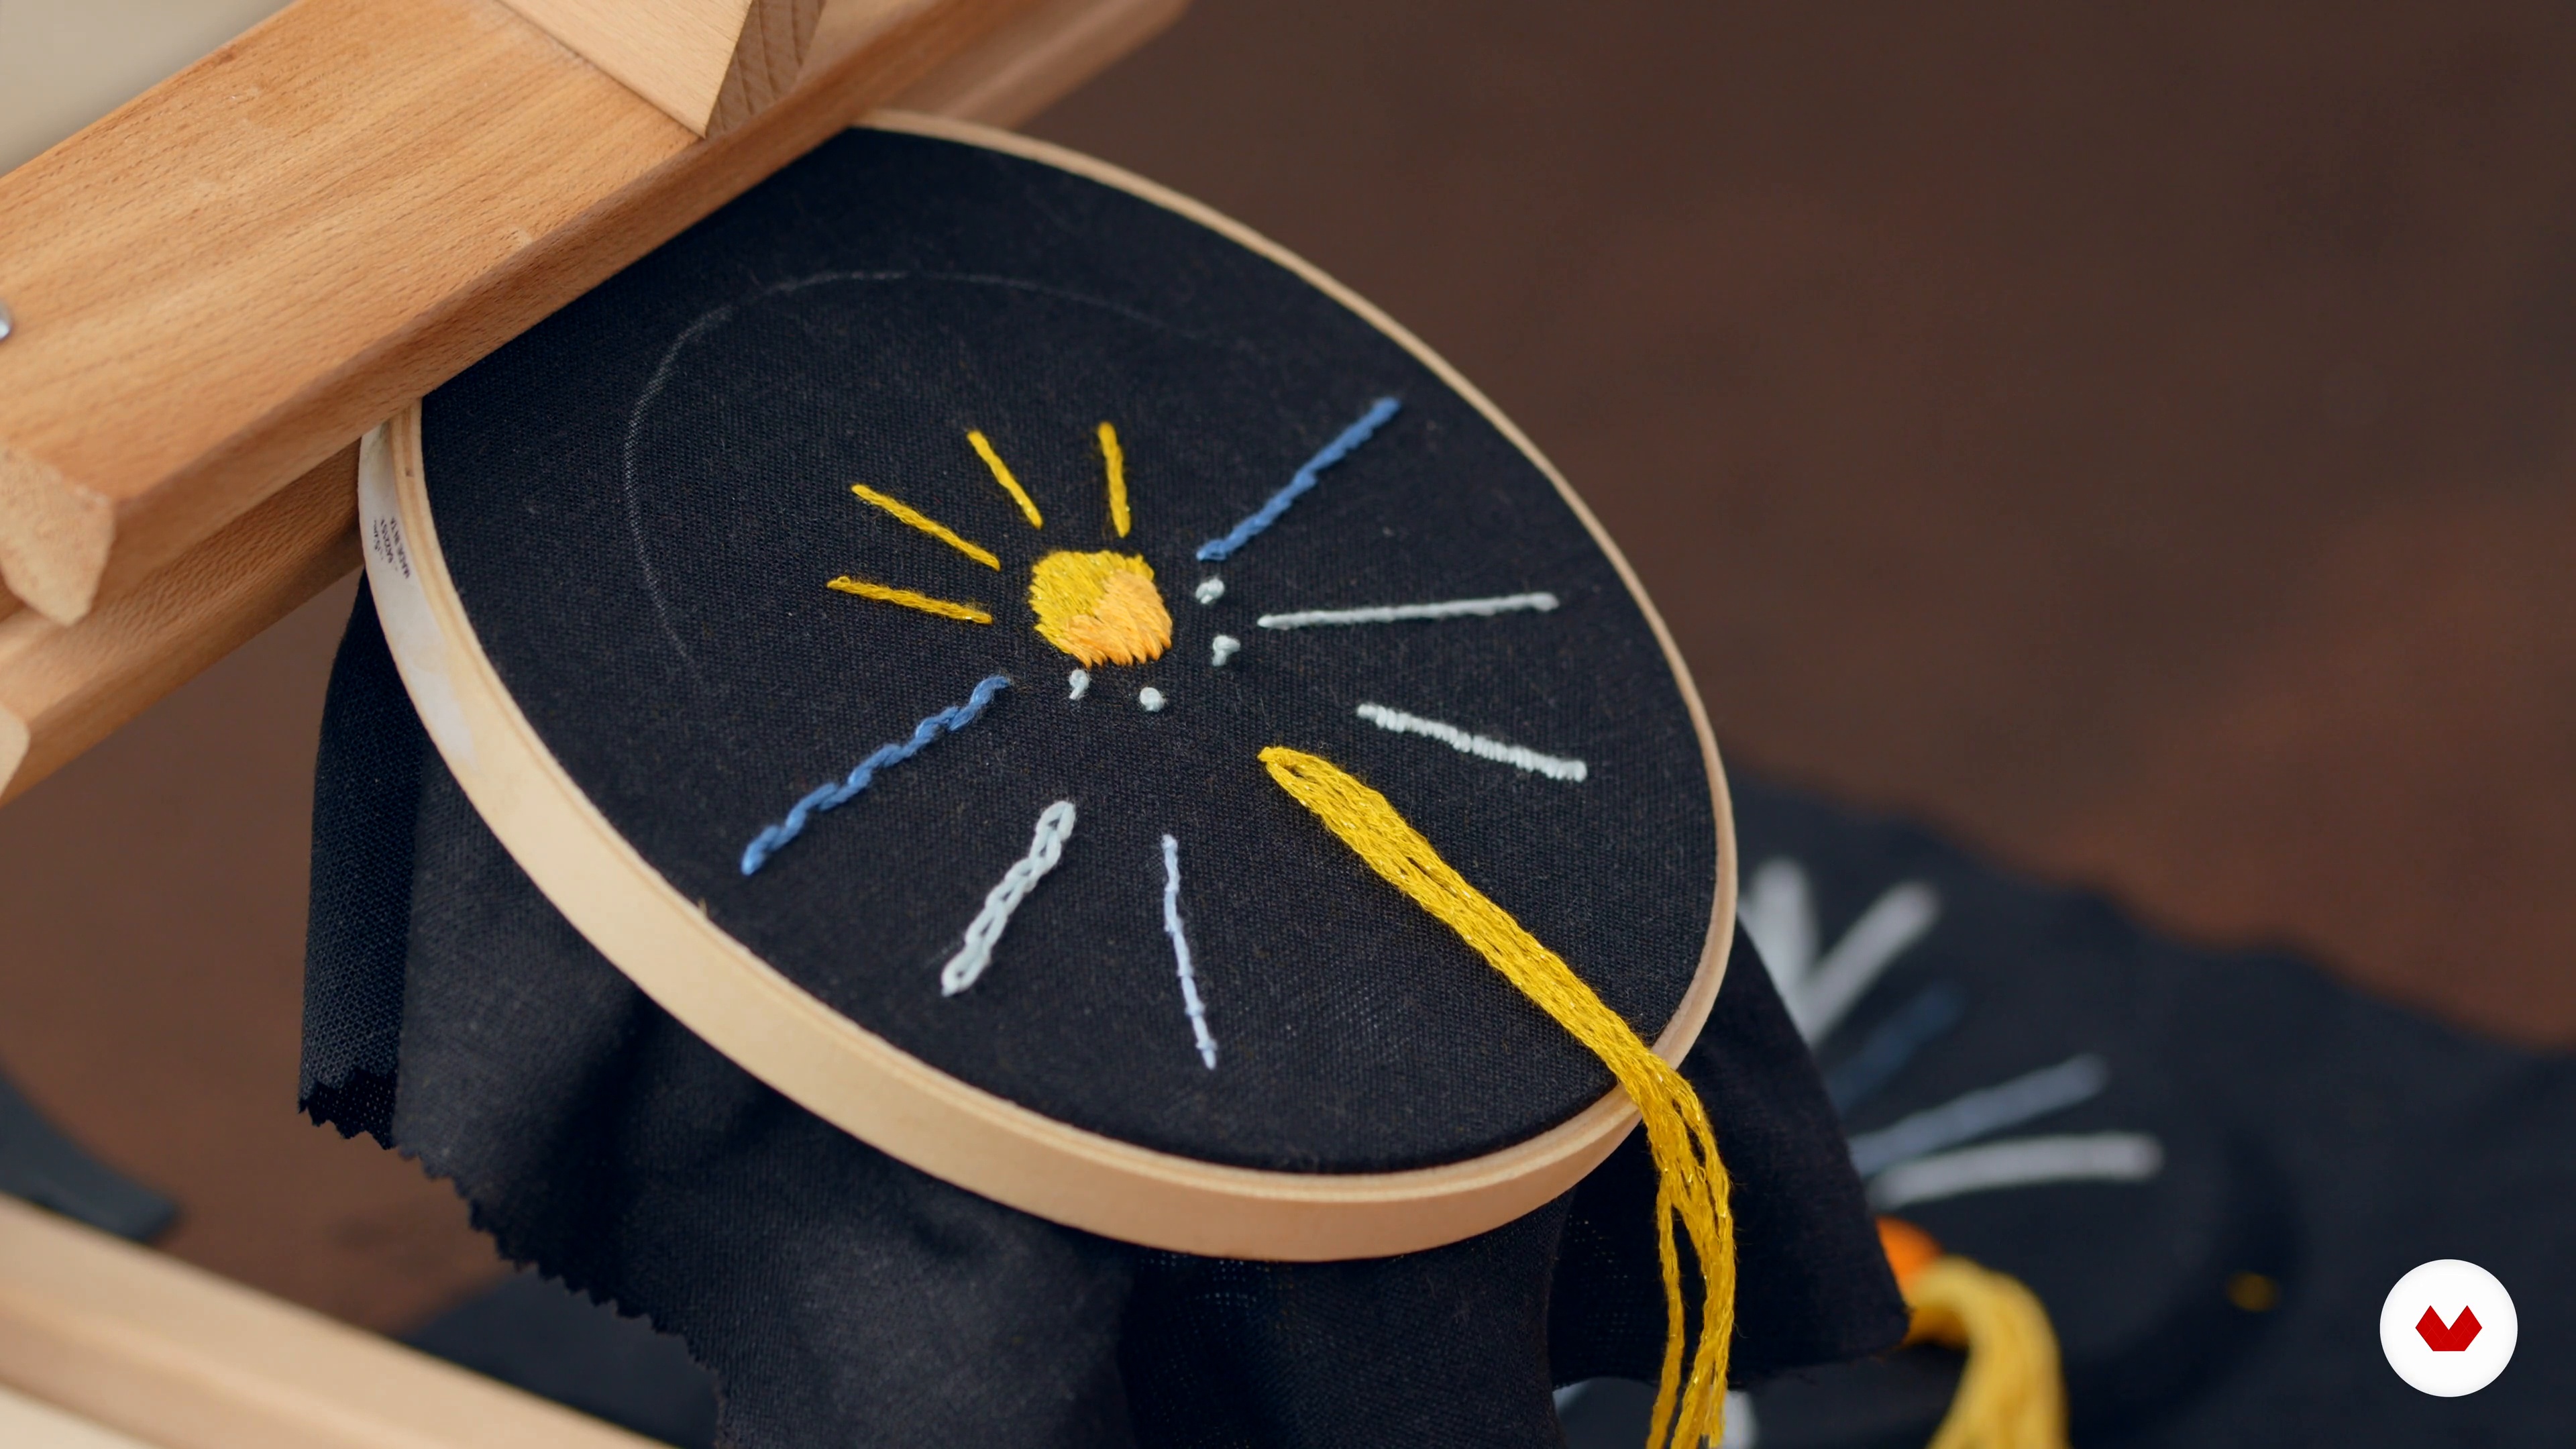
Stitch Sampler 2
20 minutes, 54 seconds
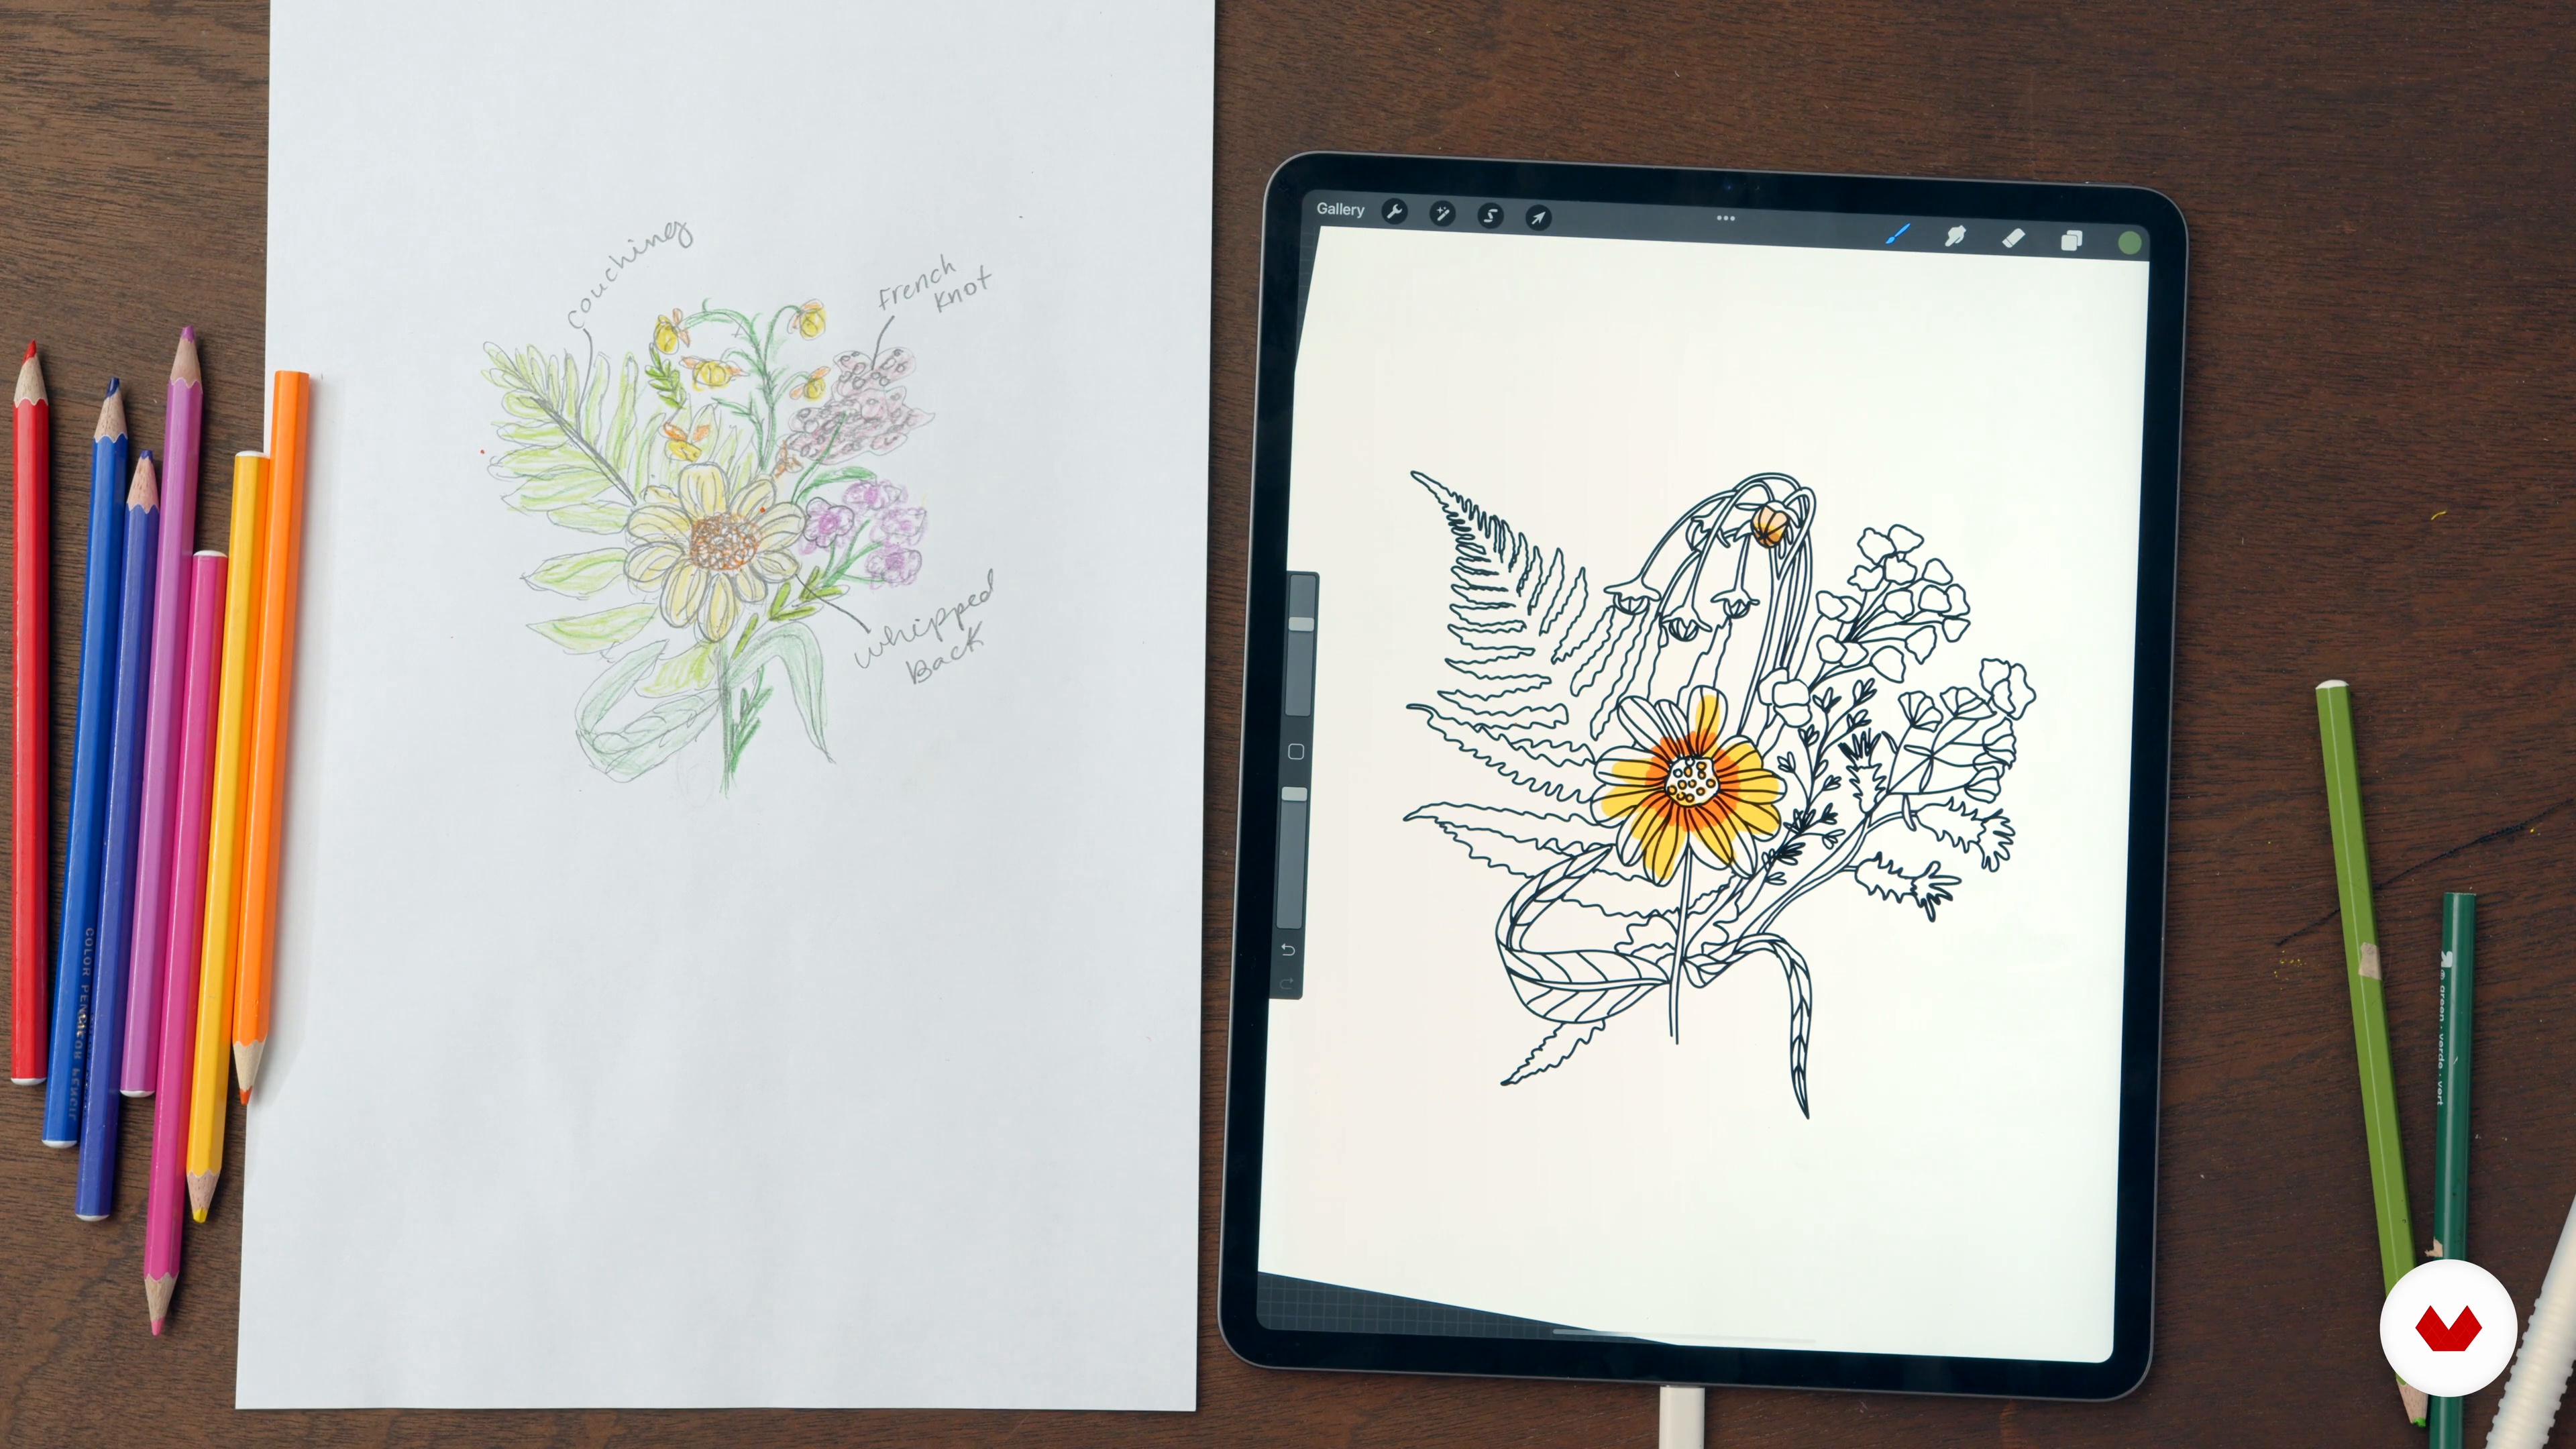
Finding Your Inspiration and Sketching Your Idea
14 minutes, 35 seconds
What's included in this course?
Begin by getting to know Kristen as she talks you through her journey, which she calls her #stitchventure, and how embroidery has helped her blossom into the proud, queer artist she has become. Kristen also shares some of the artists who inspire her the most, as well as how they have influenced her journey throughout the years.
Get an overview of the different materials needed and where to find them. Then, learn the basics of embroidery step by step. See how to transfer patterns and discover a variety of techniques like surface and stumpwork stitches.
Fuel your creativity and find inspiration for your embroidery project before making a rough sketch of your design. Kristen then talks you through color theory and how to use texture in your embroidery. With a finalized design and a chosen color palette, discover how to choose the right stitches for your embroidery piece.
Time to get stitchy! Begin by creating the base of your piece using the filler stitch, which Kristen demonstrated in the second unit. Continue on to the following layers by incorporating various colors and stitching techniques. Next, move on to the heart of your project: your statement. Using the stumpwork technique, stitch your statement, bold and proud, in the center of your piece.
Kristen then shows you how to add a vibrant touch to your embroidery by incorporating 3D details. Finish your composition by seeing how to back the hoop with fabric and adding final touches. Kristen wraps up the course by giving you her tips on how to photograph and share your work online.
What is this course's project?
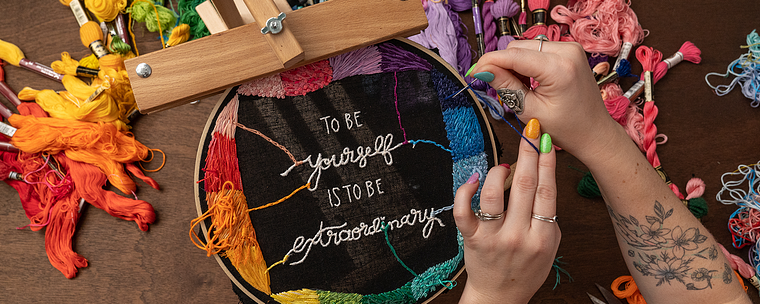
Create a colorful embroidery piece with a proud statement using a variety of stitching techniques.
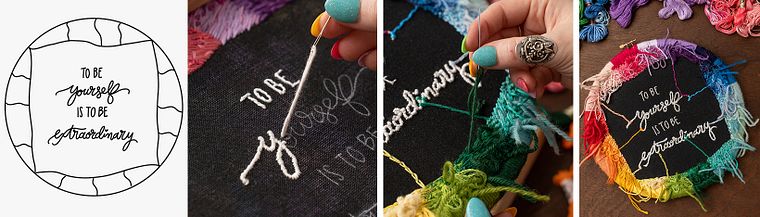
Projects by course students

Who is this online course for?
This is a course for embroidery beginners and DIY enthusiasts who are passionate about expressing their creativity.
Requirements and materials
No previous experience is required.
To take this course, you need fabric, a needle, an embroidery hoop, scissors, a variety of colorful thread, as well as pencil and paper to sketch your design.
Reviews
- 1 year ago
Me encantó!!
- 2 years ago
Aprendi bordar aos 10 anos, resolvi fazer o curso para recordar as técnicas de bordar para complementar os meus bonecos amigurumi (crochet) . Gostei imenso a professora faz com tudo pareça muito simples com a sua maneira de comunicar direta , clara e simplista. Qualquer pessoa consegue fazer o curso e adquirir conhecimentos para que possa continuar a trabalhar sozinha.
- 2 years ago
Criativo adorei!
- 2 years ago
Este curso es ideal para principiantes en bordado. La maestra explica muy bien las técnicas, con videos claros y fáciles de seguir. Me encantó su enfoque en la creatividad y en perder el miedo a cometer errores. Es perfecto si empiezas desde cero, pero si ya tienes algo de conocimiento, puede resultarte demasiado básico. Aun así, es una gran introducción para quienes buscan aprender sin presiones. ¡Muy recomendado para principiantes!
- 3 years ago
Really nice course!

In 2018, she published her first book 200 Embroidered Flowers, which has since been translated into German and Japanese, and boasts a 4.6 rating on Amazon. Kristen has featured in The Crafter’s Box podcast, as well as publications like St. Louis Post Dispatch, Ladue News, Koel Magazine, Vail Daily, and St. Louis Magazine.
Content
- U1
Introduction
- About Me
- Influences
- U2
Foundations of Hand Embroidery
- Materials
- Embroidery Basics and Pattern Transfer 1
- Embroidery Basics and Pattern Transfer 2
- Stitch Sampler 1
- Stitch Sampler 2
- U3
Creating Your Idea
- Finding Your Inspiration and Sketching Your Idea
- Color and Texture
- Stitch Review
- U4
Get Stitchy
- Project First Layer: Filler Stitches
- First Layer of Project: Final Stitches
- Center of Your Project 1
- Center of Your Project 2
- Outlines for Project
- Details
- U5
Finishing Touches
- Finishing the Embroidery for Display
- Sharing Your Work
- FP
Final project
- Colorful Hand Embroidery: Make Your Statement
What to expect from a Domestika course
Learn at your own pace
Enjoy learning from home without a set schedule and with an easy-to-follow method. You set your own pace.
Learn from the best professionals
Learn valuable methods and techniques explained by top experts in the creative sector.
Meet expert teachers
Each expert teaches what they do best, with clear guidelines, true passion, and professional insight in every lesson.
Certificates
PLUSIf you're a Plus member, get a custom certificate signed by your teacher for every course. Share it on your portfolio, social media, or wherever you like.
Get front-row seats
Videos of the highest quality, so you don't miss a single detail. With unlimited access, you can watch them as many times as you need to perfect your technique.
Share knowledge and ideas
Ask questions, request feedback, or offer solutions. Share your learning experience with other students in the community who are as passionate about creativity as you are.
Connect with a global creative community
The community is home to millions of people from around the world who are curious and passionate about exploring and expressing their creativity.
Watch professionally produced courses
Domestika curates its teacher roster and produces every course in-house to ensure a high-quality online learning experience.
FAQs
Yes, this embroidery course is designed for beginners and covers foundational stitches, pattern transfer techniques, and basic tools, making it easy for anyone to start hand embroidery at home.
You’ll need fabric, embroidery needles, hoops, threads, scissors, a pencil or gel pen, and optionally an iPad or digital sketching tool. The course details how to use and select these materials for best results.
You’ll learn foundational stitches, how to transfer patterns, create 3D effects, embroider text, select colors, and finish your projects for display. The course also covers digital design and sharing your work online.
Yes, the course covers multiple pattern transfer techniques, including lightbox, stencil, water-soluble paper, and transferring to dark or textured fabrics.
Absolutely. The course includes lessons on sketching embroidery designs digitally using tools like iPad and Procreate, as well as preparing them for fabric transfer.
You’ll learn stumpwork for creating 3D embroidery effects and multiple filler stitches to add texture and dimension to your projects, with step-by-step tutorials.
The course teaches finishing techniques such as securing threads, mounting in hoops, adding decorative edges, and best practices for preservation and display.