Artistic Portrait Drawing: Capture Authentic Expressions

Course final project

A course by Sam Brisley , Portrait Artist

Portrait Artist. Stratford-upon-Avon, United Kingdom.
Joined February 2021
98% positive reviews (195)
5,072 students
Audio: English, Spanish
English · Spanish · Portuguese · German · French · Italian · Polish · Dutch

About the final project for: Artistic Portrait Drawing: Capture Authentic Expressions

Artistic Portrait Drawing: Capture Authentic Expressions

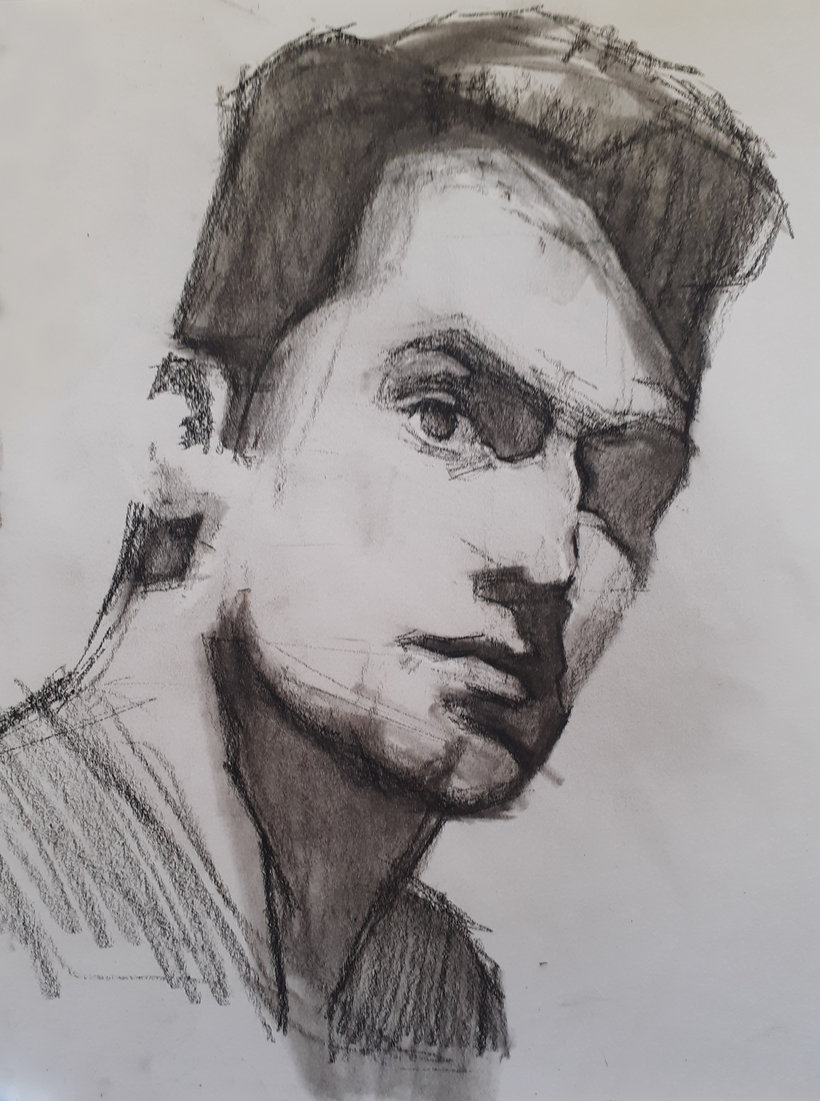
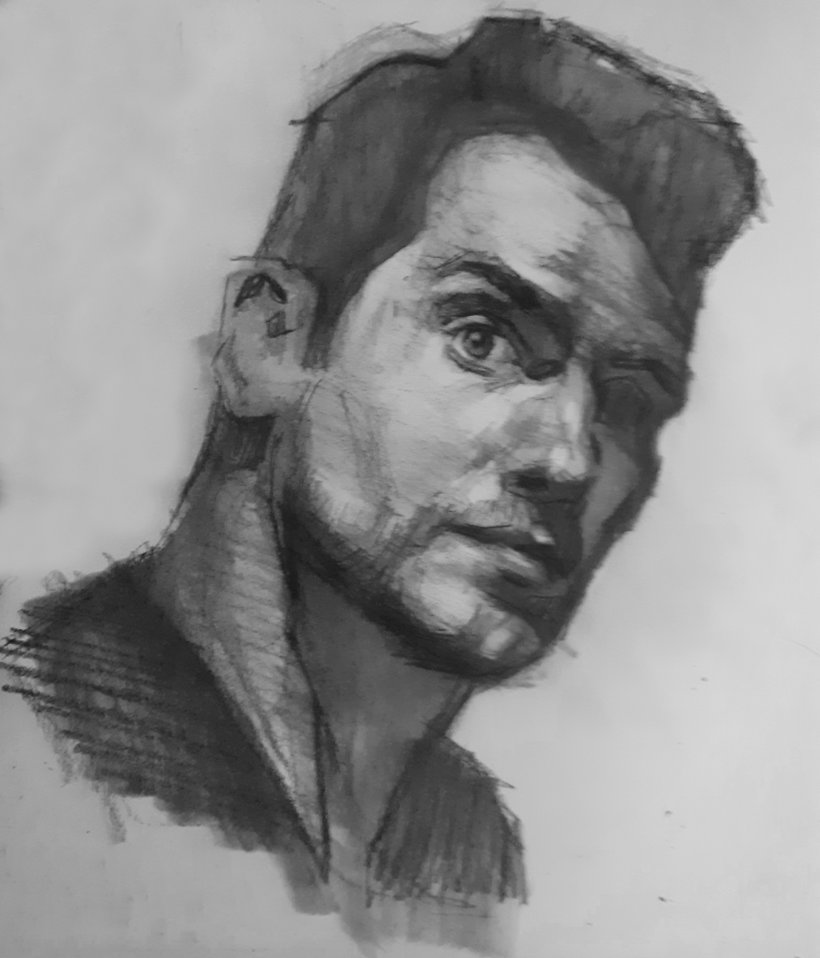
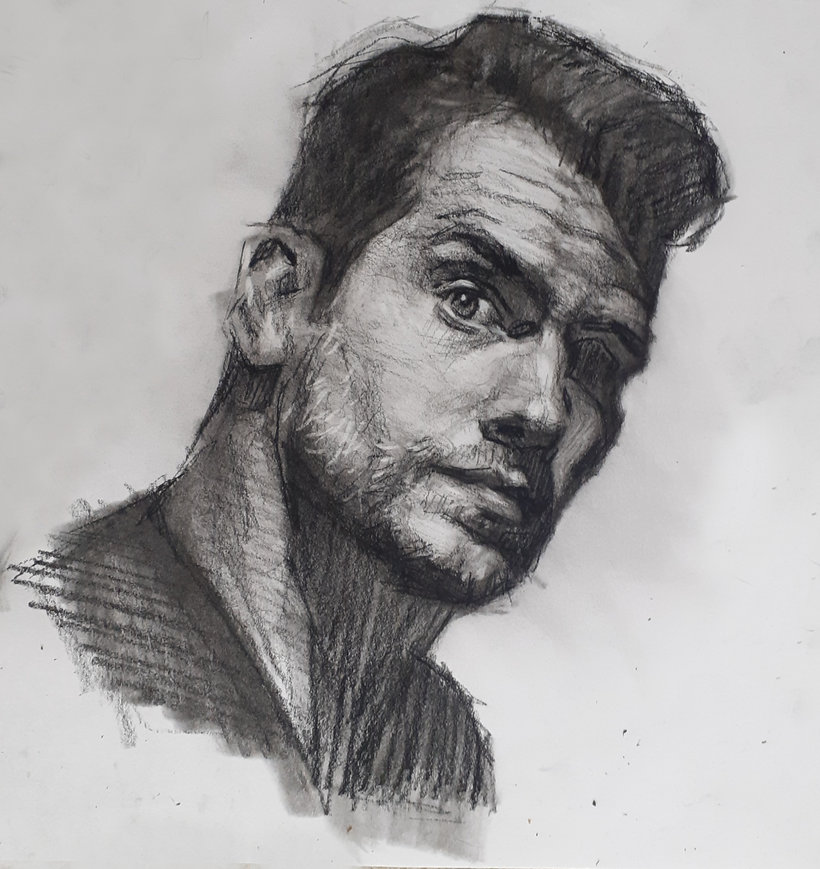
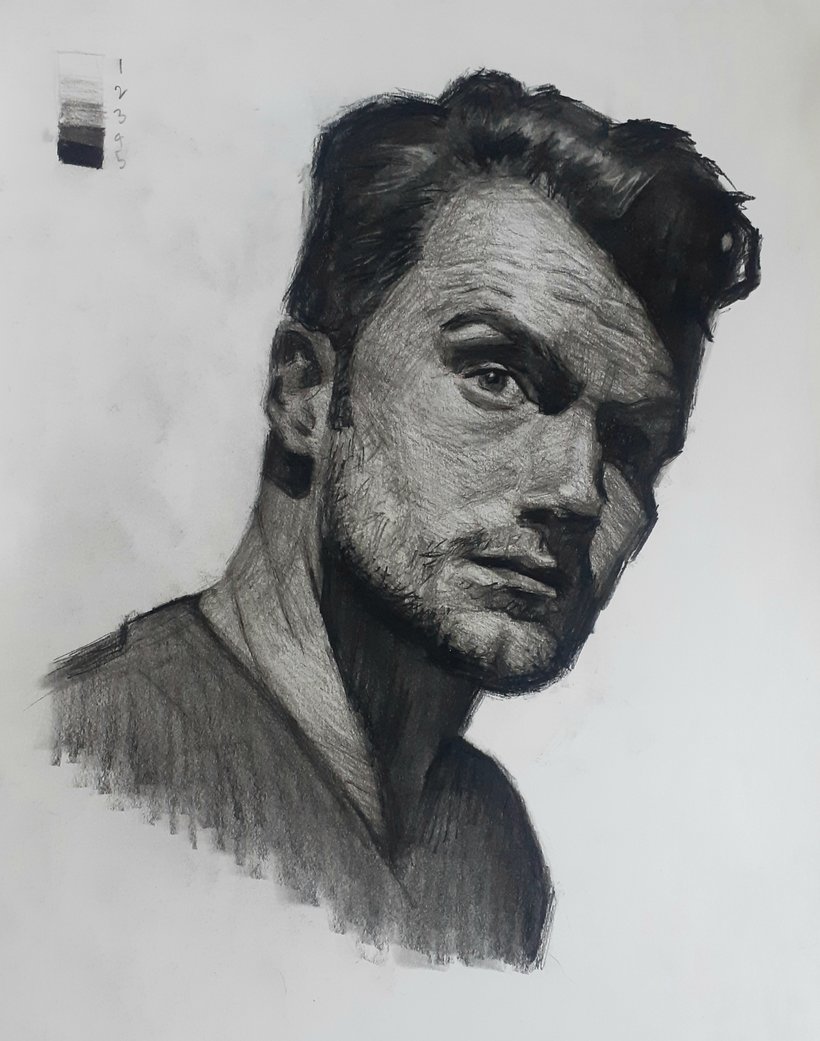
“Congratulations―we've now come to the end of this course! Thank you for taking the time to participate―I hope you have found it interesting and it's inspired you to create your own portrait. Try to make your portrait unique to you―you can use my reference image if you want, though I would recommend you to select your own image. Remember to pick one that has interesting shadows and a decent value range.

Once you've got a reference image, here's a reminder of the steps you should take to create your portrait. Lay in the proportions using the Loomis head. Draw a sphere and a centre line to represent the eyebrows. Try to think about the tilt of the head when drawing this centre line. Then put in a vertical centre line, thinking about whether the head is straight or seen from a three-quarter view. Once this is done, you should divide the face into three roughly equal portions for the forehead, the nose and the jaw area. Rough in the structure of the facial features. Try to draw the basic 3D structure of these features. Think about the eye sockets, the eyeballs, the wedge shape of the nose, and the mouth cylinder. Use the cheat sheets included in the additional resources of this course to help you. Map in the shadows. Remember to be disciplined and don’t rush too far ahead―getting the shadow shapes right is the most important part of getting a good likeness. You should fill in the shadows with a flat, even tone so you are left with a low-value image, a bit like a stencil.
Set up a five value range and render the drawing using just these values. Be disciplined―limit yourself to three values in the light area for the highlights, midtones and transition areas, and to two values in the shadow areas. Use different grades of pencils if this helps!
Finally, refine the five value drawings to smoothen out the transitions between the values. Reinstate the main light and dark areas and build up the details.
Once you're done, don't hesitate to share your final project with the rest of the Domestika community by clicking the button "Create your project". It's a good idea to share work in progress photos of each step as well as the final portrait. I'm really looking forward to seeing your work and giving you feedback to help you develop. Use the forum to ask any questions you might have. I encourage you to give feedback on other peoples work, too: Building an artistic community is so important when it comes to improving your skills! And that's it from me! I've really enjoyed putting this course together. I hope you have enjoyed watching it, and have found it useful. There is so much to learn with portraiture―we've only just begun to scratch the surface with this course. I really hope you feel inspired to keep learning!”

Partial transcription of the video

“Final Project We've come to the end of the course. Thank you for following along with my lessons. I hope you're inspired to create your own portraits. To get started grab your paper and your pencils, if you want to use graphite or carbon, it's up to you. Start by laying in the proportions using the Loomis head and divide it into three roughly equal spaces for your forehead, nose and chin. The Loomis head is only a guide, trust your own judgment. If you feel you need to make tweaks to the proportions, you can do so. If you're happy with the proportions, start to lay in the facial features. T...”

This transcript is automatically generated, so it may contain mistakes.


Course summary for: Artistic Portrait Drawing: Capture Authentic Expressions

  • Level: Beginner
  • 98% positive reviews (195)
  • 5072 students
  • 5 units
  • 16 lessons (3h 45m)
  • 3 downloads
  • Category

    Illustration
  • Areas

    Artistic Drawing, Drawing, Figure Drawing, Fine Arts, Pencil Drawing, Portrait Drawing, Realistic Drawing, Sketching, Traditional illustration

Sam Brisley

Sam Brisley
A course by Sam Brisley

Teacher Plus
Portrait Artist

Sam Brisley relates his passion for portraiture and history to his hometown Stratford-upon-Avon, where Shakespeare was born. Incorporating historical elements into his portraits such as costumes and hair styles is his way of bringing his two passions together to create unique works of art. As a structural engineer from nine to five, and a portrait artist in his free time, Sam has been learning about portraiture, figure drawing, anatomy, and gesture drawing from a young age, always finding time to keep developing his abilities.

Sam has taught a number of drawing workshops, ranging from portraiture, figure drawing, and more. He also shares his work in progress drawings with his followers on Instagram to help others improve.


  • 98% positive reviews (195)
  • 5,072 students
  • 16 lessons (3h 45m)
  • 17 additional resources (3 files)
  • Online and at your own pace
  • Available on the app
  • Audio: English, Spanish
  • English · Spanish · Portuguese · German · French · Italian · Polish · Dutch
  • Level: Beginner
  • Unlimited access forever

Category
Areas
Artistic Portrait Drawing: Capture Authentic Expressions. Illustration course by Sam Brisley

Artistic Portrait Drawing: Capture Authentic Expressions

A course by Sam Brisley
Portrait Artist. Stratford-upon-Avon, United Kingdom.
Joined February 2021
  • 98% positive reviews (195)
  • 5,072 students